Subaru FB20/25 spark plug replacement! Keep that flat four rolling along.
Around 60k miles you will find your Subaru has quite a few things on the scheduled maintenance list. Differential services, filters, pvc valve and spark plugs. Spark plugs are one of the few jobs that most look forward to doing, due to the horizontal block design.
The flat four holds many benefits due to it’s size and location in the engine. The tallest point of the block sits much lower than typical four cylinder motors which gives the whole vehicle a lower center of gravity, for improved handling and less chance of rollovers. But with this benefit comes valve covers that are located on the side of the block.
Time Frame
Your tools, experience and ingenuity will make the biggest time difference here. If this is your first set of Subaru spark plugs, you have started on one of the easier versions. For first timers I would put two hours on the clock, with those well versed and with plenty of wobbles and extensions around one hour. Today’s car is a 2017 Impreza which is one of the easiest. The spark plug tubes are a bit more accessible.
Tools
The trick to Subaru spark plugs is finding the right combination of extensions of various lengths, wobble adapters and problem solving. The more of any or all of those will help you out immensely.

My go to spark plug tool for these engine is my Ares 14mm thin wall magnetic spark plug socket with a wobble built in.
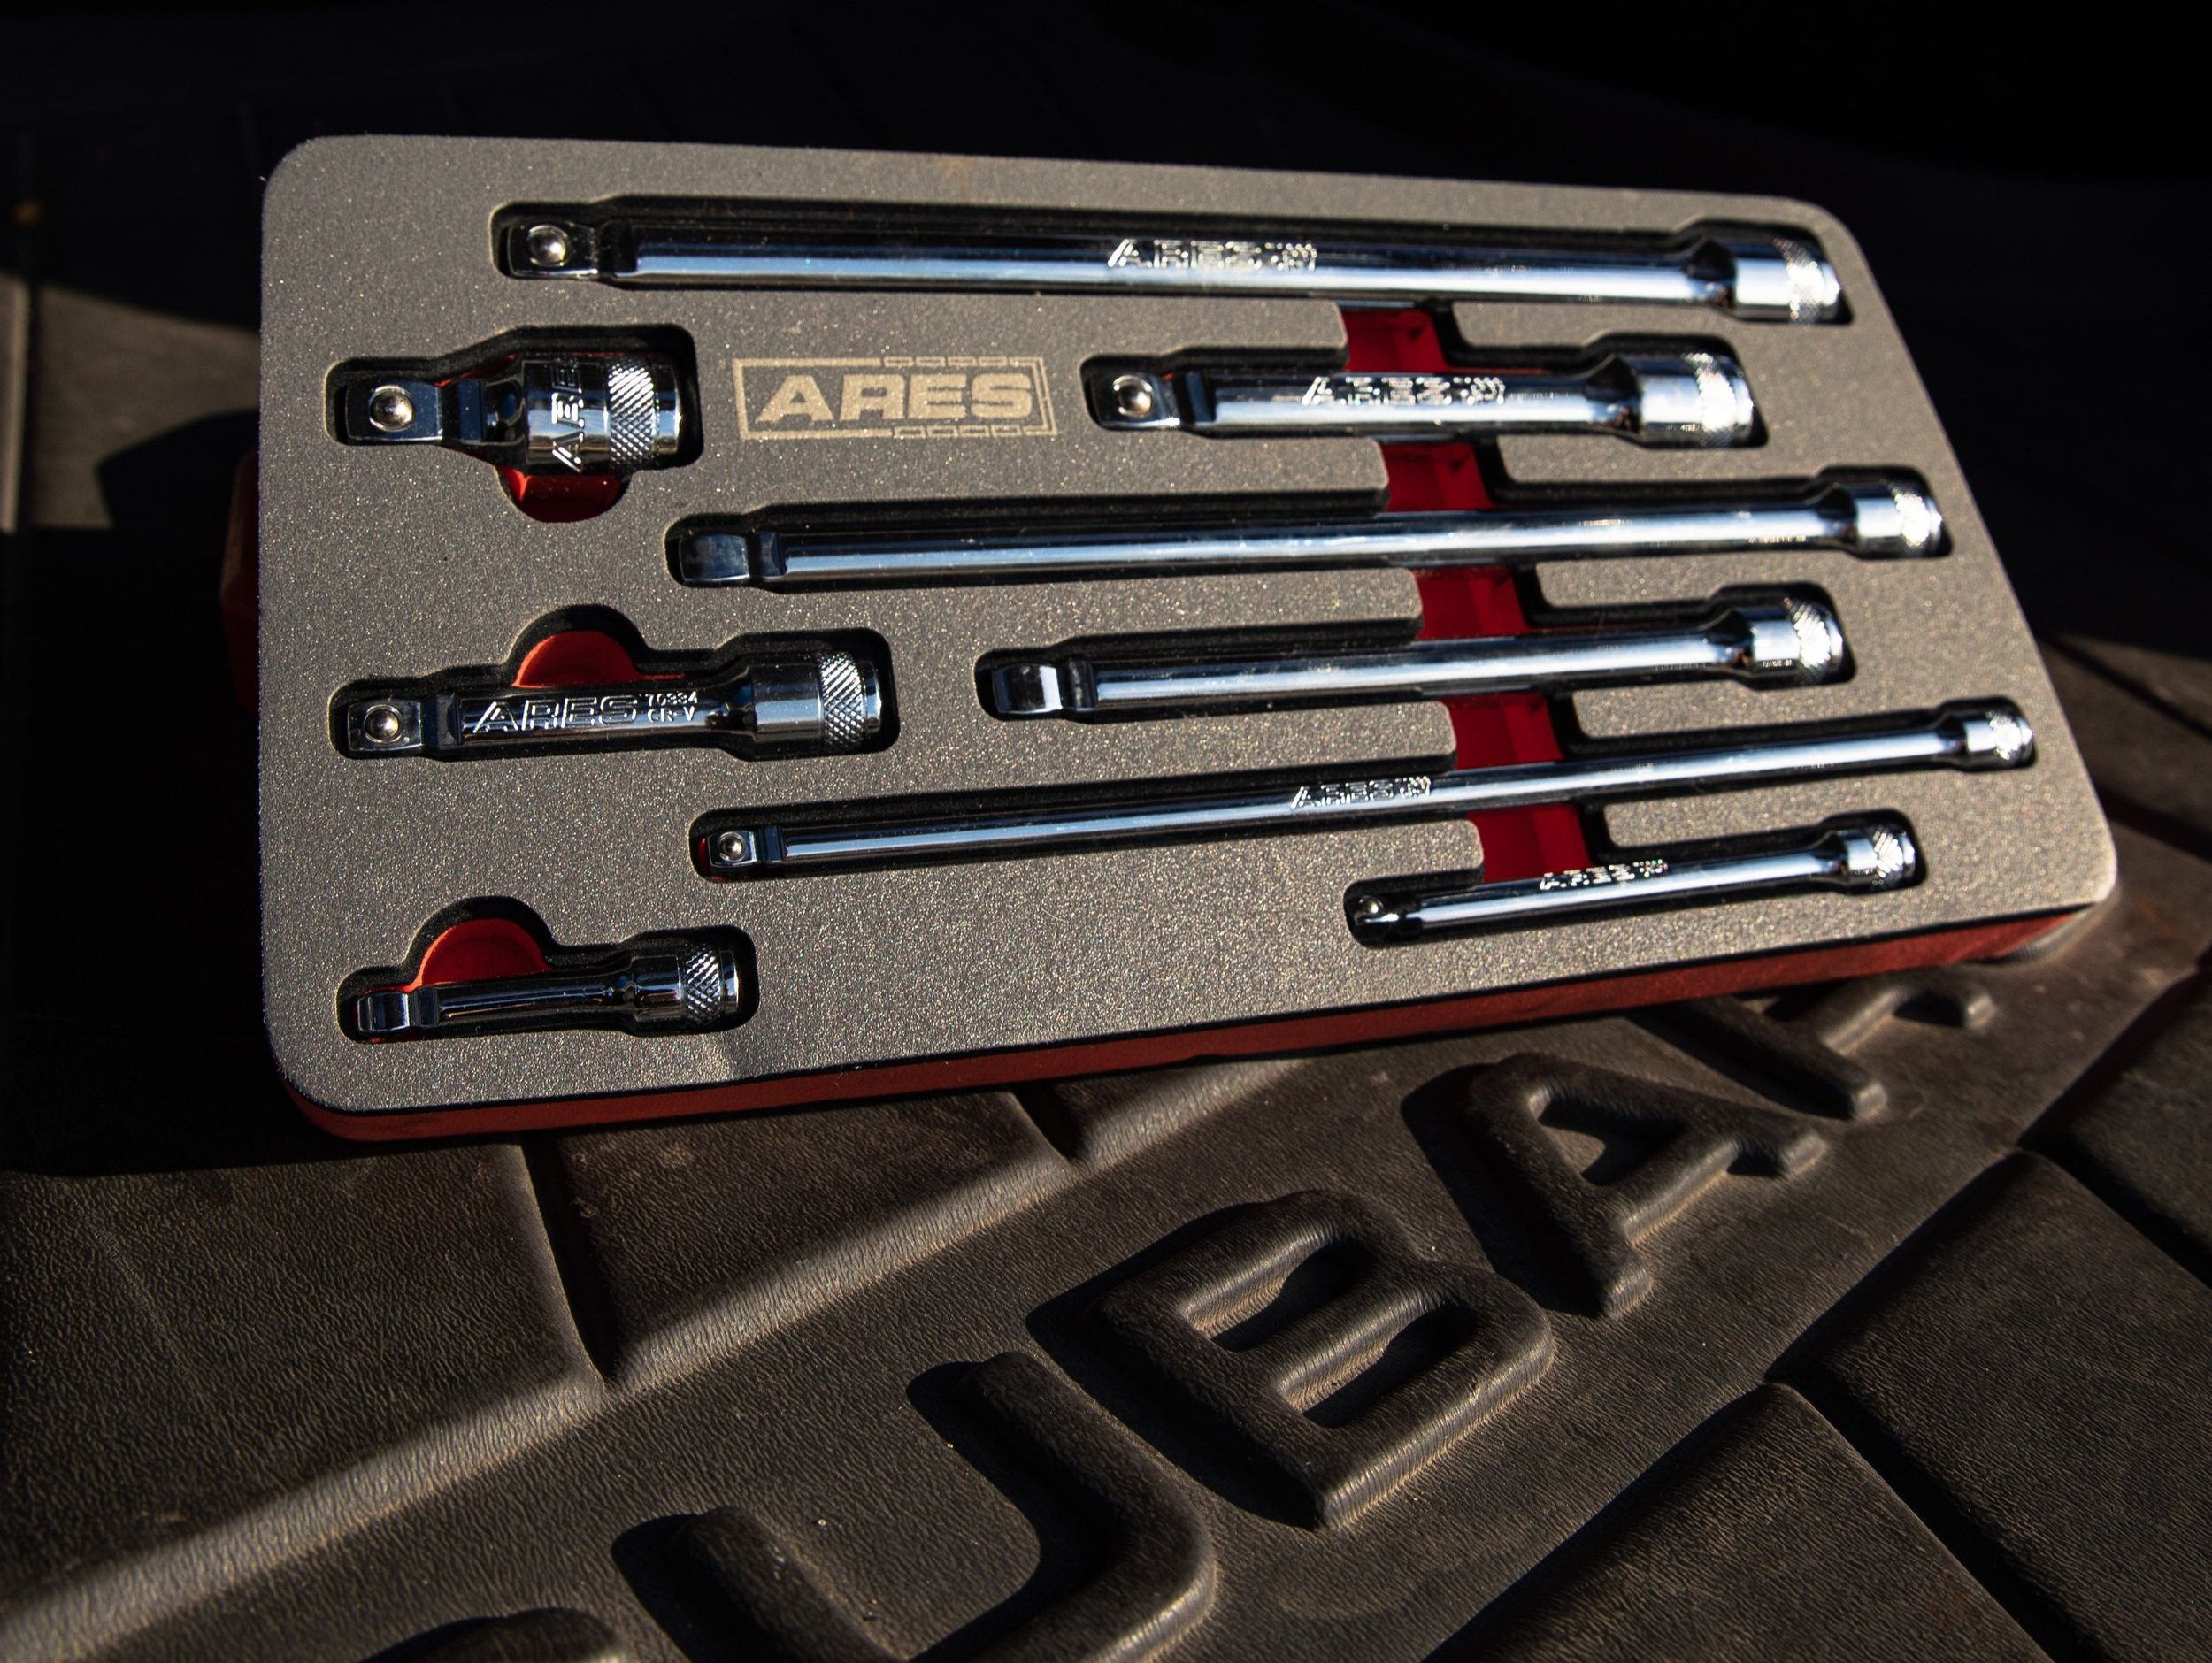
These Ares 9 piece extension set have a wobble on the end, this will help move your extension into a position where you can ratchet it easily. Life savers!

My 3/8th Gearwrench ratchet has done well over the last year. The flex head gives you a few more option while the soft grip takes it easy on your hands.

If bolts and nuts need to be removed my Grey pneumatic metric sockets are not far away! Over 7 plus years of wrenching I have yet to break one, love these things.
Parts
Easy stuff here, find your OEM NGK spark plugs at your favorite Subaru shop. Nothing fancy here.

Subaru part number 22401AA781 for 2011-2017 Forester 2.5 non turbo
2012-2016 Impreza 2.0 non turbo
2013-2017 Legacy and Outback 2.5 non turbo
2013-2016 Crosstrek 2.0 non turbo

Subaru part number 22401AA880 For 2017 and up Imprezas and Crosstreks.
Installation
Once again we will start our repair under the hood. If you have recently driven your car you may want to give it adequate time to cool off, hot spark plugs and valve covers can burn. After setting up your hood prop you can begin, I generally will start from the passenger’s side and on to the driver’s side. You can do it in either order but for this overview we will start on the passenger’s side.

Here we are ready to pick a side. I generally do the passenger side first for whatever reason. The choice is yours though!
The first course of action will be to remove as much as you want of the intake system. You can remove as much or as little as you like, I prefer remove most of it to make my working area open and easily accessibly. This includes the air ducting, air box and intake tube to the throttle body.

Half of the air box removed, you can see one coil pack pretty well!
The air ducting is held in by two clips, the air box will have one nut near the headlight and one located on the frame ail near the valve cover. The final piece being the intake tube which is clamped on the air box and throttle body, you will need an 8mm for those. You will find a breather hose located on the driver’s side resonator box, remove the clamp and you can now move all these pieces out of your way.

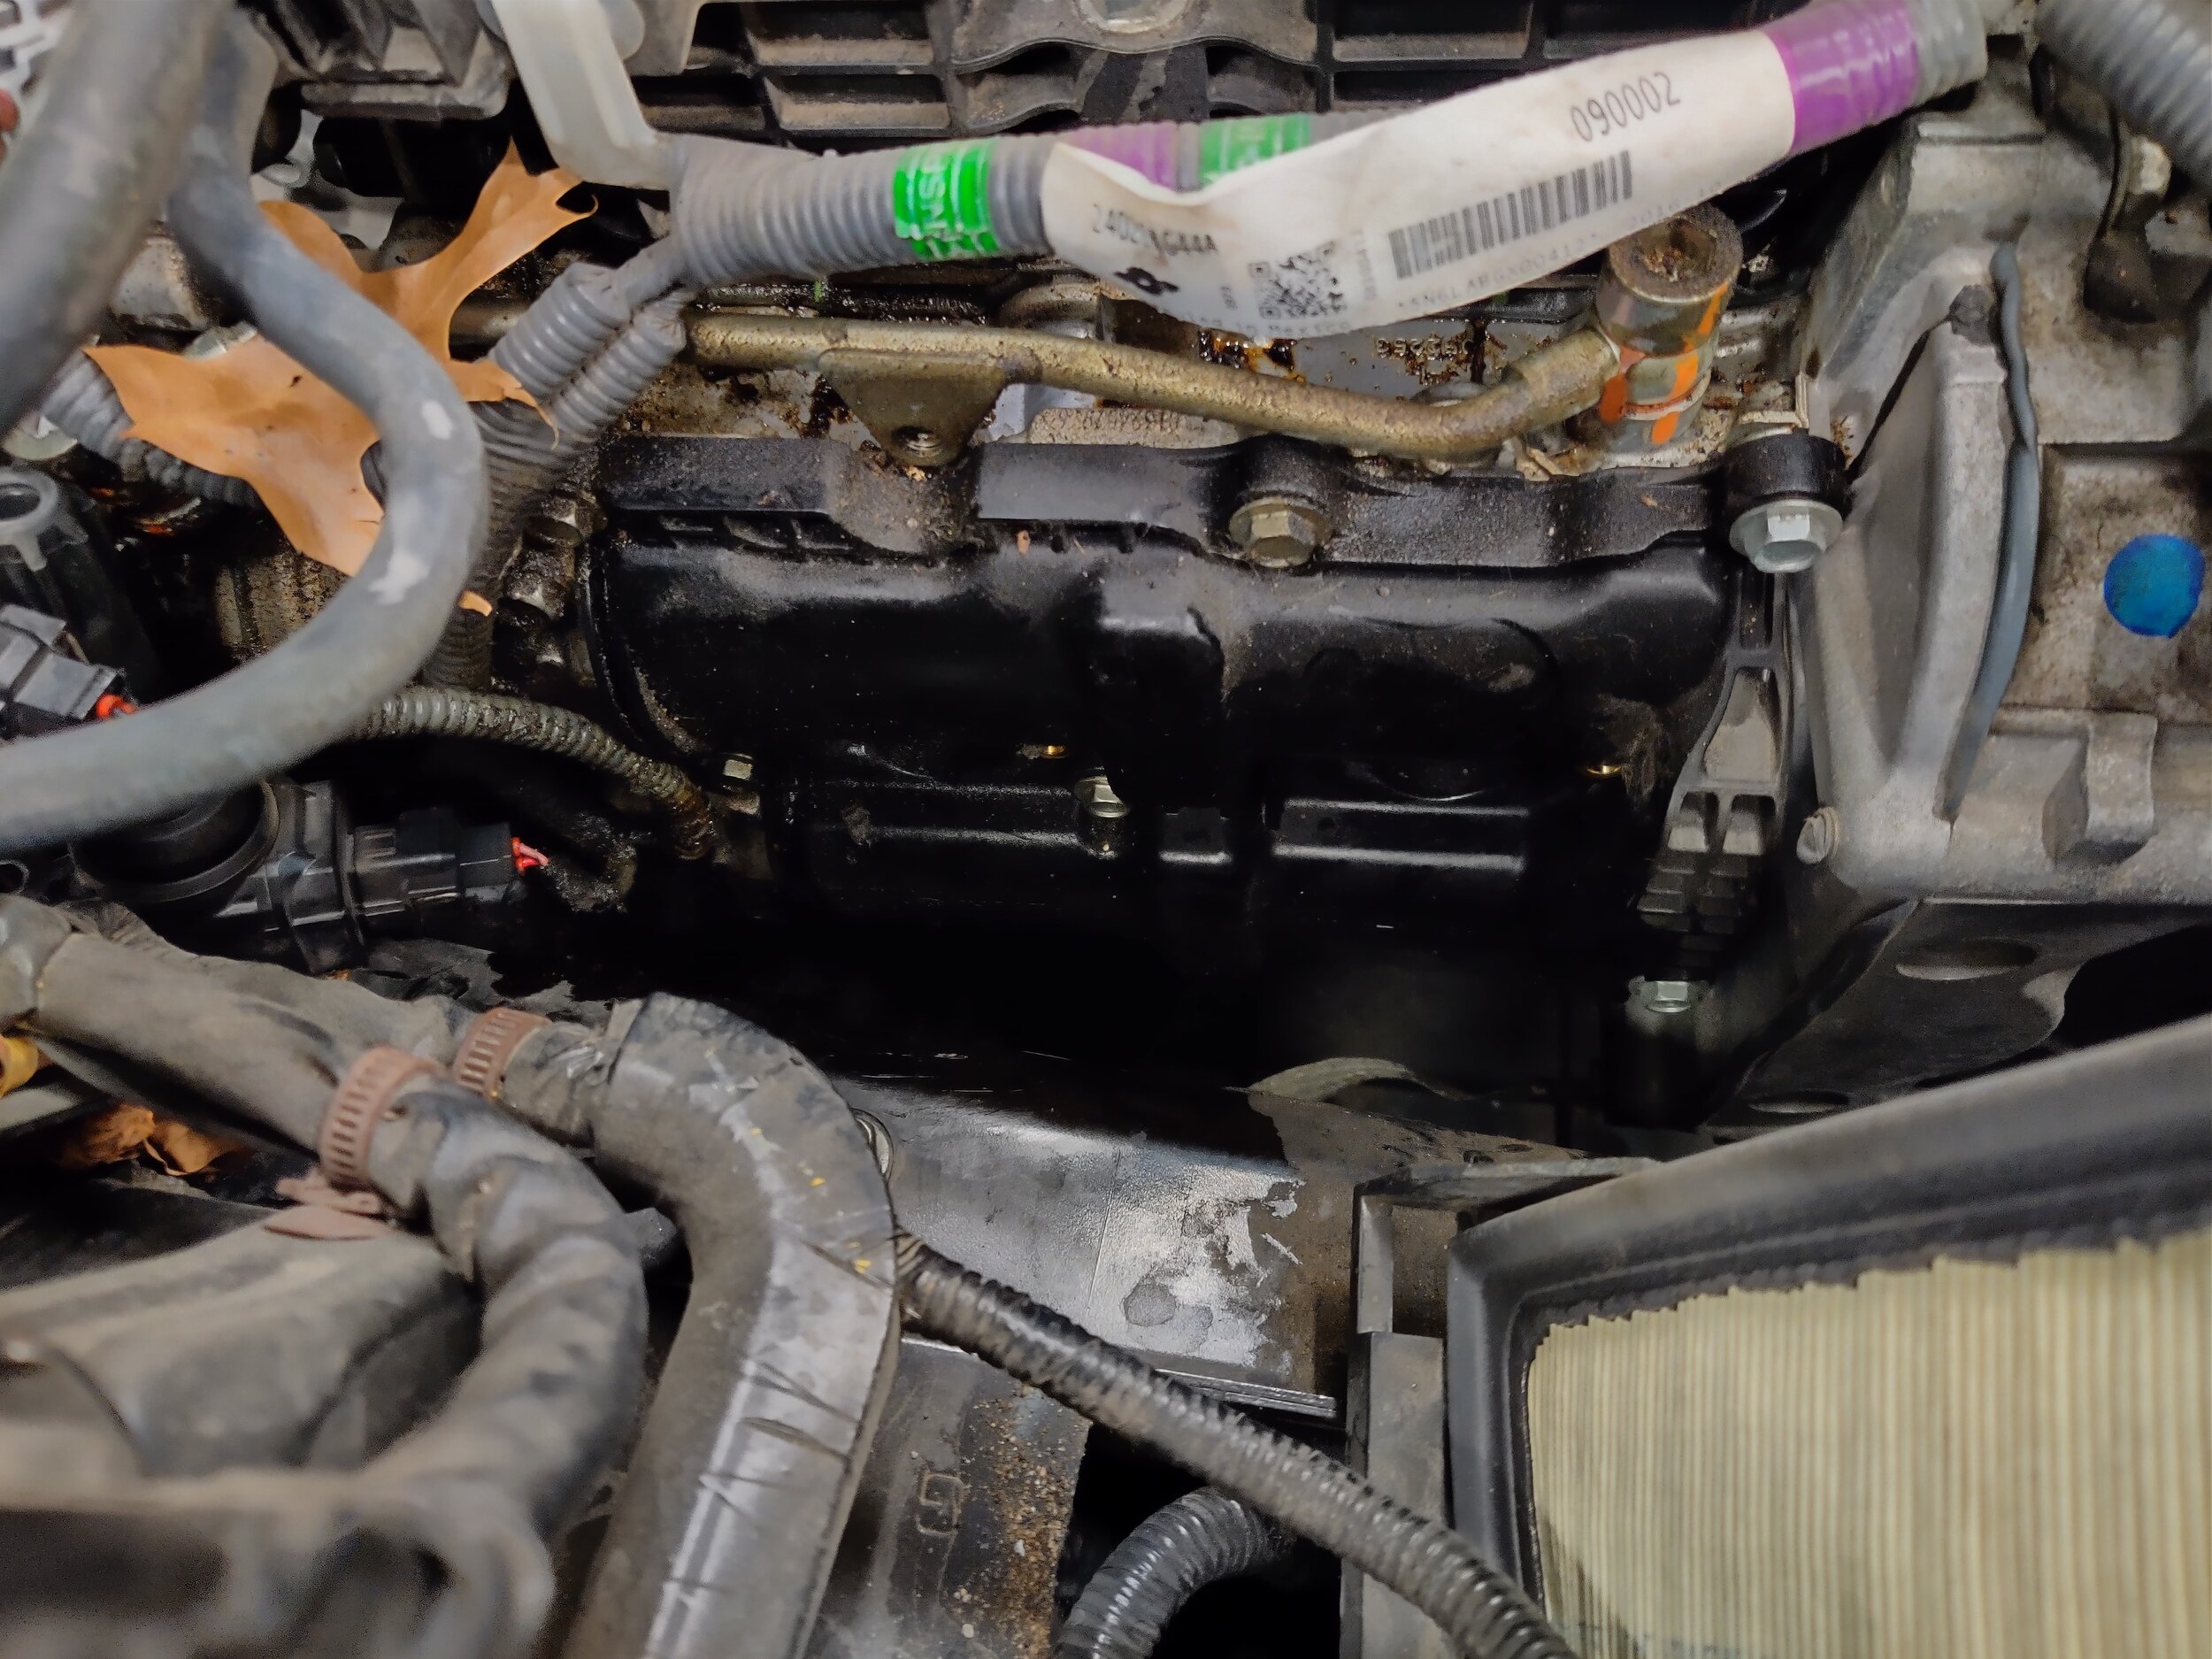
Air tube out of the way, much easier to see the side of the valve cover now. On this 2017 Impreza you can leave most of the air box and intake.
If you own a Forester you know that the hood line is quite a bit higher, along with that your engine sits lower in the car, which subsequently puts it right next to the frame rails To alleviate this issue we will slide under your vehicle and locate your motor mounts, we will be unbolting those. Using your jack you can now lift the engine up about an inch which will move you above the vehicles frame rails. This makes removing and installing the spark plugs much easier, you can do it either way but this should save you plenty of time.

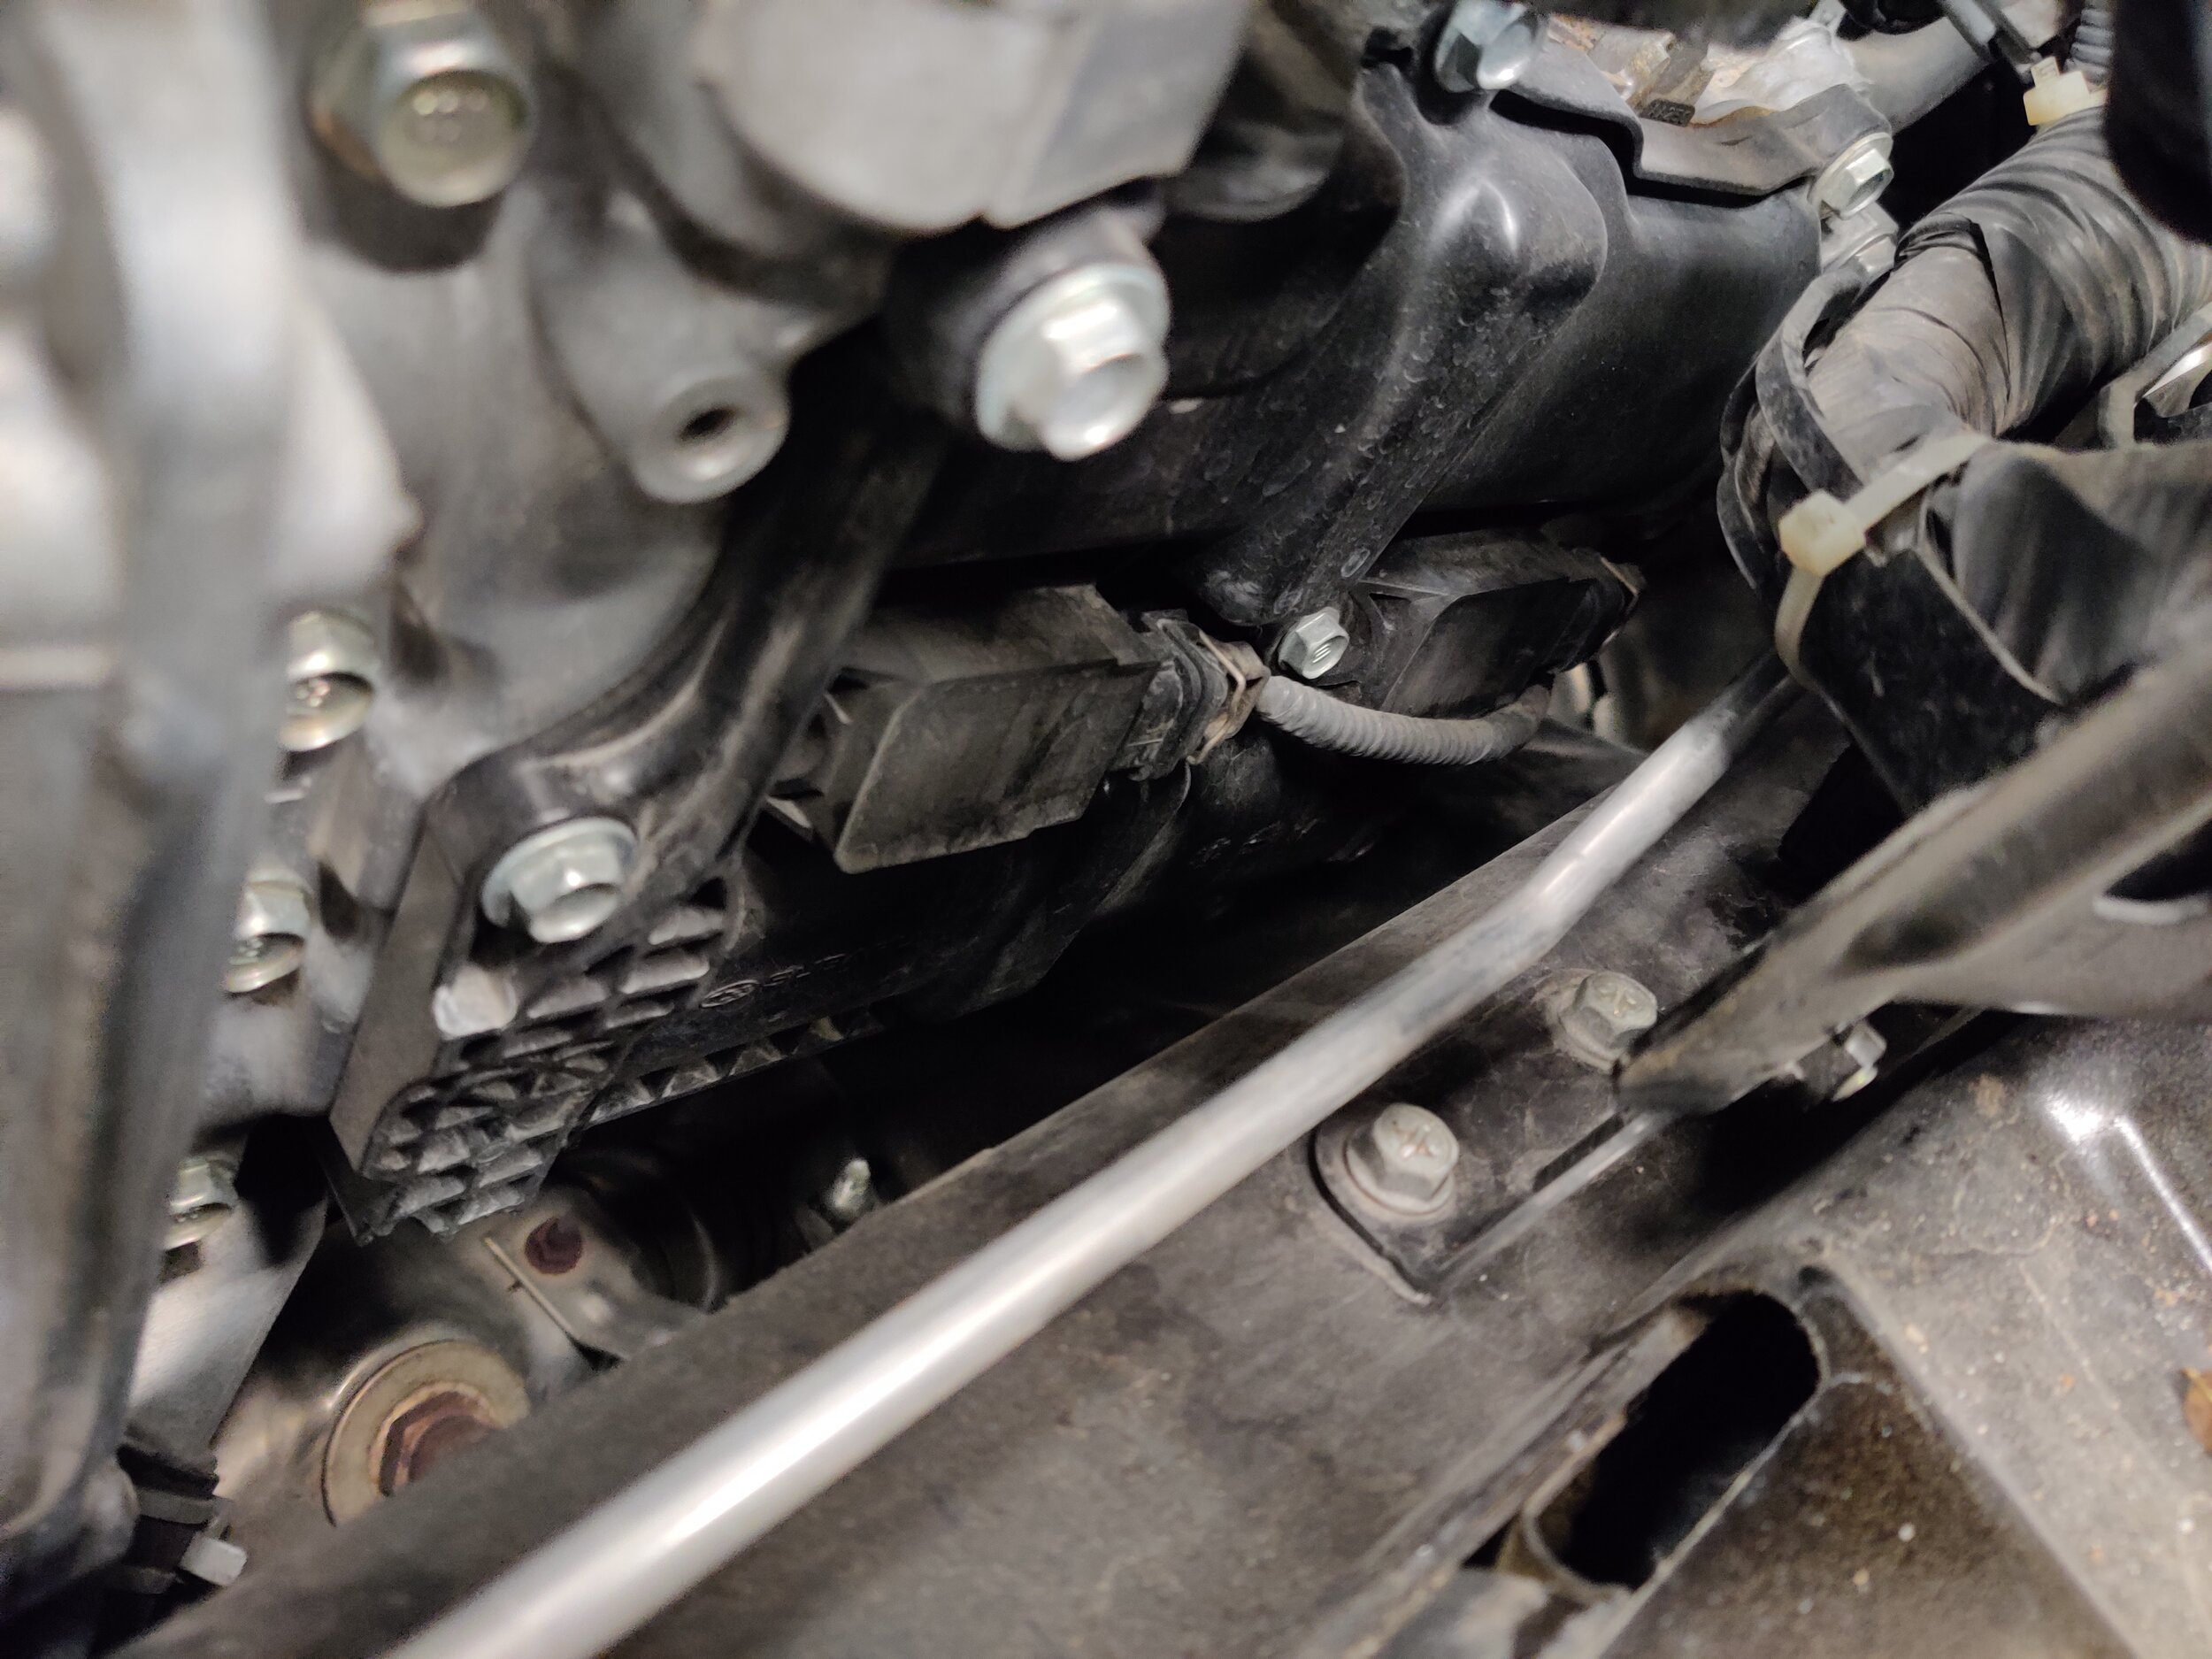
Locate your motor mounts and remove both nuts.

With your jack and plank of wood we can move the engine a bit up.

Use a soft piece of wood to soften the jack or jack stand so you don’t dent, crush or mangle your oil pan.. Nobody wants to replace their oil pan..
Now you will have a good view of the passenger’s side valve cover and coil packs. Next you will remove the two 10mm bolts that hold the coil packs on. Set them in a safe space. You can remove the wiring and connector but i generally don’t, using a bit of Tetris magic you can squirm them out and put them on the backside of the head and out of your way.

With the coil packs visible we can remove both of the 10mm bolts and slide the coil packs out.
Bolts removed and set some where safe. Coil packs removed and ready to go in after the spark plugs.
Here comes the fun part, with your spark plug socket you will need to find the best length of wobbles and extensions to easily extract them from the engine. I use a socket with a built in wobble and various extension determined by which spark plug I am removing.
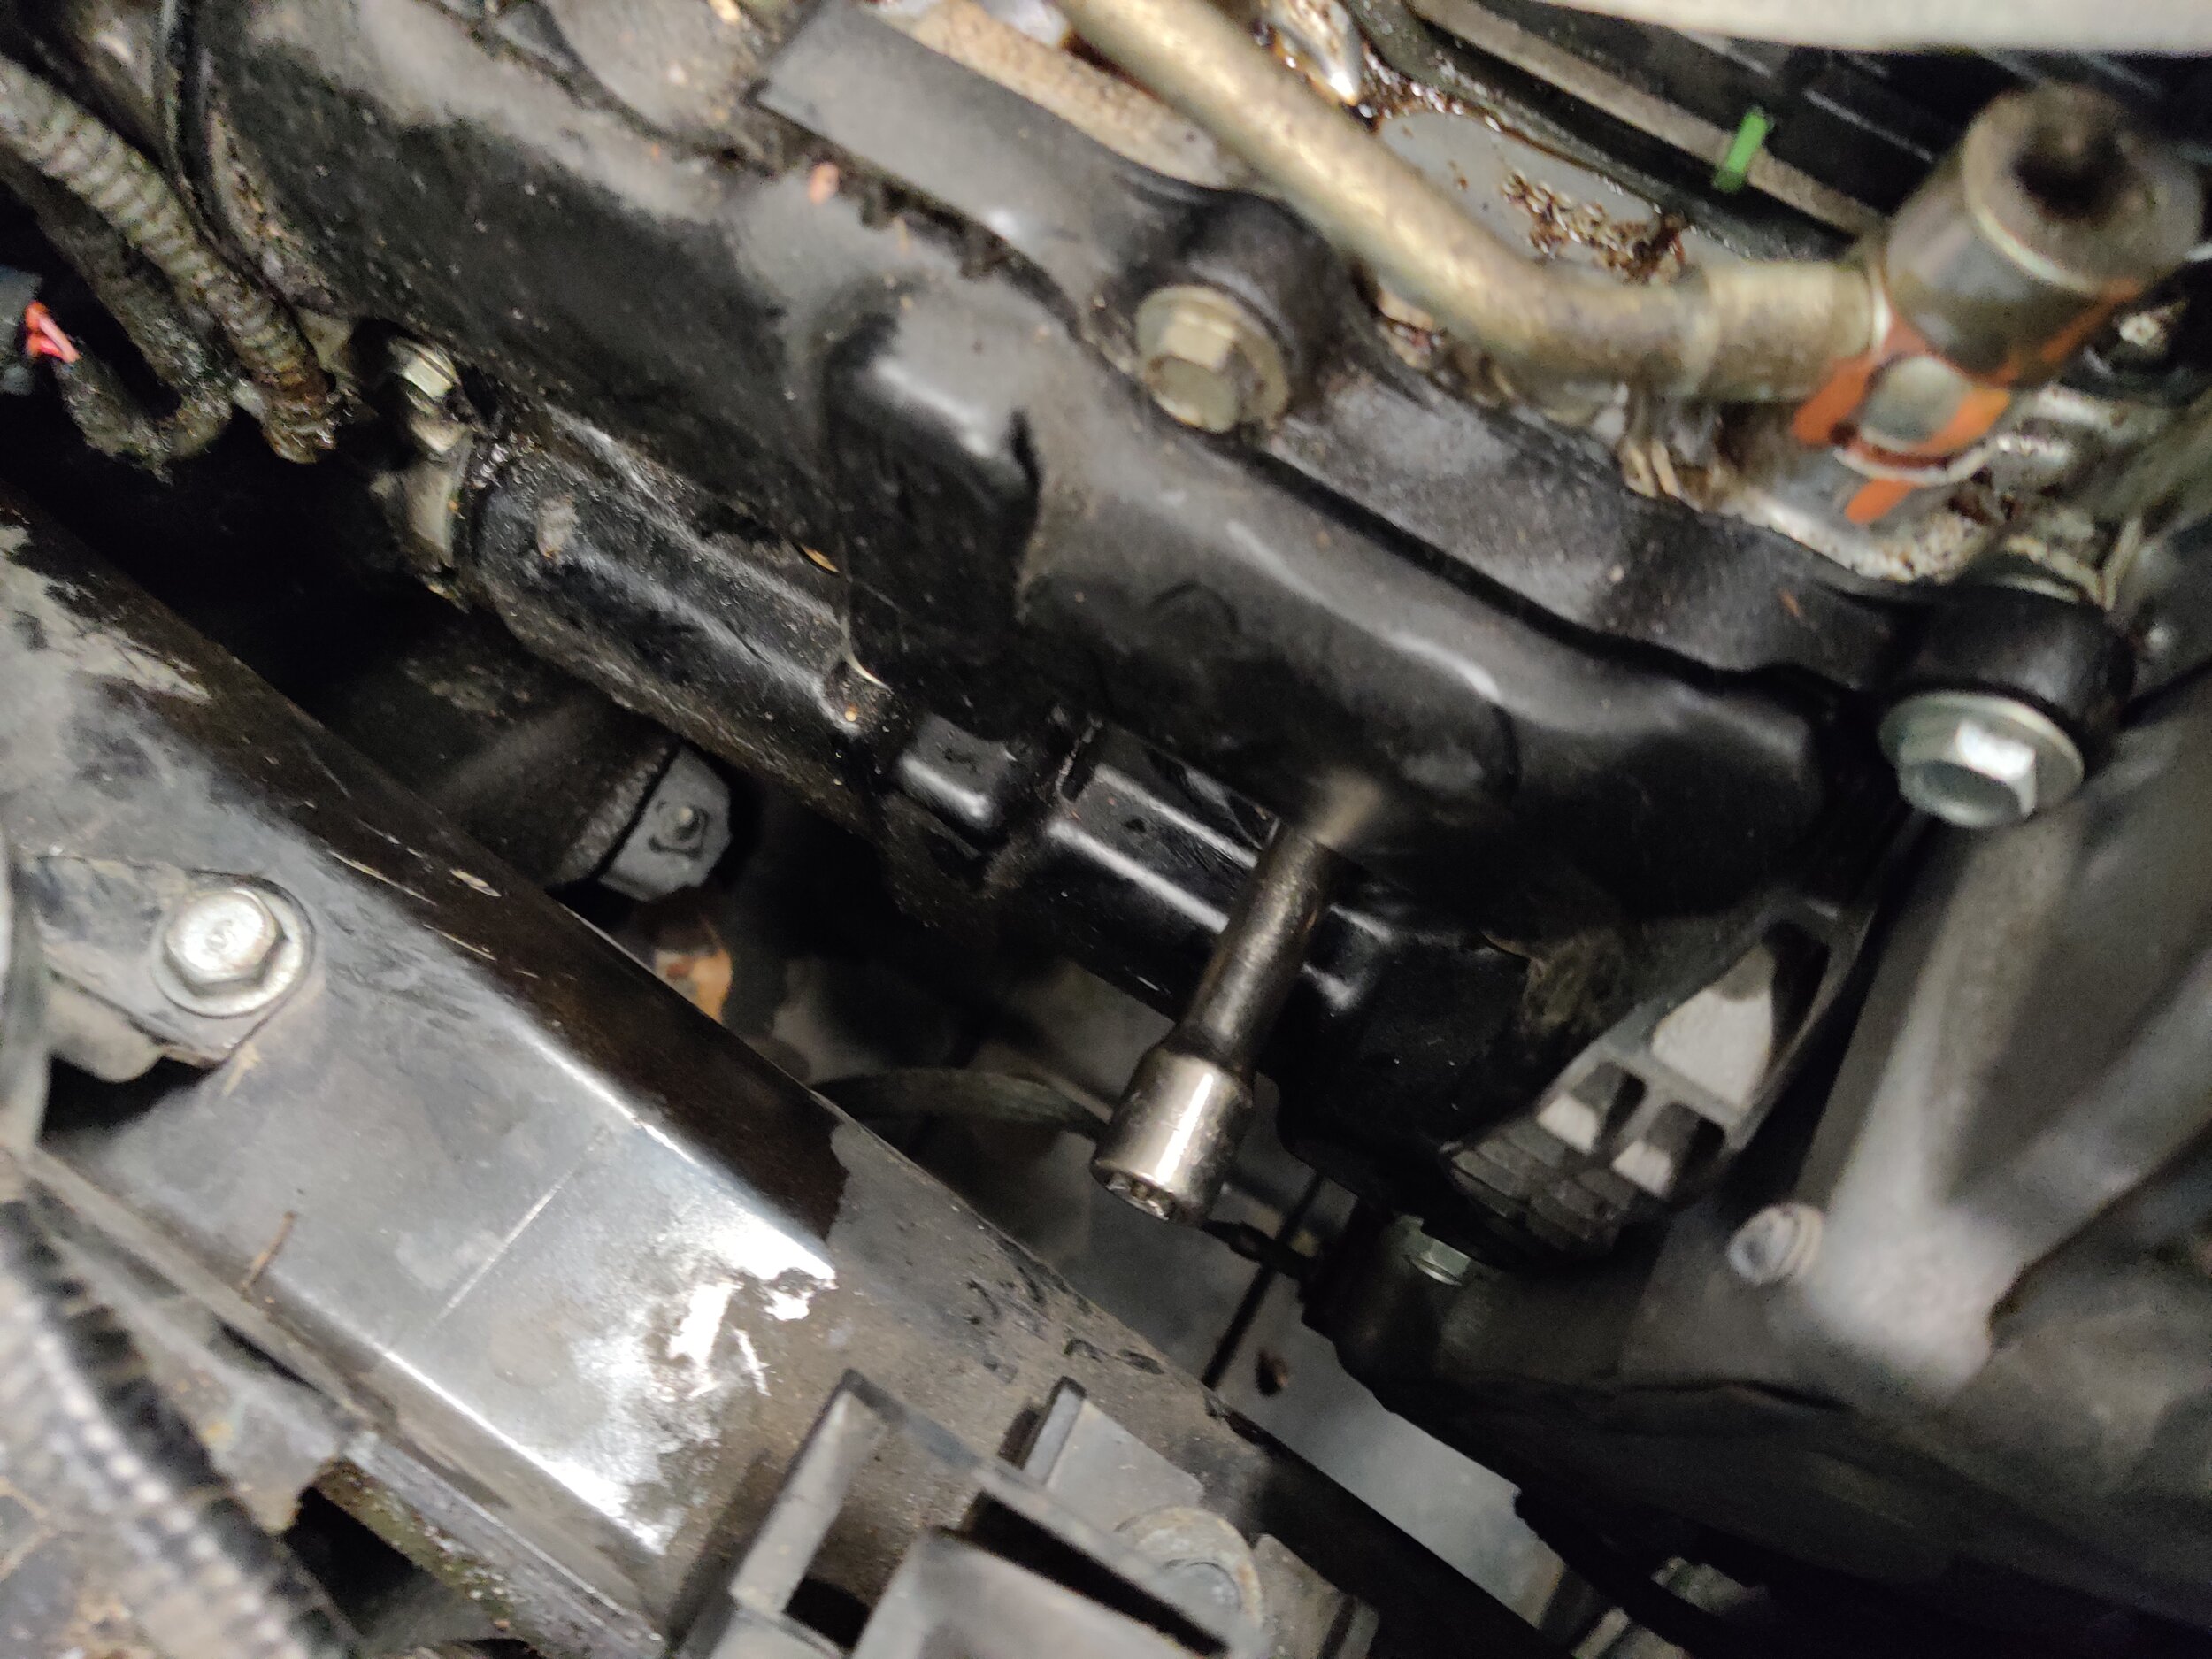
Here we have the Ares spark plug socket with a 3” extension. You can see how close the frame rail is. Luckily it can move up and around to a area free of obstructions. This worked well for me.
Once you have removed the number 1 and 3 spark plugs you can reinstall the new plugs being careful to not damage the spark plug while installing in the tube. You will also want to start the threads by hands to not cross thread or damage the threads in the cylinder head, otherwise you are going to have a bad time. A really bad time. Make sure to take your time and do it right.
Spark plugs in, coil packs going back in too.
After those are installed we can install the coil packs once again and bolt them to the valve covers. You can now reassemble the intake tract and we can move to the driver’s side.
Moving to the driver’s side of the vehicle we will remove the battery. Being careful to touch the positive terminal and a ground, this can result in a good amount of pain and a very useless tool as it melts away. You will also need to remove the battery hold downs, these and the terminals will all be 10 mm nuts.
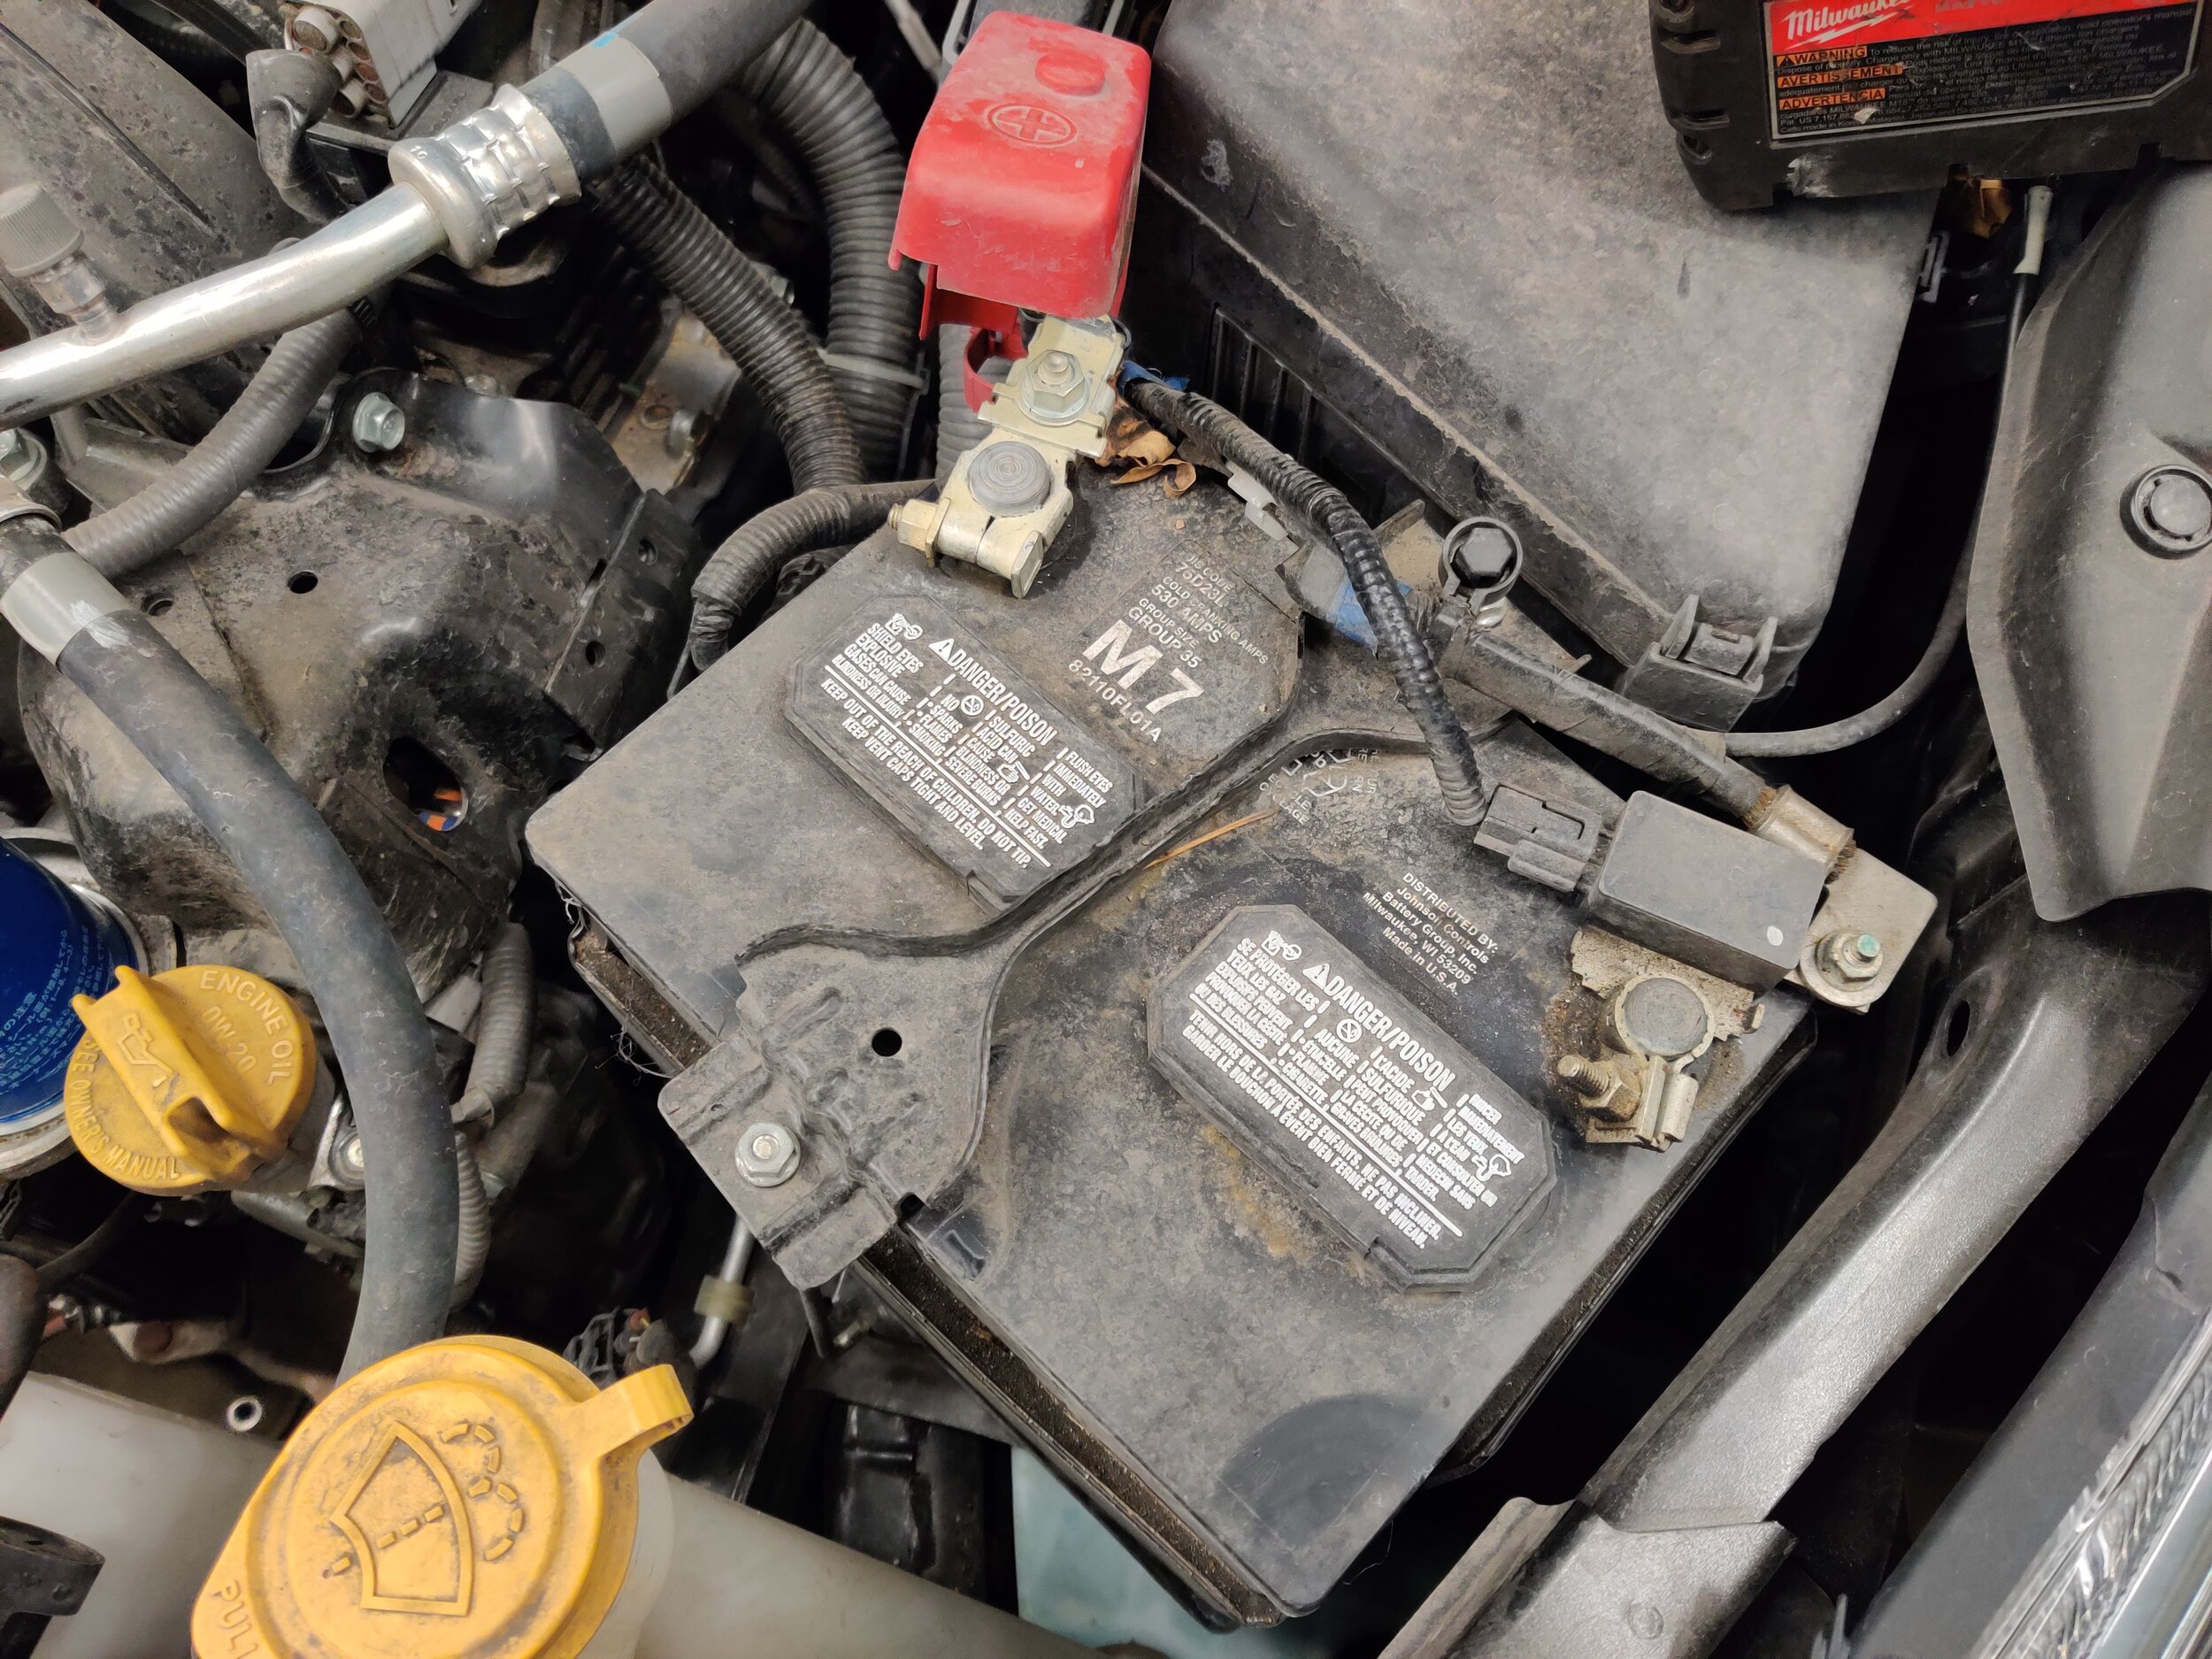
Remove your hold down and battery cables with your trusty 10mm. Then move it safely out of the engine bay to safe place.
You can now place the battery out of your way and have a grand view of the coil packs. Slightly reminiscent of the passenger side. You may notice that the rear of the valve has a lot less room and will be a pain.
Coilpacks which are now easily visible can be removed and moved out of the way.
Removing both 10 mm bolts allows for removal of the coil packs. Cylinder two (front cylinder) easily slides out. But cylinder four will take a few spins and brain teaser type thinking to release it from the valve cover as it runs into the frame rail.
Tight squeeze for everything.

Coilpacks moved to the back of the engine out of the way and on to removing spark plugs.
Having both removed you can start taking your spark plugs out. Once again the more wobbles and extensions you have the better you can engineer the proper setup to remove them. Once they are out replace them with your new spark plug and torque to the manufacturer’s specification.

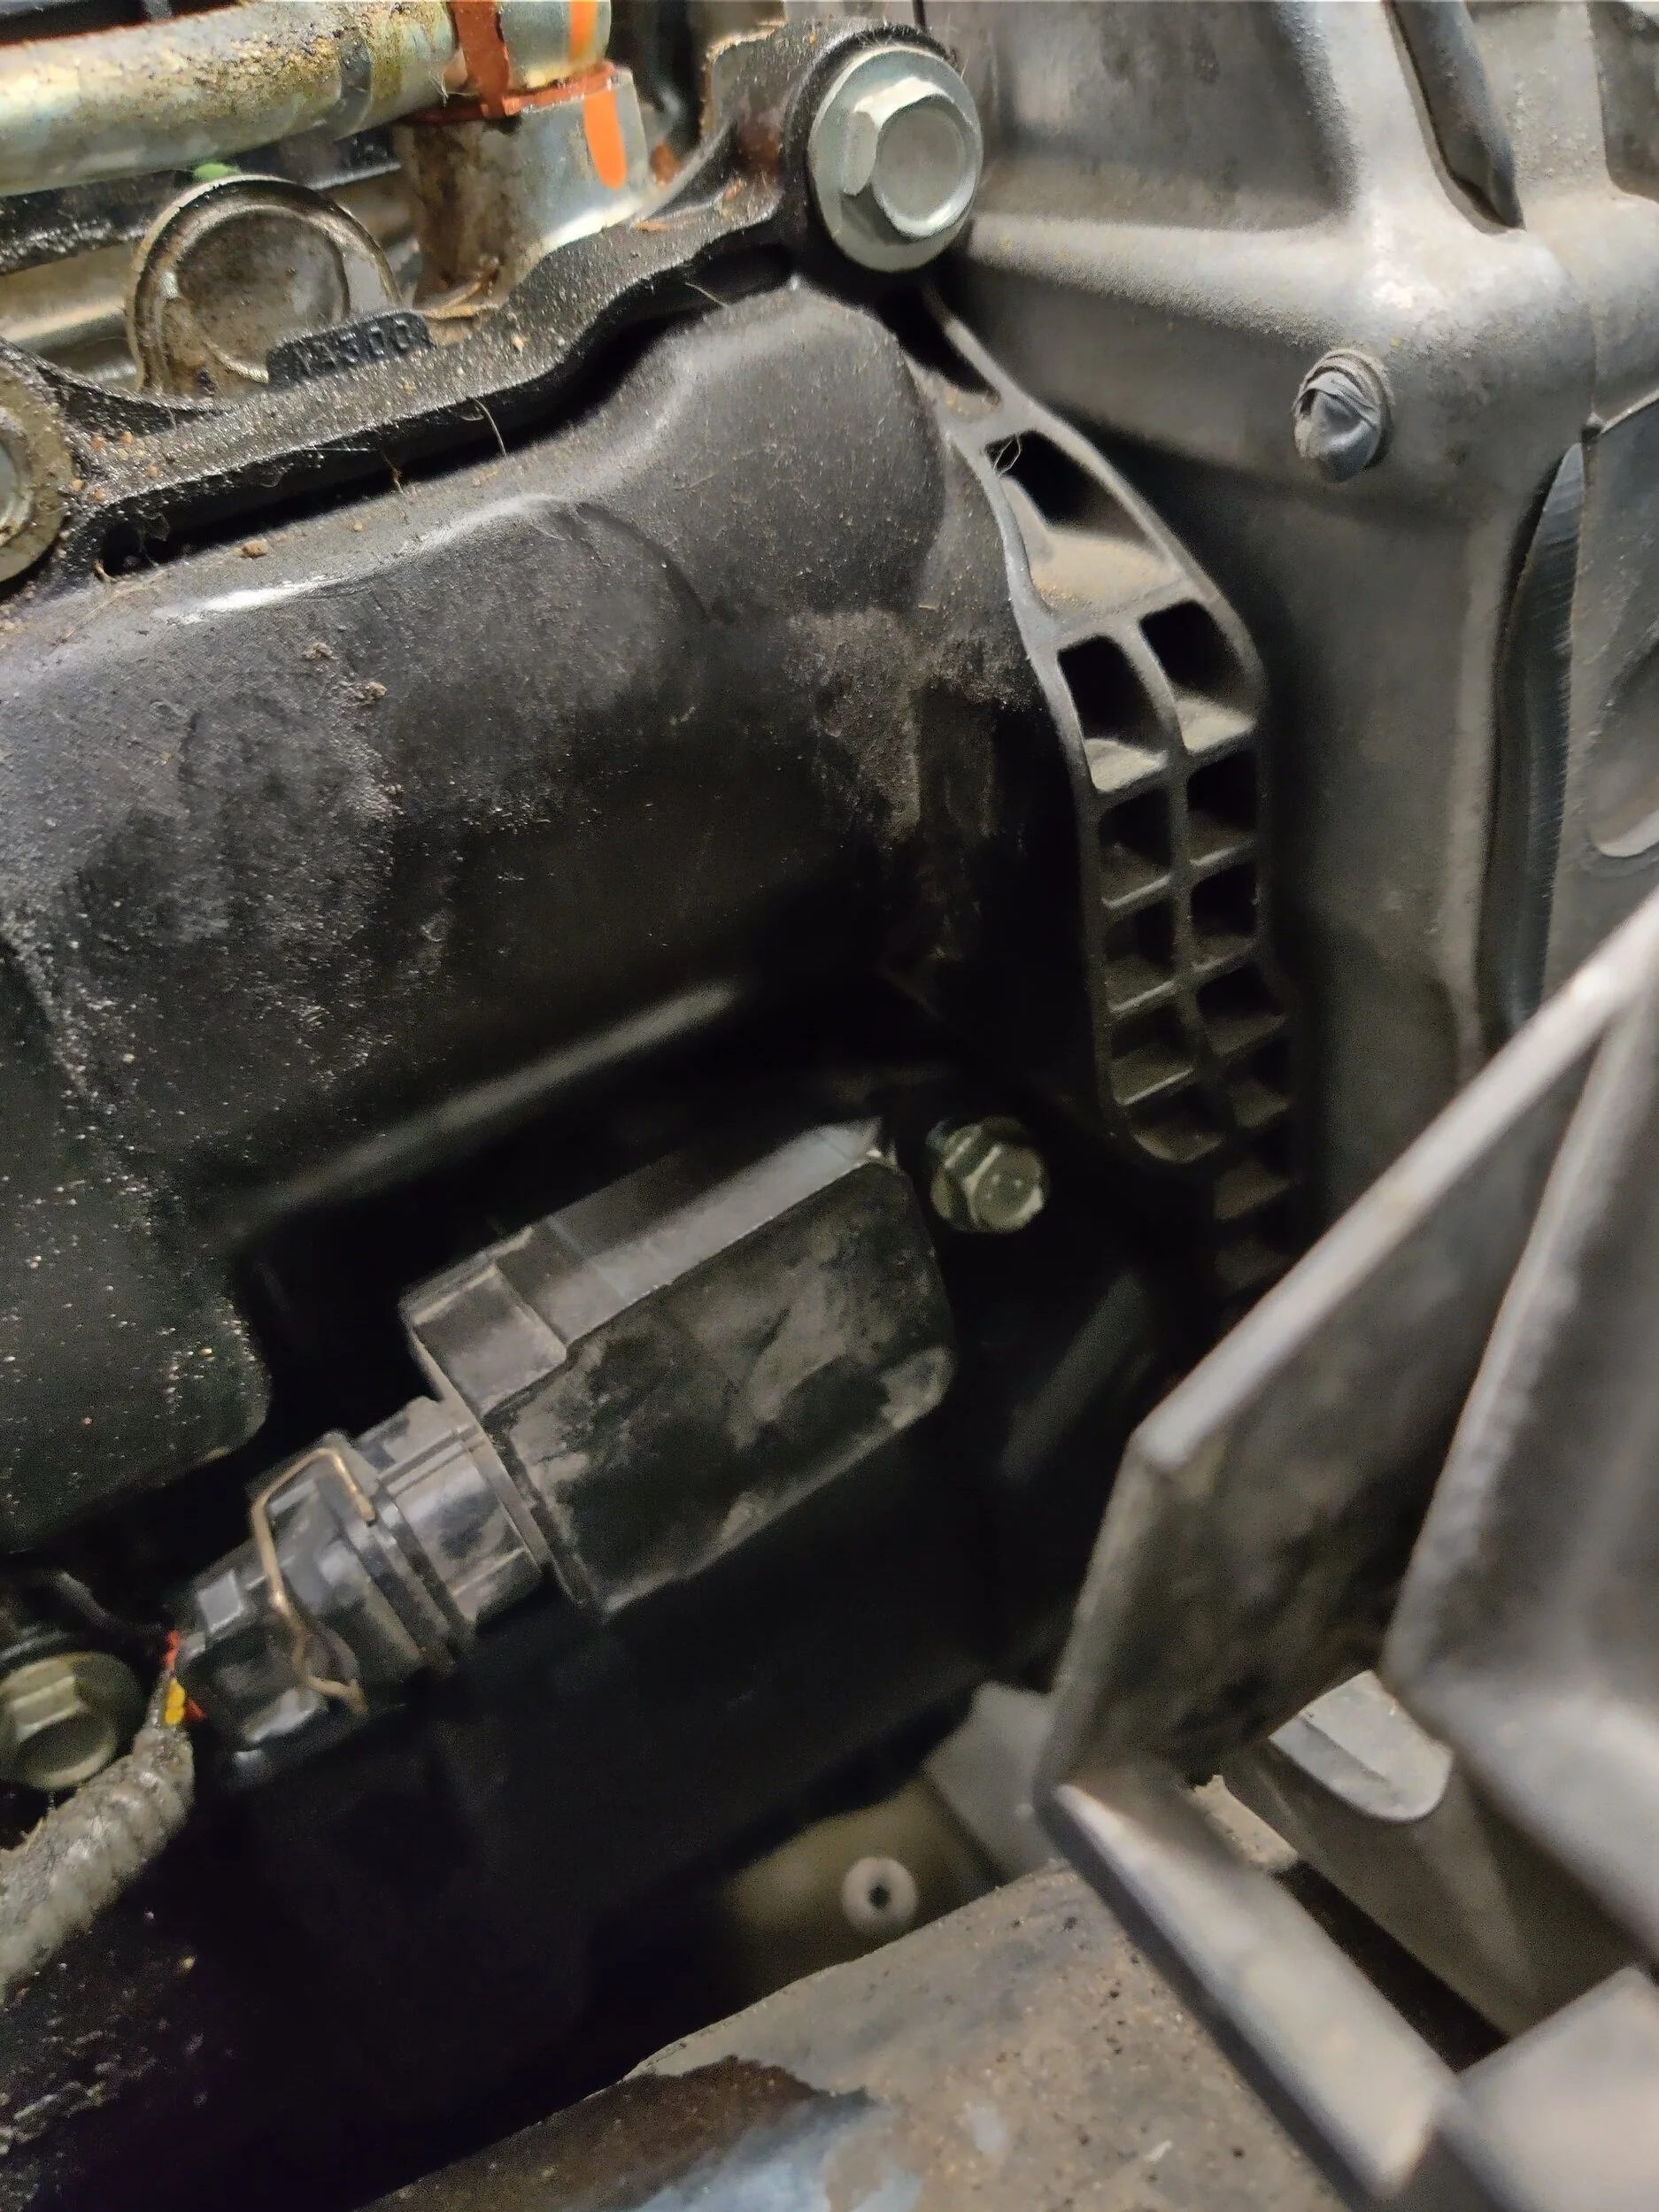
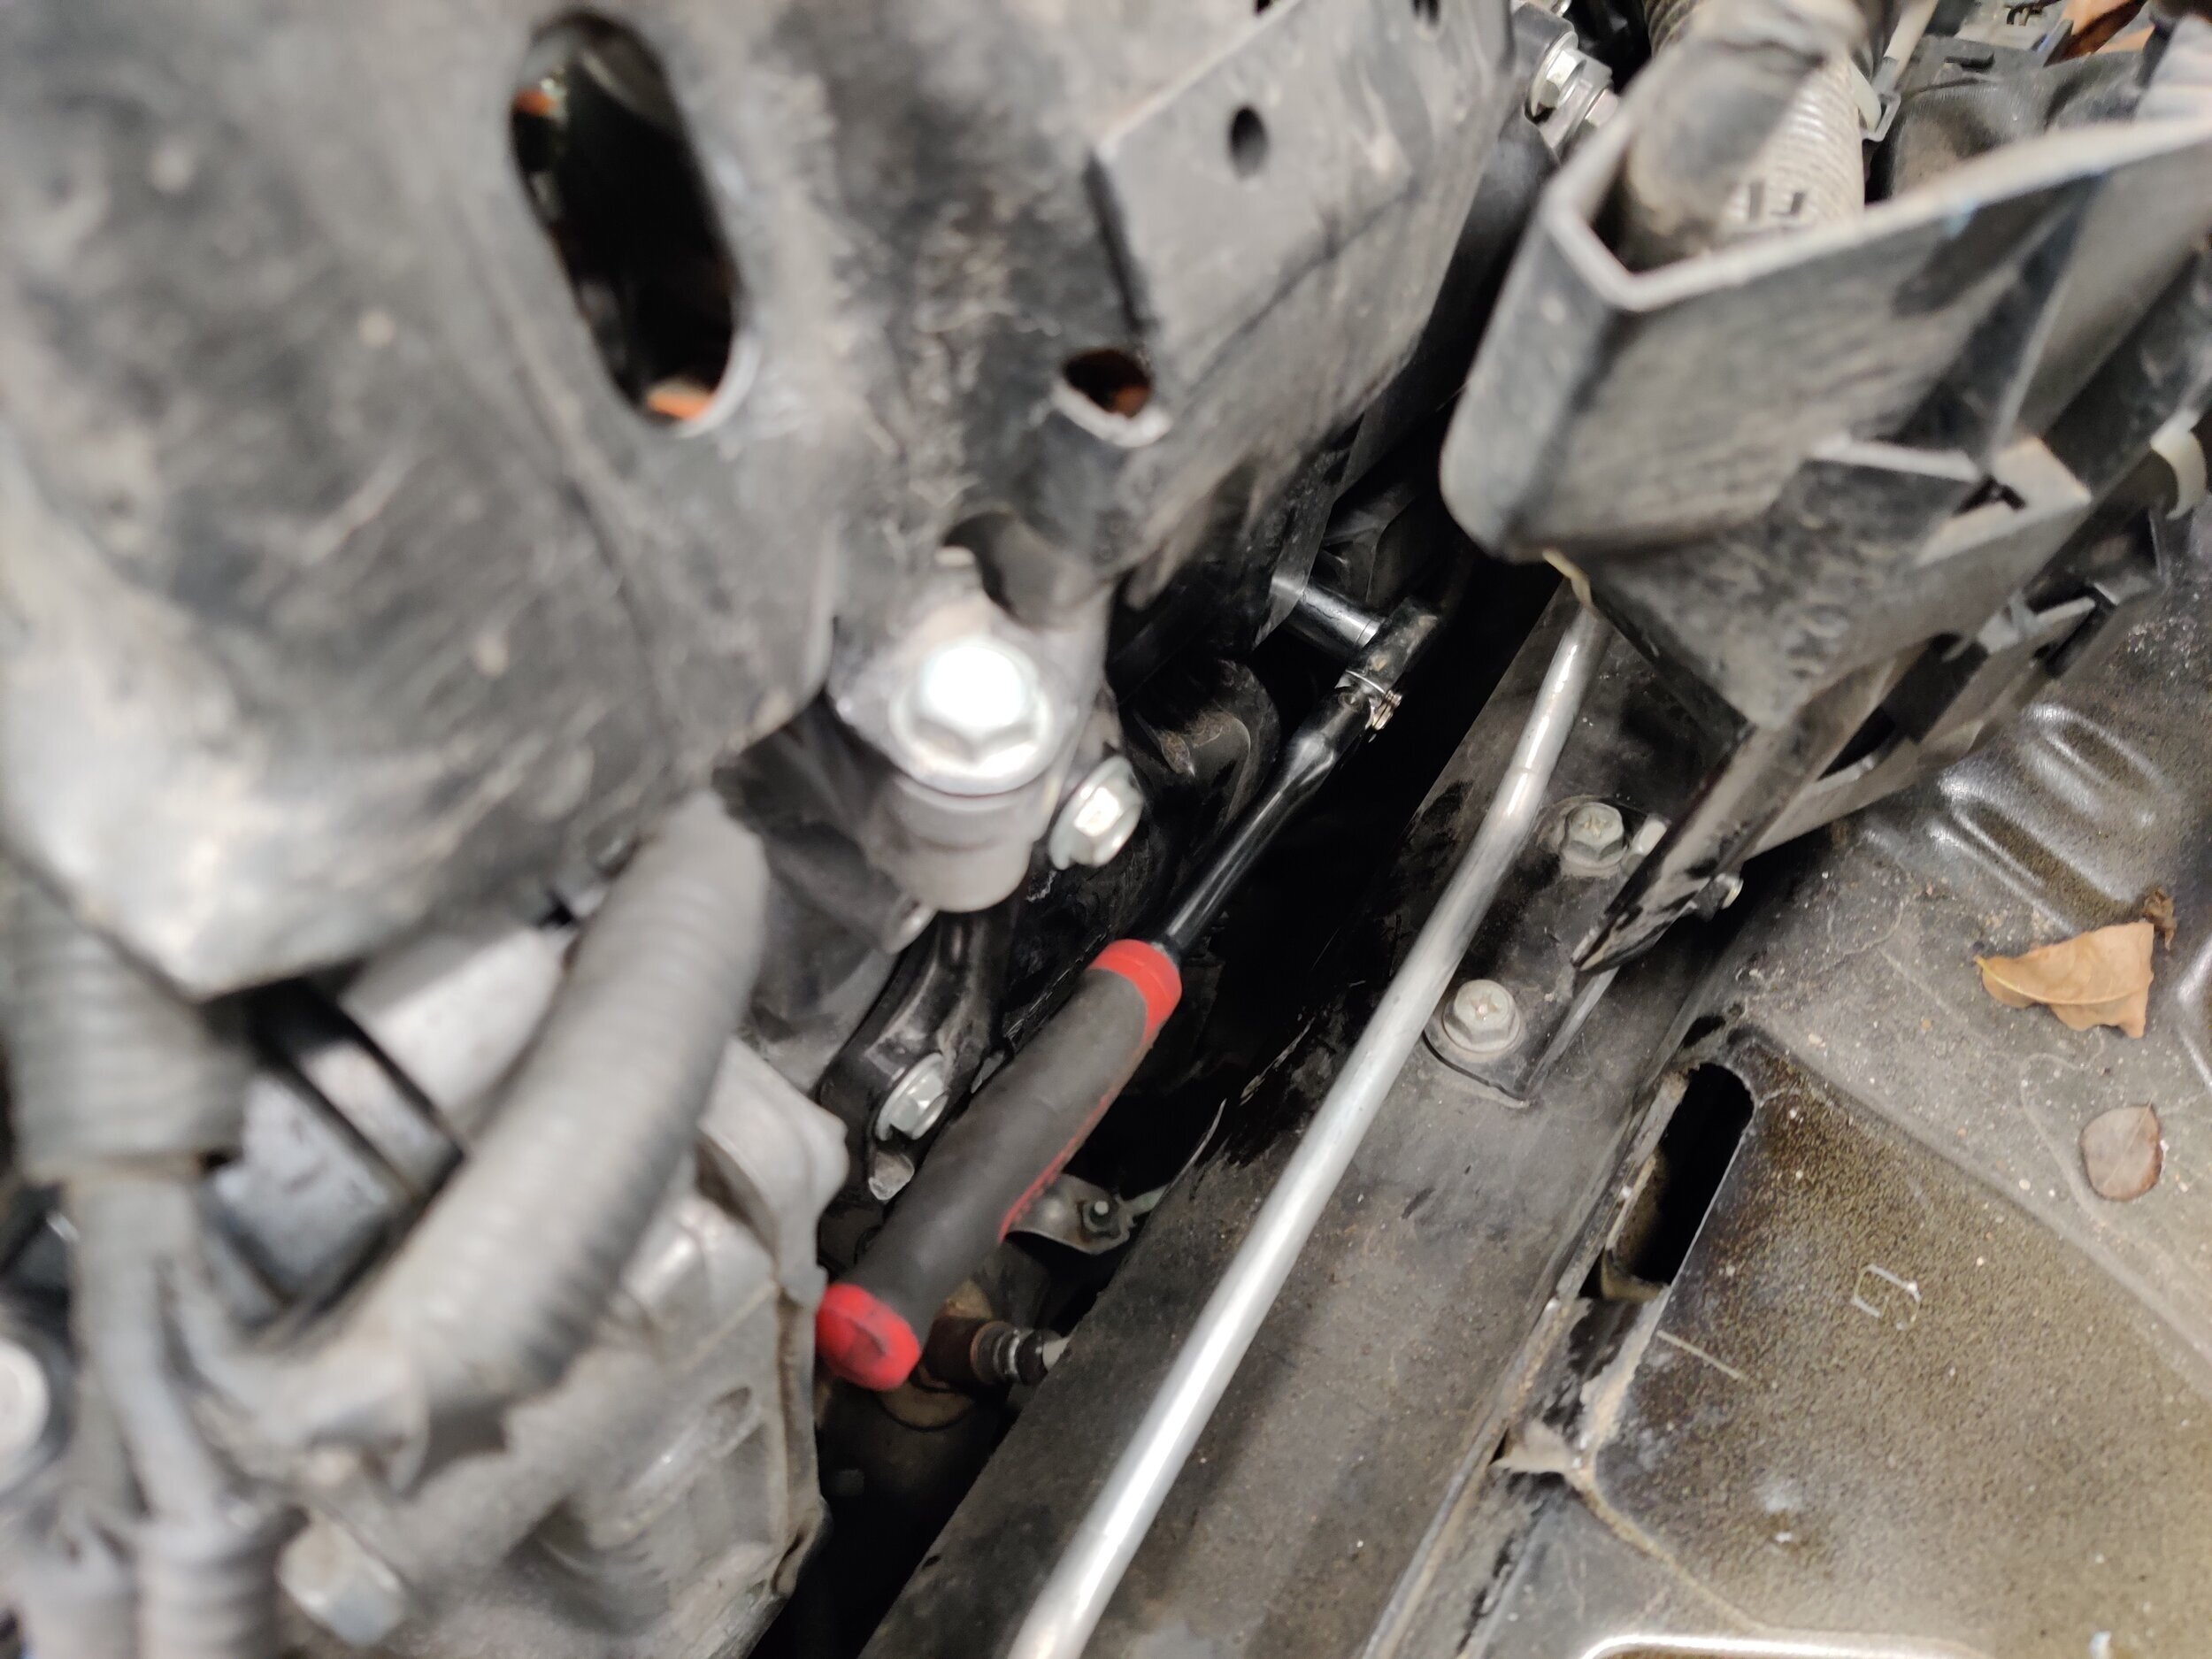
Heading in to remove another spark plug, you will see the A/c line is a bit in the way.
Take the coil packs and install them snugly on the spark plugs, install your 10 mm bolts and you are done with another side. You can now reinstall your battery and hold downs and start the car. Listening and watching for a smooth running engine. If you have any coil packs that ended up not seating on the spark plug, you will now know. You can also double check your wiring to make sure everything is still connected from moving them.

Old worn, new and shiny!
If everything is running normally you can now take a short test drive and make sure everything is how it should be.

Double check all your coils and hoses and you can start it back up then do a double check to make sure it is running smooth.
Congratulations! One step of your 60k mile service is completed, now you can move on to the rear differential, the Pcv valve, engine/cabin air filters, brake fluid exchange or the front differential fluid exchange.
Related topics
Subaru Pcv replacement FB20/25 engines
Subaru Rear Differential service
Amazon Tool links
Ares 14mm thin wall magnetic spark plug socket
Amazon Part links
Subaru part number 22401AA781 for 2011-2017 Forester 2.5 non turbo
2012-2016 Impreza 2.0 non turbo
2013-2017 Legacy and Outback 2.5 non turbo
2013-2016 Crosstrek 2.0 non turbo
Subaru part number 22401AA880 For 2017 and up Imprezas and Crosstreks.