Subaru CVT front differential service! Keeping the gears turning.
All wheel drive and Subaru go together like peas and carrots. When you have one you most likely have the other, unless you own a Subaru Brz…. or a early 90s Subaru. With your awd comes three differentials, one lays up front, one in the center within the transmission and the rear differential resides with the back of the car.
Plenty of Subaru Cvts out there as they search for ways to make better Mpgs.
They generally work without much intervention but when you hit a 60k interval it is time for some attention. When you change a manual transmission Subaru’s differential you actually change one fluid that lubricates both. A Cvt Subaru is a different story, while the differential uses gear oil the transmission uses Cvt transmission fluid. They are housed separately and you need to make sure you are draining and filling the right points, otherwise.. You’re going to have a bad time.
Time Frame
For today’s fluid replacement we are looking at around 30 minutes to an hour determined by your skill and tools available.
Tools
As with most projects hand tools are a big necessity and we will start off with a 1/2” and 3/8’ ratchets. A long ratchet will be very helpful due to drain/fill plugs being very tight, the extra leverage can help break them free much easier.
Along with your ratchets you will need a few sockets one being your Torx T-70 to drain your diff fluid and a 8mm Allen/Hex to fill/check the fill level of the diff.
My gearwrench ratchet with the extended handle makes breaking the 8mms loose all day. Gearwrench 3/8” ratchet

These are your two sockets that you need! 8mm allen and a T70 Torx! Otc T70 Torx Neiko allen socket set

A good 1/2” long ratchet or breakover bar will be a great help to breaking the drain plug free. Gearwrench 1/2’ ratchet

If you need a way to get fluid into the diff, this will get it it done. Used this on my Impreza diff, worked just as advertised. Plews fluid quart pump!
Along with your ratchets you will need a few sockets one being your Torx T-70 to drain your diff fluid and a 8mm Allen/Hex to fill/check the fill level of the diff.
Last piece to the tool puzzle will be a pump or bottle that can fill it. I have had good luck with my Lubri hand pump.
Parts
The parts for our fluid replacement will be a few new gaskets for the removed plugs.
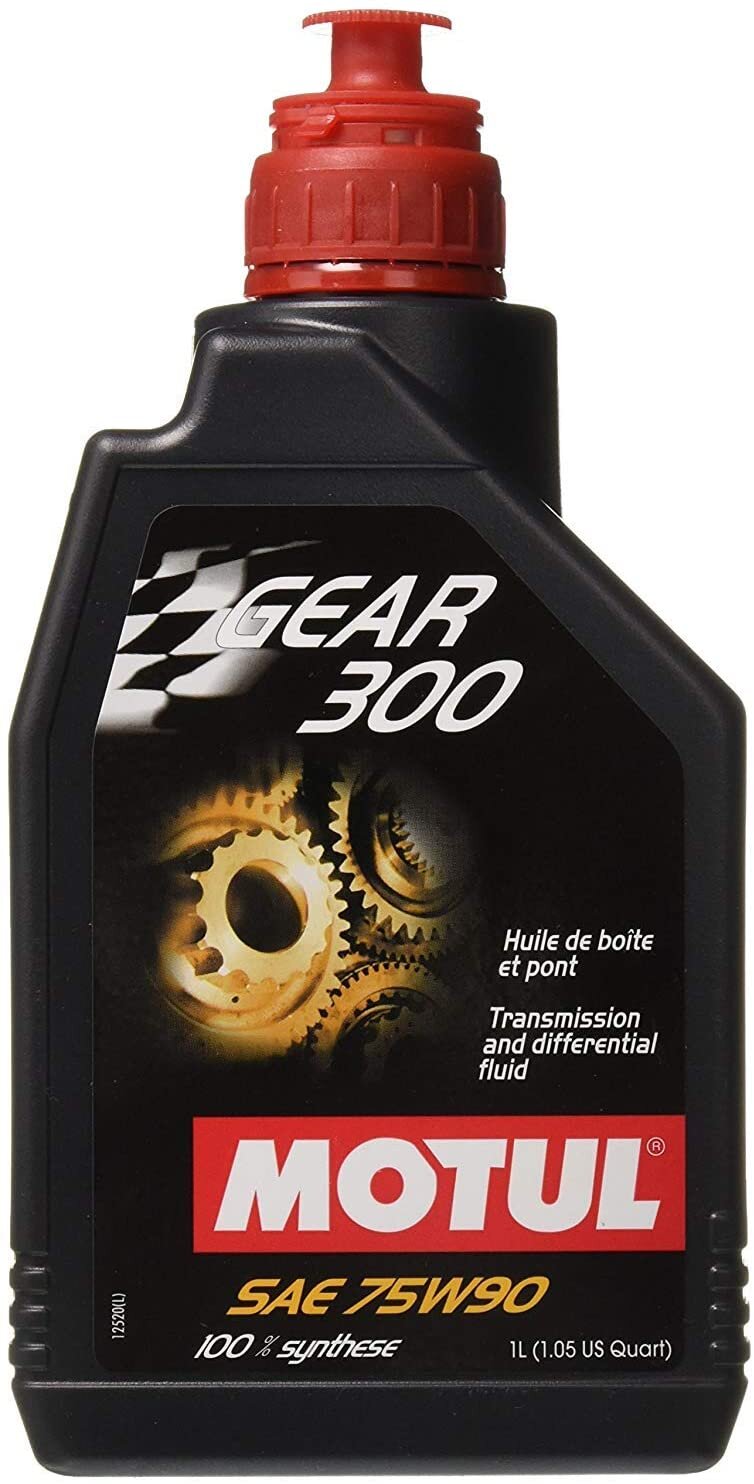
Differential fluid will be the standard Subaru stuff, 75-90w. If you are looking for a bit fancier fluid there are many out there, I have used Motul Gear 300 75-90 diff fluid with good luck.

How To
To begin we will find a nice flat and level work space. Next we can open the hood to help gain a bit more lighting under the car. Now we will lift the vehicle off the ground and support it properly. If you need help with jacking up your Subaru, follow this link!

Up and away. Make sure it is stable and sturdy before starting your work.
Once the car is in the air you will need to locate your passenger side fill plug (8mm)/. As with any fluid drain and fill you need to make sure that you can remove the fill plug, if you can’t open the fill plug you will definitely have a bad day when you have removed all the fluid and cannot refill it.
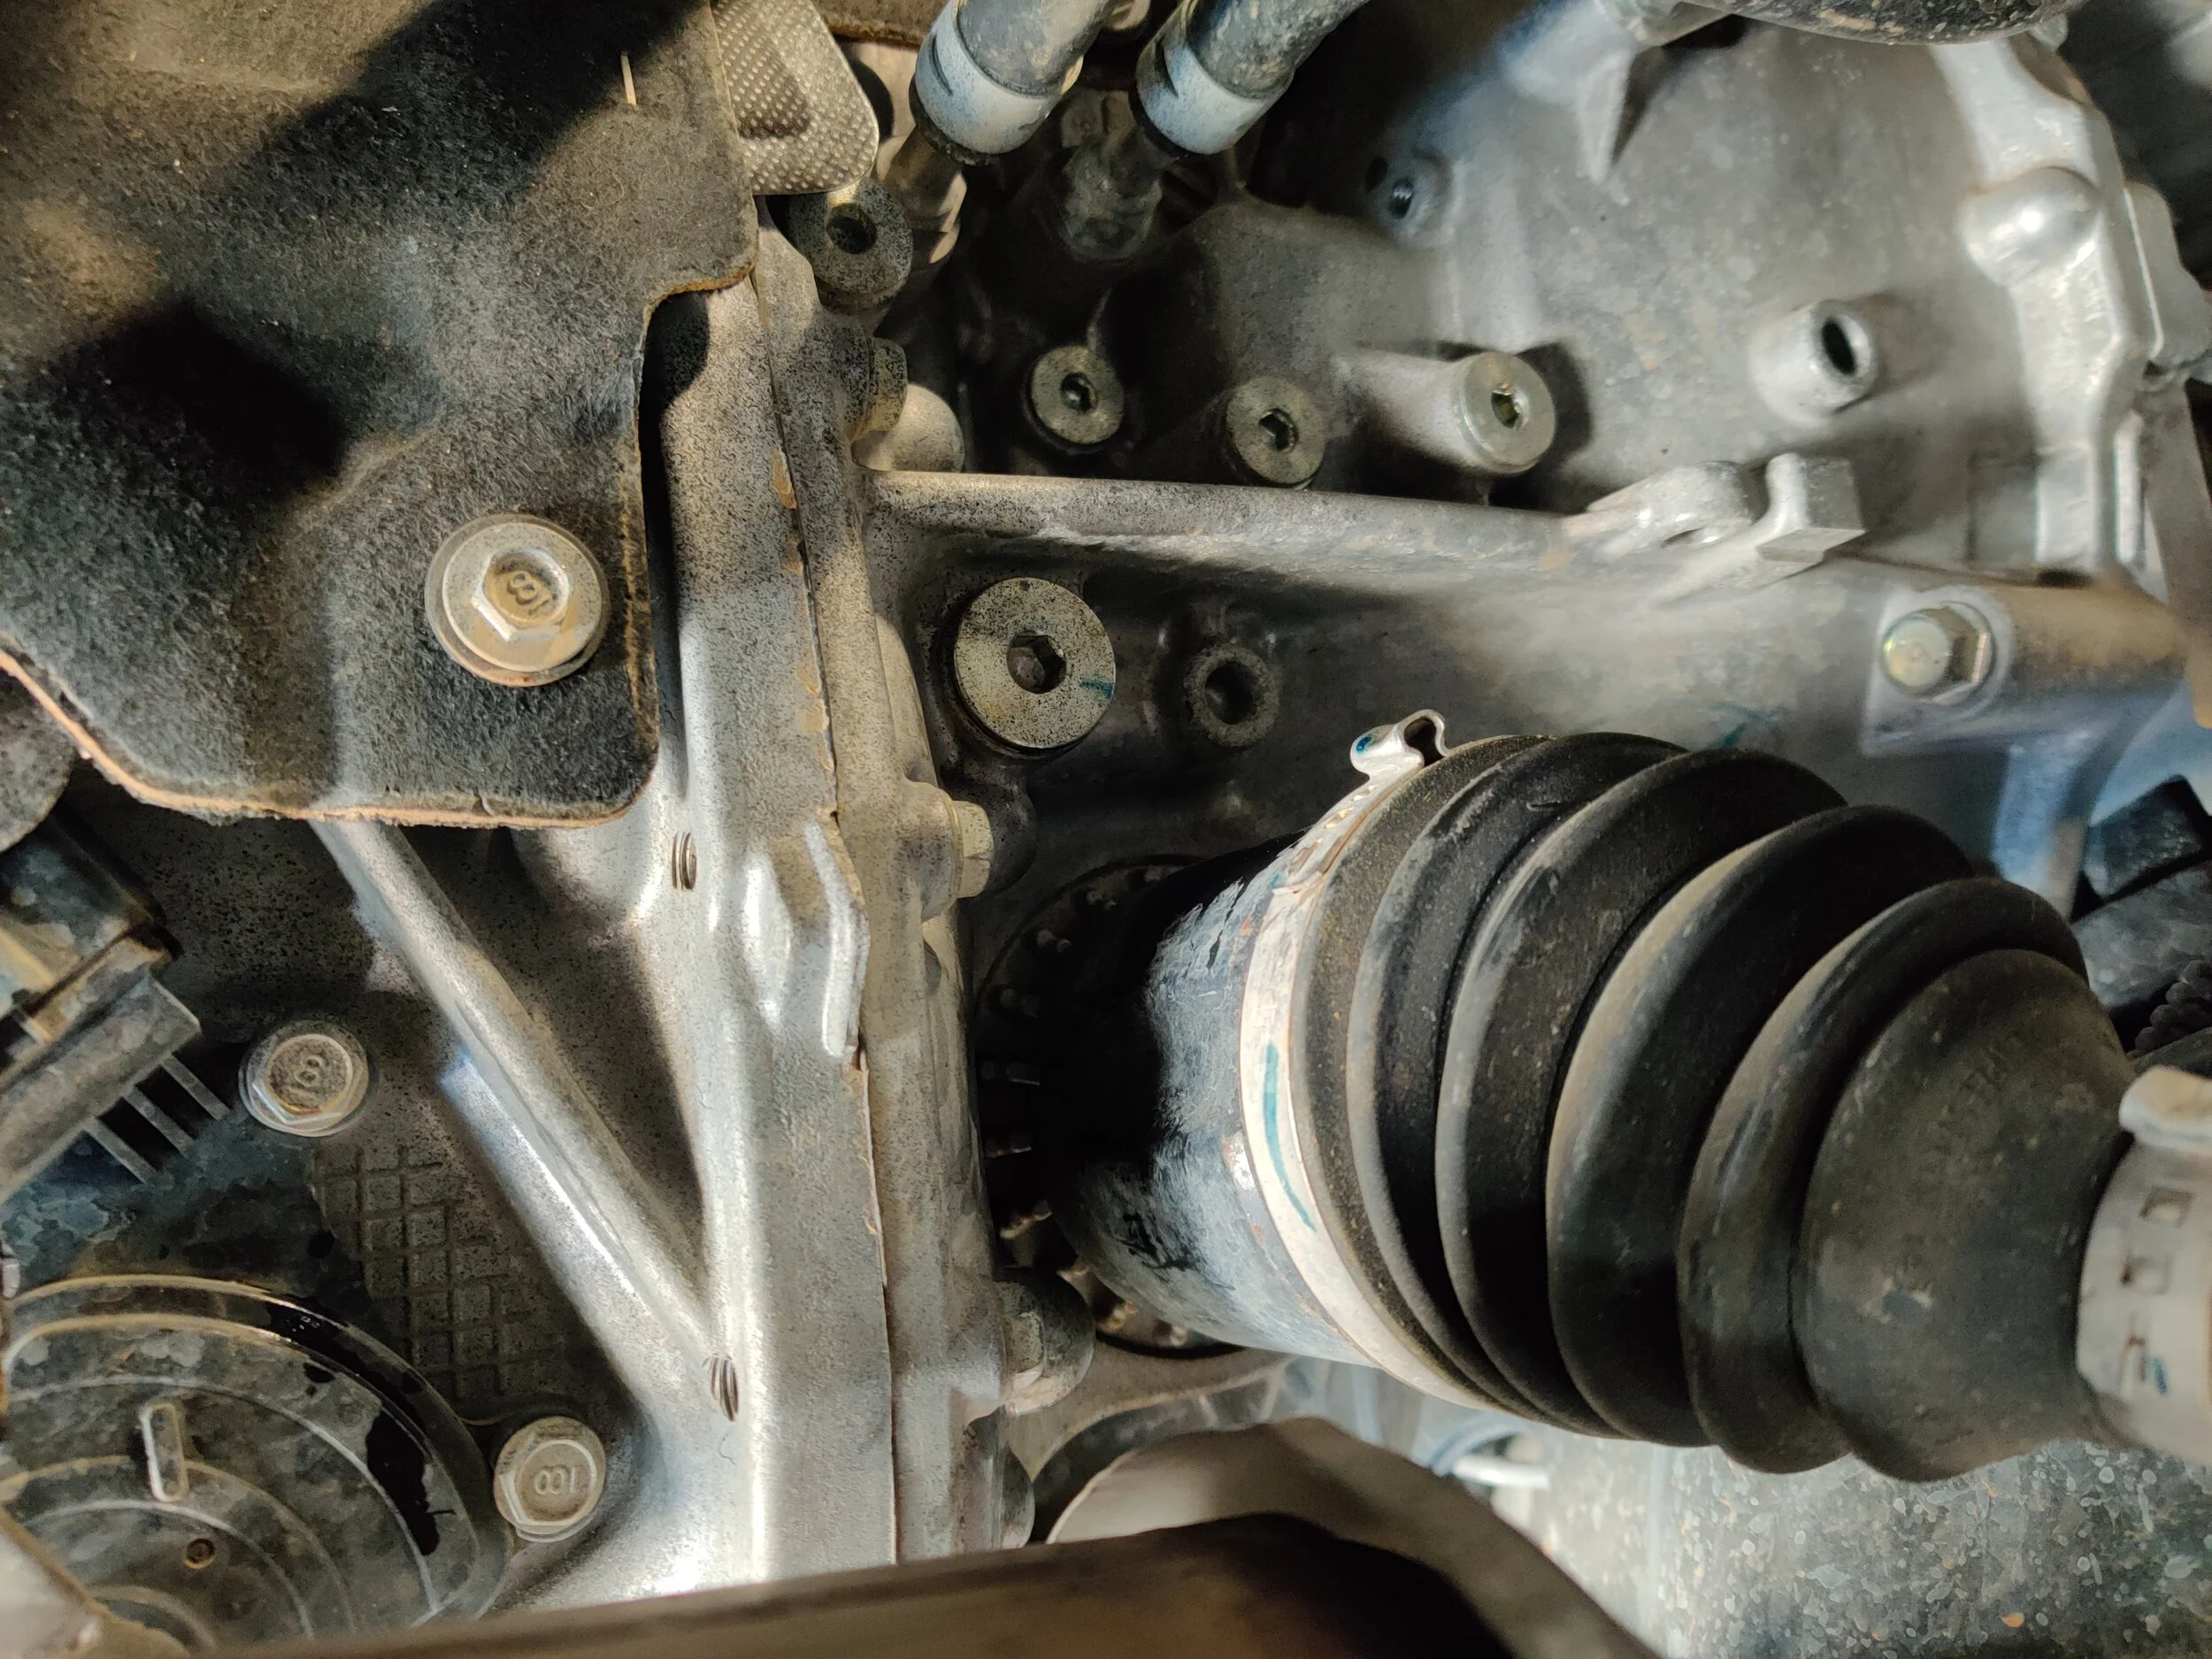
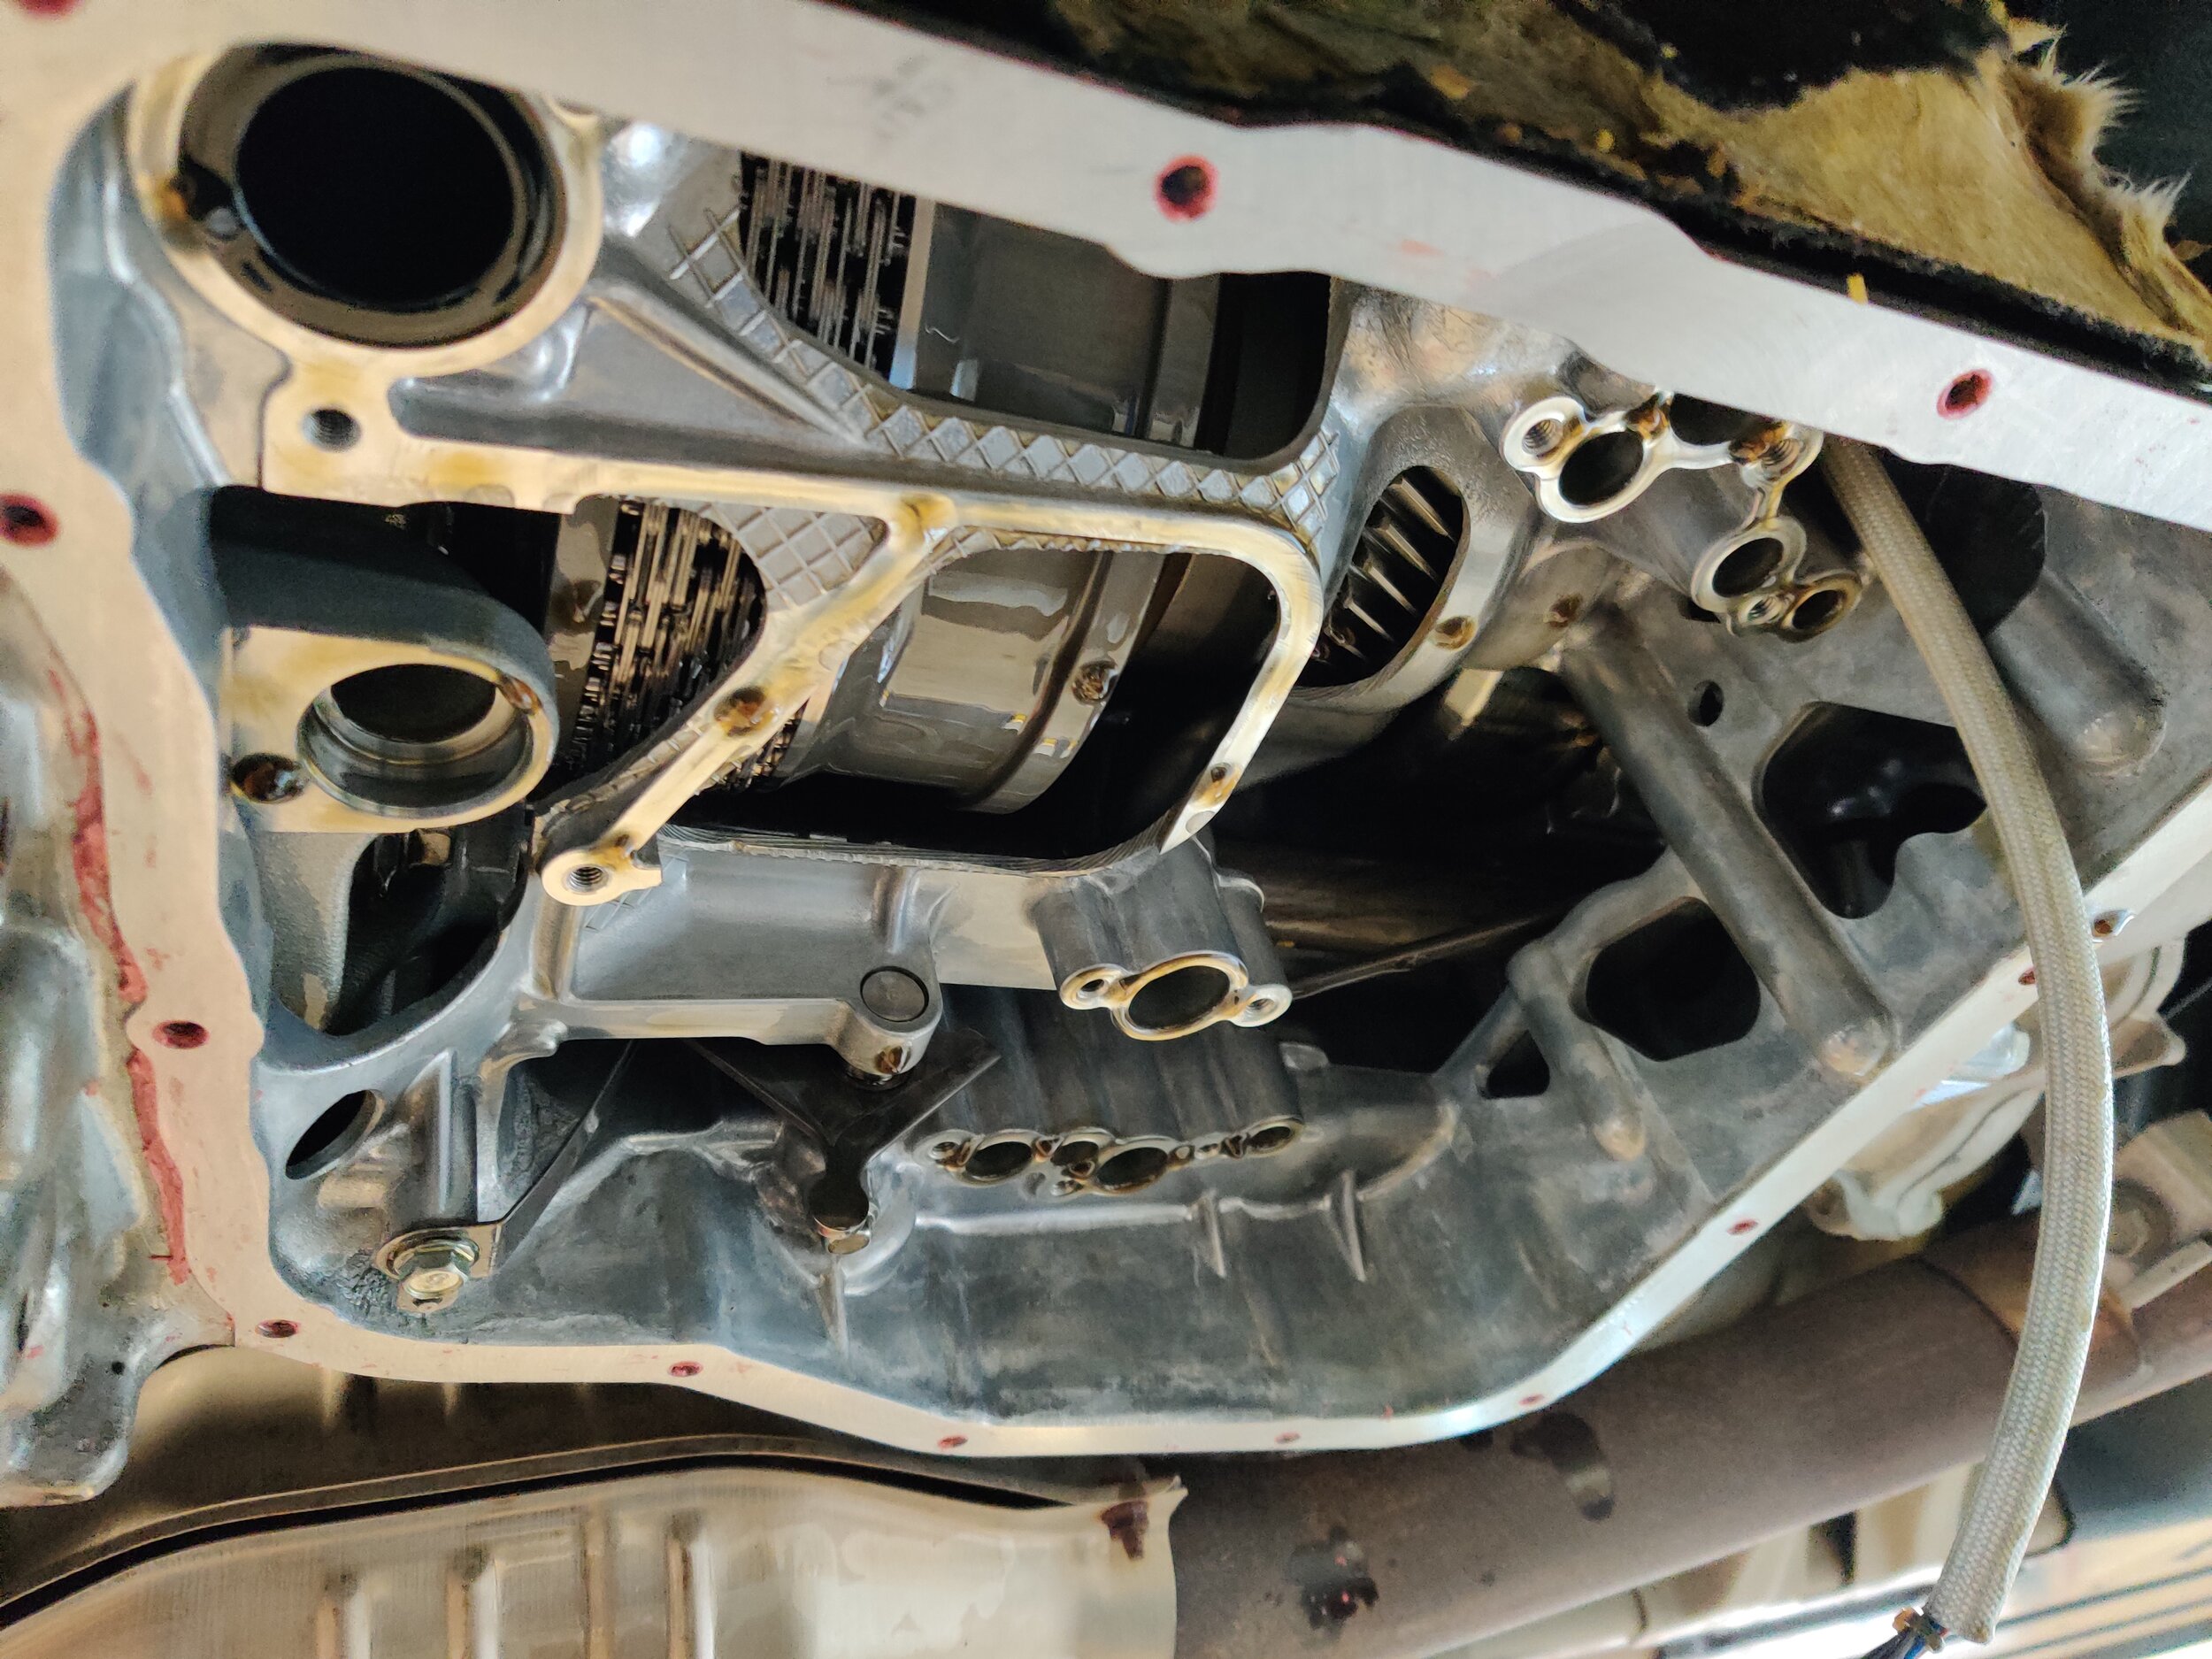
On the passenger side of the differential you will find the fill plug above and behind the cv axle. It the large shiny one that is protruding out, underneath the webbing. Scroll down to see the fill picture if you aren't sure.

Fill plug removed and now you know you can refill it and start draining.
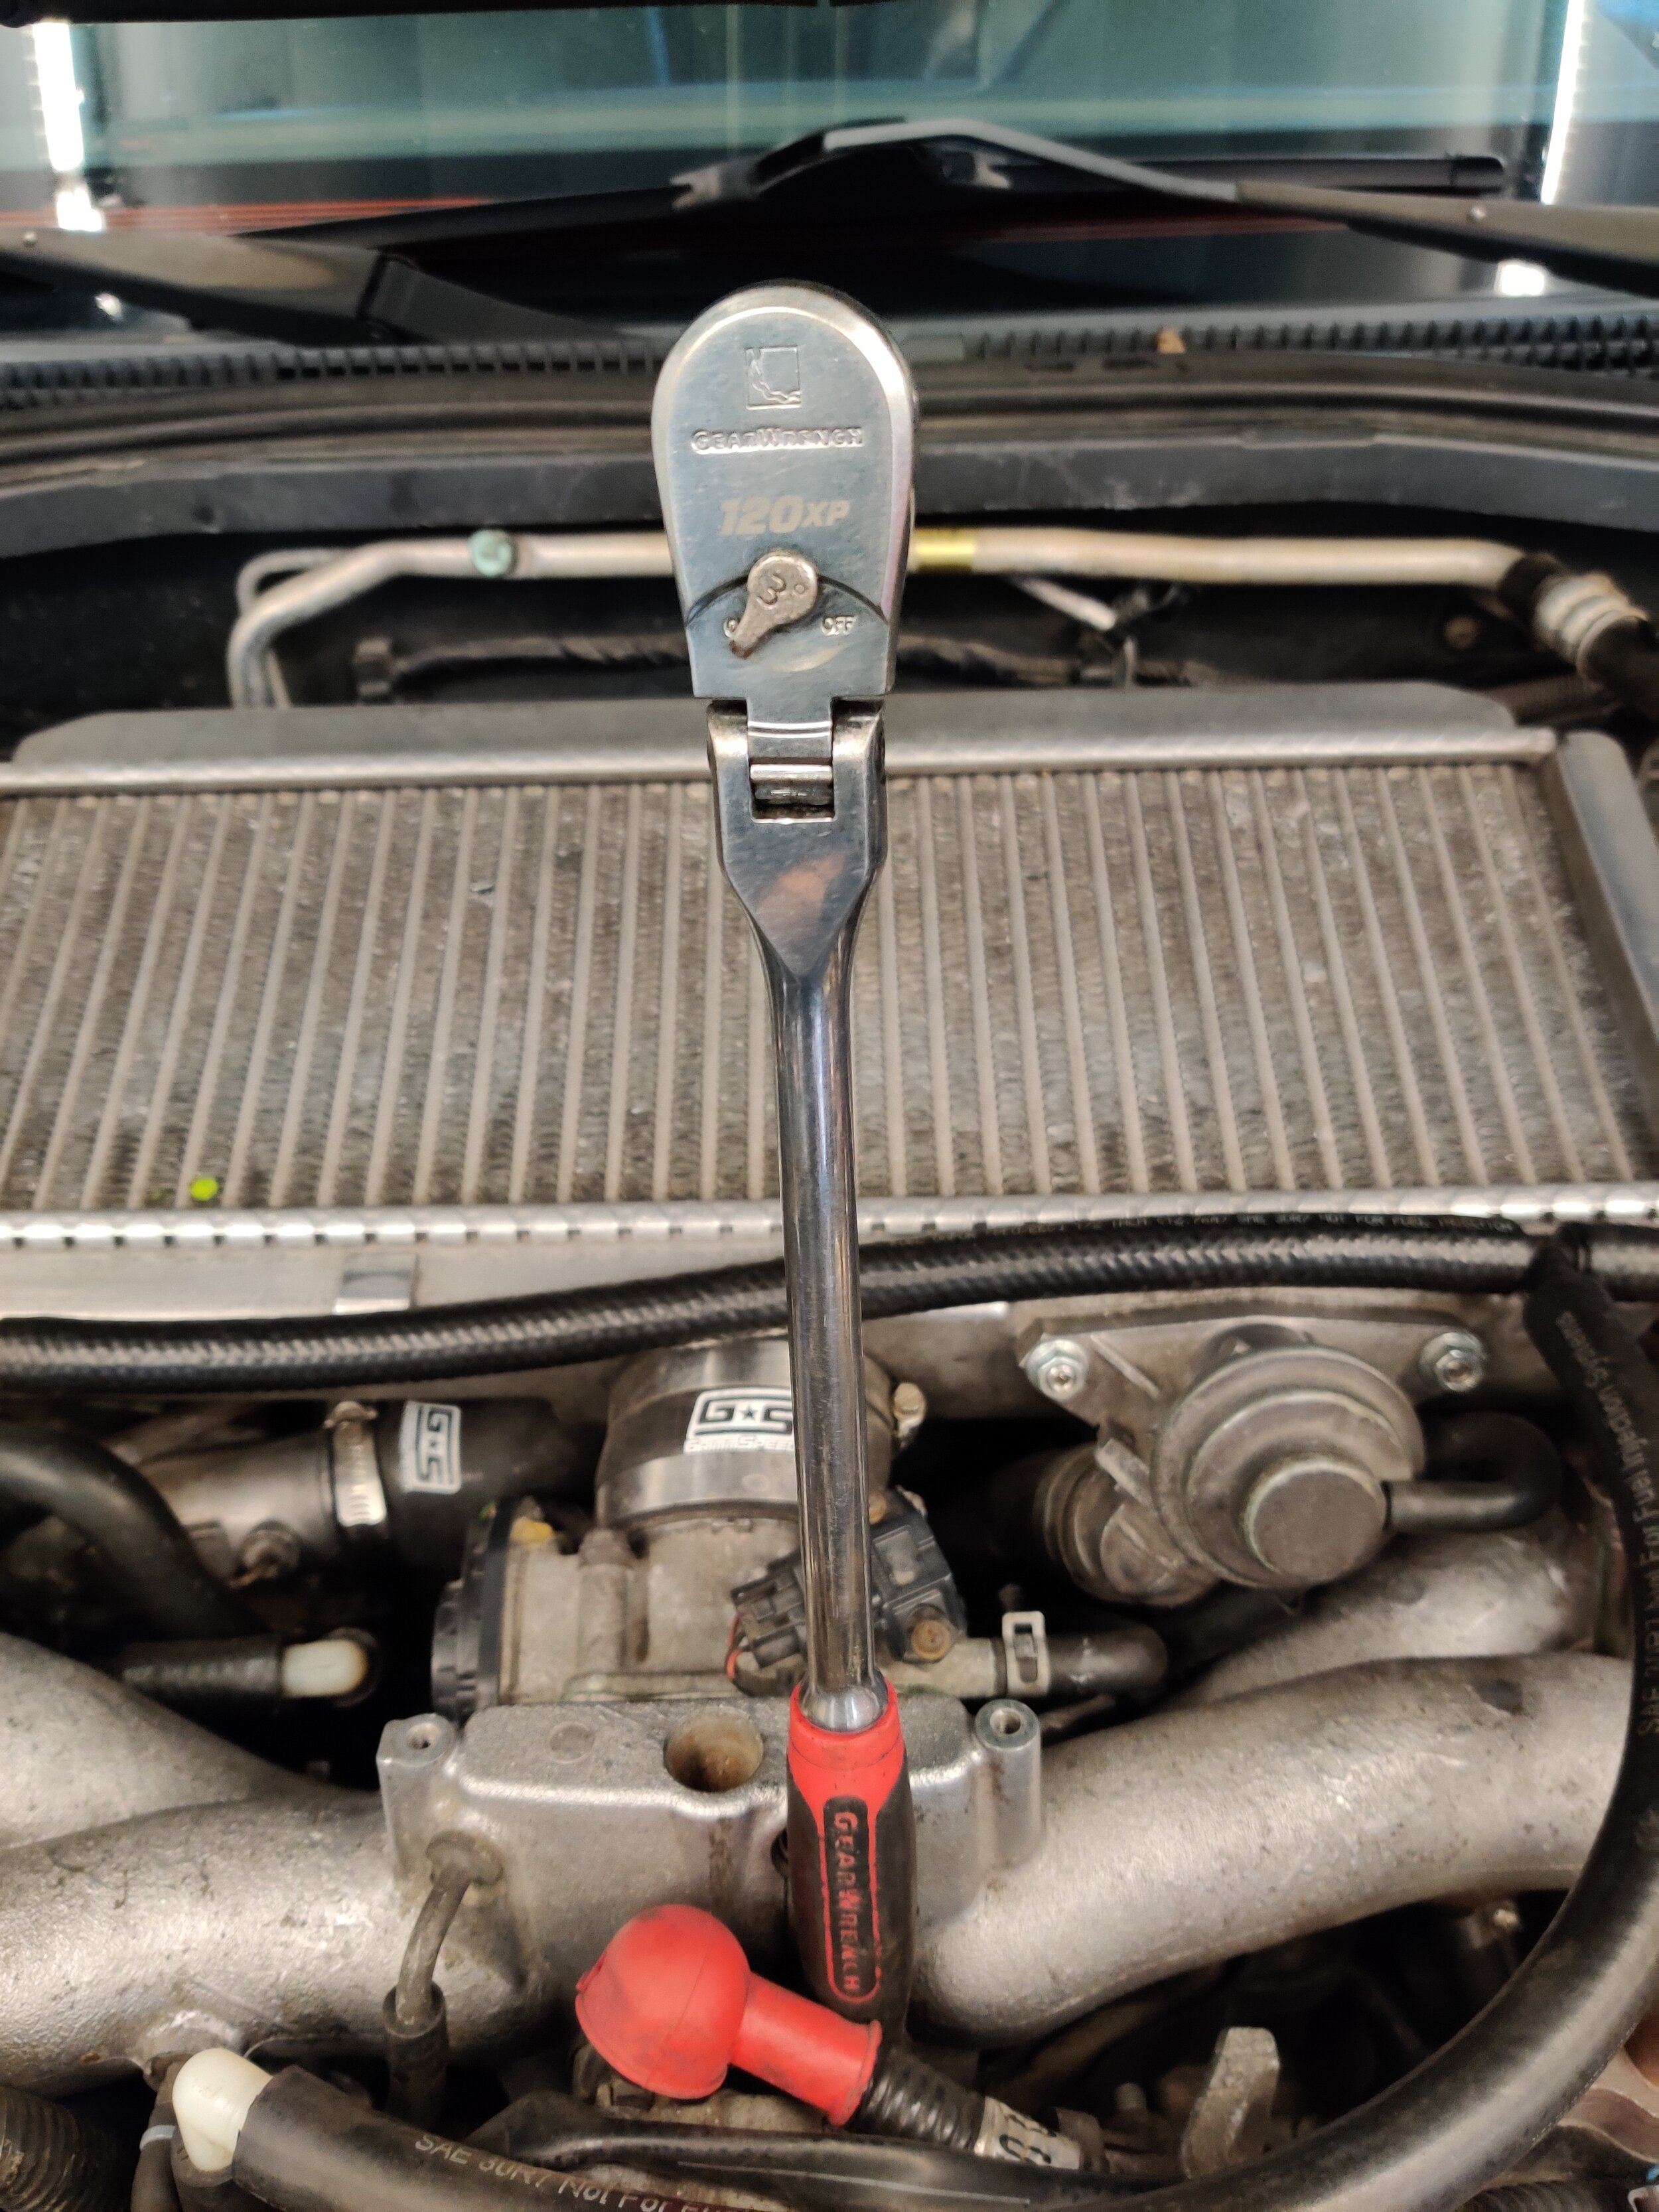
These are notoriously tight from the factory, make sure you socket is fully seated and you have a good long ratchet to help you break it free. Also being careful of the exhaust if the car has recently been driven.

Cramped quarters for your ratchet, if you don’t prefer this method you can use extension to move it outside of the exhaust. Be careful of the exhaust.
Now we will head down under the differential to find the lower drain plug(Torx) and top off plug(8mm) Be ready for fluid to find it’s way out from both lower plugs, obviously the drain plug will spill the contents of the differential. The top off plug will usually have a splash of fluid in it too, you have been warned!
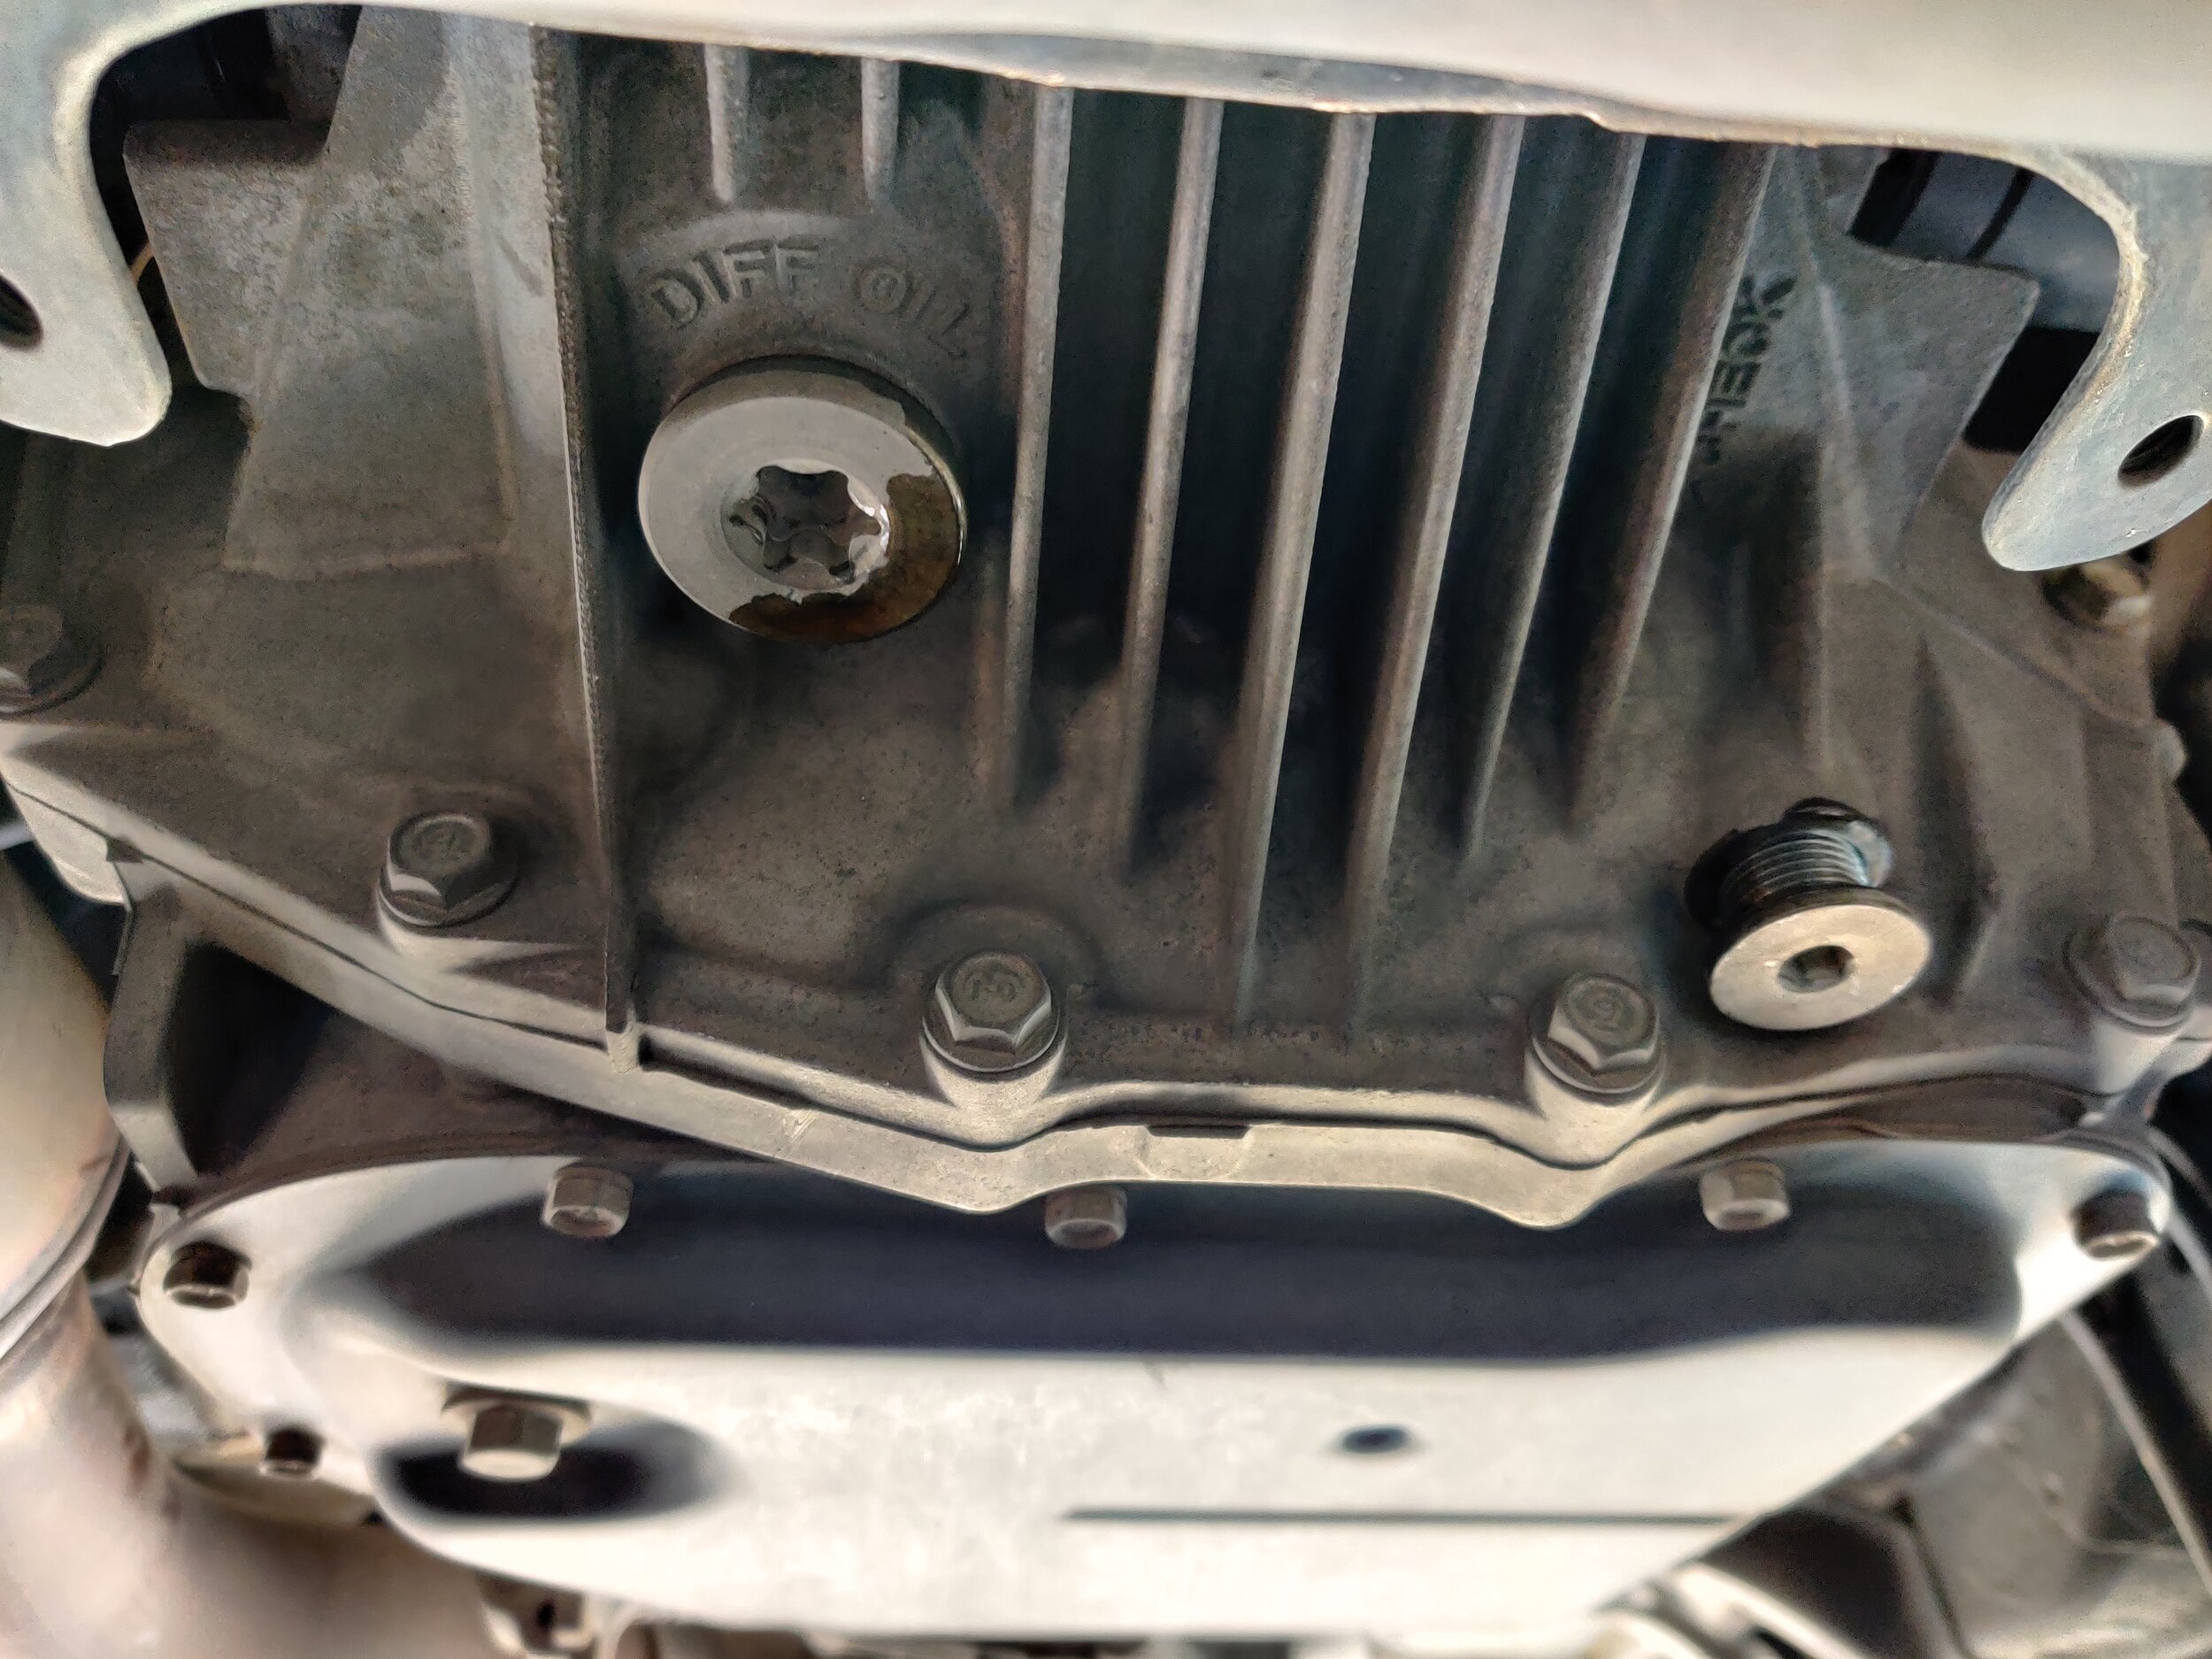
On the left it is labeled diff oil and it is your drain plug. To the right you will top off fill plug.
With all the fluid making it’s way out you can place a new washer on your drain plug and reinstall it. Unless you’d like to pour out all of your fluid.

Next up on the to-do list we will find our preferred fluid fill and pump to fill it with. My at home answer is the Lubri pump but today I will be using the shop’s pump. Leaving the your top off fill out you can begin to pump in your fluid. Sometimes you will have too much fluid going into the fill plug and see it coming out, don’t worry as this is common if you are filling it quickly.

Now is the time to fill! Using the dedicated pump and fill hose, but anything that gets fluid into the diff will work fine!

Once the fluid starts to dribble out of the top off flow you can stop adding fluid and pop the plug back on.
Keeping your eye on the top off hole we will watch for fluid to start exiting from it. Once it starts dripping out of the hole you can put your plug back into it. You can clean up the diff where fluid may have came out and now replace the fill plug and tighten it down.
Congratulations! You’re ready for another 30k miles before sliding under the car to do this all over again. If you are looking for more 30k/60k interval maintenance they are found right below!