5 speed clutch replacement for your turbo Subaru.
Whether it is time or a large torque increase, your clutch’s life is finite. Sooner or later it will come to an end and it will be time for a replacement. Will you take it to your local shop and let them install it or decide to take it on for yourself? This is an advanced install, but like any car project you can break it down into smaller bites til you find yourself able to finish it.

Clutches just like brakes are a wear item and will need replacement at some time or another.
There are quite a few tools that are very necessary to this job, so make sure you have everything at your disposal before beginning, having to stop and put everything back together without completing the task is one of the worst feelings a car project can bestow upon you. Double checking your parts list is a must do.
My first clutch was completed on my garage floor with very little quality tools and basically no power tools. It wasn’t the fastest install nor the was it without problems but it was completed. Everyone starts somewhere and if you have any knowledgeable friends this is a good time to invite them over for free food to help you along. That being said, if anything feels unsafe or you fear damaging your car or self, stop and rethink your options. Now you can read along and figure out where you stand on this install.
Time Frame
Well this one is quite an undertaking, so putting aside a weekend might be a good idea if this is your first attempt. Otherwise with a vehicle lift you are looking three to four hours but if you are on jack stands you will want to add another two hours. The biggest time waster of this project is getting the transmission to come free of the engine and reseating it after the new clutch is installed. For new comers this can easily add another hour.
Tools
With so many pieces to remove this will be a large section and the proper tools will really speed up this process.

A few of the tools you will need for this job. Precision instruments torque wrench Gearwrench ratcheting wrenches

Always grey pneumatic! Socket set and wobble set will help complete this task Grey Pneumatic 3/8th socket set Grey pnuematic wobble socket set
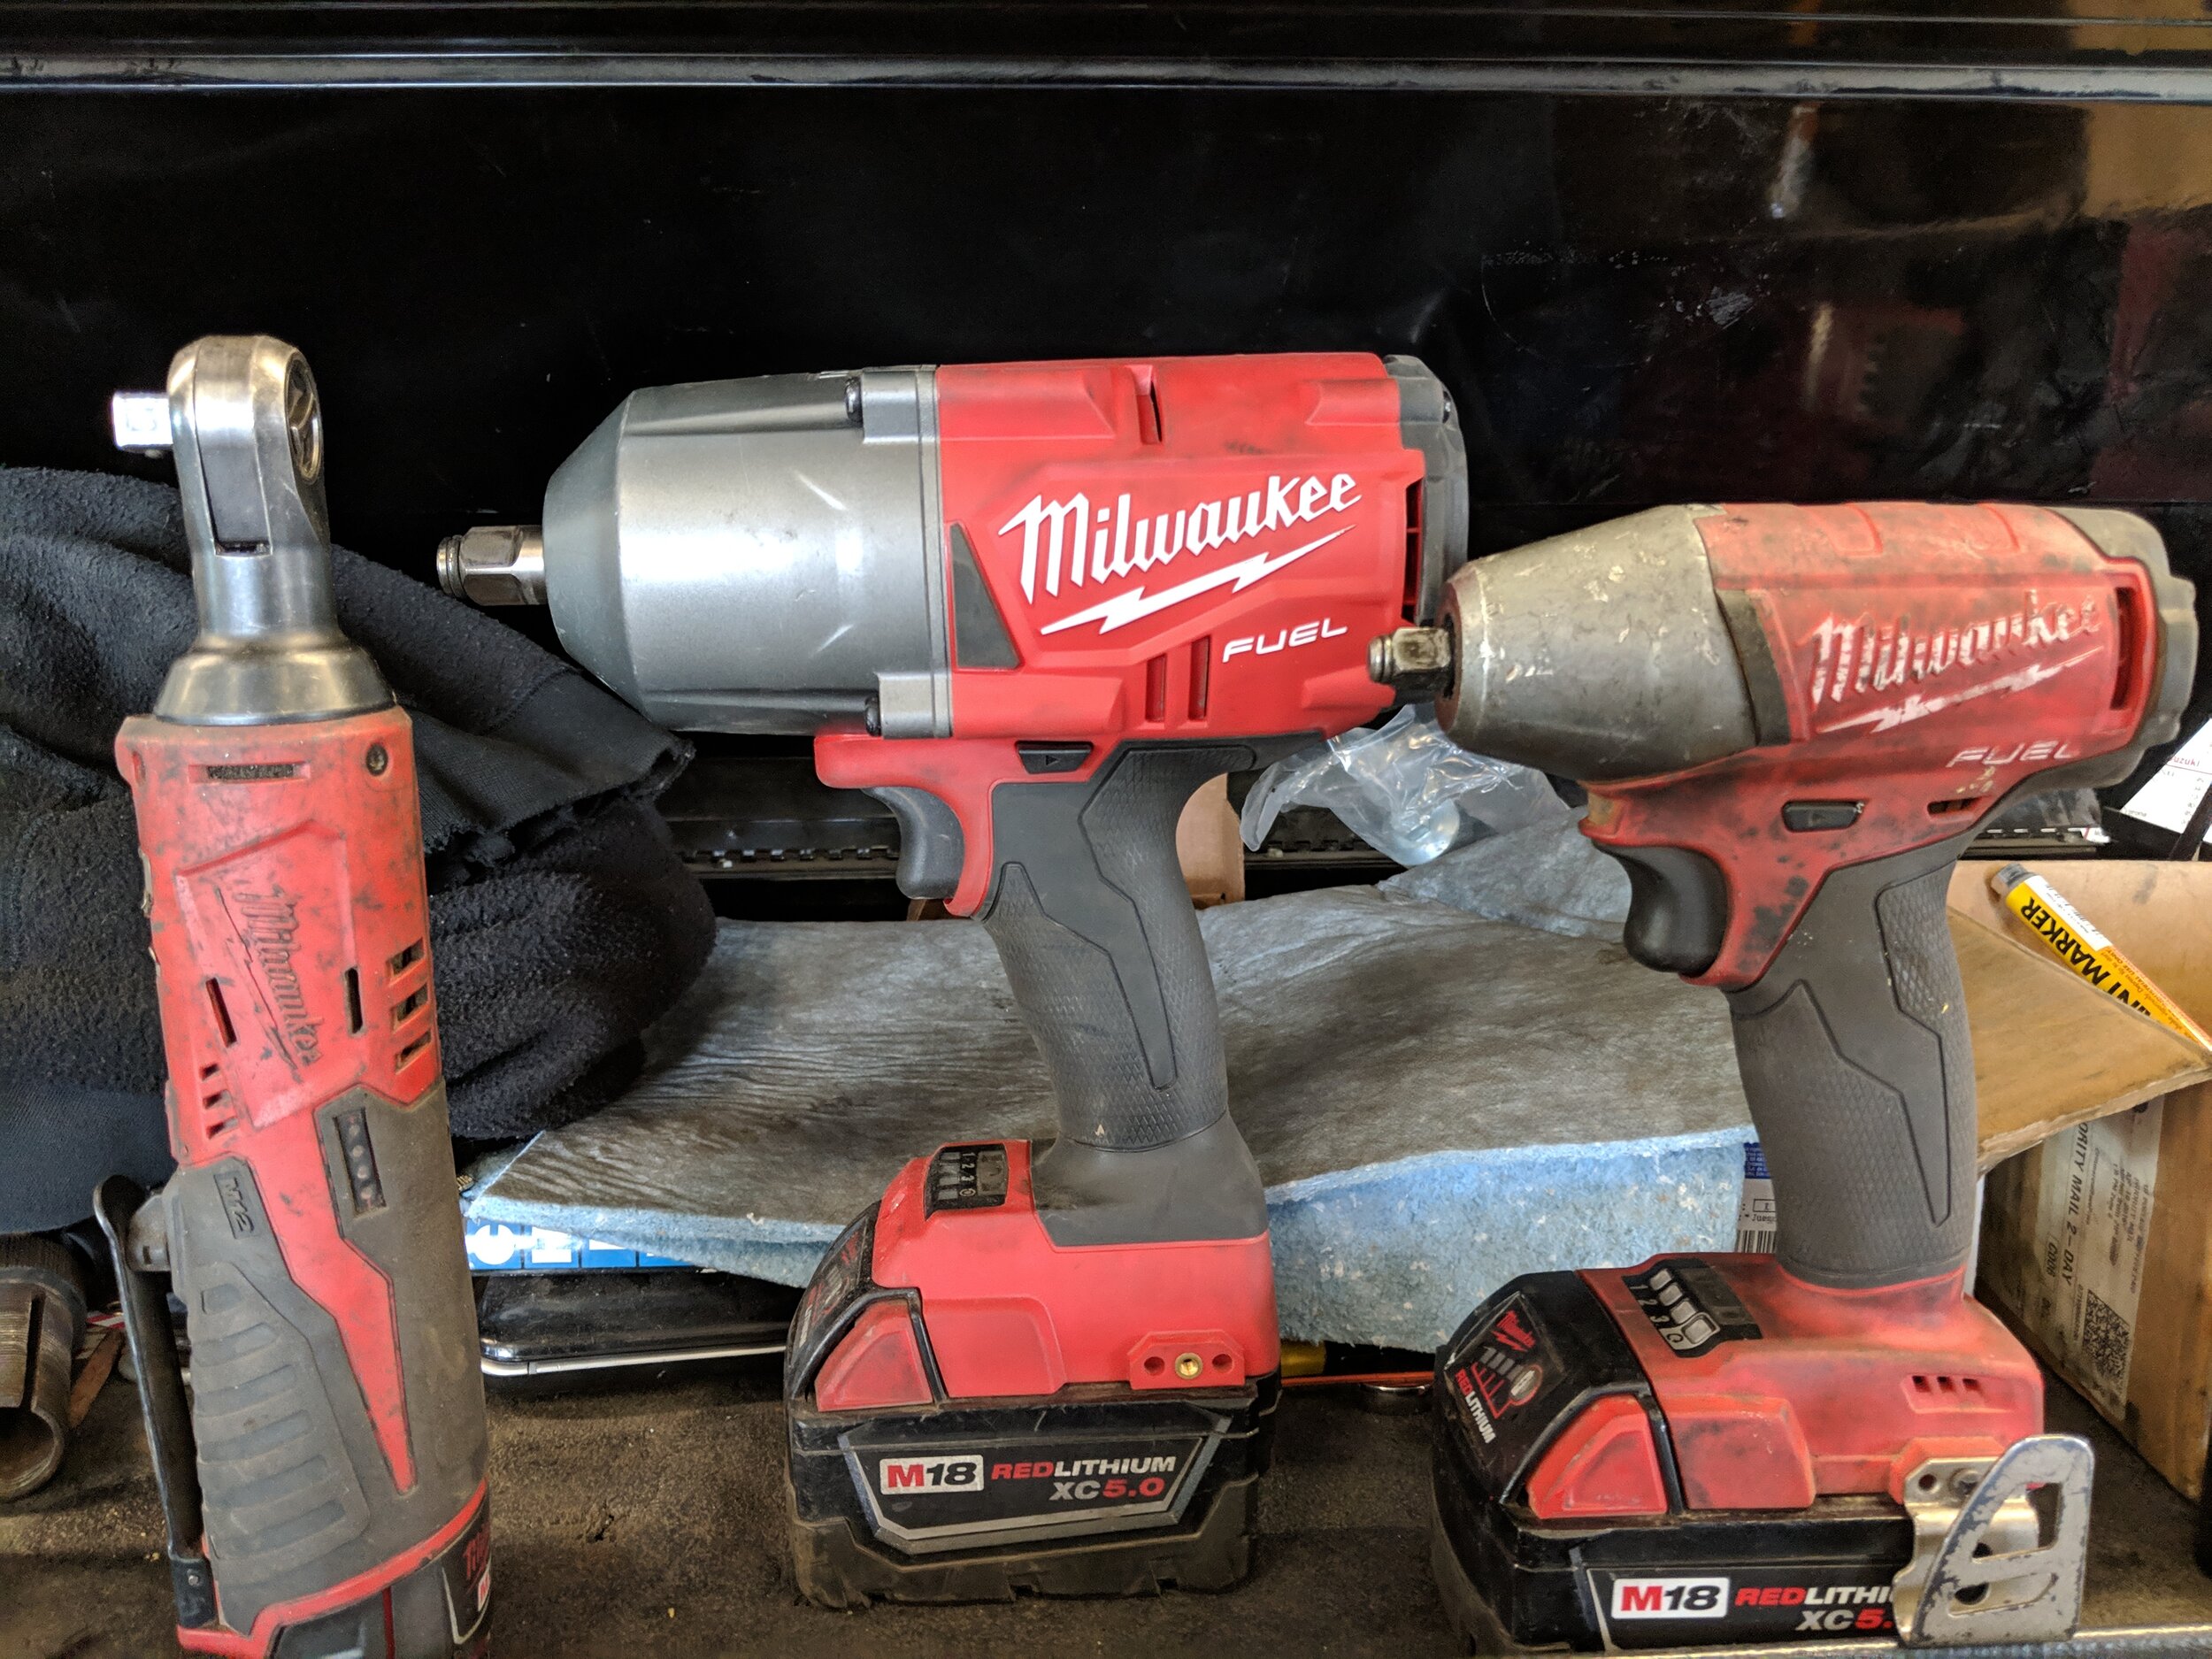
Save your arms and shoulders with any of these Milwaukee tools, also seed up the whole process! Milwaukee 3/8ths electric ratchet Milwaukee 3/8ths impact gun Milwaukee 1/2” electric impact


Parts
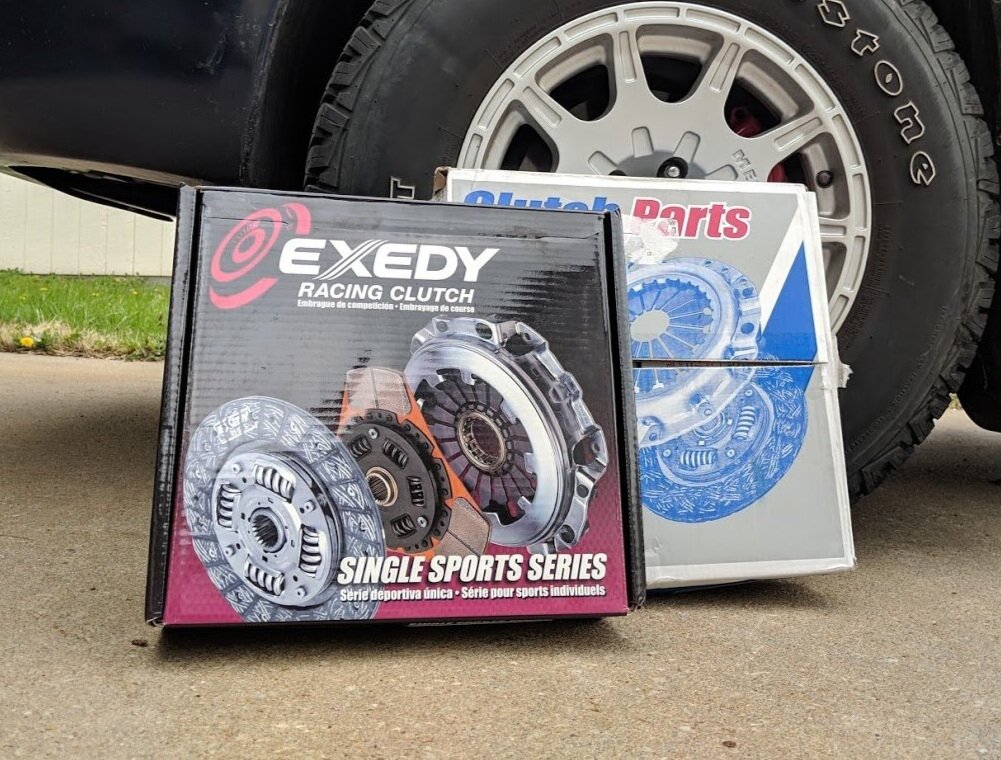
You have many choices here but I will list parts I have had experience with and the oem choices.

If you are looking to keep it oem these could be your parts! Subaru clutch cover Subaru clutch disc Subaru flywheel


Clutch fork issues? Replacement right here! Clutch fork!
Looking for a bit of an upgrade, search no longer!

Install!
Begin by finding a nice flat area of pavement to work with. You can lift the car now if you would like, but I will usually remove as many under hood items as I can before taking it skyward. Now would be a great time to chock the wheels as a safety precaution.
With the hood release pulled let’s open it up and get started! First off disconnecting the battery since we will be working with the starter and we don’t want any accidental welding during starter removal.

With critical electrical connections being undone, let’s take a minute to undo the battery terminal and keep your car and yourself safe.
Next we will travel to where it feels like so many turbo Subaru projects start with.. Removing the intercooler! For this vehicle we will start with the driver’s side intercooler mount and the bpv will be next. Then you can move to the turbo to intercooler mount and remove those two bolts. Last but not least undo the intercooler from the hose that connects it to the throttle body.

For our Wrx we have the bolt in turbo outlet, undo these two bolts.

You can undo the hoses or the bolts. This will release your bpv or bov from engine.

Removing the bracket along with the intercooler is easy, just these two bolts and you are good to go.
Now that the intercooler is out of the way we can remove the dogbone. Two bolts hold it in place and you can set it aside with the intercooler. While you are in the vicinity you can also unplug the two electrical connectors below the dogbone and the single ground cable.

Two bolts hold the dog bone in, then it can be removed.
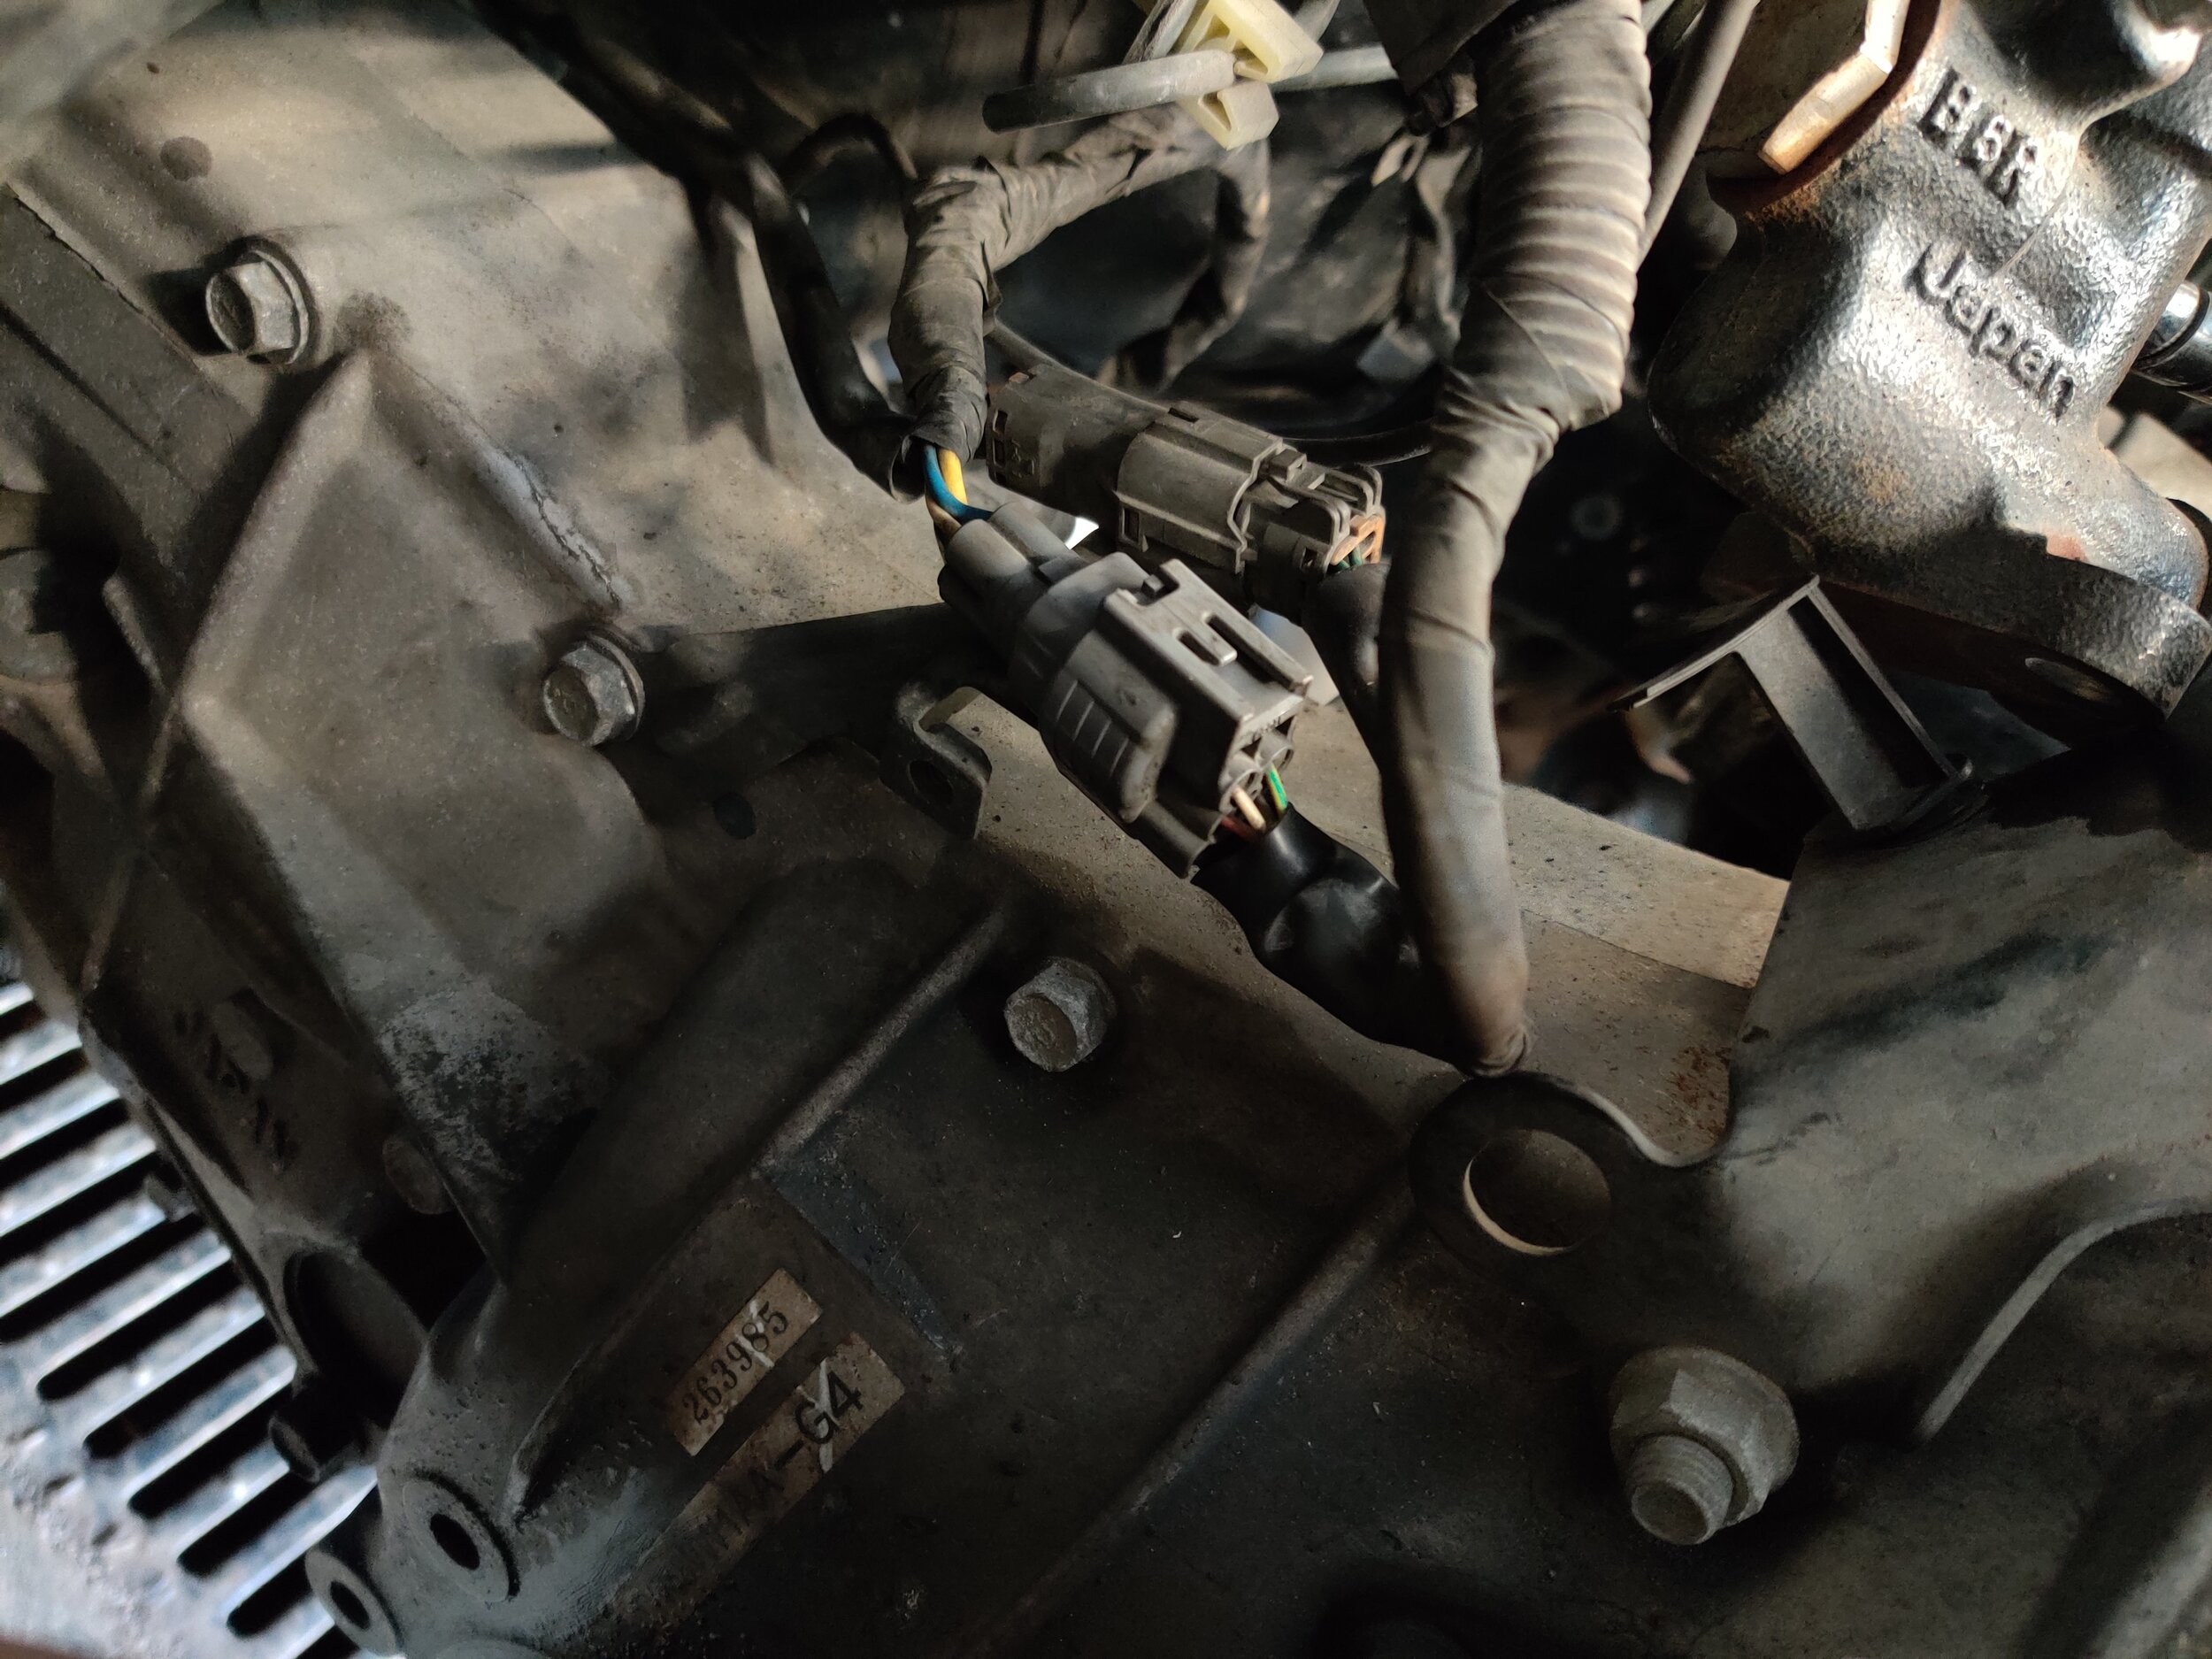
Unplug these two connections to decouple your electrical system from the trans.

Make sure to remove this transmission ground as well.
If you have recently ran the engine now is a good time to remove those turbo nuts and bolts. Take care of yourself and wear the proper attire when removing the hot turbo parts. If you still have a heat shield now is the time to remove it, then on to the two bolts that reside on the turbo. There are three nuts that sit on studs around the downpipe, you can easily reach two from up top, the last is hidden beneath the exhaust pipe and I usually reserve that for crawling under the car, but we will list those instructions here.

Remove your heat shield if it still exists.

Lower nuts are next, these are easier to remove with a downpipe vs the factory exhaust.

Then you are able to access the bolts below. Two bolts and nuts reside up top.
You can now move to the driver’s side of the car and undo the slave cylinder that actuates the clutch fork. It is held in with two 14mm bolts and you can set it up with the A/c lines or anywhere out of your way. While you are on this side the starter signal wire is a small black clip that slide on, remove it and the 12 mm covered nut that holds the power wire to the starter. You can now remove your upper and lower starter bolt that mounts it to the transmission and through to the engine, then remove the starter. The upper starter bolt is much longer, take note of this, you won’t want to put it in the wrong place and try and run it down.

Slave cylinder is only held in by two 14 mm bolts.

Starter signal wire is the clip in the cente rof the image, disconnect it.

Signal wire is removed and we are on to the power wire that is a 12mm nut.

With the mounting bolts removed and the wiring you can now remove the starter.
While you are top side I find it is a good time to remove the a few of the other transmission bolts. On passenger side of the dogbone there is another extra long bolt to remove and you can access the one that resides right under the side of the turbo. With those two removed we have completed the bulk of the top side bolts, now it is time to get underneath the car.

While you are up top you can remove these two upper transmission bolts from above. Note how close the turbo and bellhousing is…
This would be the time to take your car skyward with a jack and jack stands. You will want it high enough to be able to move the transmission around the car and to easily be able to access the rest of the parts you need to remove. If you have a step stool to work in the engine bay I would move it up as high as possible. This is also a good time to spray your dowel pins on the transmission, these are notorious for holding up your transmission and your clutch replacement.

Photo is a little ahead of where you will be but you can see the rusty dowel pin.
Once you have your car off the ground we will turn our attention to the wheels and cv axles. Removing the wheels you will now remove the lower ball joint and cv axle nut. With these out of the way you can easily pull the knuckles out and remove the axle from the knuckle, then you can pop it out of the transmission. You can set your axles out of the way now.
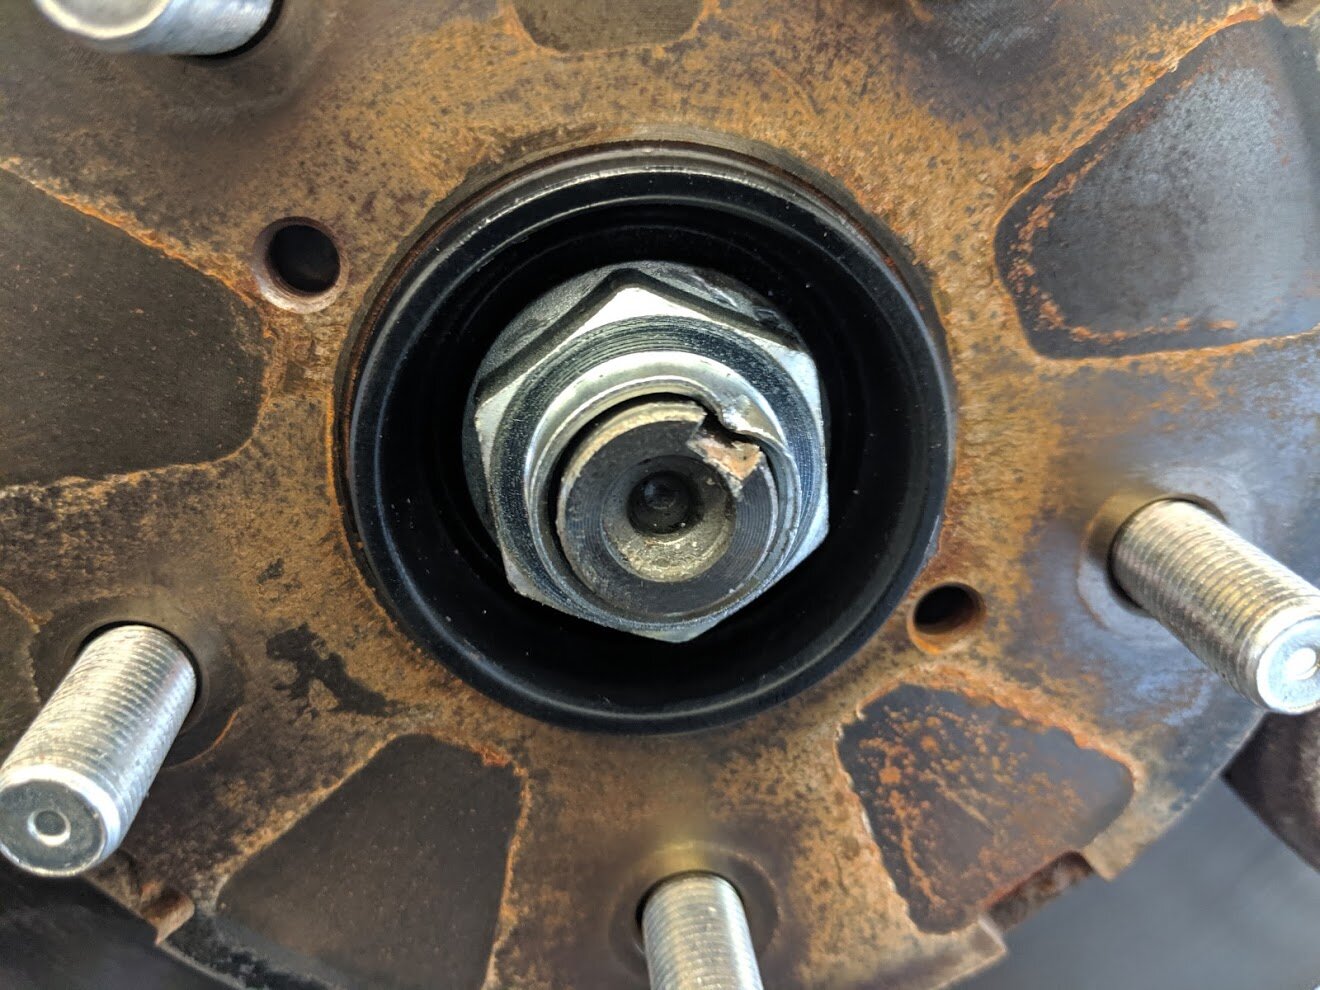
Break the axle nut loose with your impact.

Undo the lower ball joint and then you can remove the outer portion of the axle.

After you remove the outside portion of the axle you can move to the trans and pop it out.
You can now slide underneath the car and start back on the downpipe. The first place would be disconnecting the O2 sensor from the downpipe. You can undo the clip or break it free with a 22mm or O2 socket and ratchet. Now you will want to undo the exhaust bolt that mounts it to the transmission and the rear bolts and nuts that hold it to the midpipe. The final step on the downpipe being to remove the last nuts that hold it to the turbo. Then you can pull it out and set it out of your way.

O2 can be remove from the sensor or the connection on the other side of the transmission. Pick your poison!

Remove the rear bolts and bracket that mounts to the trans and you can place the downpipe to the side.

One bolt to go and the downpipe is remove.
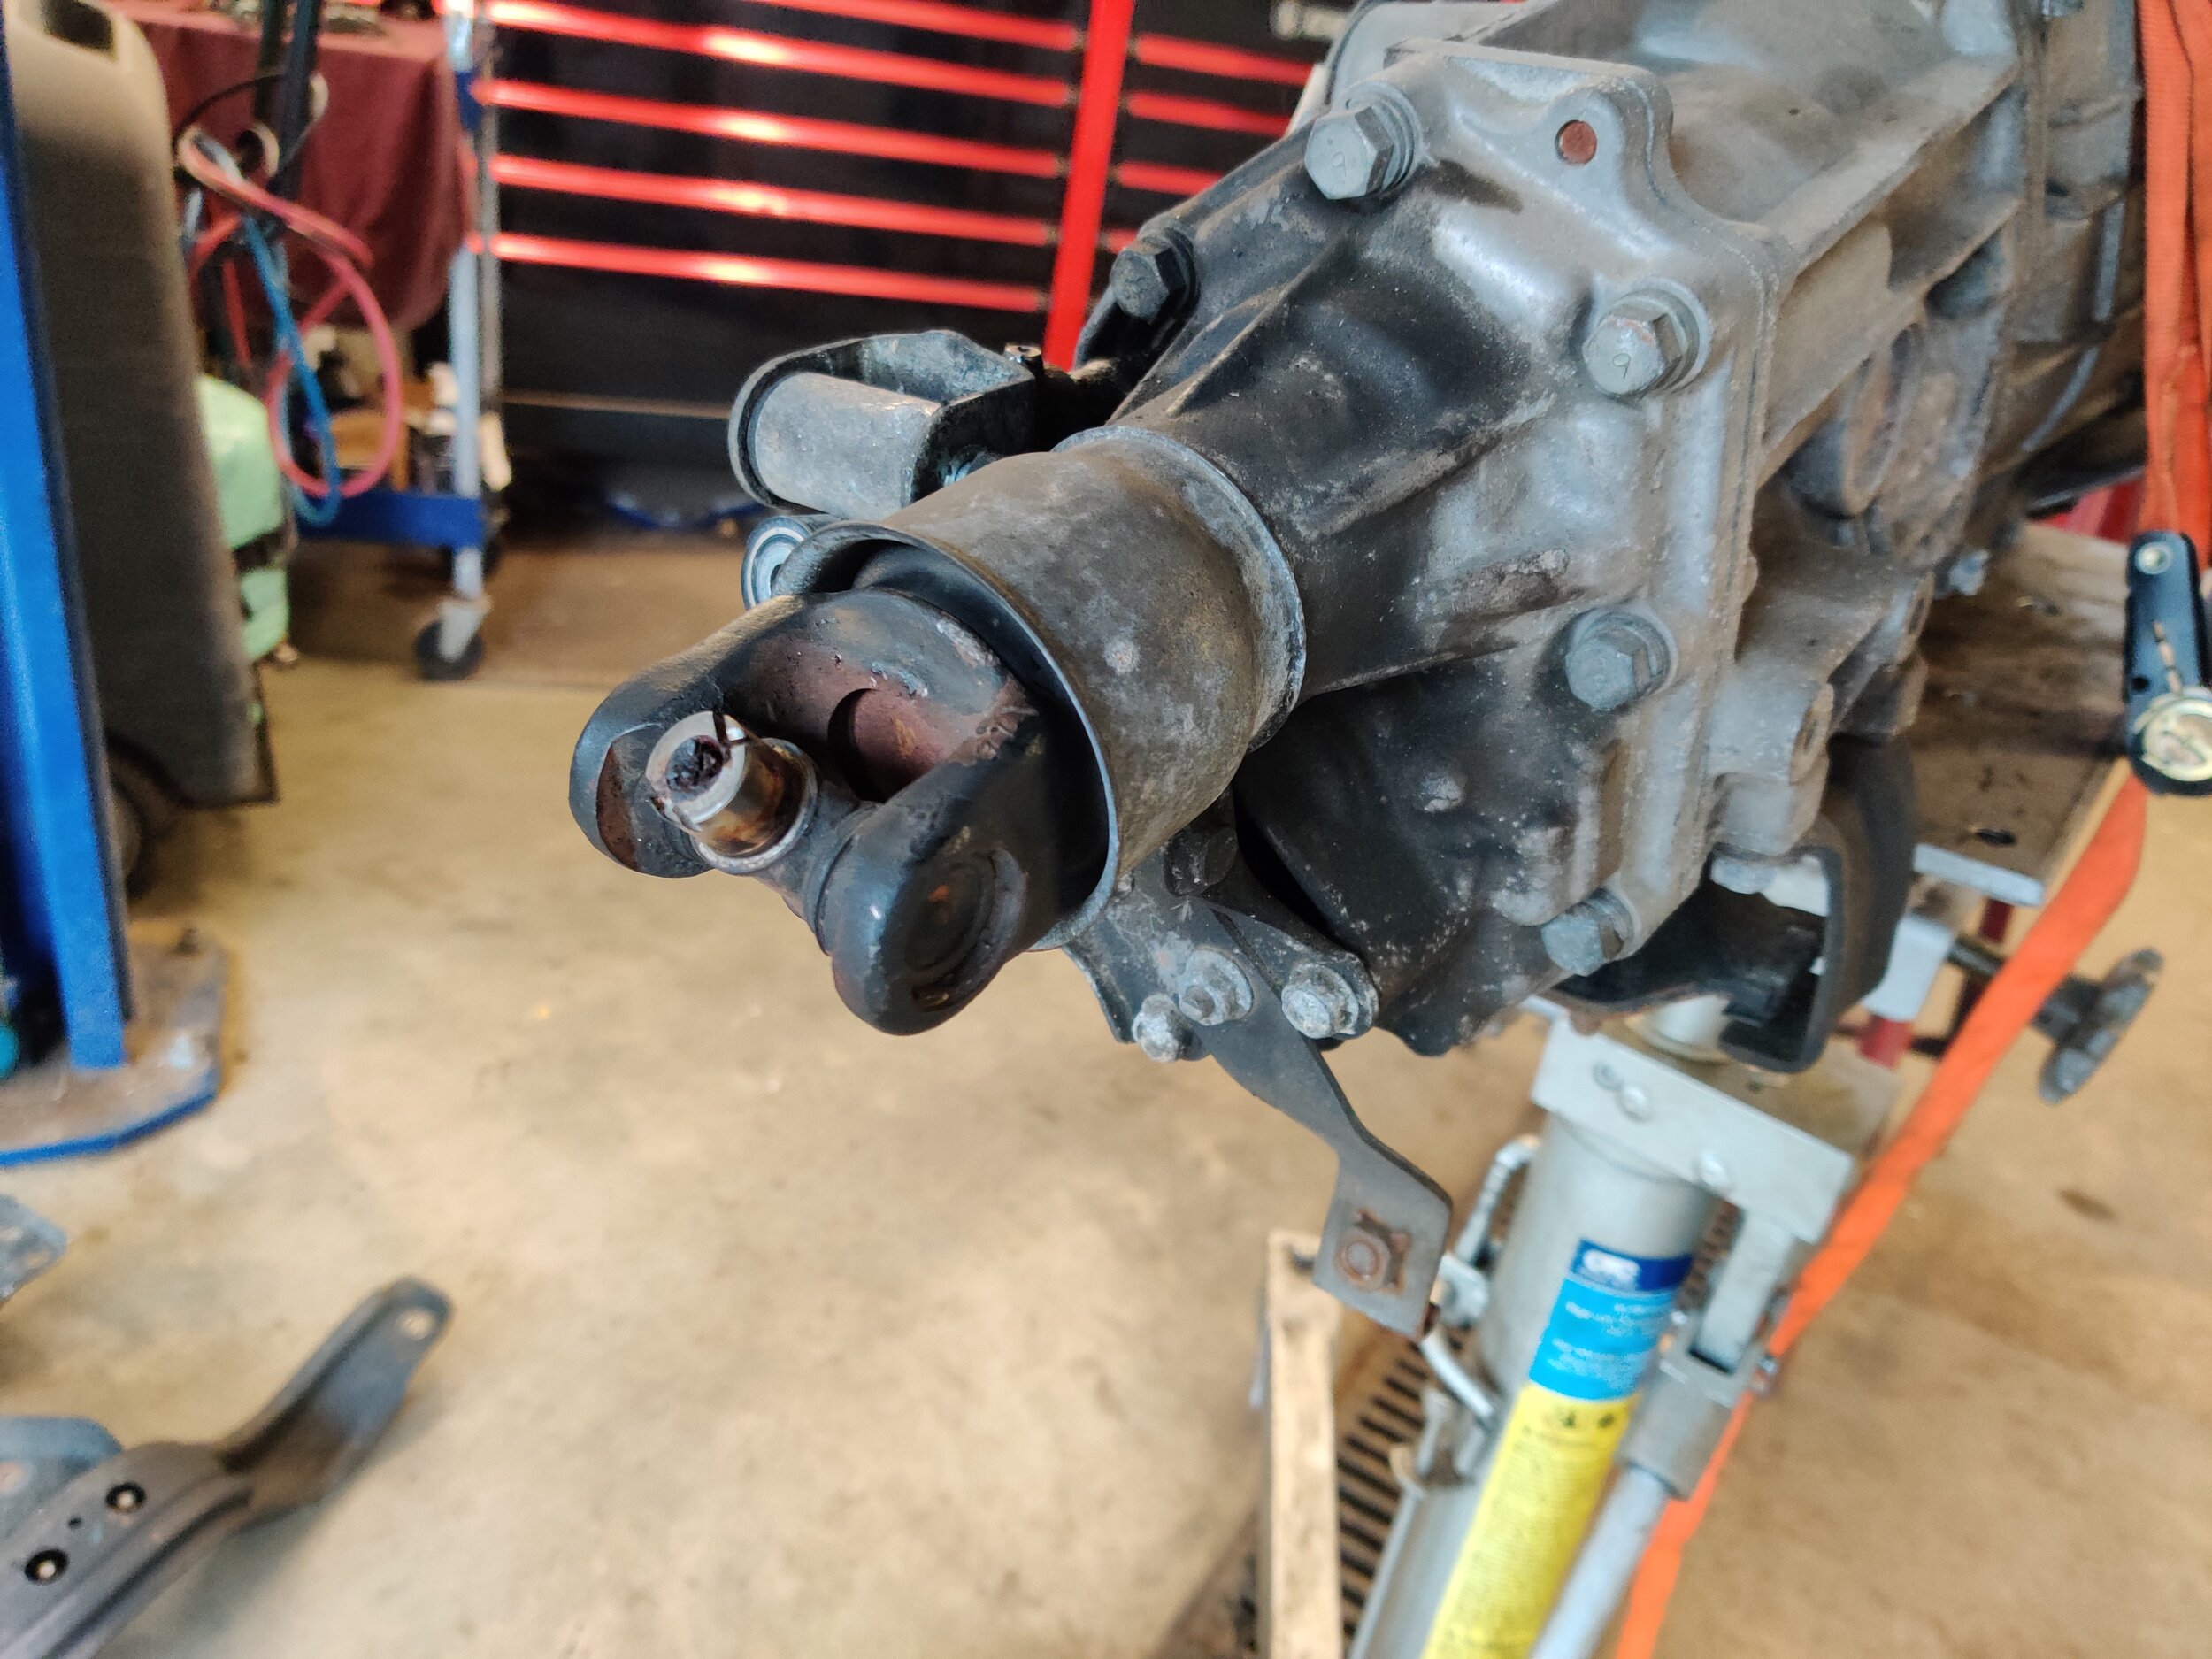
We can now remove heat shield that resides on the underneath of the vehicle to protect the driveshaft and bearing. Four 12mm bolts hold it up and you can move it away. Shifting towards the rear of the car you will find where the driveshaft and rear diff connect. Take your 12mm and remove the four bolts that hold it together. You can use the ebrake to hold it in place or a prybar within the u-joint.

Wedge your prybar in the driveshaft t remove the rear bolts.

Spin it around to remove all 4 bolts.
Then moving to the center of the car to finish removing the driveshaft by removing the two bolts that hold it to the car. Be ready for it to come down when removing the bolts, then you can slide the driveshaft out of the trans and place it out of your work area.

In the center of the driveshaft you will two mounting bolts, remove these will drop the driveshaft, so have it supported.
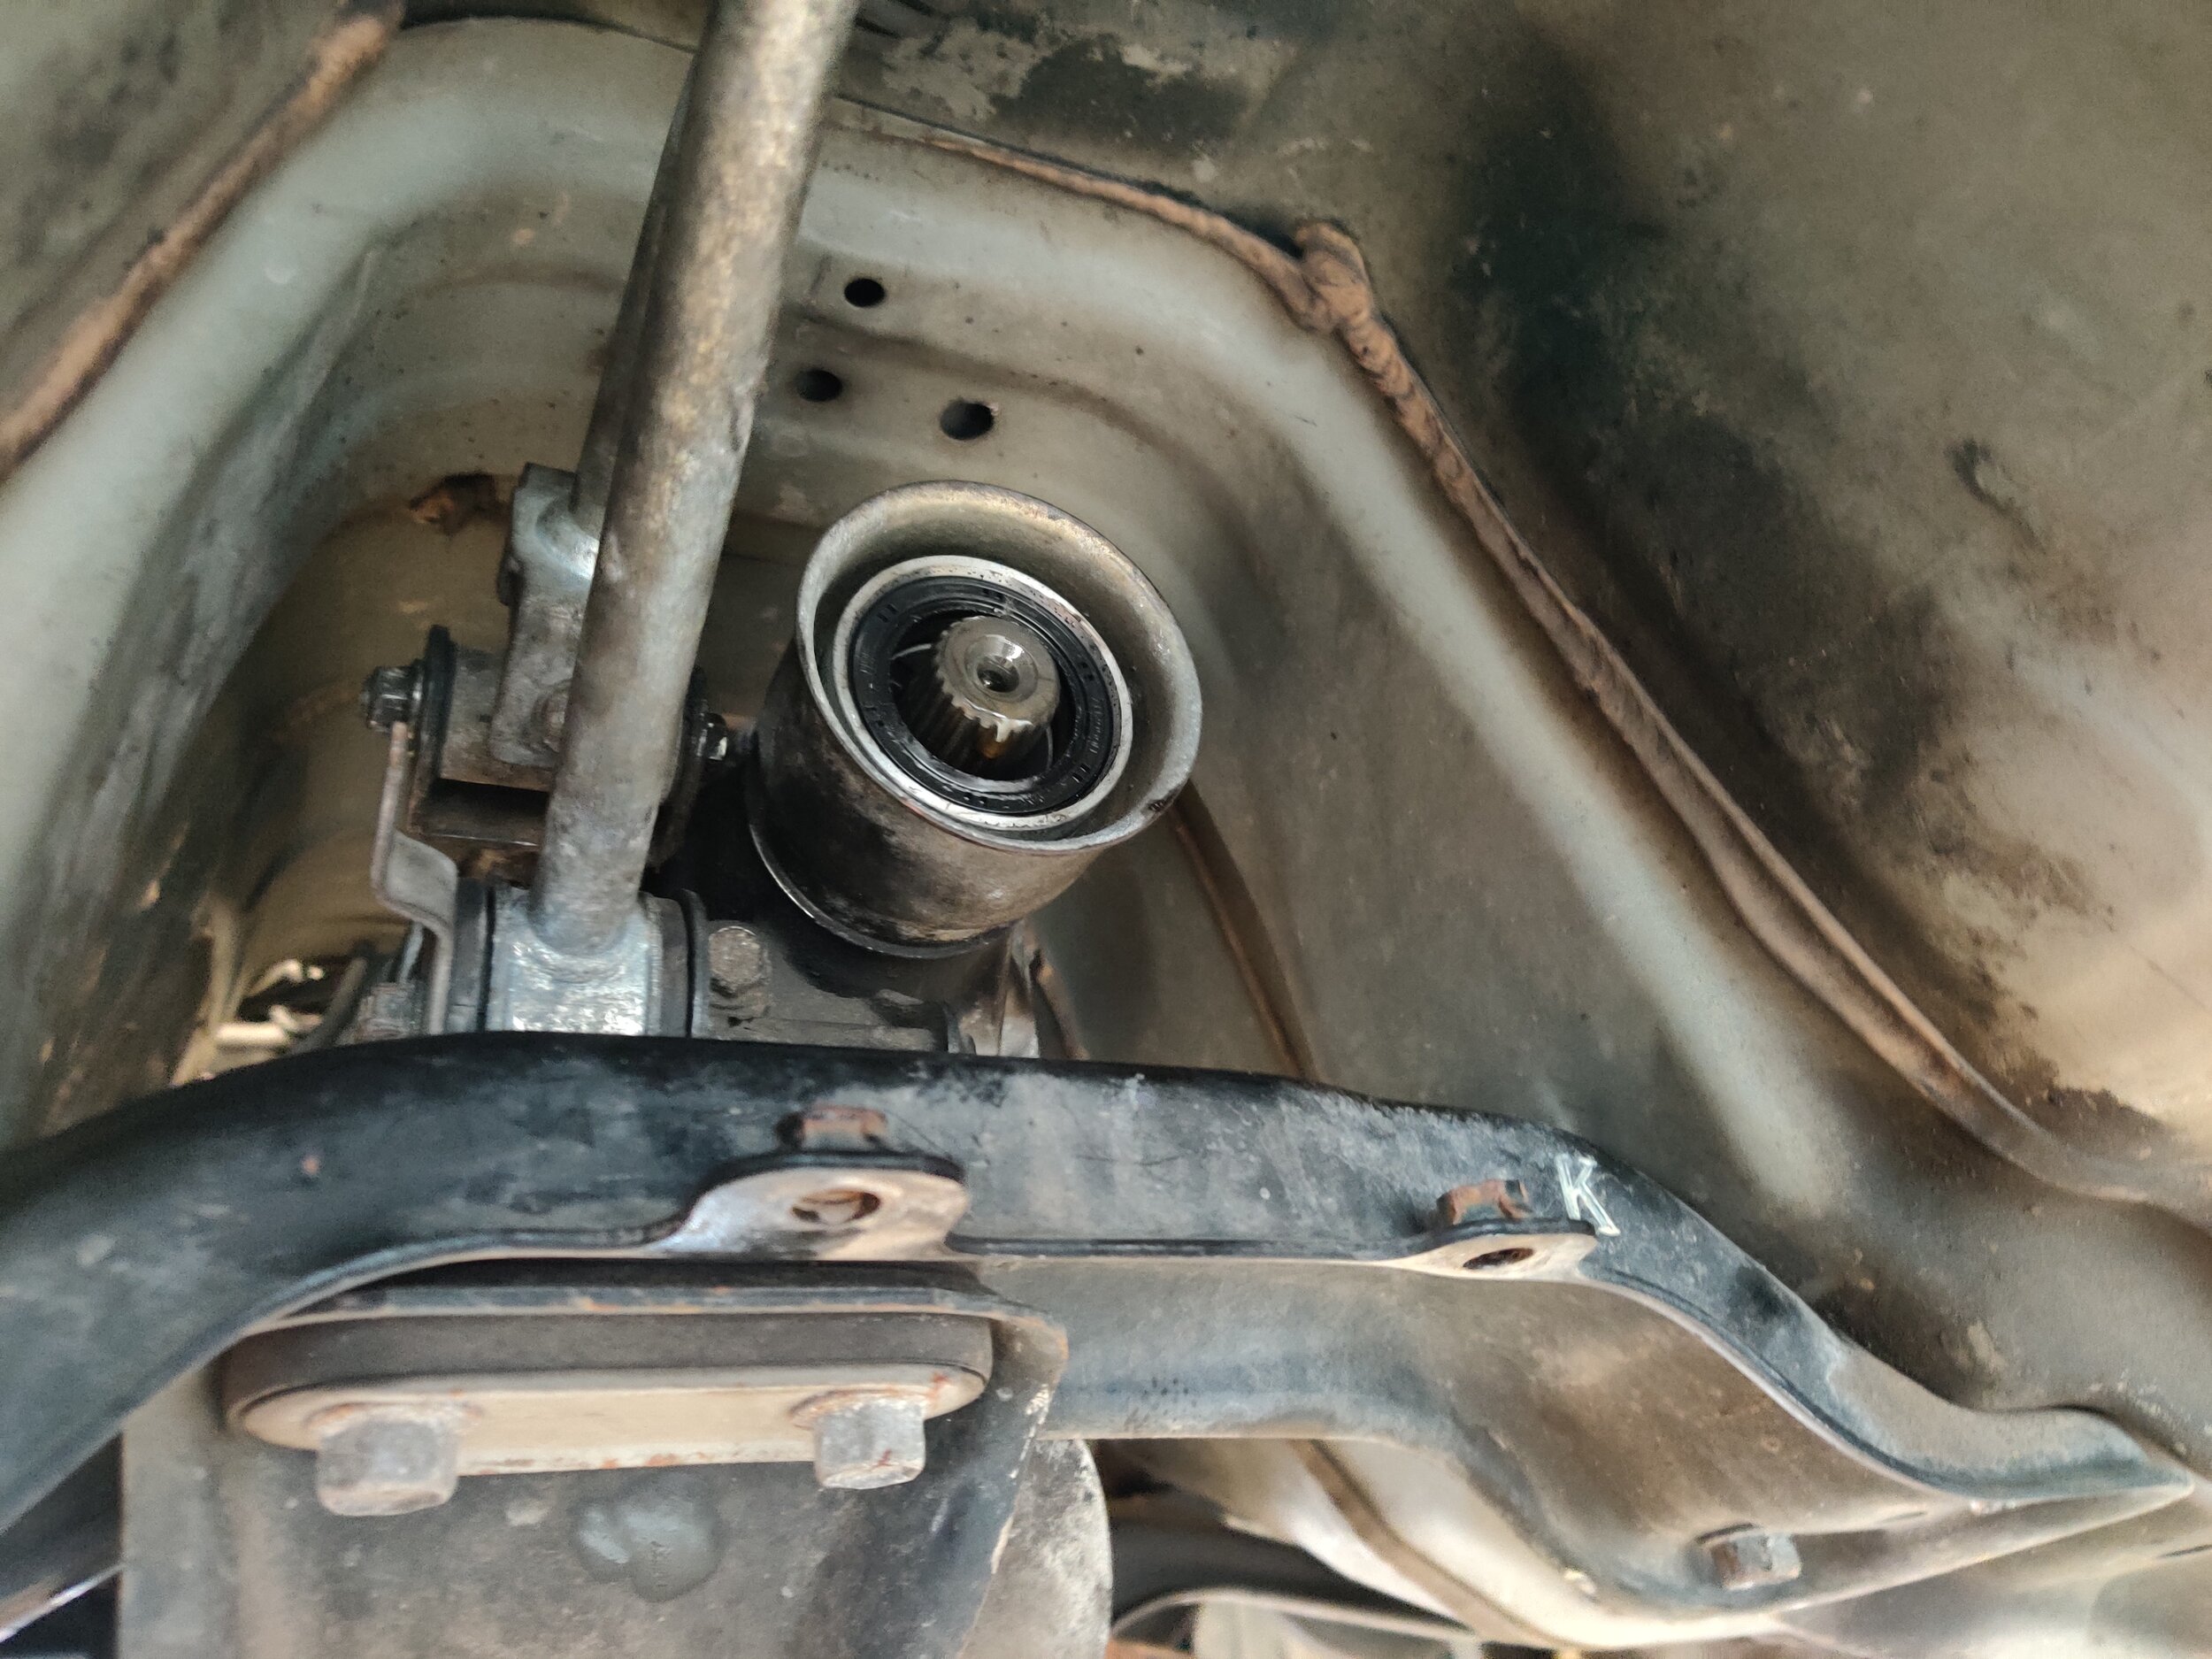
Driveshaft removed and output seal visible.
Since we are at the tail shaft of the transmission let’s go ahead and disconnect the linkage. The lower linkage has a 12mm nut that holds the special washer on it. Remove the washer and slide the linkage bushing off. Next up is the upper linkage, you will want to remove the bolt and nut that goes up and down through the joint. Slide the pieces apart and the linkage is complete!

Here you can see the lower linkage nut, remove it and the washer. Then you can slide the bushing off of it.

You will need two 12mm wrenches(one ratcheting) but you will remove the nut from the top.
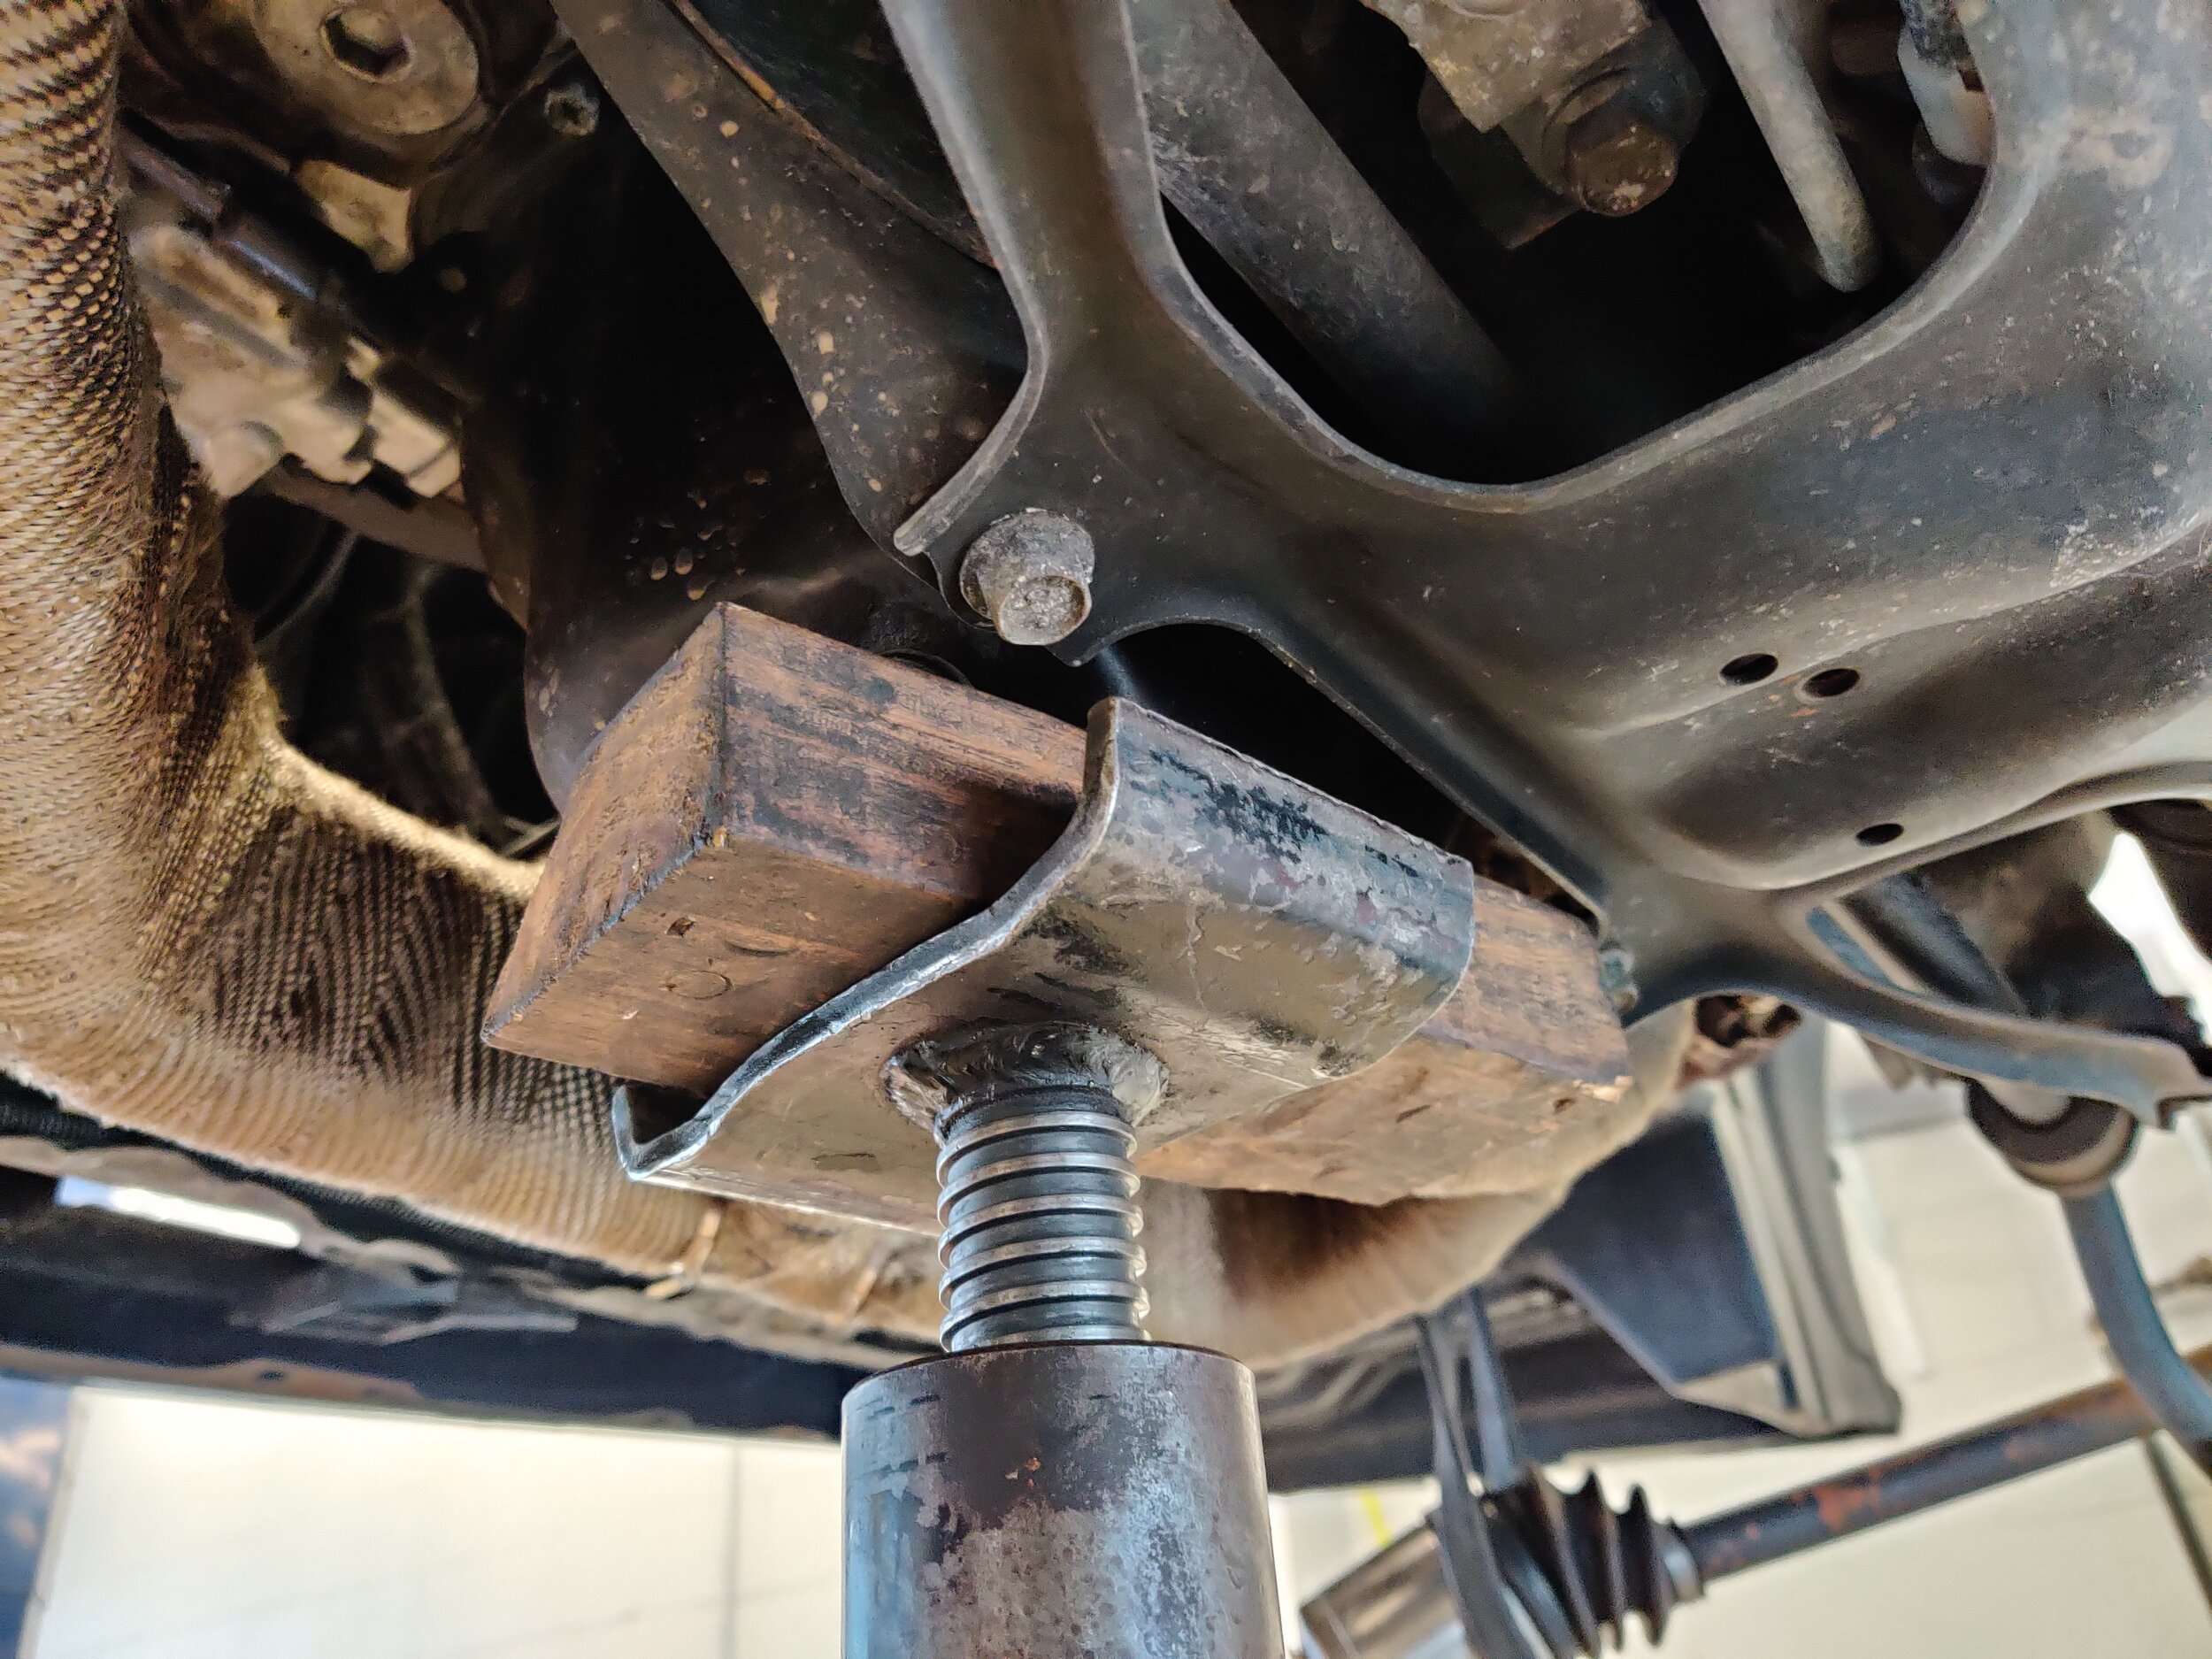
We are starting to run out of pieces to remove but there are still a few left. One of those parts would be the transmission bracket and mount, this is the part where you want to support the transmission with a jack that is on the body of the trans but not the bracket. Once it is supported you can start to move all the bracket and mount bolts until it is free and now supported with the jack. Whatever you are using to remove the transmission with a transmission jack you should utilize a ratchet strap to keep it from falling off or rolling on you.

Supporting your trans, you can begin to remove the rear four bracket bolts.

Then head forward and remove the front two.

These two mount the trans to the bracket and once they are removed everything can come out.
The end is nigh! You can now remove the final nuts and bolts can now be removed from the transmission. These will all be 14mms and you can pray that the trans and engine begin to separate… but don’t hold your breath as it most likely will need some persuasion via your prybar. This is also a great time to use another jack and plank of wood to angle the front of the motor to help you angle the entire assembly downwards, this helps you clear the transmission tunnel.

With the starter removed only one bolt and the lower nut hold the engine to the trans.

Three bolts and one nut hold the passenger side together too.
As stated above the key to removing the trans is about having your angles correct and keeping the opening equal on both sides of the trans to keep it from getting stuck on the lower studs or dowels. They help the line up the bolt holes trans and engine but they can/will hold you up. If you aren’t having any luck with it moving and everything else but the area where the dowels are, use a punch and hammer to rattle the dowels loose. If you do hit the dowel hard enough you can cause it to shift further on the engine side making them useless.

Our trans is ratcheted down to the our transmission jack. You can now remove any remaining bolts/nuts and begin to try and disengage the trans from the engine.
We are using a pencil jack on the oil pan with a plank of wood to have some give and not crack/dent our pan. Now we will jack it up slightly to angle the front of the engine upwards while the rear angles down to help remove the trans.
A quick tip here before you start to remove the transmission is loosening up the turbo from it’s mount and uppipe. The bell housing and turbo will sometimes try and occupy the same area of space, which basically becomes the turbo holding the trans from coming out. Some cars need this step, some cars don’t… its a tough call on what to do but having it loose is only five extra bolts… what is that old adage, better safe than sorry.
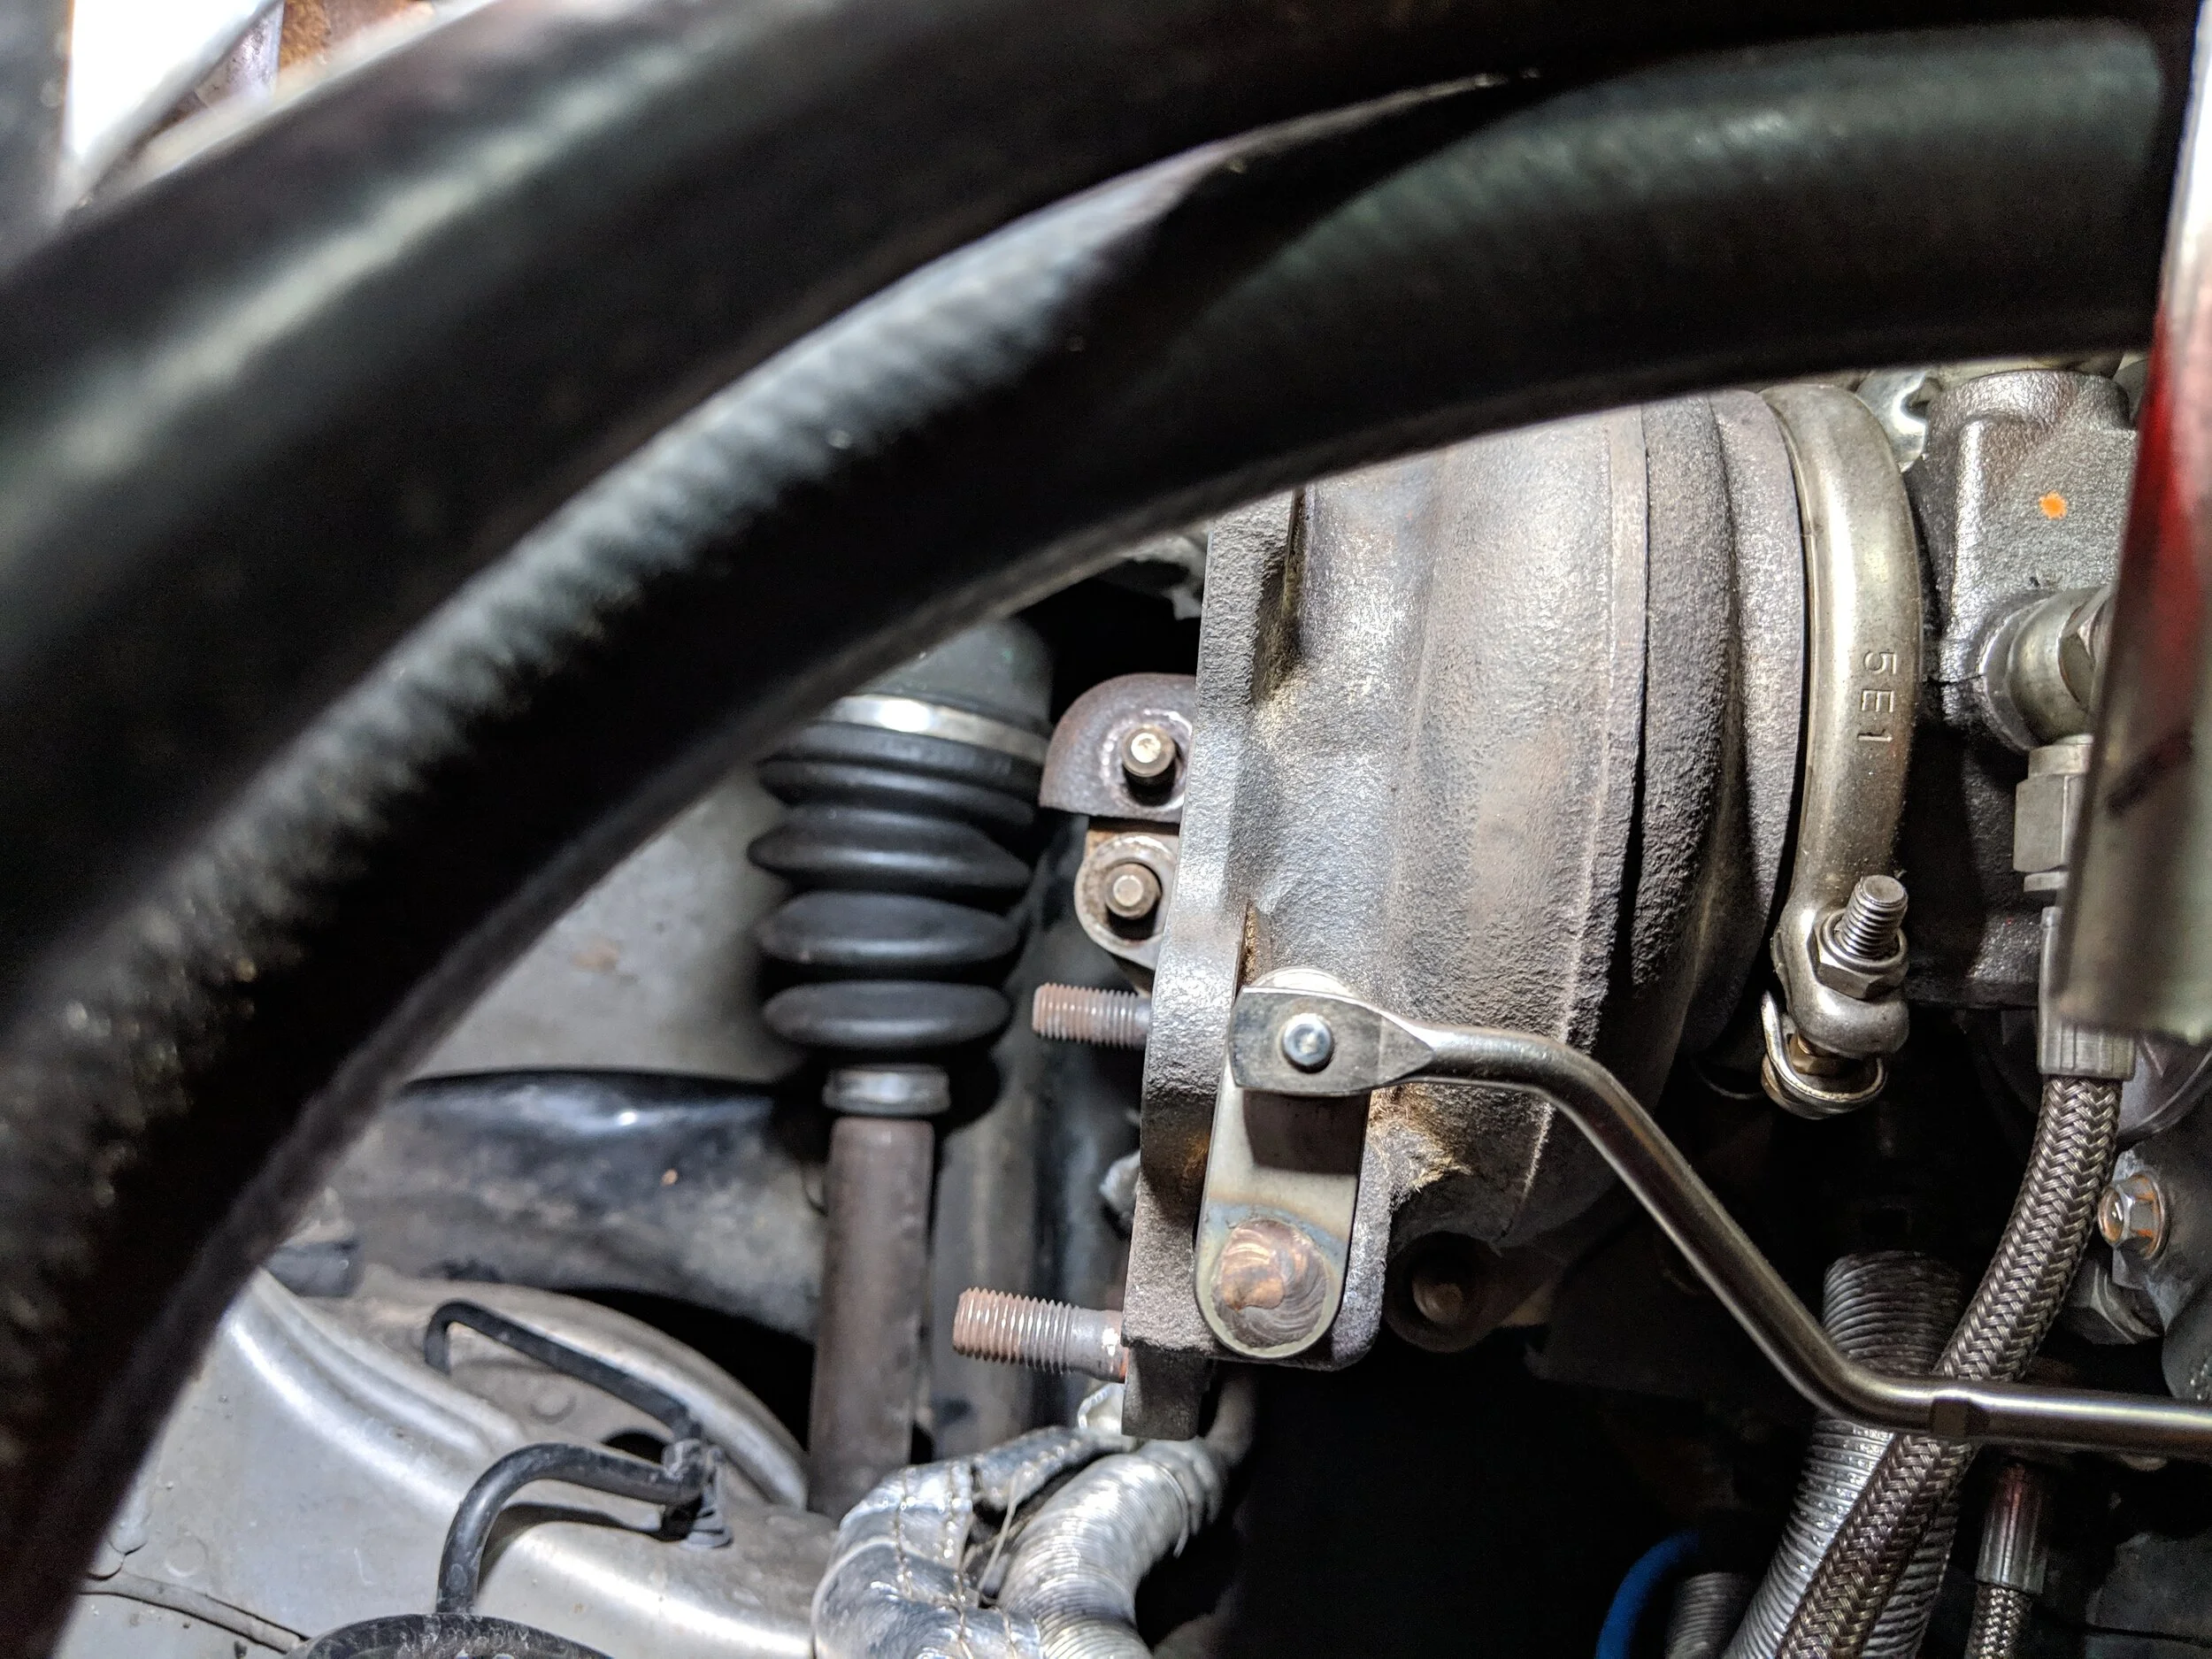
If your bellhousing is bumping into the turbo. You can remove the upper nut and…

these two other nuts on the turbo and now it can be moved up to give the trans more clearance.
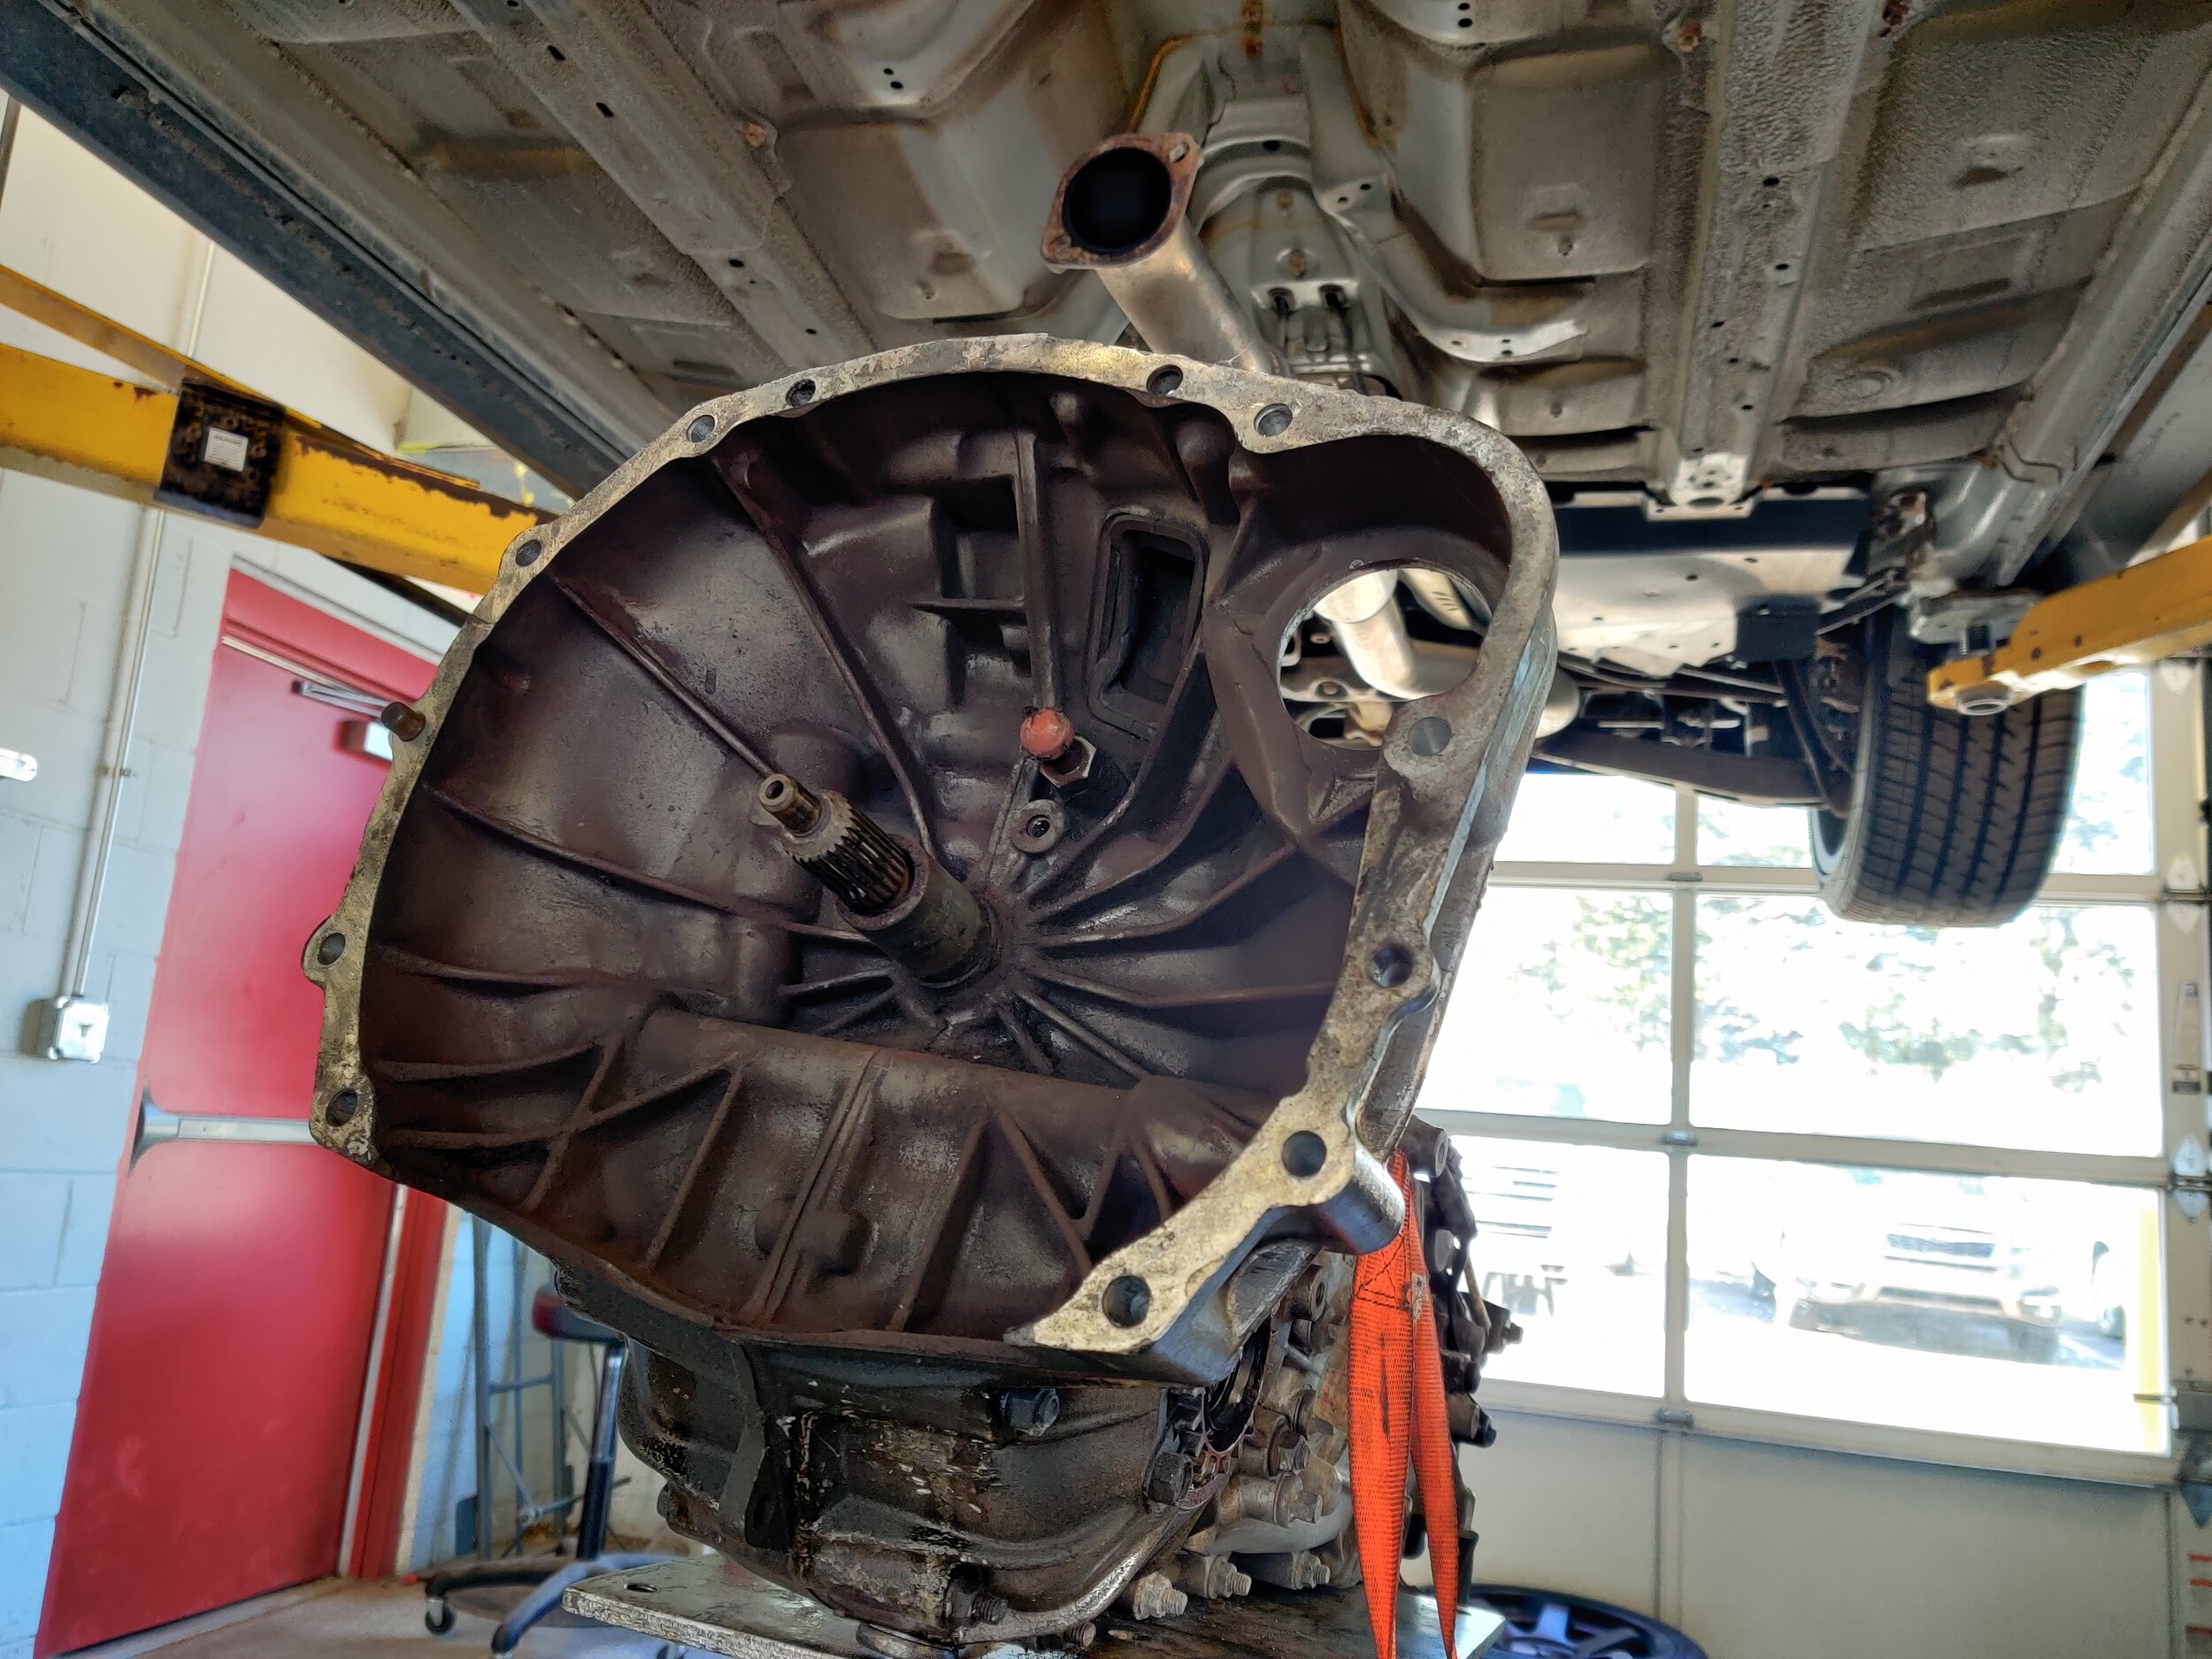
Hopefully the transmission is starting to leave the engine at this time. If not keep at it, it will certainly decide to leave sooner or later without enough suggestion. As the transmission comes off you will want to start lowering the transmission height as it clear the subframe. The slide it a bit further off and lower it once again lower the trans down to help clear the transmission tunnel. Continue this procedure till its completely free of the engine and you can access your clutch.
You are almost ready to tackle the clutch assembly., but first… it is a great time to double check your transmission input snout that the make sure it is smooth and free of damage. If it is damaged you can purchase a sleeve and throw-out bearing set to fix this. We will also take a second to look over out clutch fork… taking a good hard look of it for cracks or extreme wear. If everything checks out, lube it up and stick that puppy back in. If it needs replacement you can get one right here or your local Subaru shop.
Trans free! You can now inspect your fork and input shaft.

This fork has seen better days and will be replaced.
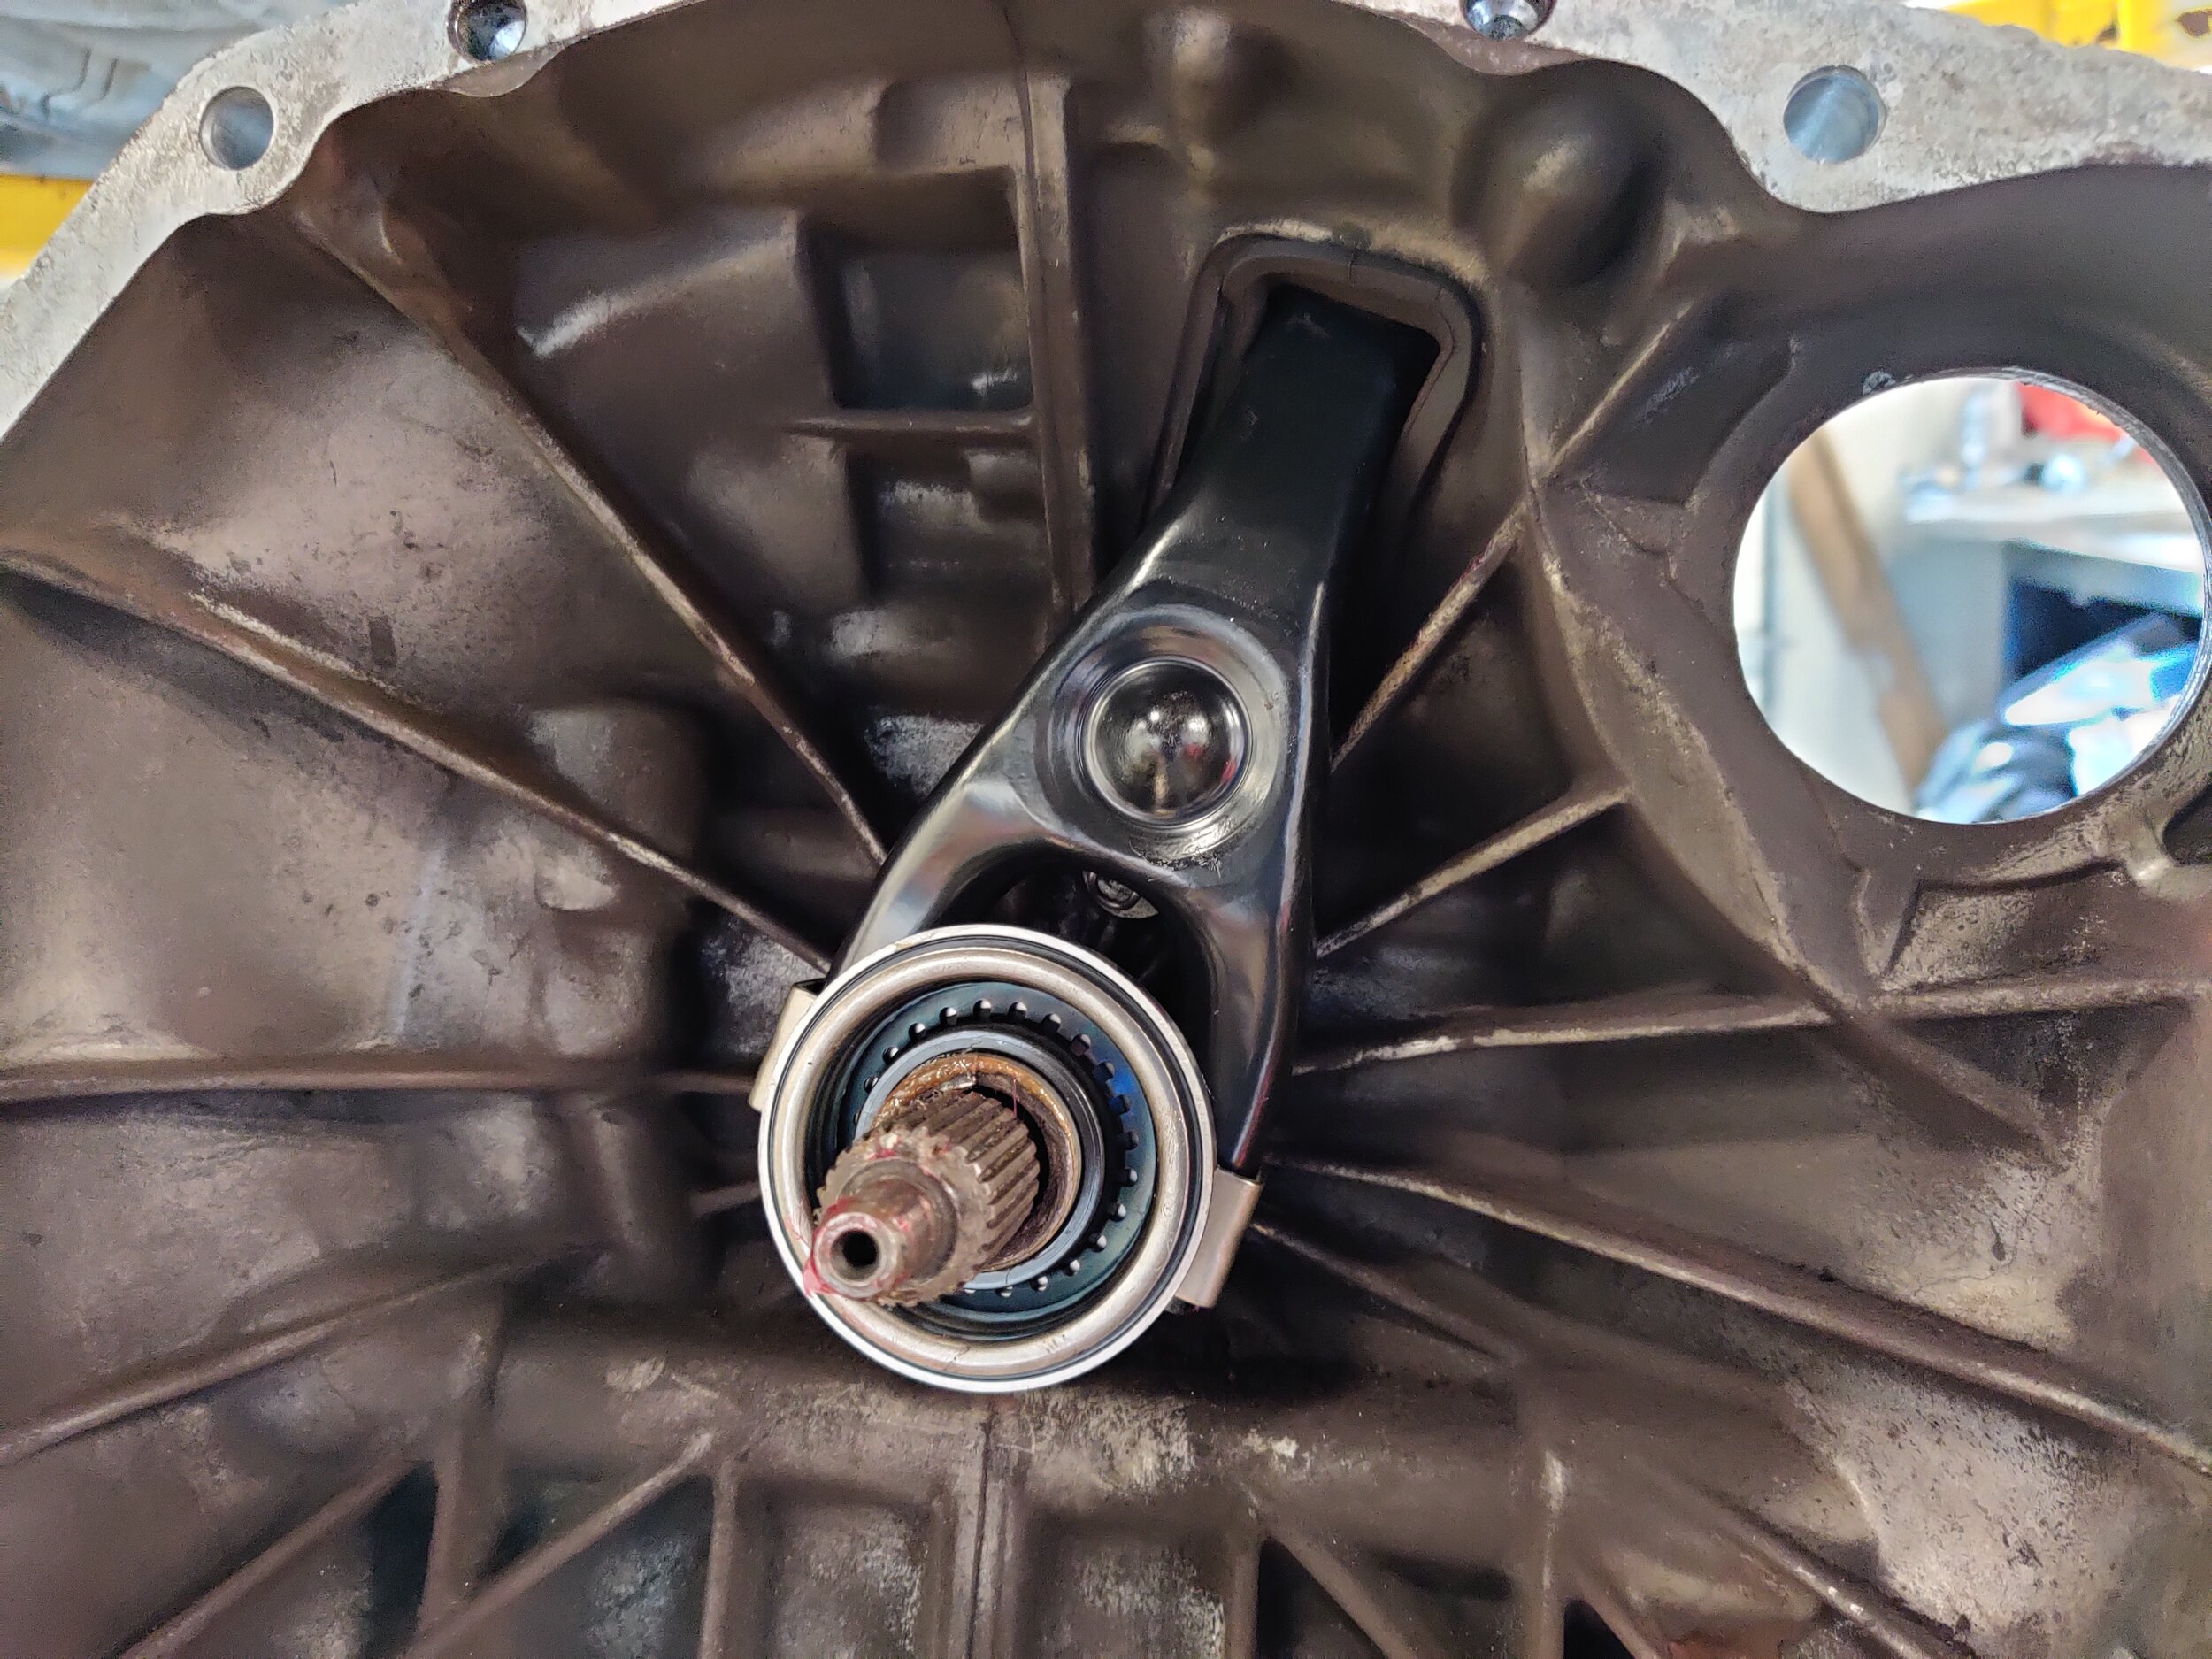
New fork and throwout bearing installed.

Looking towards the engine you will see the clutch assembly staring back at you.
Now the main attraction! Starting with the clutch cover plate we can go around the outside removing all the bolts. There are dowels that hold the clutch cover in place but be careful when removing the last bolt as the cover plate and clutch disc might come tumbling out at you. If they are stuck give them a couple wiggles and off it will come.

Locate your bolts and start removing them!
Next up is the flywheel which bolts to the crankshaft. Go ahead and remove all those bolts, when you make it to the final bolt take care to support the flywheel so it doesn’t fall on you. And that is the clutch assembly being removed… now is a great time to check your rear main seal and oil baffle plate for leaks. If so now is the time to address those issues, otherwise back to the clutch install!

Old flywheel final ready for removal.

Behind the flywheel leaves the oil separator and main seal. This is a great time to replace/inspect them.

Old clutch disc and cover. The disc wasn’t quite down to the rivets but it was close.
If you are dealing with dual mass flywheel, now is the time to replace it! If you are dealing with a standard Subaru flywheel and following oem instructions at home you are also replacing it! Subaru isn’t much for resurfacing flywheels and so I have followed this method on all of my Subarus. With your new flywheel in hand you can admire it’s shininess and then take your favorite brake clean and remove the coating that protects the surface from rusting. Leaving this coating on can hinder your break in and can gum up your clutch disc.
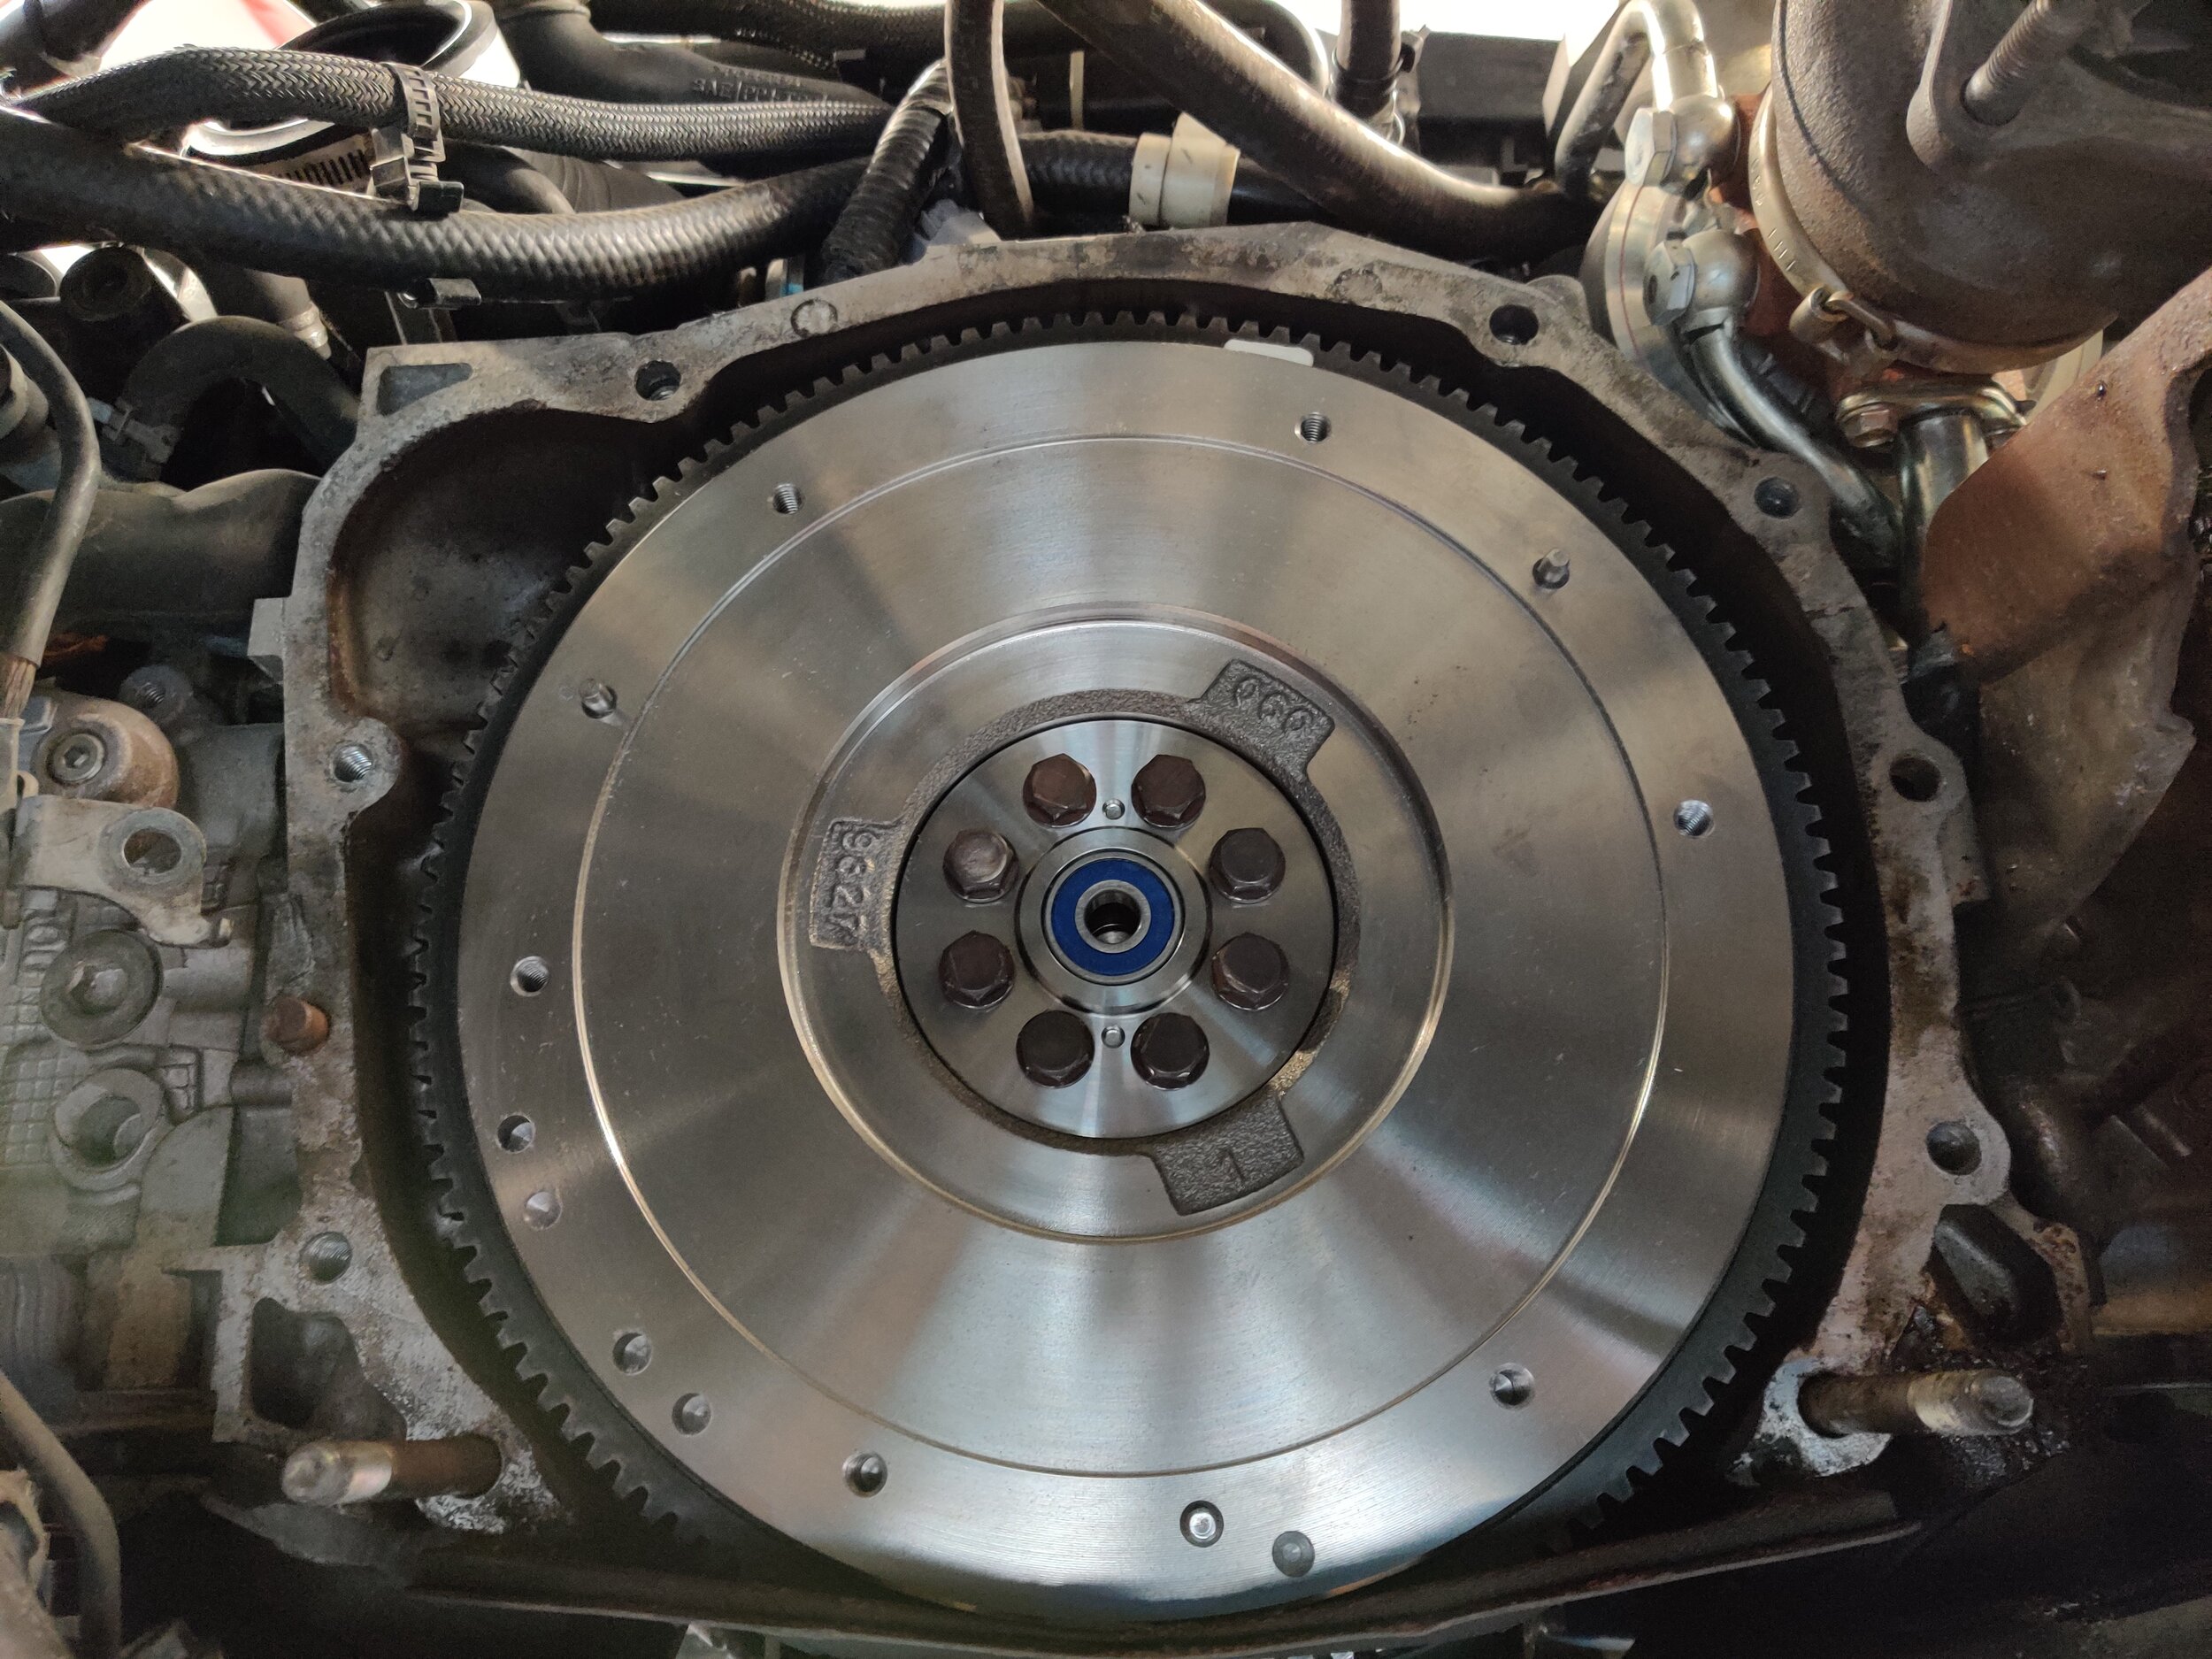
Flywheel installed!
With your clean flywheel you can bolt it up to the engine. Subaru recommends 55 foot pounds for the torque value of these in a bolts in a criss-cross pattern. You can use a flywheel holding tool or if you are like me just wedge a prybar to hold it in place.

Torque to 55 foot pounds in a criss cross pattern.
On to the clutch disc and clutch cover… we will need to clean the clutch cover surface off just as we cleaned off the flywheel. Then orientate the clutch disc within the clutch cover and slide in the clutch tool and align it to the flywheel. If you have a factory set you will see a mark on the clutch cover and flywheel, you will want these to be as far apart as you can. This helps with the balance of the clutch assembly and keep things smooth! Torque in a criss-cross pattern to 11.7 foot pounds. You can now remove your clutch installation tool.

Clutch tool installed and holding everything up to bolt it up.

Torque the clutch cover in a criss cross pattern with 11.7 foot pounds.
The project is coming along now! If your clutch came with any further instructions take time to complete those but we are ready to go back together. Once again you will want to lift your engine and tilt the front upwards, while matching this angle with your transmission, this is a big key to making your transmission installation easy and headache free. Another tip is having a stub u-joint to turn the trans if necessary, this will allow you to mesh the clutch disc and trans input shaft.
A chopped driveshaft helps keep the fluid in and gives you the ability to rotate the output shaft to make installation much easier.
With the proper angles set up you will hopefully feel the transmission find it’s way to the engine mounting holes. If your trans doesn’t make all the way to the engine keep working on it, you do not want to rush things and damage the input shaft or clutch. Be extremely careful and cautious if you use the bolts to bring the bell housing and engine together, if you feel any resistance, stop you very well could be causing damage. You will find with every transmission you put back in you get a bit more skilled with the installation. Double check your clutch fork position after the trans is back in, if it has dropped you will need to remove the trans and place it back on the pivot ball.
You can now begin running down all your bell housing bolts but making sure to leave the two longest bolts for the top two locations. Once that is completed follow all these instructions in reverse and you will be back in business, with everything back in it’s home you can start it up and test the clutch. You should now be able to go in first and reverse, if not double check your linkage and that your clutch fork and slave cylinder are operating properly. You can have an instance where the clutch fork drops down off the pivot point and works but not correctly.
Congratulation! You have removed and replaced your Subaru clutch and can now celebrate with quick short drive, listening for abnormal noises and making sure it smoothly shifts each gear. Determined by your clutch you will have a break in procedure, make sure to follow your specific manufacturers guidelines.
Amazon tool links!
Precision instruments torque wrench
Gearwrench ratcheting wrenches
Grey Pneumatic 3/8th socket set
Grey pnuematic wobble socket set
Milwaukee 3/8ths electric ratchet
Milwaukee 1/2” electric impact