STi R180 clutch plate upgrade! Refresh your LSD plates with RacingDiffs.
In the mid 2000s Subaru was all about handing customers performance cars ith parts closely based off their WRC counterparts… these parts included Brembos, Inverted struts, a close ratio 6 speed, cars without radios and multiple limited slip differentials. I think the rear clutch type differential is one of the most overlooked parts on this list and I think that’s easy to do when your system boasts an electronically controllable center differential.
The factory plates in your differential are likely 20 years old.. and if it didn’t see timely fluid changes they could be a bit worse for the wear.
So let’s talk about that clutch type limited slip that came in the STi from 2004 to early model 2006. These clutch type differentials are well known in the aftermarket from companies like Cusco, Os Giken and many others. They are known for their use in true motorsports applications due to their tuning capabilities. These clutch type differentials use a series of plates and ramps to do just as they are named… limit the amount of slip. Thus putting down power through both tires to keep your car tracking on it’s line.

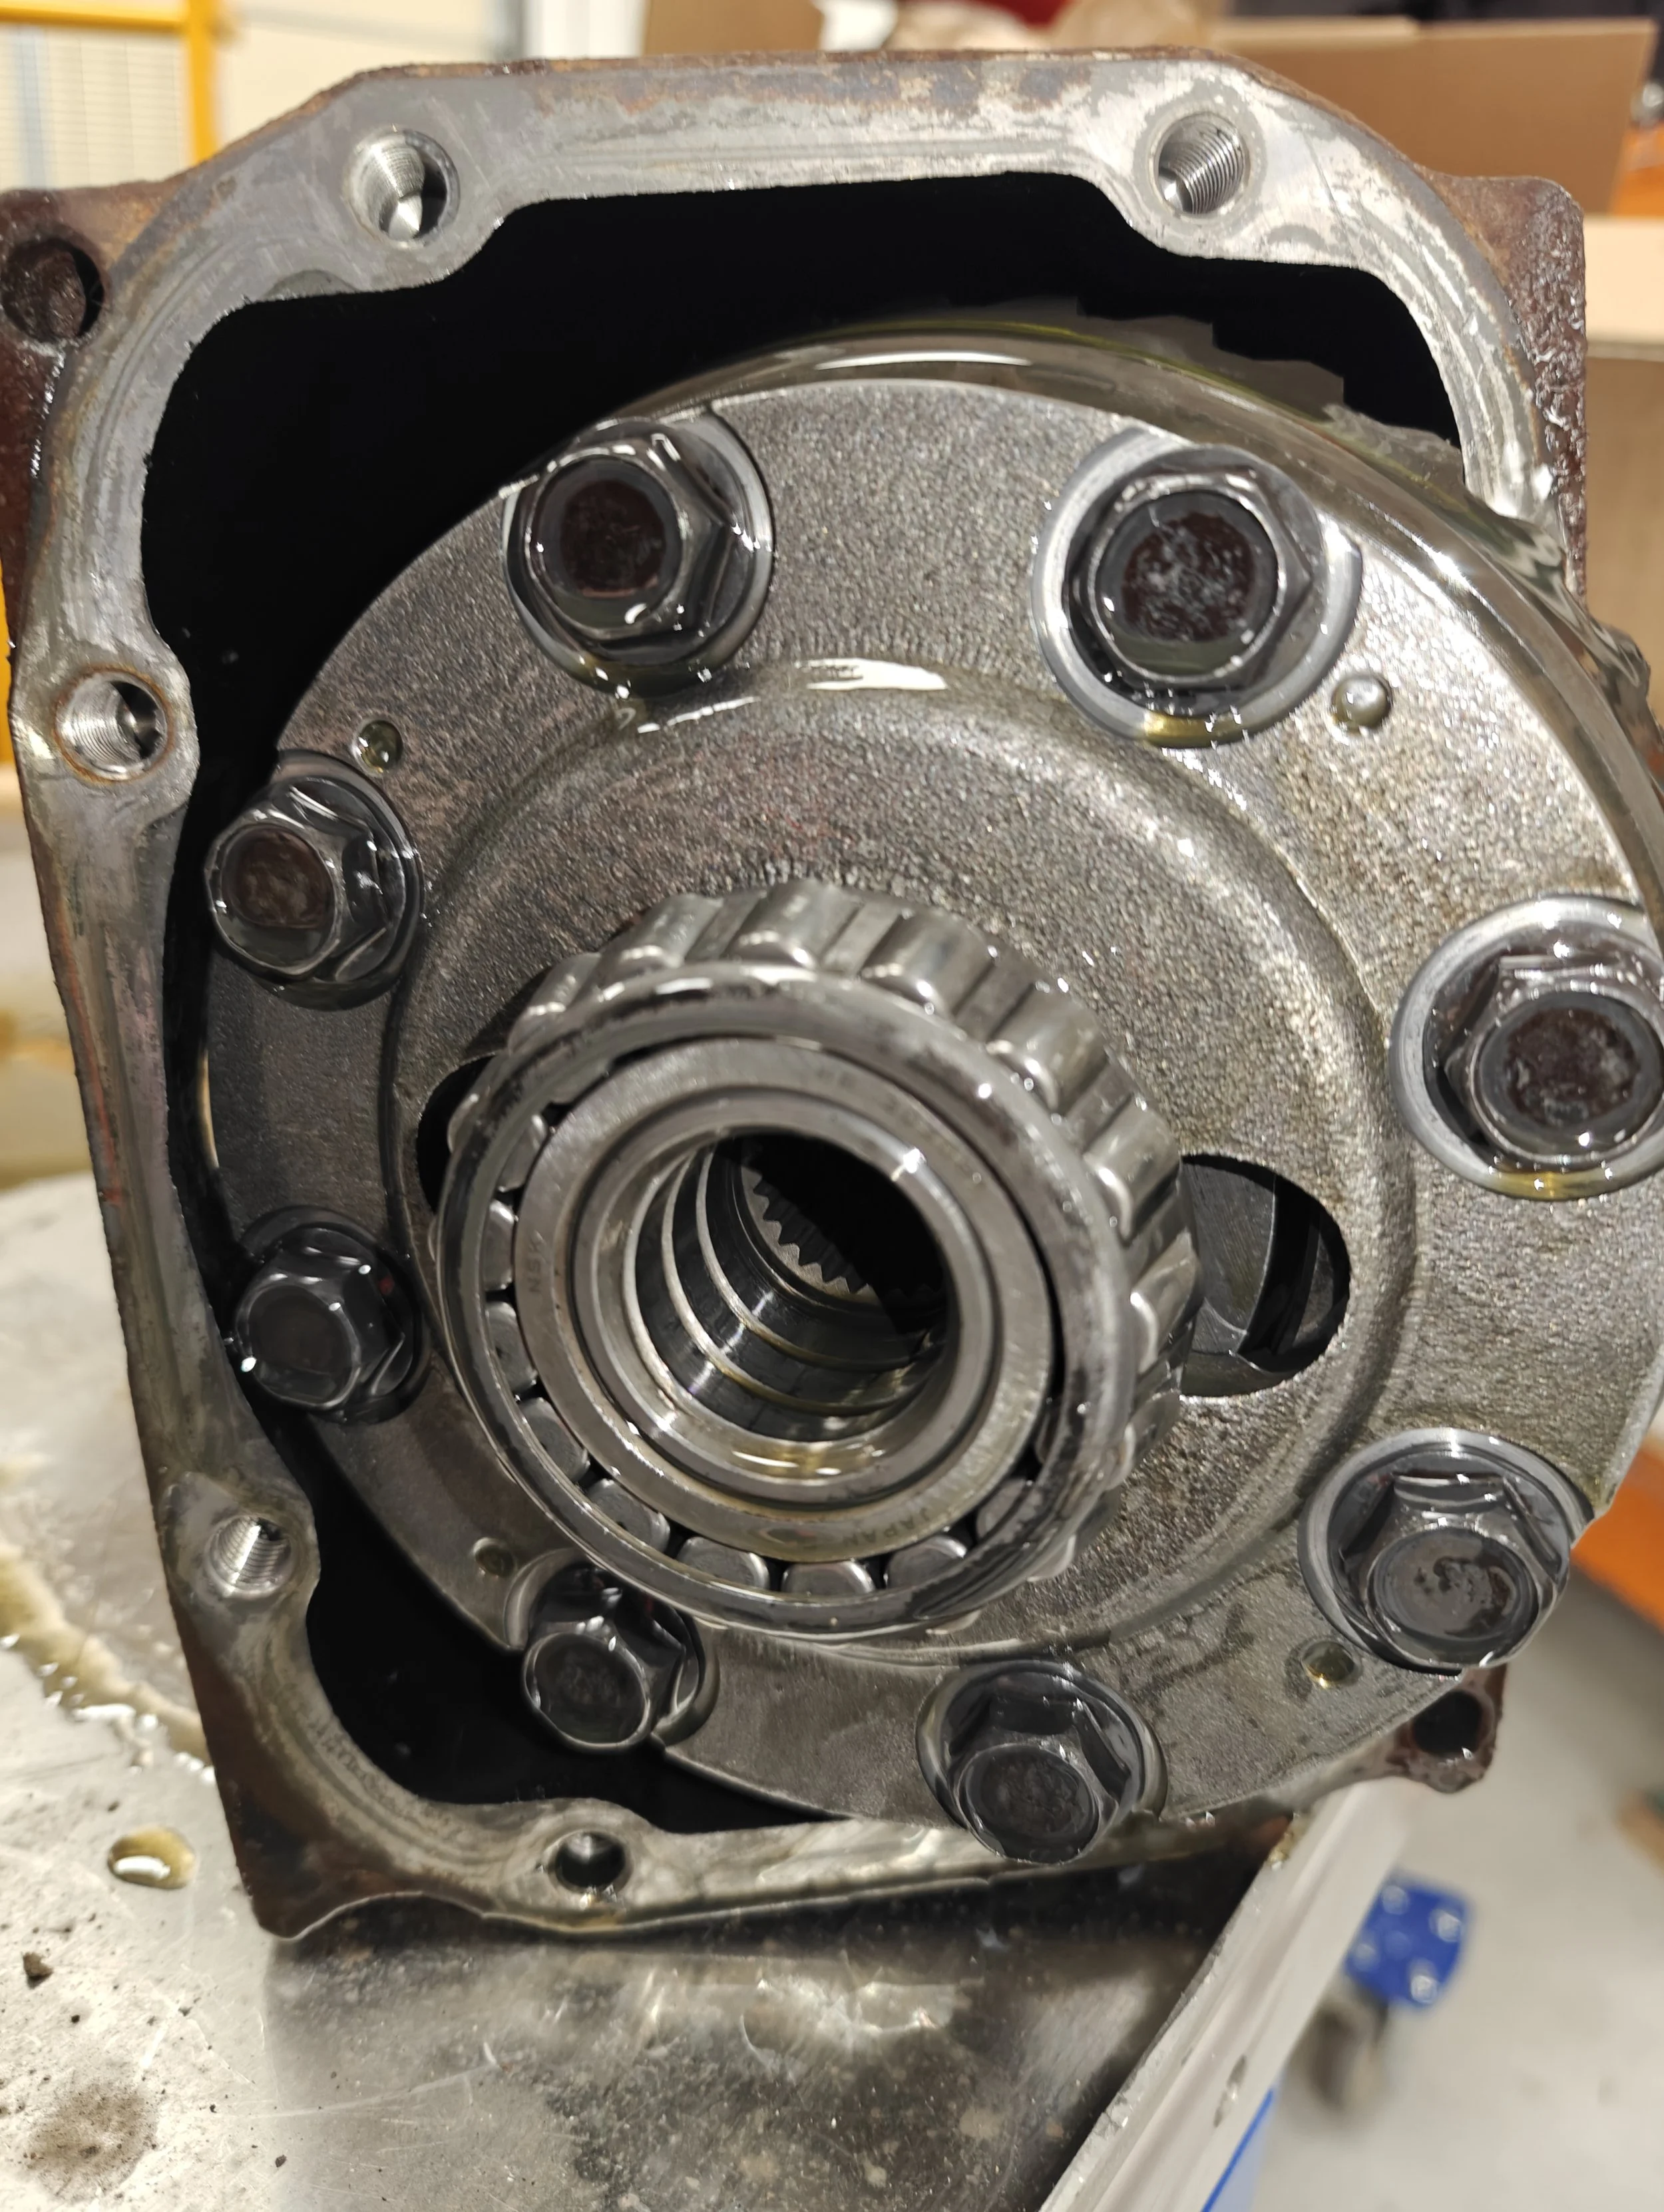
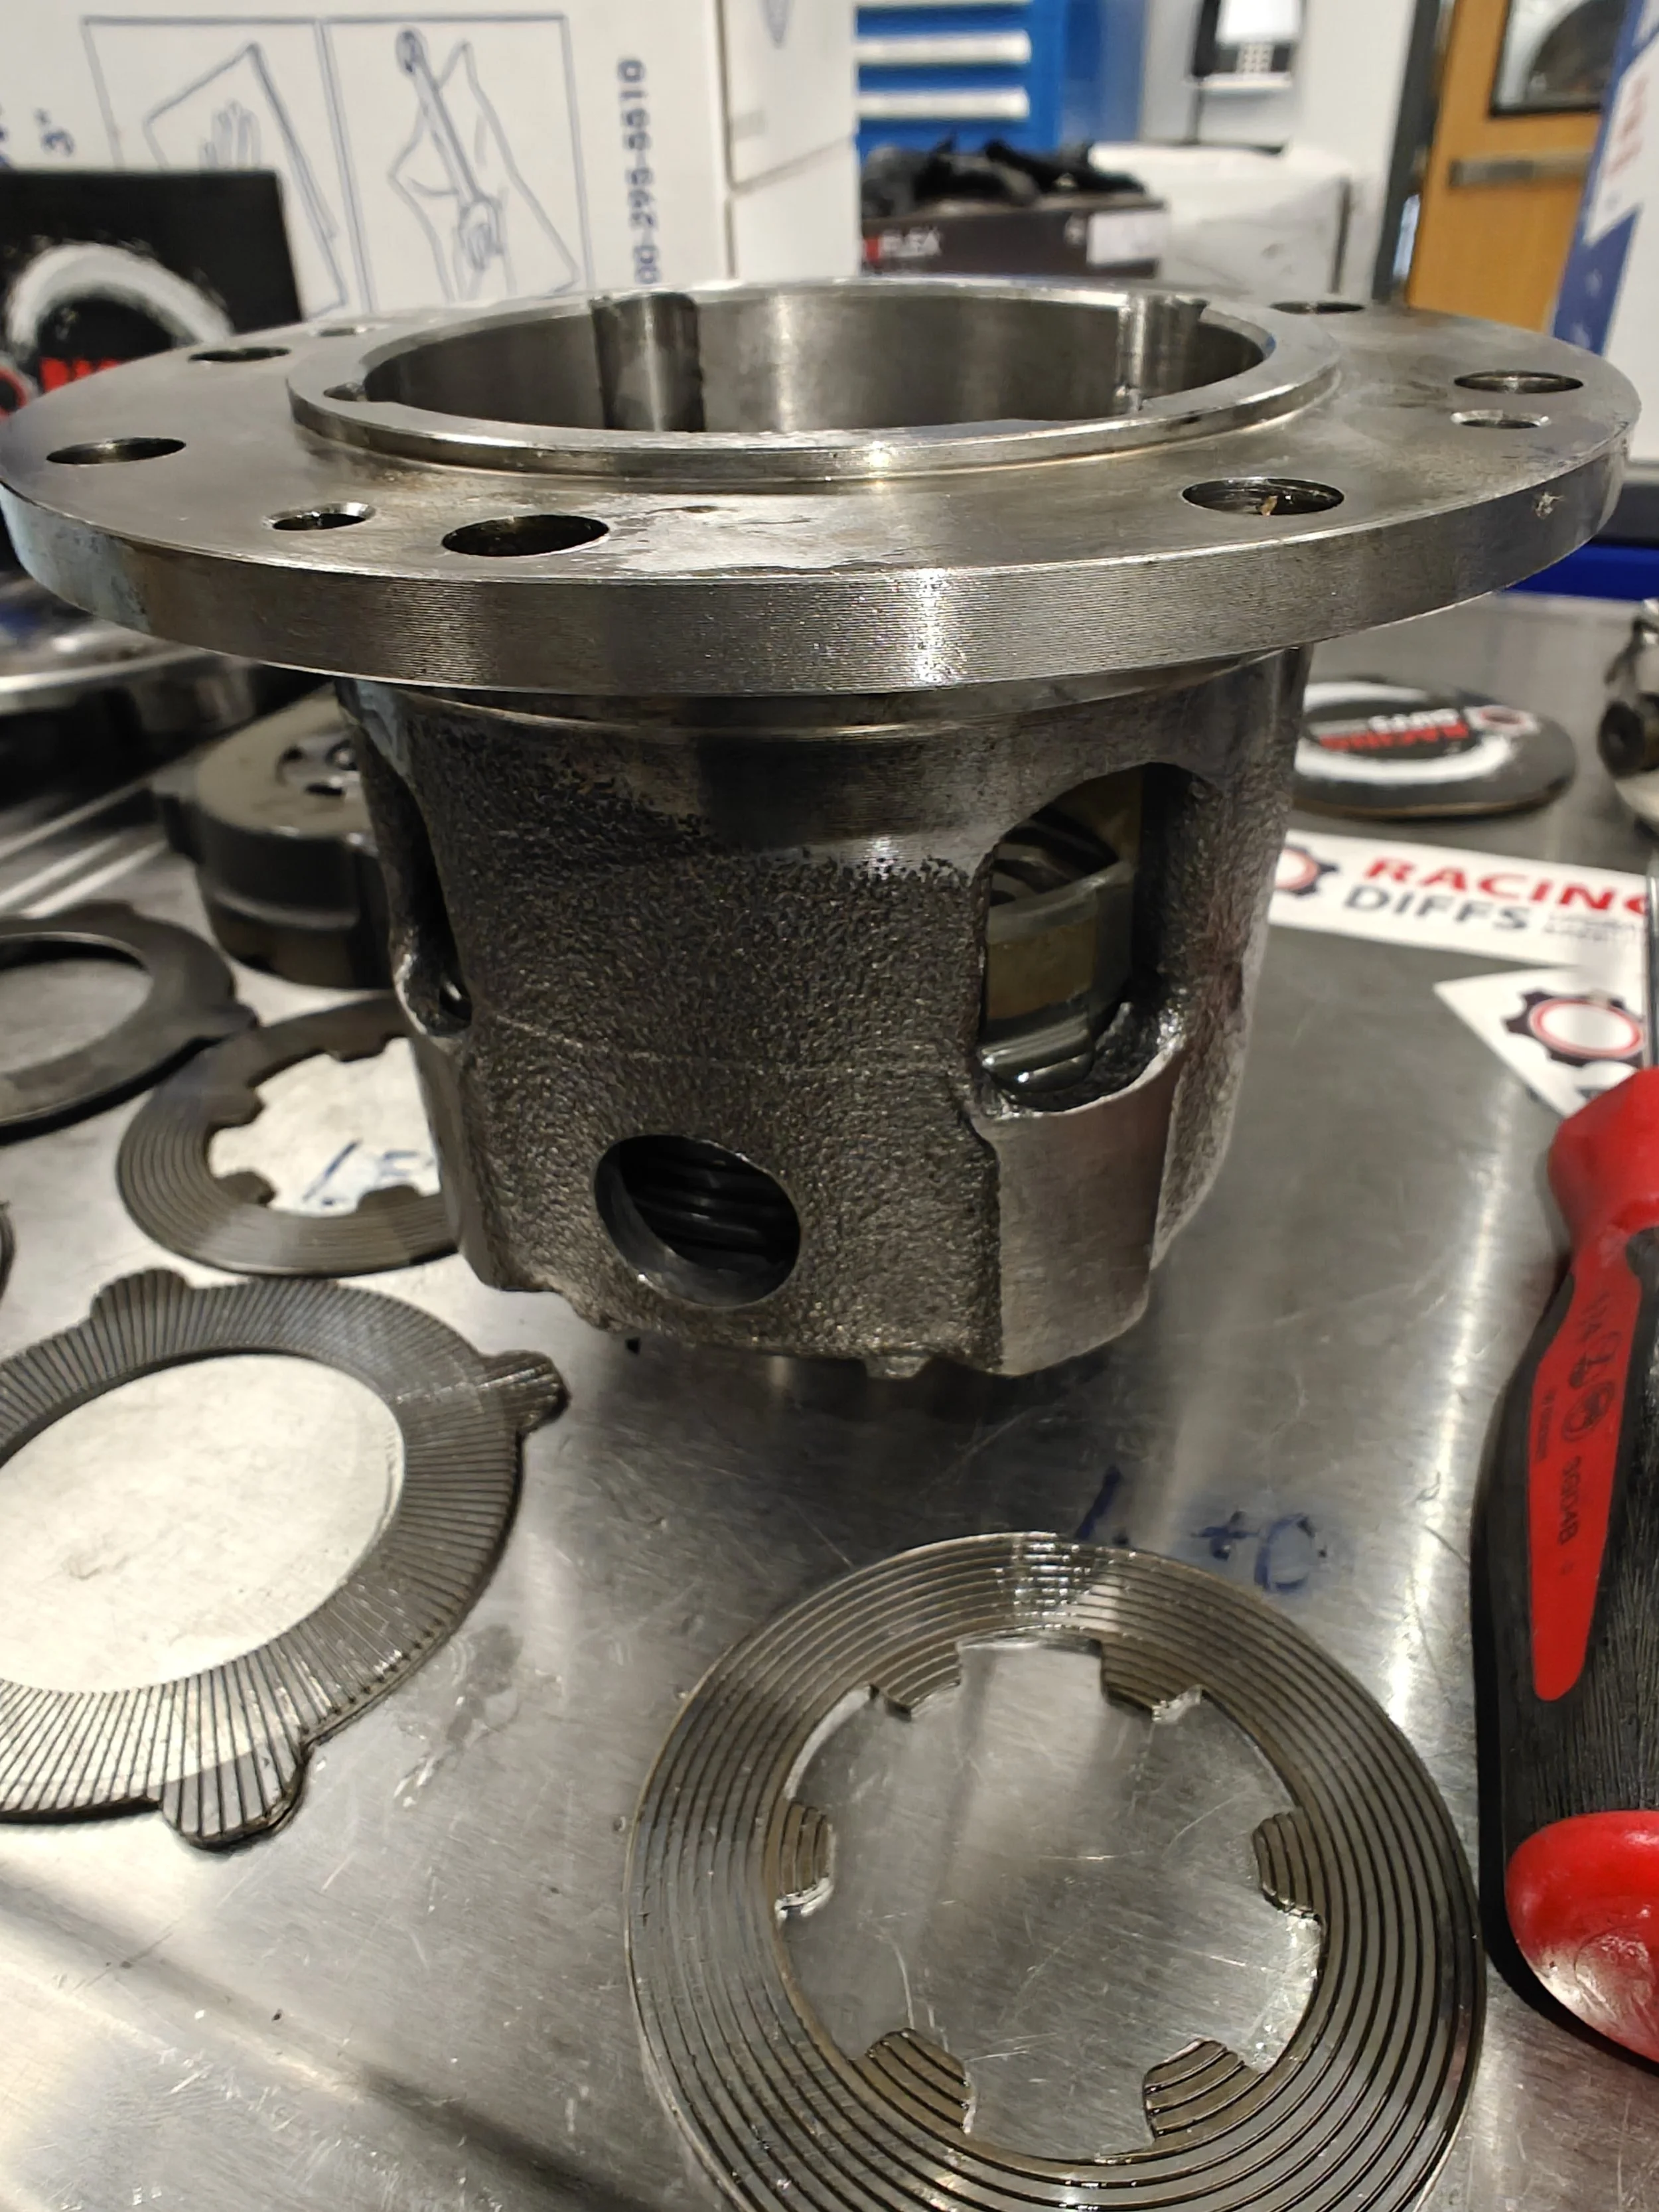
Here is a look at what to expect when you open up the the housing.
The downside of clutch plates is just like the clutch in between your engine and transmission. The more you use and abuse it, the more wear occurs. And before you know it the plates are worn out and the limited slip is now a just a slipping differential. And that brings us to our project today.. replacing those plates with a fresh set from RacingDiffs to gain back the glory days of your car.
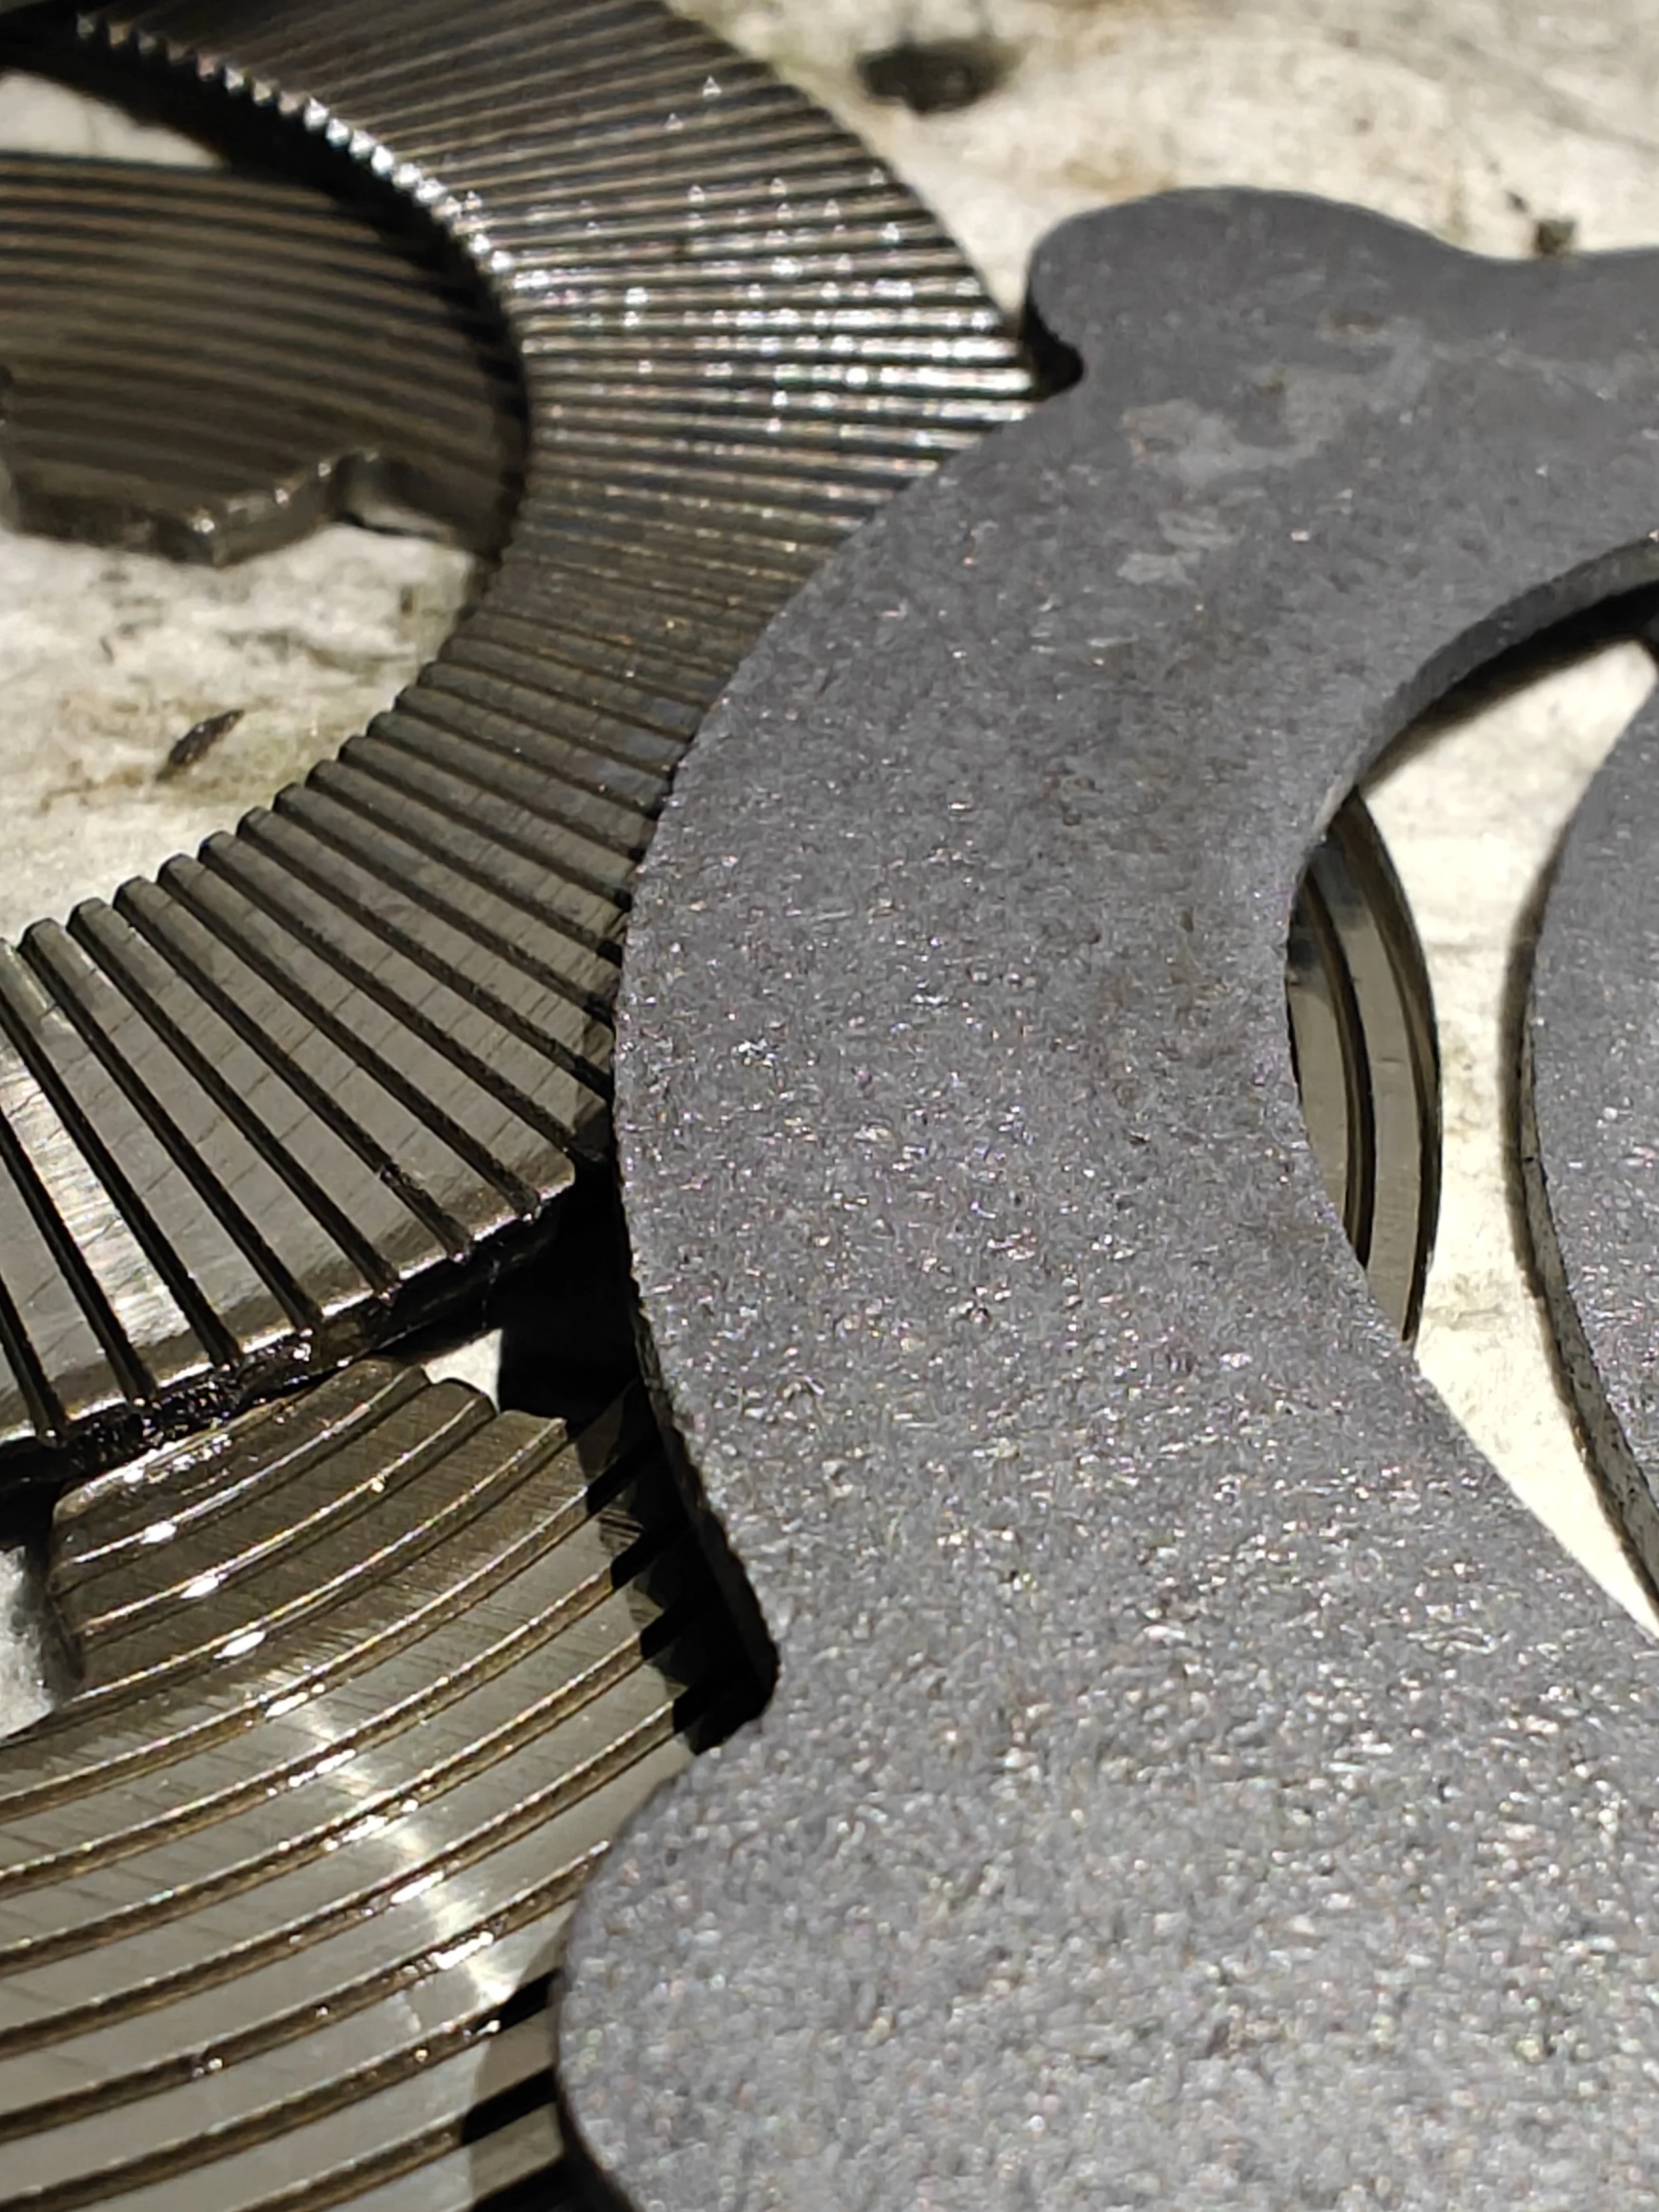
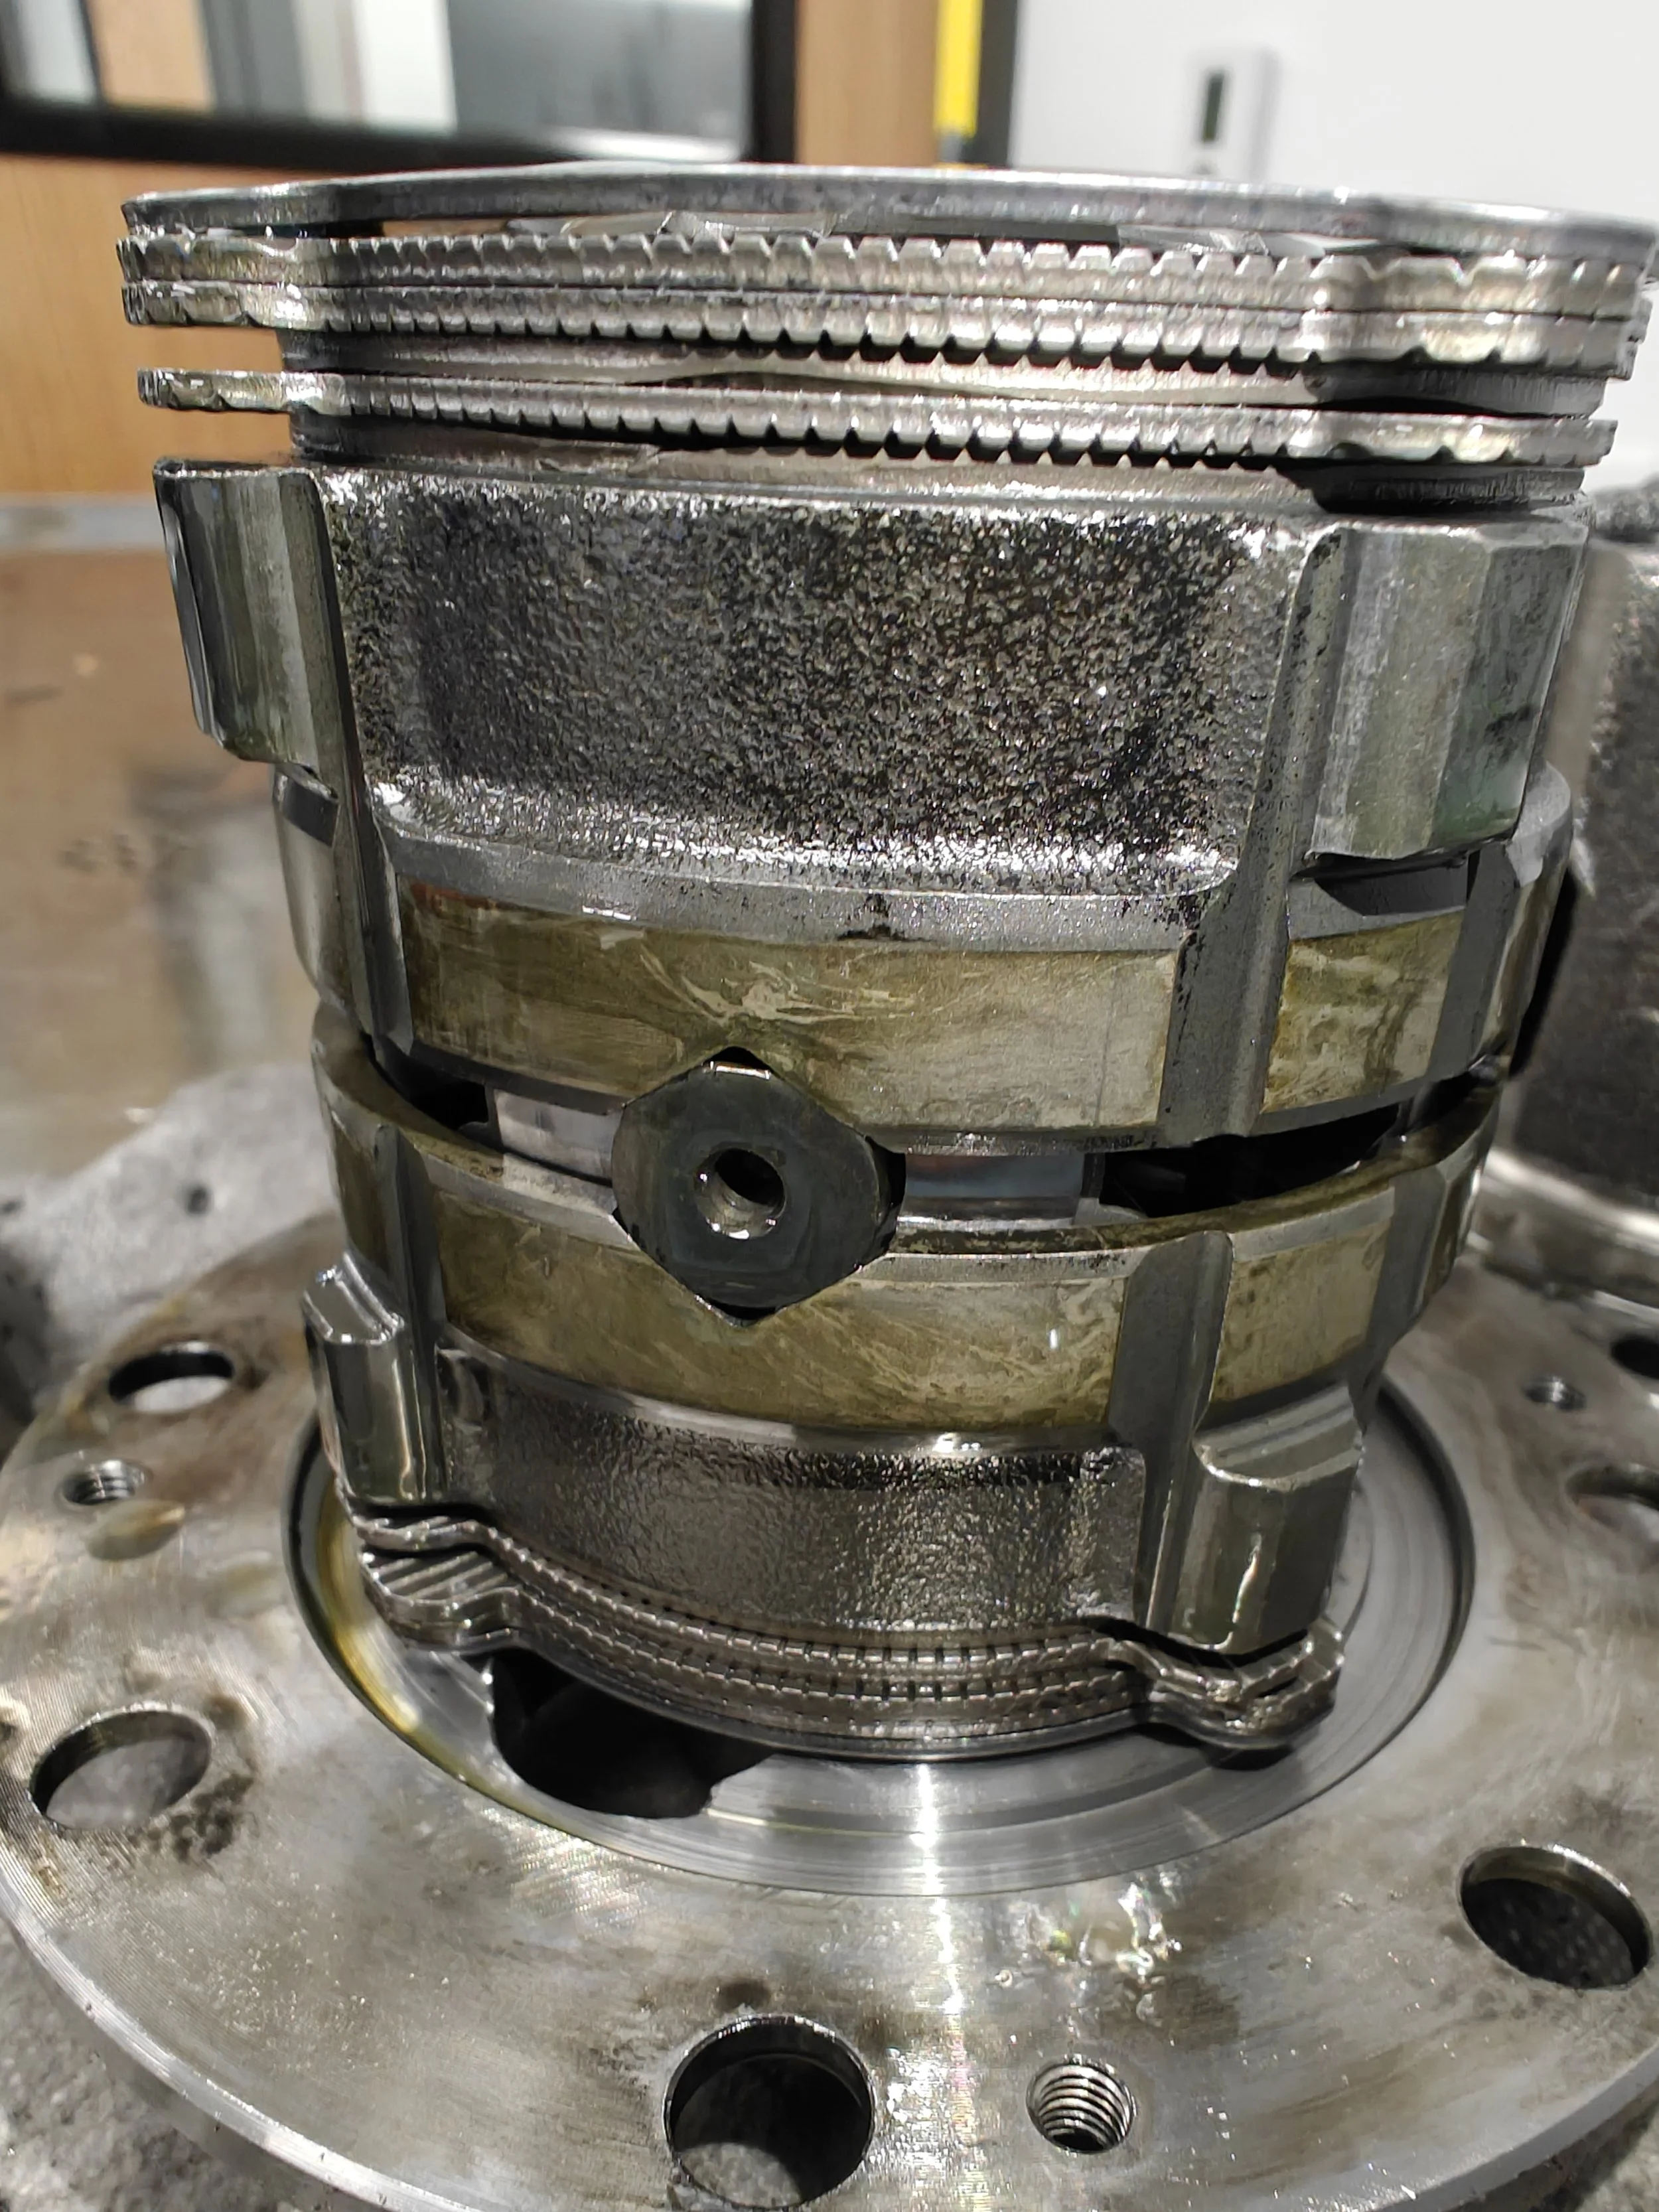
Here we can see the factory plates next to the RacingDiffs plates. This is where we get a good look at the Molybdenum ceramic coating.
Time Frame
This repair takes a bit of time, especially if you are new to taking apart rear differentials.. as I was also. I would set aside a whole afternoon, perhaps even a day for this project. And if you have to remove the differential housing to start this project… yeah it is going to take awhile.
Tools
Milwaukee 3/8ths electric ratchet
Milwaukee 1/2” electric impact
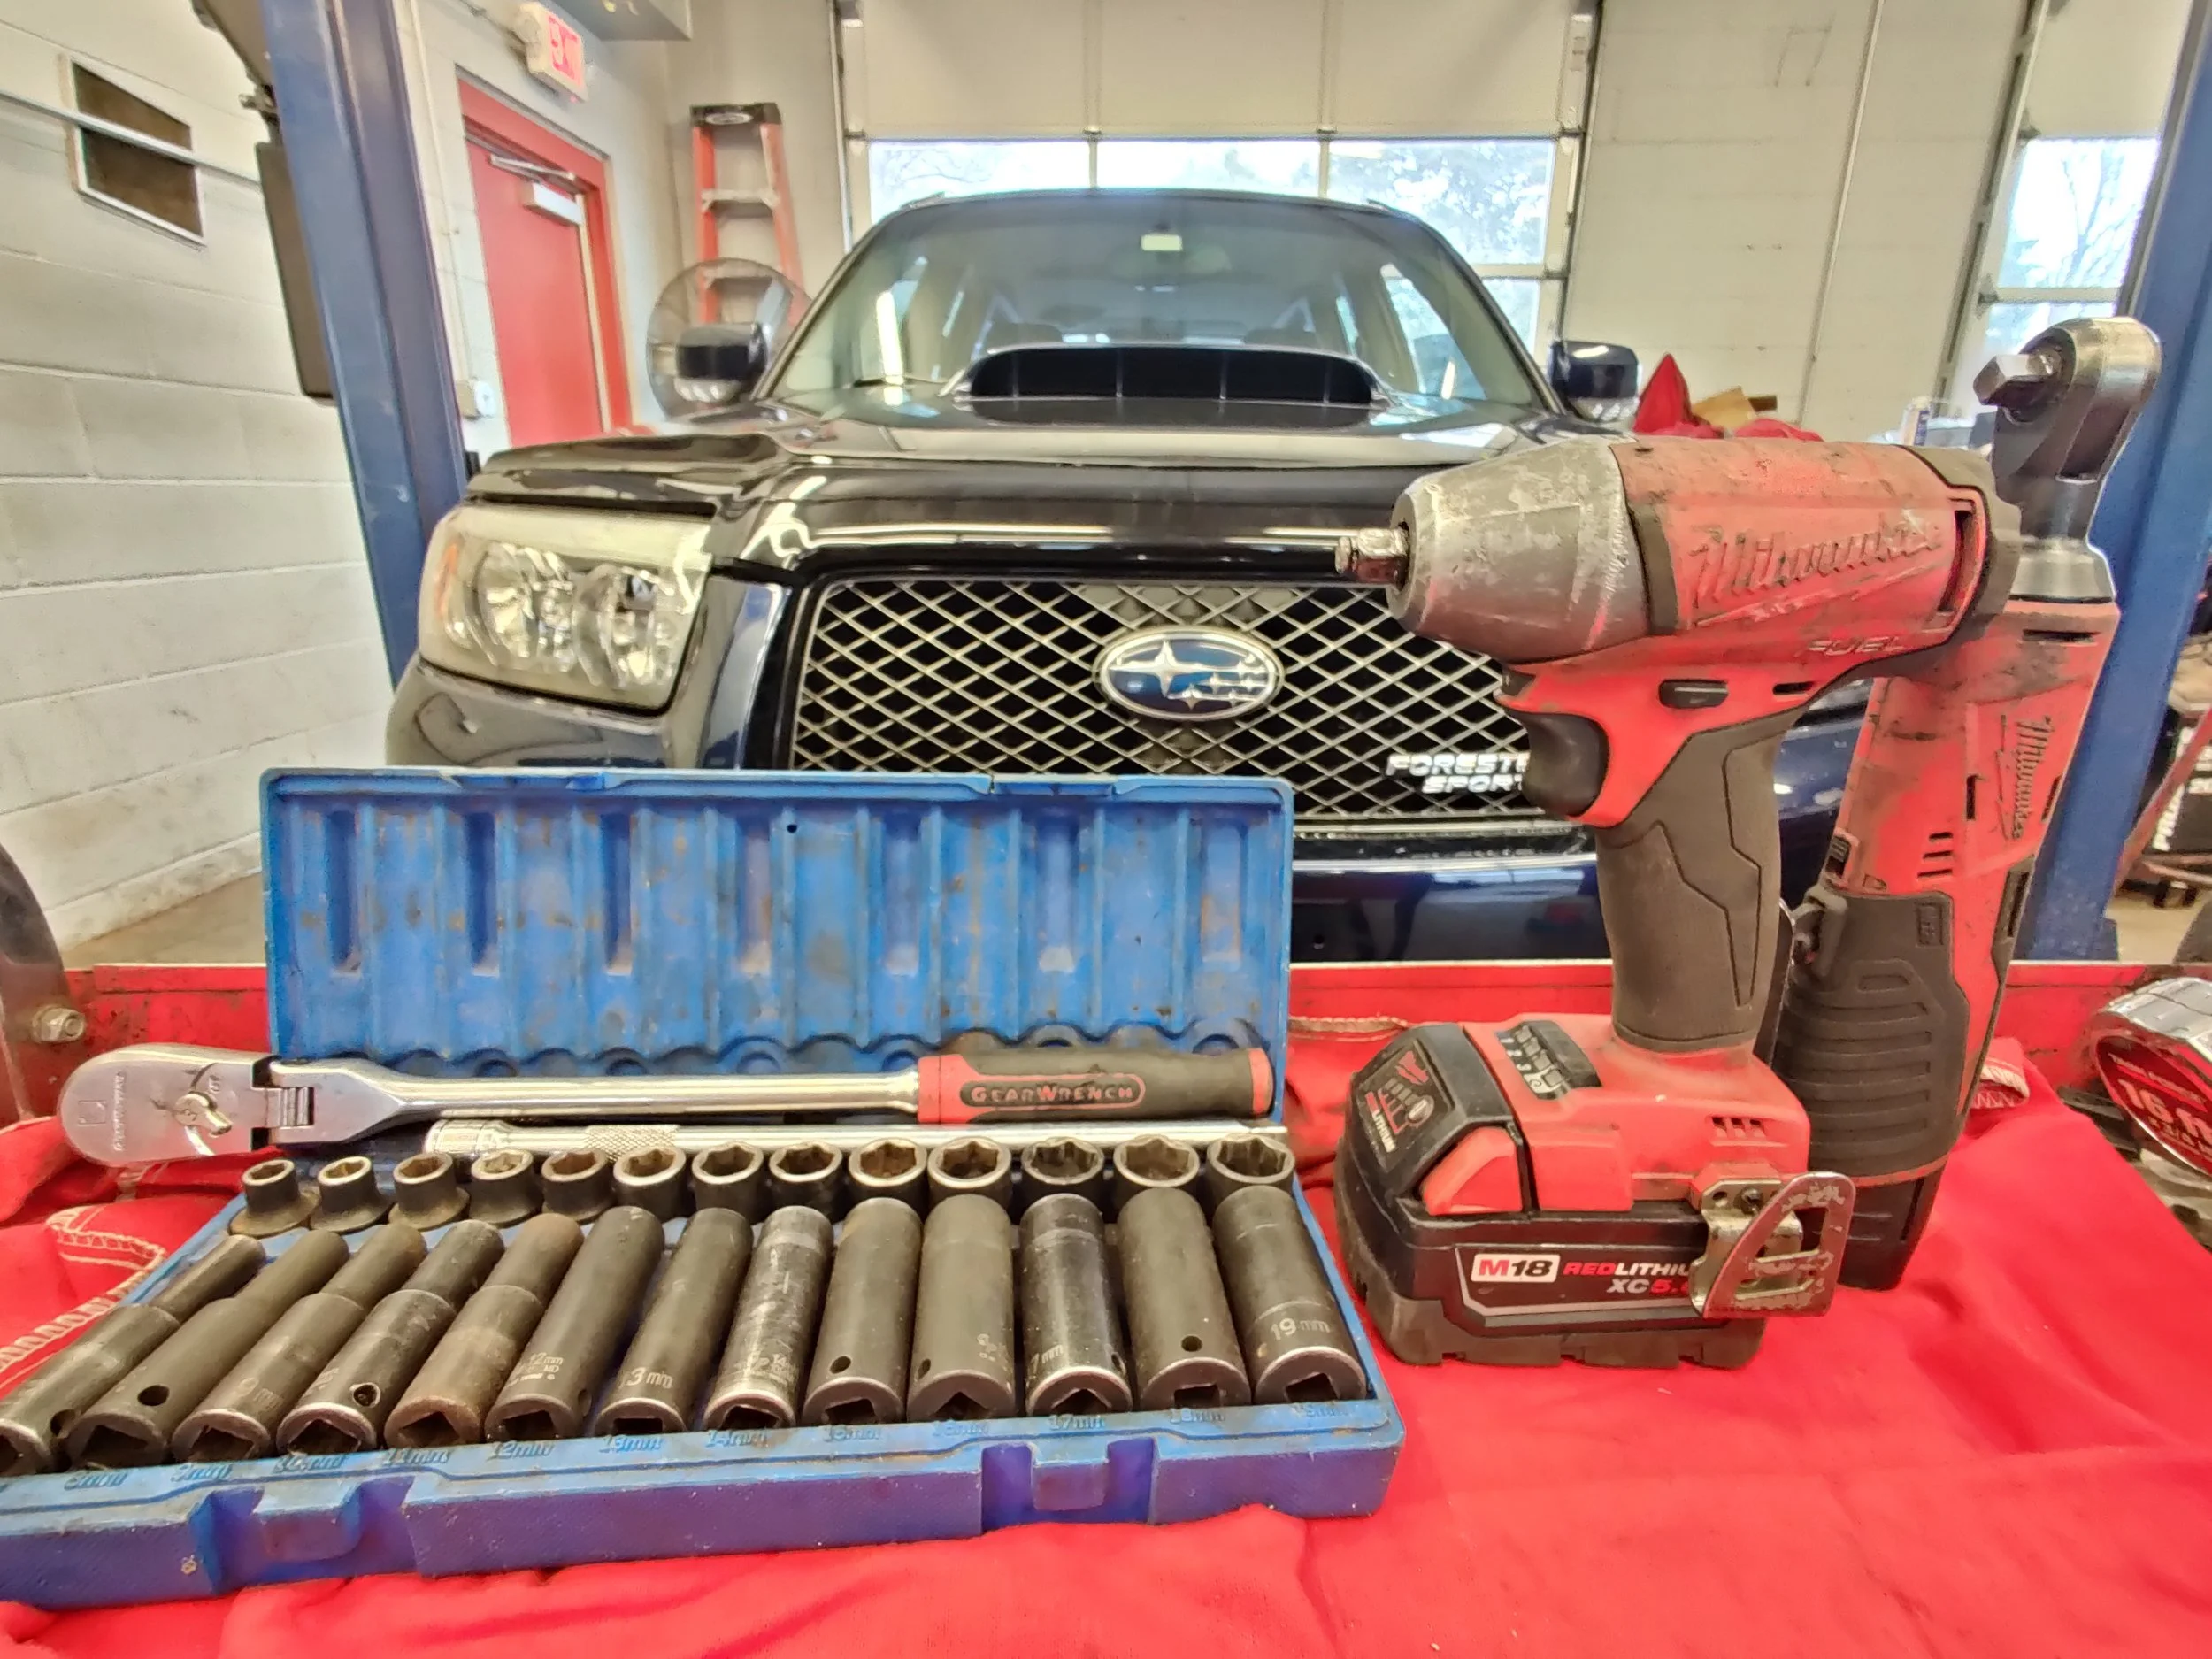
Not too many hand tools are necessary. But an impact will be helpful.

C clamps
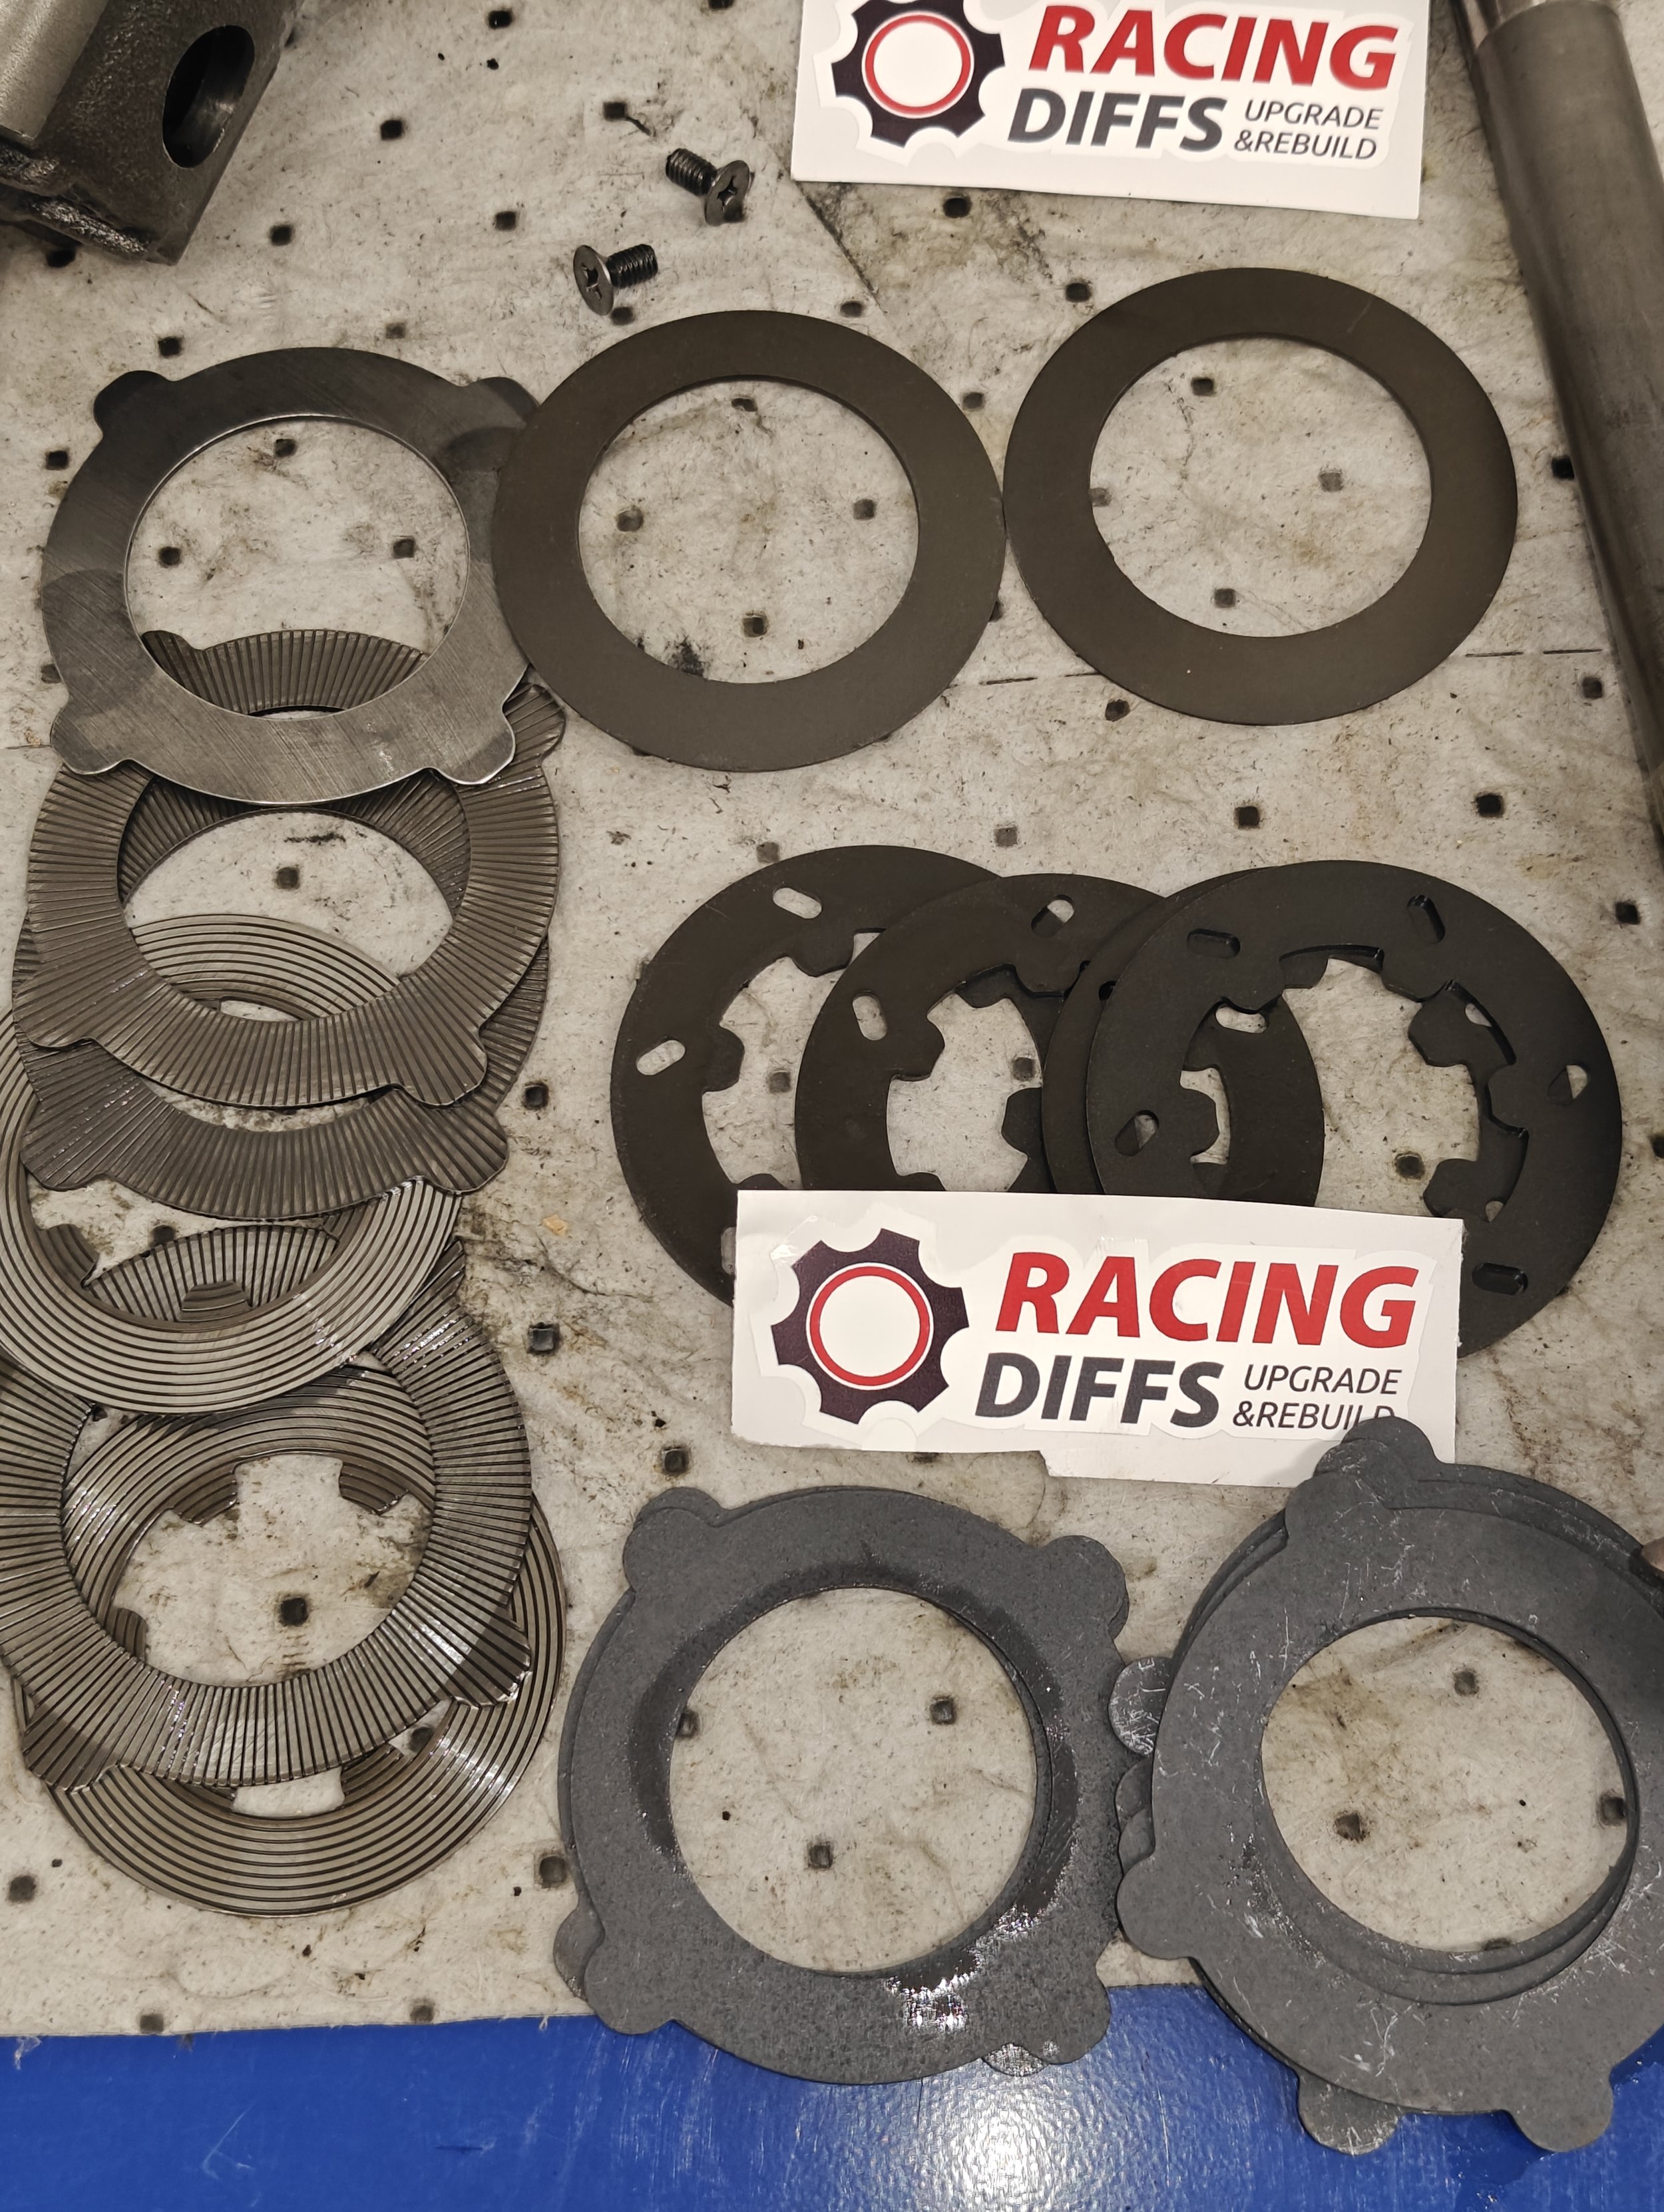
RacingDiffs plates shown here. Up top is the Spring plates that help with the differential action. The internal splined plates which there are four of. And then the external splining plates on the bottom of the image.
How to
First up on our list of things to do is get the car in the air so we can remove the rear differential. If you are looking for assistance I will be putting together a full write on overhauling the R180. The link will be here.
Once you have gotten the differential out of the carrier it is time to get to work.
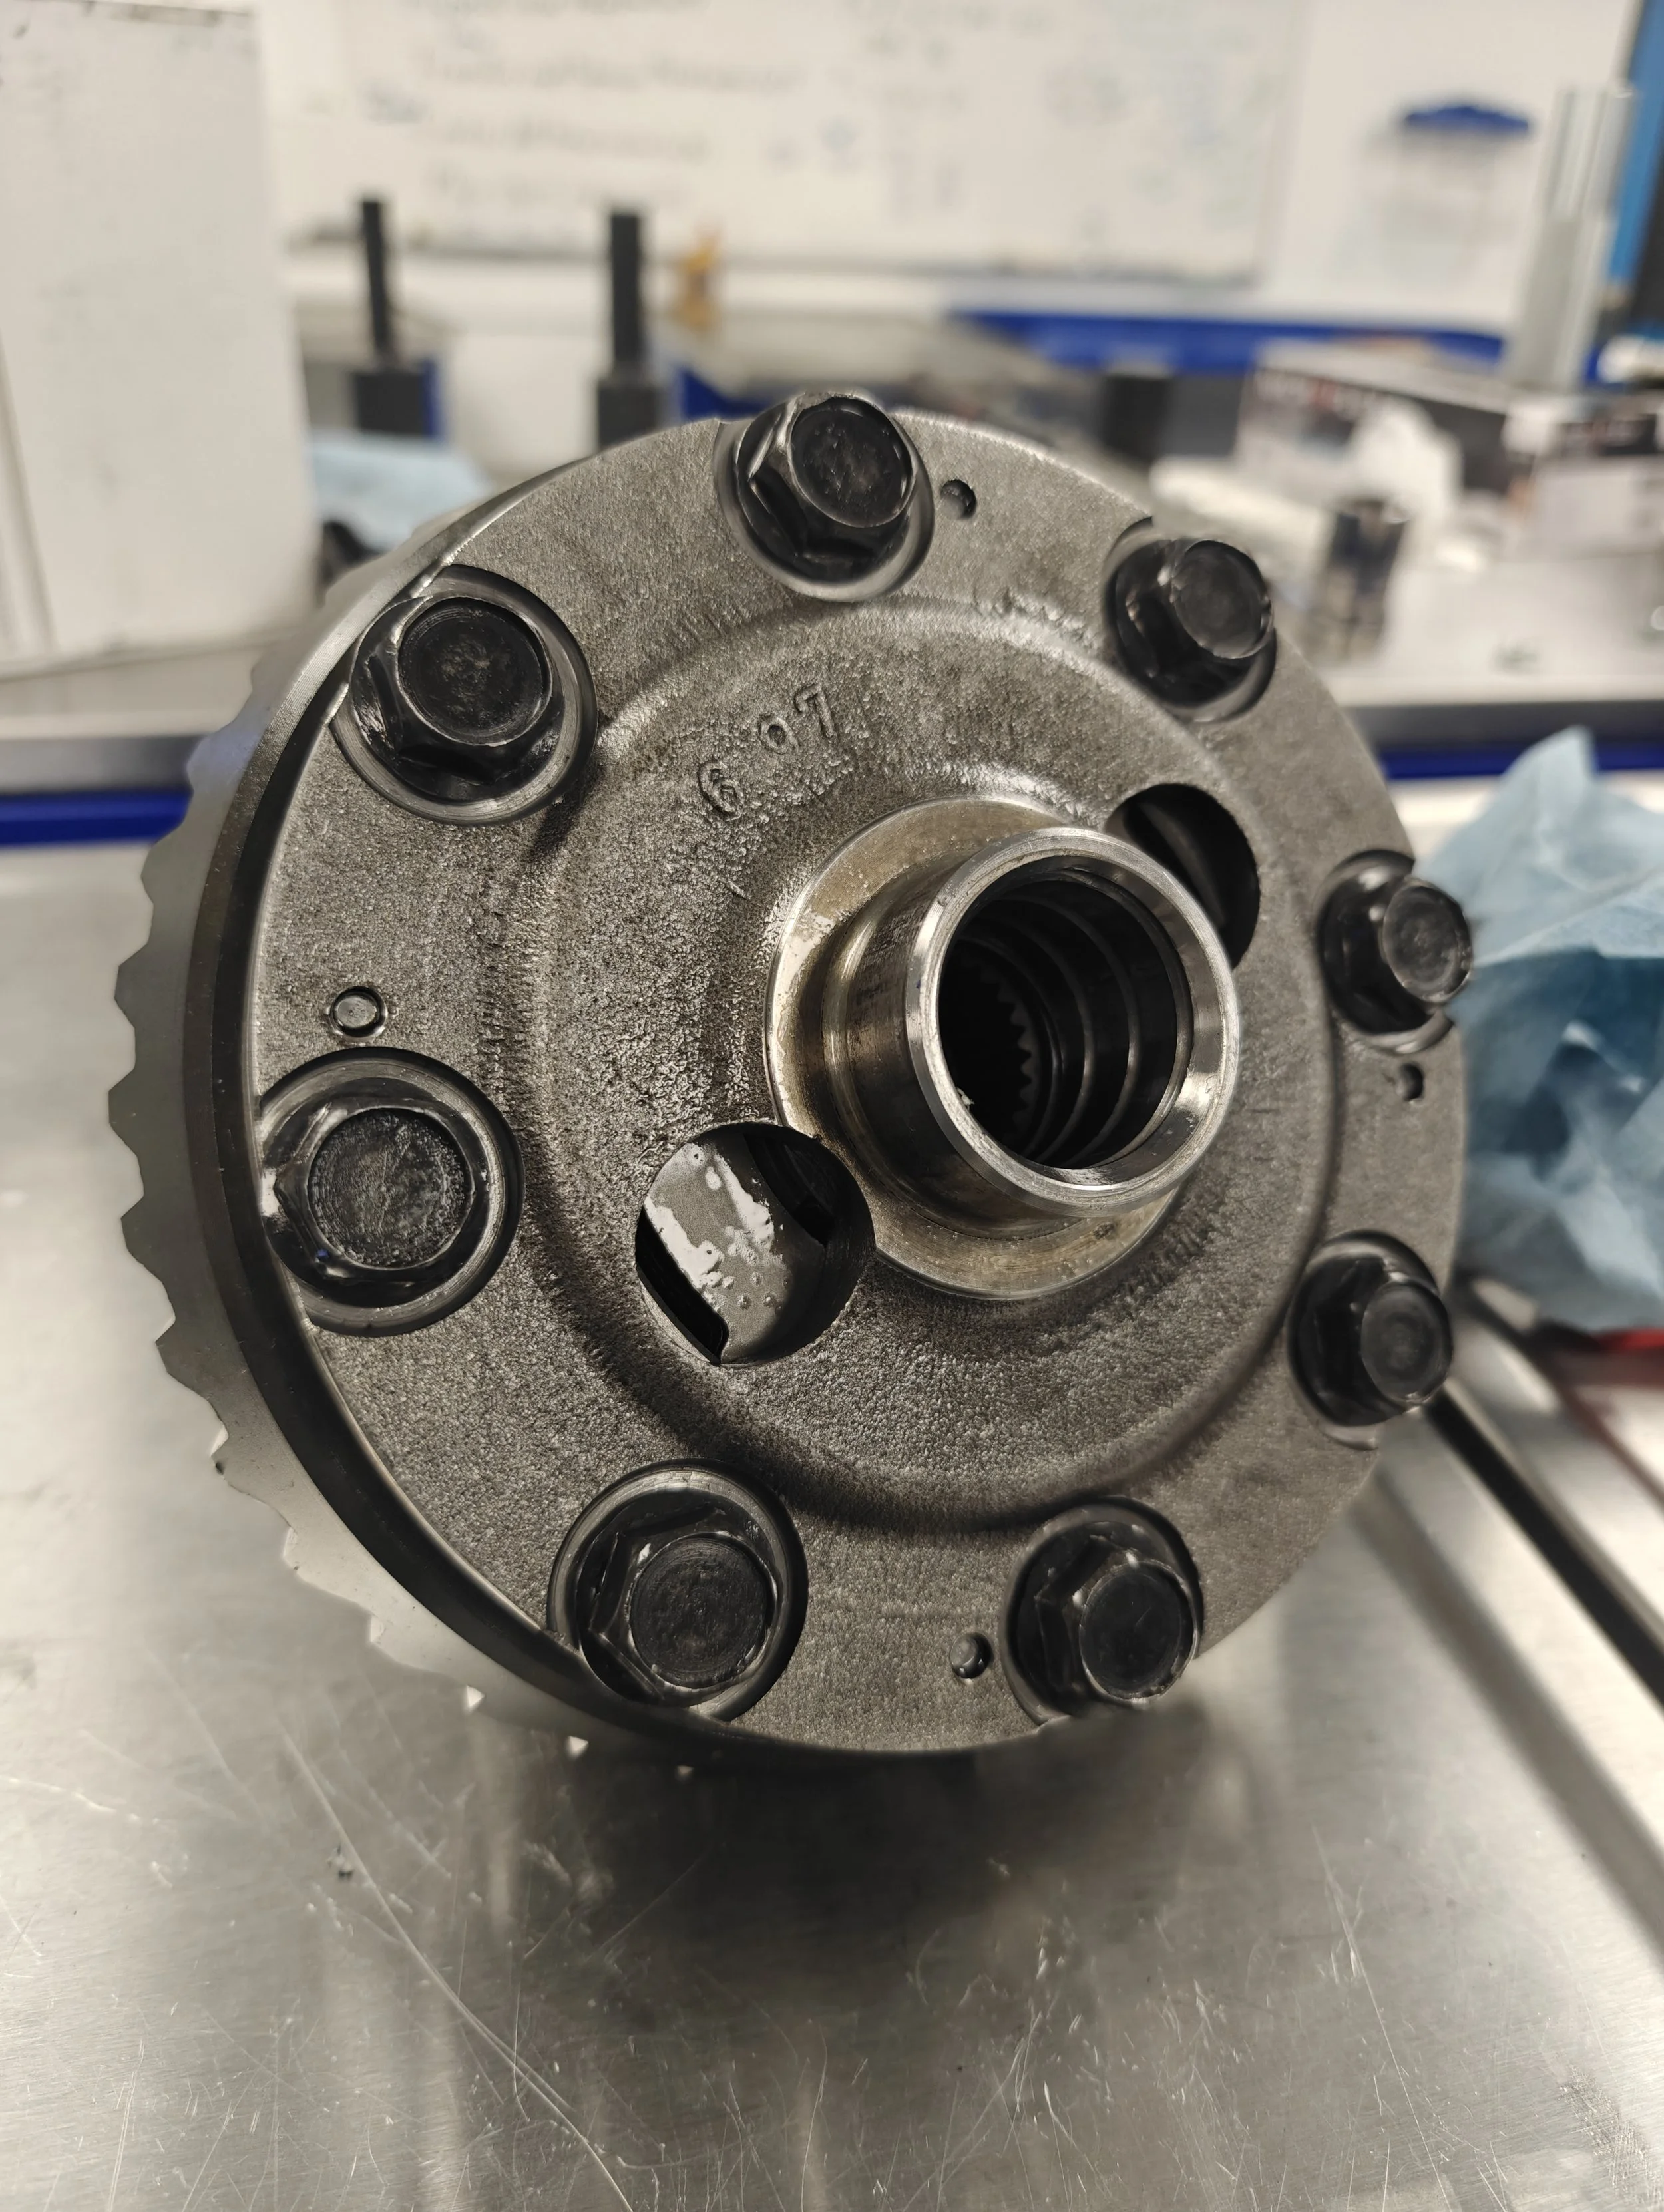
With the differential out of the assembly it is time to take it apart to swap the plates. First thing is to mark the ring gear so it is placed back in the same position. Subaru thought about this and marked the housing, so take a second to mark the ring. Now we can blow the bolts off to remove the ring gear. An impact is your best friend when getting these bolts off, I’d recommend going loosening one bolt in a criss-cross pattern.
Using an impact you can easily remove these bolts that hold the ring gear on.
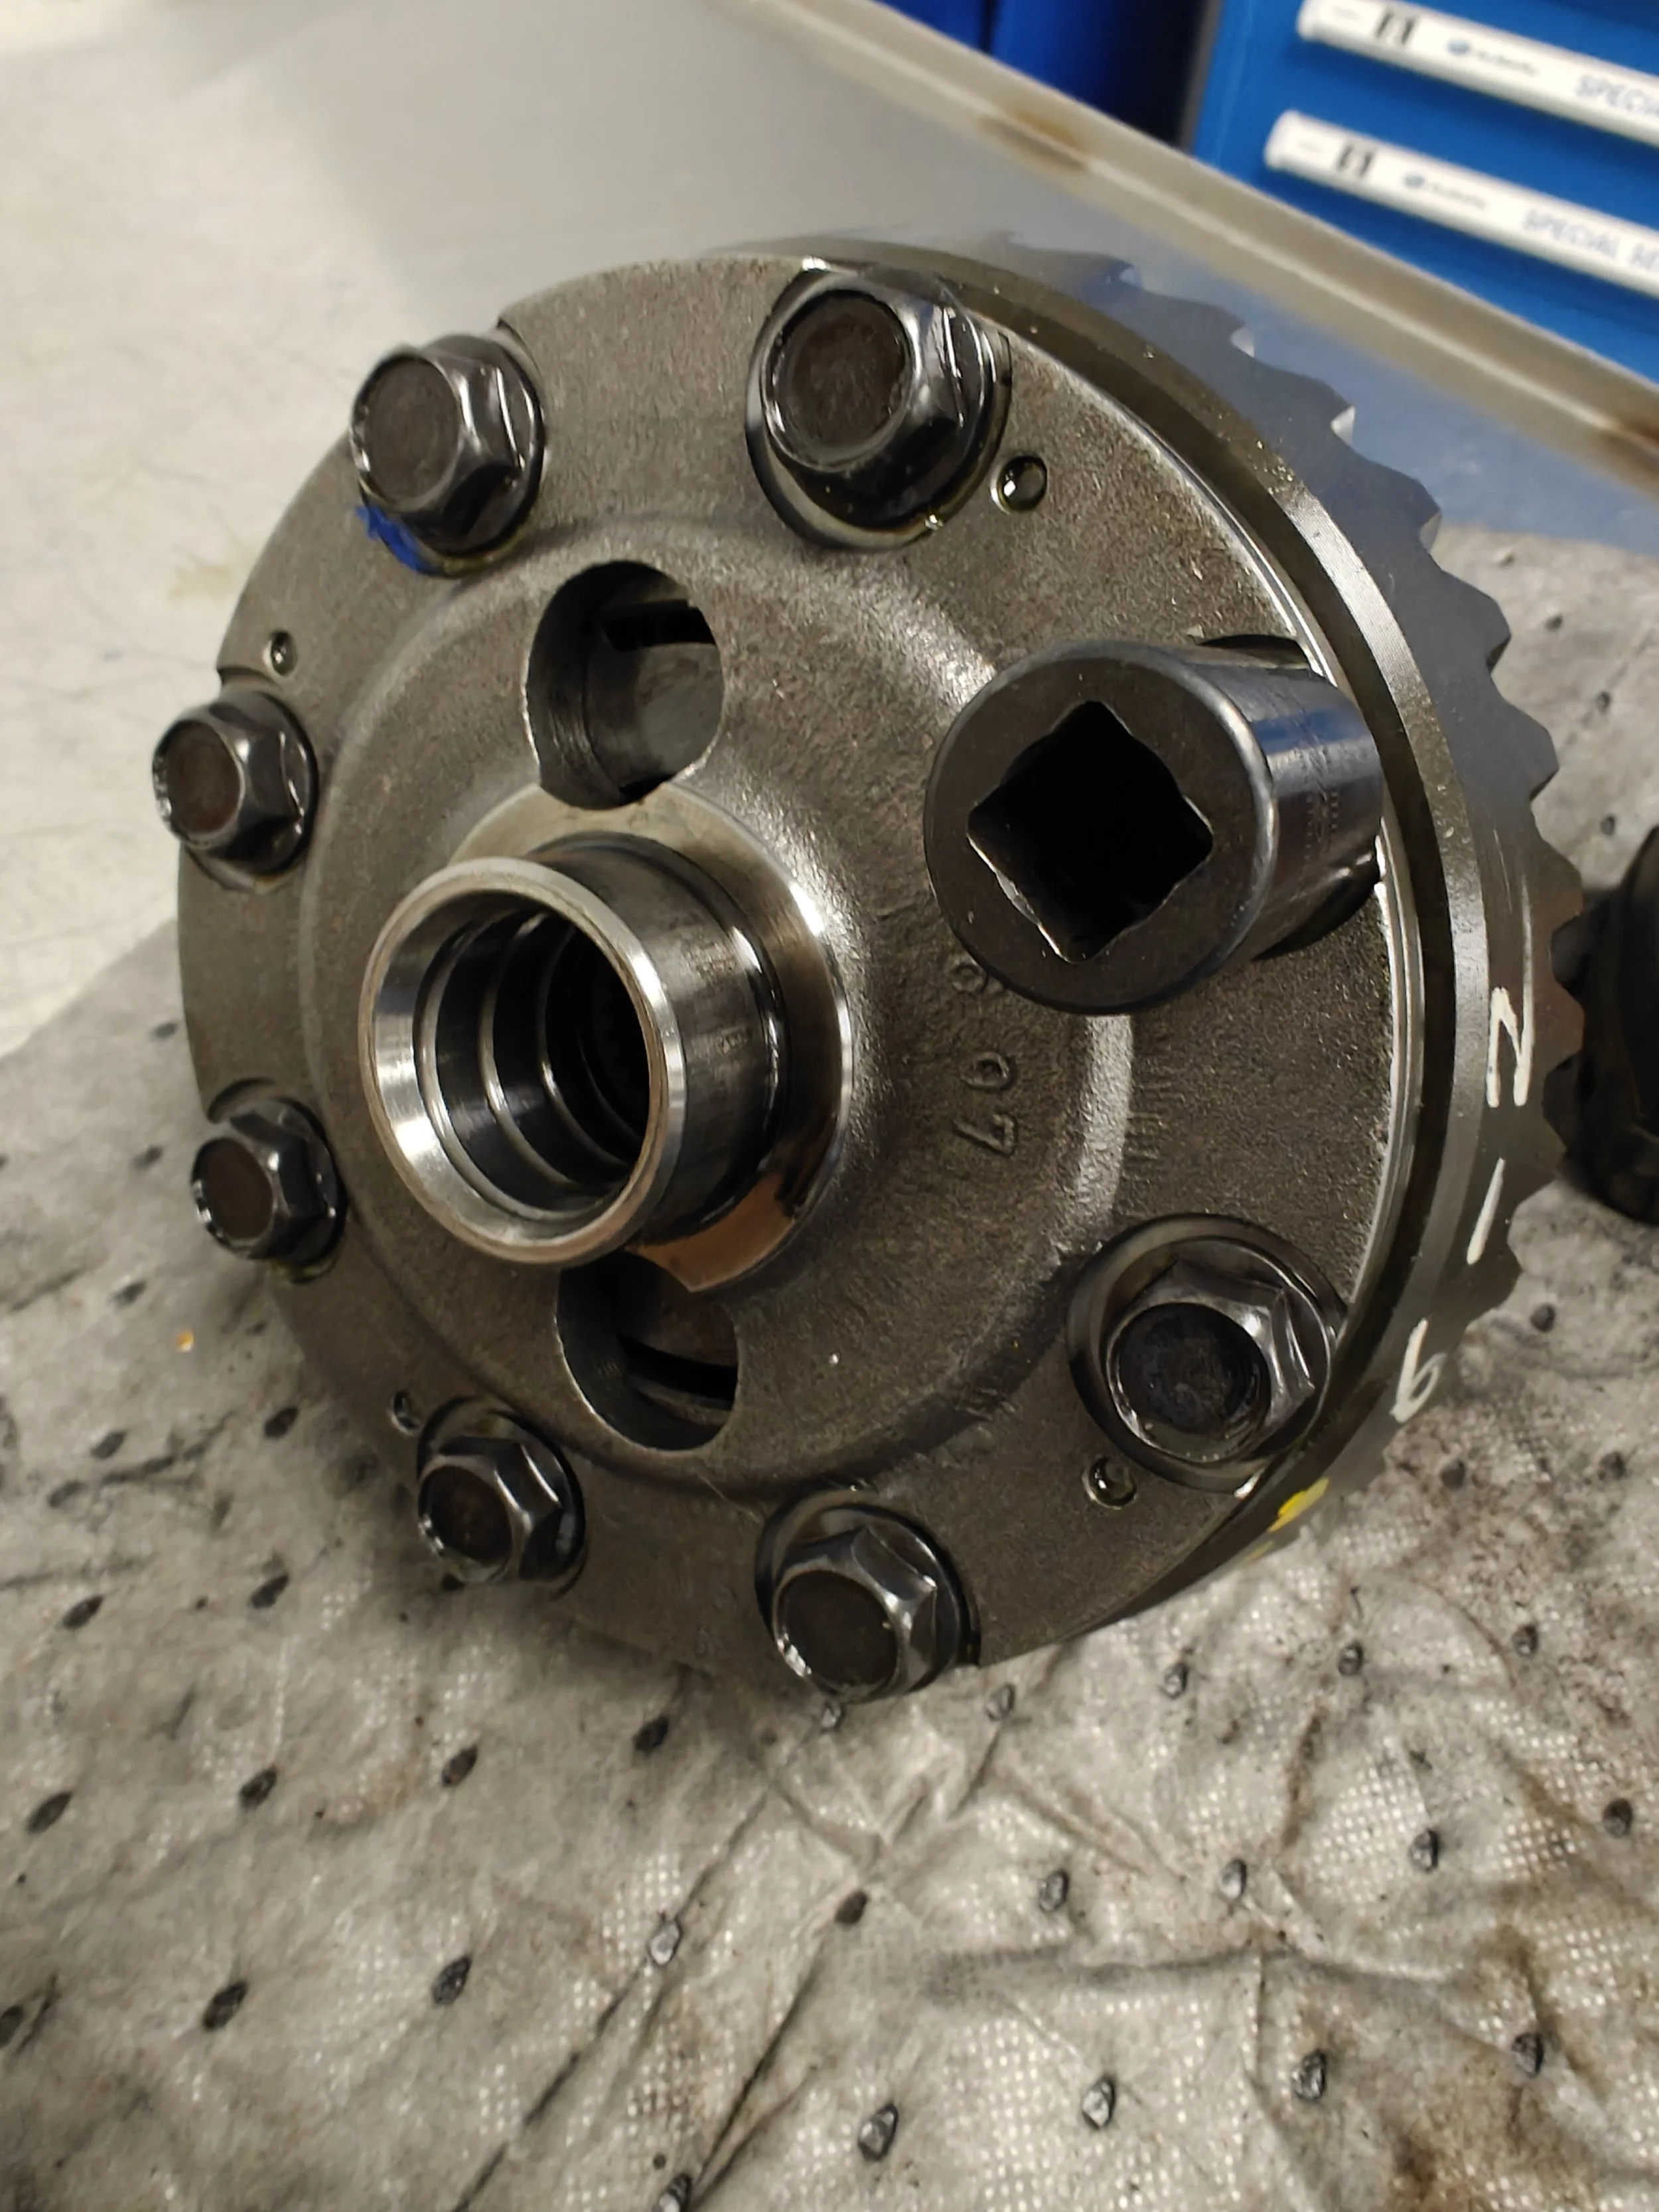
Here we are with the ring gear removed.
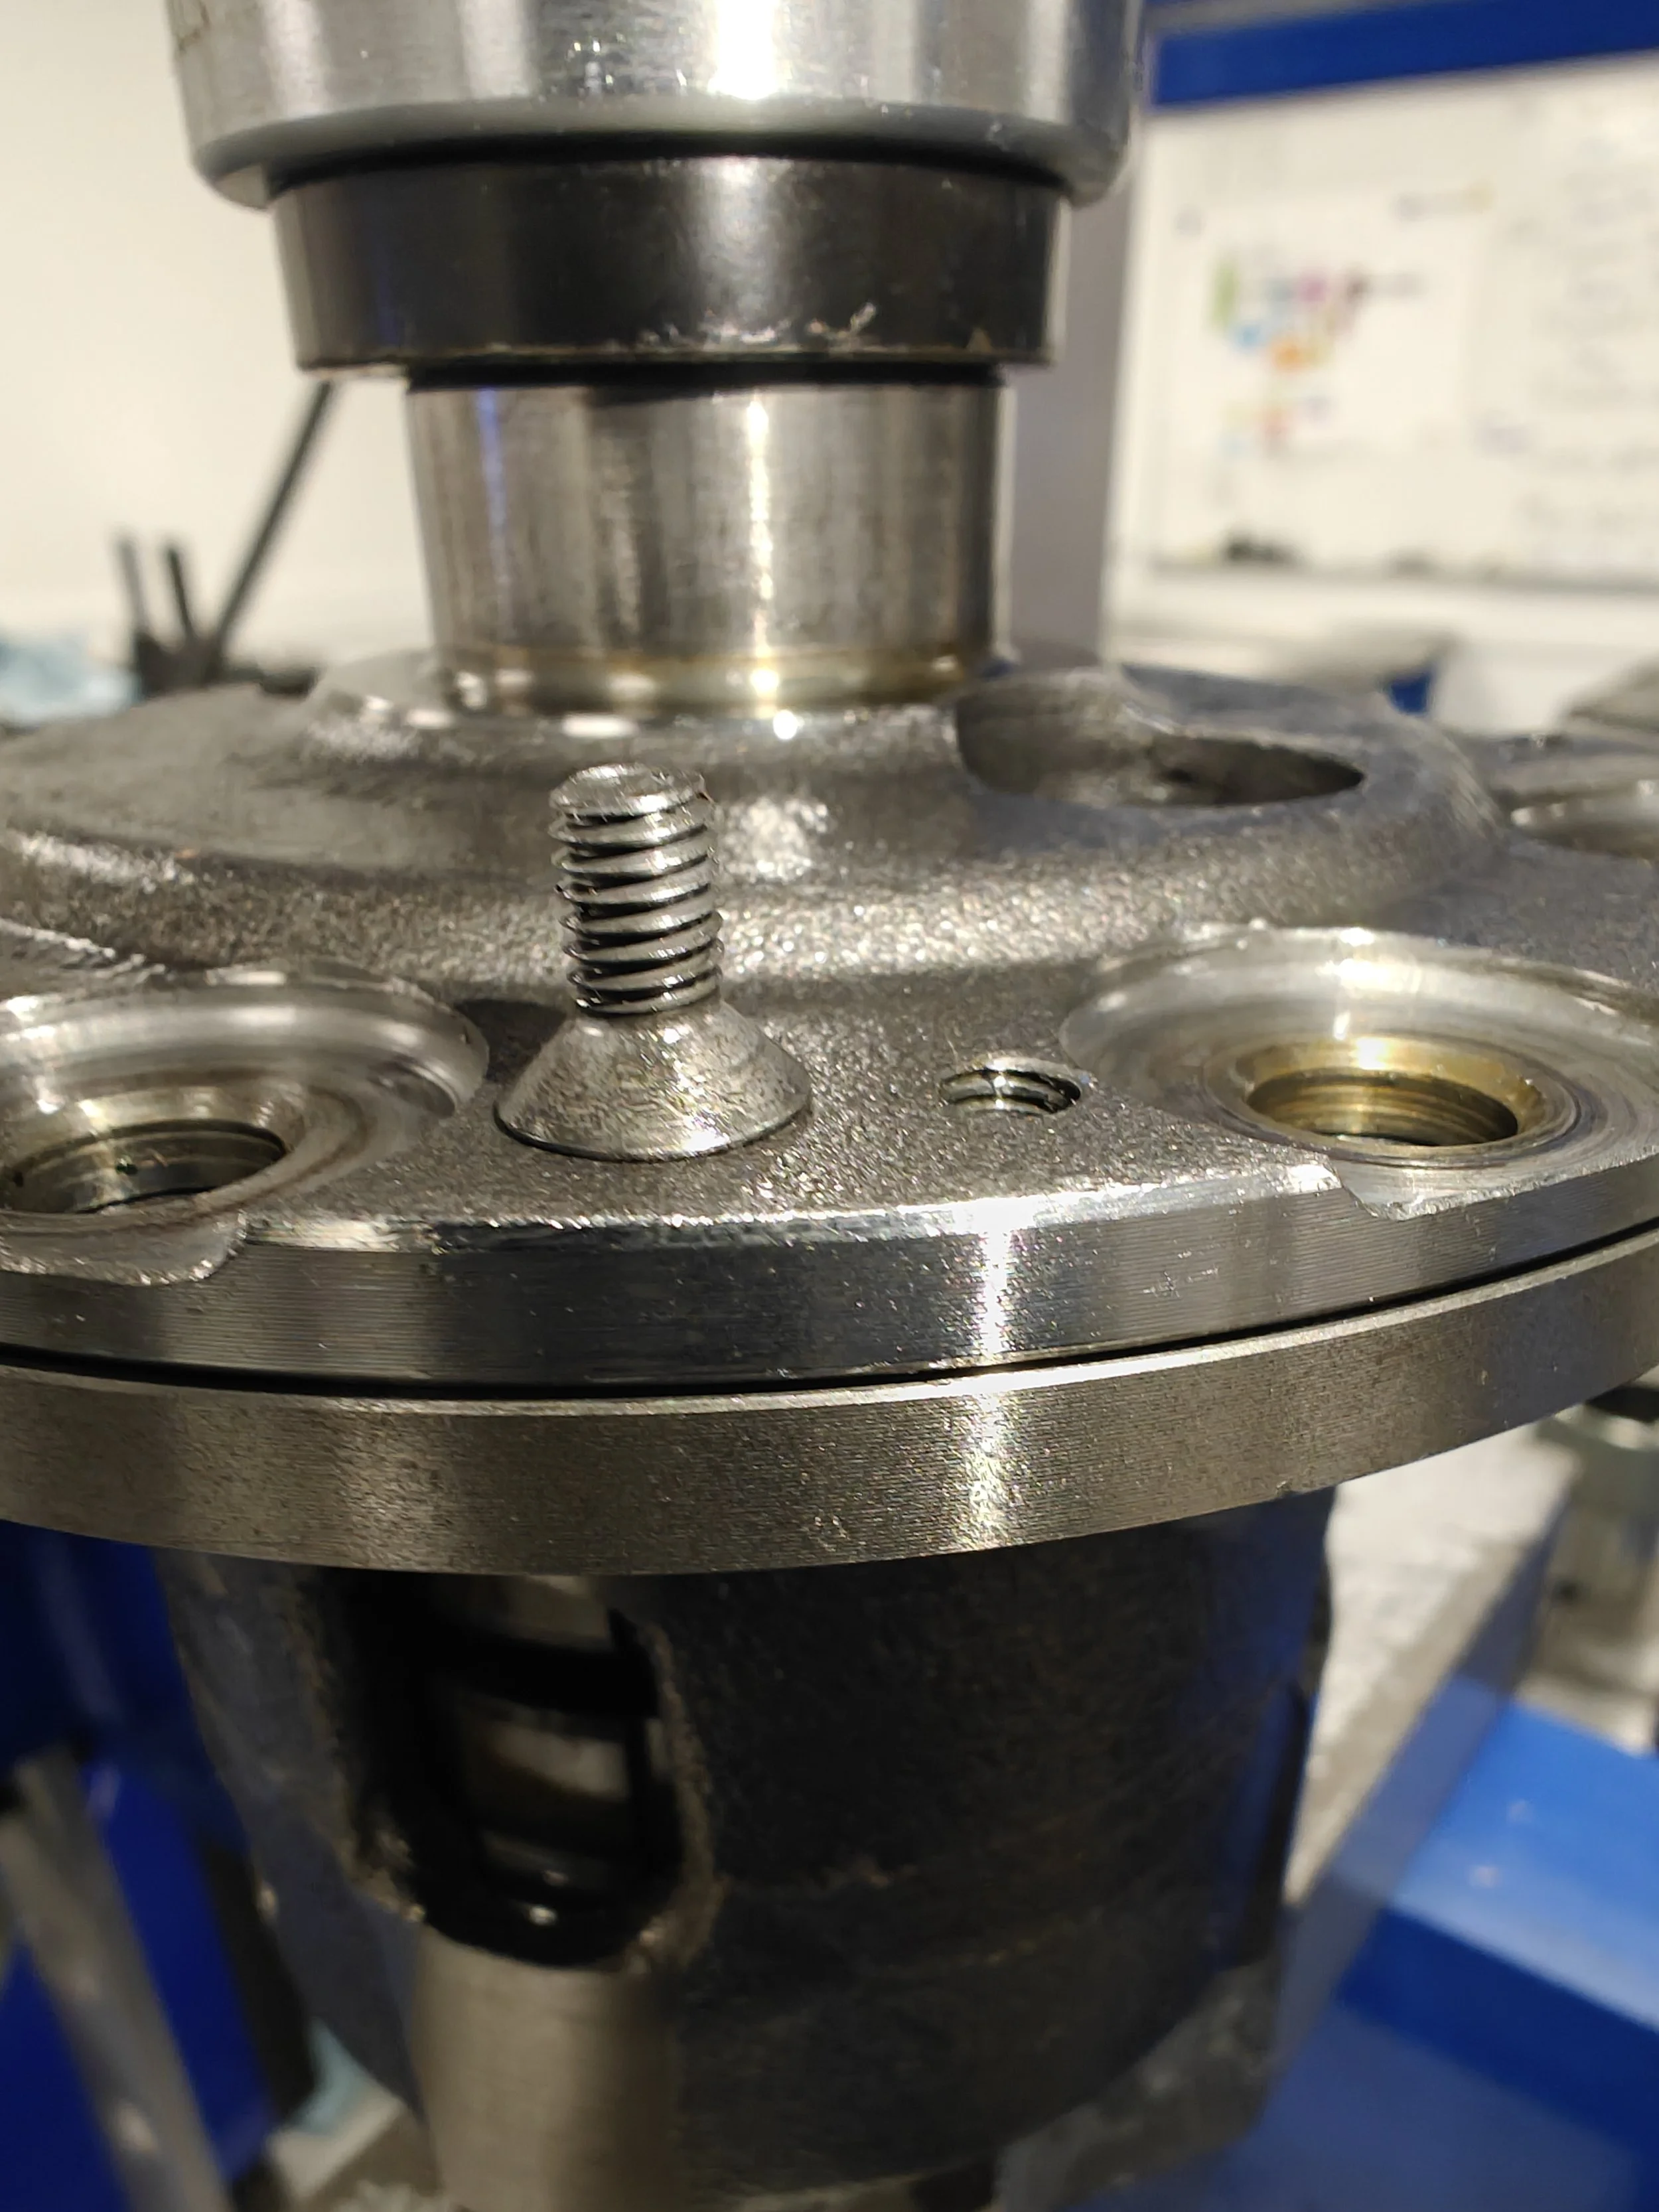
Up next we will be removing the four screws that hold the two sides of the differential together. The service manual and myself will recommend you to use a press or clamp to hold the differential together so you don’t damage the screws or threads. Once all the screws are removed you can remove the press or clamps.

After you remove the ring gear you will see these four screws holding the housing together

In this image you can see the differential in the press to keep it from springing apart and causing damaged to the housing while removing the screws.
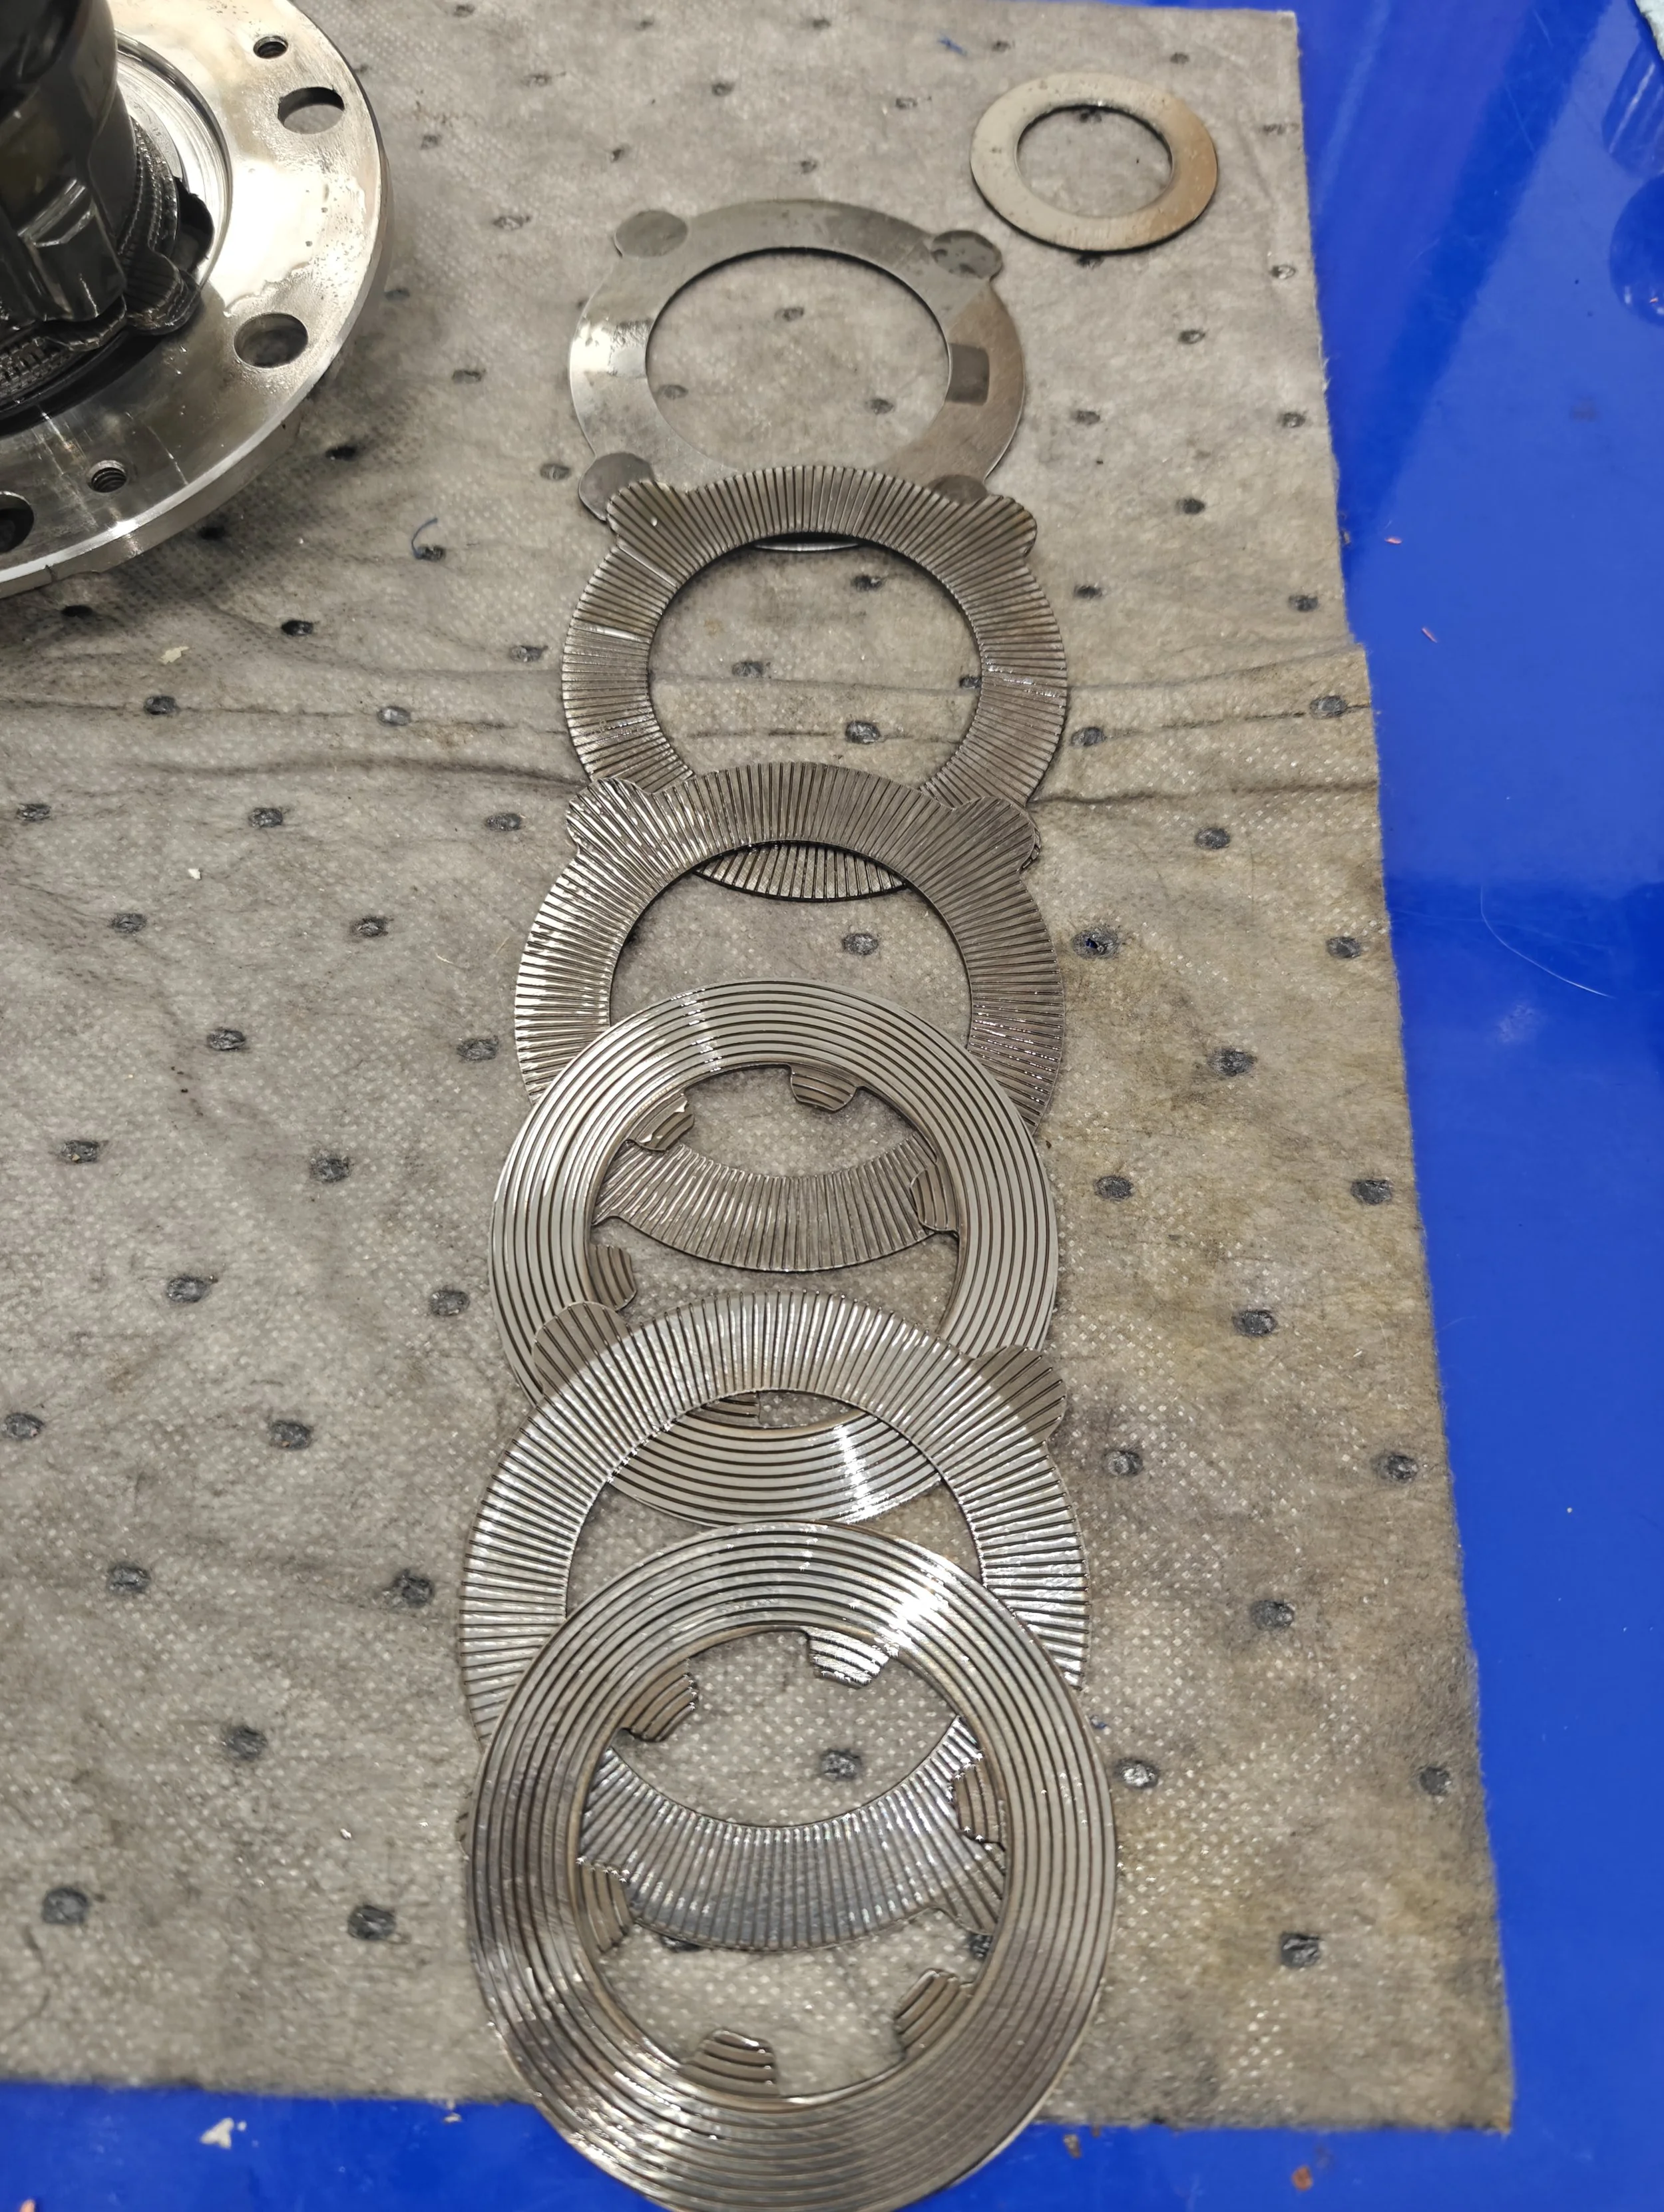
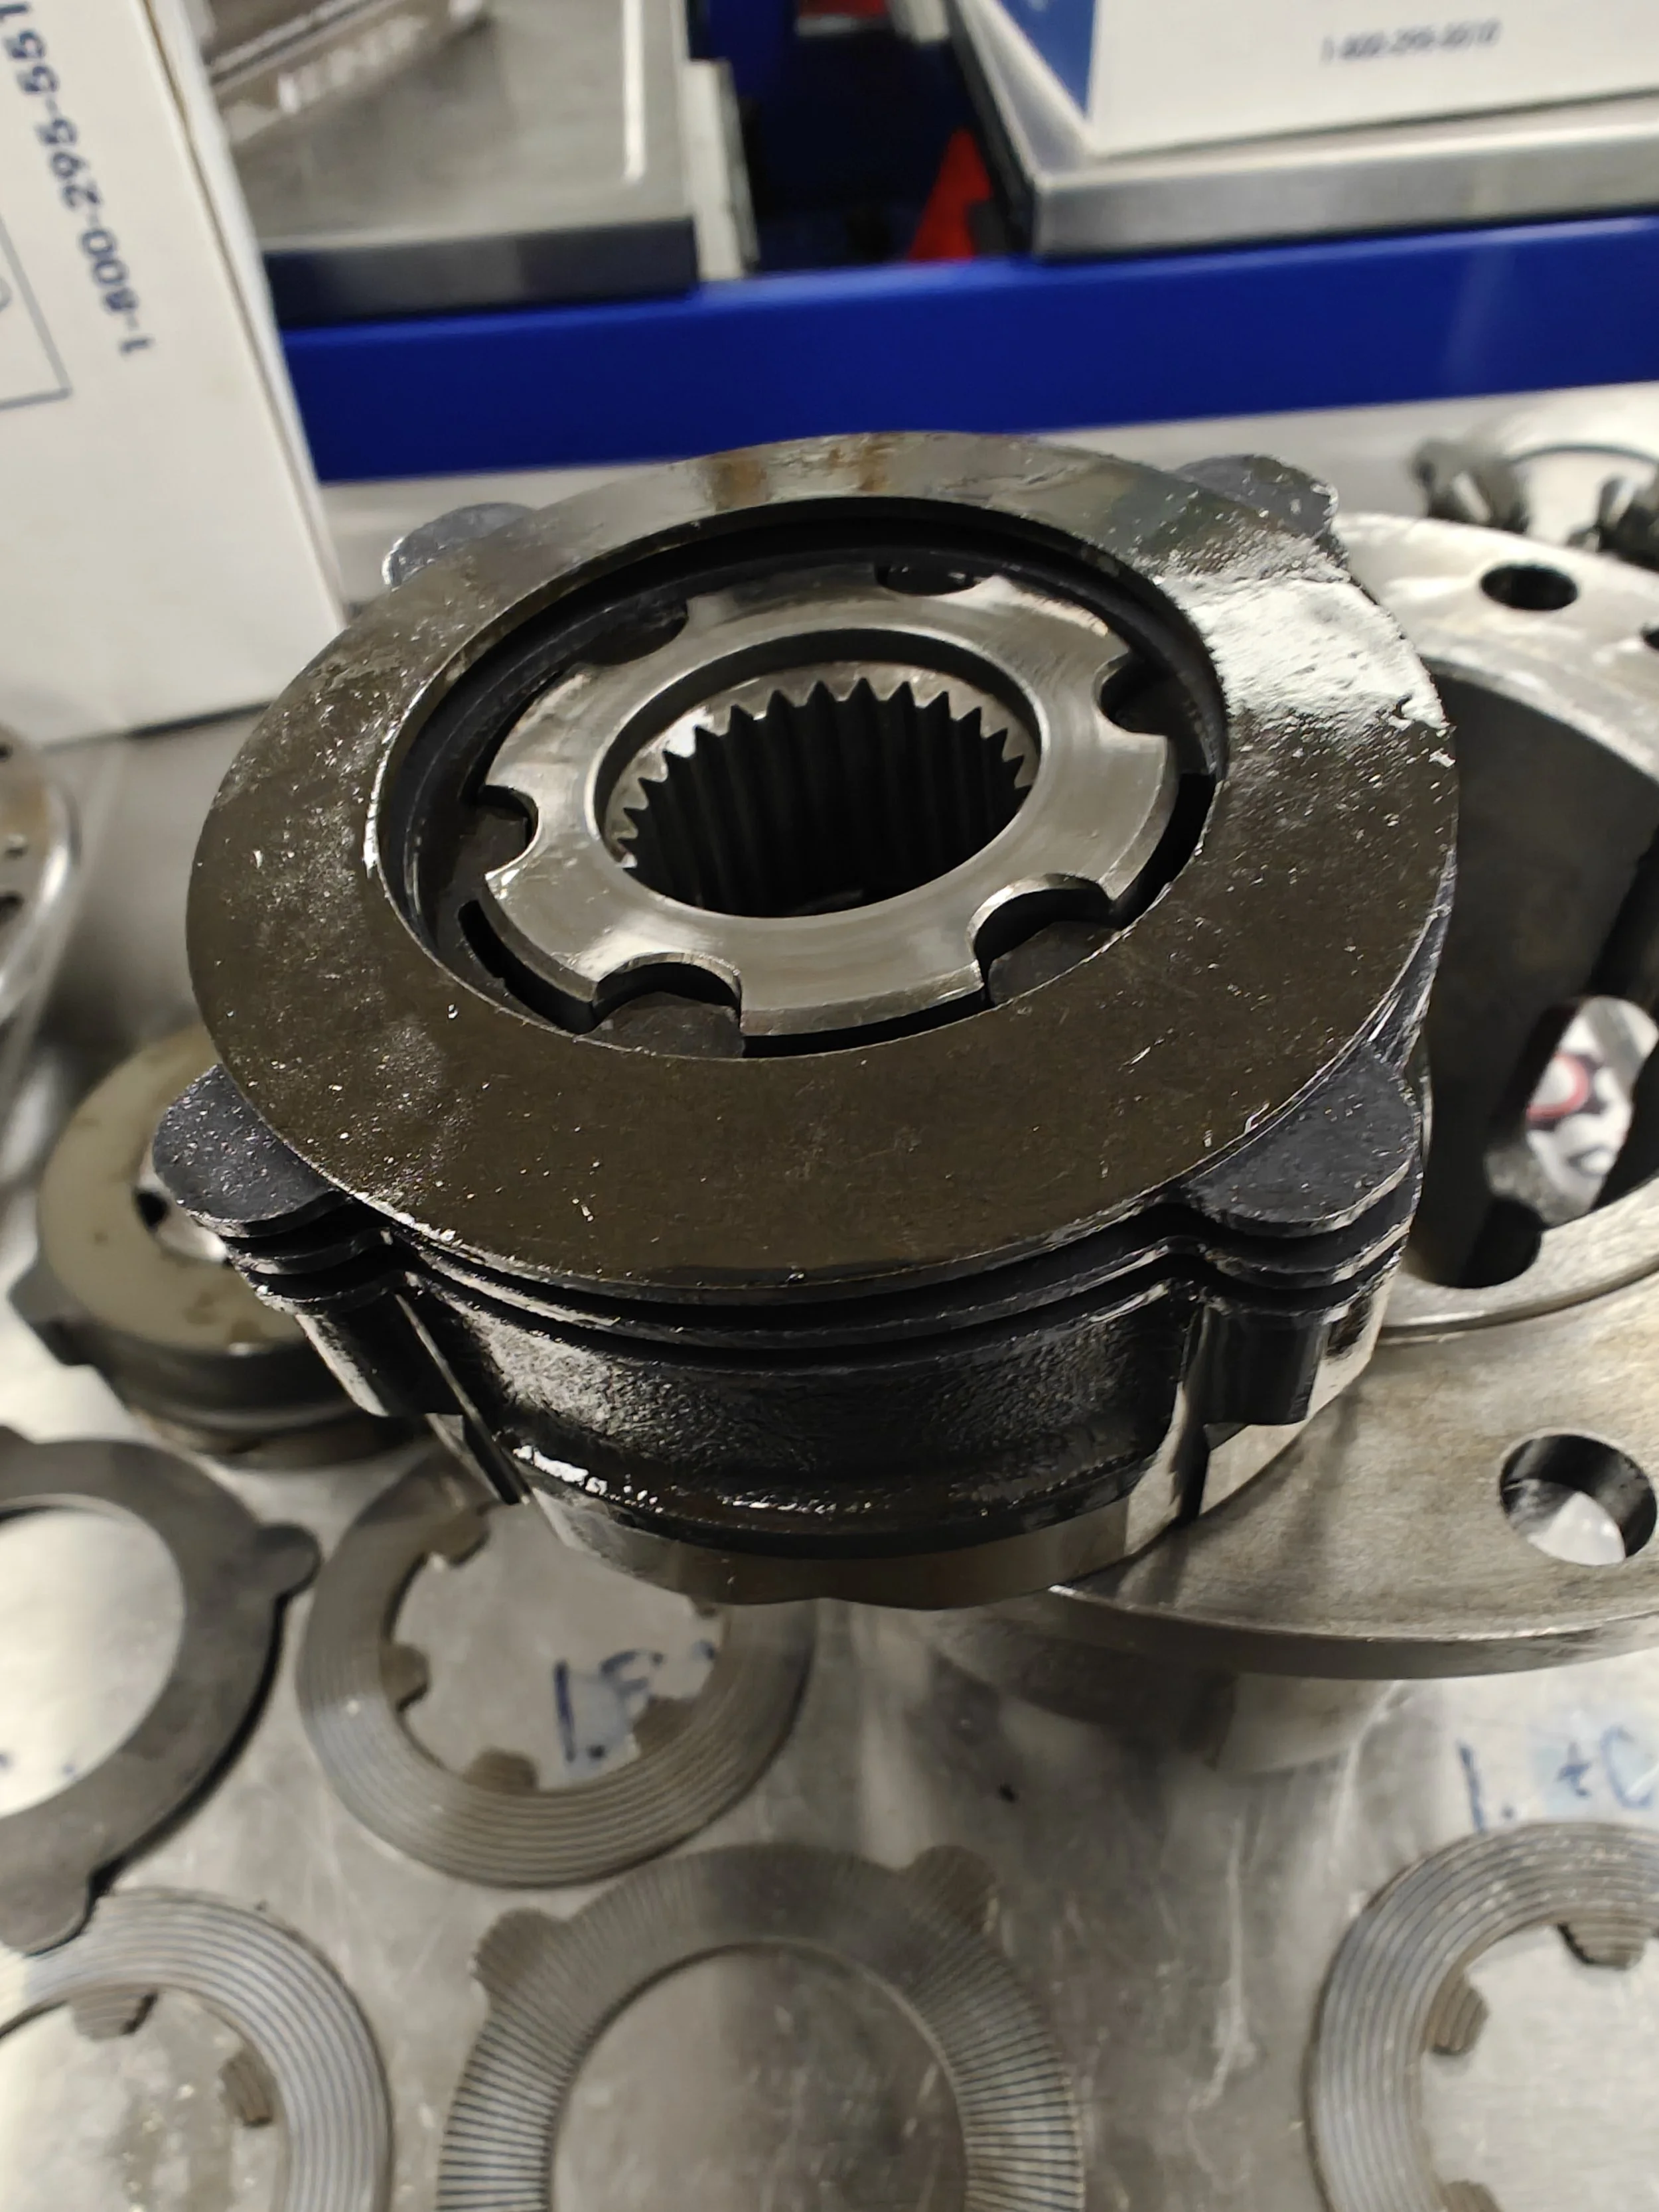
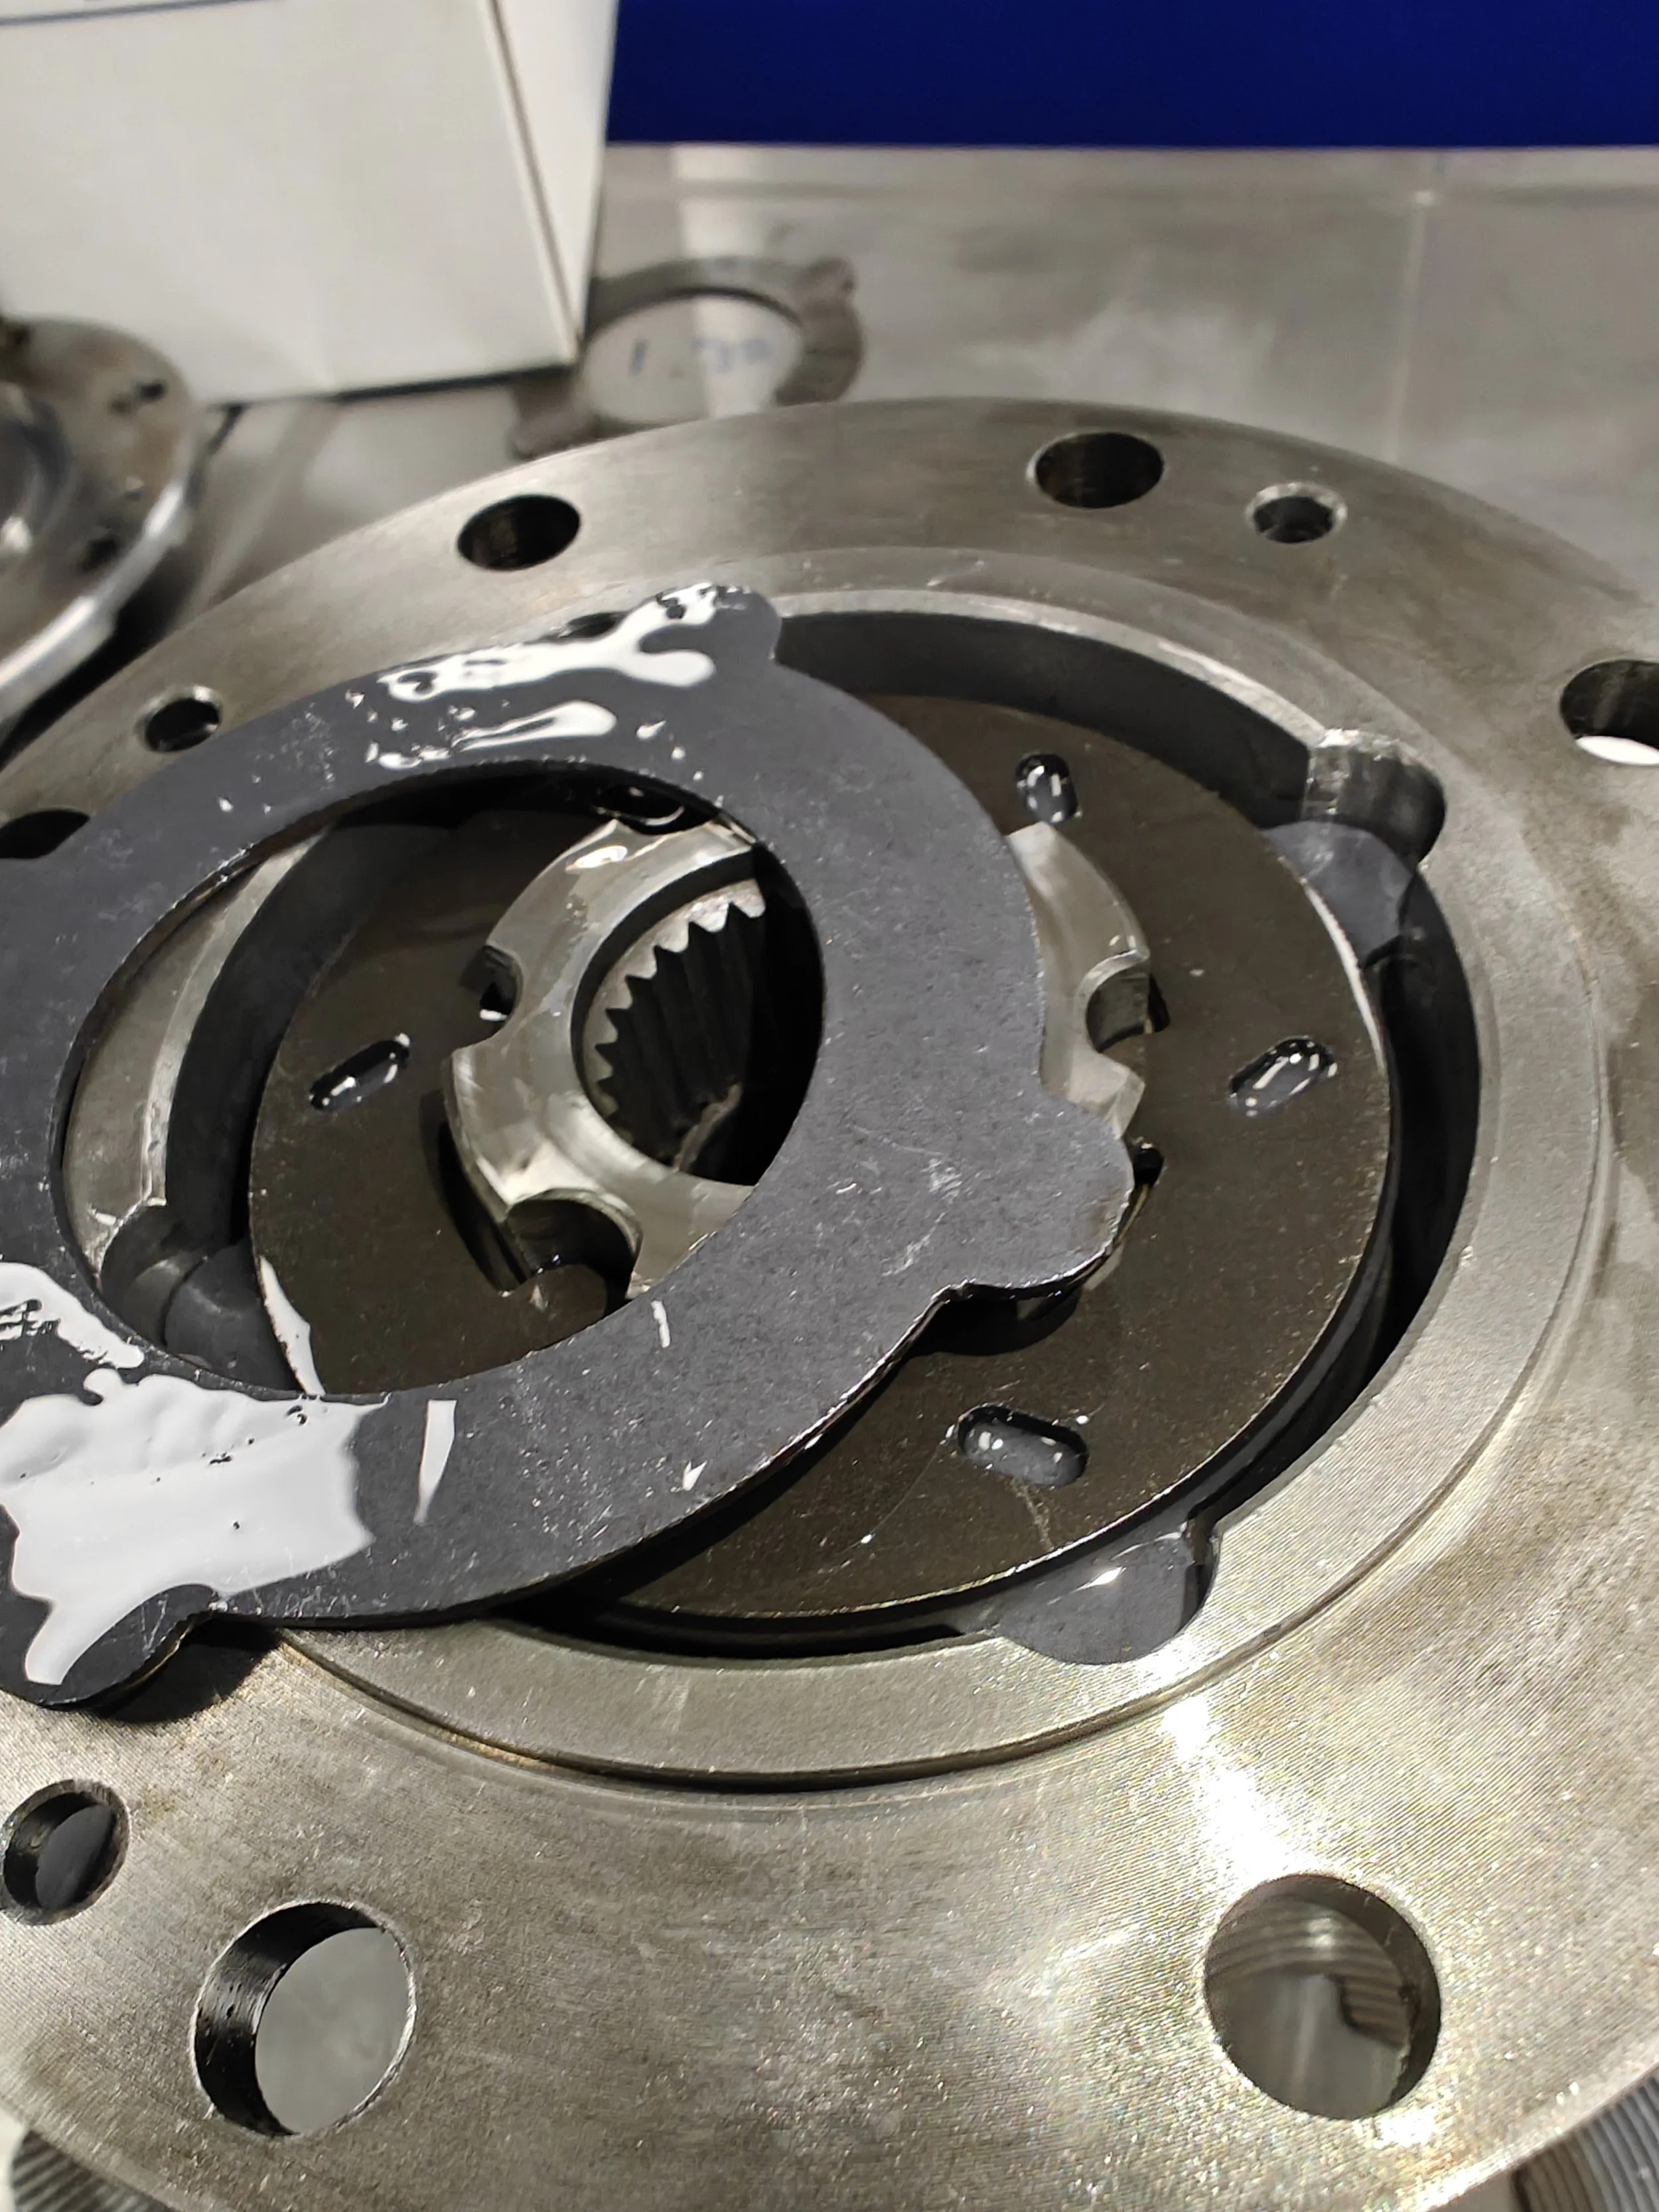
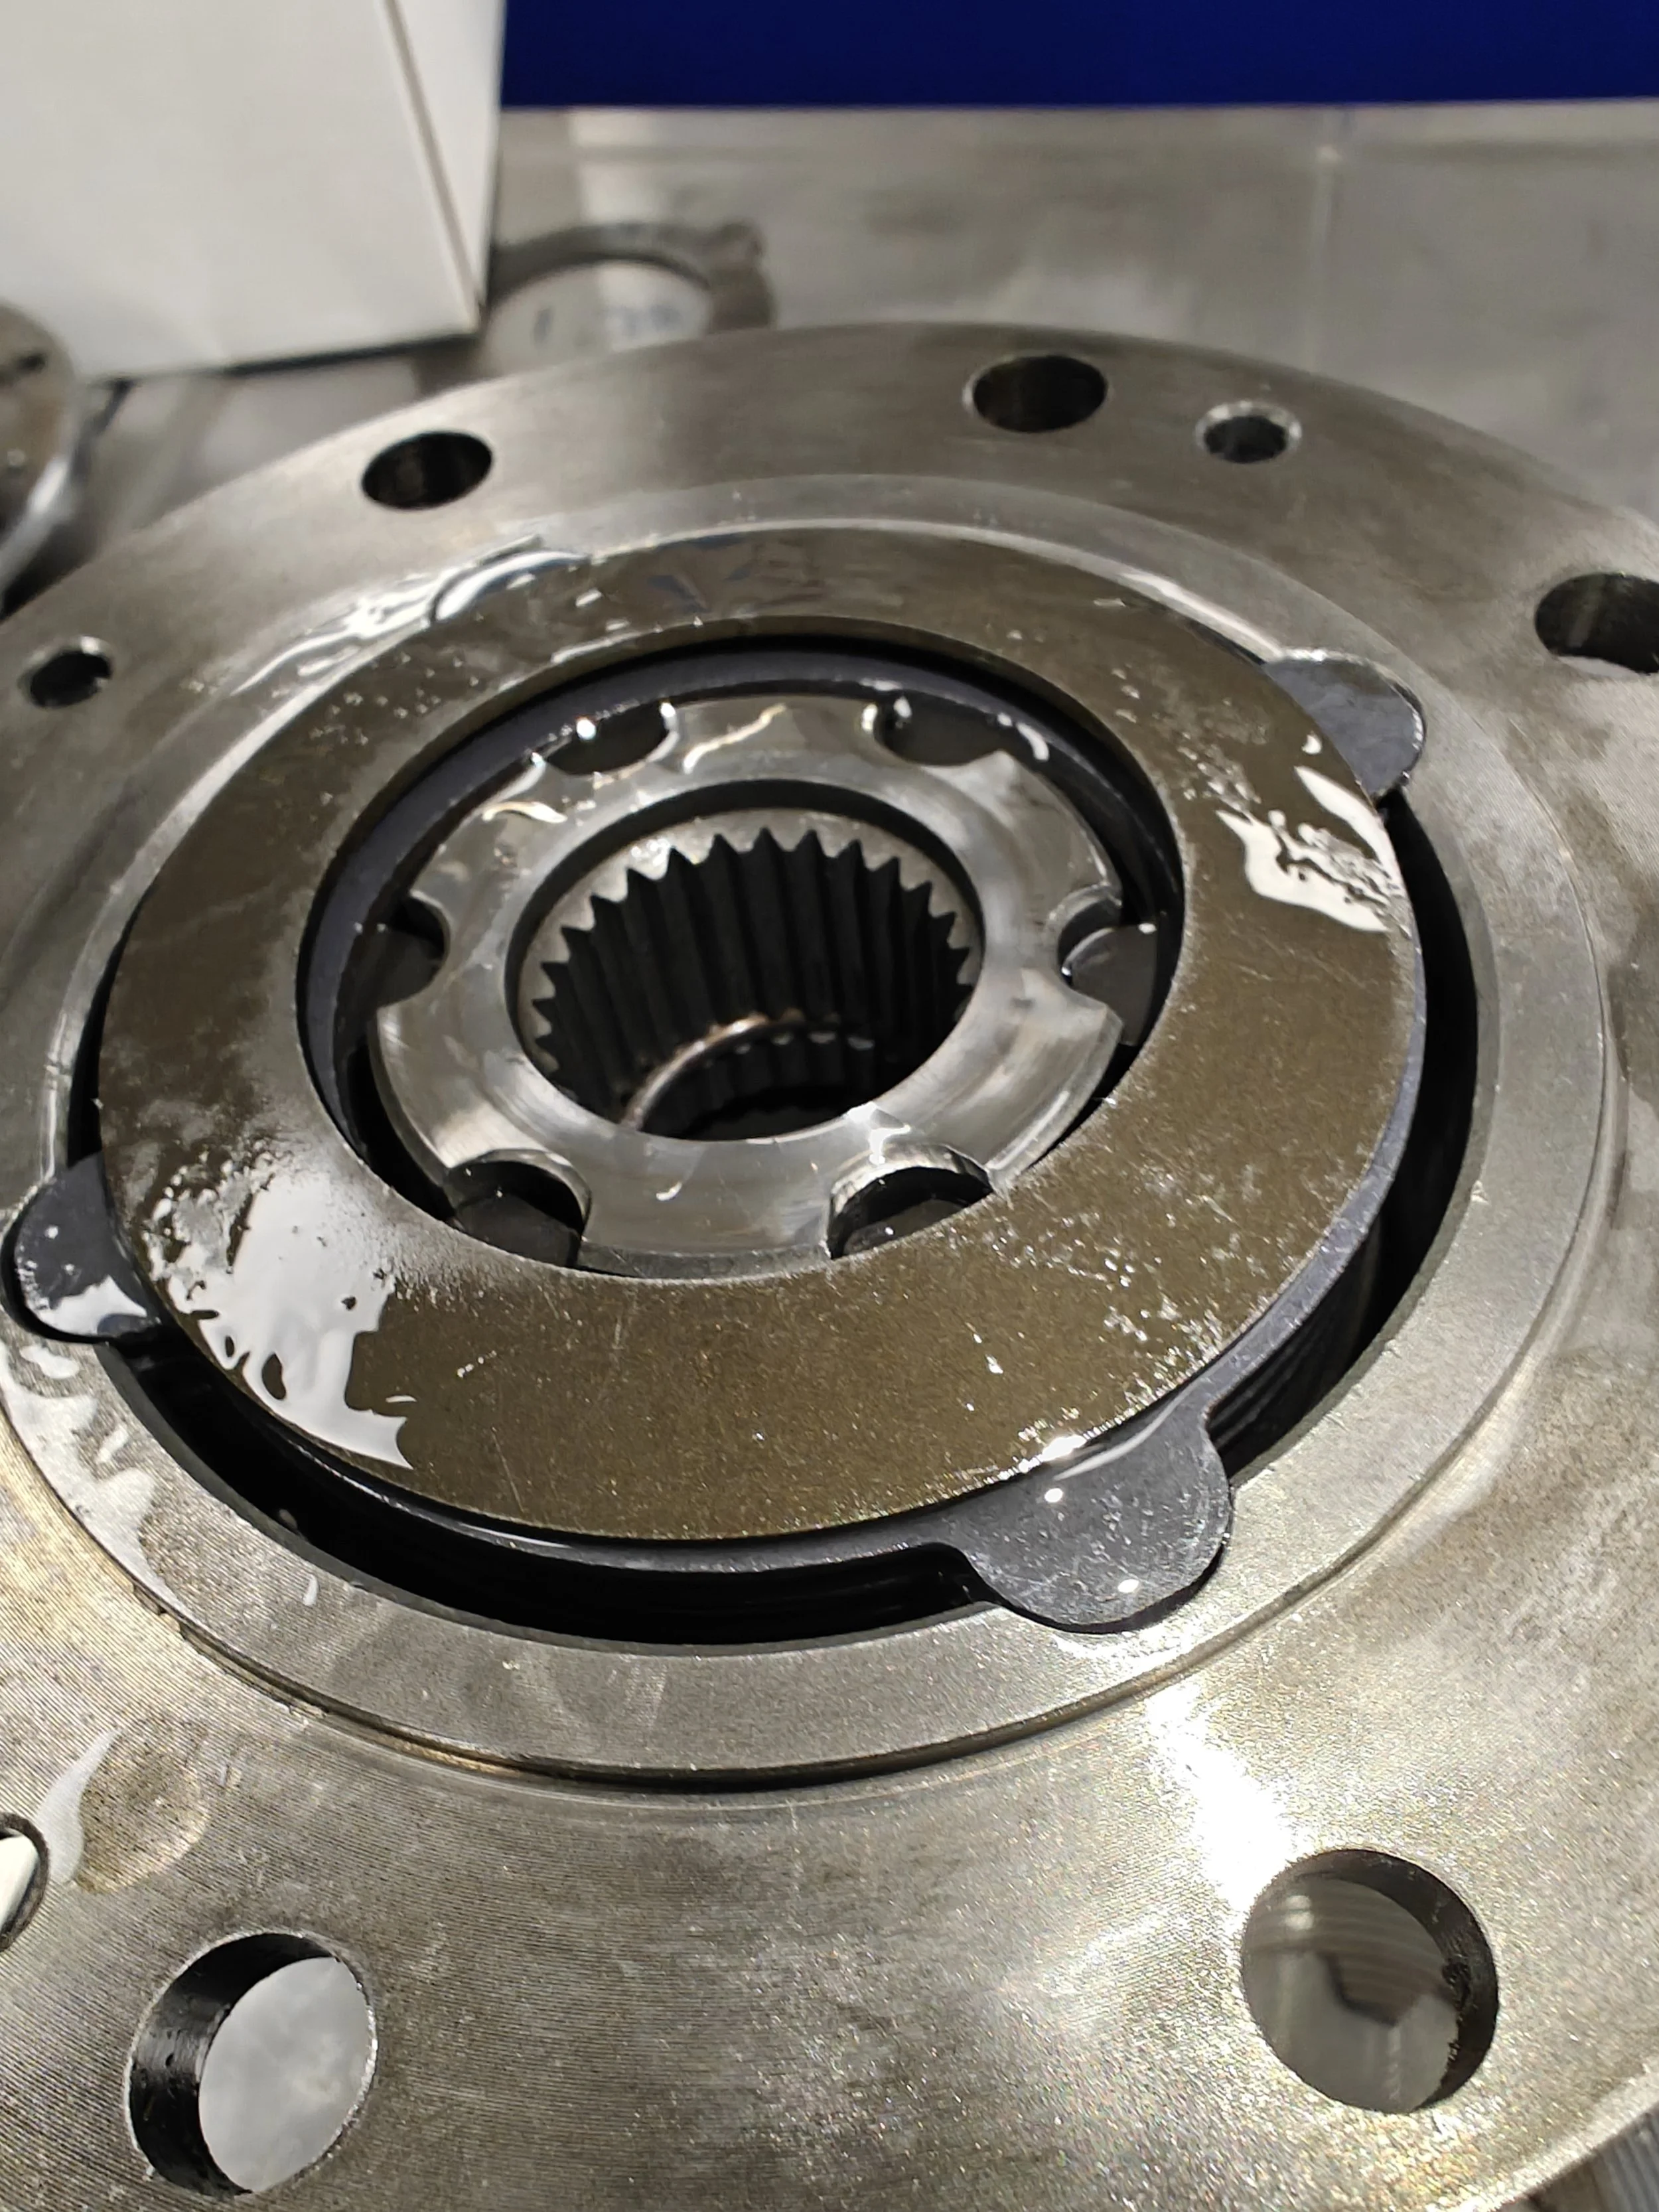
We are now ready to see what’s inside this metal contraption. Which is a couple side washers, keep these somewhere safe, they will be reused. and then it is the plate stacks. I would highly recommend that you take photos of your current plate orientation so you have something to look back onto. Below I will have plenty of photos but it is always good to have your own to look back on.
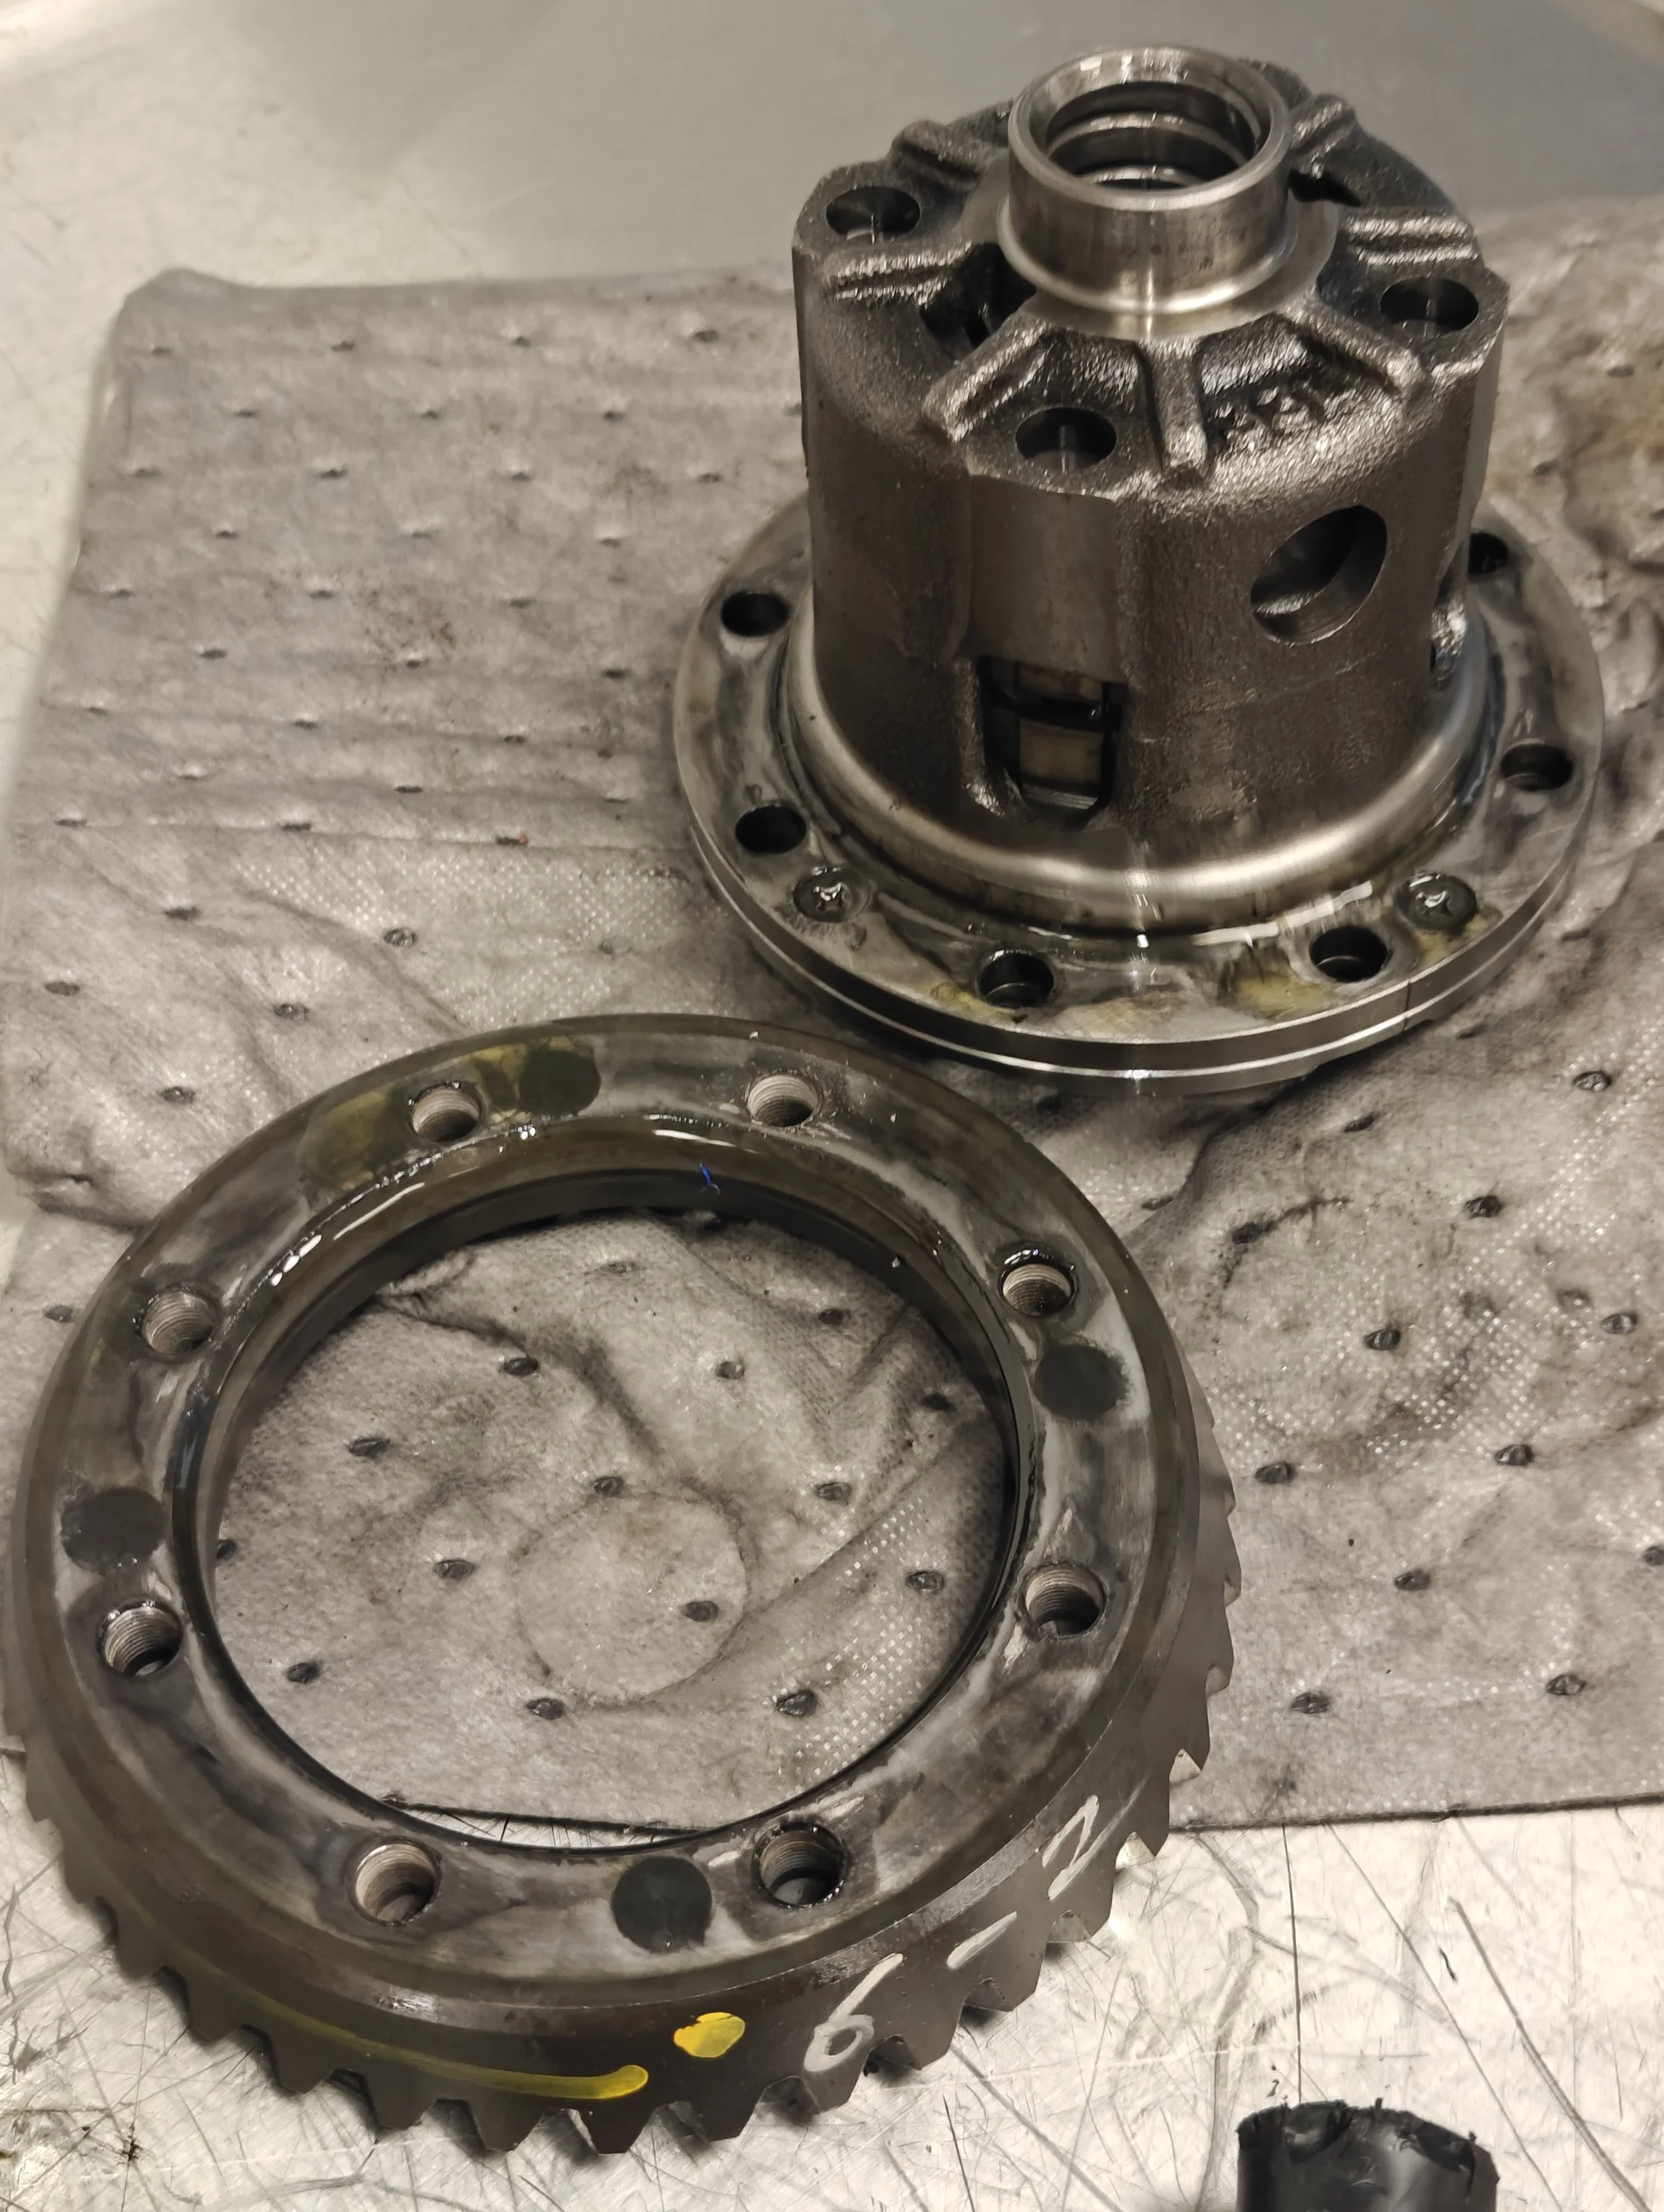
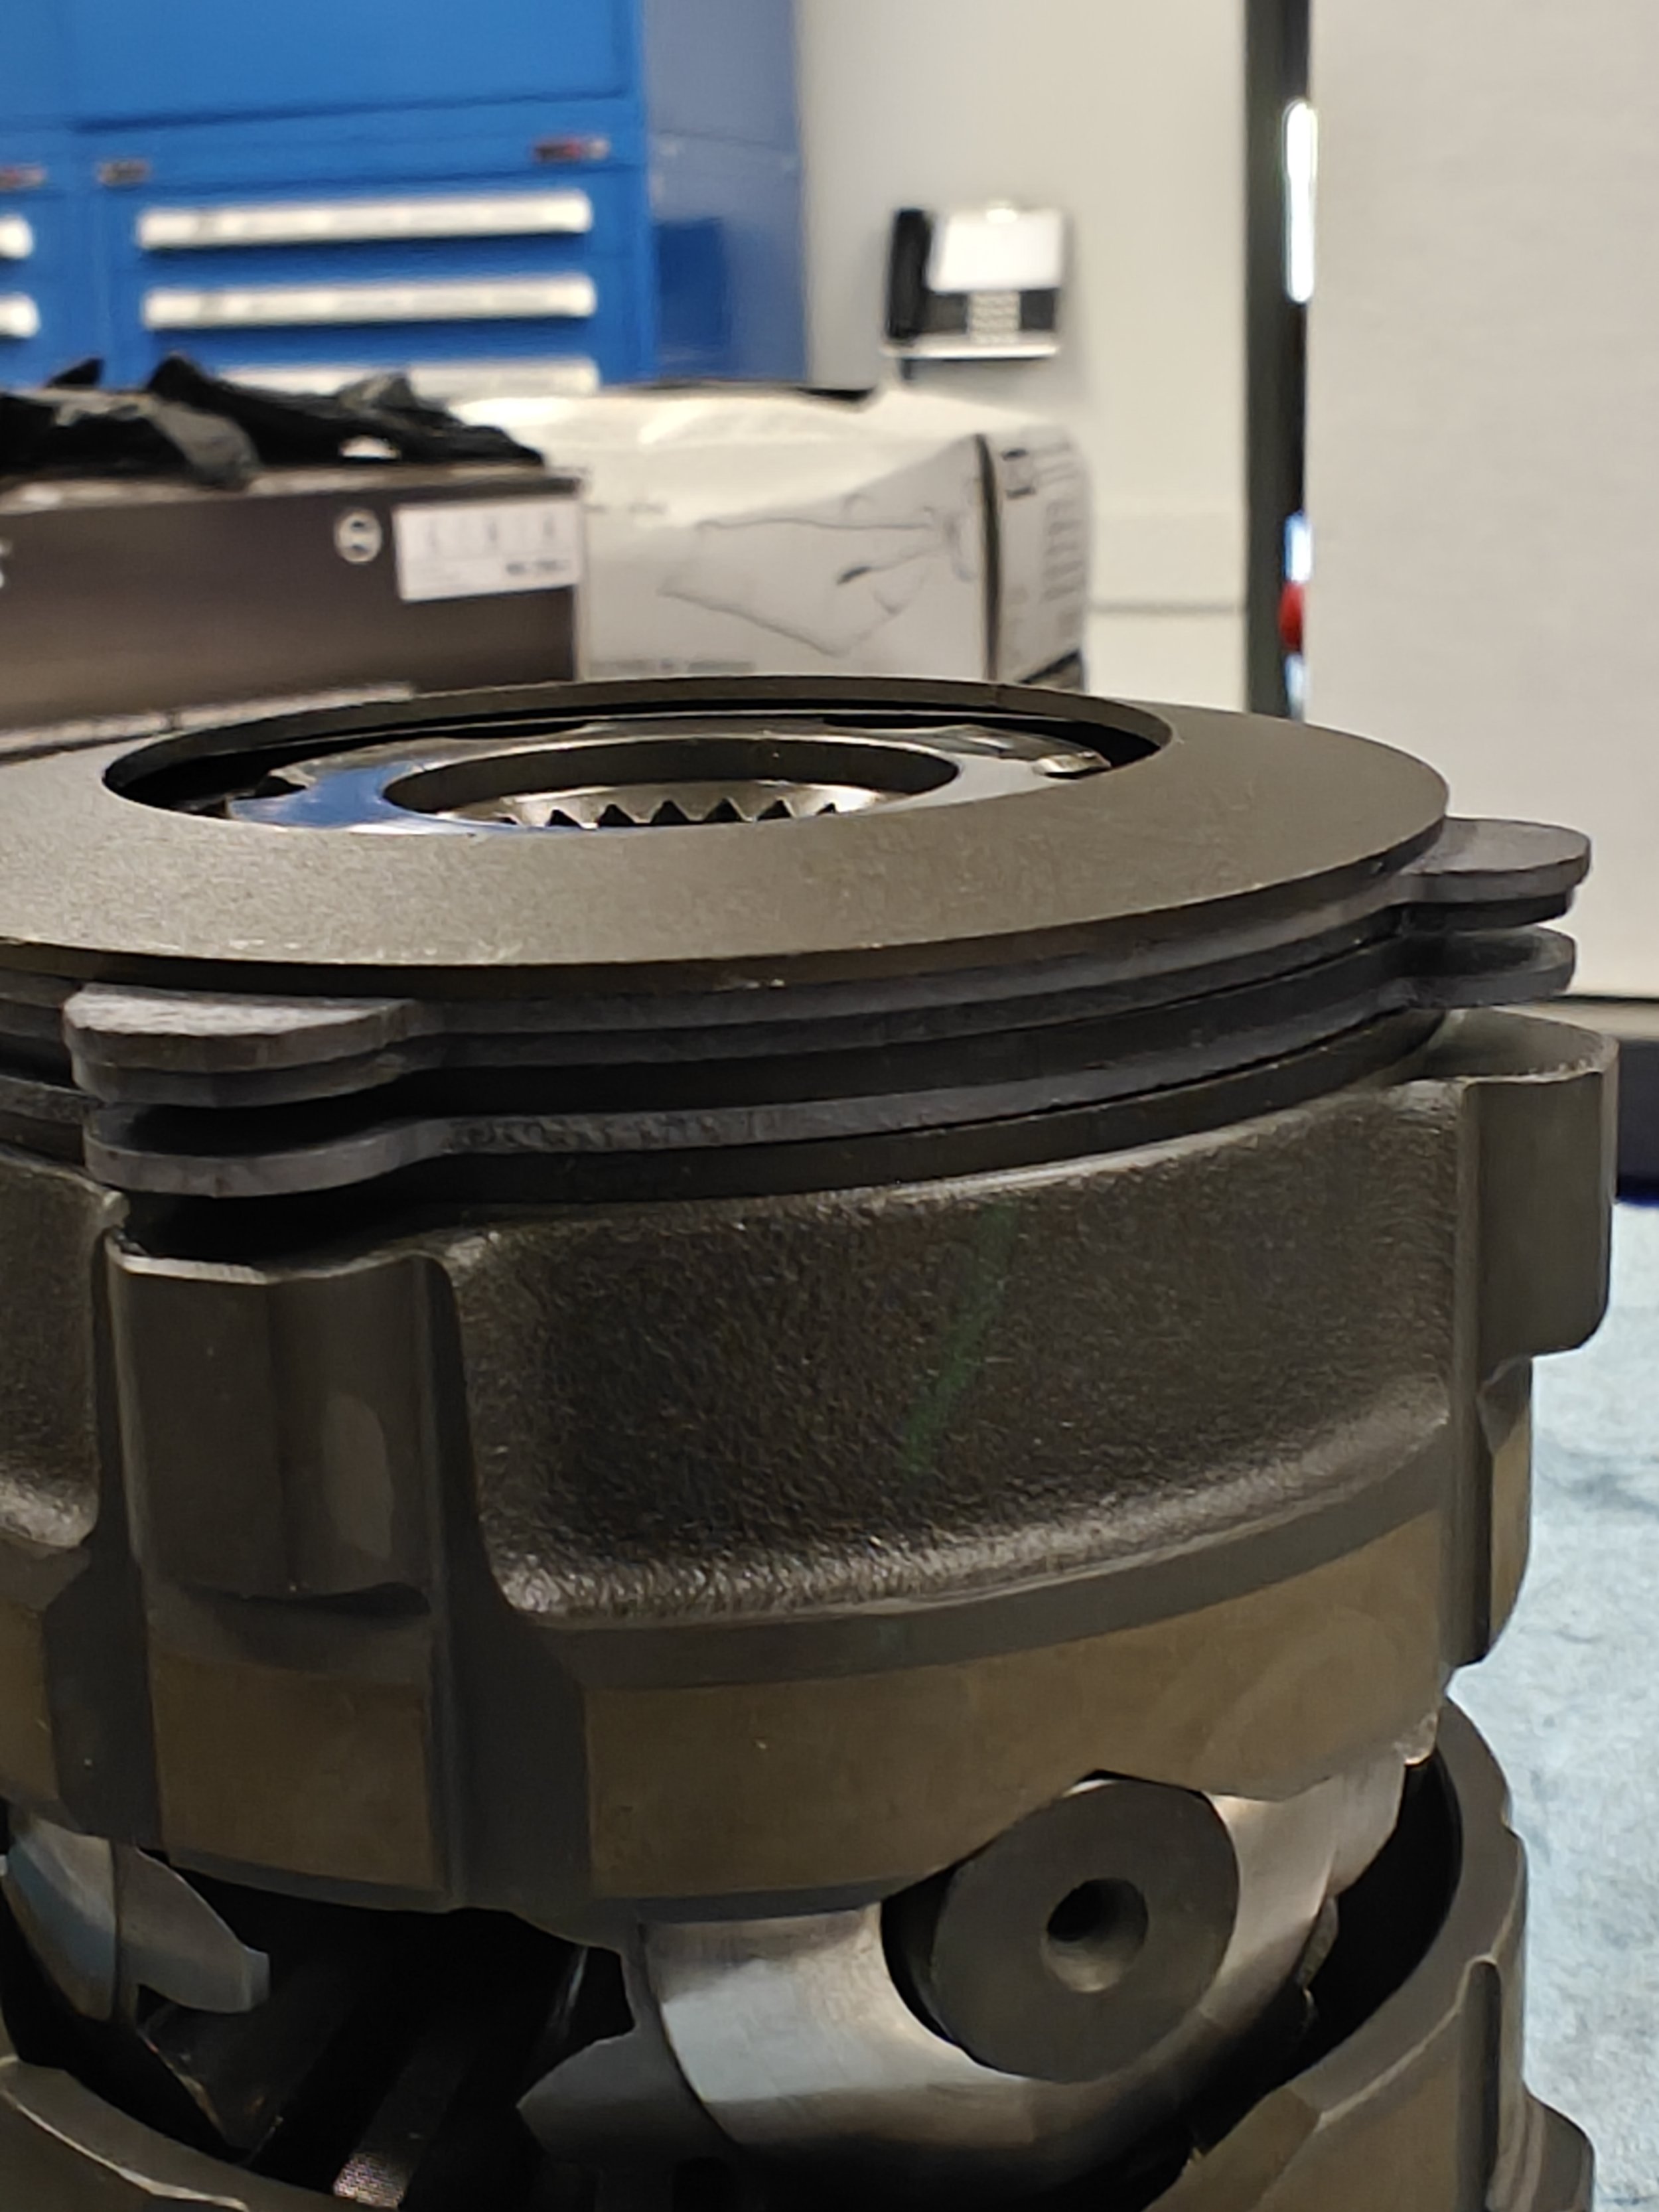
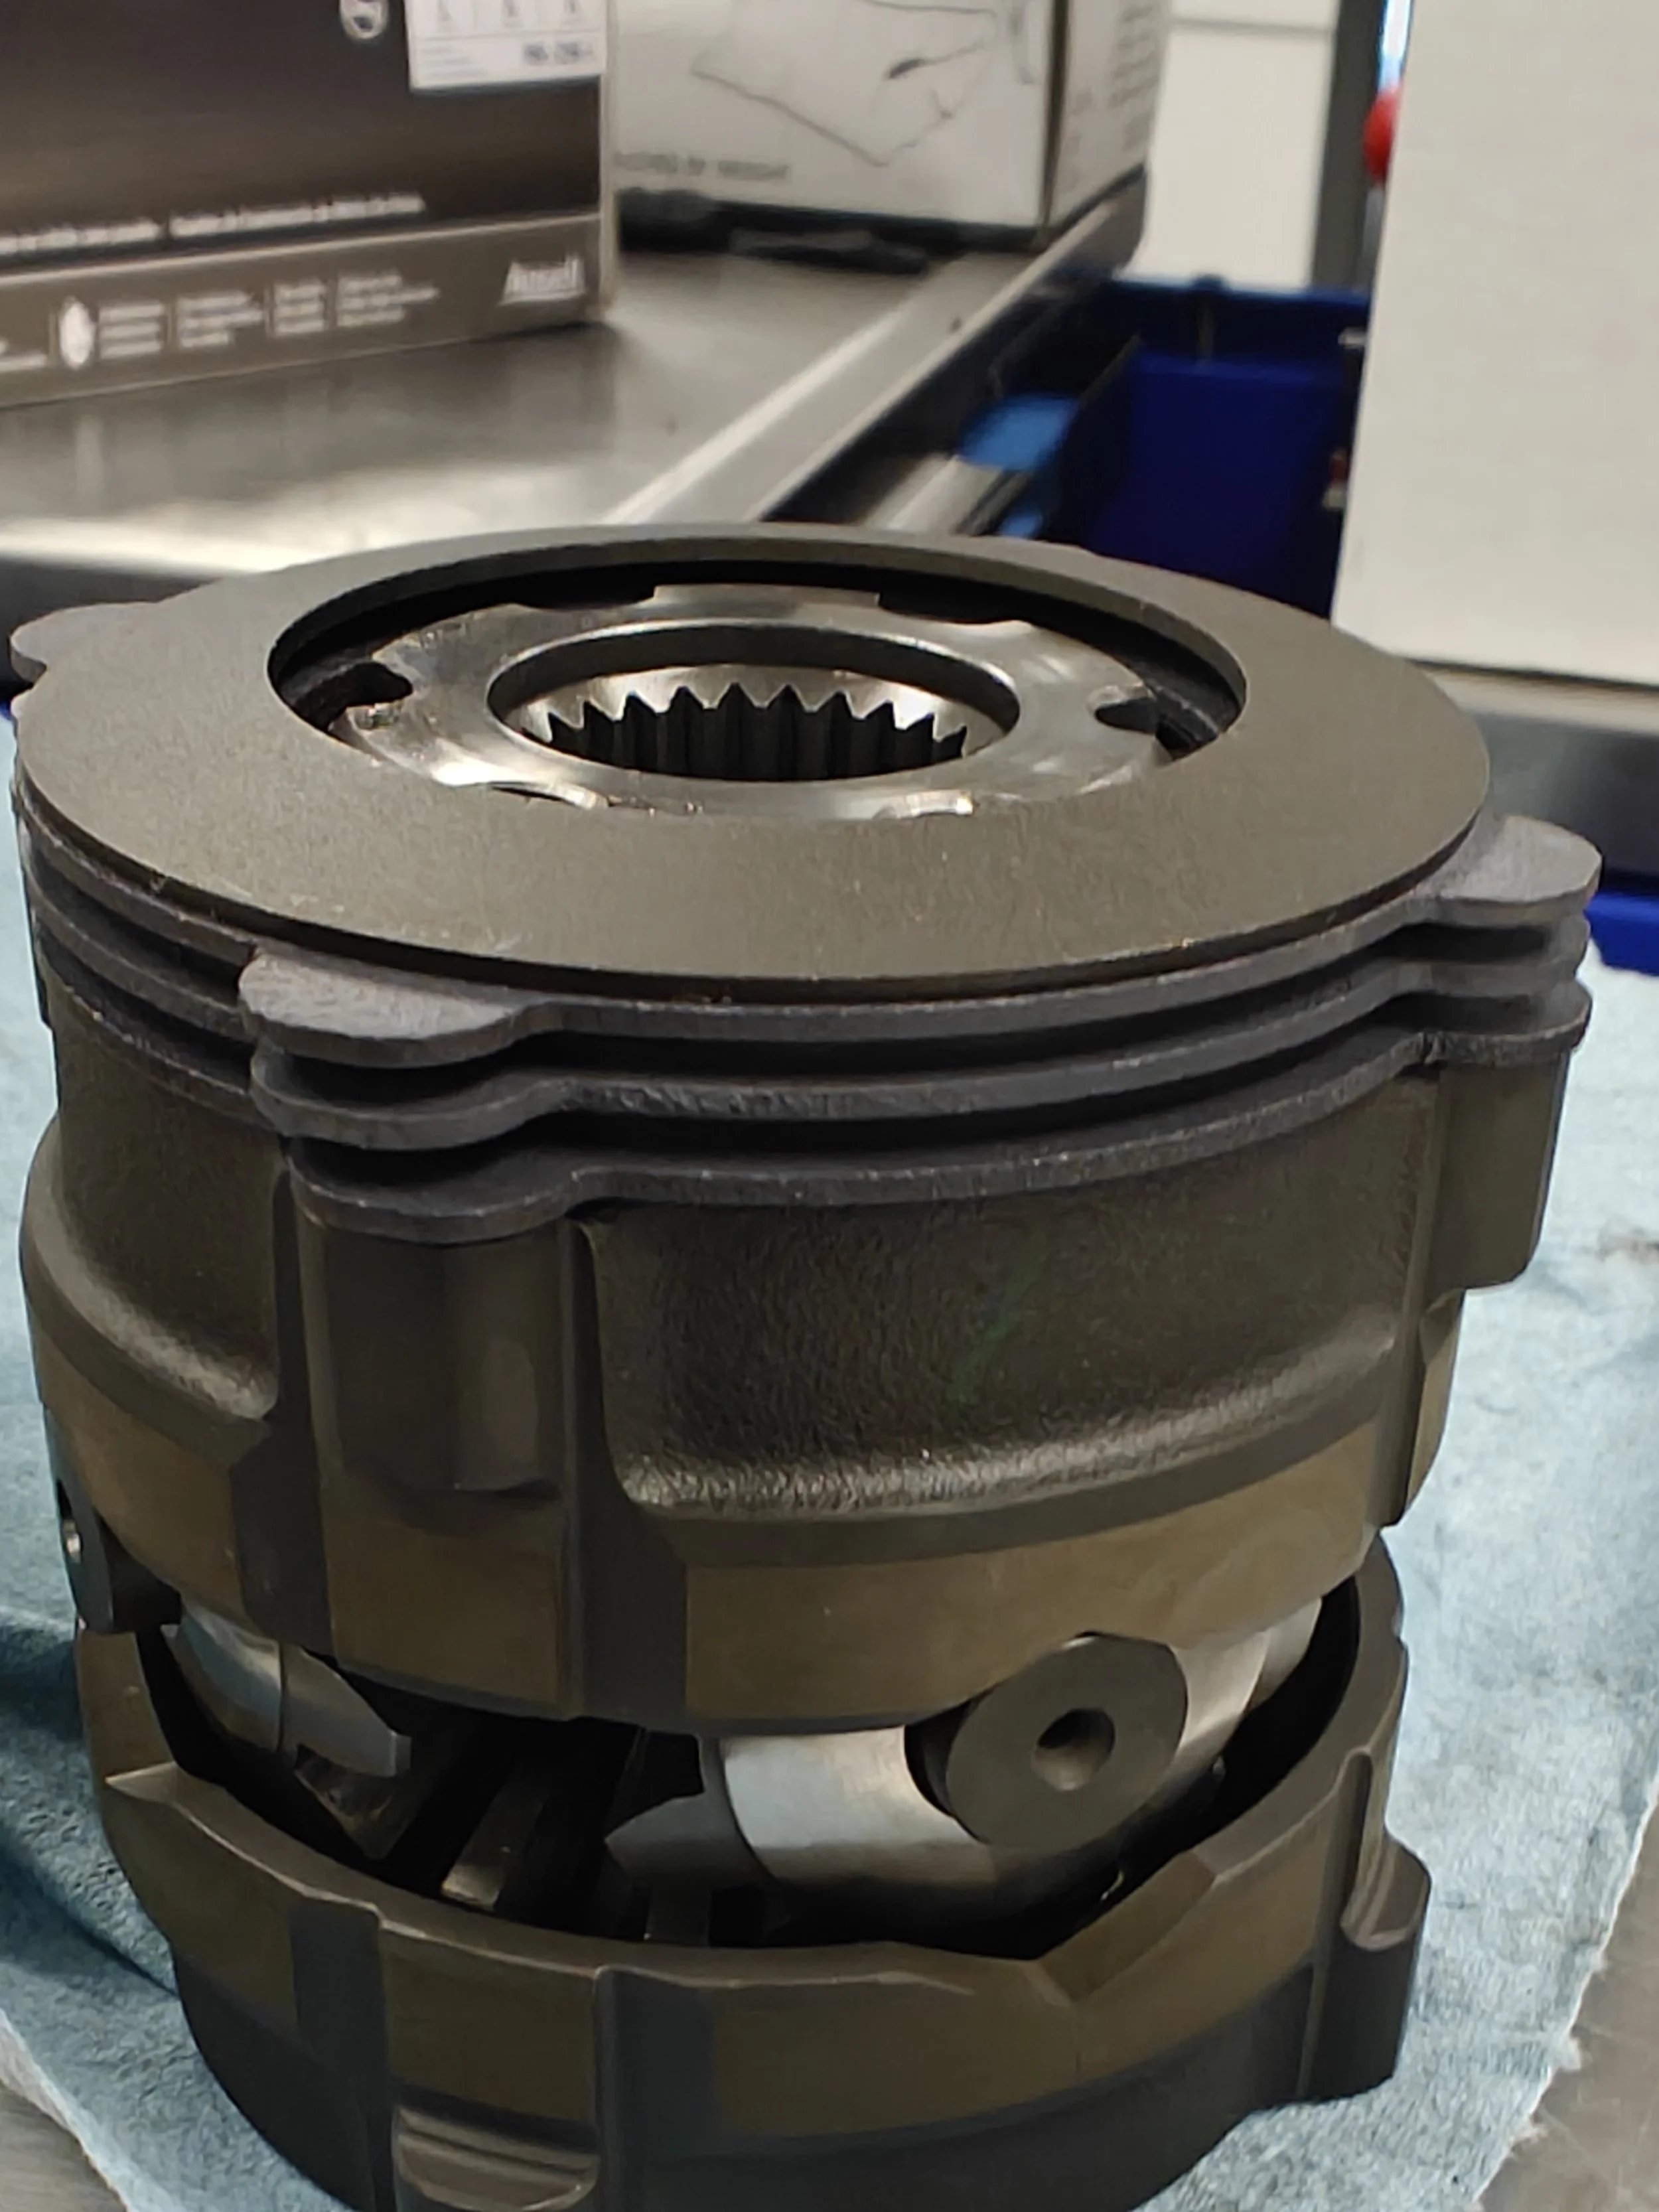
With the cover removed here is what we see. The plates stacked on either side.

This manual helps us see how the plates are stacked.
With your RacingDiffs setup you basically need to just replace the plate per plate. You have two sets on either side of the gear sets inside of the ramp sets. You will have two plates that have a bit of a slope to them and won’t sit flat on a table, these are the spring washers that go on the outside. You will have 6 plates that have “wings” that hold them externally to the case. The last 4 plates spline internally. Below you will see the two different ways to stack these plates, one being the factory setup and another being a bit more aggressive.
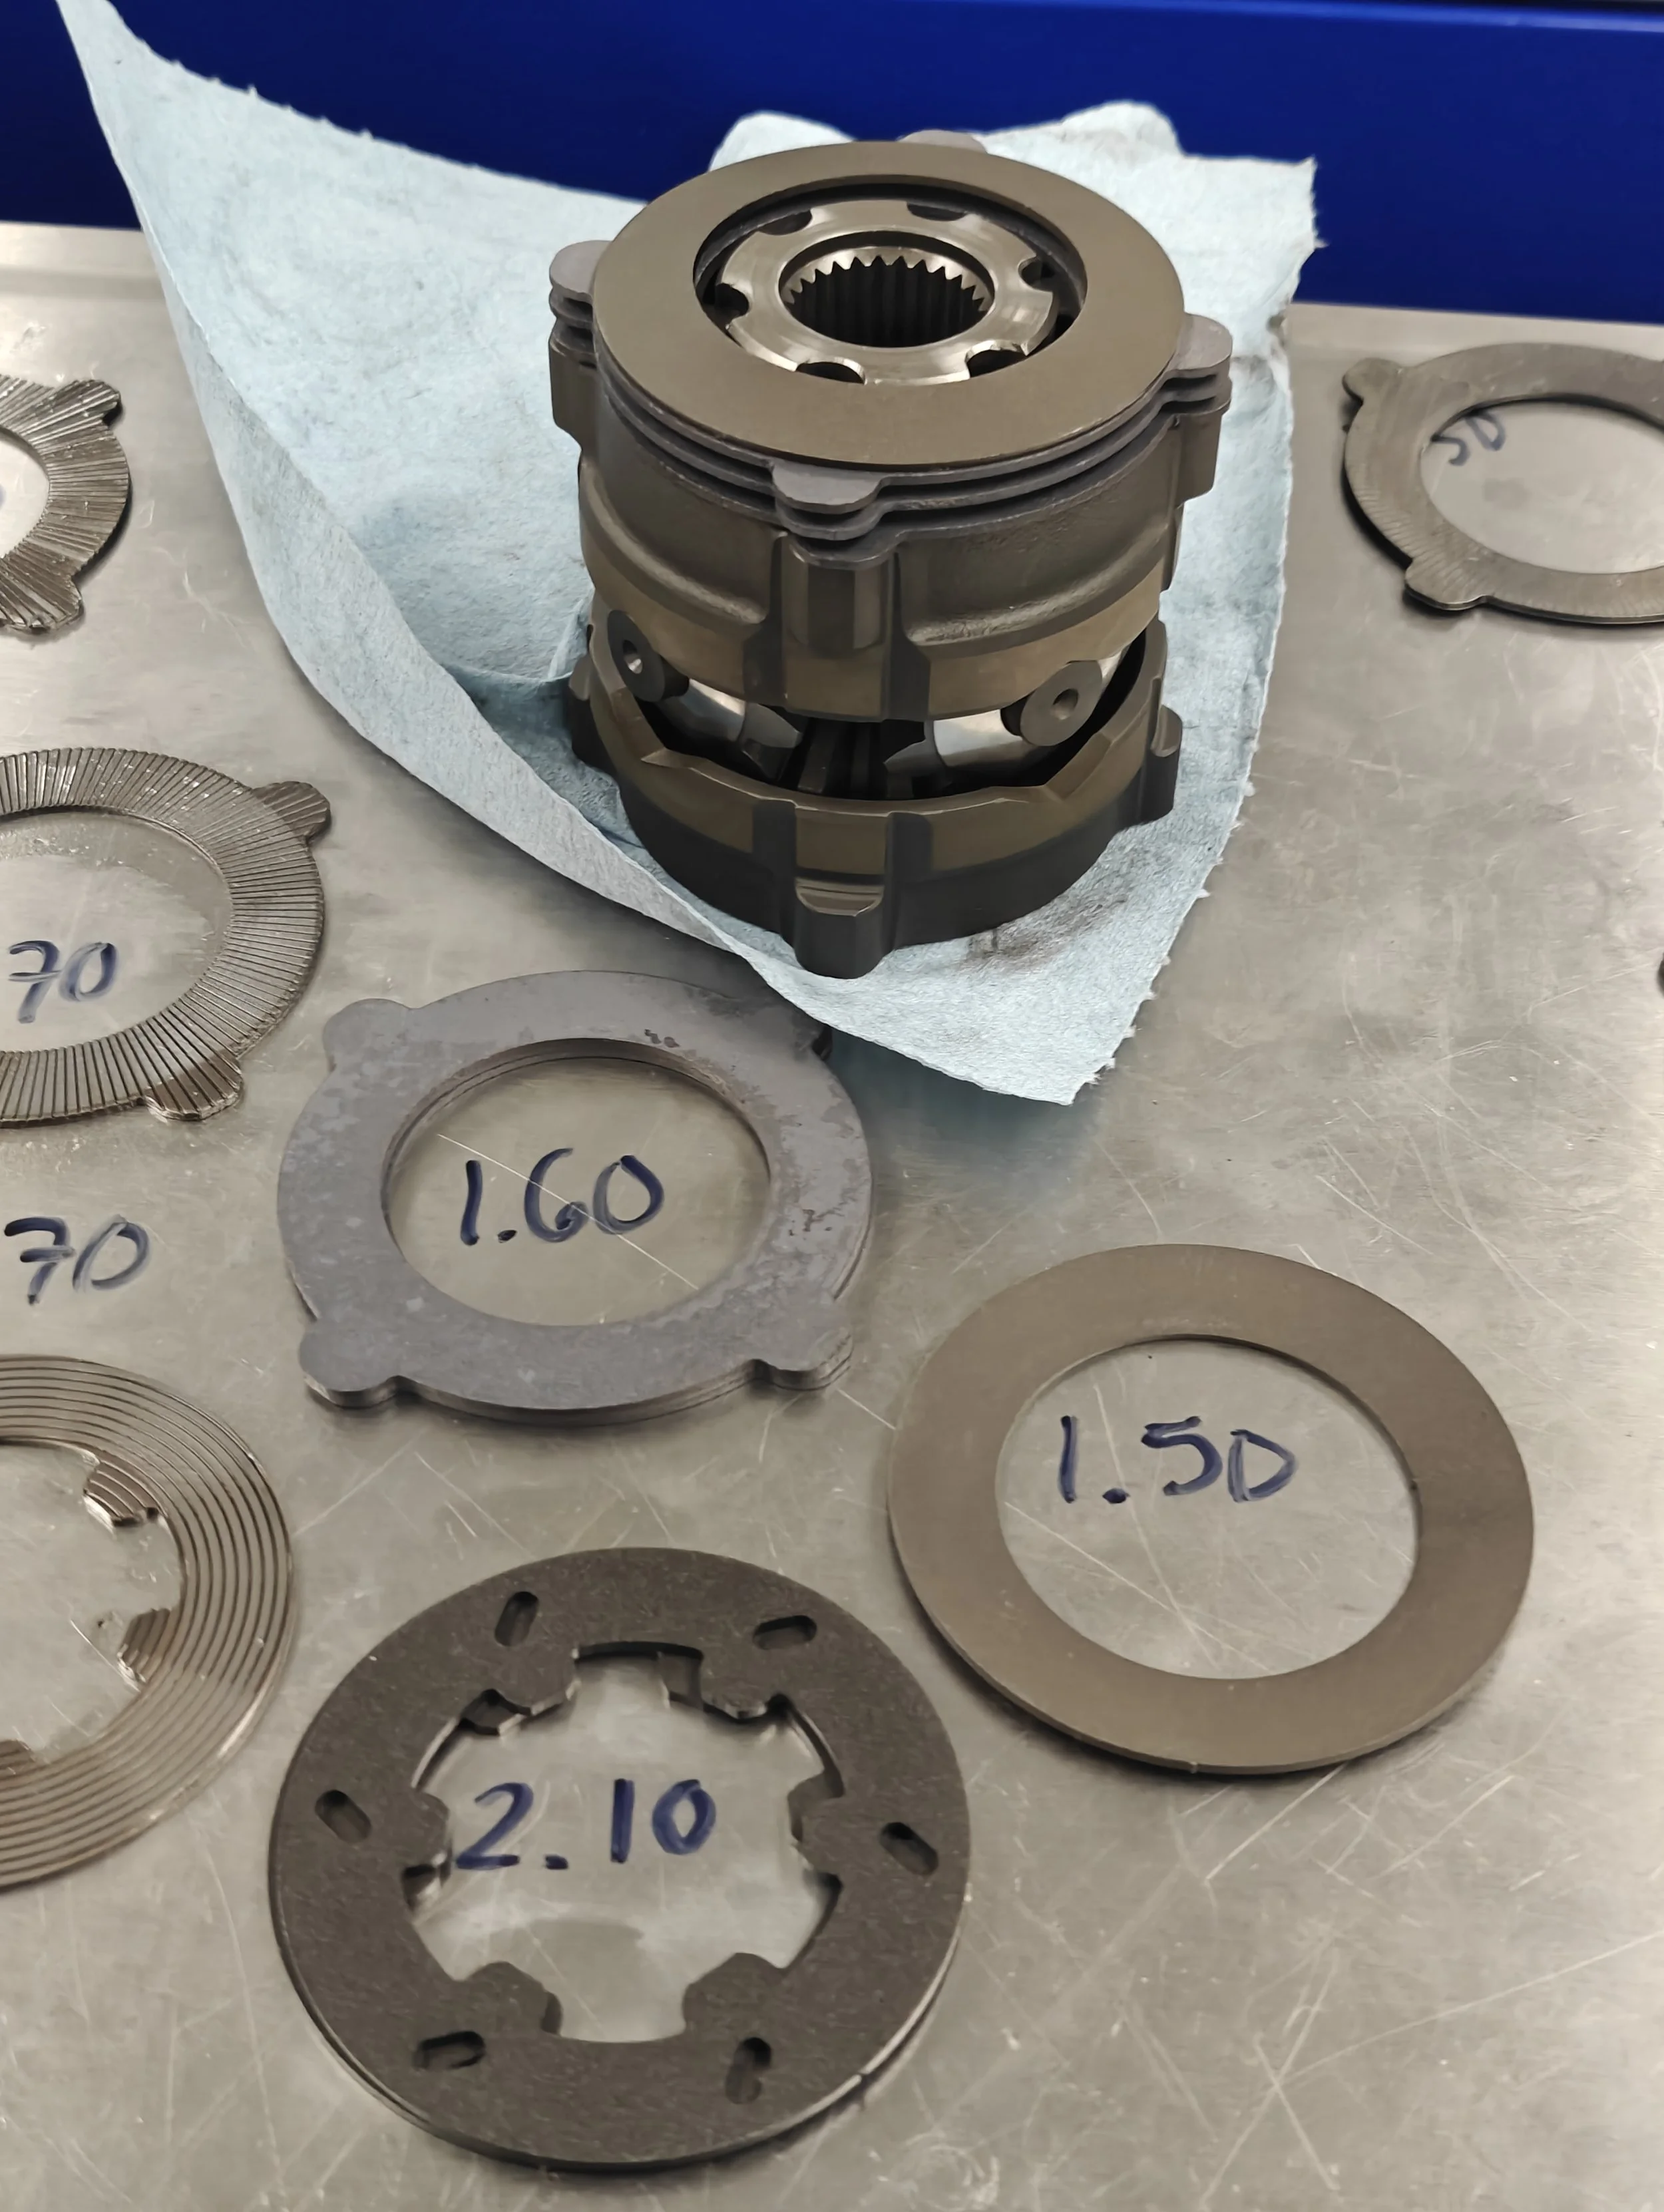
I went ahead and measured the plates to see their sizing as compared to factory set. Here are the specs for those curious.
This is the factory setup of plates. From the top to the bottom: Spring plate first, two external splined plates, then an internal splined plate, an external and finally an internal plate. This gives reduced action between the plates for everyday street driving.
For a more aggressive setup, more locking action. From top to bottom: Spring plate, external plate, internal plate, external plate, internal plate and then a final external plate.
Now that we have the idea of where they go, we need to slather them in a bit of fluid before we put them in. Then we can stack them back in and we are ready to go.
Now we see the plates lubed up and ready to install.
Which will be sliding the plates into here. There a two method as shown below.
You can stack all the plates up and then slide the housing down onto them,

This cuts down on the time of putting it in piece by piece.

This is the other method, just sliding the plates into the housing.
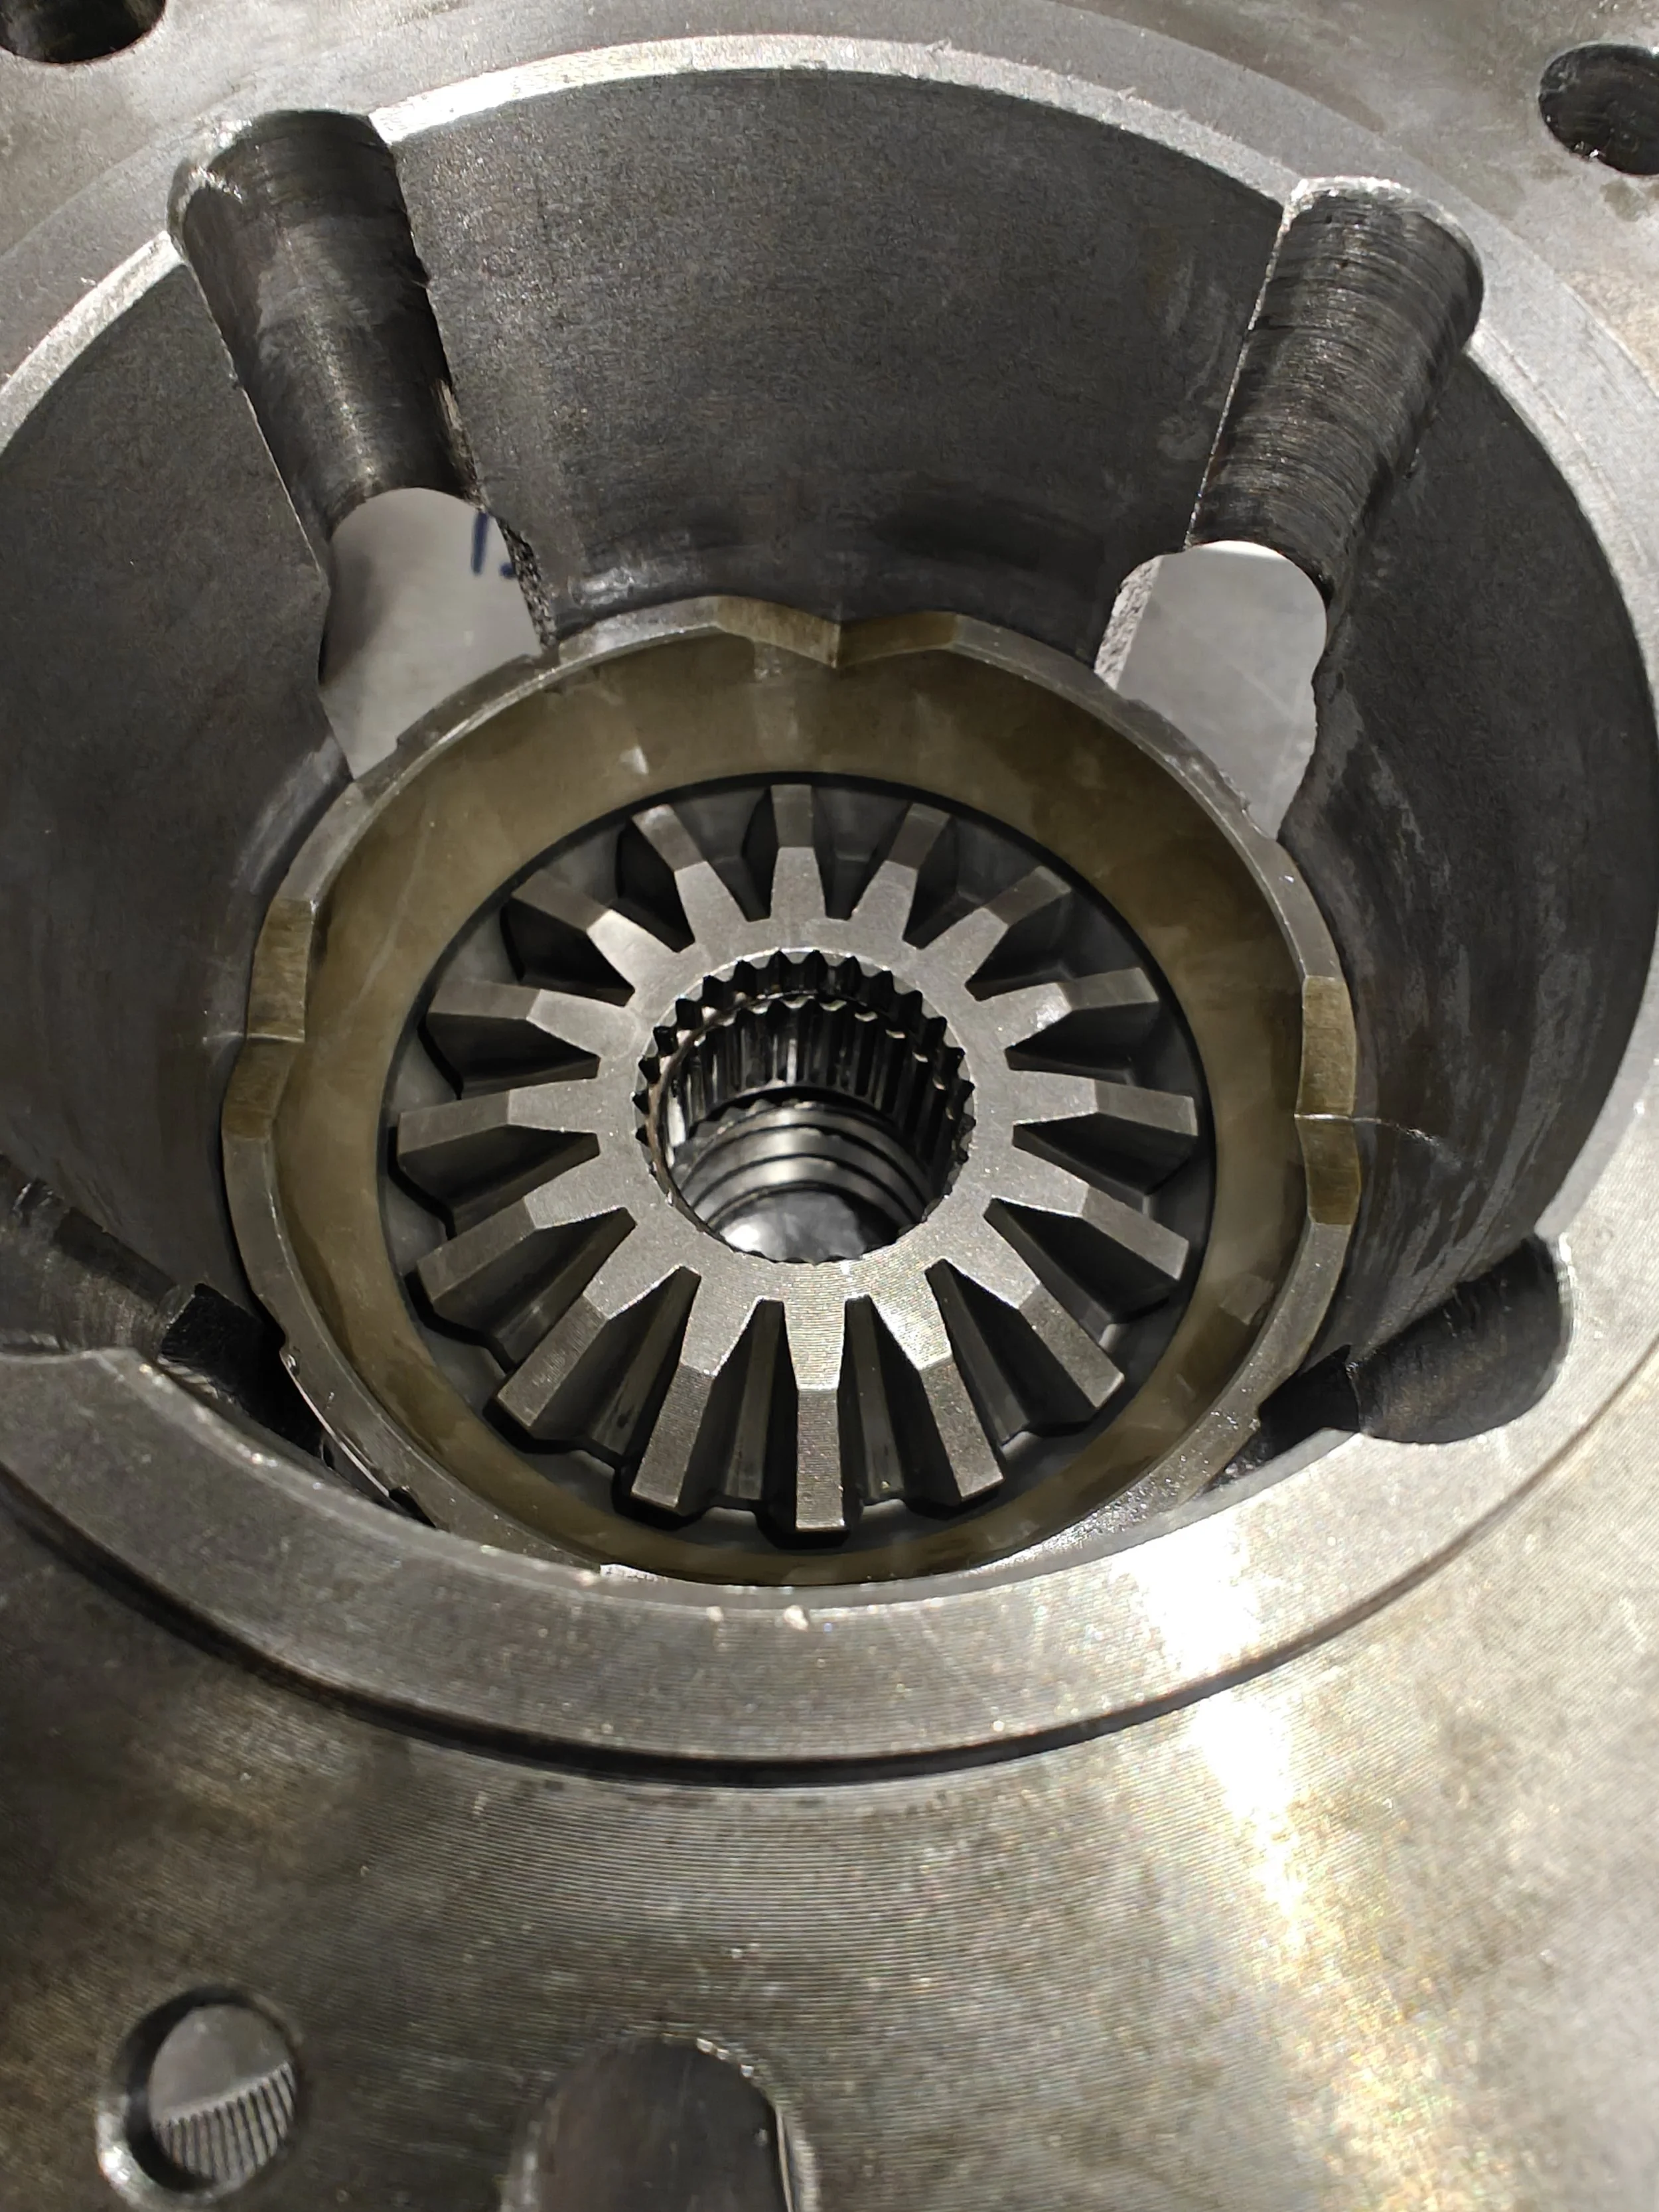
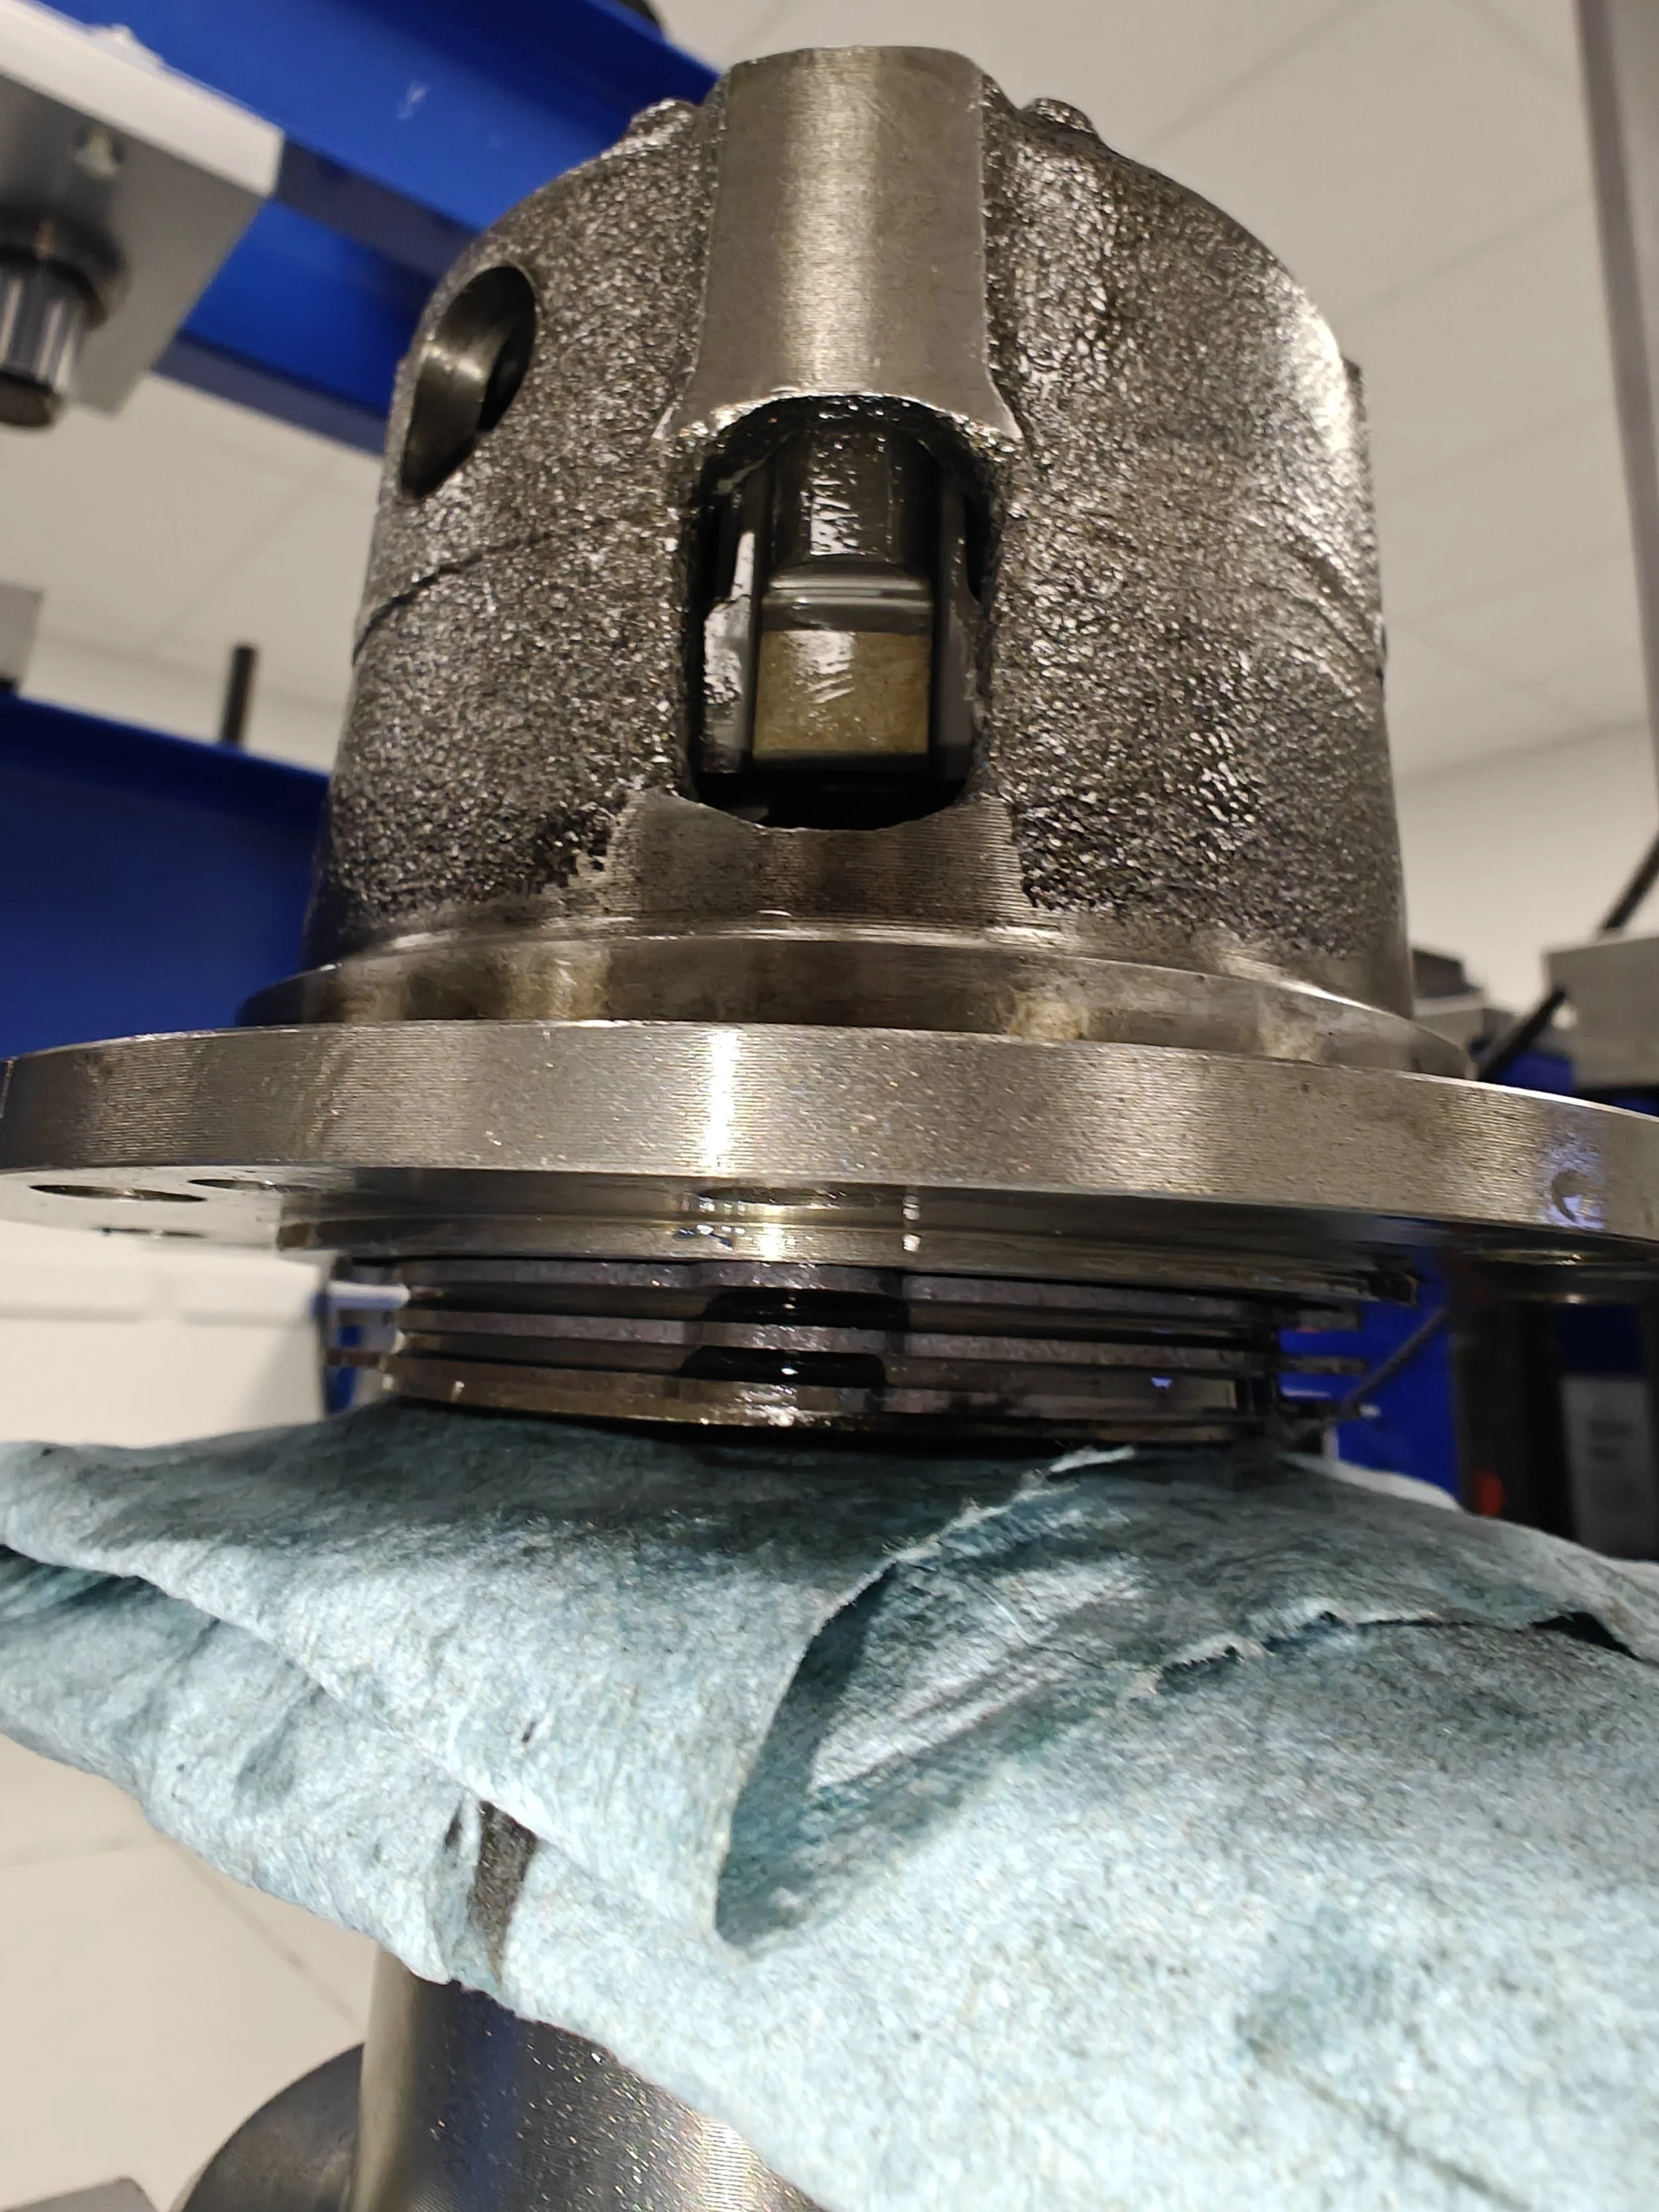
Next is the ramp and gear.

We can see plates installed with the ramp on top.
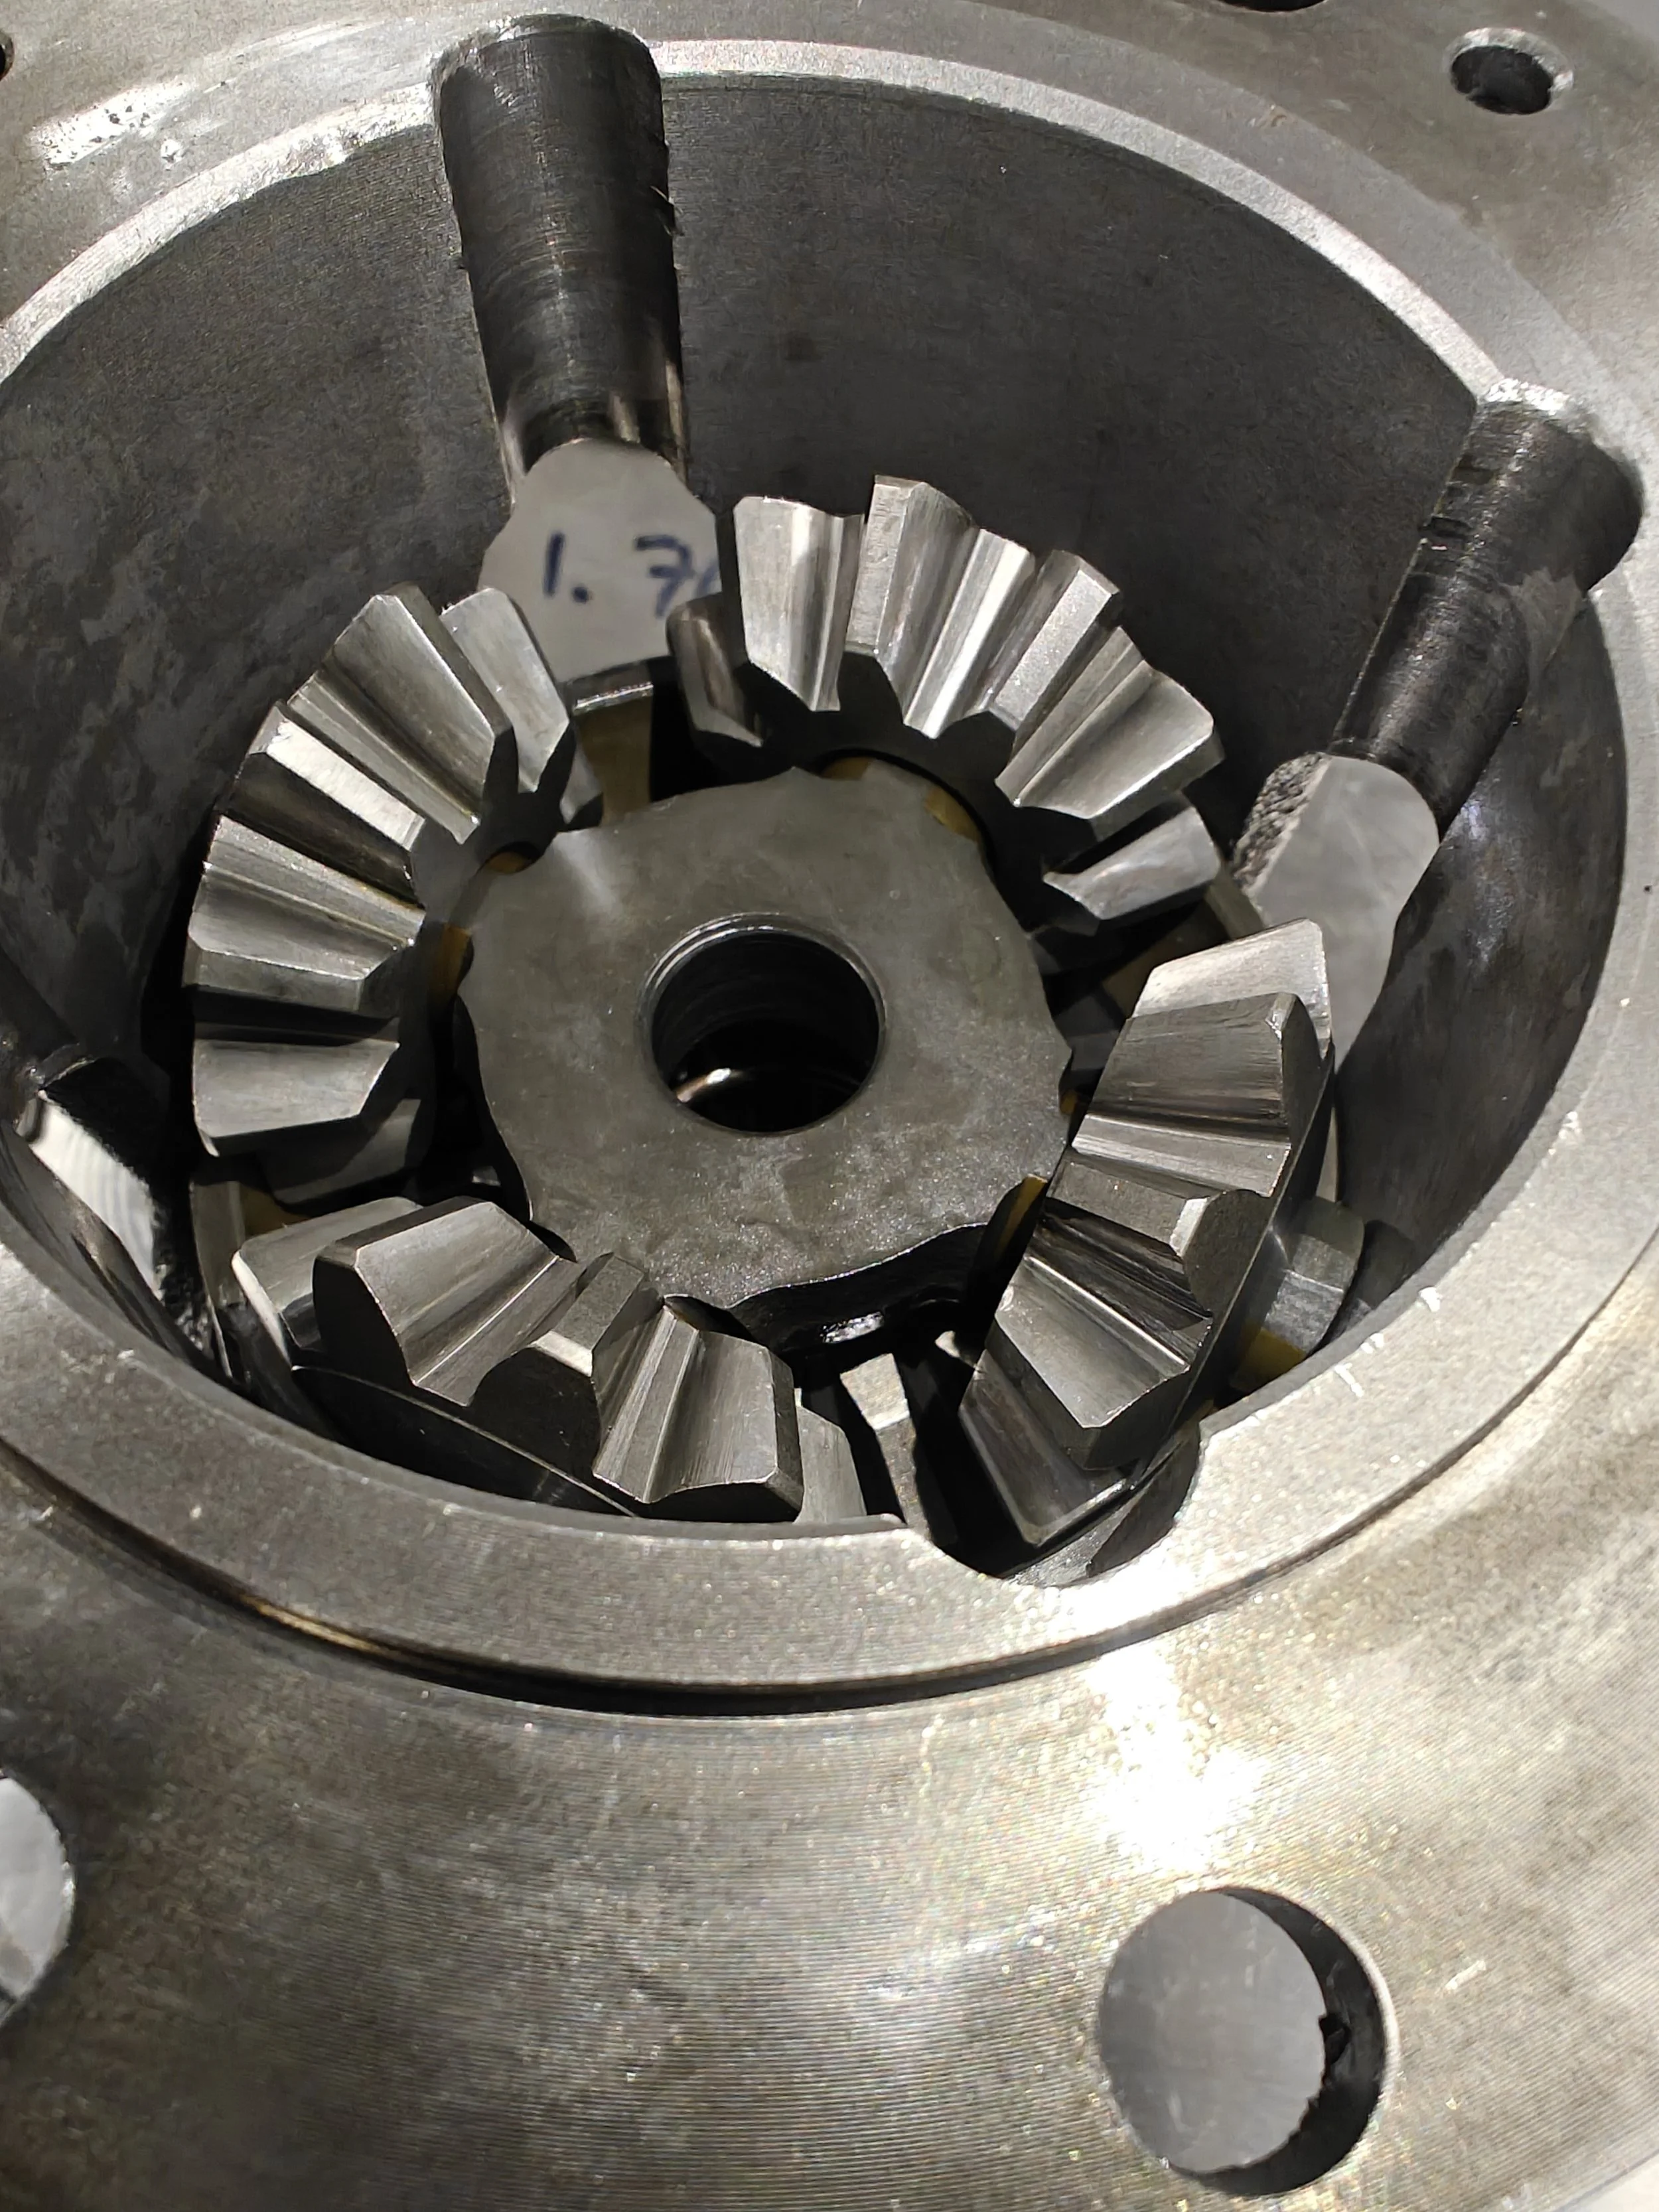
Then some spider gears

Setting the other ramp on top of the spider gears you can now add the rest of the plate stacks
And another one

More plates to install
Finally the last one.
What you may notice now is that the stack height of the RacingDiffs plates is much taller than the outgoing plates. This increased preload on the plates will allow the diff to react quicker and work harder. With this comes a need to have the proper clamps or press to push it all back together to place the screws in.

Lining up the factory marking for the housing.
With the pressure on it is time to install the four screws.
After those screws are set we will go back together with the bolts and away we go.
Bolts back in and torqued to 77 ft pounds.
This completes the installation of the plates. As stated above a guide to help you put the differential back into carrier.

In we go.
After you have filled the differential back up, you can go ahead and start the break in process. From the service manual this is performed by continuous figure 8s for around 30 minutes. The bringing the vehicle back to remove the break in diff fluid and put in a fresh amount.
Tools
Milwaukee 3/8ths electric ratchet
Milwaukee 1/2” electric impact
Gearwrench ratcheting wrenches
Parts
(Find it on eBay) RacingDiffs STi clutch plate kit
RacingDiffs.com STi clutch plate kit