Subaru transmission bushing replacement! Time makes fools of us all and our bushings.
We are all out here trying to do our best to keep up with oil changes, coolant changes, rubber hoses, spark plugs and the endless list of replaceable parts on our vehicles. Which makes it easy to overlook those small players that do their best while struggling at the end of their life. One of those parts is manual transmission bushings.. likely because they aren’t a common part find on all vehicles. But for us Subaru owner’s these are found on a wide range of models and years
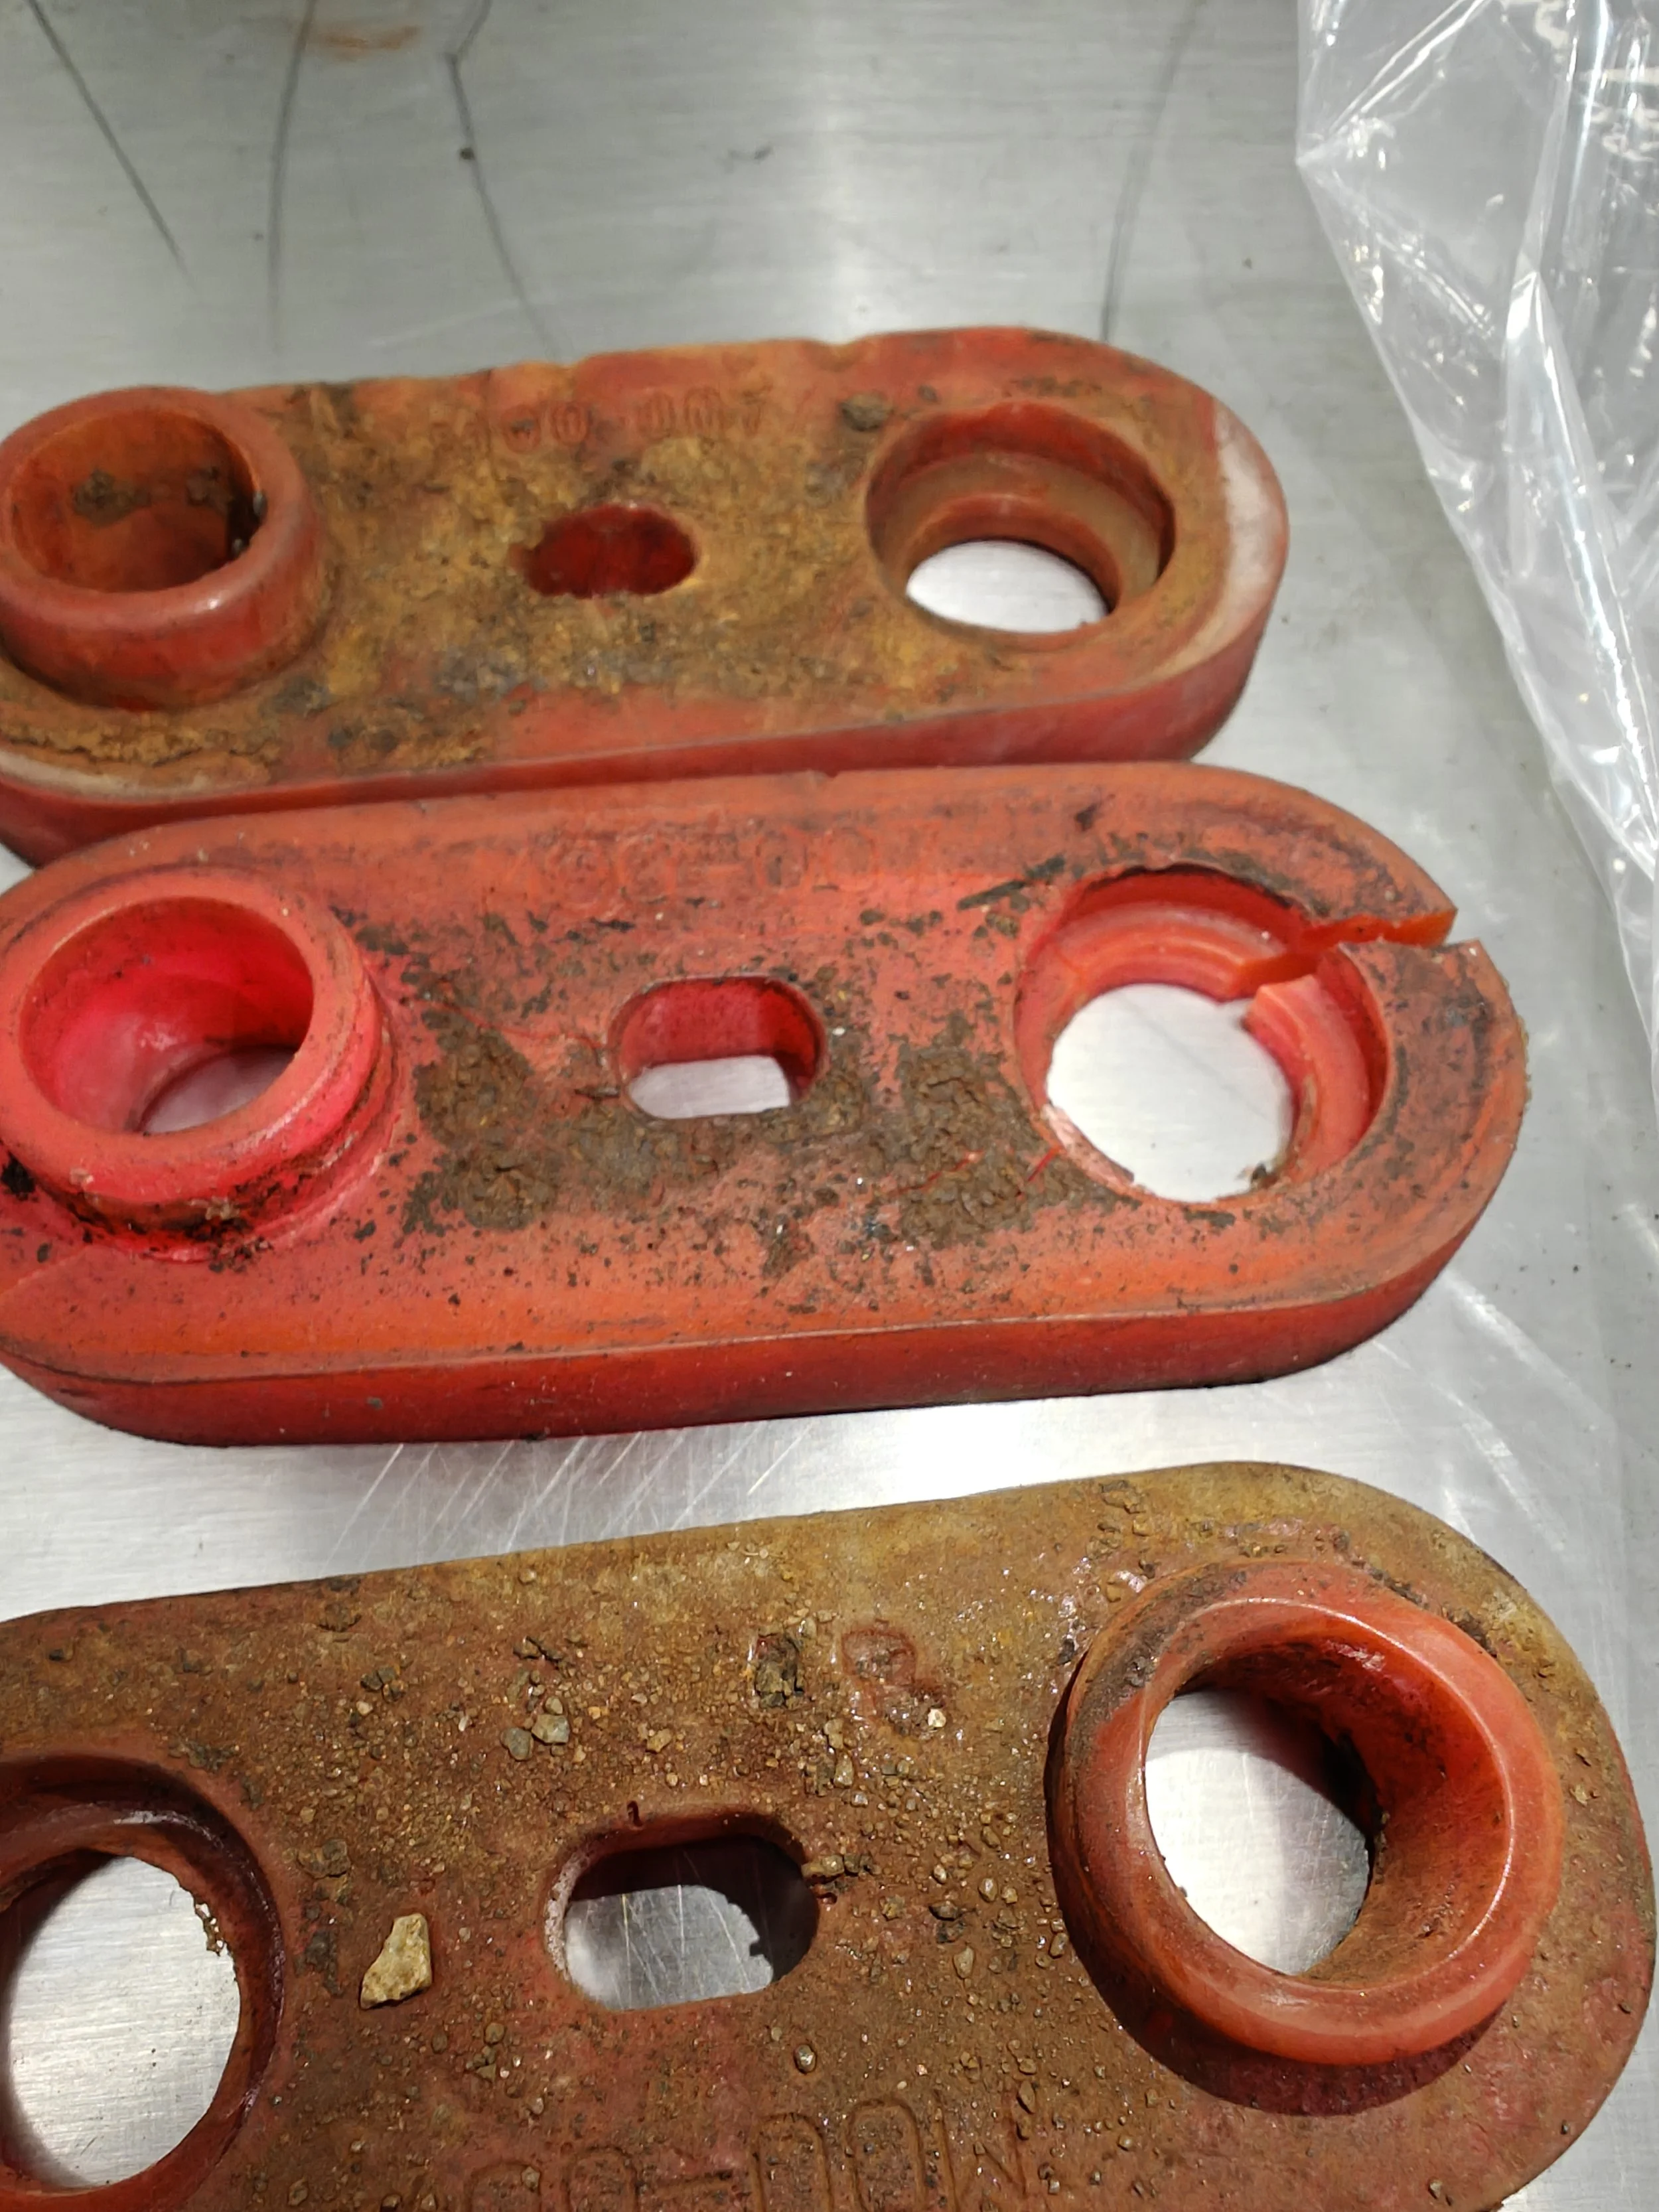
I had replaced these once already… But as you can see it needed to be done again.
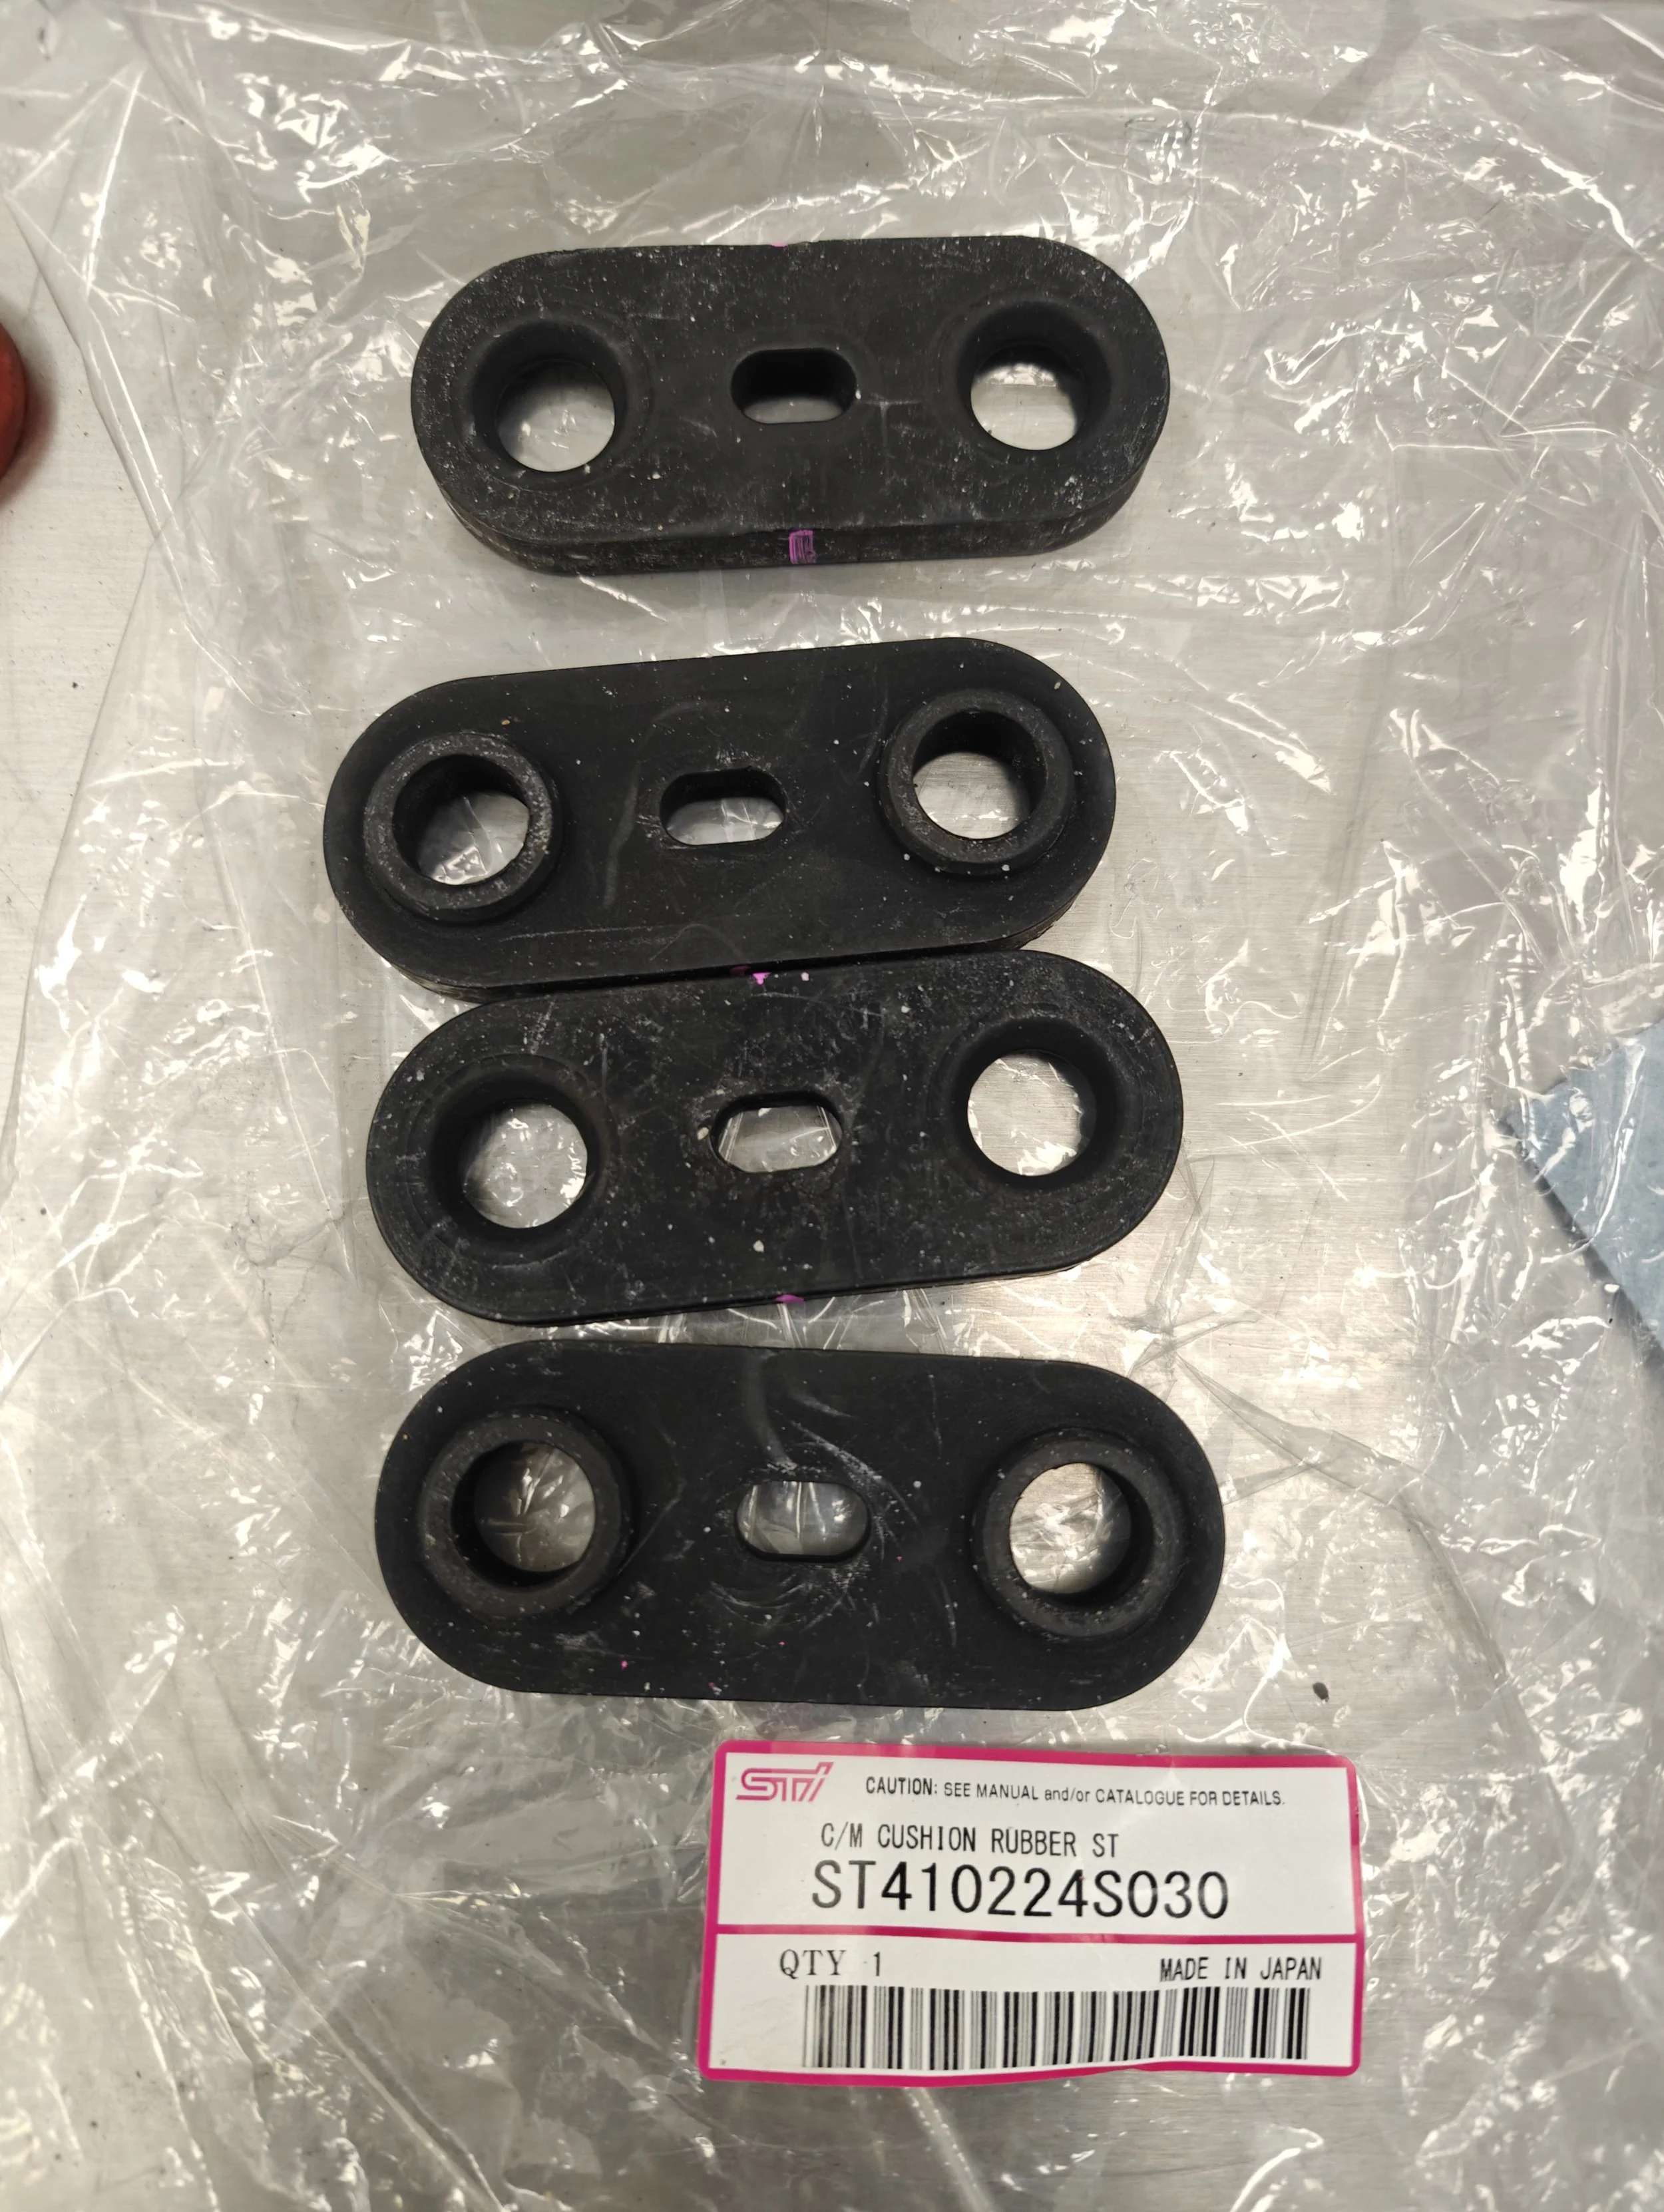
New parts incoming!
I also happen to know how soft these are from the factory. Some have even gone as far to say that freshly chewed chewing gum is slightly stiffer than these… And this isn’t a lower model thing, even the STi has these equipped from the factory.

If you buy the Jdm units you get this sweet instruction guide. Worth it.
If you are still unfamiliar with these let’s take a look at where these are located so you can check them the next time you are under your car.
Time frame
With only 6 bolts to pull out this shouldn’t be too bad or too long. It will likely take you longer to jack up the car than replace these, so I would assume 45 minutes to an hour for this job.
Tools

Parts
STi C/M Cushion Rubber ST ST410224S030 (find it on eBay)
Energy Suspension Transmission bushings
How to
Step one is to get the up on jack stands… unless you are rocking the lift kit on your Subaru and then you might be able to squirm under it. Next on your checklist is making sure the vehicle and nice and secure before rolling under it. This would also be a great time to put a wheel or cinder block under the vehicle as a safety measure.
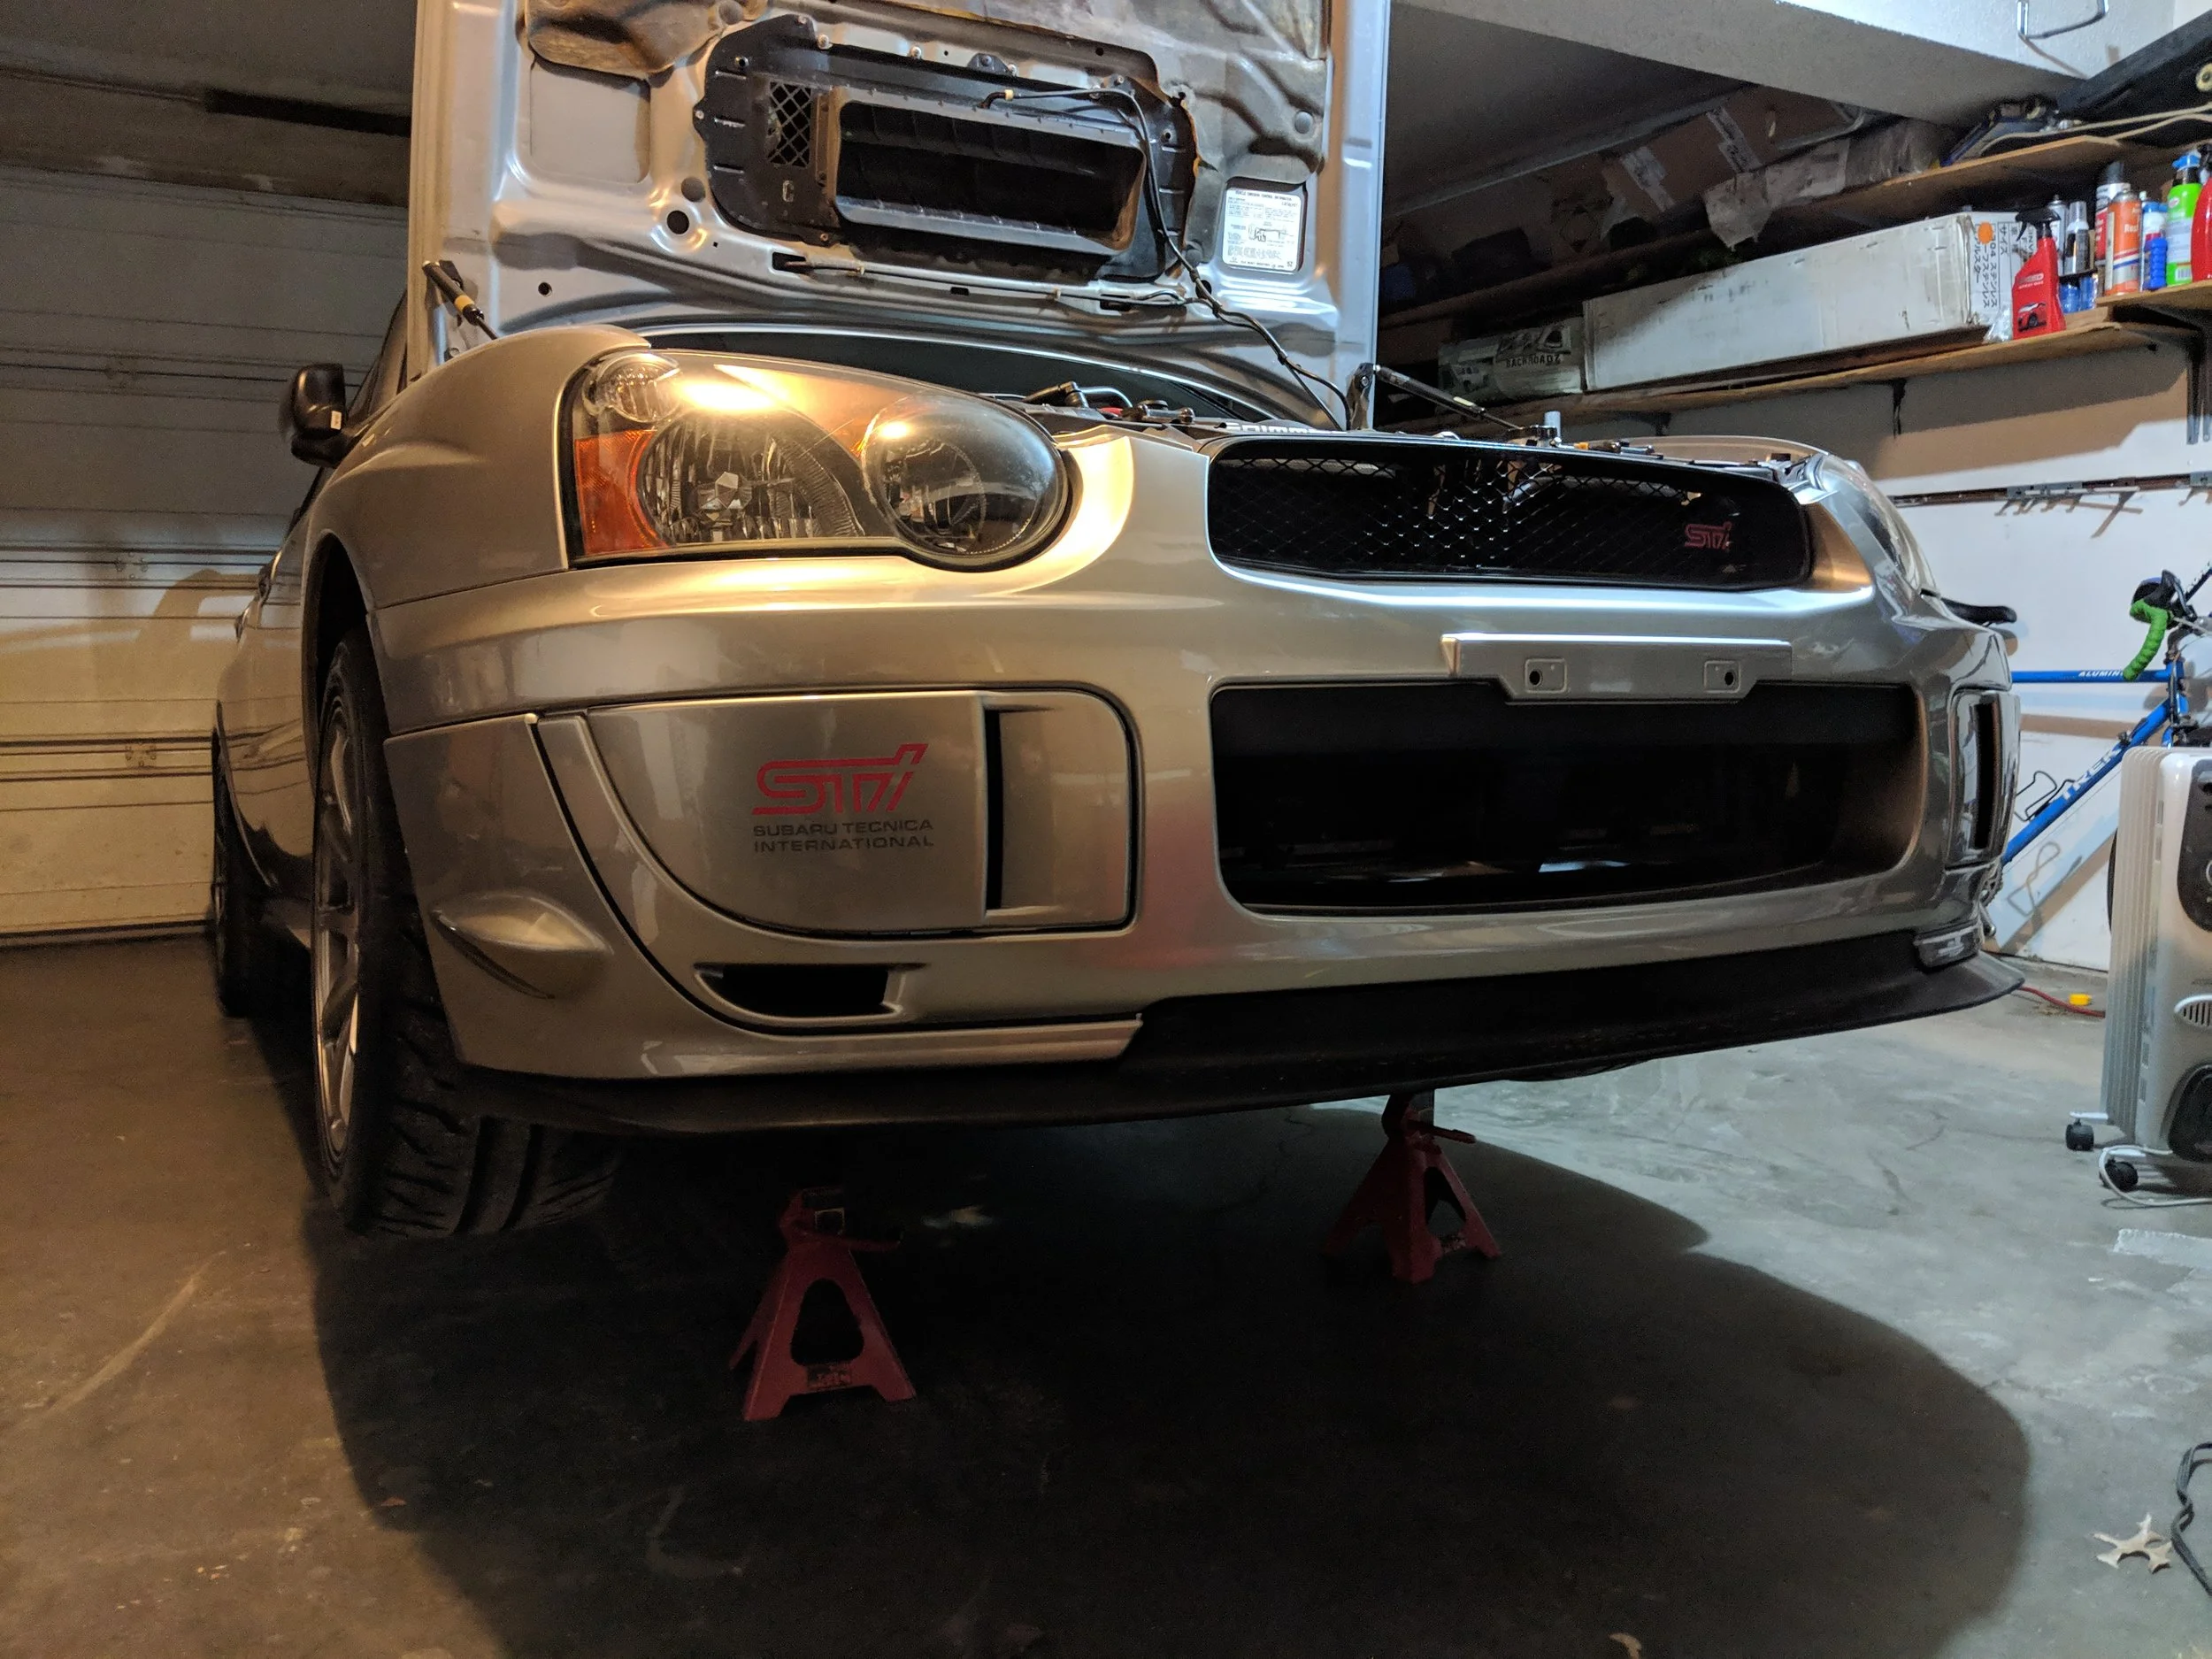
Up we go!
Next up is supporting the transmission, as the transmission mount bracket will be removed to install our new bushings. I have found that using a piece of wood on the front differential case to be the easiest method, but any soft enough to not damage the transmission case should be find.
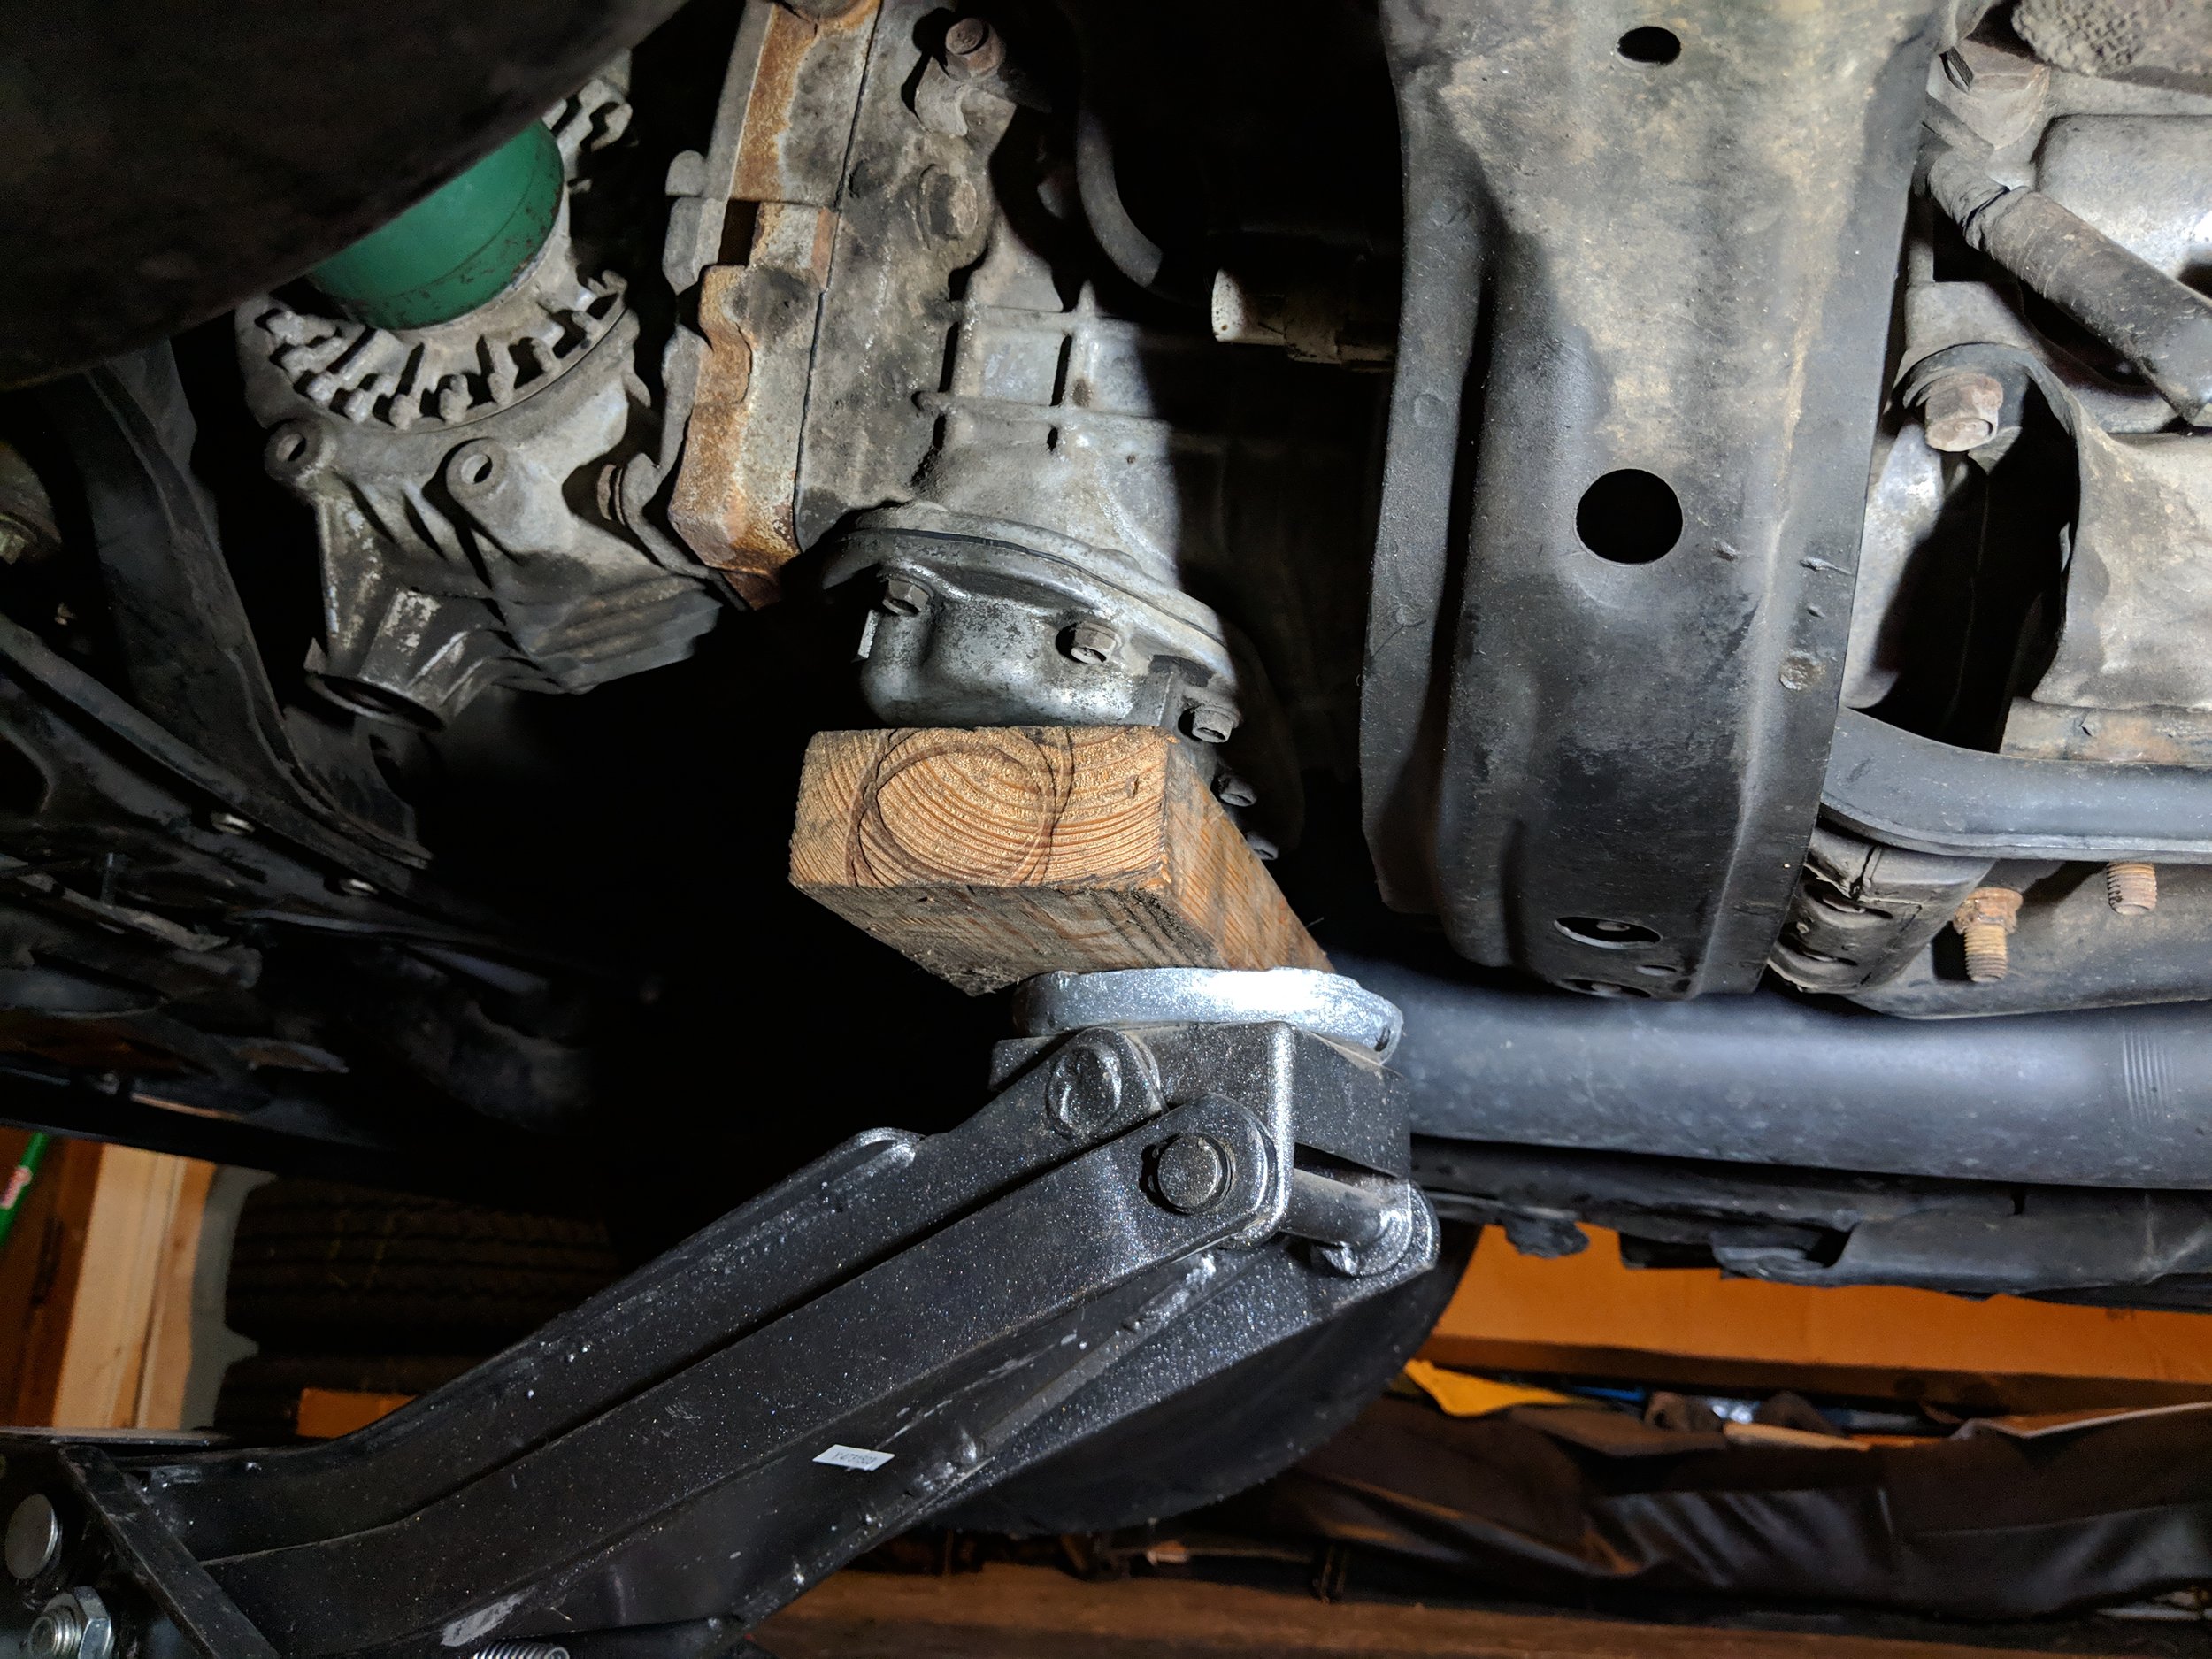
Since we are removing parts of the transmission cross member we will need to support it.
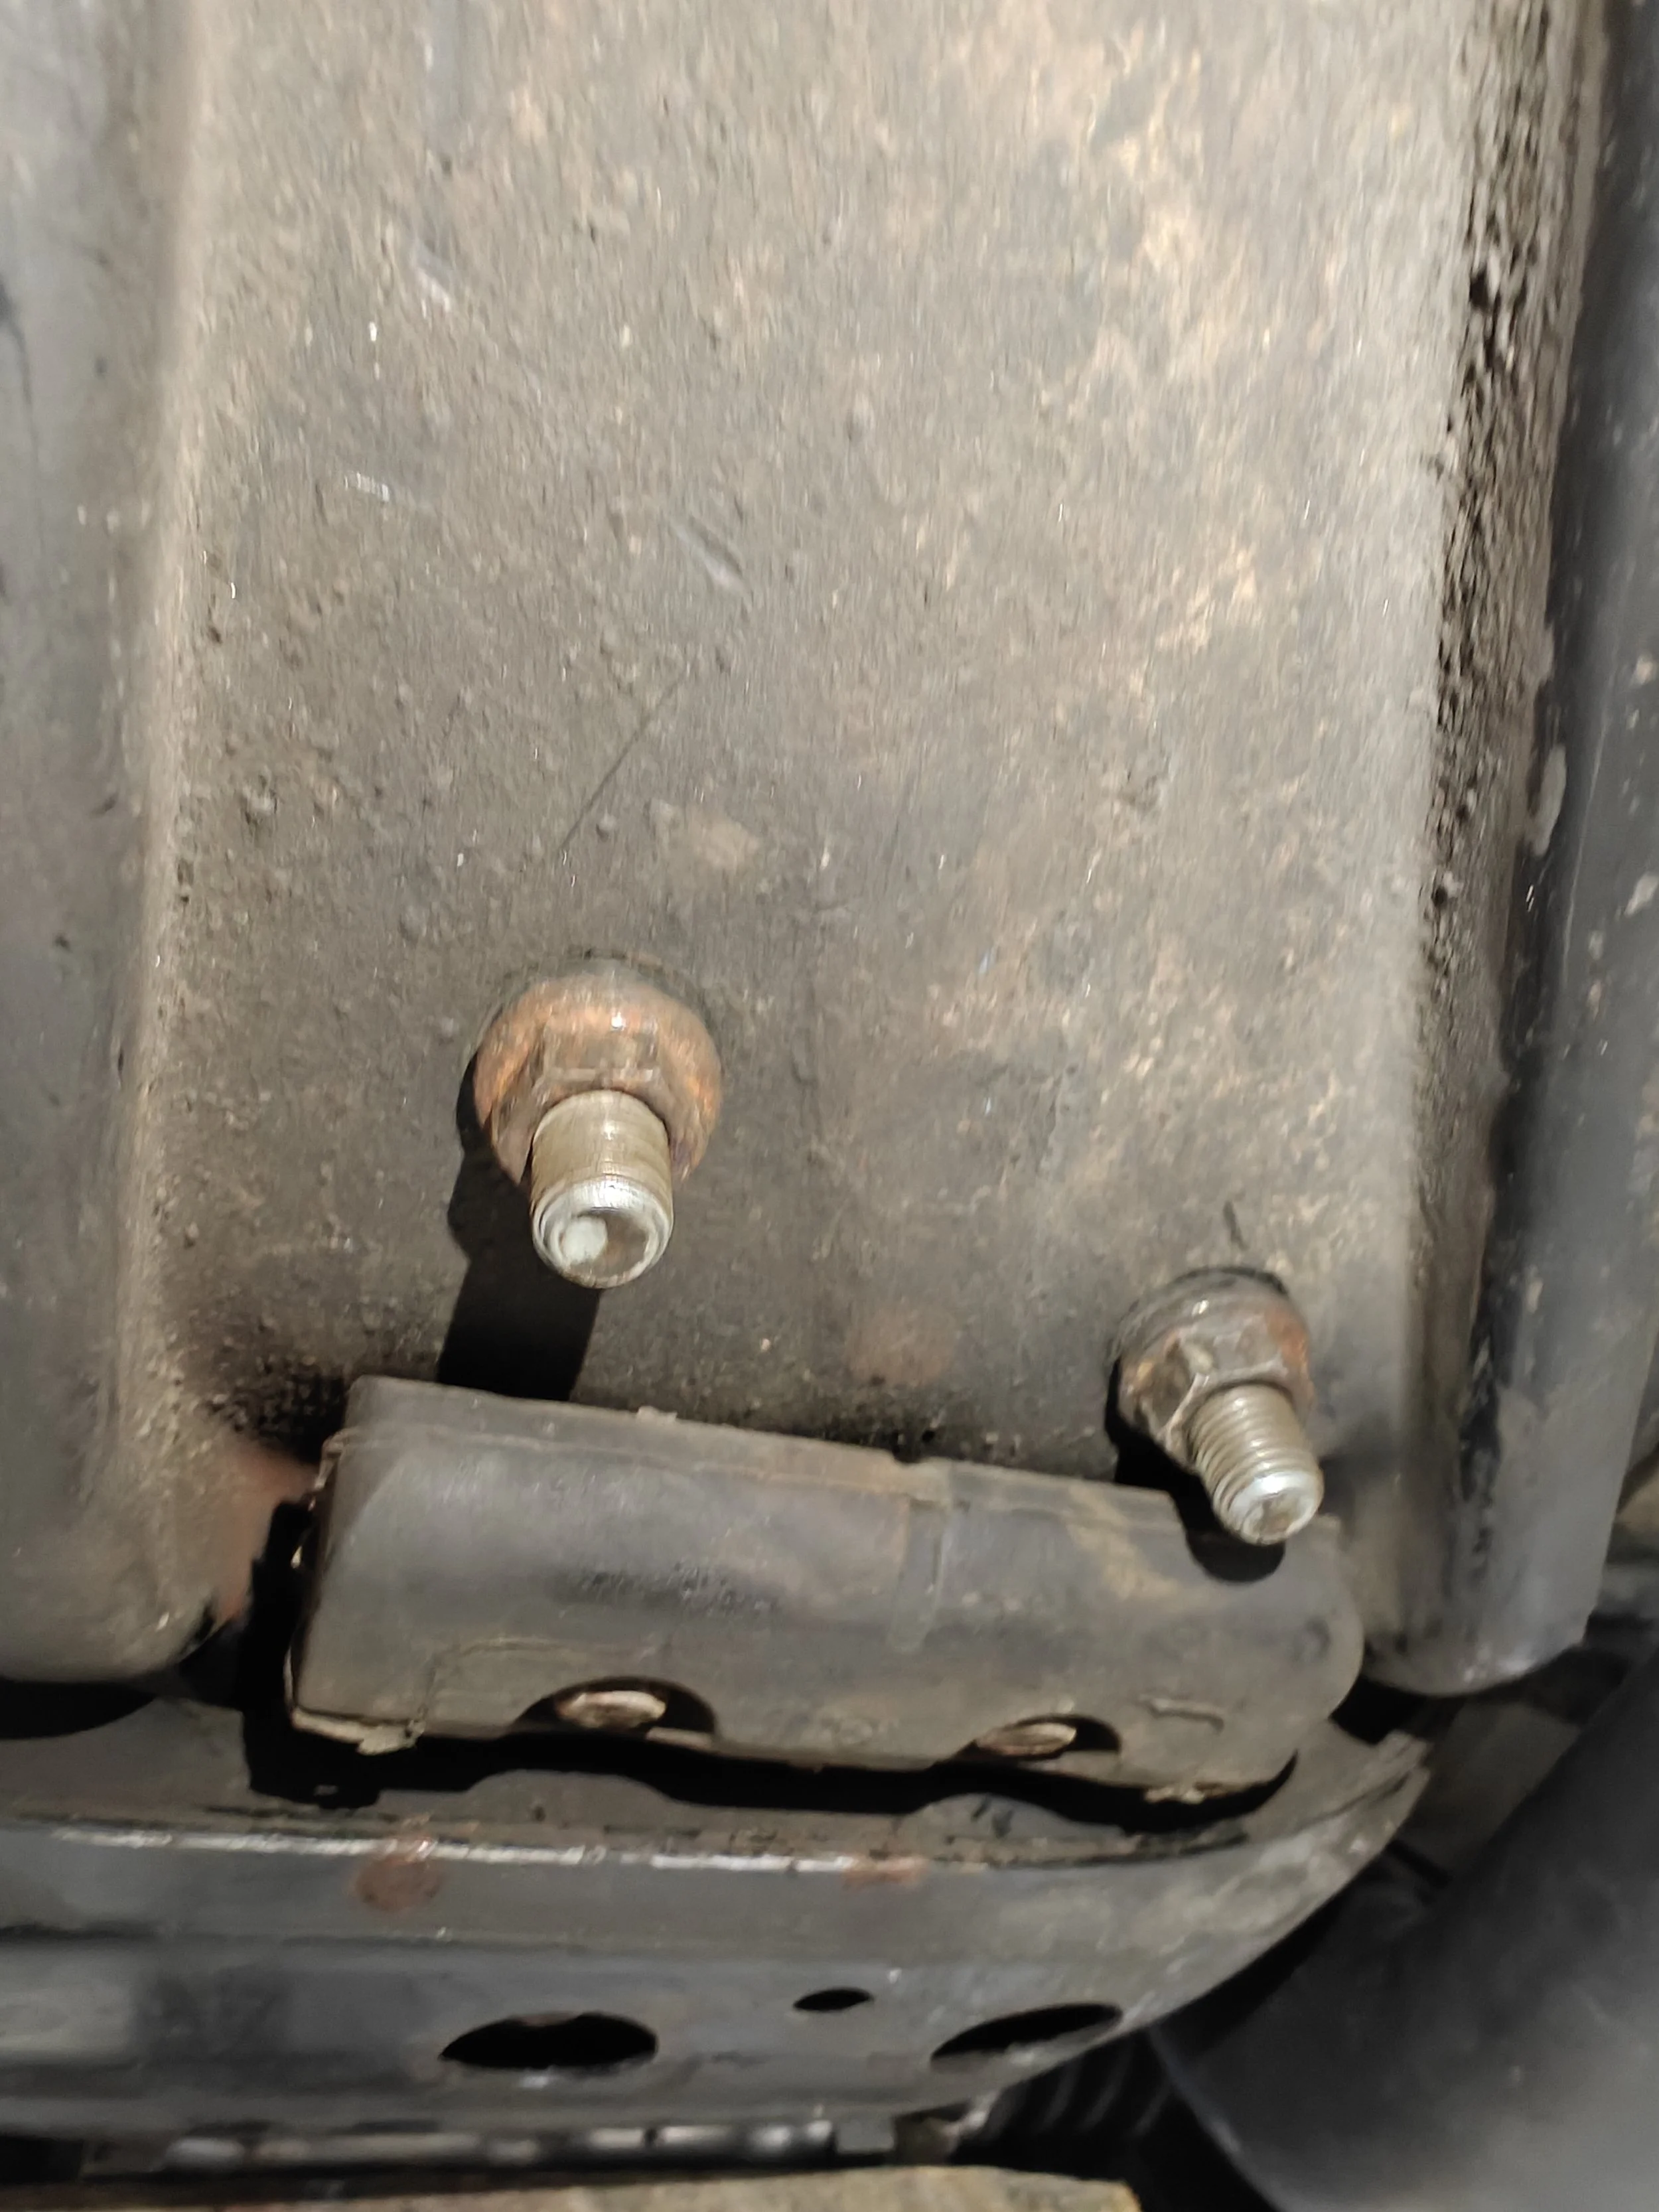
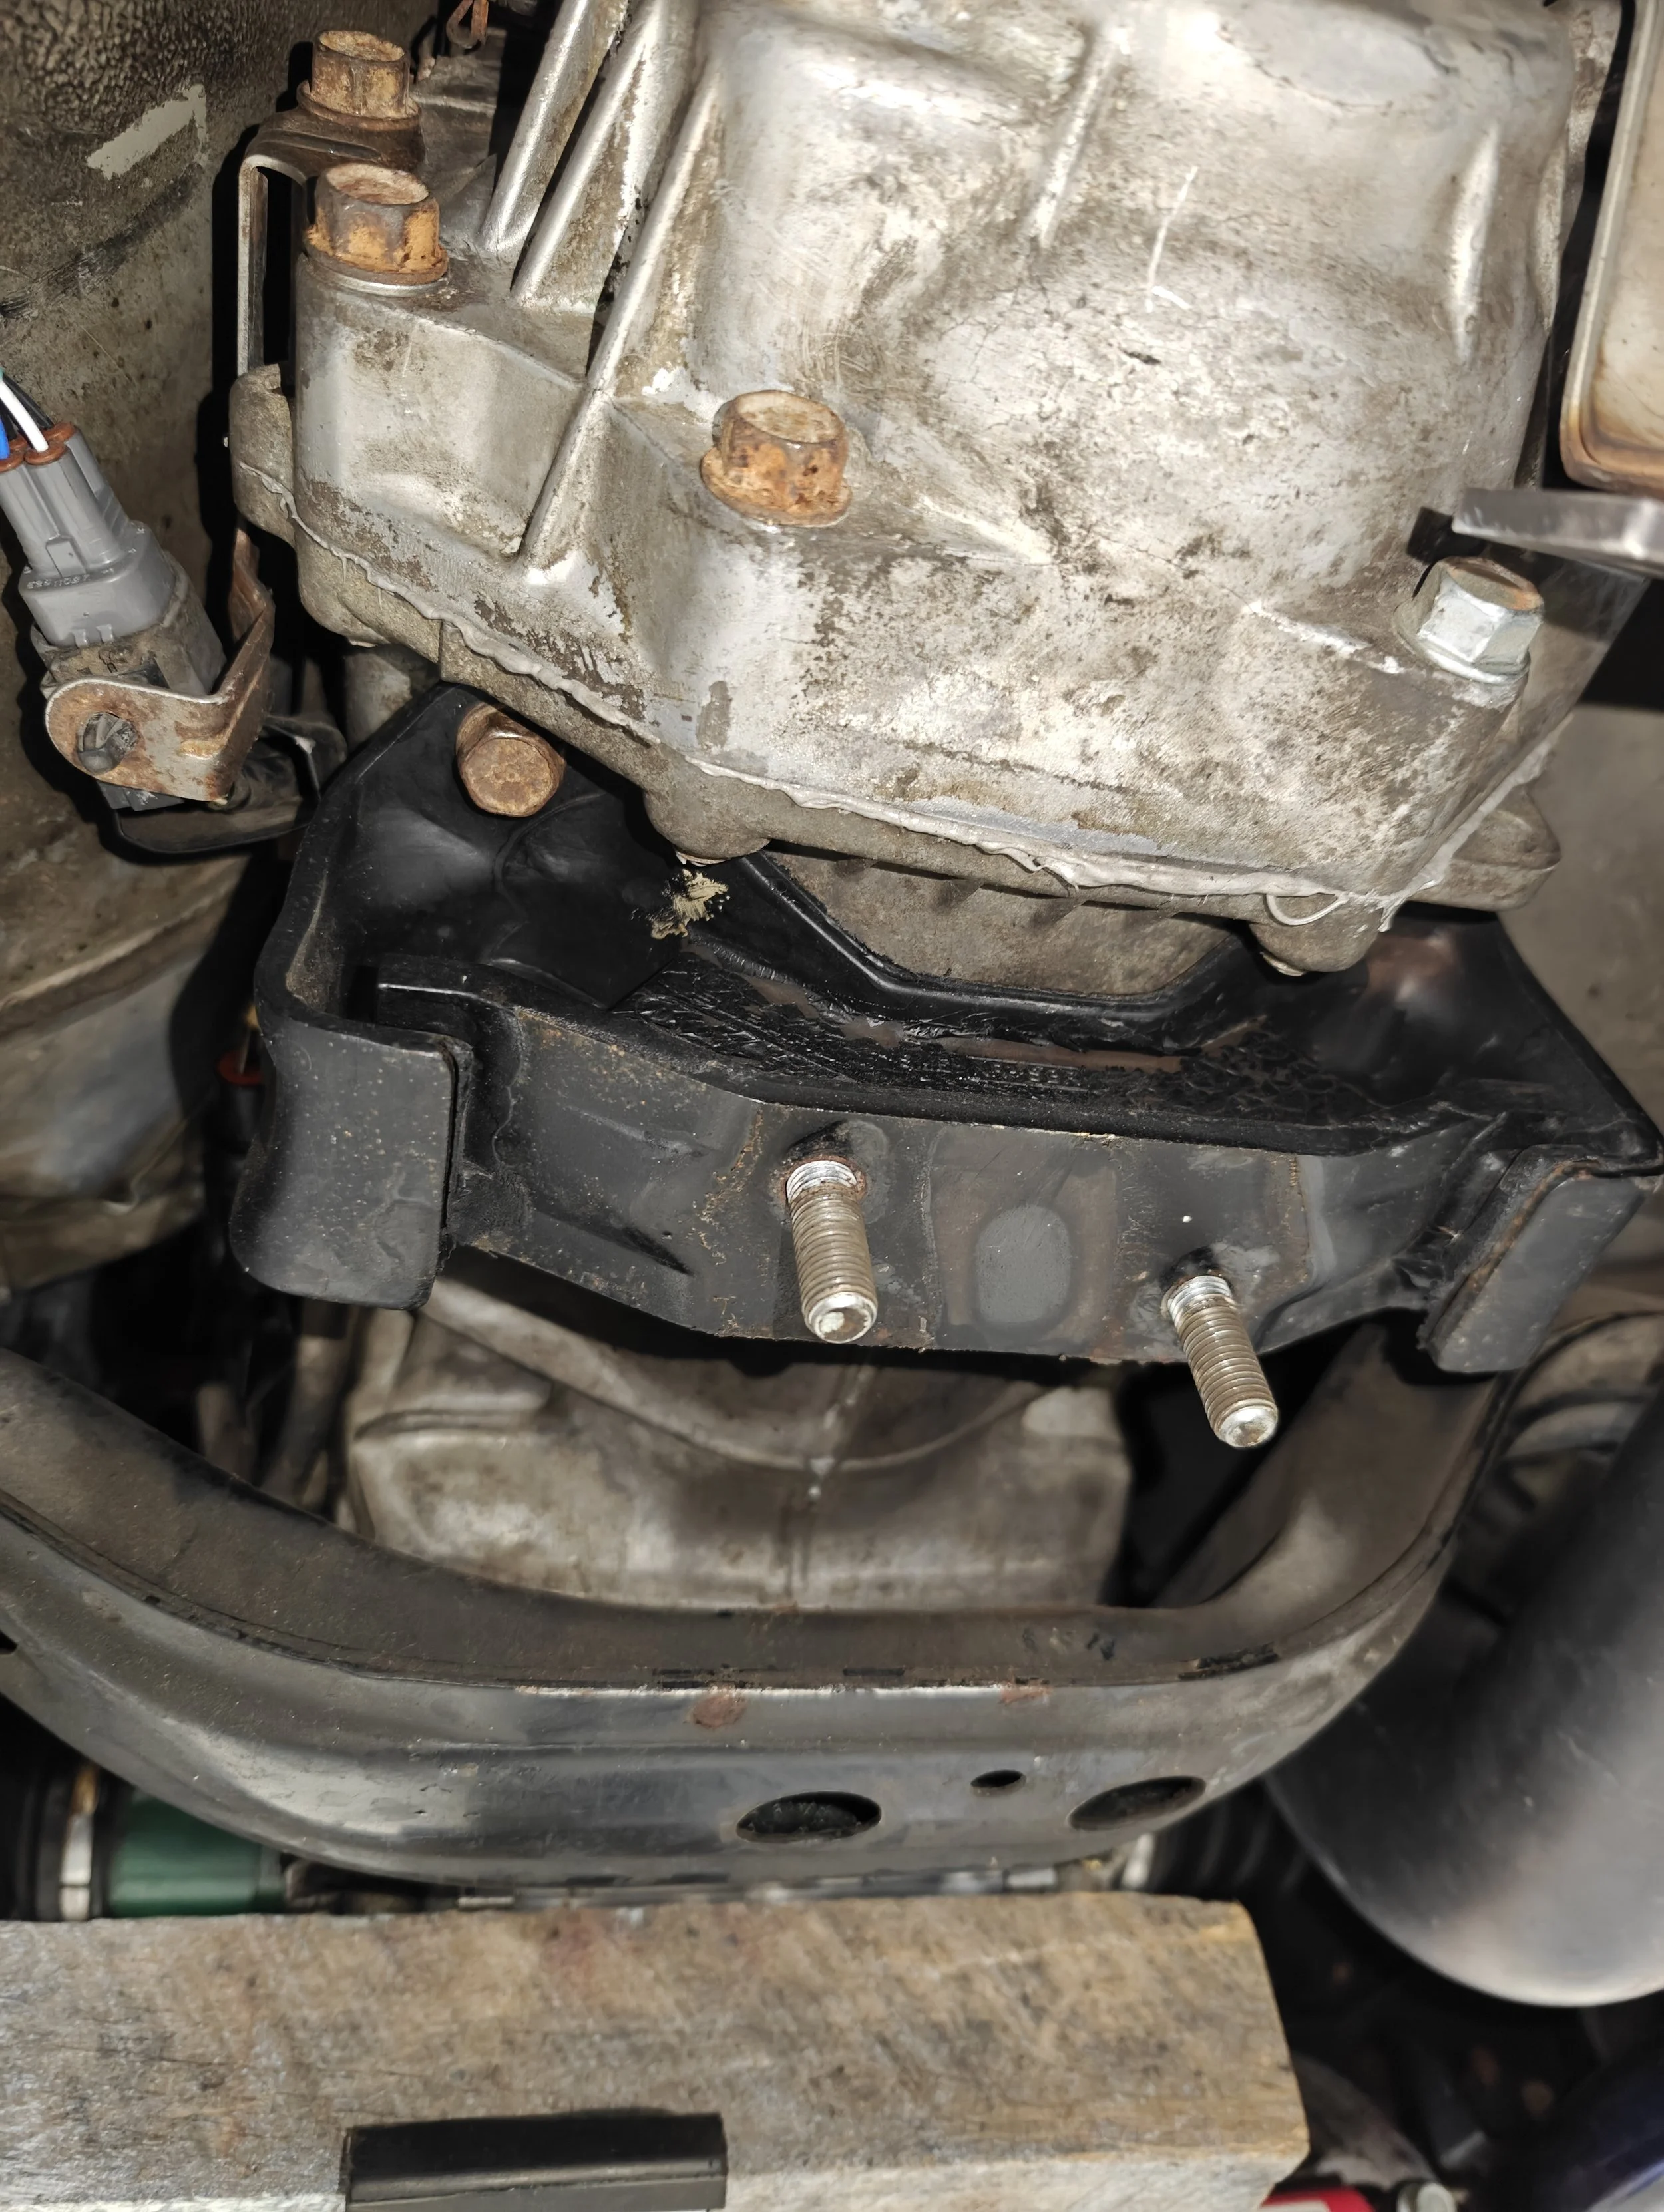
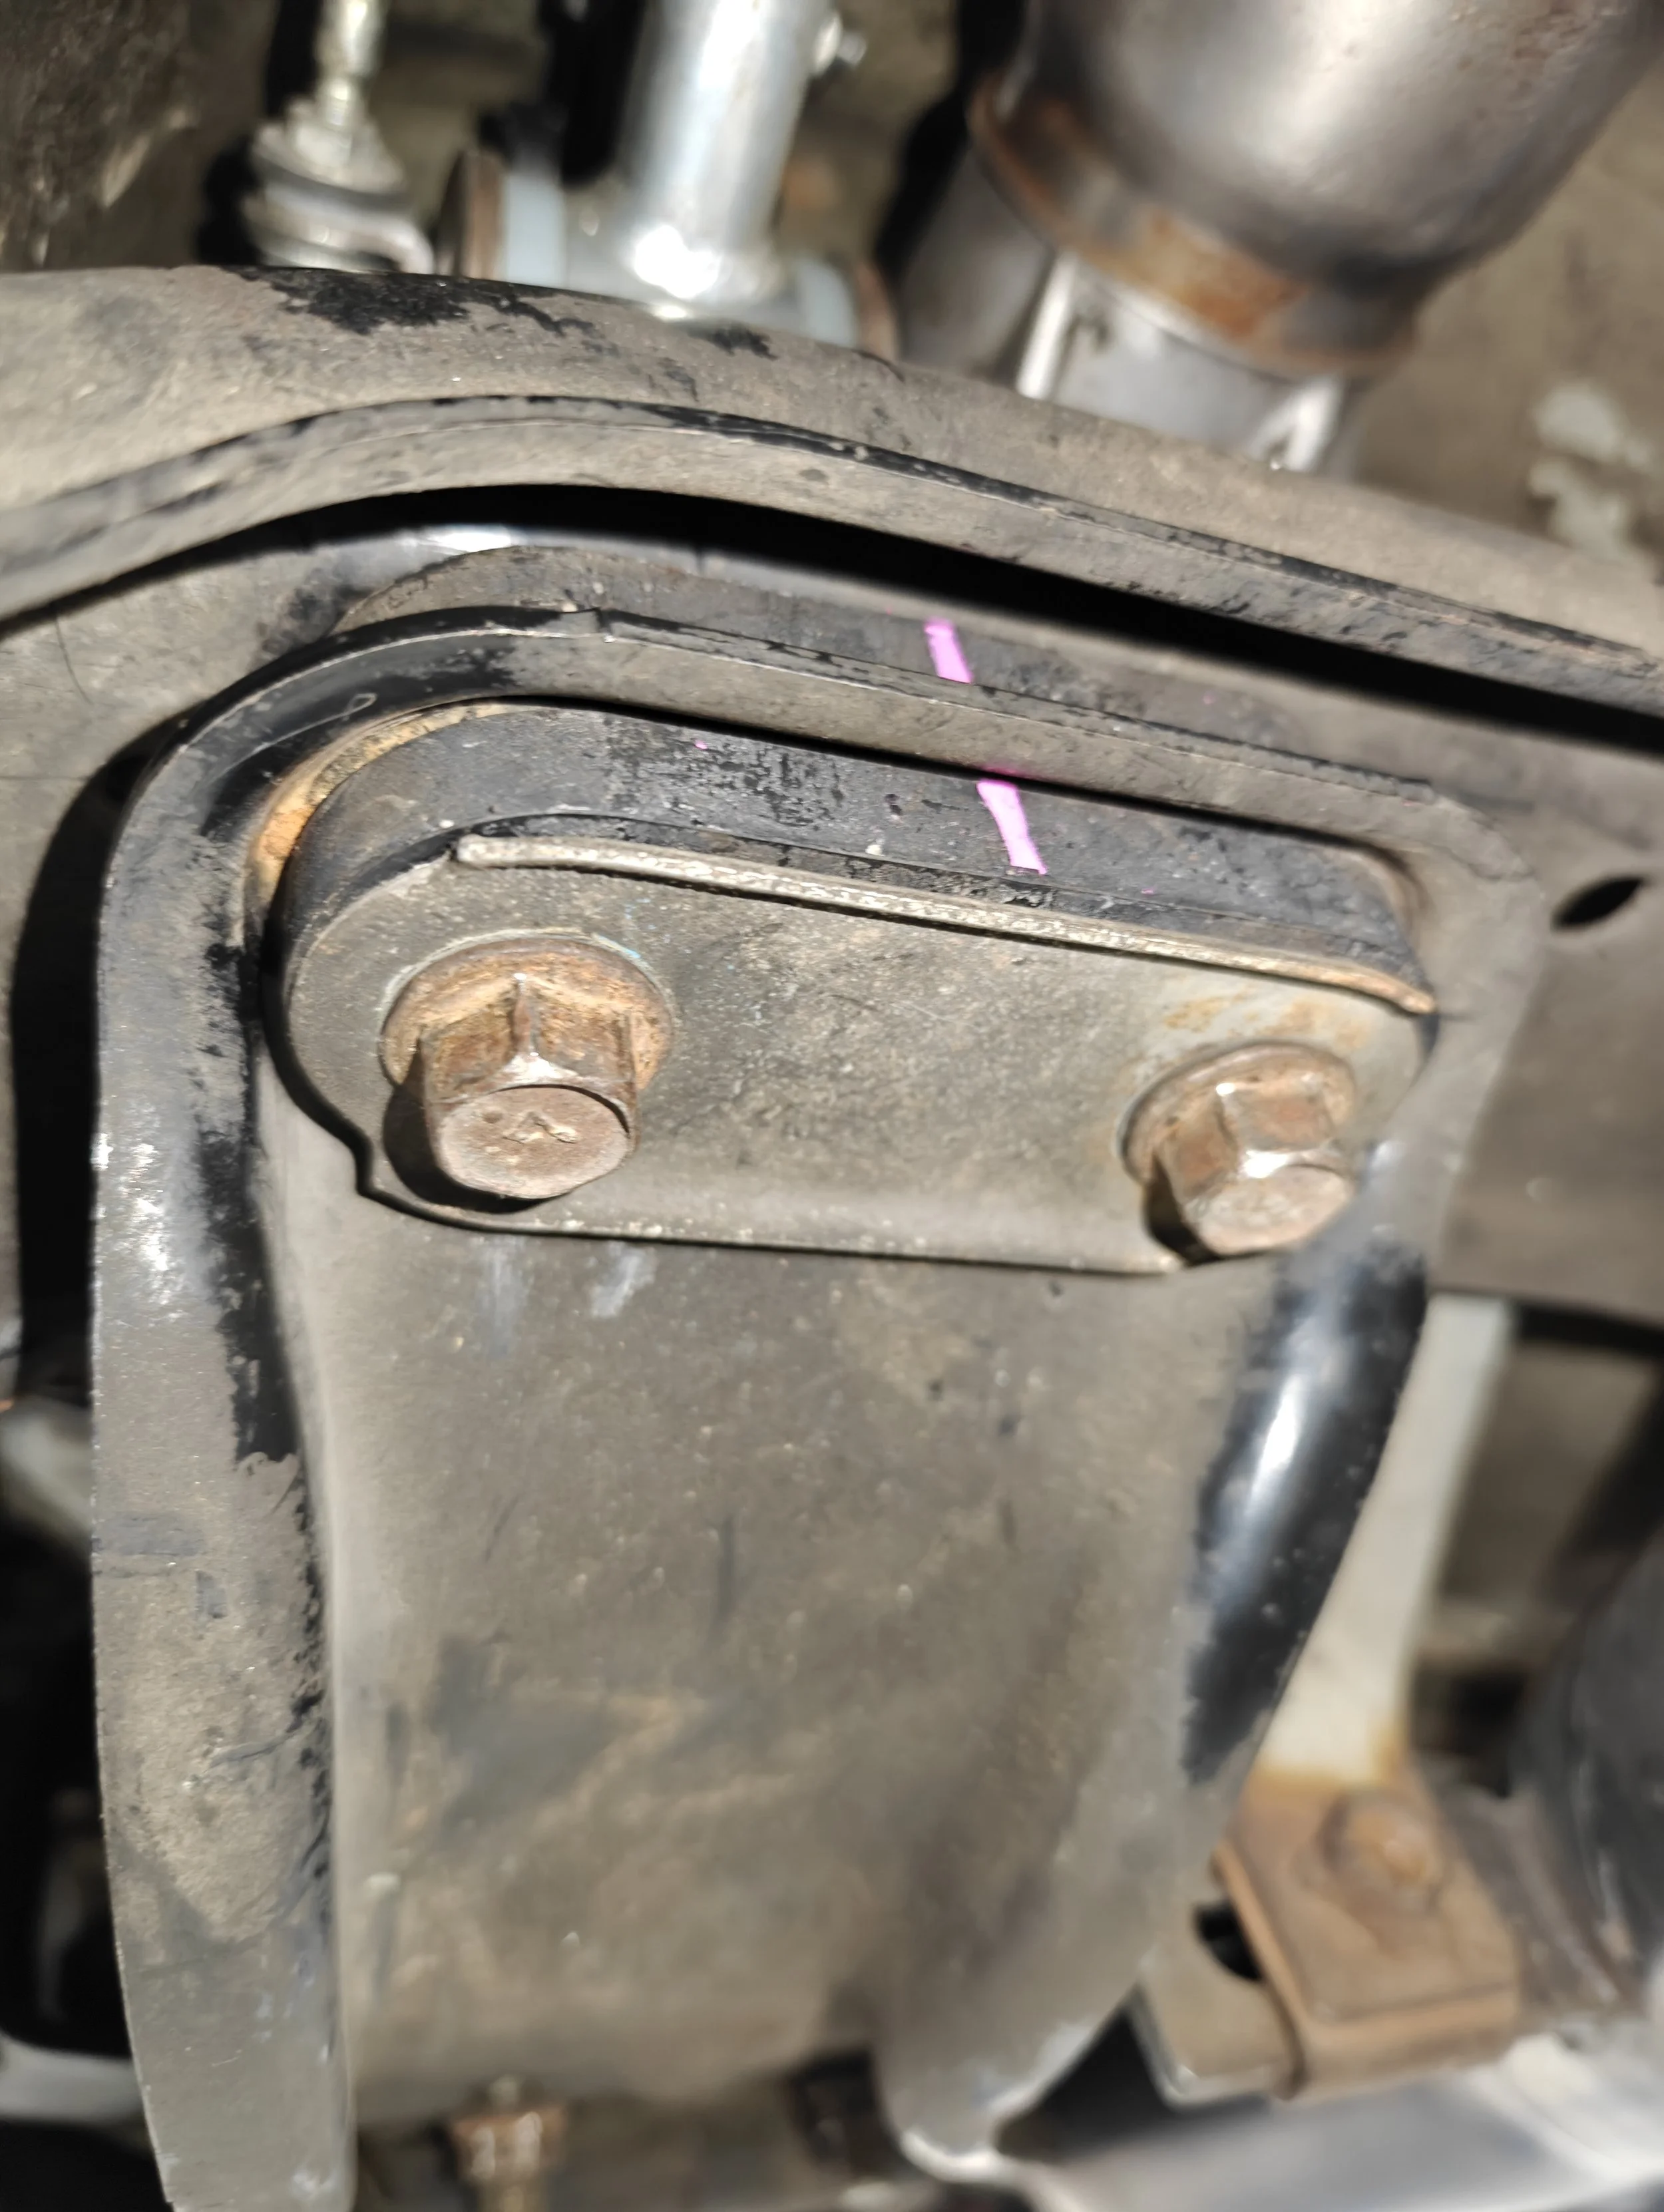
Now we need to locate the six bolts/nuts located on the transmission cross member. I started it on the rear of the car and removed those two first. This will give you access to the a portion of the rear bushing.
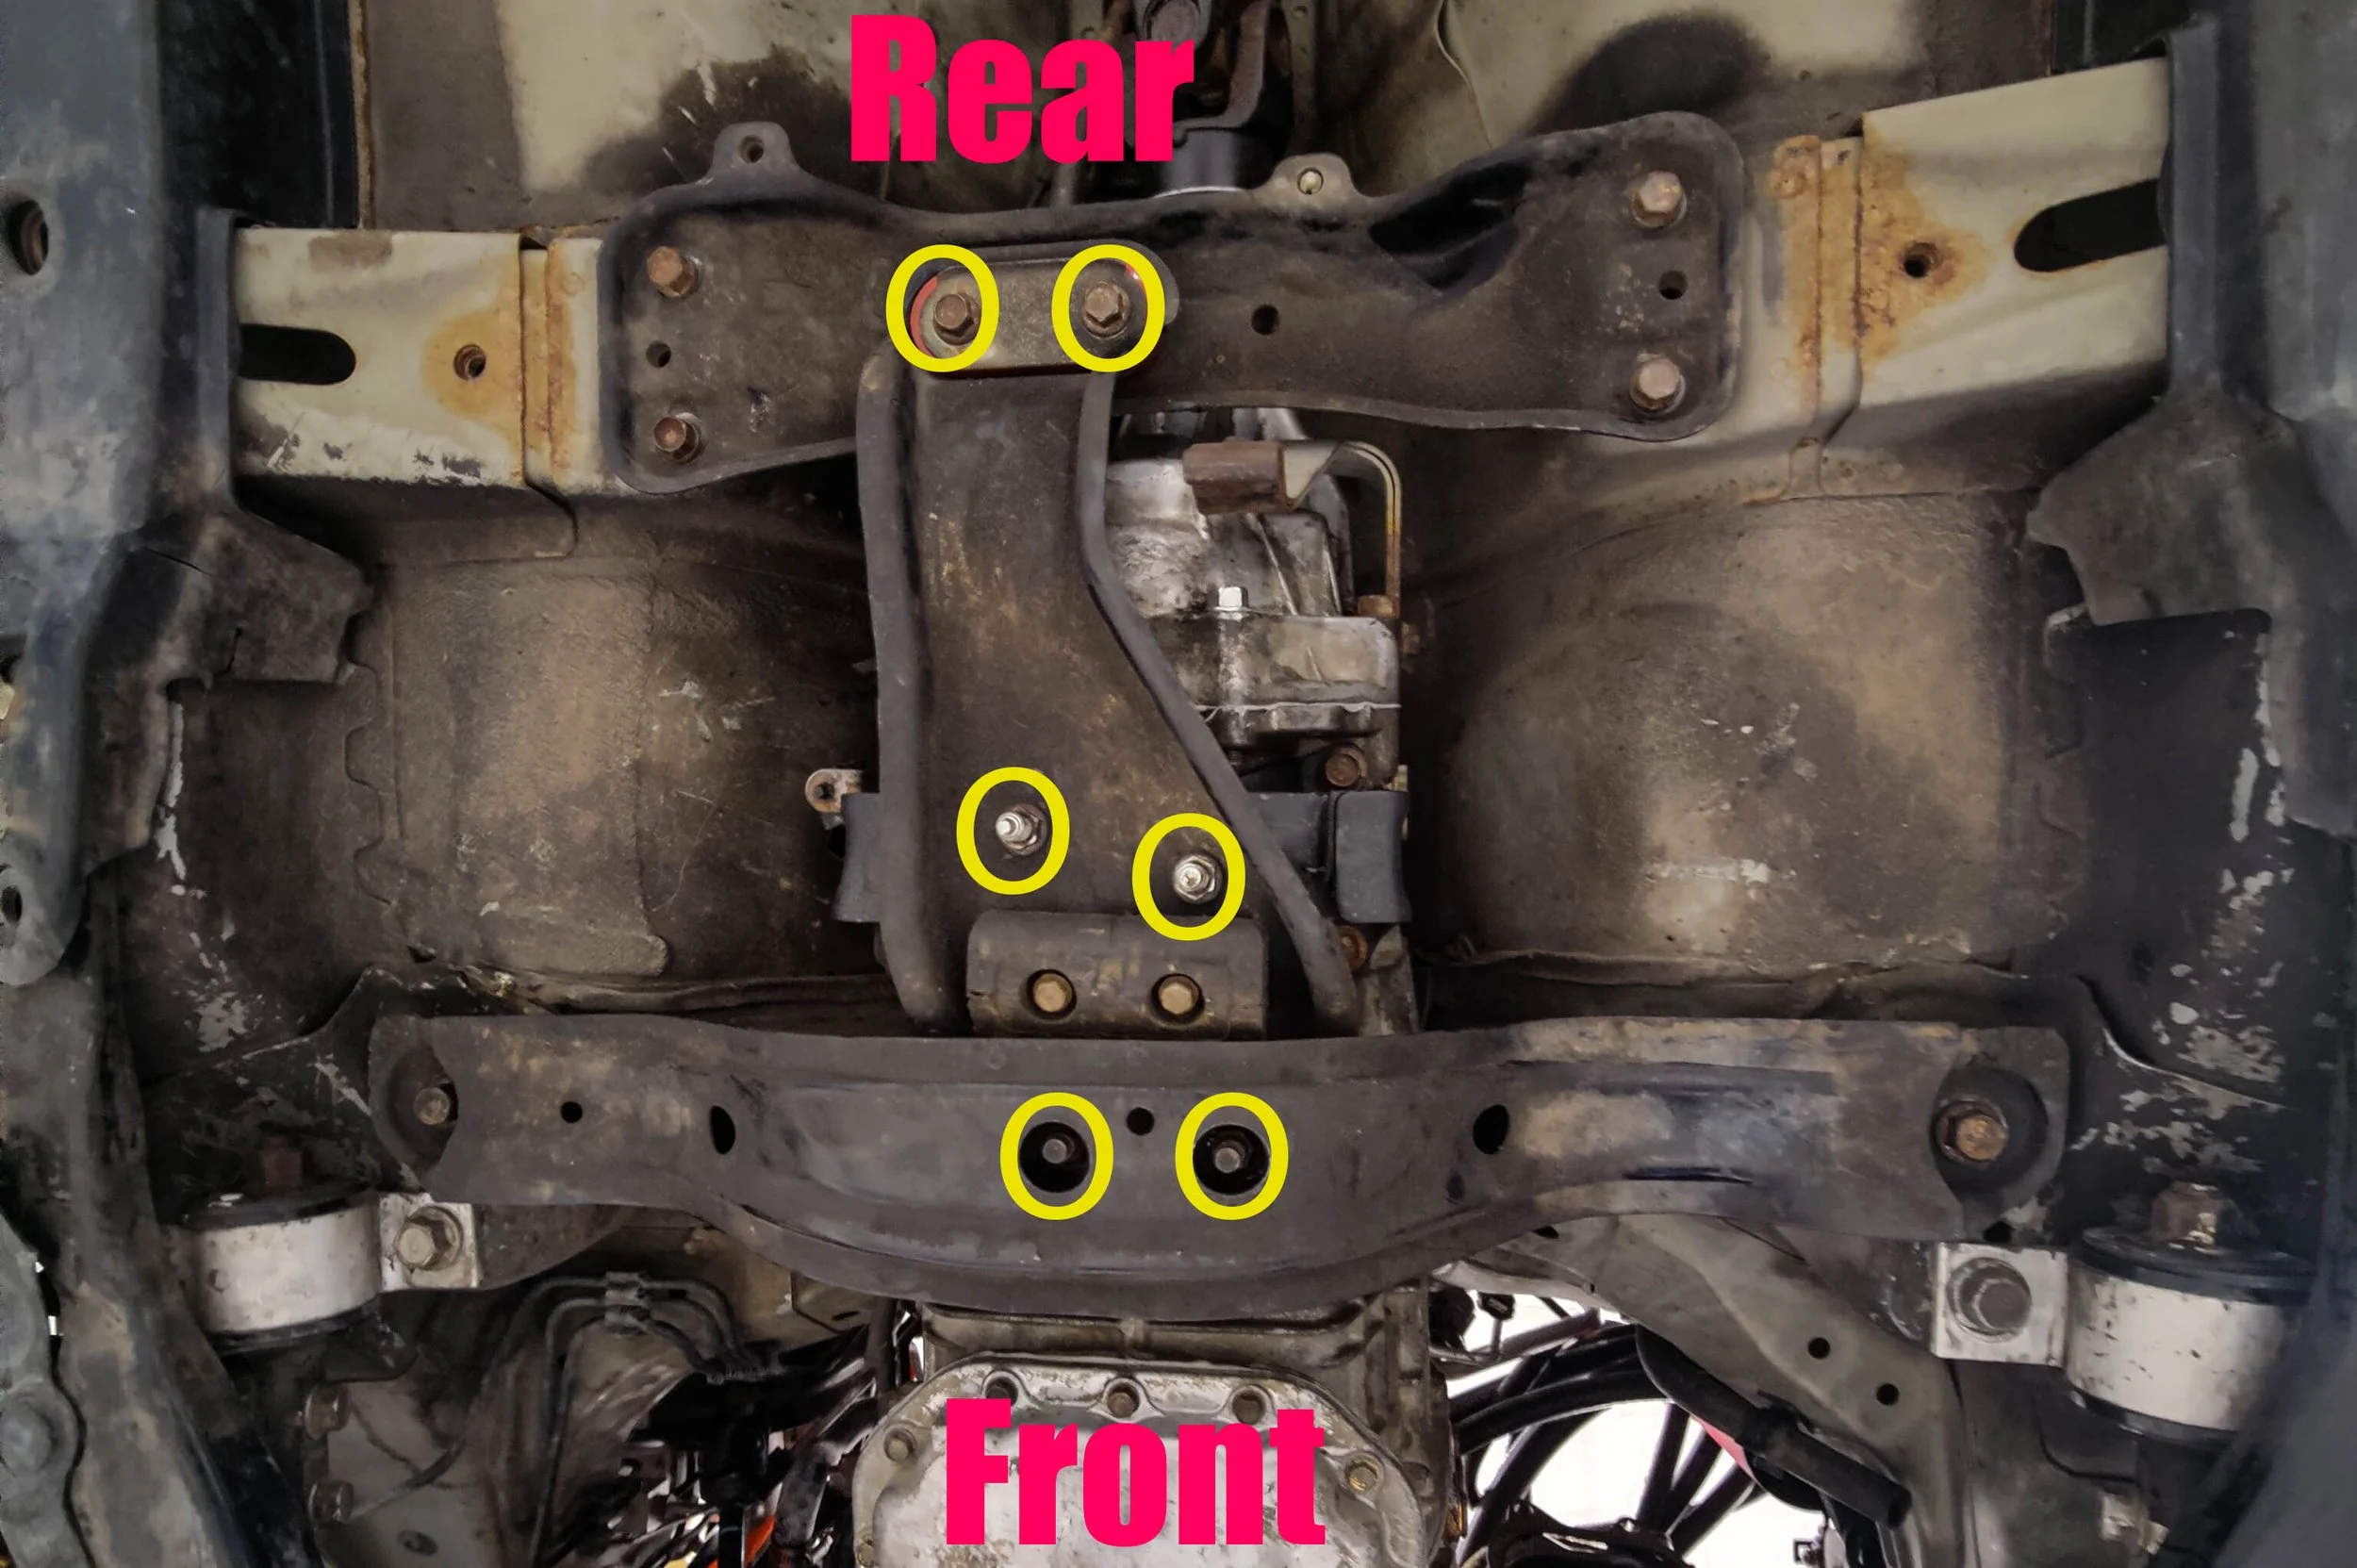
Image above outlines the nuts and bolts we will be removing
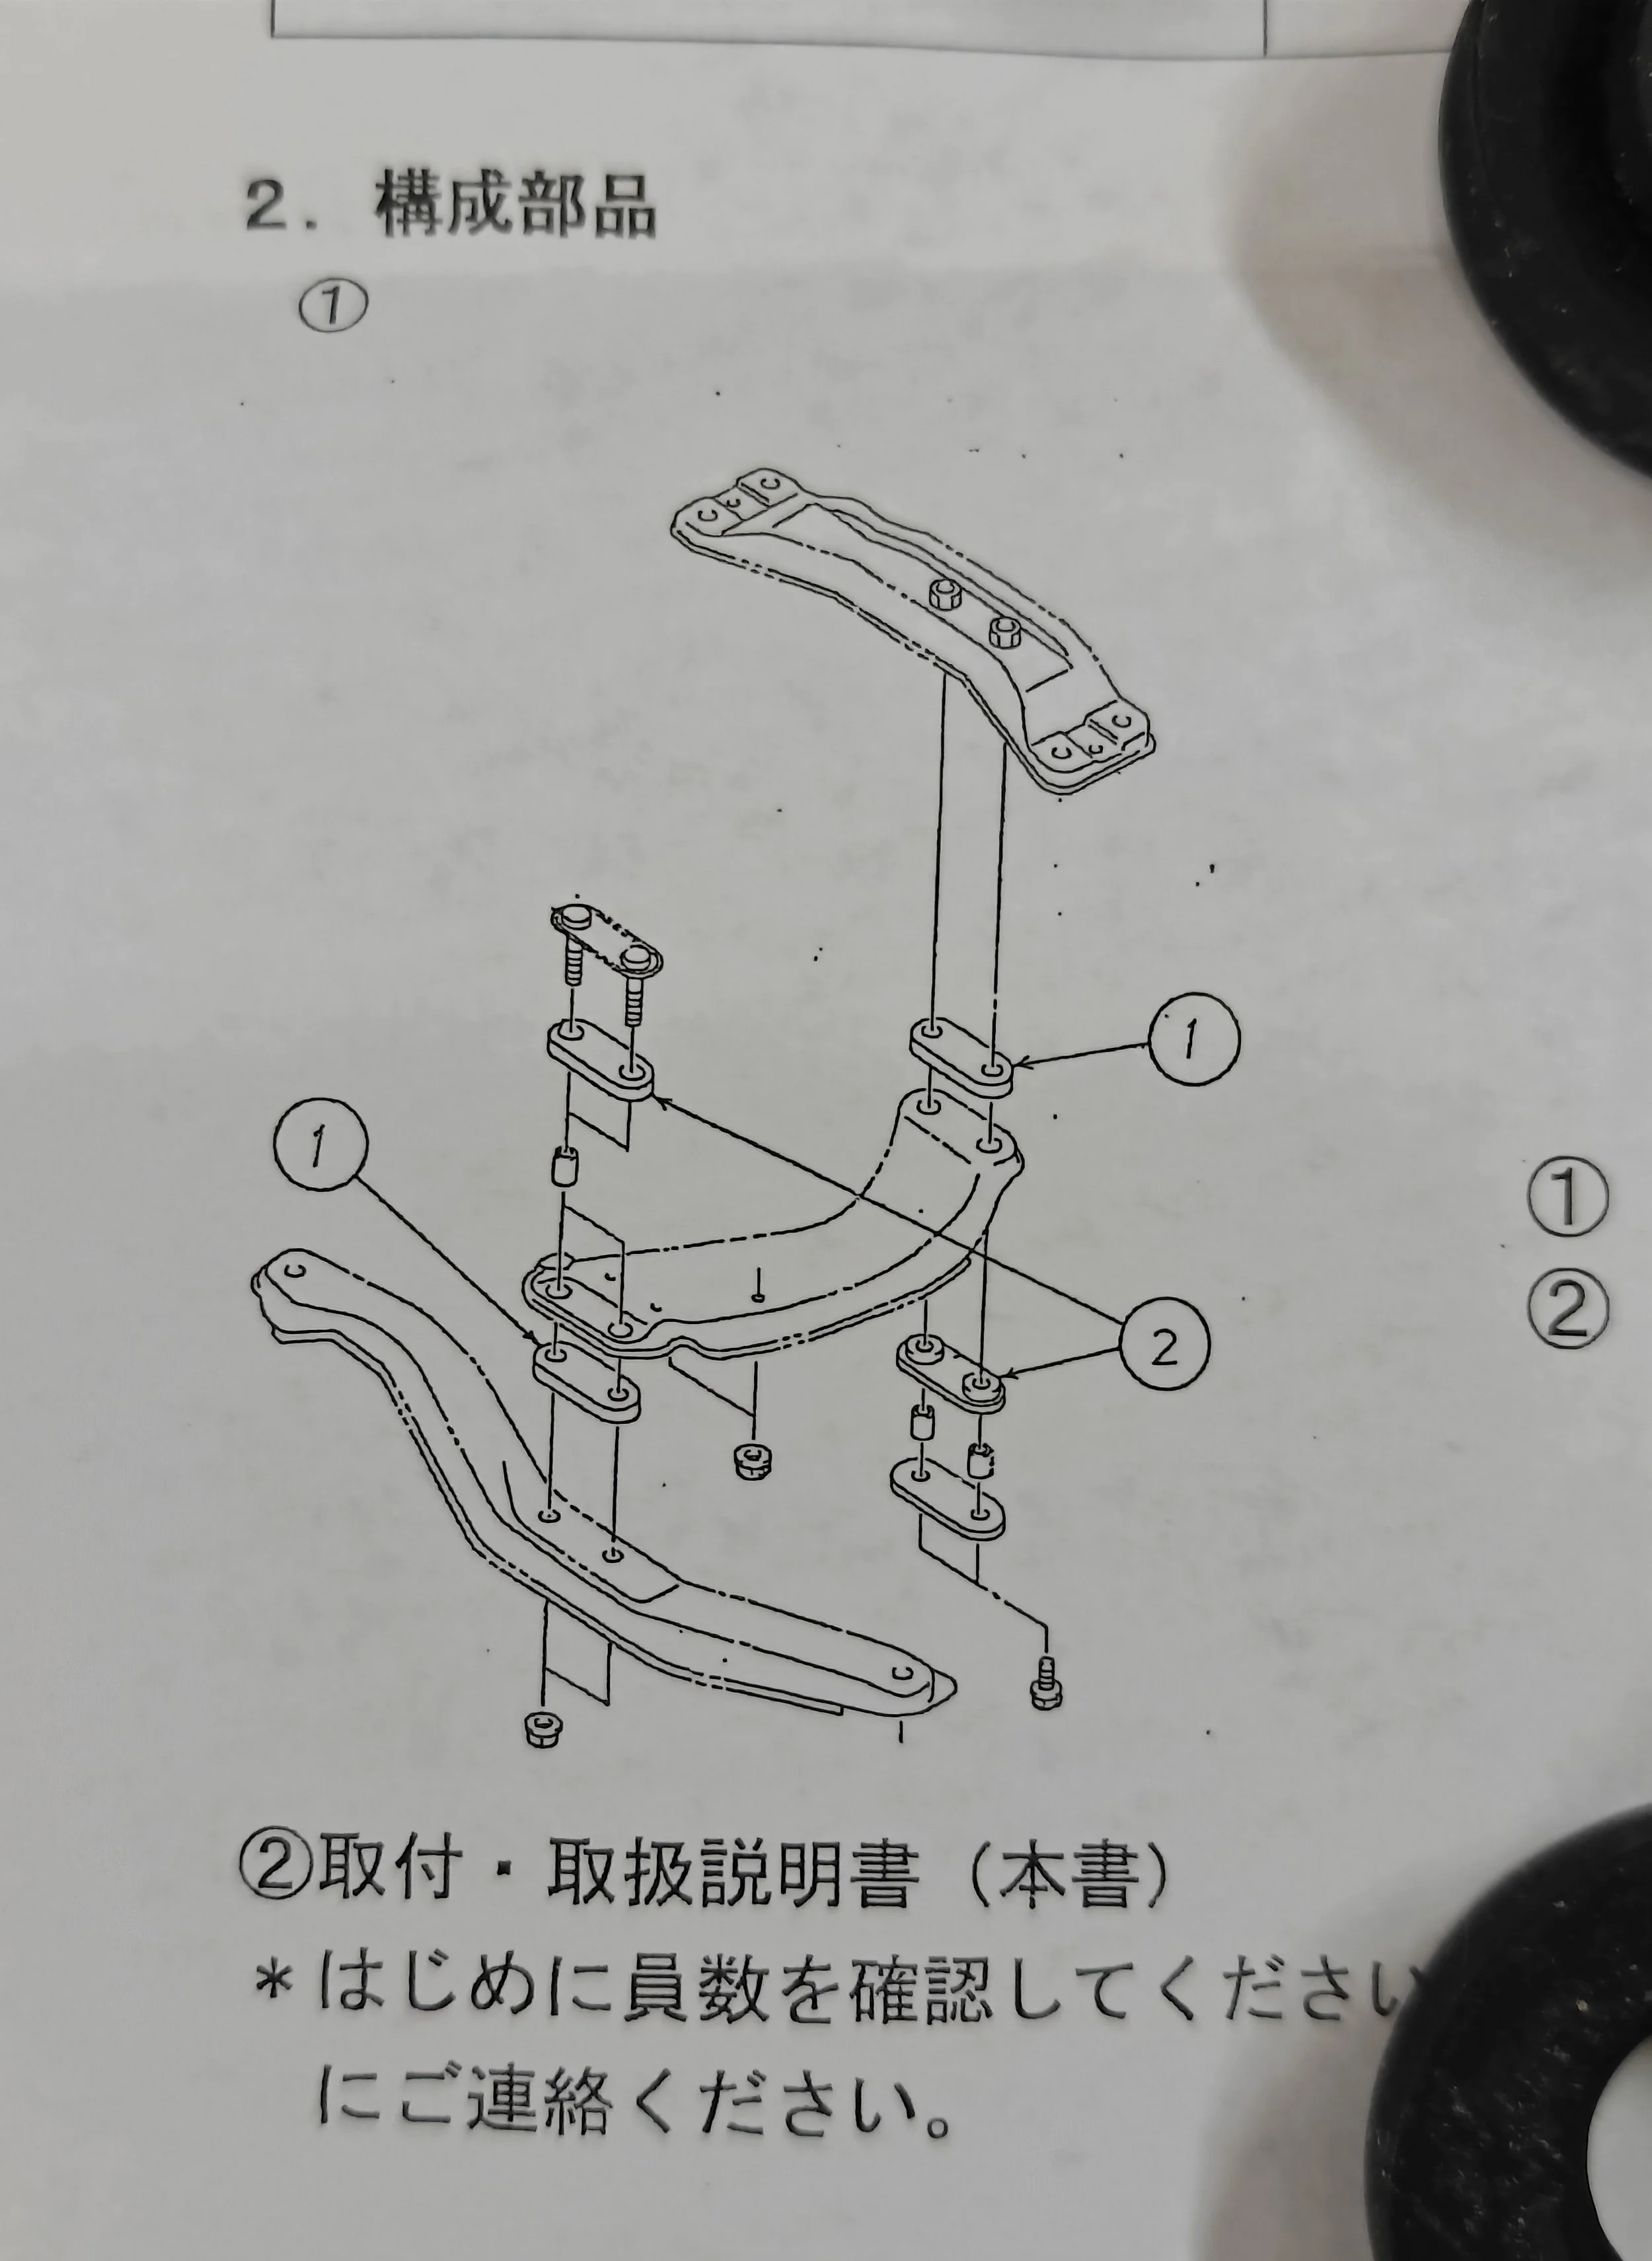
The instructions outline their locations
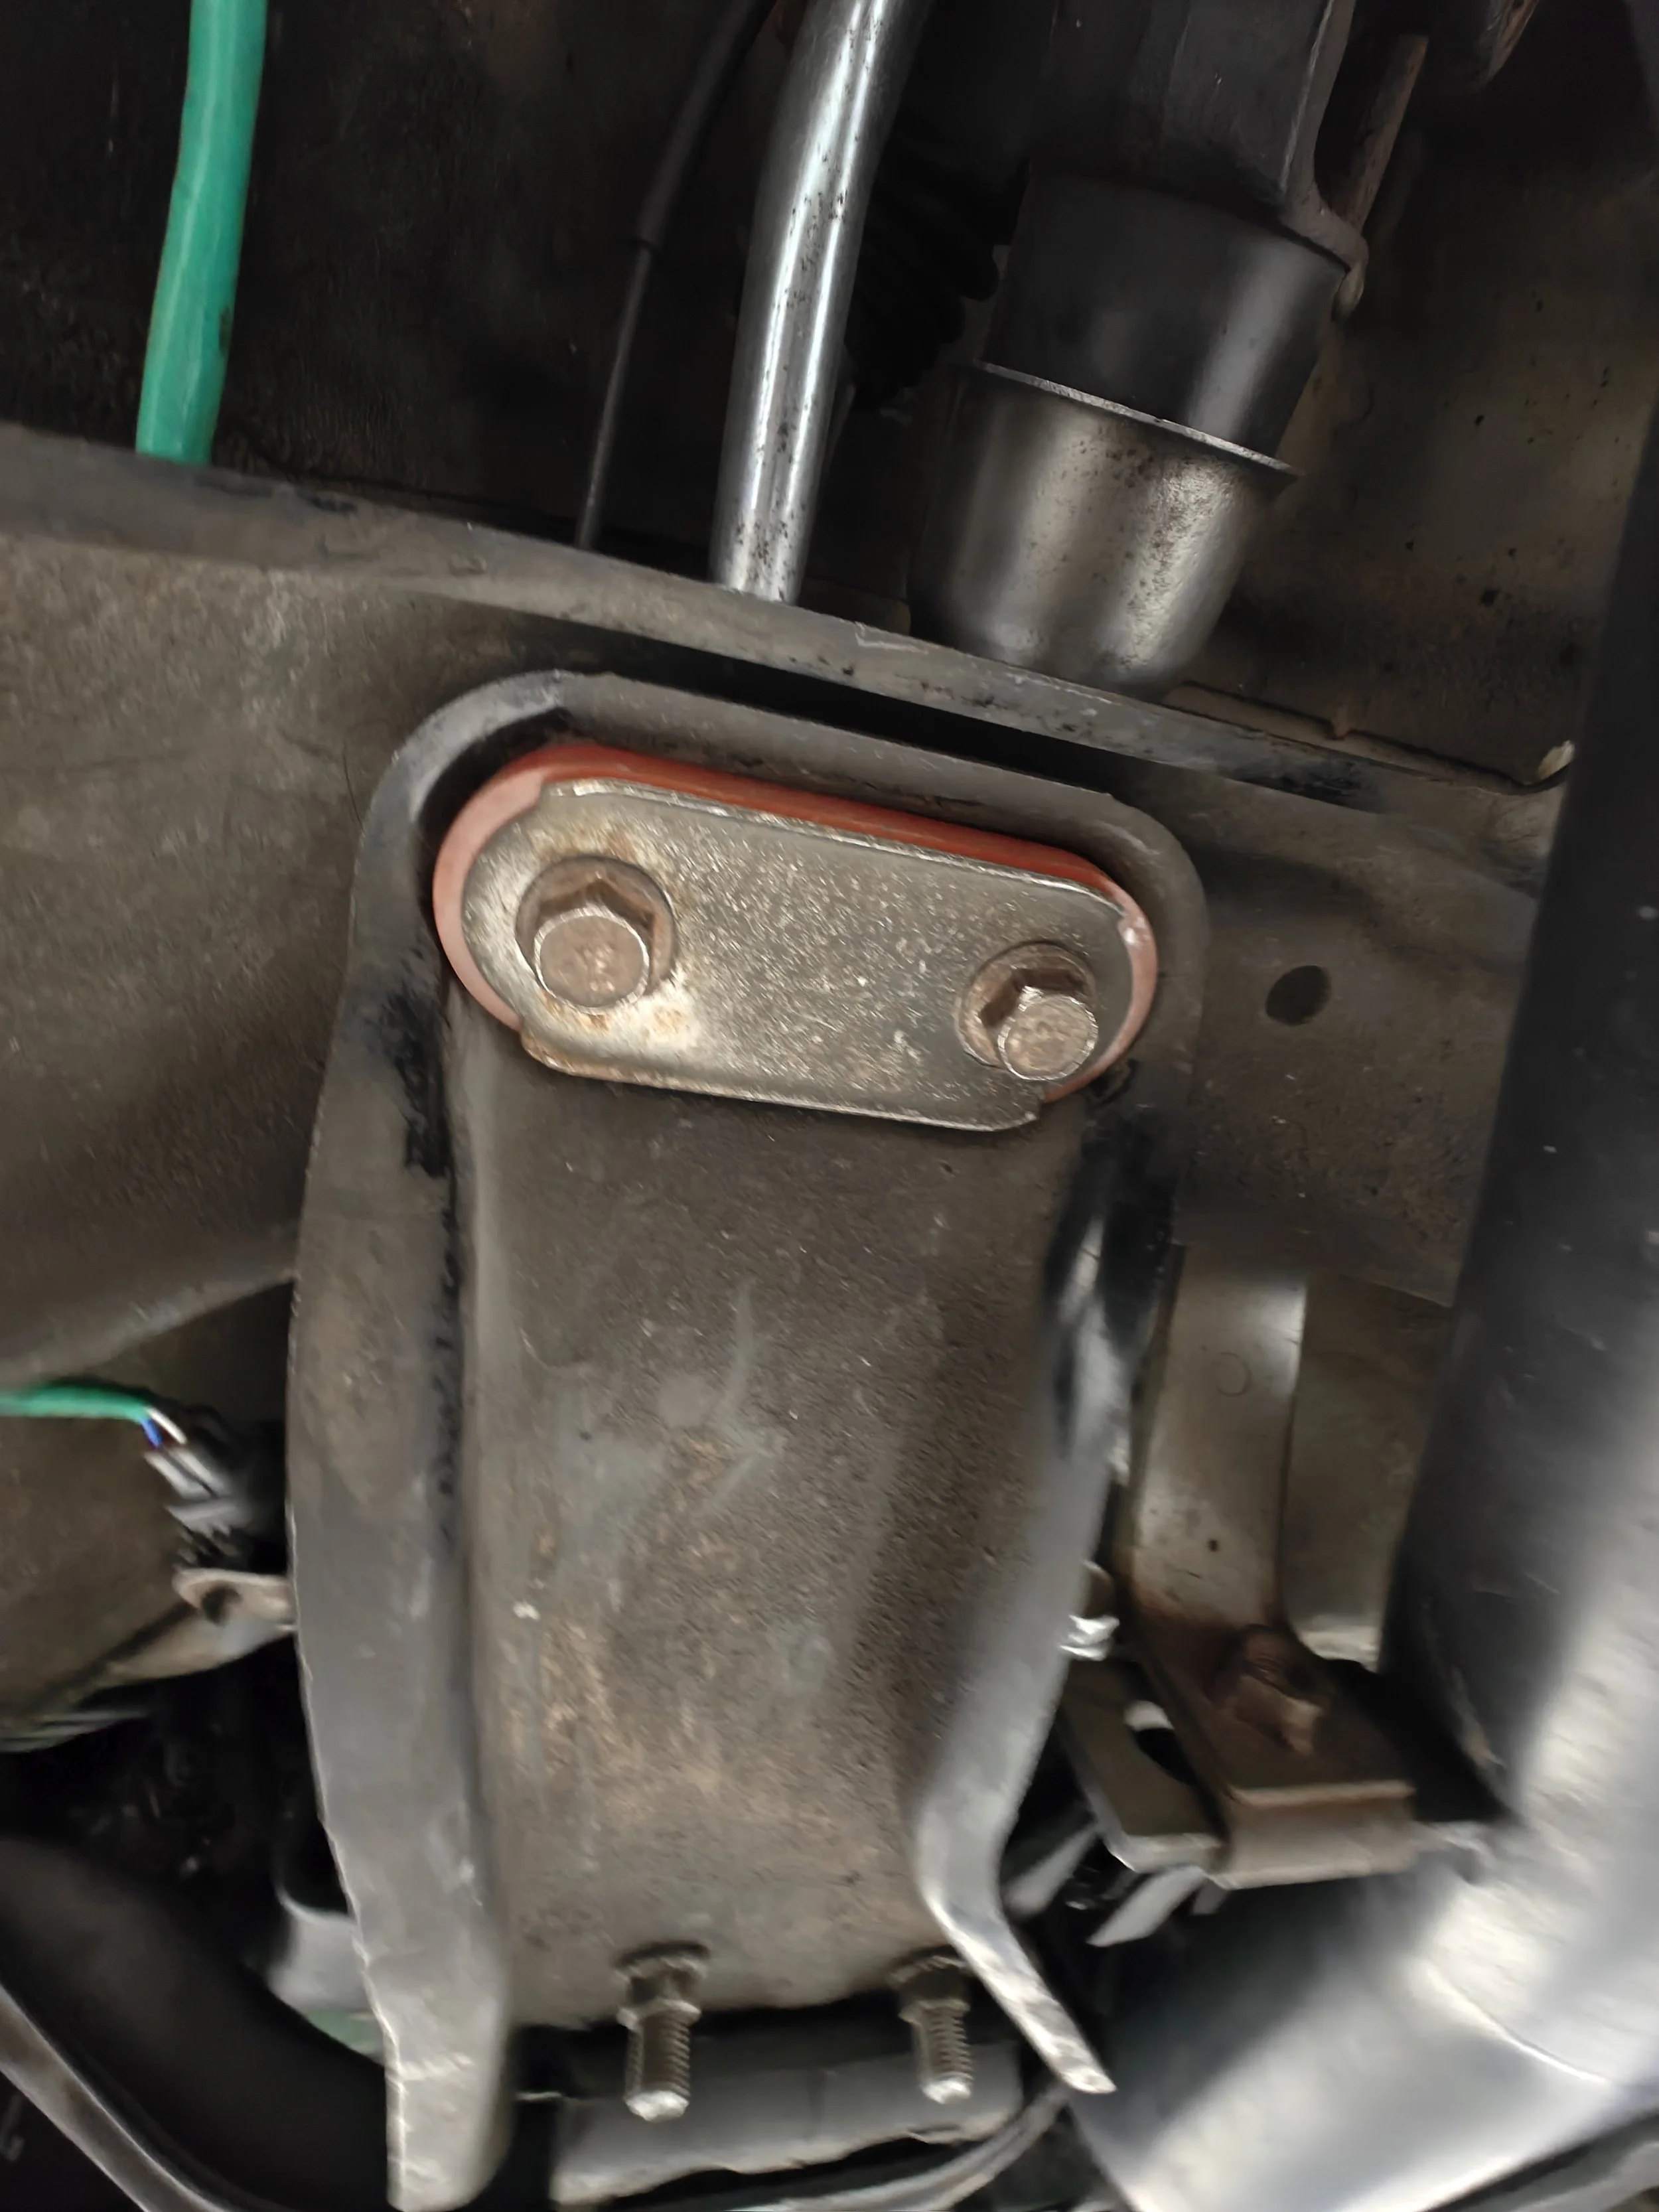
First bolts right here
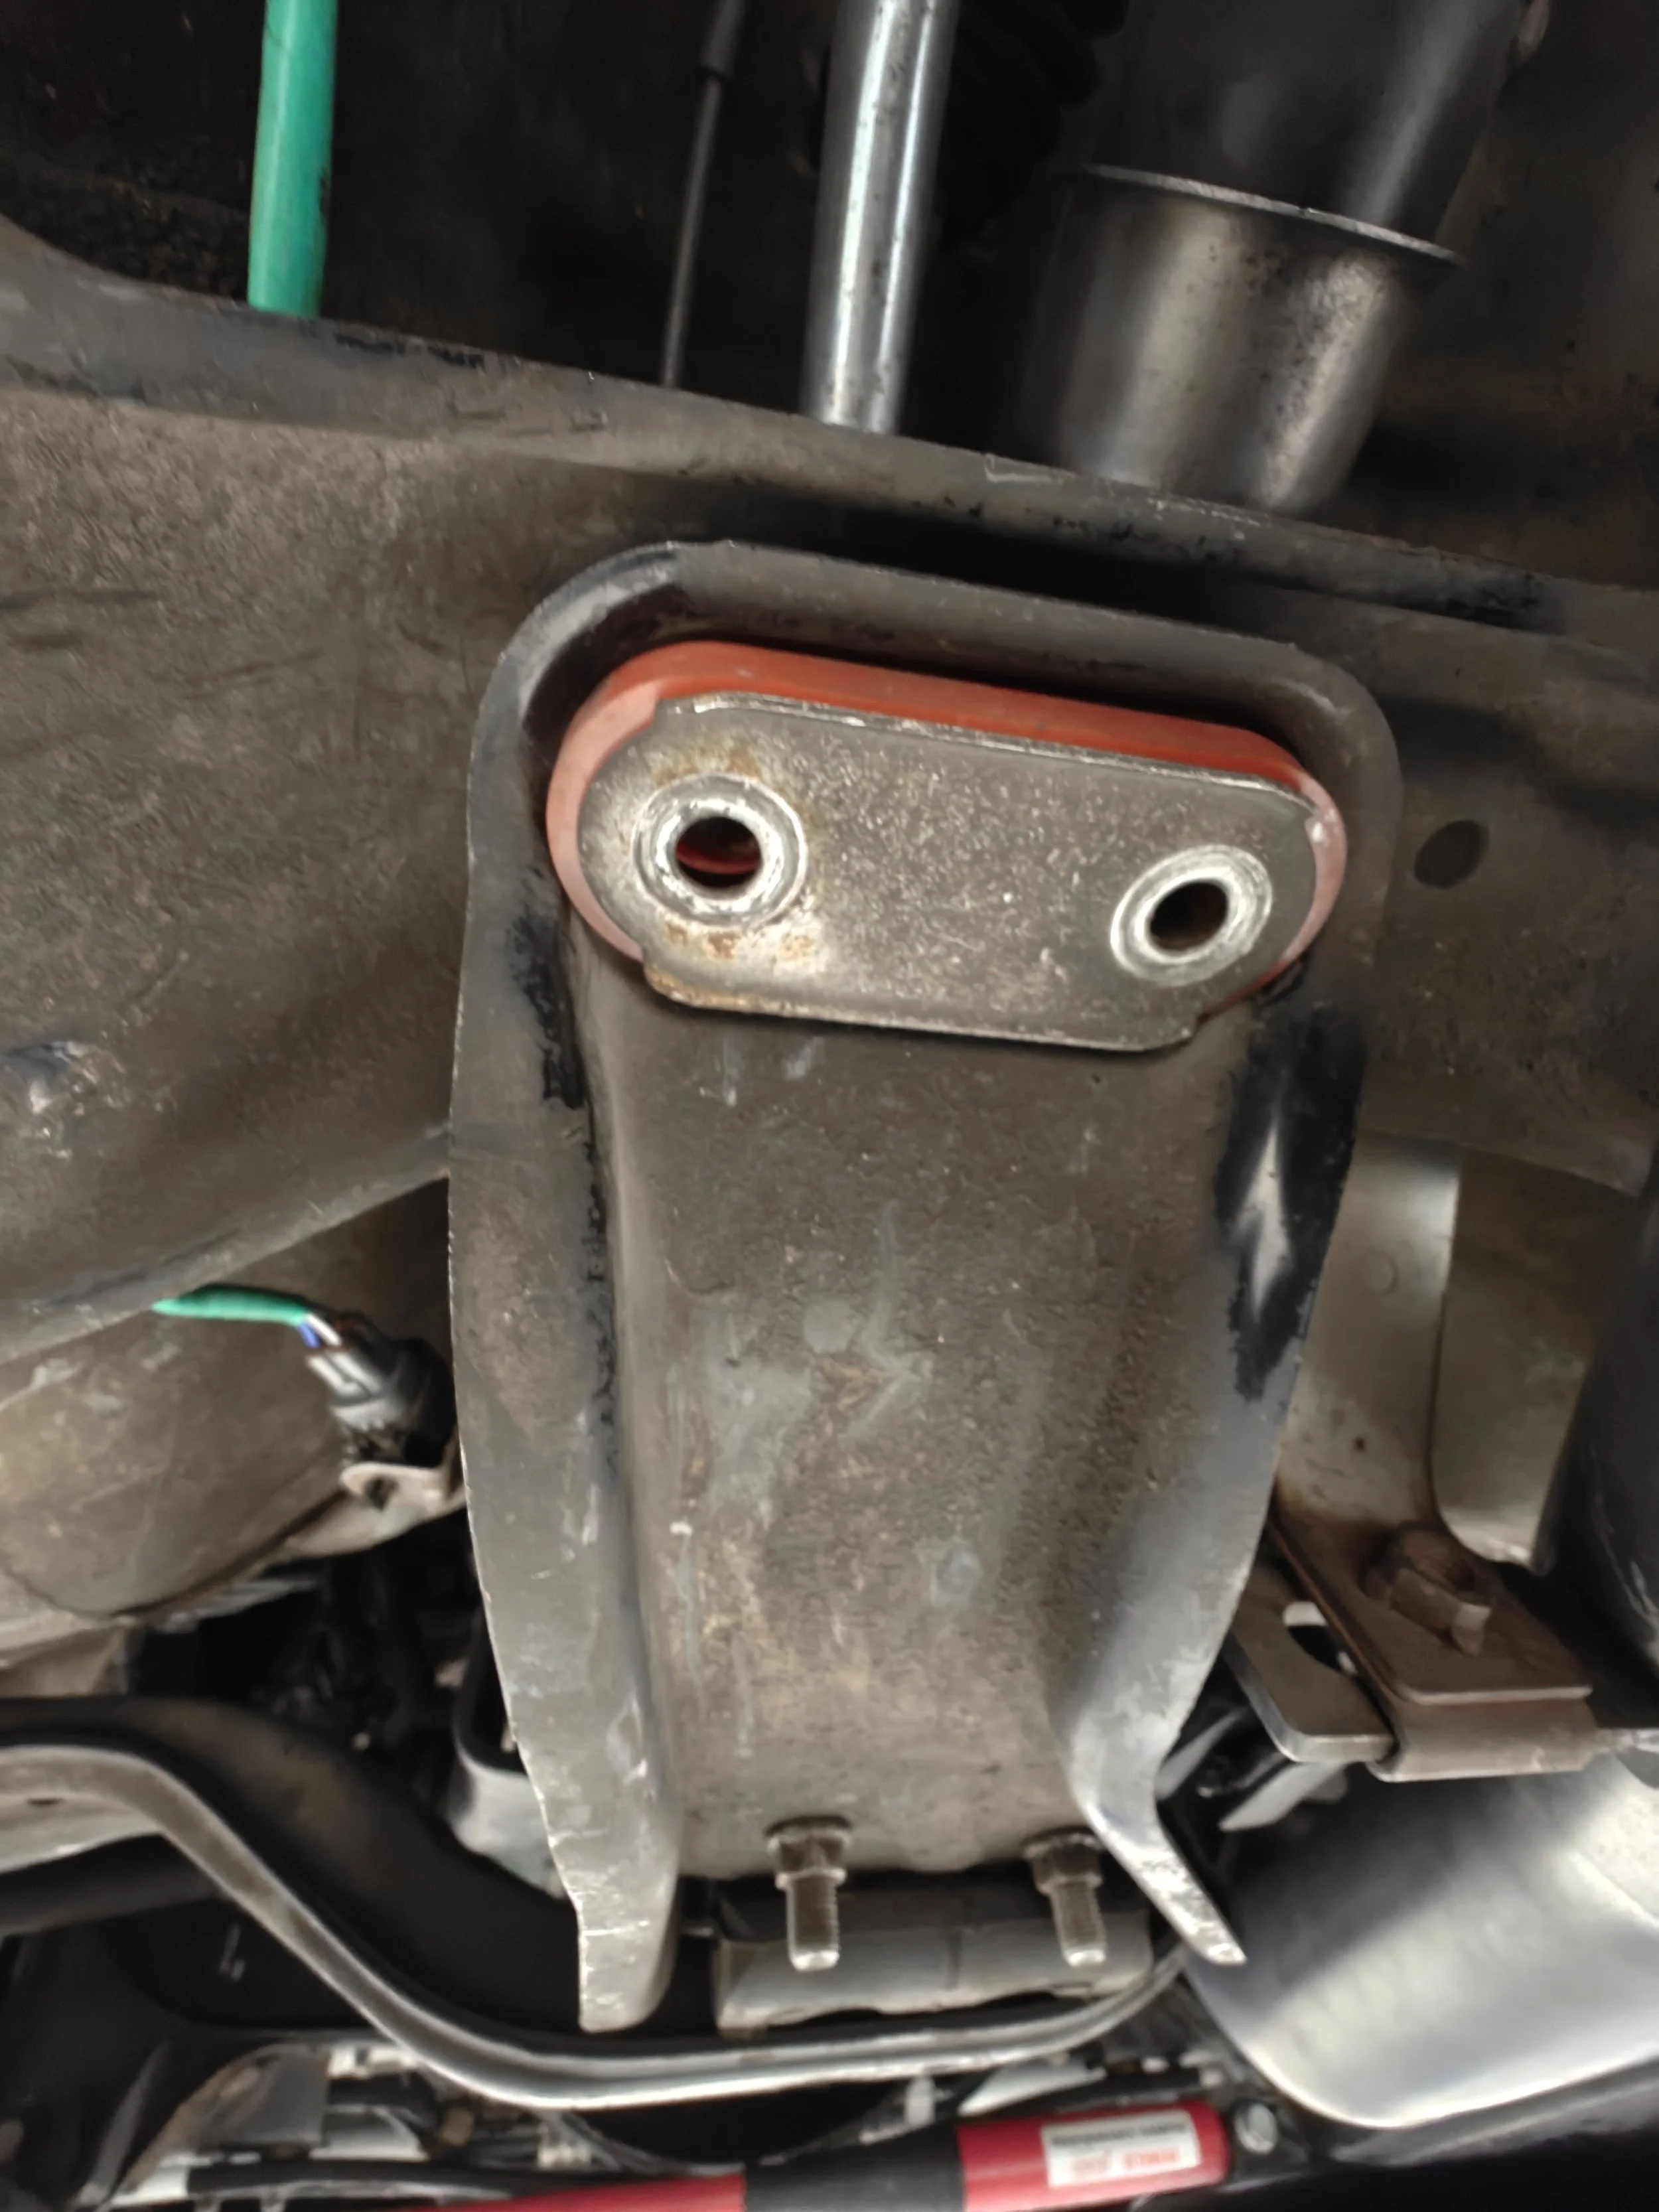
Removed!
The next set of nuts to remove will be the two located in the middle of the transmission crossmember. These allow the crossmember to swing down out of the way.
Moving forward we find these two nuts that hold the transmission crossmember to the transmission mount.
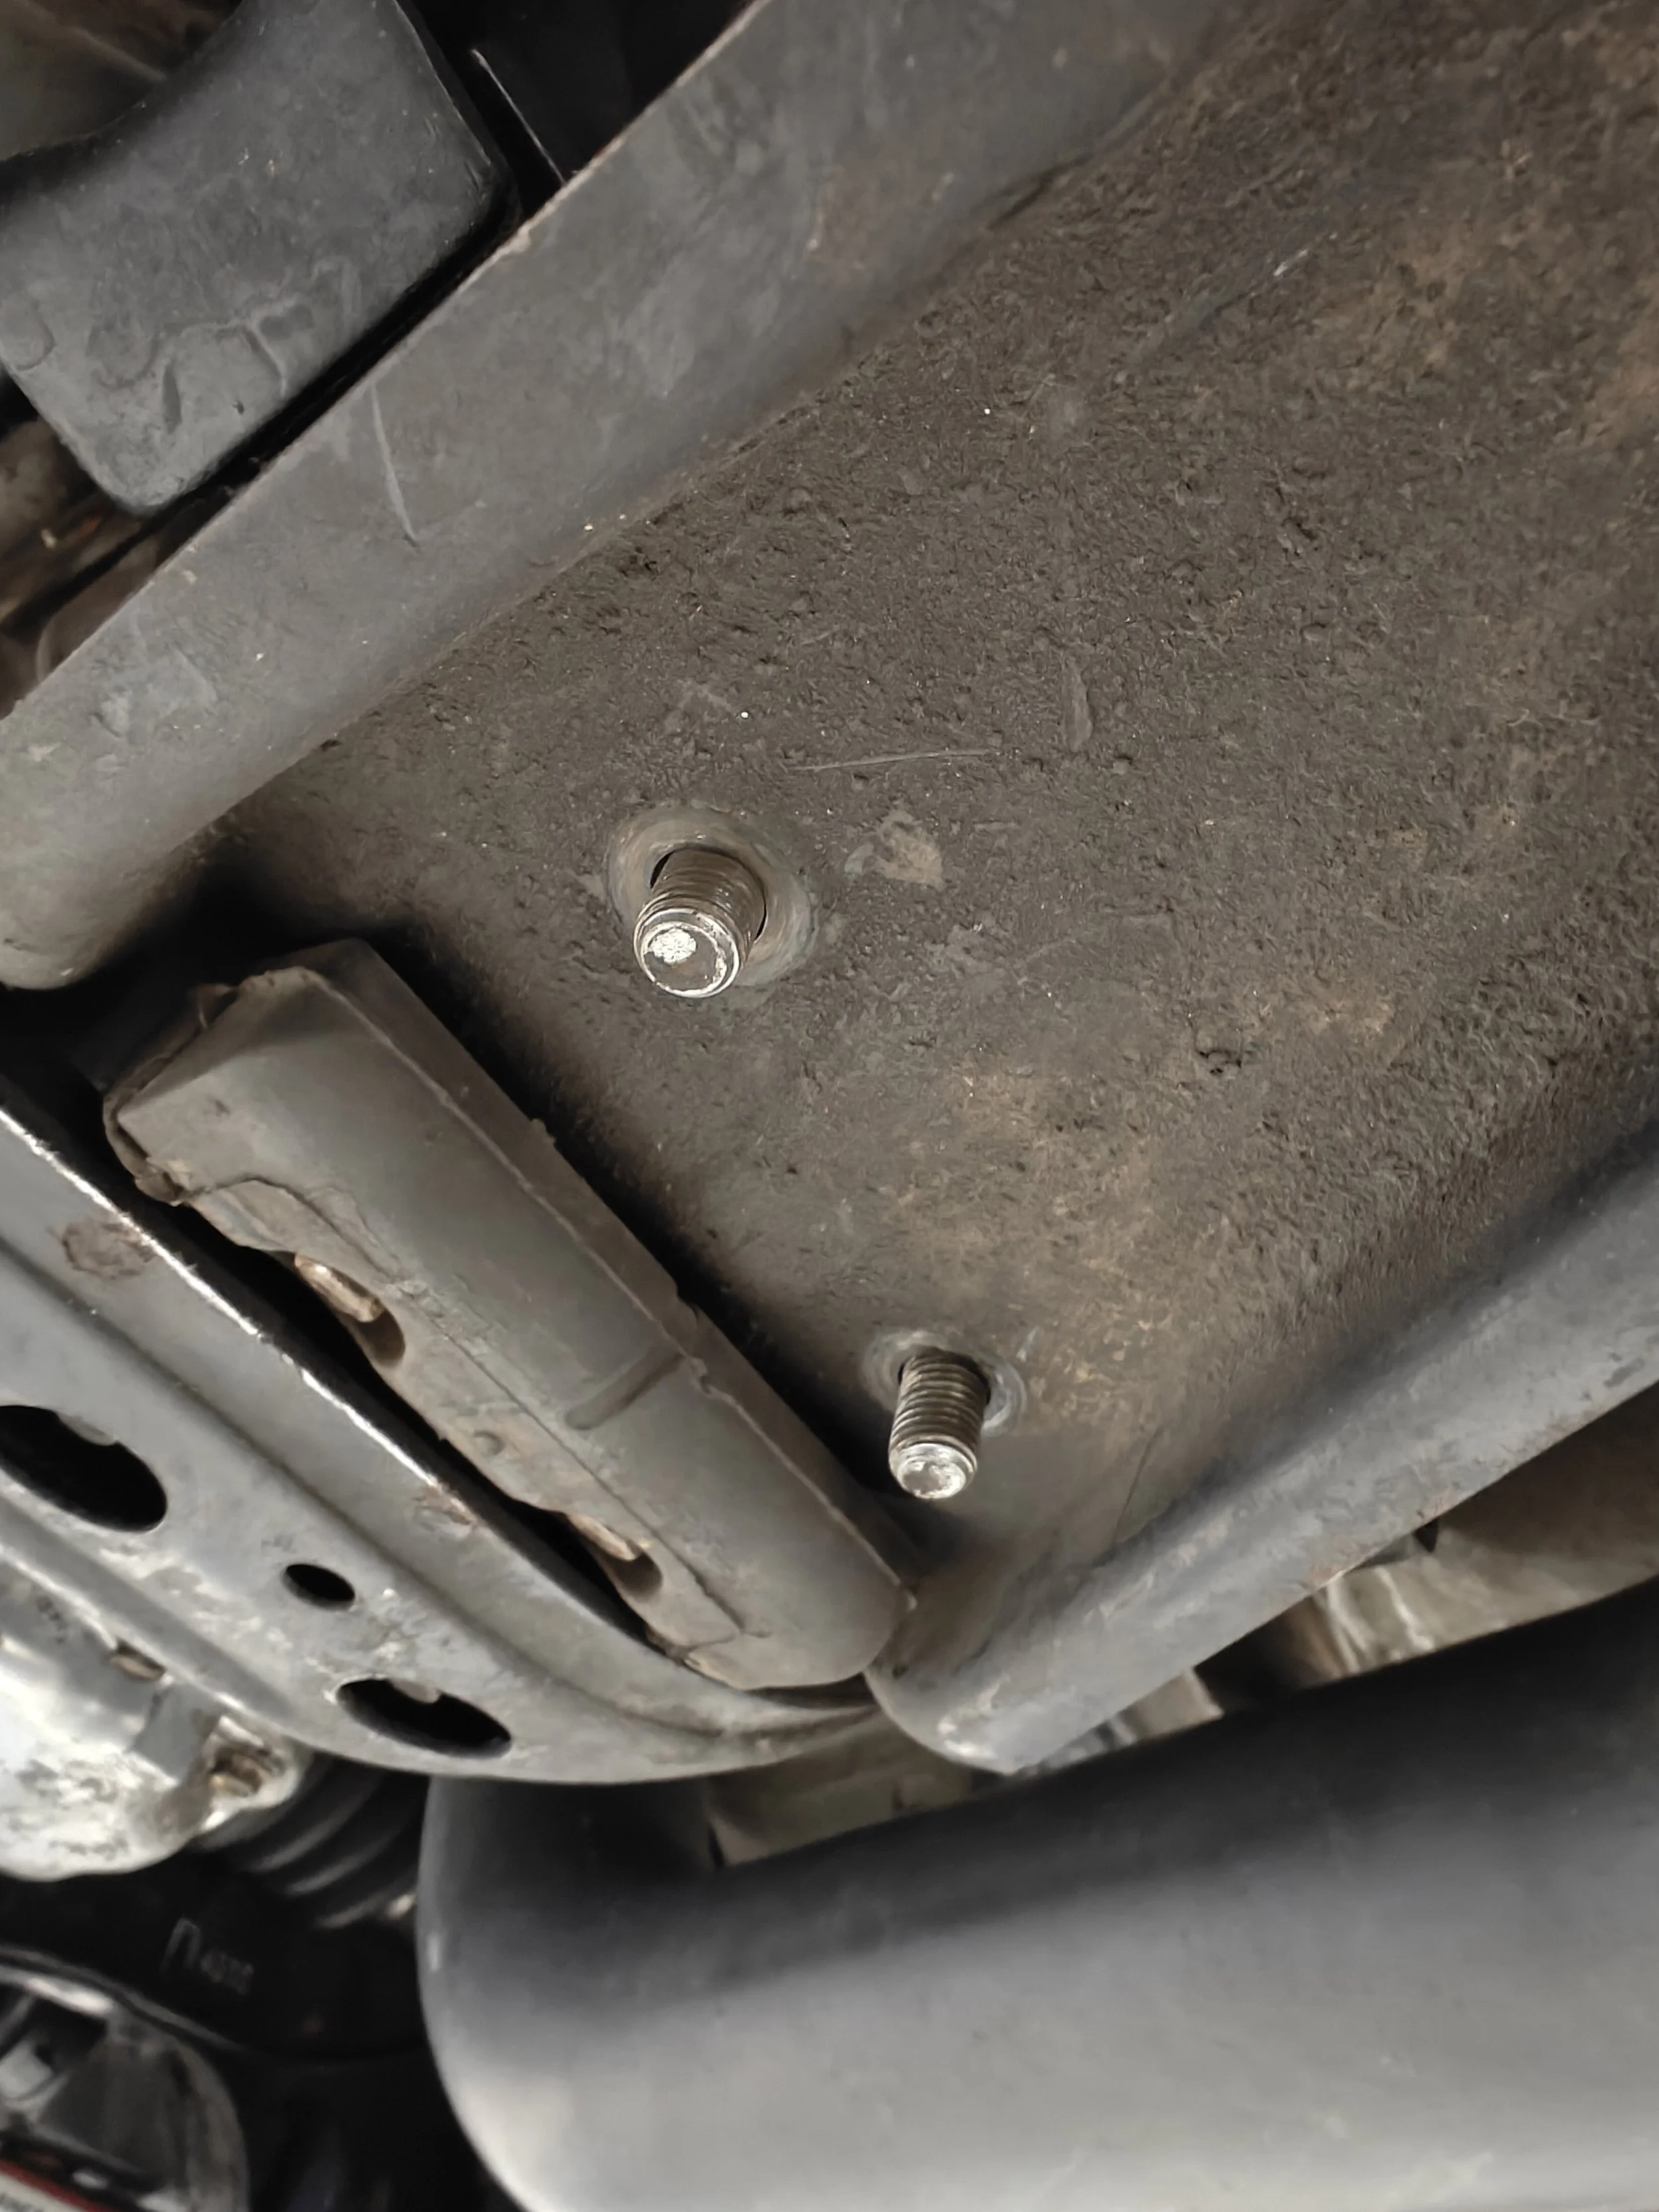
With the nuts removed we can see the transmission crossmember is starting to drop down.
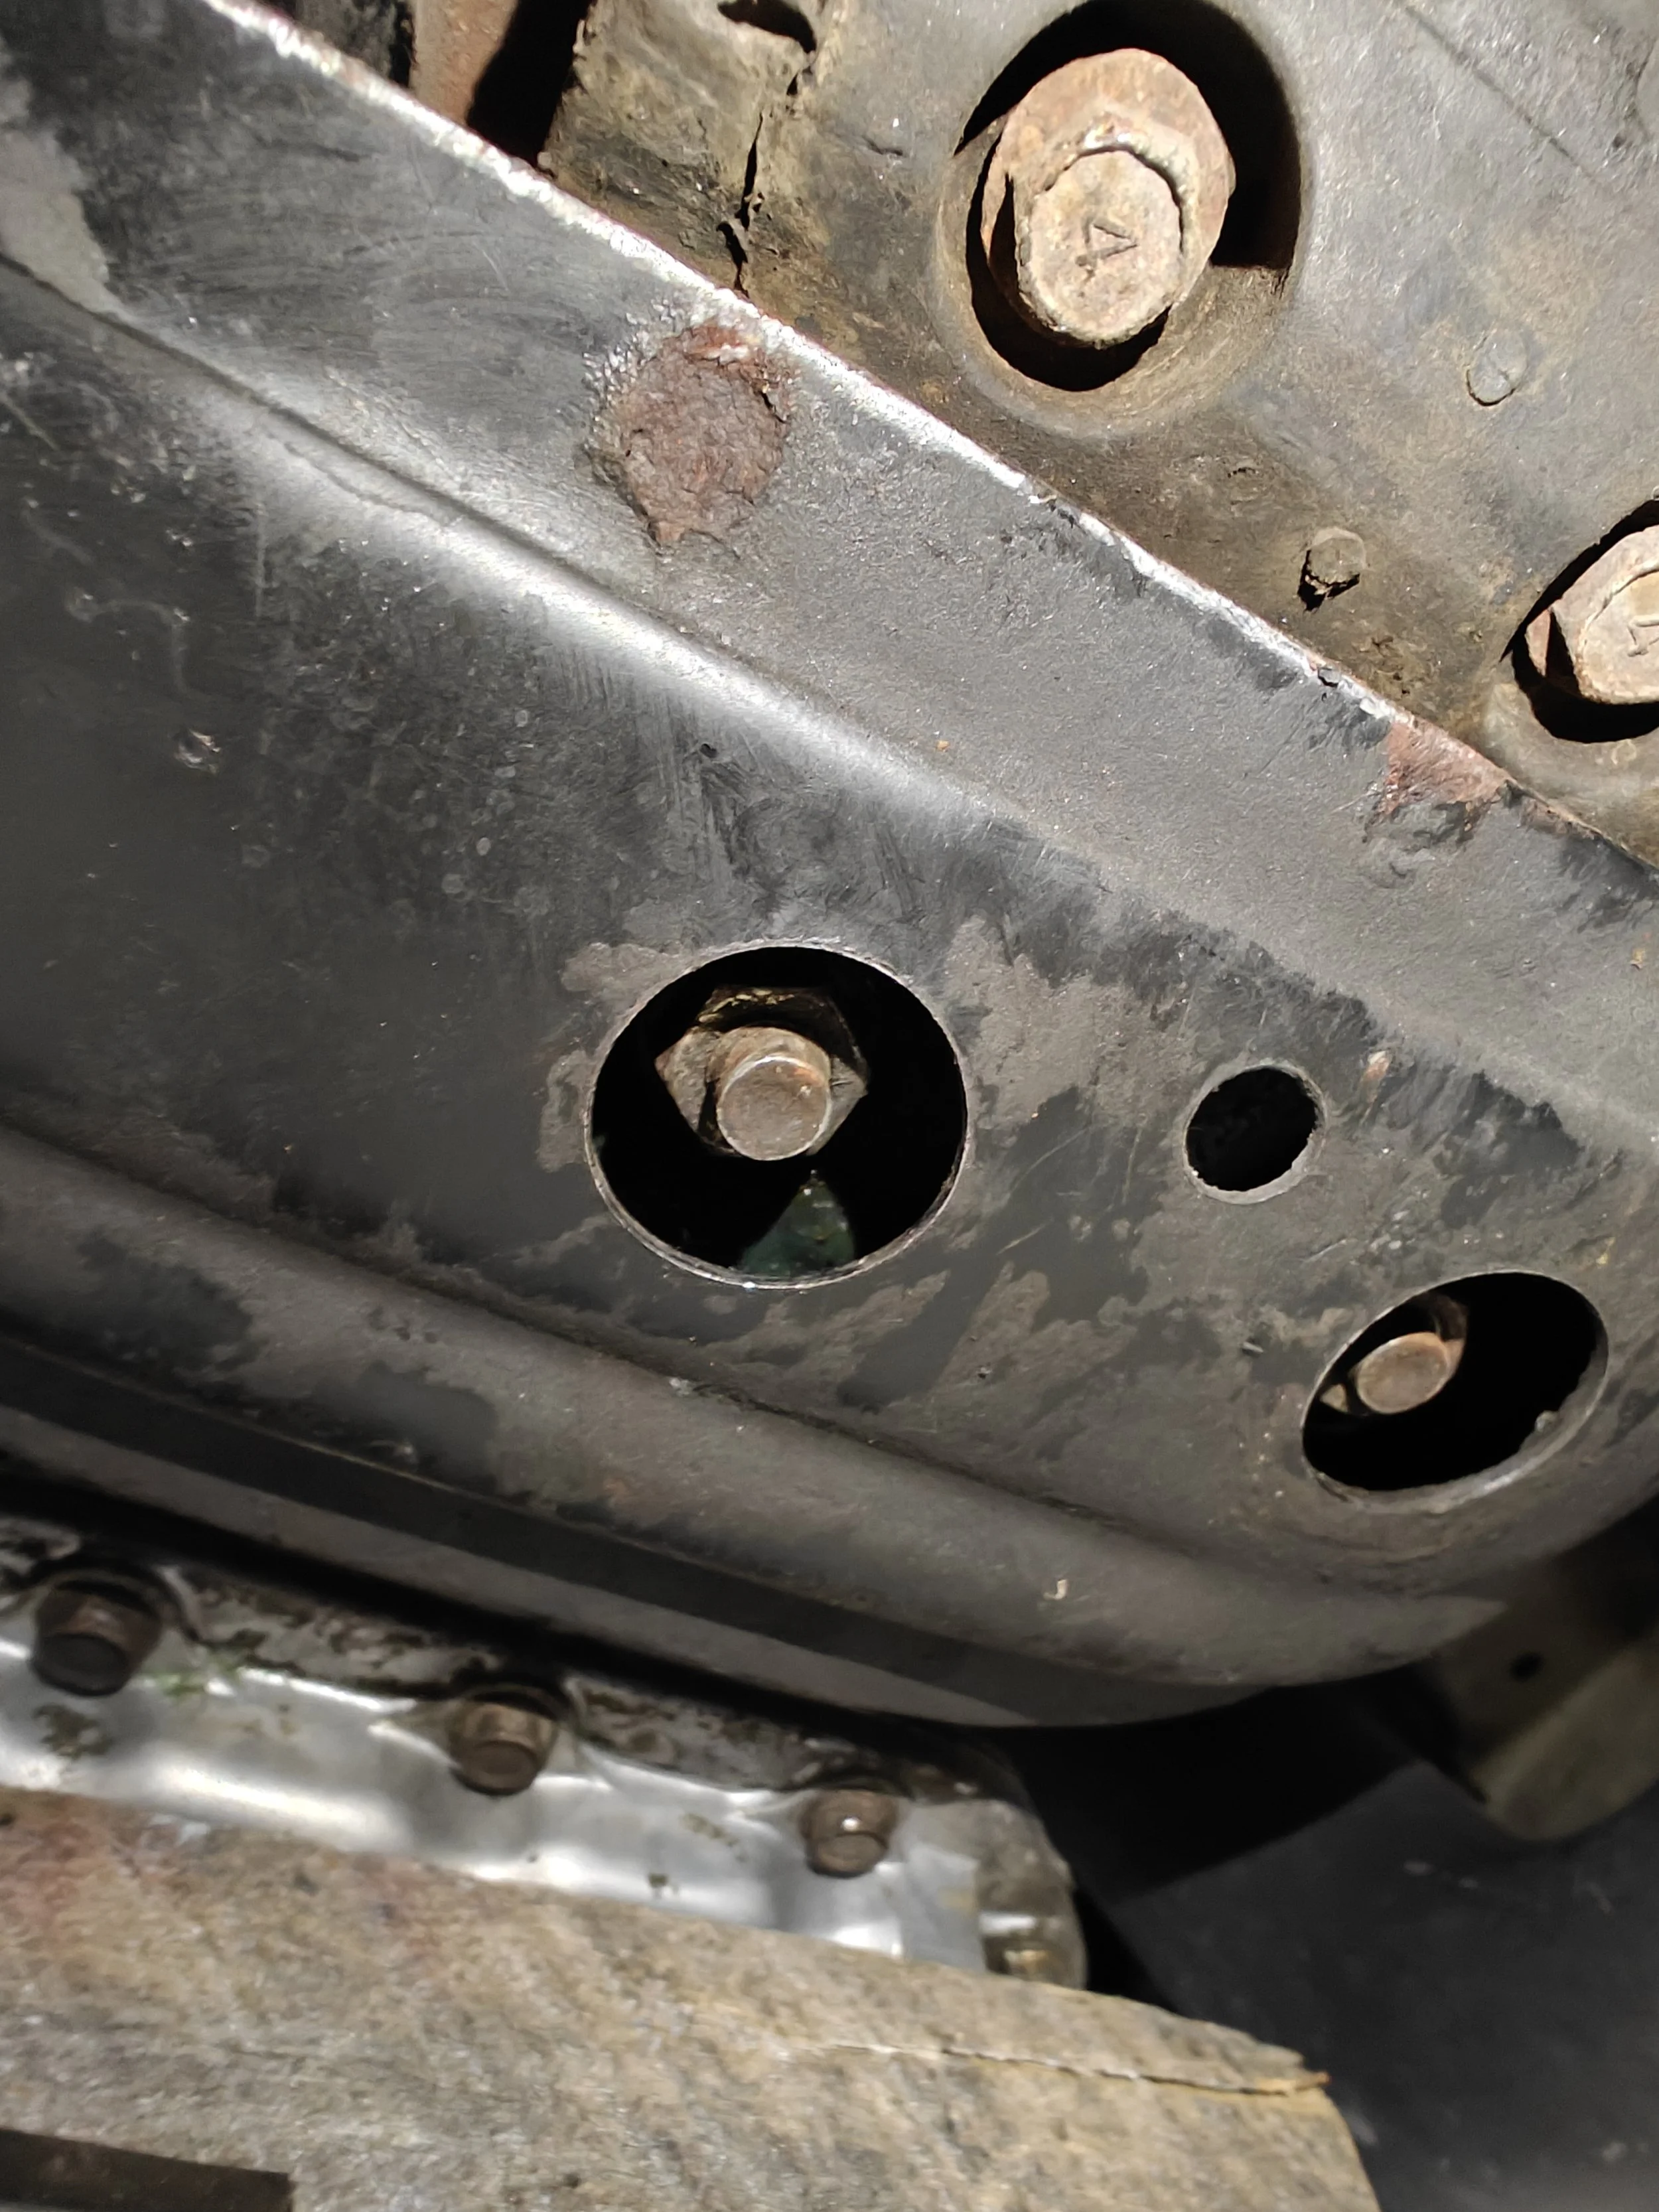
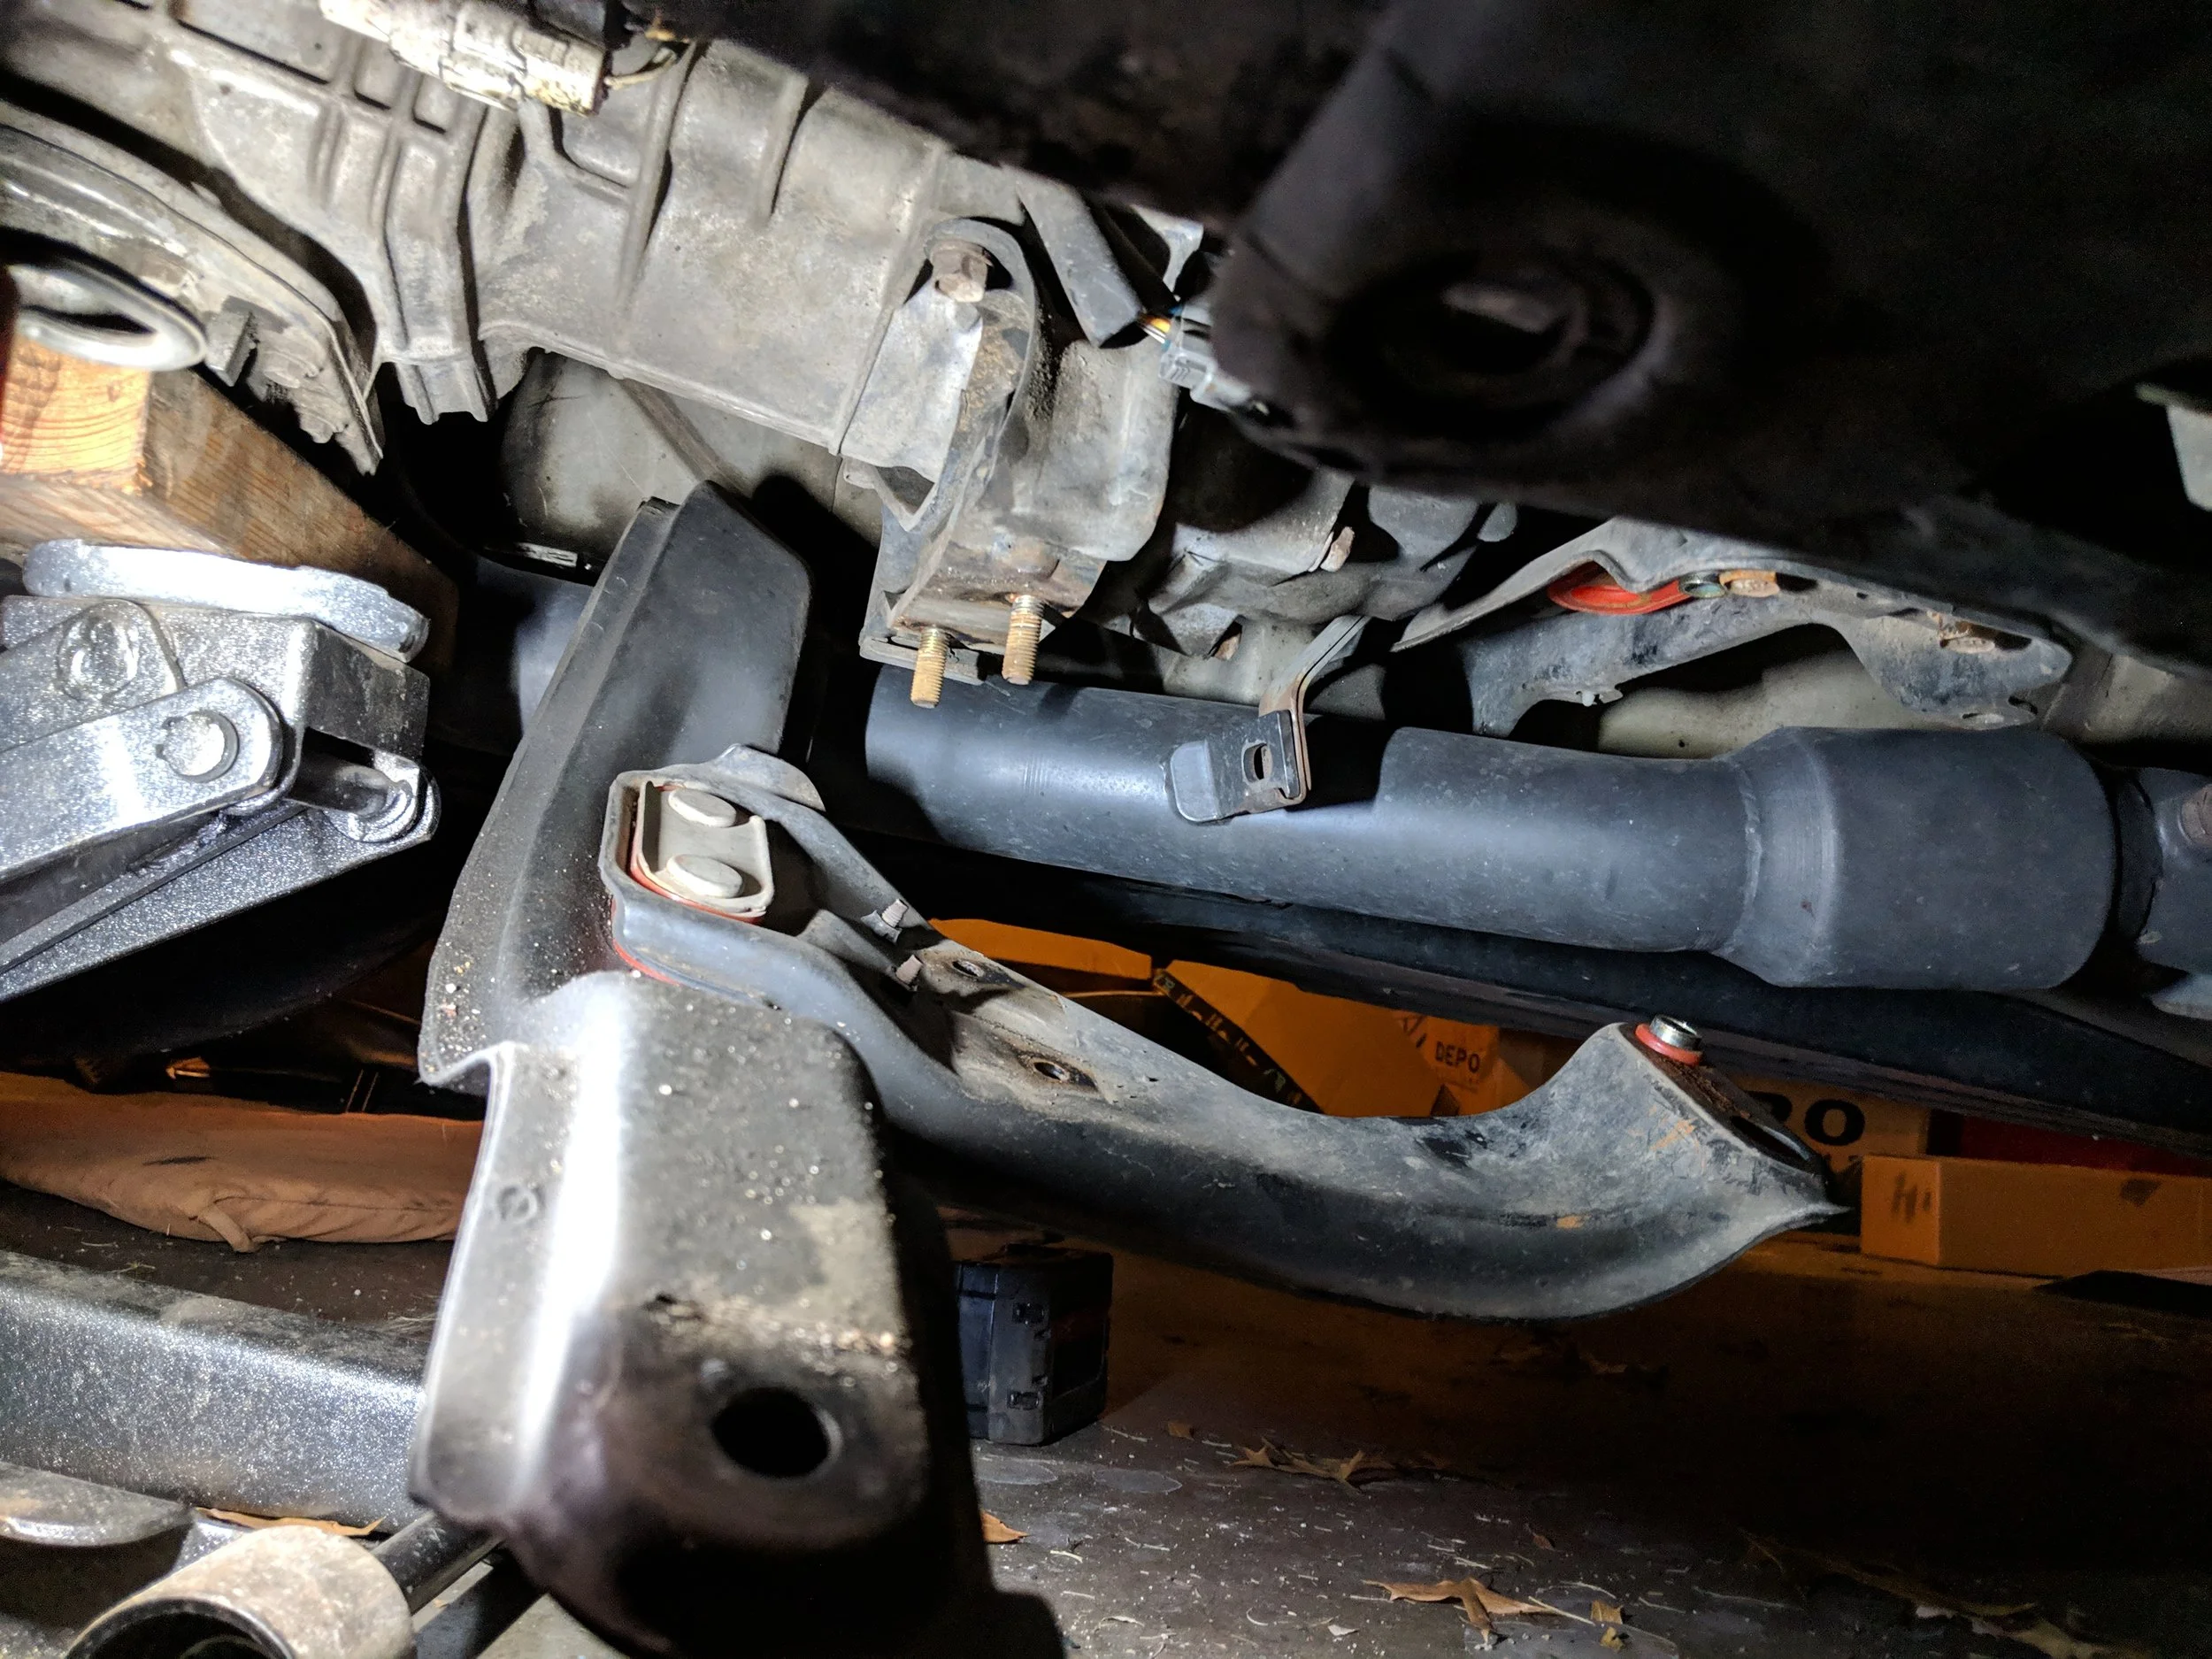
Moving toward the engine you will see two bolts hiding away in the crossmember. Once you get these removed you can pivot the center portion of the crossmember out. This will give you all the access you need to front bushings. If you want to make this even easier, the images below you will see removing the front cross member gains you even more access.
Moving farther forward we find the last nuts.
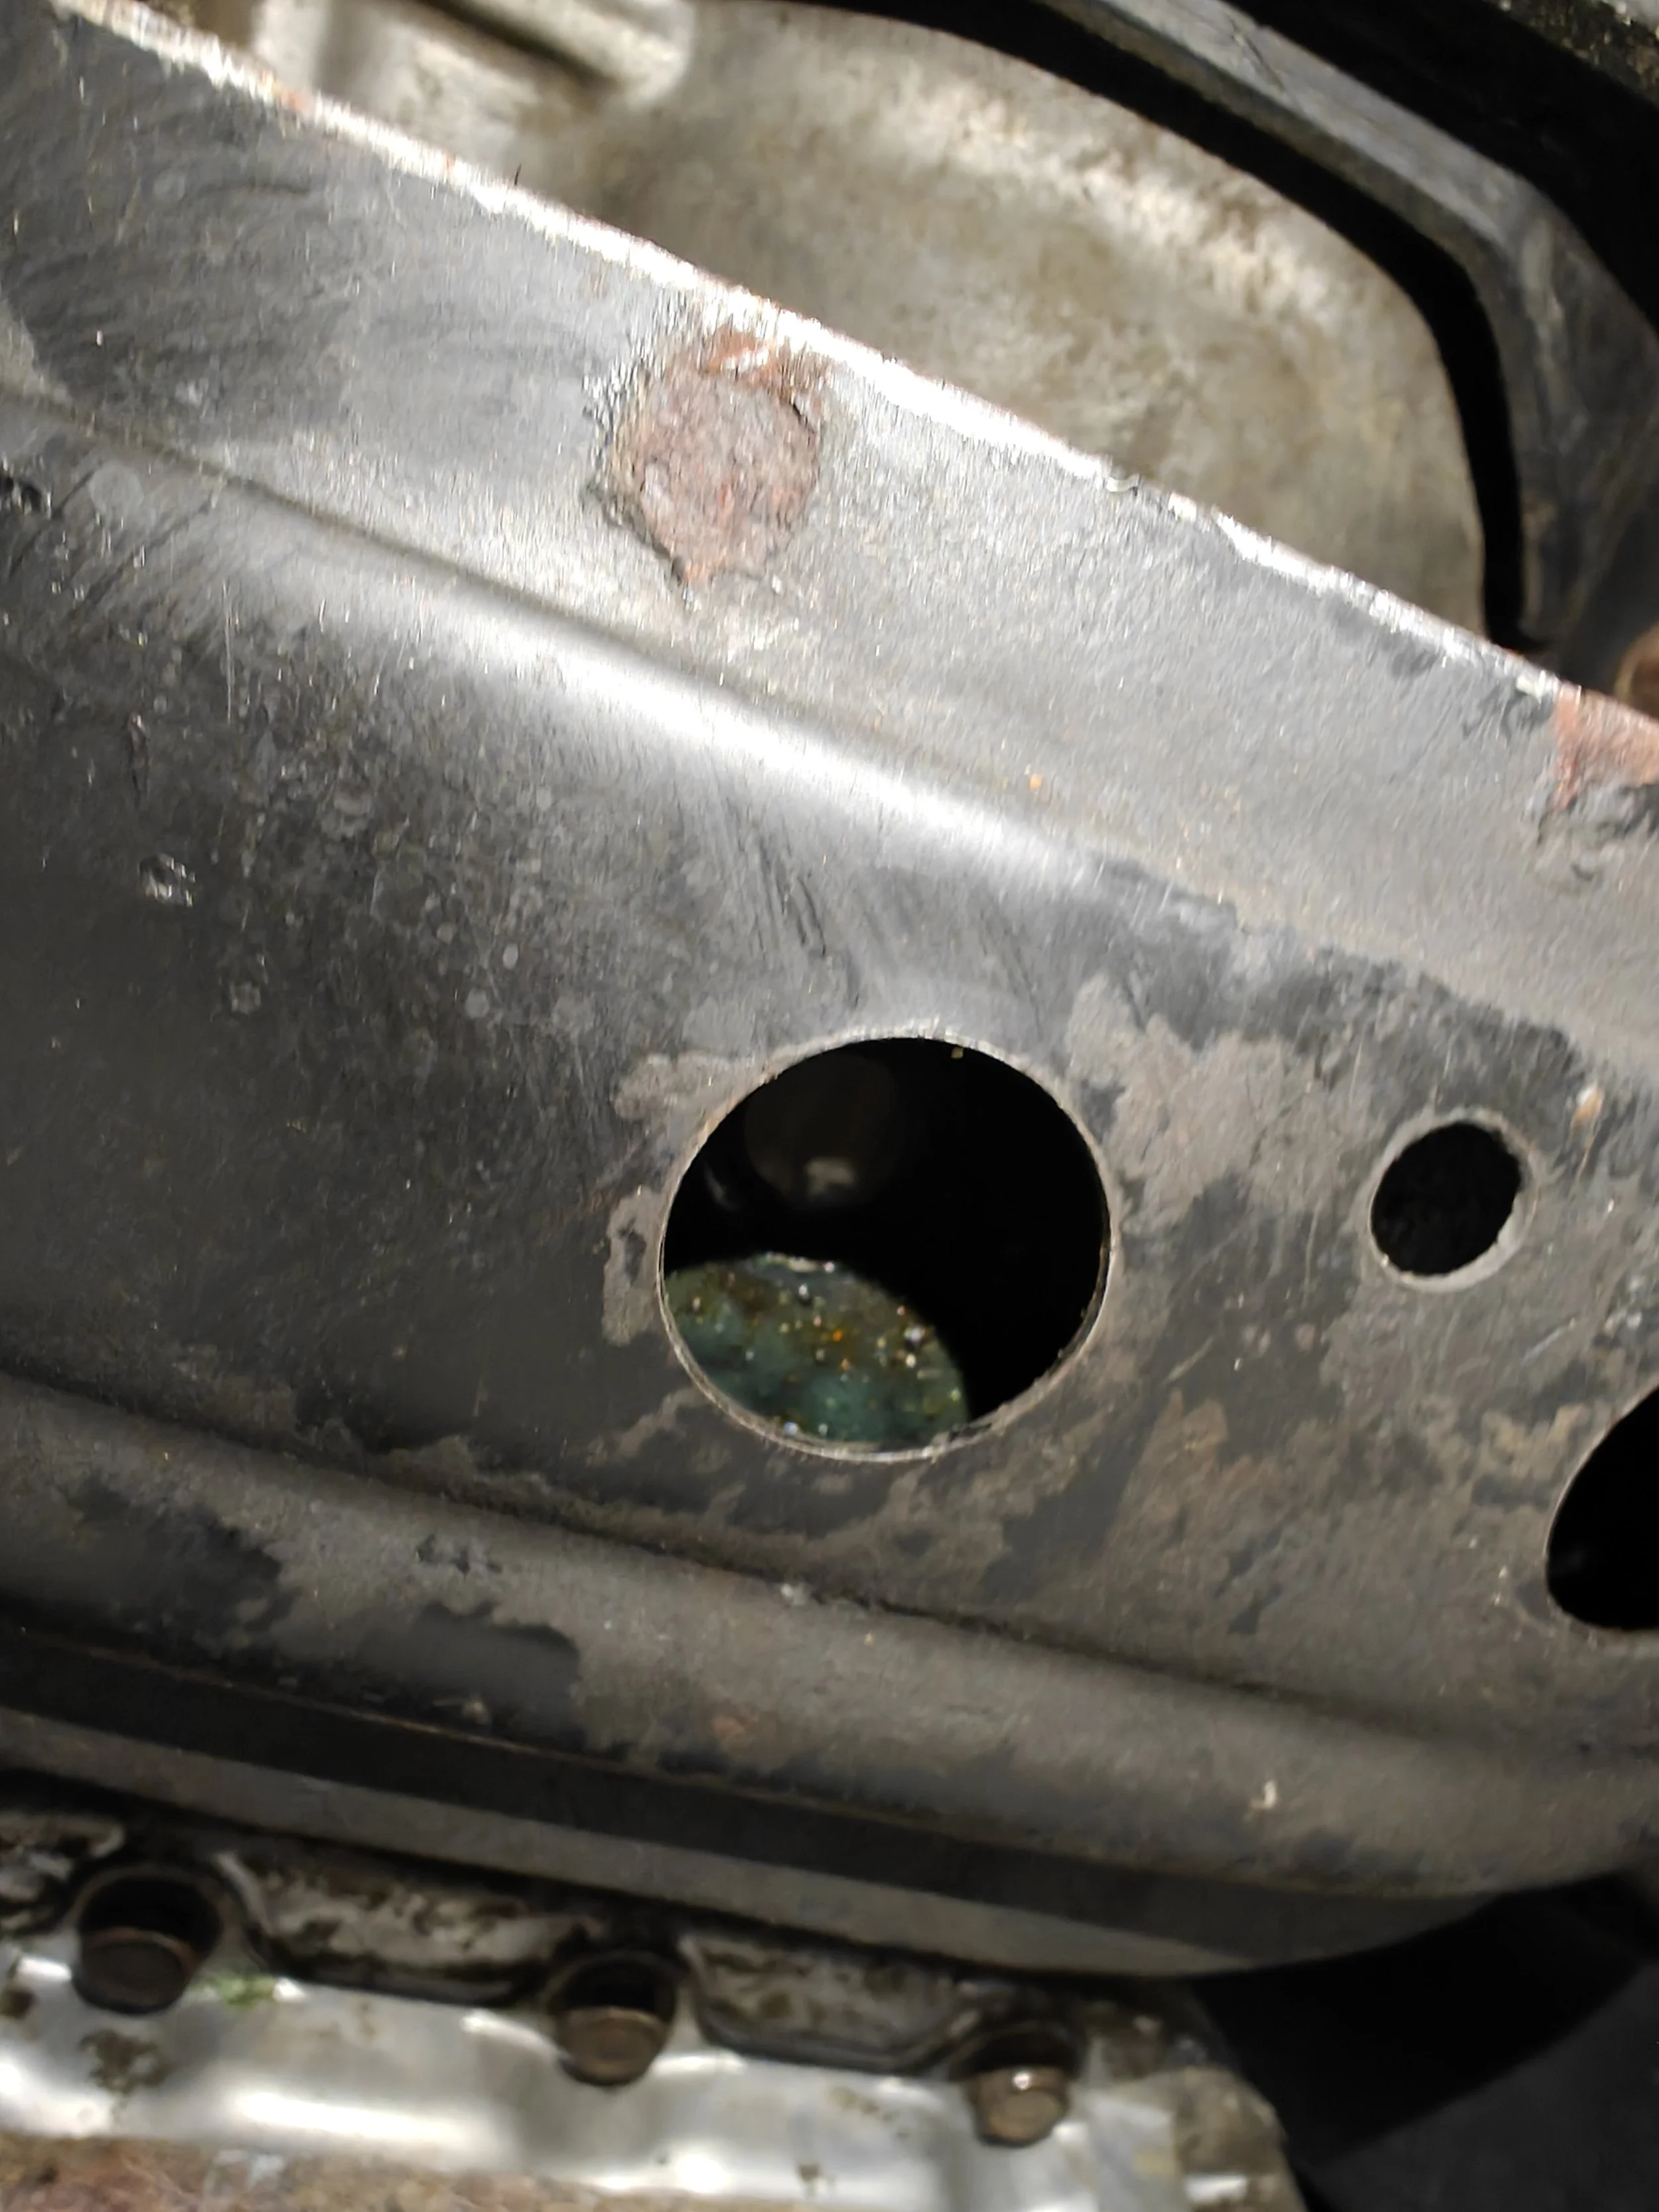
Now they are removed and the crossmember is able to pivot out.
If you only took out the bolts and nuts circled above, then this is what it will look like once you remove the center crossmember.
If you want to remove more of the cross member, just take out the out the outer bolts that hold the front portion of the cross member to the chassis.
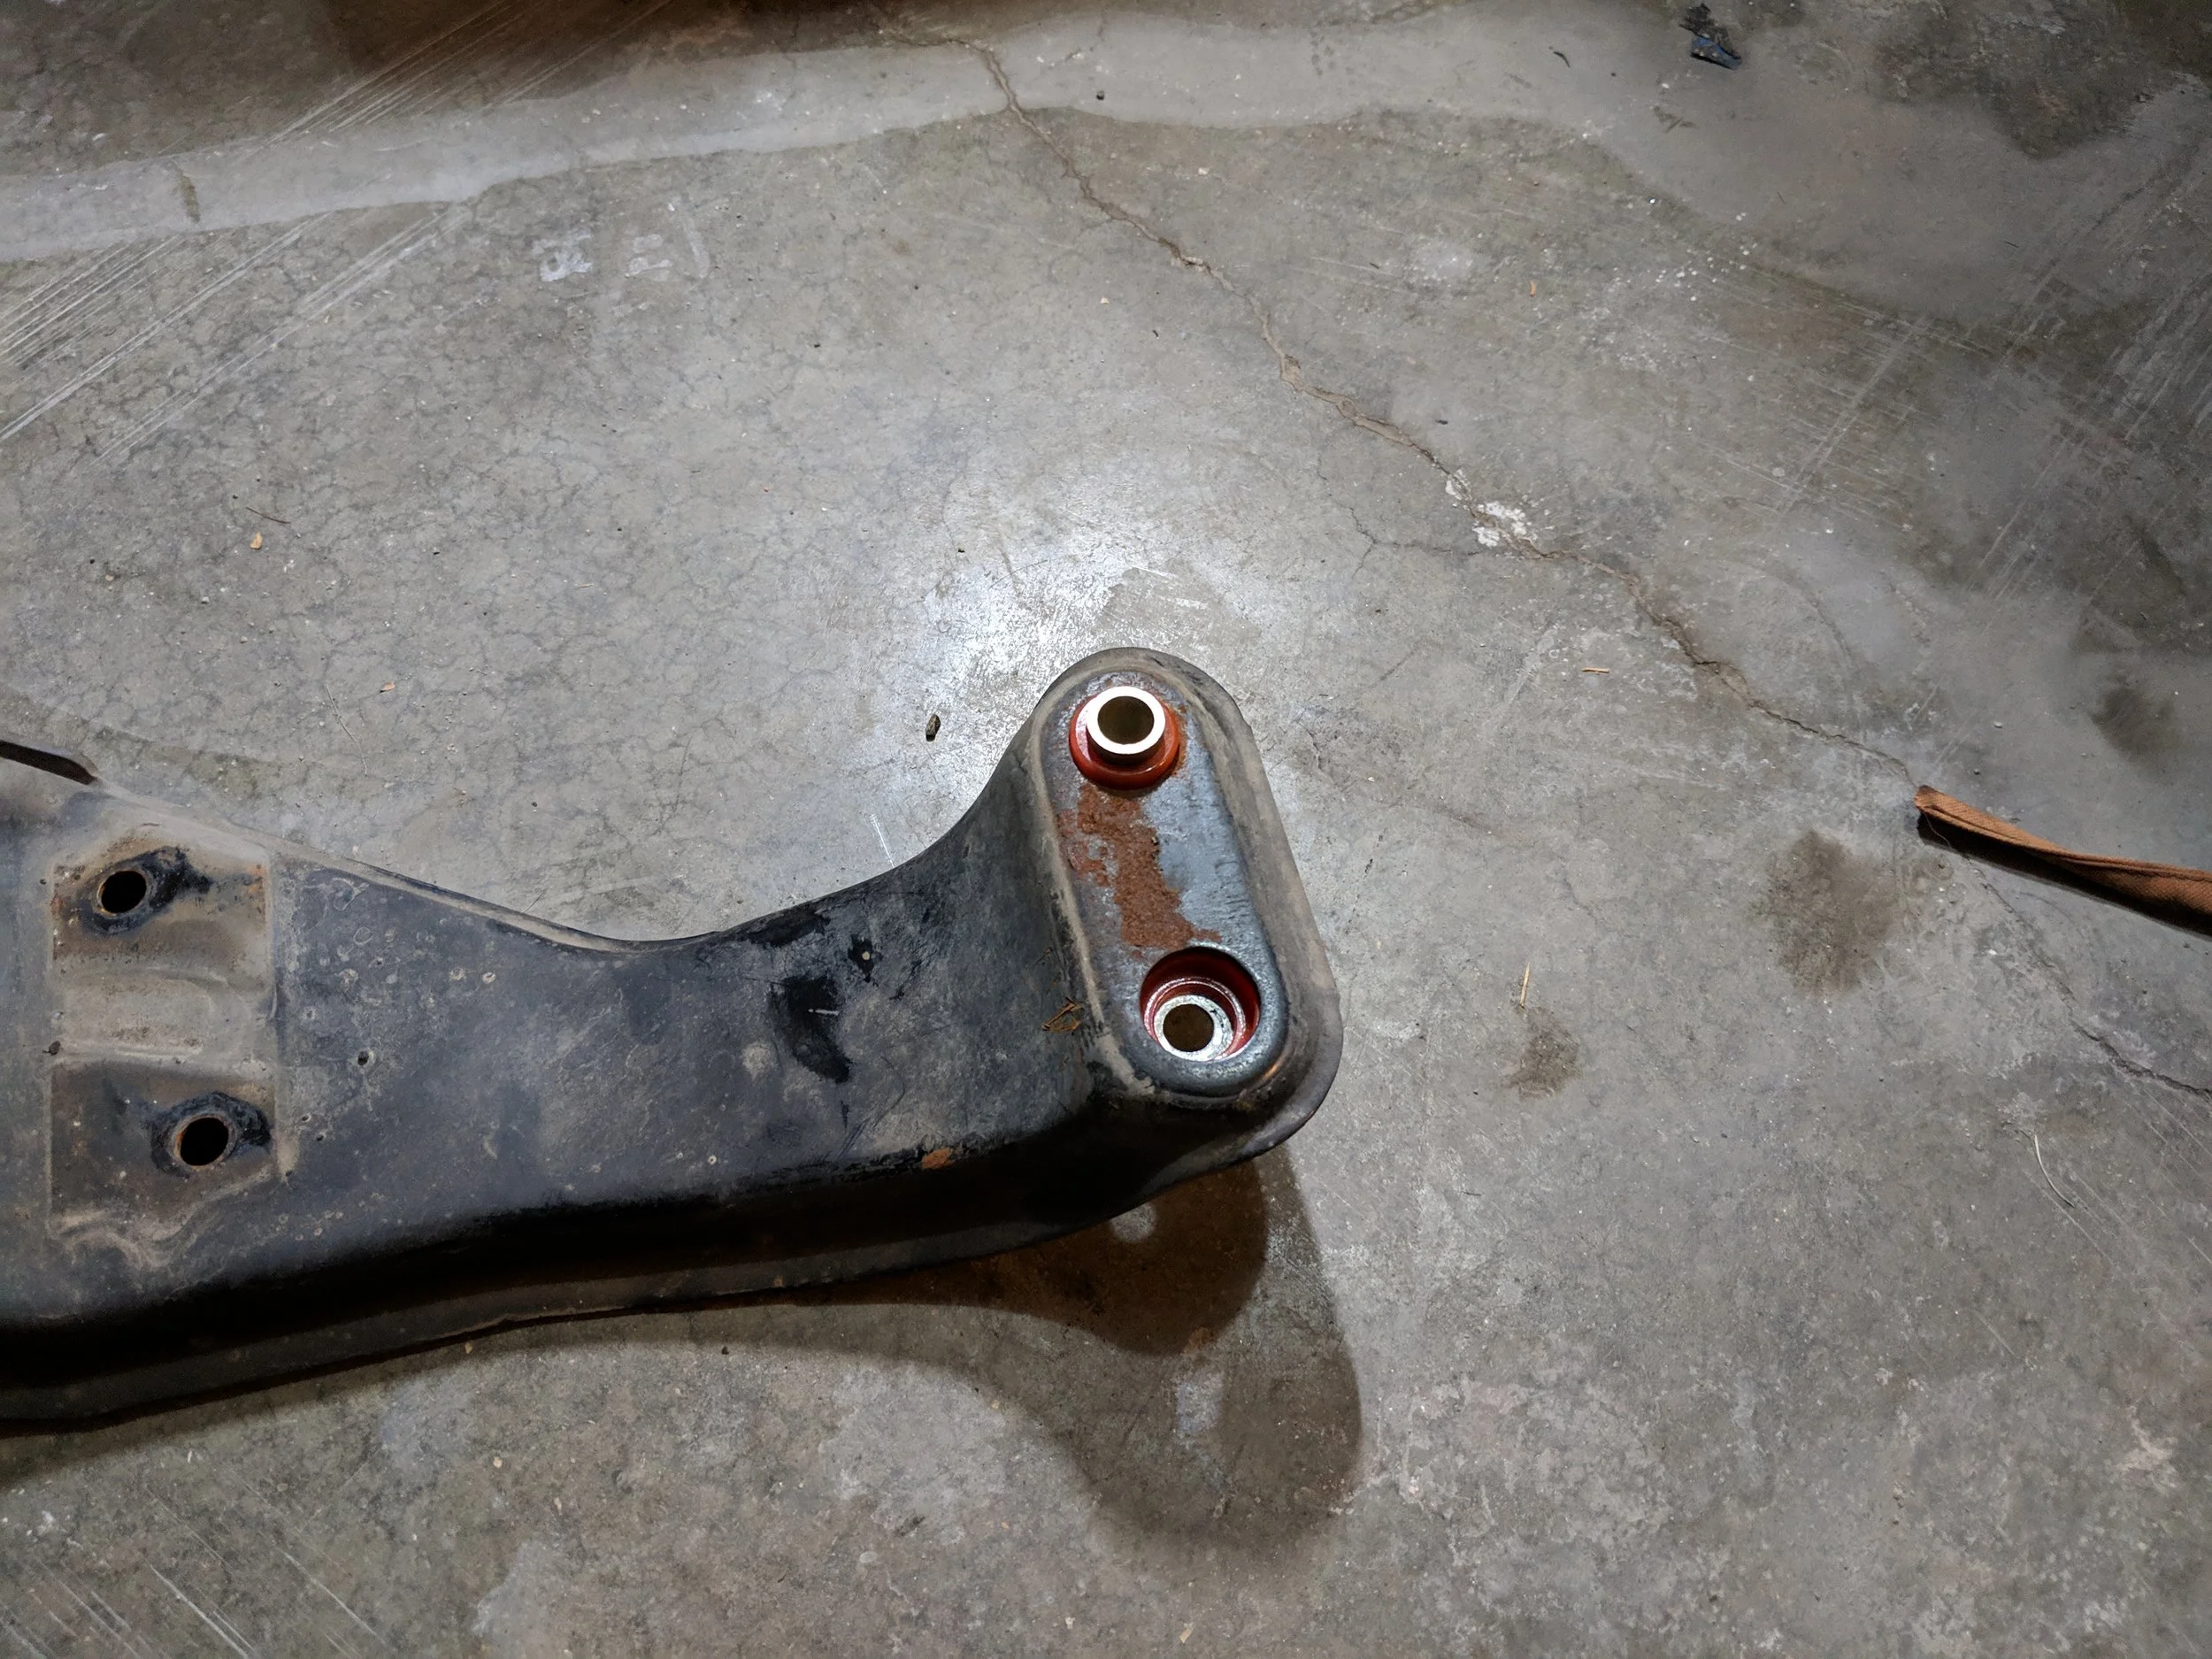
Having access to all the old bushings you can remove them. You can remove the bushing sleeves and set them with your new bushings. If your car is like mine it has seen a few winters of use and it might need you to clean the bushing plate and sleeves.
In this method you remove the center and front section. Then proceed to the bushing,
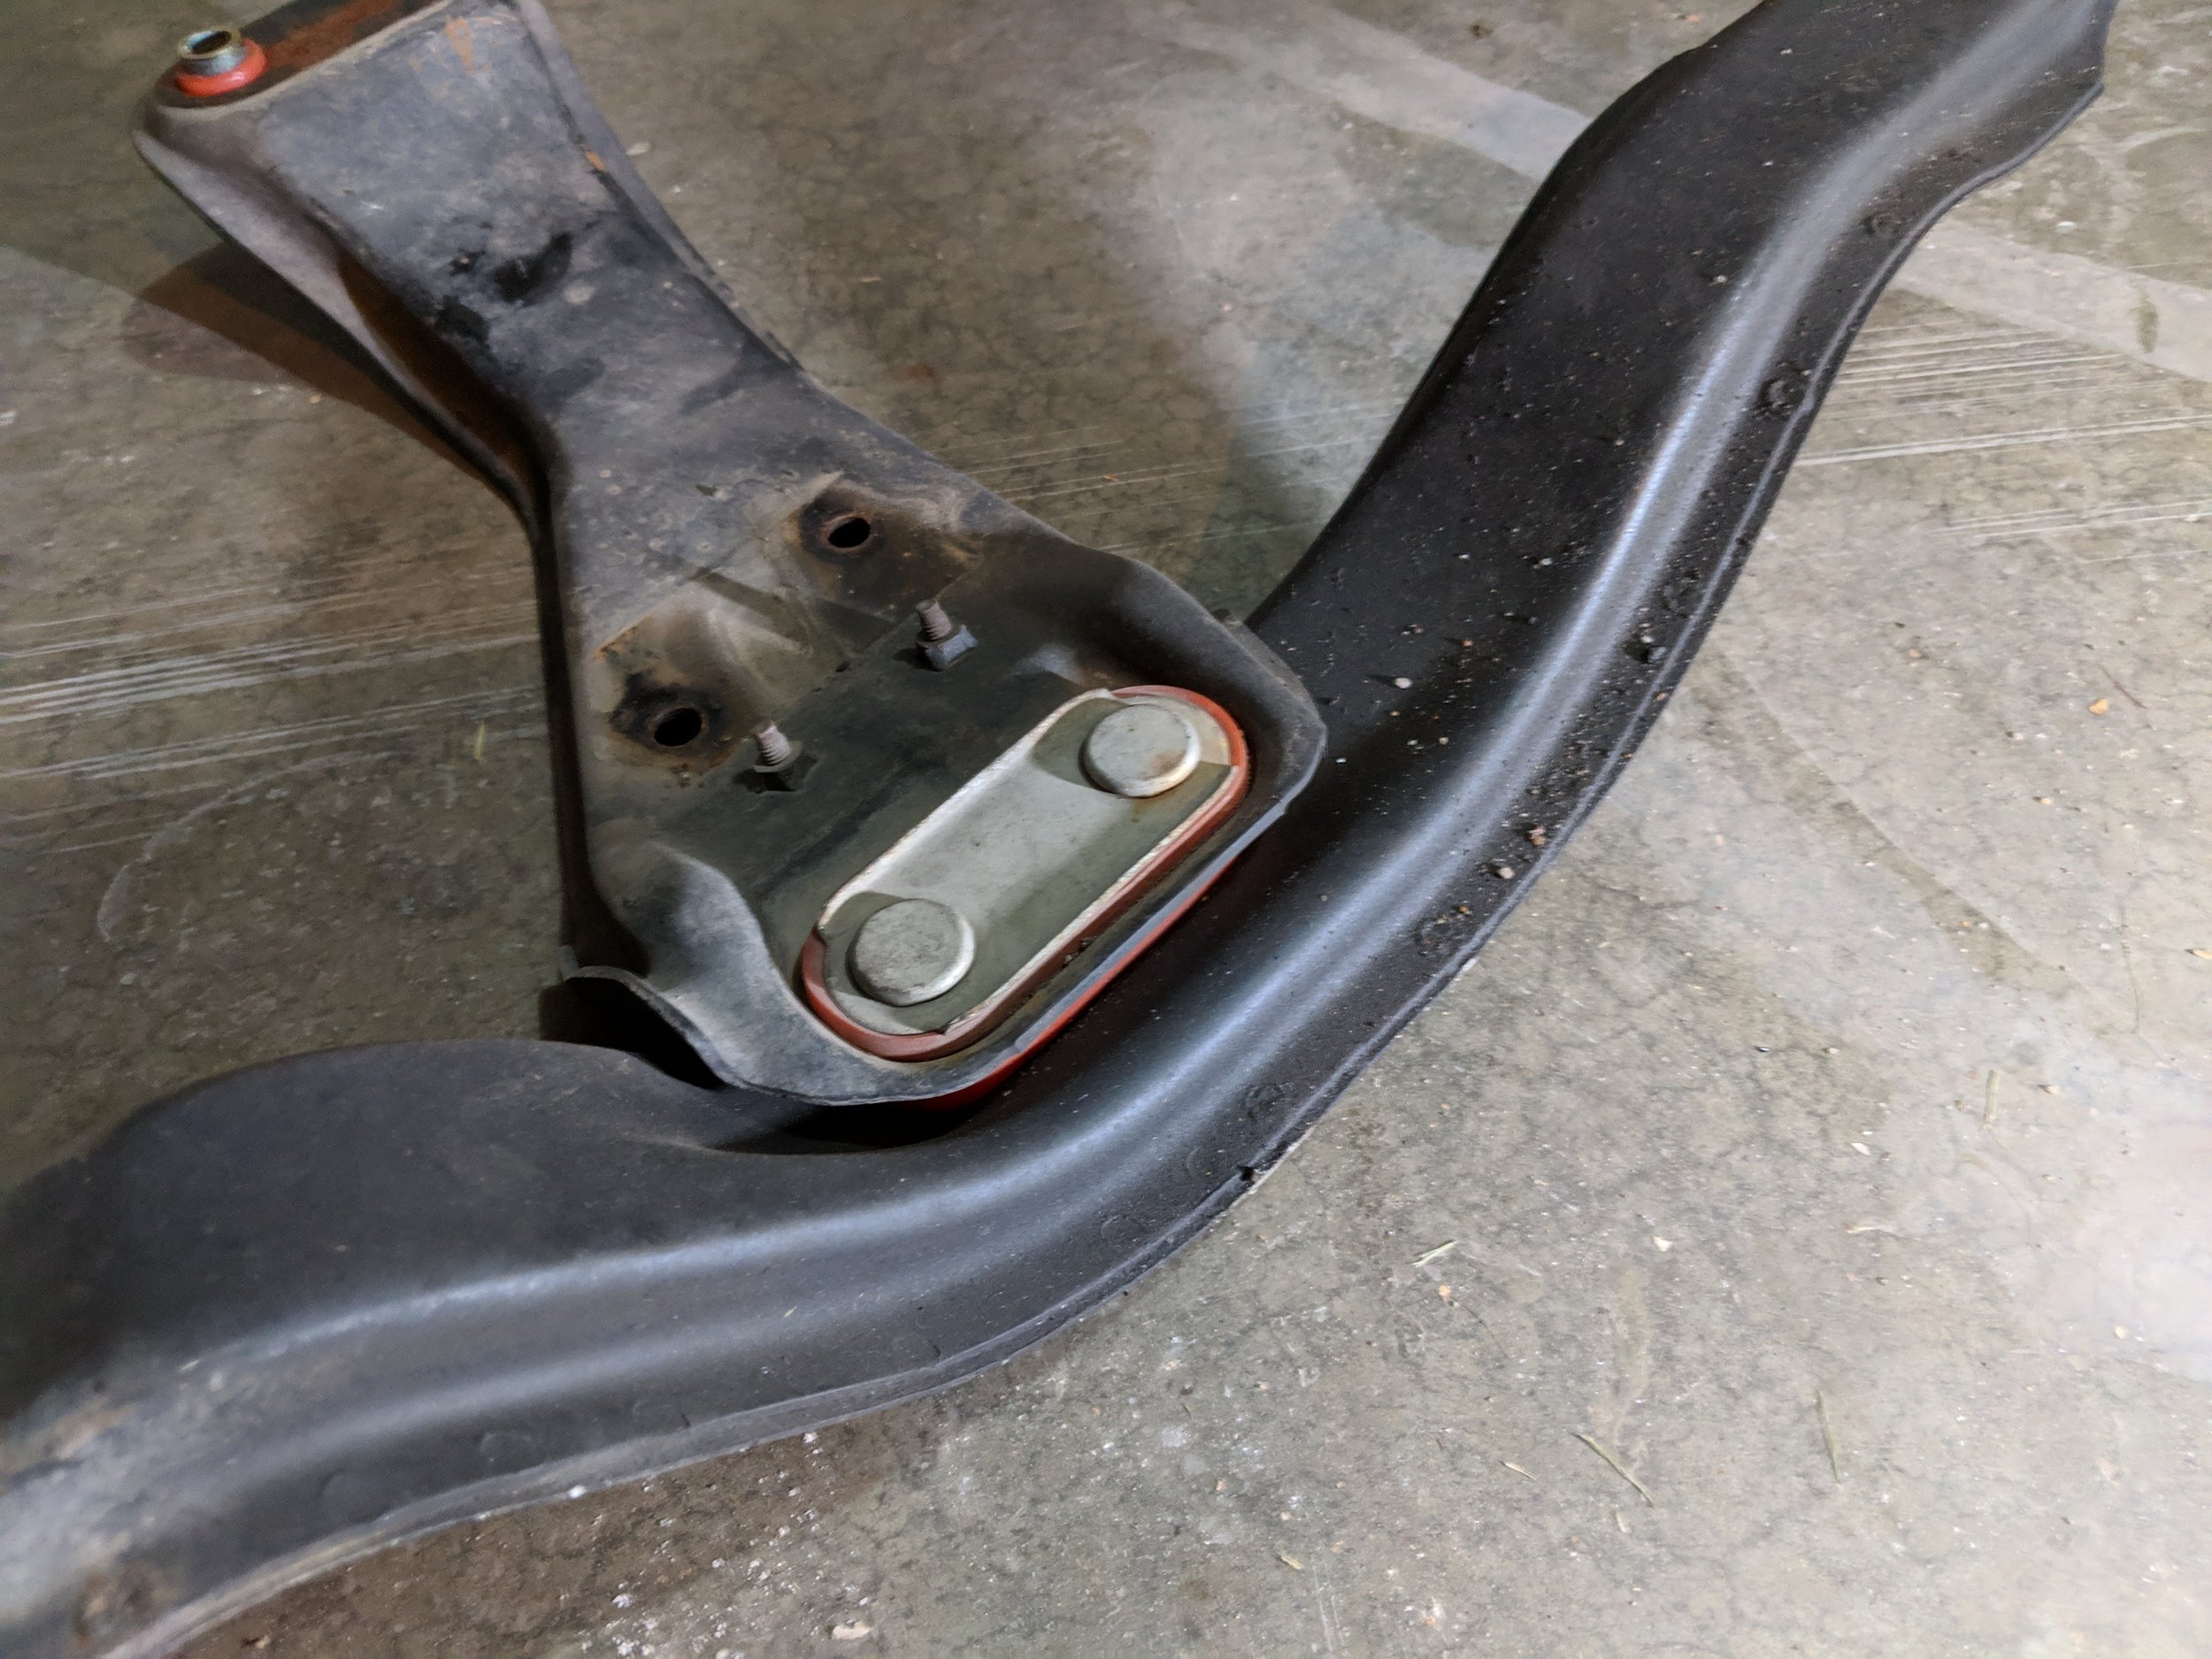
Here is the rear bushing.
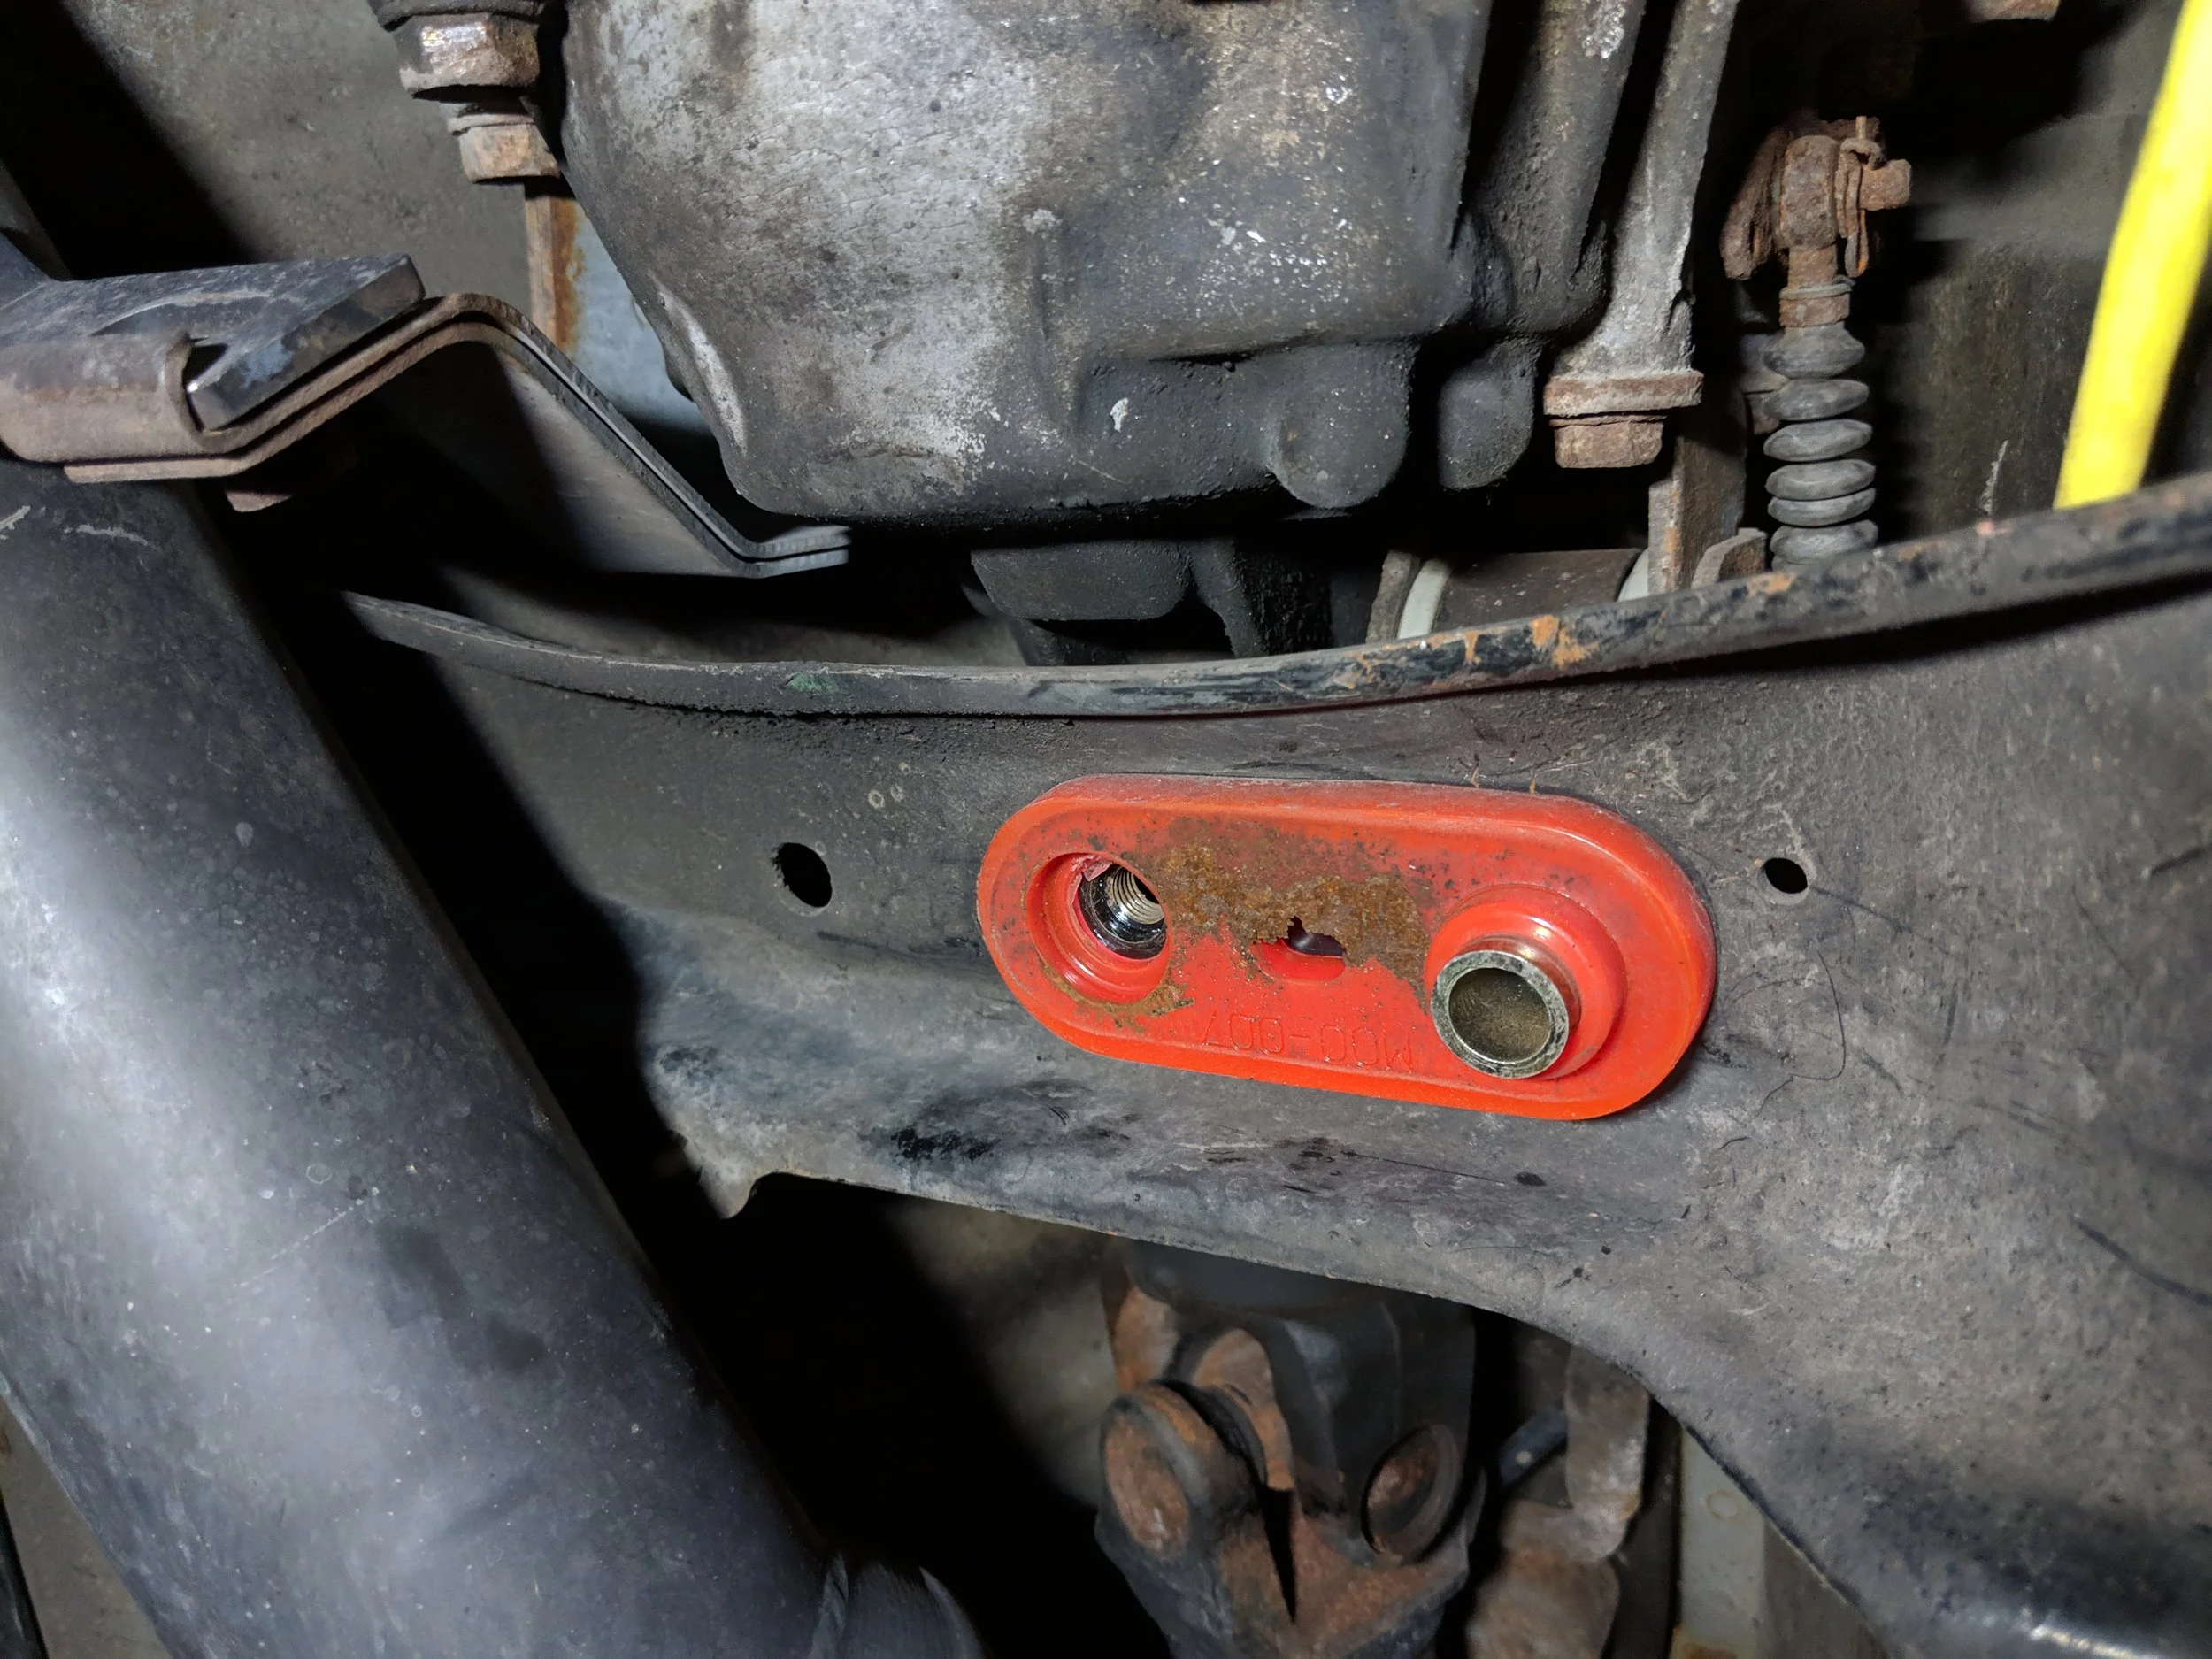
This shows the location of the upper rear bushing and how it might stick in place.
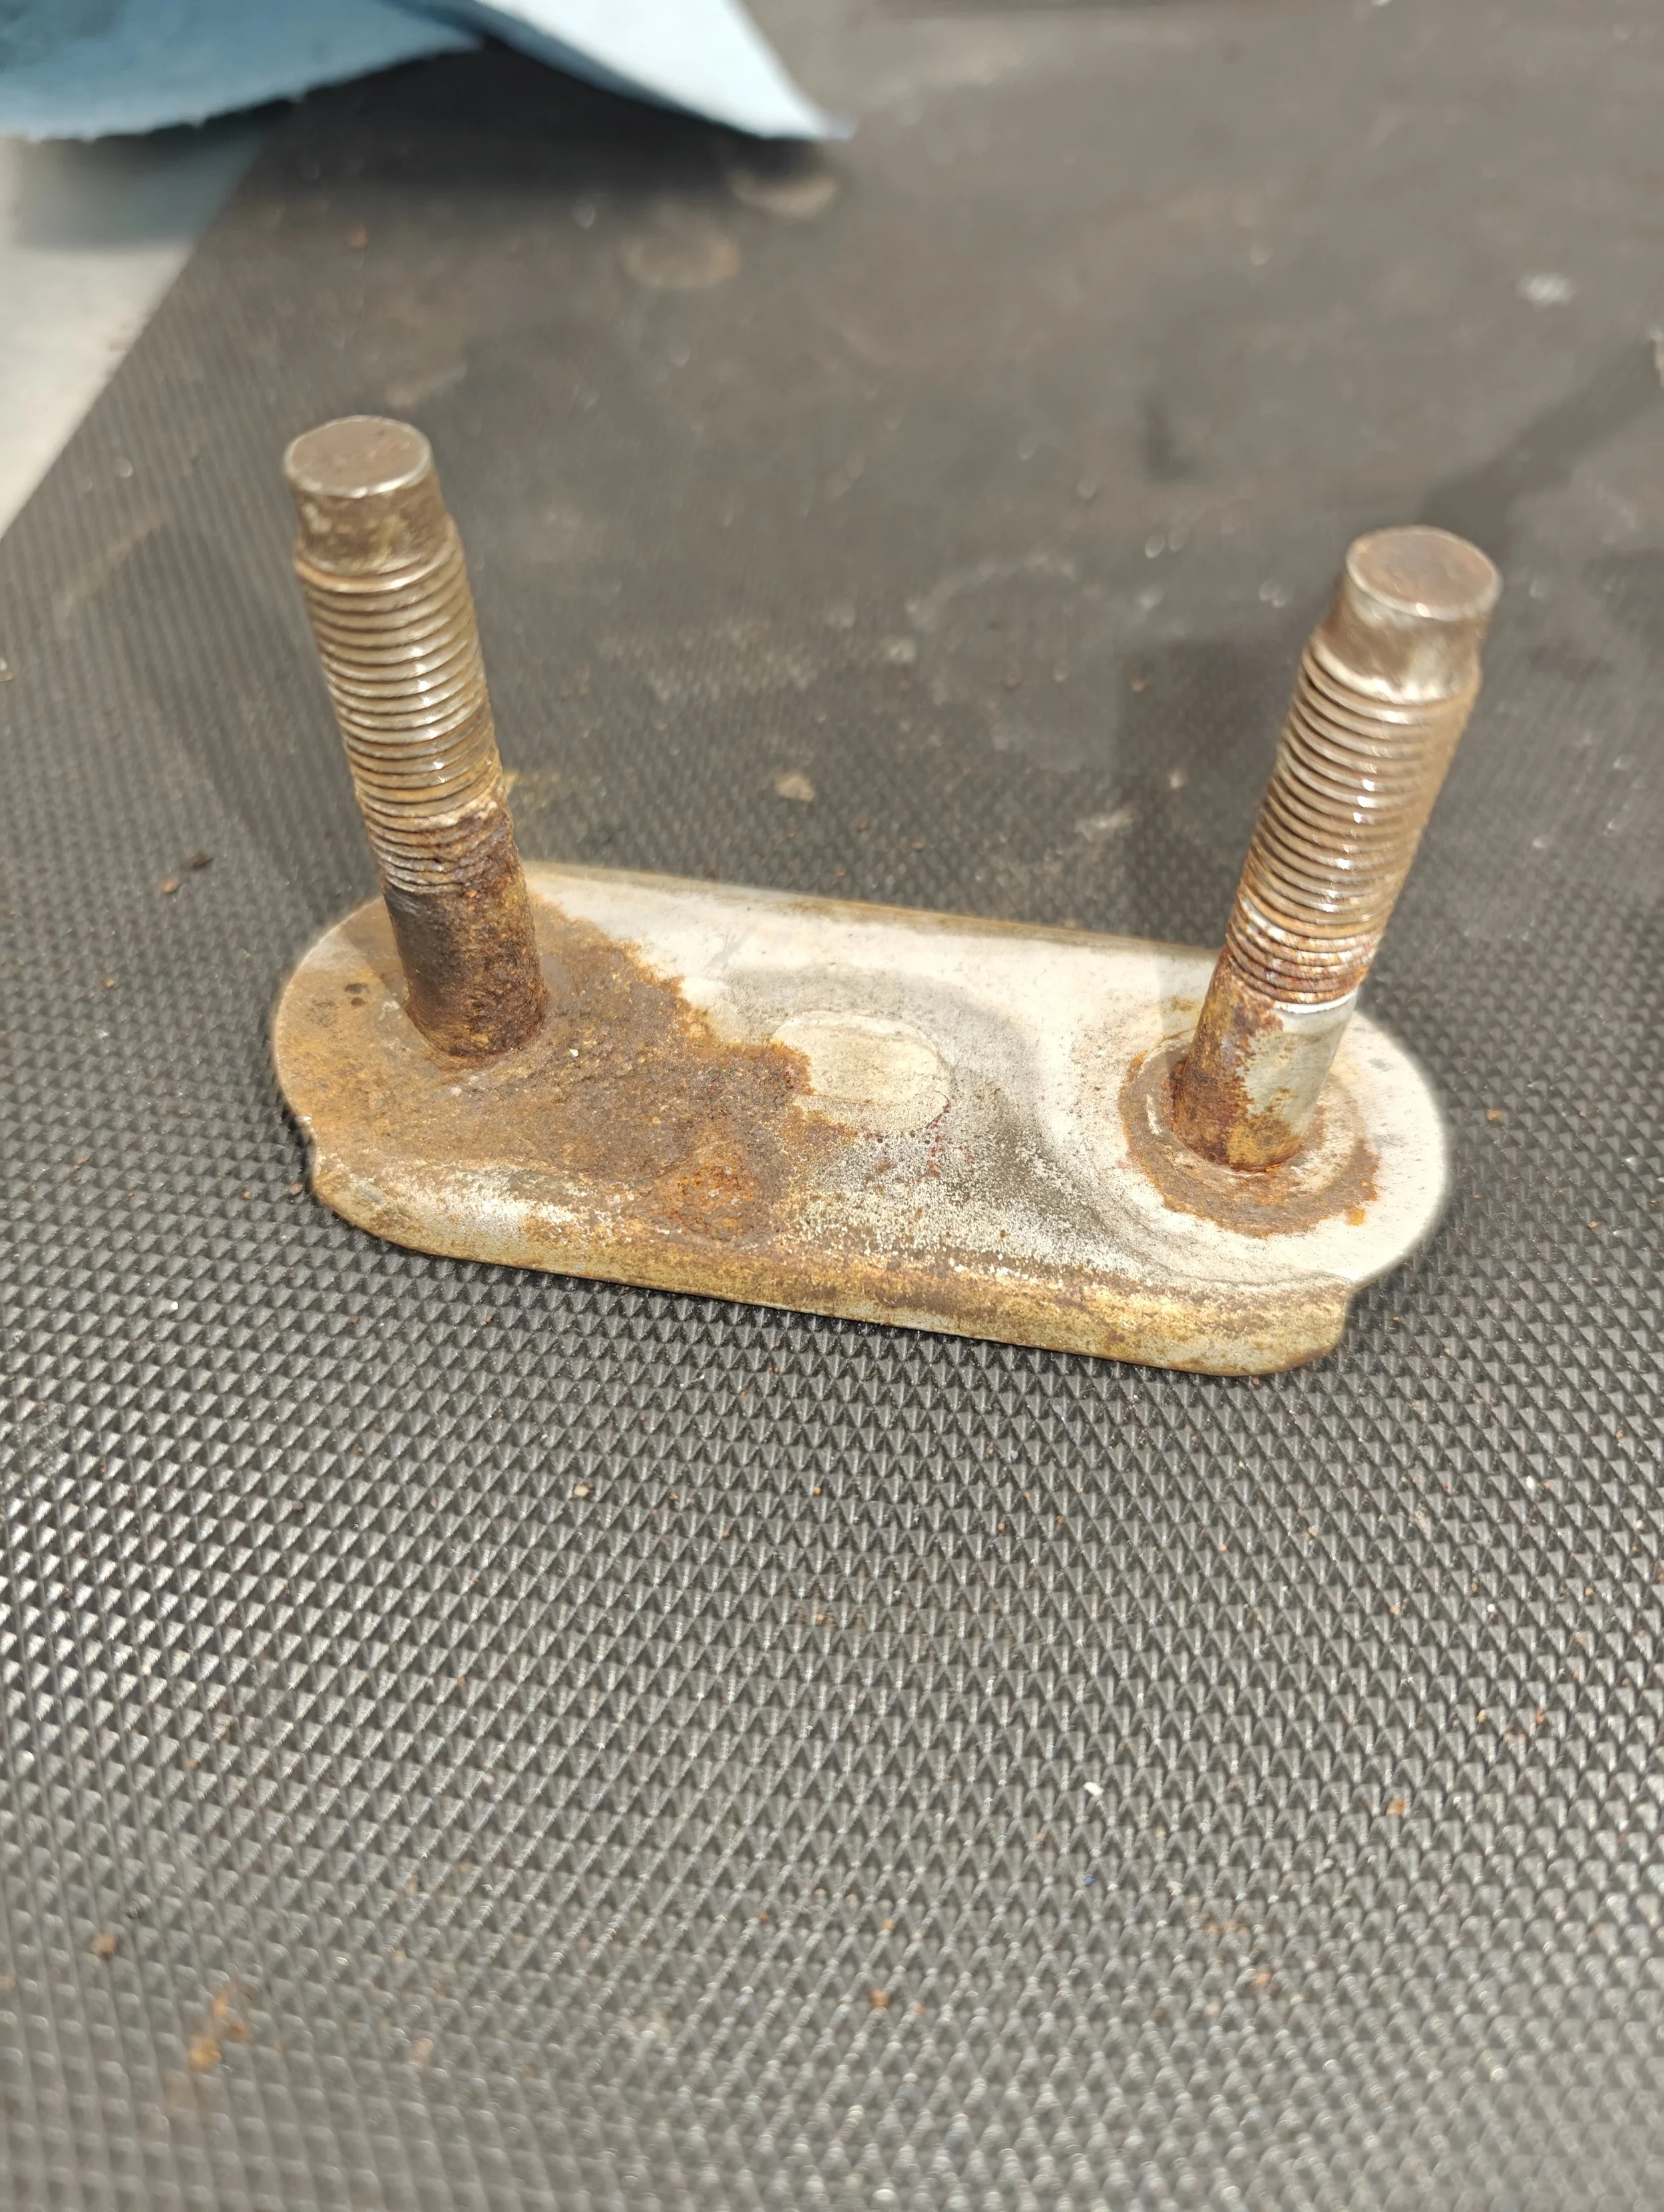
If you didn’t buy a new one, it’s probably worth cleaning it up.
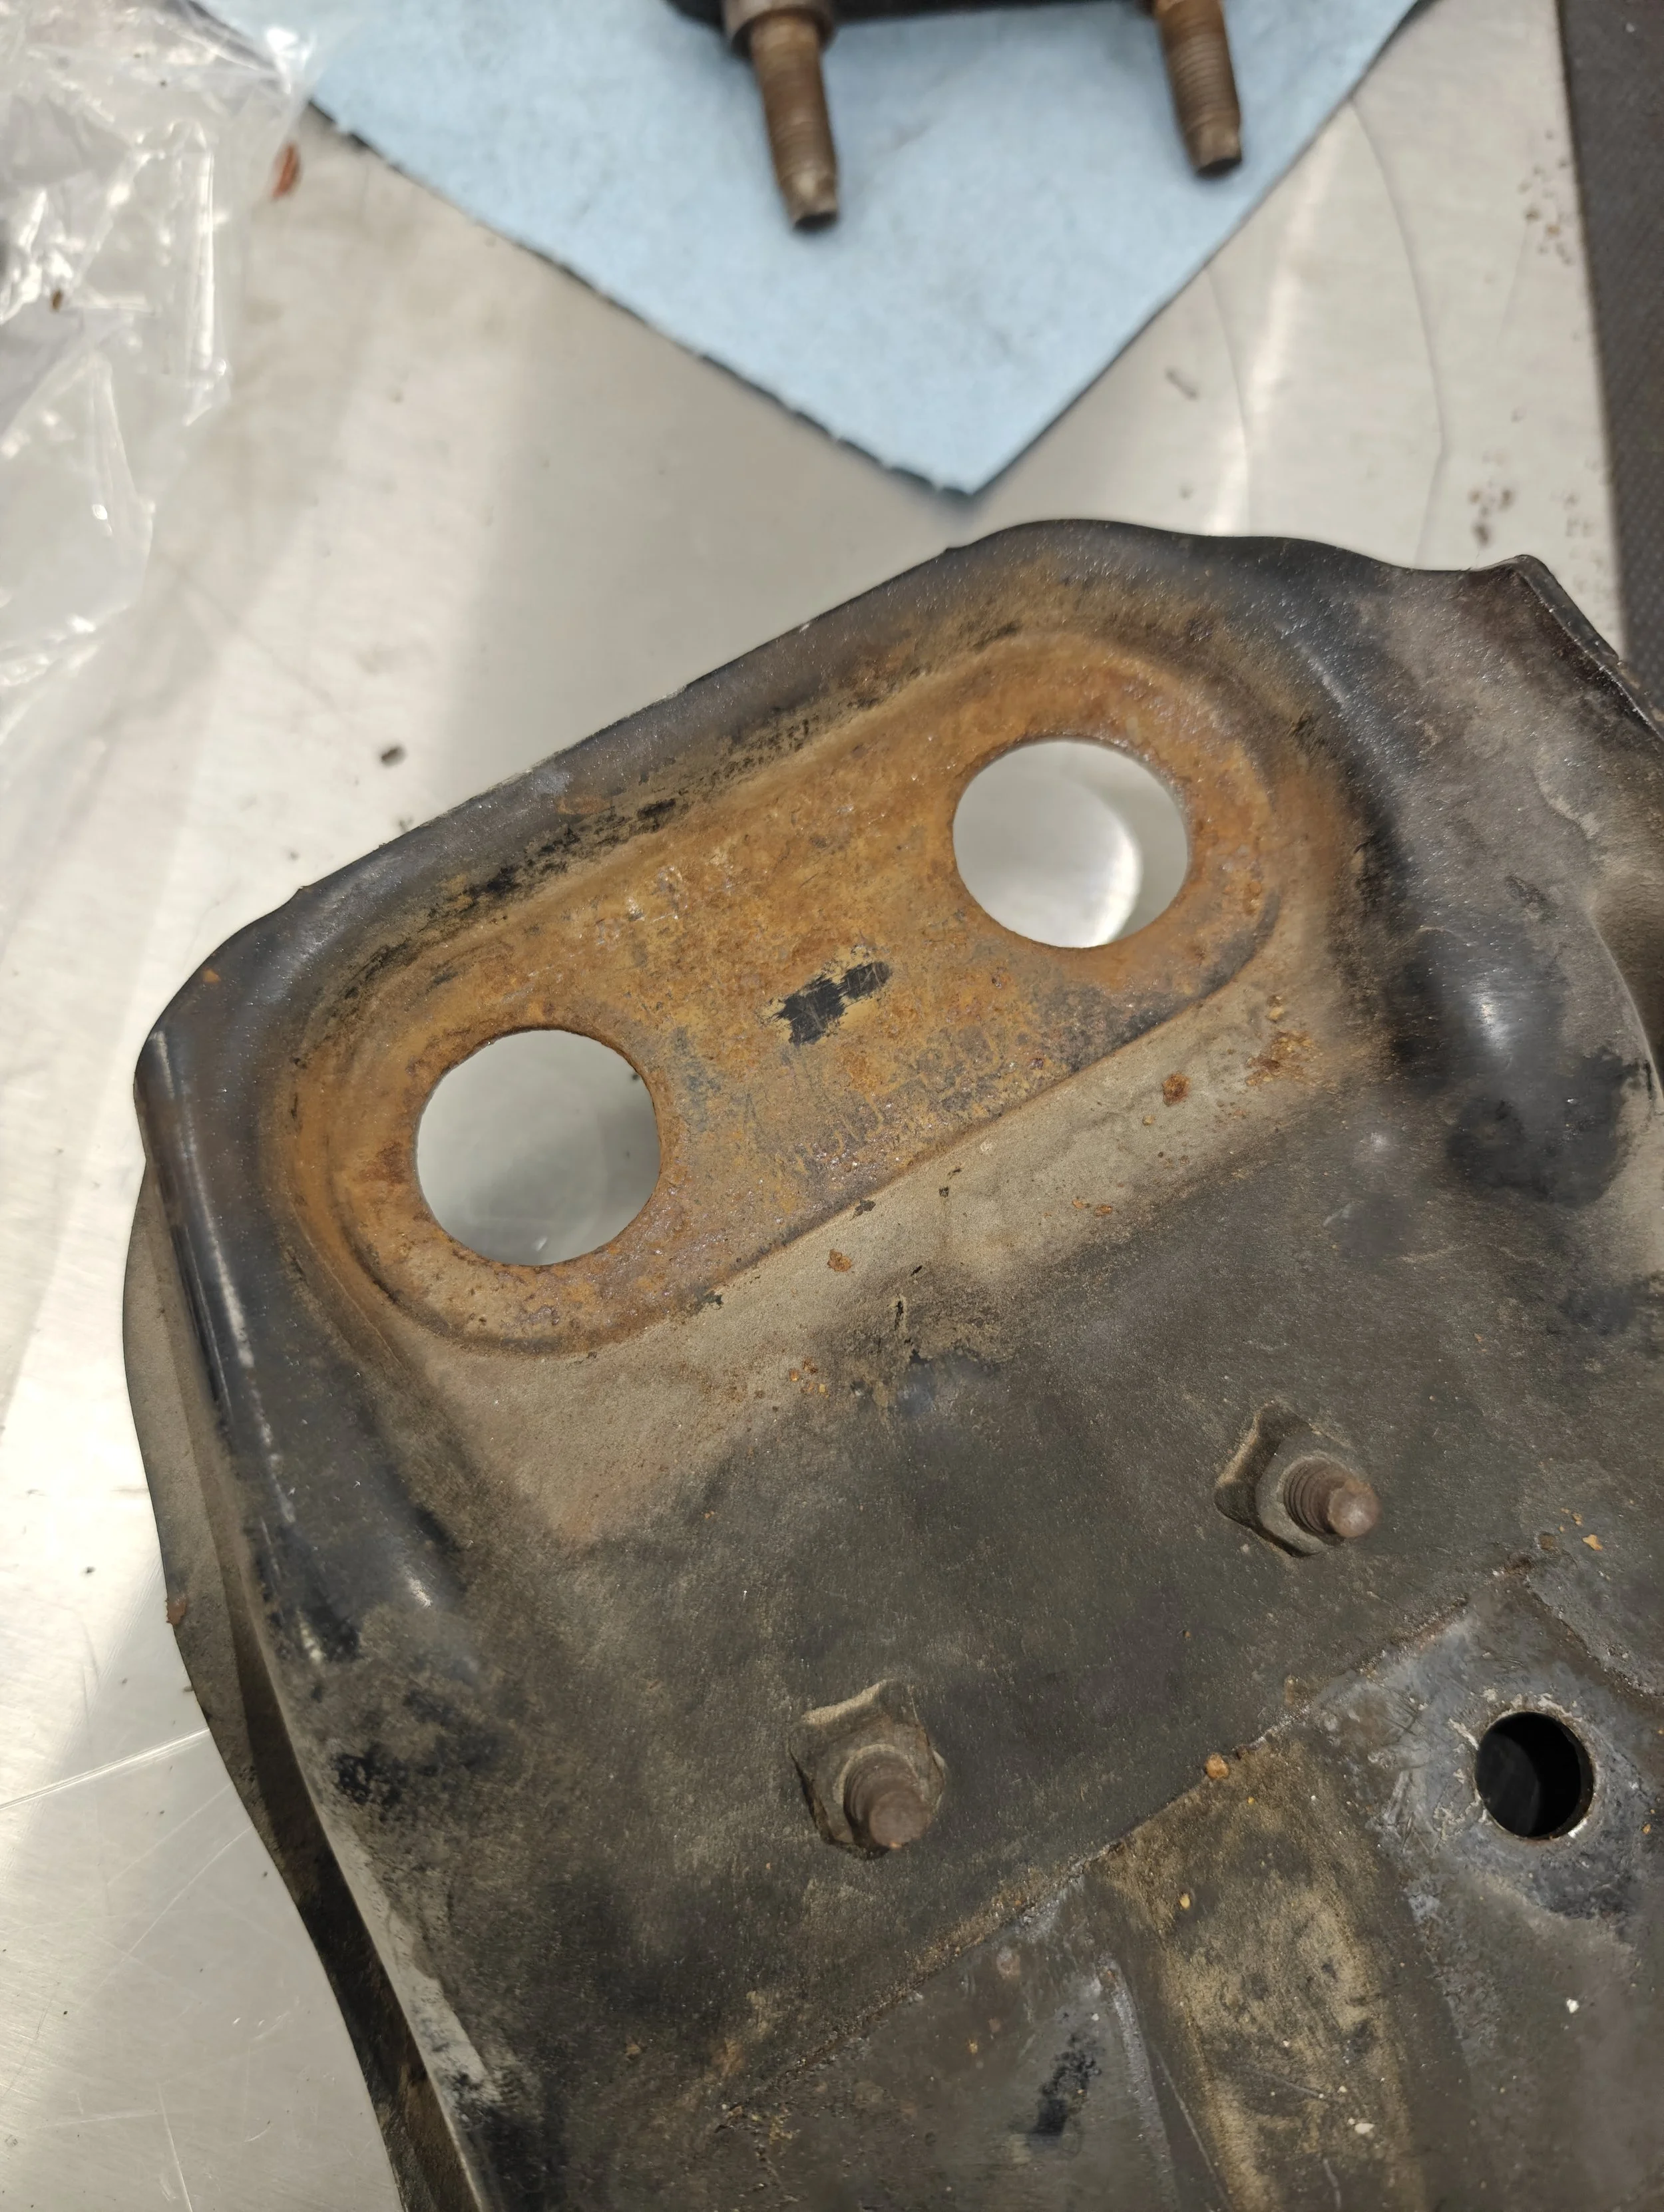
Same here, a little cleaning wouldn’t be a bad idea.
Showcasing how to install it bracket.
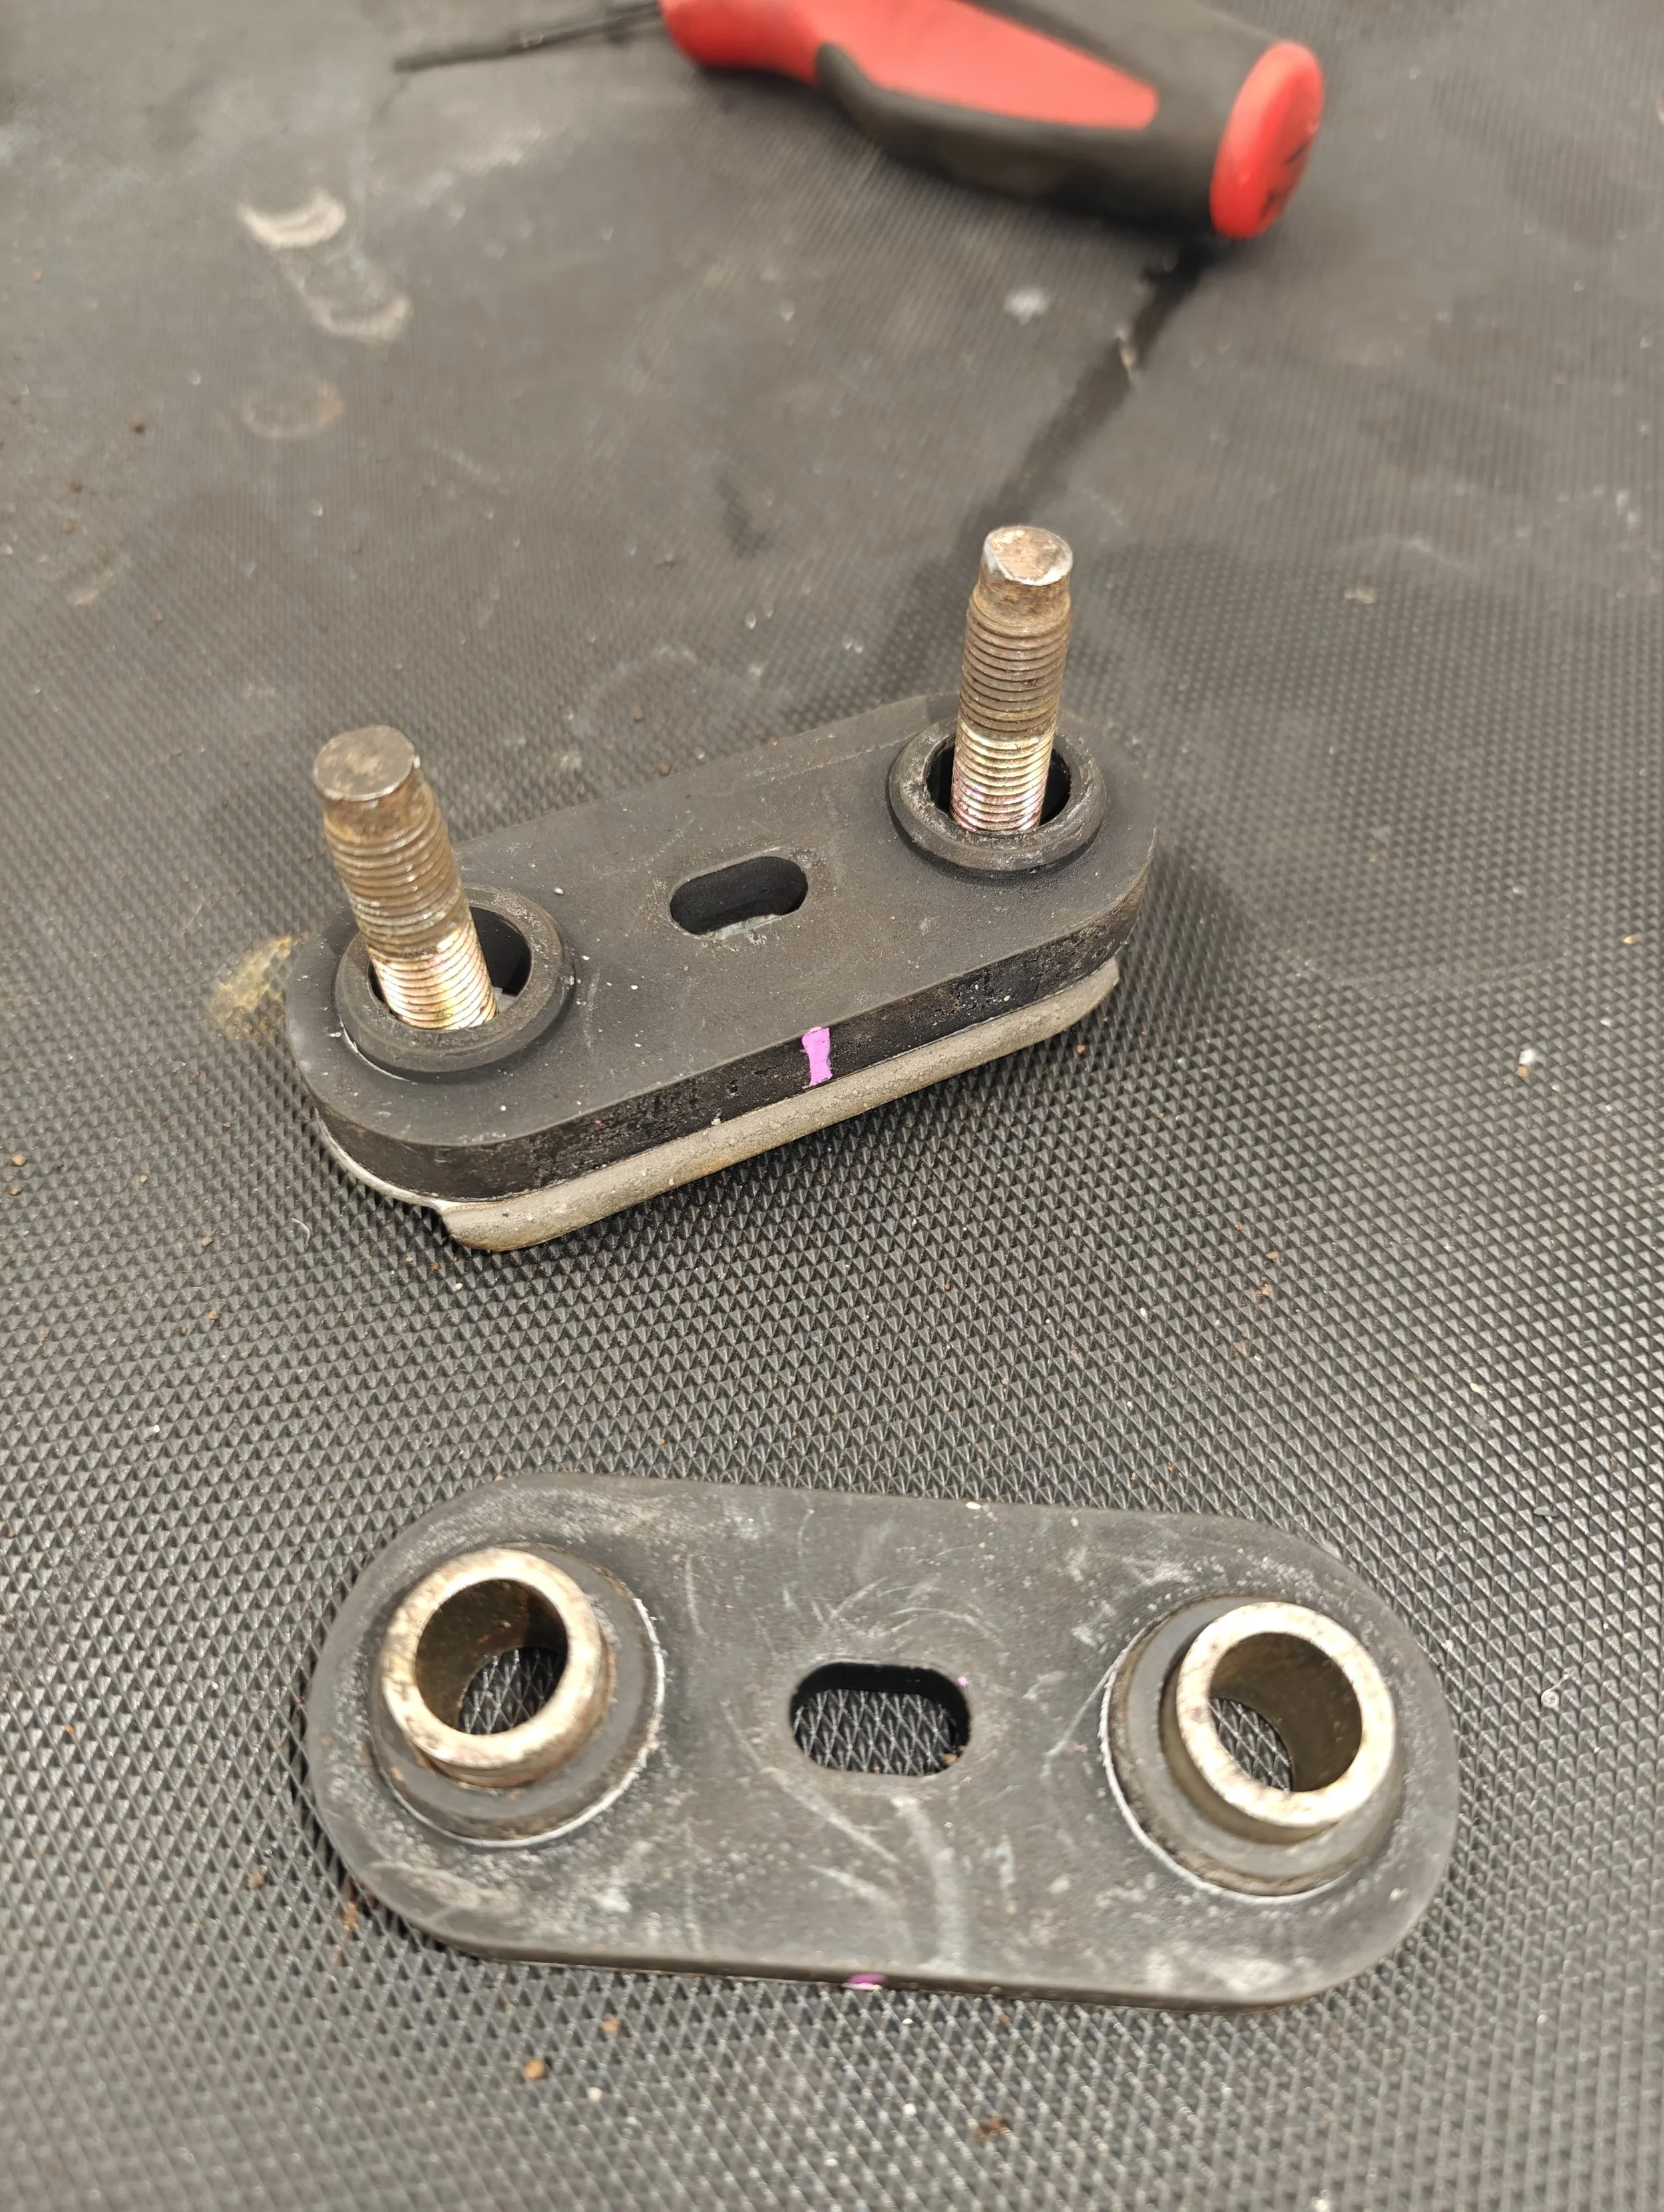
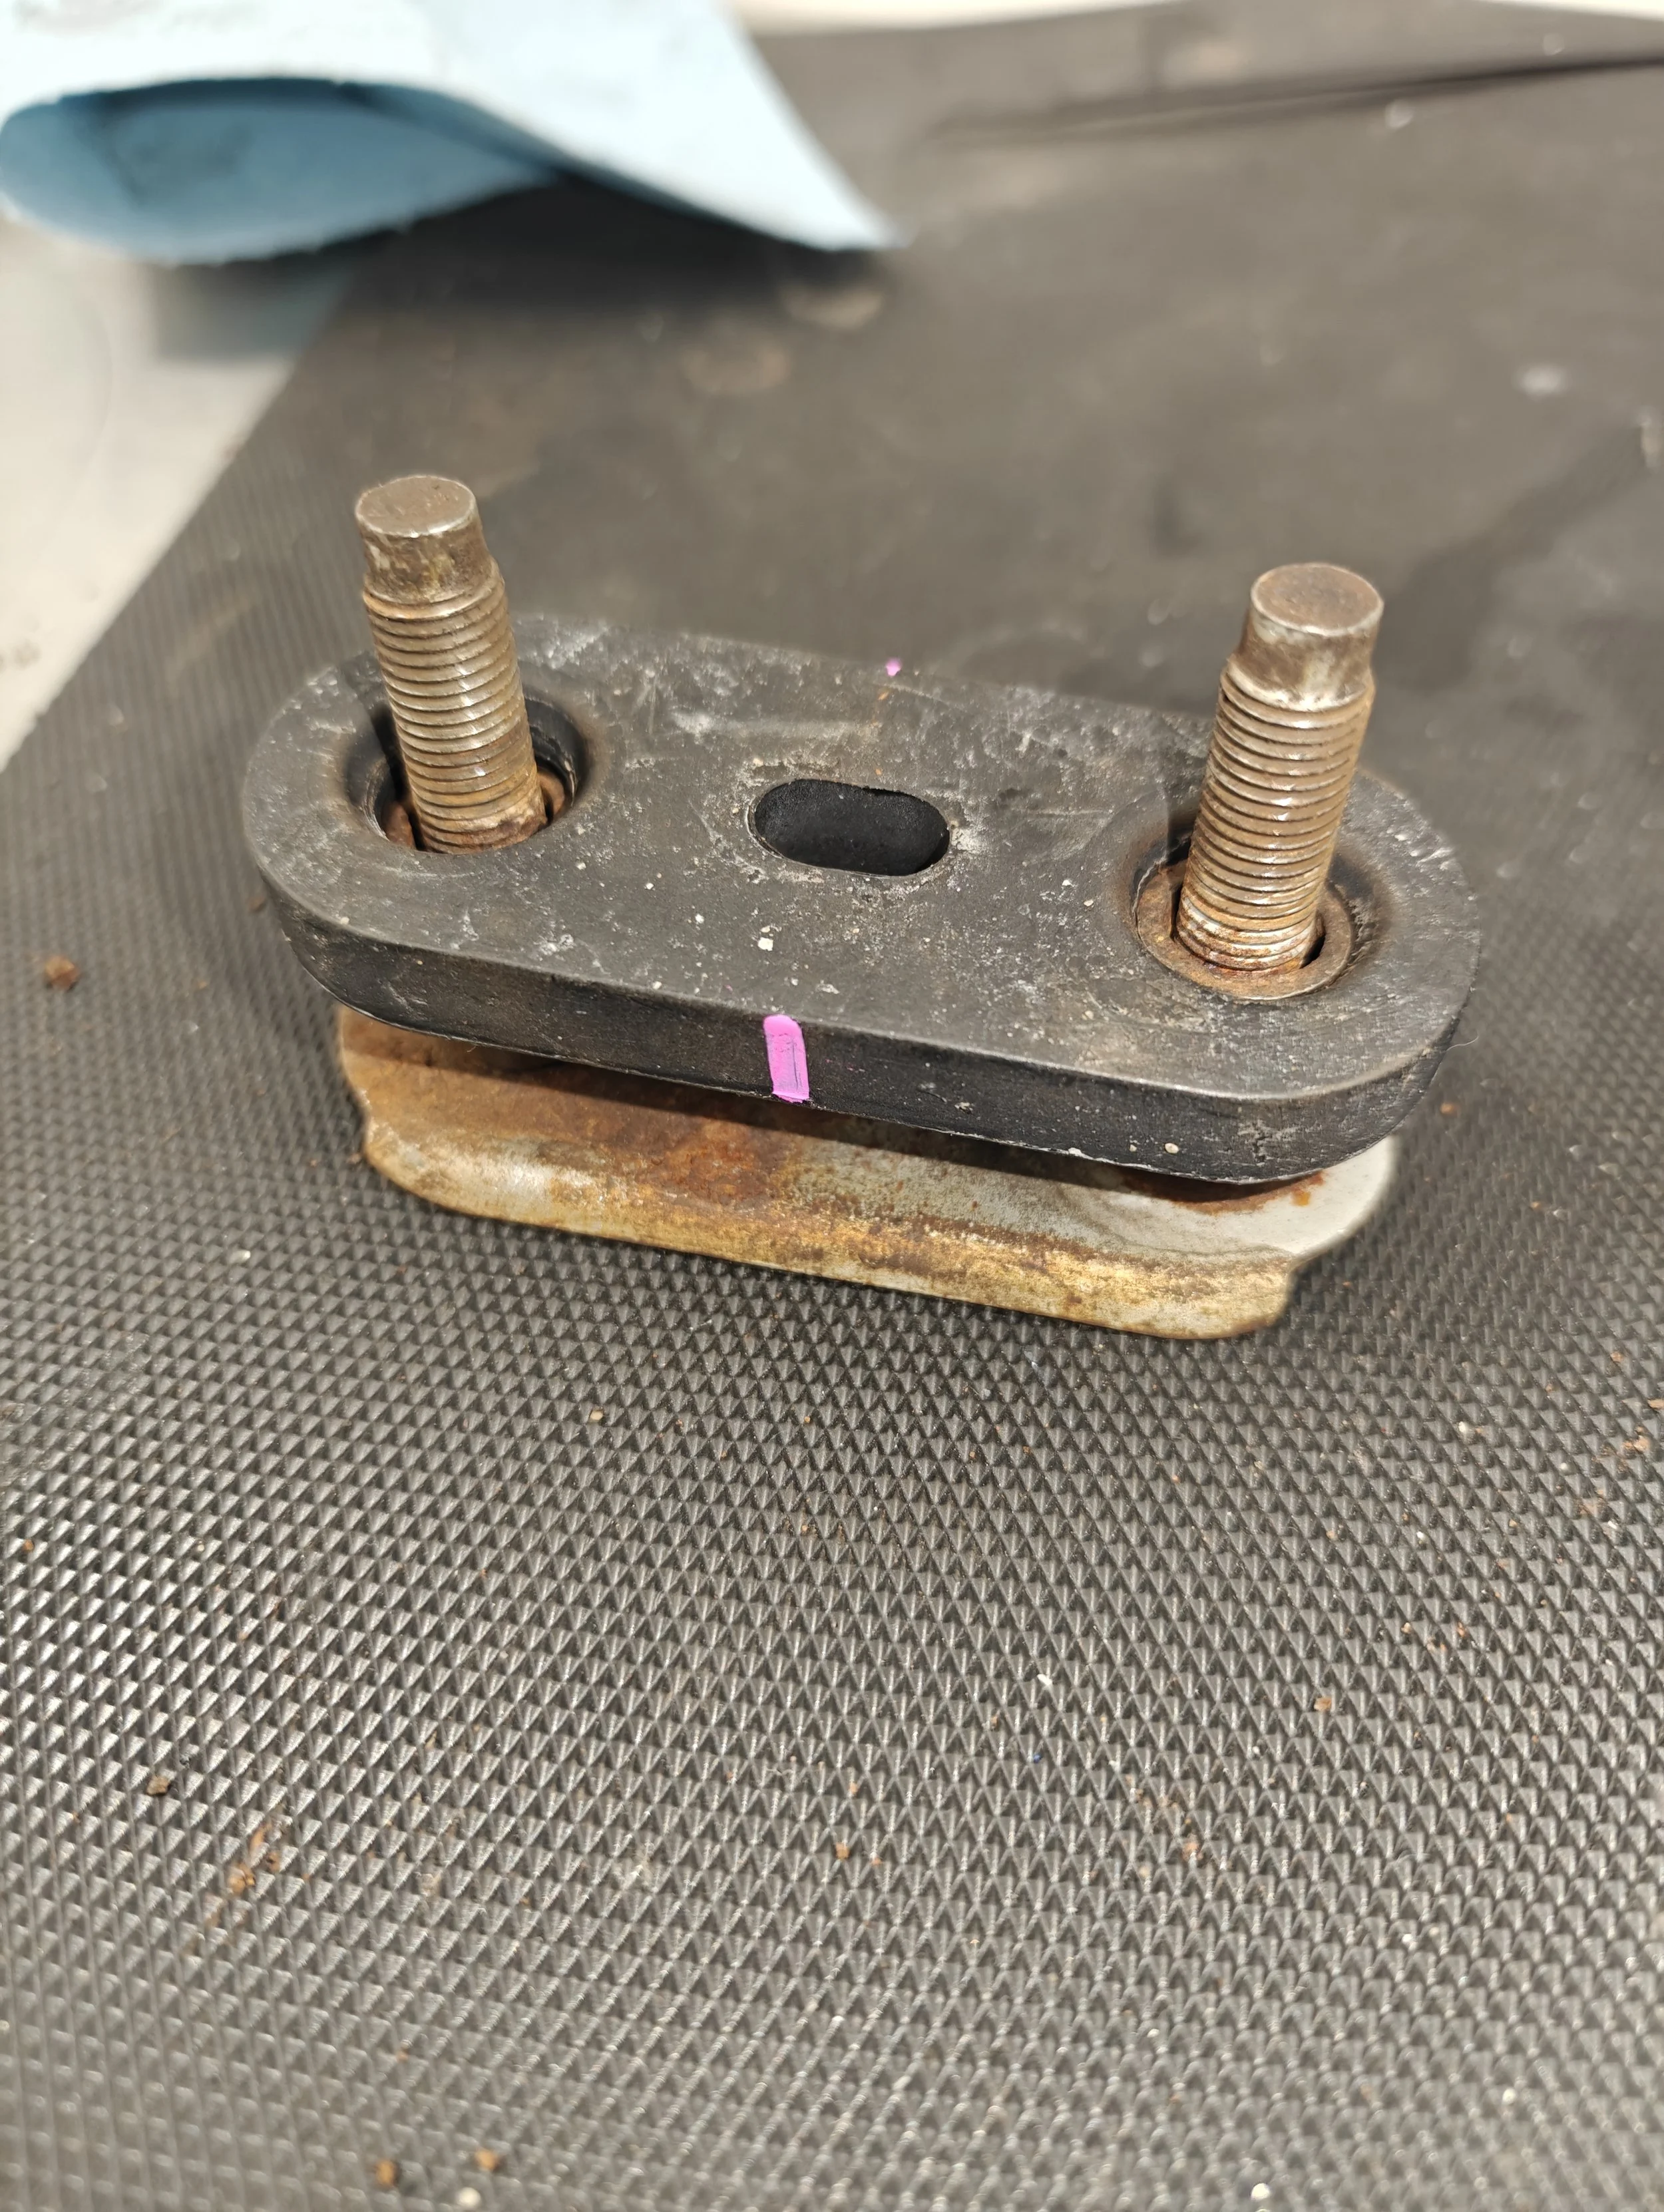
And here is the secondary piece that will be the sandwich bread of the crossmember.
You can now slide in your cross member and make sure the bushings make it into their proper locations. Up next we will install all of our pieces in reverse. I find that starting at the front section makes everything a little easier.
Last bushing going in and you are done!
Once you have torqued all your bolts you can go ahead and slowly lower the jack to make sure everything is in the right place. And with that you are done!