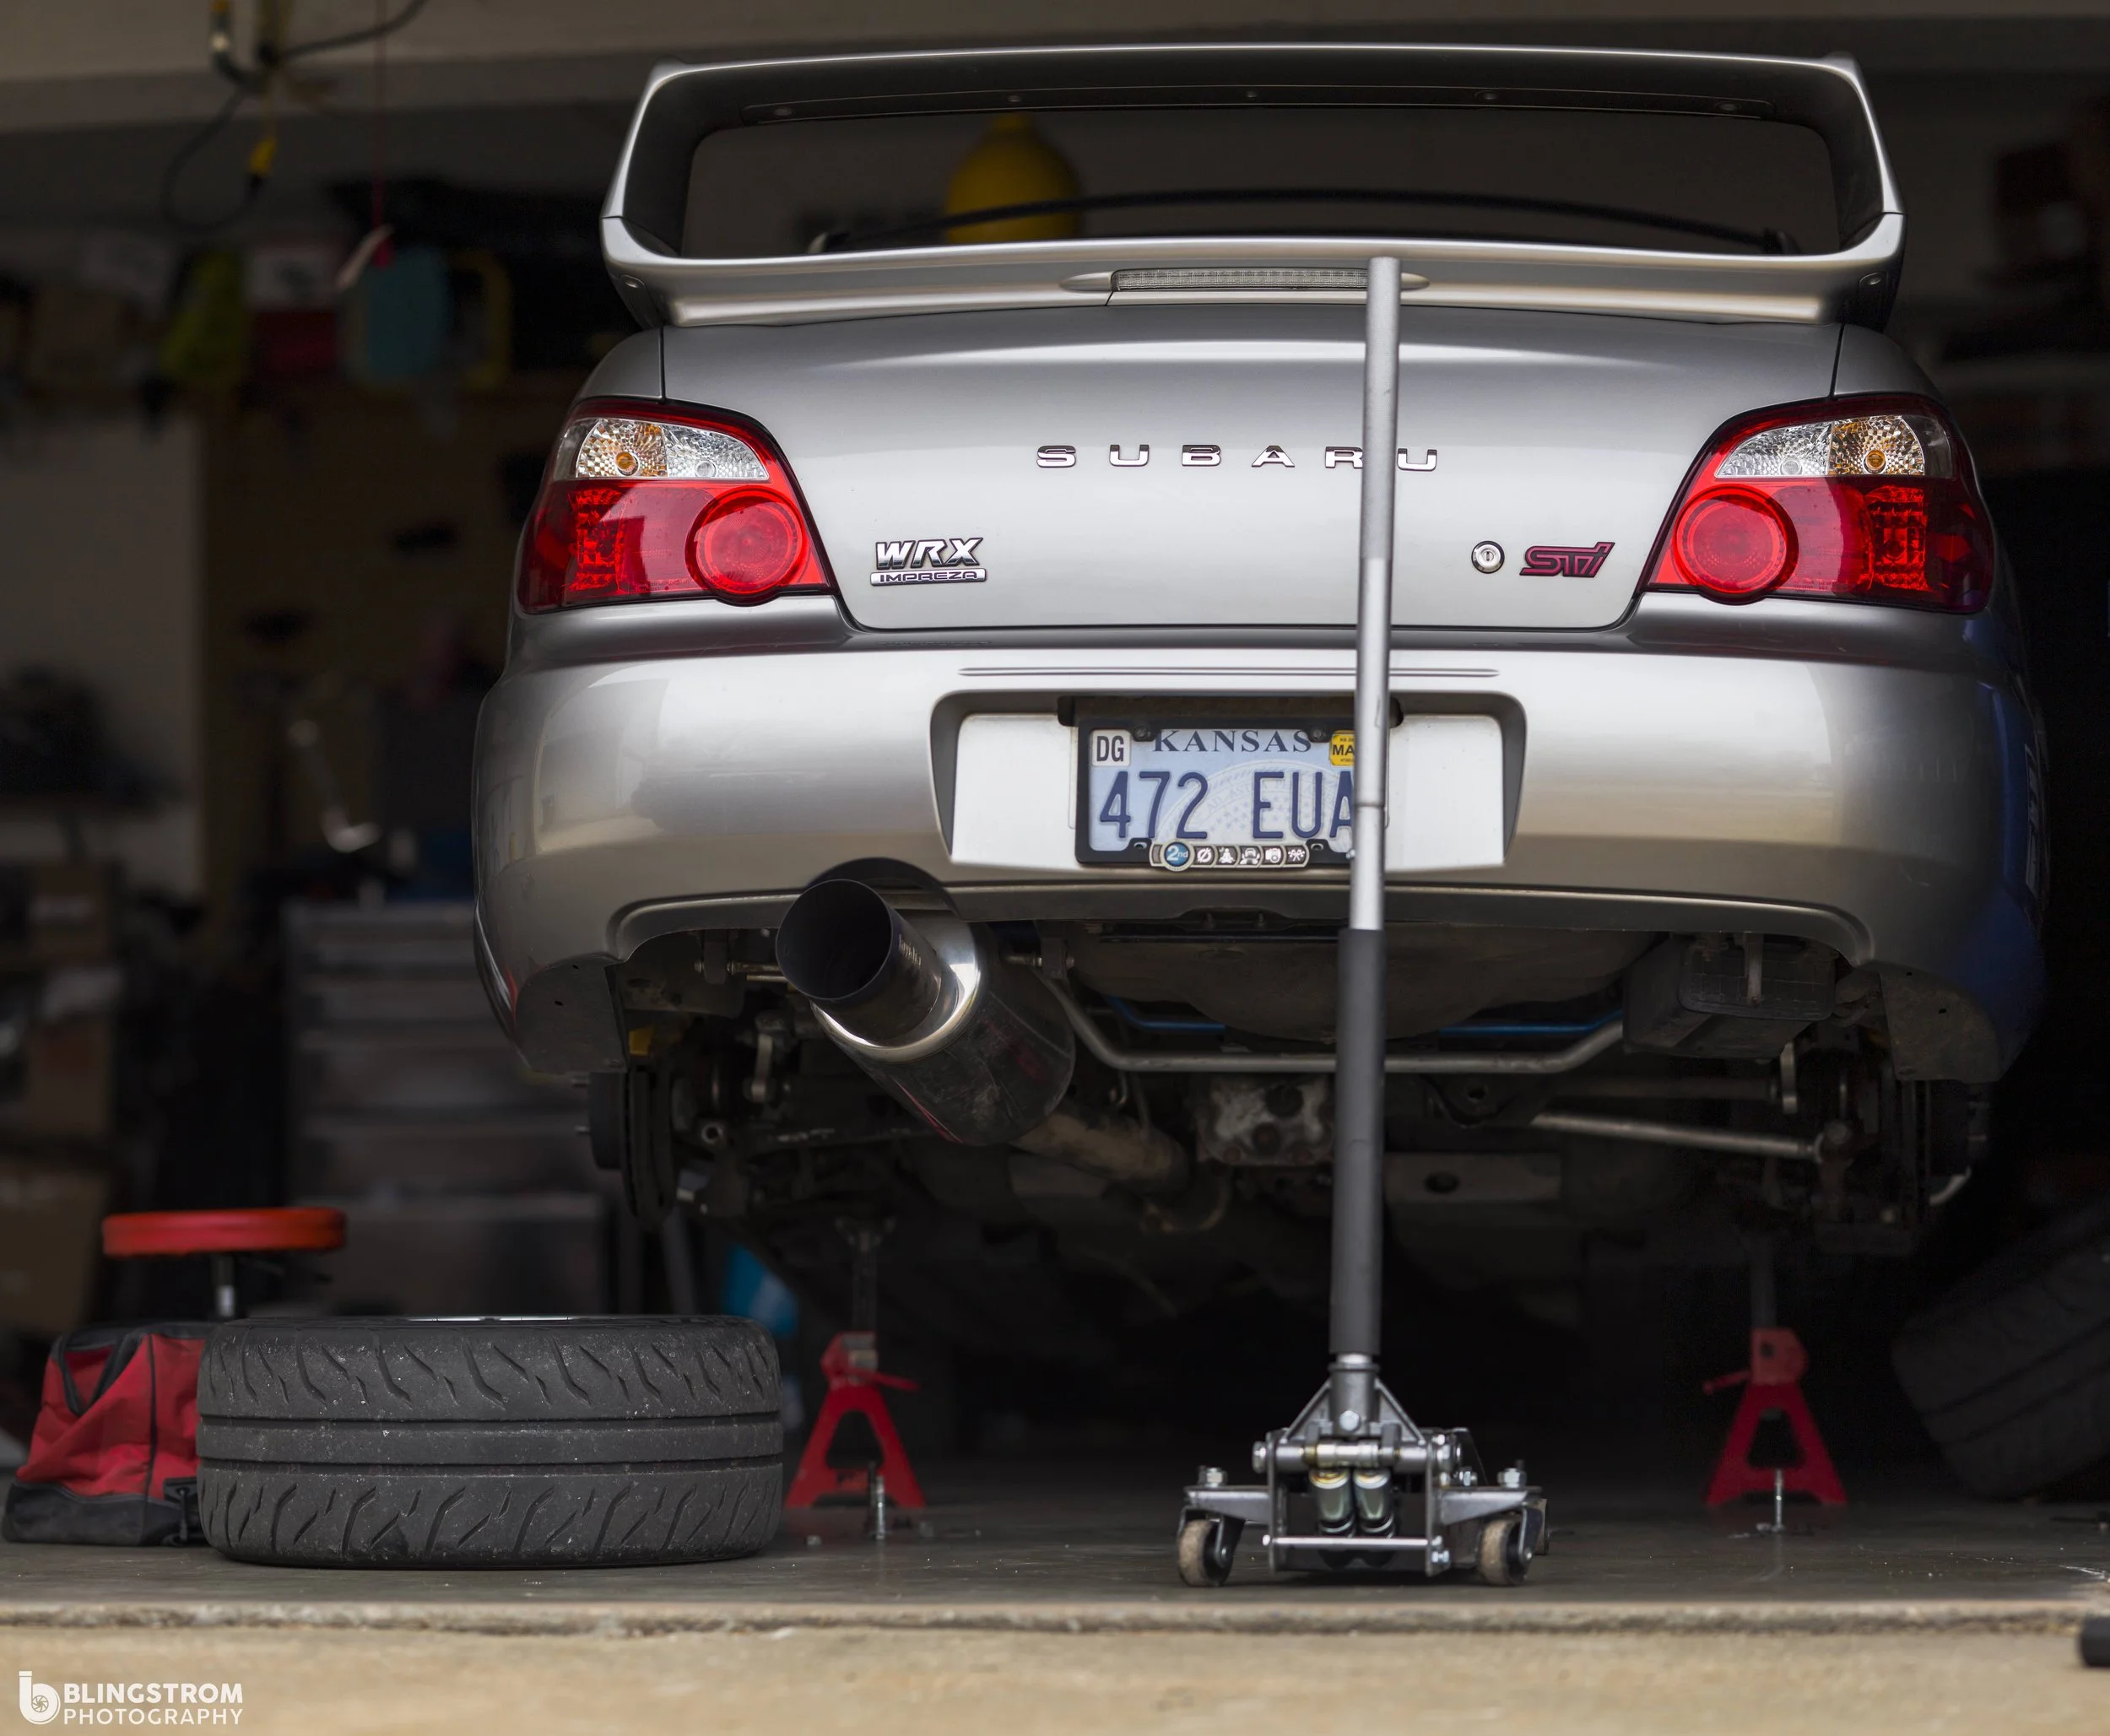
STi rear differential rear brace install! A stable diff gets the power down! 02-07 models
A well known issue for the older STis is during a quick 1-2 shift that the rear differential will rock back and forth causing a knocking noise and a delay in power delivery. This takes away from the enjoyment of driving your consumer rally car on the street. And when you start to add a bit more power to these vehicles, this amplifies the issue and could cause some damage to the bearings, u-joint, seals or all of the above.
It’s easy to forget about your differential since it generally just gets its job done.
Now what s the best way to fix this issue. There are quite a few methods out there.. one being adding small spacer bushings to the existing OEM setup to reduce the movement of the differential. I used this setup for many years and was quite content. But as my car has moved through many stages of it’s life, I decided to try a more hardcore setup. This brought me to the part you see below is known as the stiffest option from Subaru Technica International. There are two options, so be aware when you are shopping.
Subaru technica international has a couple of options for you to decide on.
Timeframe
As long as rust doesn’t get in your way, you should be able to easily complete this task in less than 1 hour.
Tools
Parts
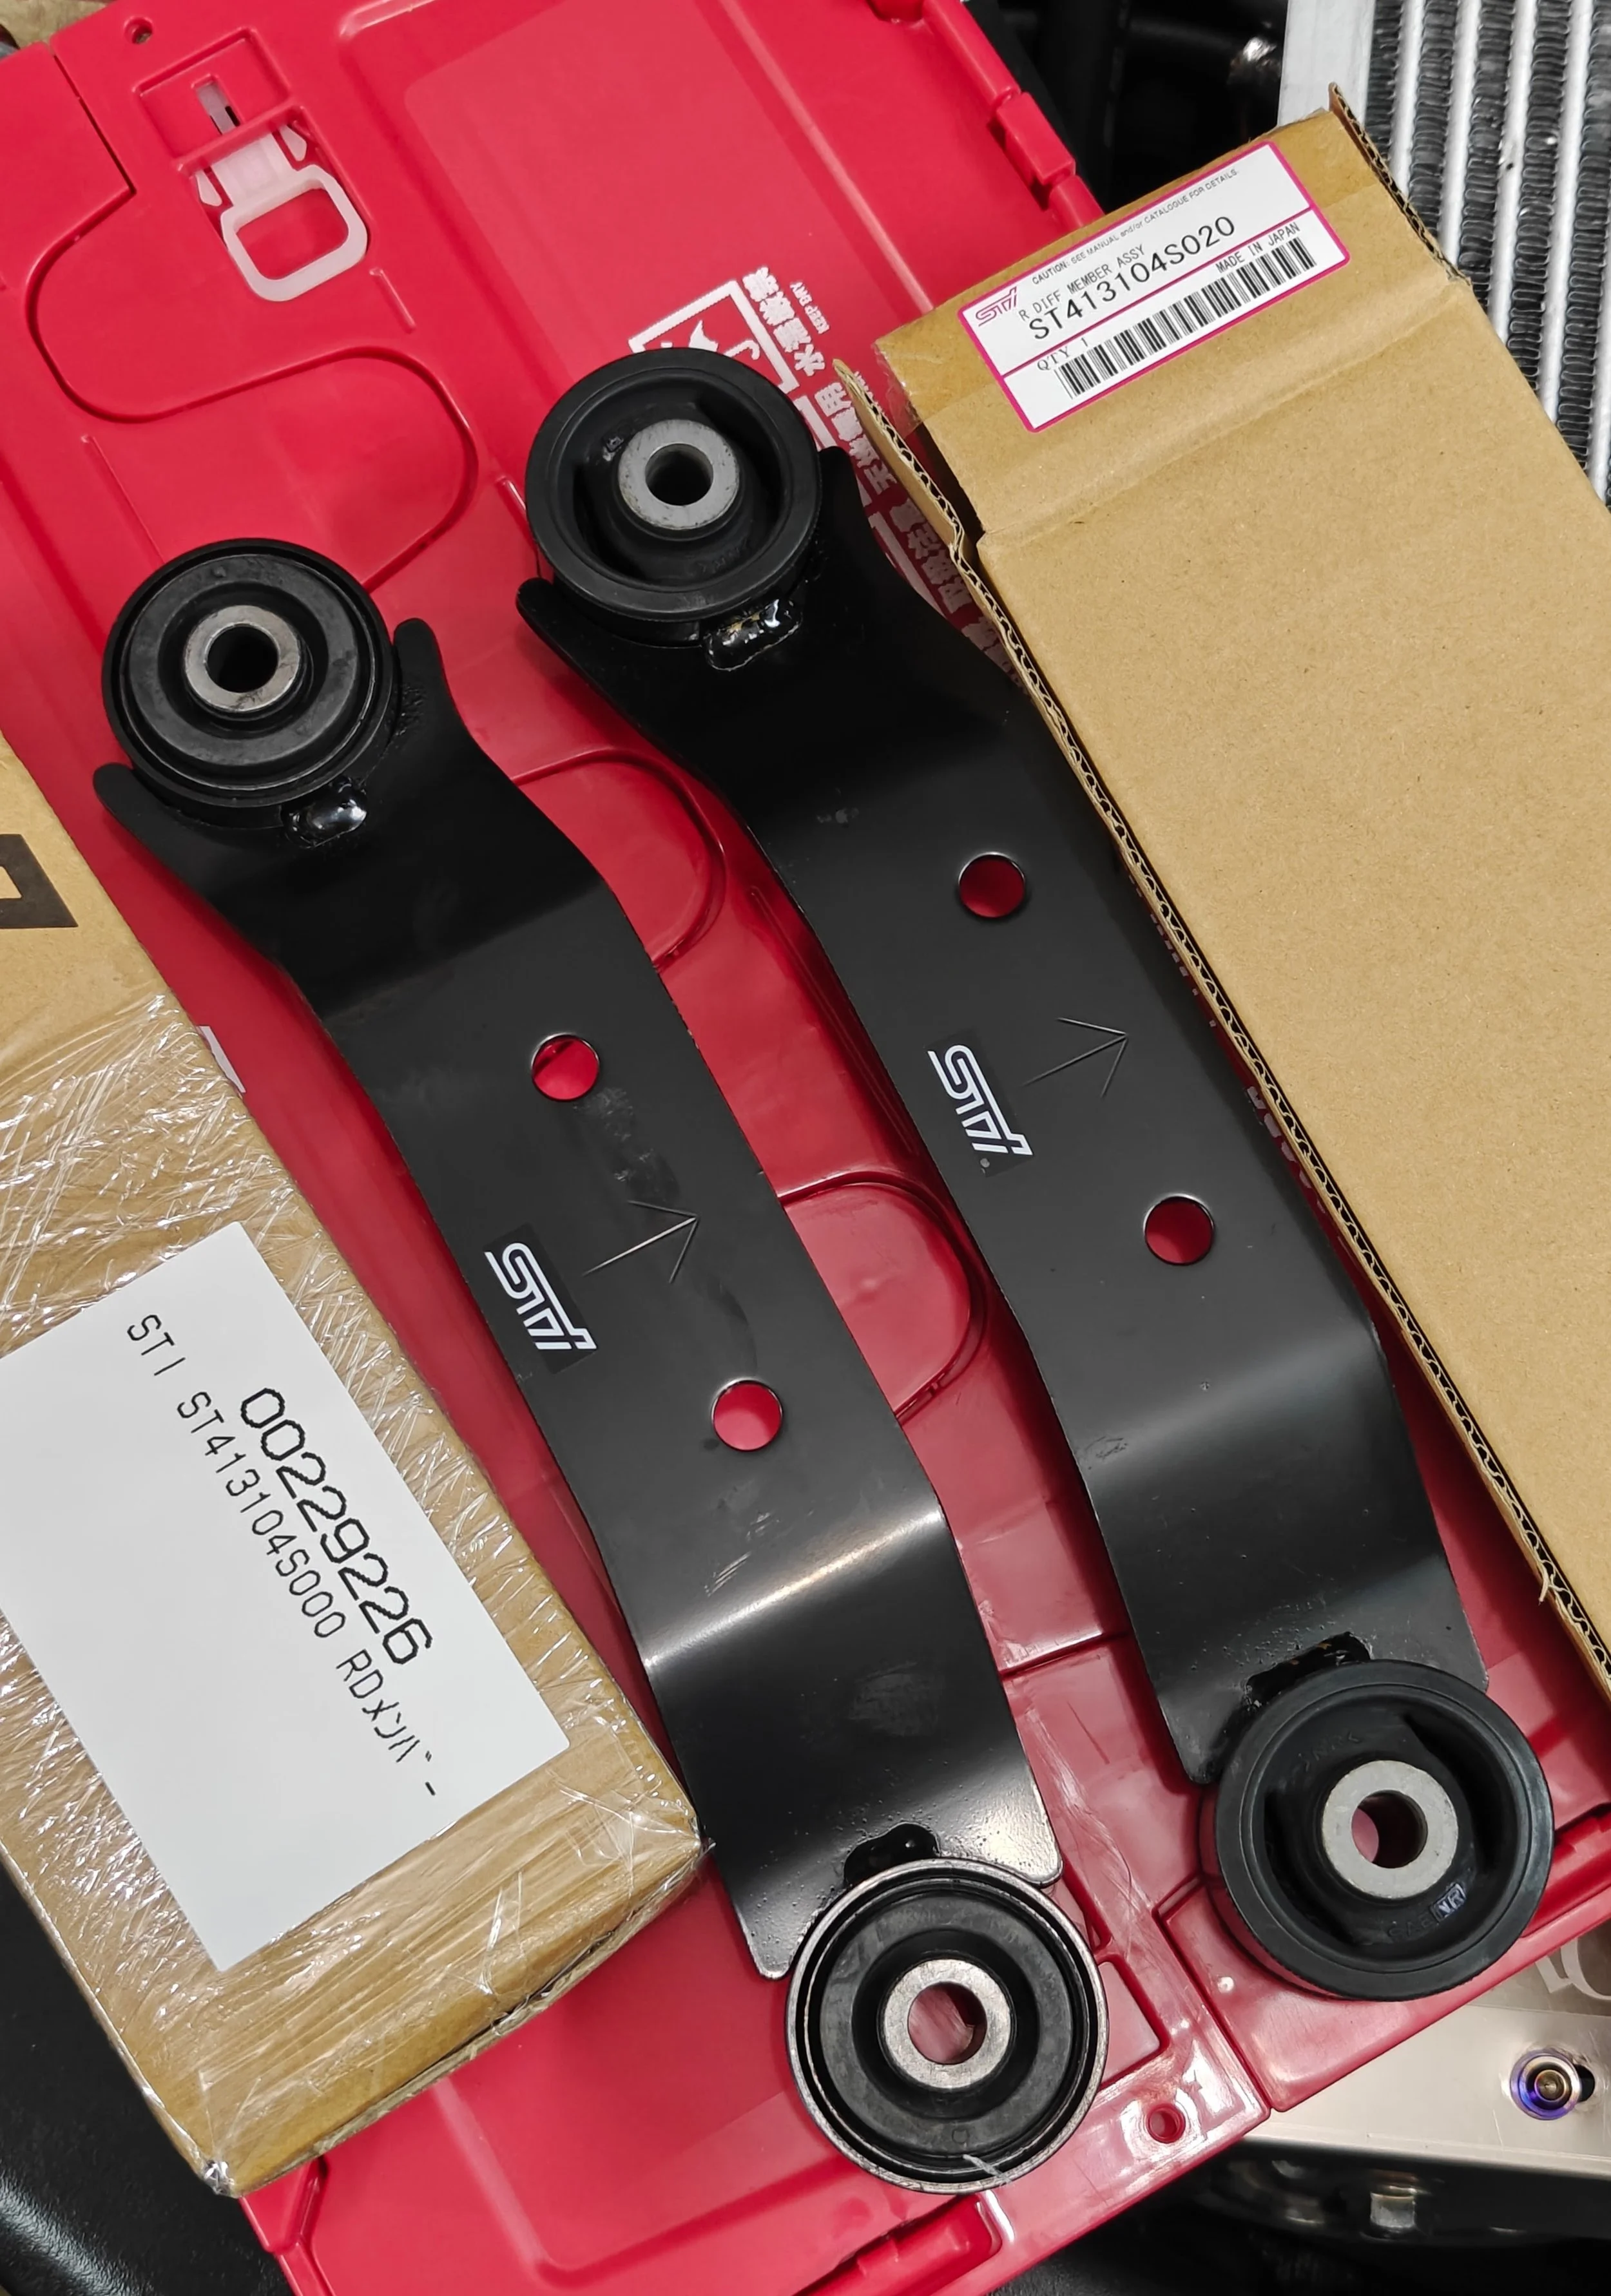
I have found that sometimes these are labeled wrongly online. From all of my research the solid bushings will end in 000 (which is what I used in this DIY). The 020 is shown below is has a few reliefs which is probably better for those looking for a little less noise, vibration or harshness.
Find these on eBay with the links below

Left size is the stiffer solid bushing ending in 000. On the right is the more street friendly 020.
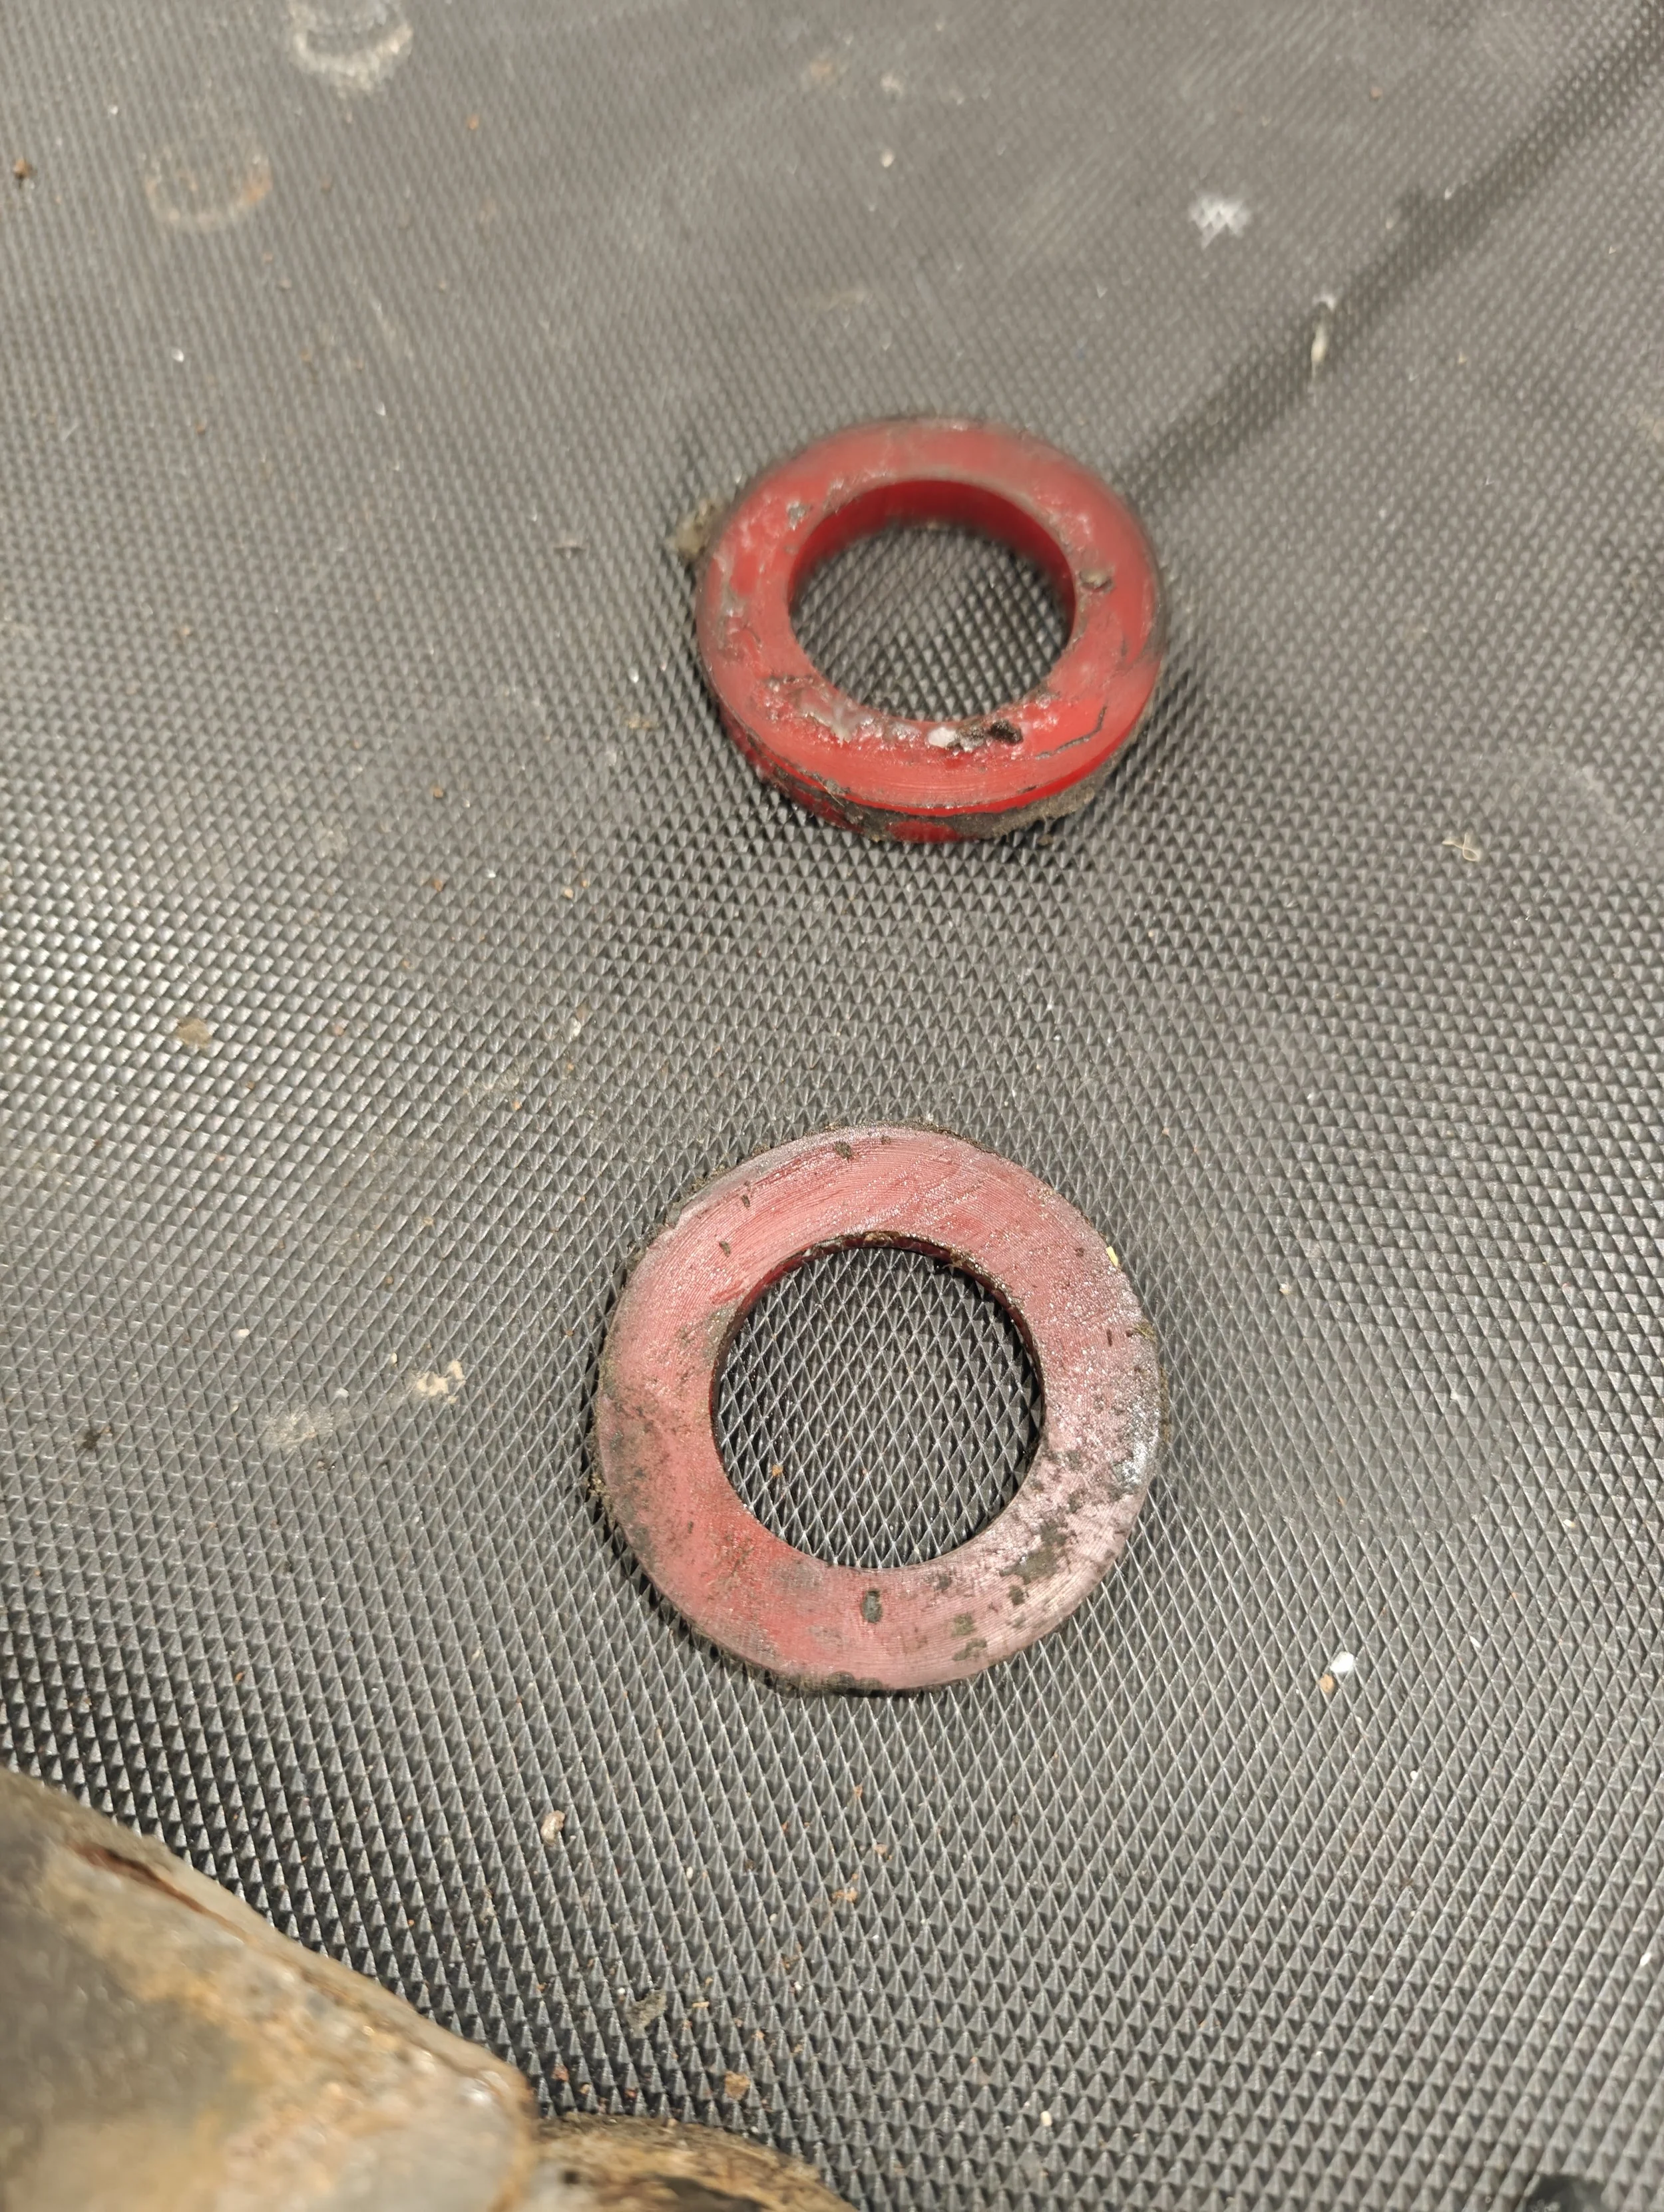
These two bushings are part of the Perrin lock down kit. If you don’t want to remove the OEM mount you can add these to remove the differentials movement.
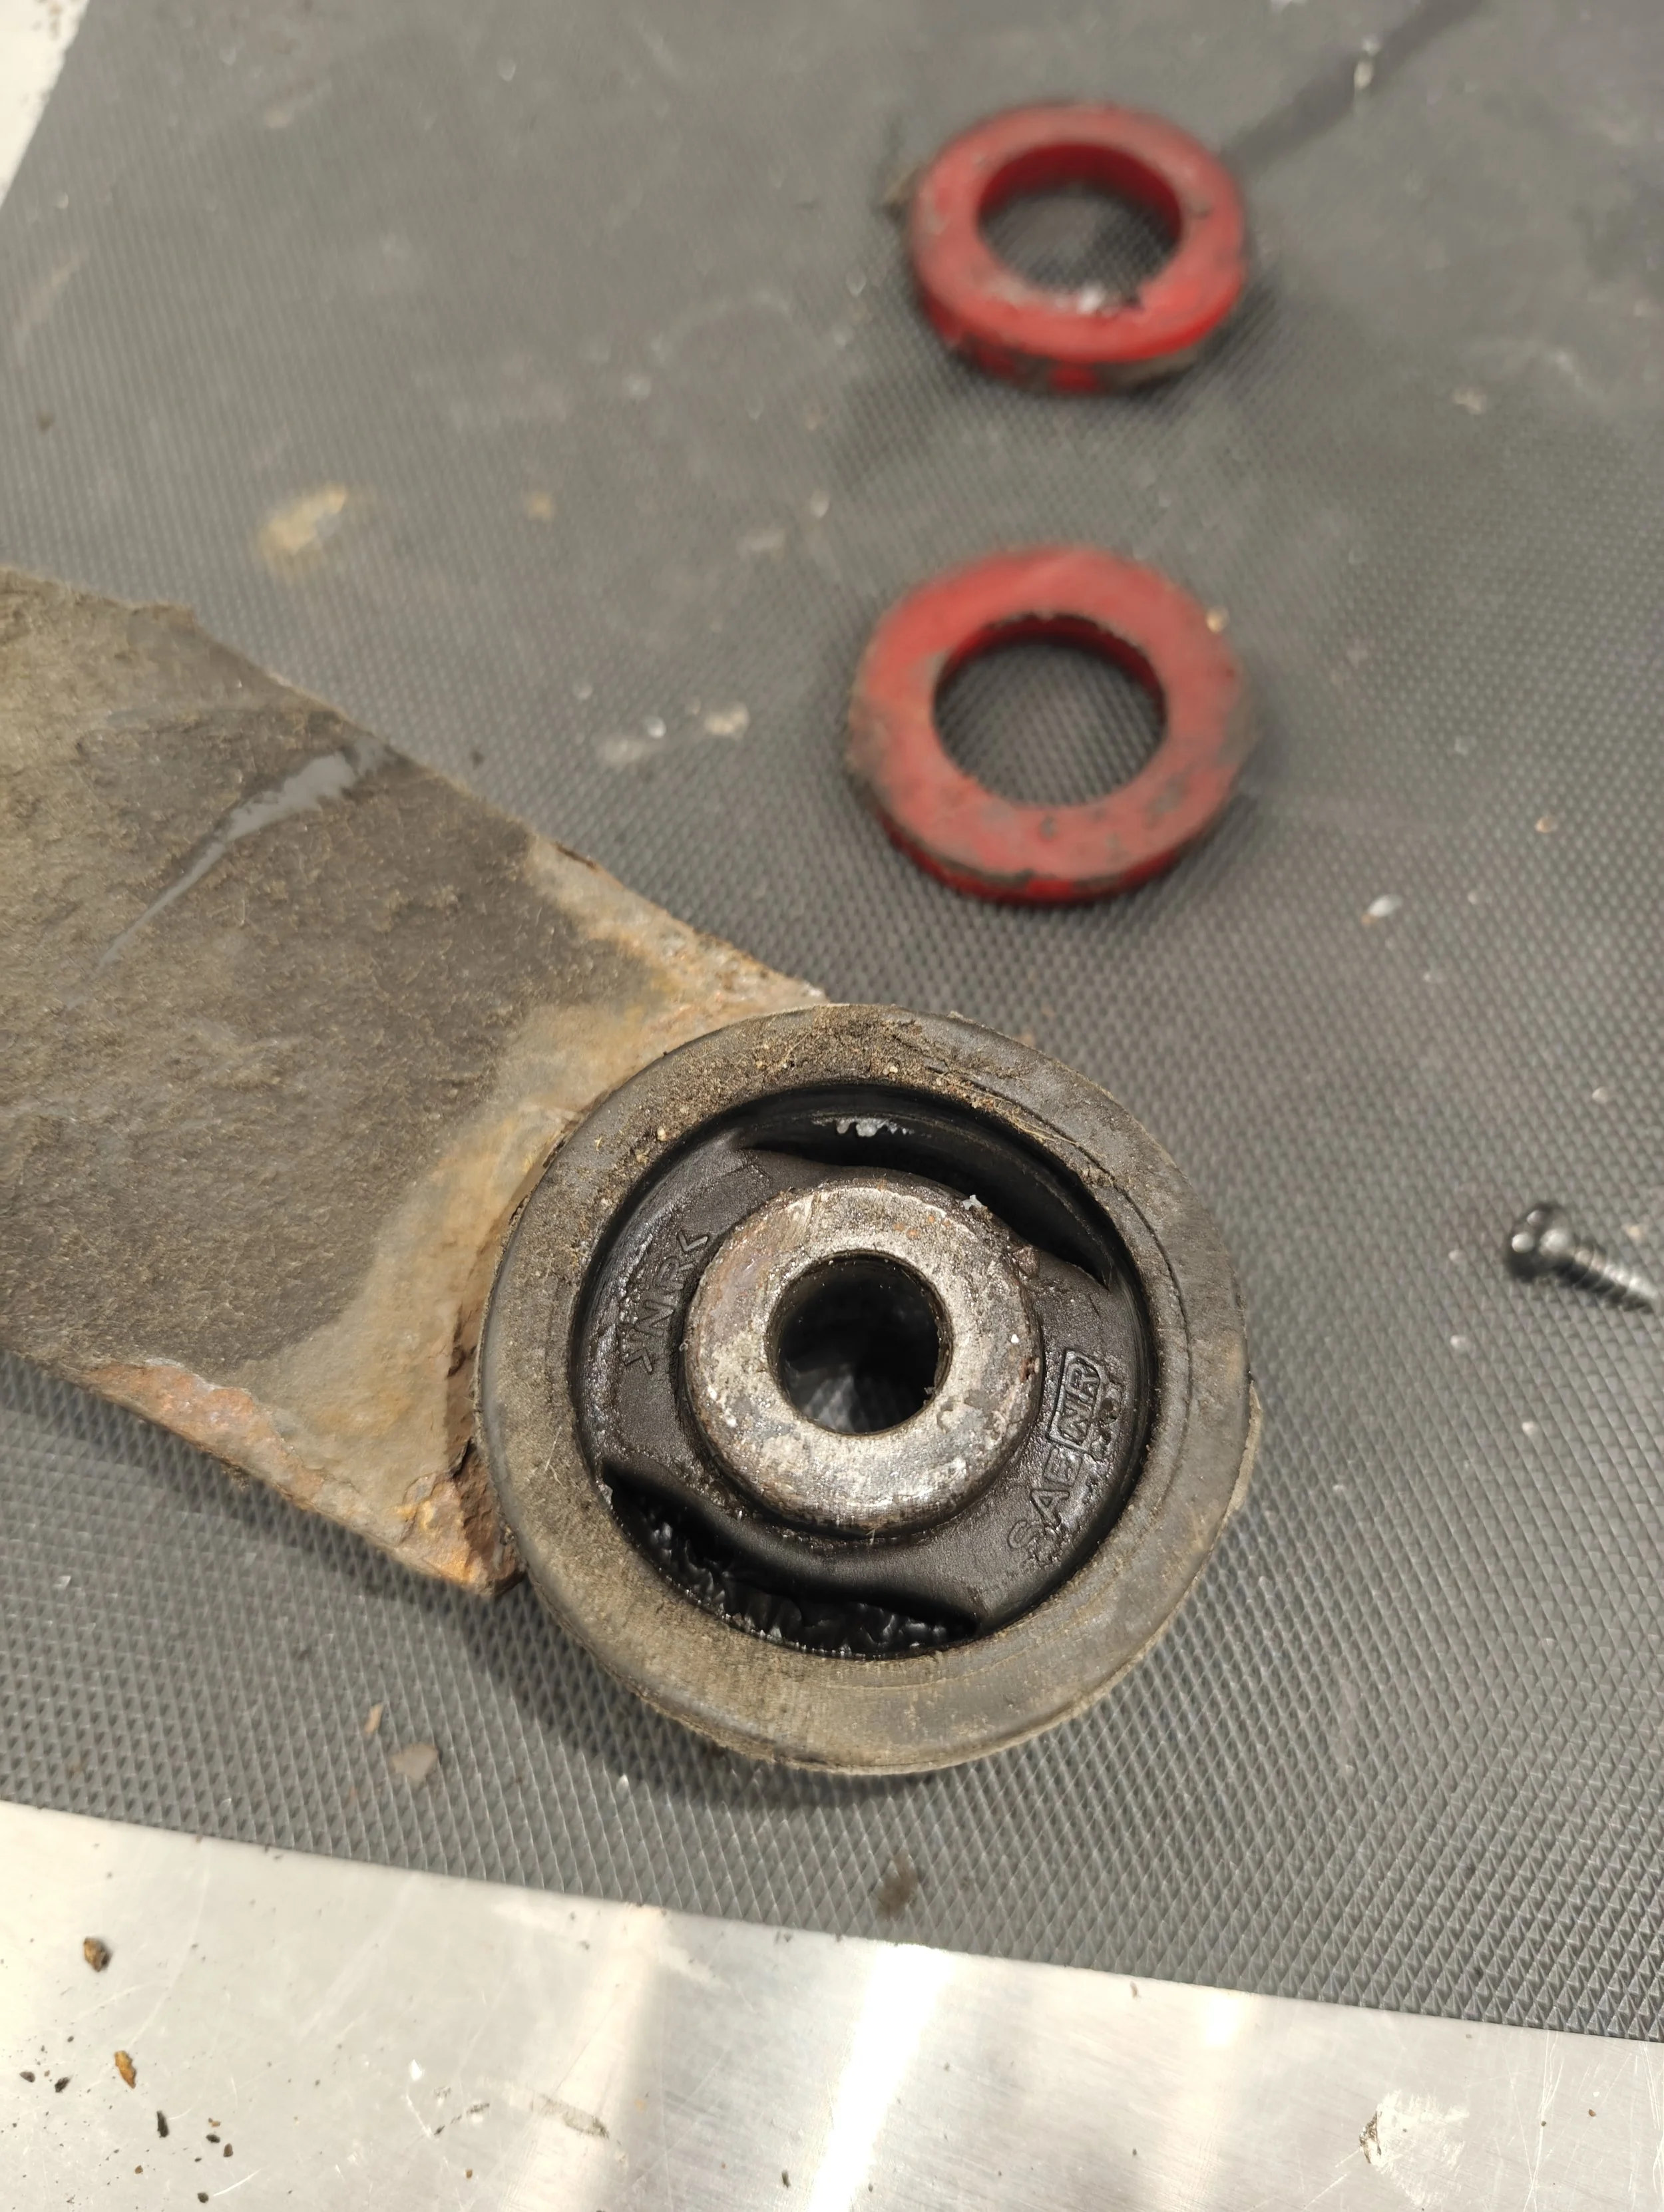
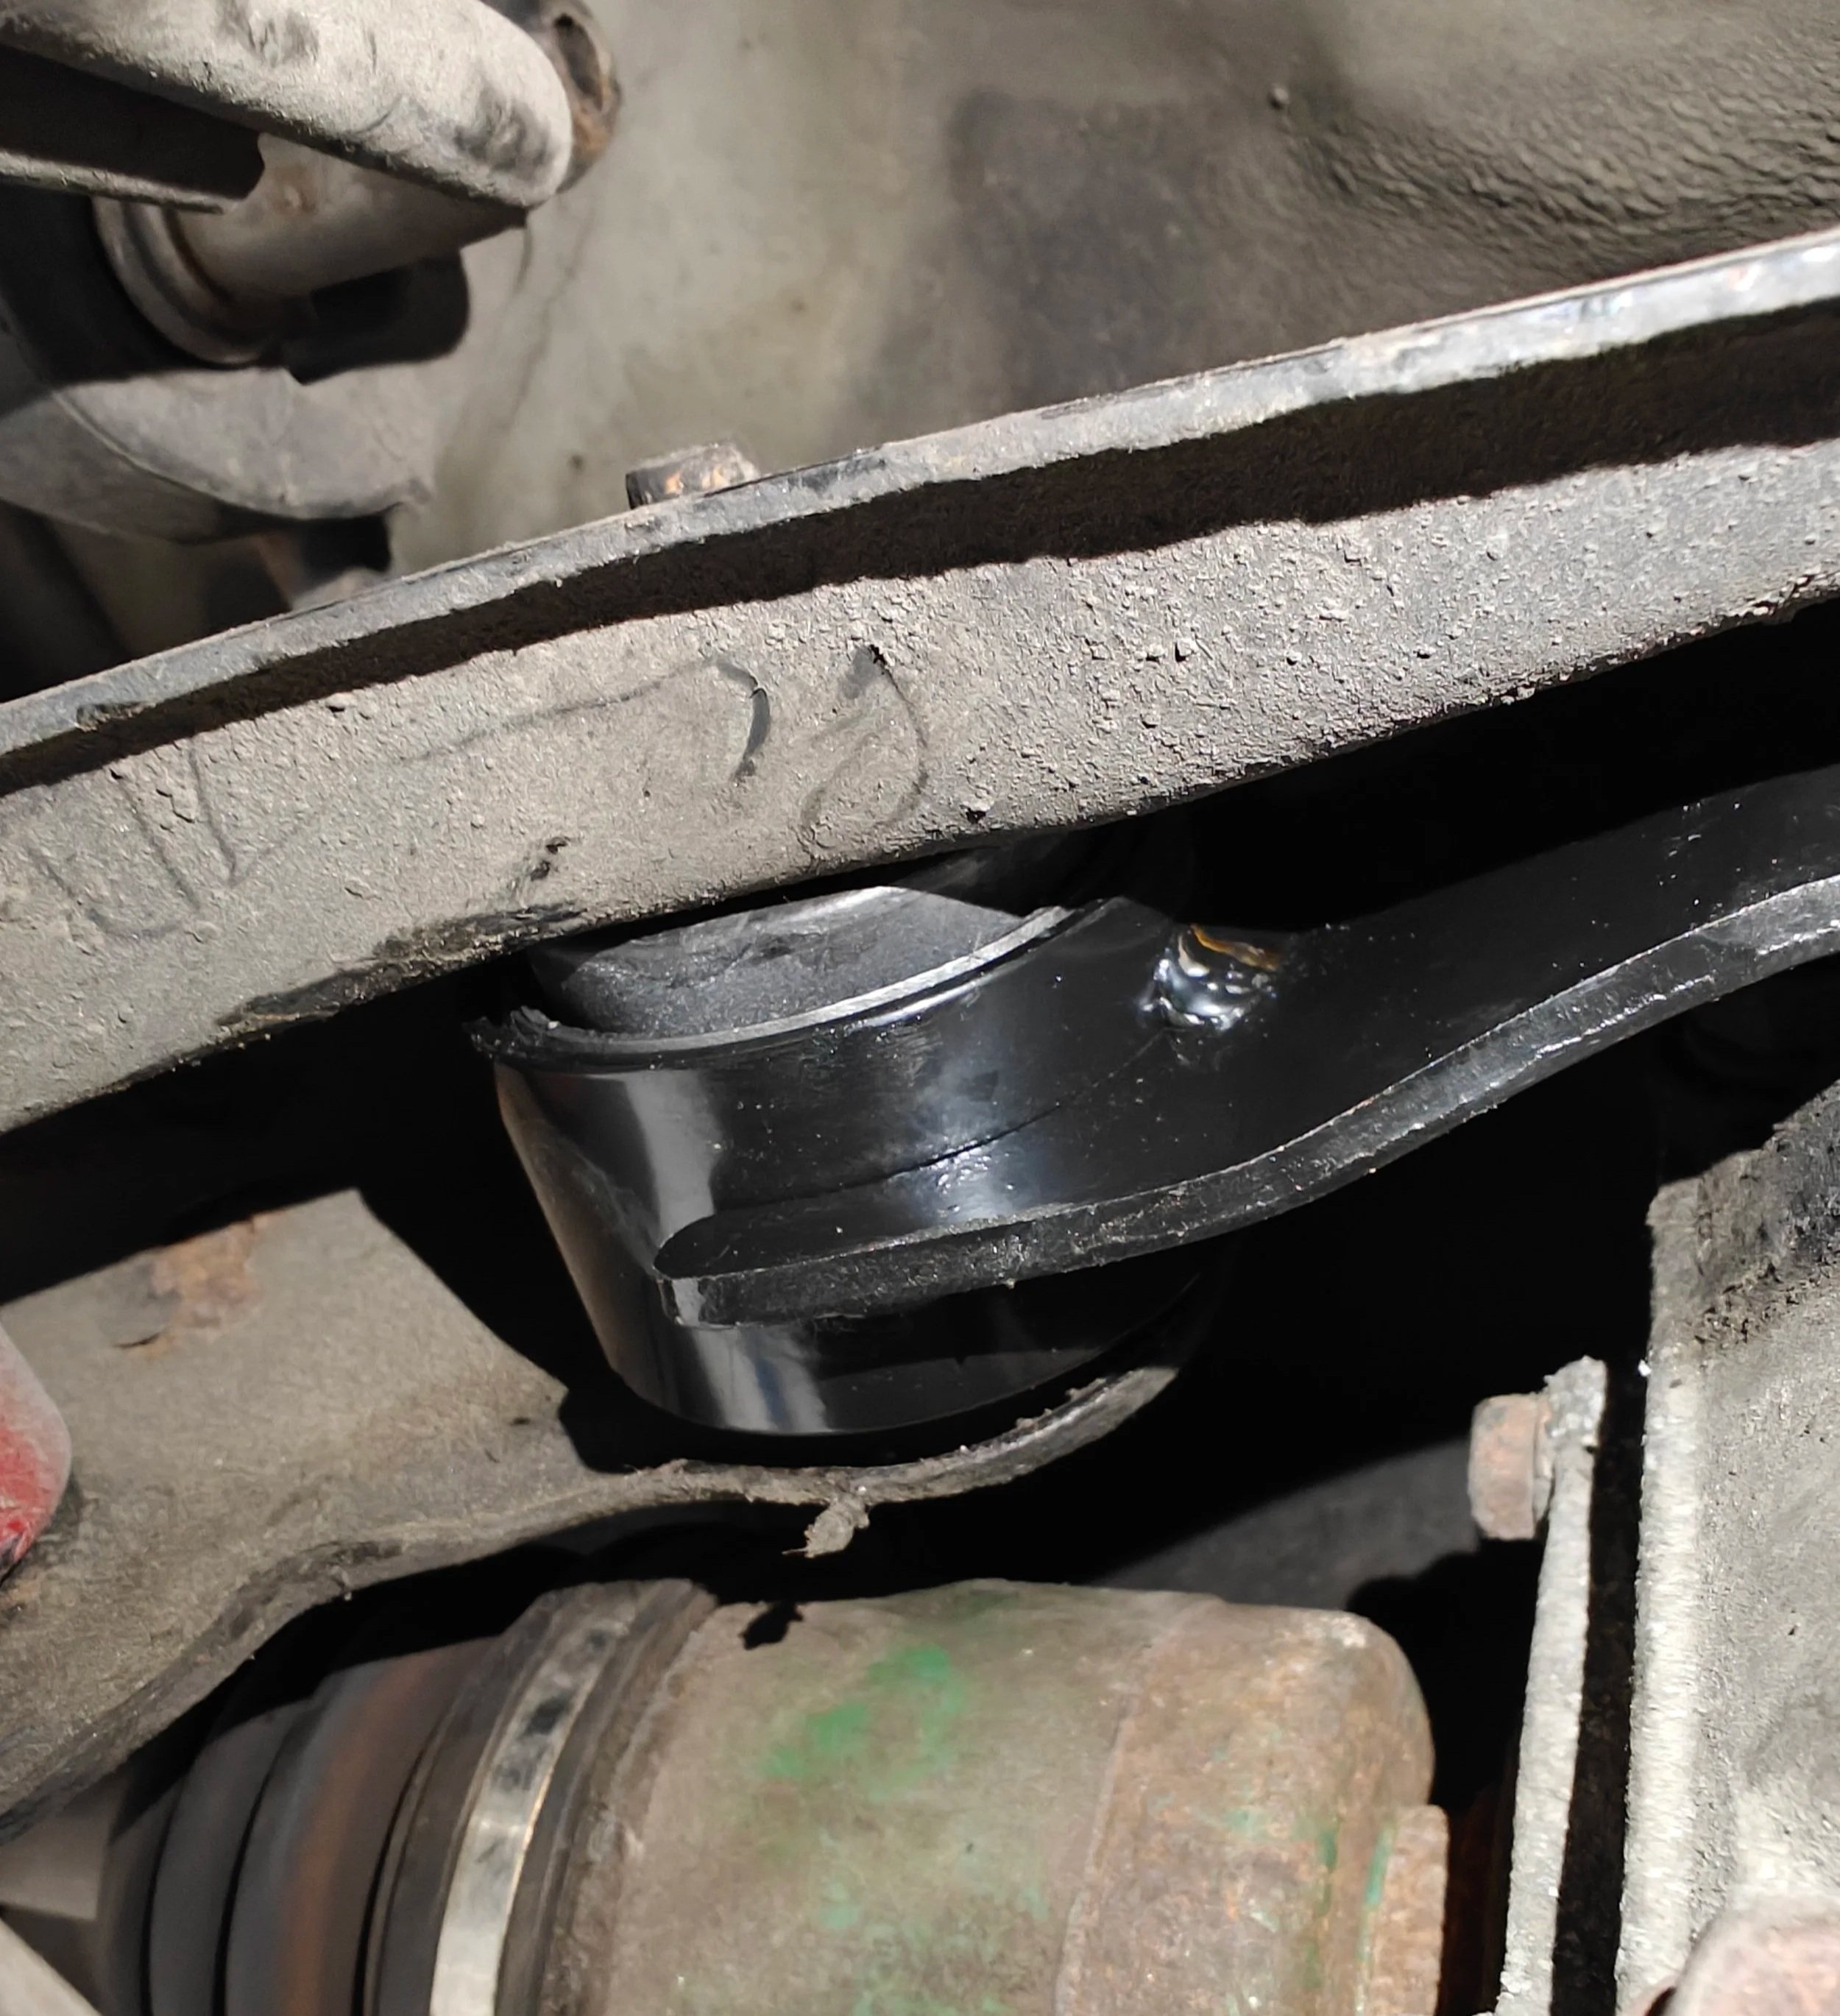
This image shows where the bushing could use assistance.
How to
Just like many projects we need to find a nice flat surface to park the car. If your car is lifted, you might be able to pull this off without jacking up the vehicle. But for most of us you will need to properly secure the vehicle on jack stands to get the clearance necessary to perform this task. I like to leave a wheel under the car to protect myself in case the vehicle falls.
This is our first step. If you need help lifting your vehicle, take a look at your owner’s manual. I have also put together a write up on how to put your car on jack stands. https://www.blingstrom.com/diy-project/2020/2/13/putting-your-subaru-up-on-jack-stands-getting-your-subaru-in-the-air-without-going-to-a-rally-x-event
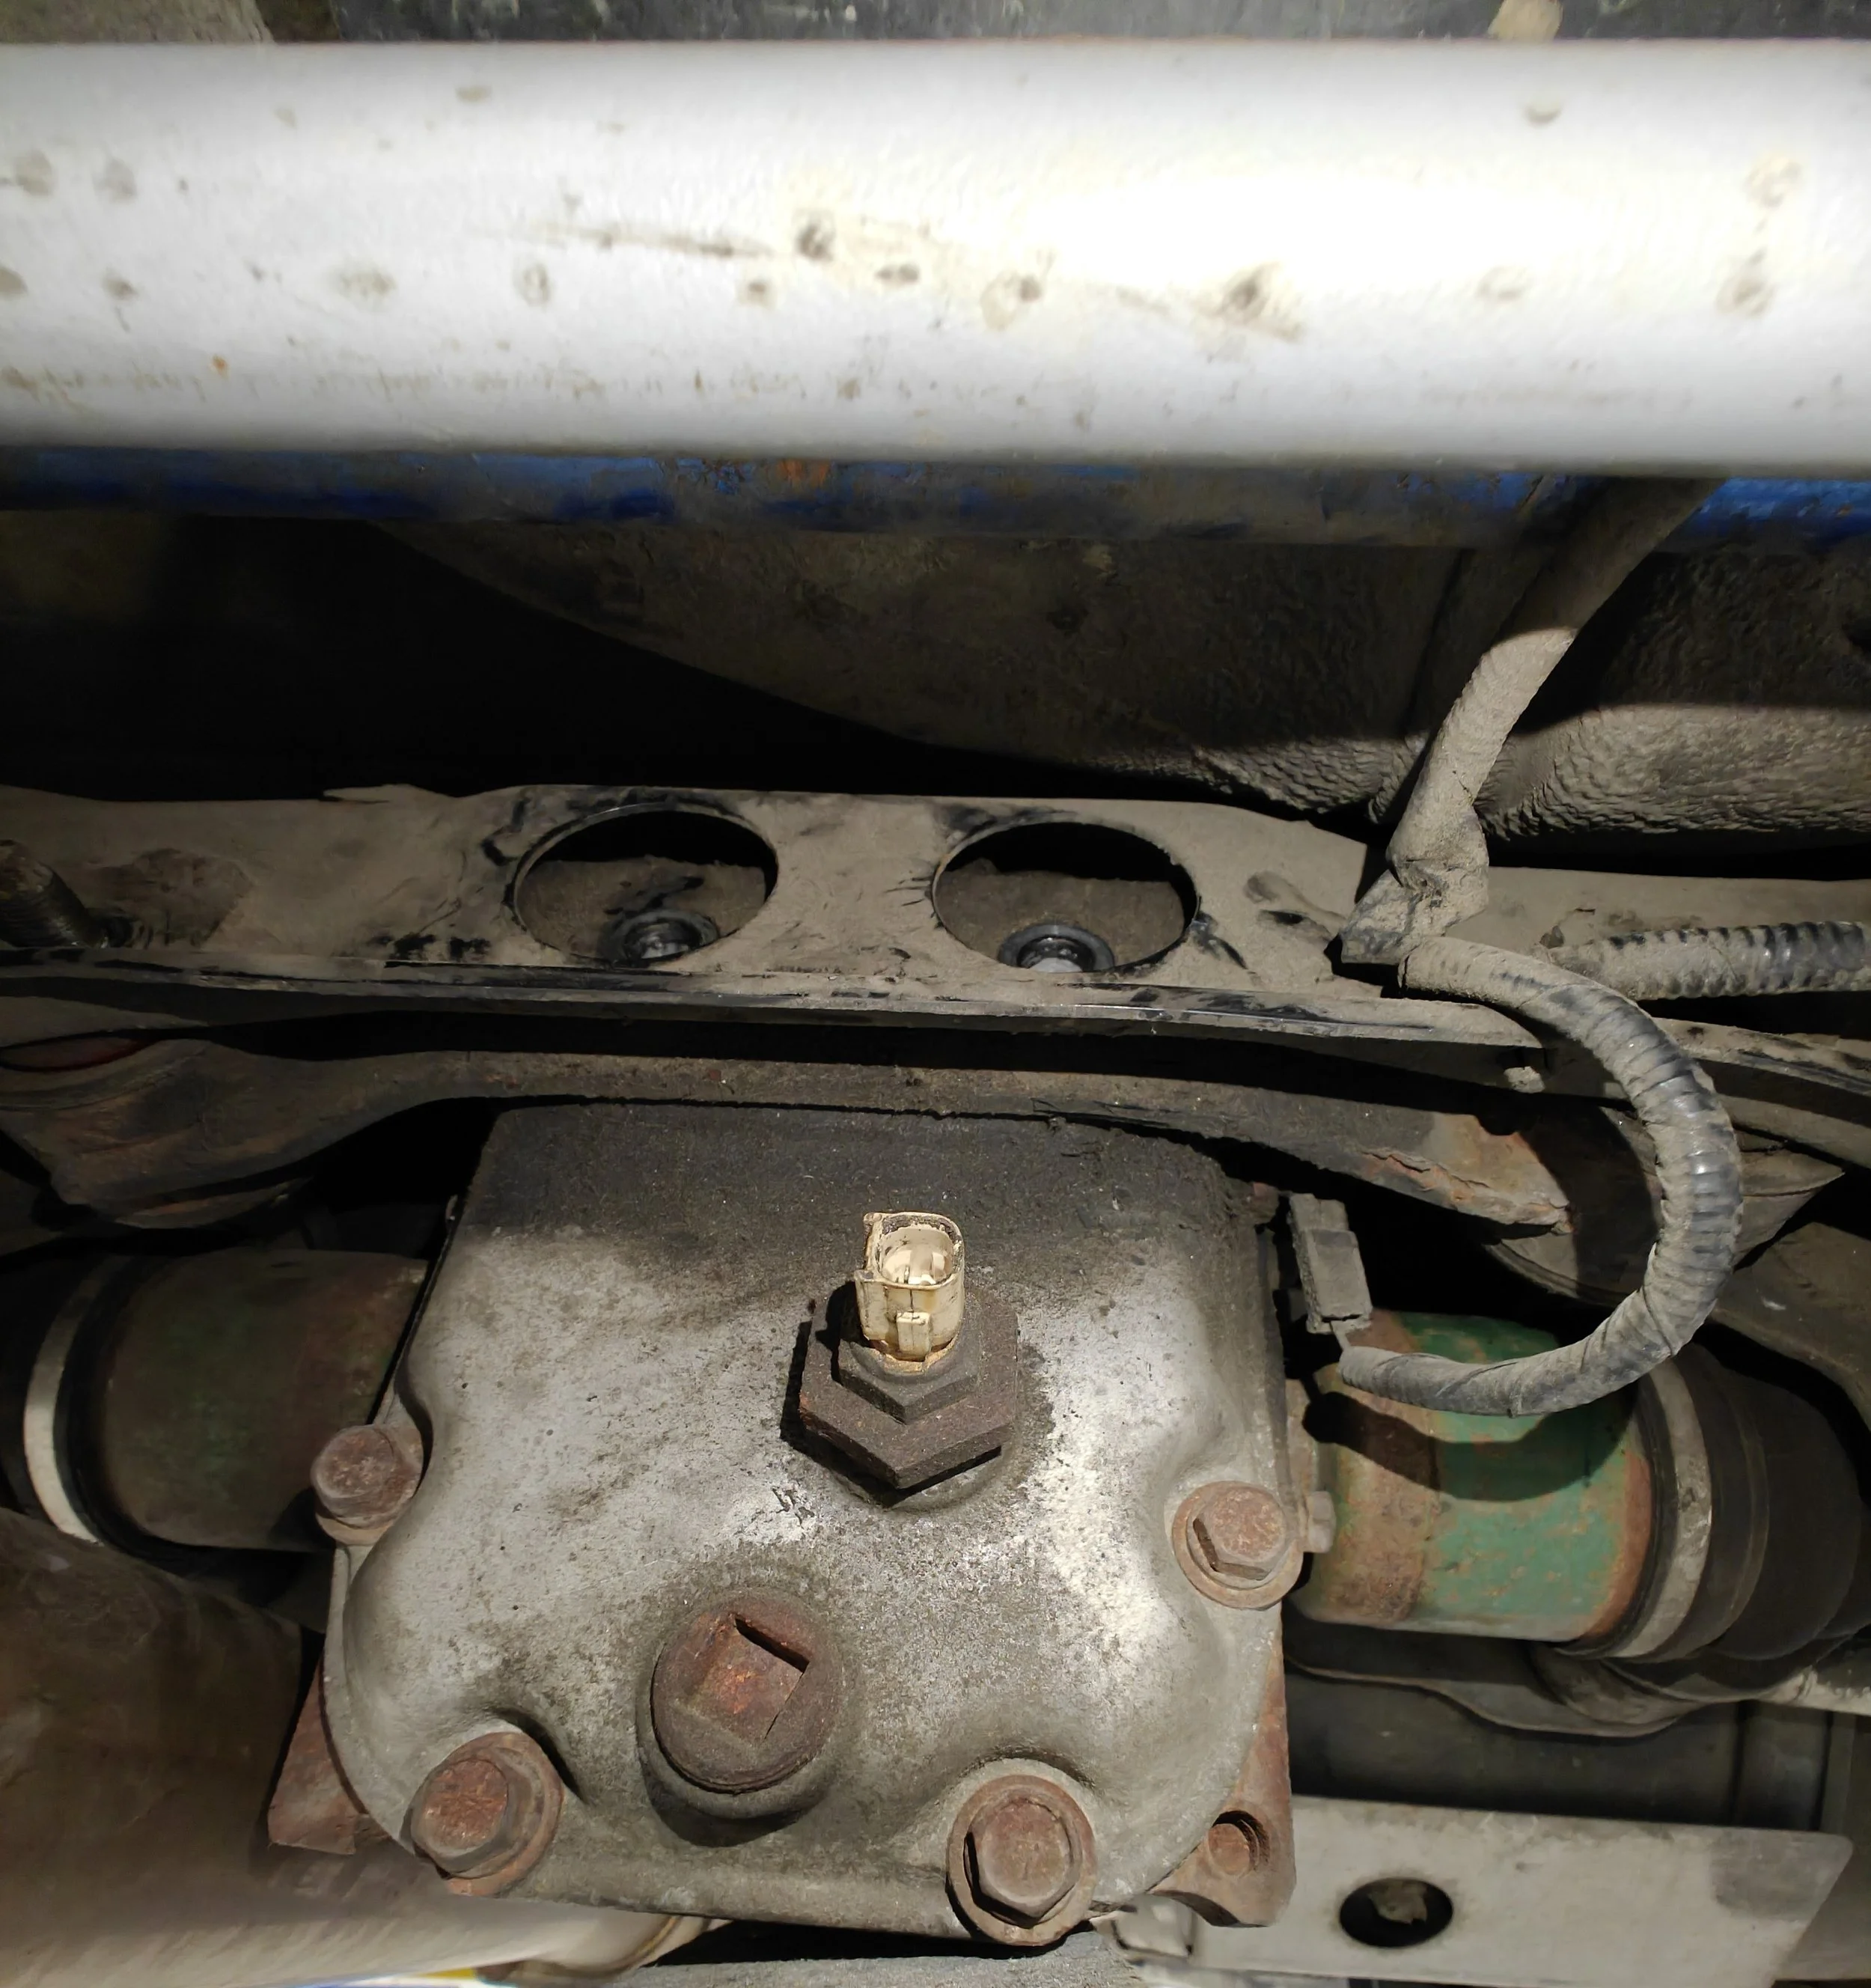
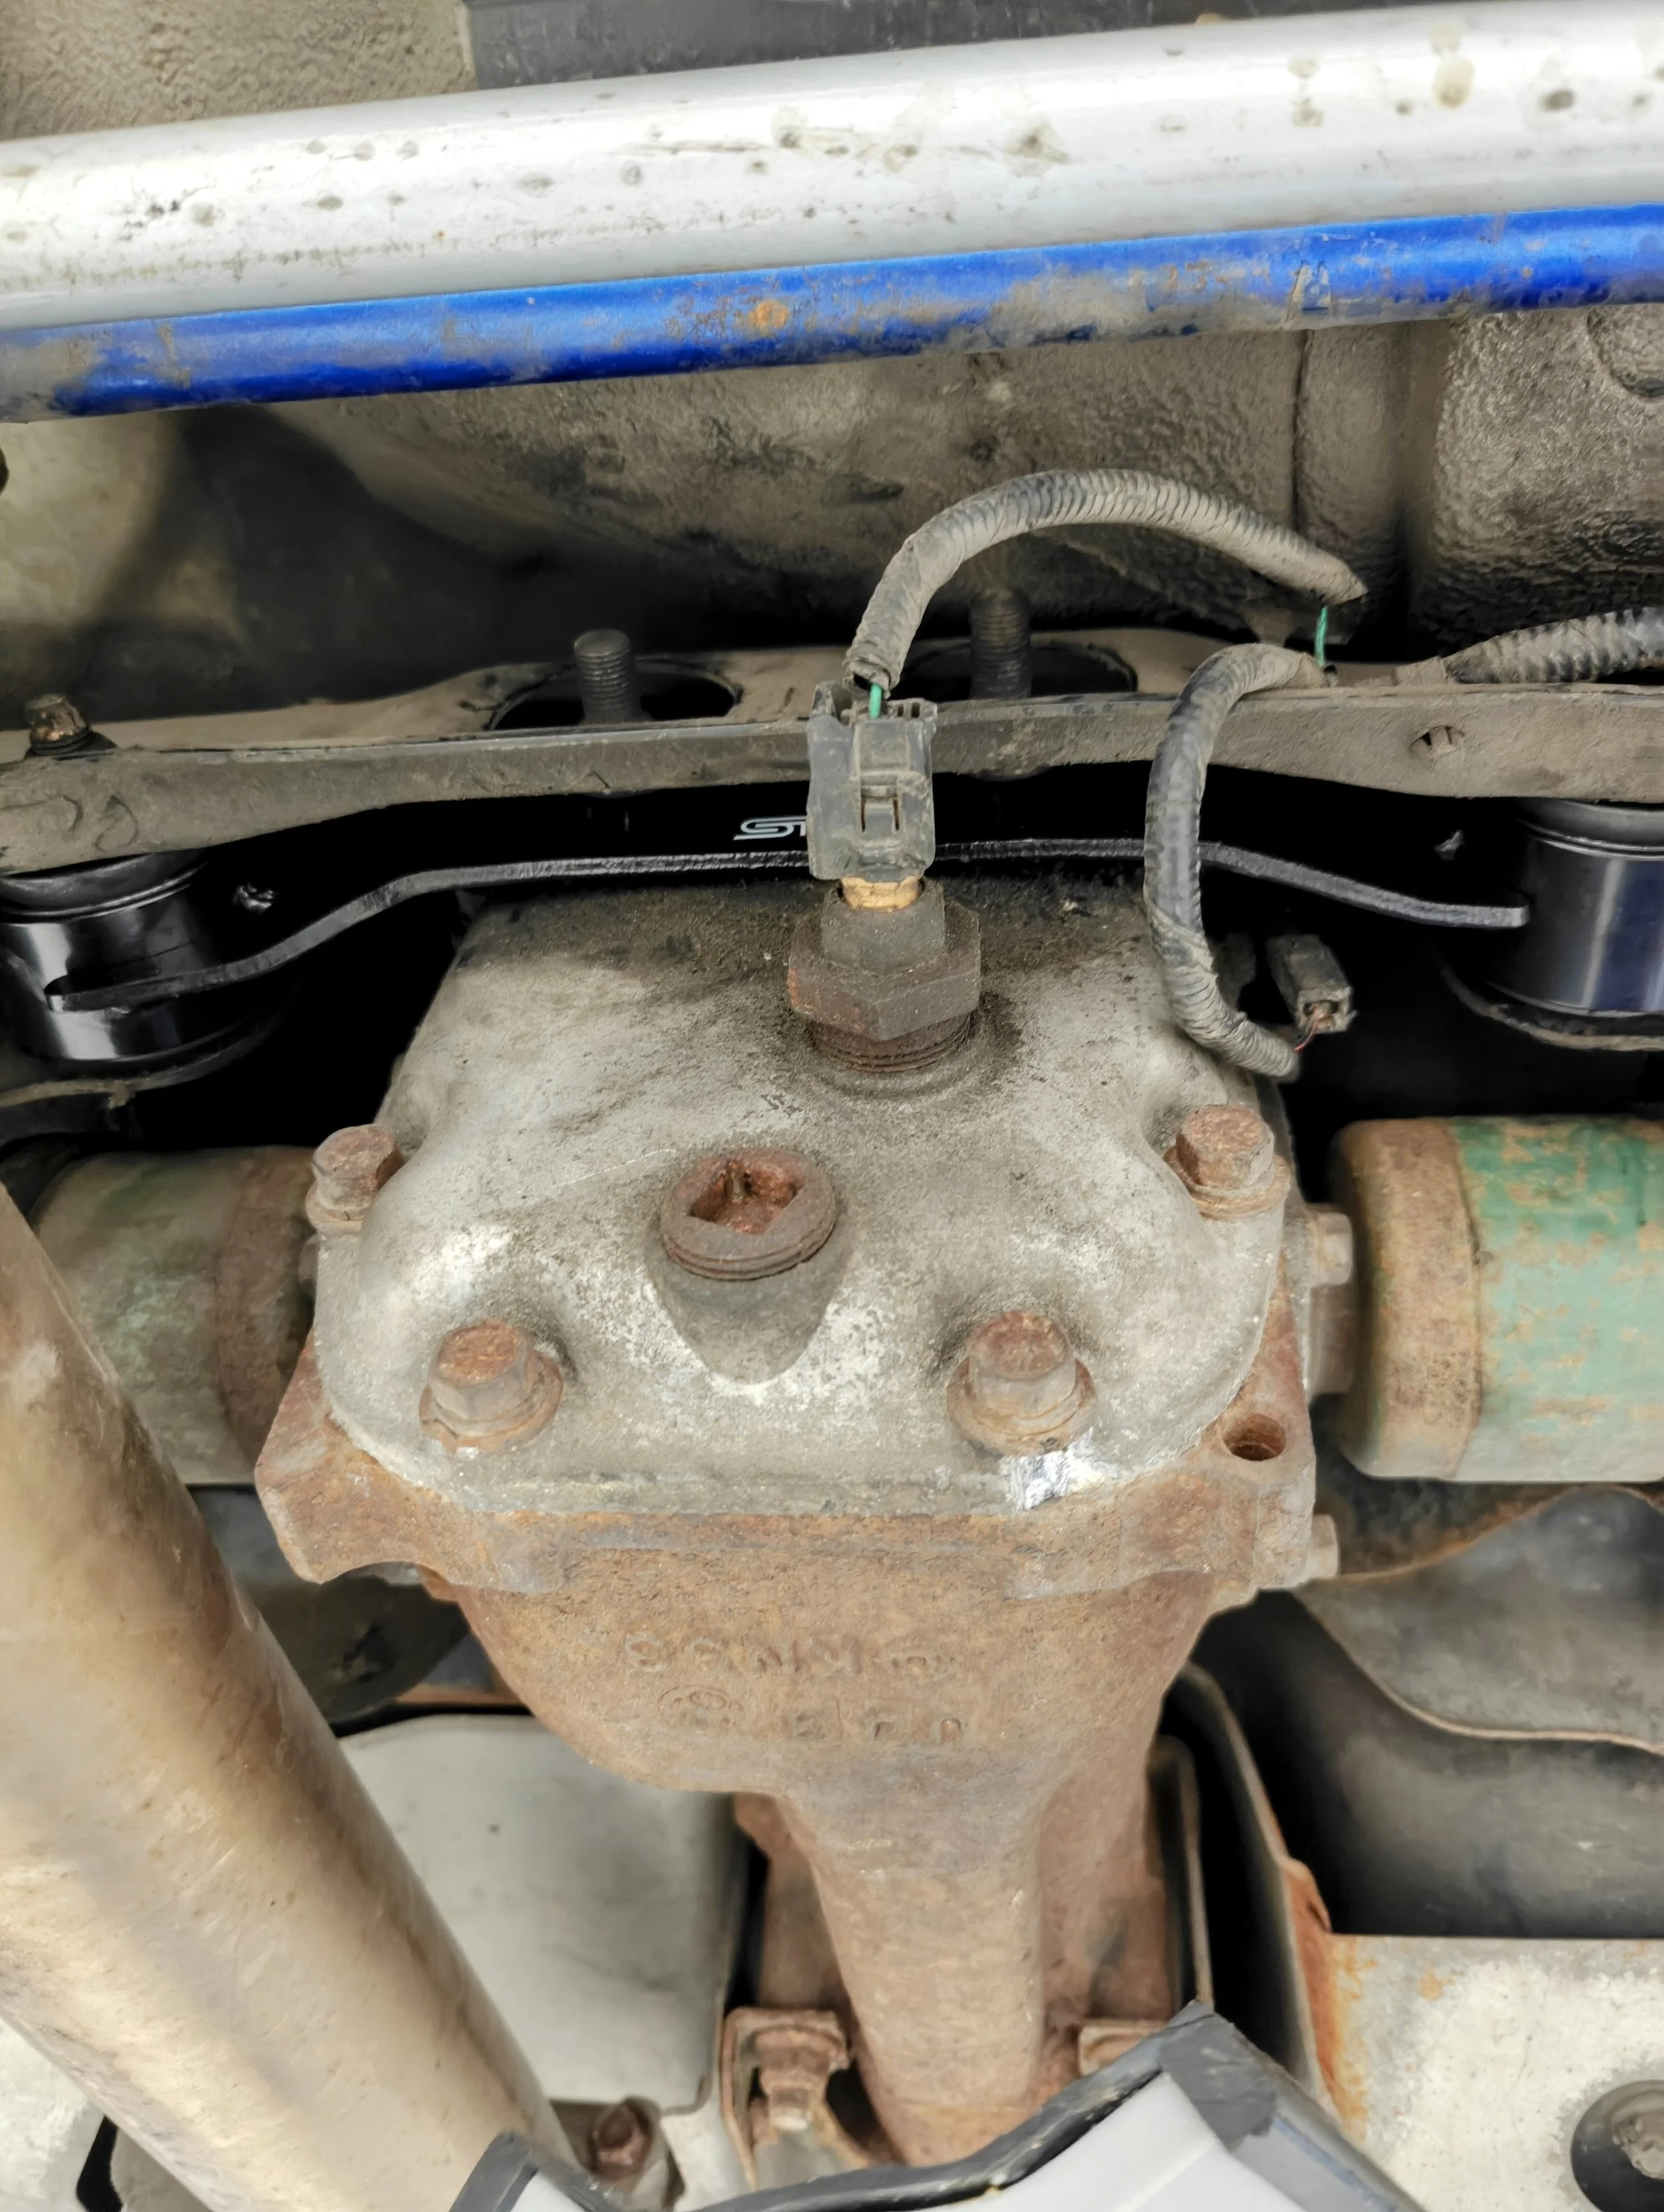
The next step will be to slide under the vehicle and support the differential with a jack. You should be able to easily locate the ground connection and temperature sensor wiring, you can disconnect those now and slide them up and out of the way. I found this out the hard way, so do it early and you won’t end up with the bracket half removed and now you need to change gears to quickly unplug the wires that are now in your way.
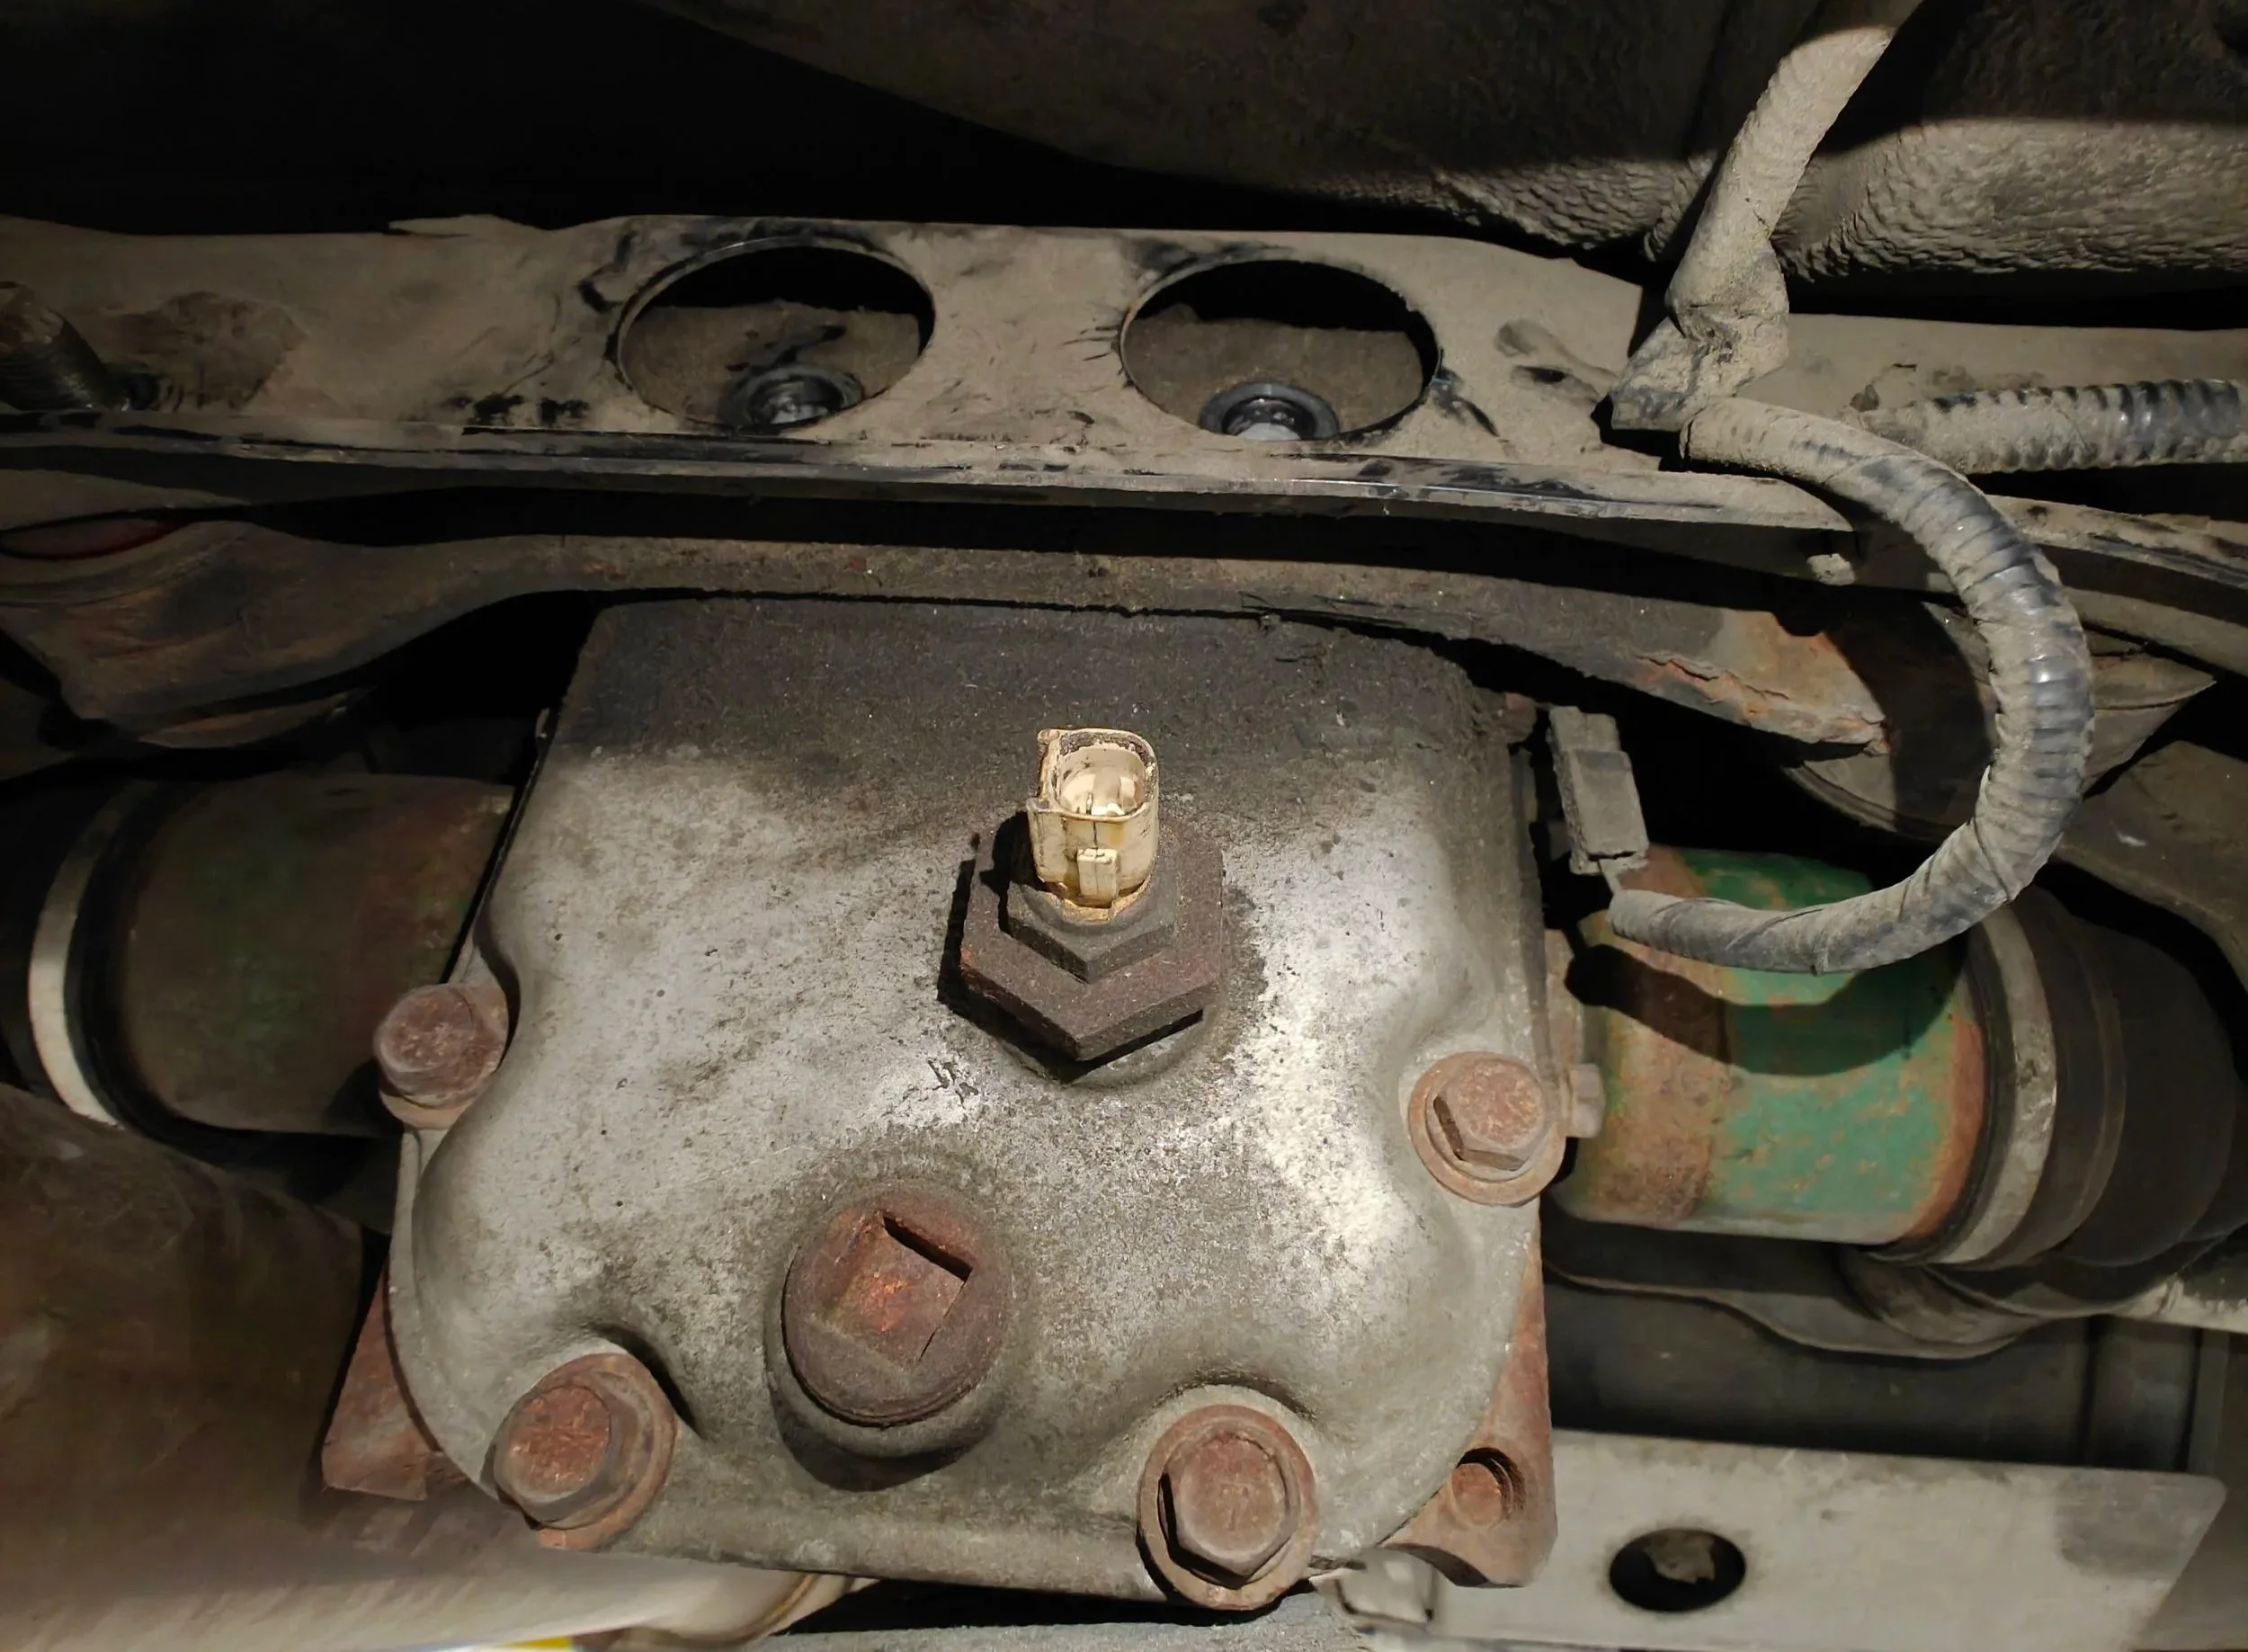
temperature sensor removed, next up the ground connector.
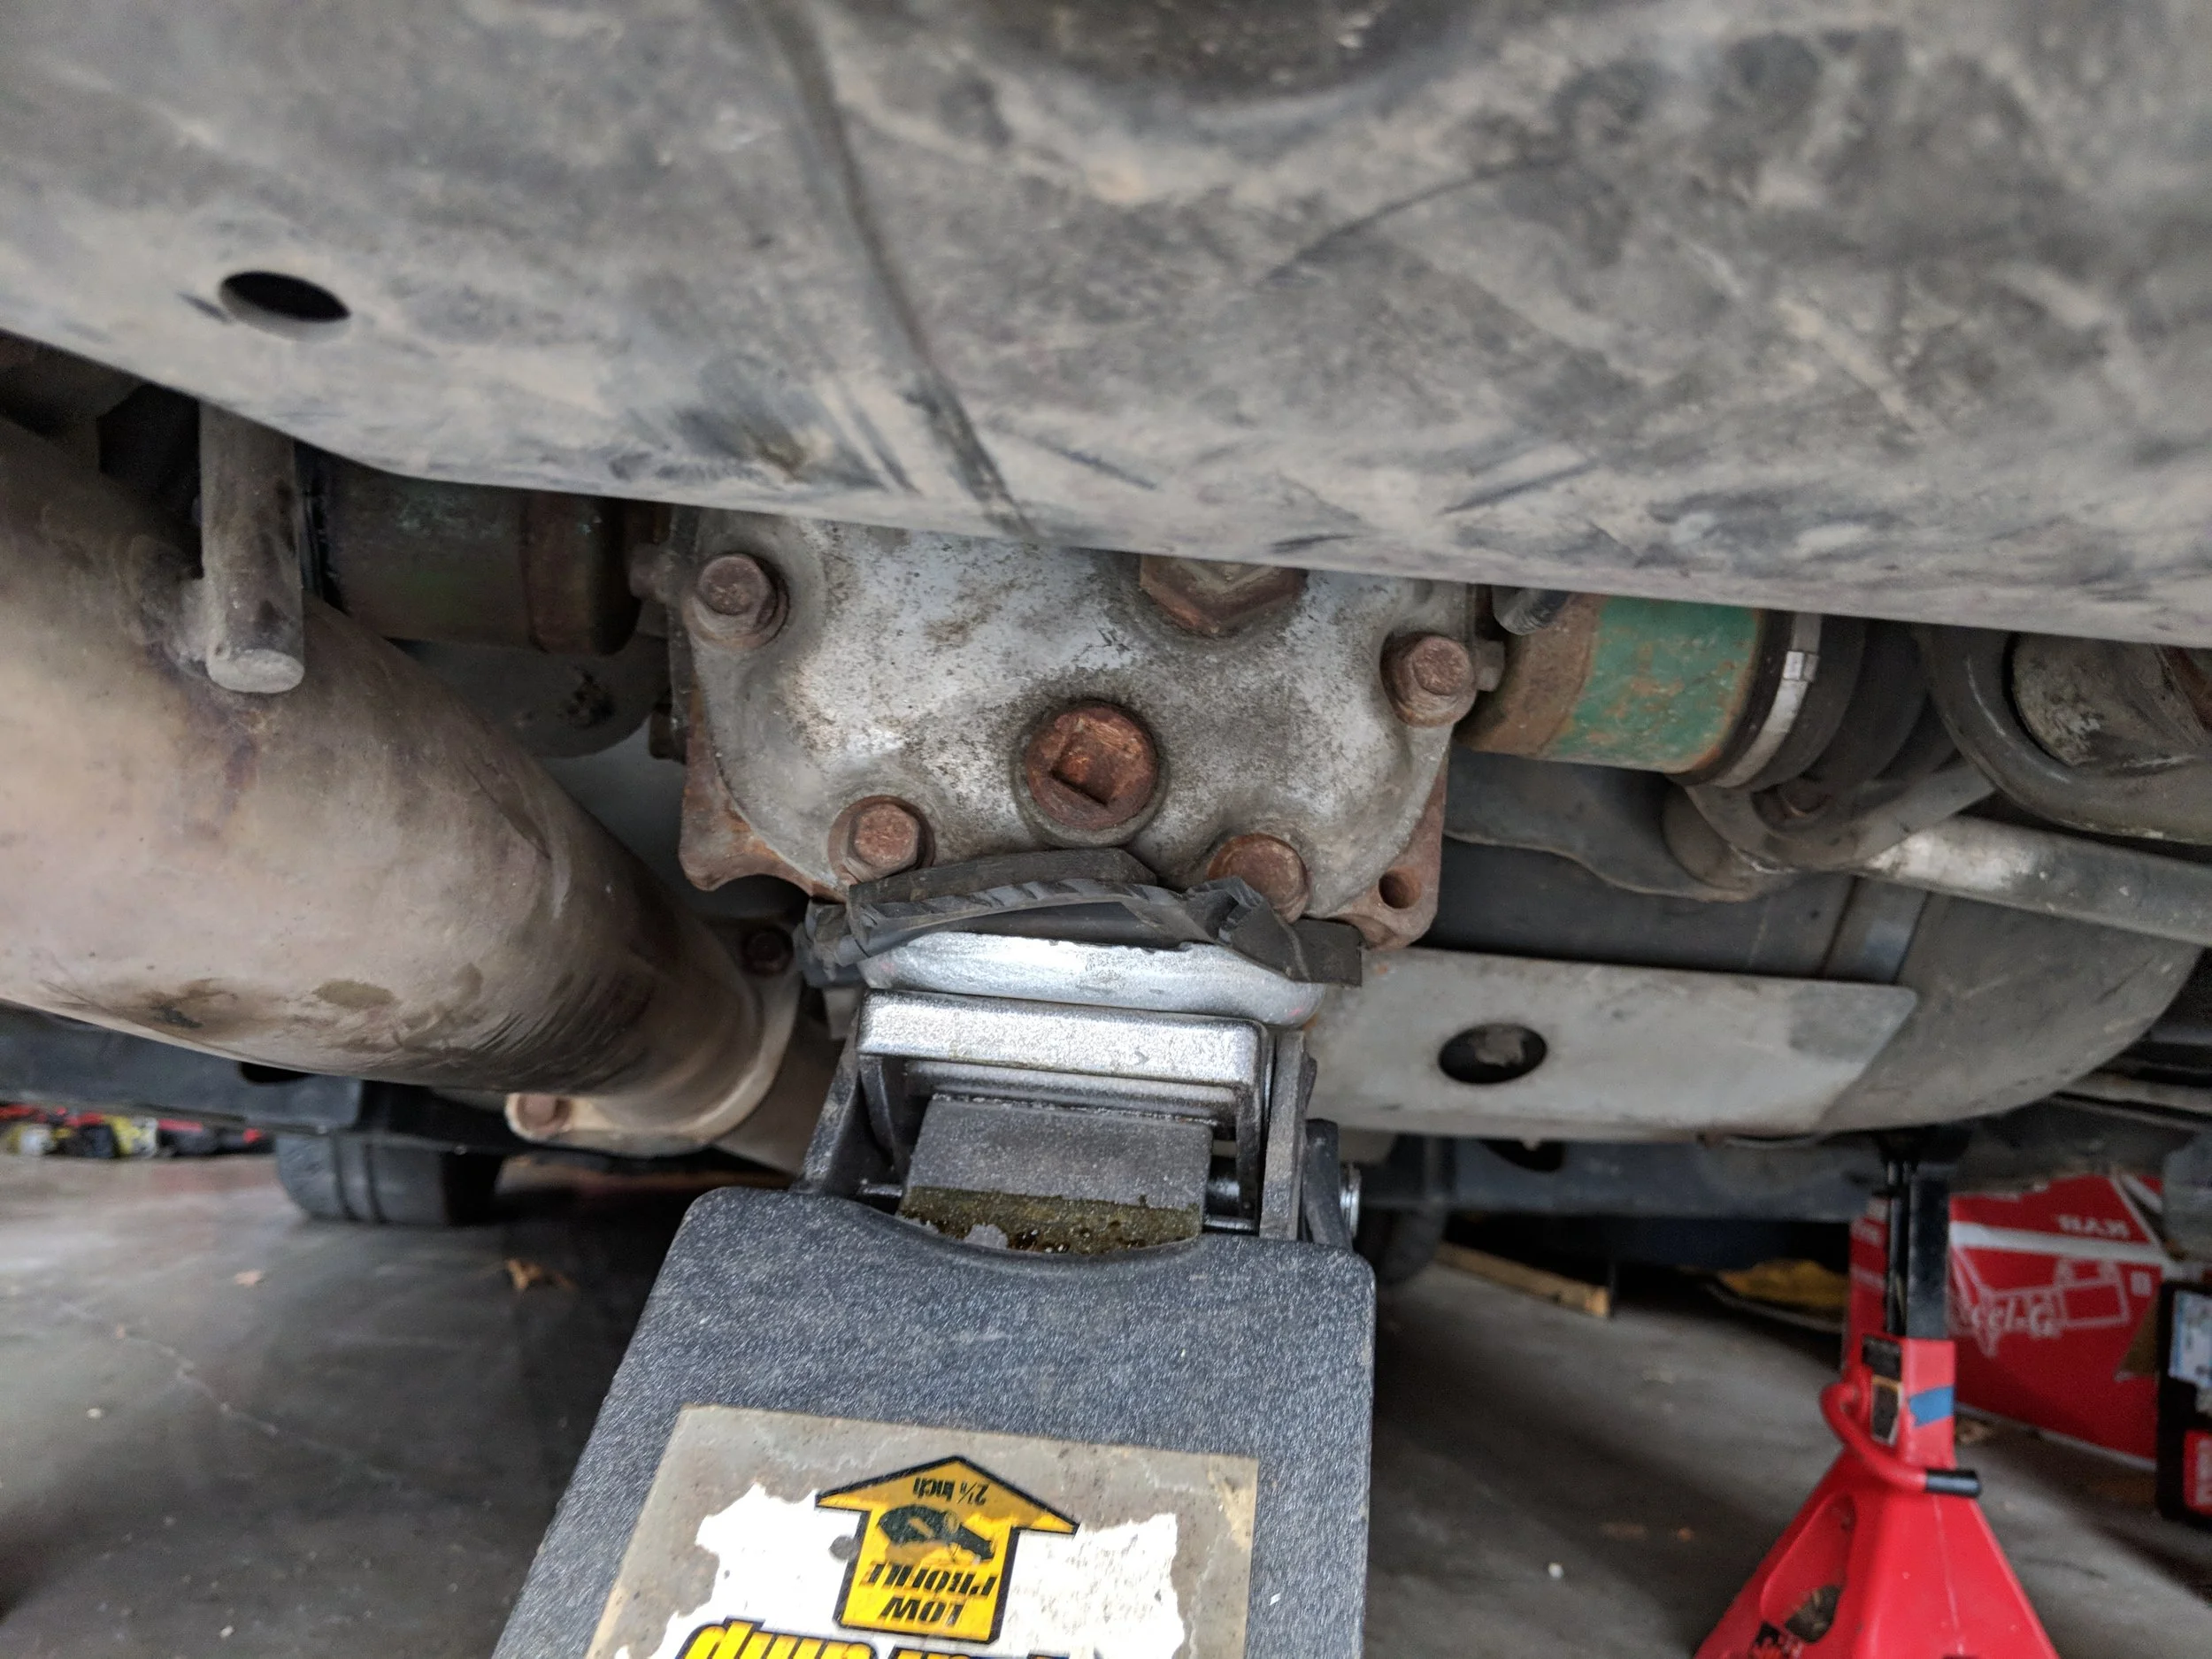
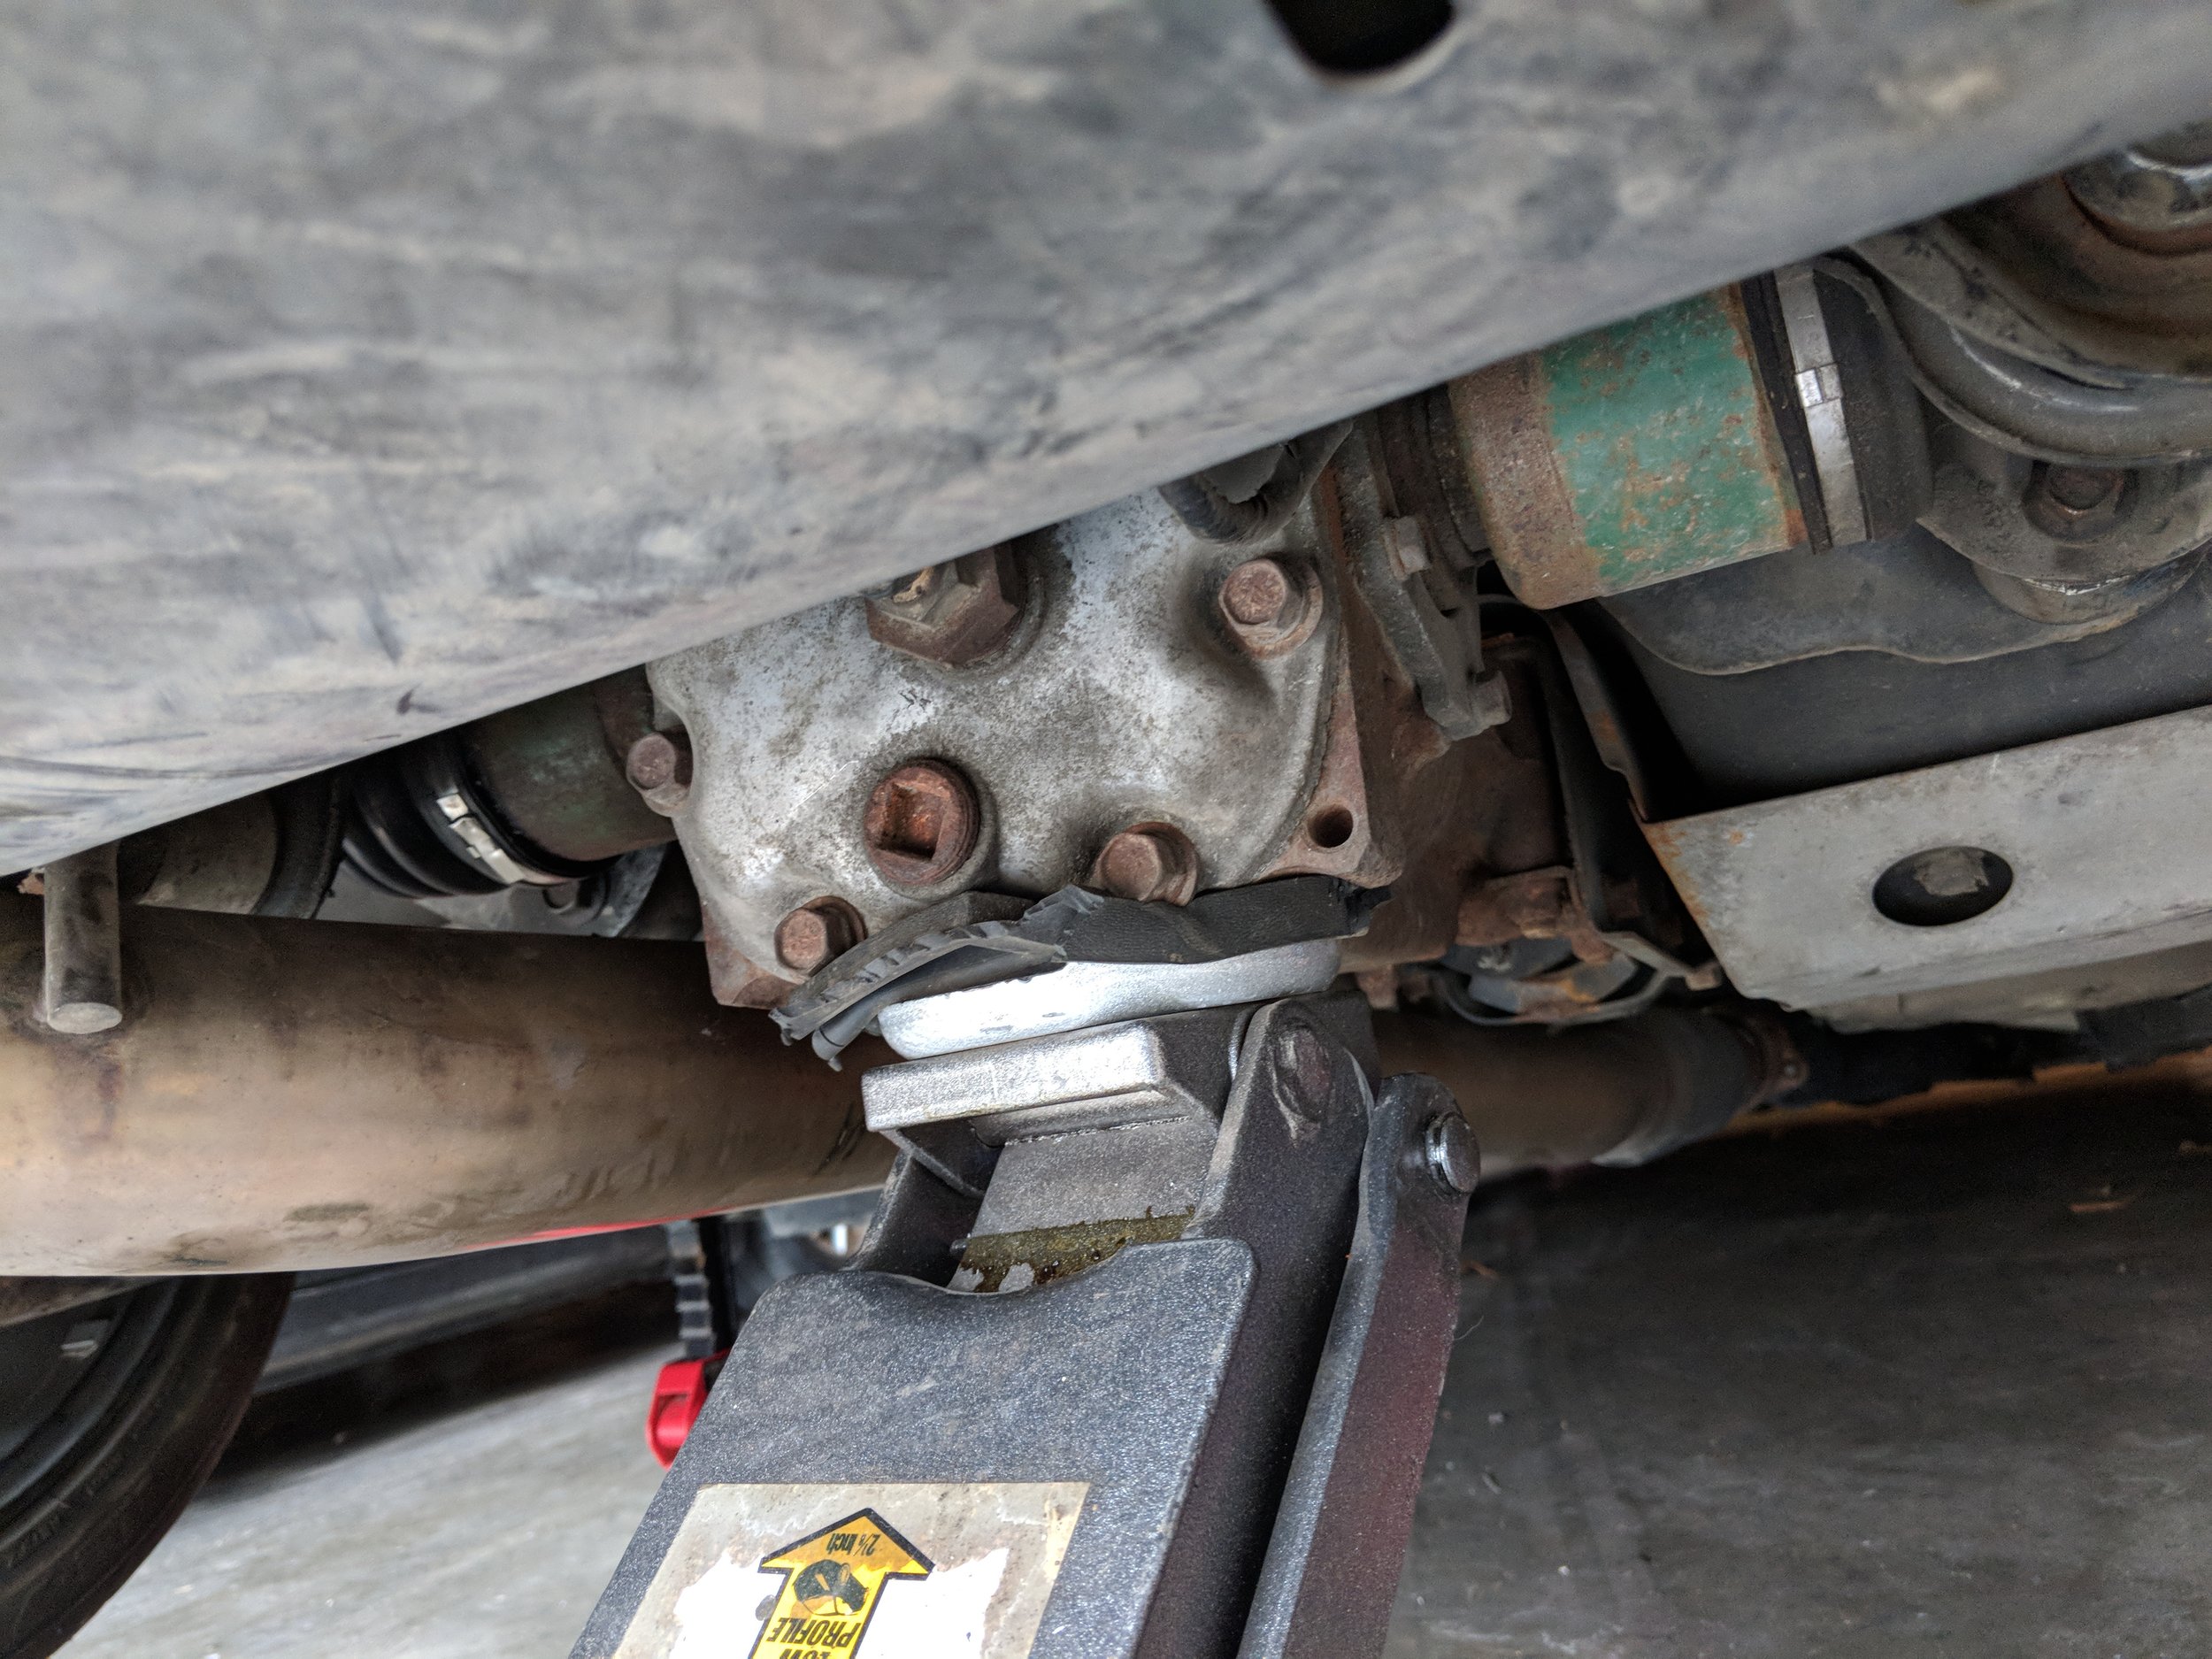
The next key is supporting the differential. I use an old scrap of a rubberized floor mat to protect the diff.
With it secured you can move on to locating the four bolts that secure it to the lower subframe. Two of the bolts hold the center differential to the brace and the other two outside bolts connect to the subframe.
I started on the two nuts that hold the diff to the brace first. As they are easy to access and will help out with the next steps. You might find that the studs come out with the nuts and that is ok. Once they are removed you can move to the next step.
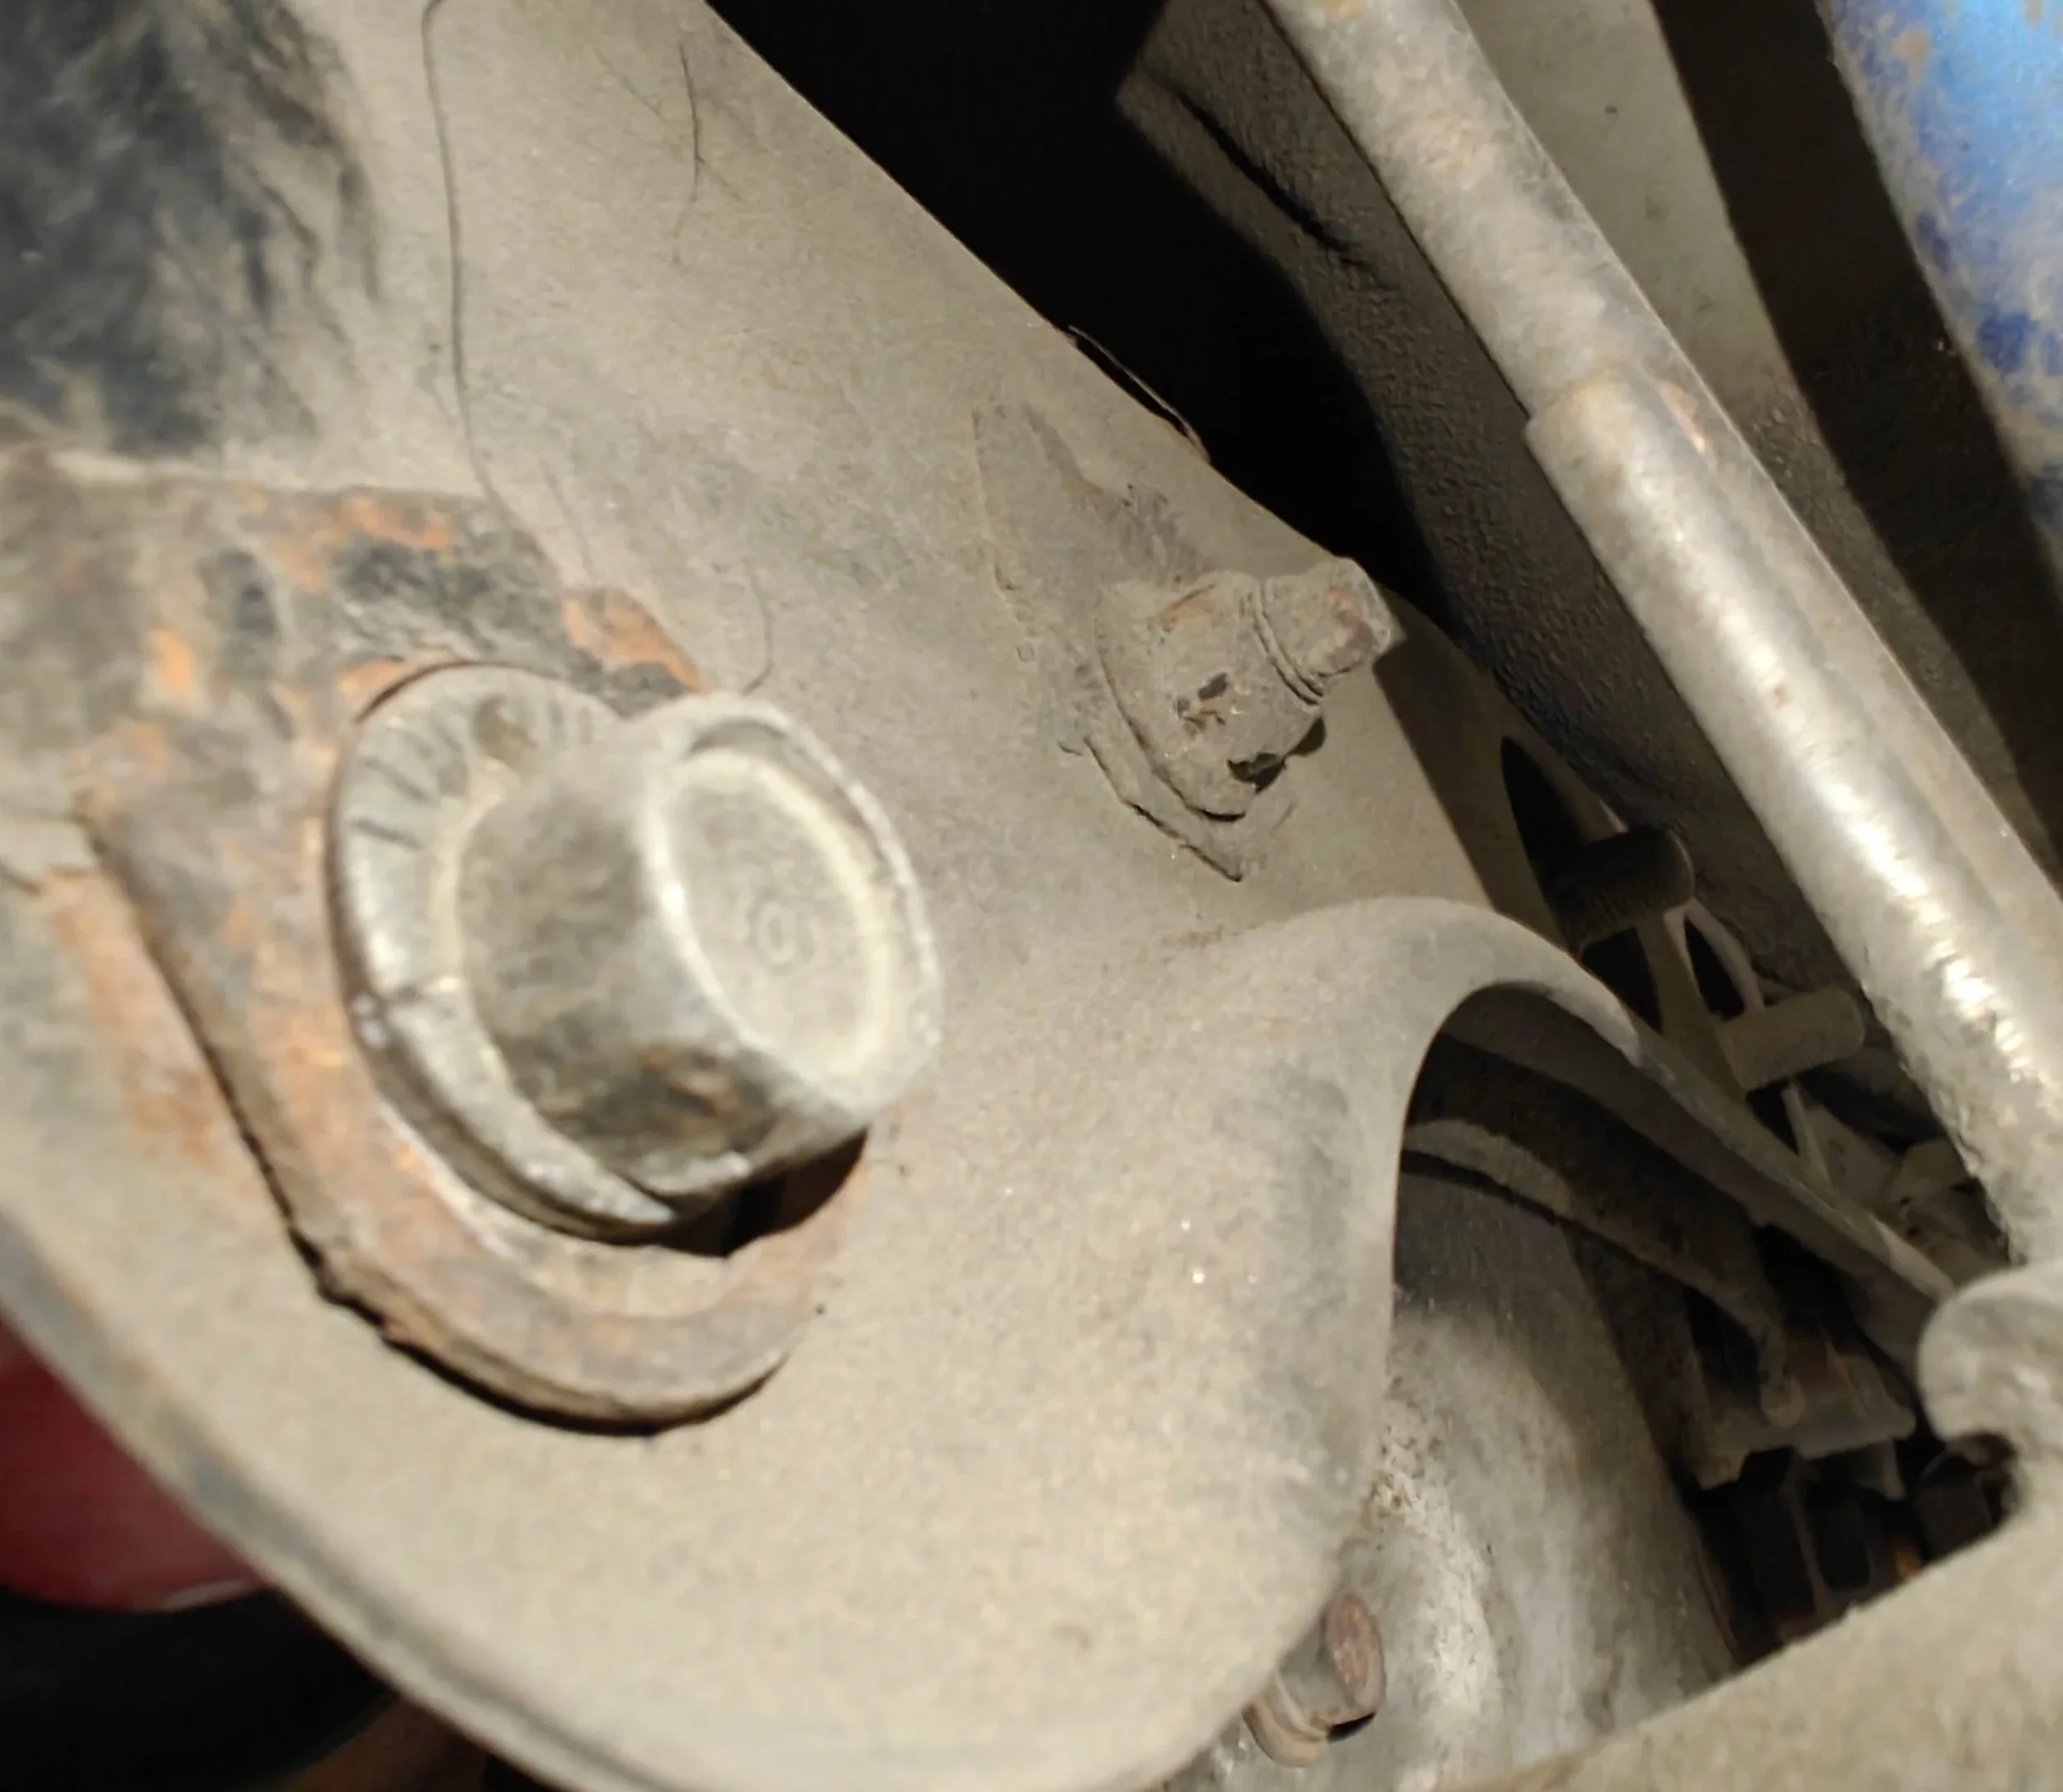
It isn’t easy to get a photo of this nut, but its just to the left of the exhaust hanger.
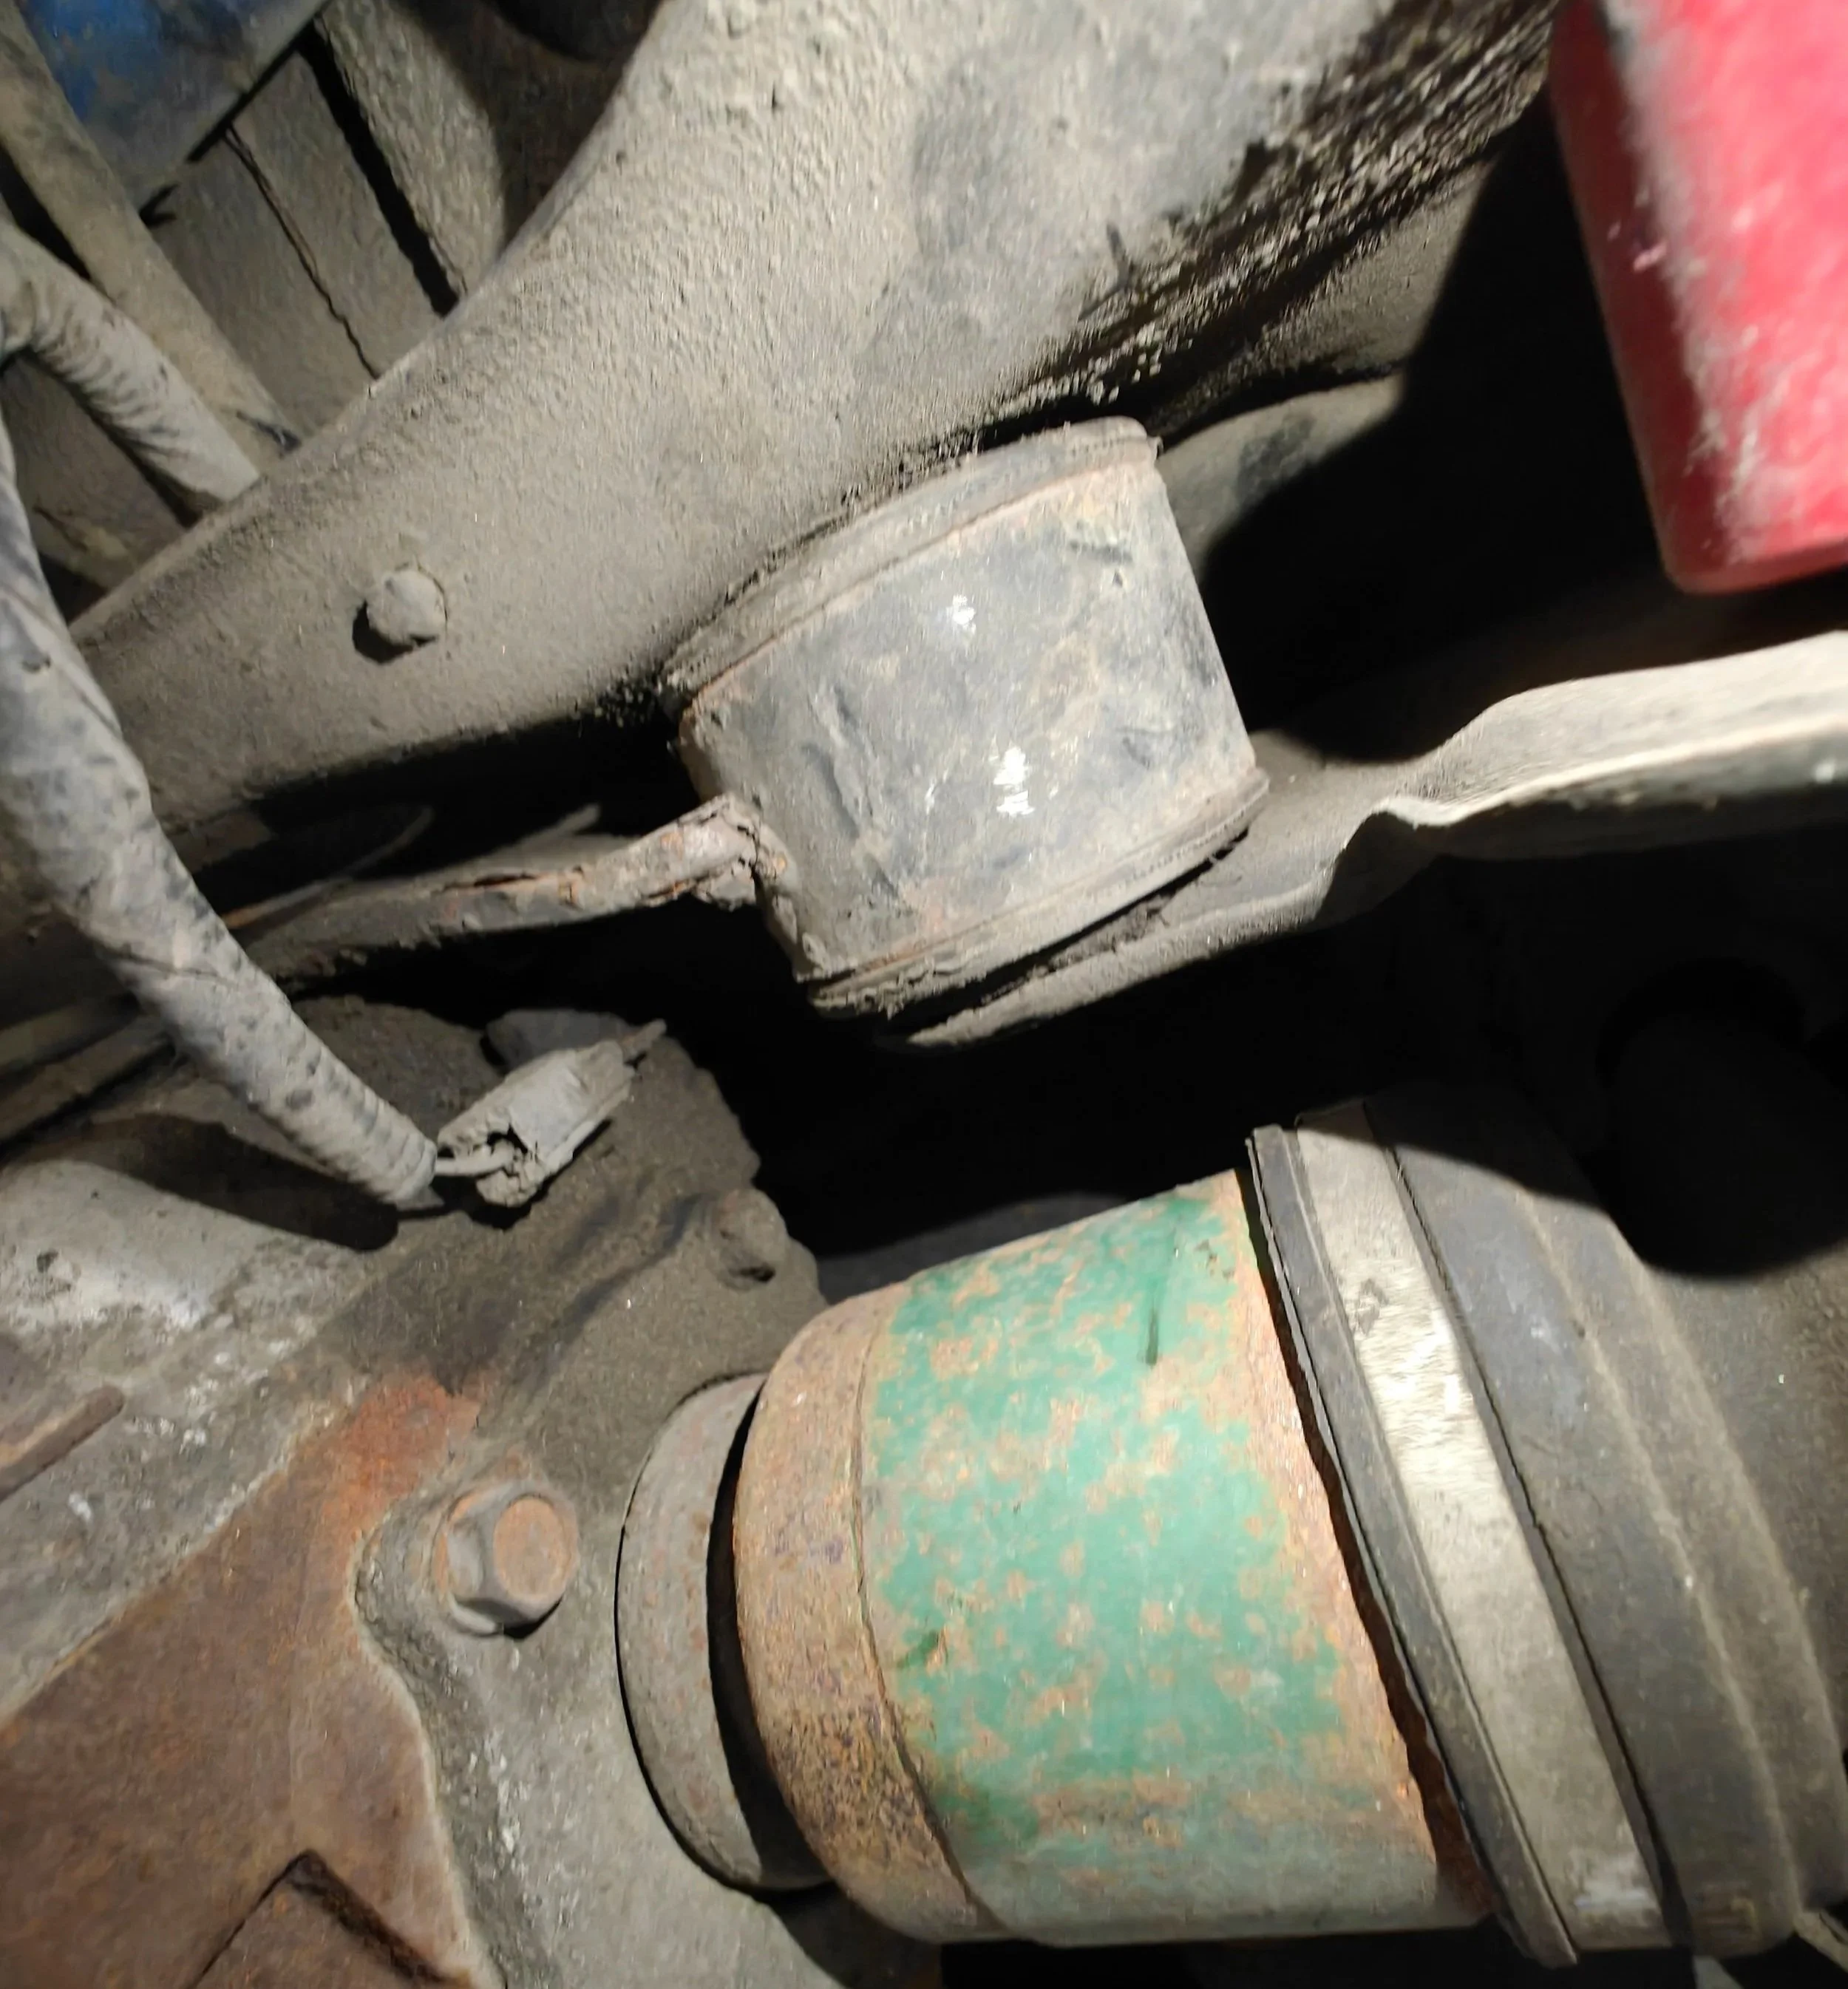
If you struggle to find it, its the bolt that goes through this bushing.
You might notice that the outside bolts aren’t able to slide out because of the axles. So the next step is allowing the differential to be lowered down. You need to remove the nuts that are shown below. The studs might come out with it and that’s ok. This will allow you to lower the diff and free the bolts that go through the brace, bushings and subframe. Now the brace should be able to slid out.
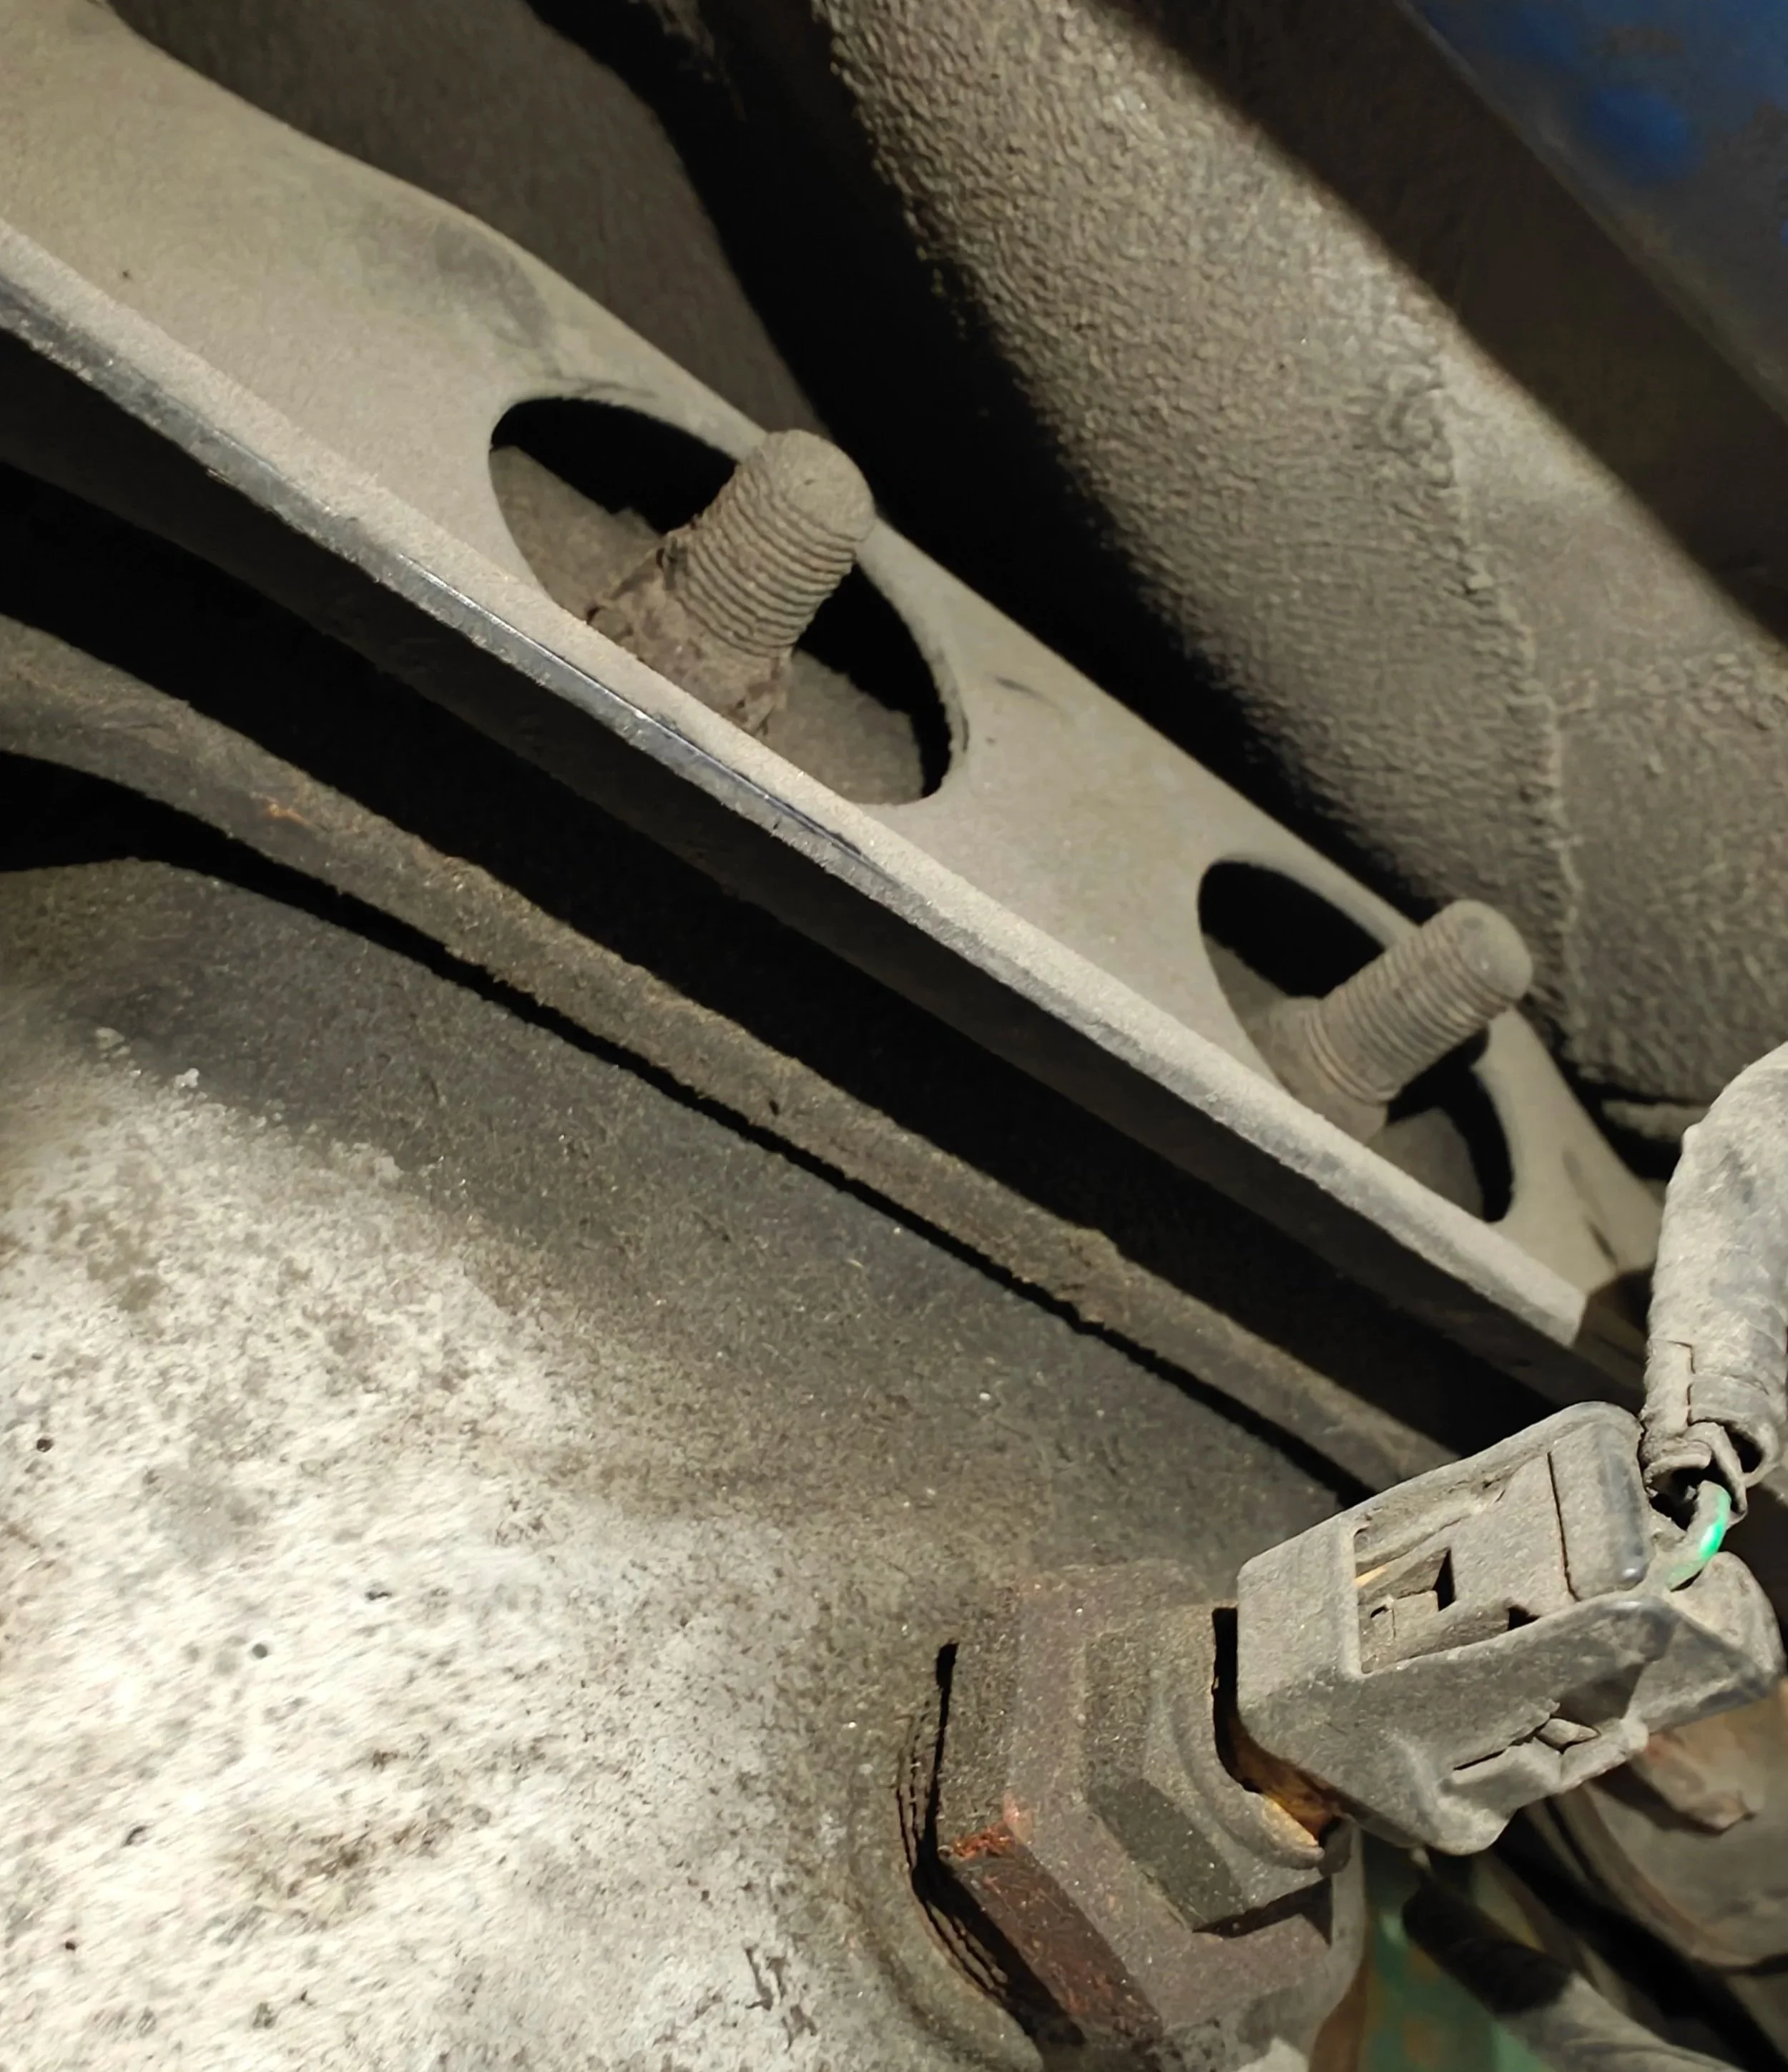
These nuts need to be removed to allow the diff to slide down. If the studs don’t come out with them, you will need to do that.
This allows you to remove the bolts that secure the brace to the subframe.
Up next is sliding the new brace or bushing spacers into place. Then you can start by placing the bolts through the outside bushings. to hold it in place. Leave it loose for the time being. Now you can start lifting the diff up into place and then you can start studs in place. After all the studs and bolts are in place you can go ahead and tighten it all down.
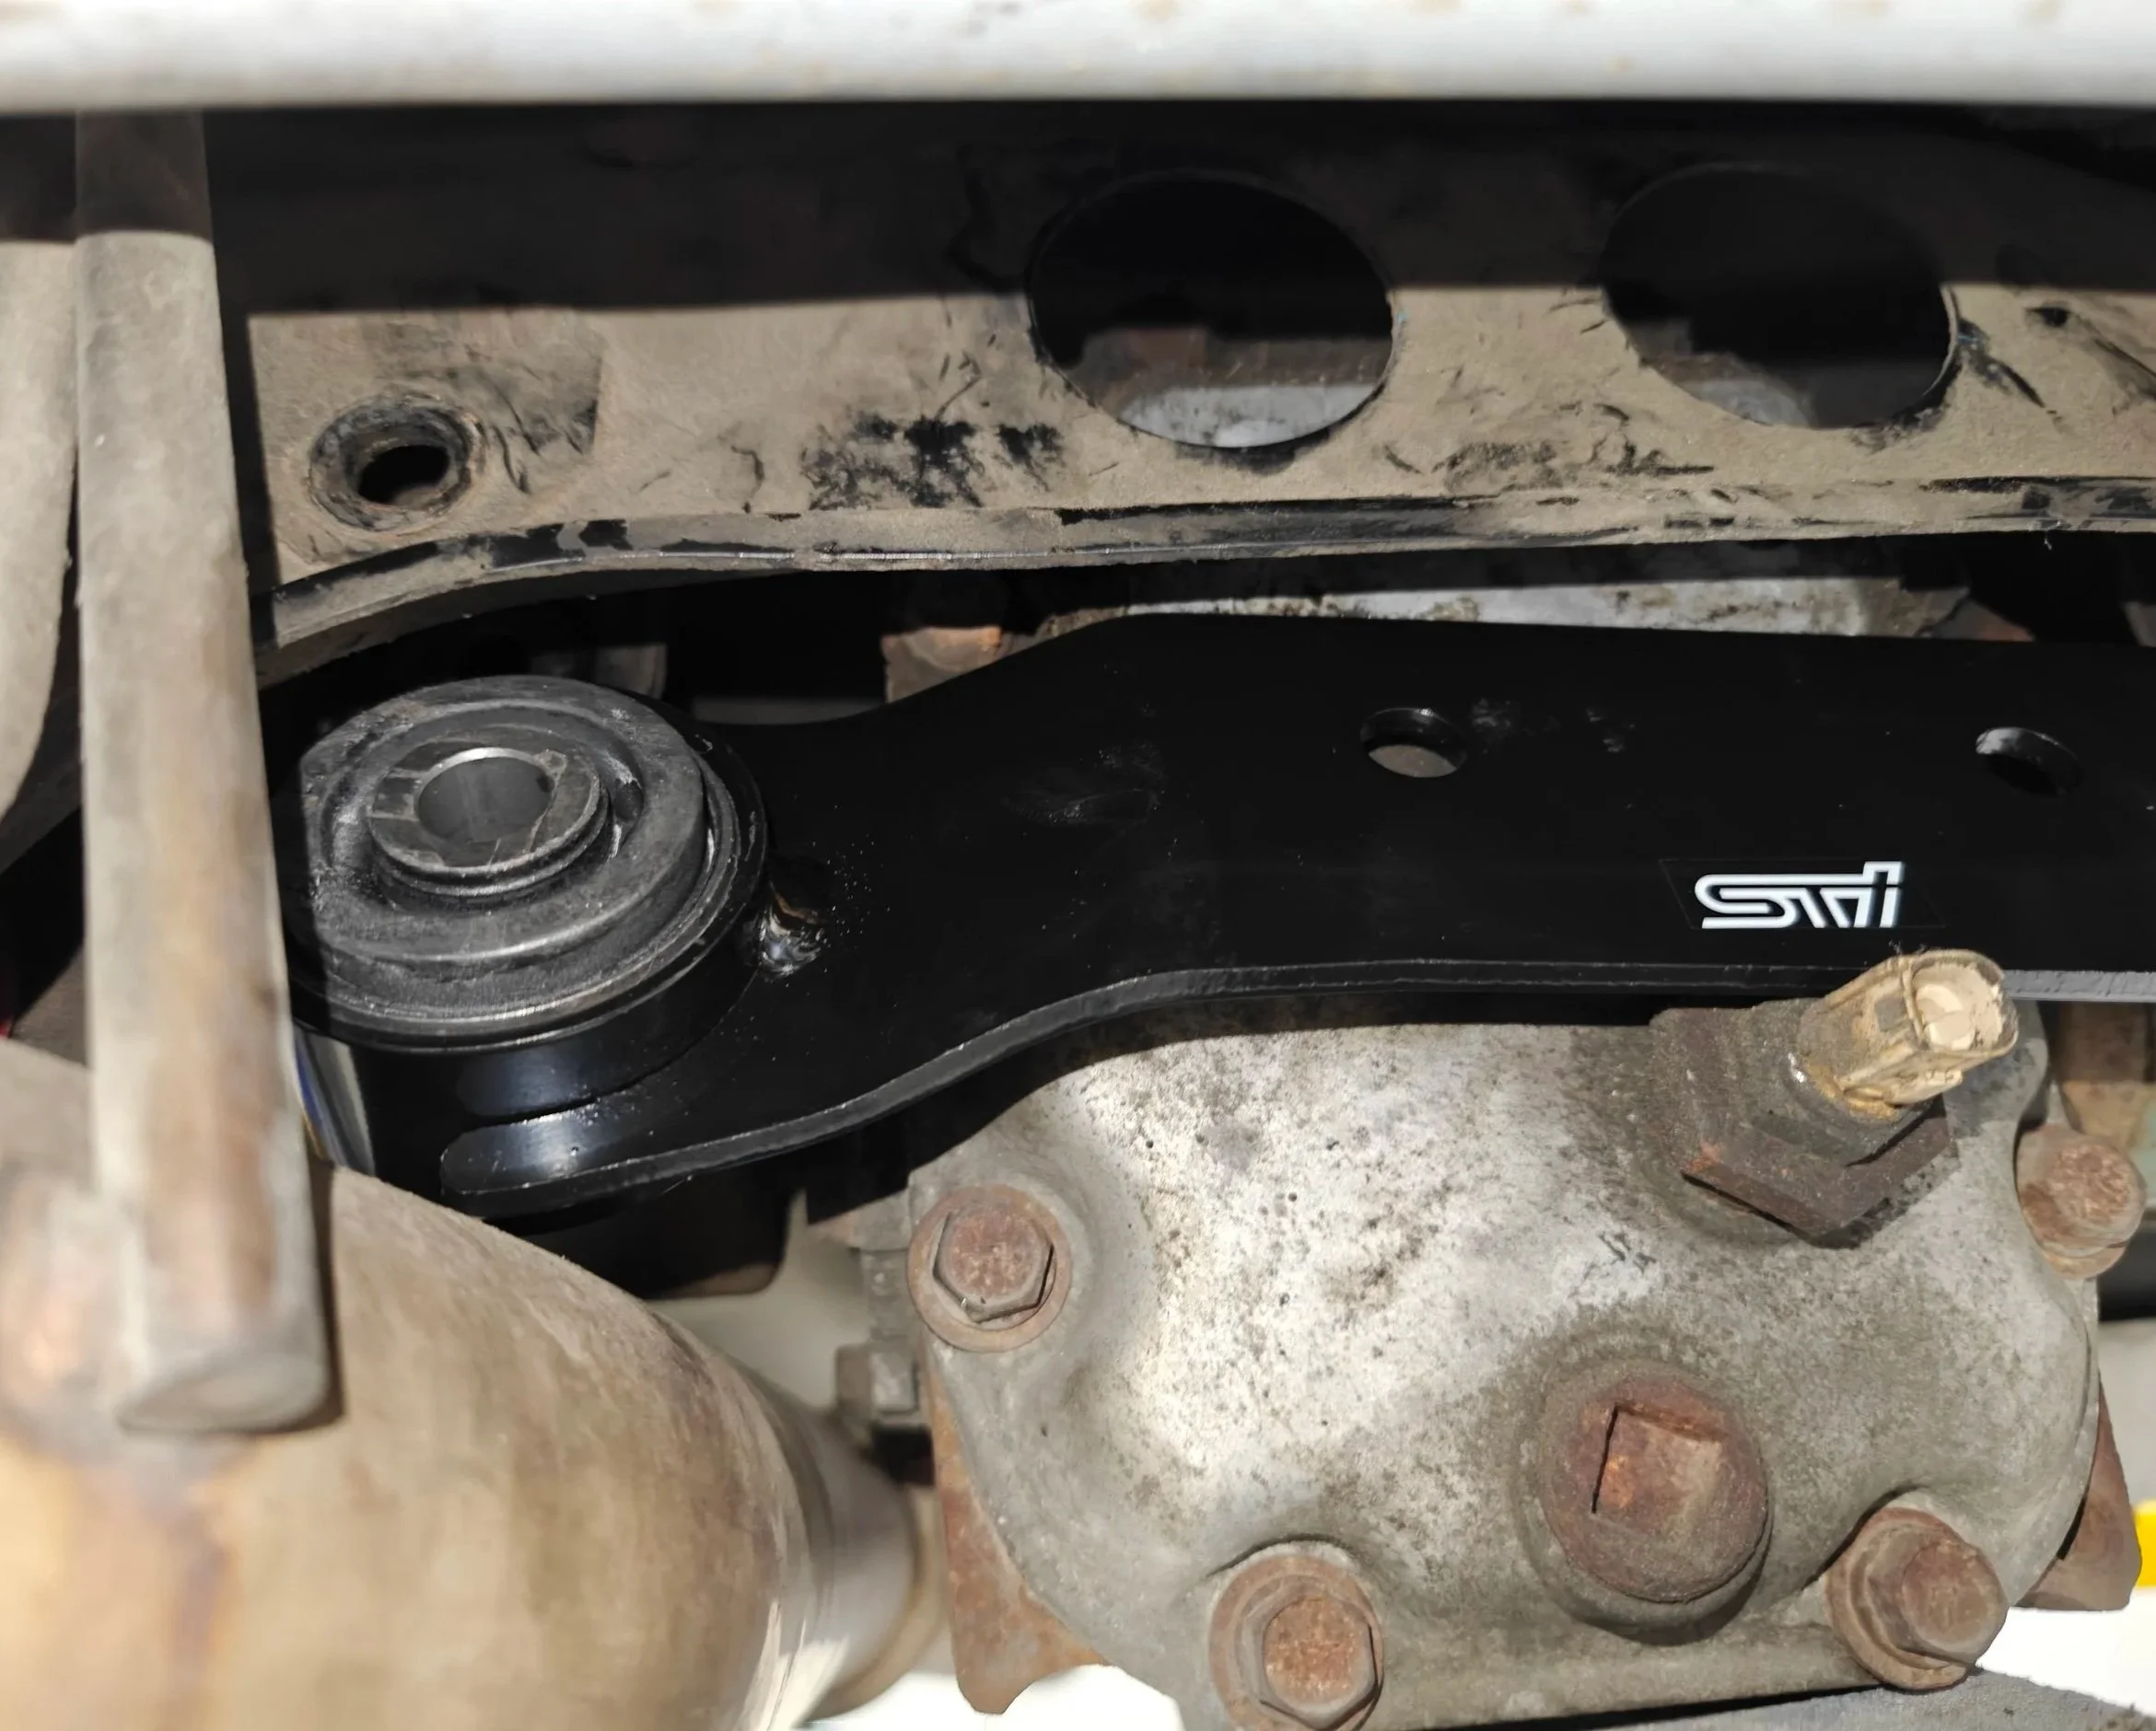
The temperature sensor makes a really nice holder and then you can slide it up into the subframe.
Slide in each of the bushings and slide the bolts back through.
Now you can raise the diff up into place to get the studs through. Be careful to get it them lined up well, you don’t want to damage the threads of the rear cover and give yourself something else to fix.
It is time to lower the vehicle down and find your favorite parking lot to check that everything is properly attached to the subframe. If so, you are done! Congratz, you can now take the vehicle to the track and test the need improved acceleration feeling! You can also test the 1-2 shift and see how well planted your diff stays.
Amazon Tool links
eBay and Amazon Part links
I have found that sometimes these are labeled wrongly online. From all of my research the solid bushings will end in 000 (which is what I used in this install). The 020 is shown below is has a few reliefs which is probably better for those looking for a little less noise, vibration or harshness.
Find these on eBay with the links below