Repairing damaged threads on your Subaru! How to install a helicoil.
Over the years I have had my fair share of damaged threads and bolts. I have been lucky to be able to drill out many of the broken bolts and then run a tap through leaving the threads for a new bolt. Unfortunately that’s not always the case. And when I picked up a new set of cylinder heads I soon found out that the seller may have forgotten to mention this…

You hate to see it… Especially if you just bought them second hand.
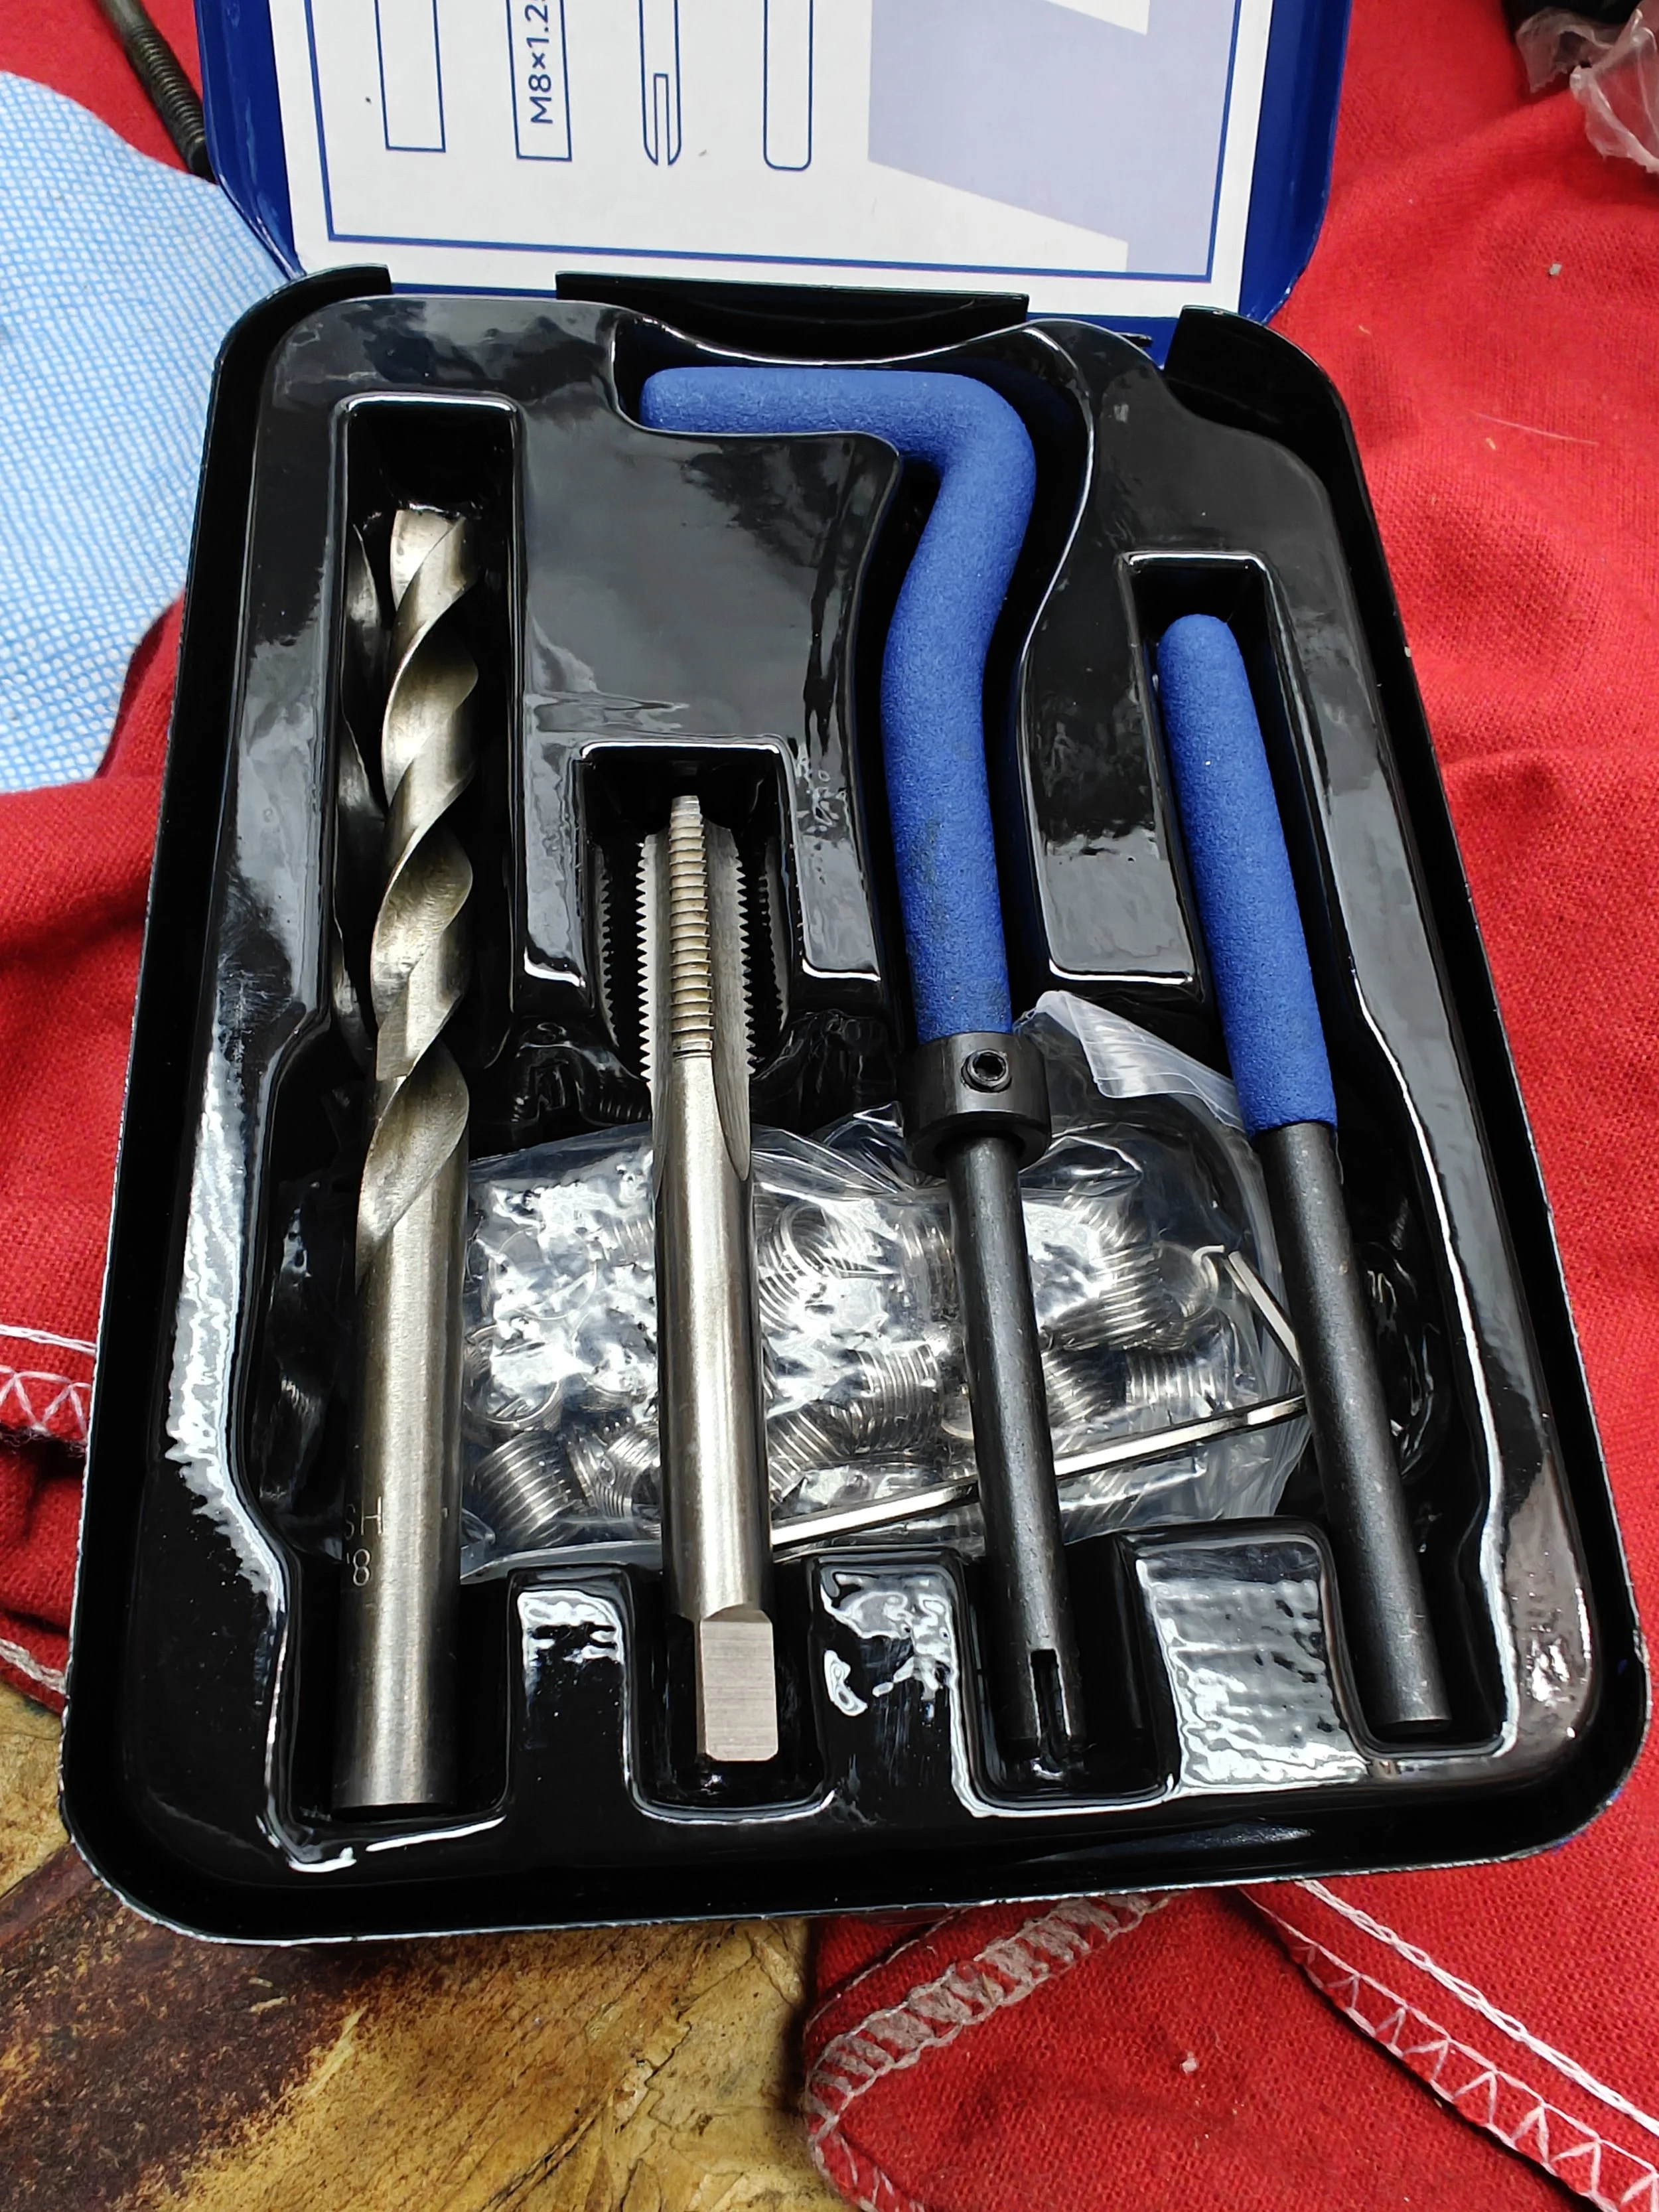
Attempting to install my Company23 intake covers quickly showed that the threads weren’t happen when I couldn’t hand thread the bolt in. While there are many ways to fix this, I already had a 8x1.25 helicoil tool set on hand and decided this would work for now. If I want to go back and further add some durability to it, a good choice can be a timesert. But let’s see how the helicoil fairs for now.
Time Frame
The time for this job can wildly vary determined by where the damaged threads are located and how open the area is for using tools. Since this cylinder head is off the car and on my work bench, I think this took about 20 minutes.
Tools and Parts
How to
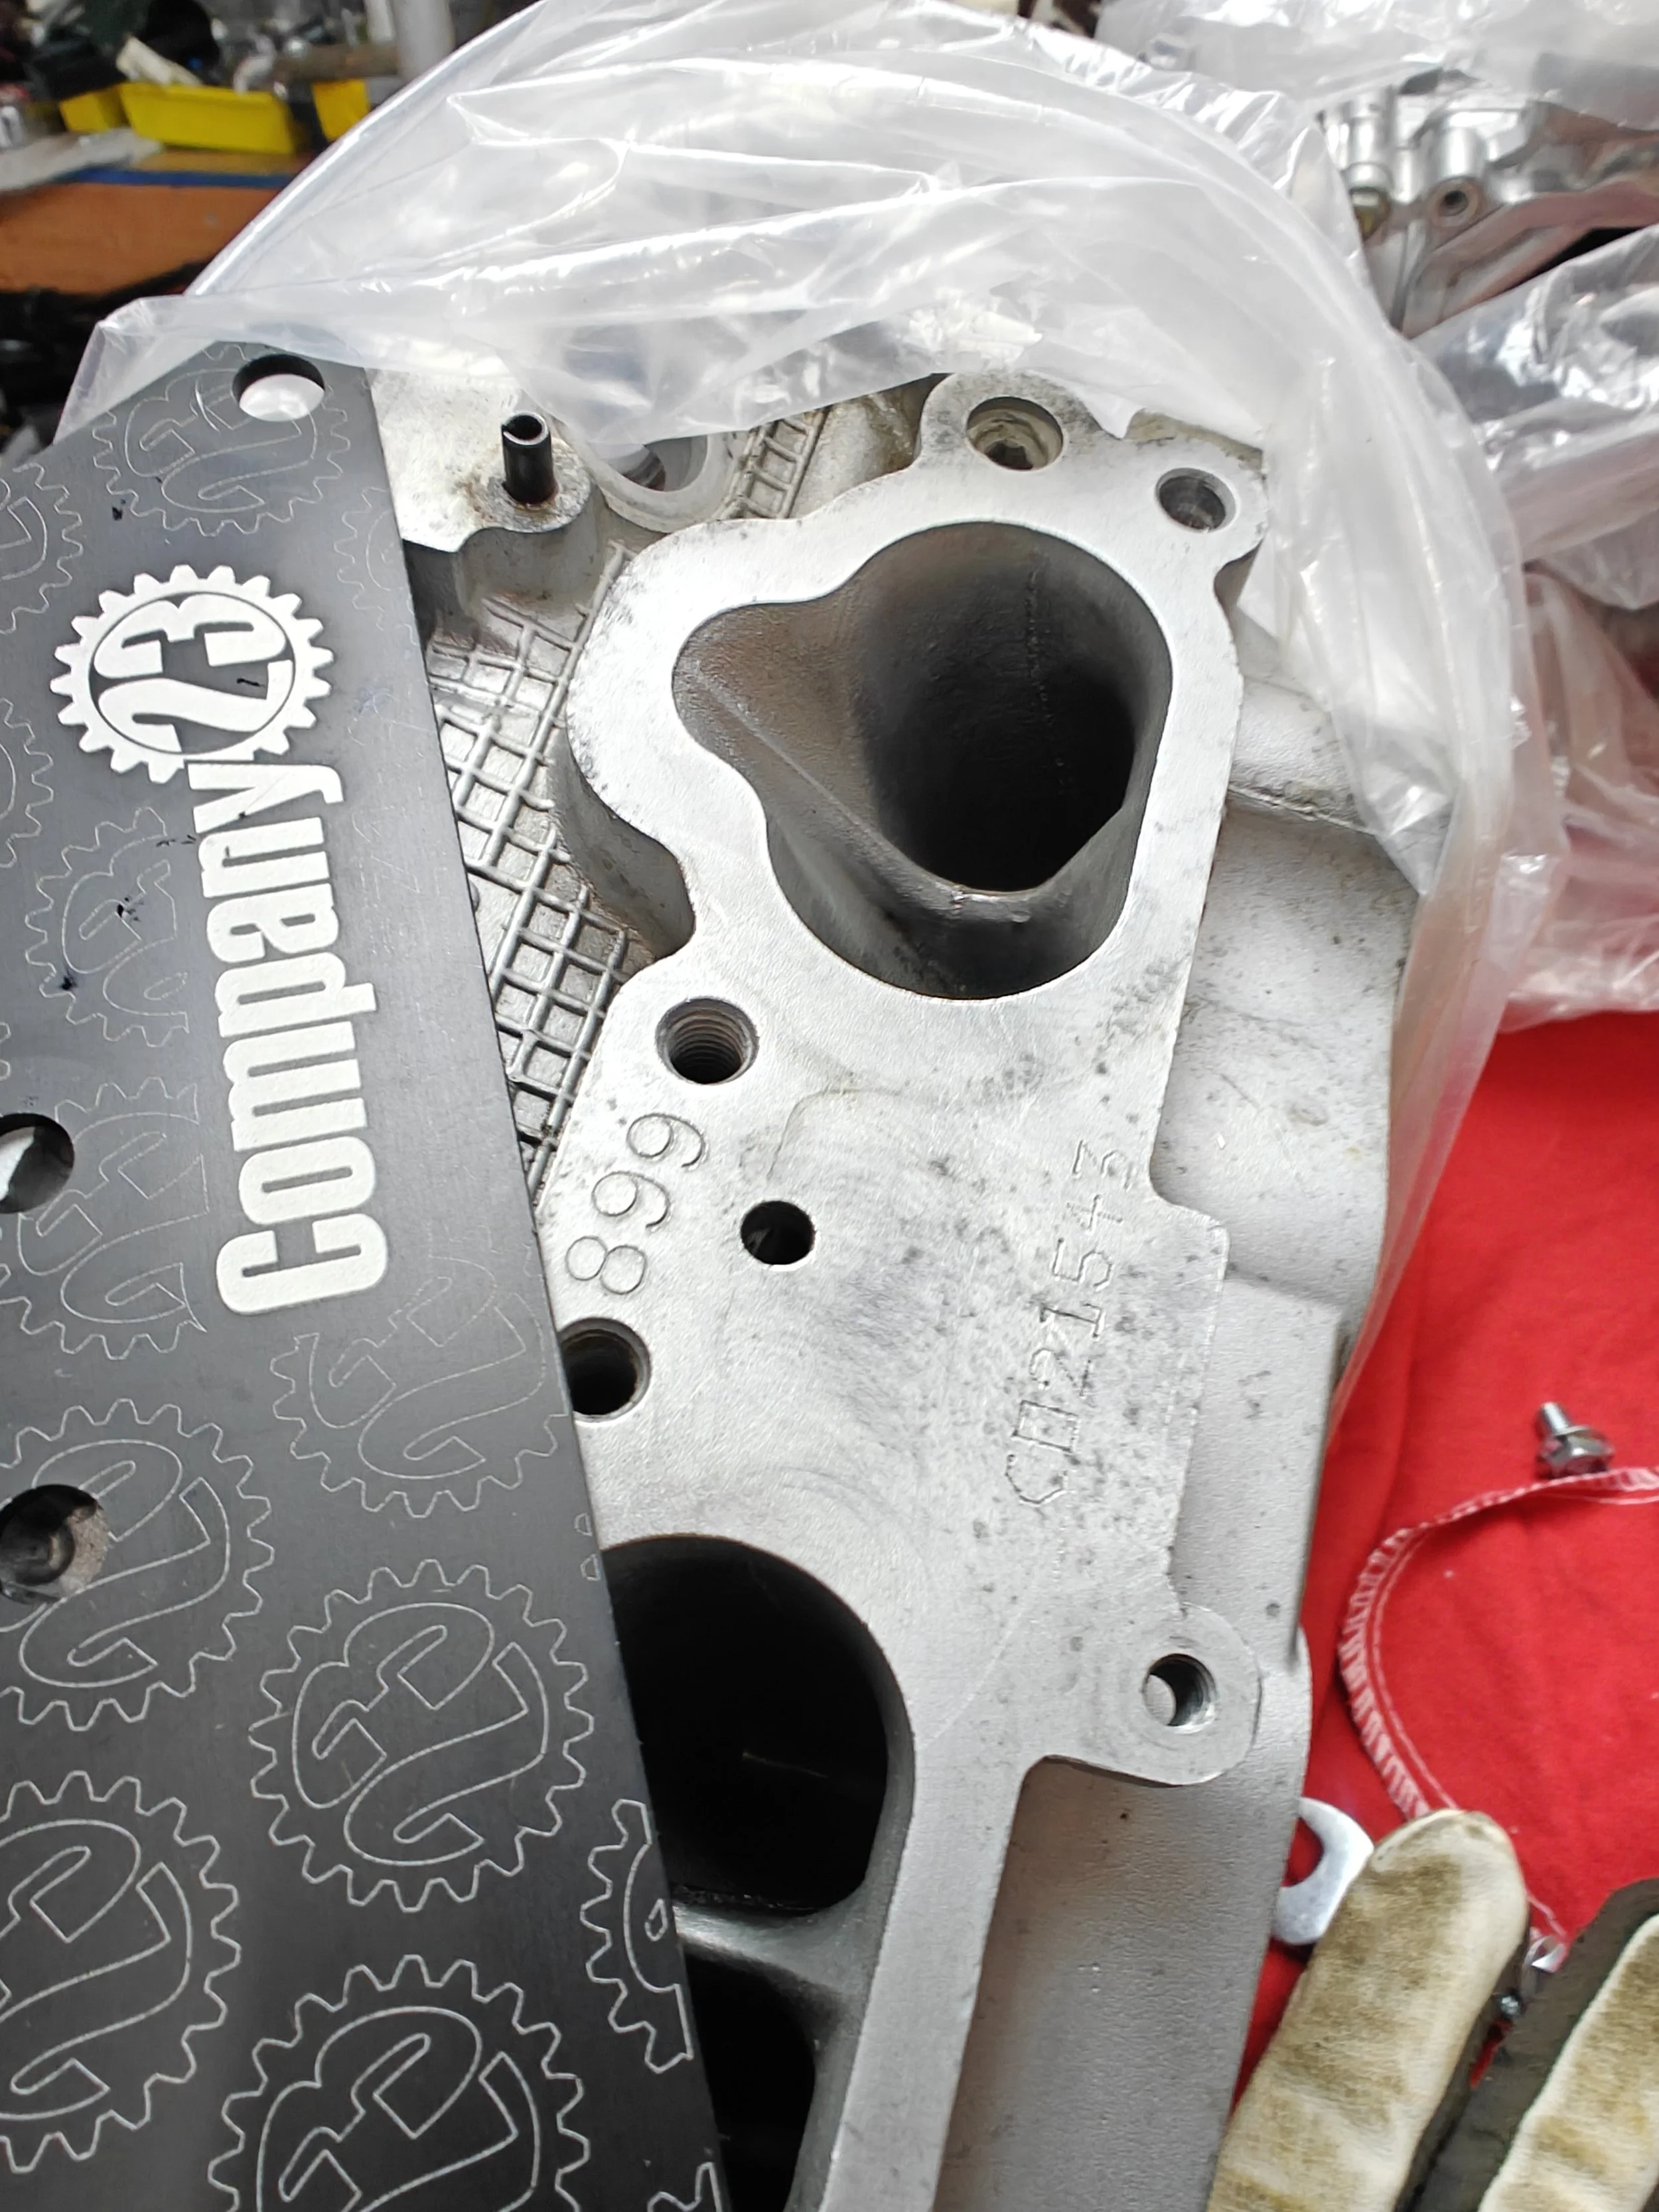
The first step for me is making sure that protect meal shavings from ruining a more expensive part. I found that stuffing a few paper towels into the intake to be sufficent. When I was drilling I used the Company23 intake valve covers to help line up the drill bit and add a bit of extra protection.
We don’t want anything falling into there.
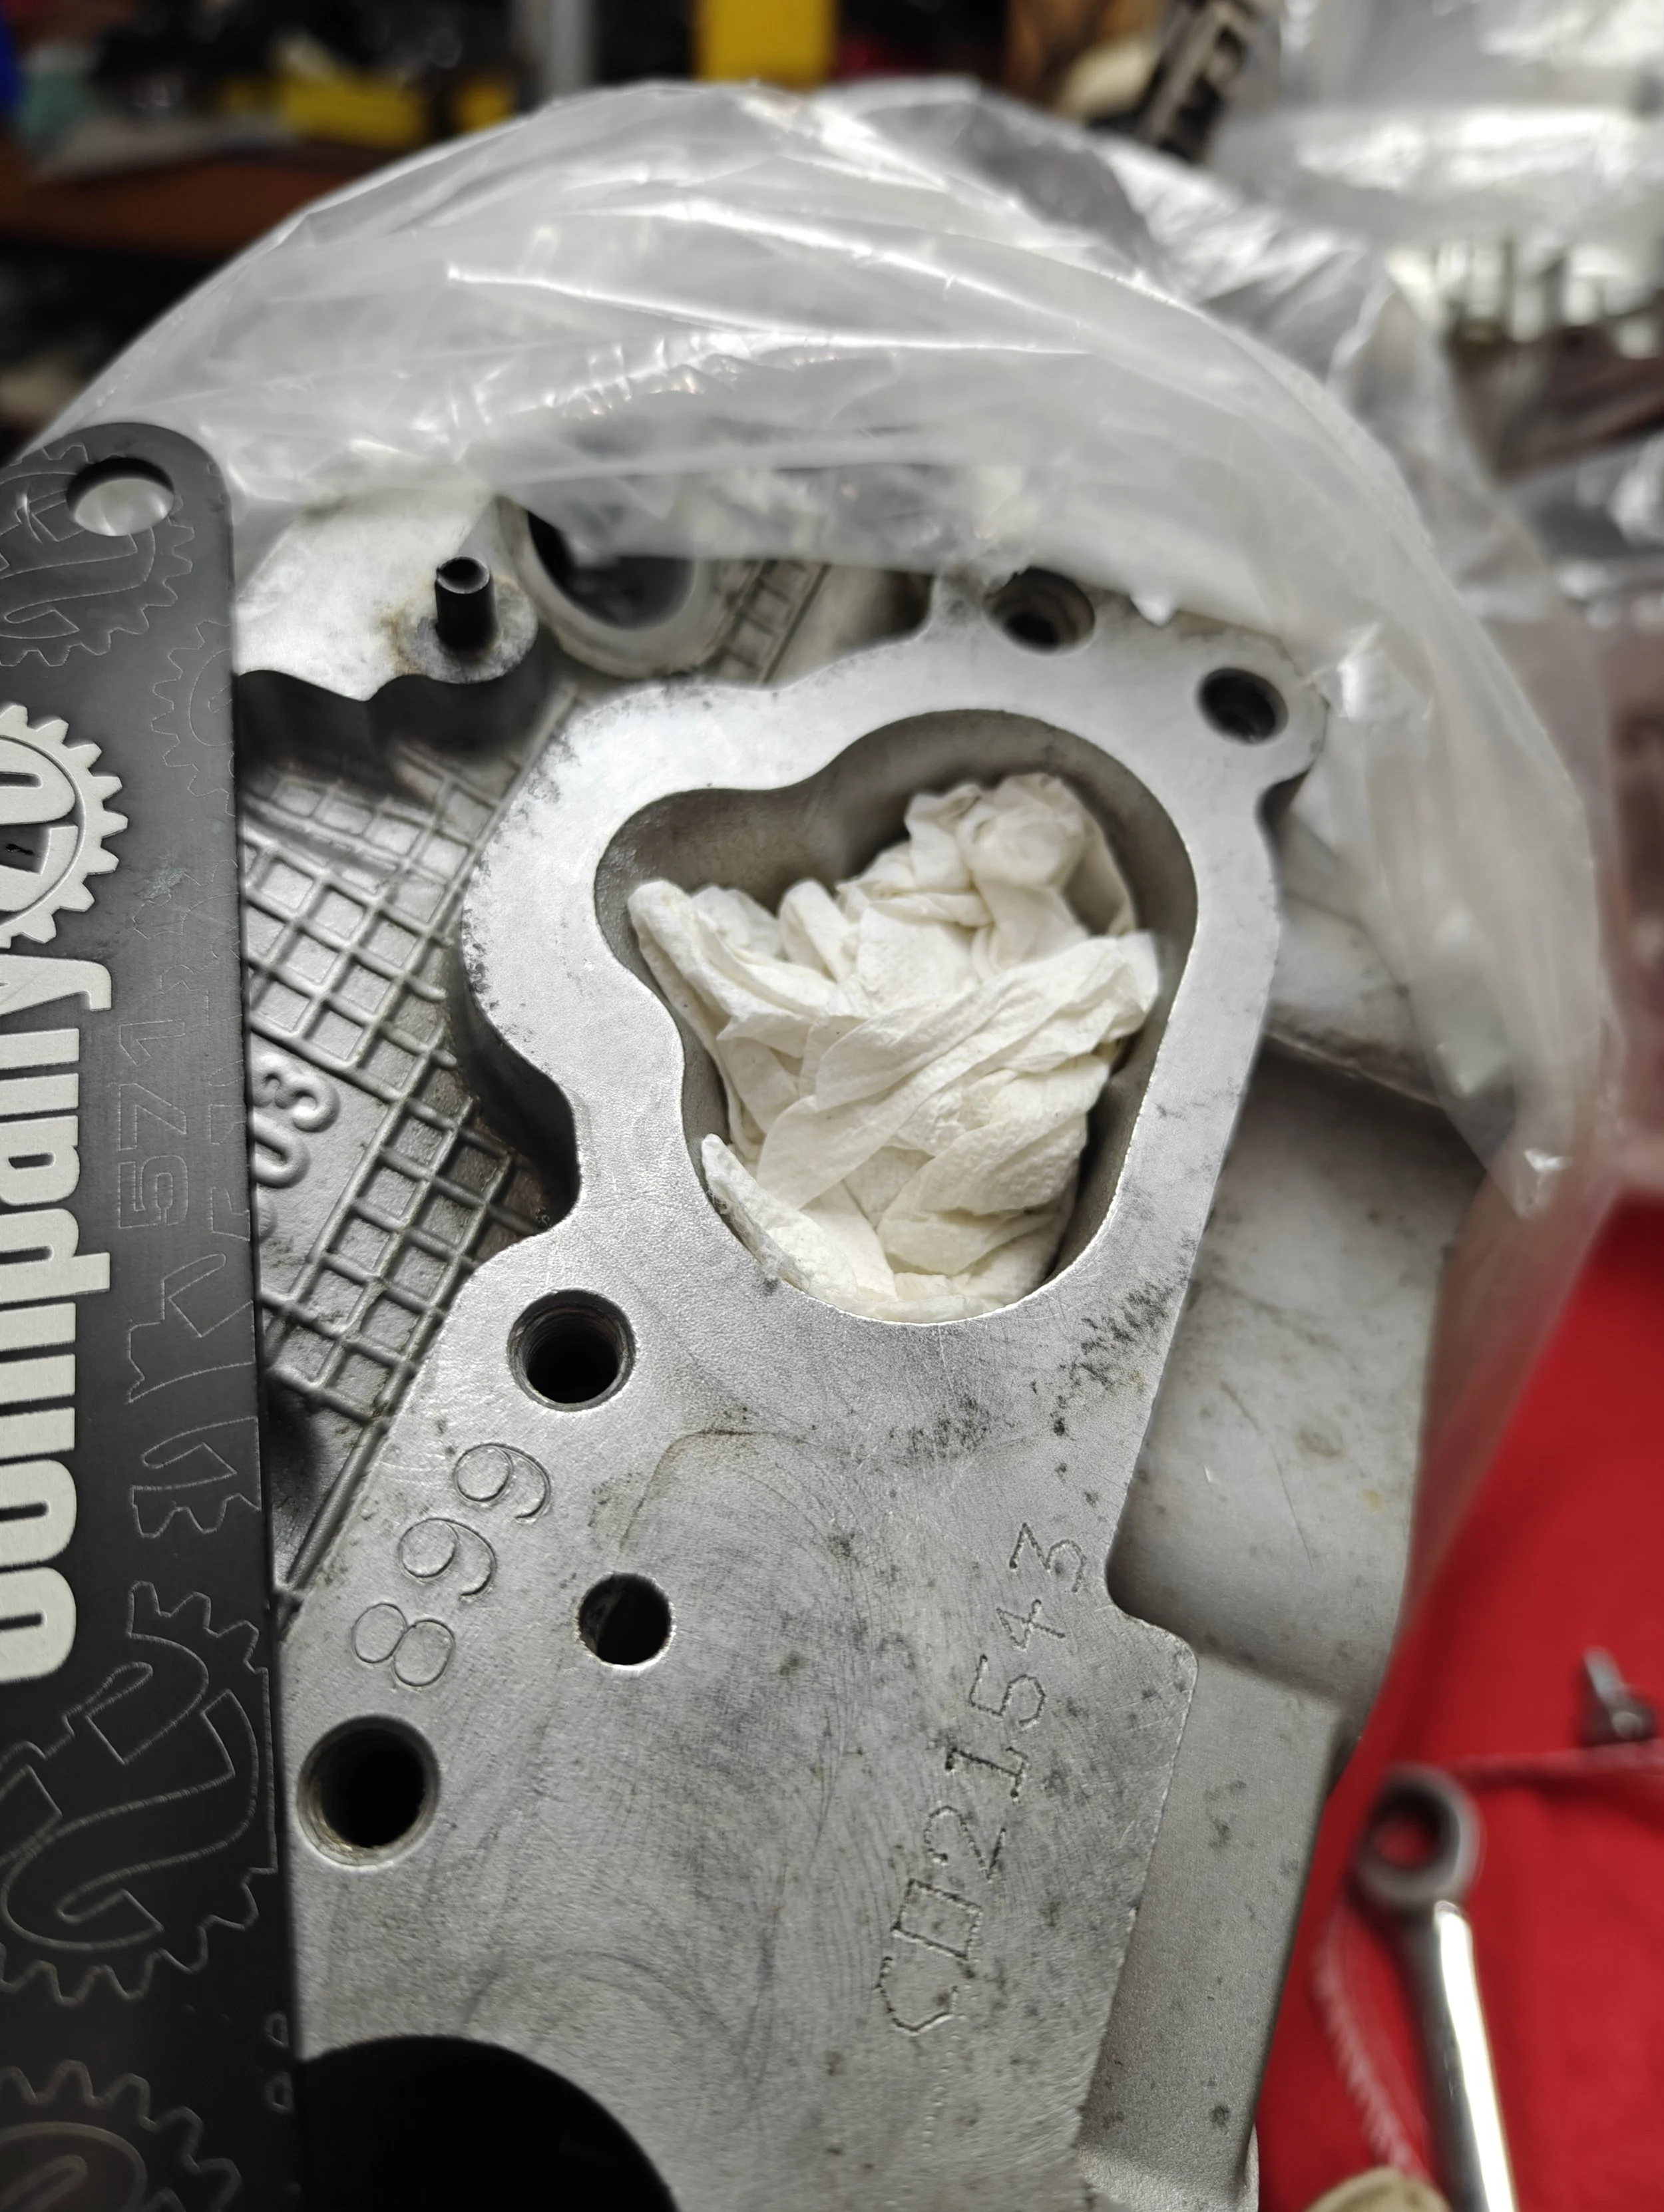
So these paper towels will do help.
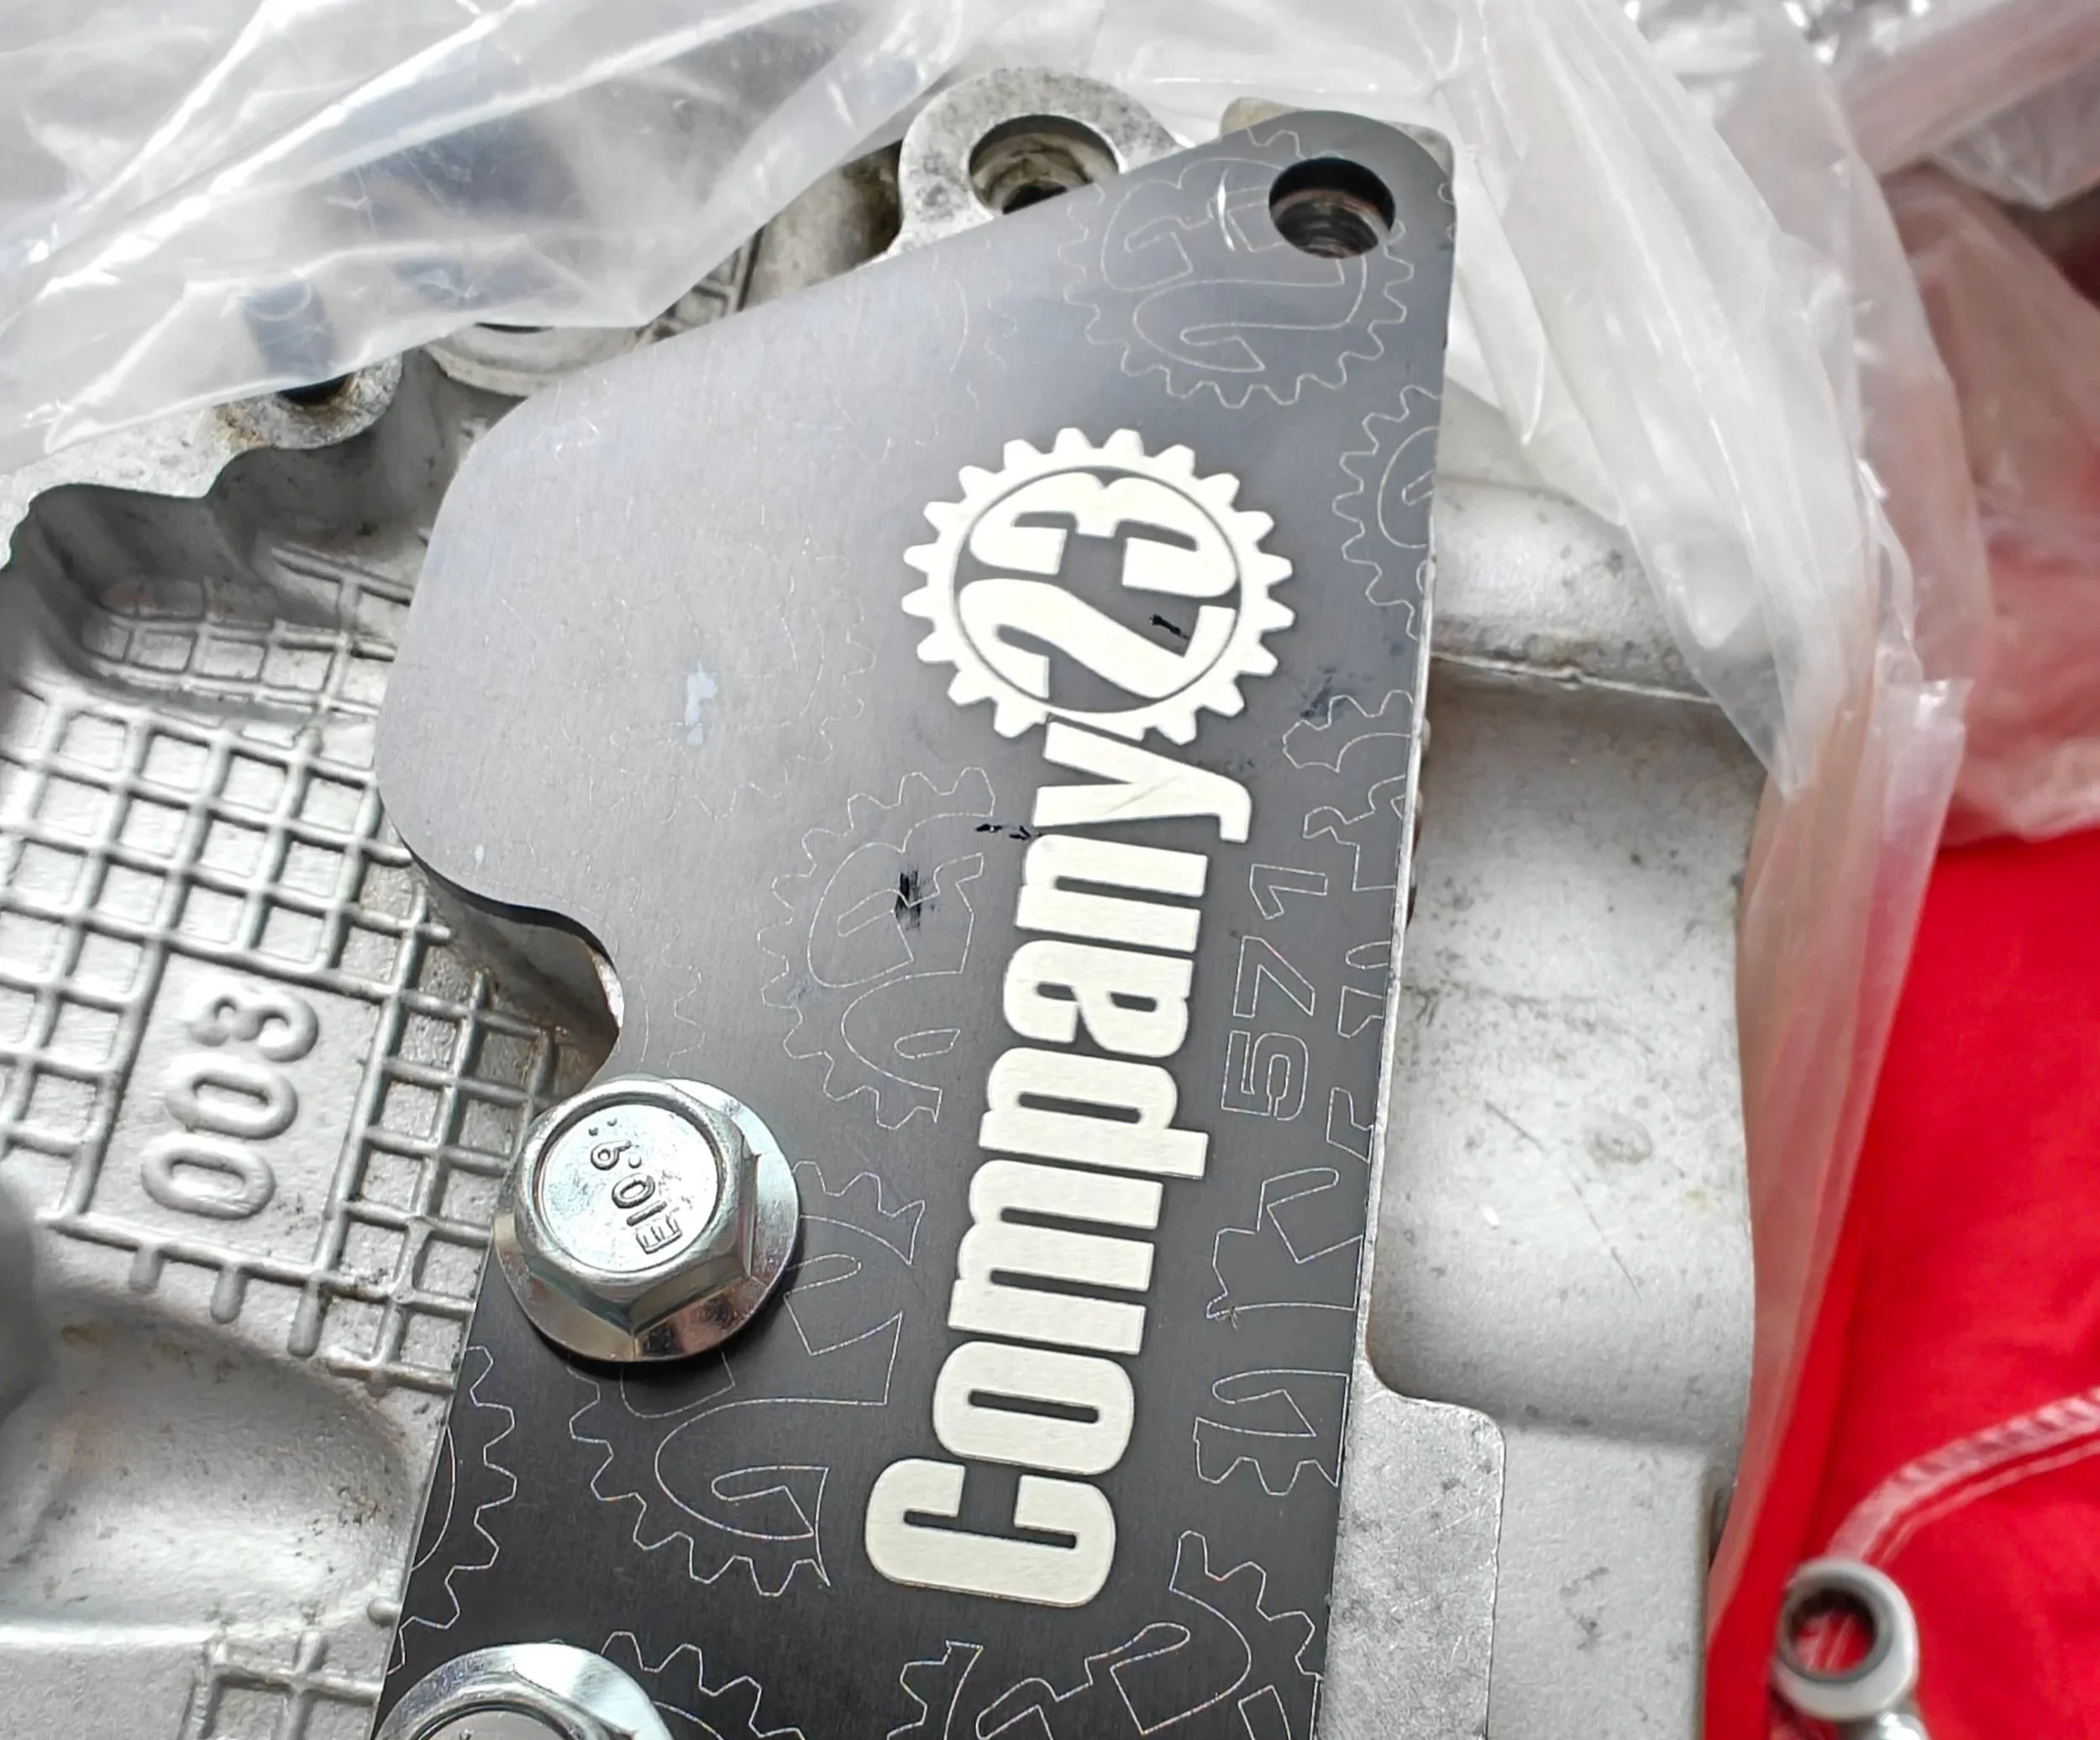
After the paper towels were set I used the Comapny23 cover to line up the hole.
Next up is lining up the drill bit. Lucky for us, we will be drilling through aluminum, which with a sharp new drill bit this shouldn’t take long. If you are worried about drilling to far, you can add a piece of tape to your drill bit to remind yourself when it is time to stop.
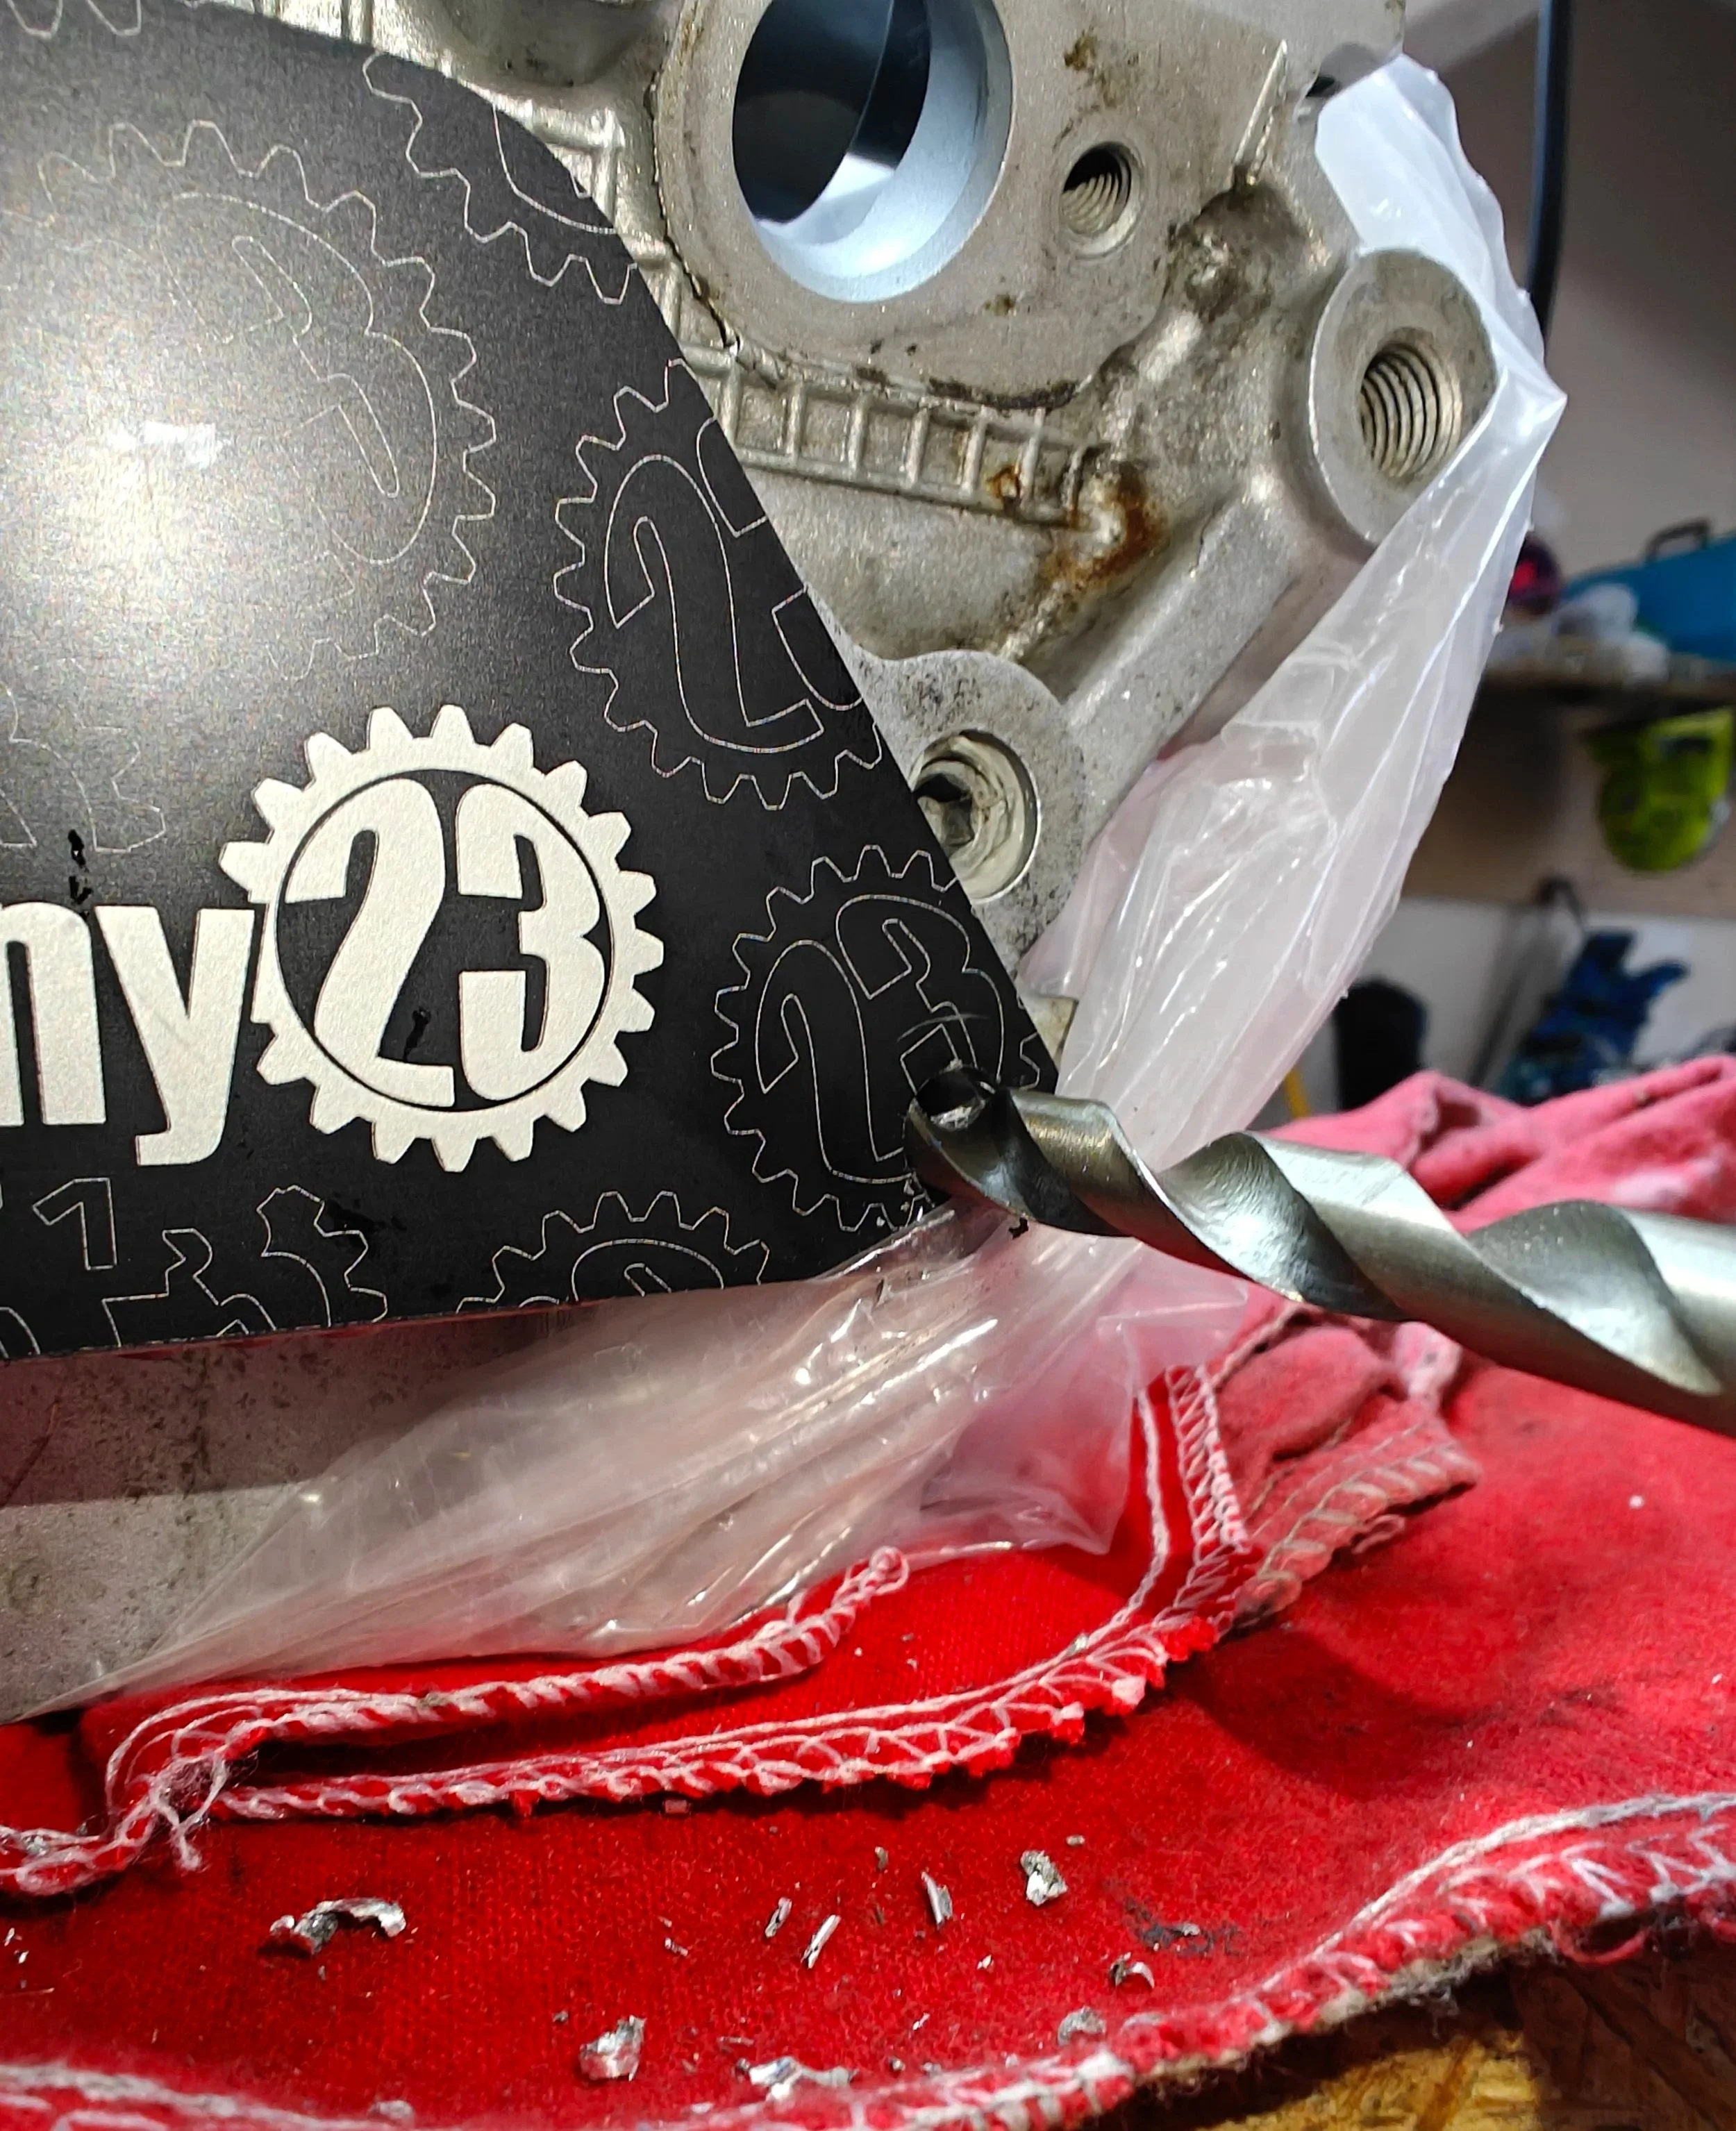
Drilling on through.
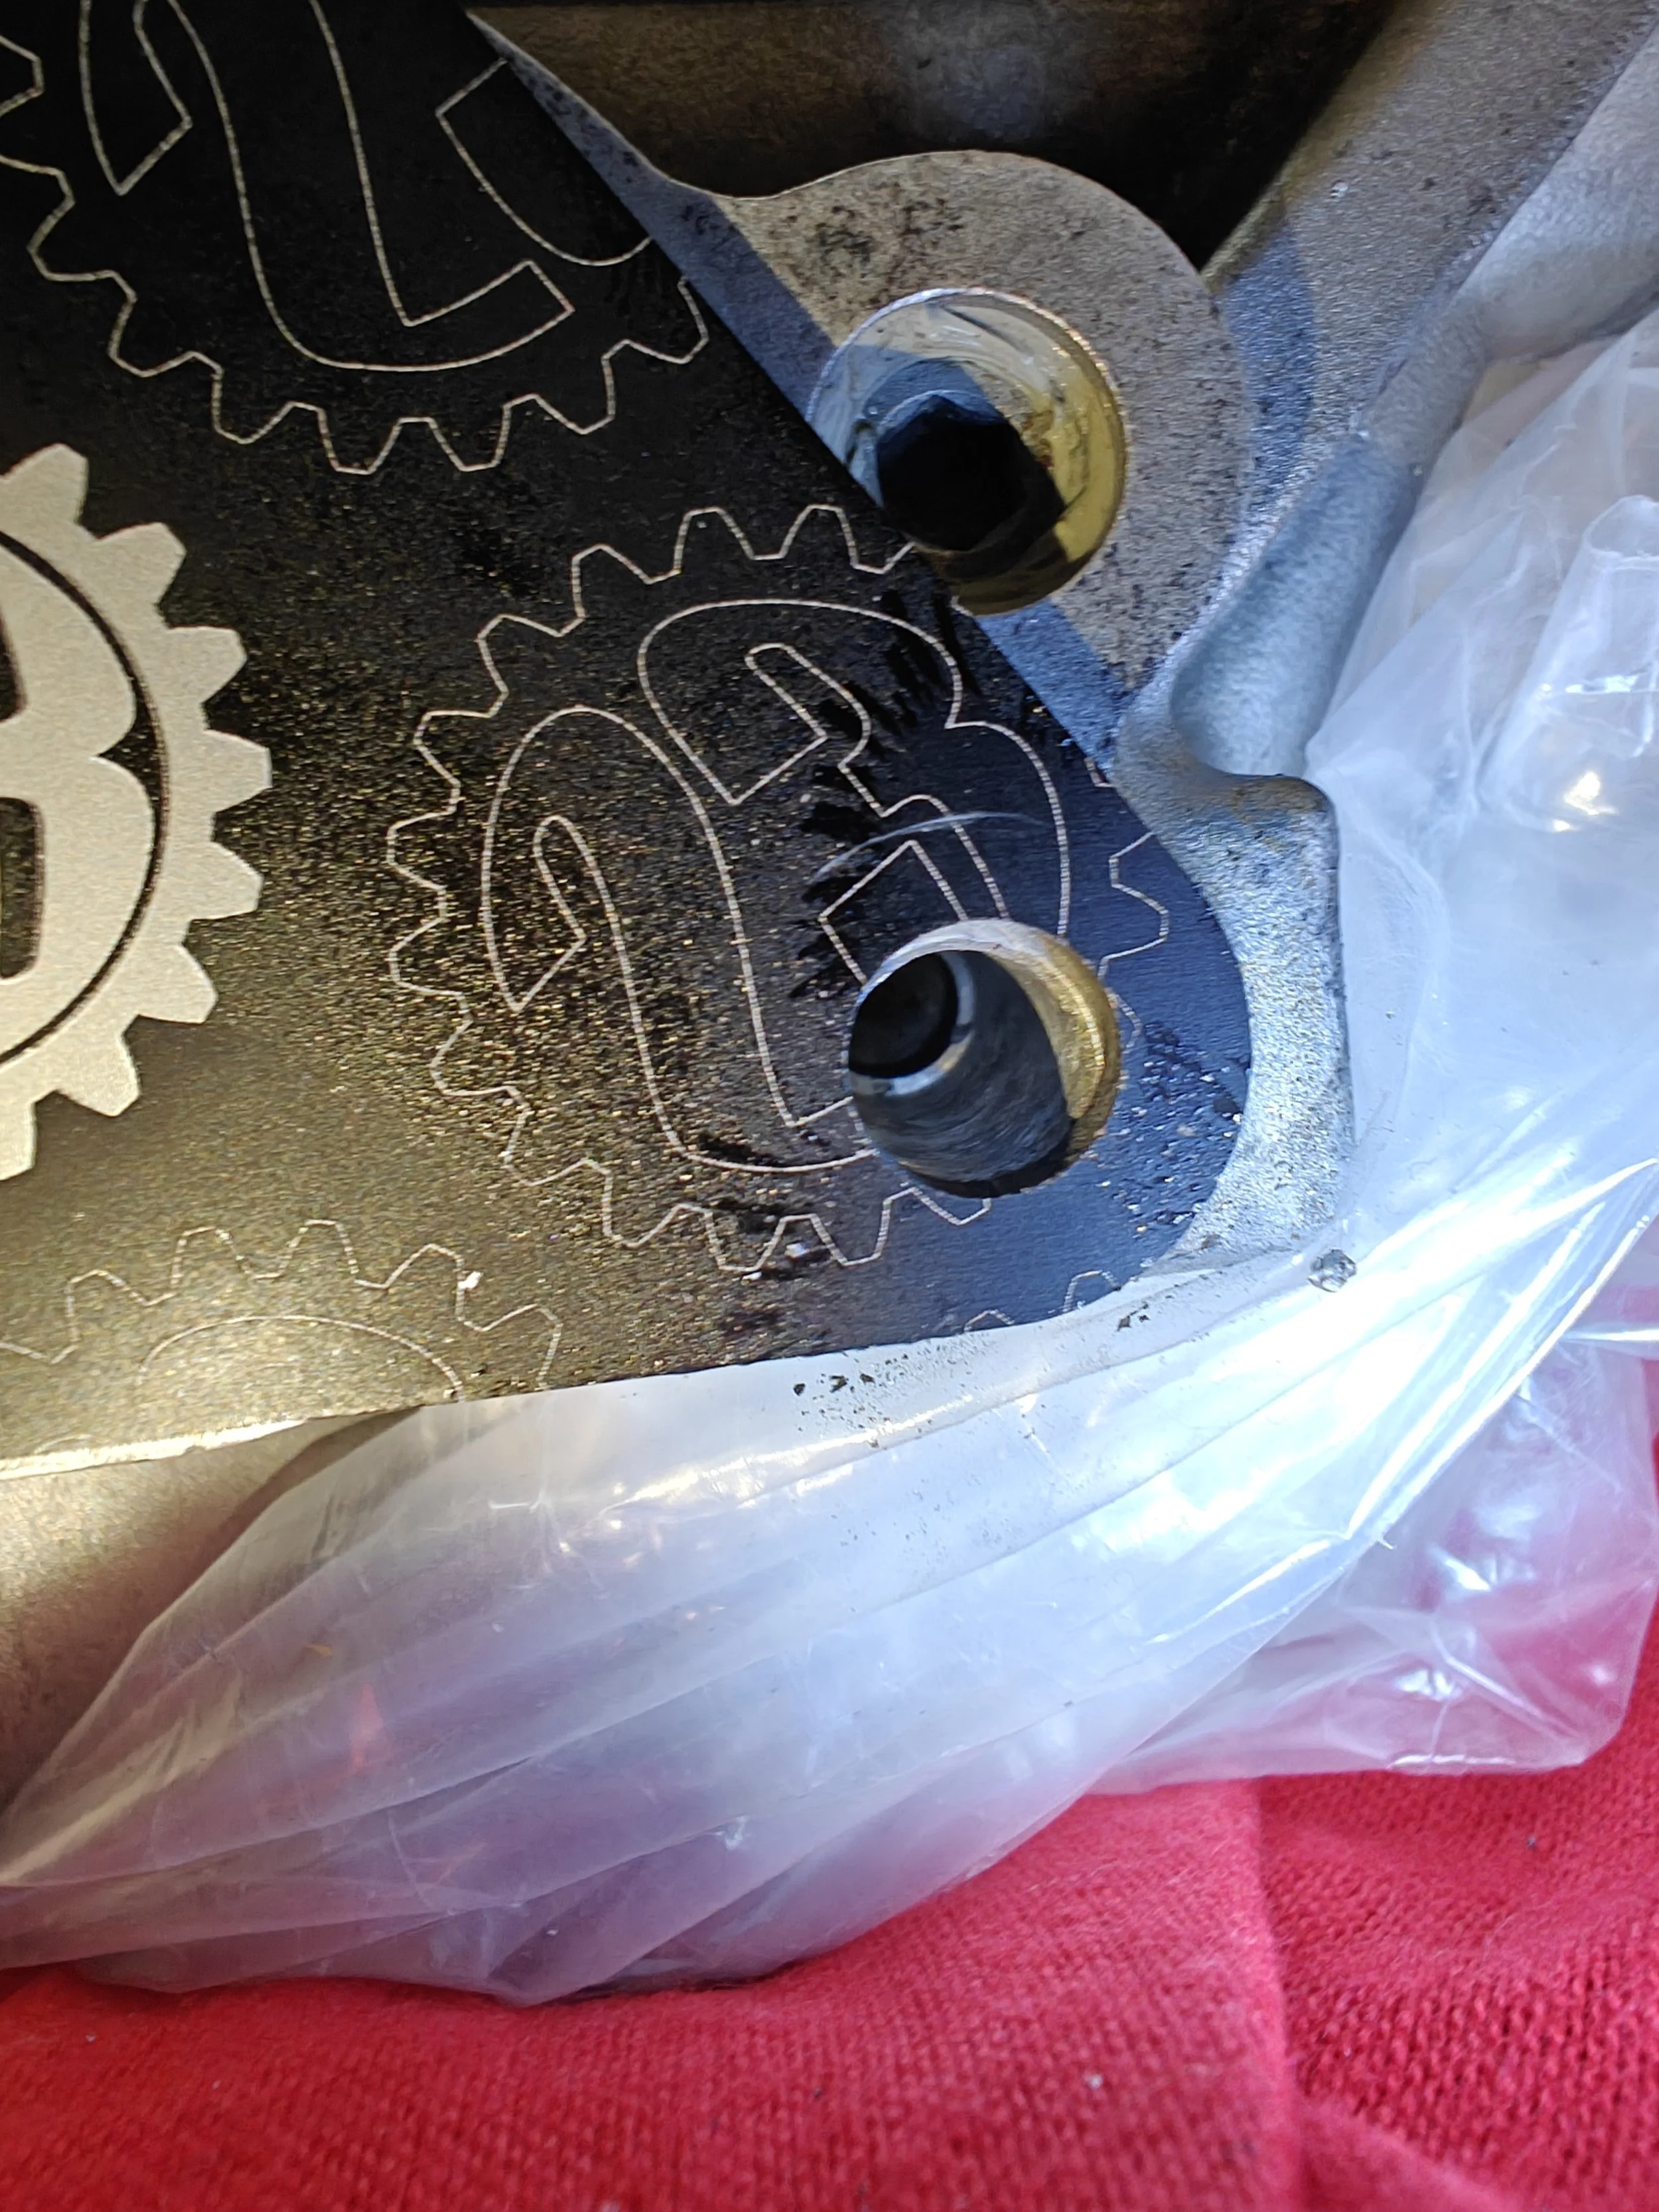
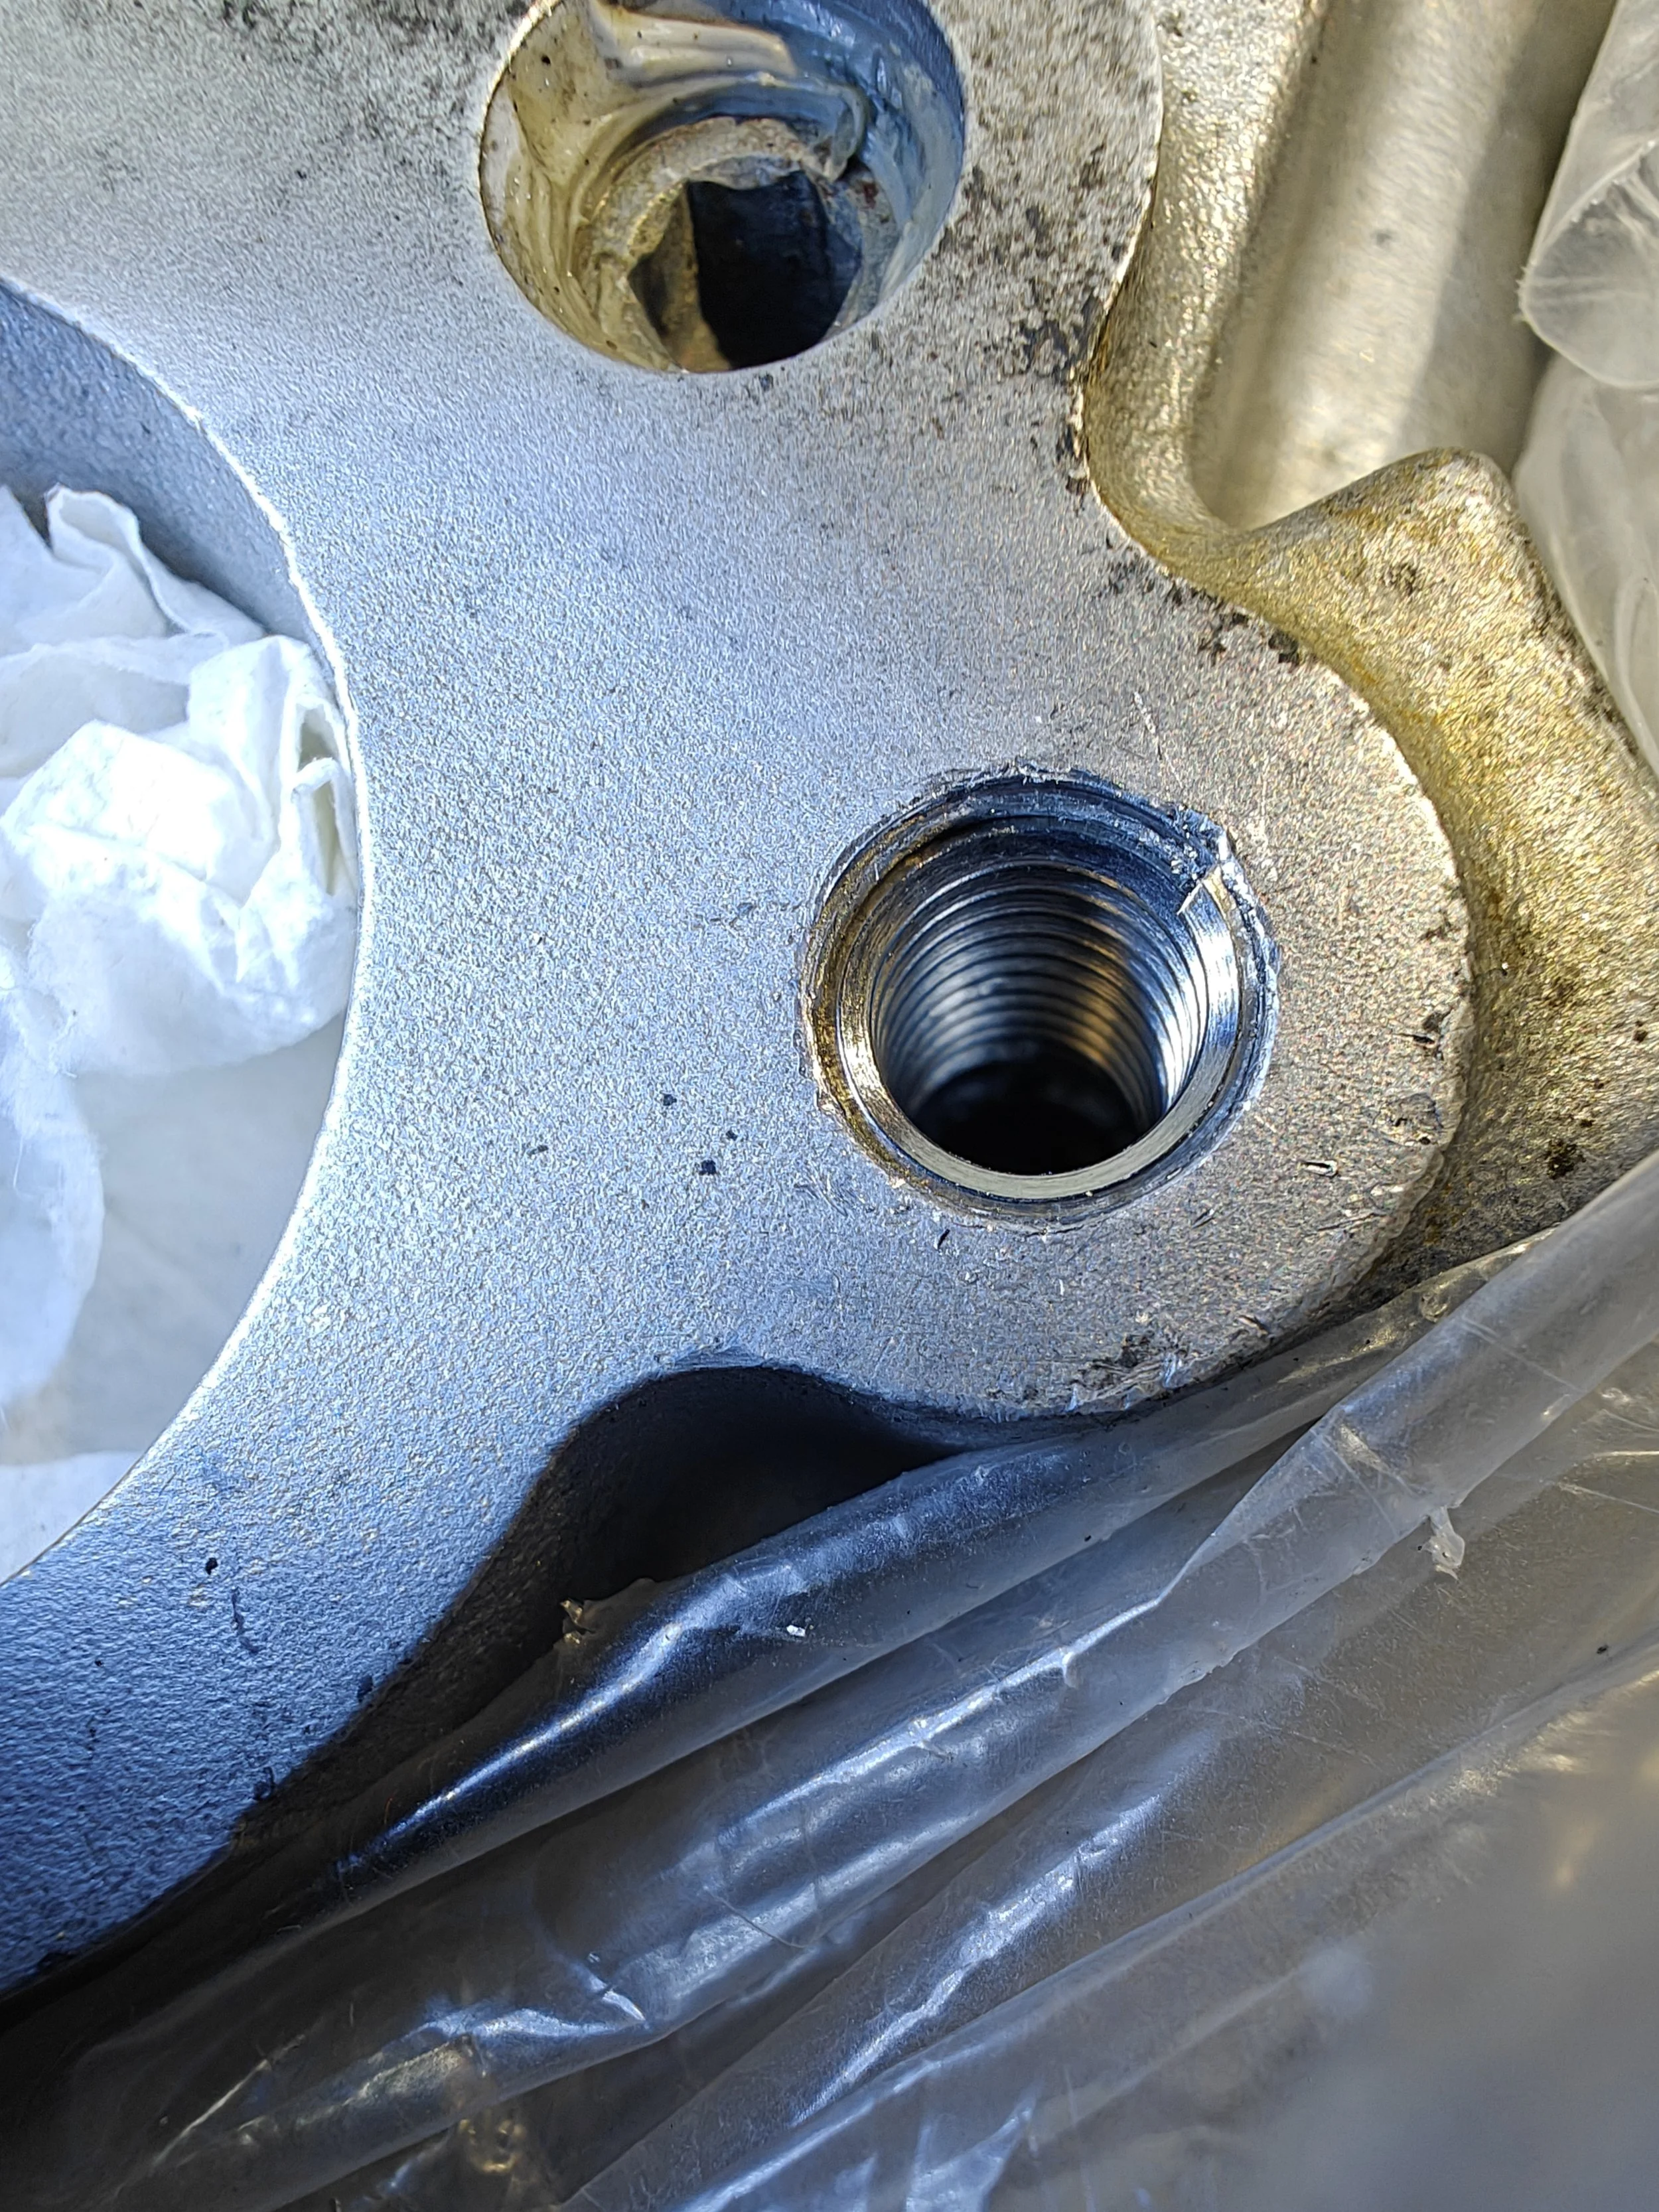
All drilled and ready for the tap.
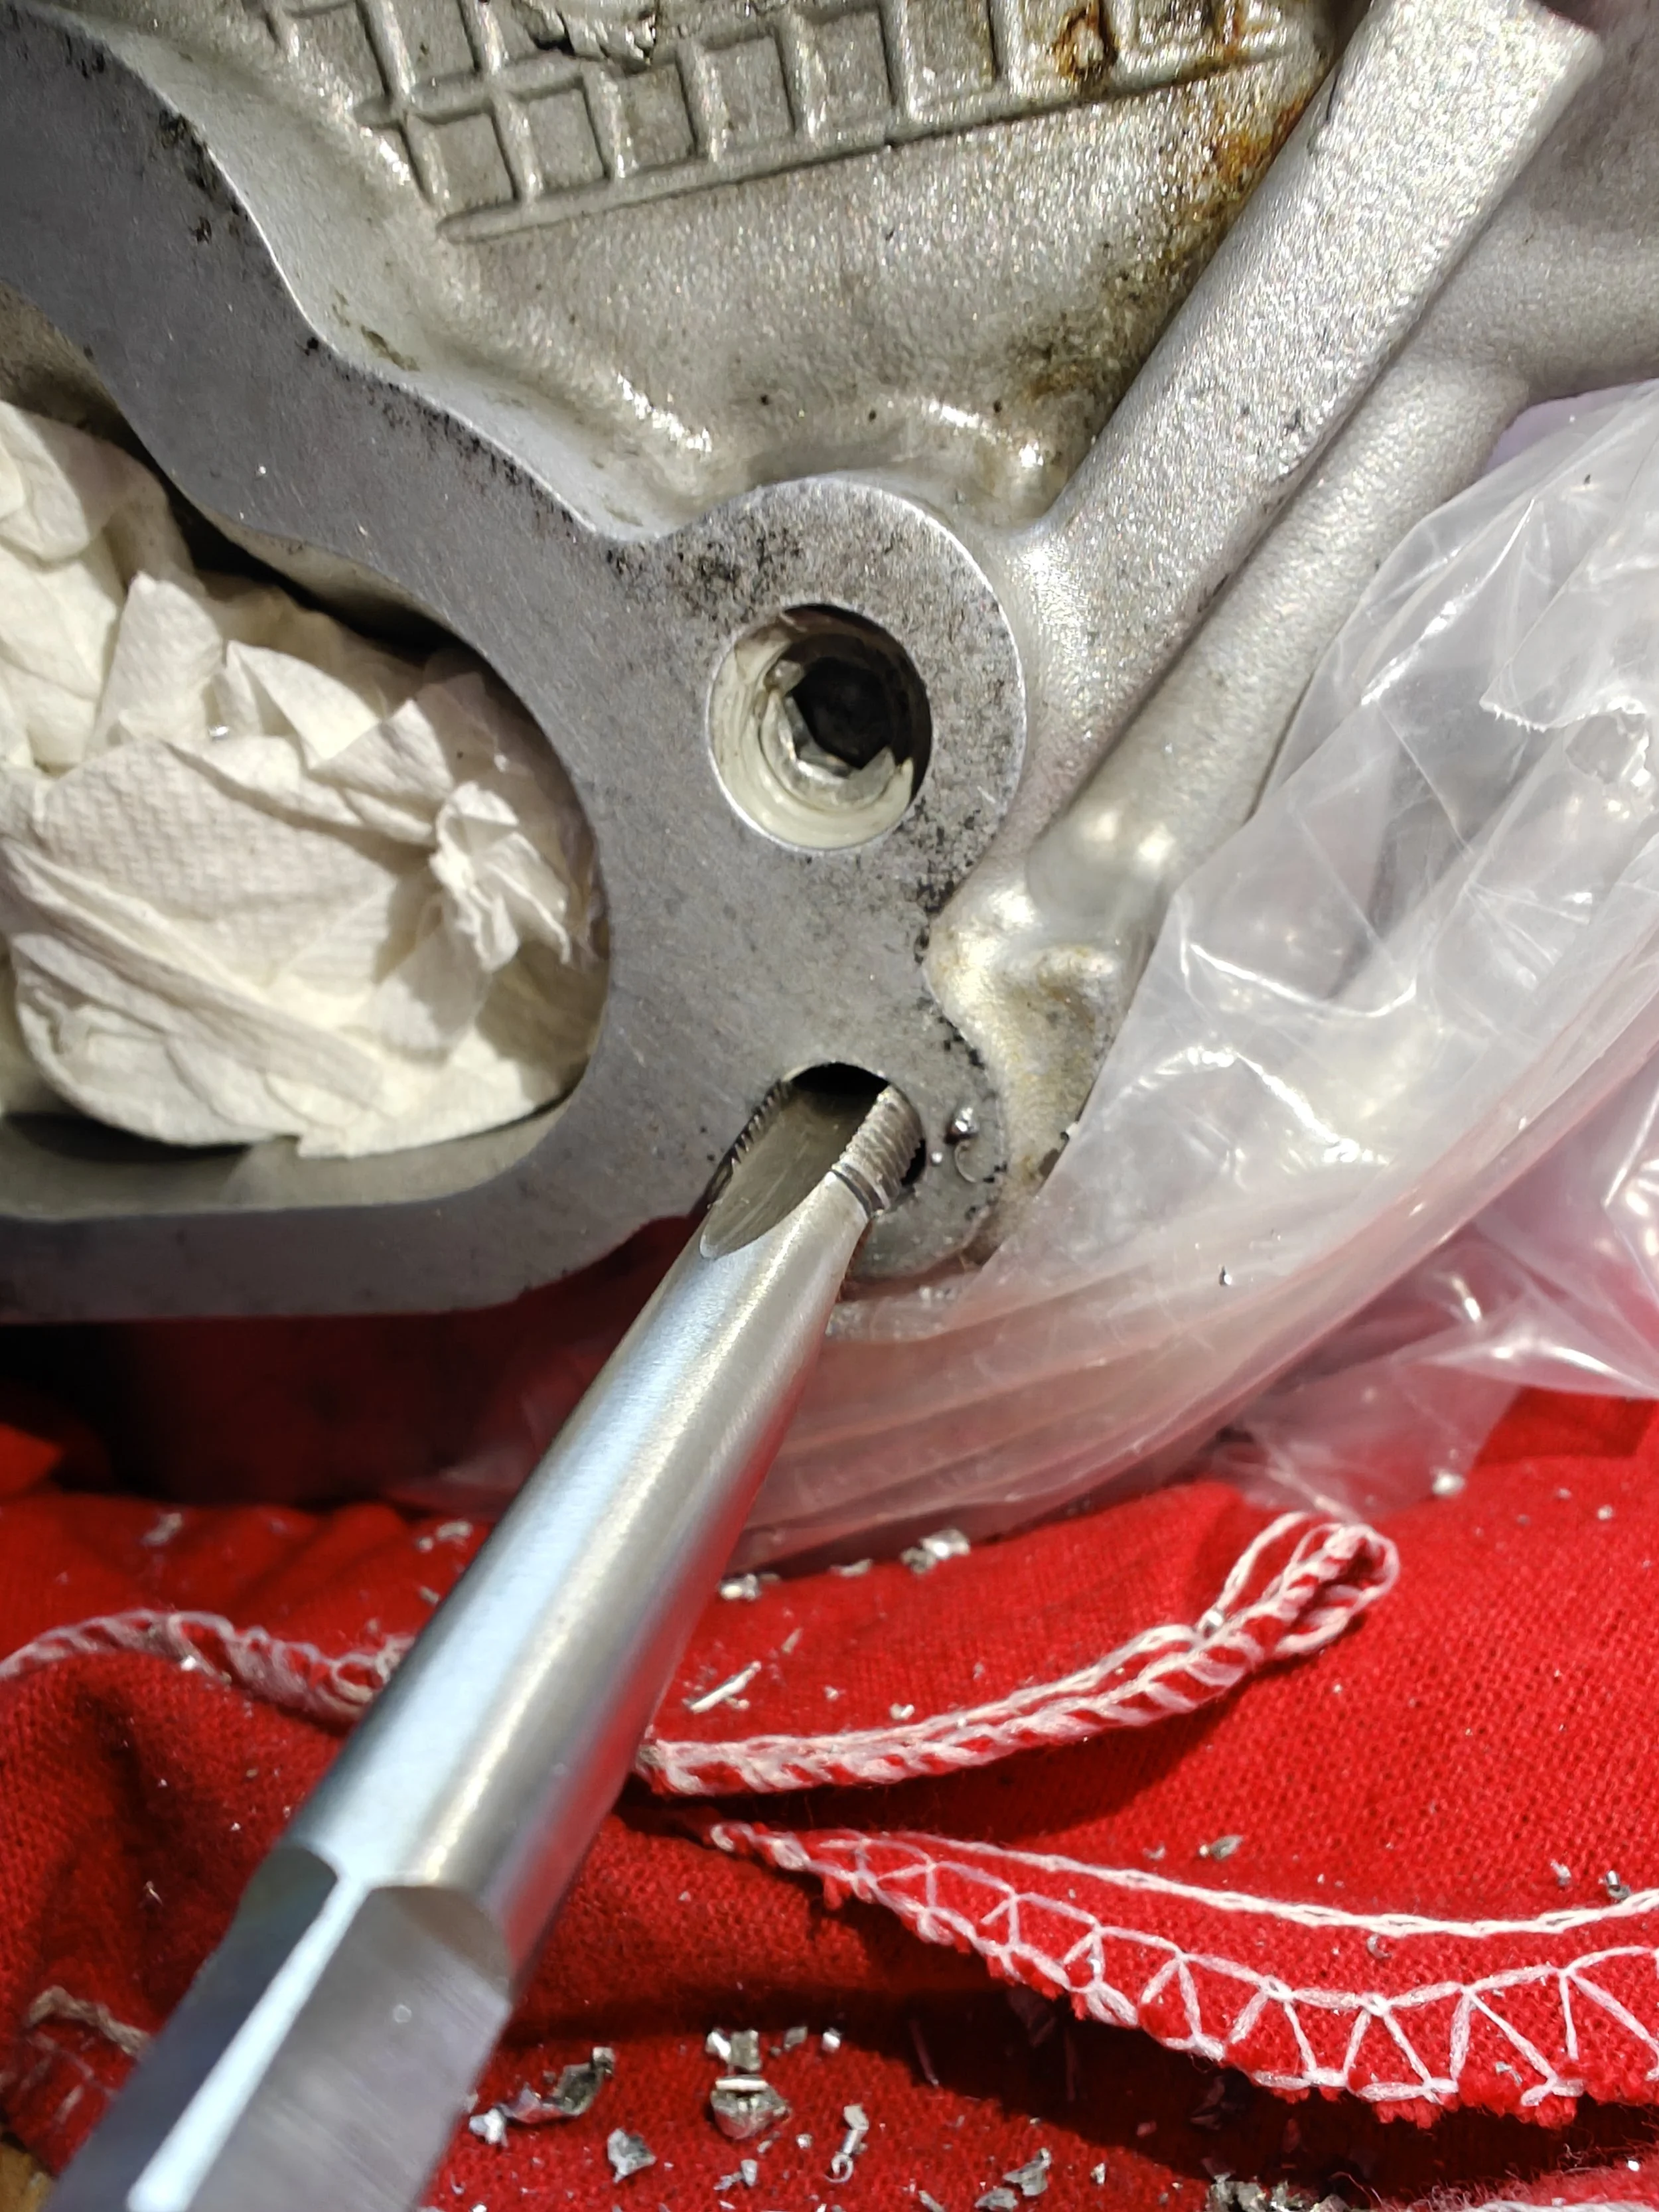
With a brand new giant smooth hole in your cylinder head you can move to the next simple step, running in the new tap. You will notice that it is much larger than a standard 8x1.25 tap, this is because the tap is making a set of threads for the helicoil to thread into. If it was the same size as 8x1.25, you wouldn’t be able to get your helicoil and bolt back into the hole.
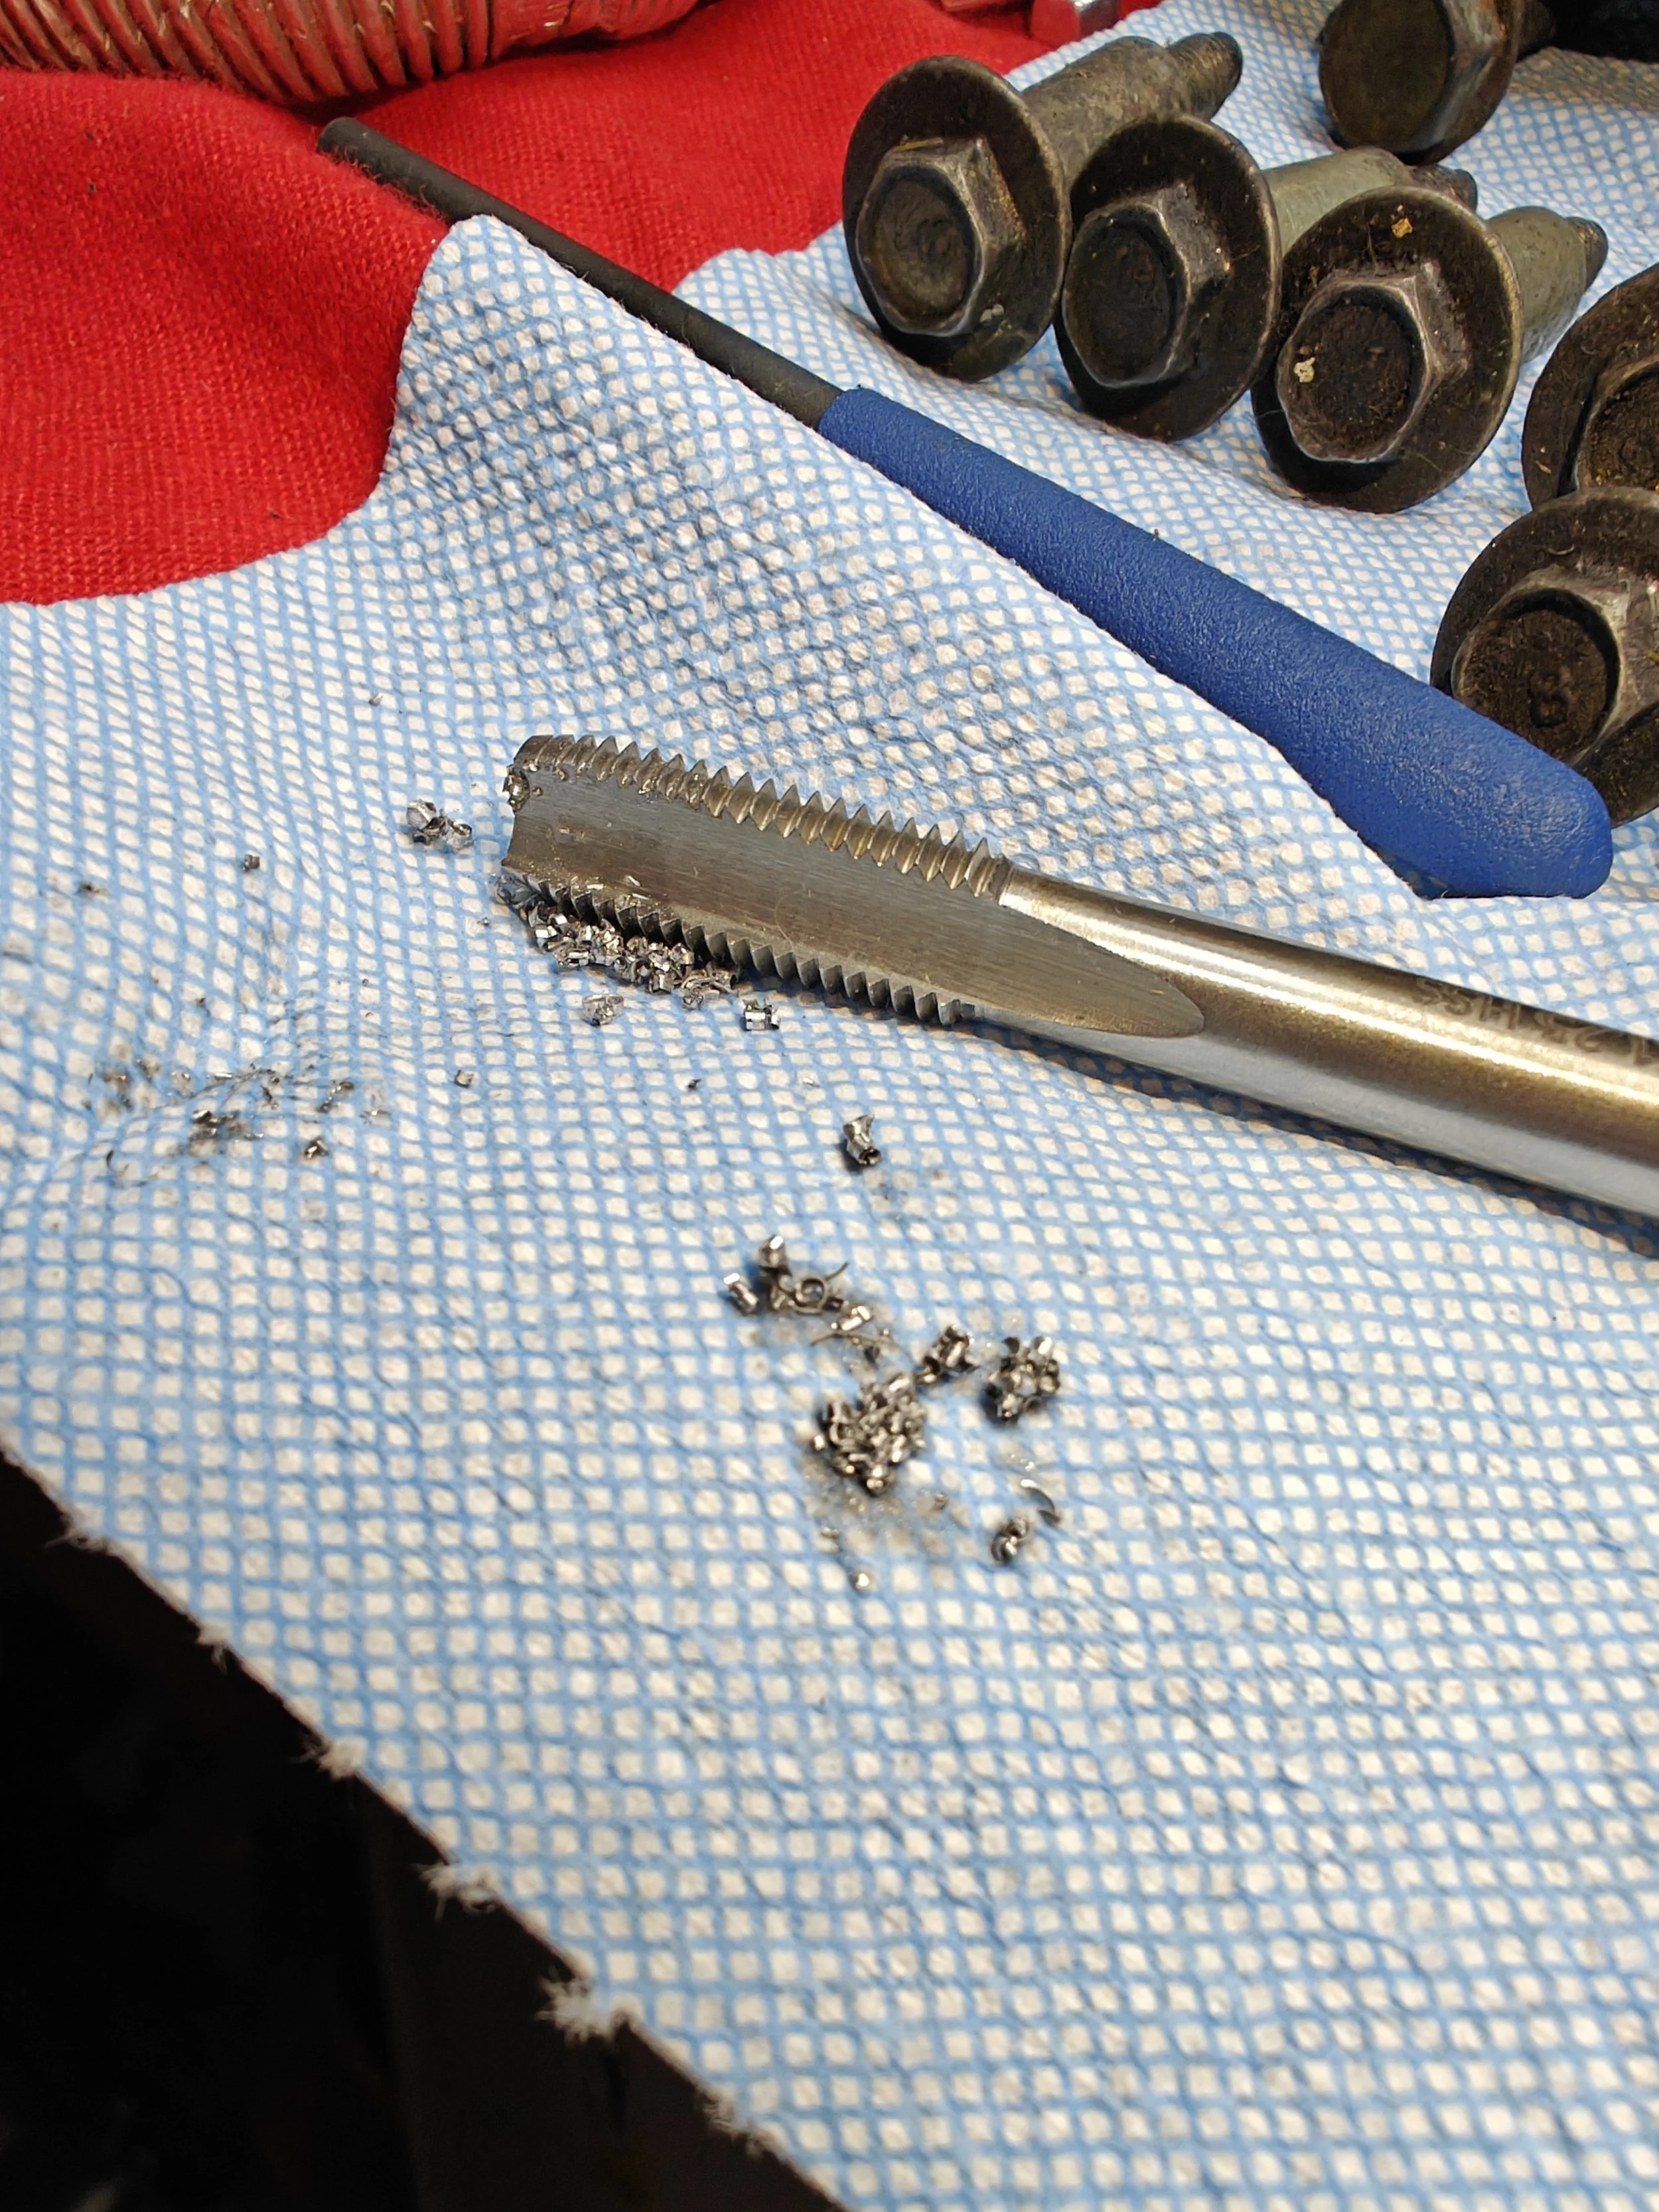
Tap has started it’s work.
I prefer to use a touch of oil on my tap to make the cutting a little easier and keep the metal shavings from spreading to far. I use a back and forth technique to keep the shavings from building up to much. After a few turns in I will spin it back out and clean the tap and add some fresh oil.
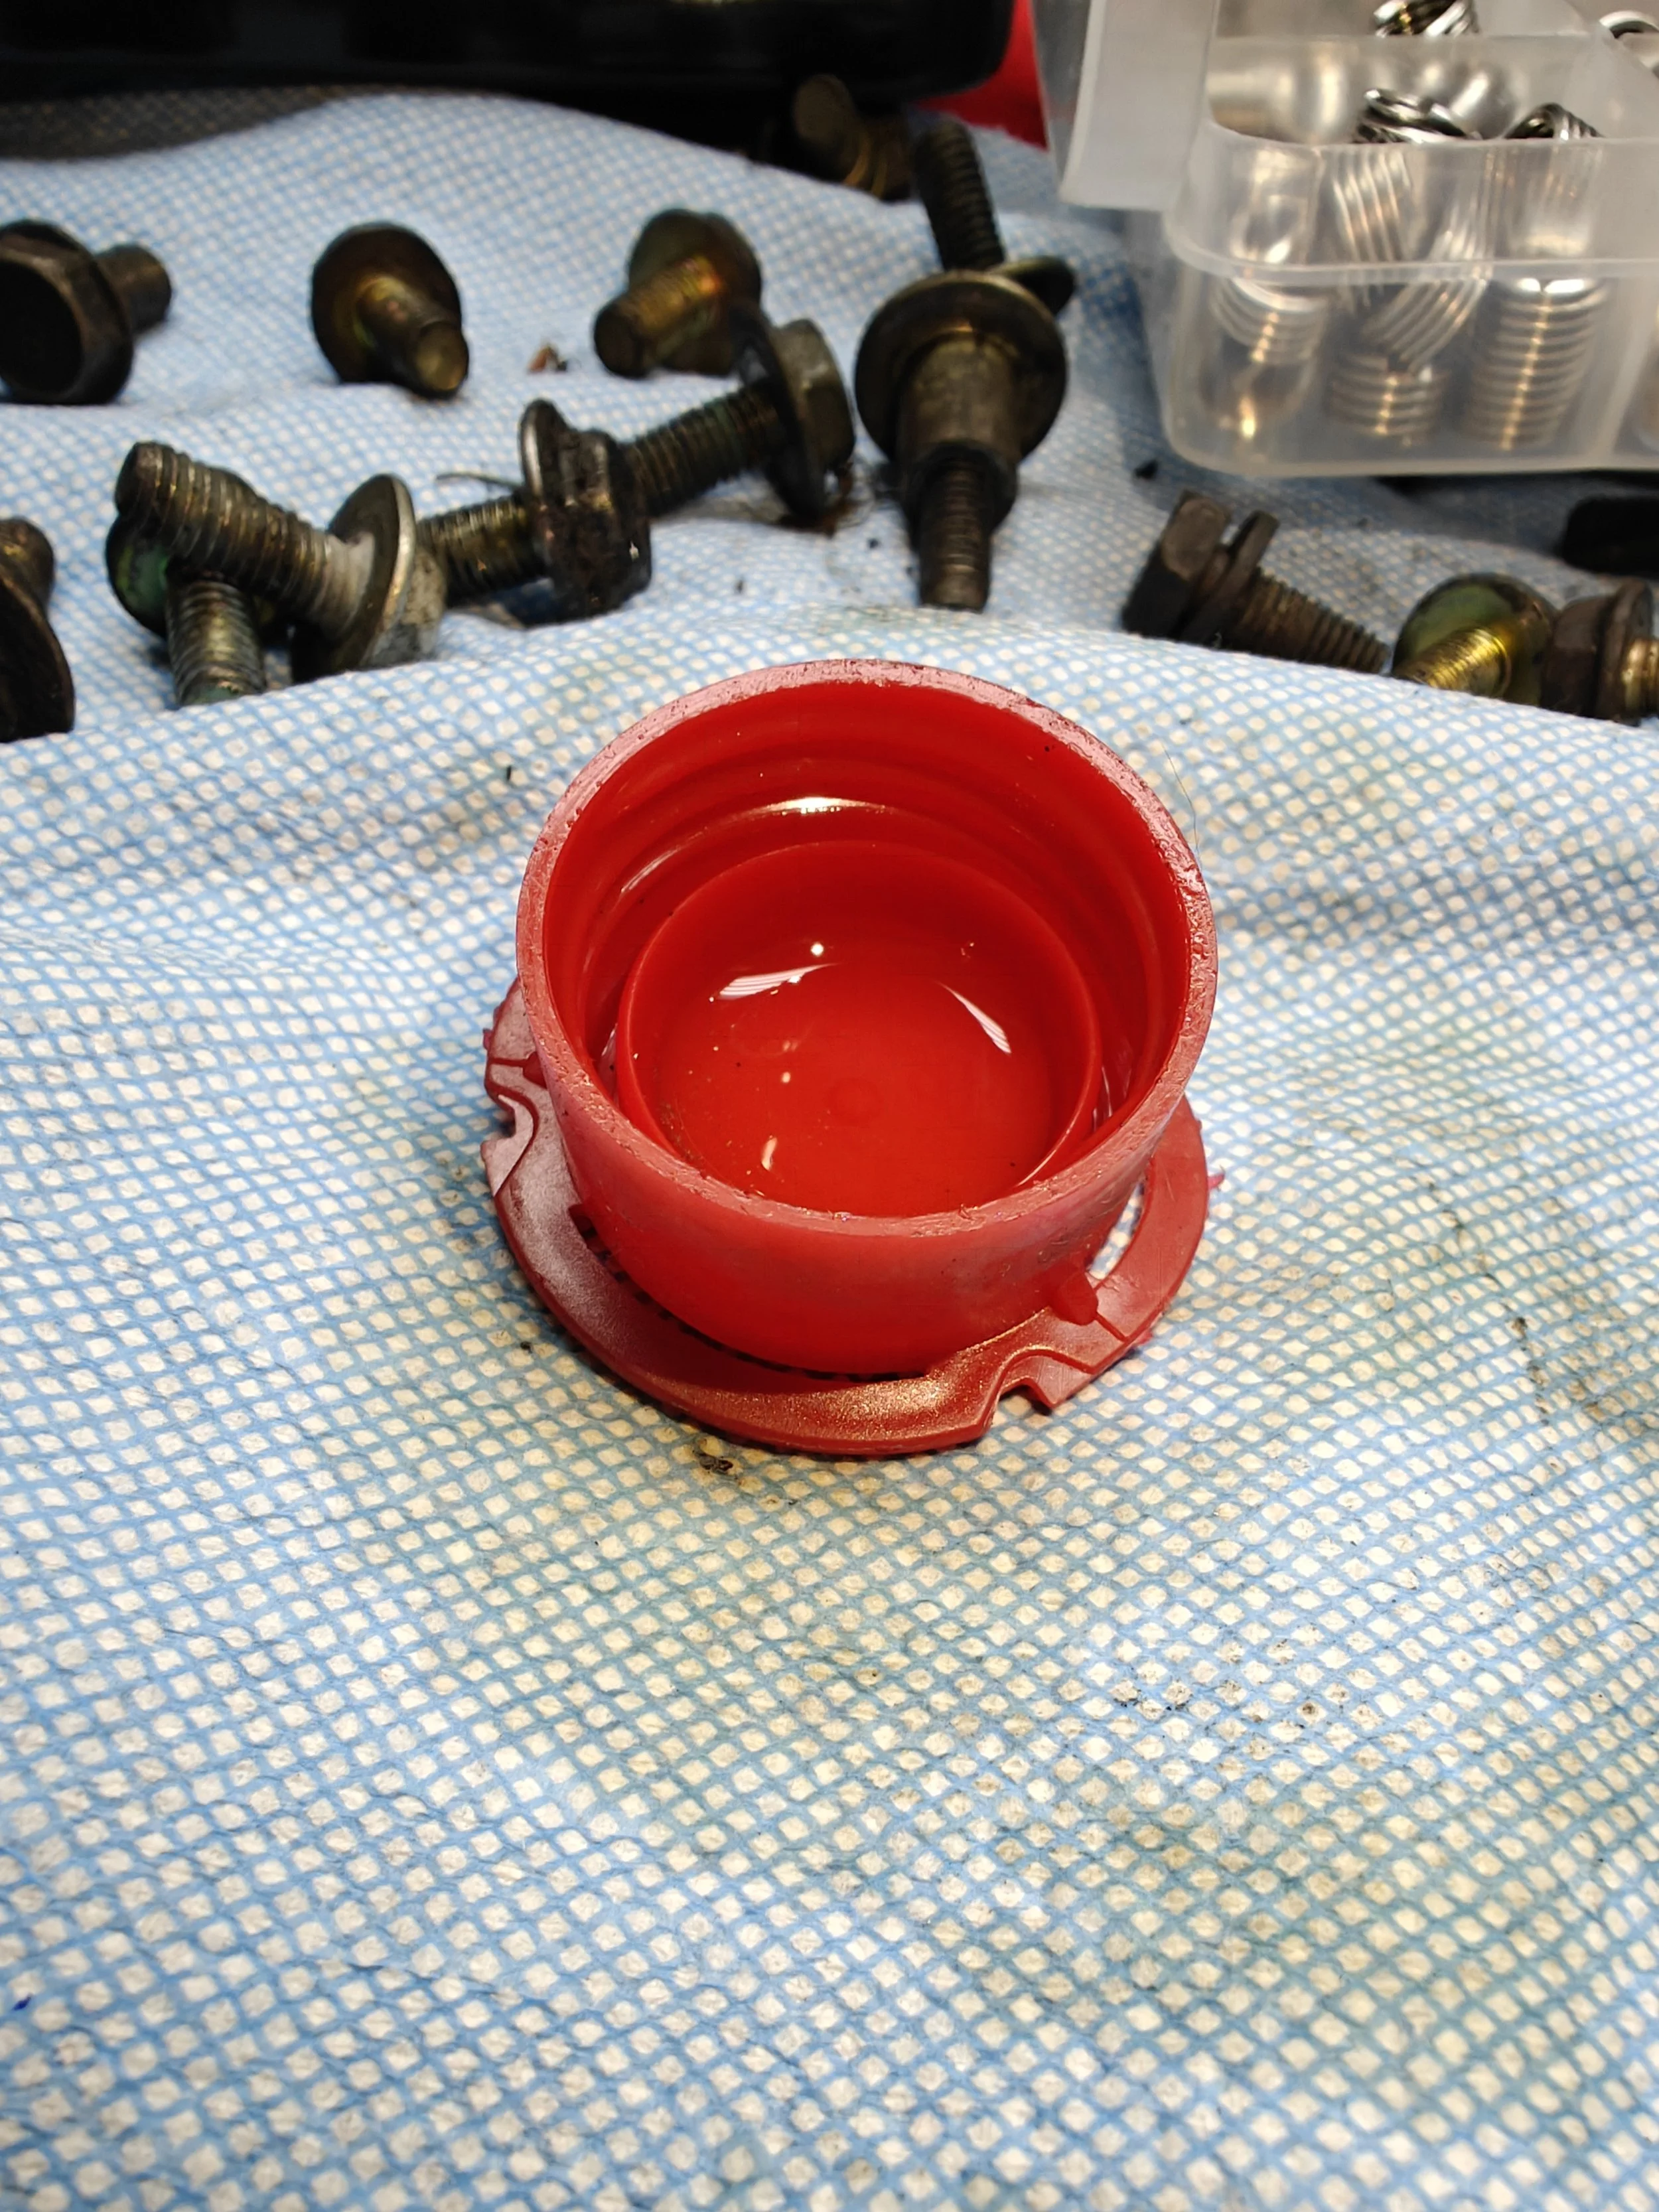
Cap of oil to help cut through the cylinder head.
Cutting away.
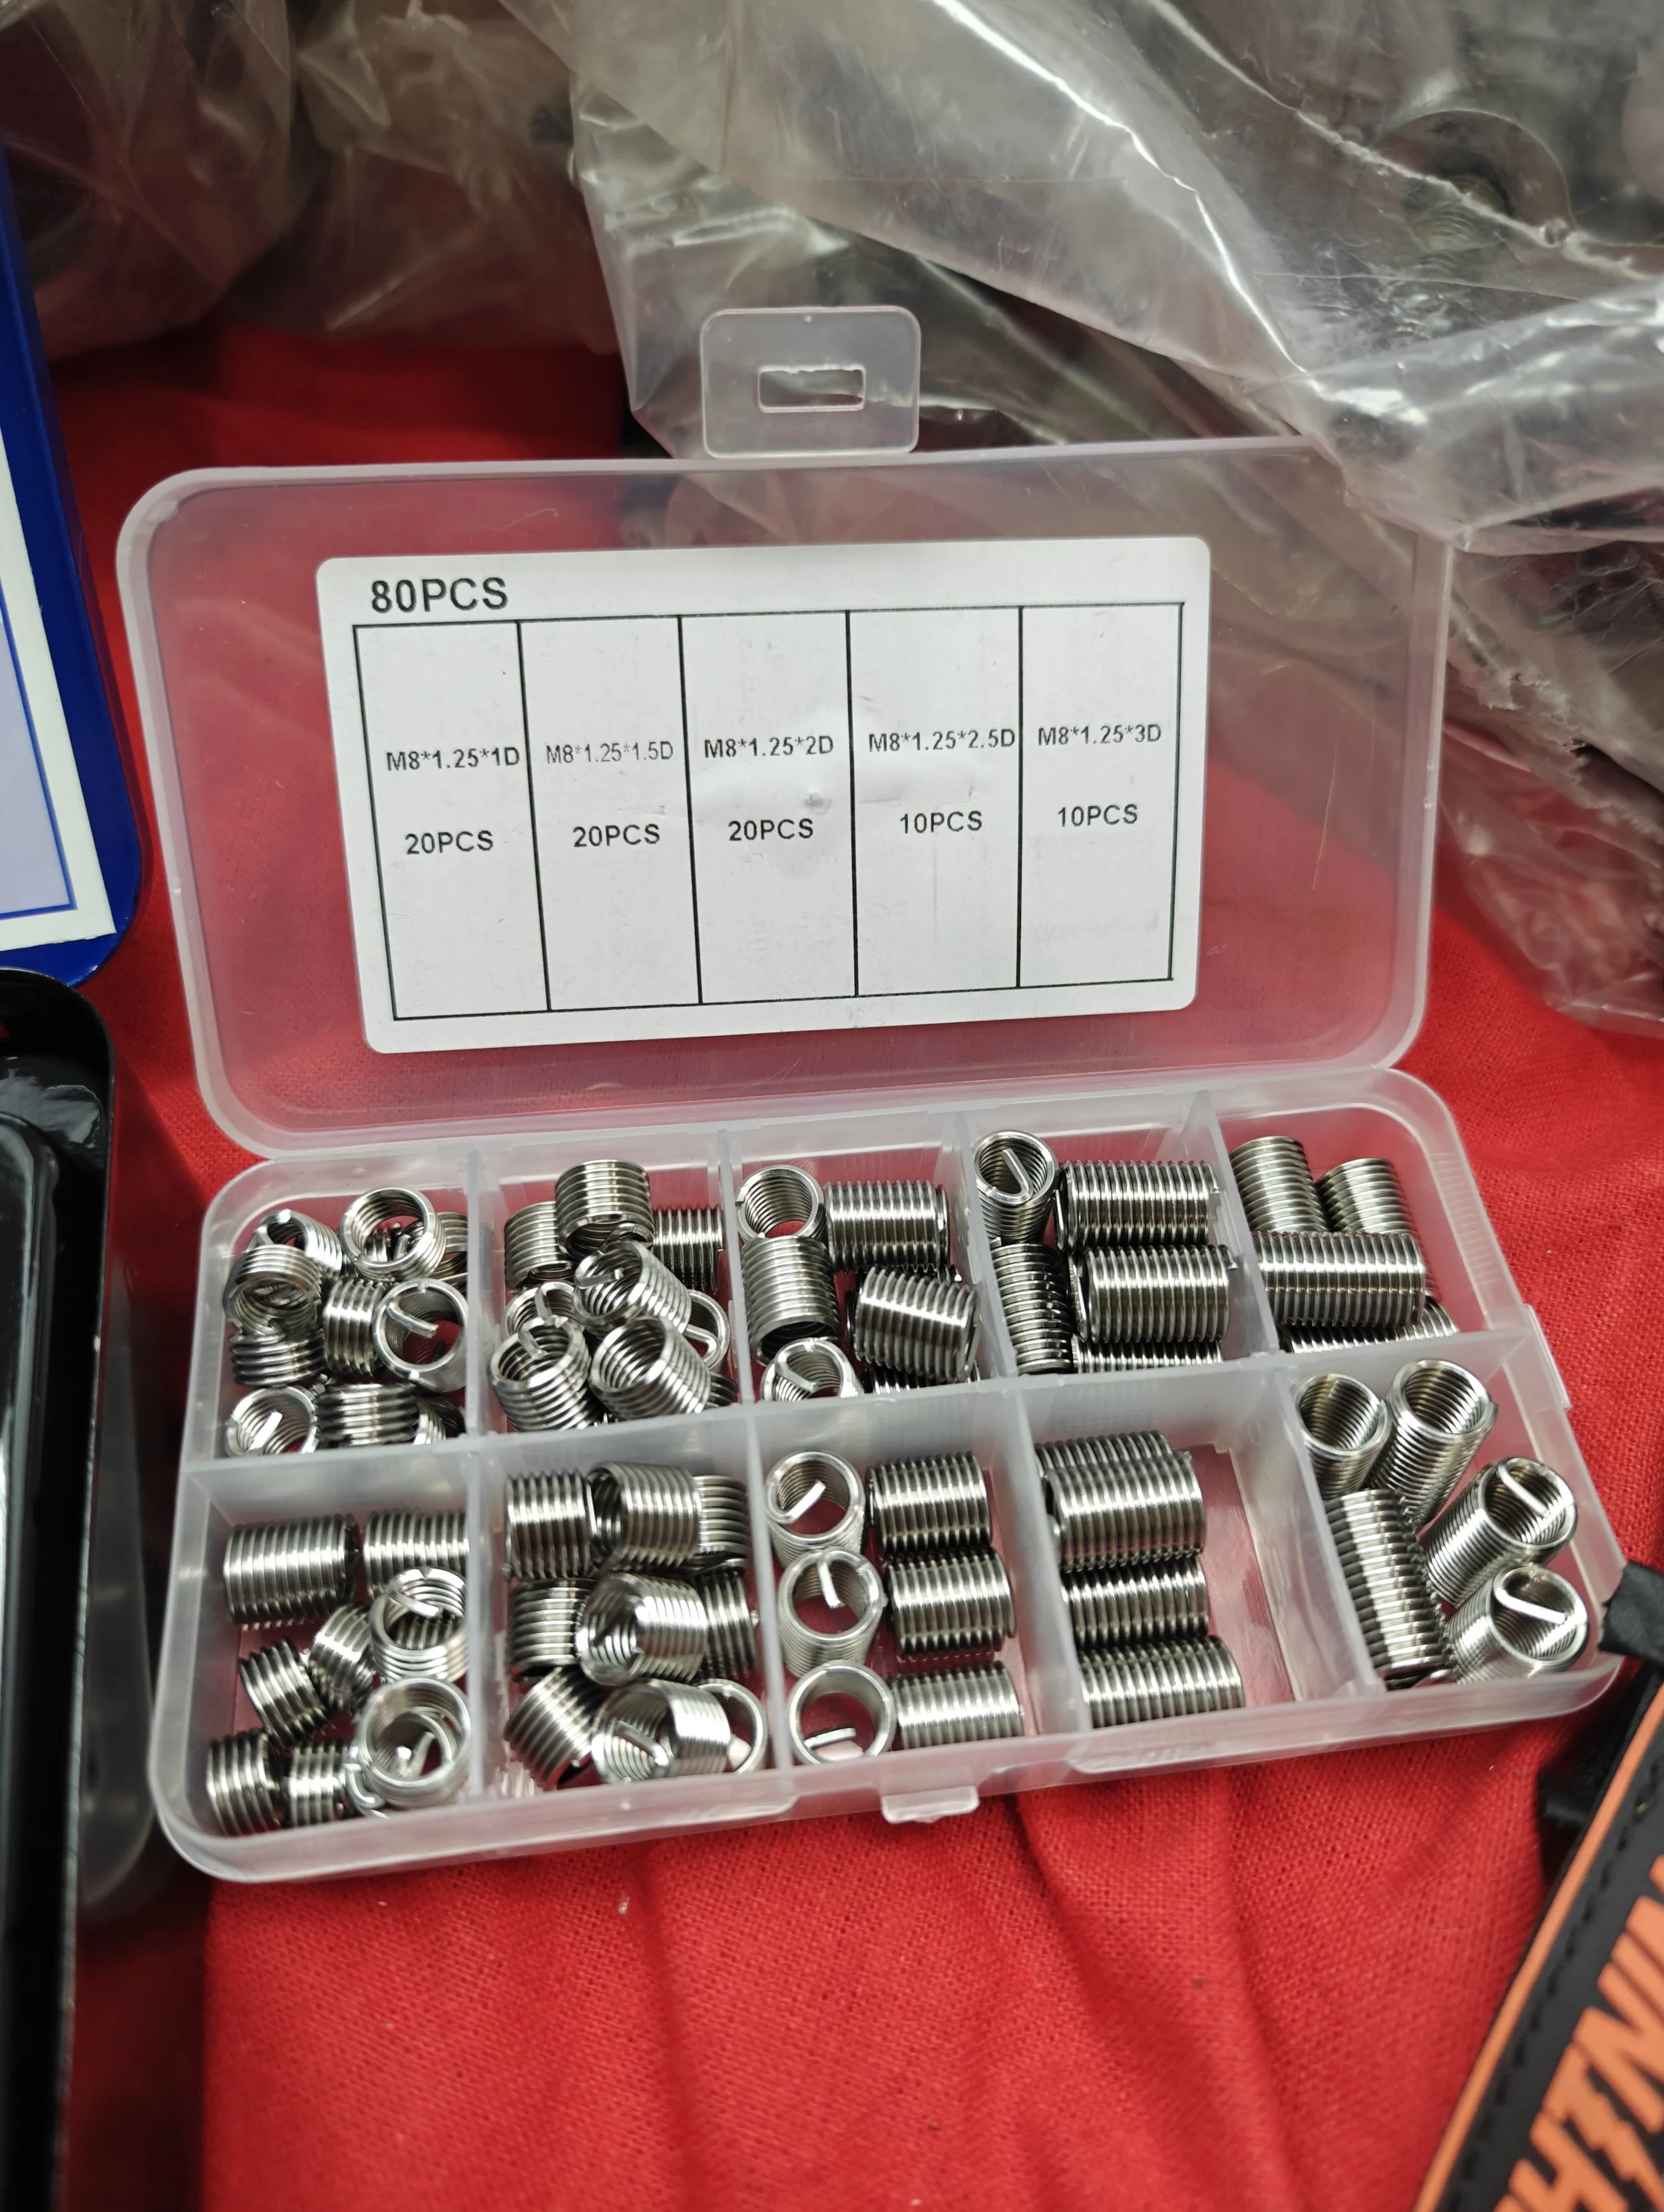
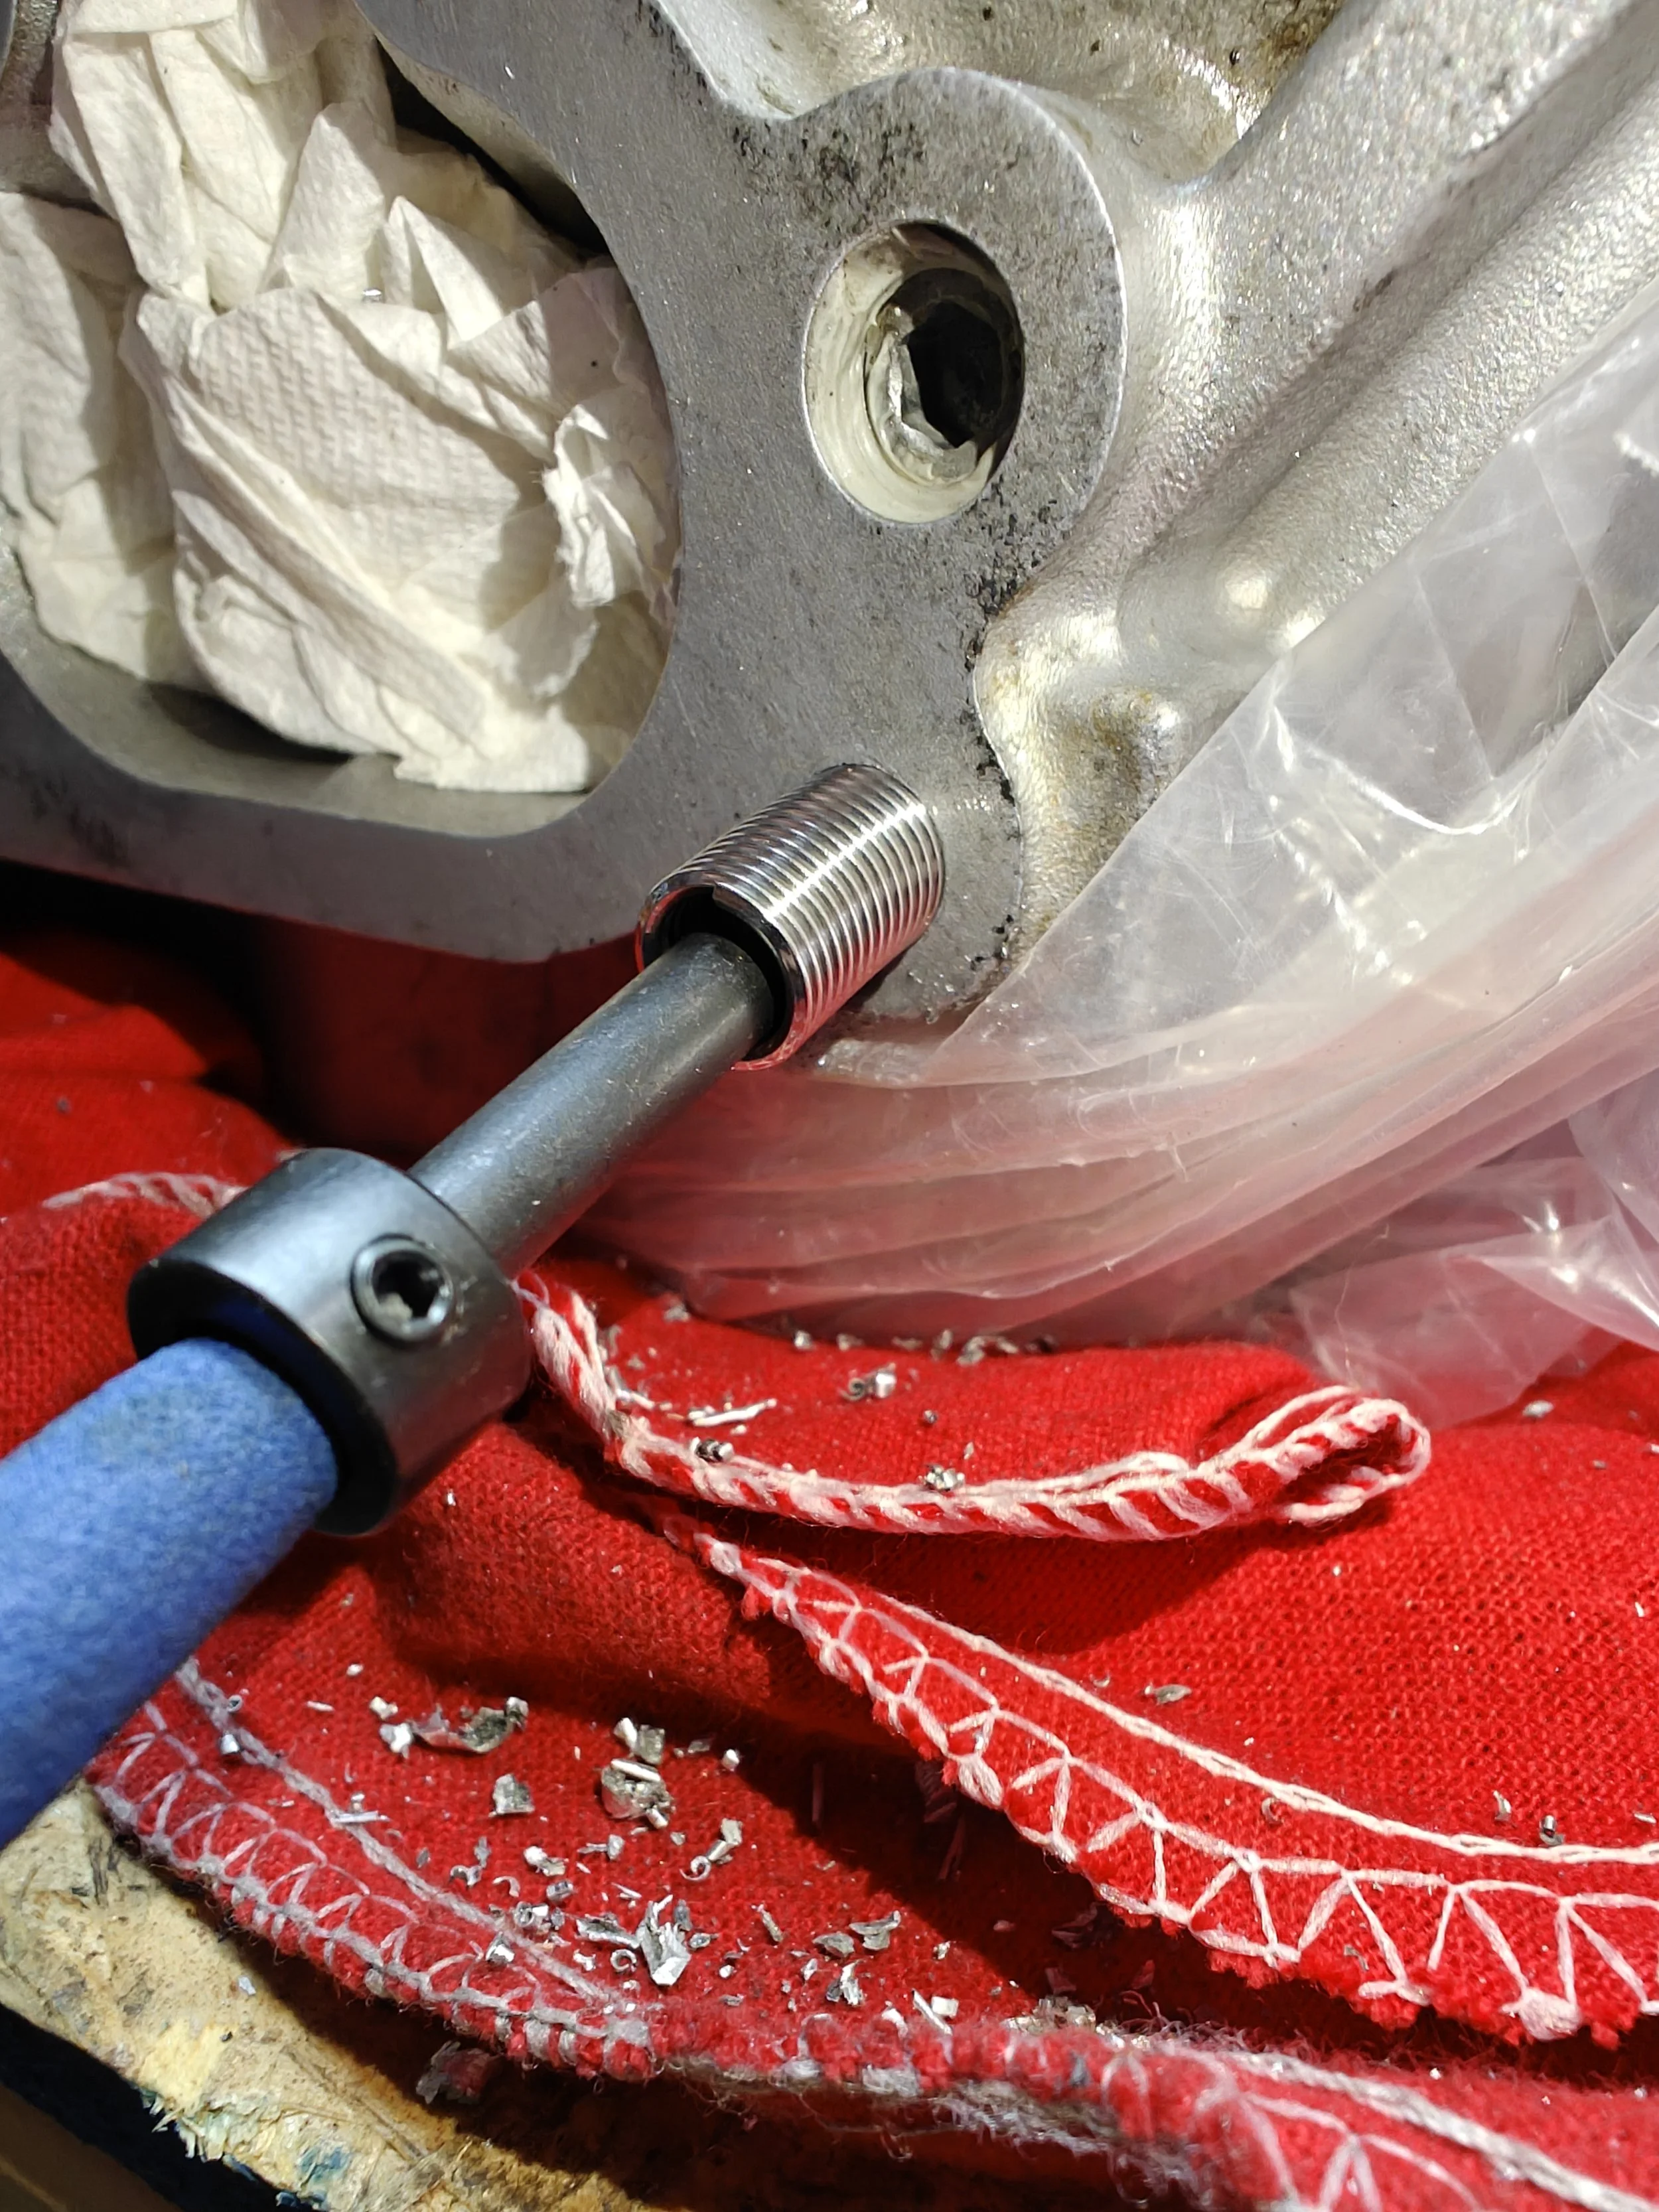
The next step is finding out what size helicoil works. I found that two longest coils in my kit would not bottom out and this the 3rd longest was used. We can now use our helicoil installing tool to drive it into the threads. once it bottoms out, you can twist it back and forth until the tang/tab breaks off.
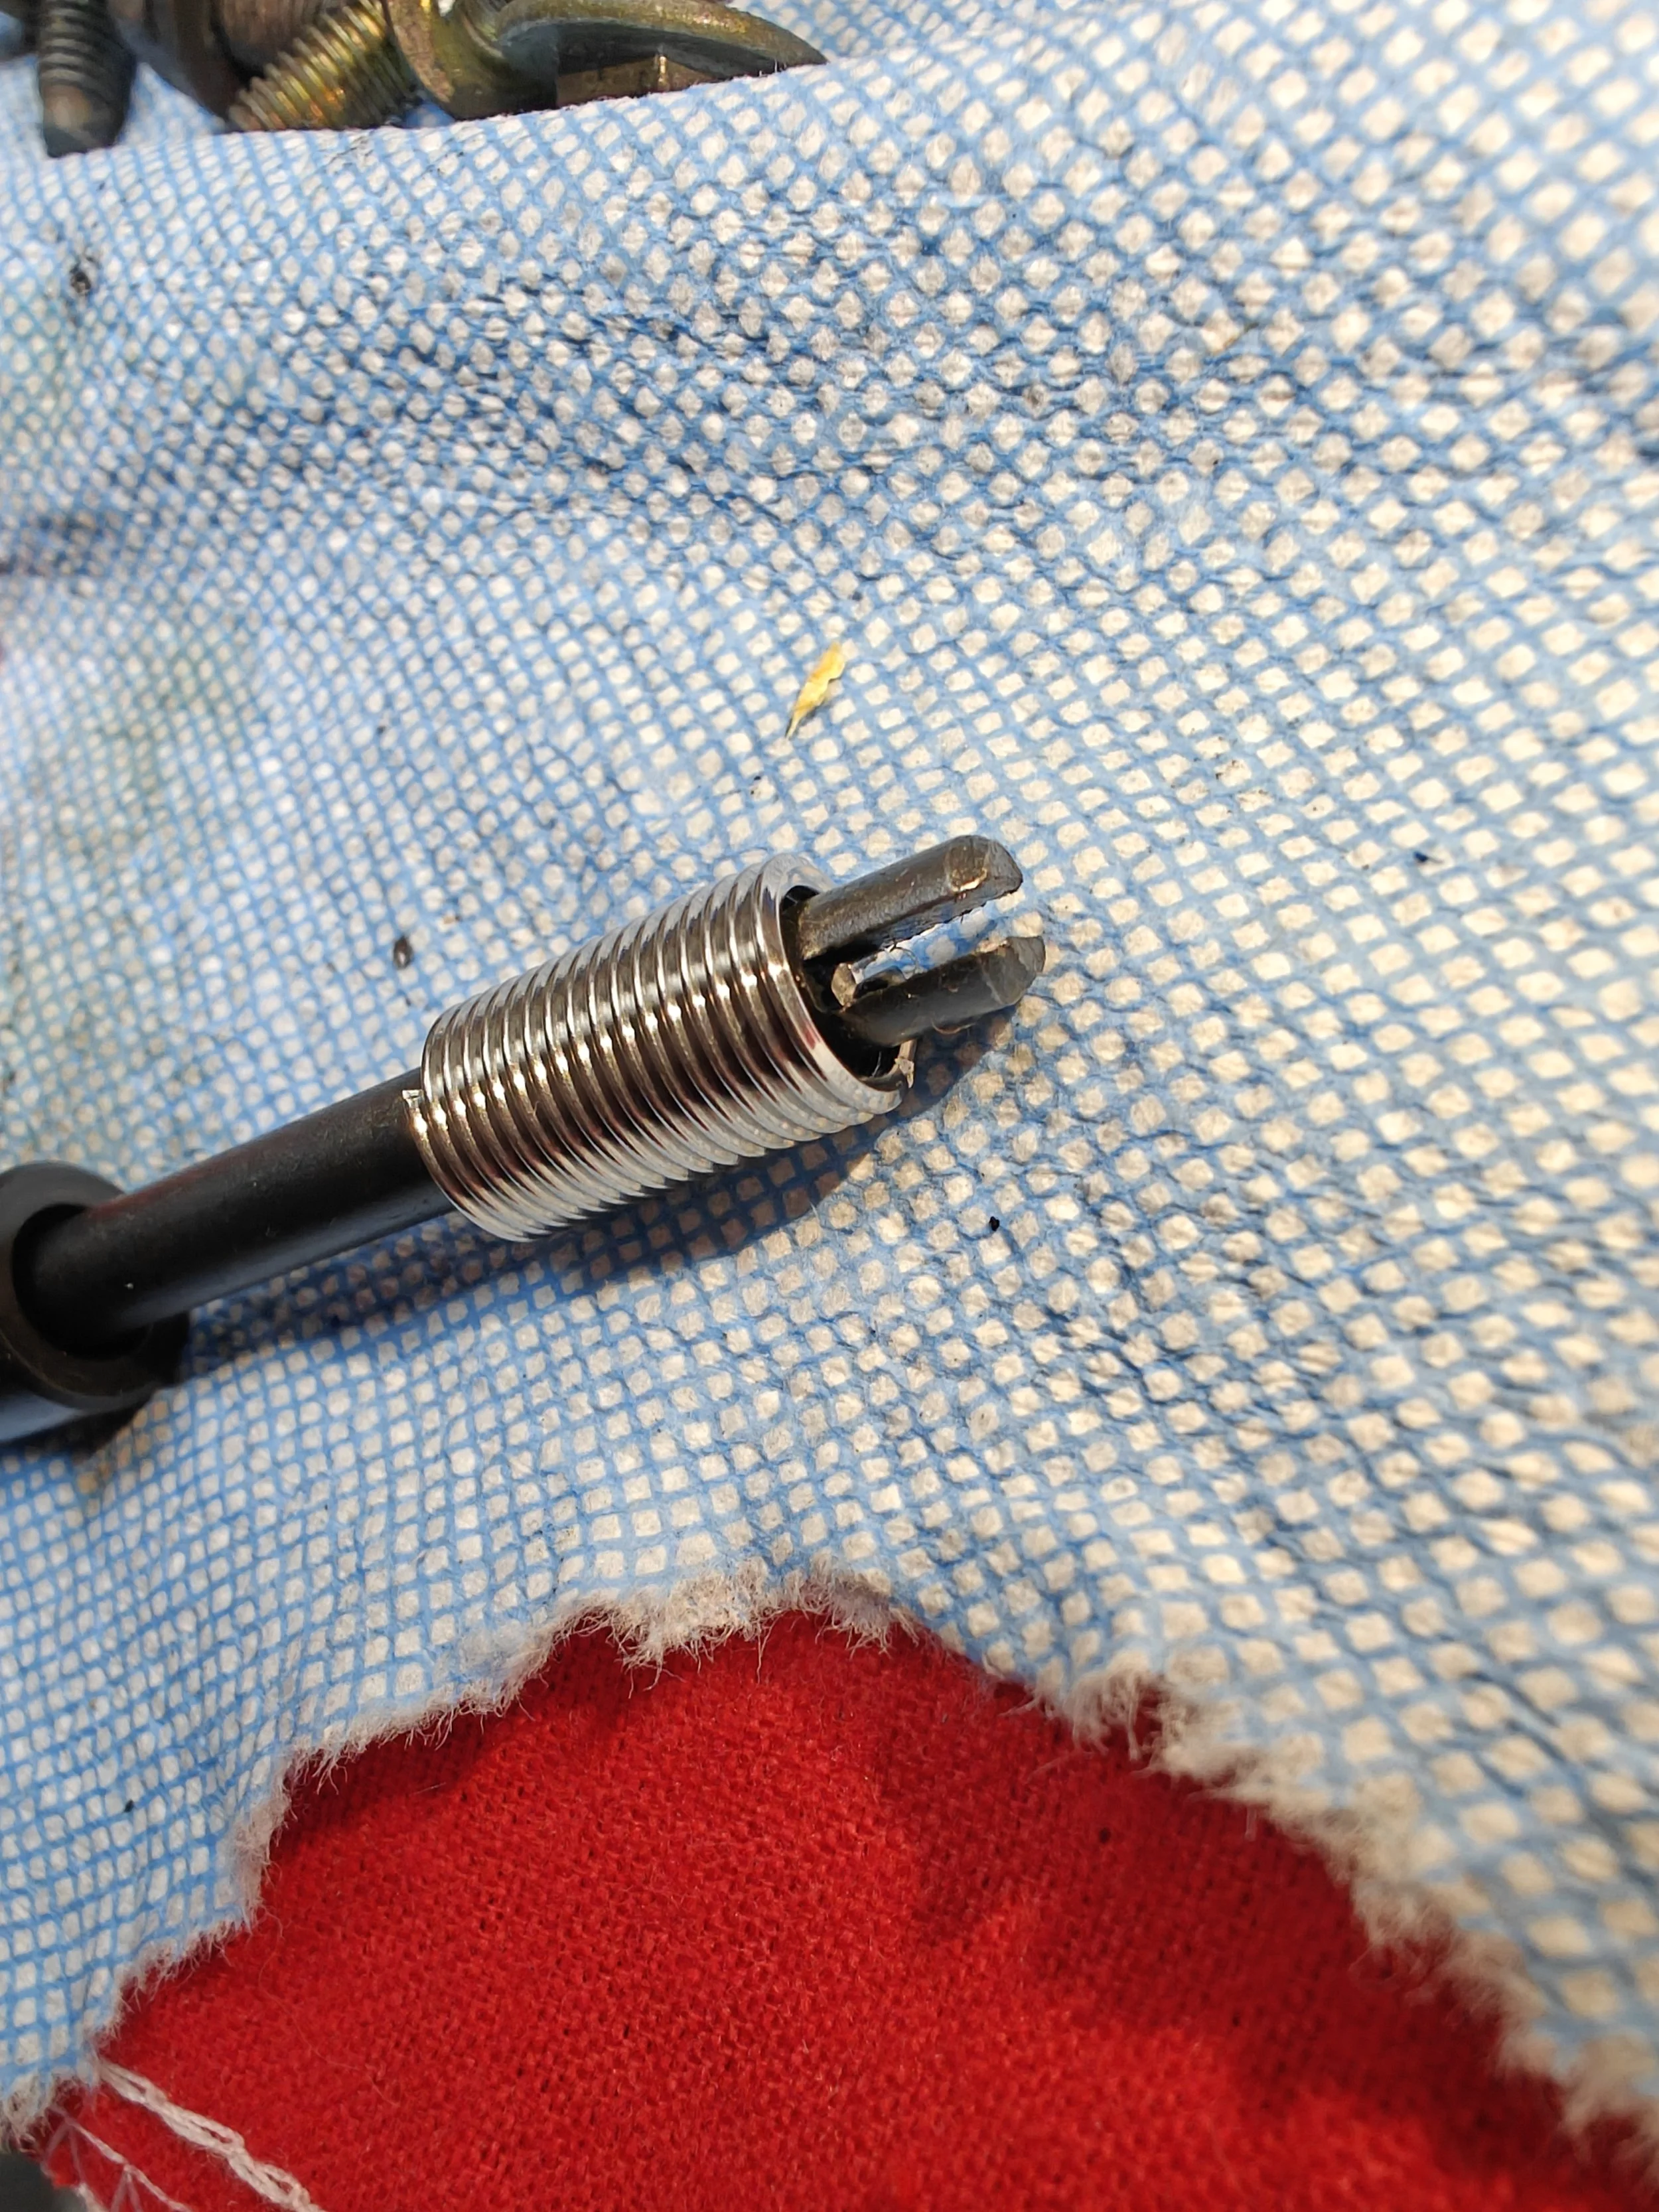
Helicoil loaded into the tool. This size ended up being too big.
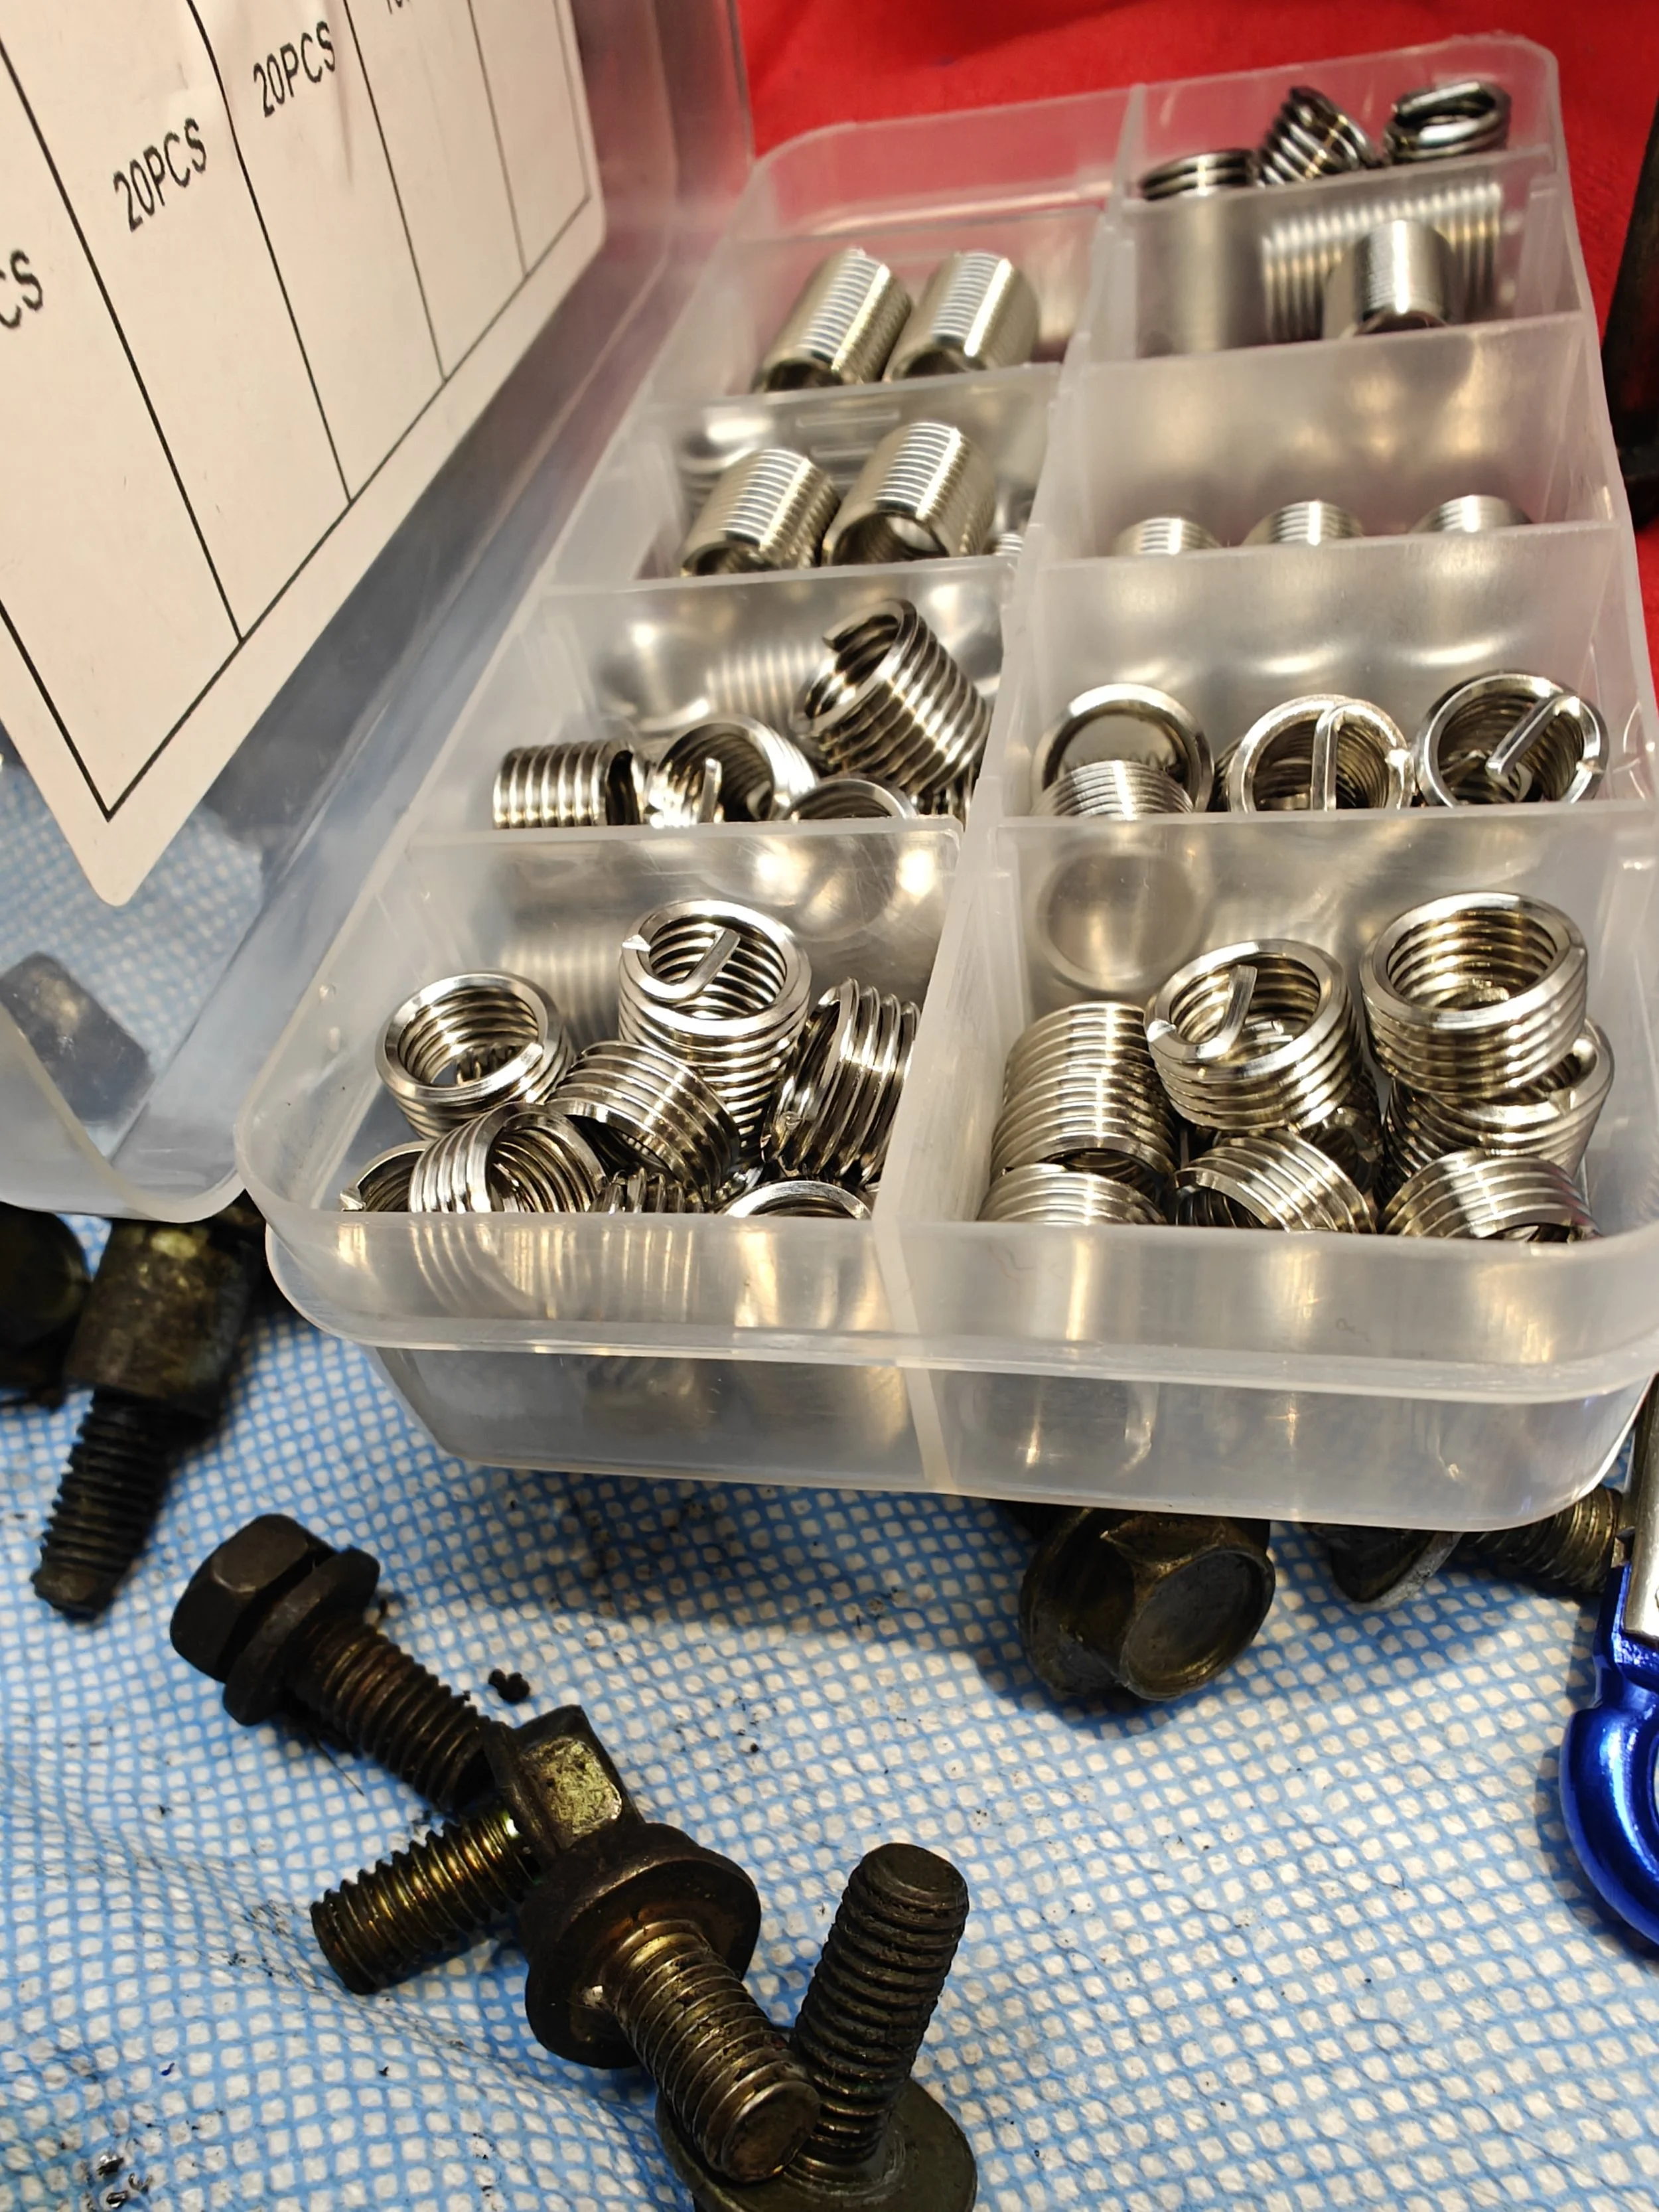
Plenty of sizes to choose from. The middle length was the proper length for this.
Threading the helicoil in once coil at a time.
All set and ready for an intake manifold.
You can test a few bolts to make sure you are getting proper engagement and the helicoil is staying put. If it all stays put, its time to bolt everything back together and move on with your day.
Congratz, that wasn’t too bad now as it? Maybe I will redo it in a future how-to to show the differences between a timesert. But for now, I think this will do just fine.
Tools and Parts
8x1.25 Helicoils (varying lengths)