STi limited trunk lip install without drilling! For 02-07 Models.
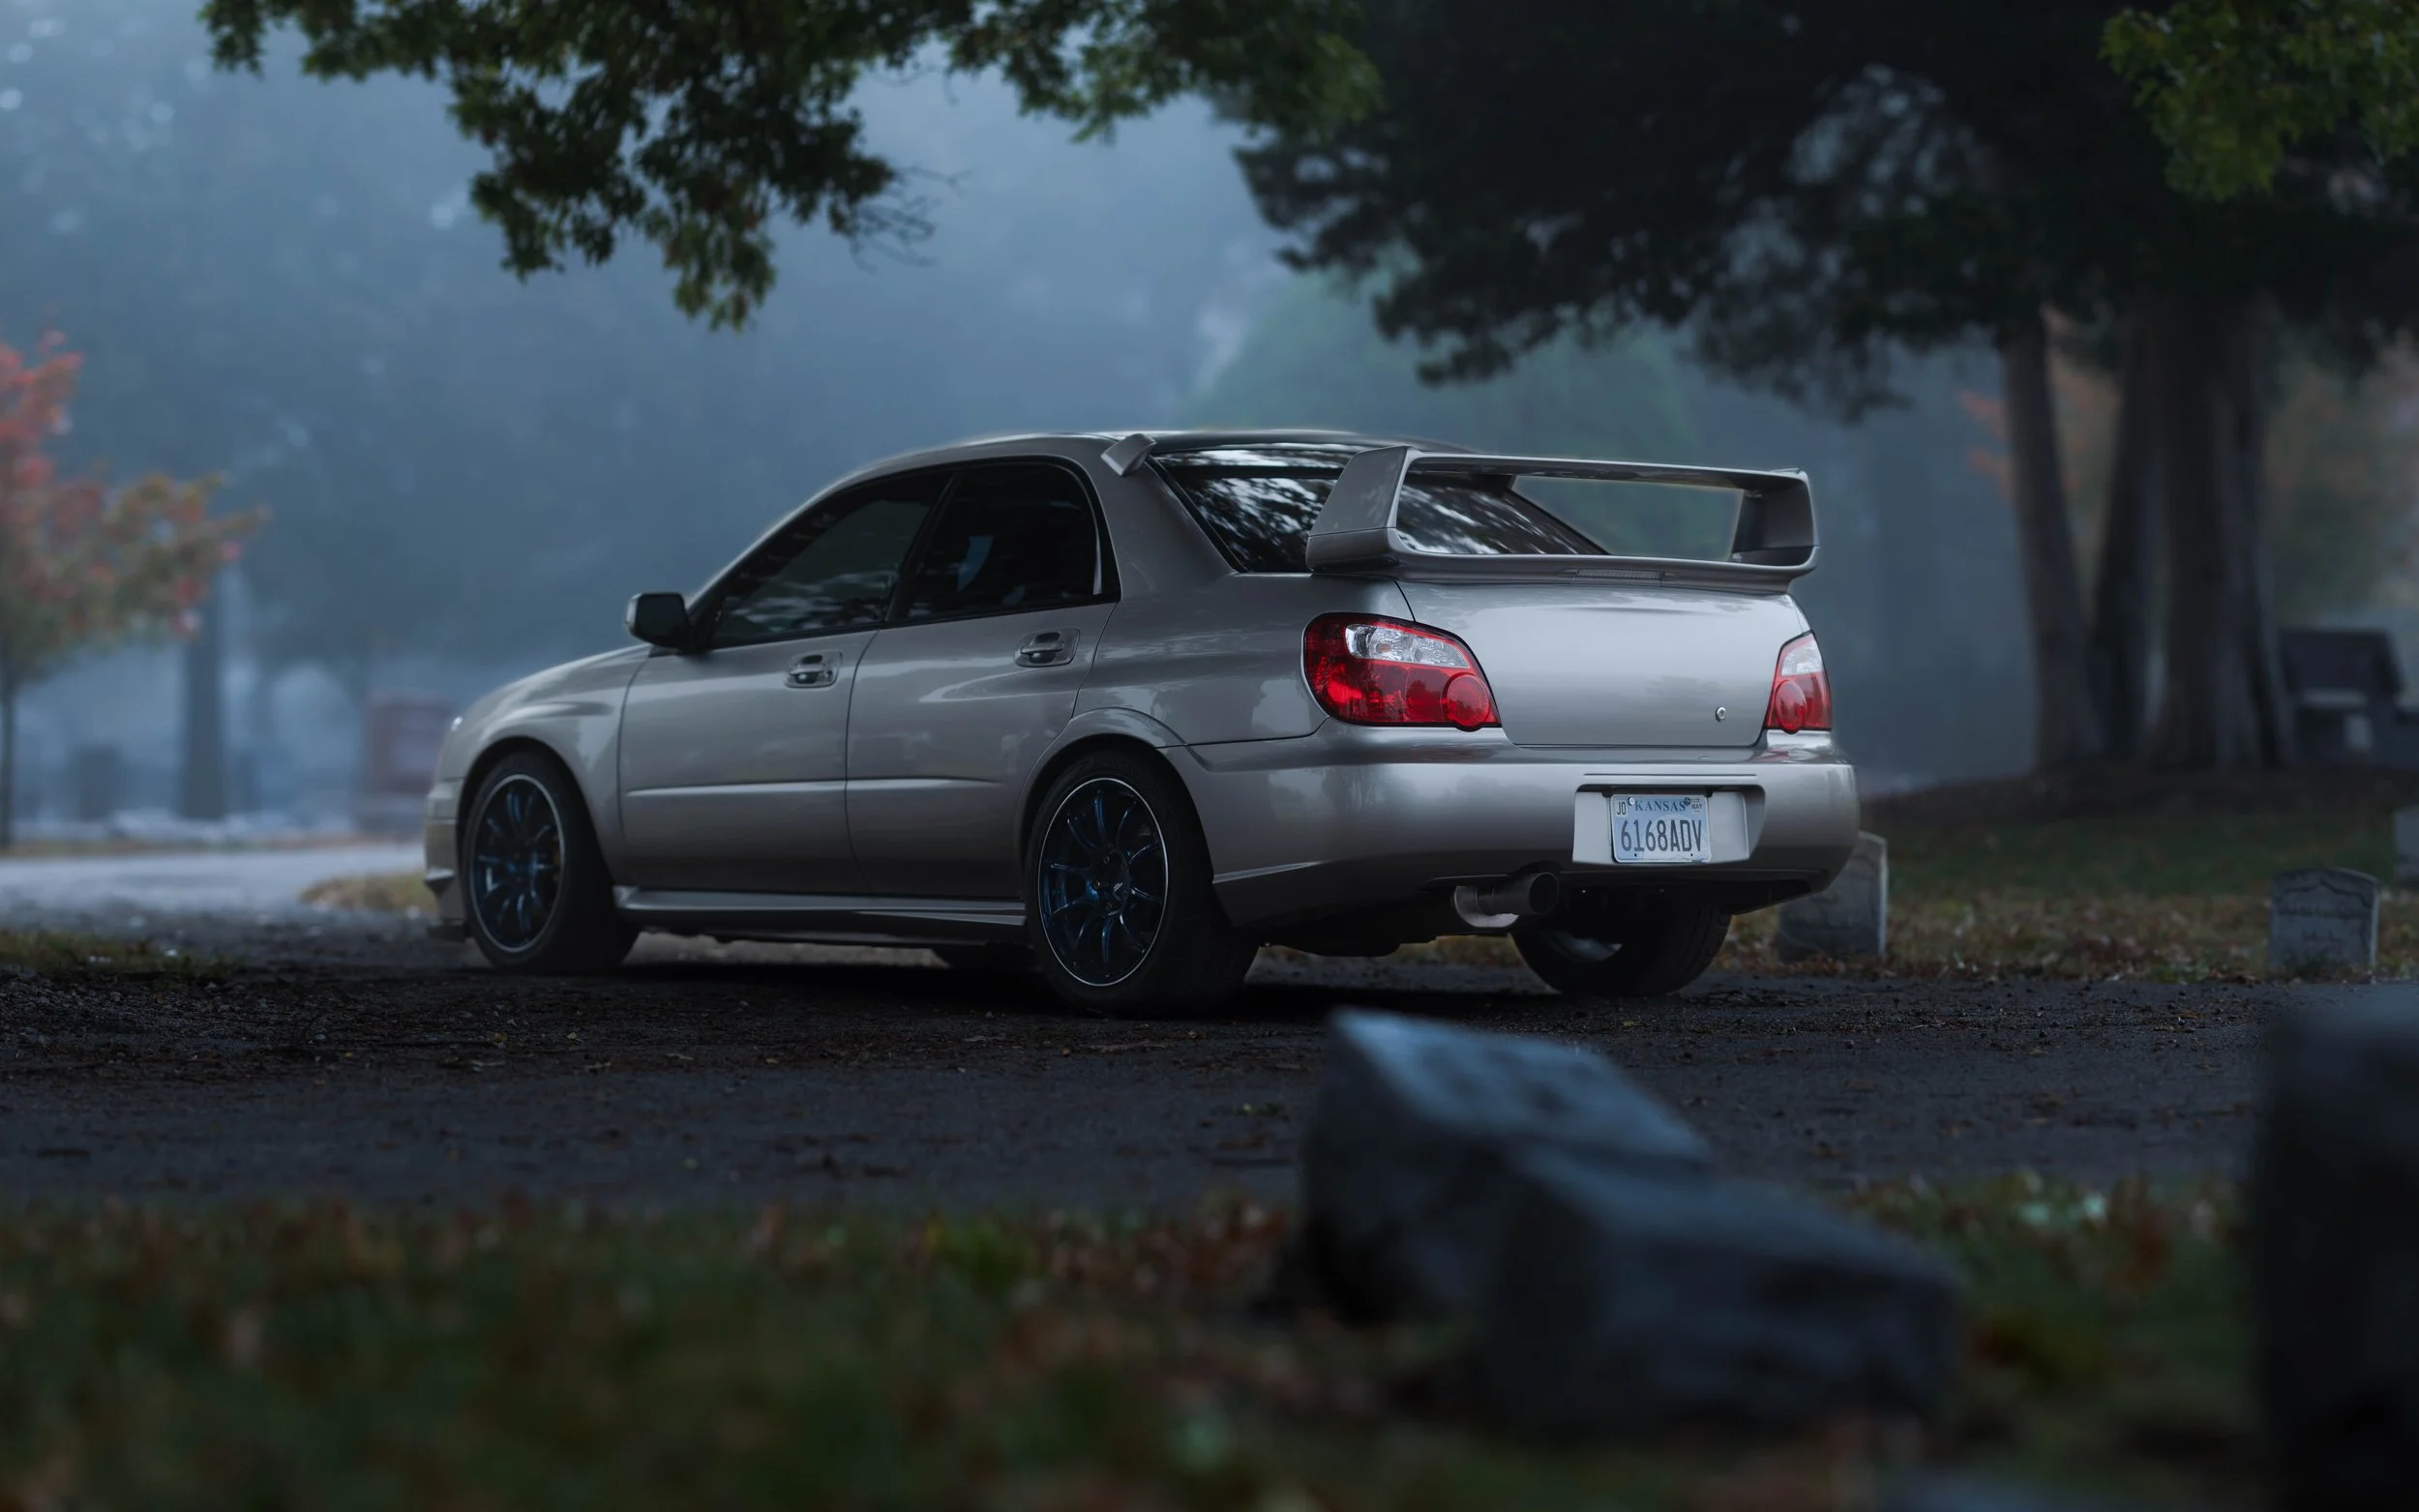
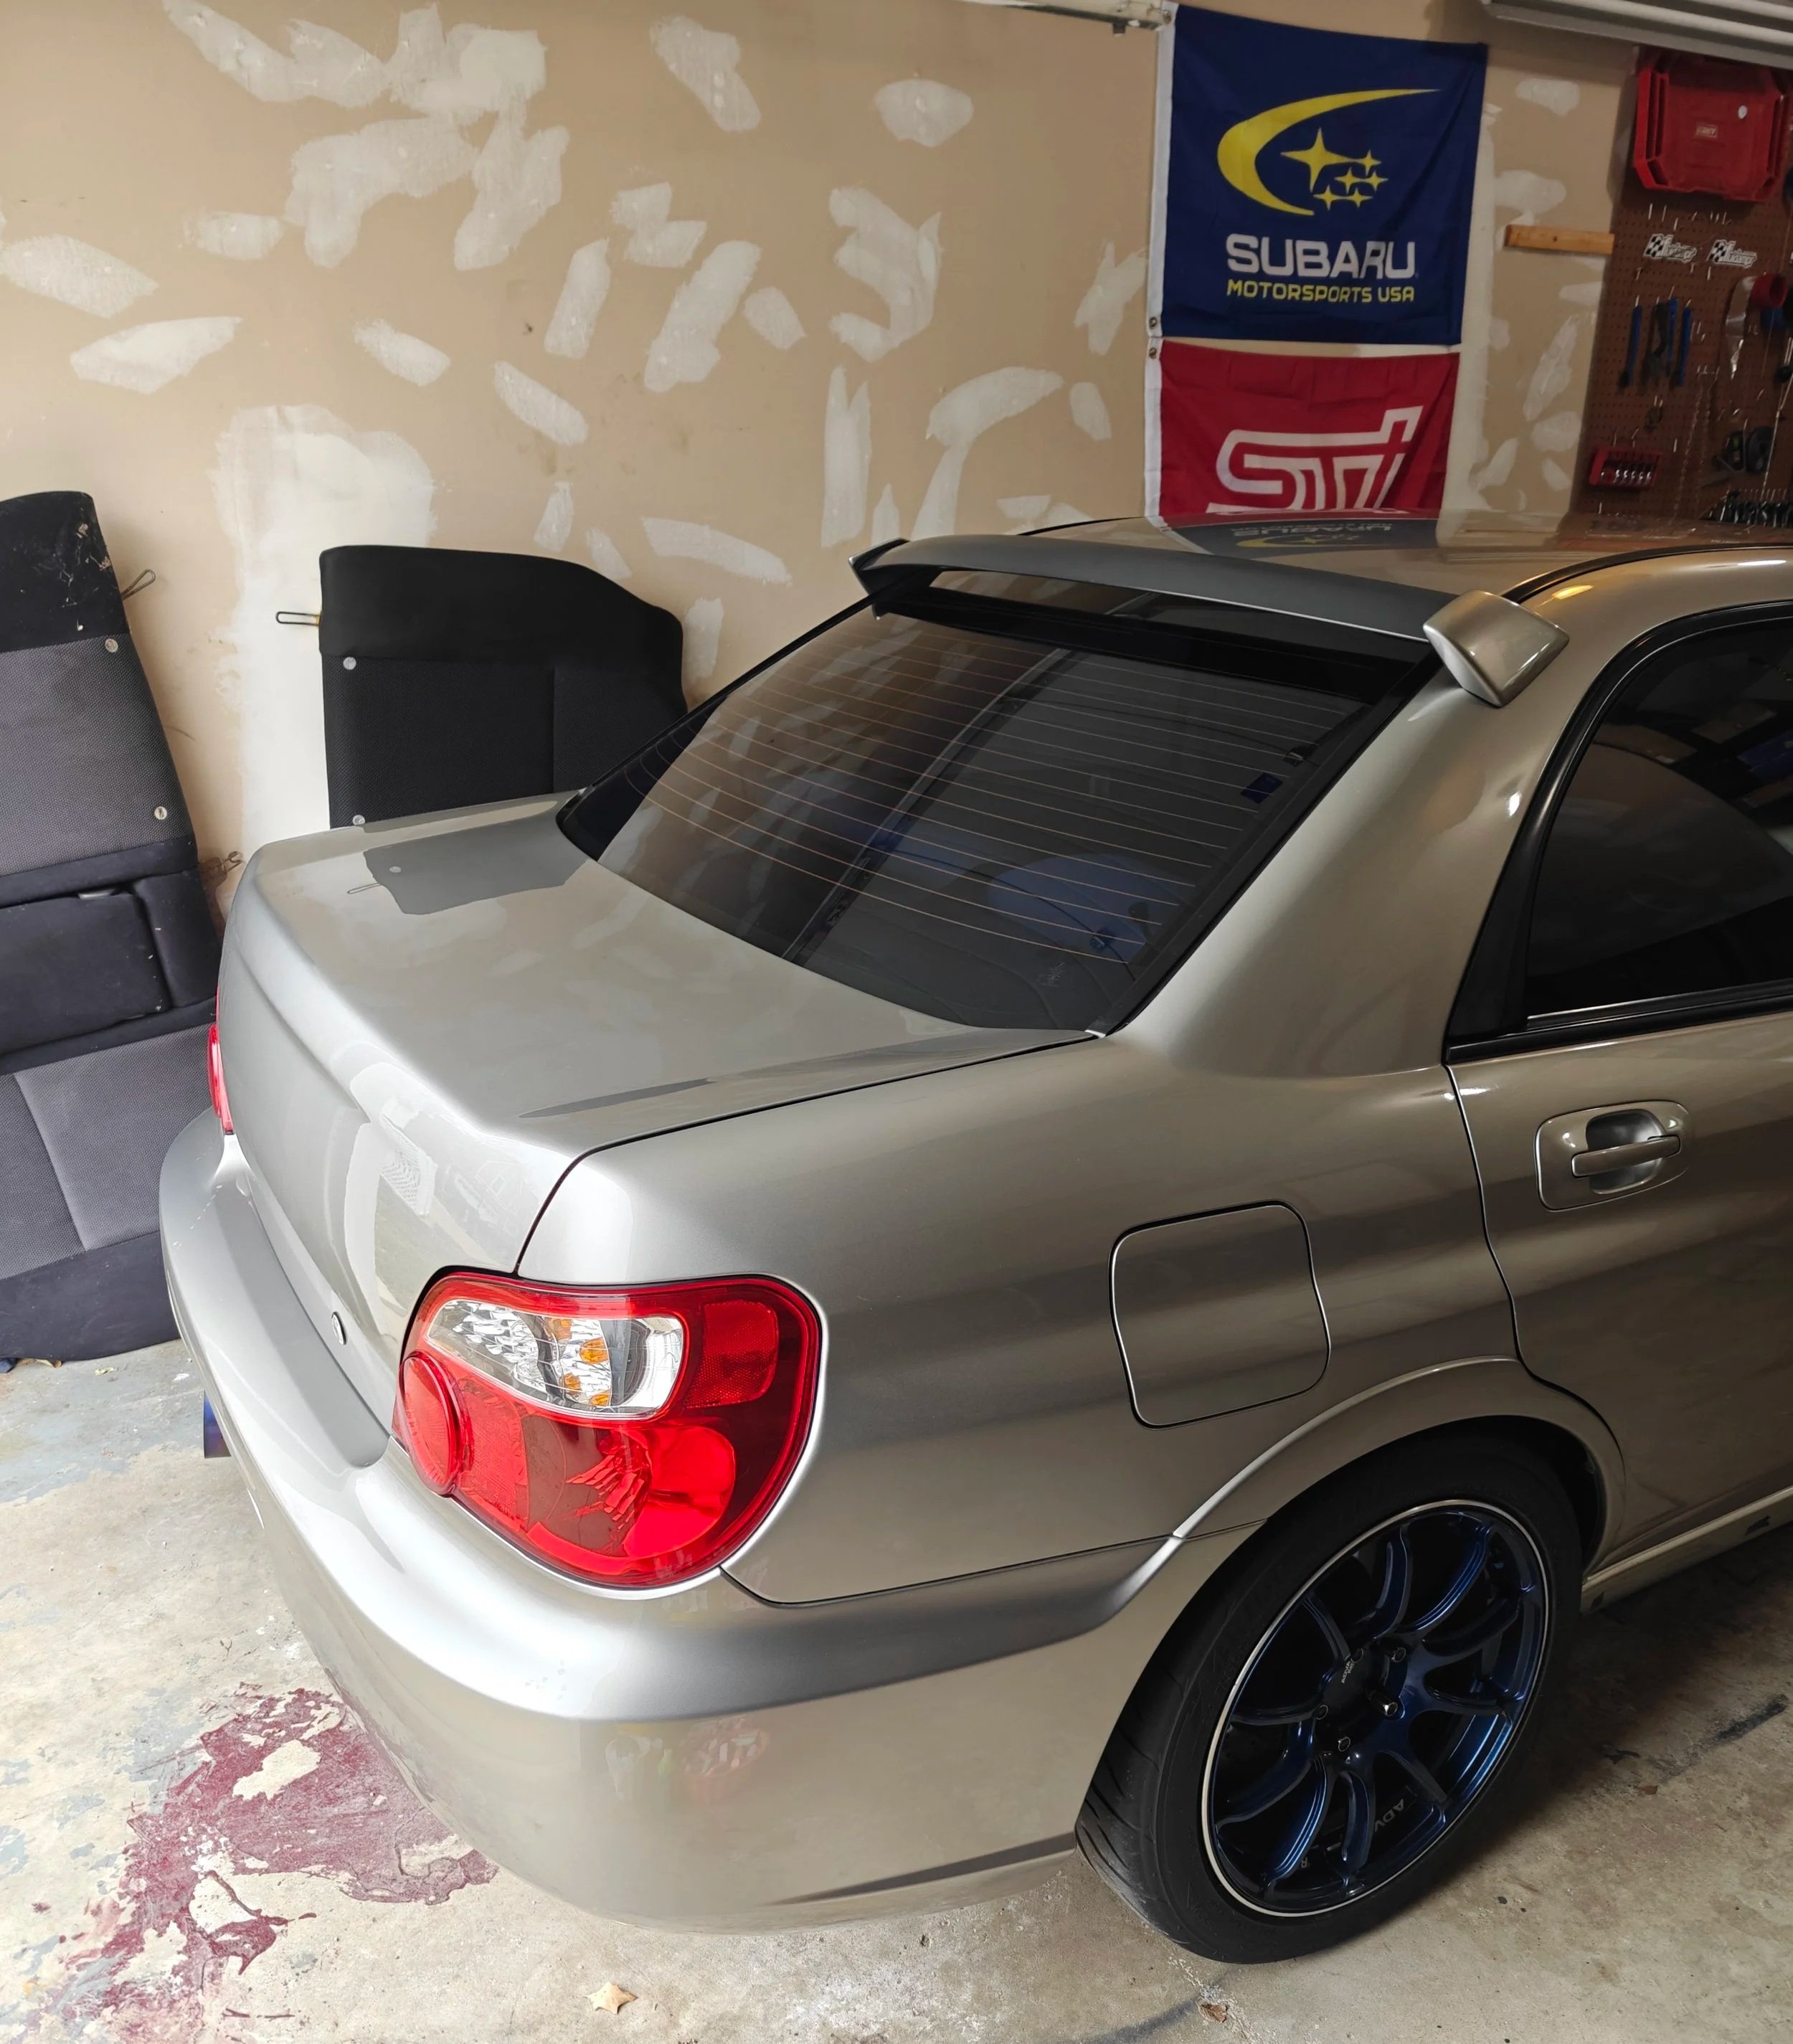
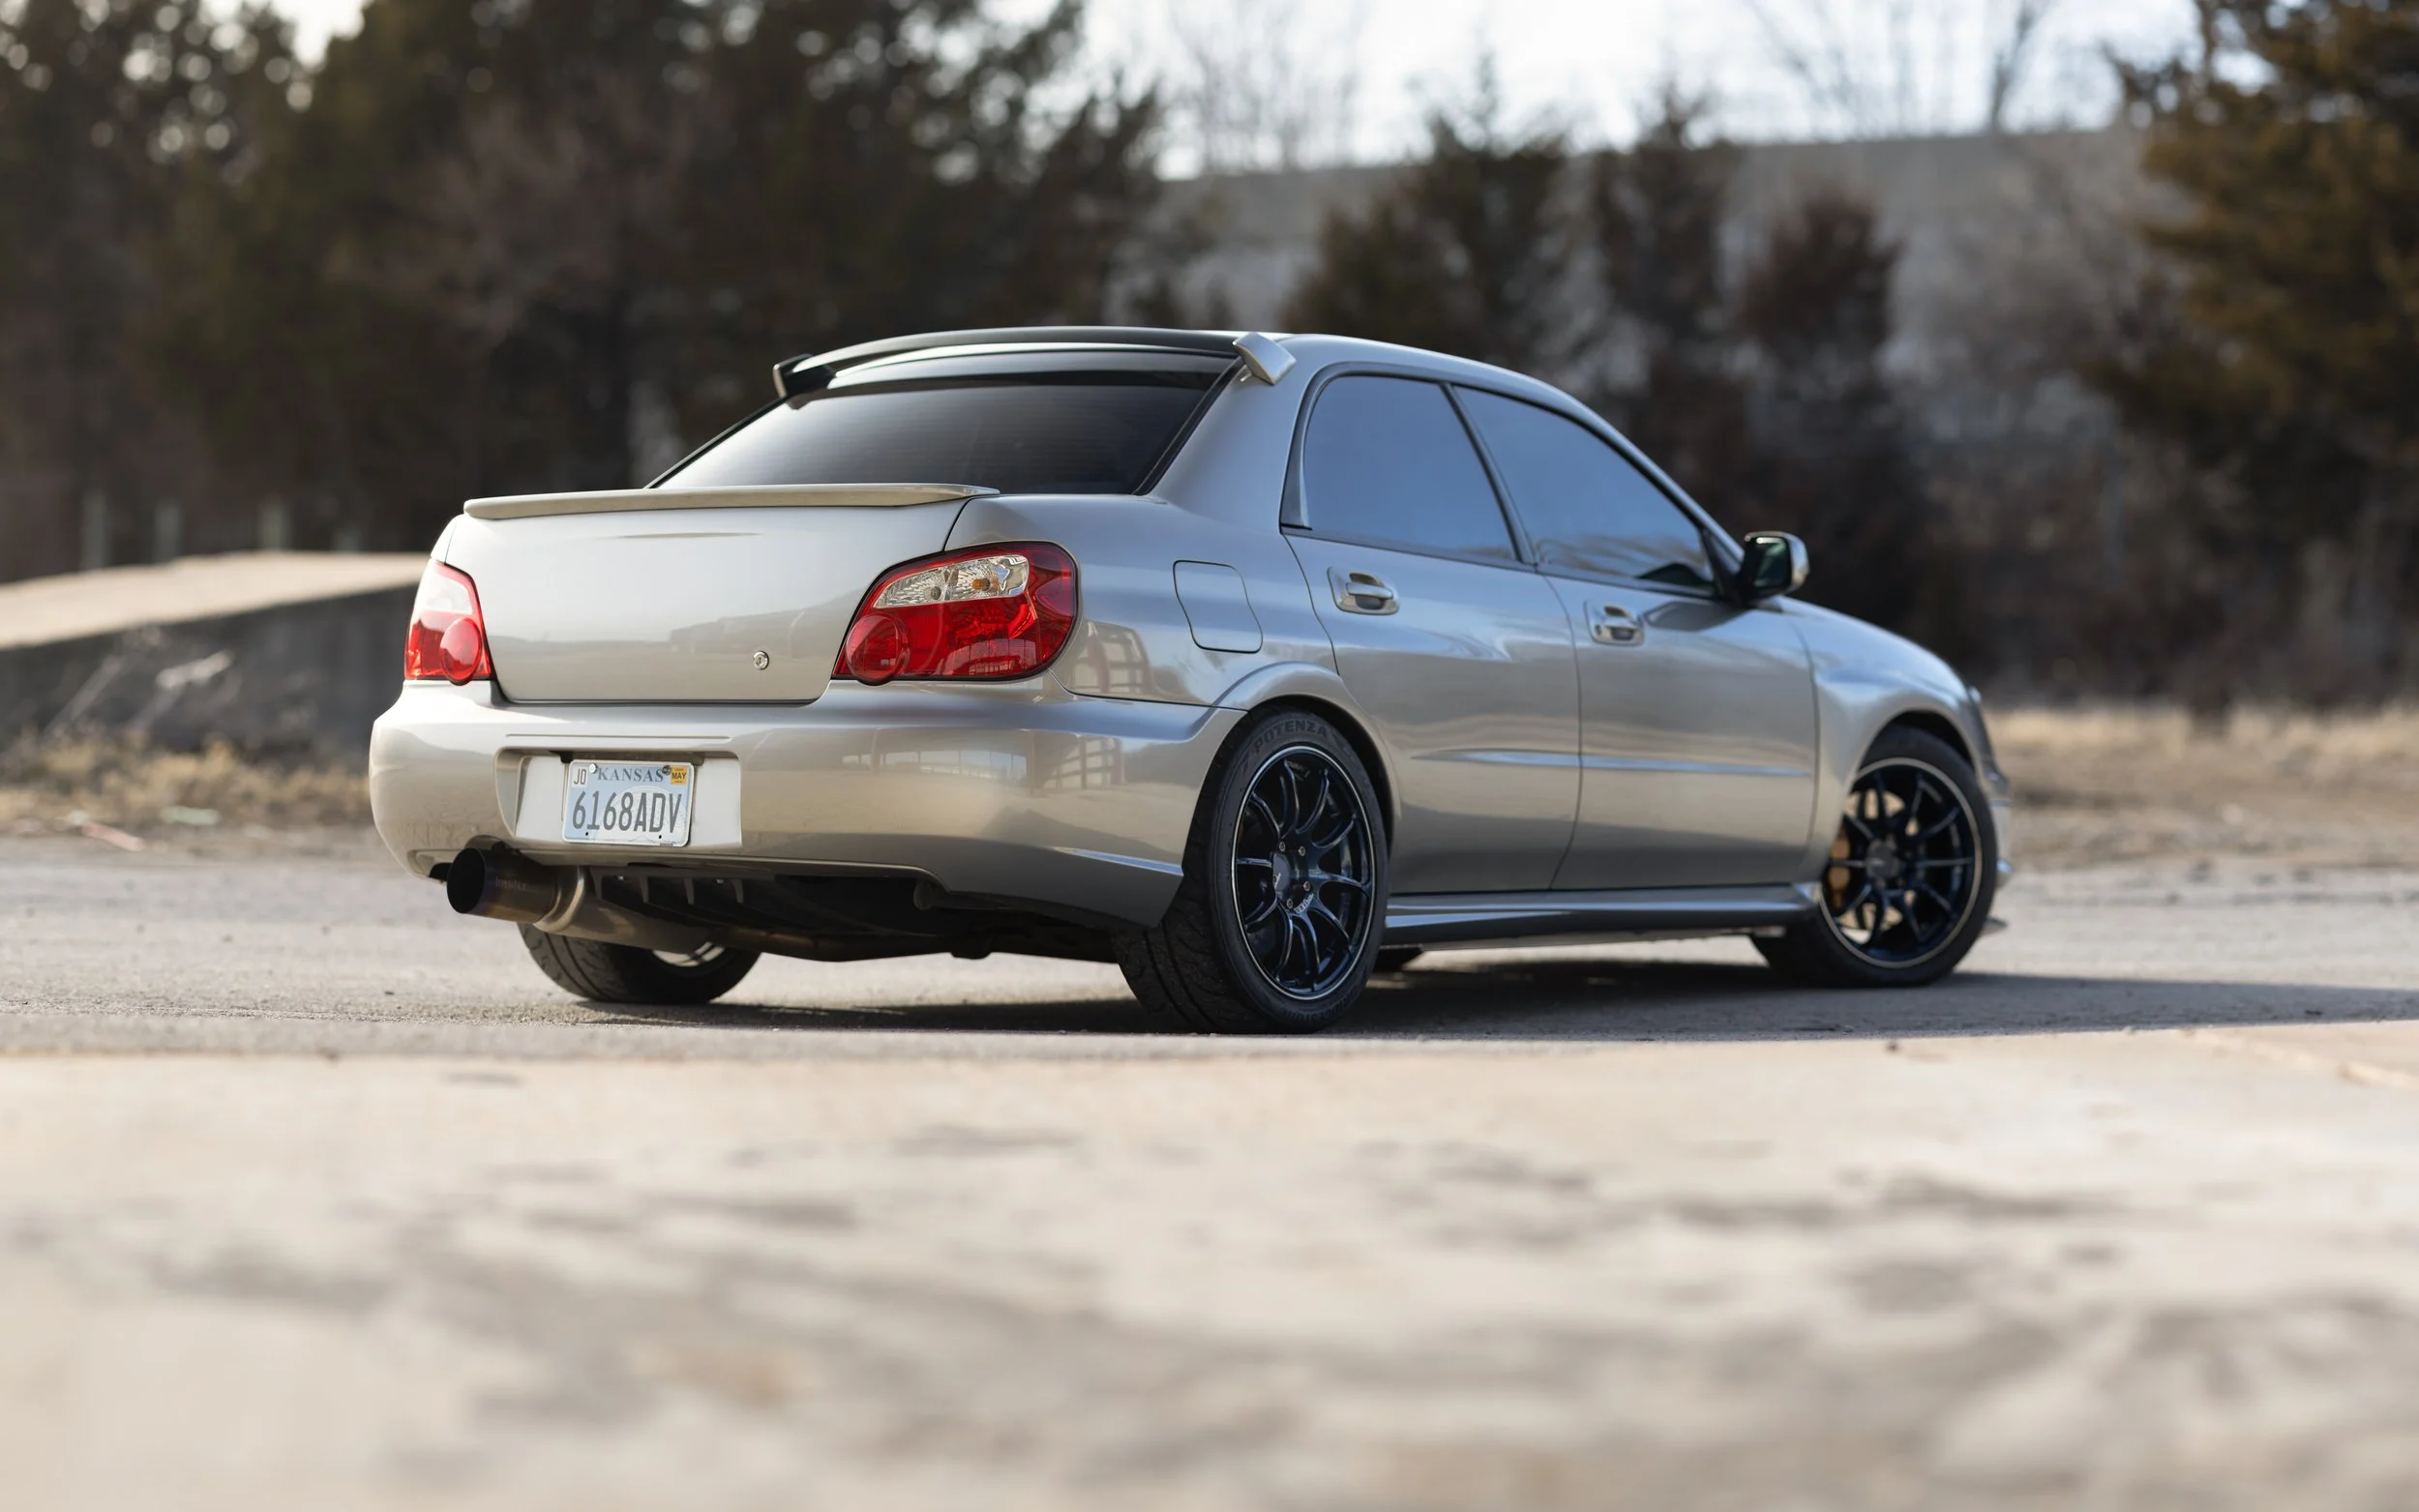
While this generation of STi are well known for their factory installed large rally inspired rear wing. This popularity comes in part to the rally wins racked up by Peter Solberg and Tommi Mackinen to name a few. And while this is the wing is most owners dream come true I wanted to have a little versatility in my setup. In 2007 the limited lip spoiler was offered from Subaru on a new limited STi with 800 units. Which offered in only two colors Urban grey metallic and Aspen White pearl.
While it was the reason I bought and loved this car originally. I still like having the ability to change the looks when I want to.
This 2007 limited Sti was built with those looking to forego the big rally wing but still enjoy this rally bred vehicle. And as much as I feel like this vehicle looks right with the large wing strapped to the trunk the lip spoiler brings a stylish look to the Sti. This gave me enough interest to pick up a lip spoiler and with hope that people would stop randomly racing me in their modern day bone stock Impalas. But I also wanted to leave my wingless trunk free of holes just in case a S203 wing was found… so follow along below to find out how to add this to a wingless trunk without drilling into it.
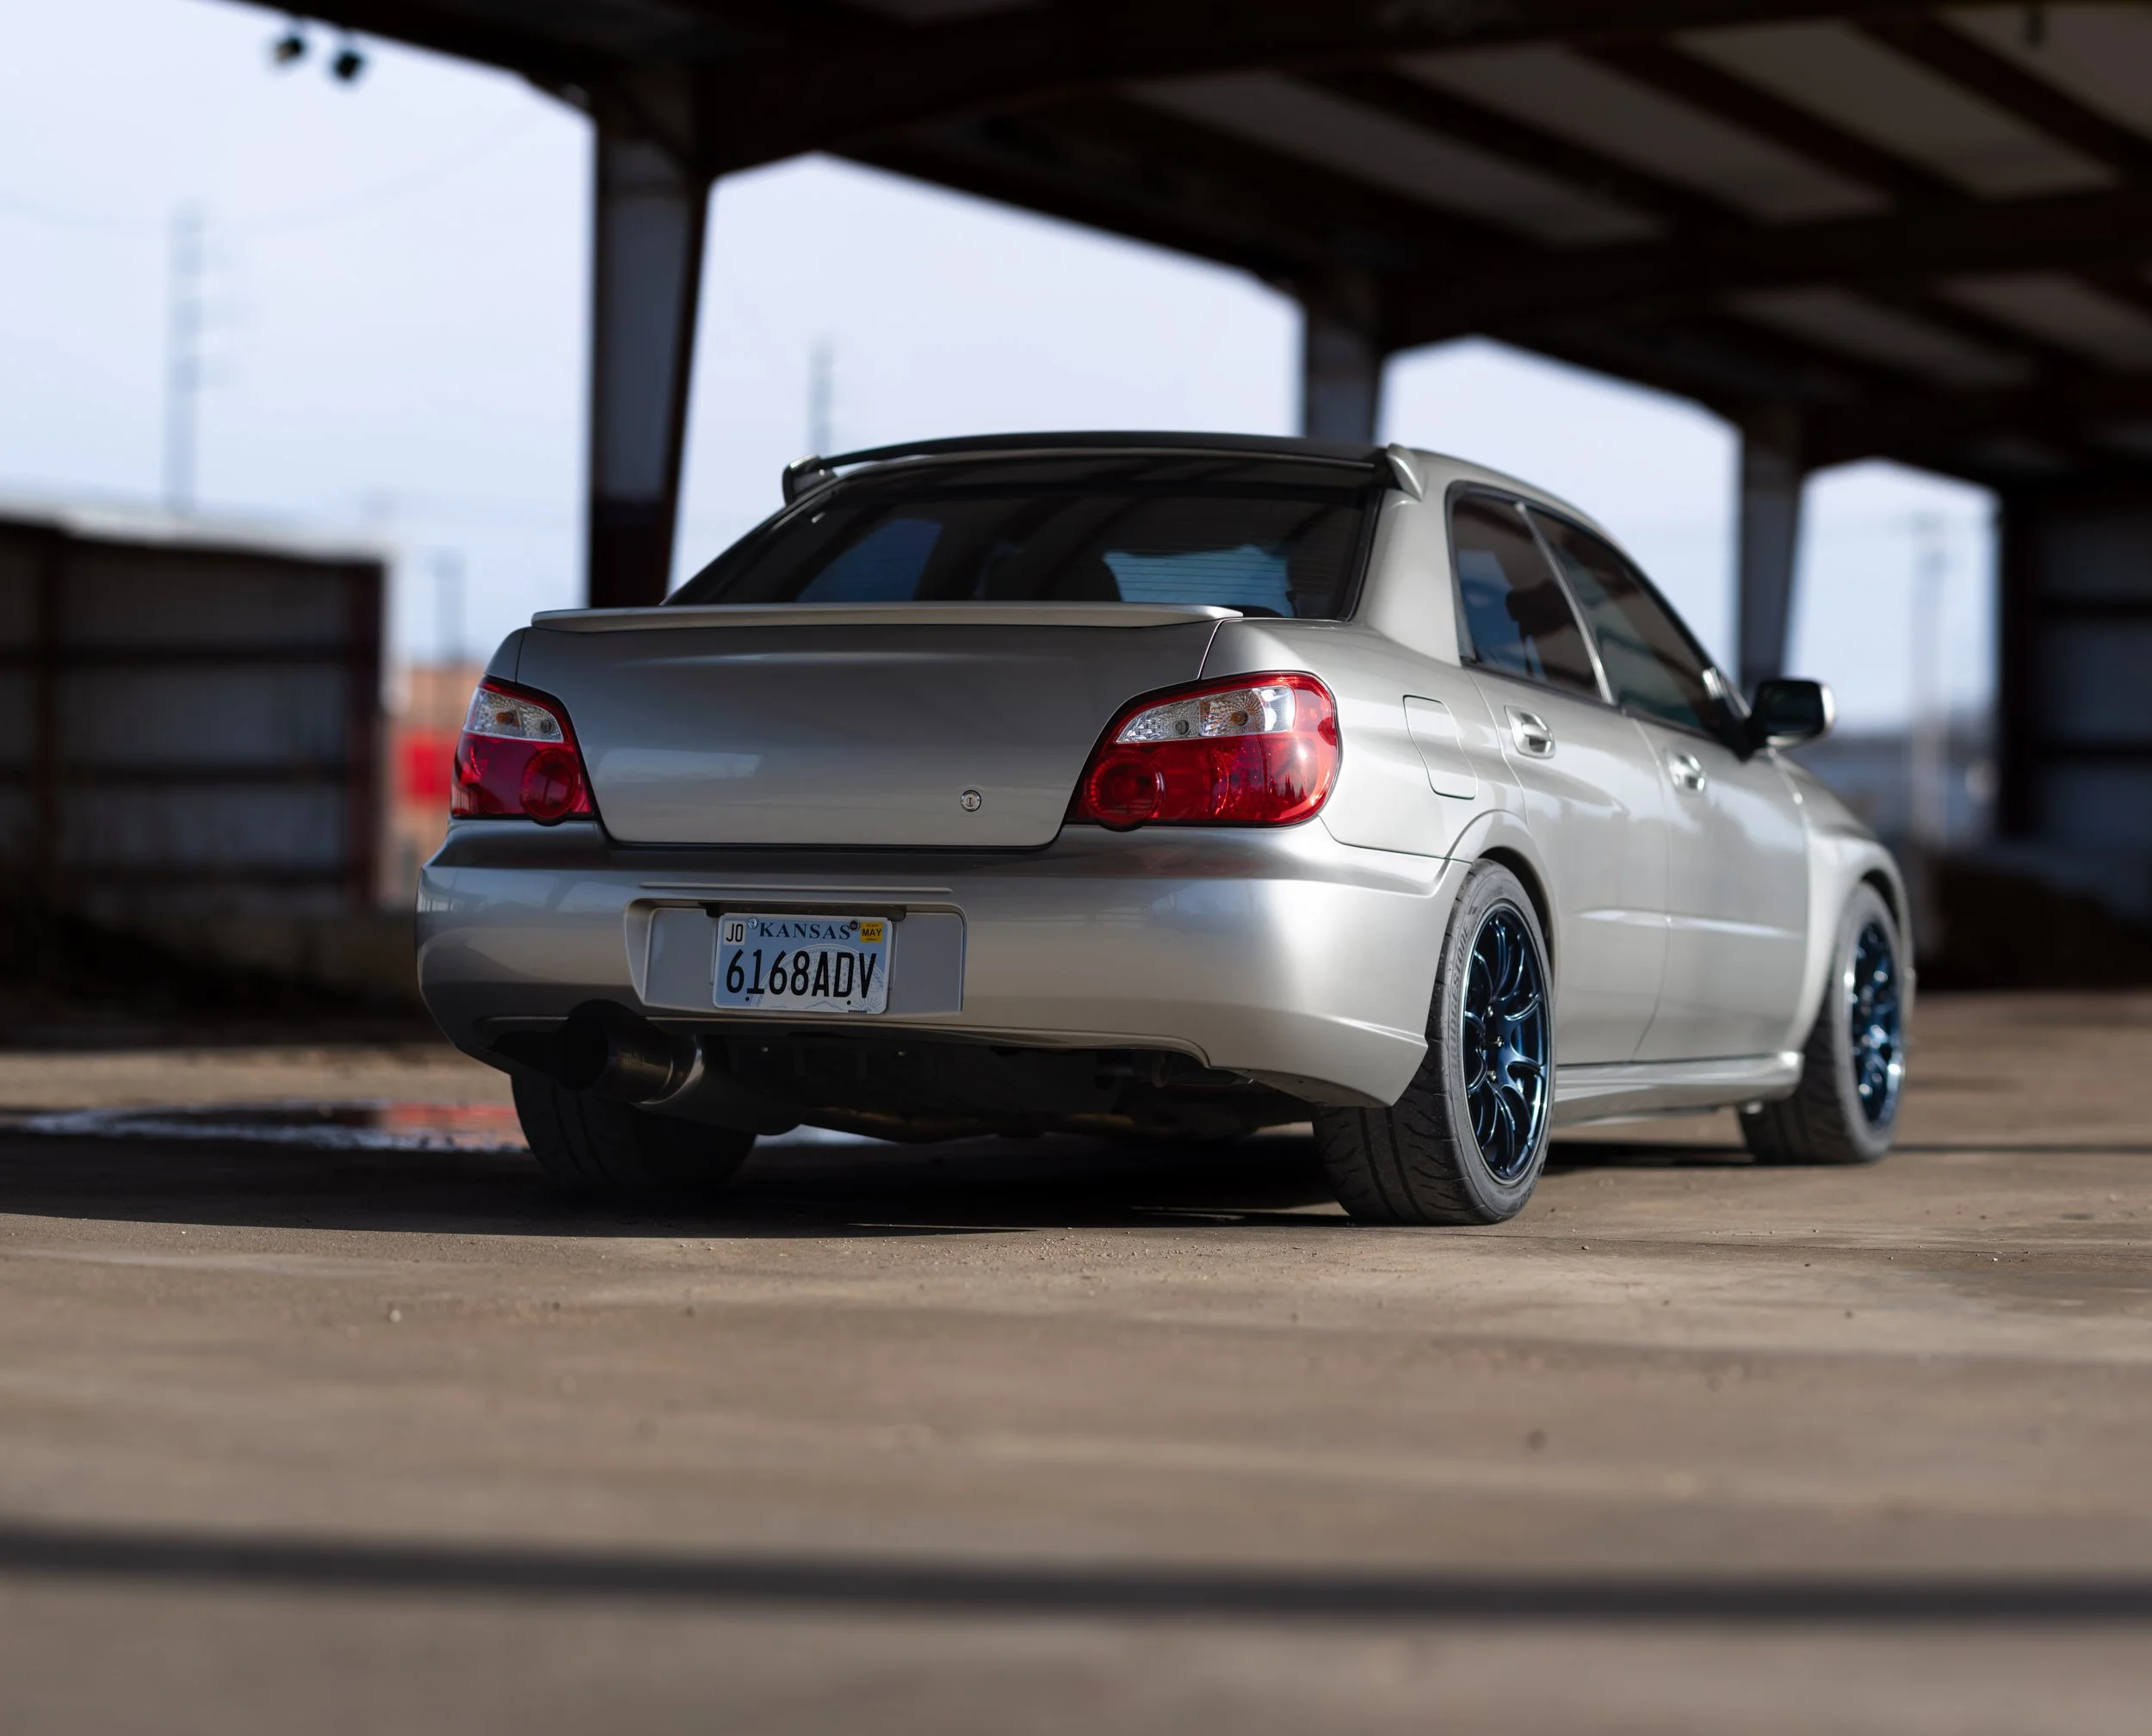
Just as good in my opinion. Now let’s see how we can install it.
Time Frame
If you have a fresh trunk and lip spoiler this shouldn’t take much more than 30 minutes. Unless you are a crazy person (much like myself) who wasn’t sure if it was lined up and had to wait for a second opinion before adhering it.
Products
Subaru rear lip spoiler kit: E7210FE900
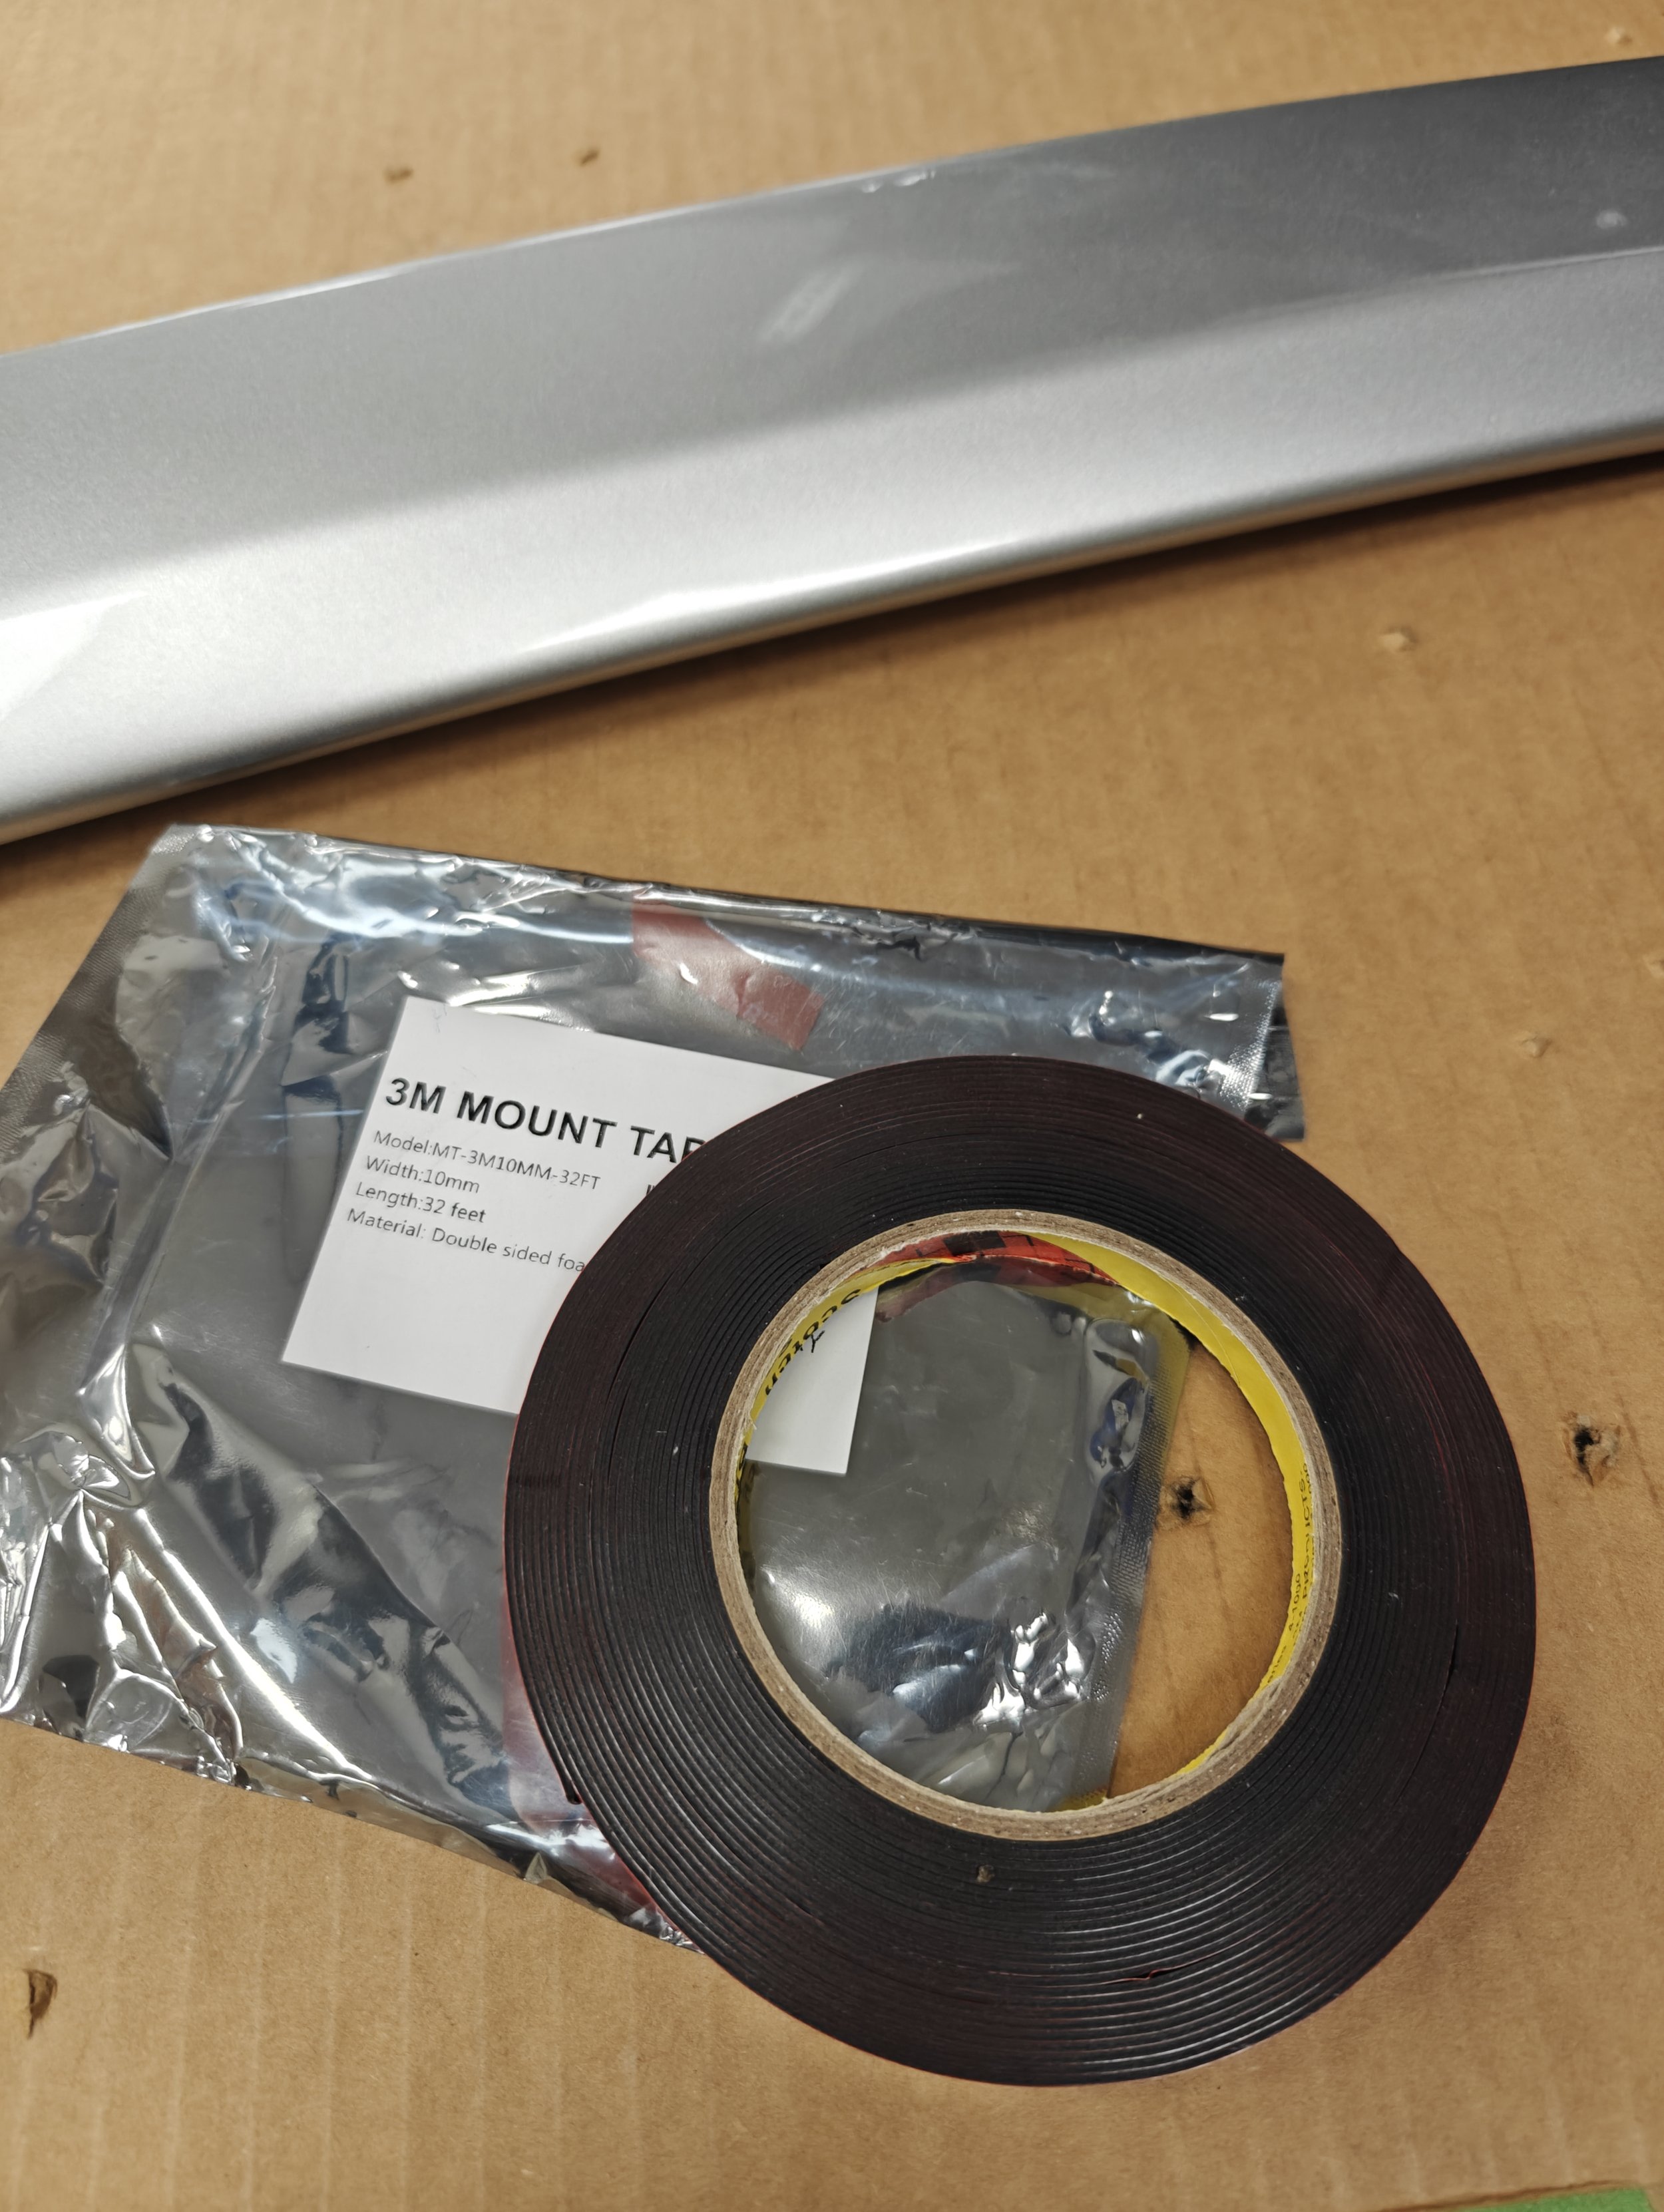
3M VHB exterior tape to keep this spoiler from flying off.
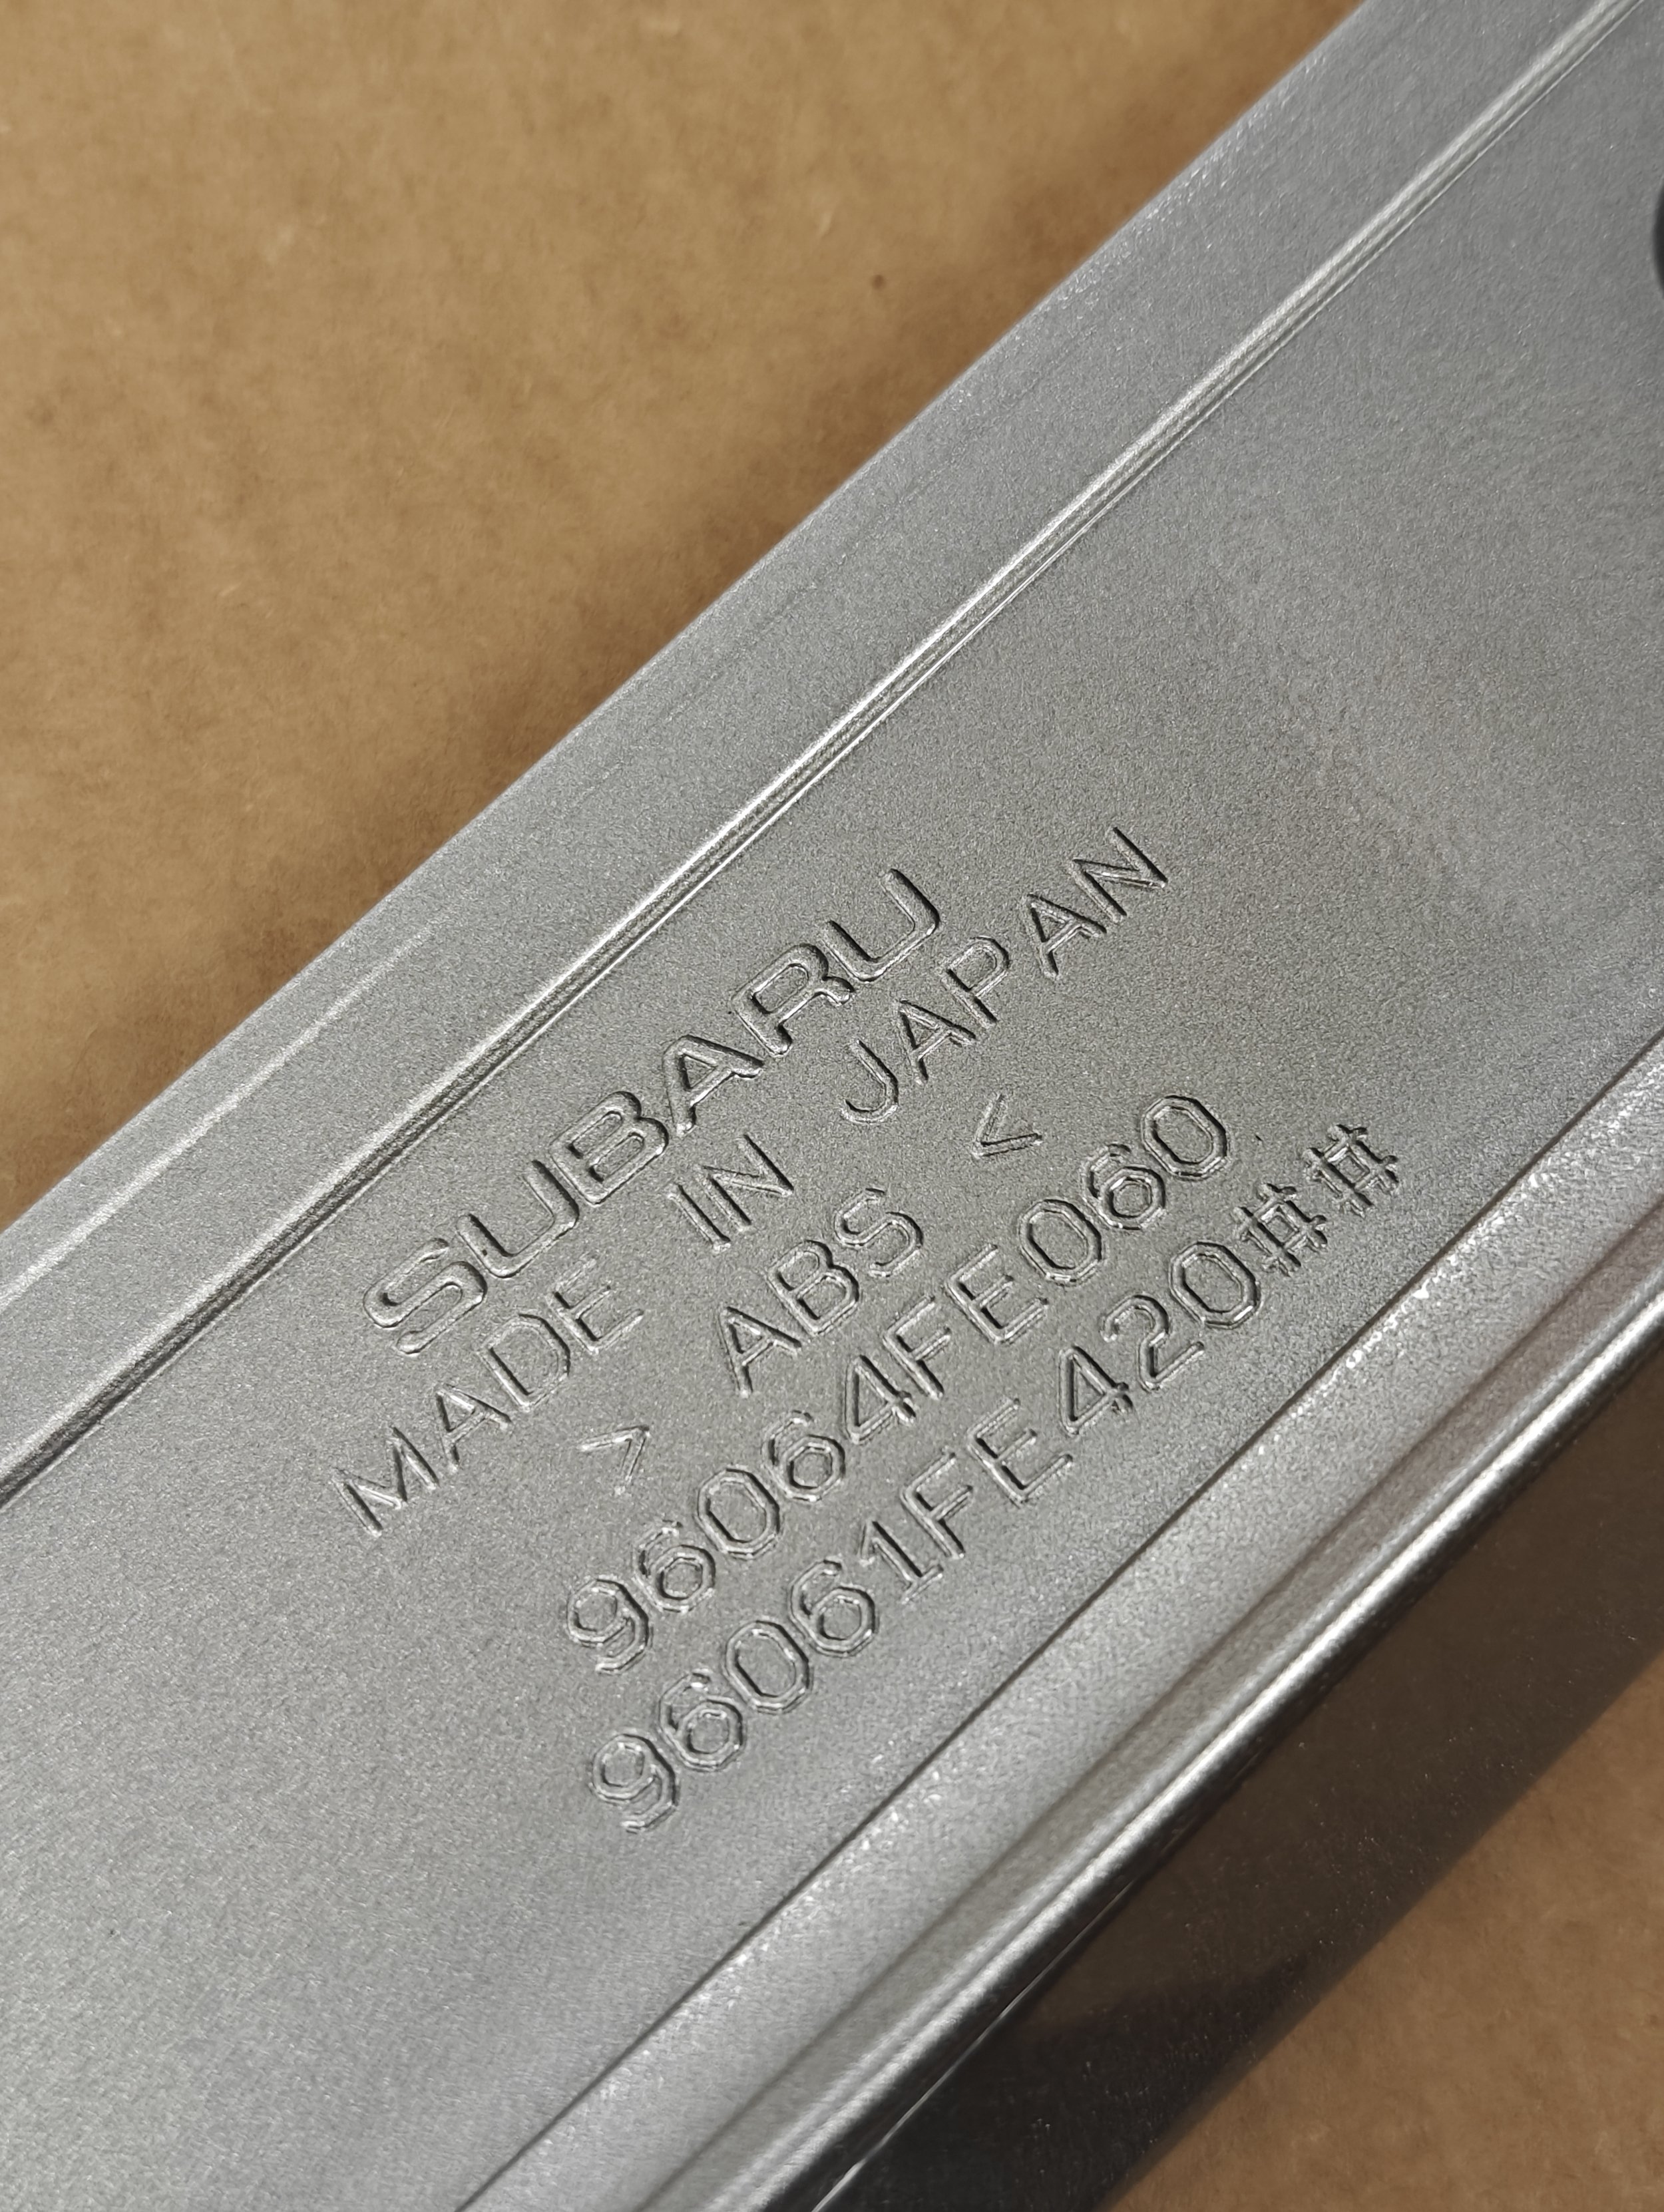
While the part number is visible here, Subaru no longer sells just the lip spoiler.. You must buy the whole kit.
How to
When the Subaru lip spoiler kit arrives you will notice plenty more parts within the box. You will find a large poster that directs you to drill holes into your trunk to add this spoiler to it. While that is perfectly fine way to install it, I felt the need to be able to take it off in case I found another wing I’d like to attach to it… possibly the S203 spoiler. If you don’t want to drill holes this is the guide for you.
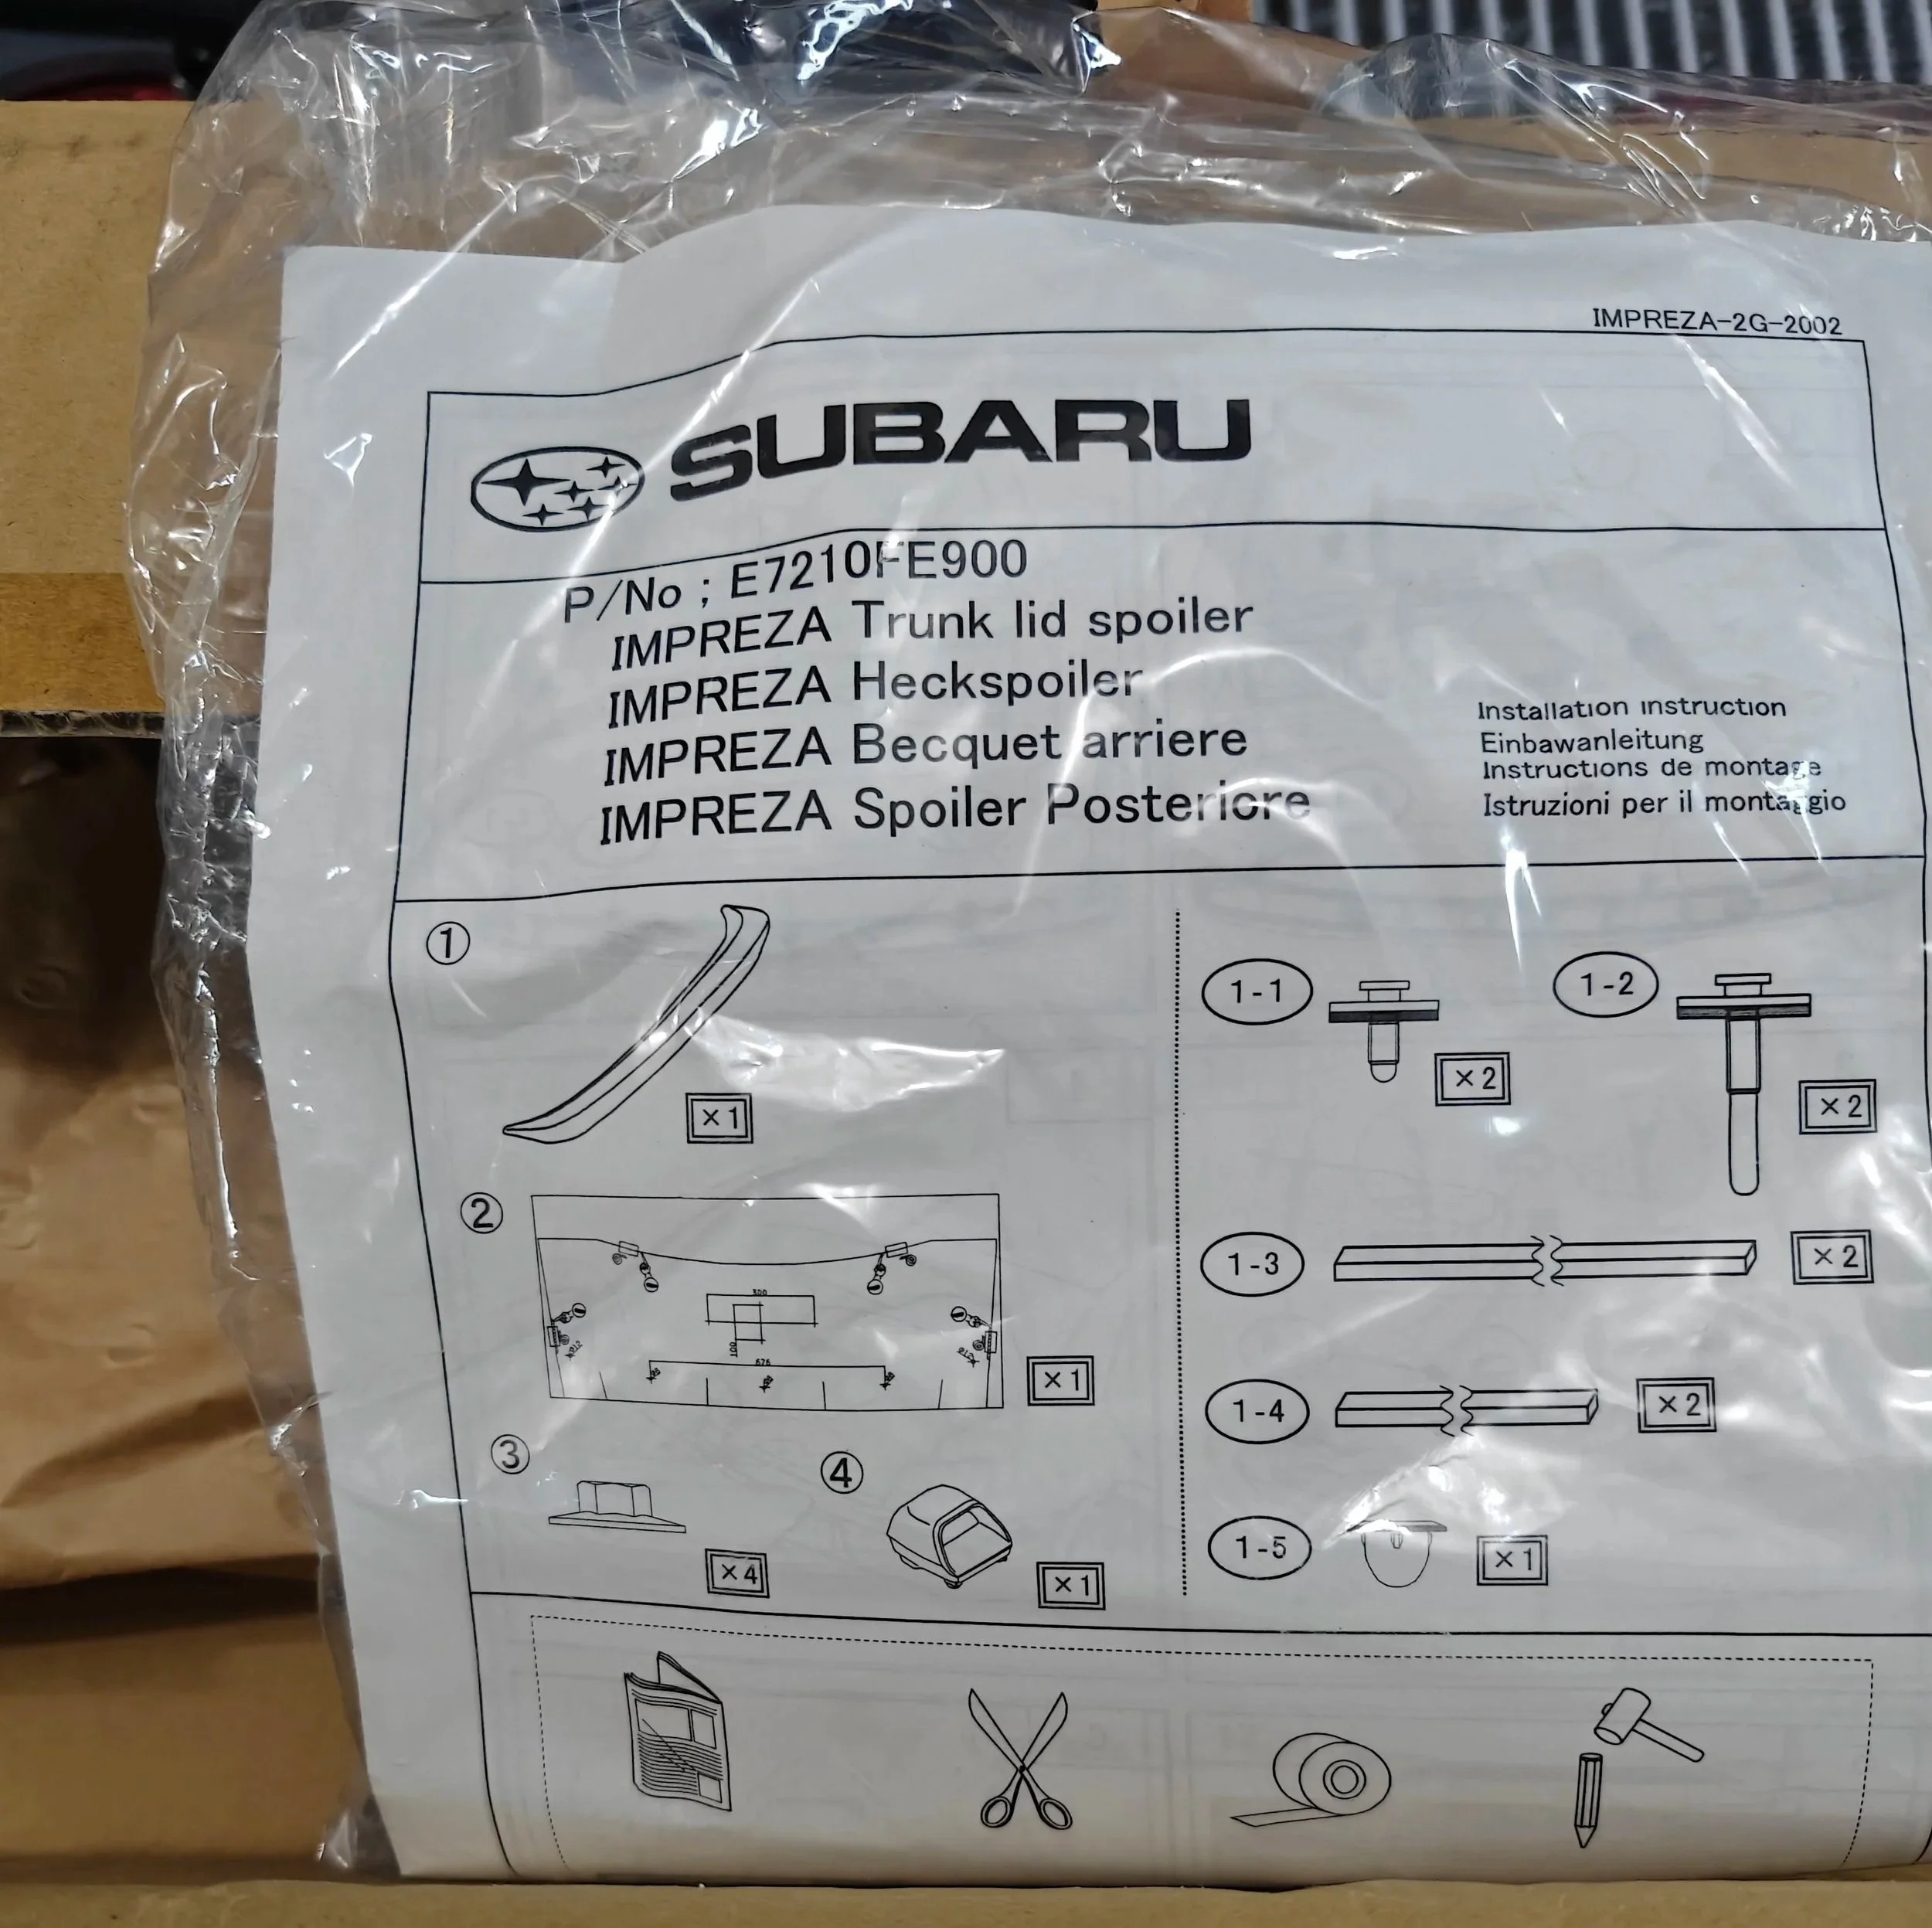
The instructions will give you everything you need to know if you are drilling into the trunk.
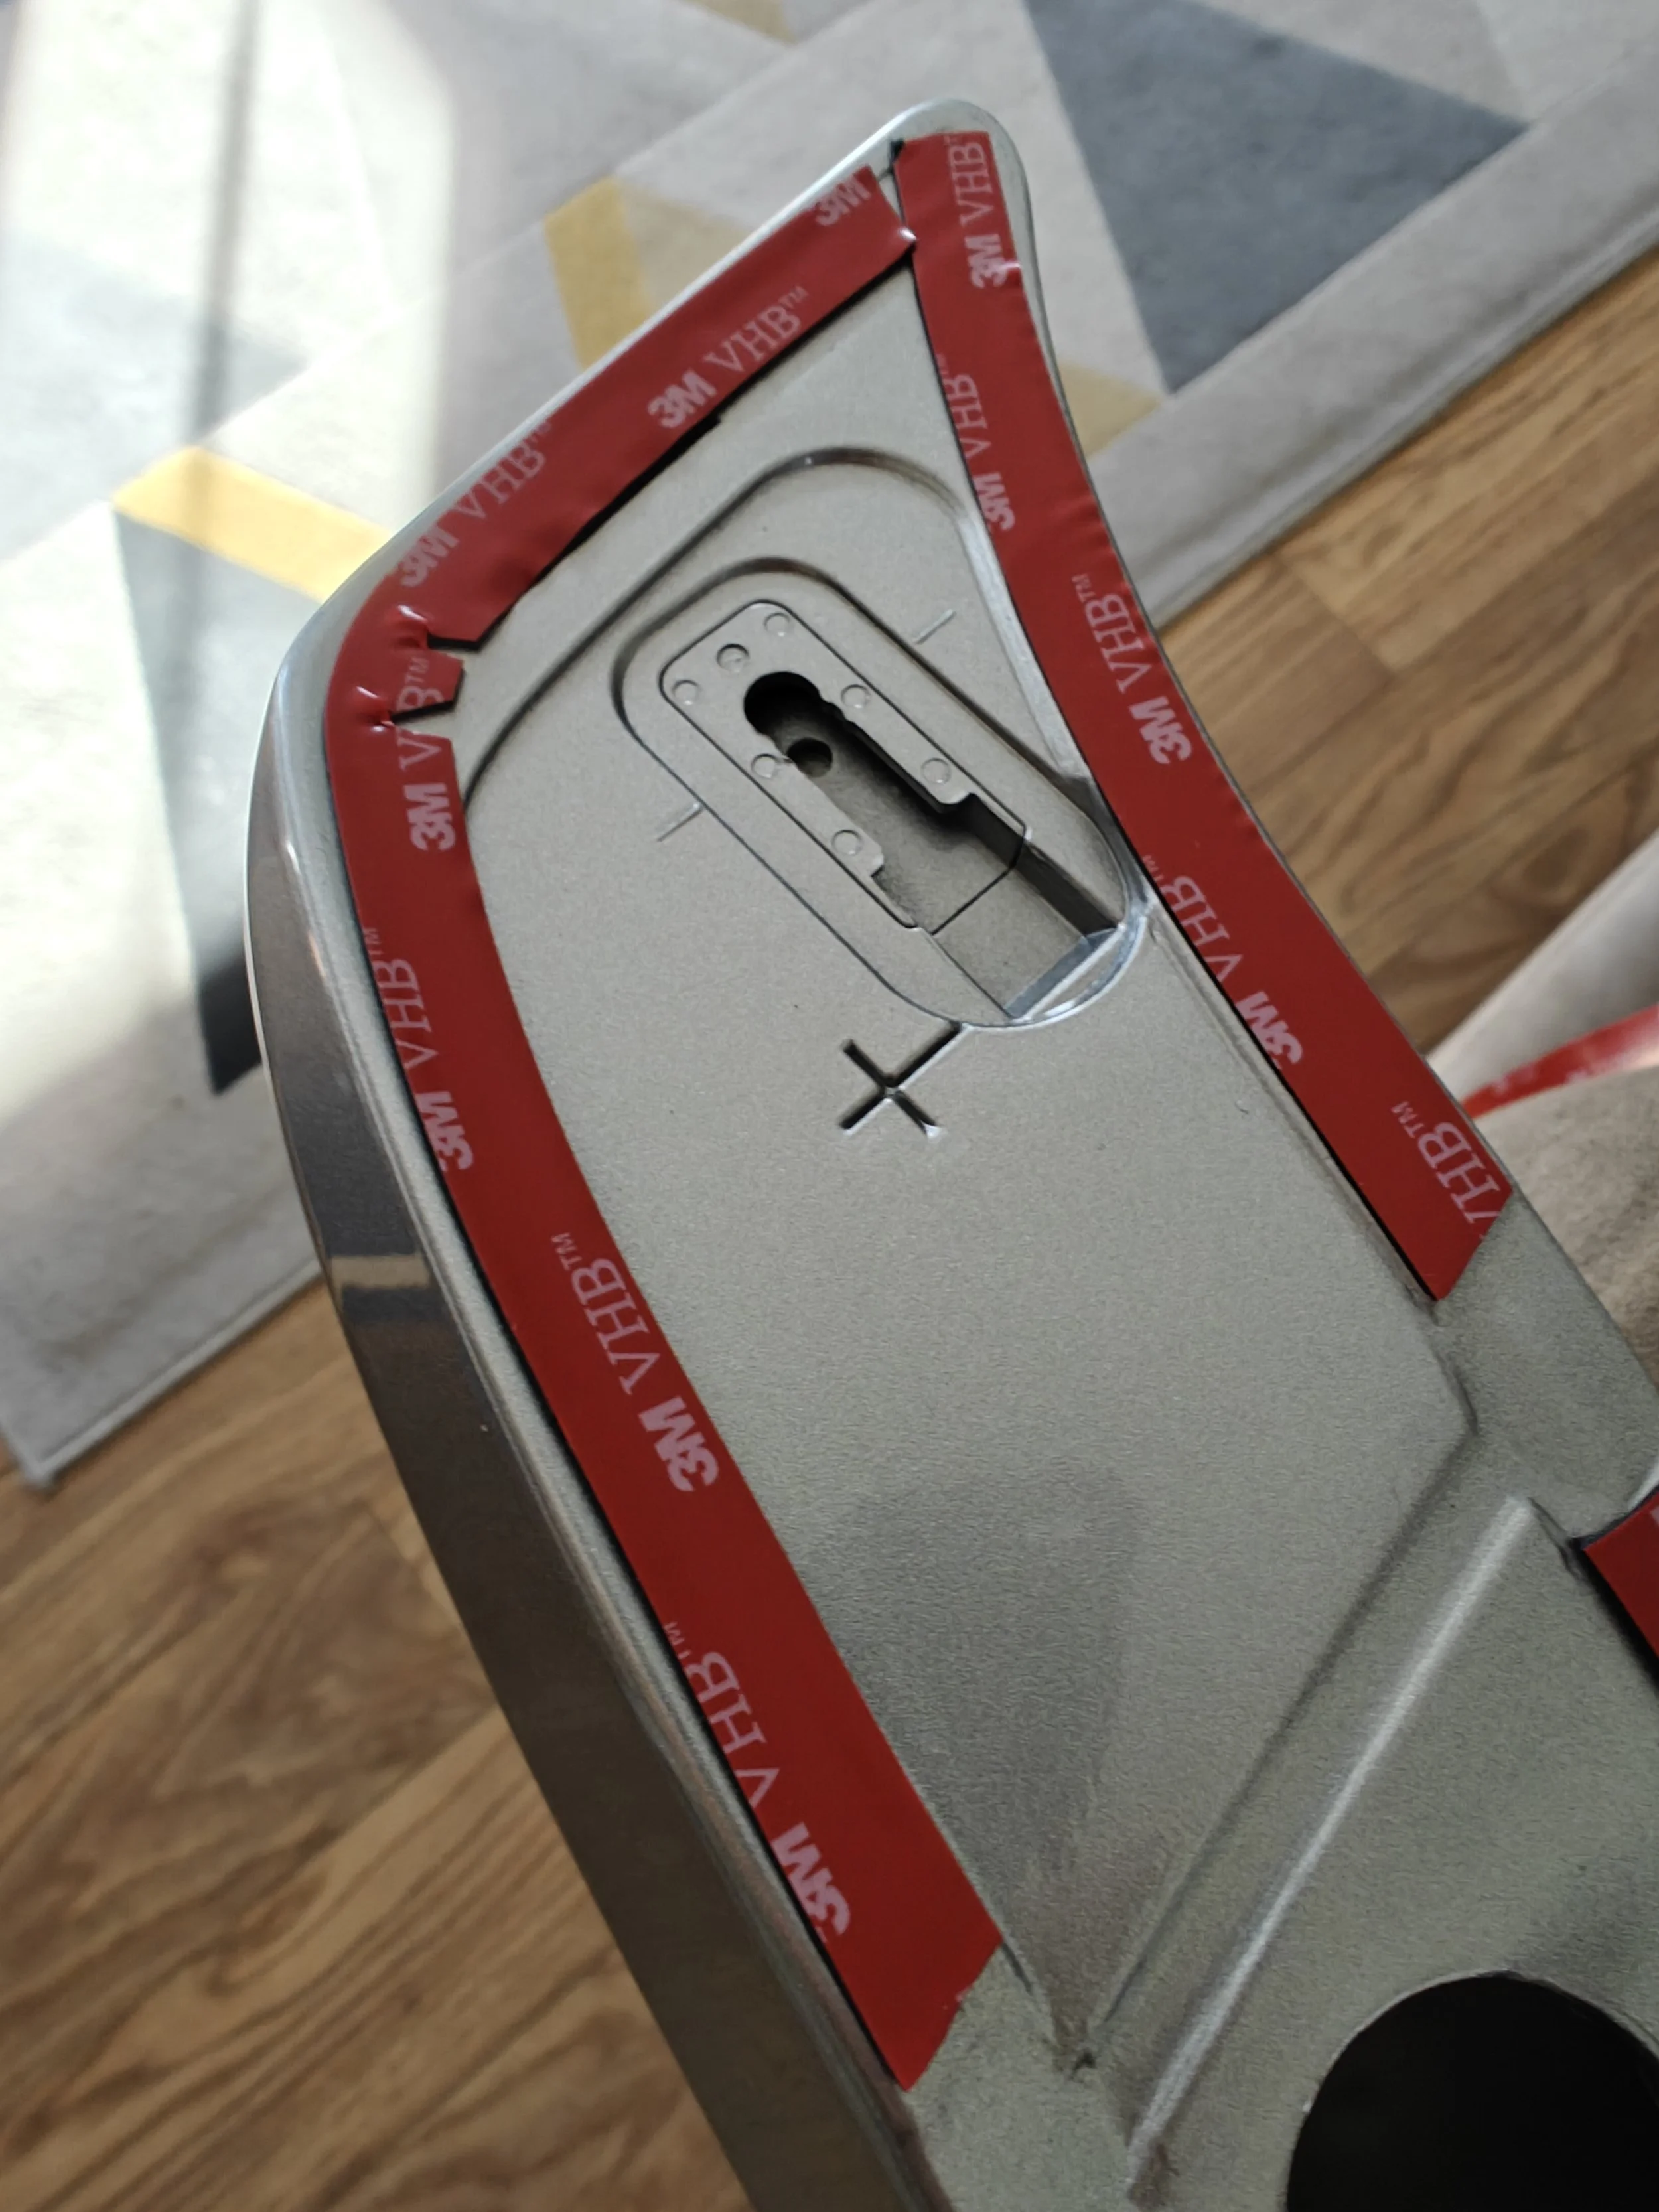
Once you have had the lip painted, it’s time to prep it for the double-sided adhesive tape. This will be performed by cleaning off the area where the tape be applied with isopropyl alcohol, this removes grease, wax and other contaminants. The area where you will want to clean is the raised surrounding visible in the image below.
The raised ledge area is what we are going after. Work around the whole lip to ready it for the 3m adhesive tape.
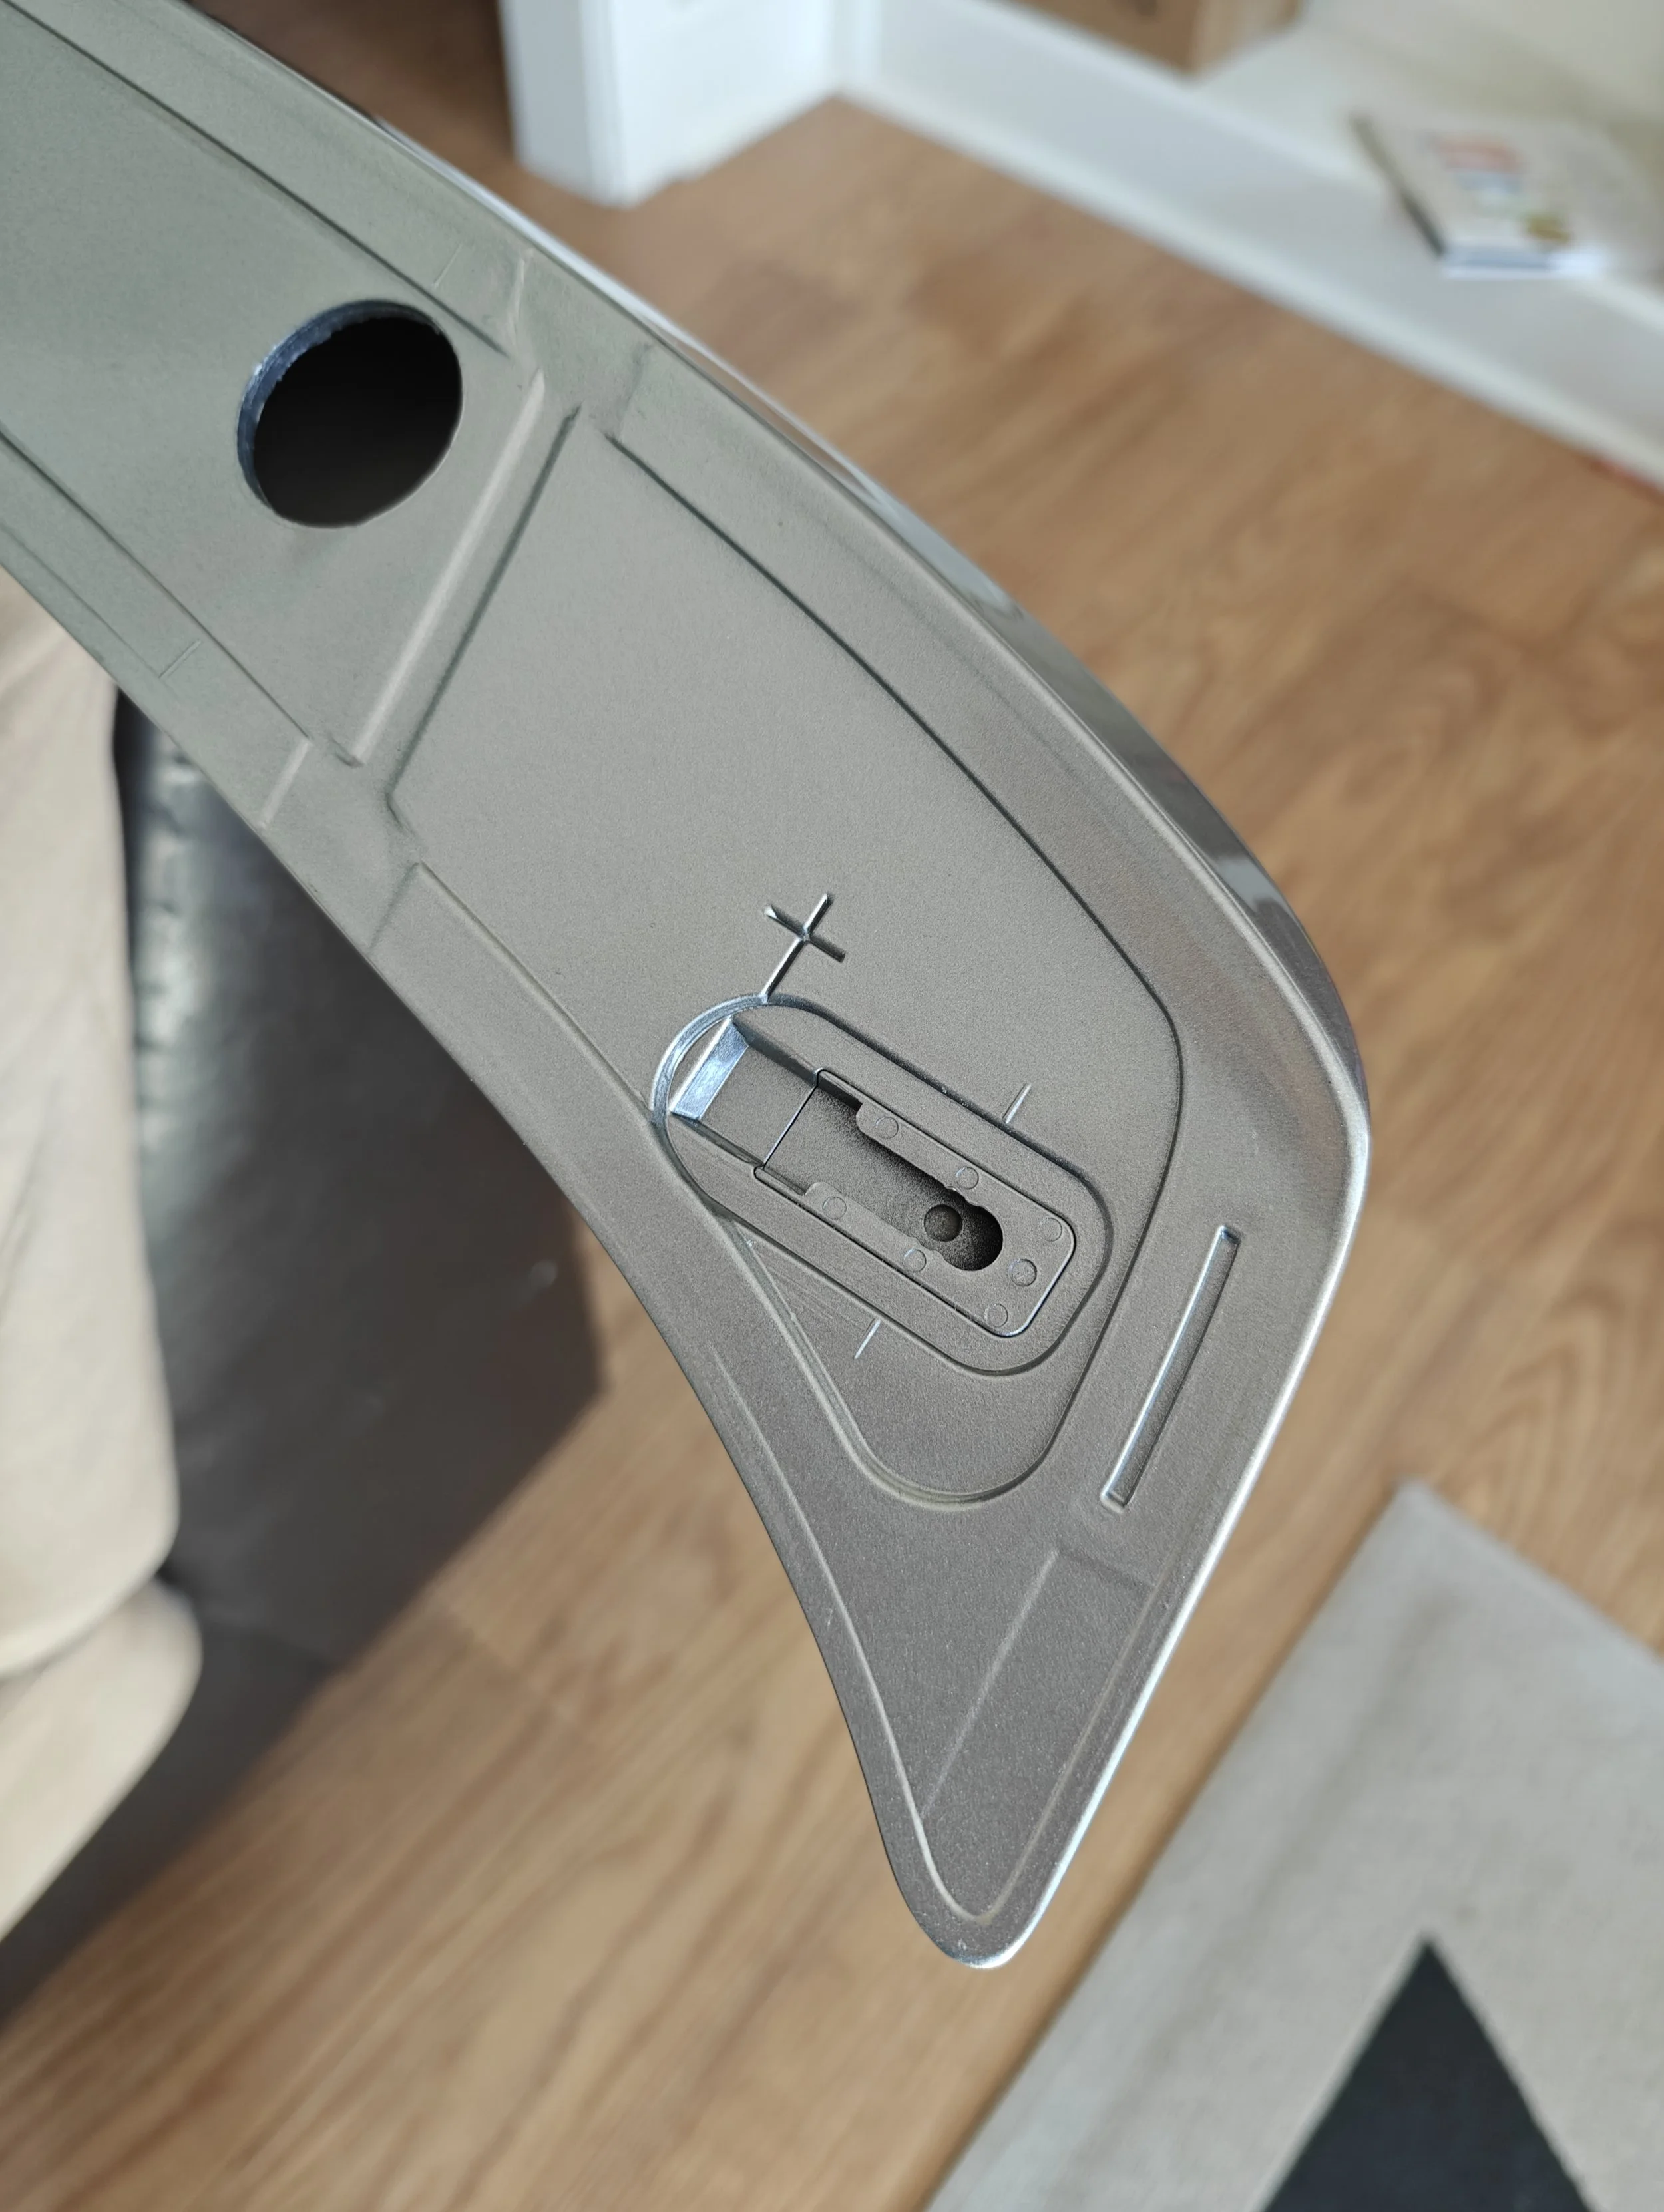
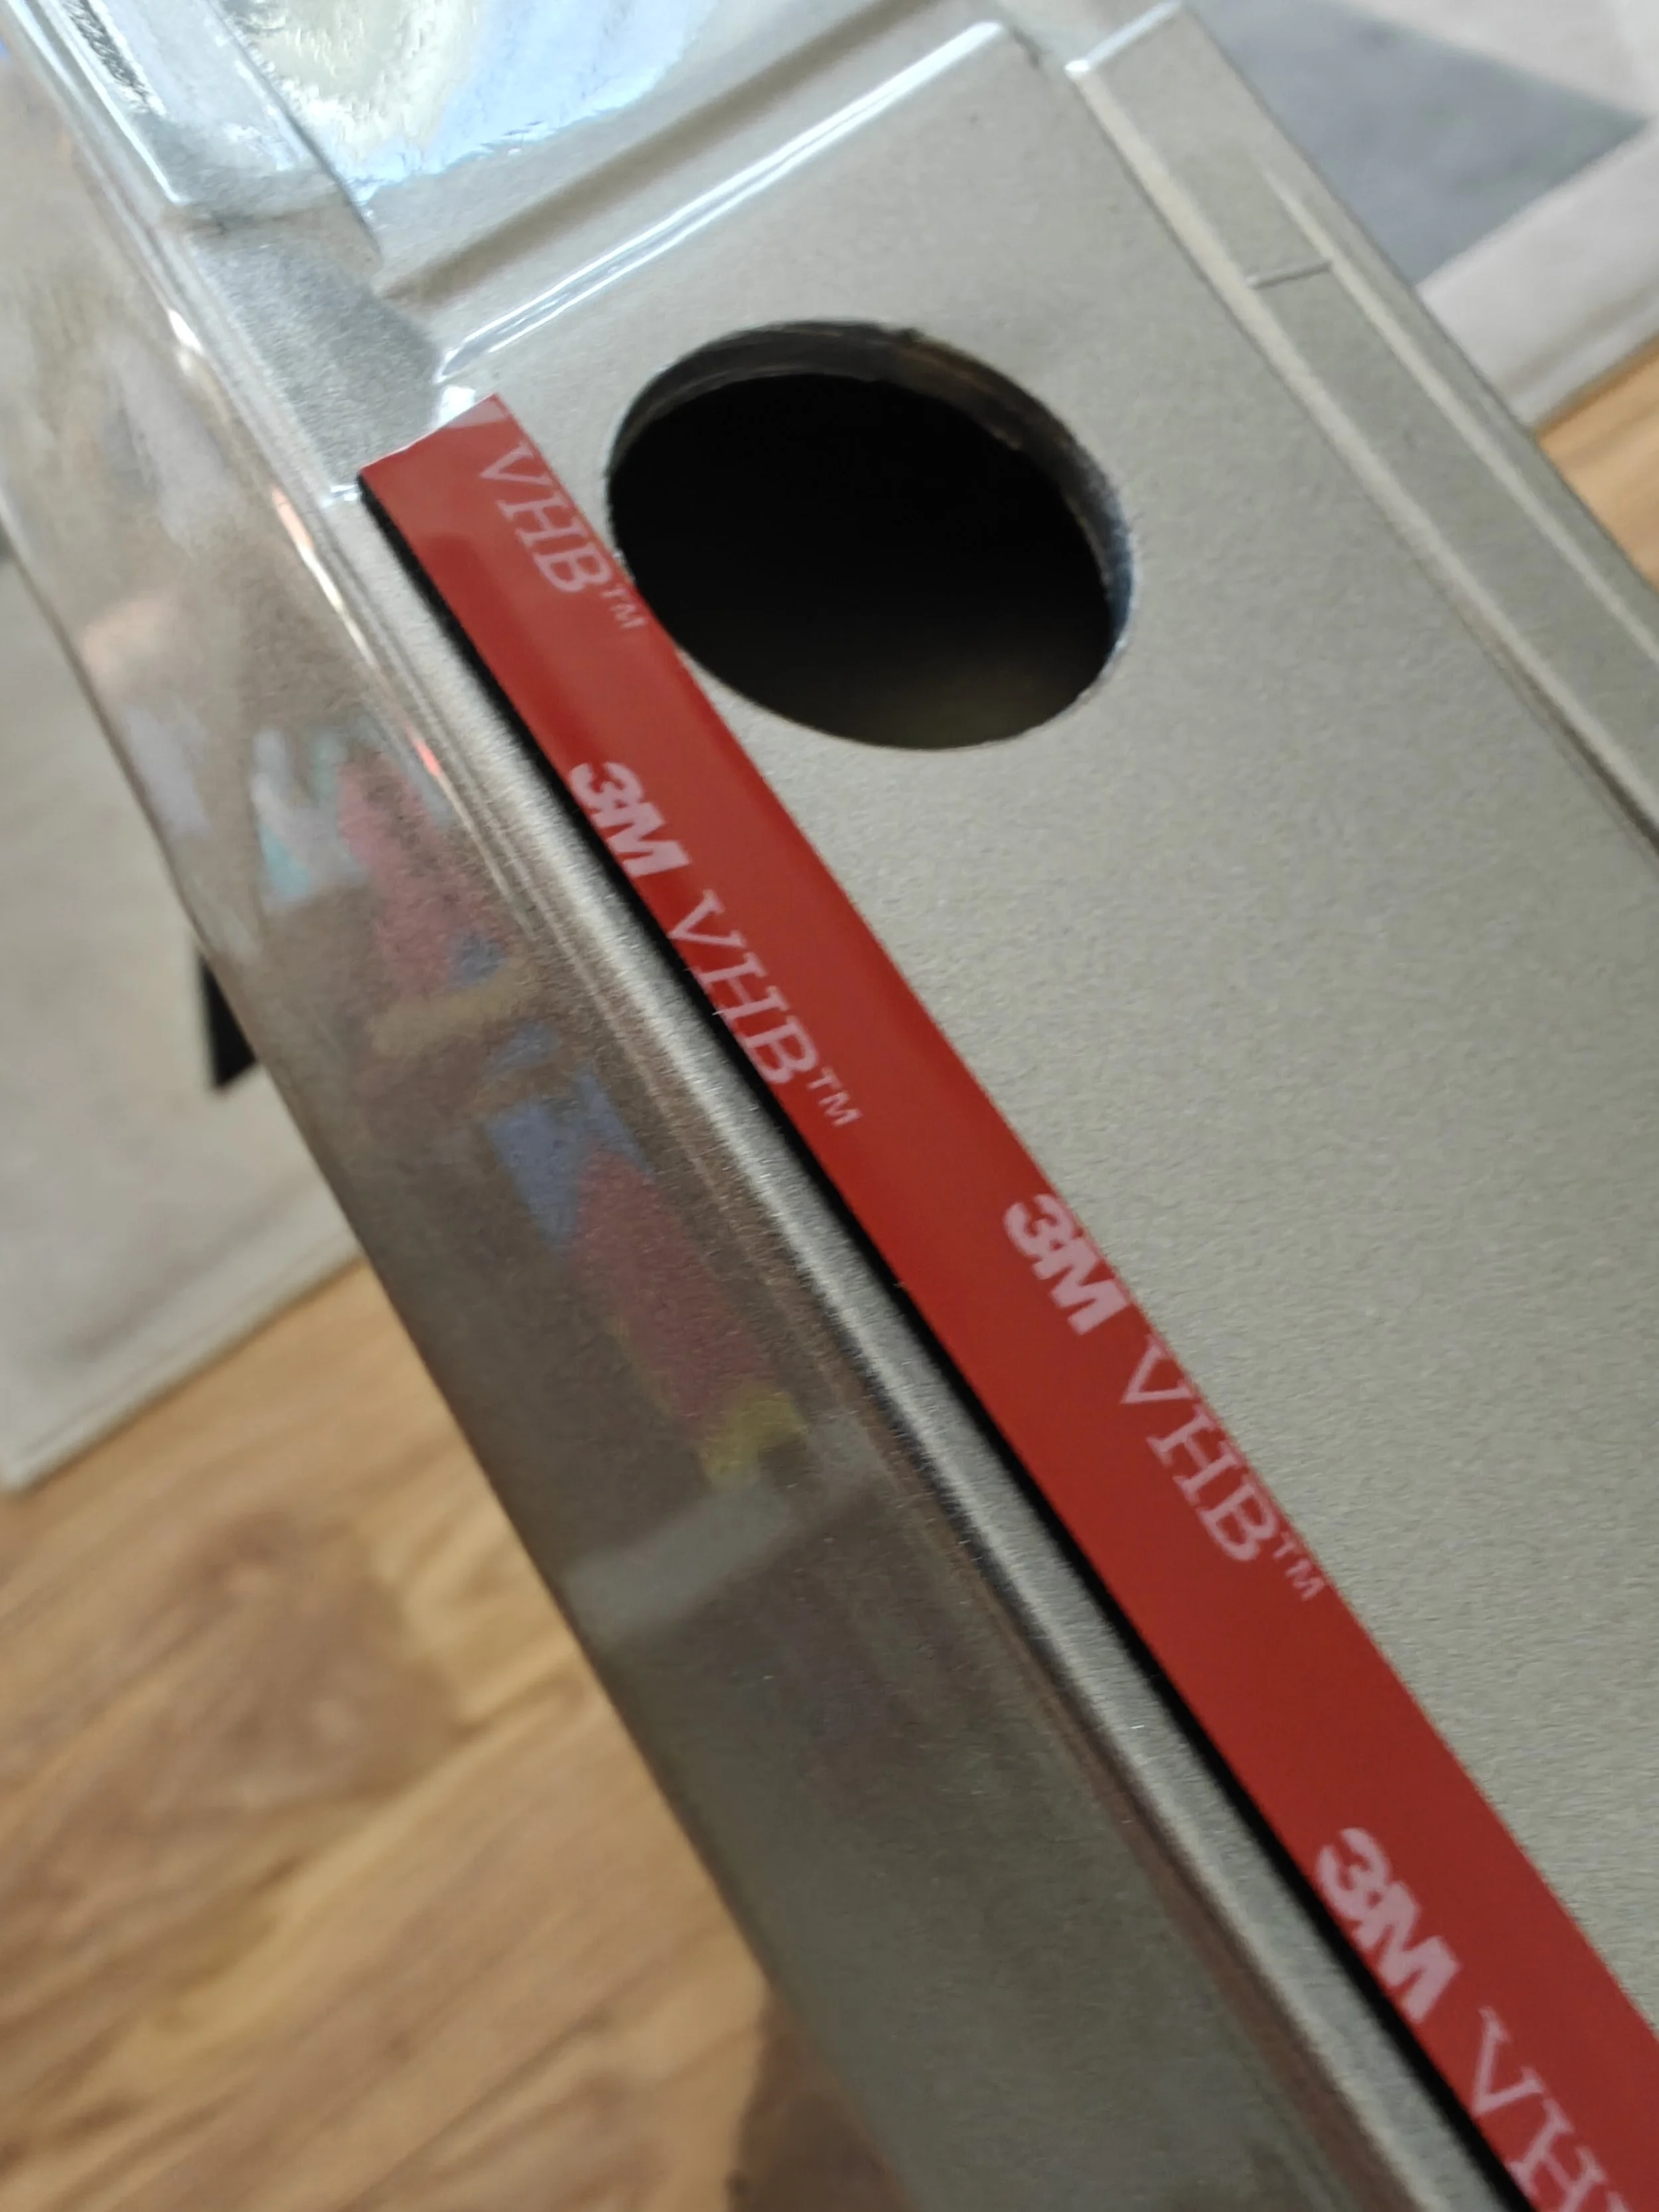
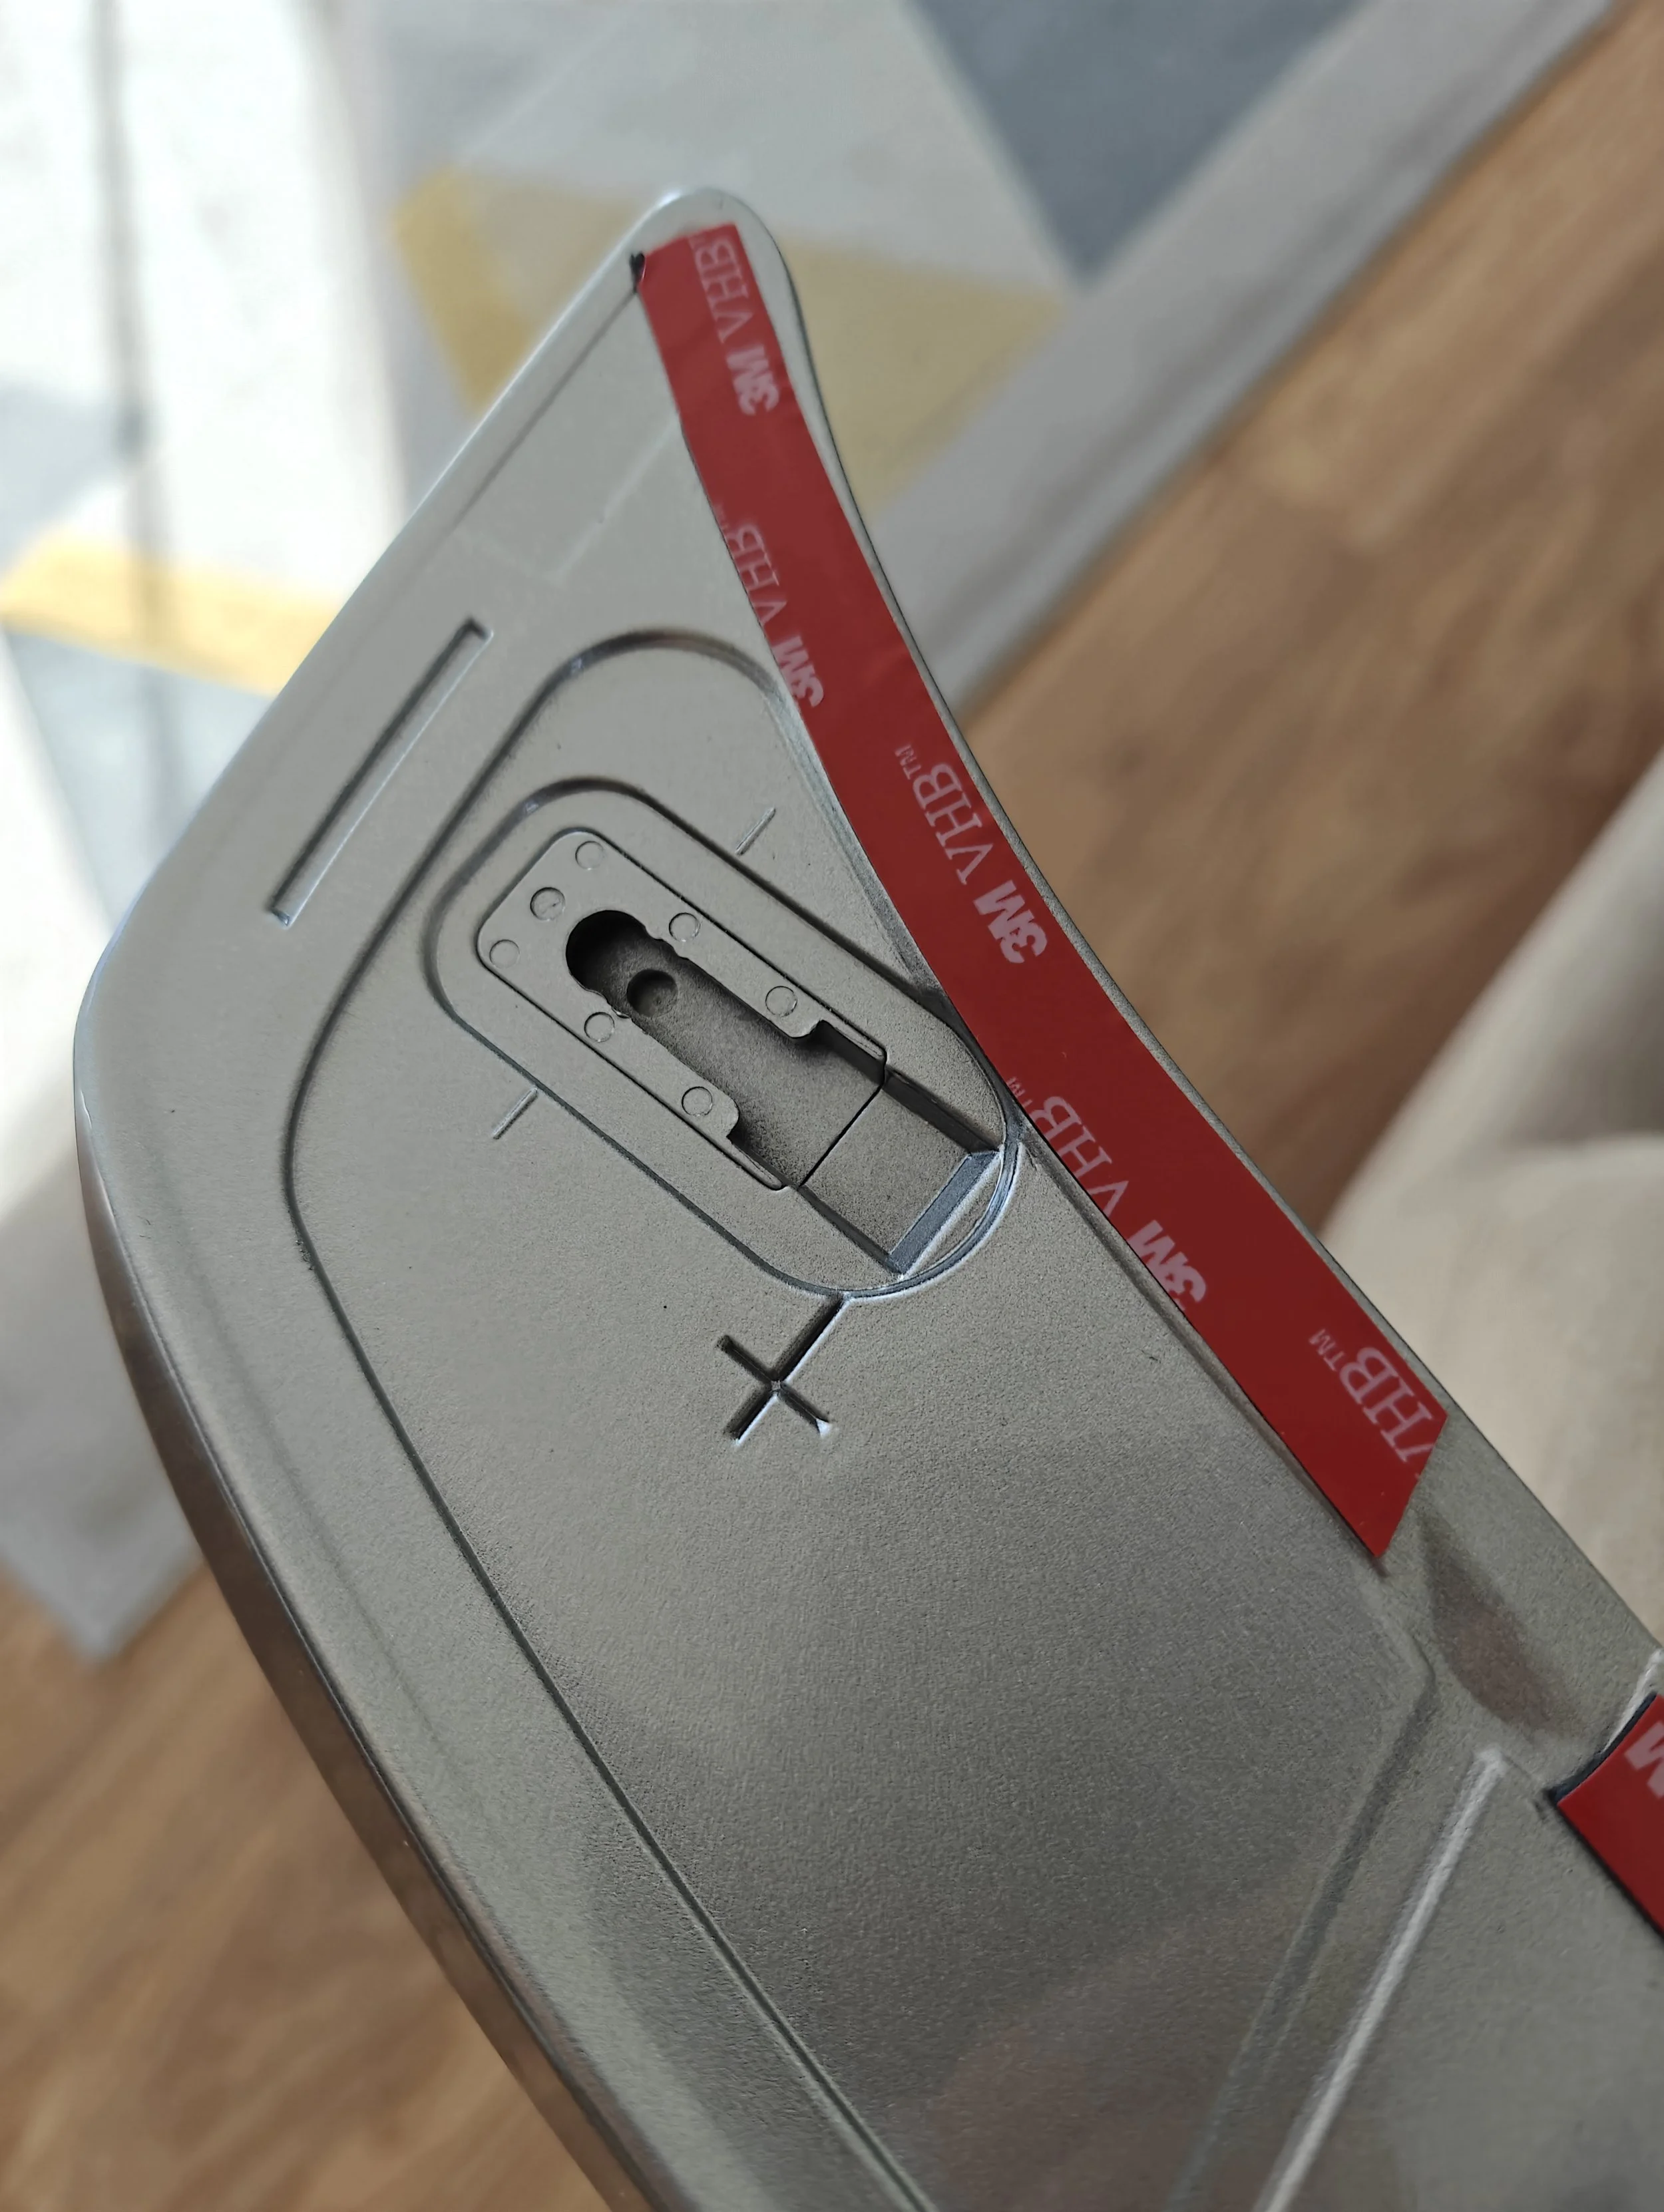
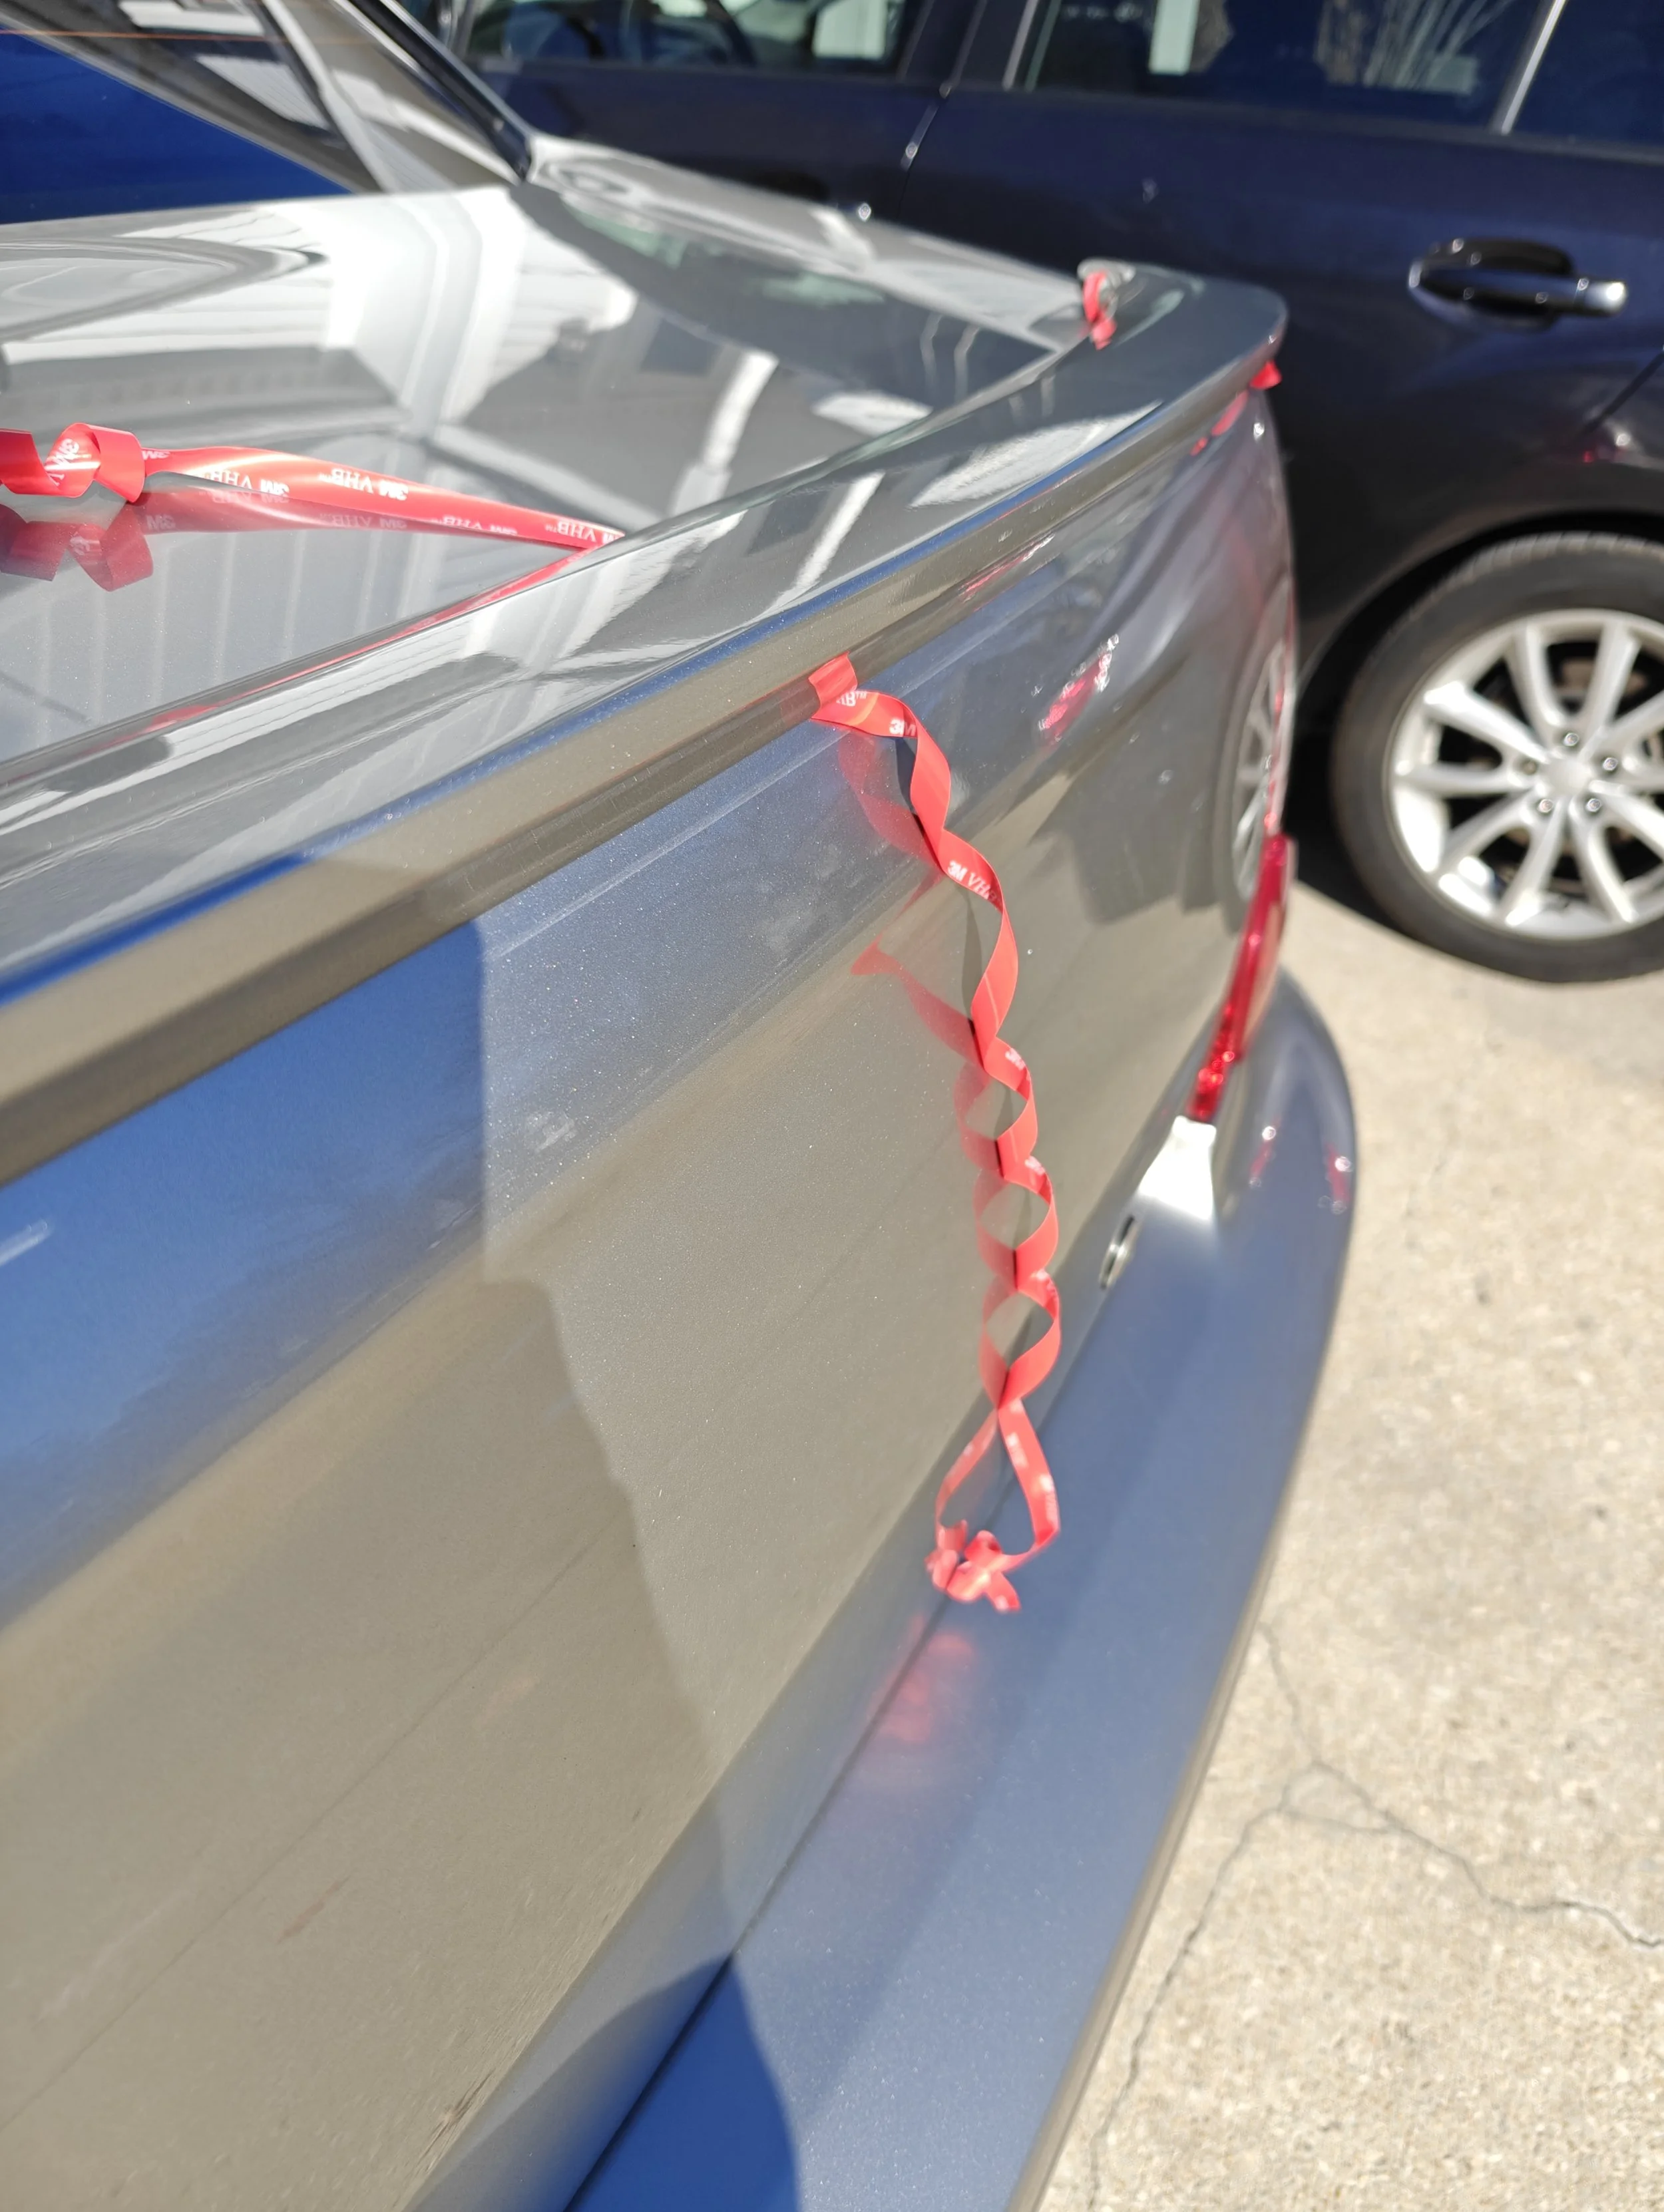
After that we can go ahead and apply the 3M double sided tape around the cleaned area. You will note that there are channels to allow water to run in and out under the lip spoiler. We want to leave those open so we don’t trap moisture that could cause damage to the paint or perhaps rust the trunk lid. Don't forget about the plastic centering tab in the middle, I removed it with some side cutters and knife. Once the lip spoiler is complete we can move on to the trunk lid.
With everything cleaned you can start in any area.
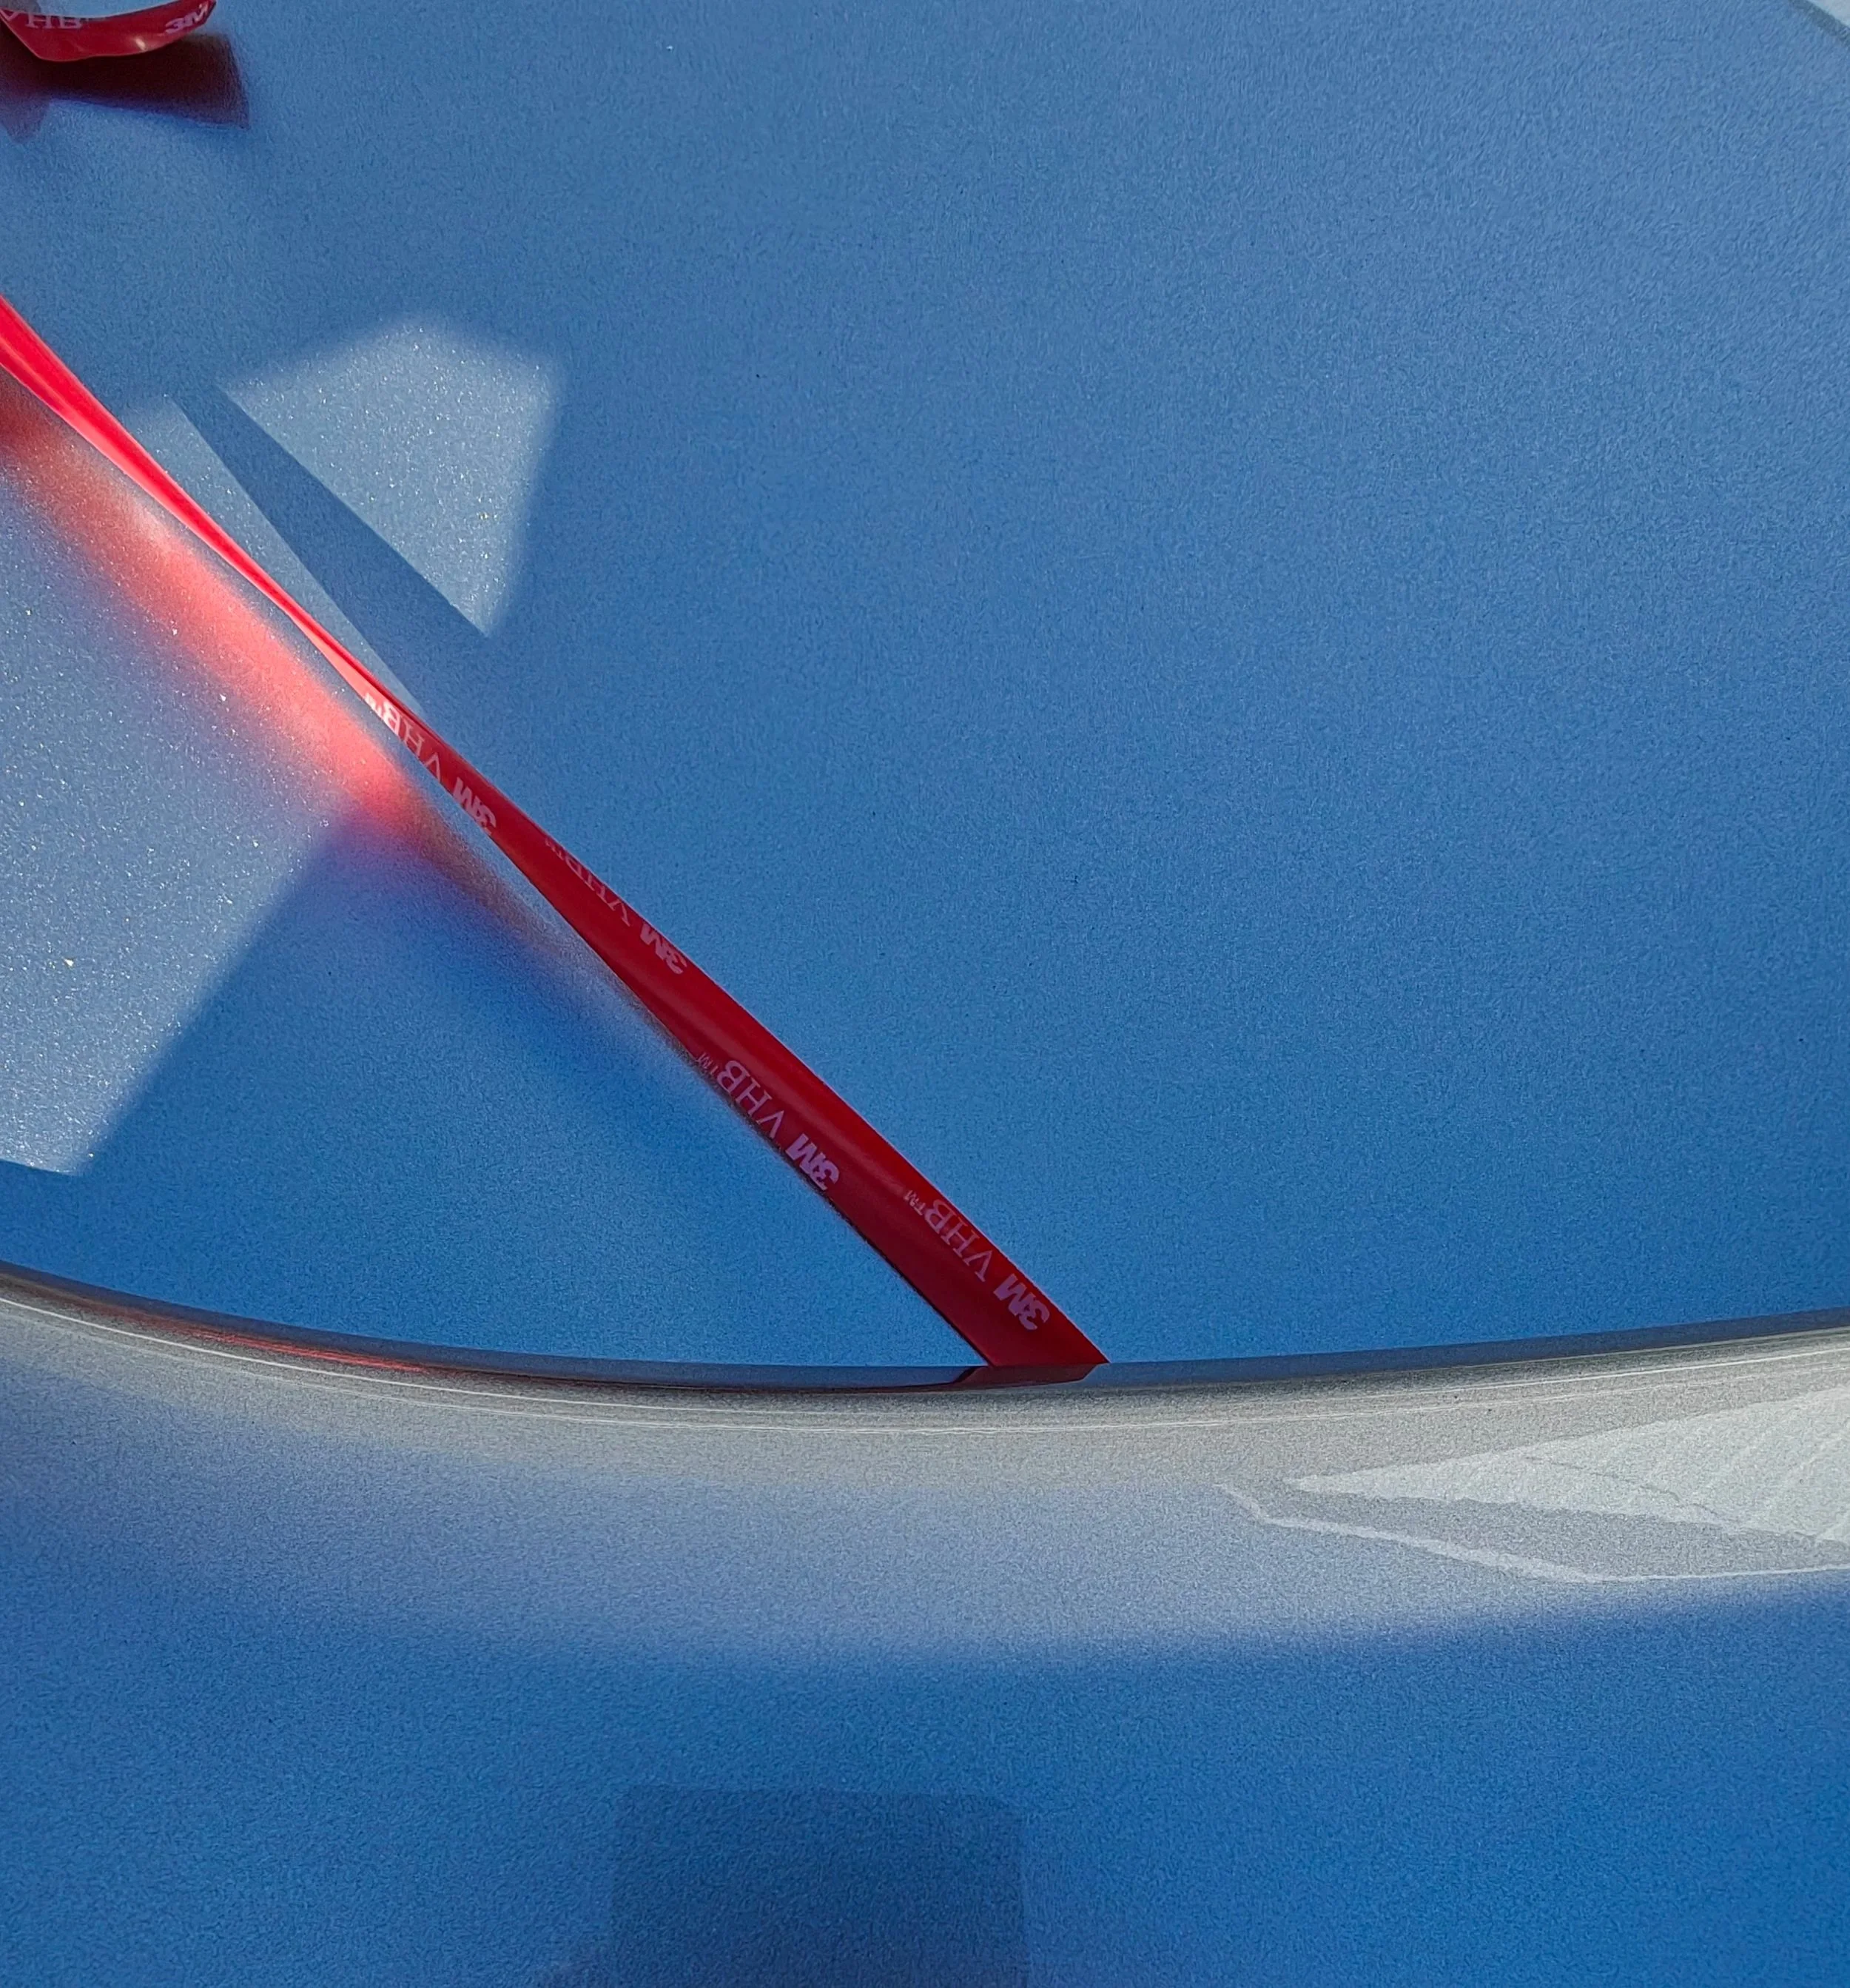
This image shows how we need to leave the water channels free to flow.
Here we can see an easy method to take it around the corner.
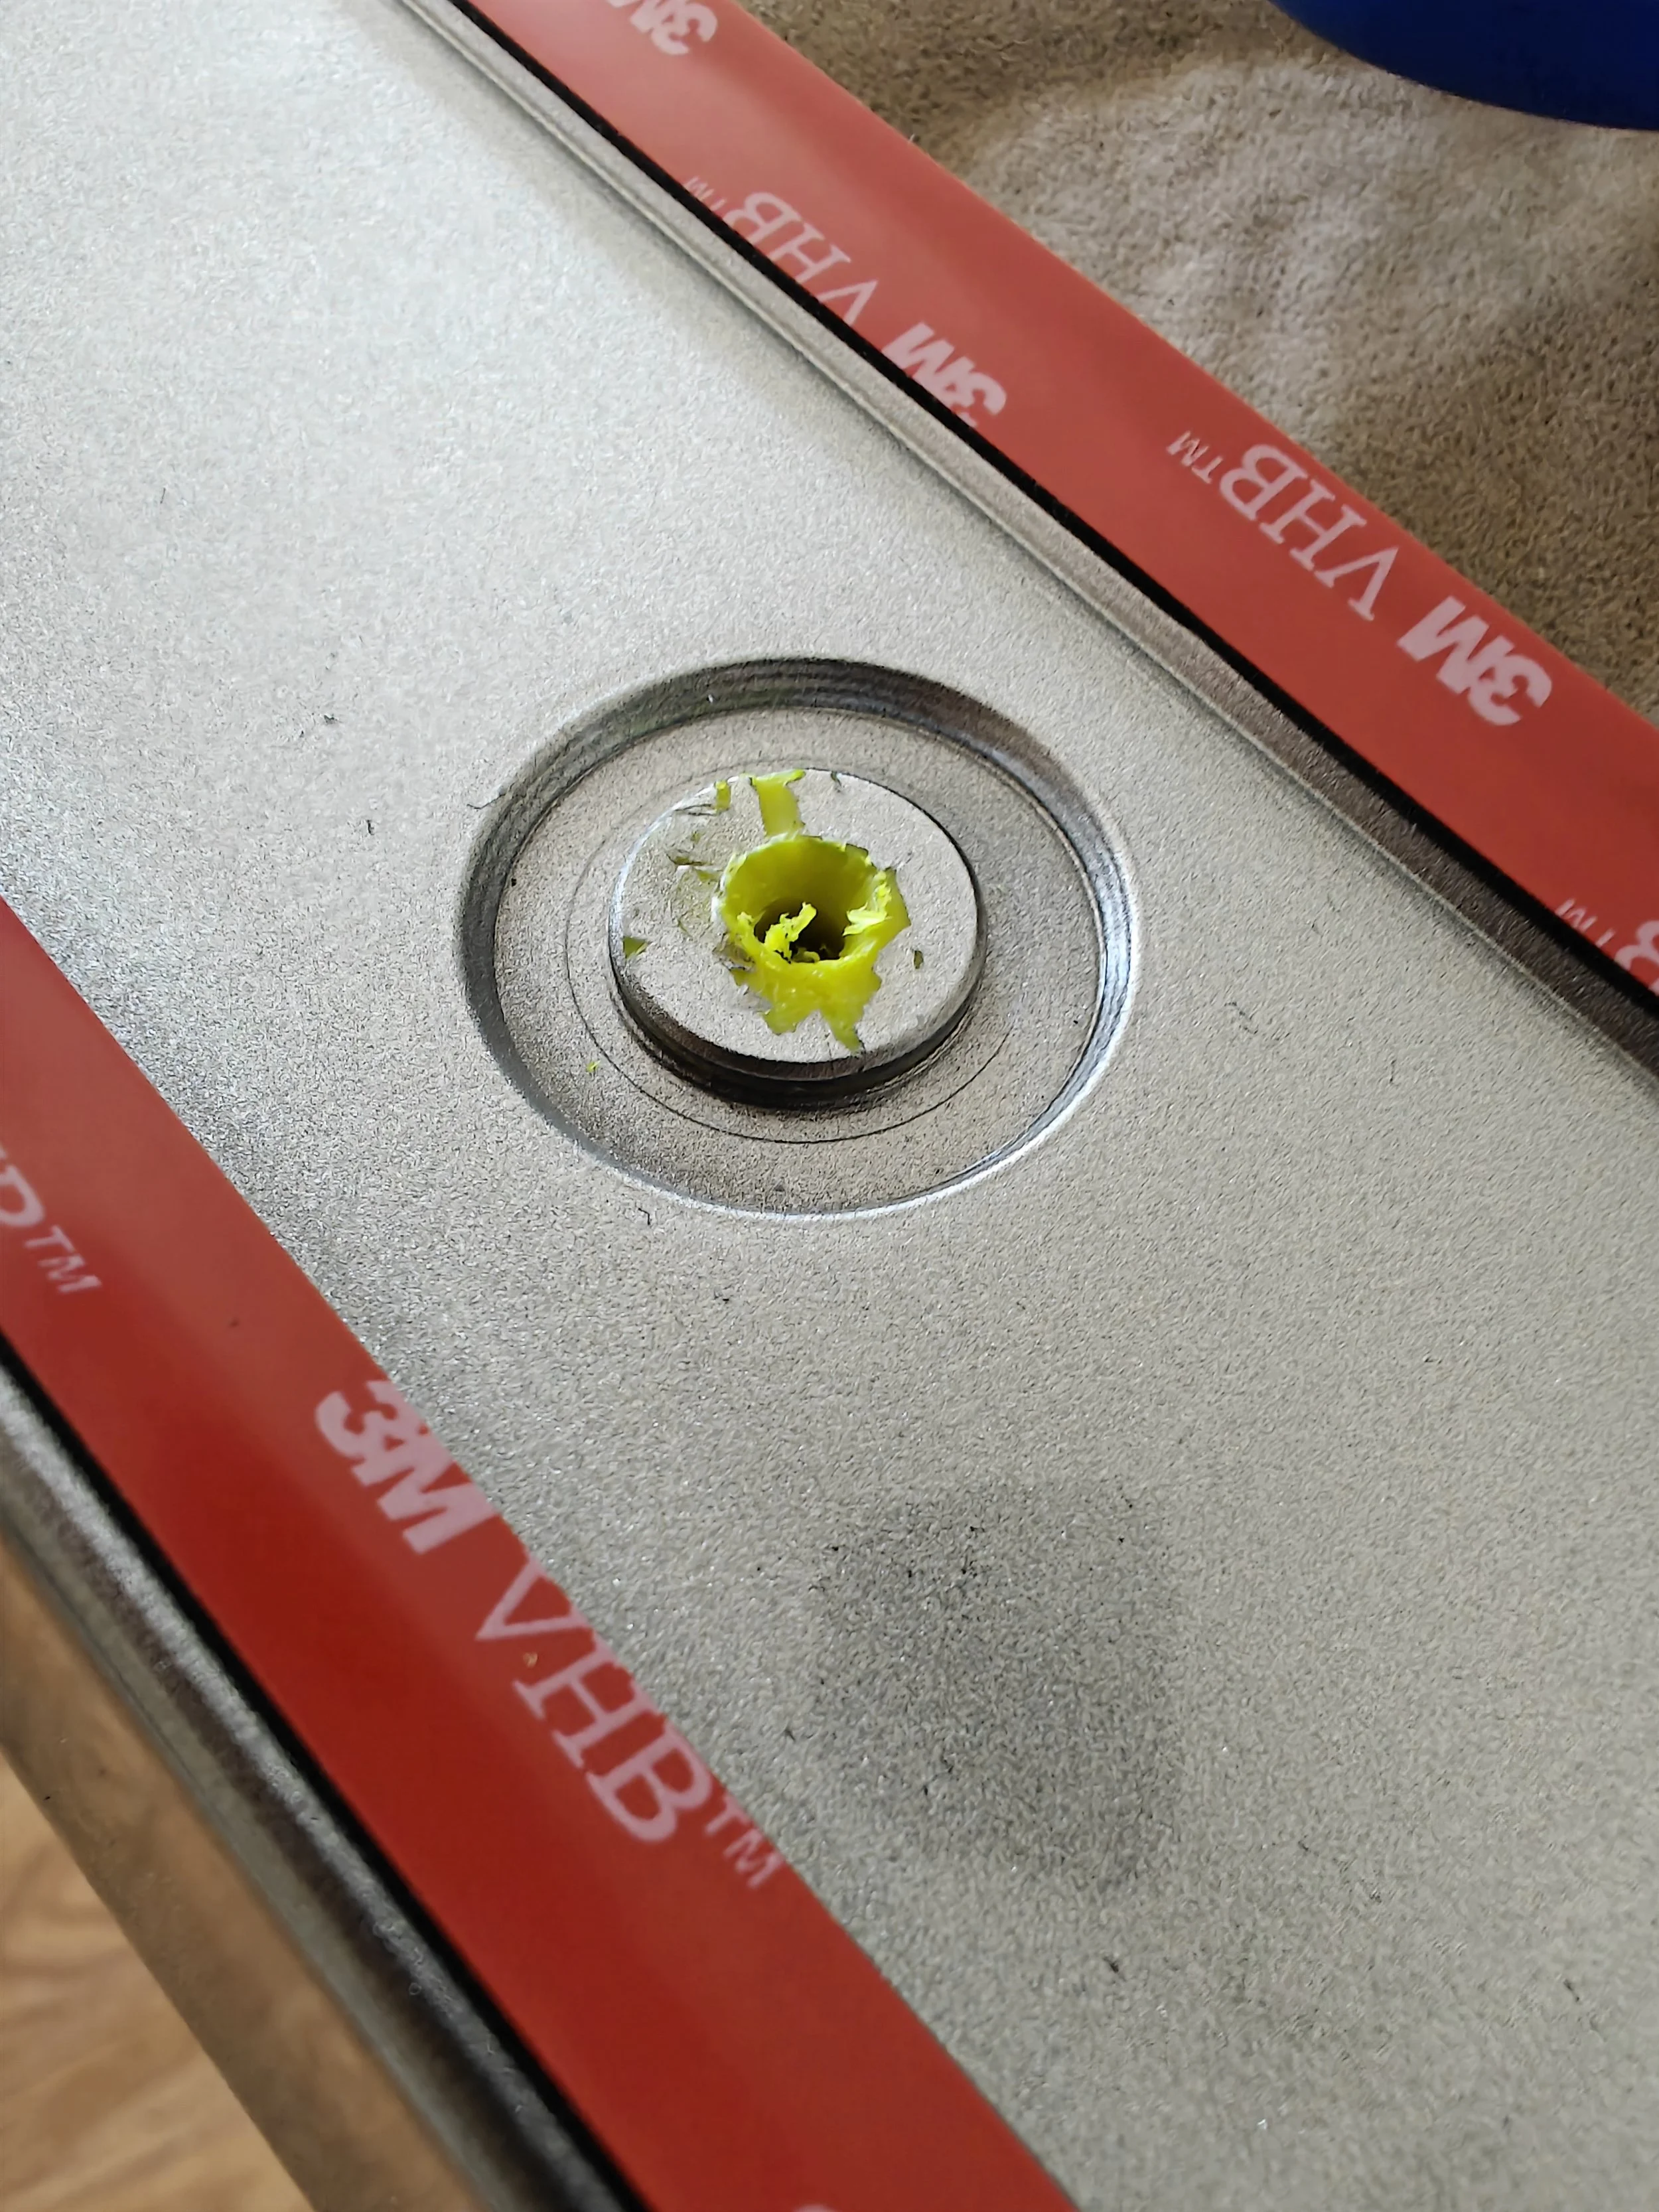
Lastly make sure you take care of the centering tab by cutting it nice and flush.
The trunk lid will also need to be prepped to allow for proper adhesion. We can clean off the area the trunk lid will mount to with more Isopropyl alcohol. This finishes up all the prep work and we are ready to install the lip spoiler on.
We can take our time and clean off the wax and grease on the trunk with our Isopropyl alcohol.
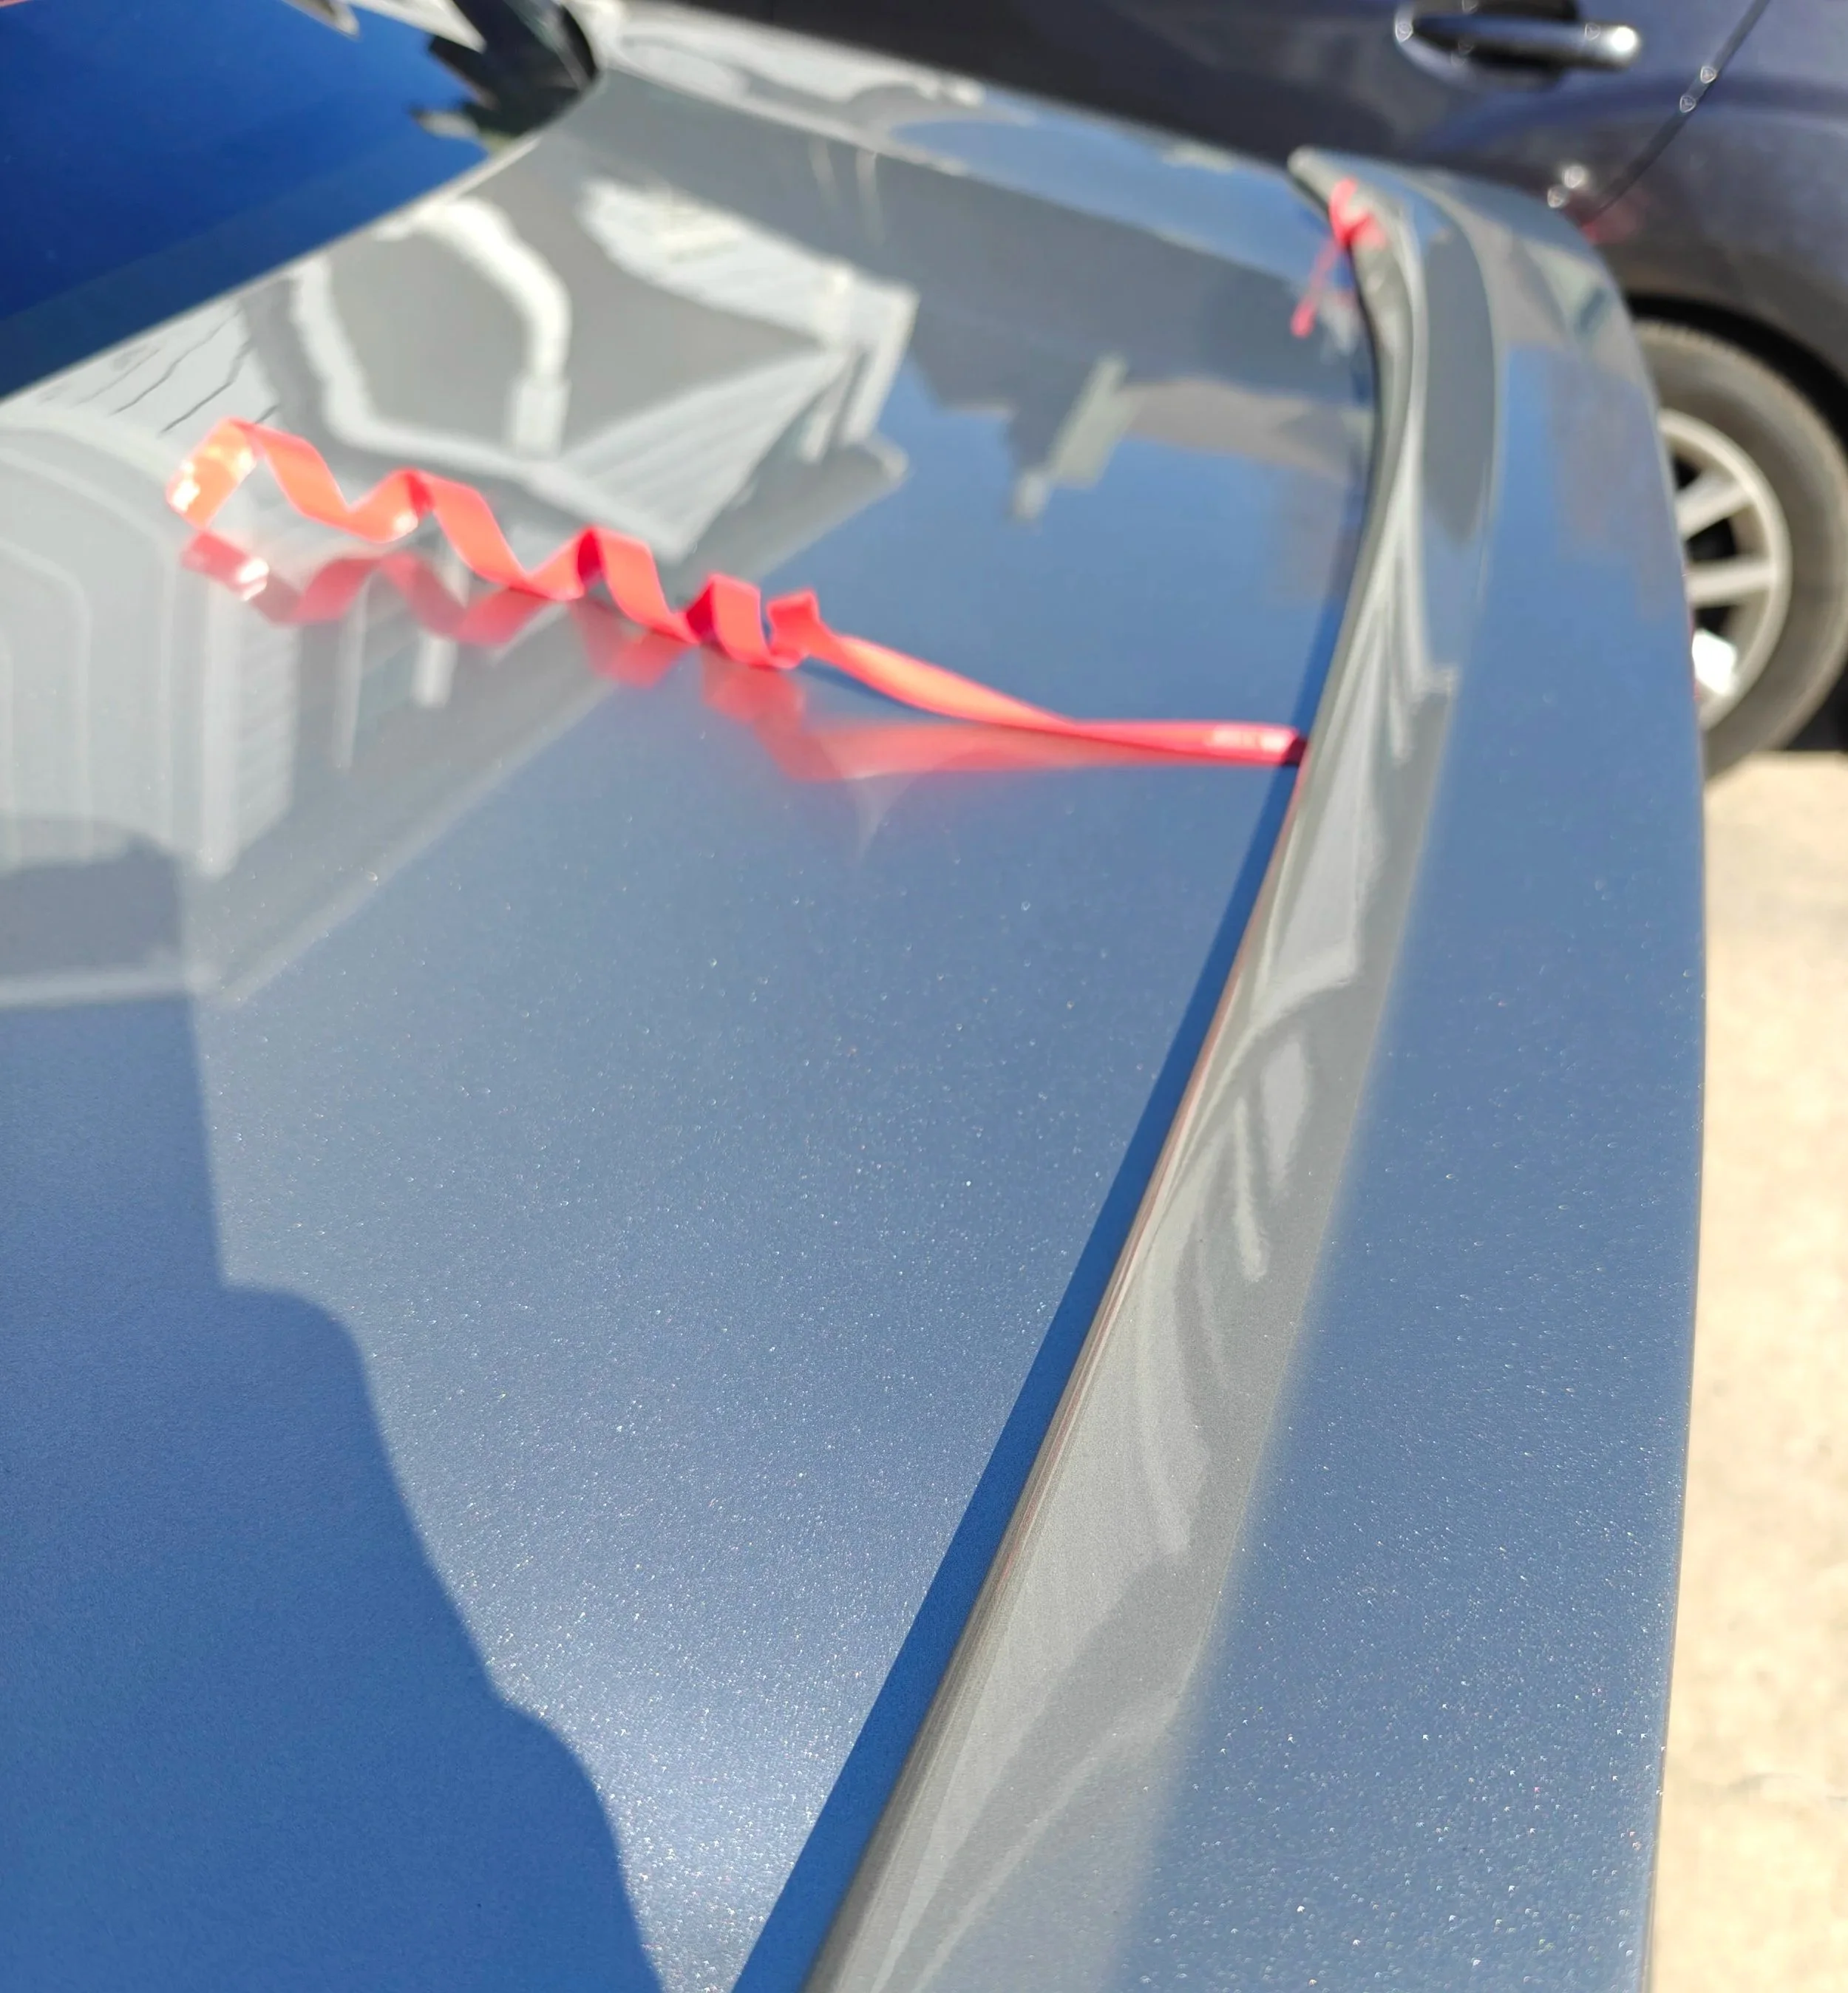
There are a couple ways to do this. You could use the supplied template paper and cut out it out. You can also use a tape measure and steady eye to find the center. I found that using template folding in half helped me set it up and start applying it.
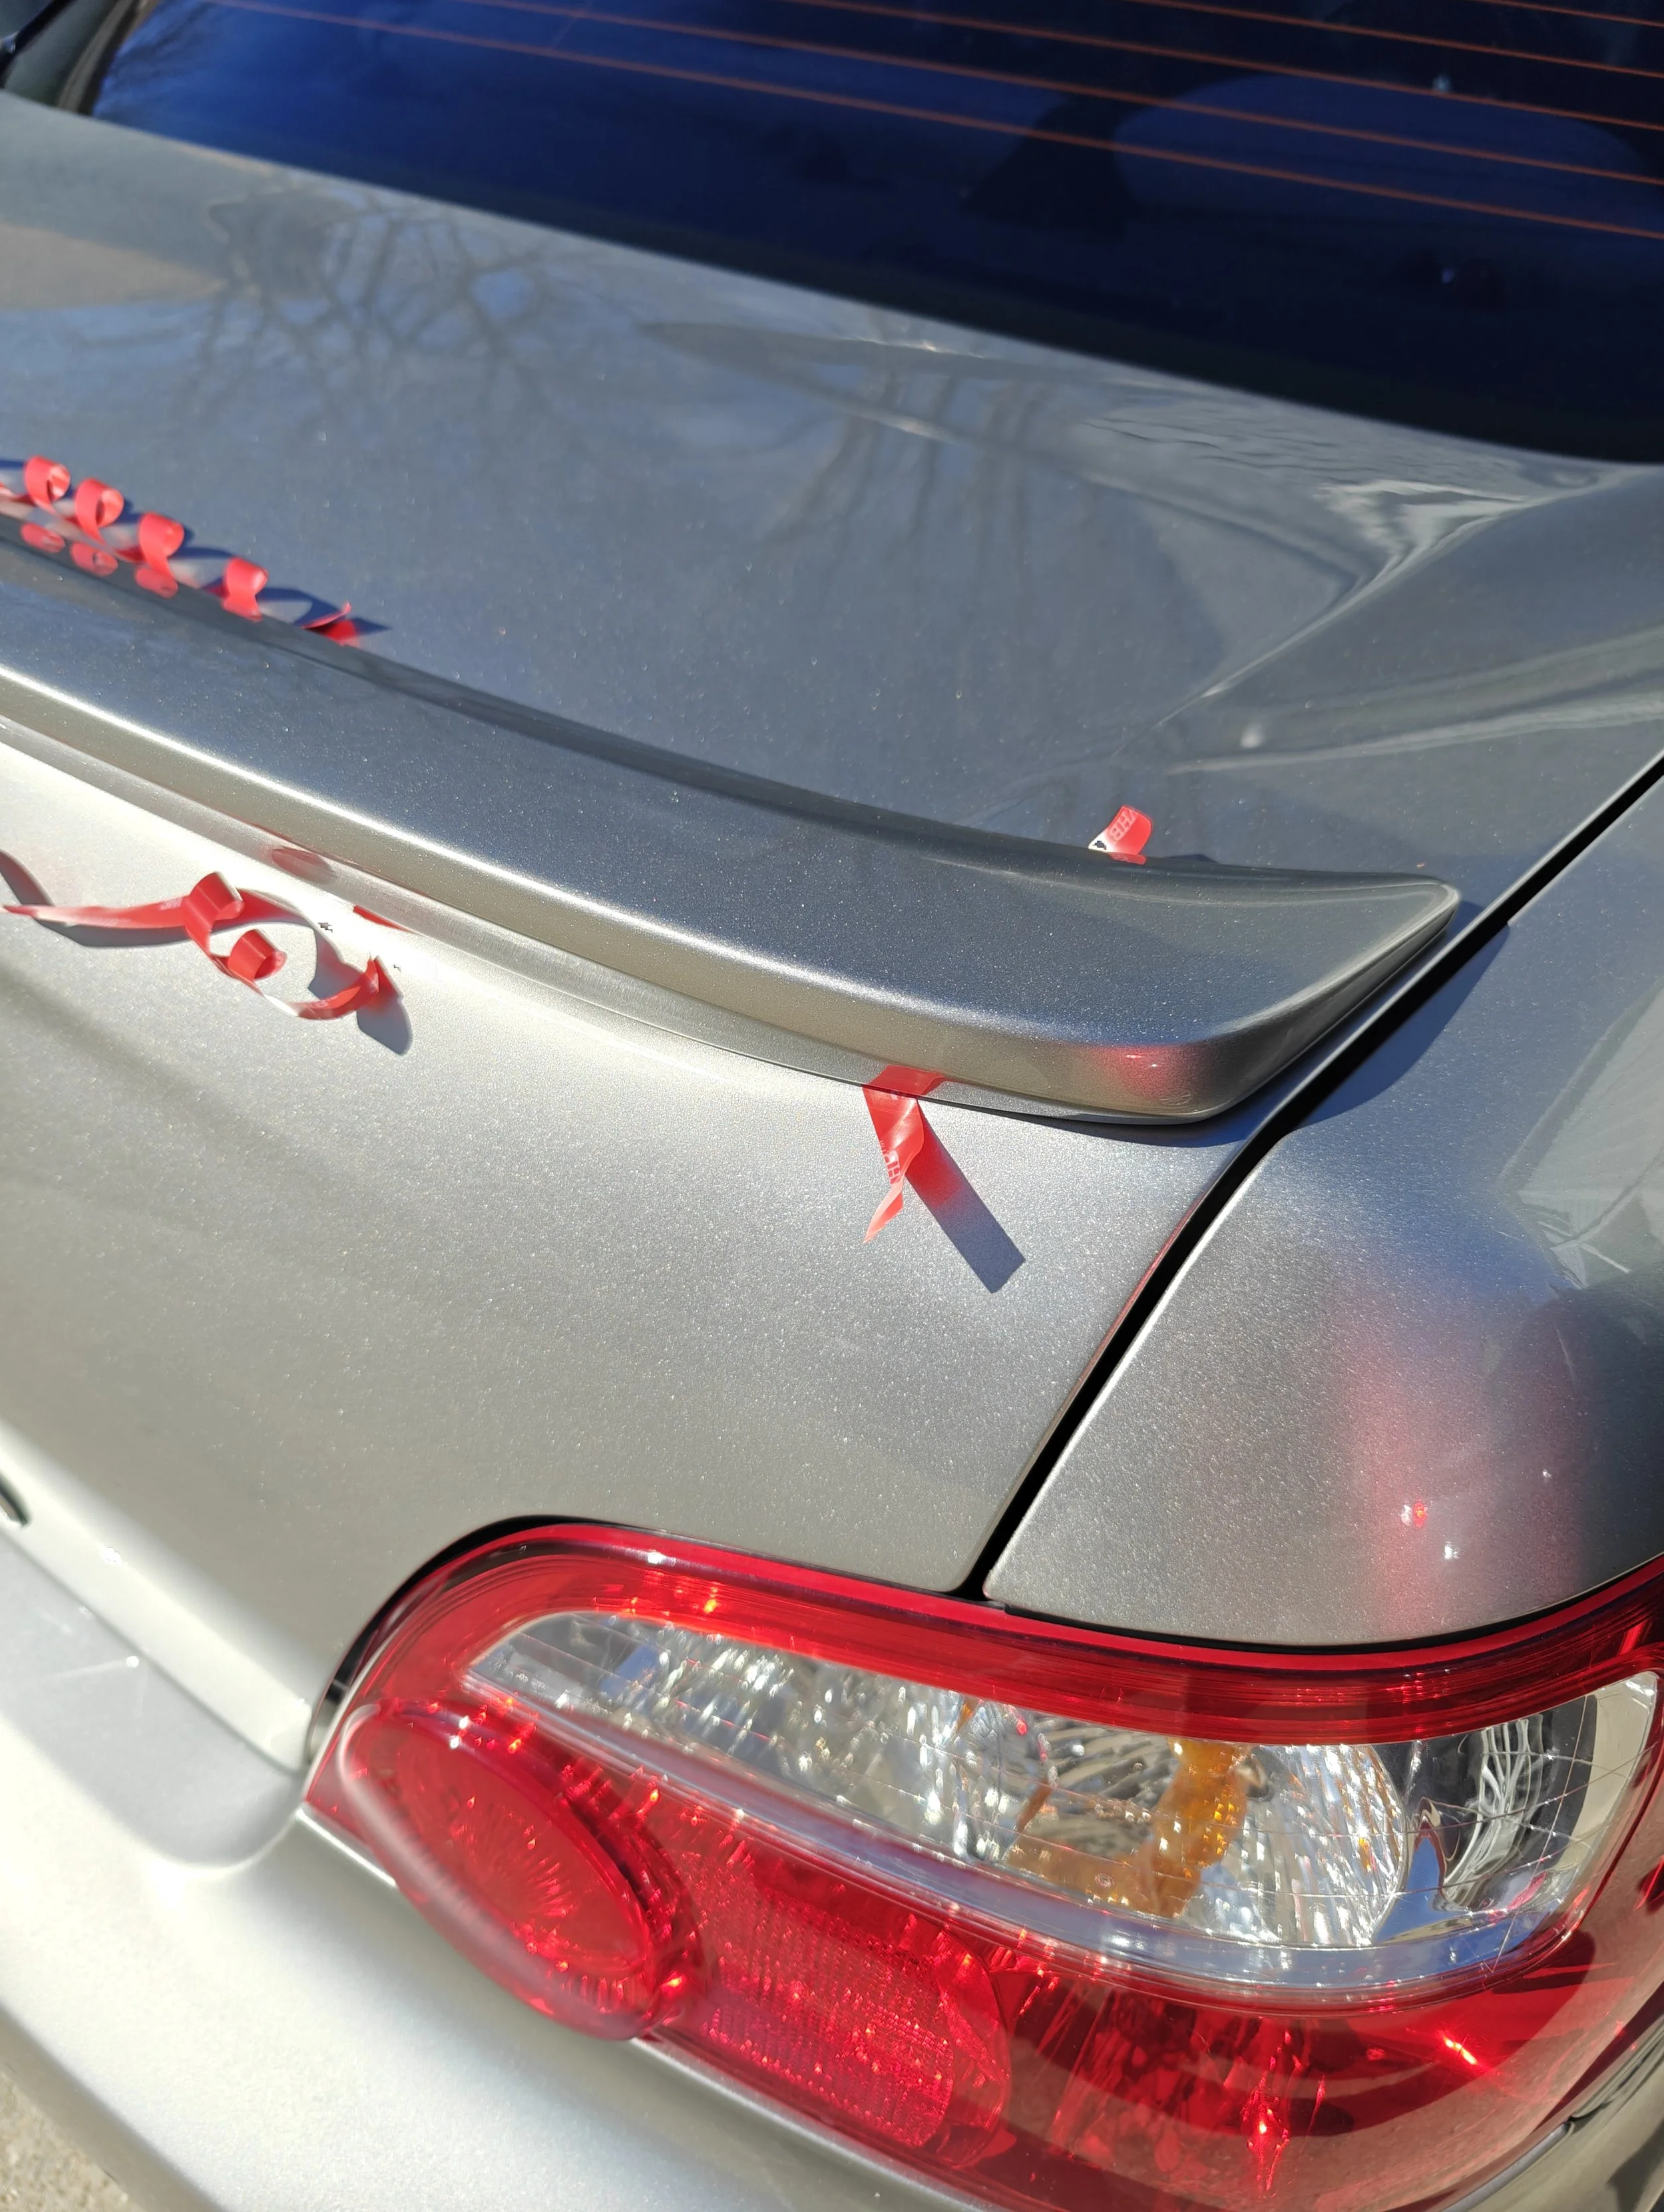
Once you have everything lined up you can start pealing off the first side. I like to peel off a small percent of the tape and start applying steady pressure. Once I am done with a small area I will peel more of the tape back and keep moving across the trunk lid until it is adhered. I would recommend to take your time and apply consistent and even pressure to allow the tape time to adhere.
Make sure your start all the pieces of 3M tape before starting to apply it.
Keep moving slowly around the vehicle applying pressure as you peel the tape.
The method shown above is the optimum technique to keep the tearing it.
Work your way across.
Like this.
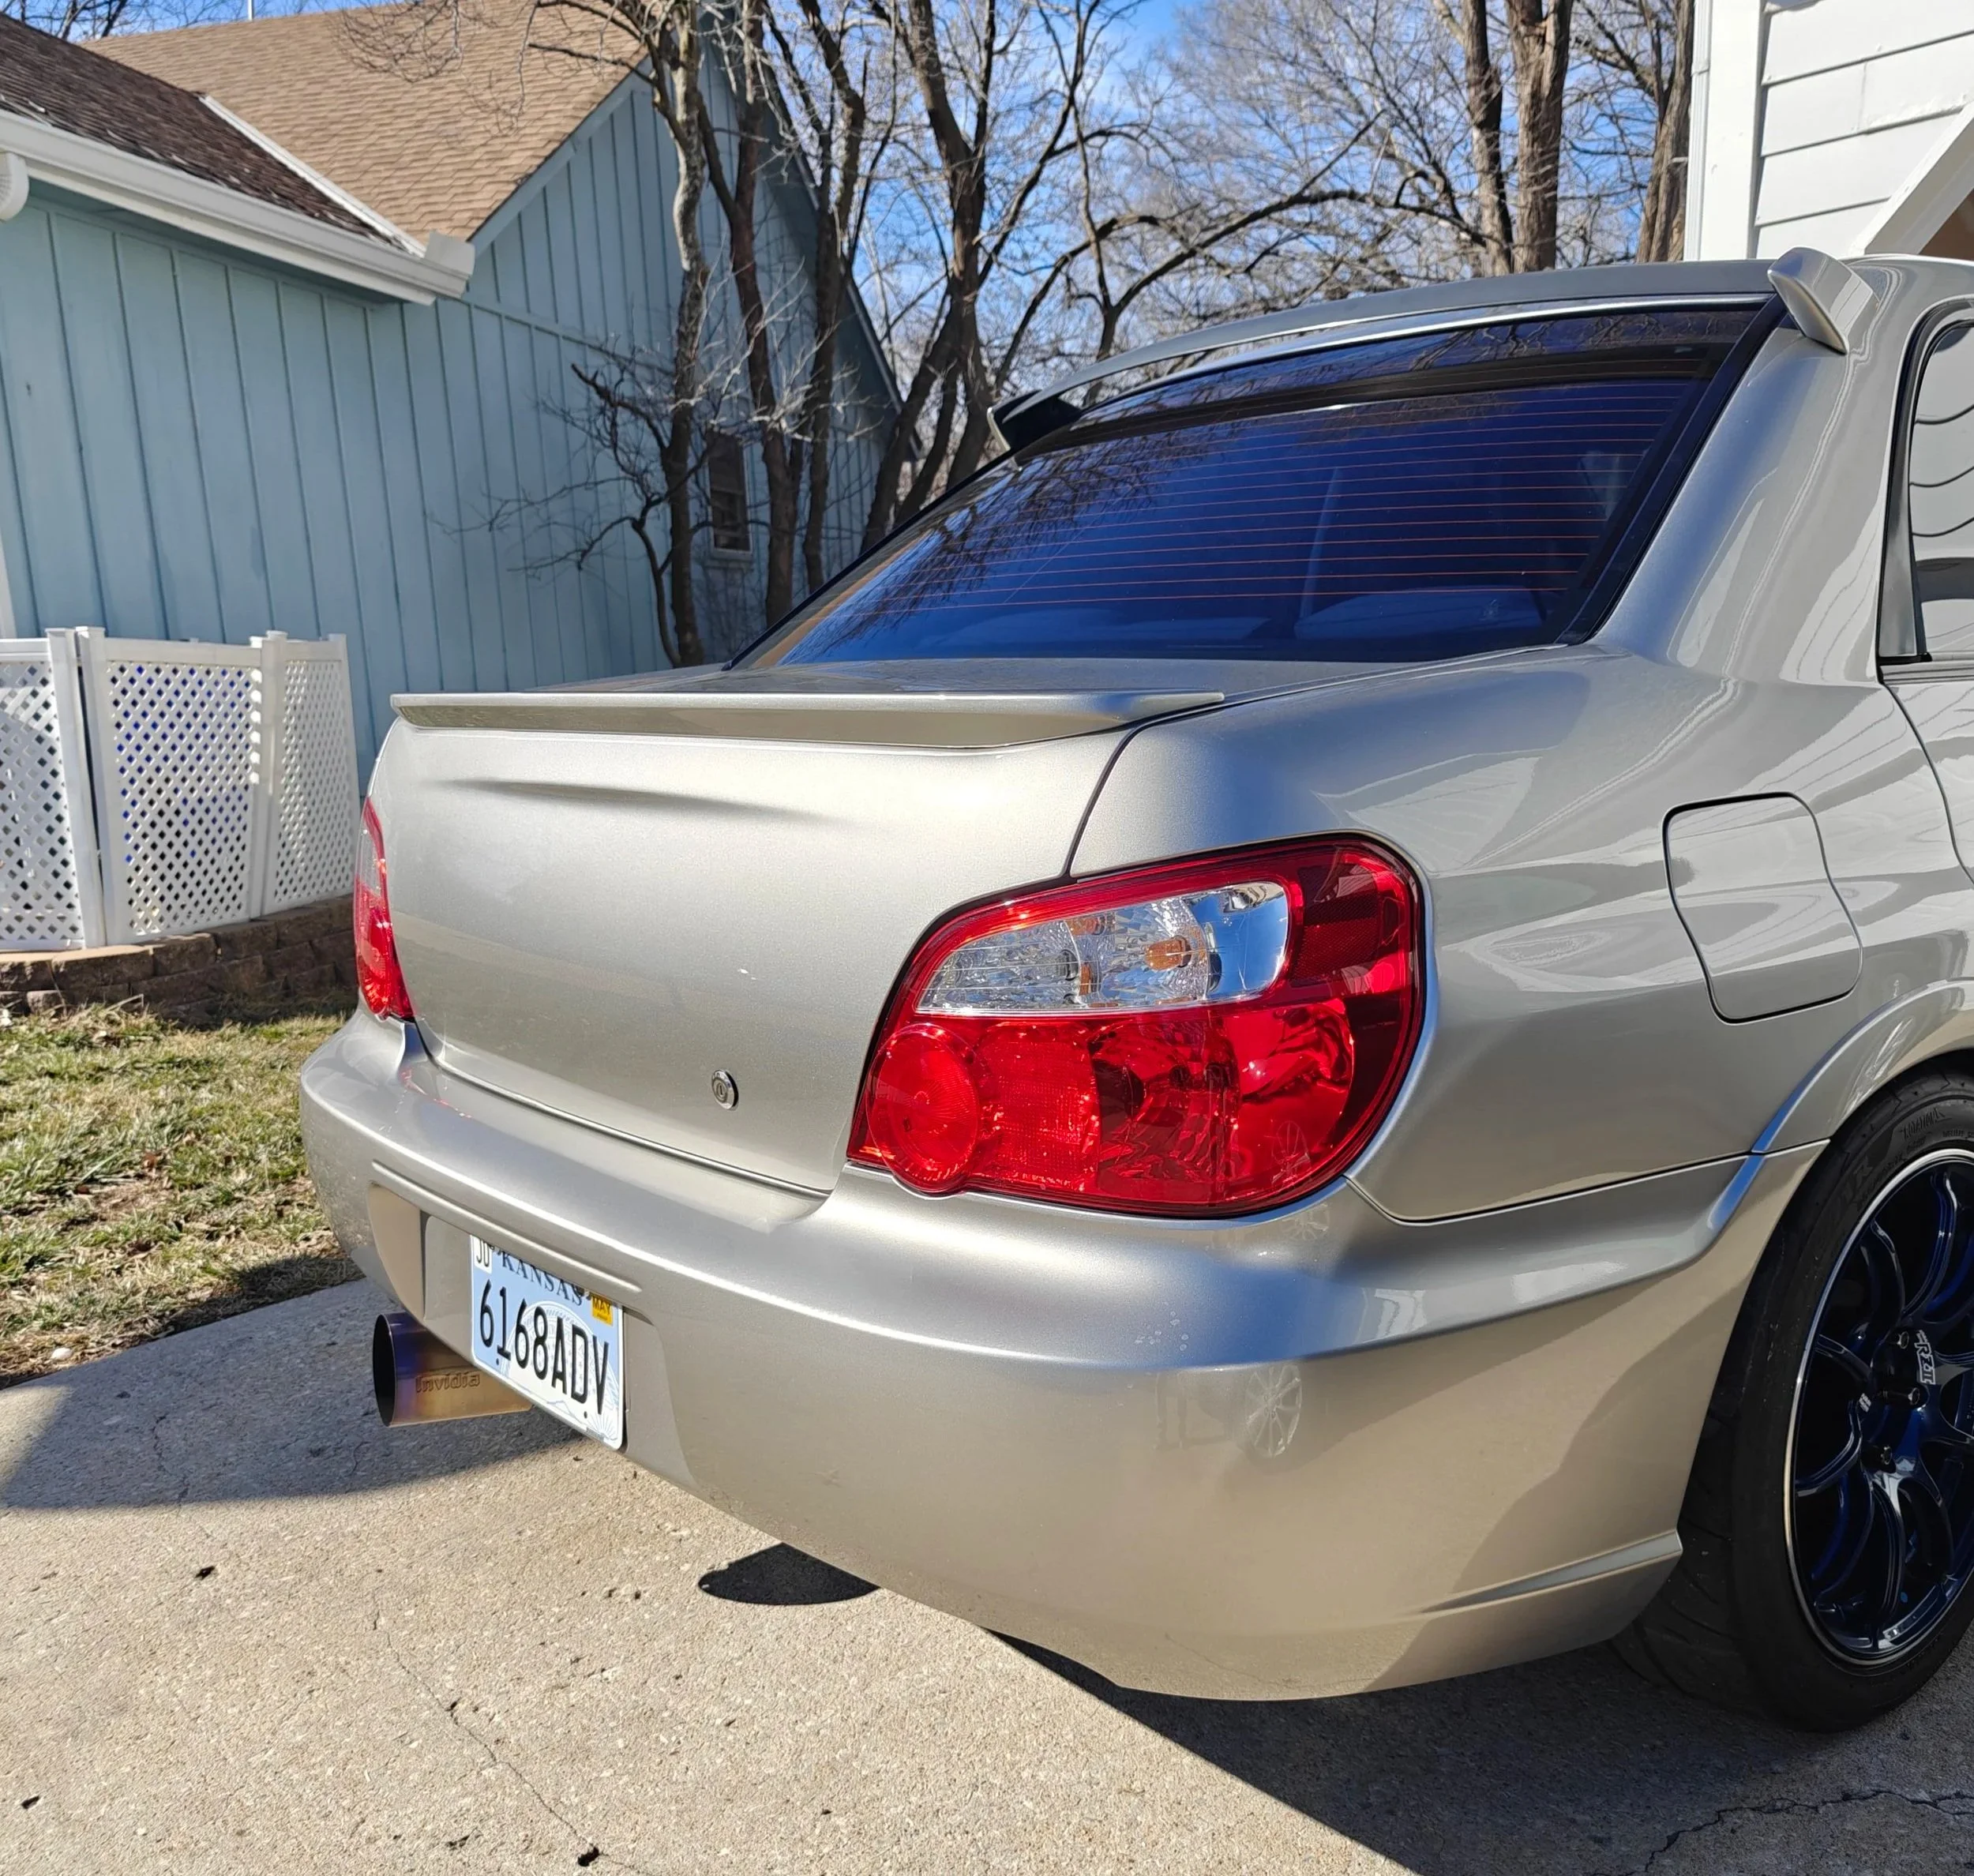
One all the tape has been peeled back and you have made sure that all of it is properly attached you can step back and enjoy your work. Now you hopefully blend into everyday traffic and get less attention from the police and random teenagers that want to race in their Ford Escape.
Amazon Product links
Subaru rear lip spoiler kit: E7210FE900