Make your own STi door sill plates or refresh a set. Hack the JDM parts market!
While it is possible to find a set of 2002-2007 JDM STI door sills, they likely aren’t in the best of shape and they aren’t cheap. But what if there was a way to reverse the clock on some of the wear and tear.. Or make your own…?
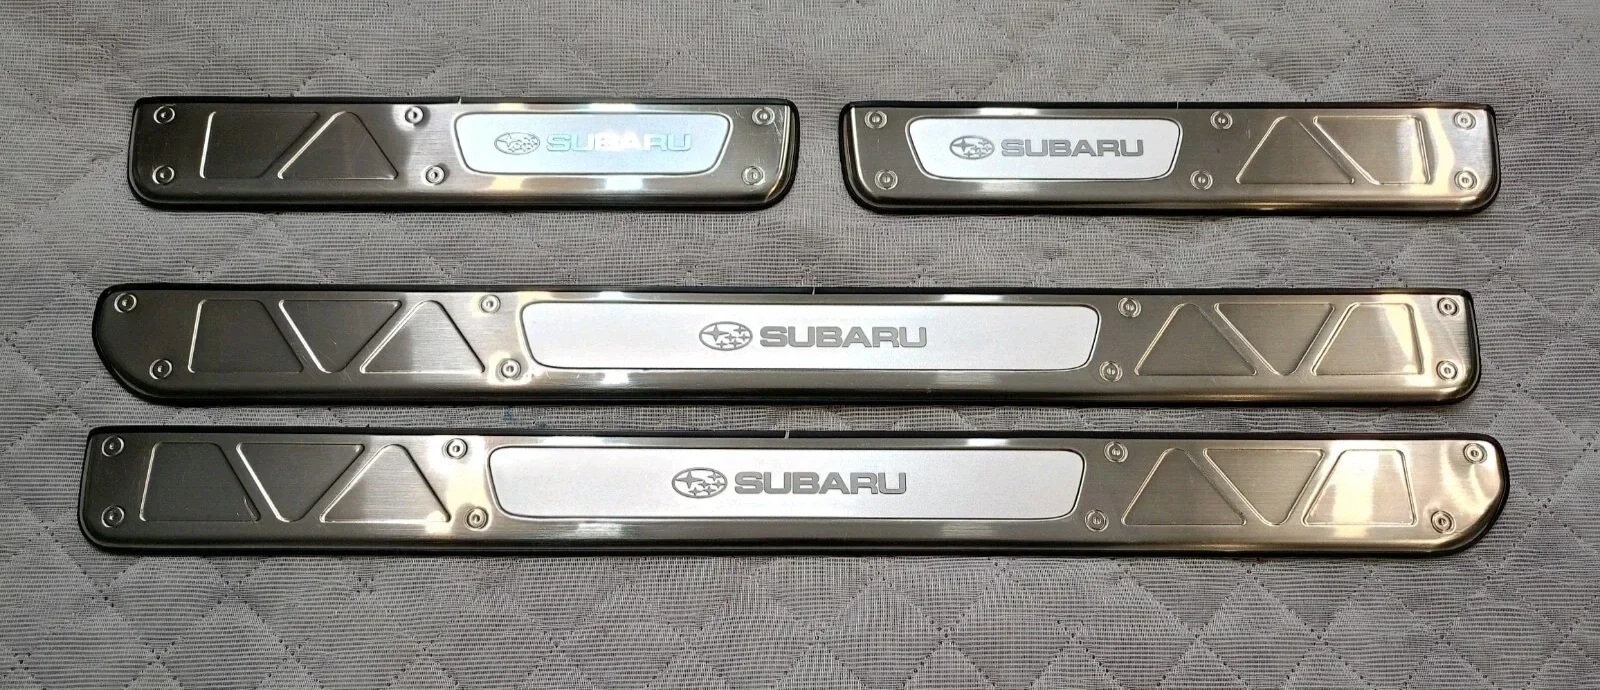
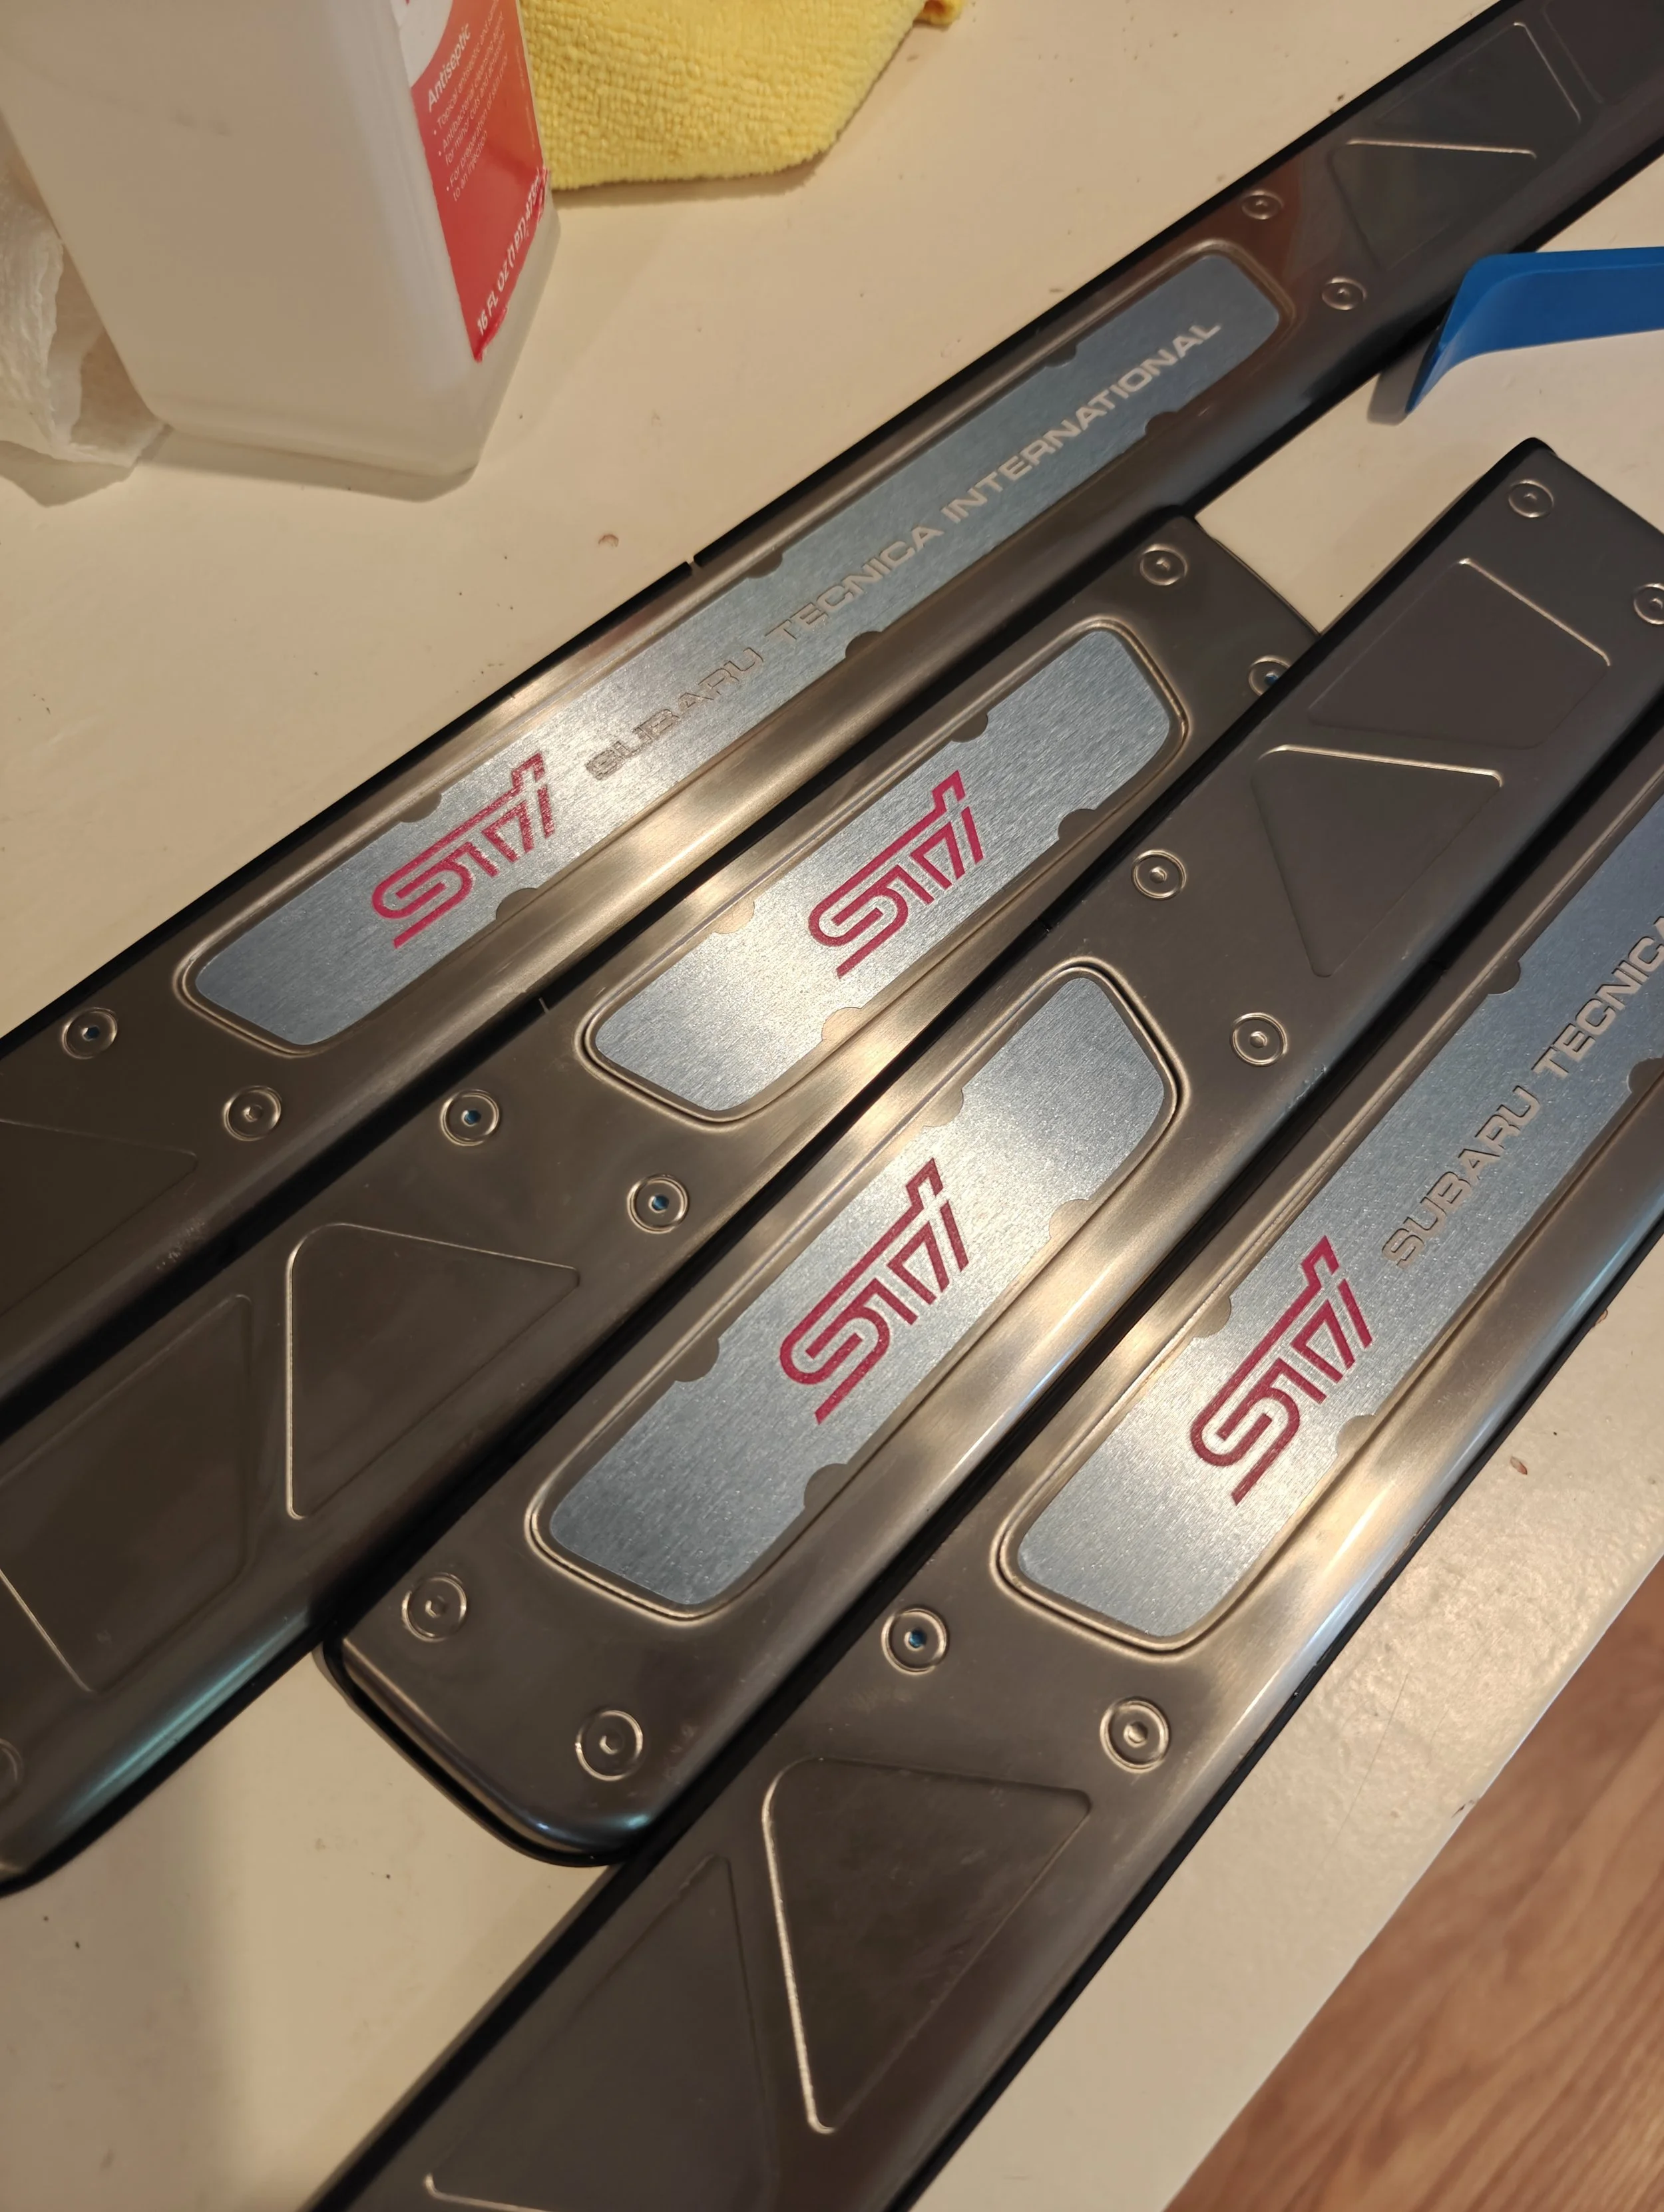
If you are unable to find a set of STi sills in good condition you could use these as your base.
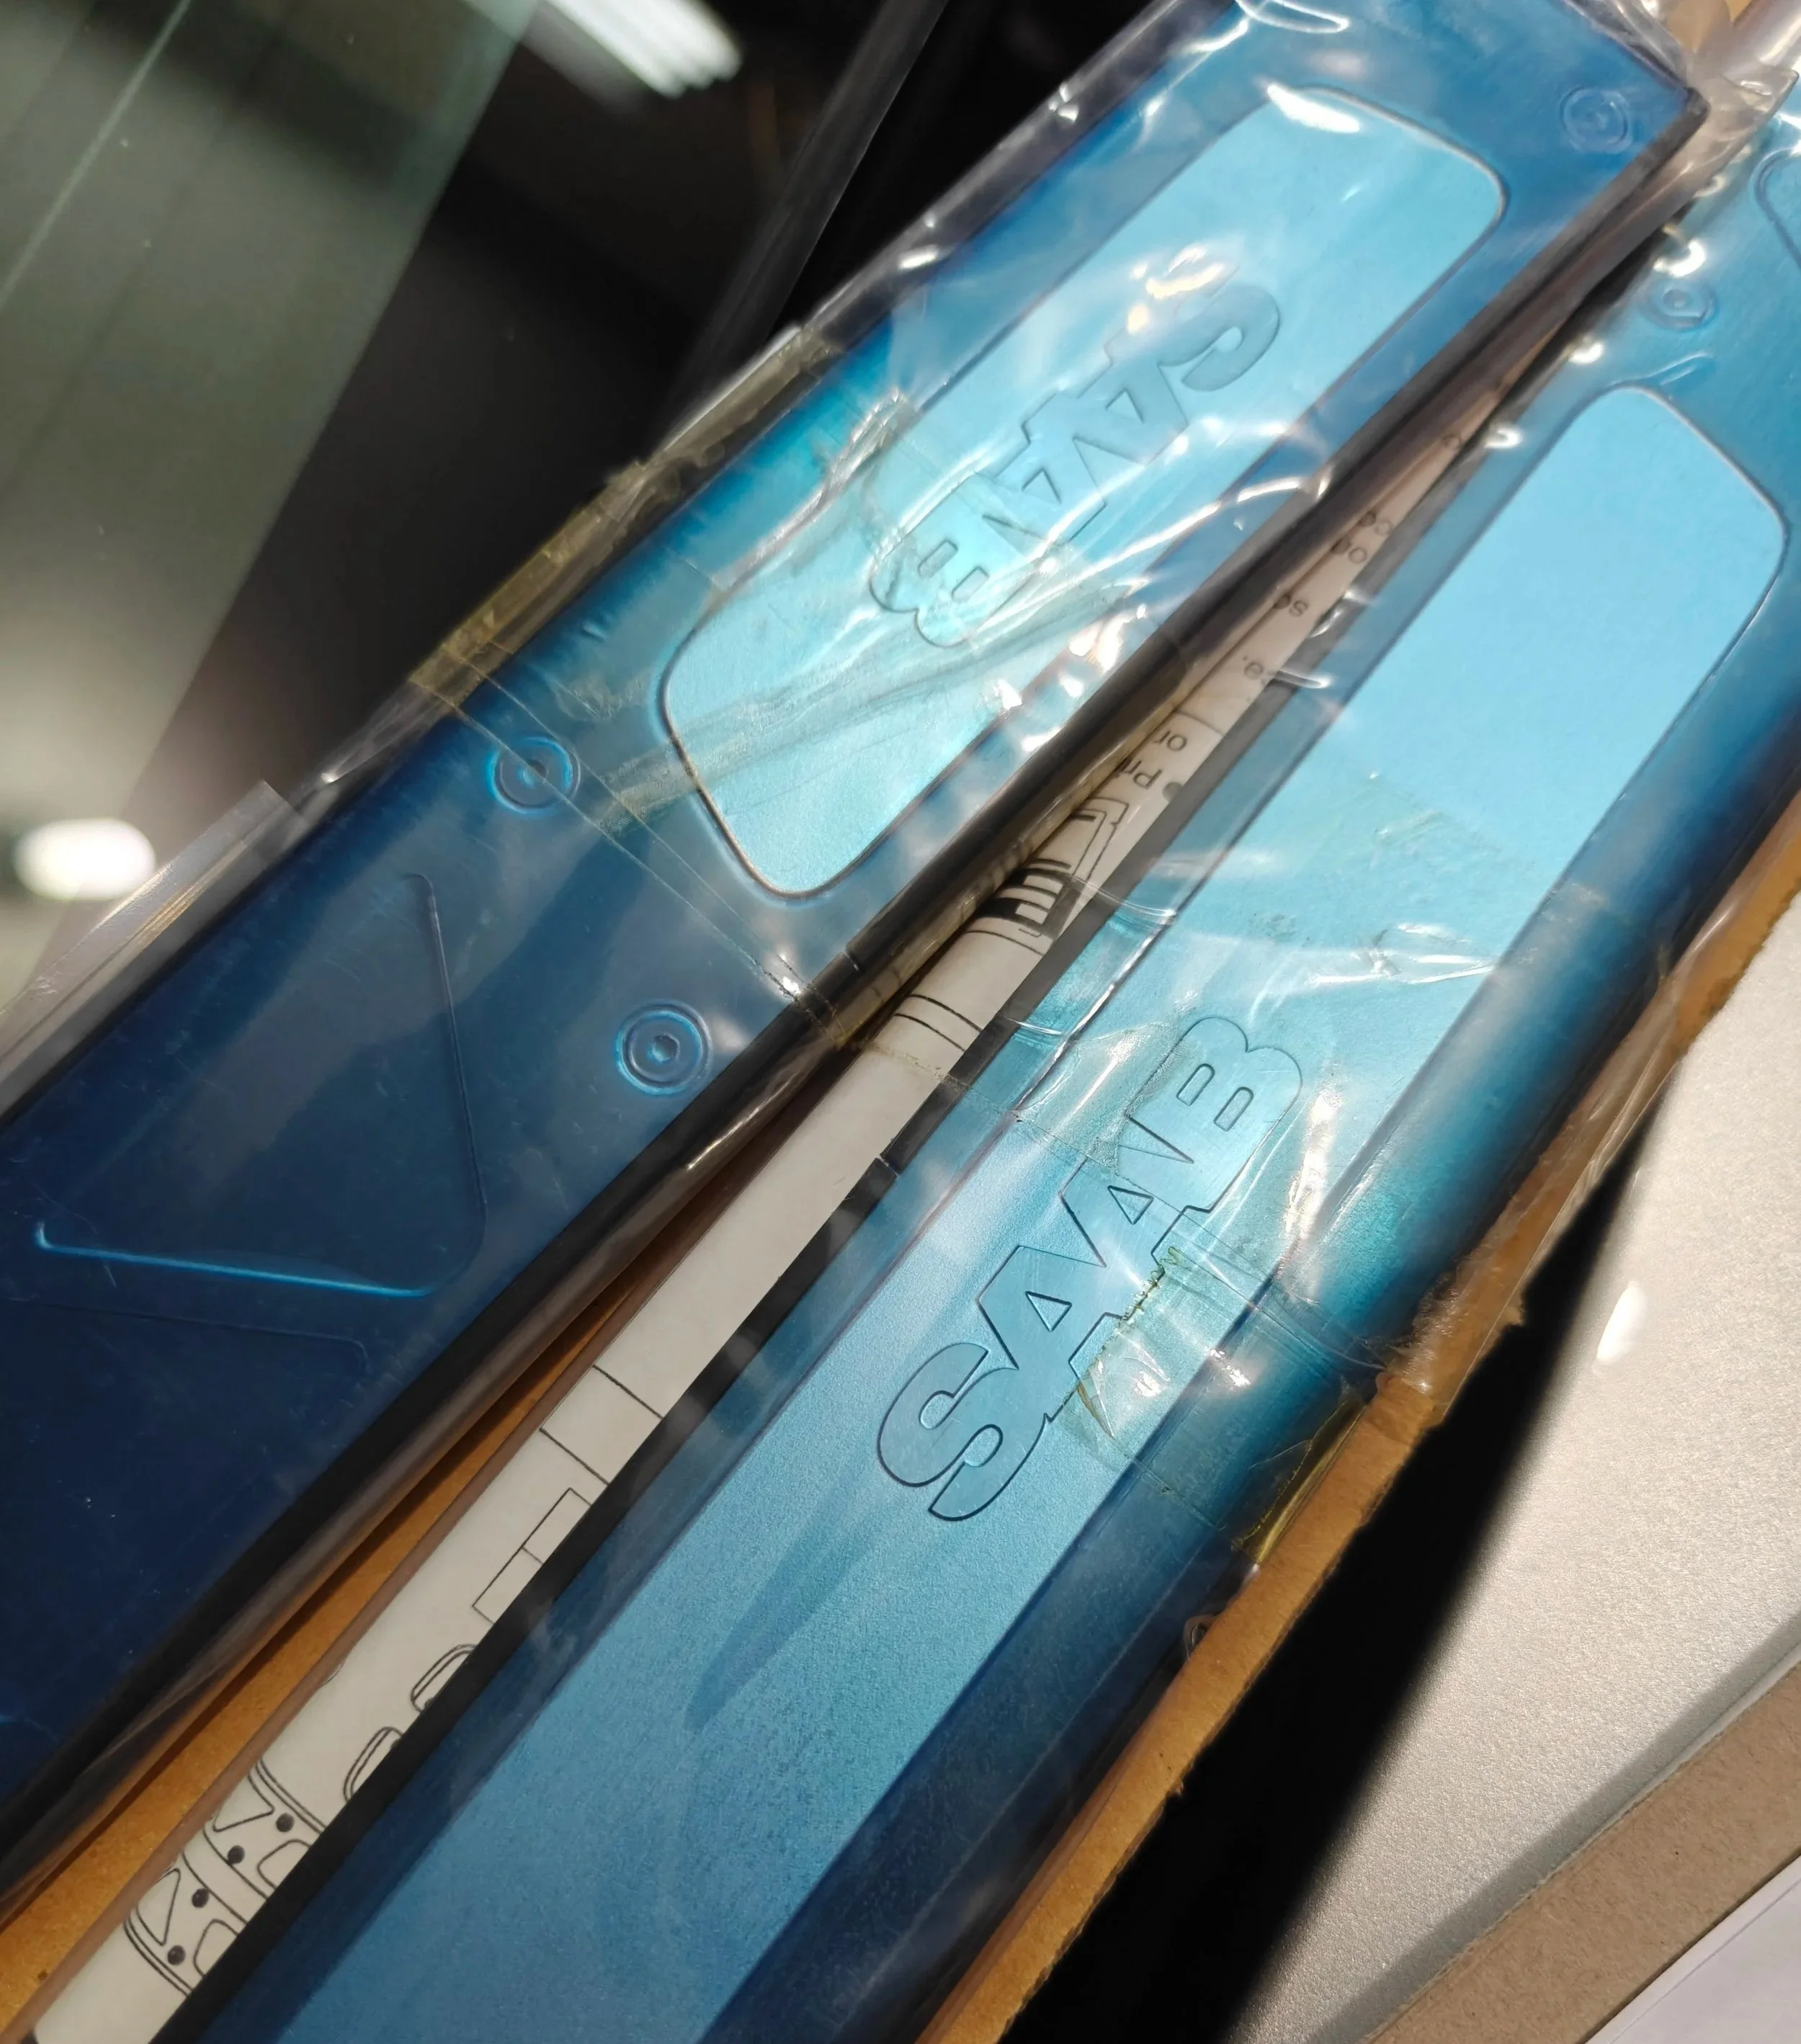
That last comment probably made you stop and think for a second…. Make my own..? How does one do that. Well, there are a few ways to accomplish this. The simplest method would be to purchase a set of the non-STi door sills that just have the Subaru logo on it.. or if you weren’t aware they made them for Saabs as well. When the Saab 92x Aero was in production they made their own Saab versions. Either of these will allow you to use the method you will find below.
This is what I was able to come across online. These became my starting point.
Timeframe
I spent a bit of time trying to figure out this job. But I would leave yourself at least an hour if not two for this job. It really comes down to how clean you want them to come out.
Tools
Old credit card/gift card
Parts
Find these at Boxerbeauty.com
How to
First step is taking the plunge to order sills and be ready to modify them to your liking. Now that you are ok with making it your own let’s begin using a small plastic trim tool to start removing the old logo. My purchased set was from the Saab 92x Aero version. When the Saab logo is removed they won’t be any discernable difference.
Sorry Saab owners, but these are all I could find at the time.
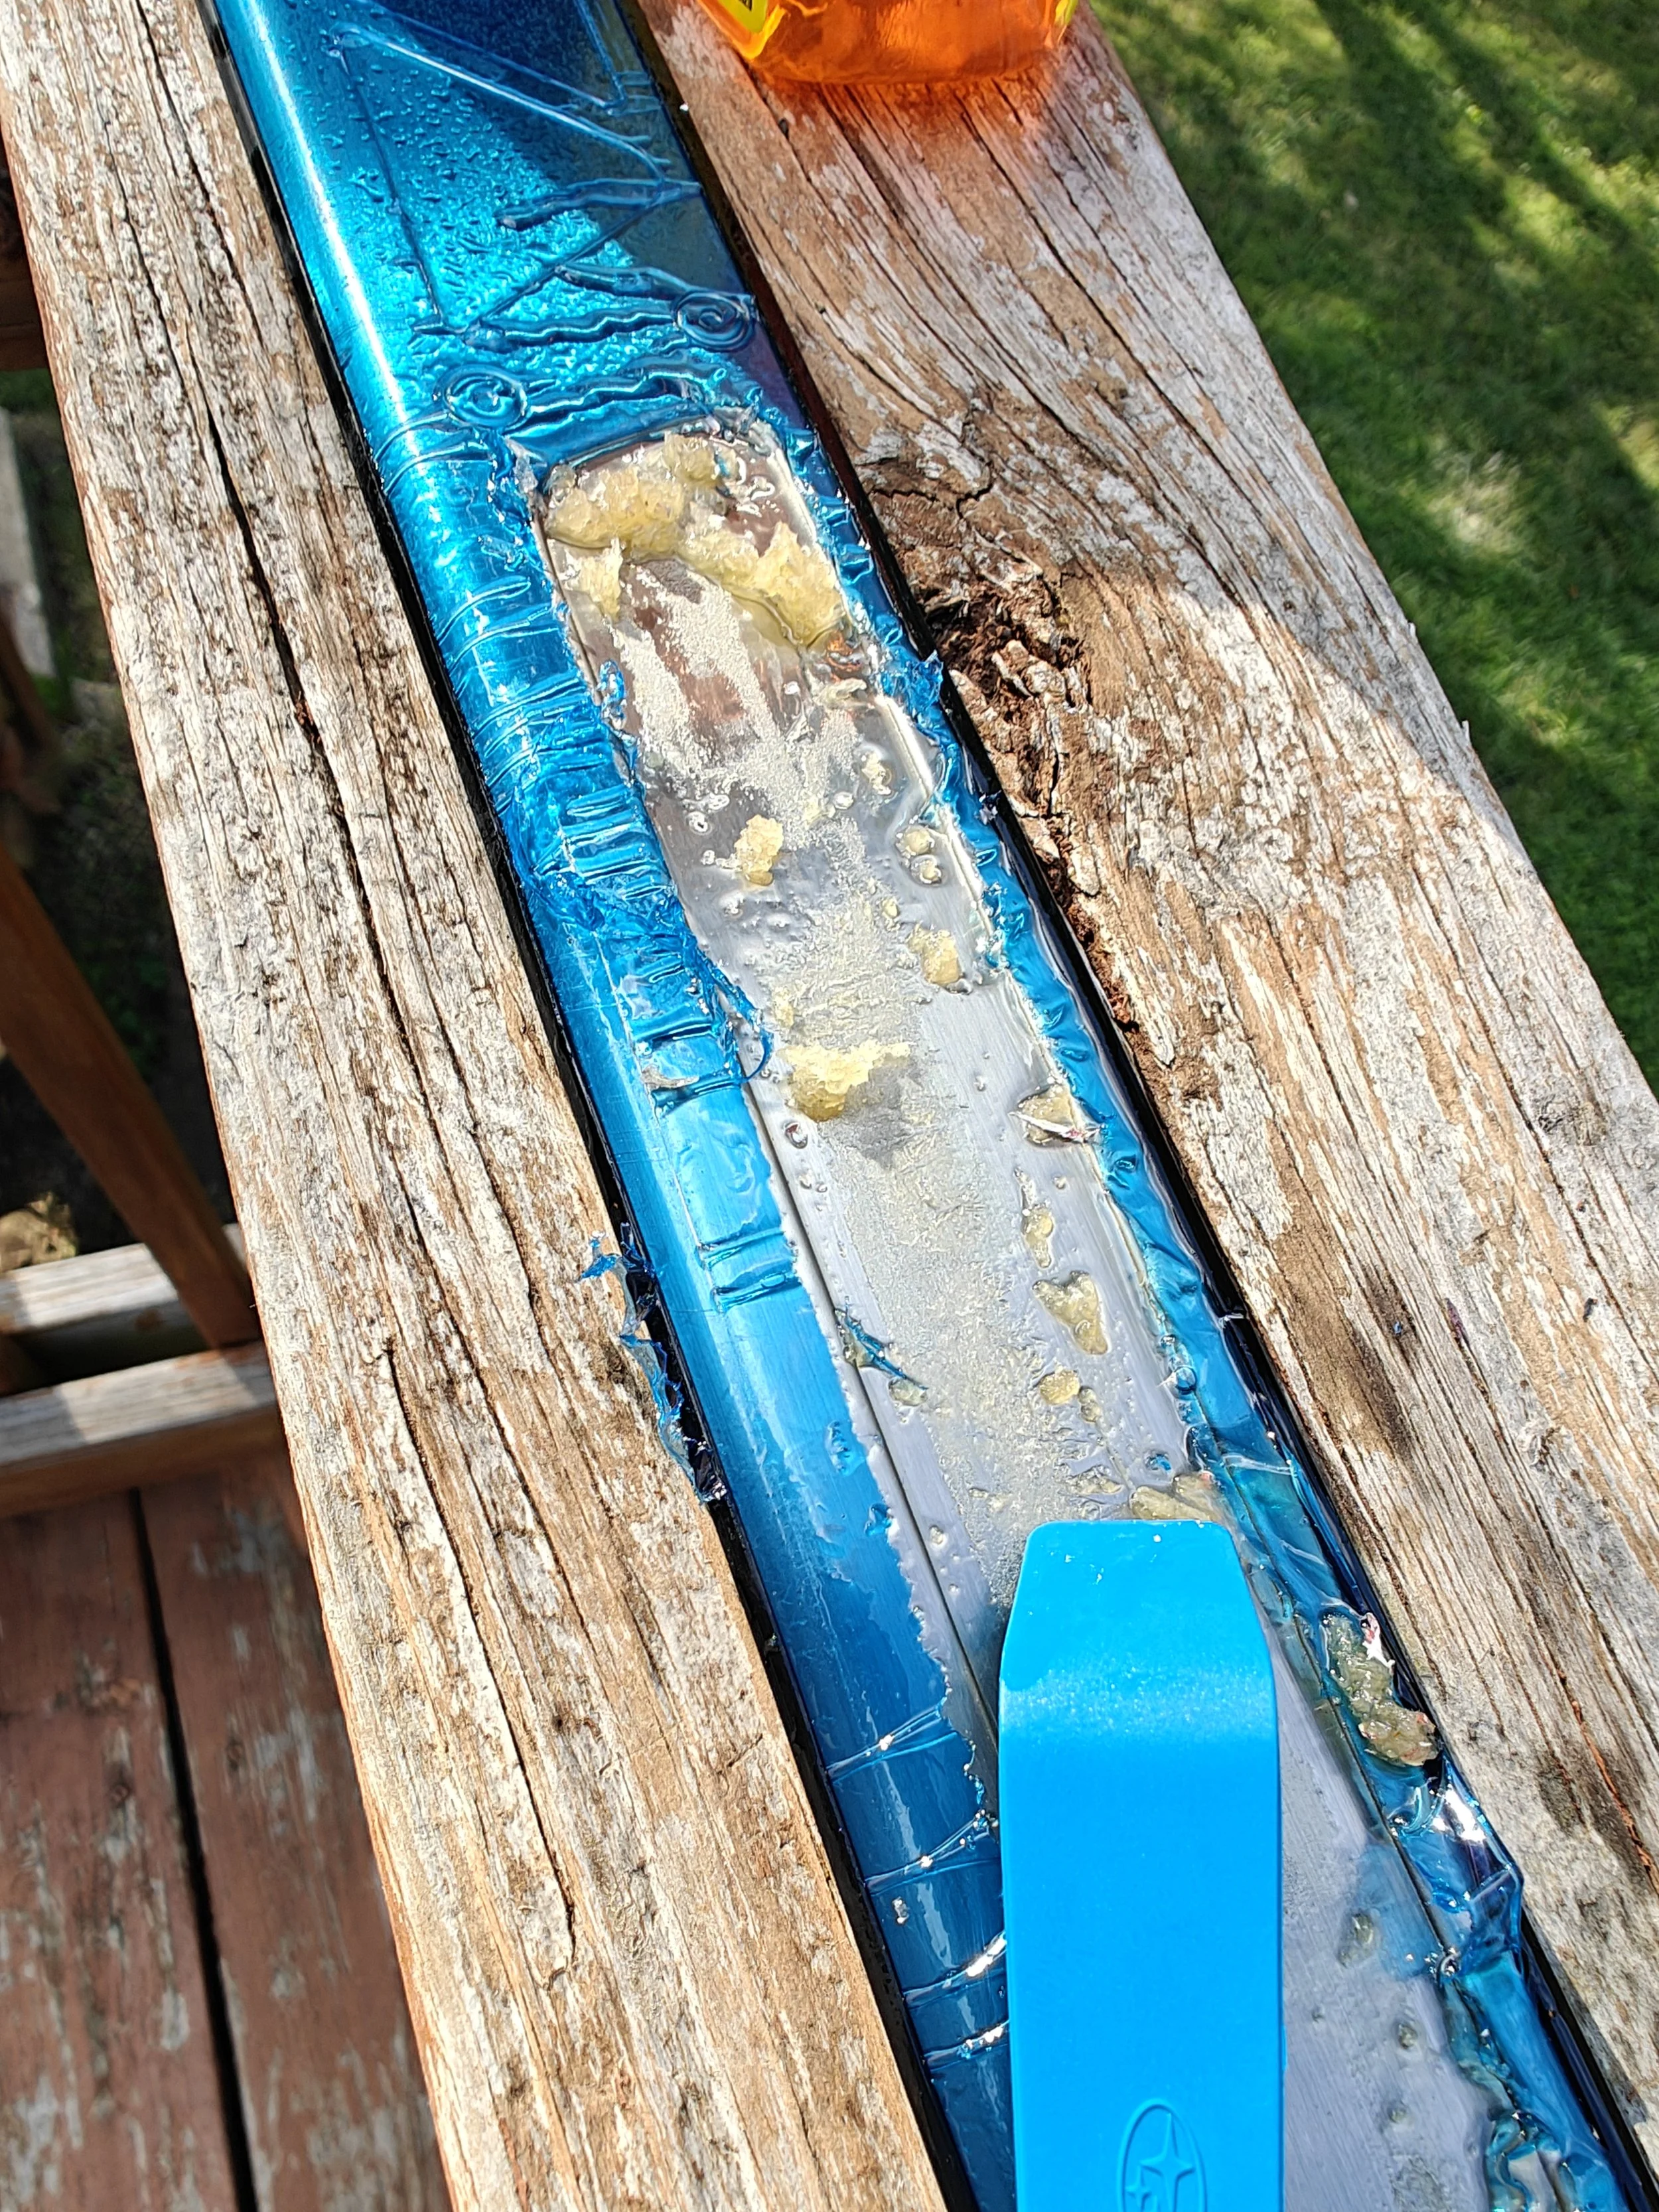
I begun to peel it up the Saab logo with an old gift card and with it peel up you can add a spritz of Goo B gone to help release it. Once applied the Goo B gone I would allow a small amount of time for it set up and break down the adhesive before continuing to peel up the logo. If you want to help expediate the process you can use a larger trim tool to force it off.
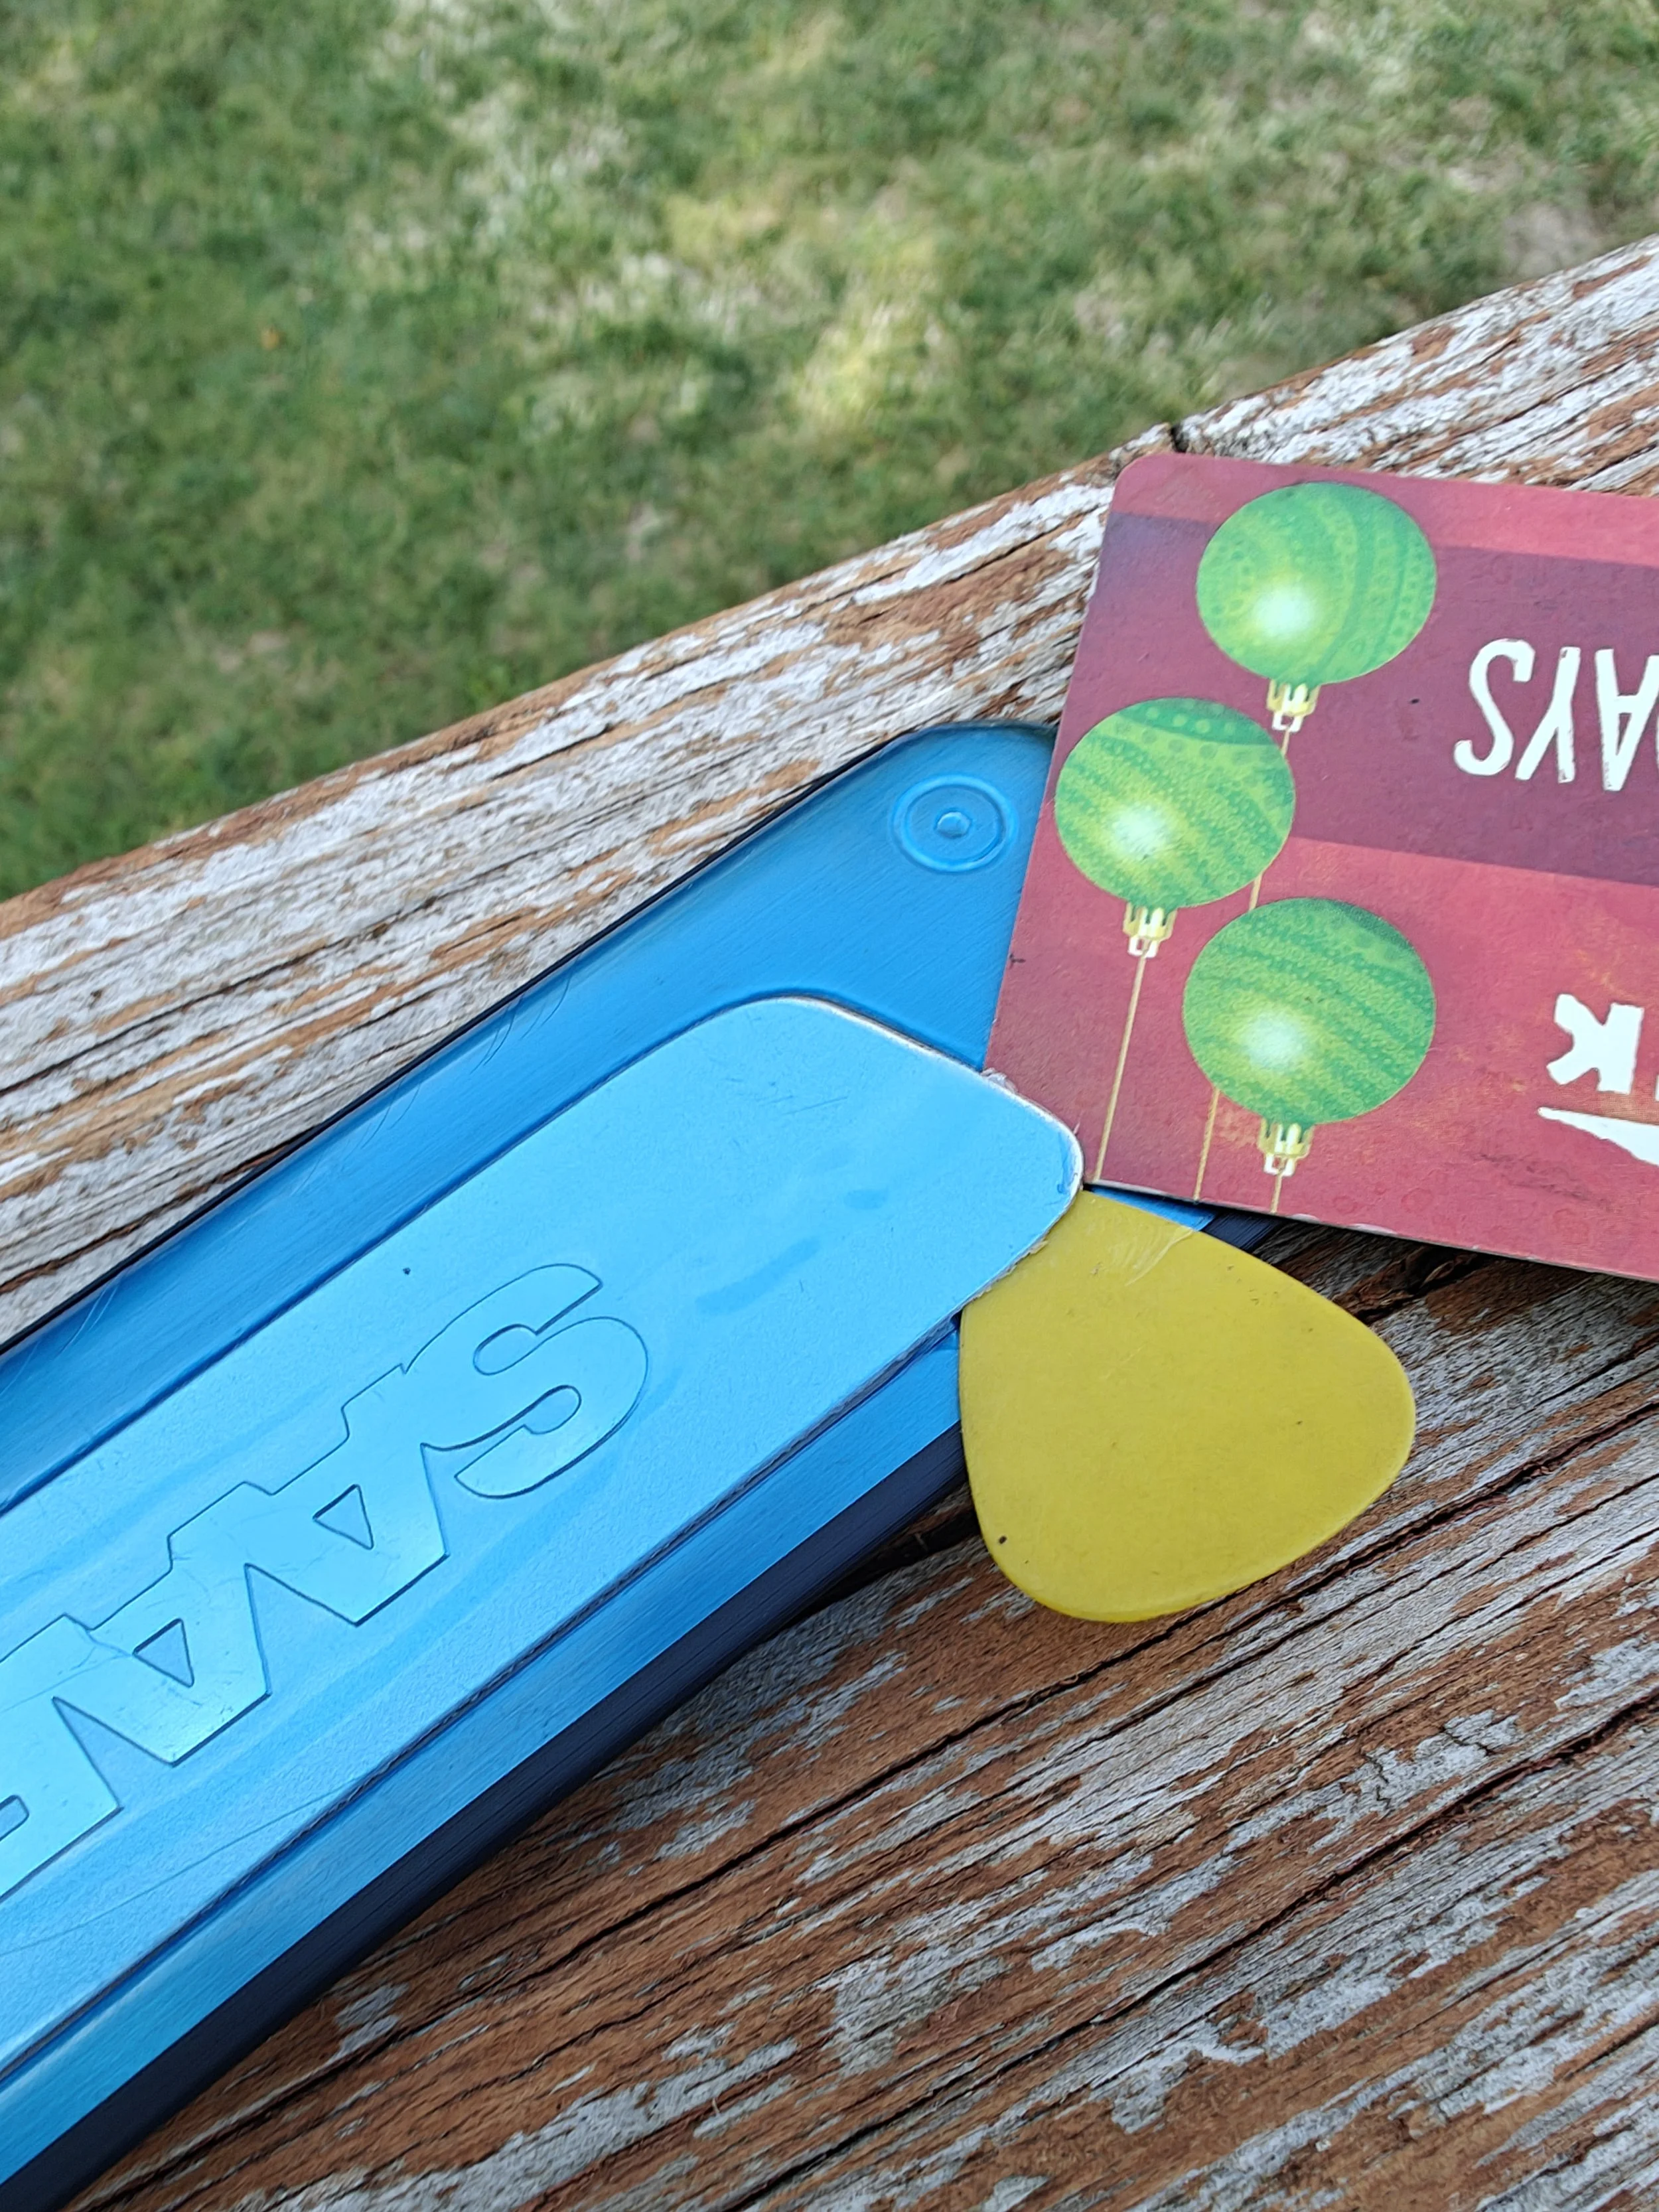
I was able to sneak my pick under the corner and get started
Then I used an old giftcard to keep moving through it.

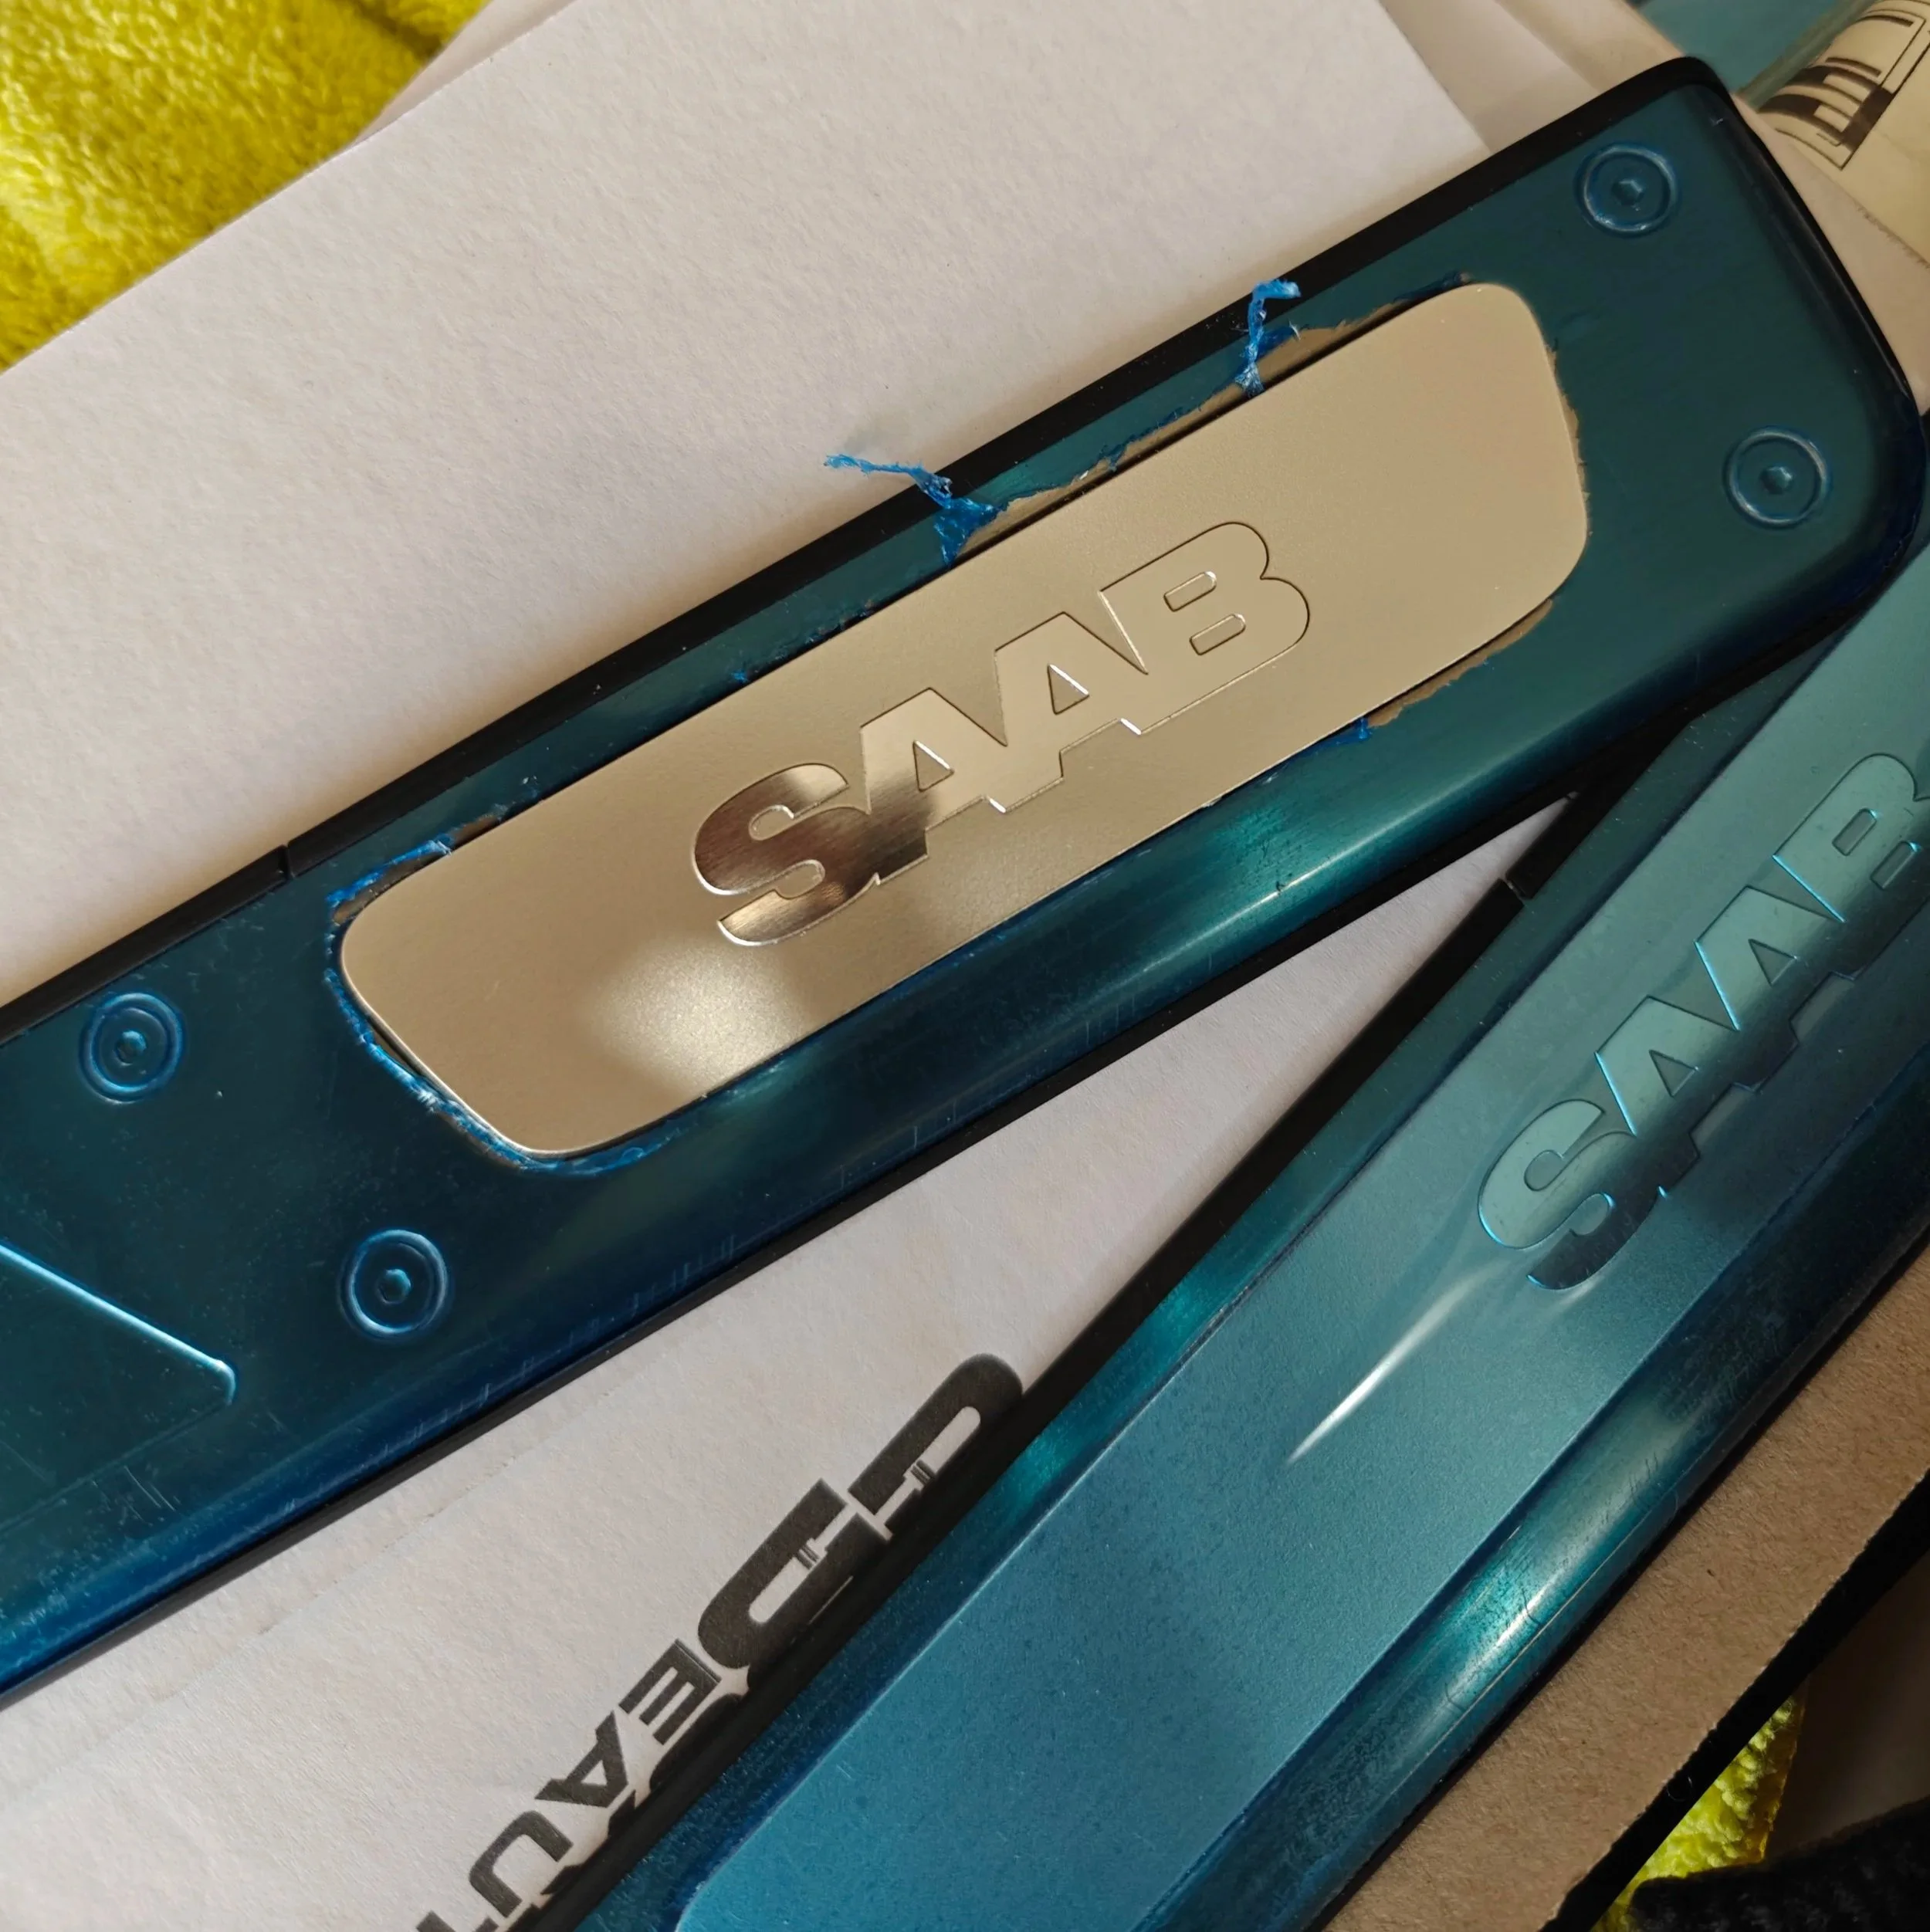
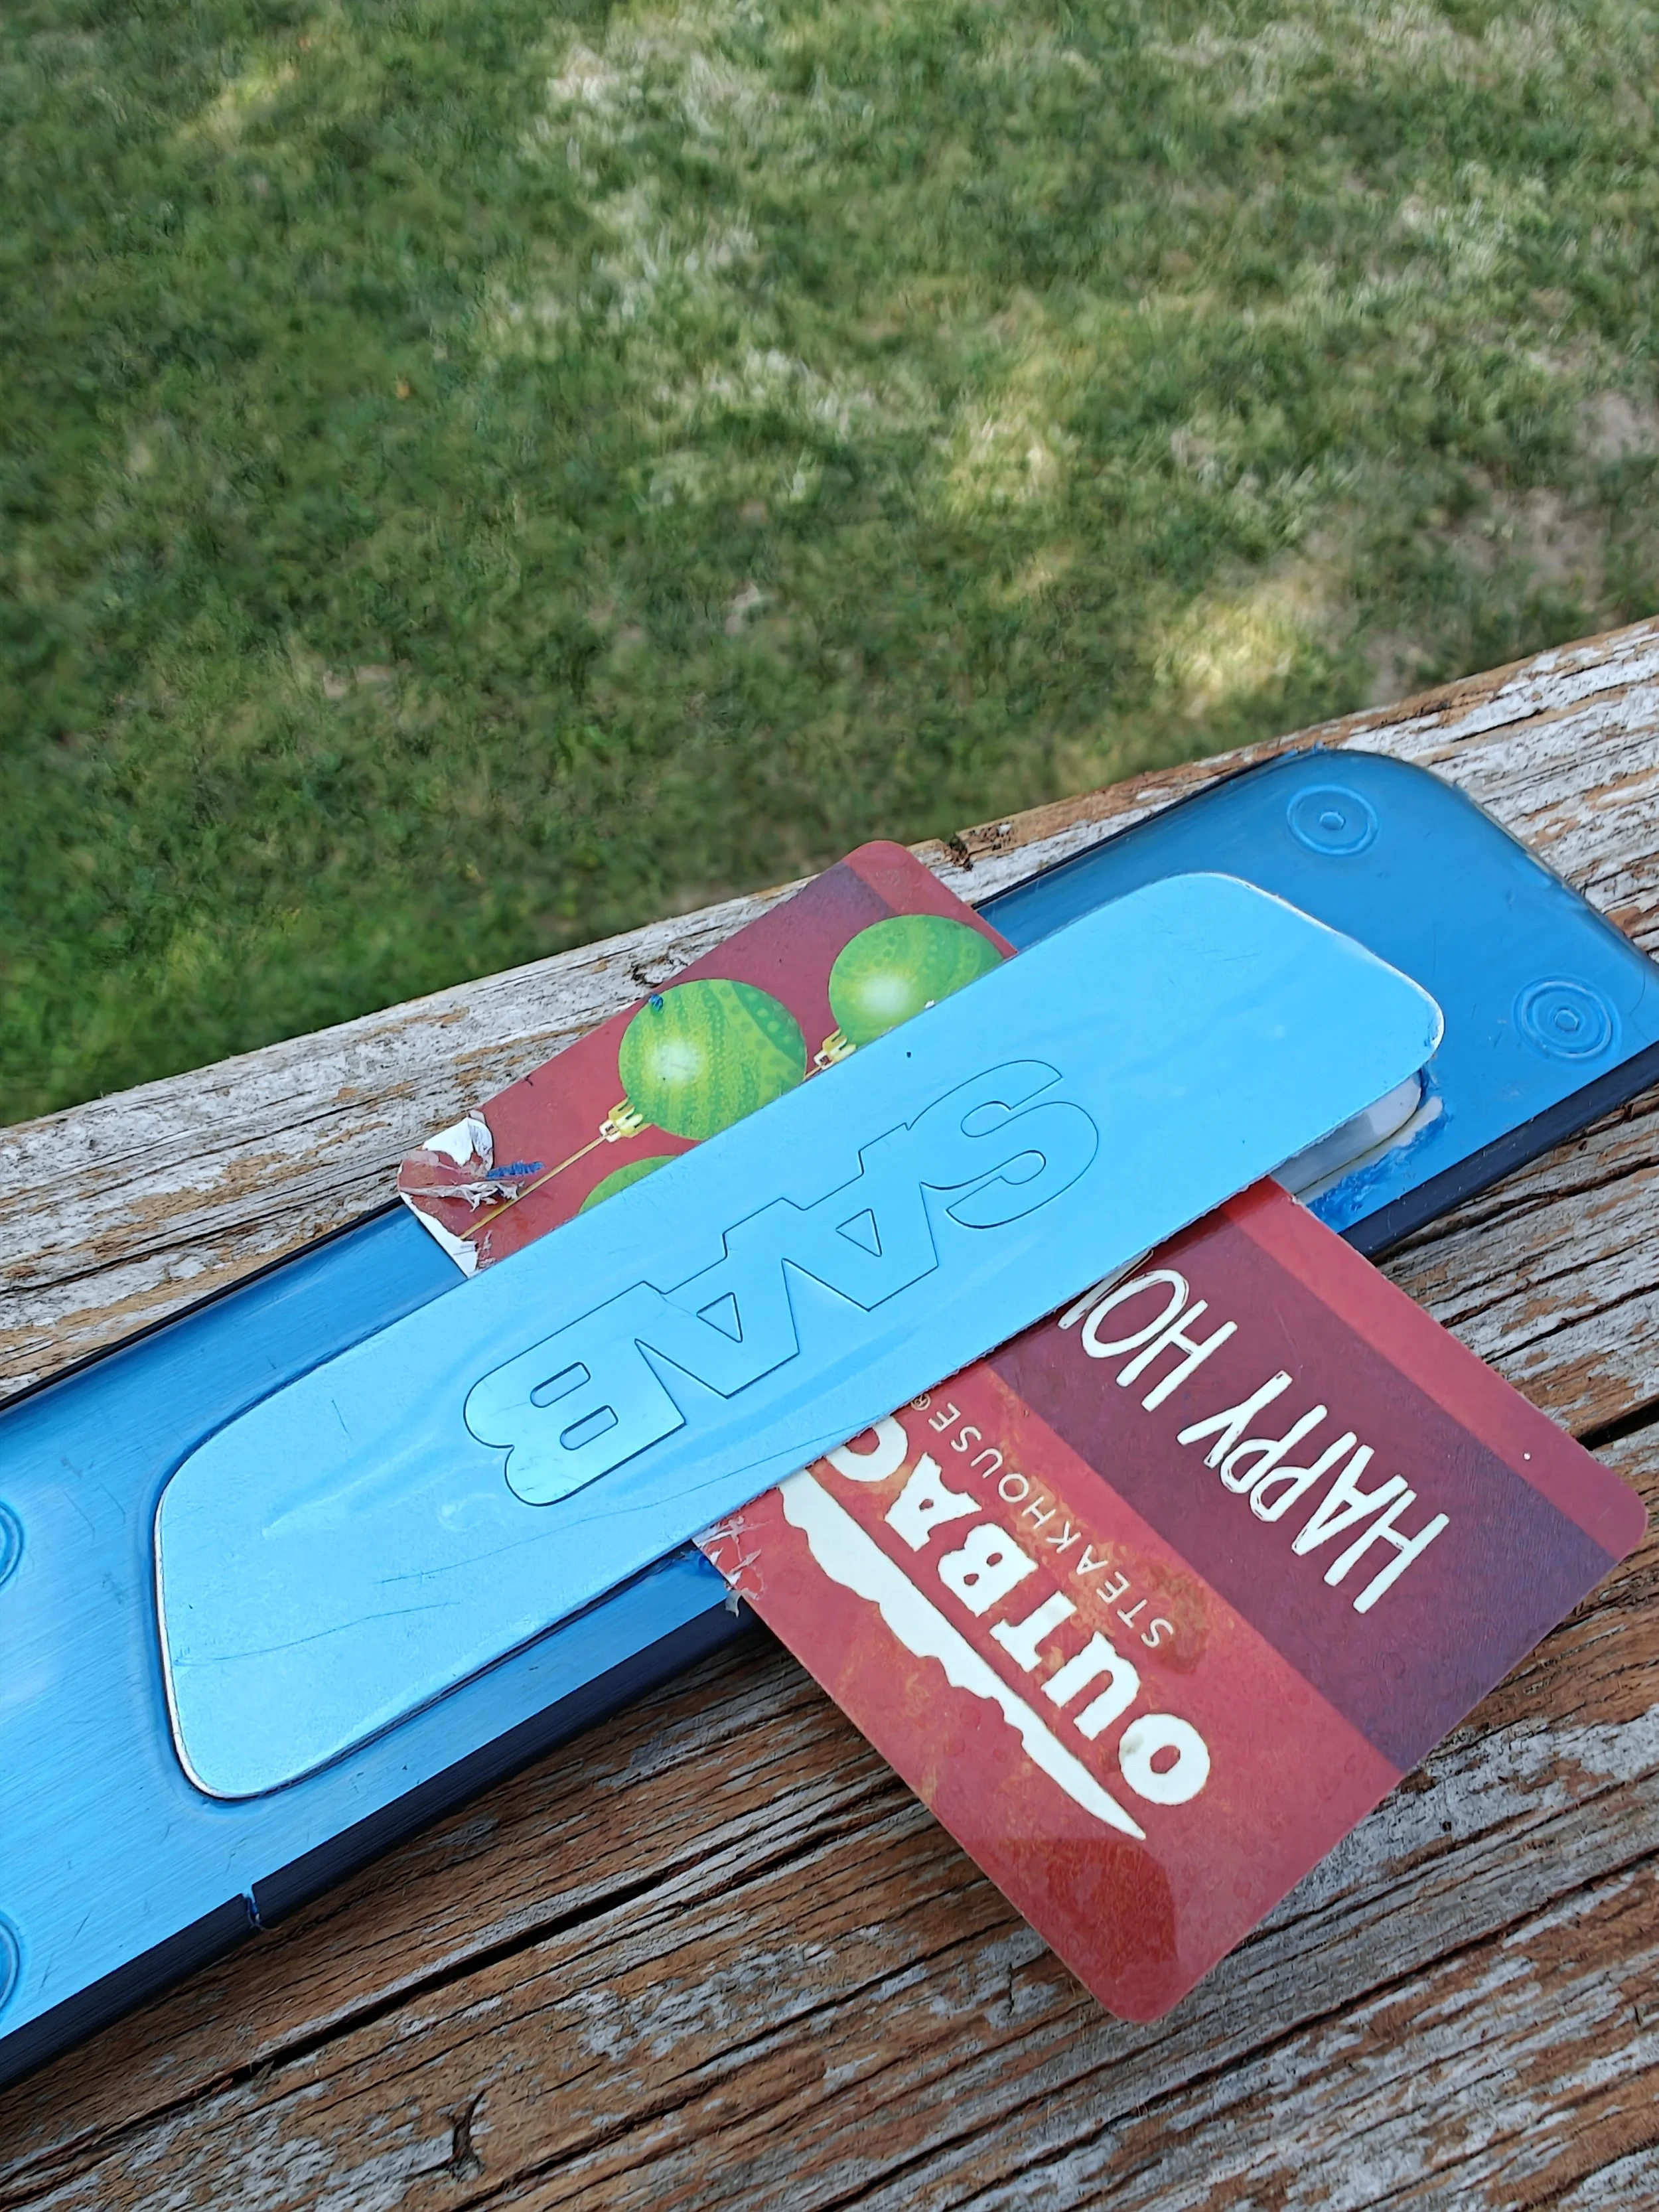
One removed but the glue is still there.
The other three are free. You can see how some of the glue will stay put.
With the Saab logo removed I was now able to take some time to clean the rest of the adhesive off. As it appears they didn’t want these logos to ever be removed. With one under your belt you can move on to the other three.
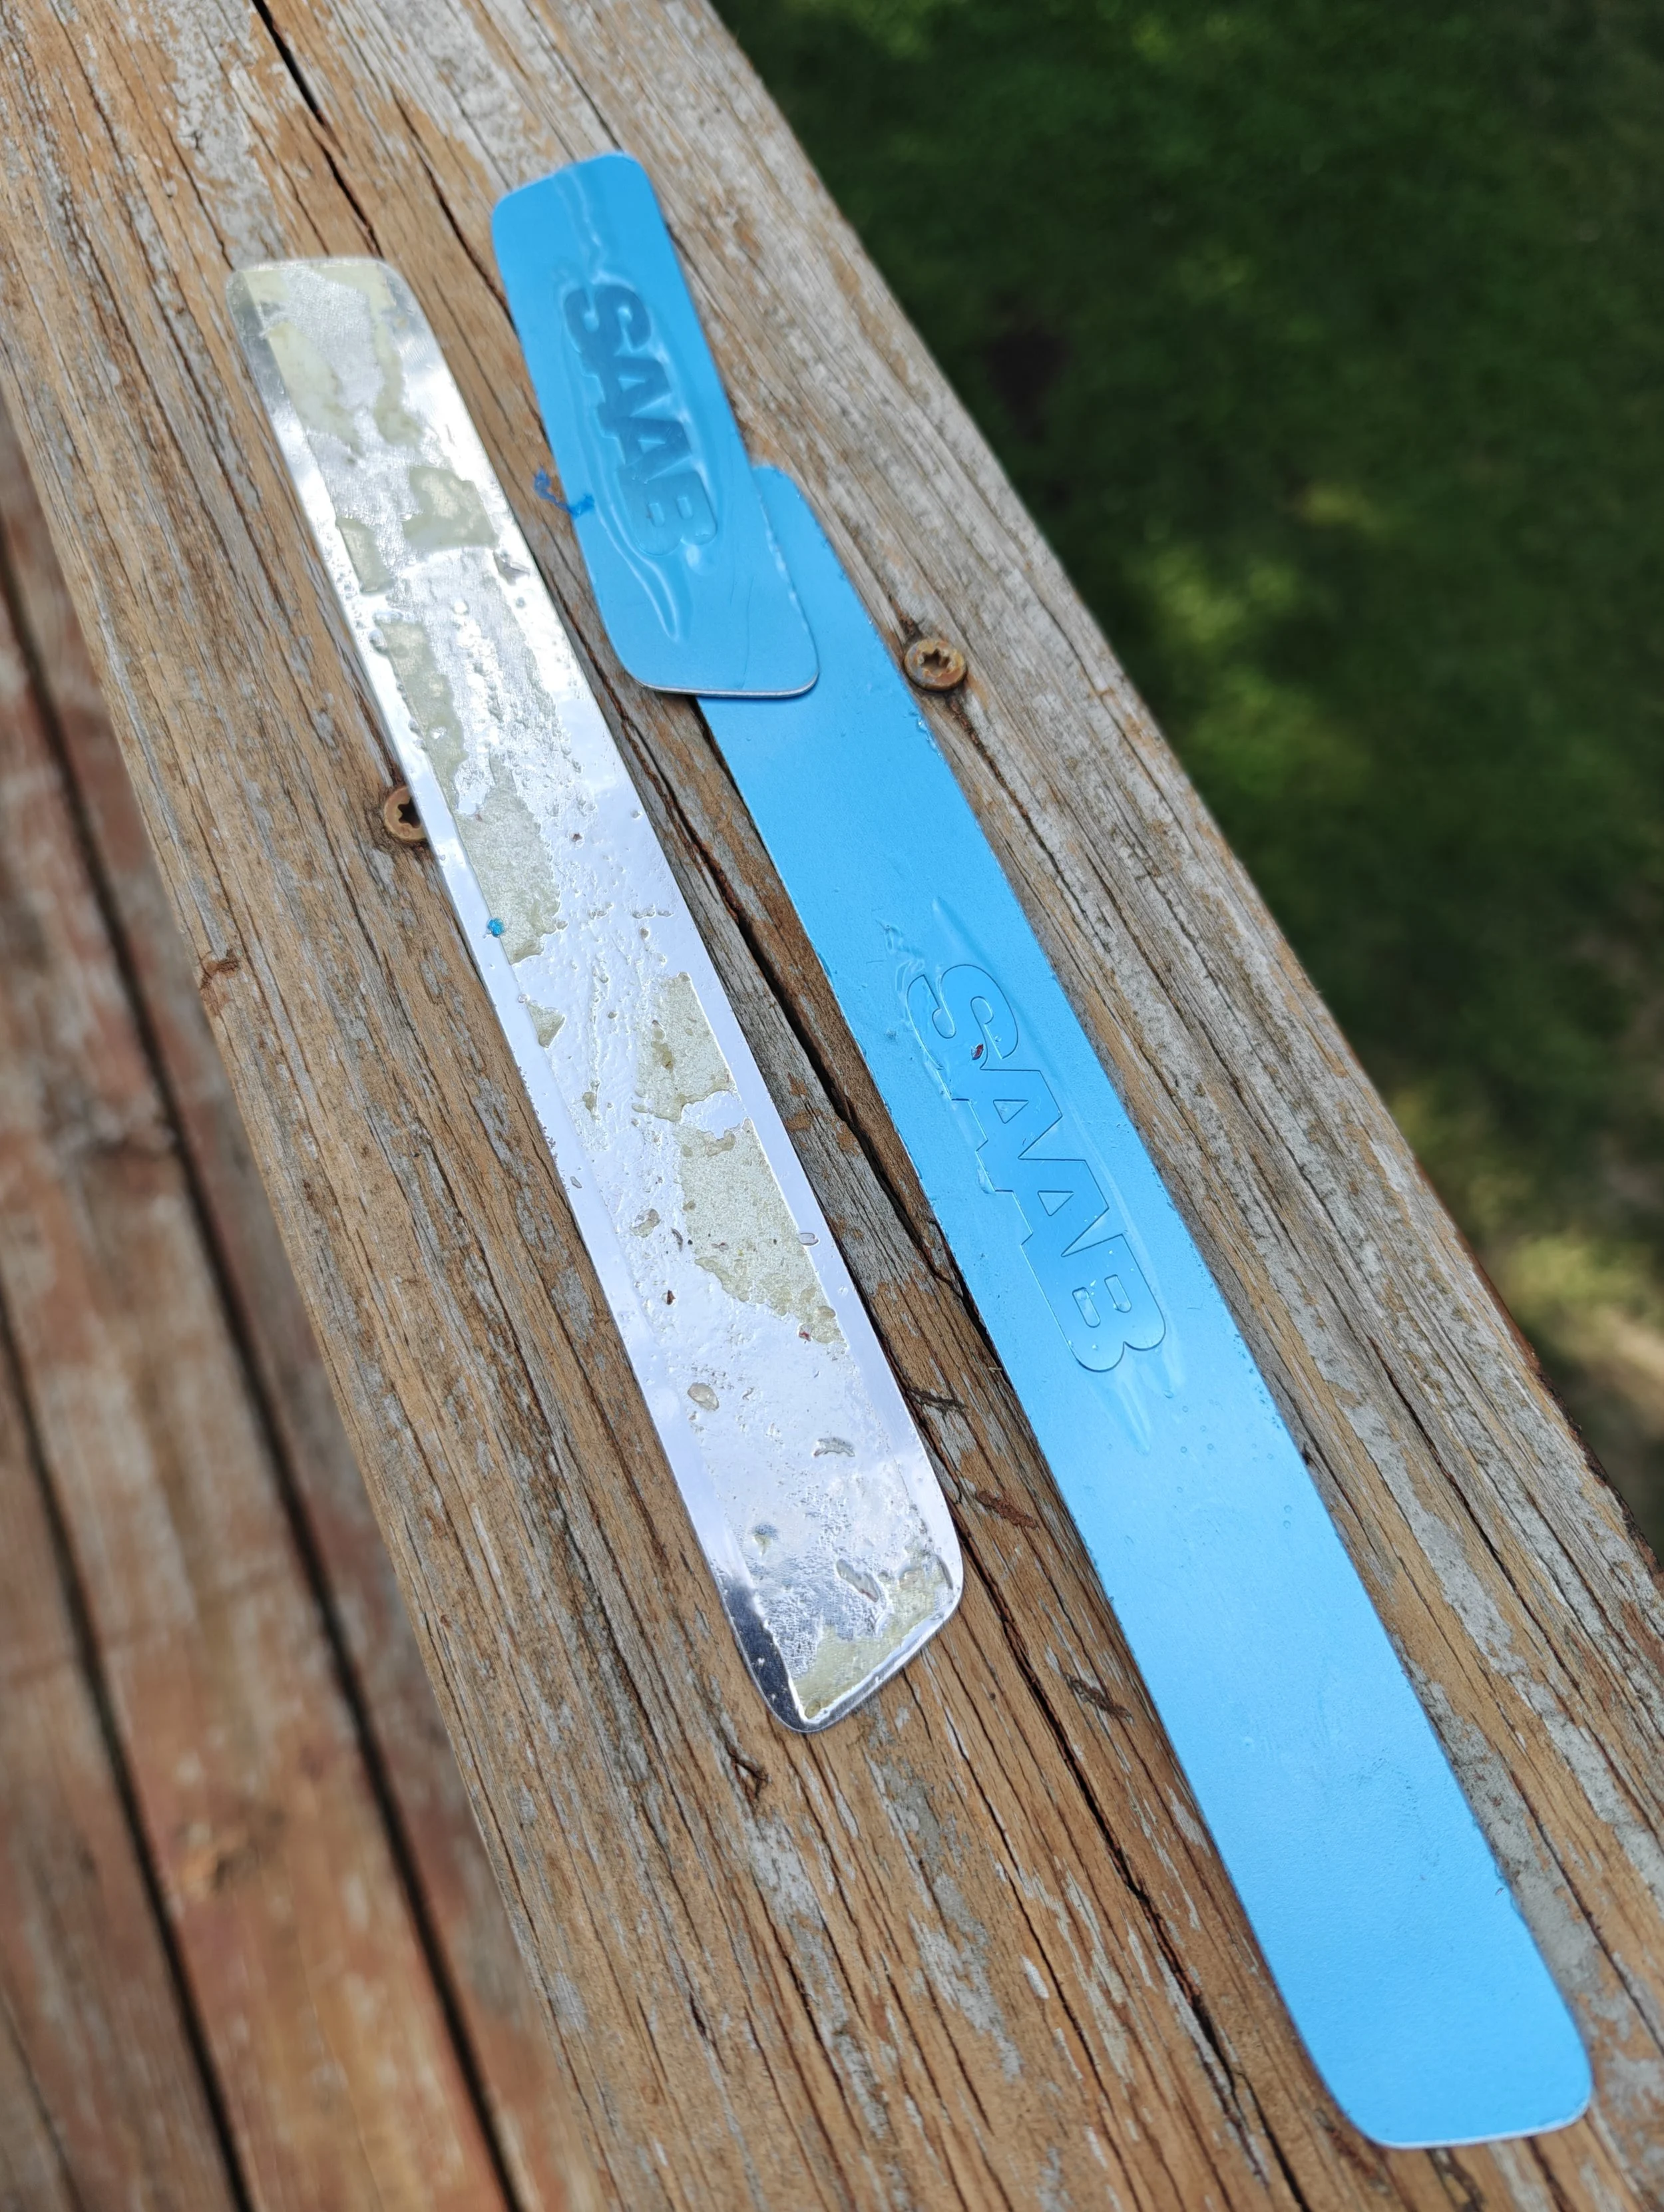
Now we need to take care of this.
A little bit of Goo B Gone and a scraper will take care of it.
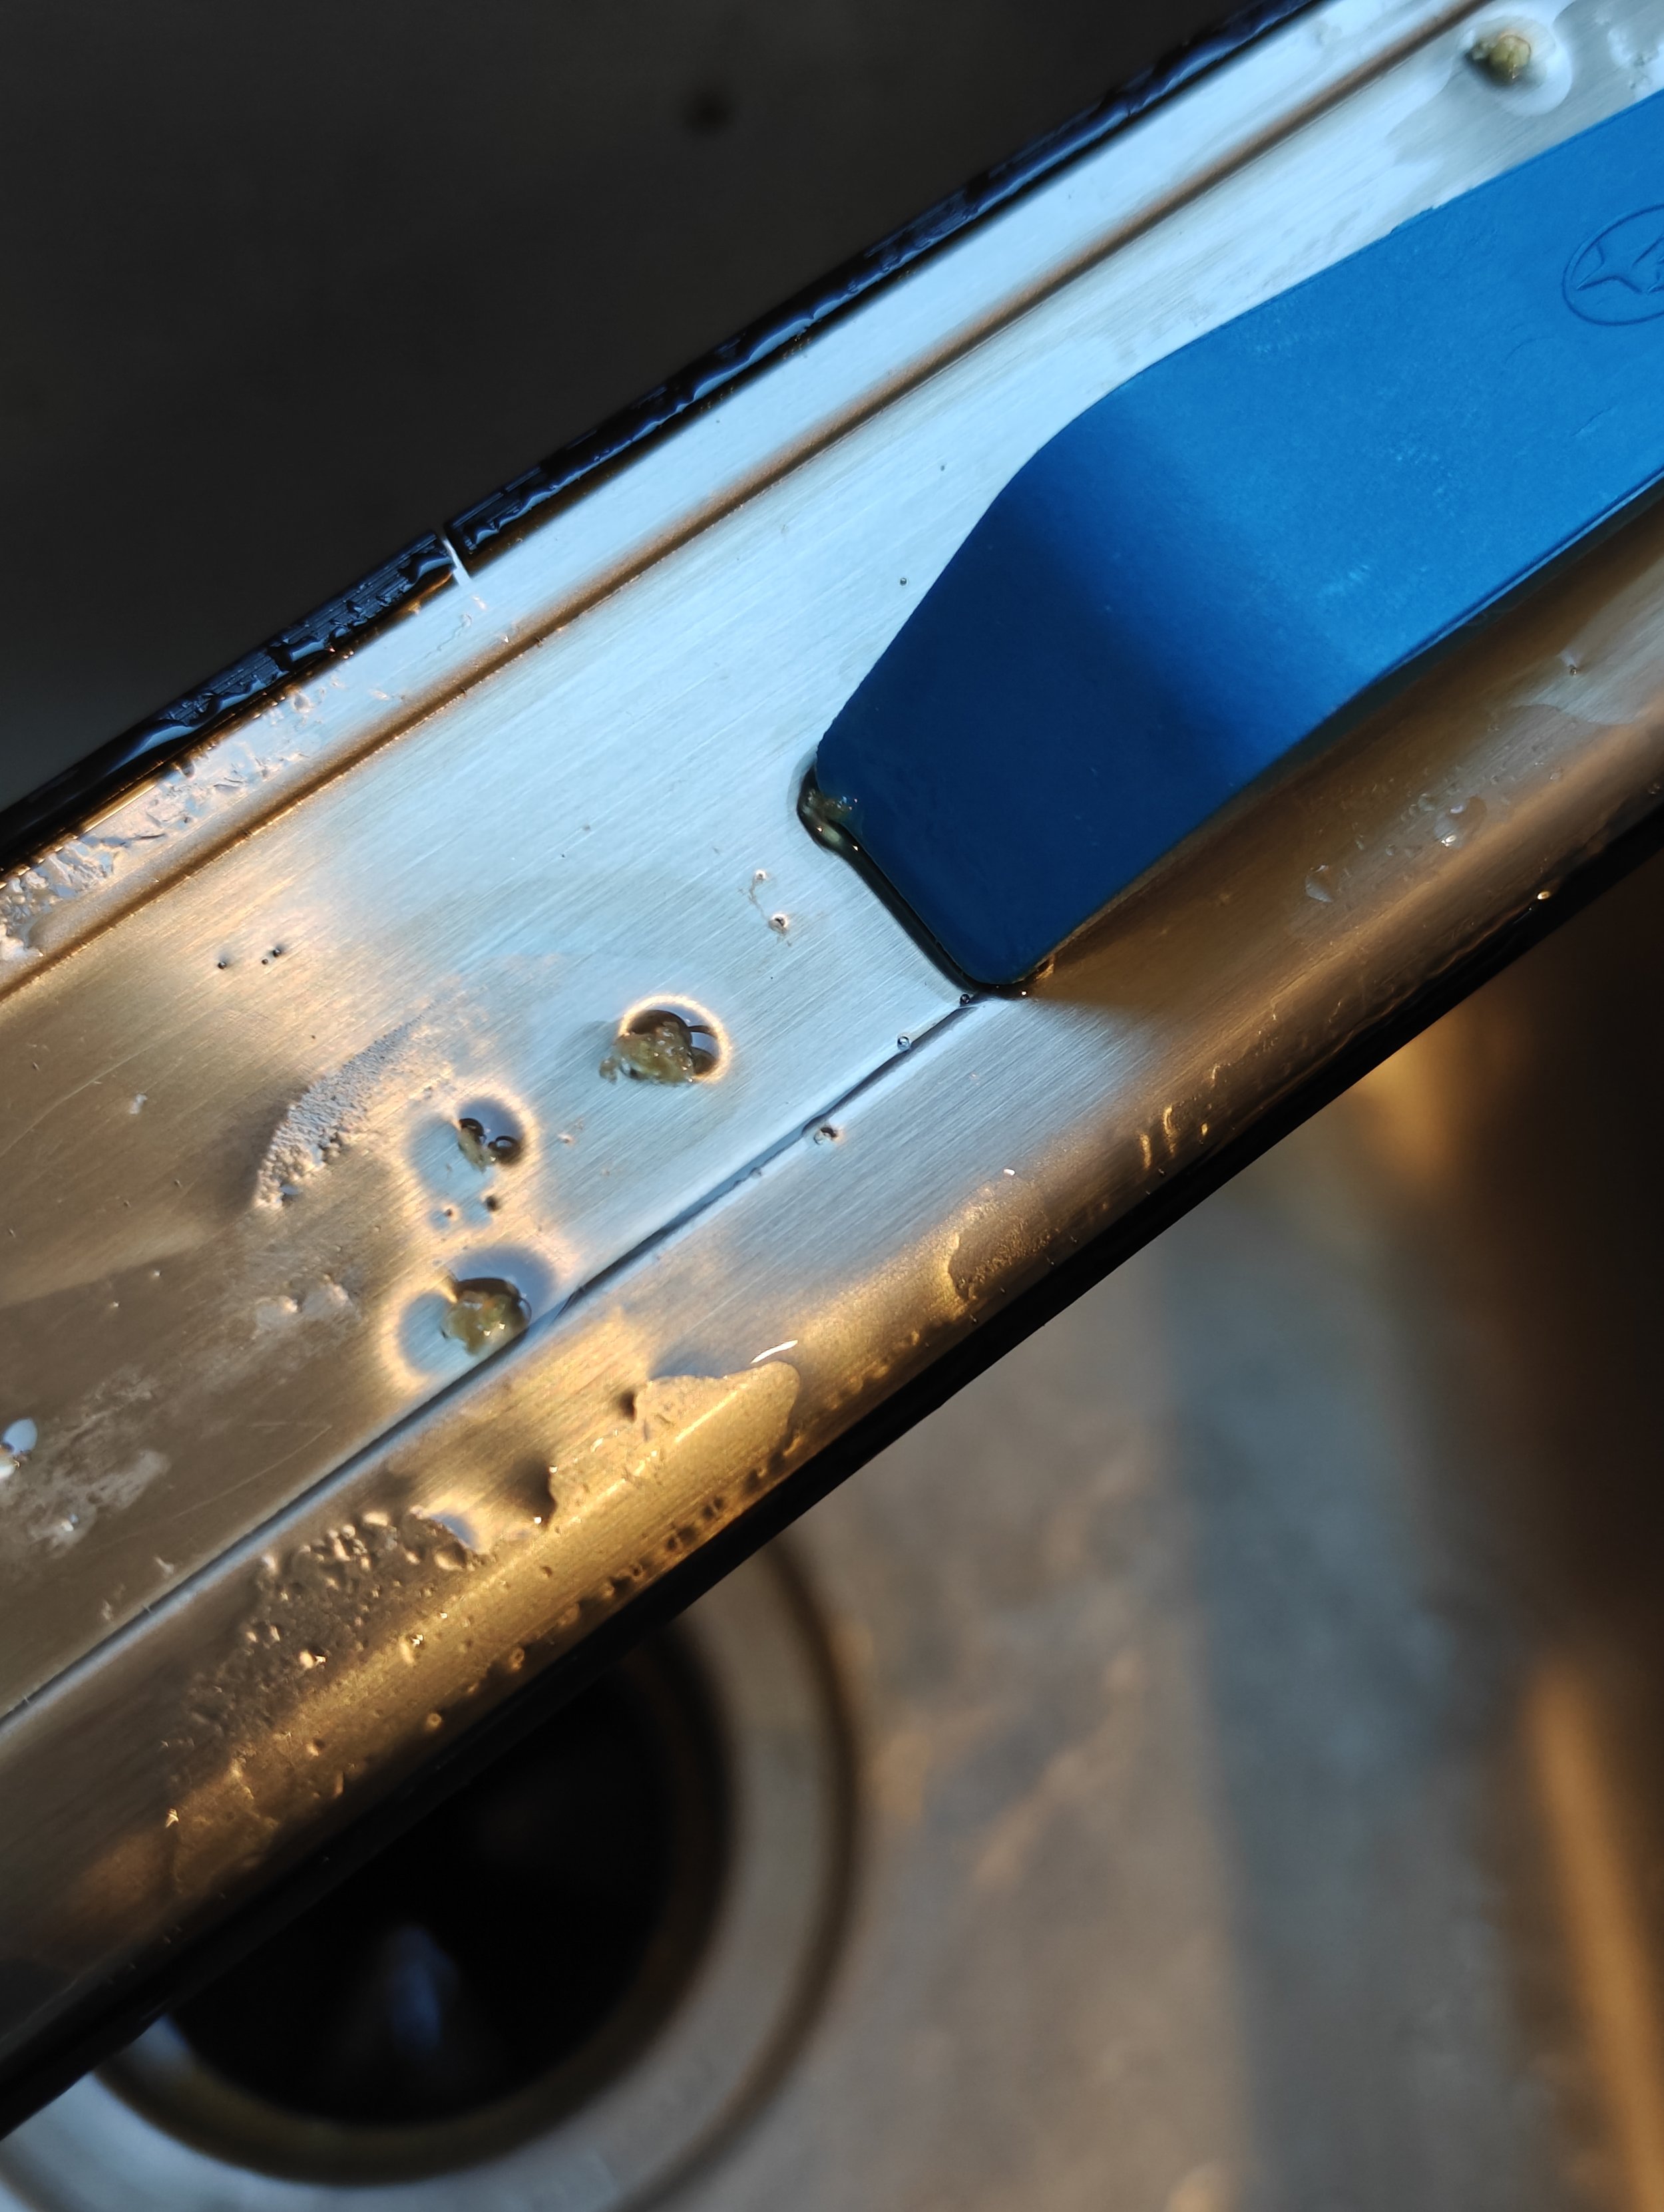
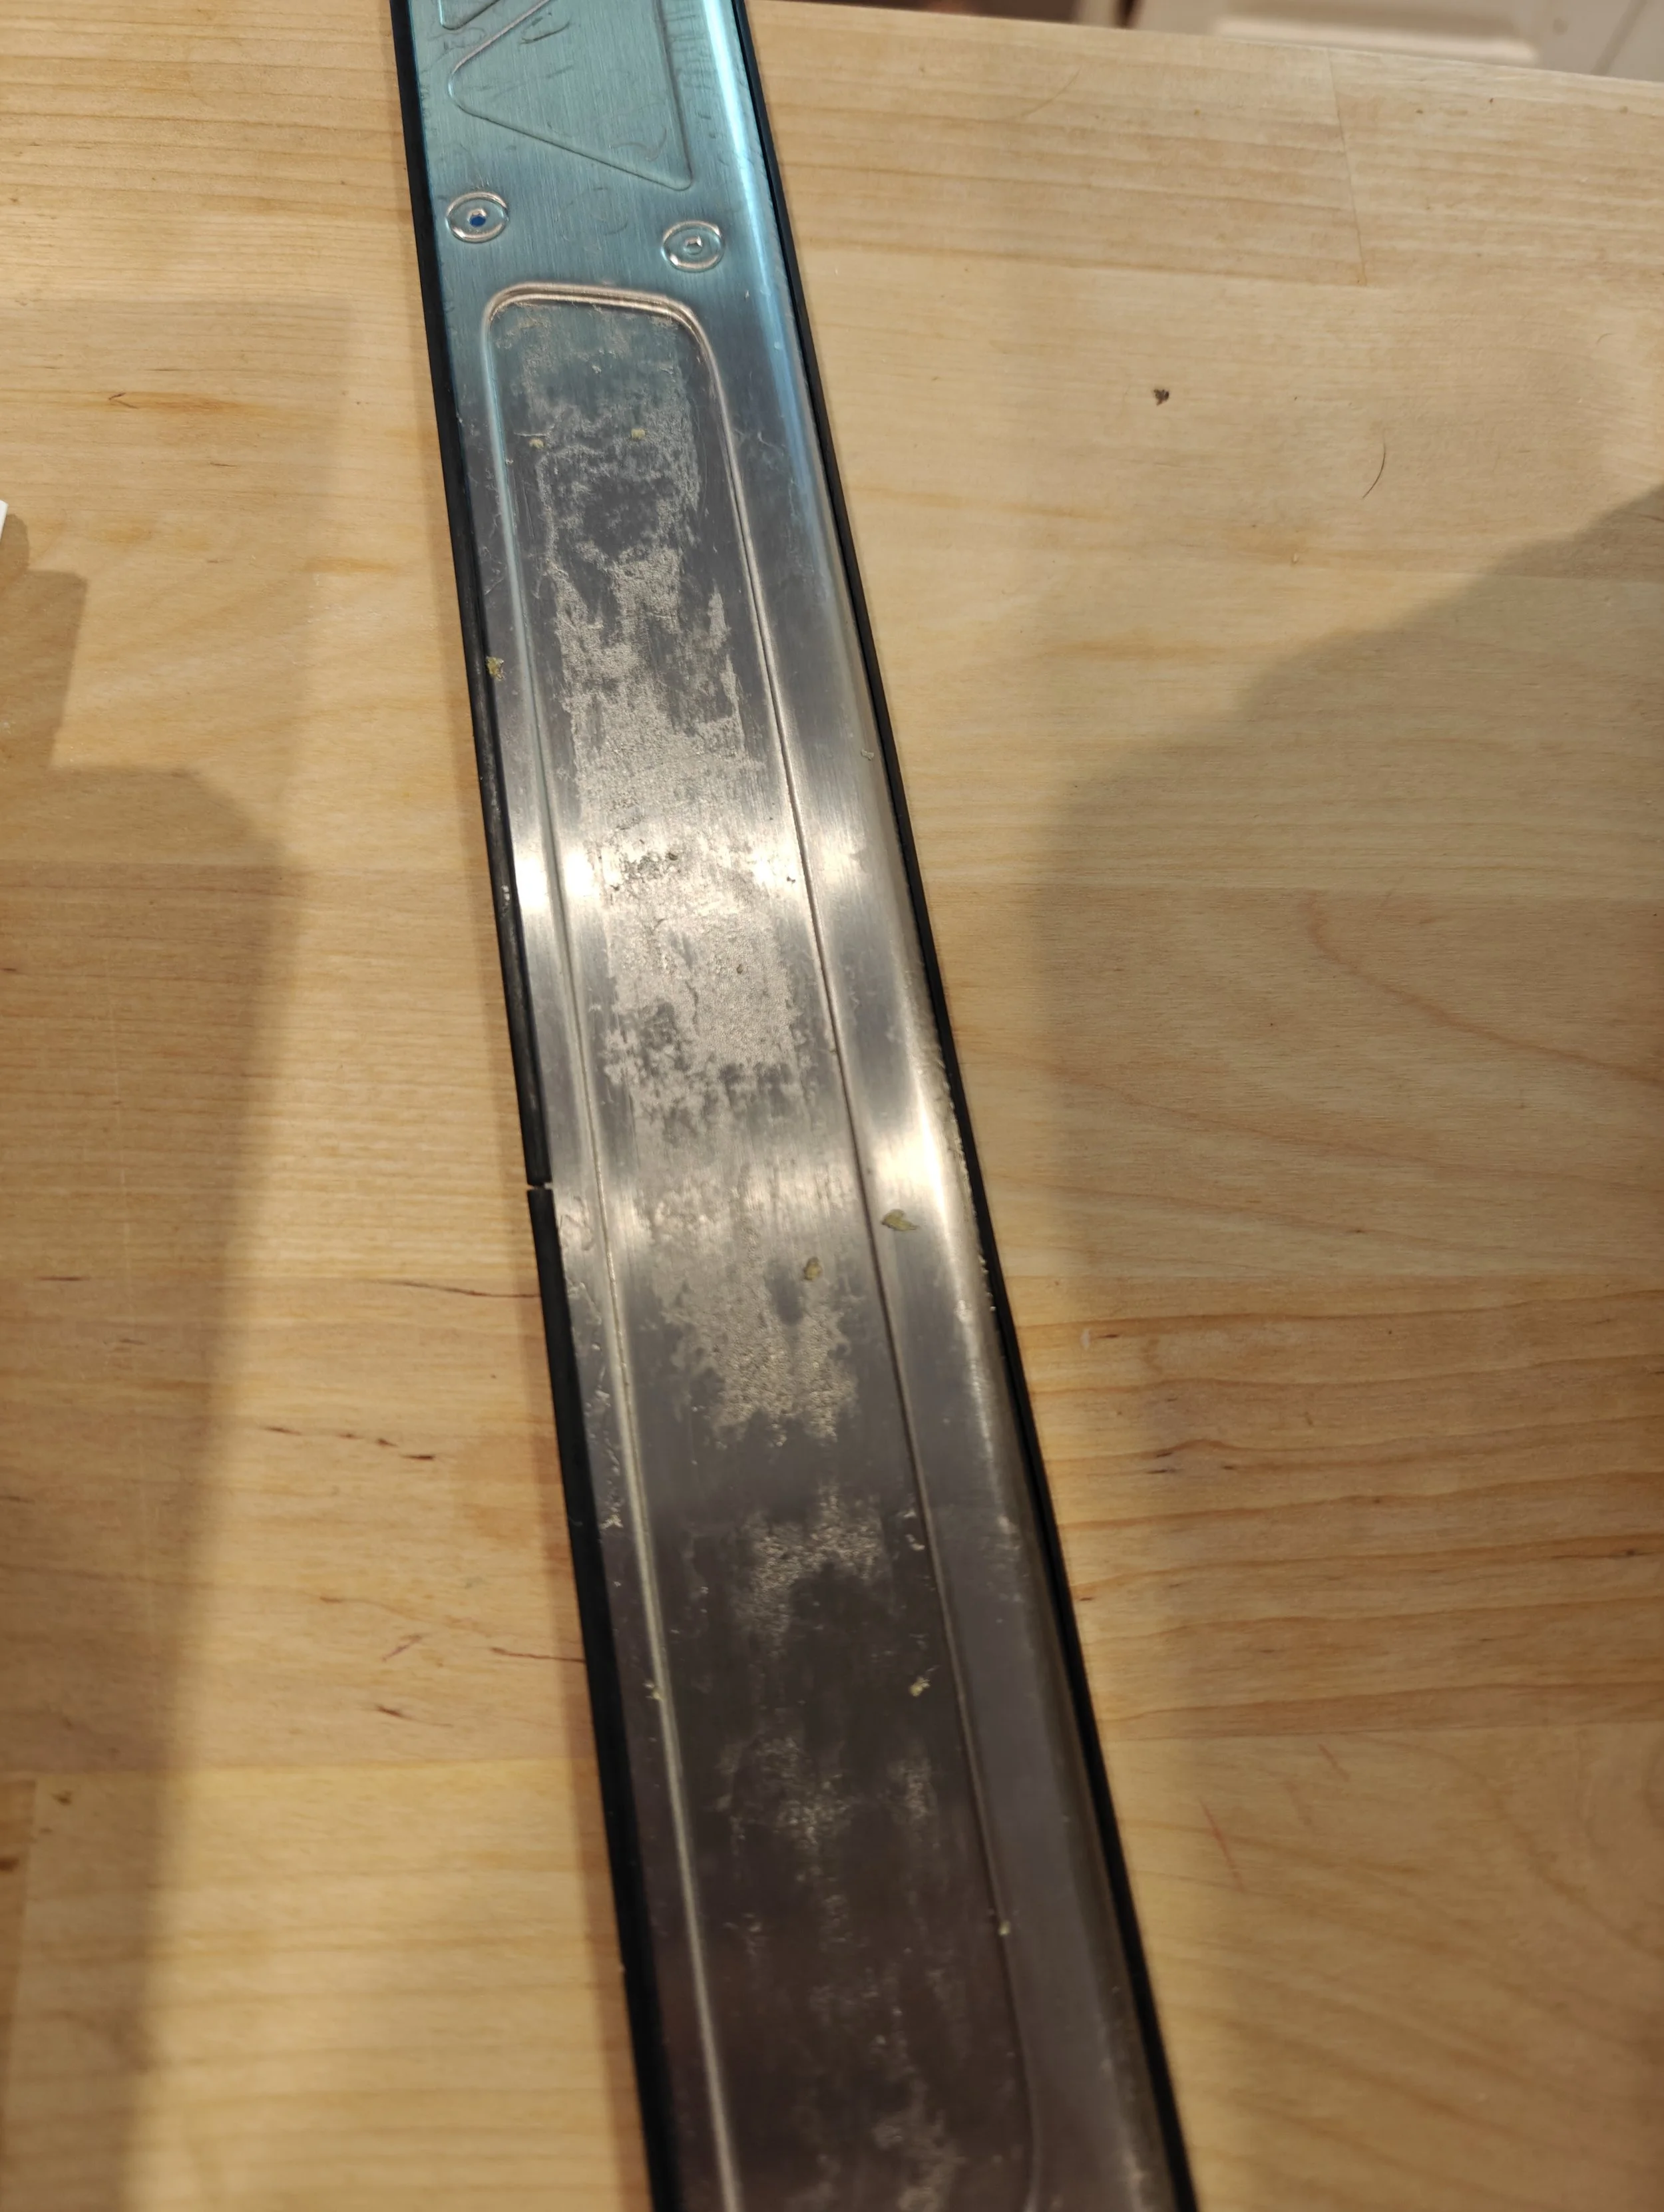
Rinsing them out in the sink to make sure its all gone
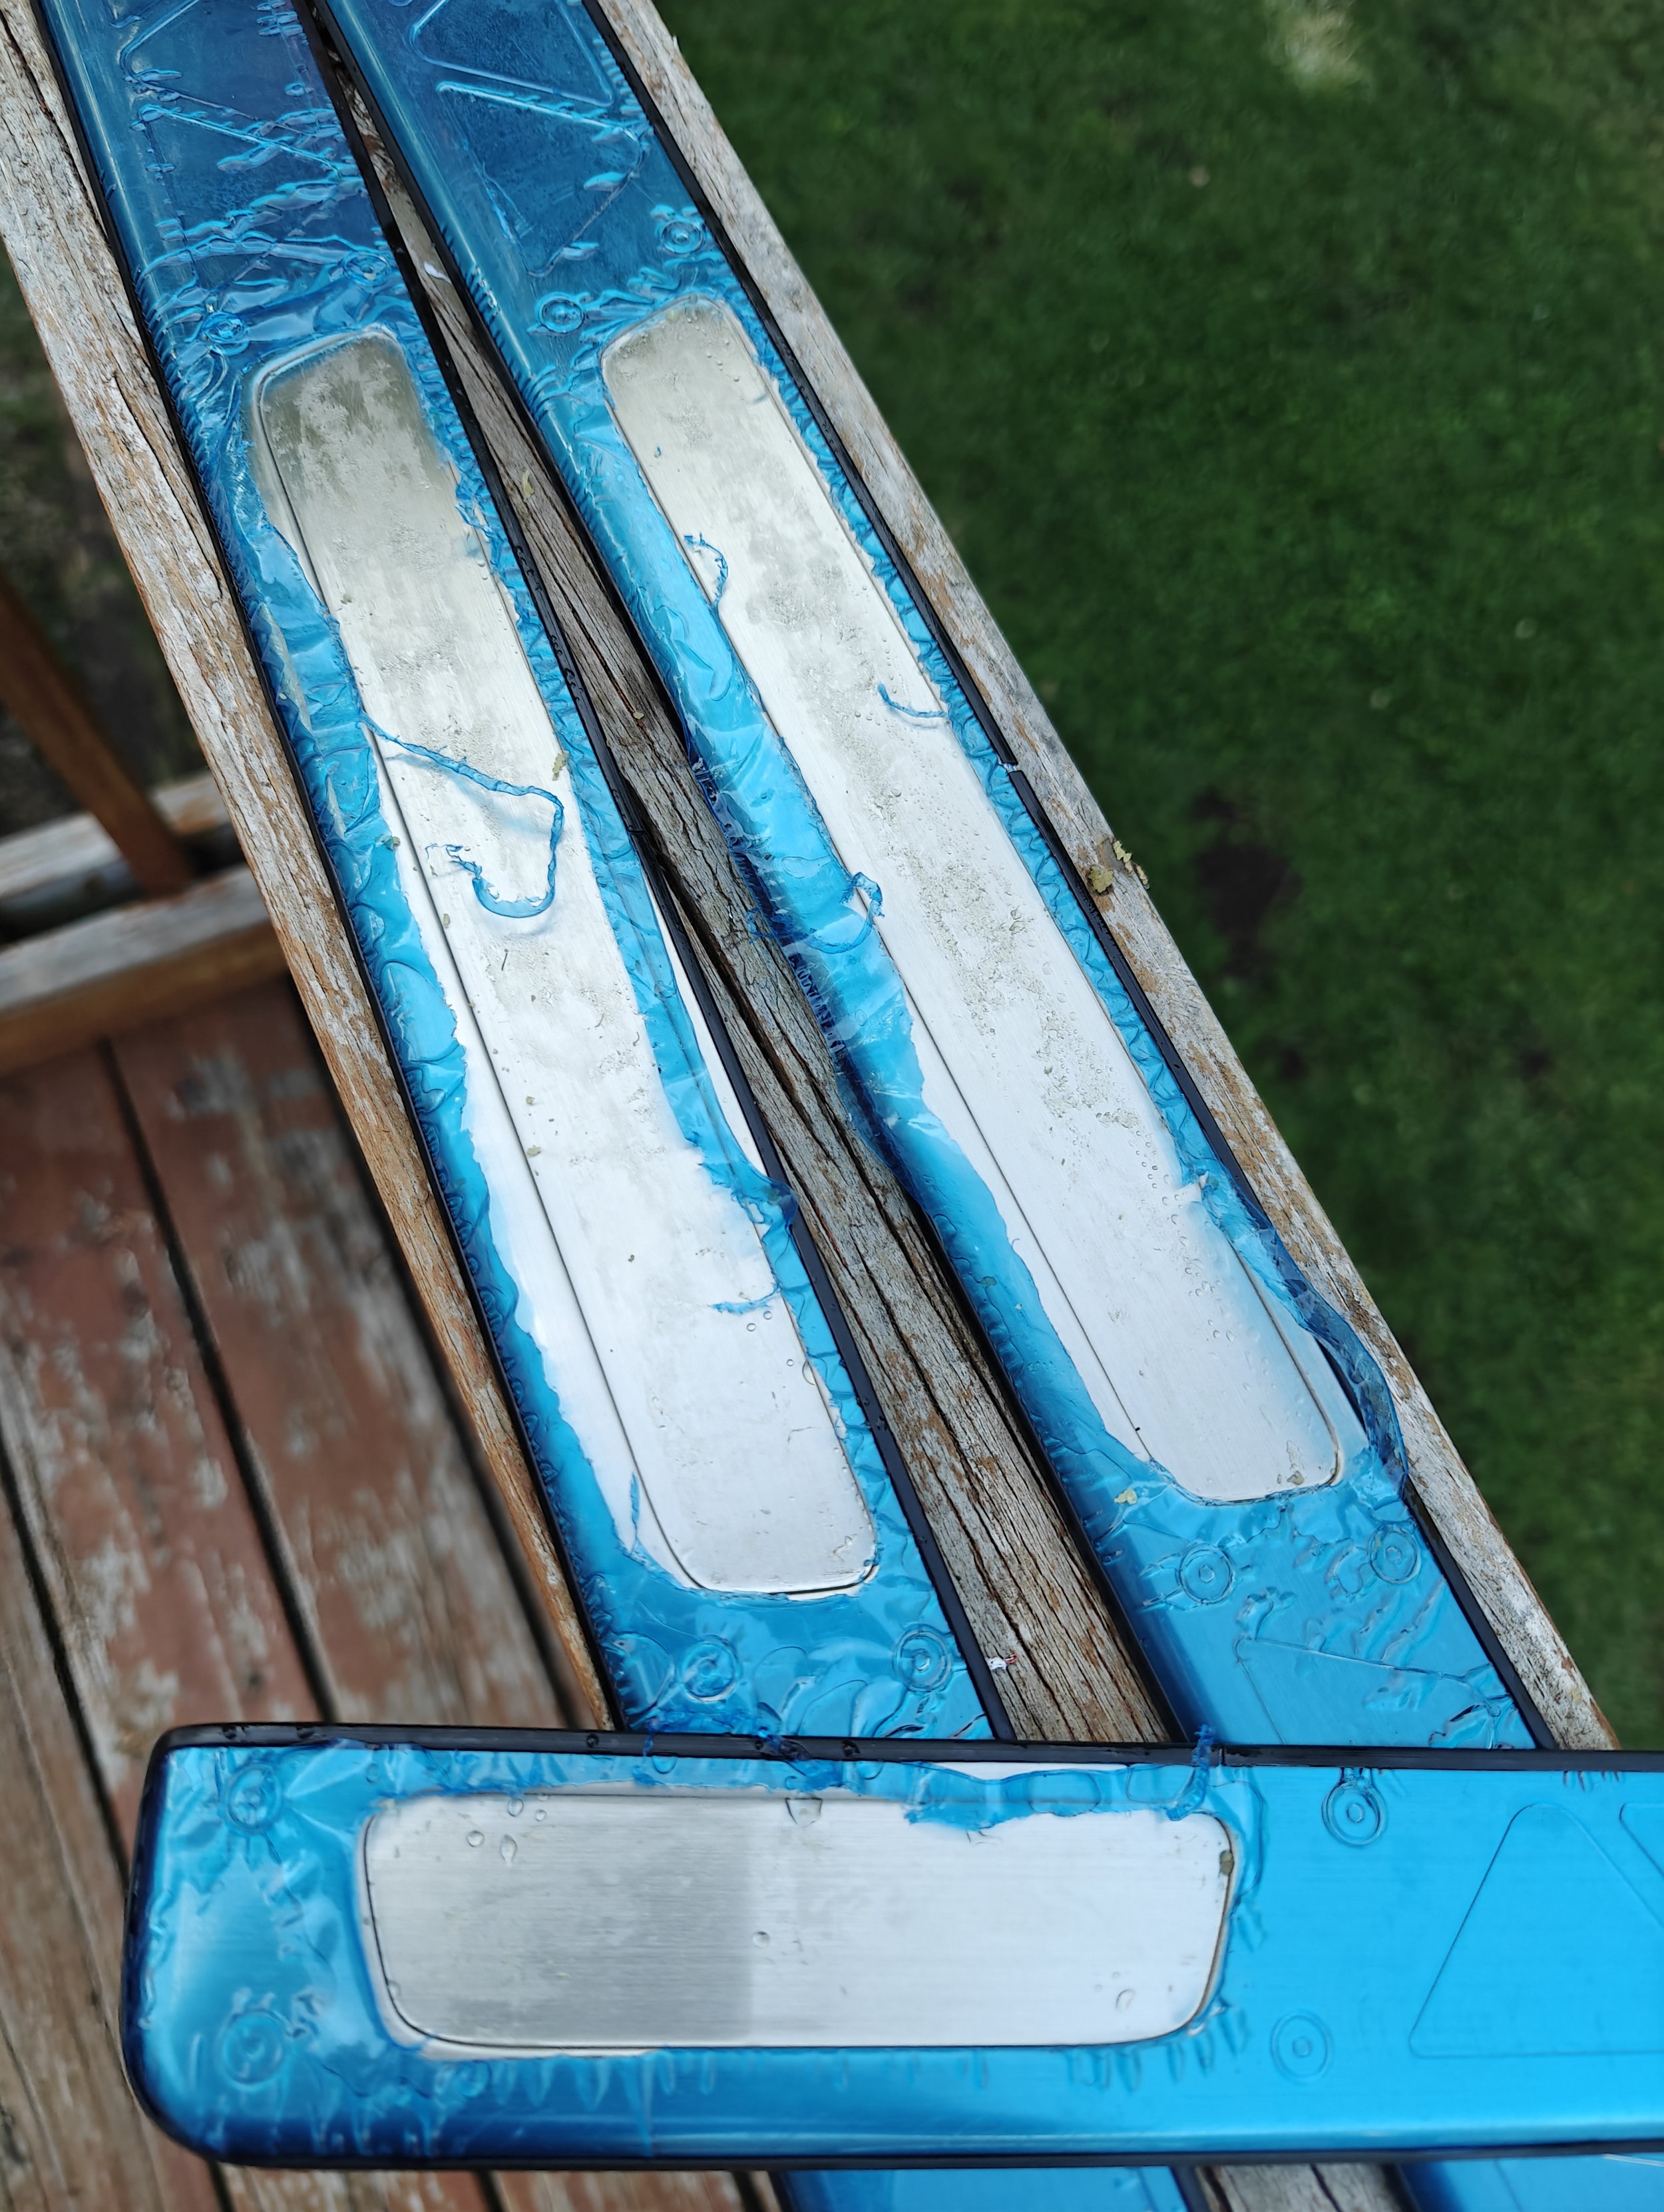
1 done and a few more to go.
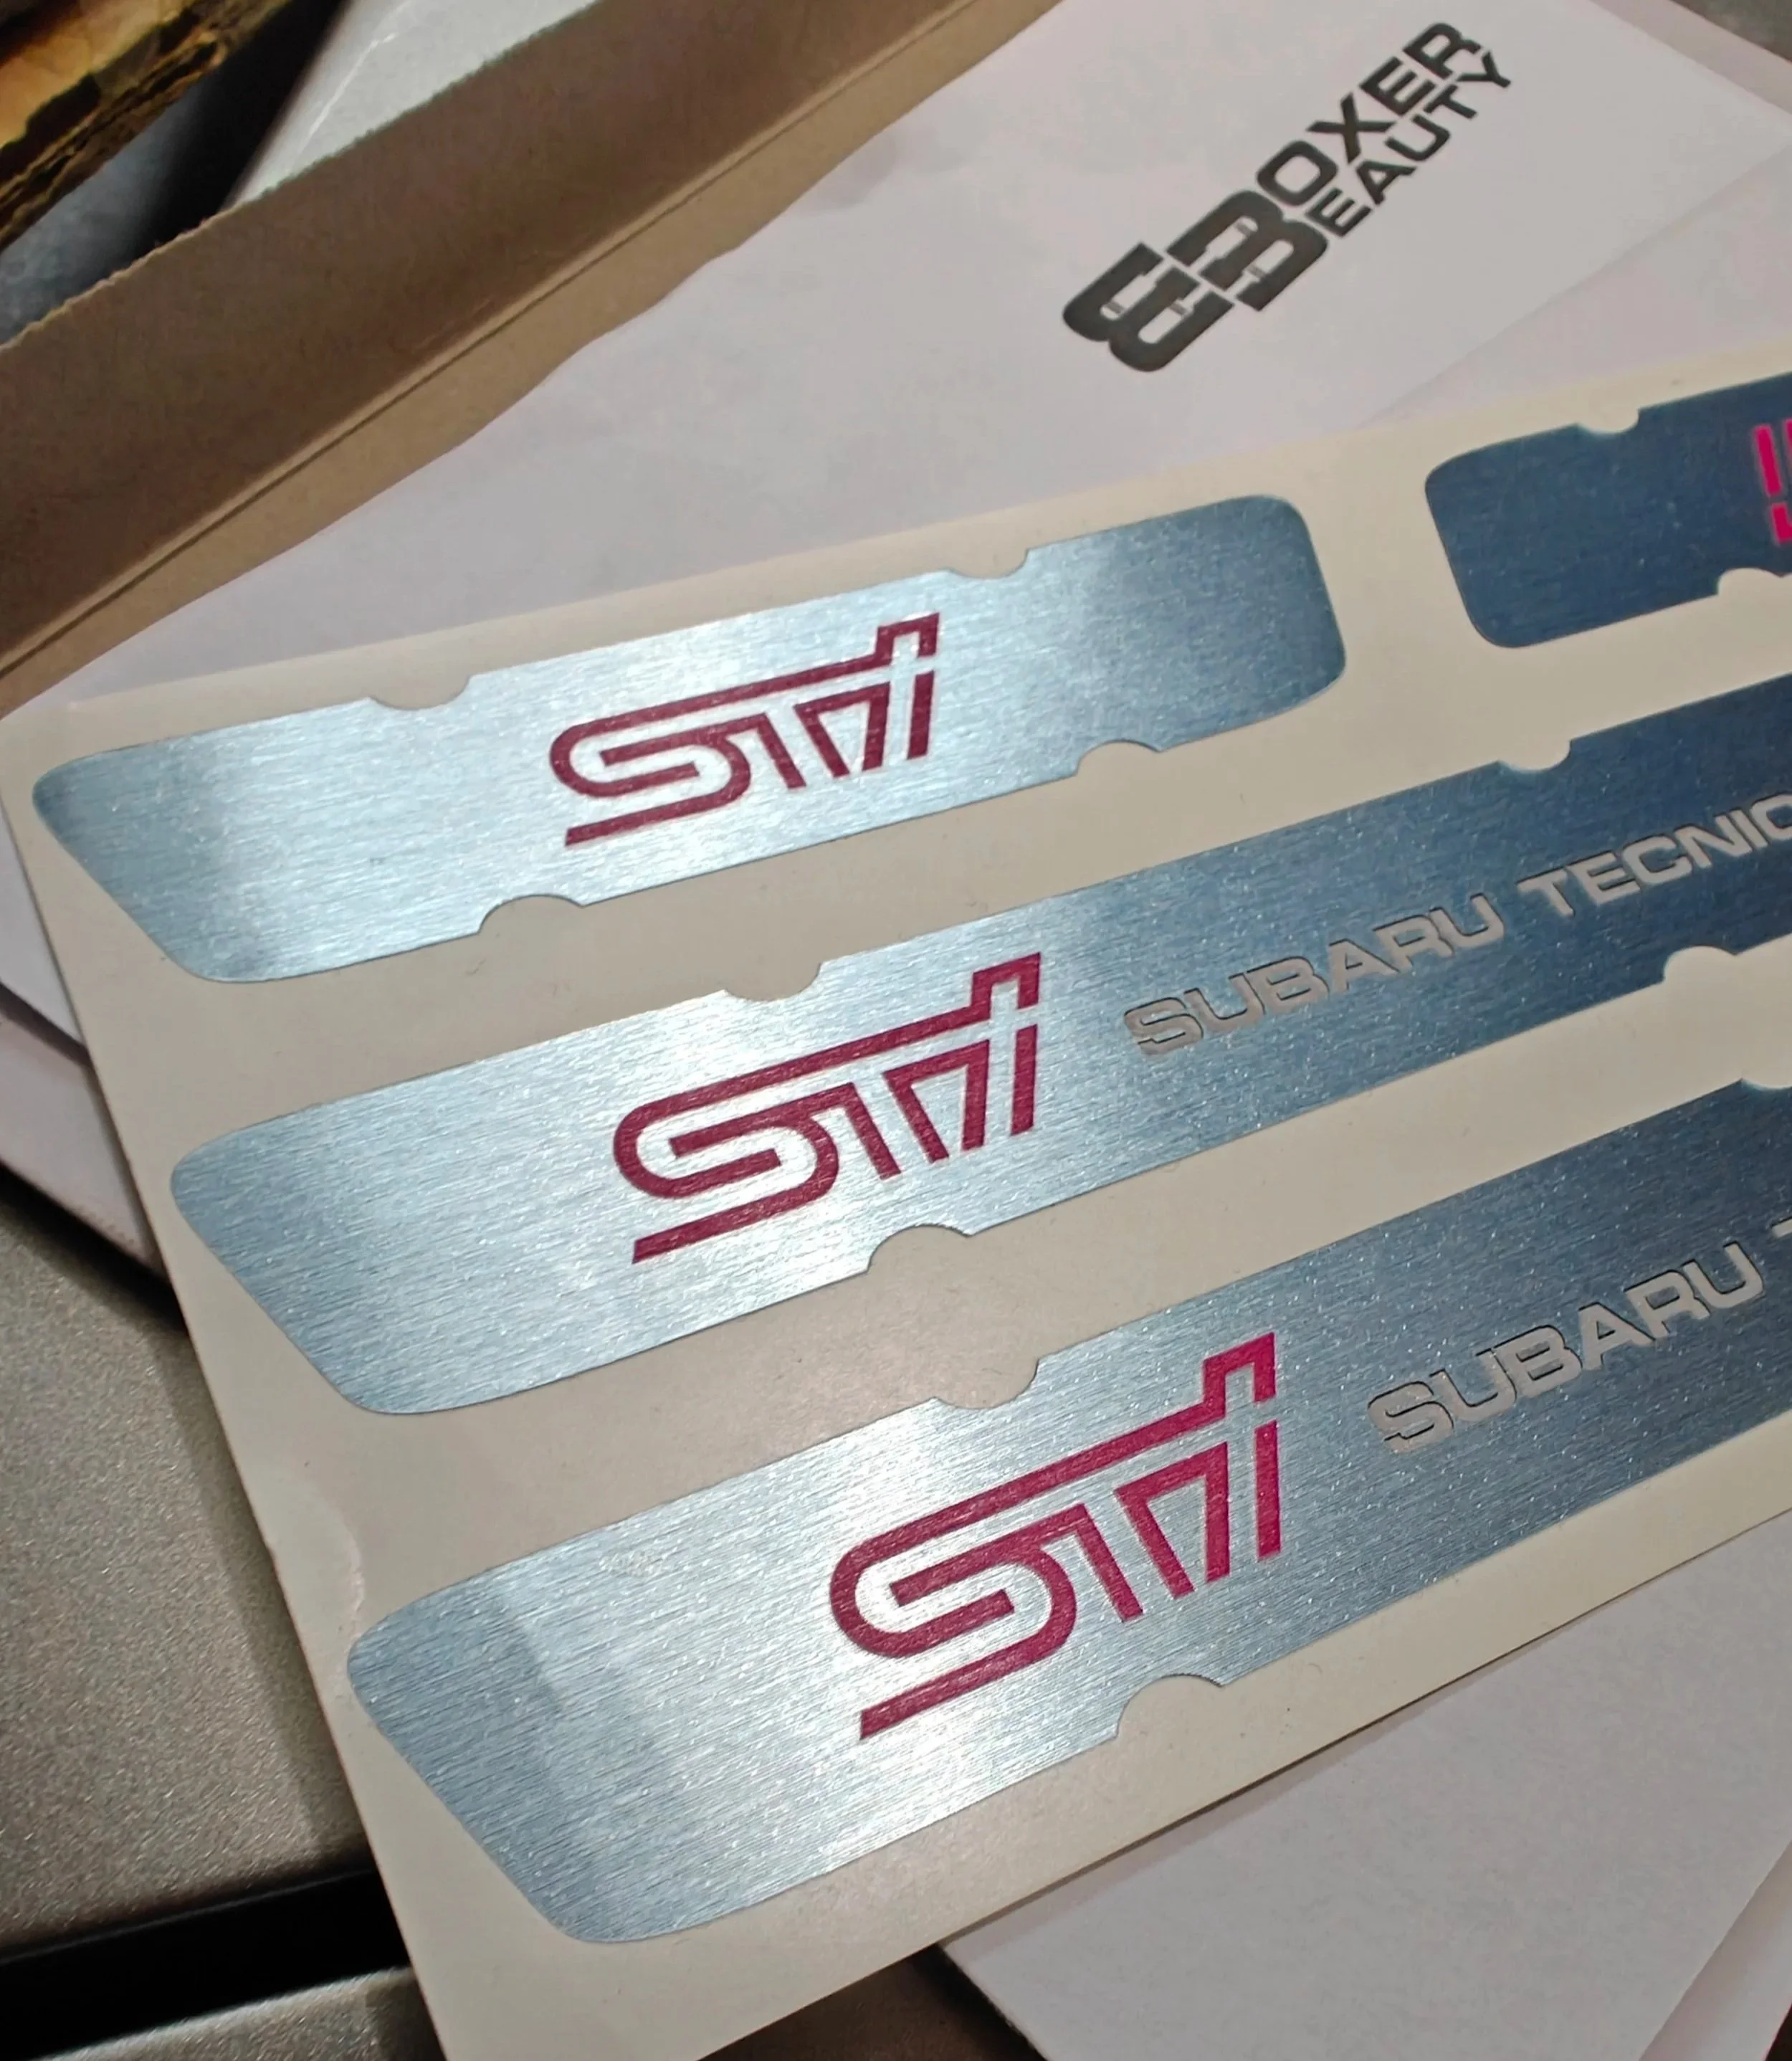
Next up is cleaning the center section, you can use soap or degreaser to prep the surface before applying your new decals. It is time to center the decals and install them.
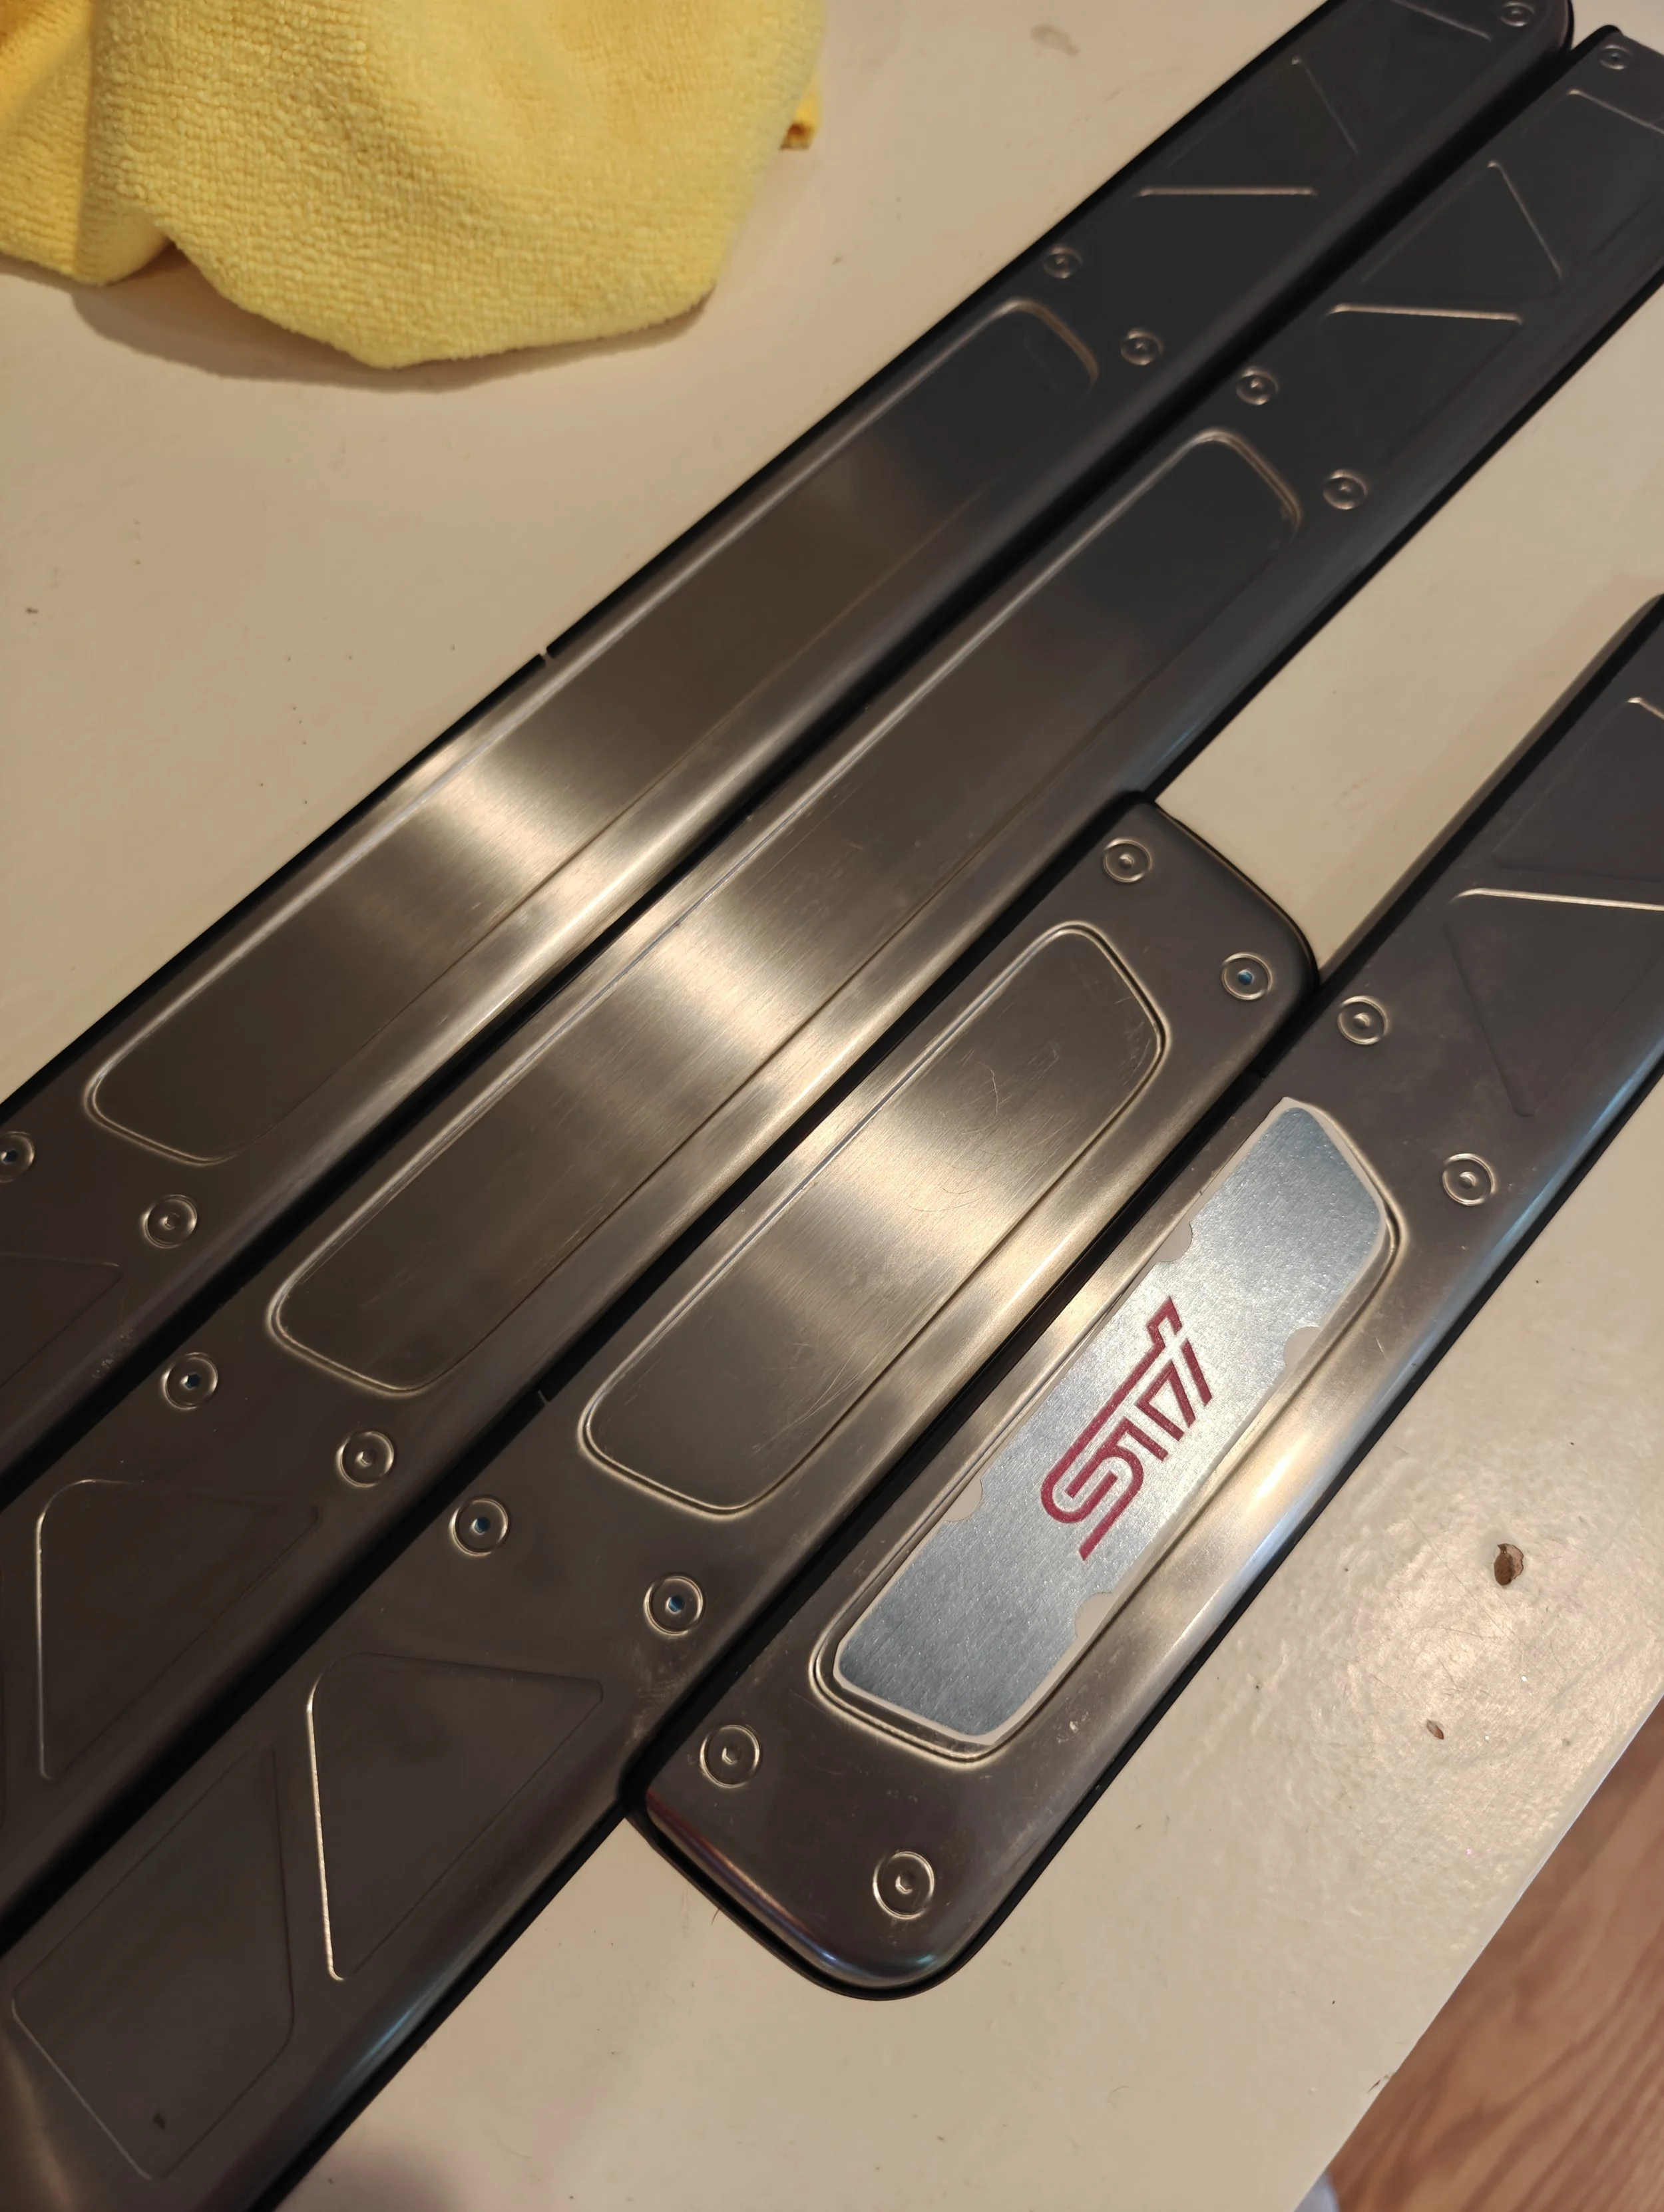
With all of them cleaned up I can start adding the logos.
After a few tests and measurements the decals have been applied.
I purchased new door sill trims to make these really pop when I placed them on the car. If you are putting them on older trim pieces, I’d recommend to degrease and clean before applying adding your STi door sill plates.
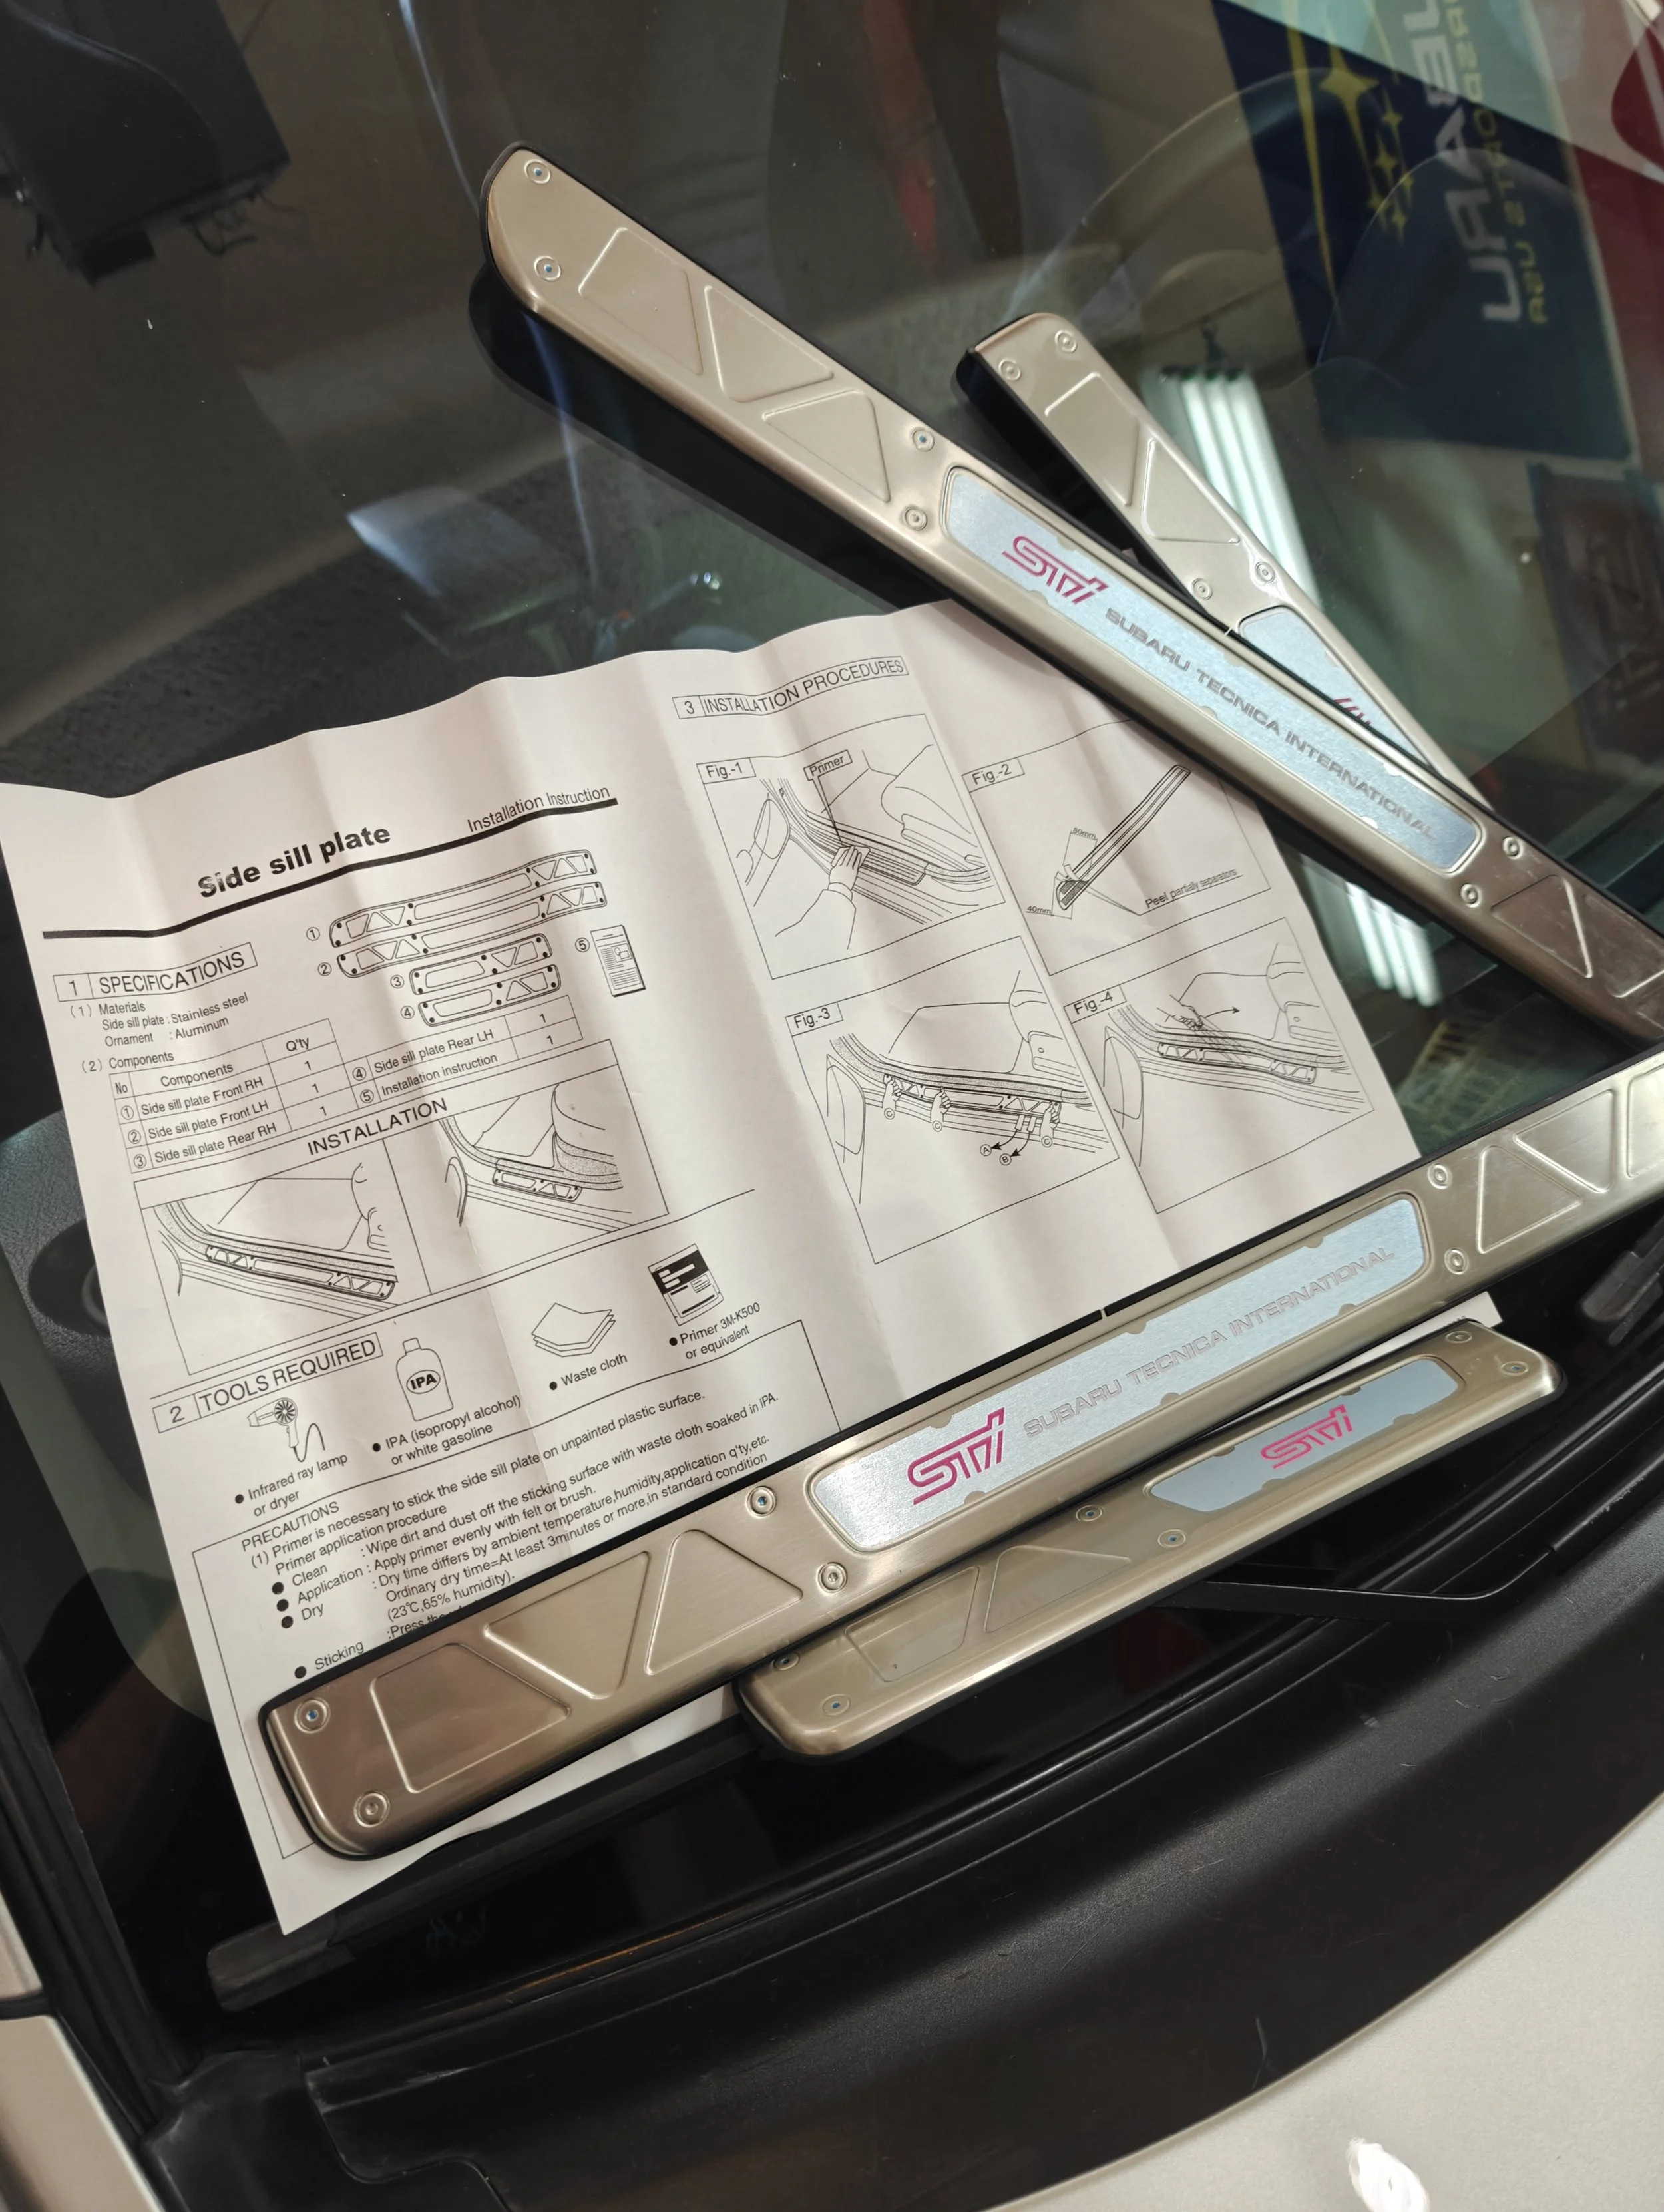
Getting out the instructions and get ready to prep the car for its new parts.
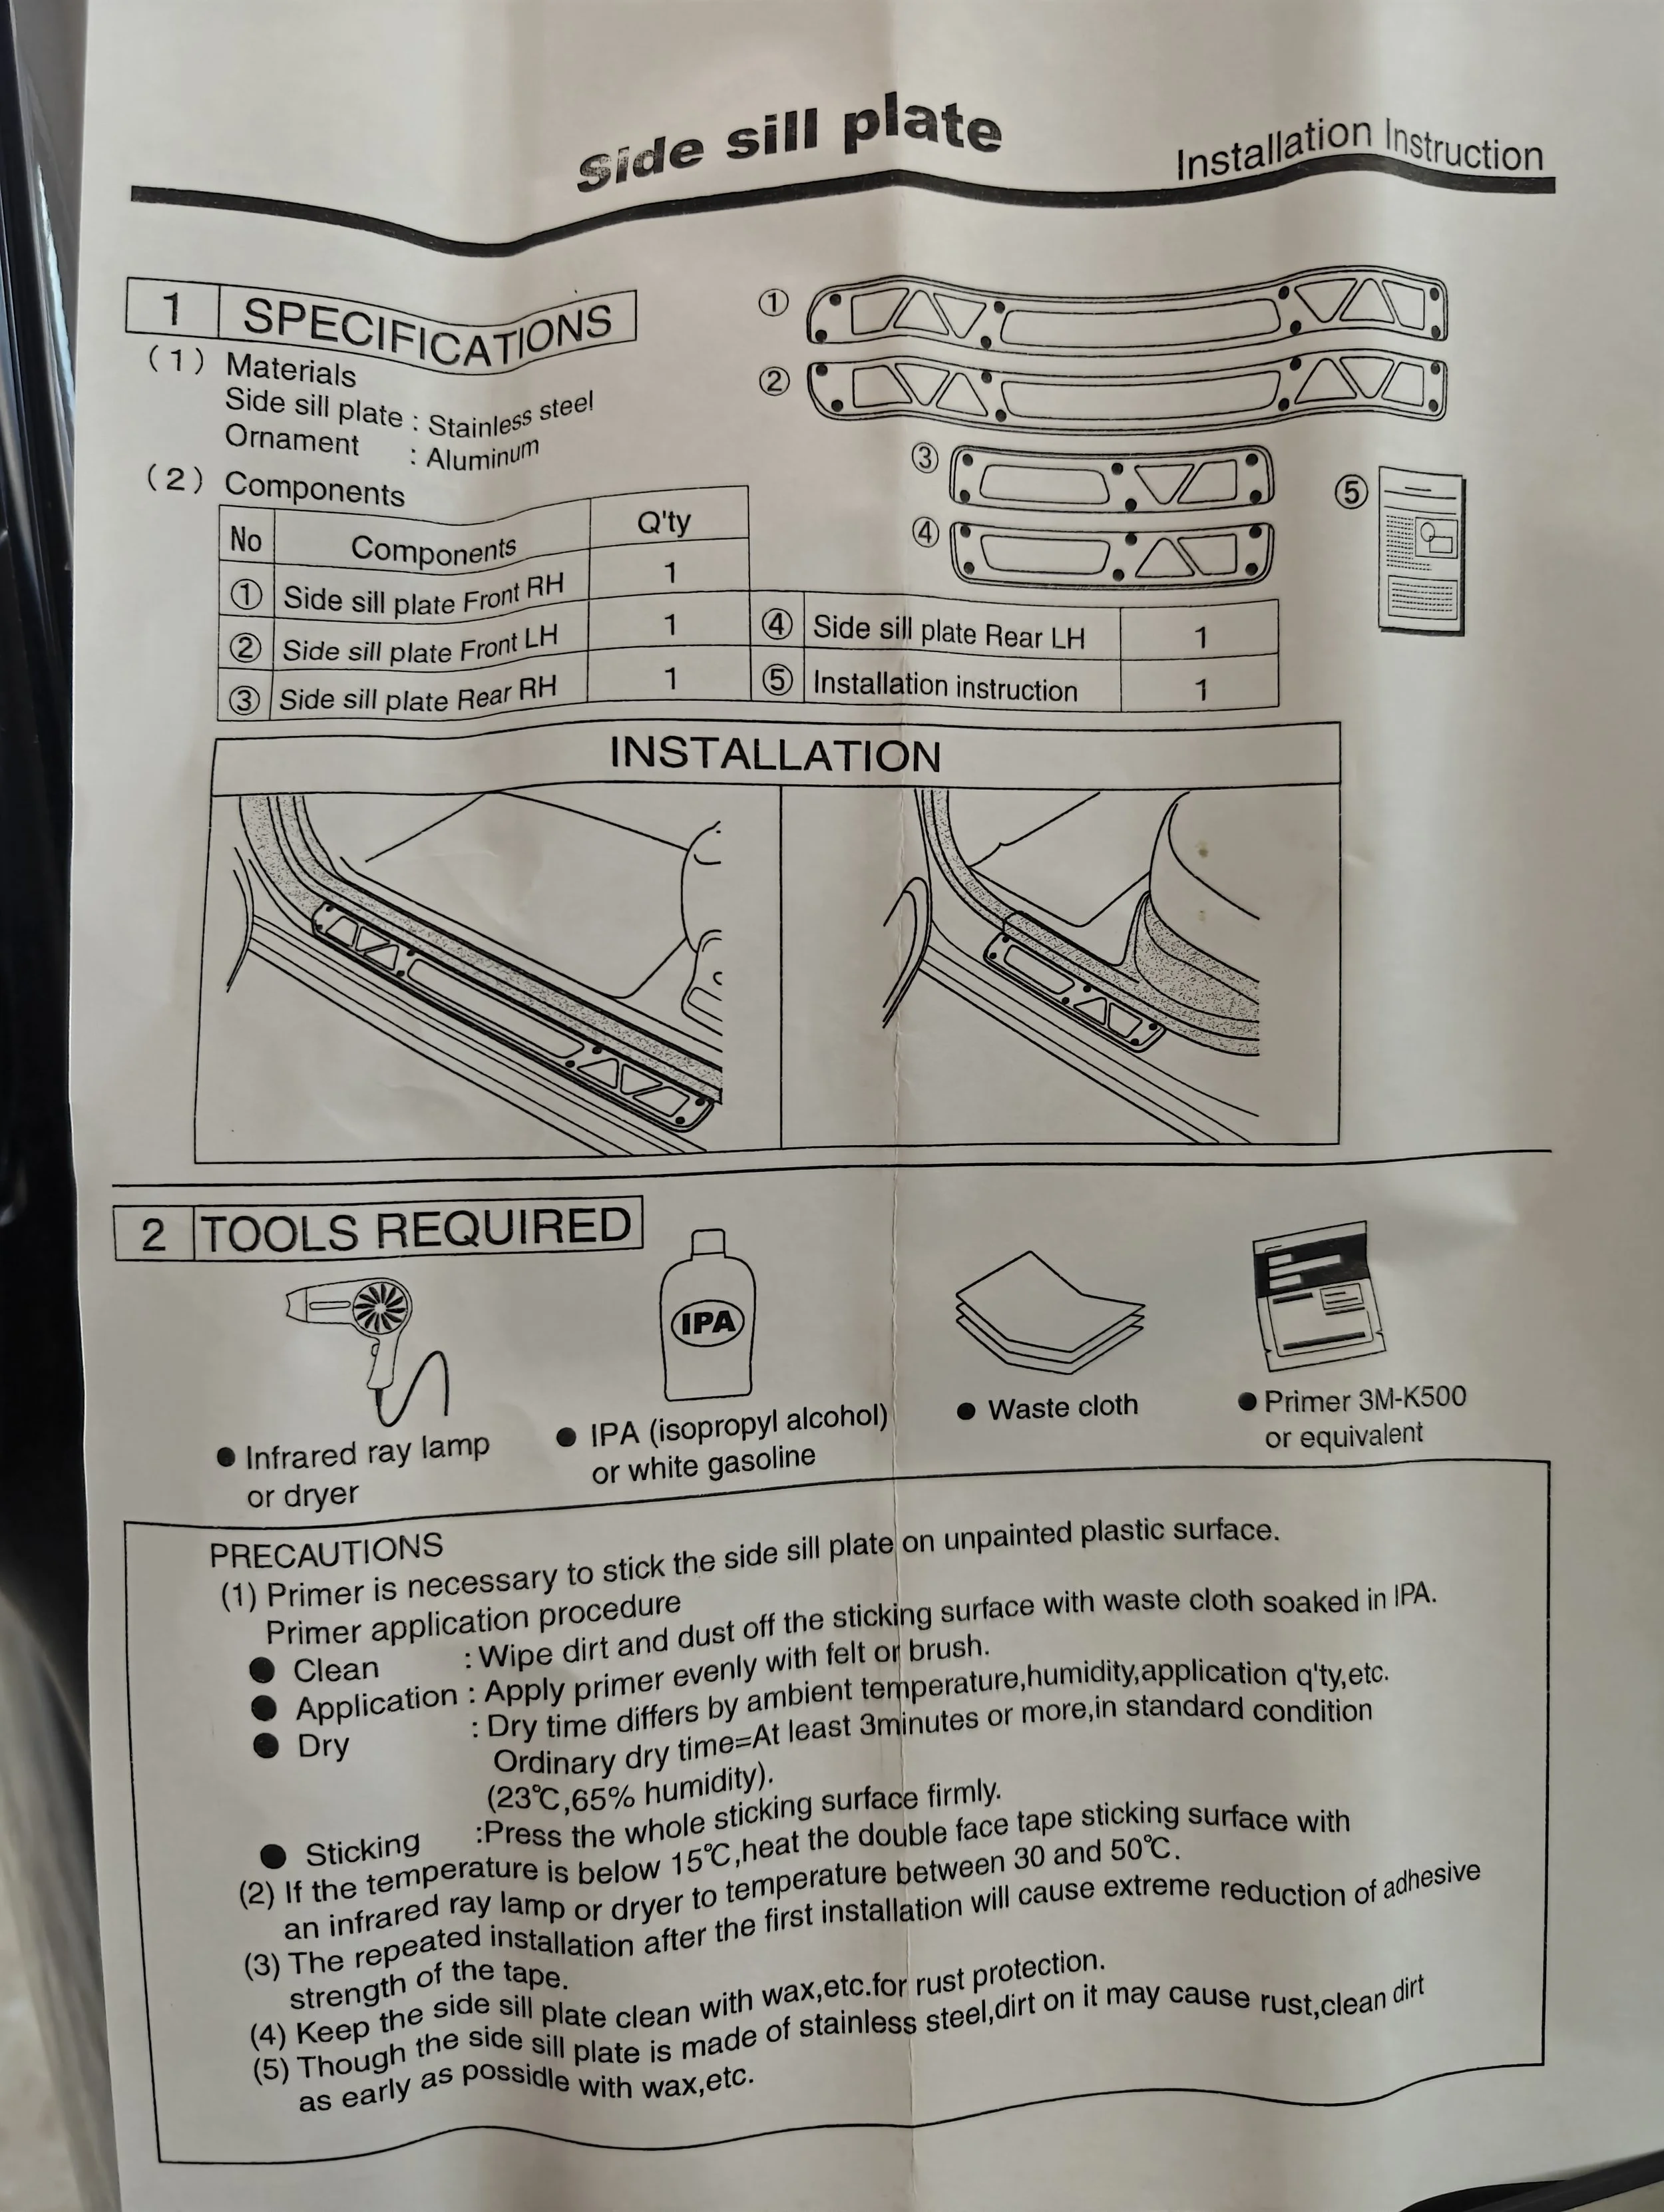
Instructions sheet supplied with the sills.
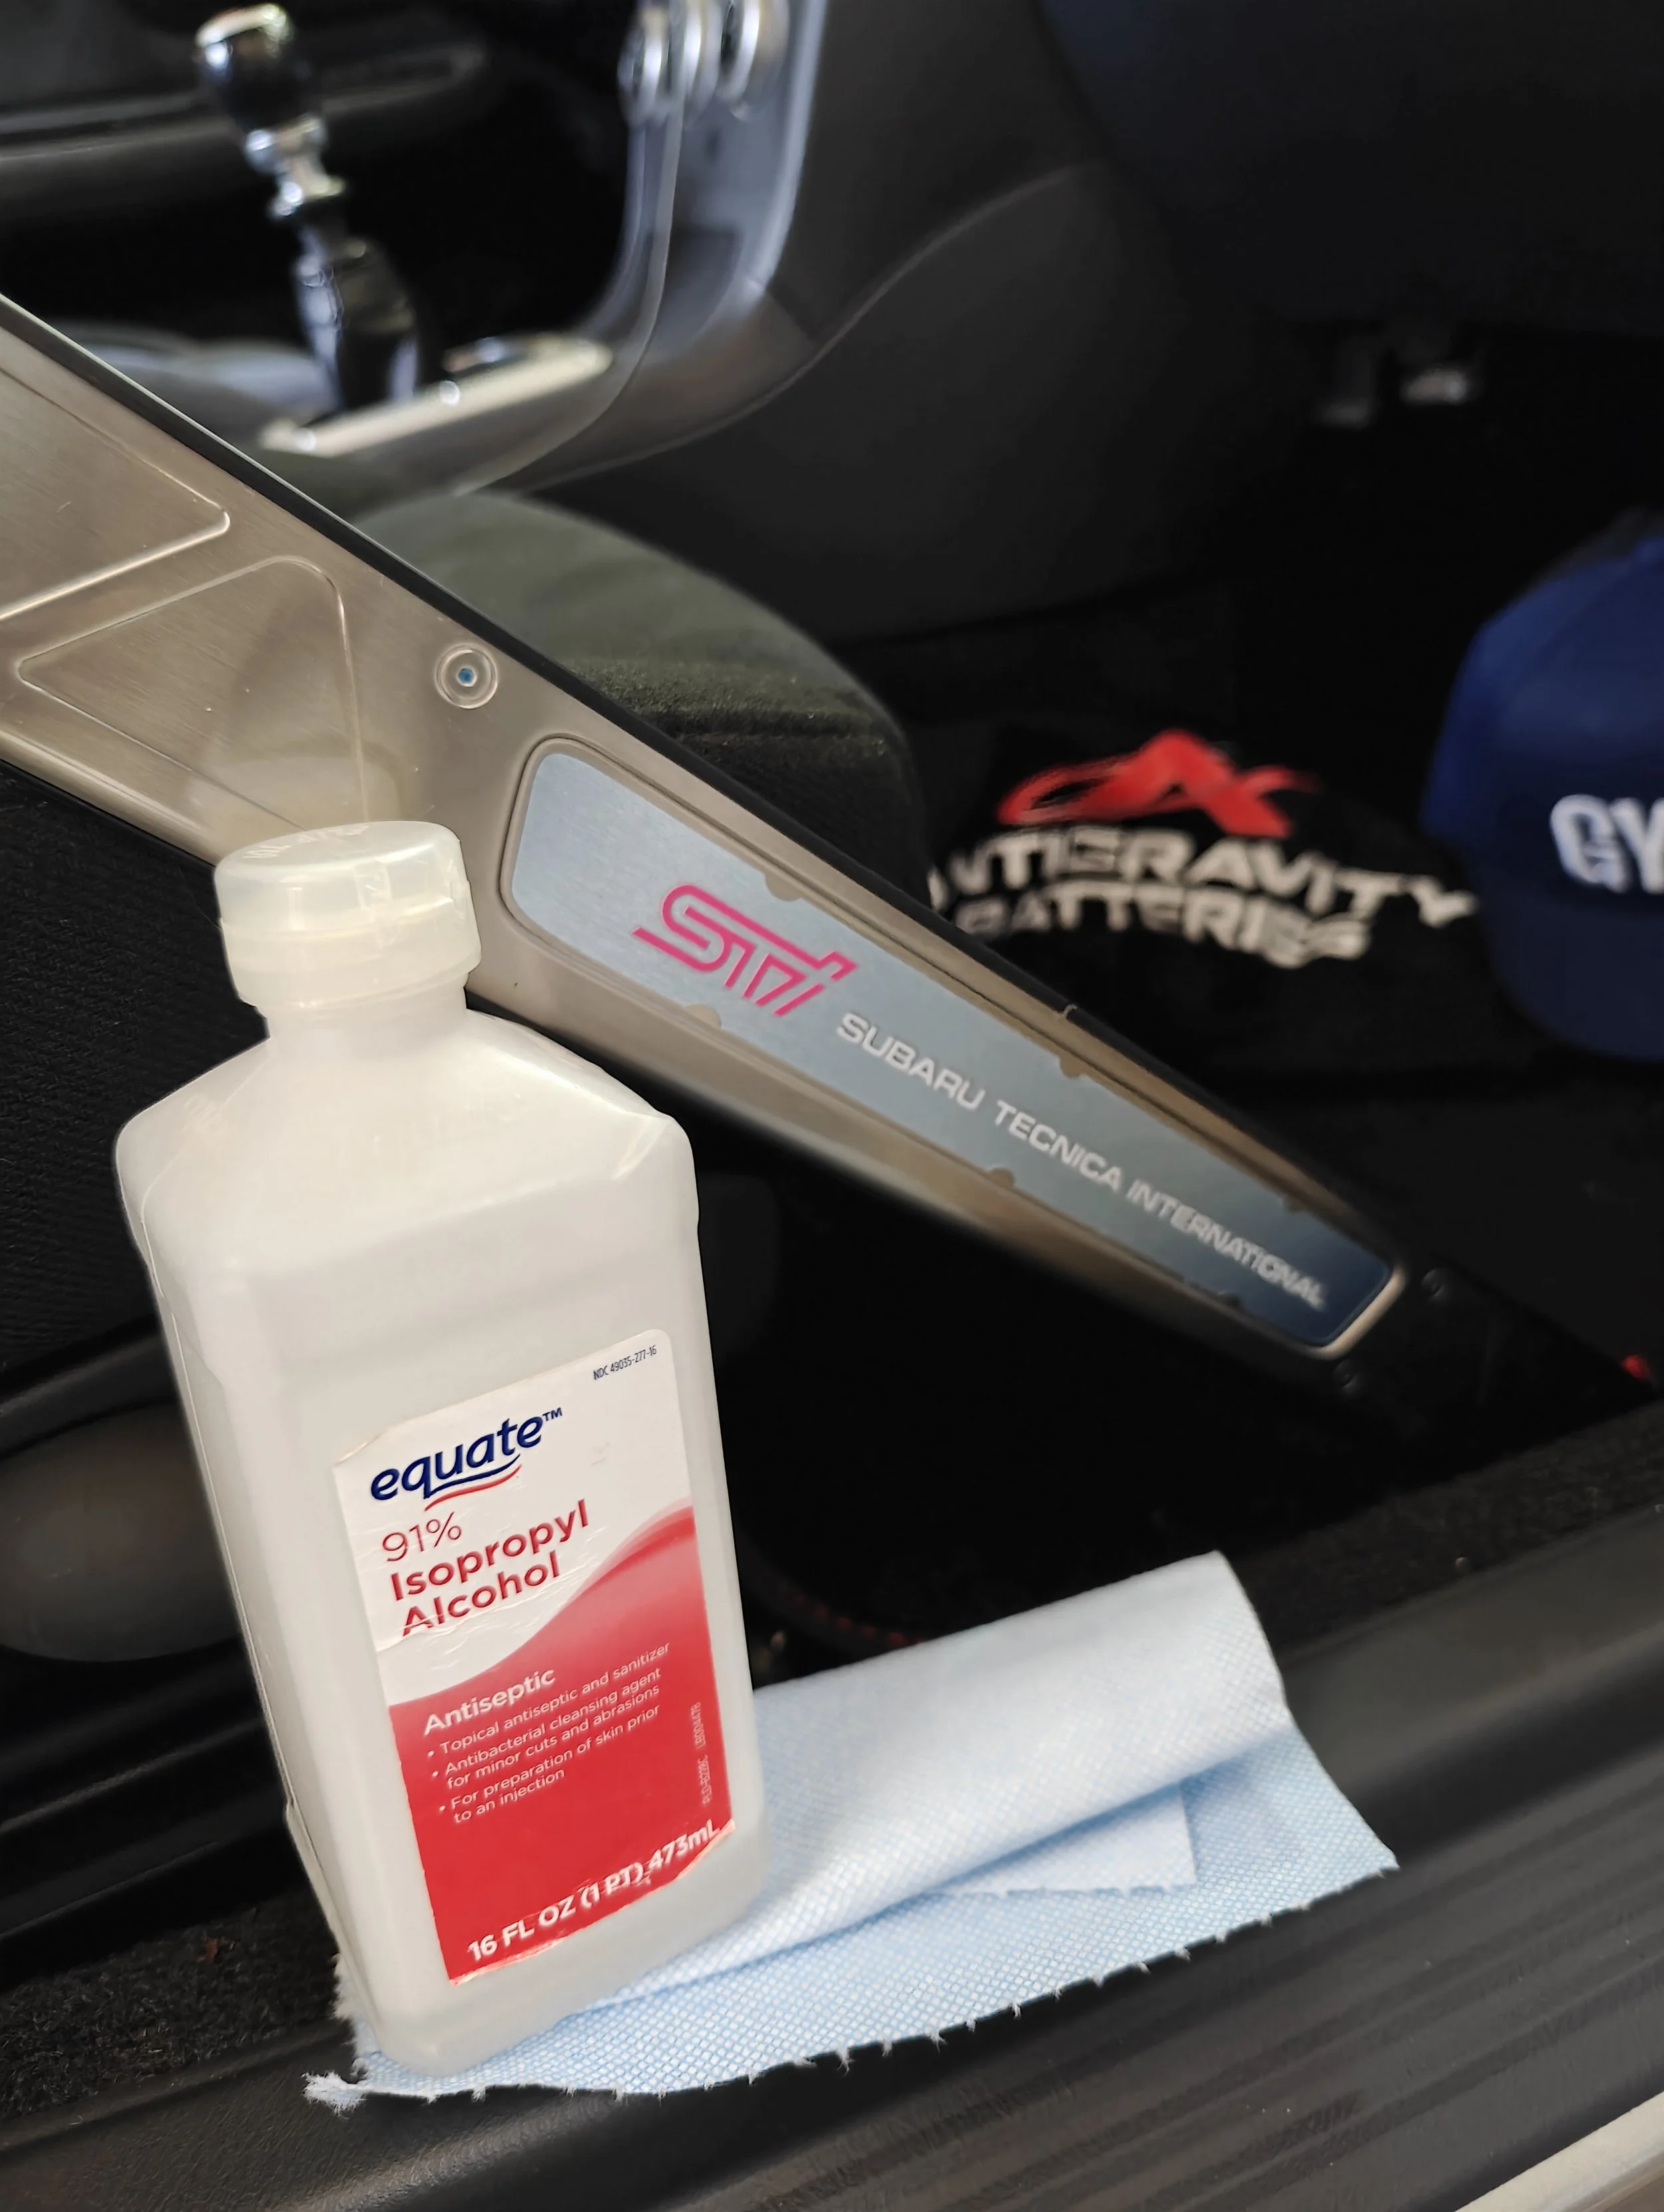
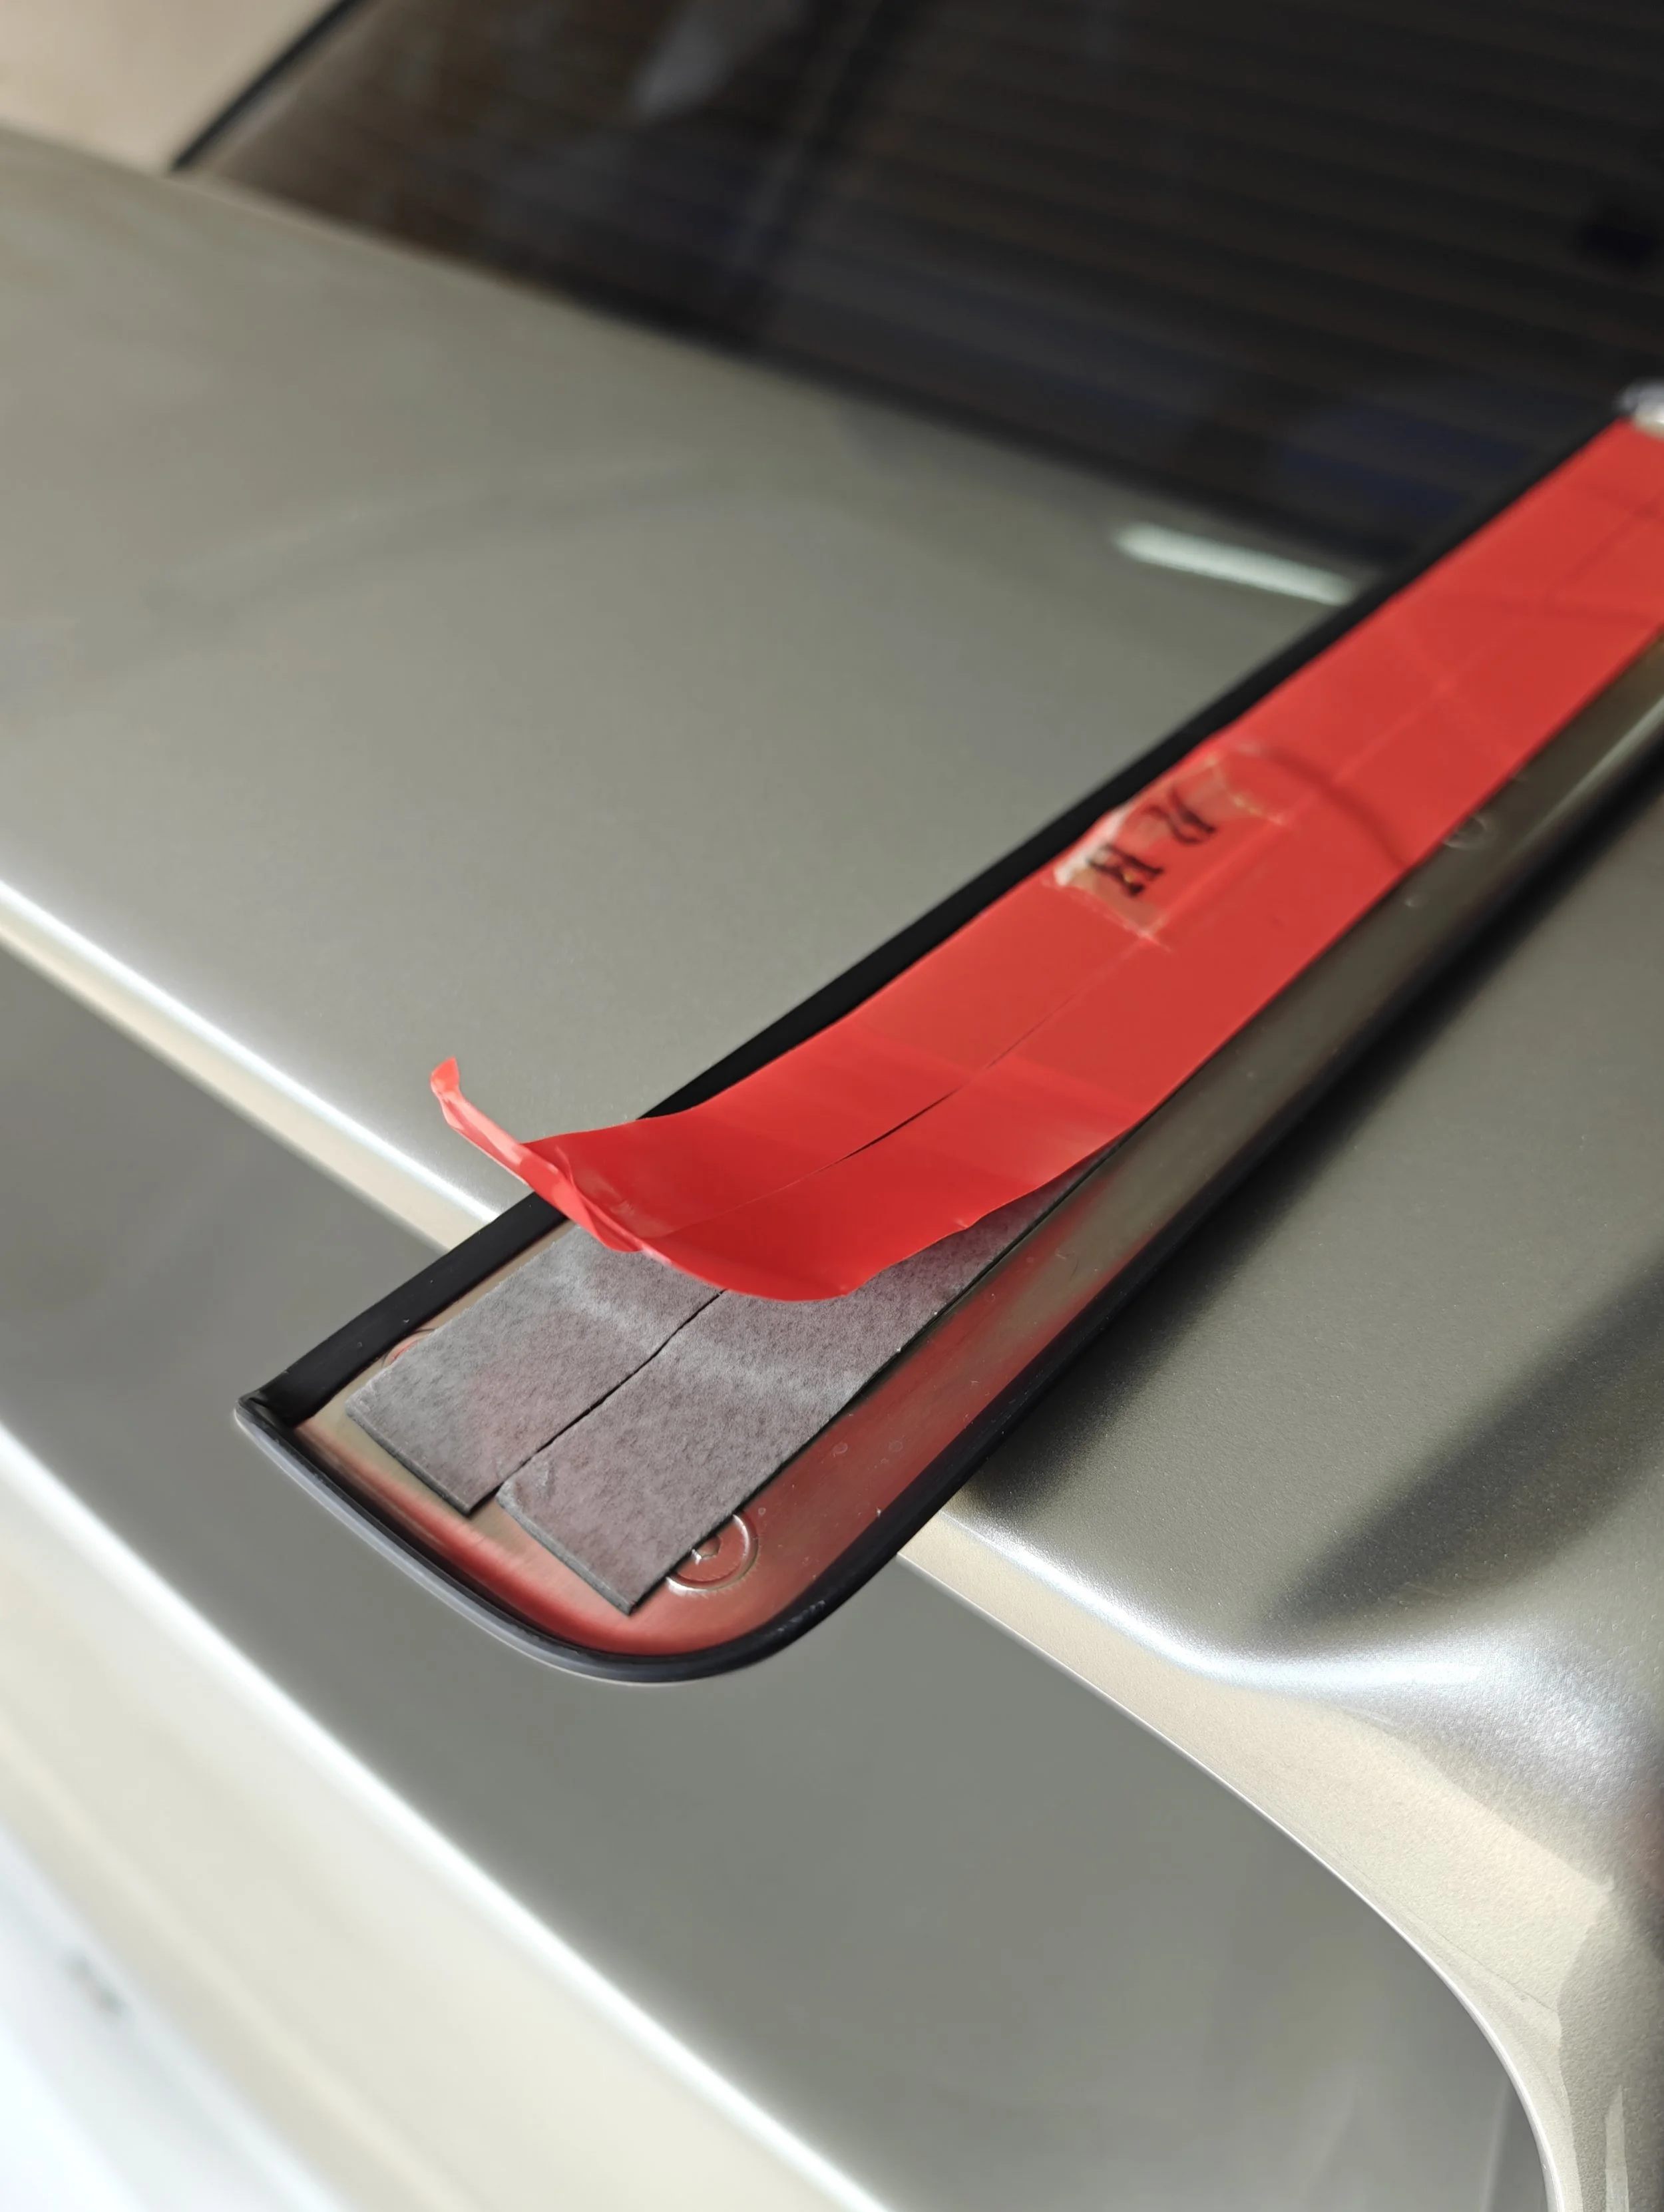
Prepping the factory plastic trim before installing.
If you are refreshing a set you will likely need to use 3M trim double sided adhesive. The directions will tell you to peel back a small amount of the double sided tape covering and then slowly peel it back while applying steady pressure.
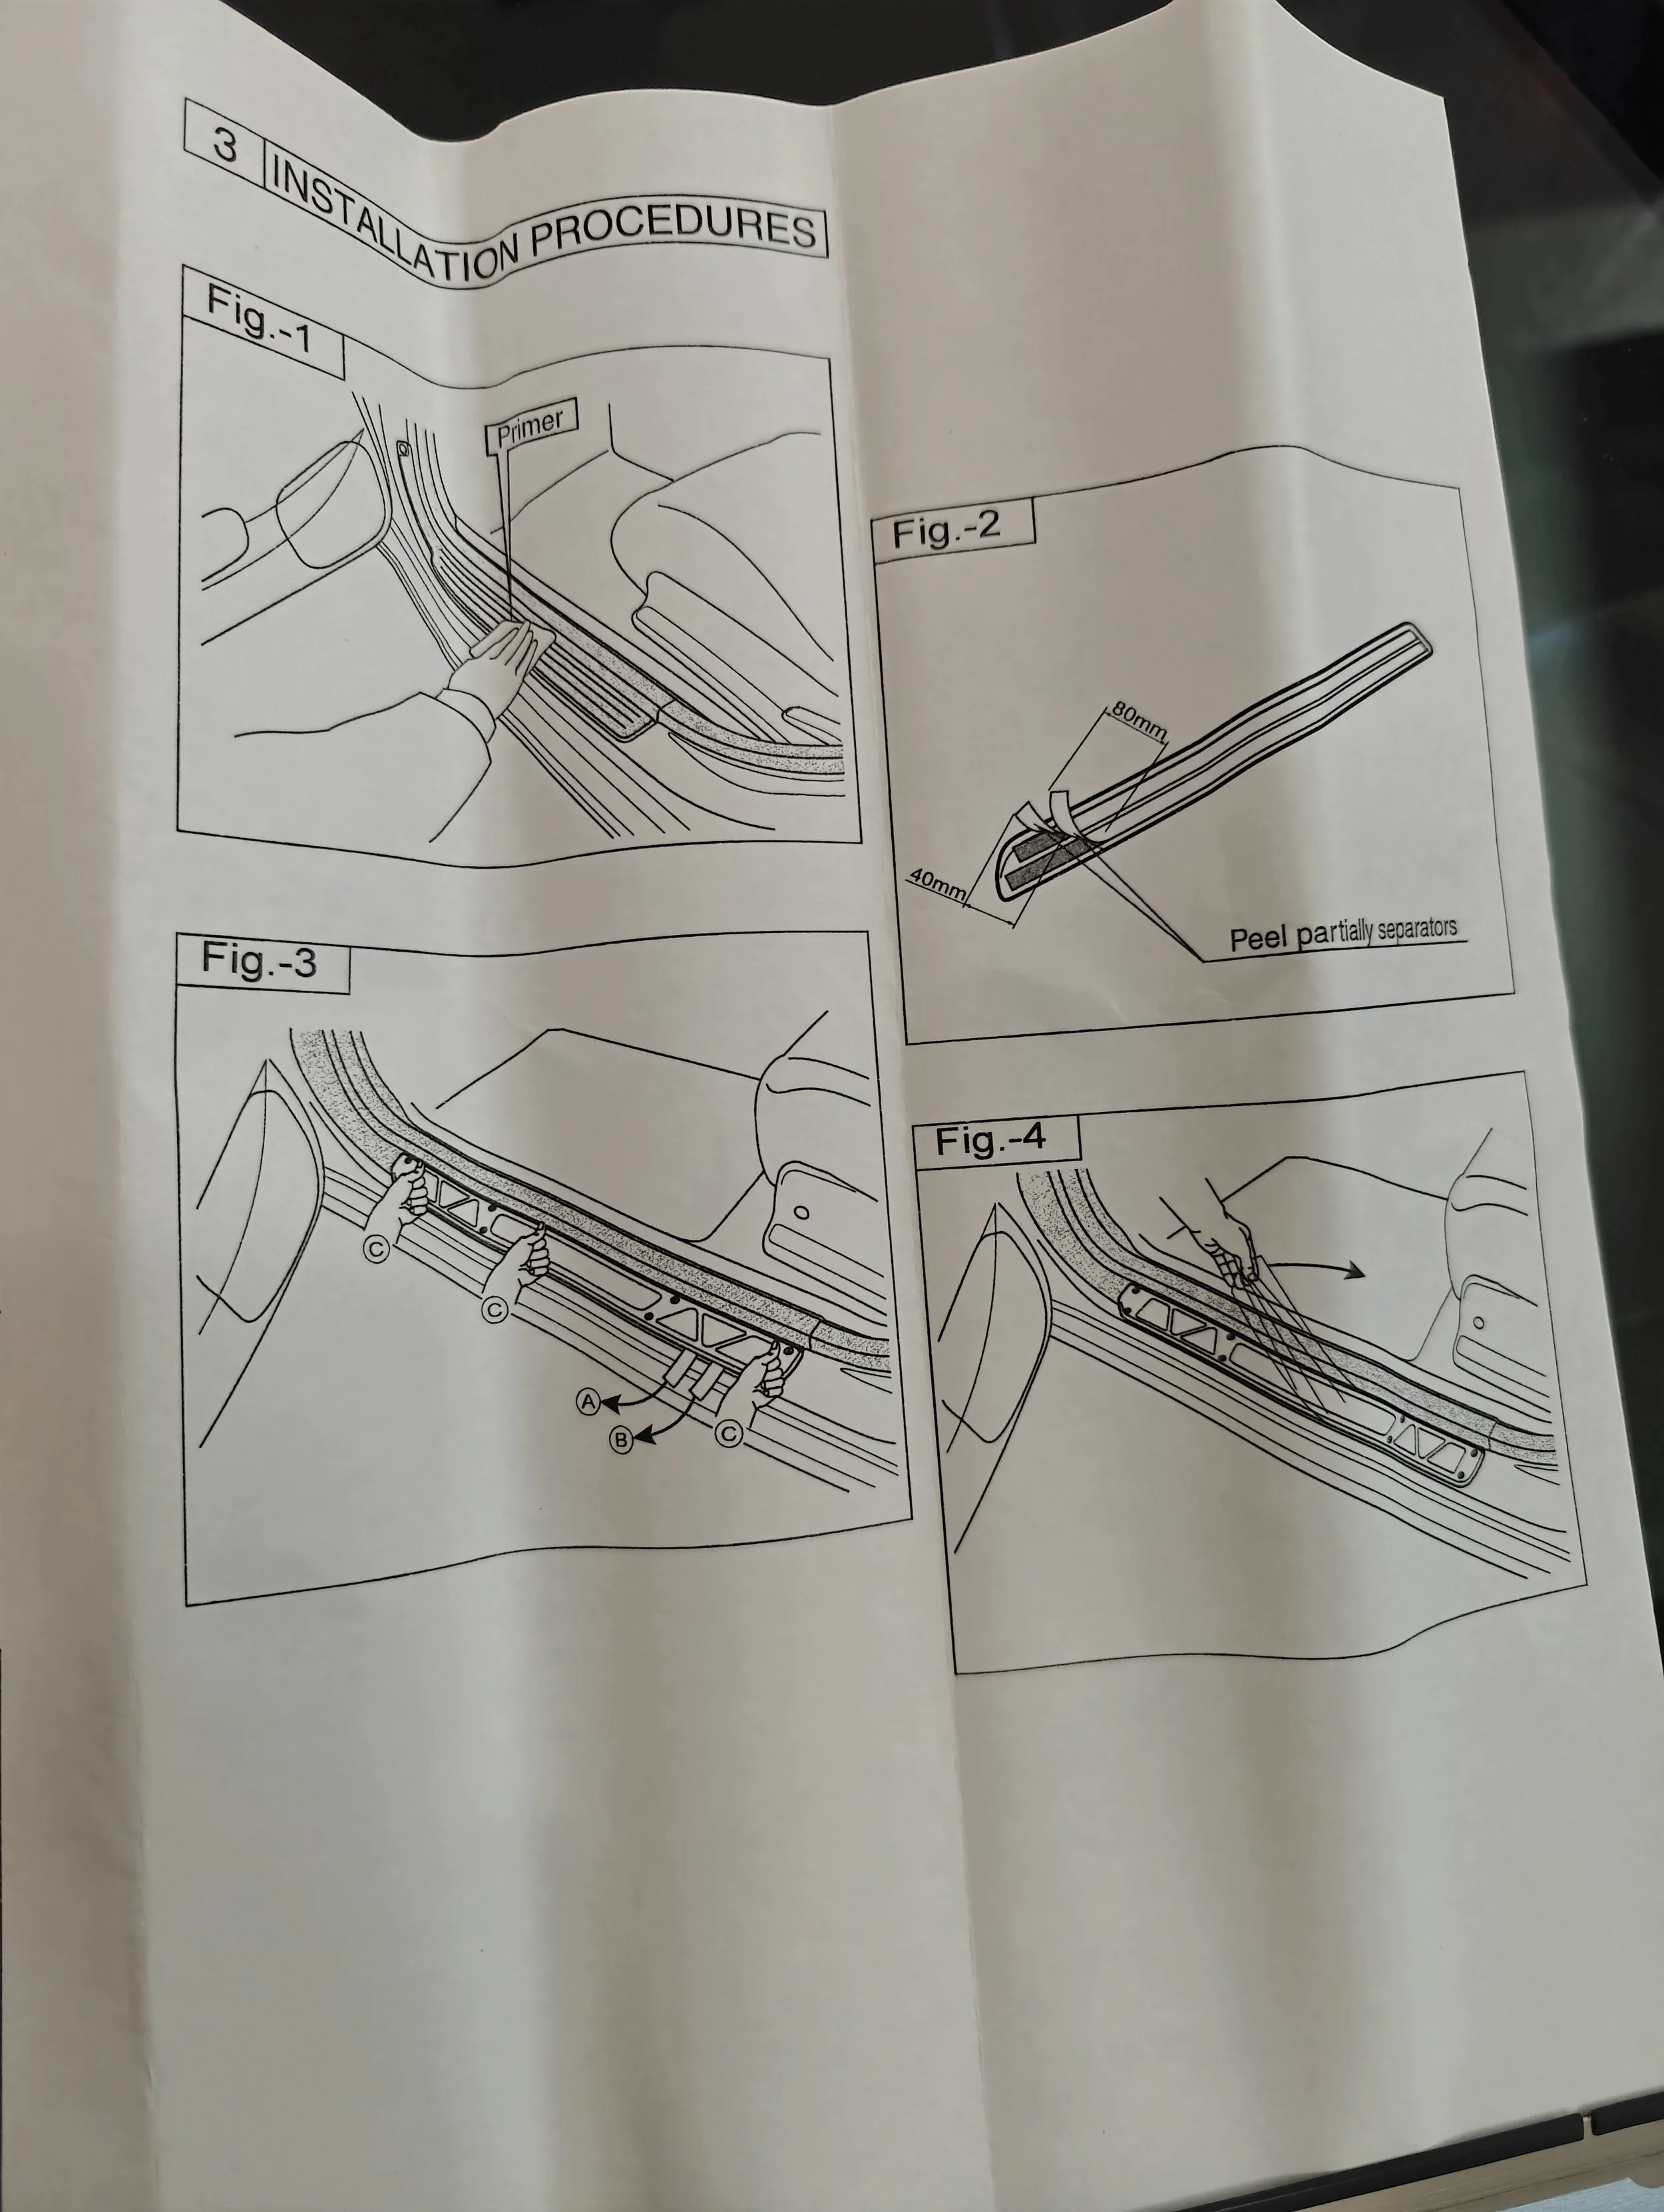
More instructions to install them,
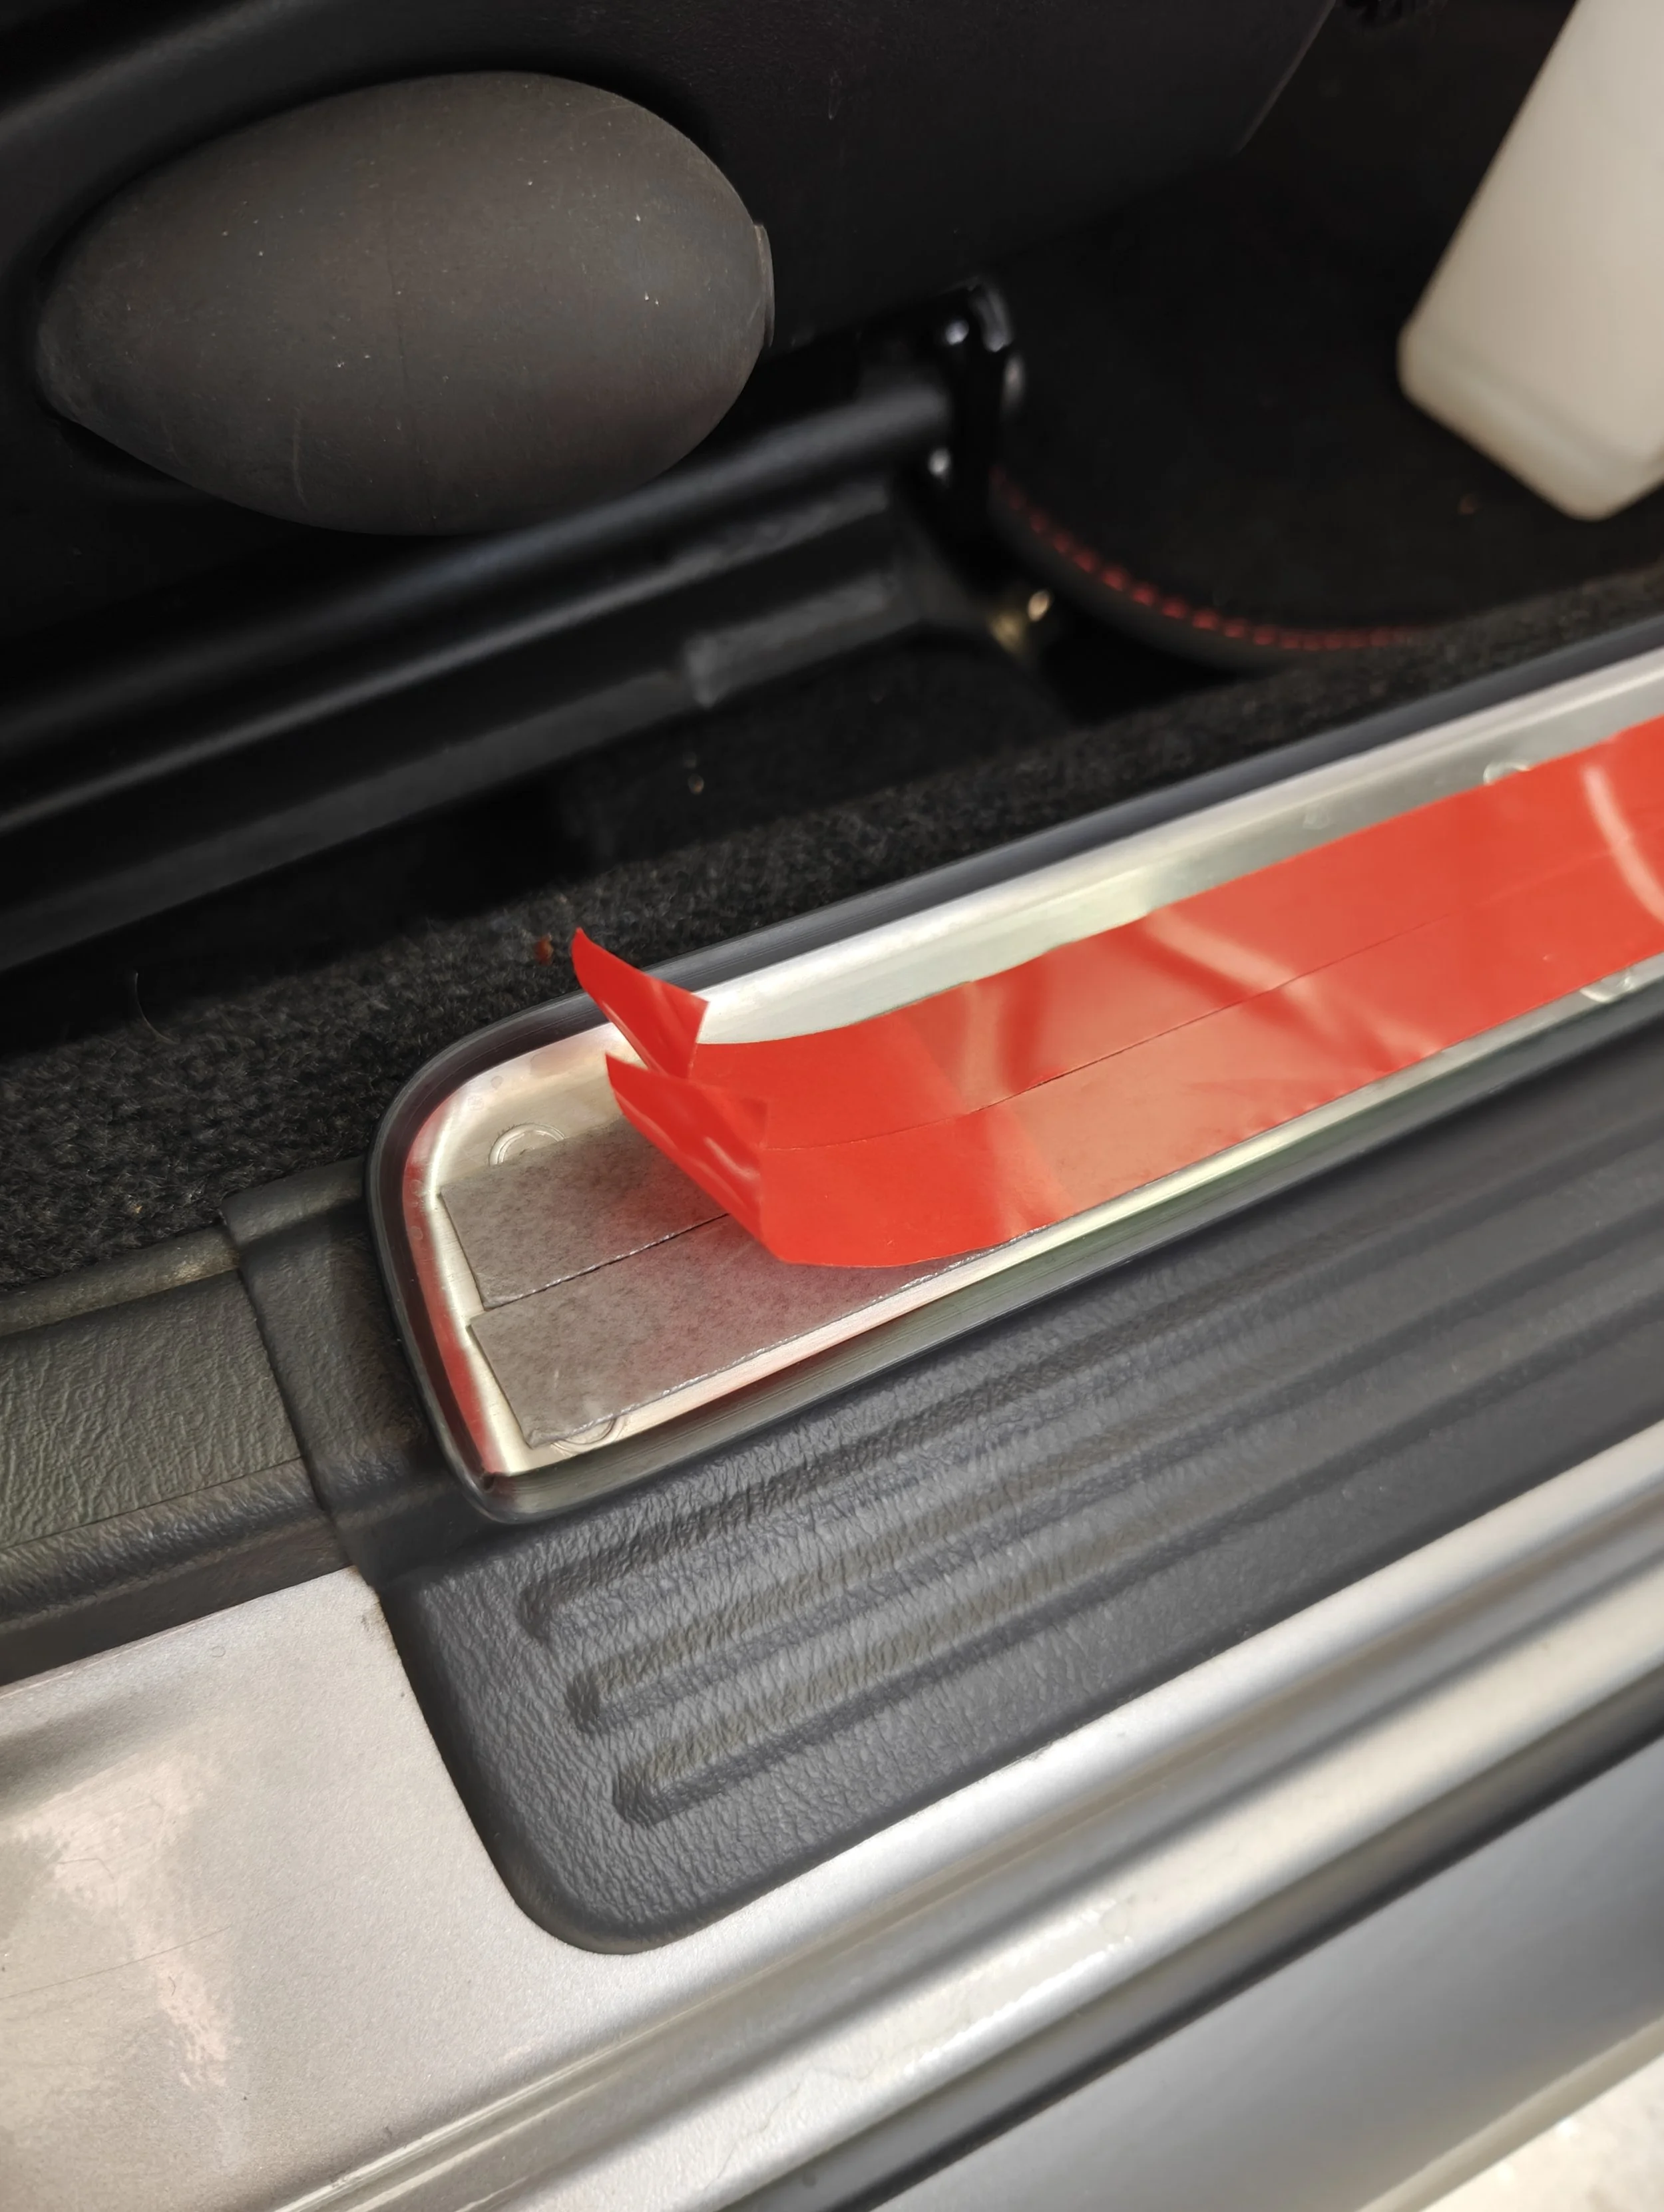
Peeling back the tape to get it started for the install.
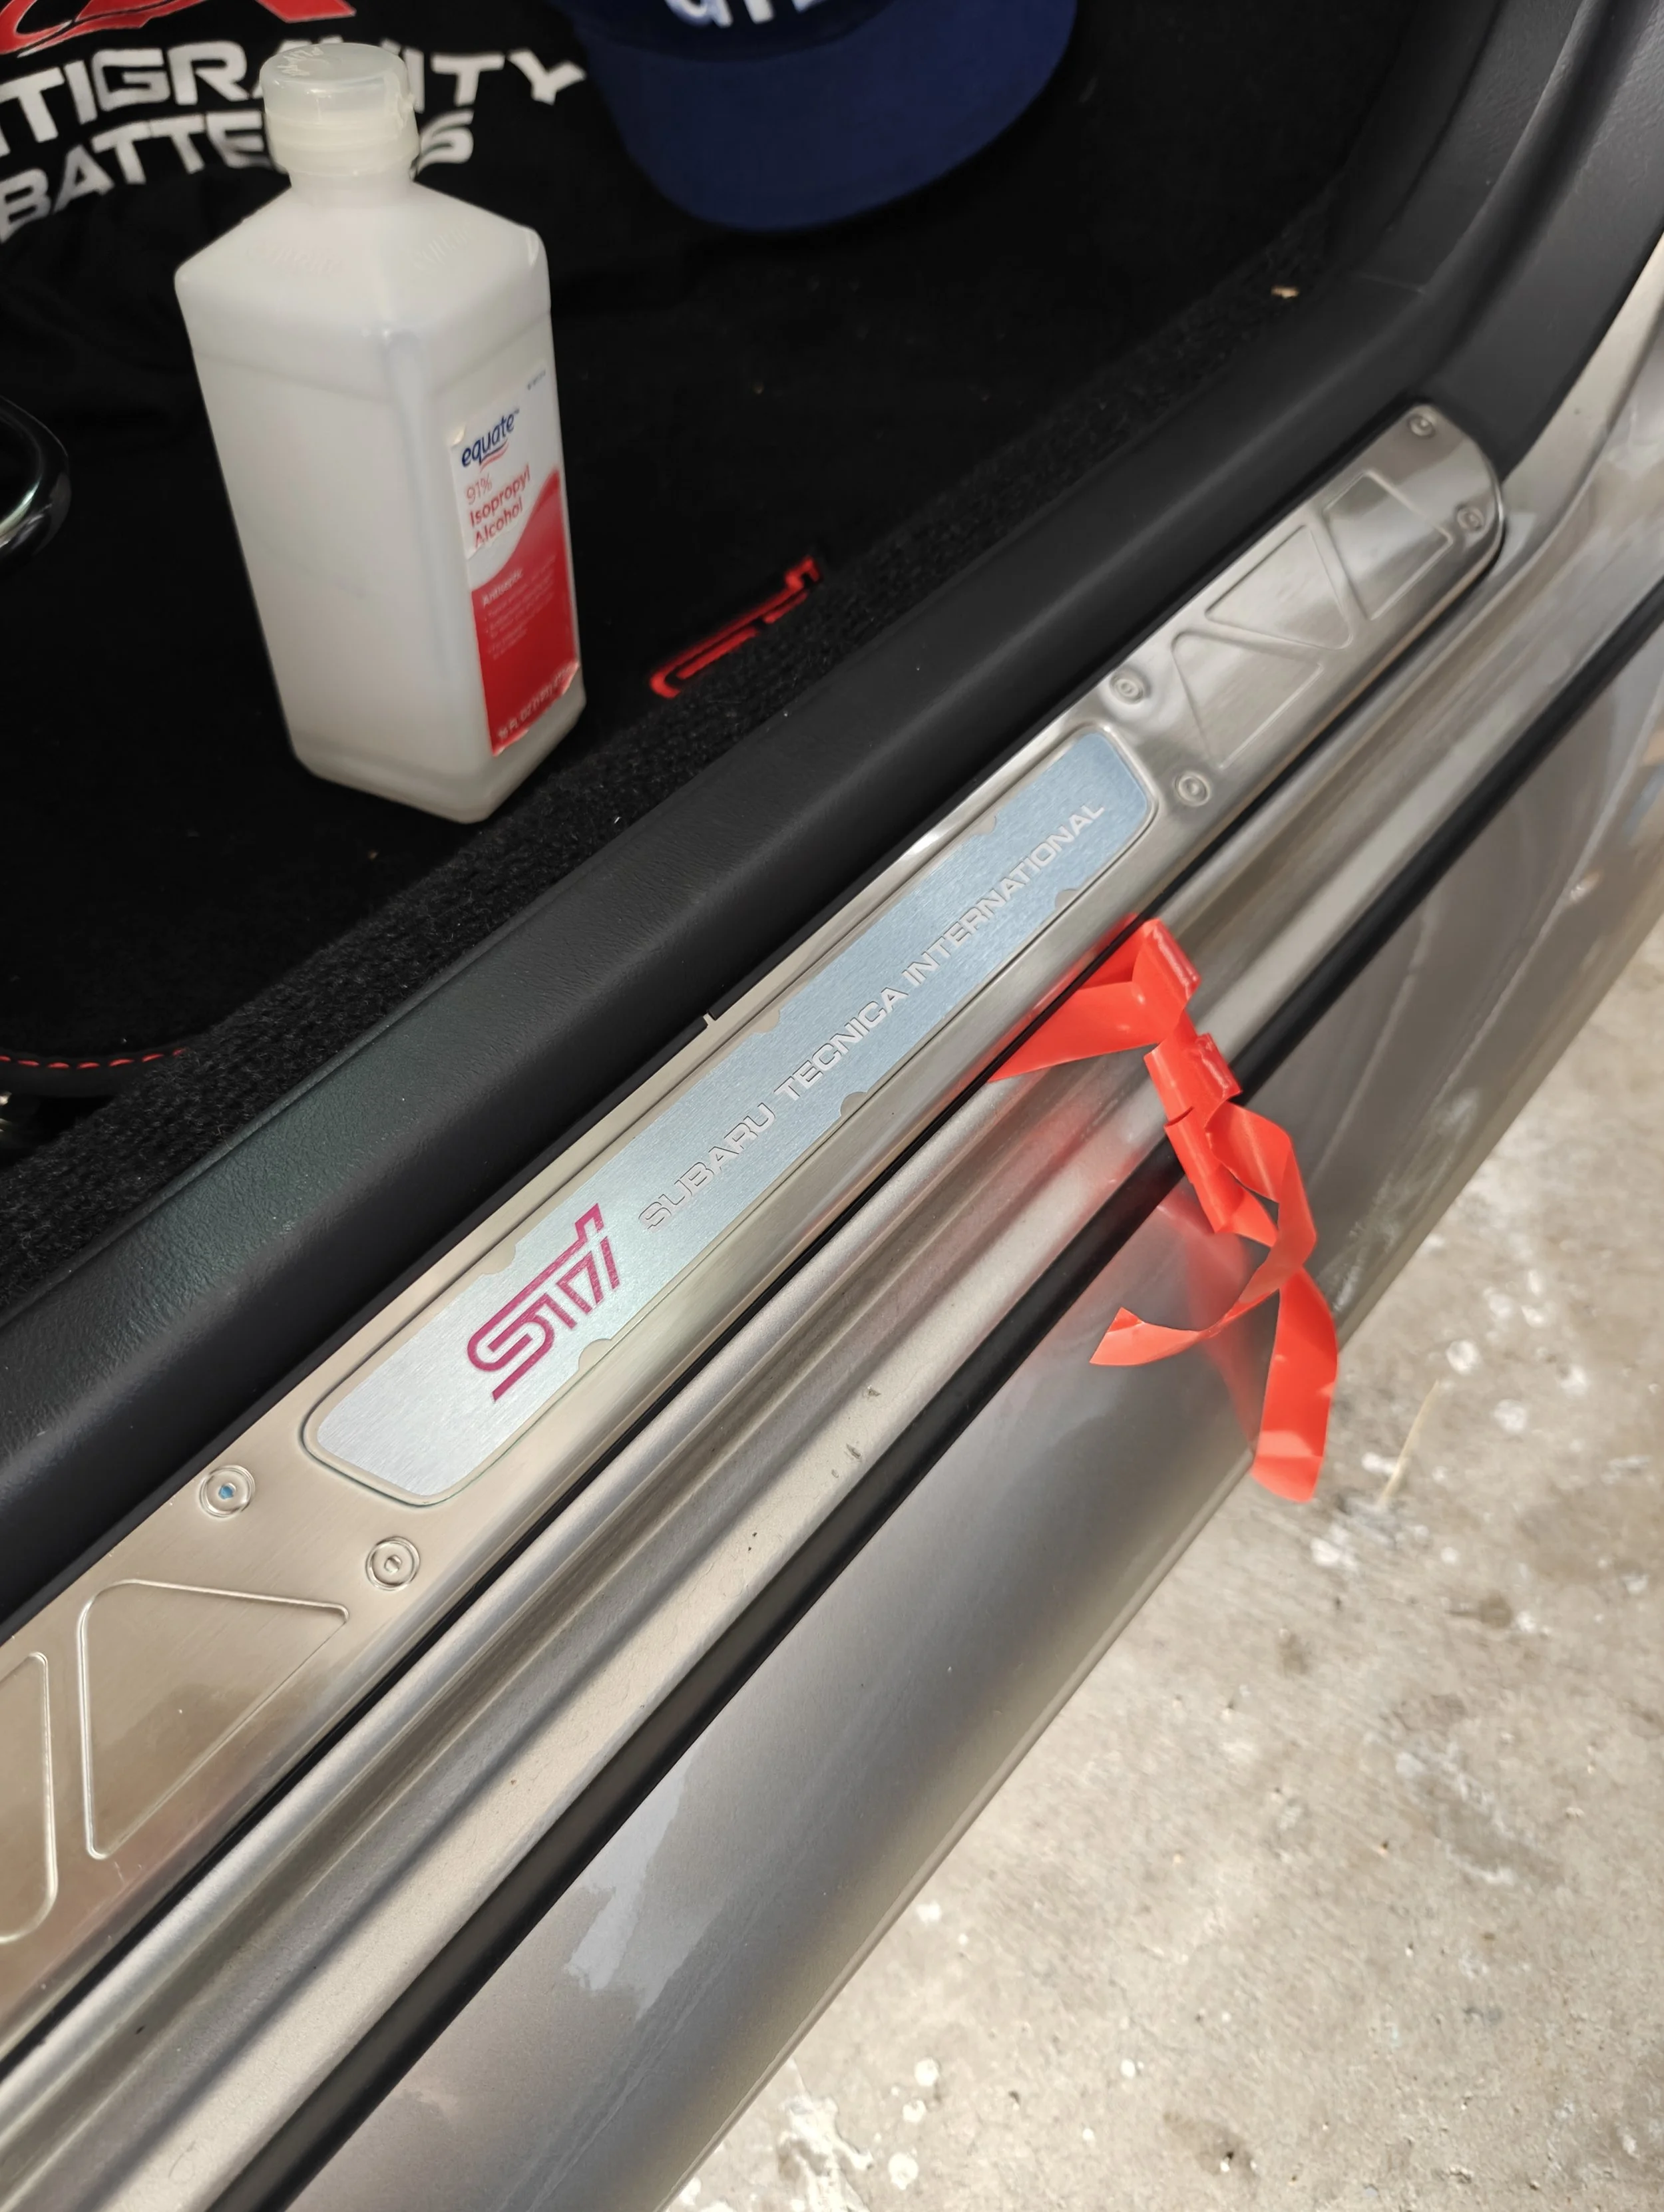
Peeling the tape away while applying steady pressure across the sill plate.
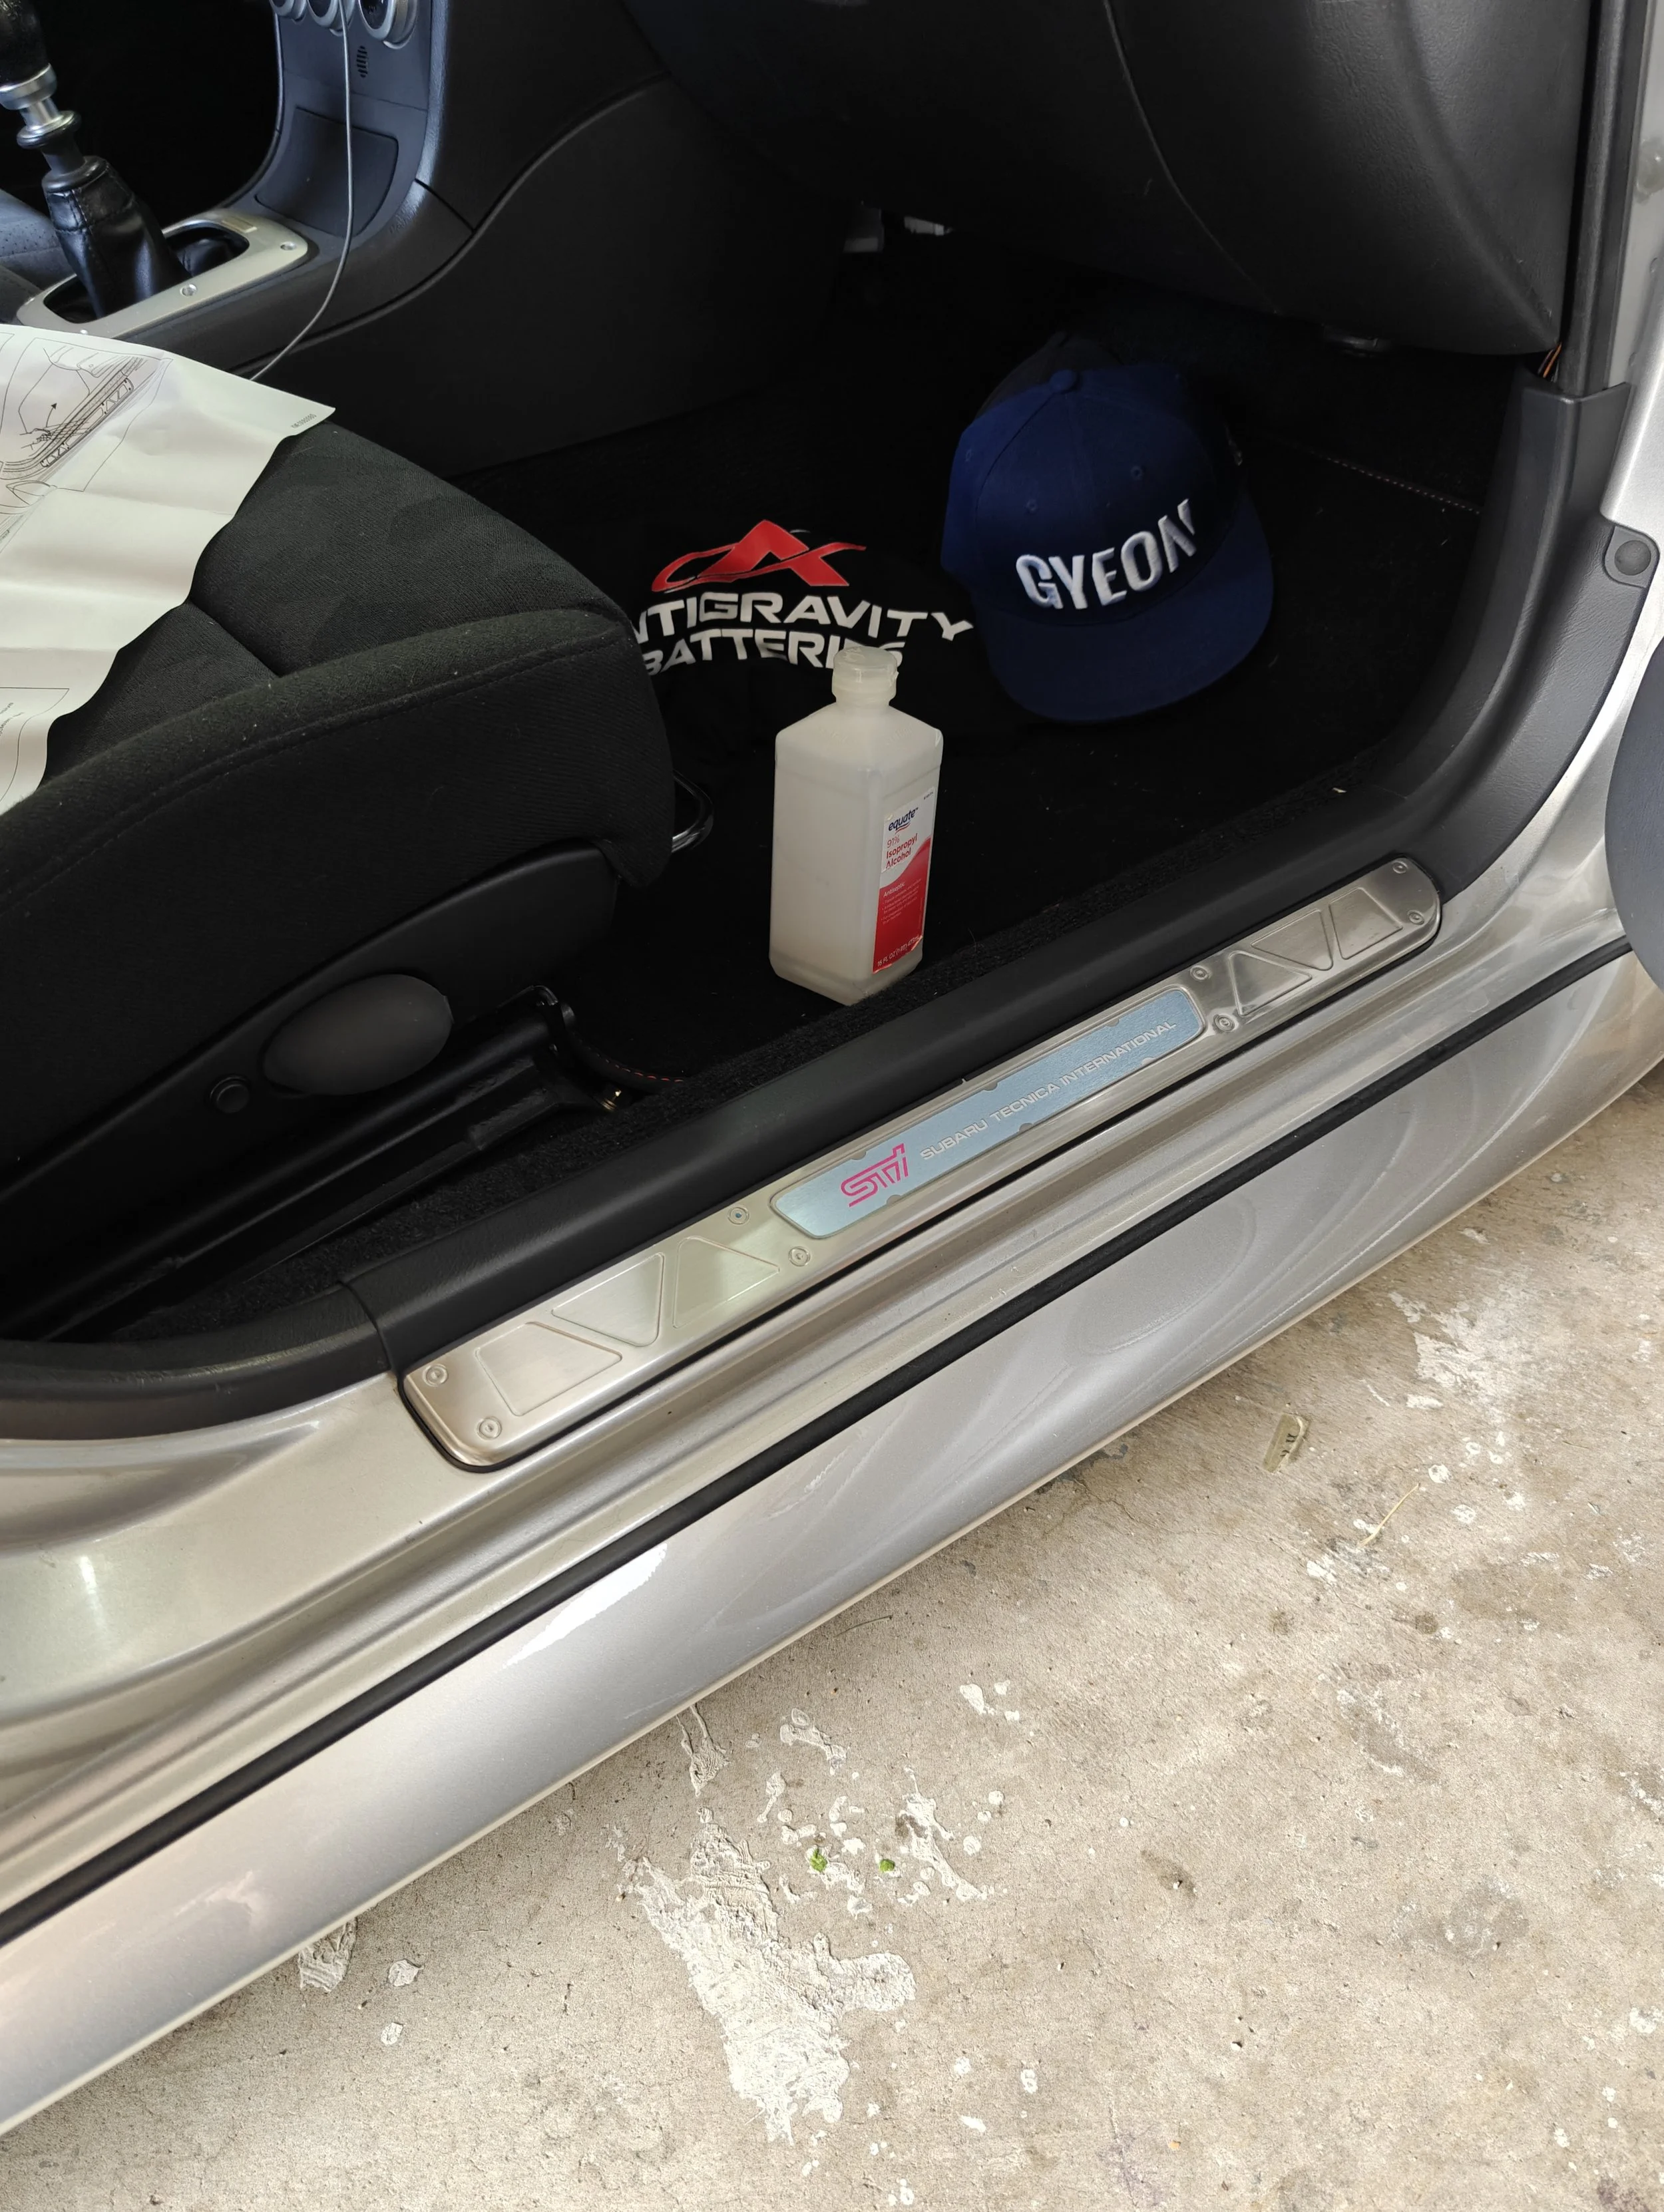
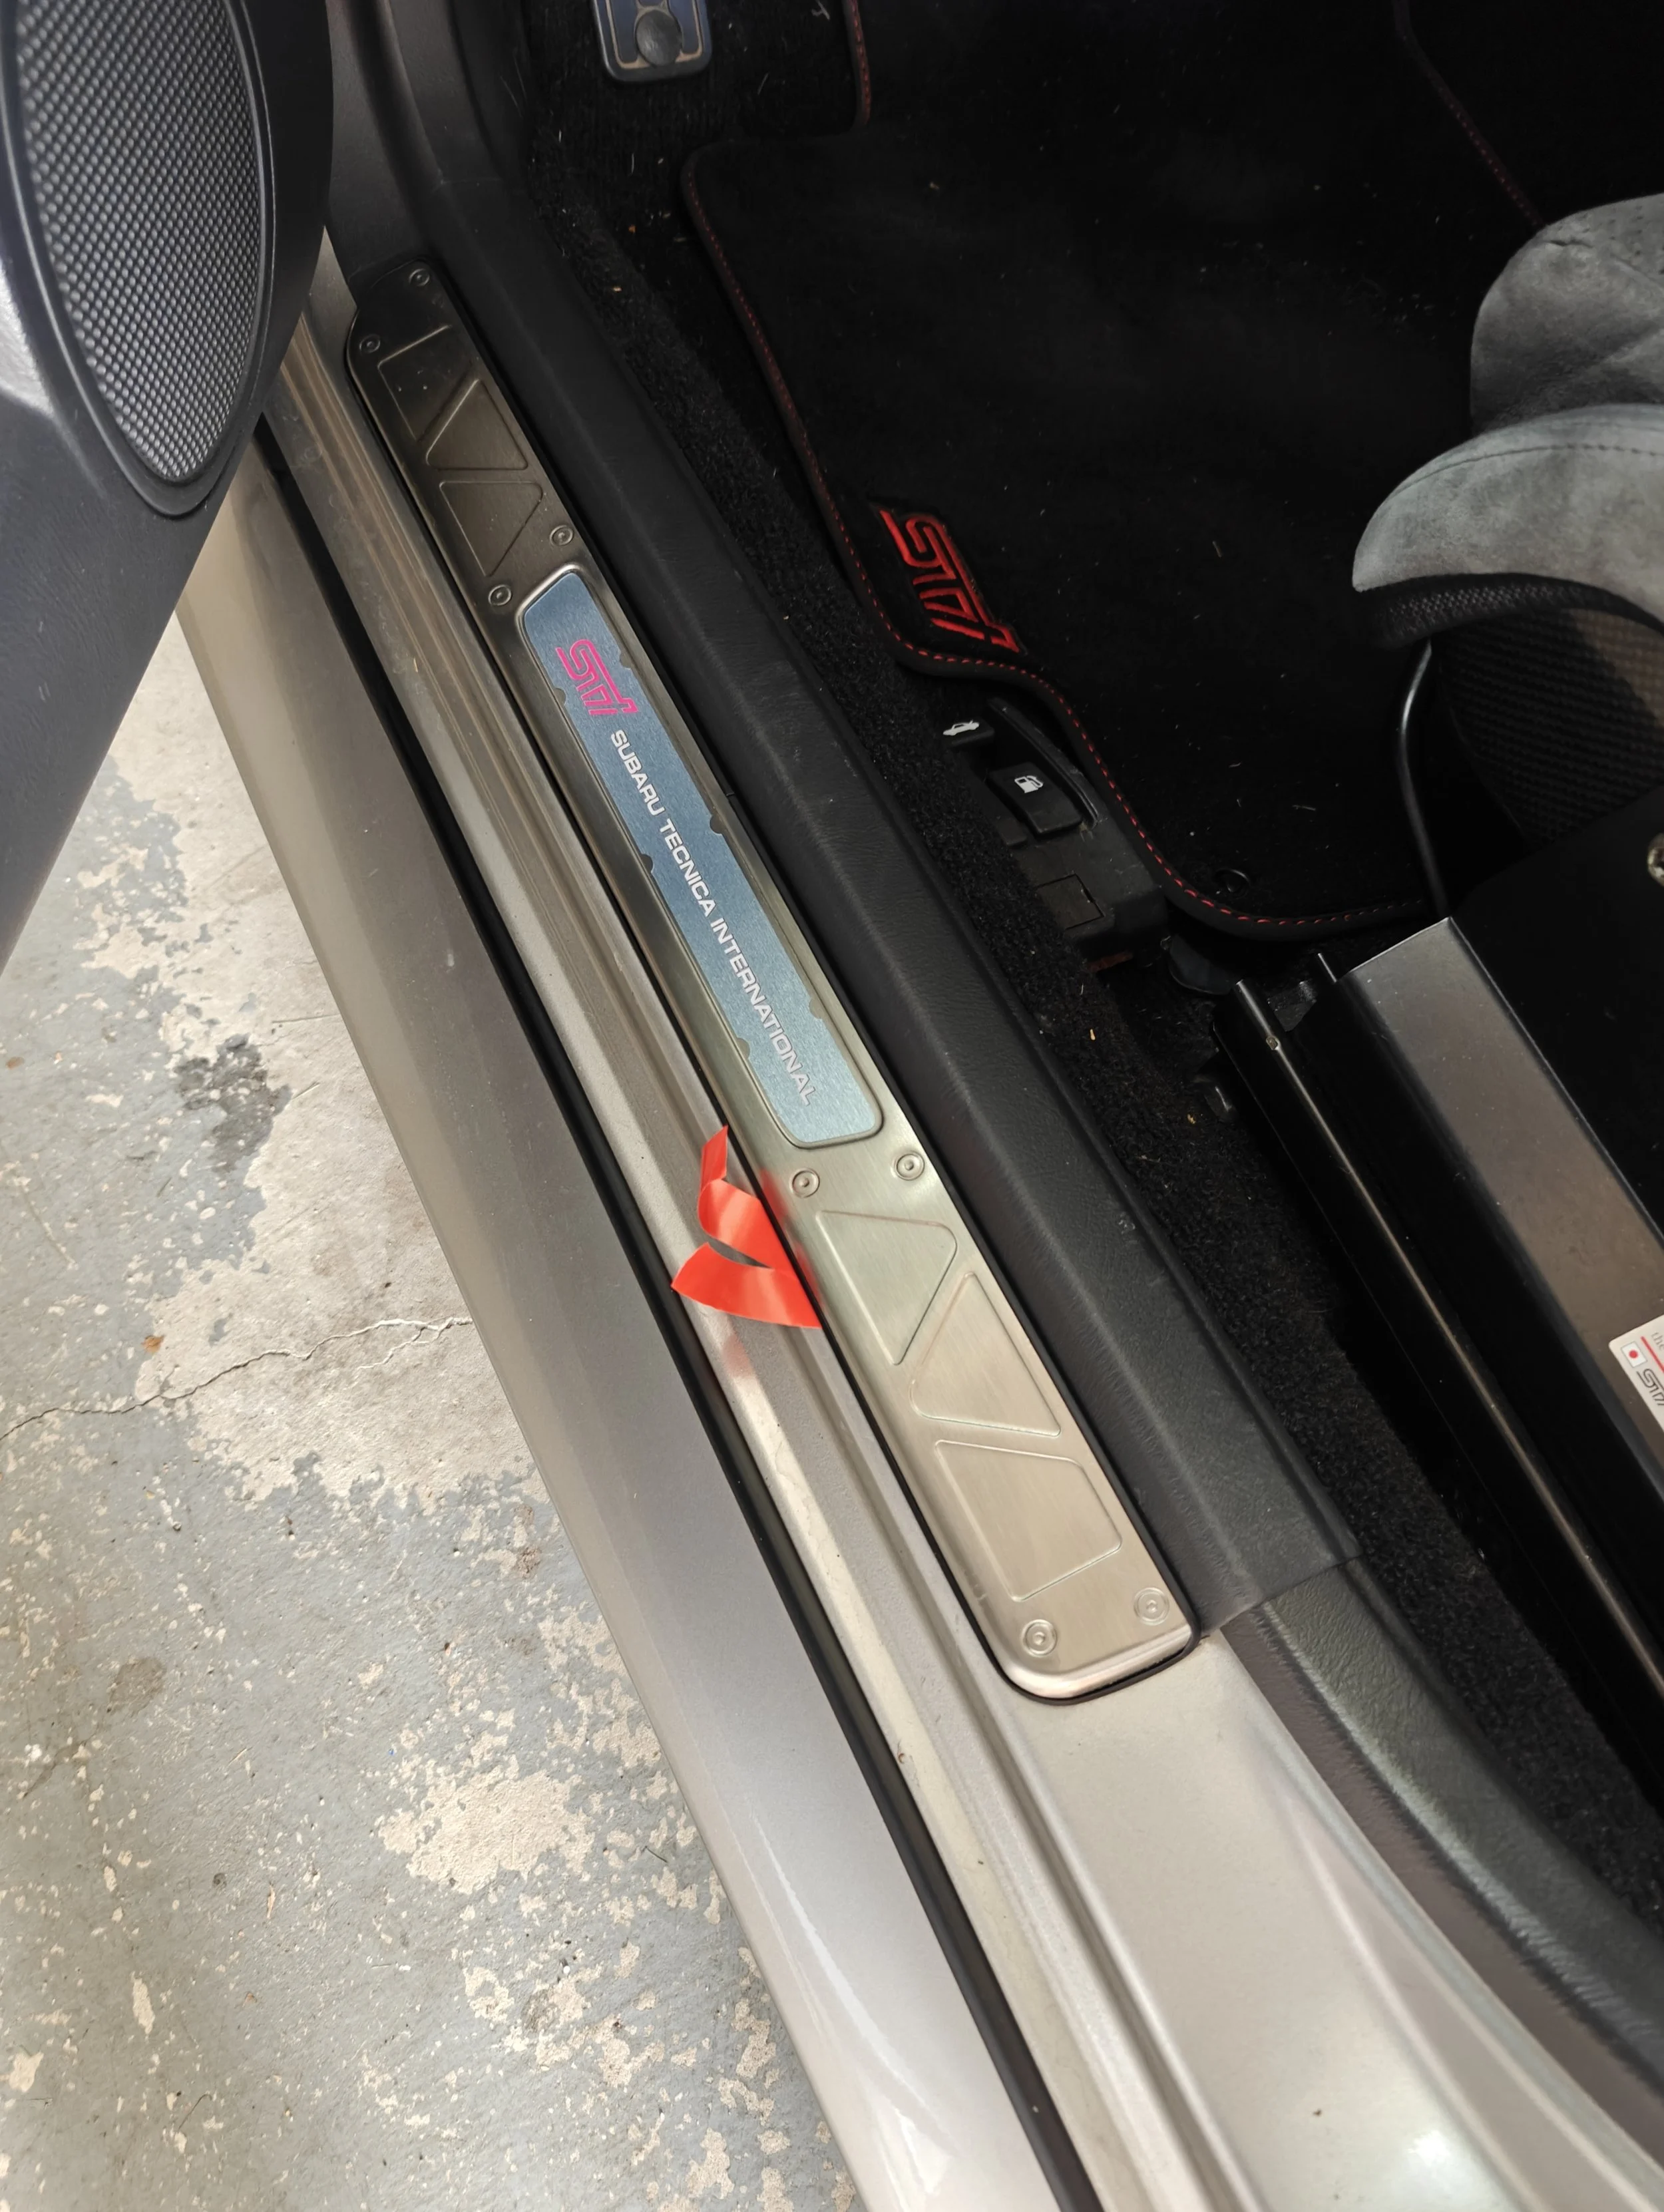
After applying a couple minutes of pressure, you can admire your work
Starting on the next sill plate.
Now it’s time for the driver’s side install.

Rear side completed.
And that’s it, congrats! I was really surprised with the difference these make on the interior. Opening the door and being greeted by these small pieces of plastic really make a difference.
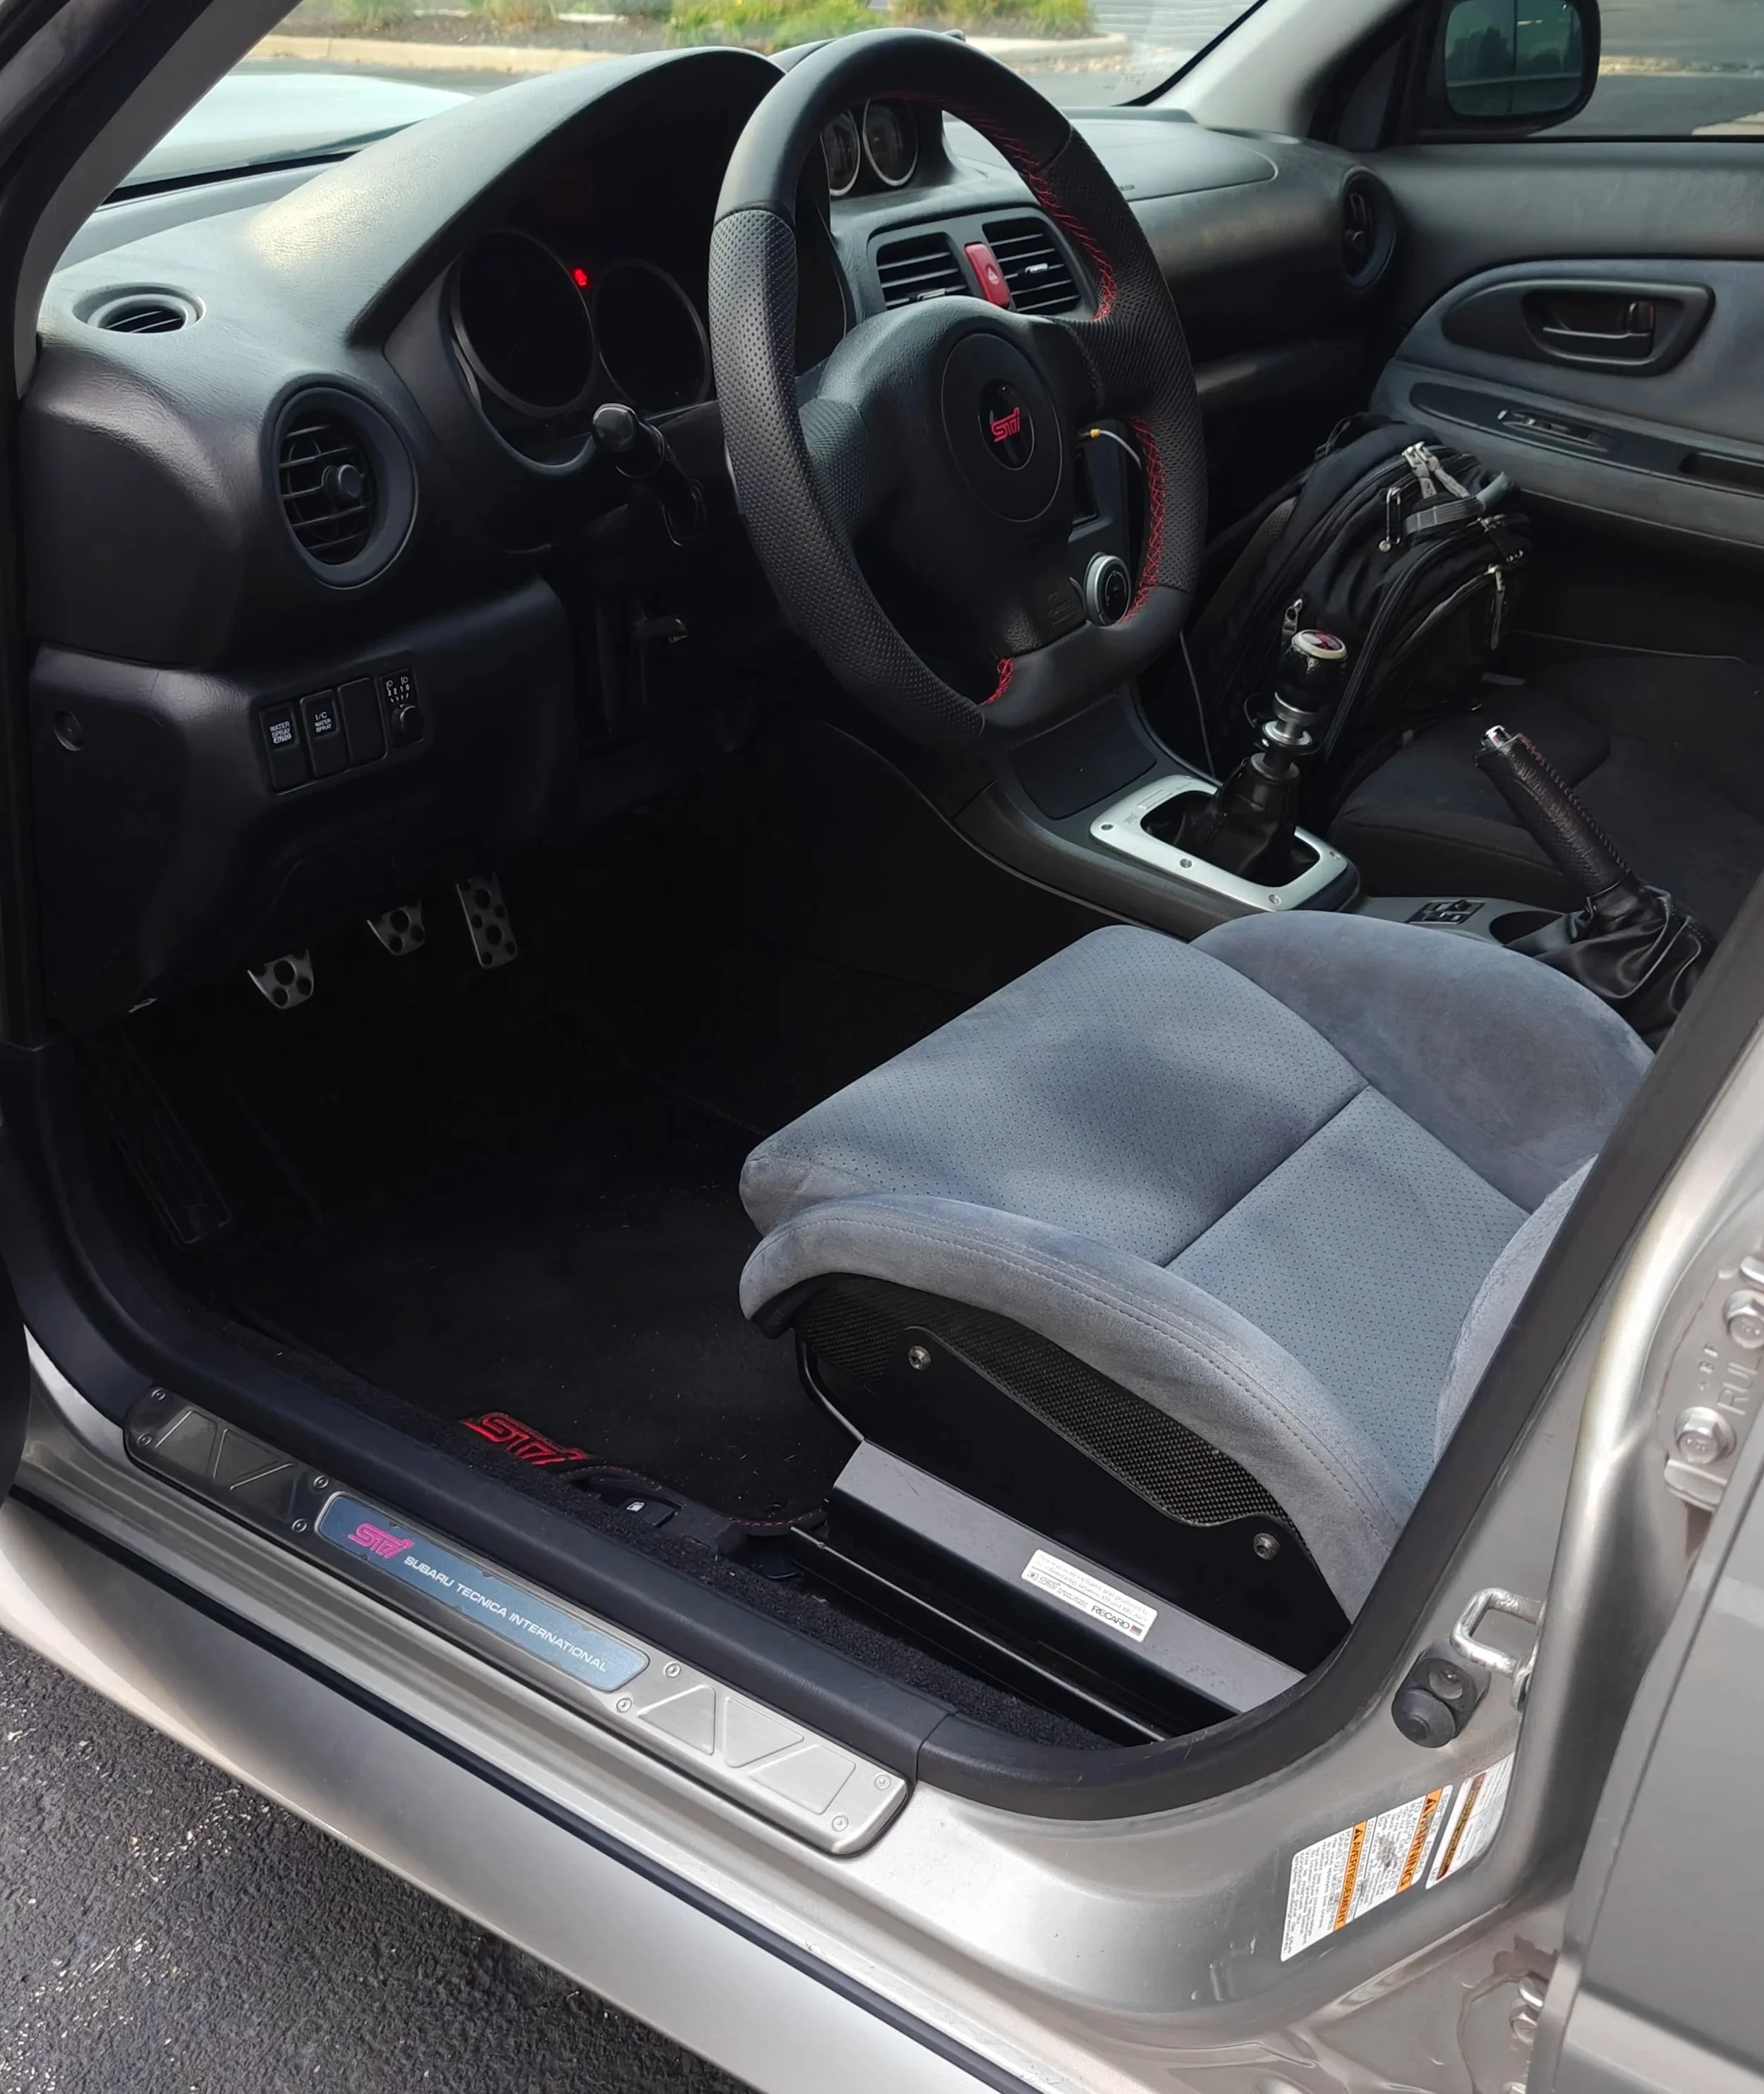
I never thought these would make the difference they do. They really class up the car, while being such a simple piece.
Amazon tool links
Old credit card/gift card
Amazon & eBay Parts links
Saab door sills
Sti/Subaru door sills -Find it on eBay with this link-