Subaru front seat belt replacement! Because nothing says racecar like red seat belts.
What reasons can bring you to change your seatbelts…? Maybe you forgot your dog in the car and test our their durability.. perhaps someone got angry with you and decided cutting your belts would be the best way to get back on you. Or perhaps you are like most of us and just decided it was time for a change in the interior of the car.
Thanks Reggie for the upgrade! Looking forward to seeing these in the car!
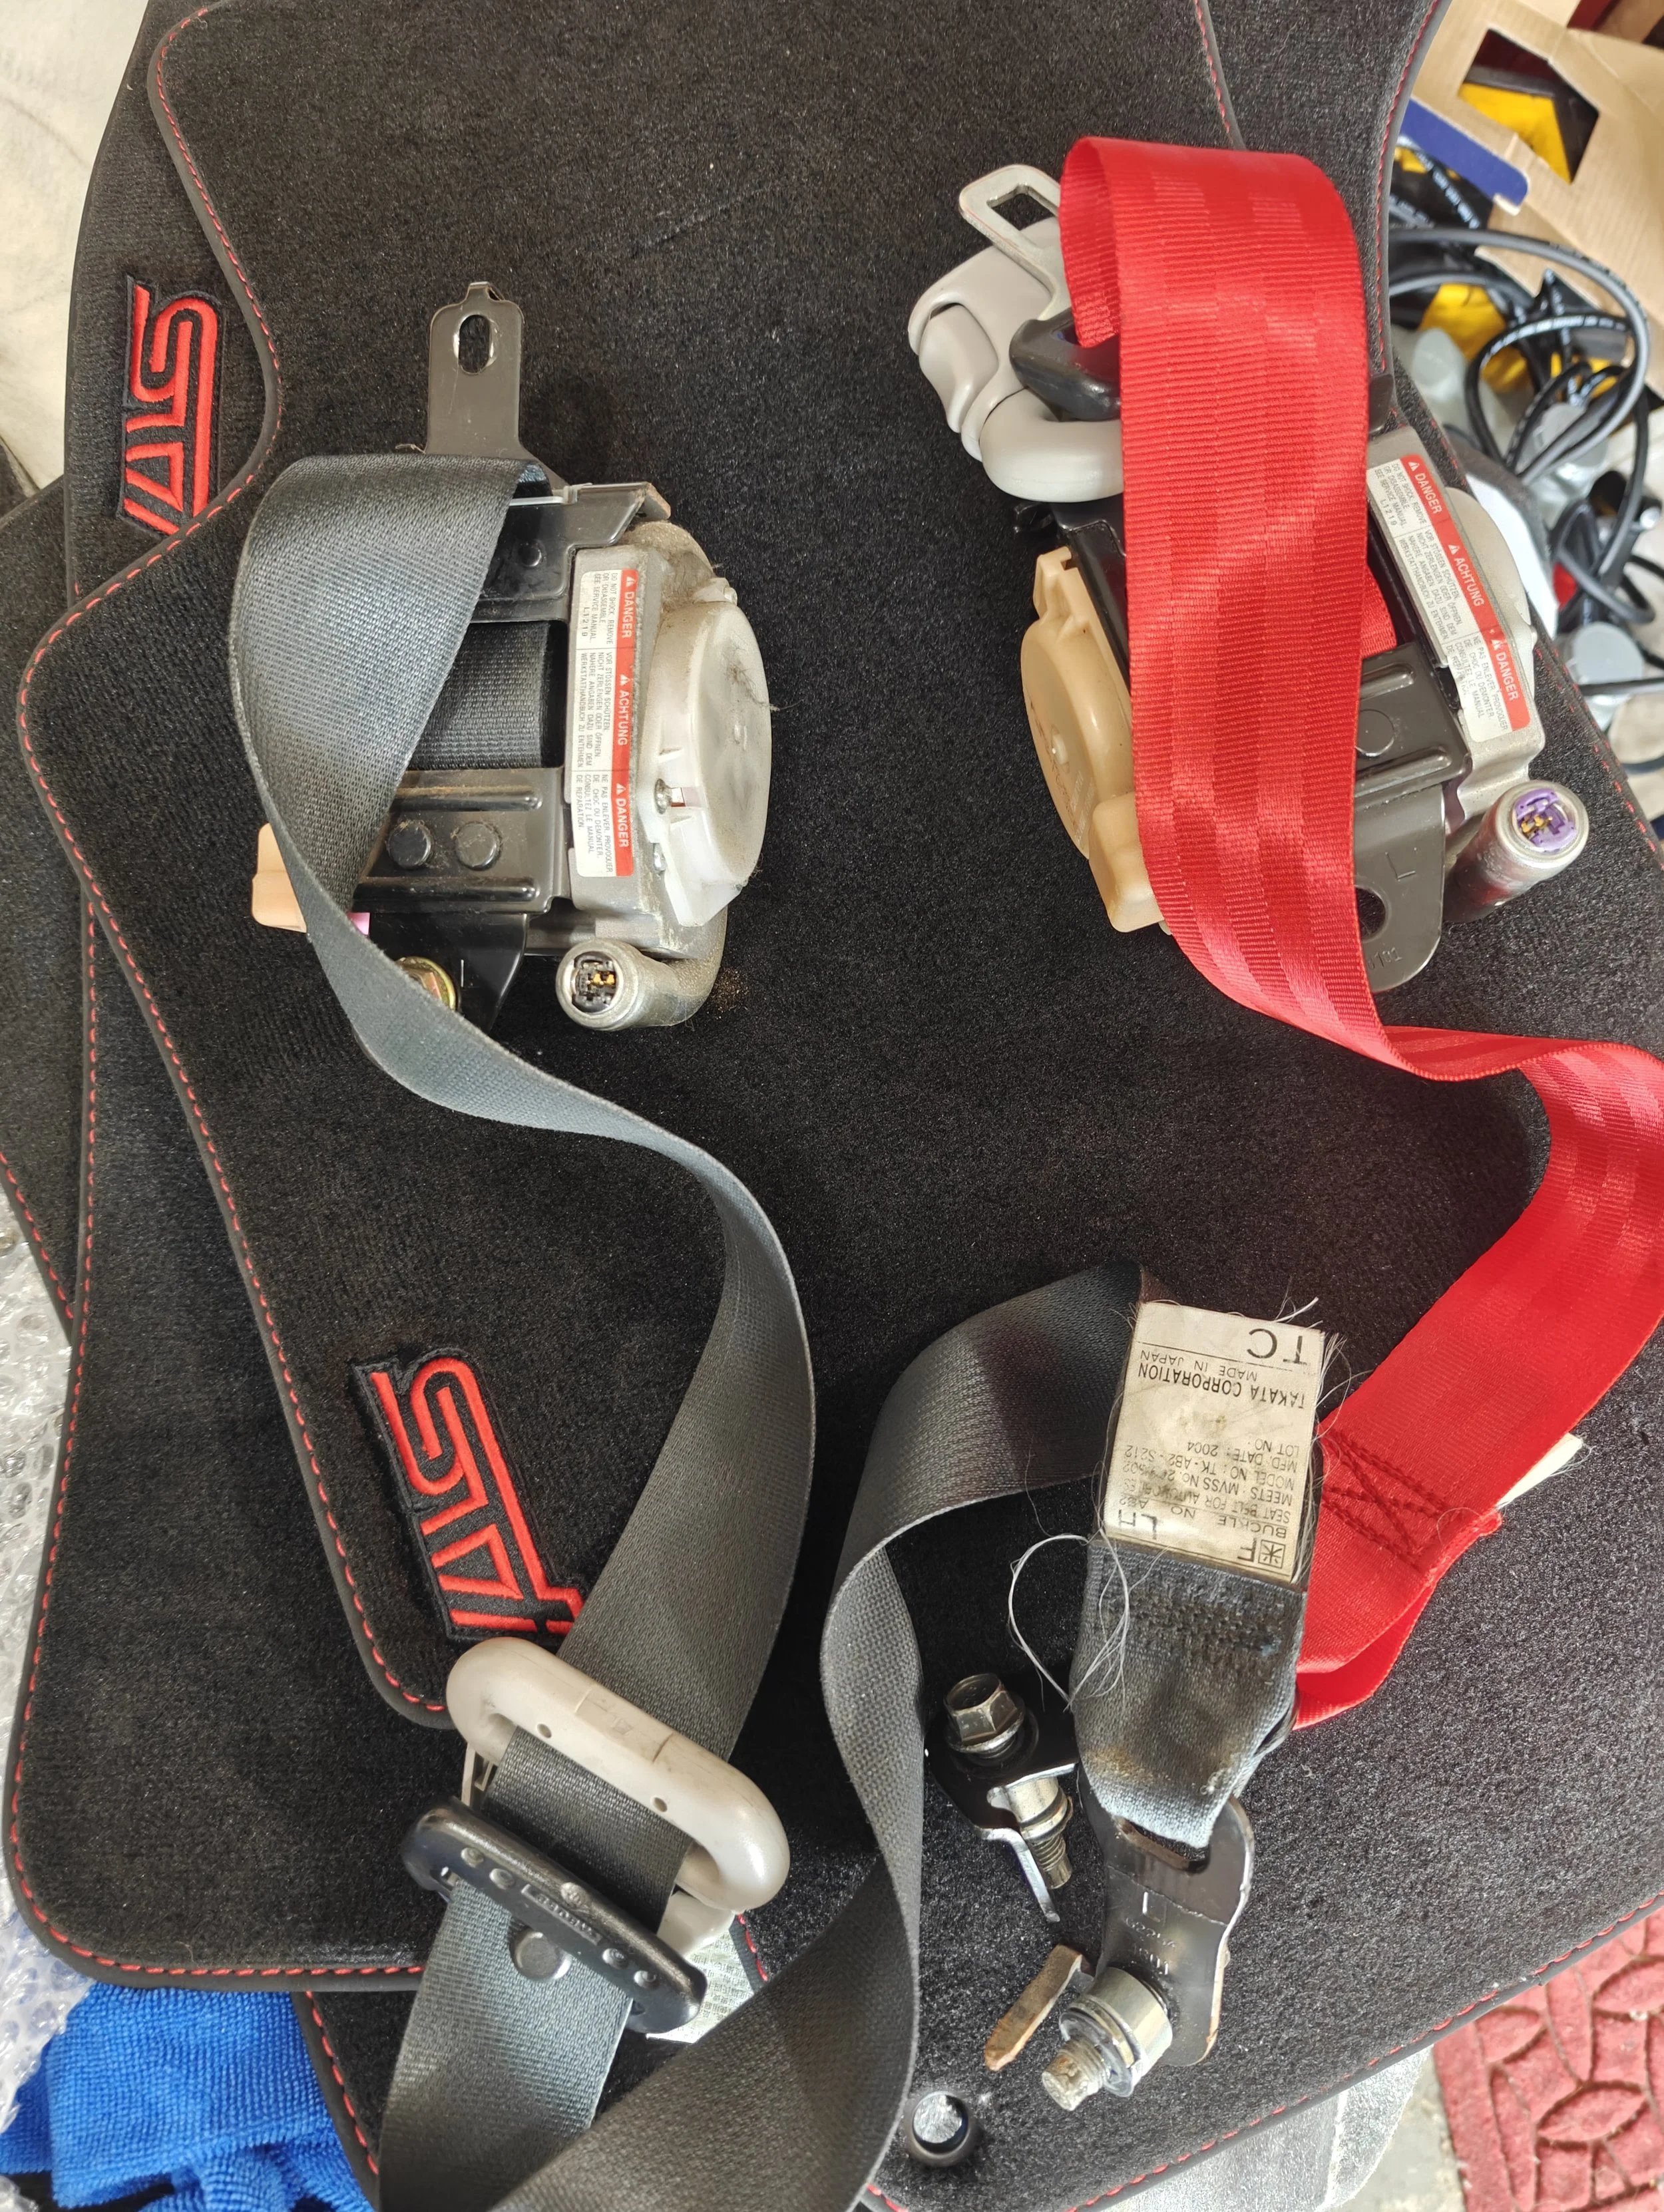
Well luckily for me it wasn’t the first two options… My belts were a bit dirty from the years of use… so maybe it was also just time to freshen them up. I was sent the red belts you see below from Reggie’s Custom Wheels. If that name sounds familiar its because he was the skilled craftsman behind my steering wheel. Feel free to check out his fantastic products for here at his website. So with the intro completed, let’s get to some action.
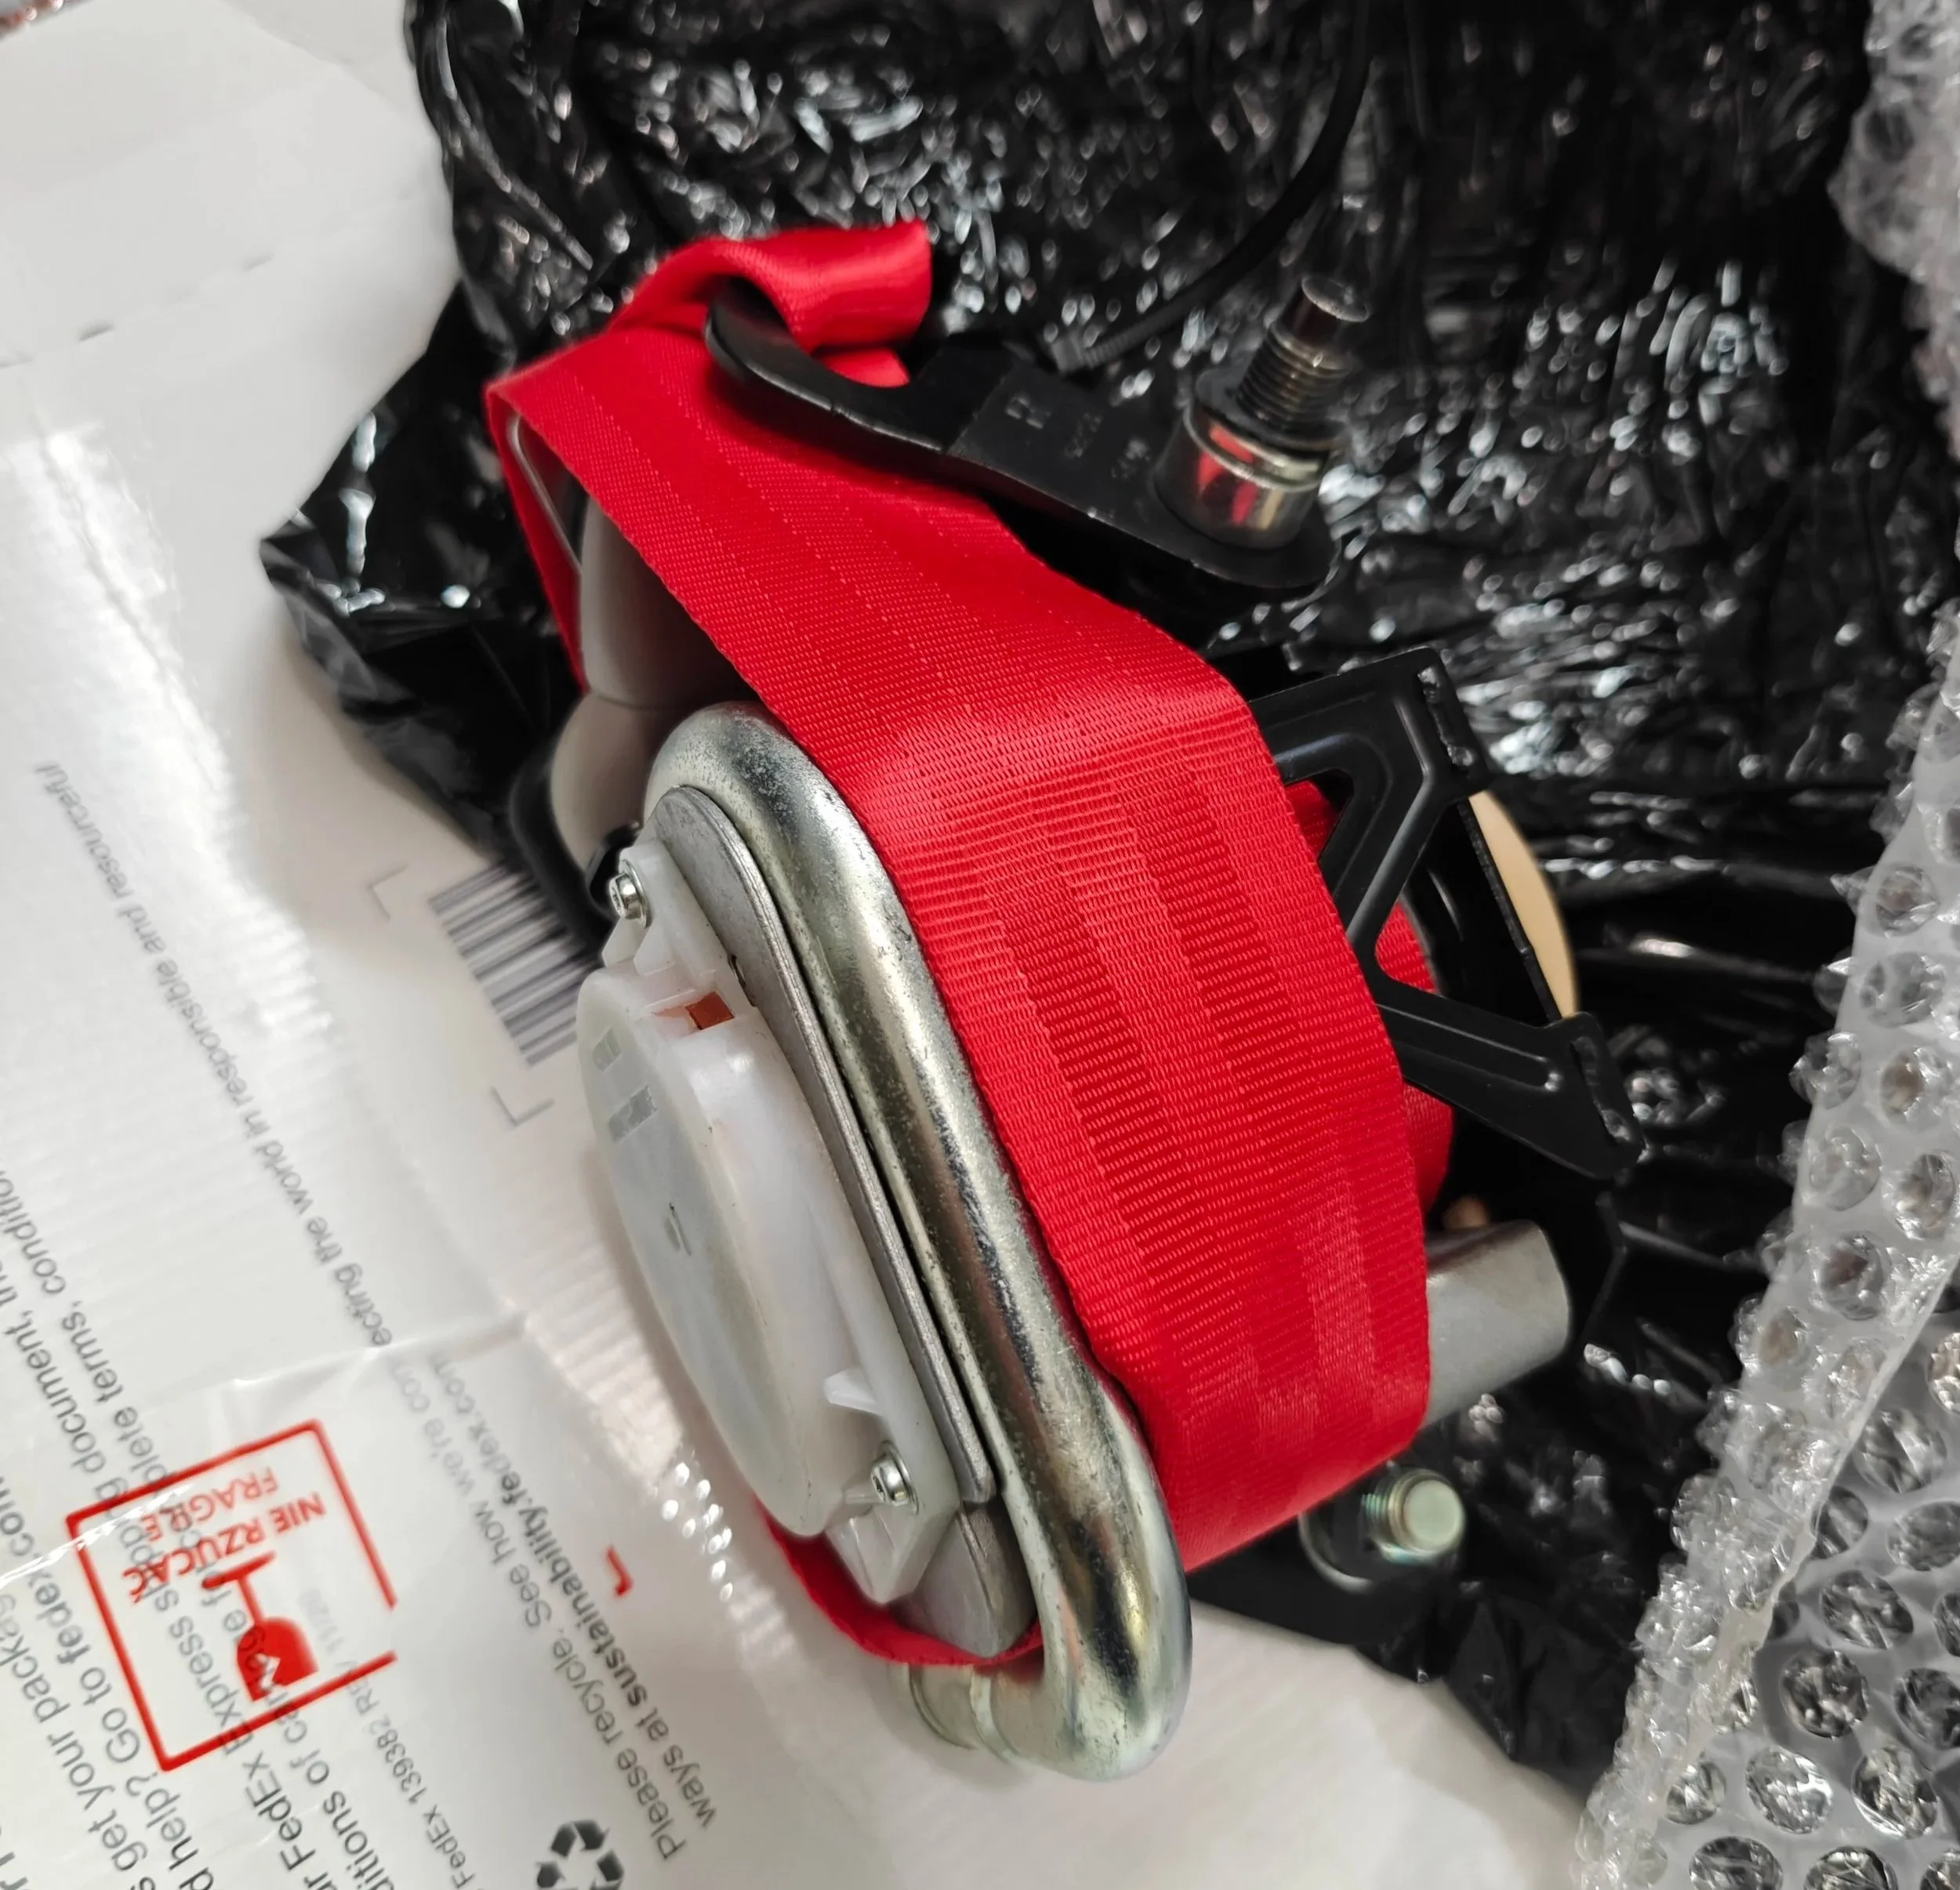
Fresh from Poland and ready to be installed!
Time Frame
I would set aside about 1 hour to install new front seat belts with the proper tools.. AS there are a few bolts that aren’t easy to access.
Tools
Parts
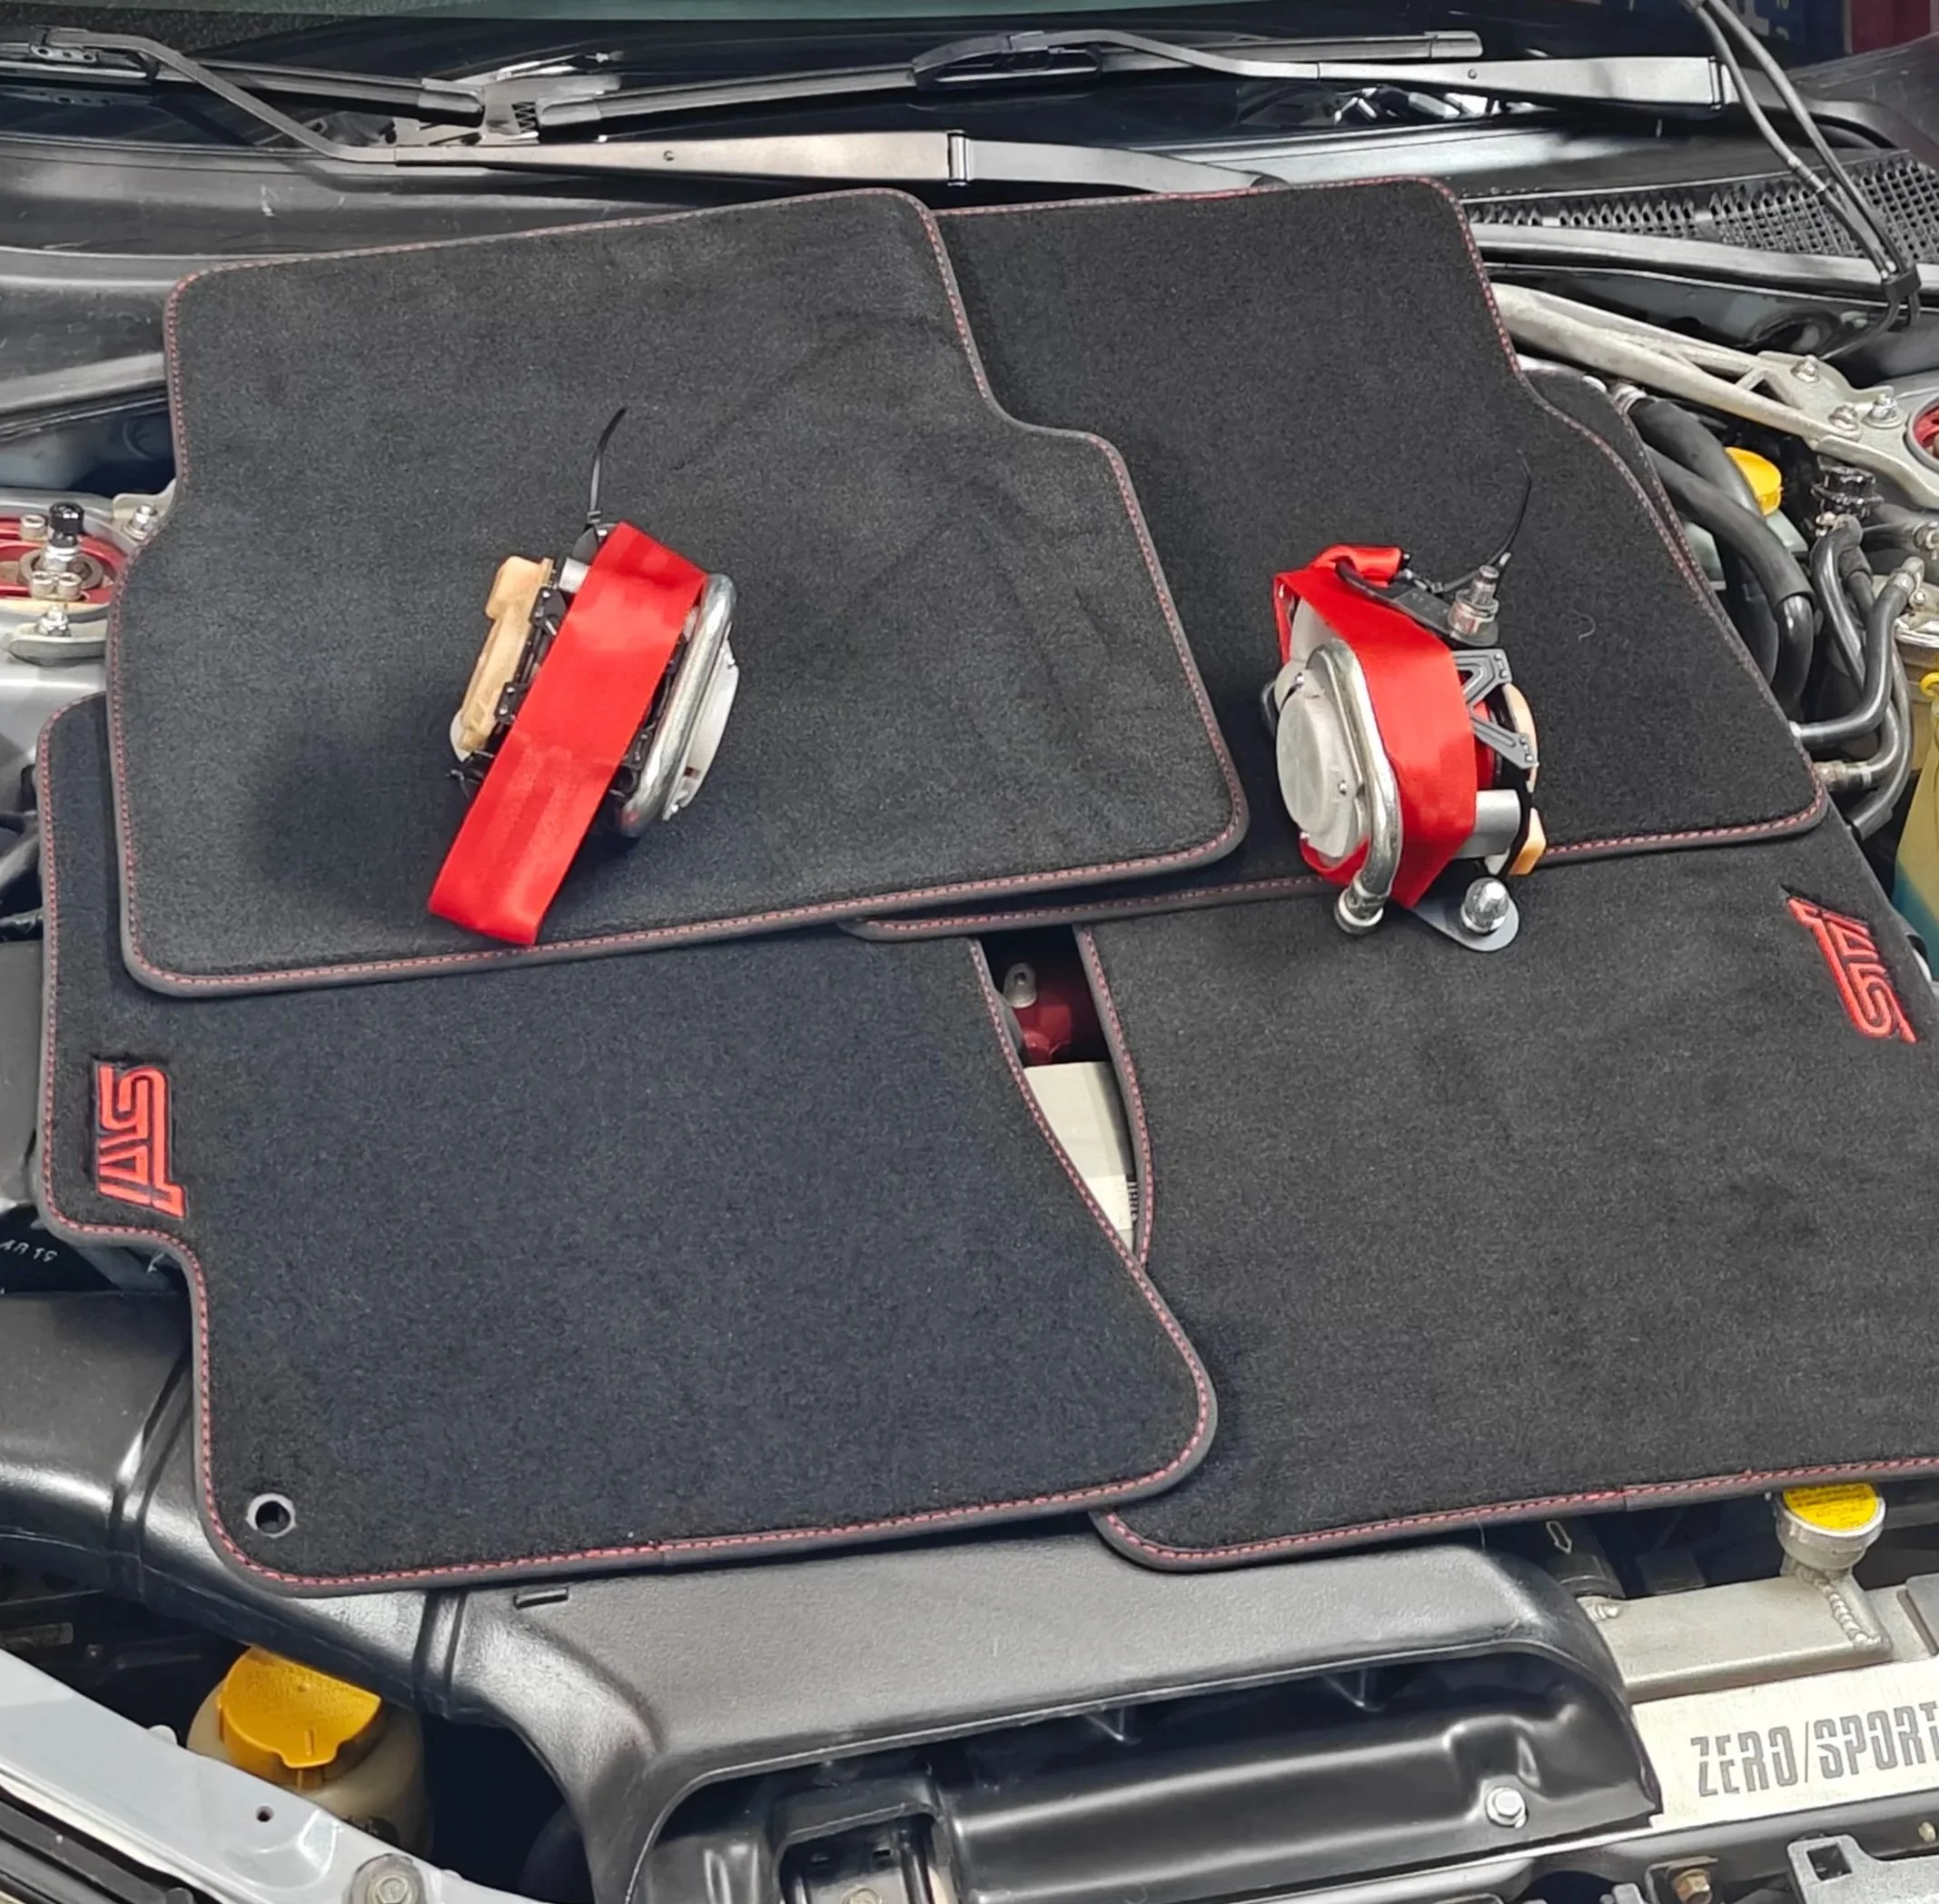
Red isn’t the only color available but it does look nice when match it with the Reggie’s floor mats.
How to
Caution:
Since we are dealing with airbag related components the first step will be knowing if you have the proper tools to do this. If not this is the time to take it to the professionals. As we are dealing with equipment that is tasked to keep you safe in an accident. If you don’t have the experience or tools, it is best to air on the side of safety.
If you are able to progress your first task is disconnecting the battery.. as long as your seats aren’t powered. If they are powered seats, move your seats forward to your work area to remove the old belts. Then make sure your battery is disconnected.
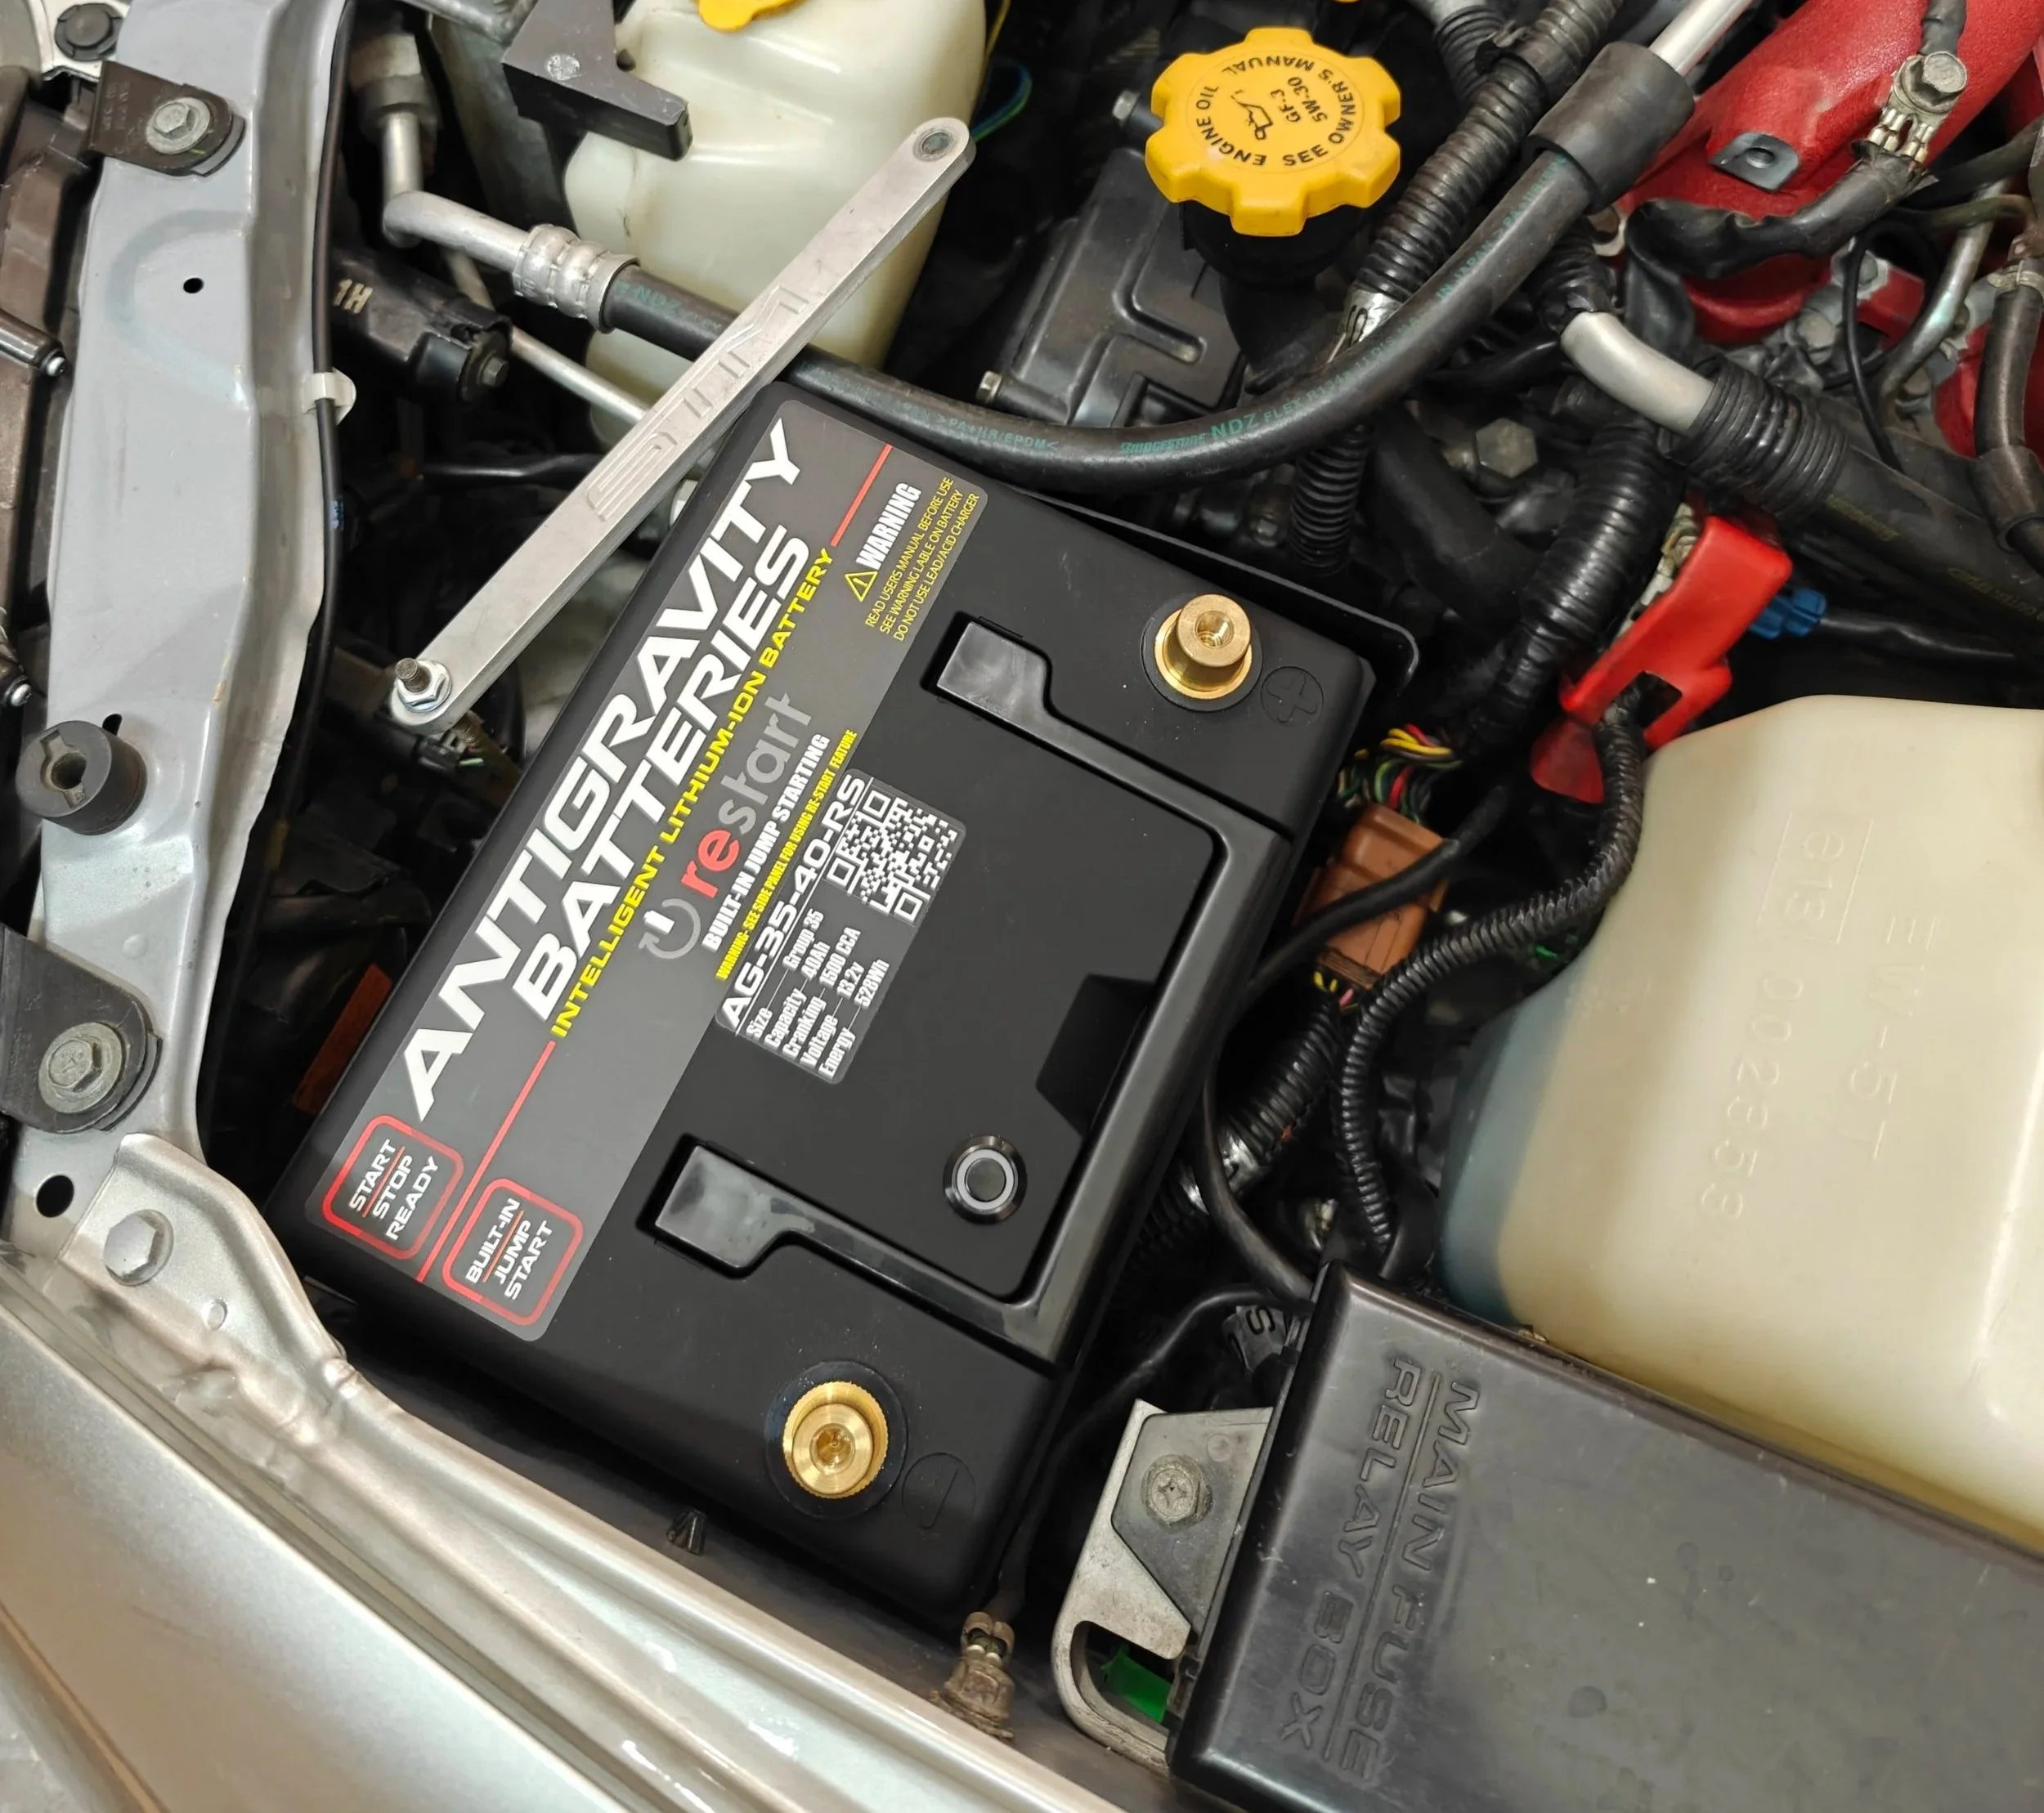
First stop is the battery to disconnect it prior to removing the SRS connectors
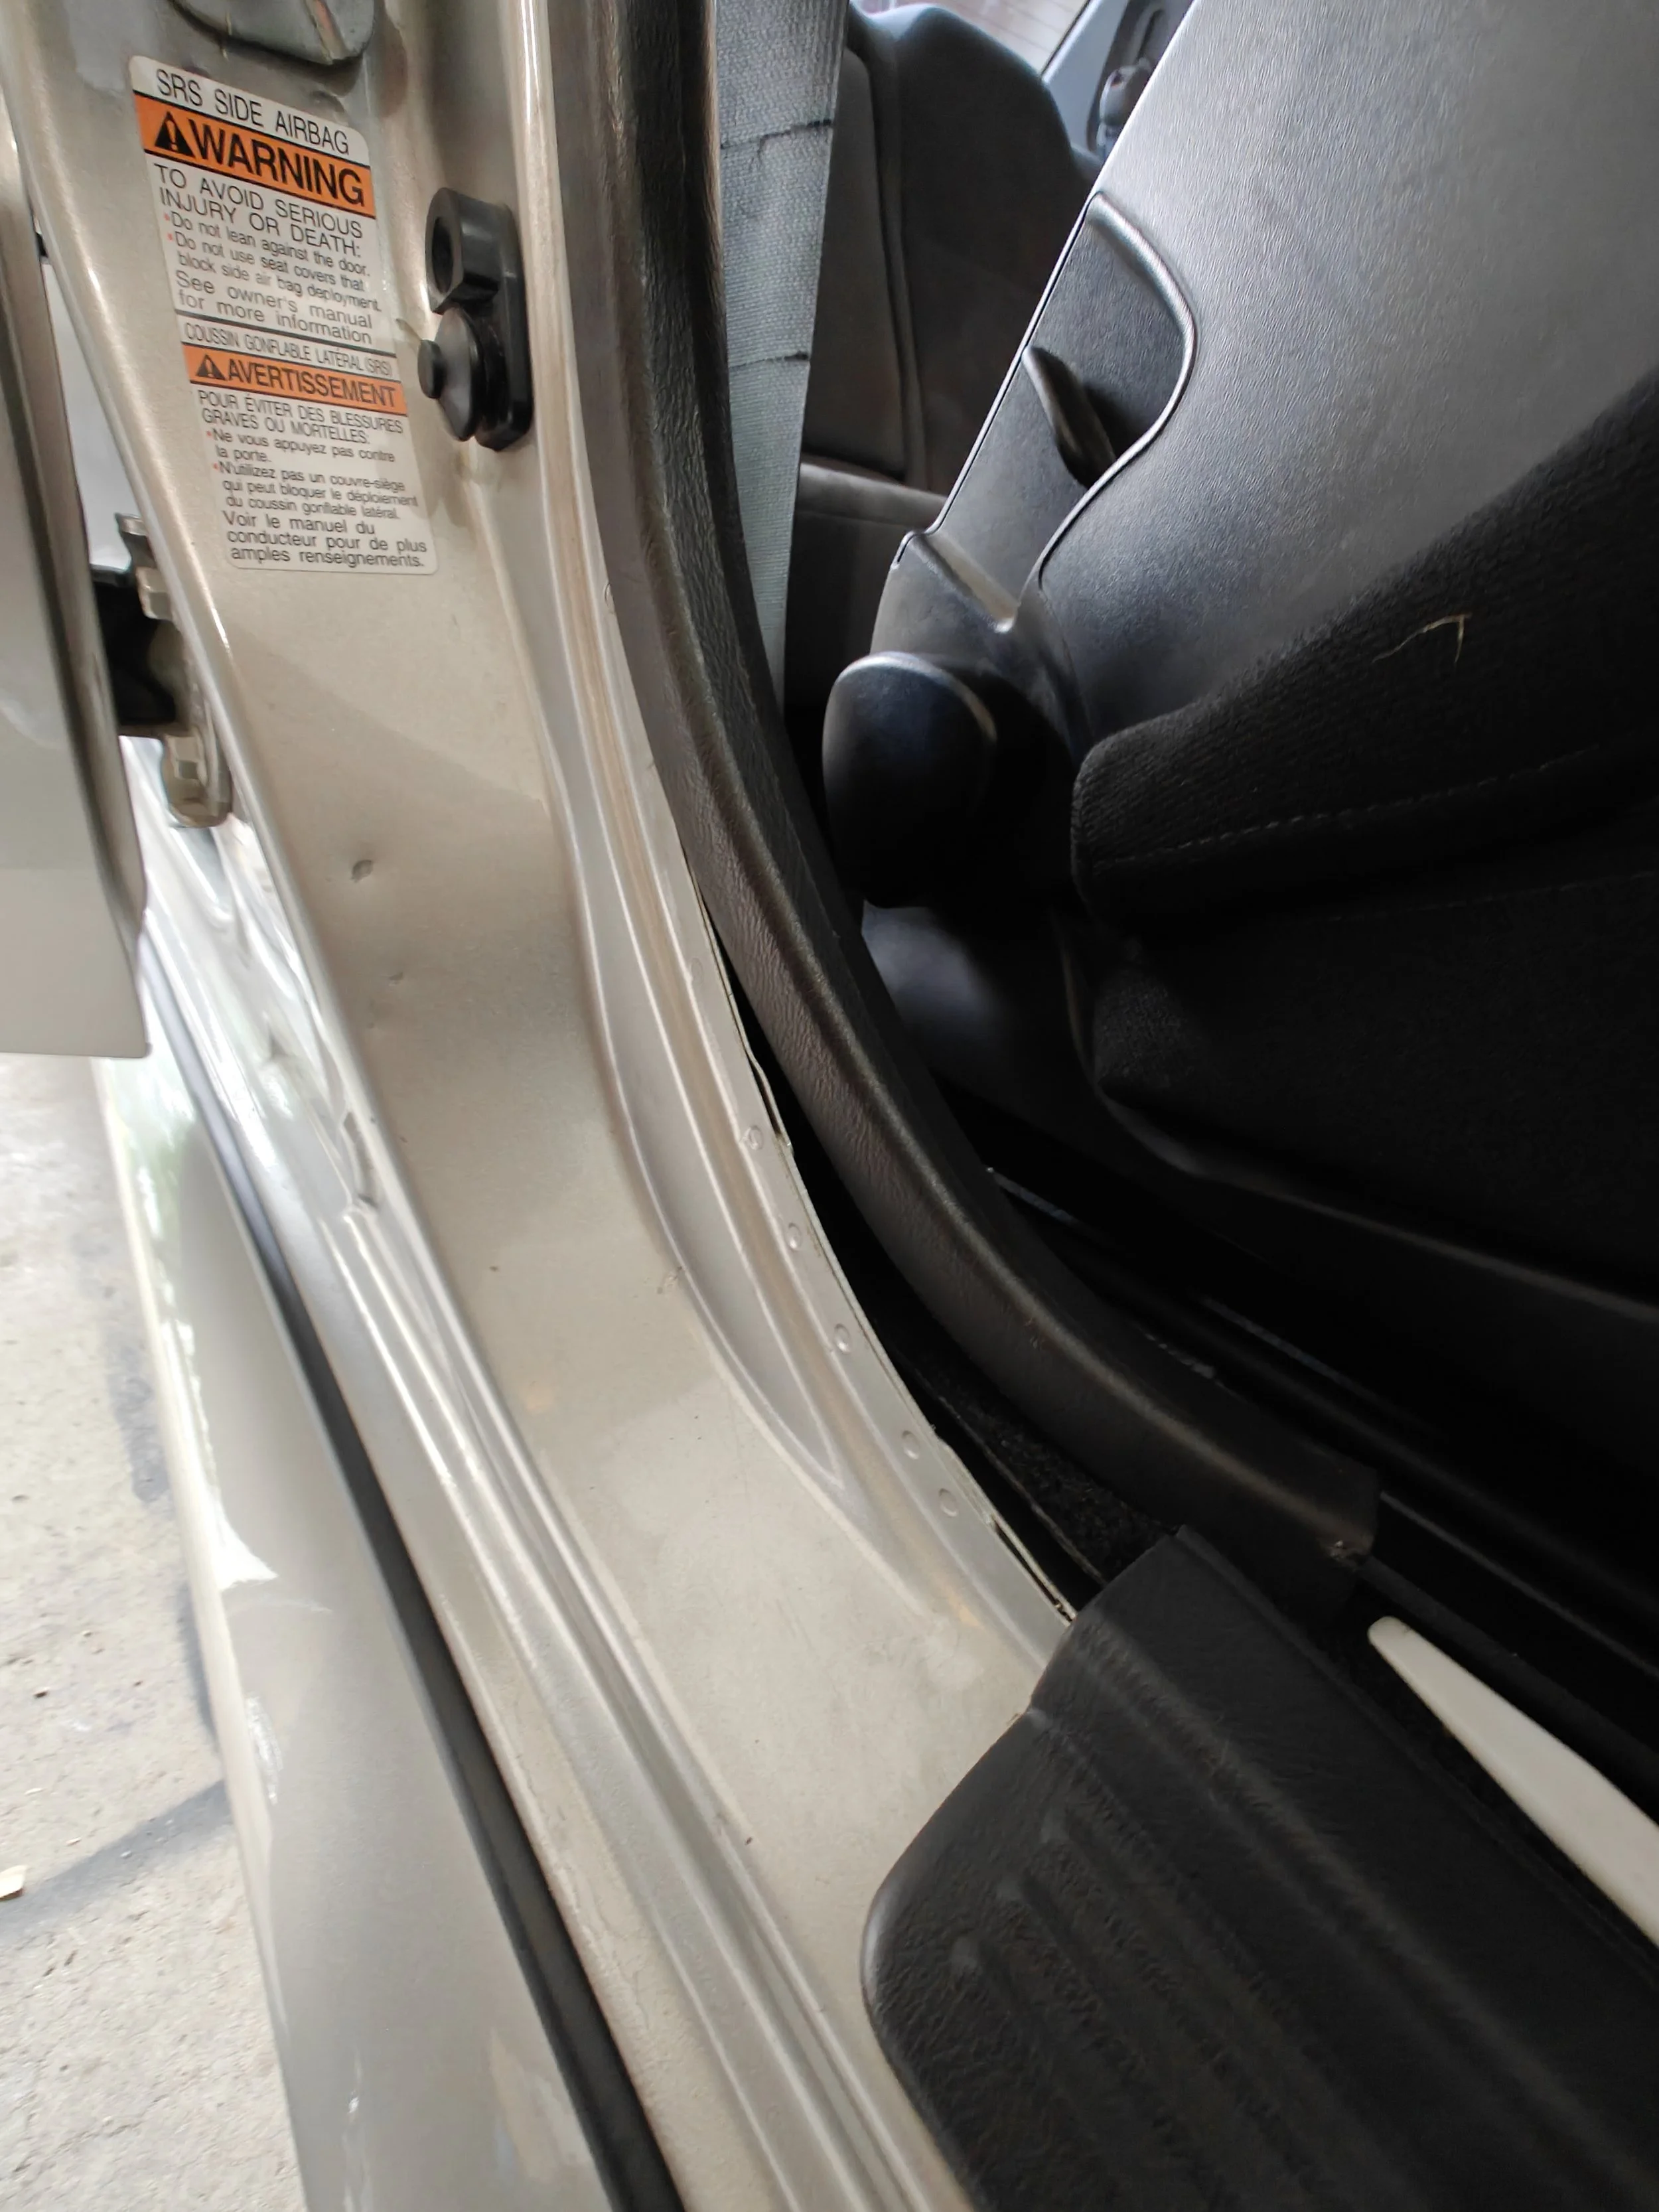
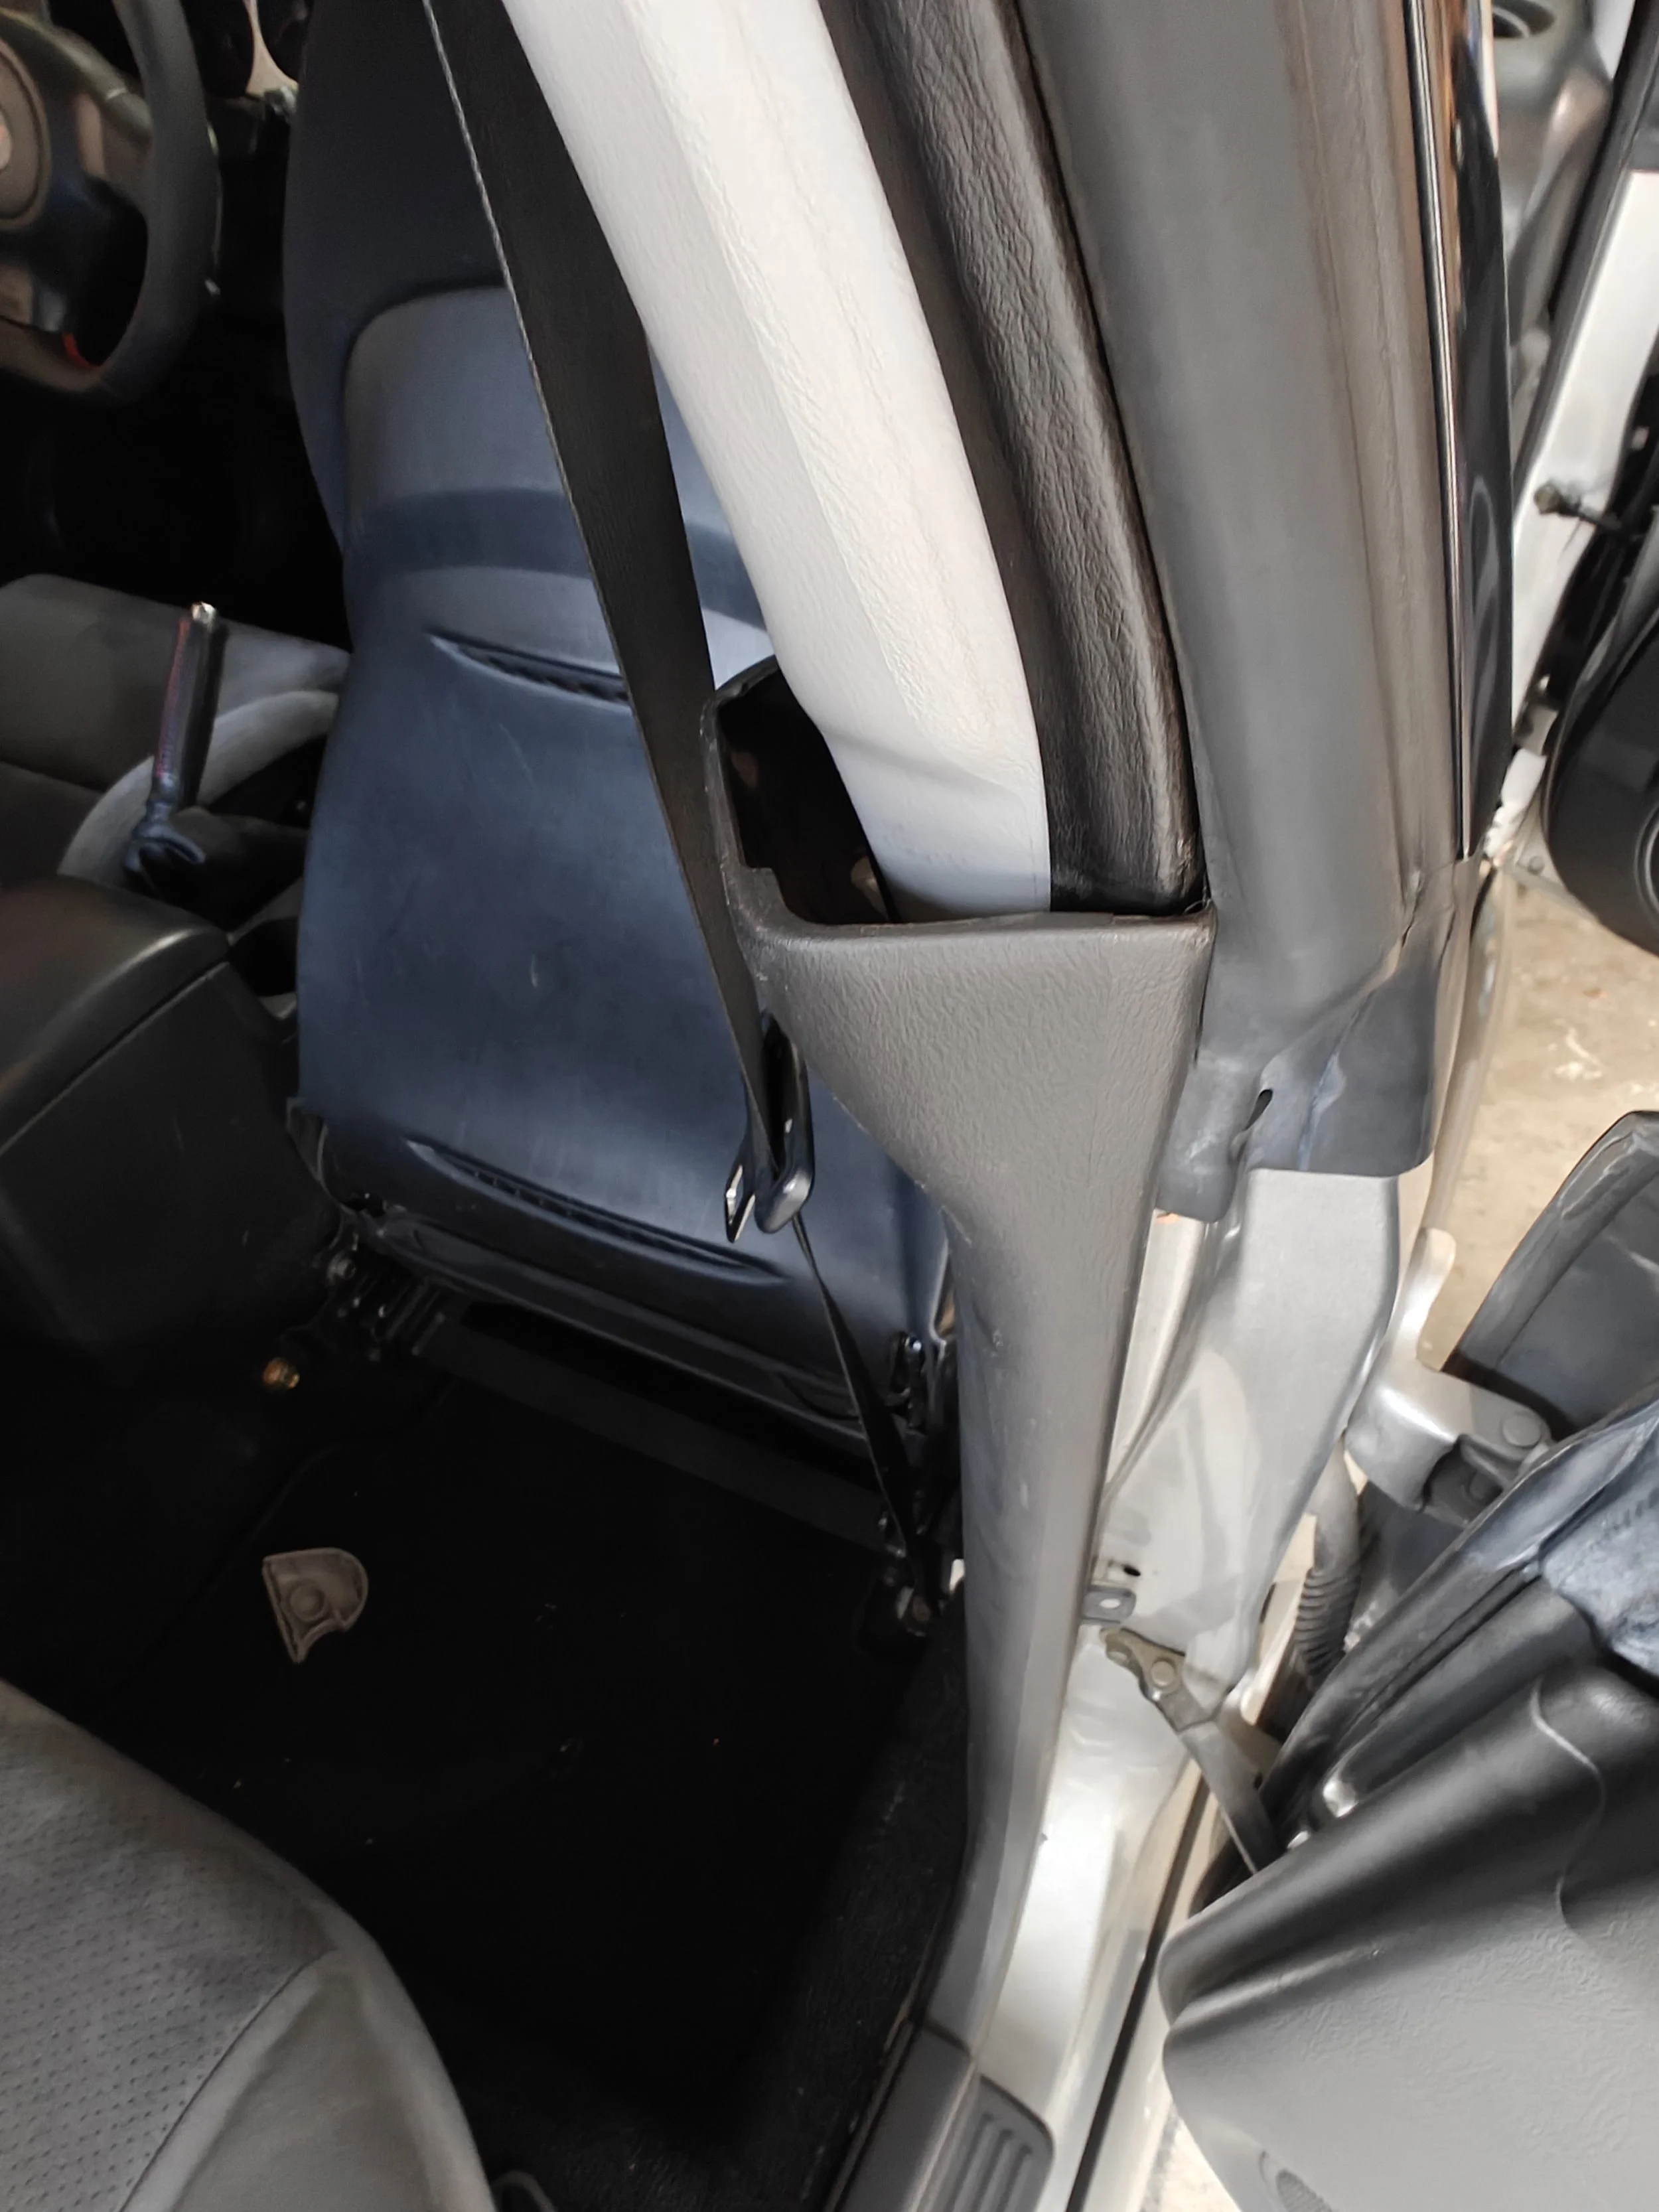
Once you have your seats moved from your working area you can begin. I started off with removing the lower B pillar trim. You can begin this process by opening both your front and rear door. There are two lower trims that overlap the B pillar trim, so lets pull those up.
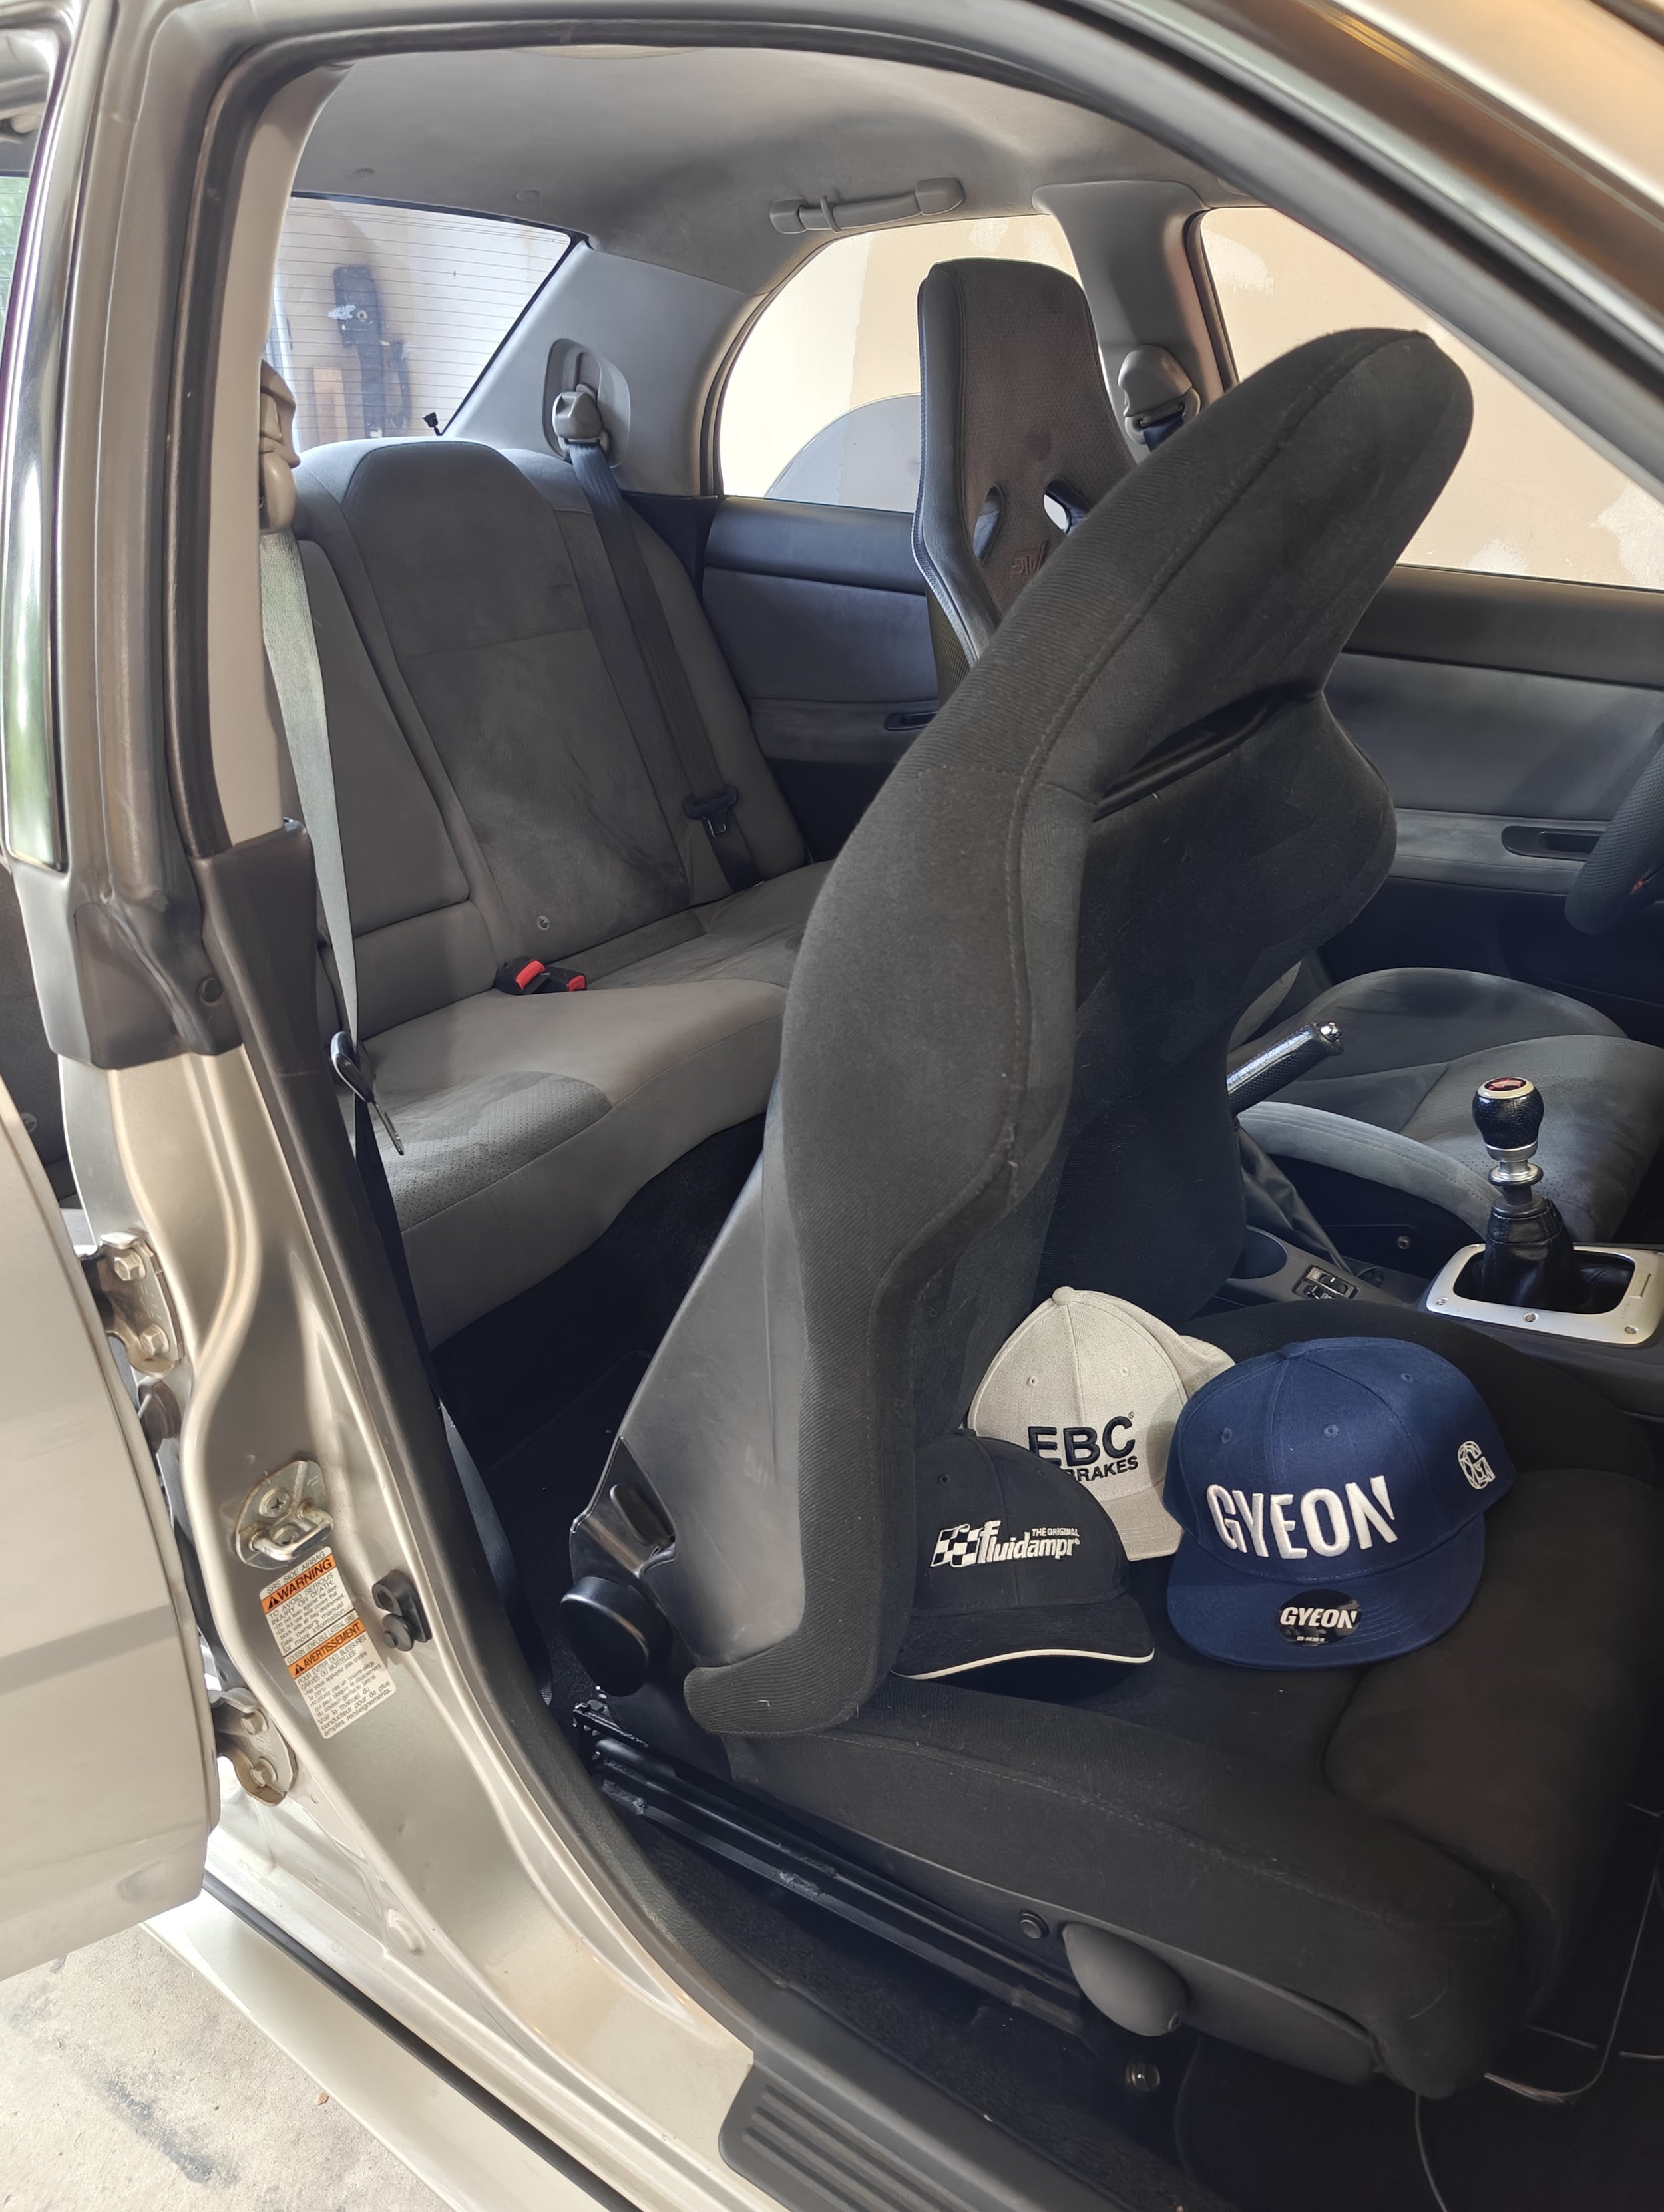
I found sliding the seat this far forward will allow you the room to get your seat belt and trim out without any difficulty.
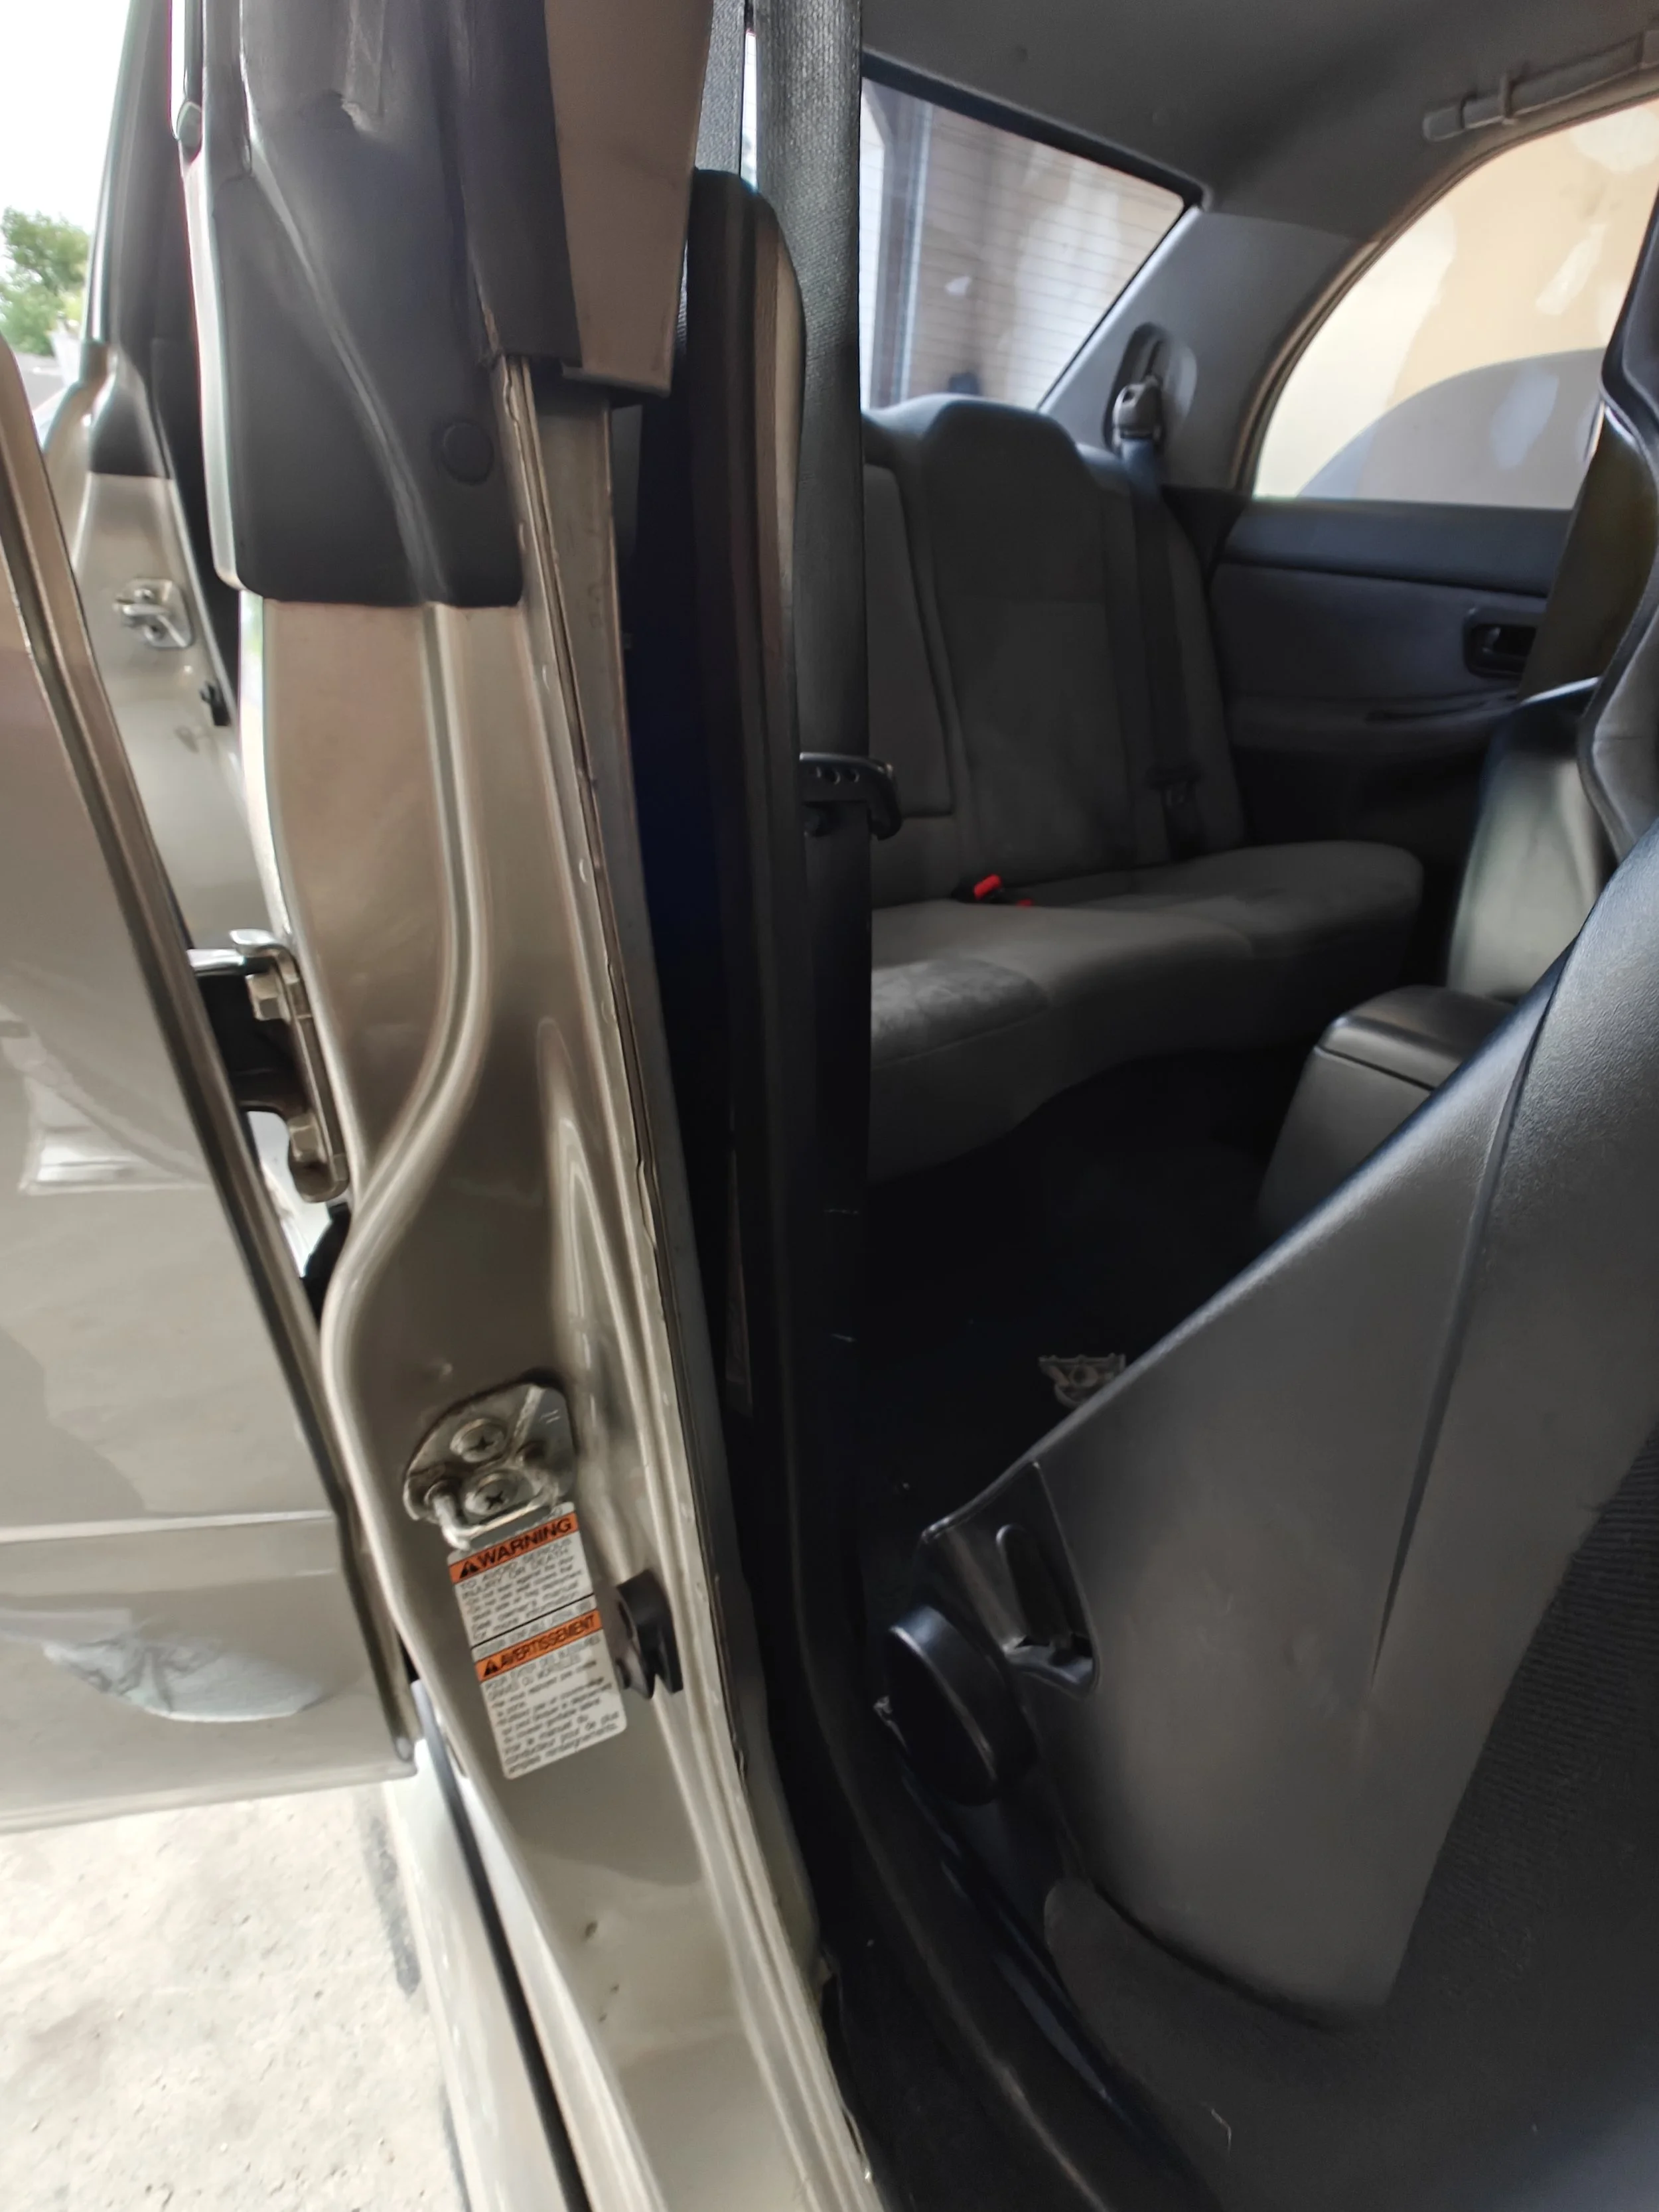
Rear door trim needs to be partially removed to allow the B pillar trim to come out

Next is the front door trim.
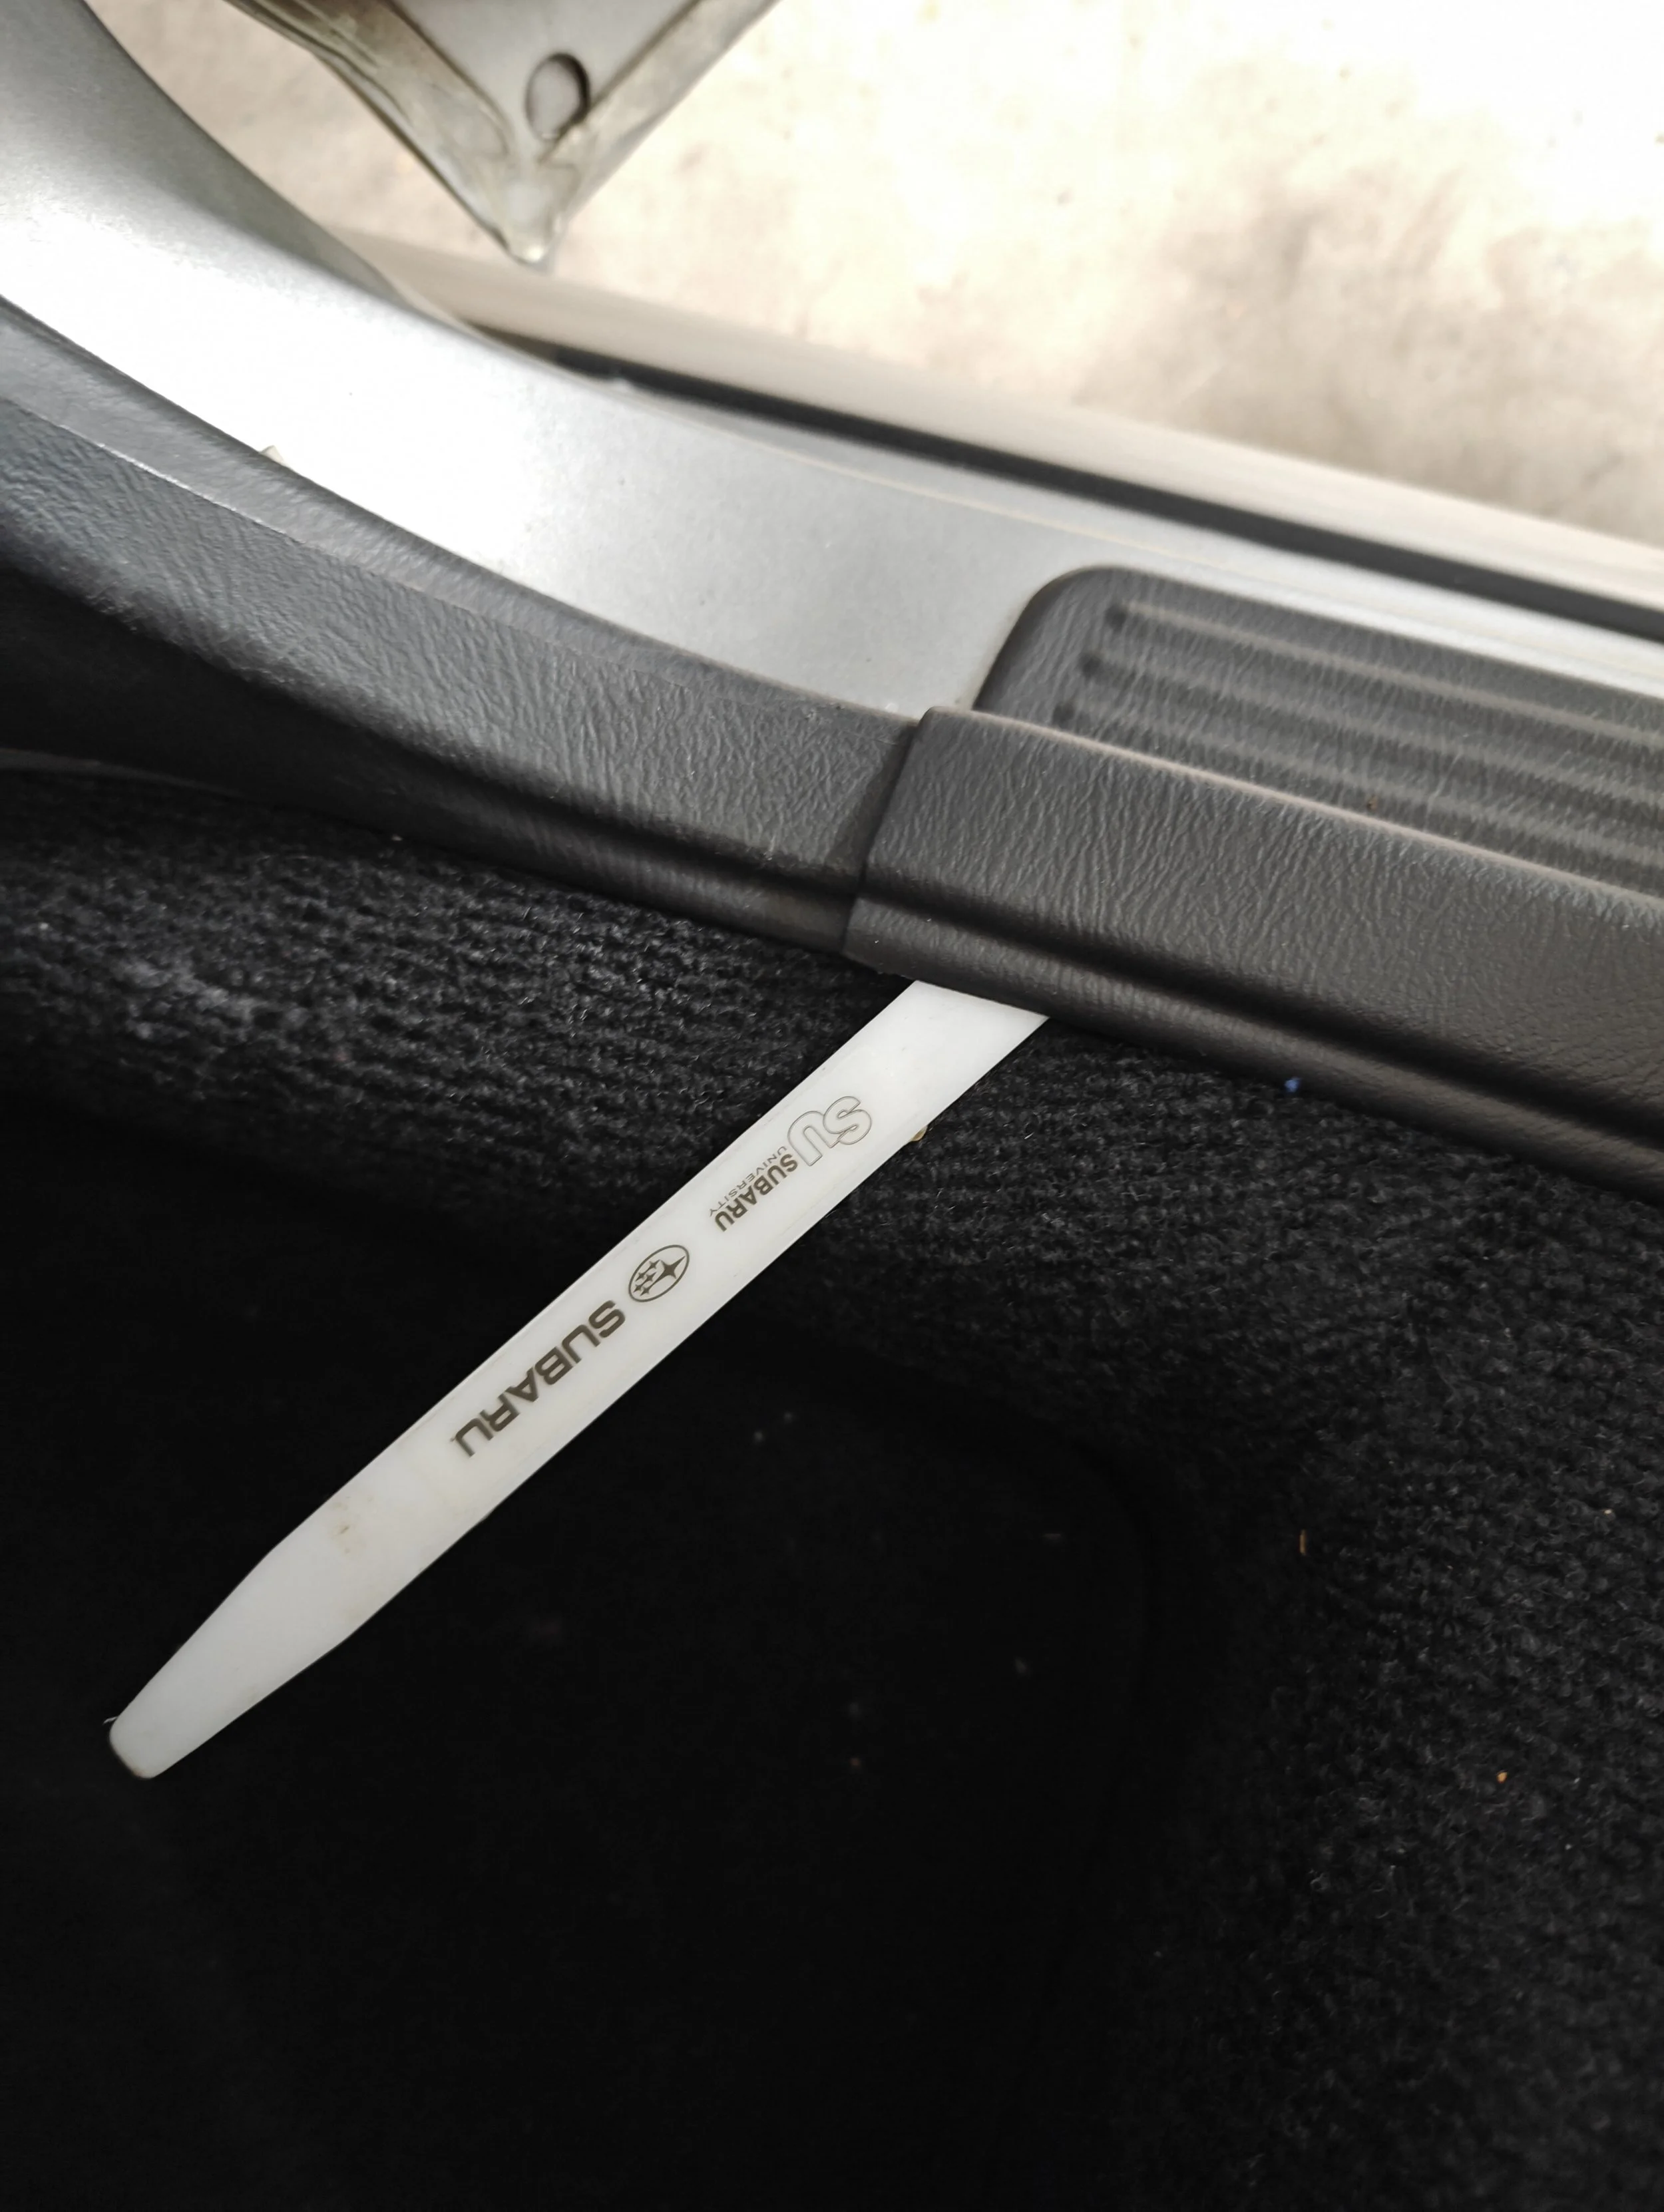
There is a single clip on the B pillar trim that will need to be removed. This is found in the rear door jam and shown below. With those tasks completed you can go ahead and remove the lower B pillar trim by sliding pulling it up and away from the B pillar and sliding it off. This will gain you access to the lower mounts for the seat belts.
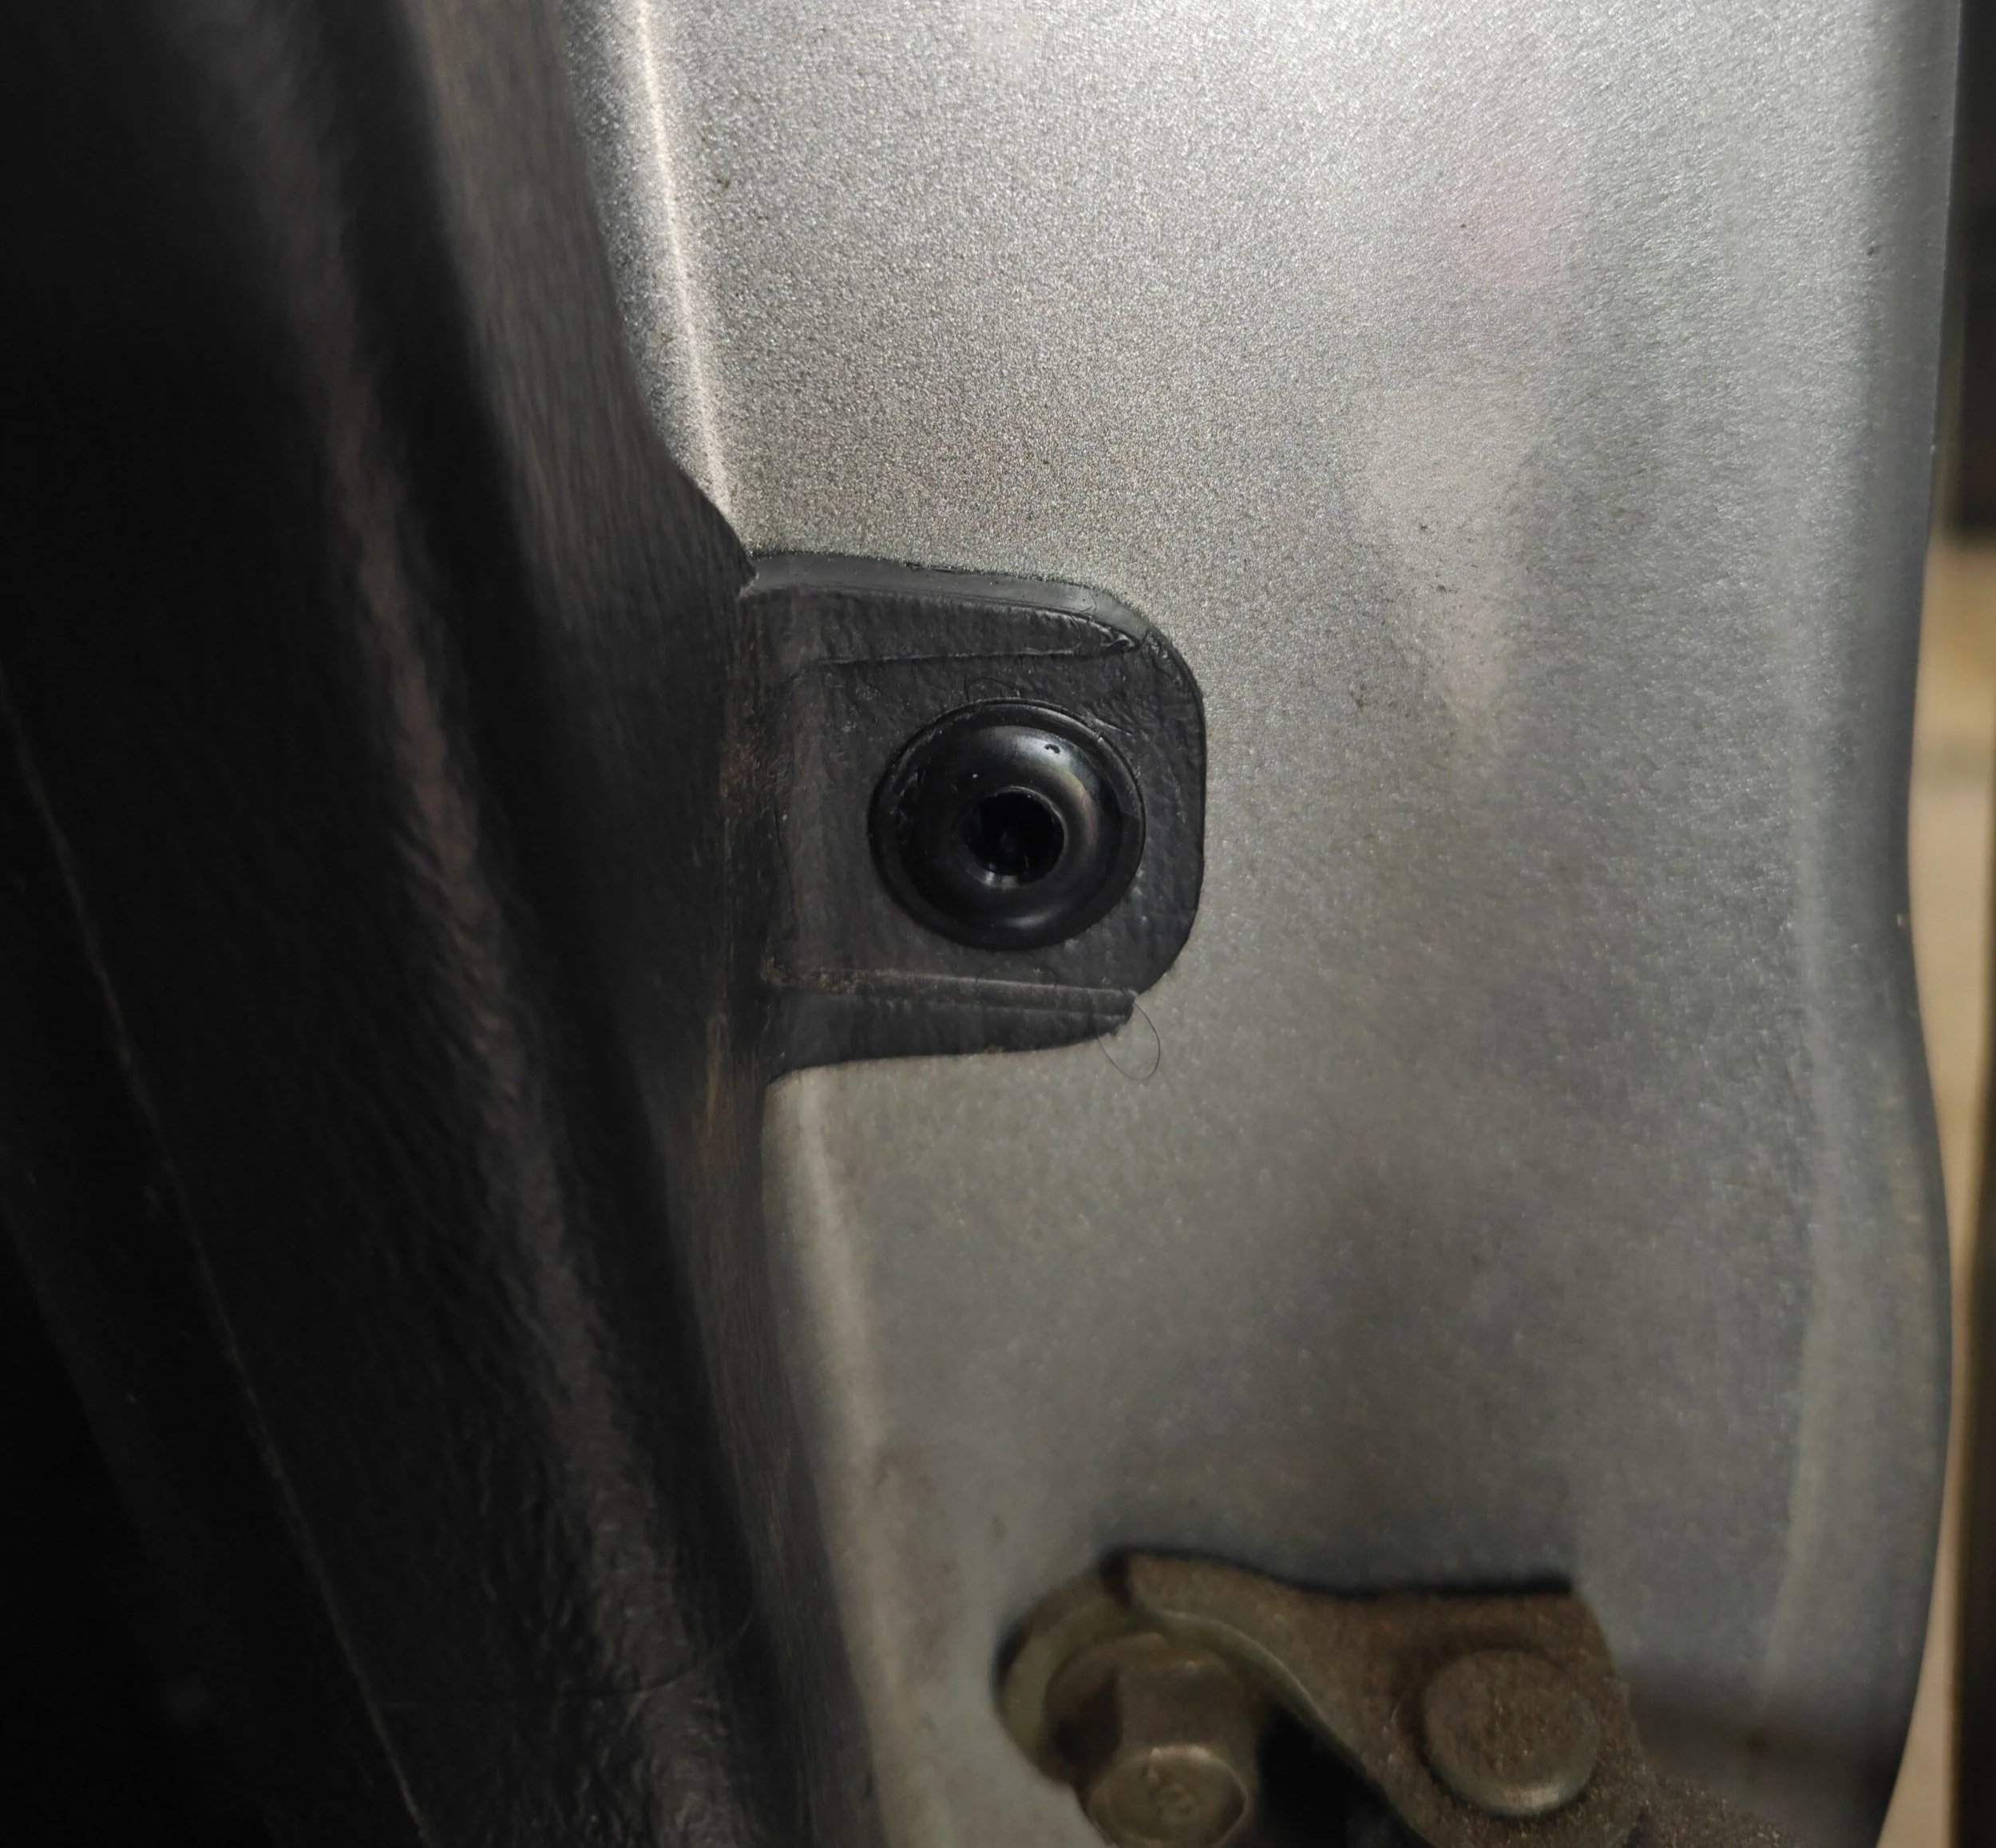
Locate this final clip and you will be able to pull the trim panel.
Now you can begin pulling the trim out of the way
You can start from either side. But the front seems easily accessible to me.
Ready to be fully removed and allow for you to get to work.
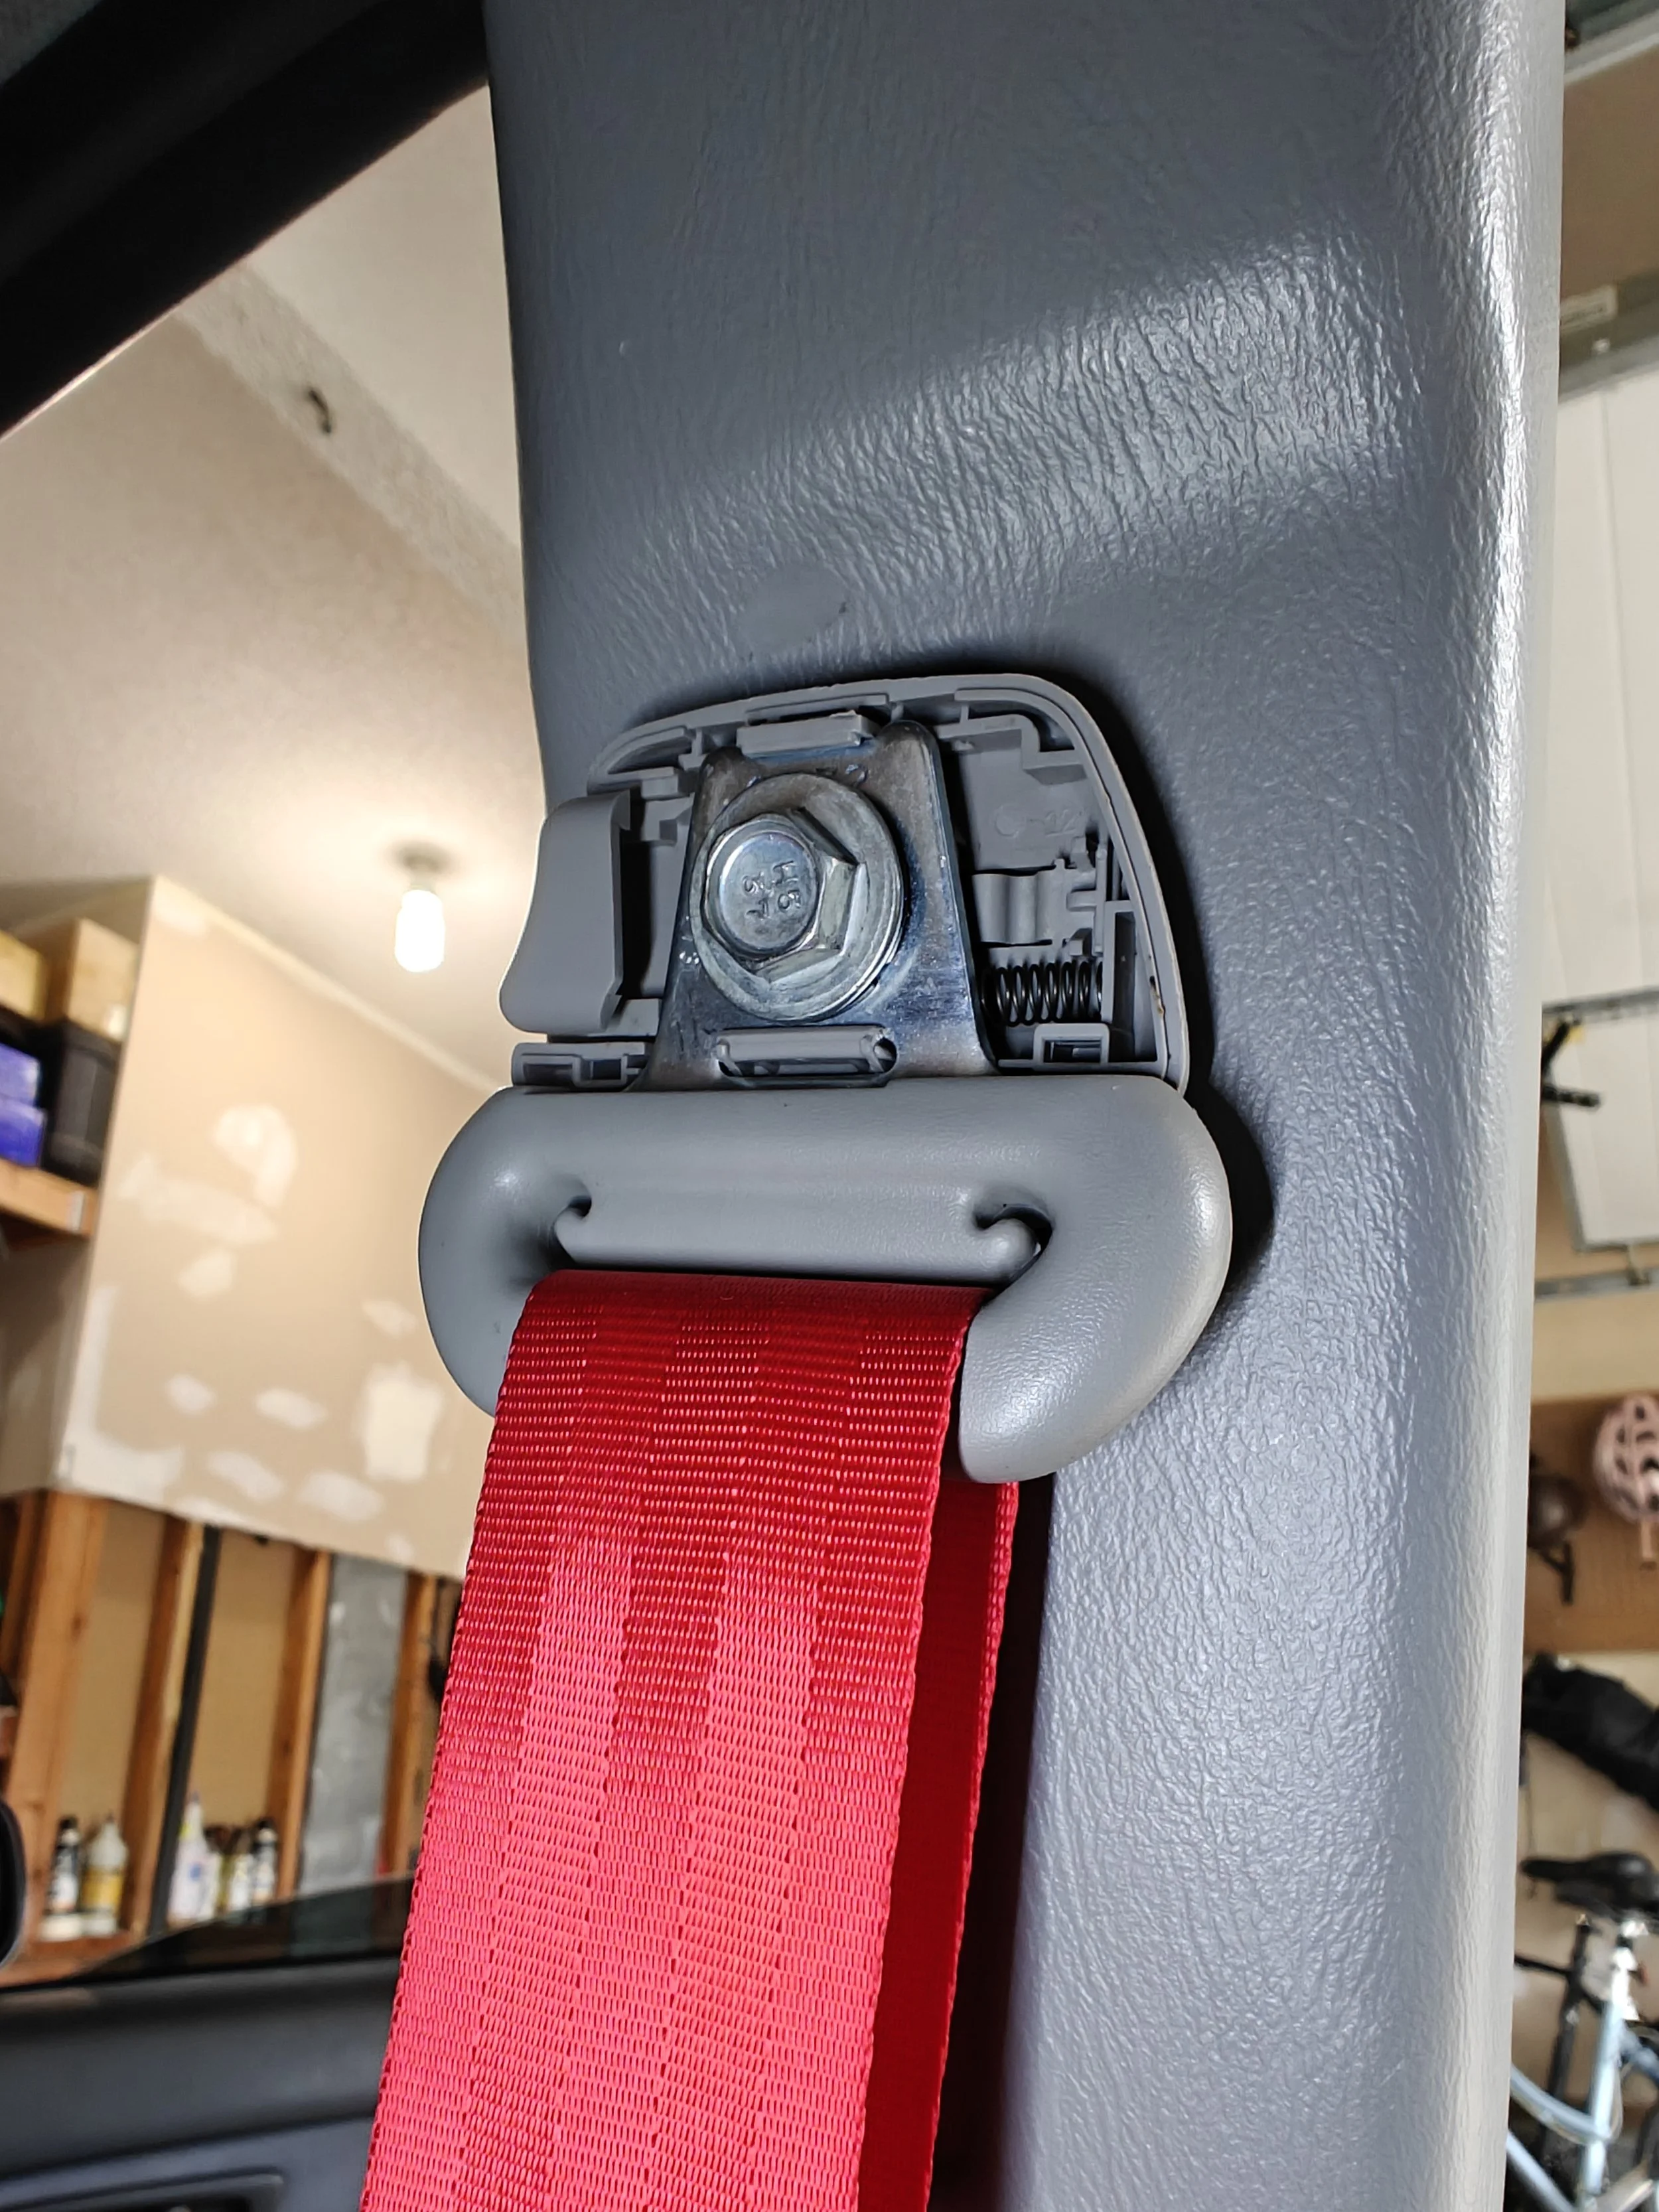
Now you can go about this in any order but I decided to remove the upper seat belt cover and remove the single bolt that attaches it. The cover can easily be removed with a small pry tool. You can now lay the seat belt down on the floor.
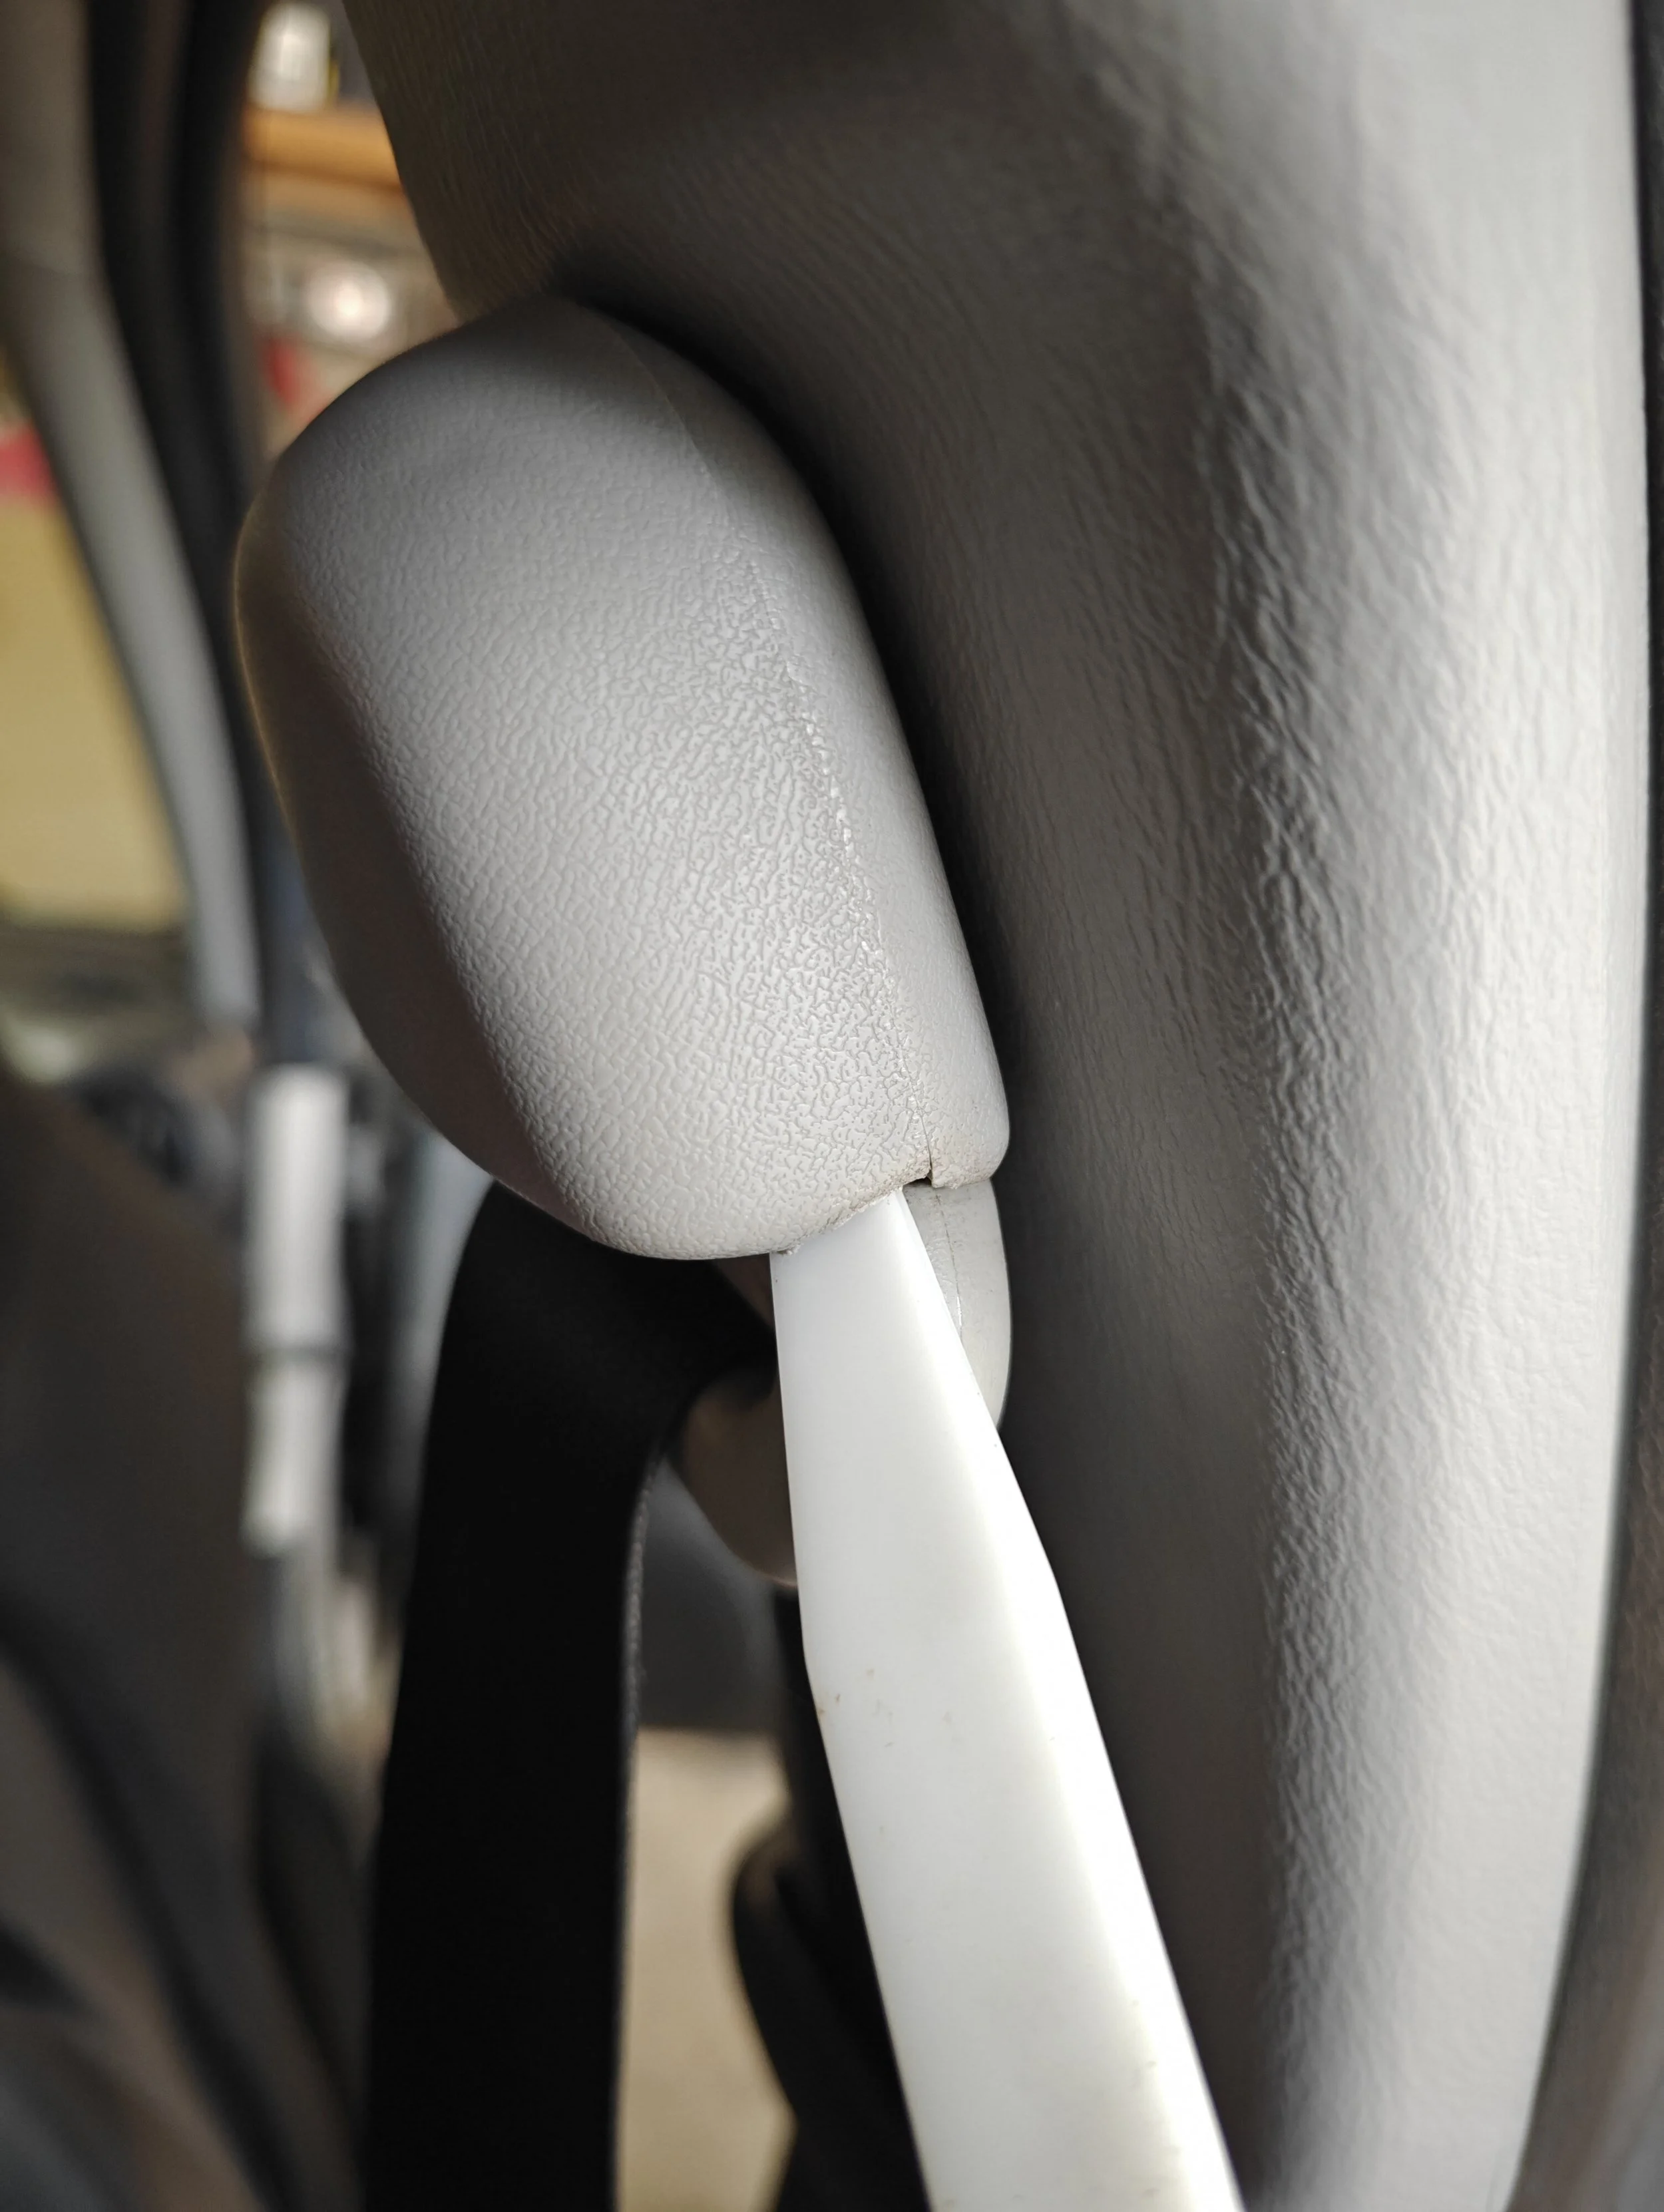
Starting from the top this cover will expose the bolt you need to remove.
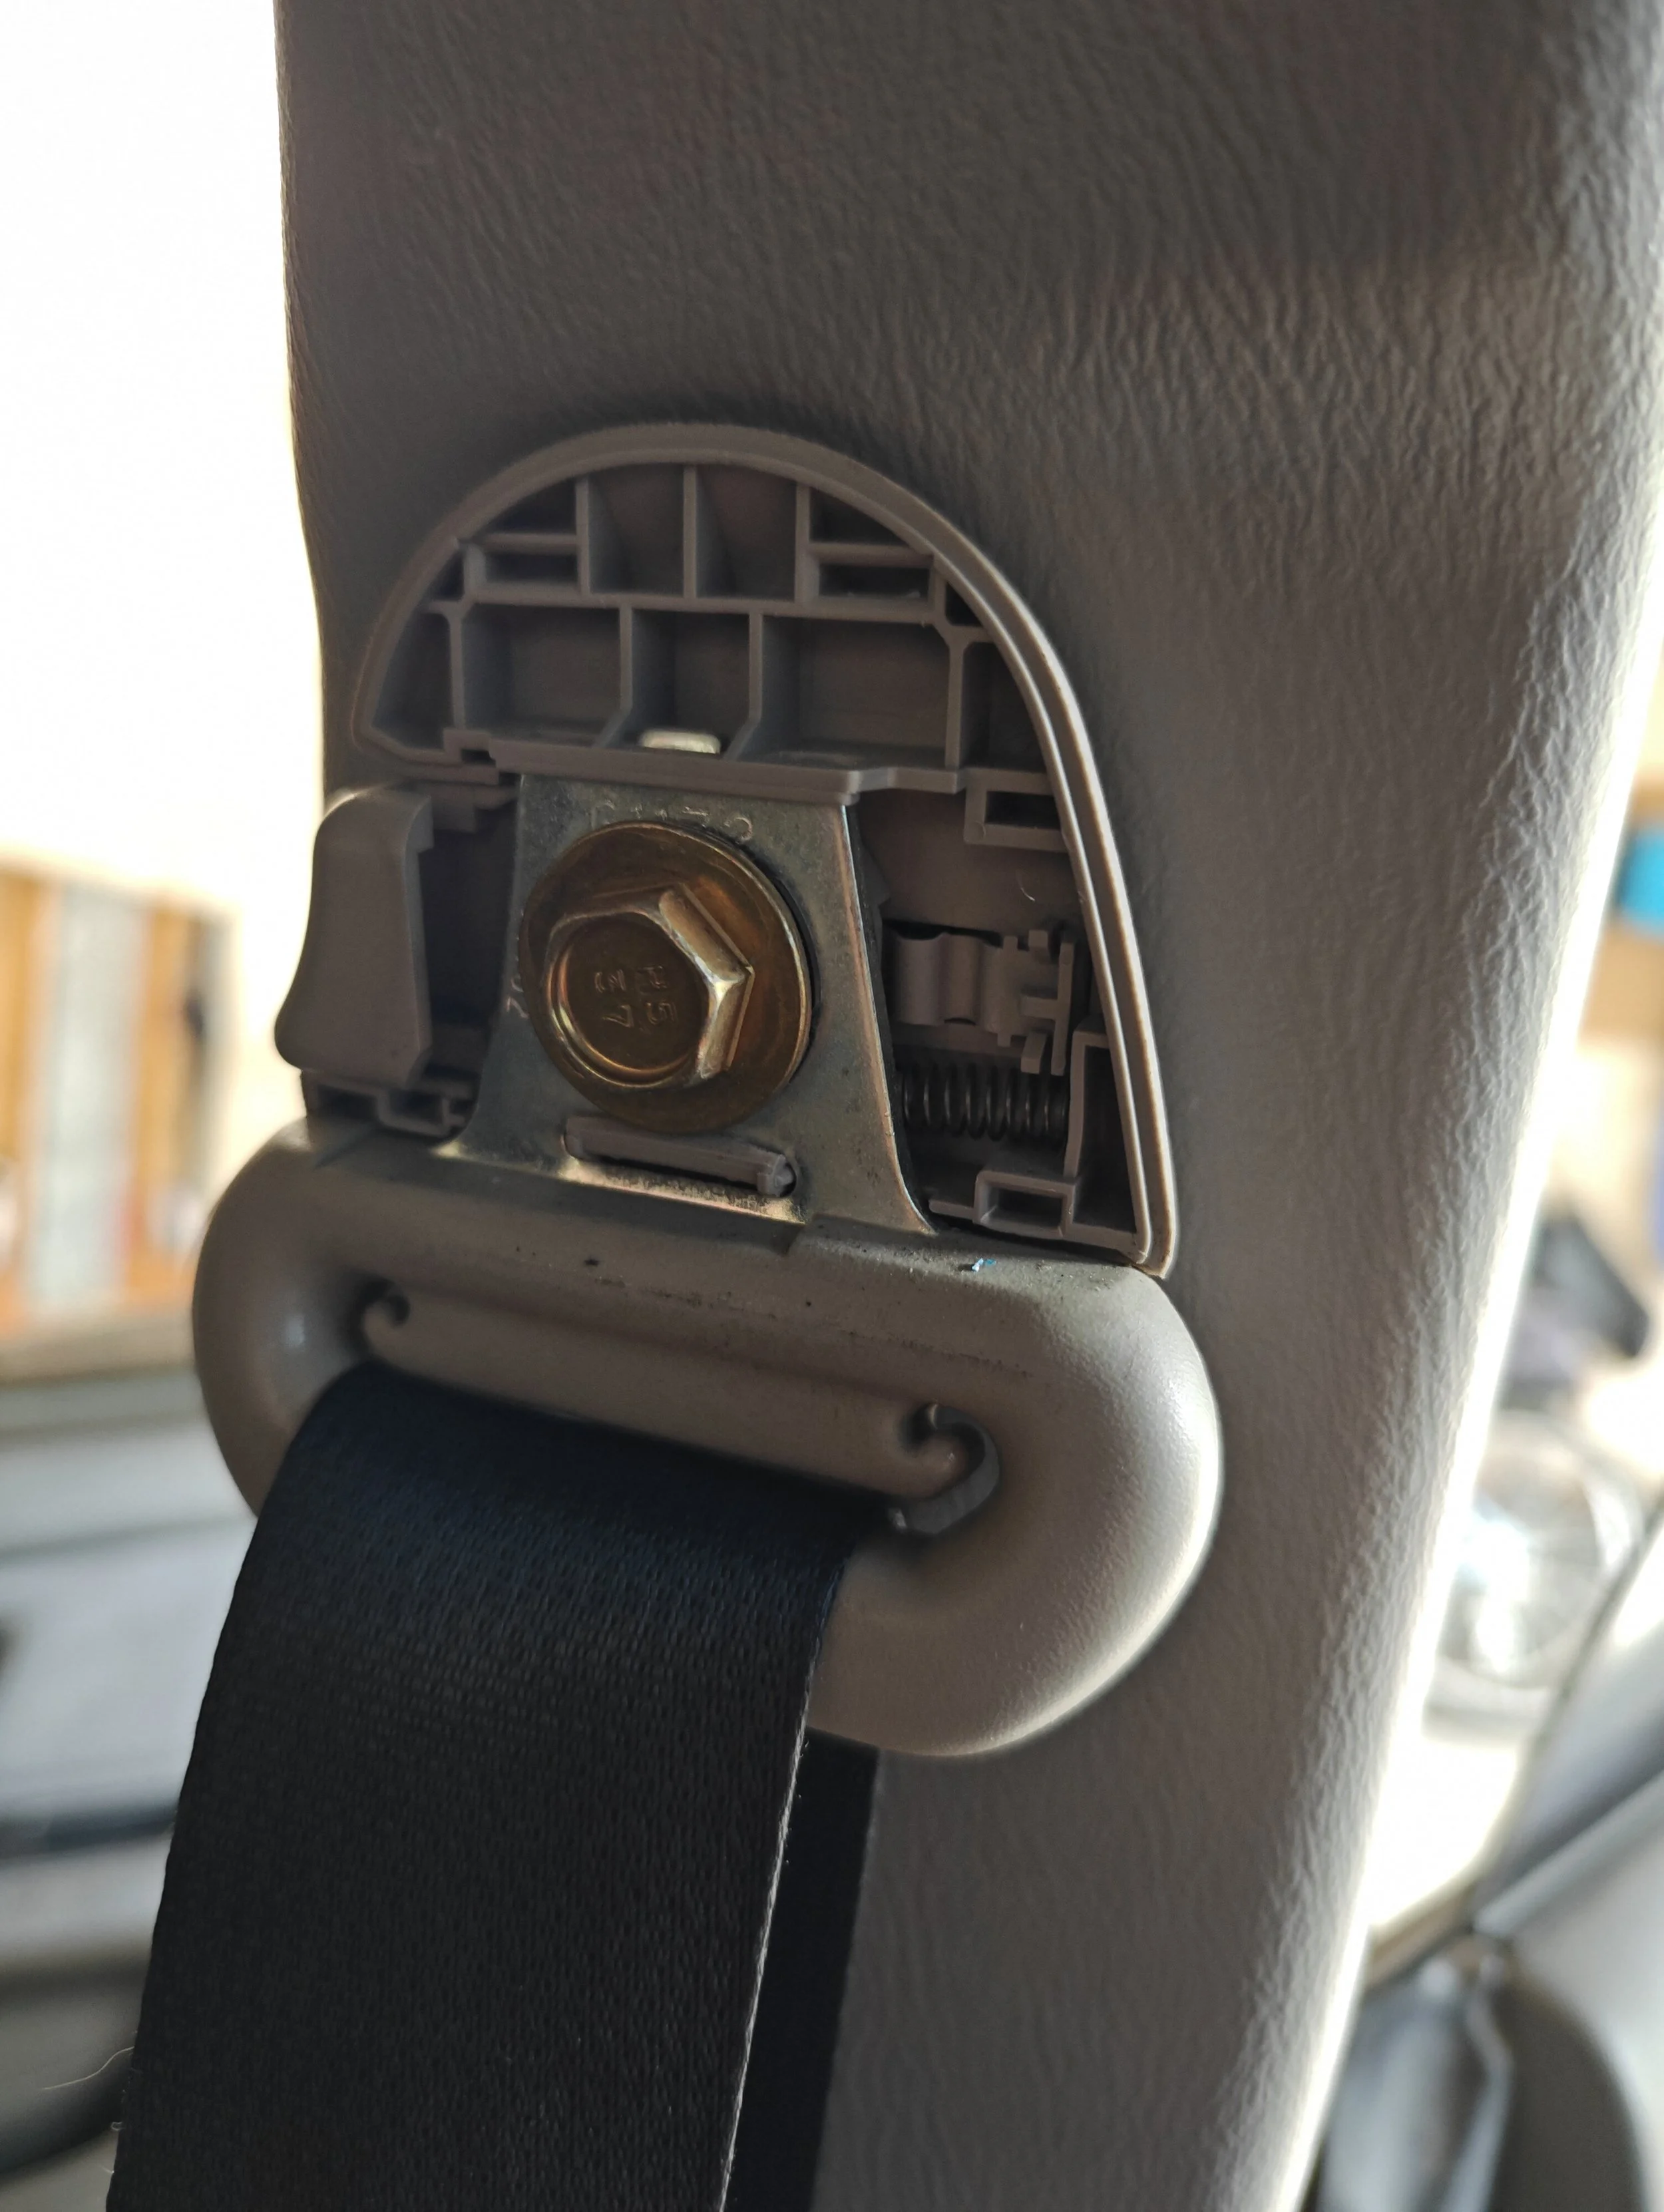
Ready to remove.
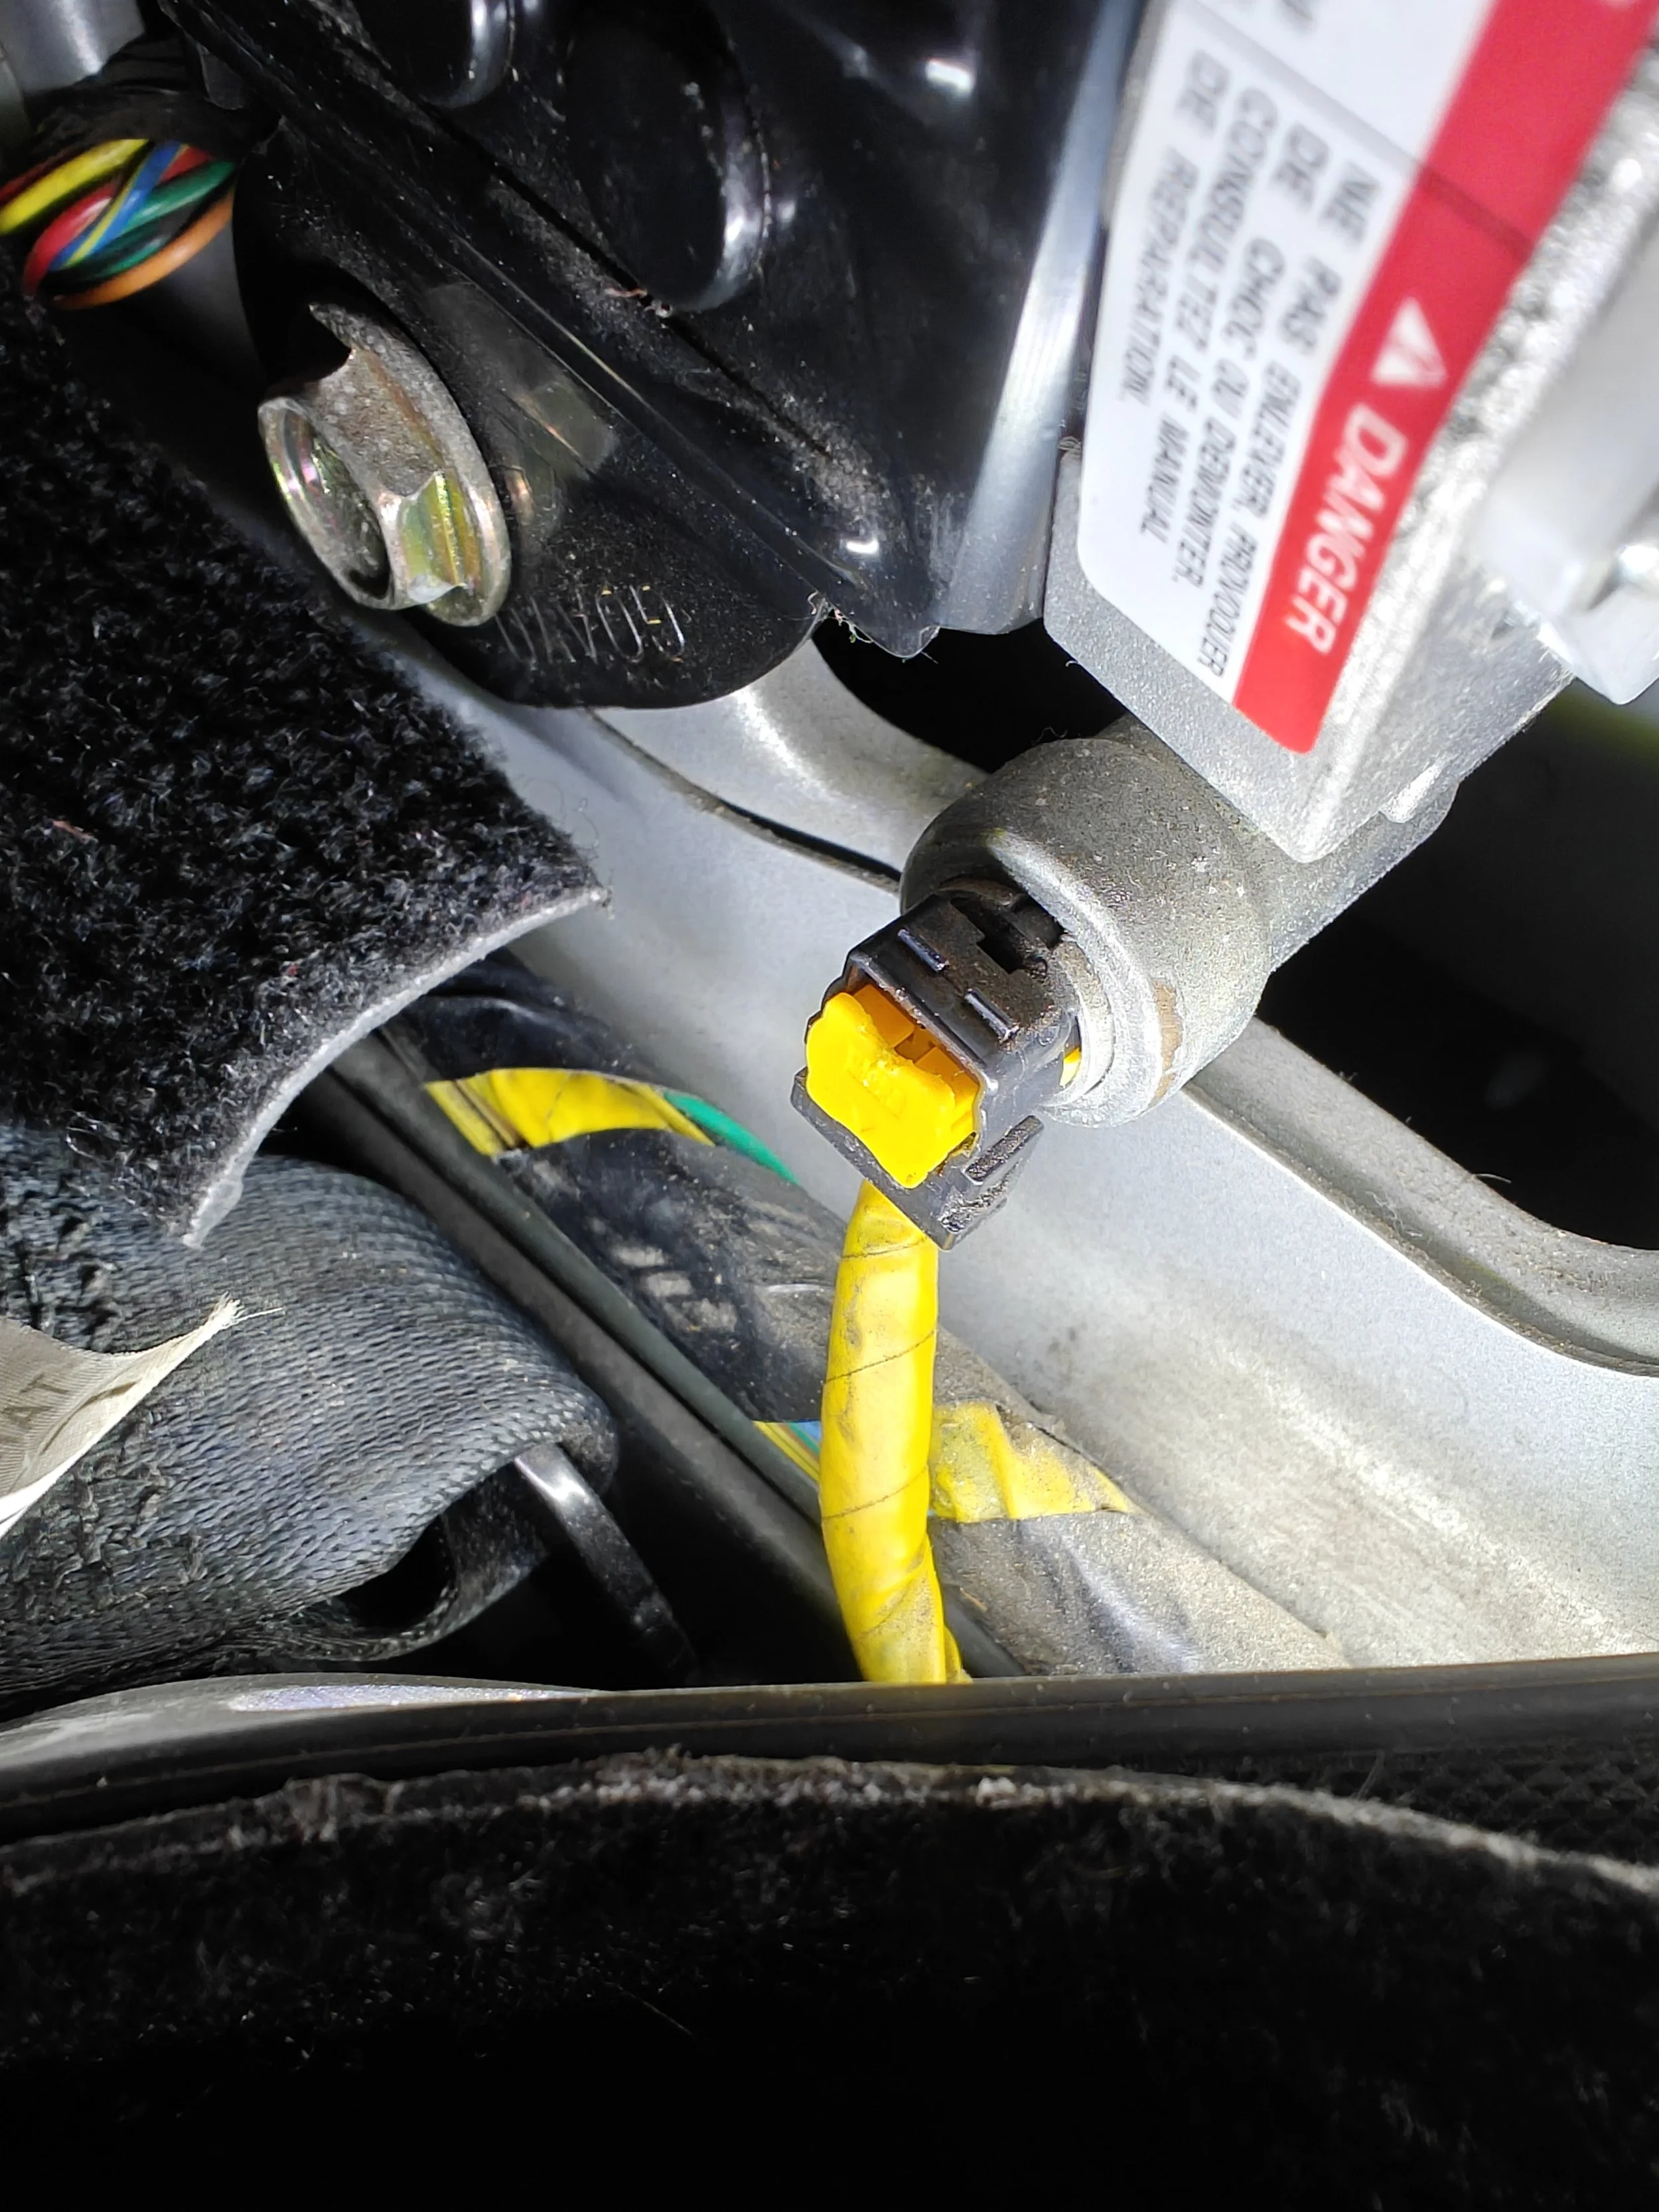
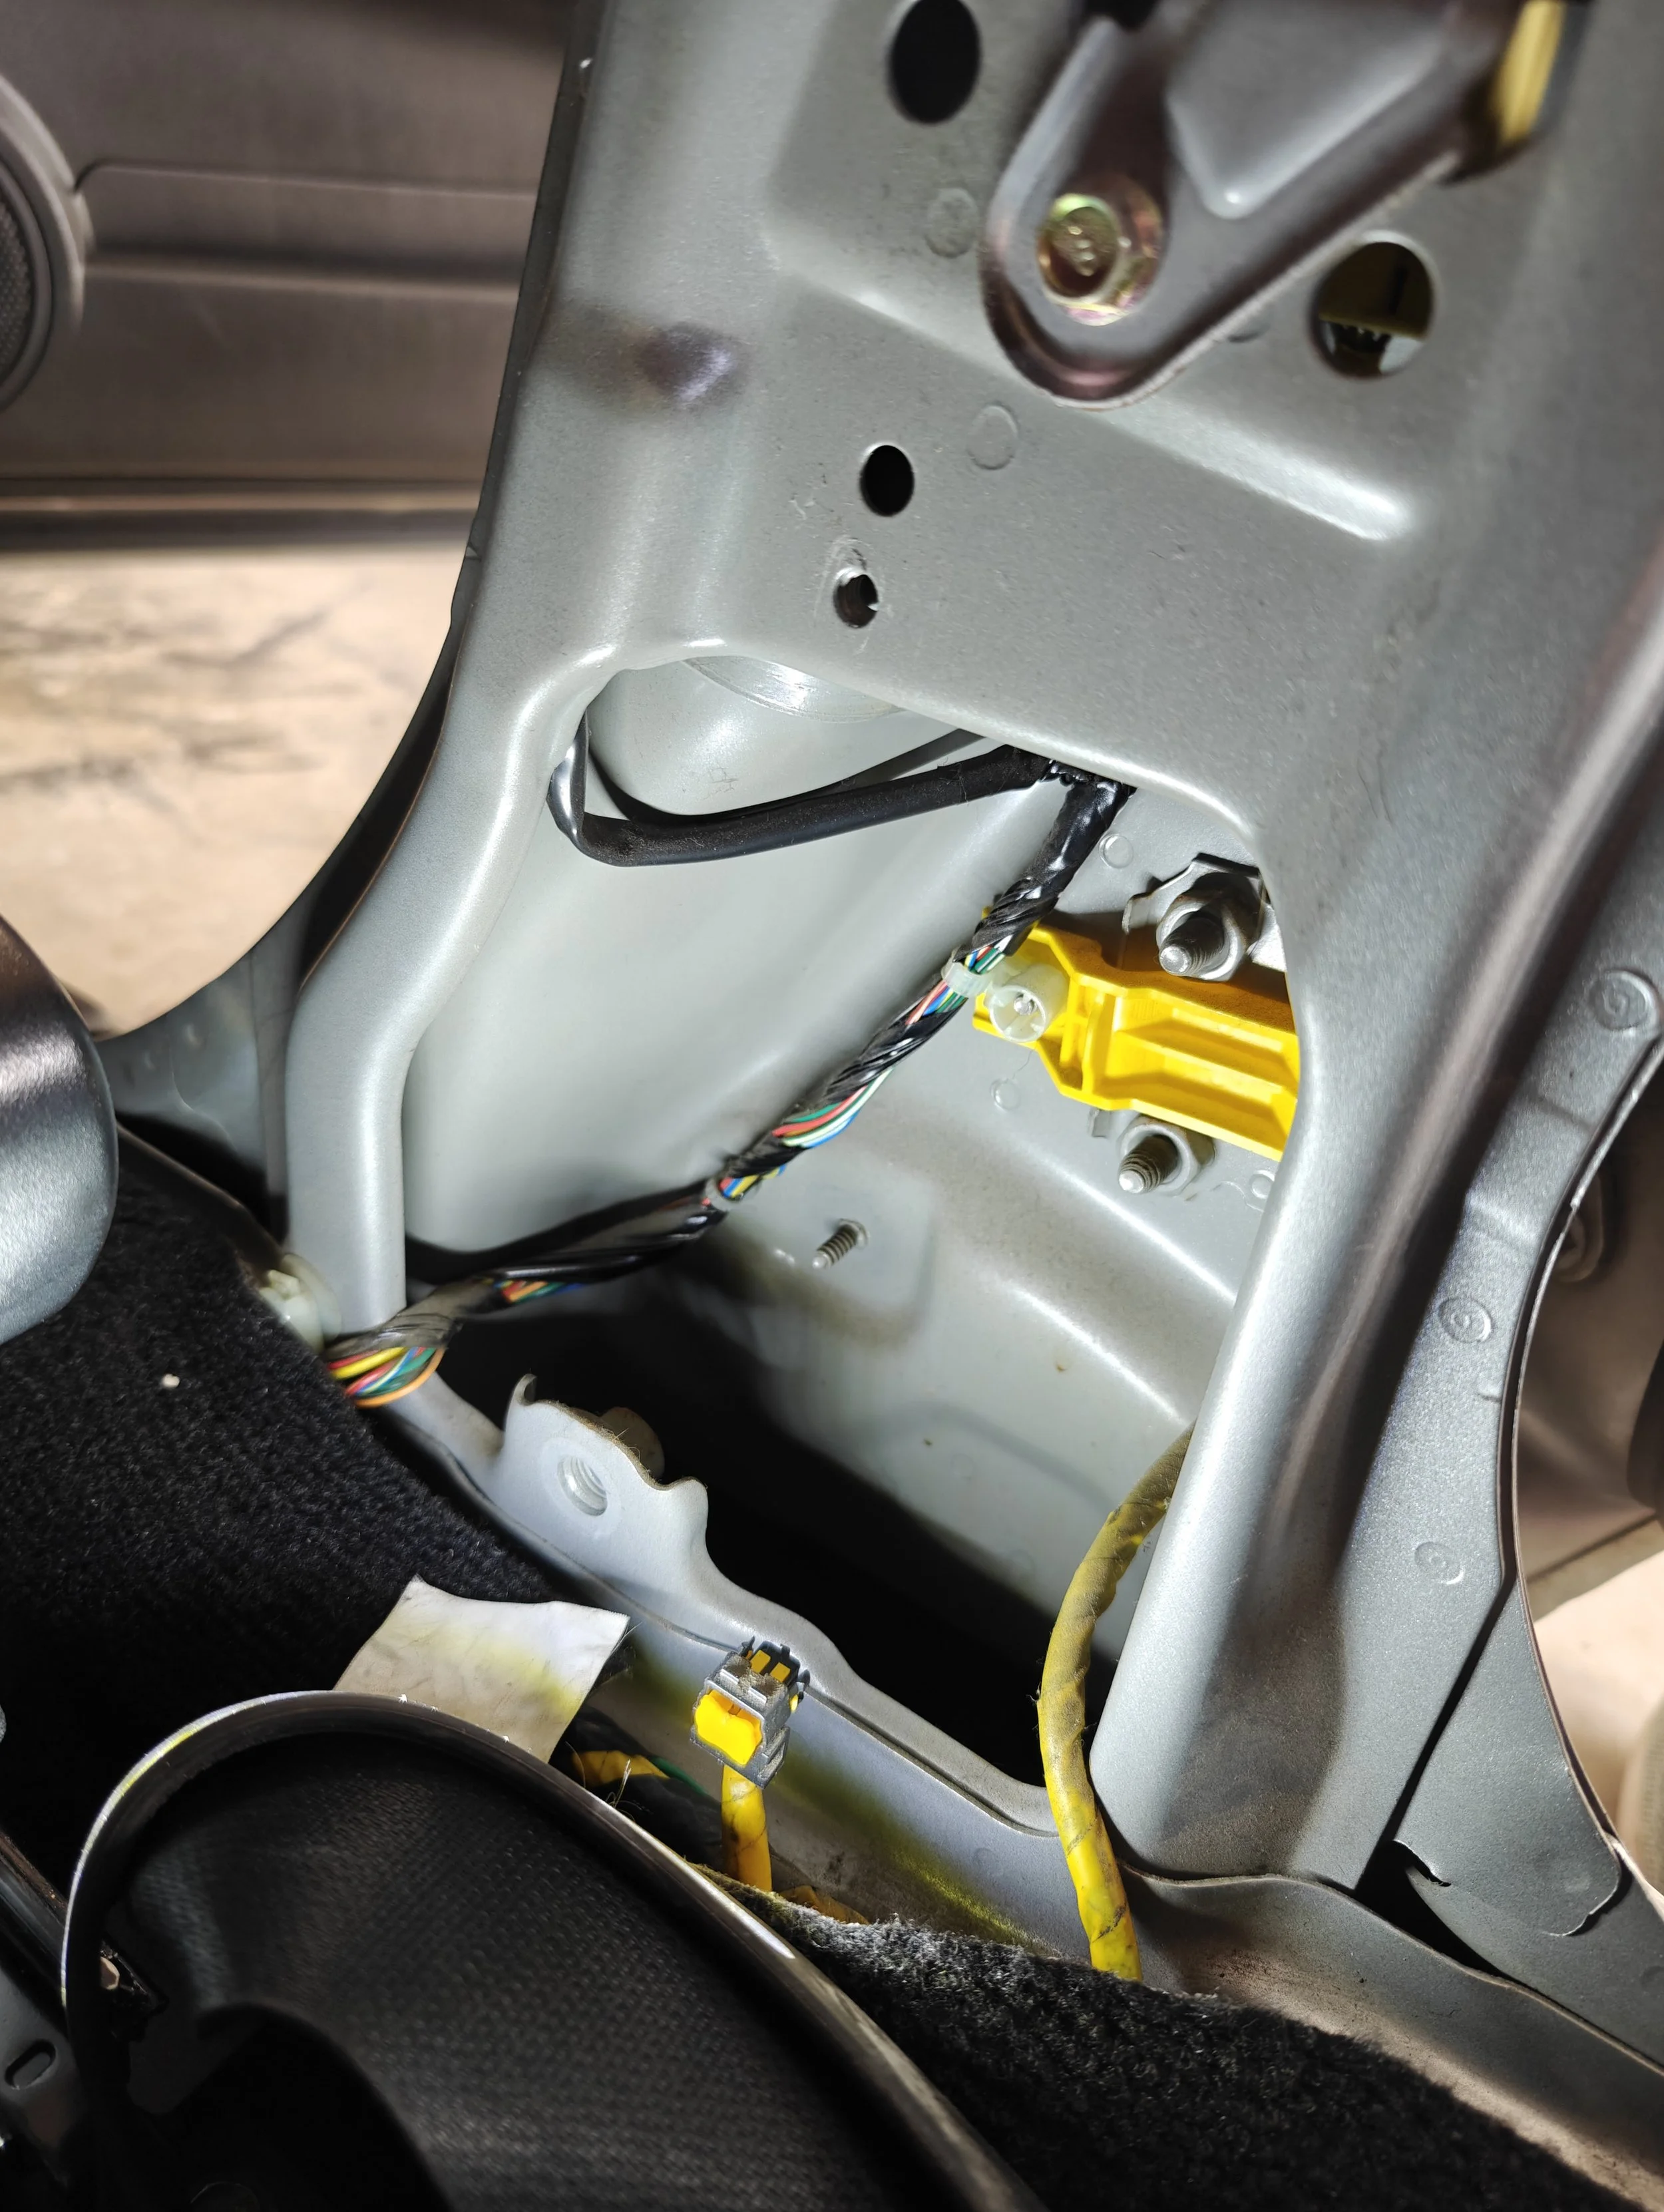
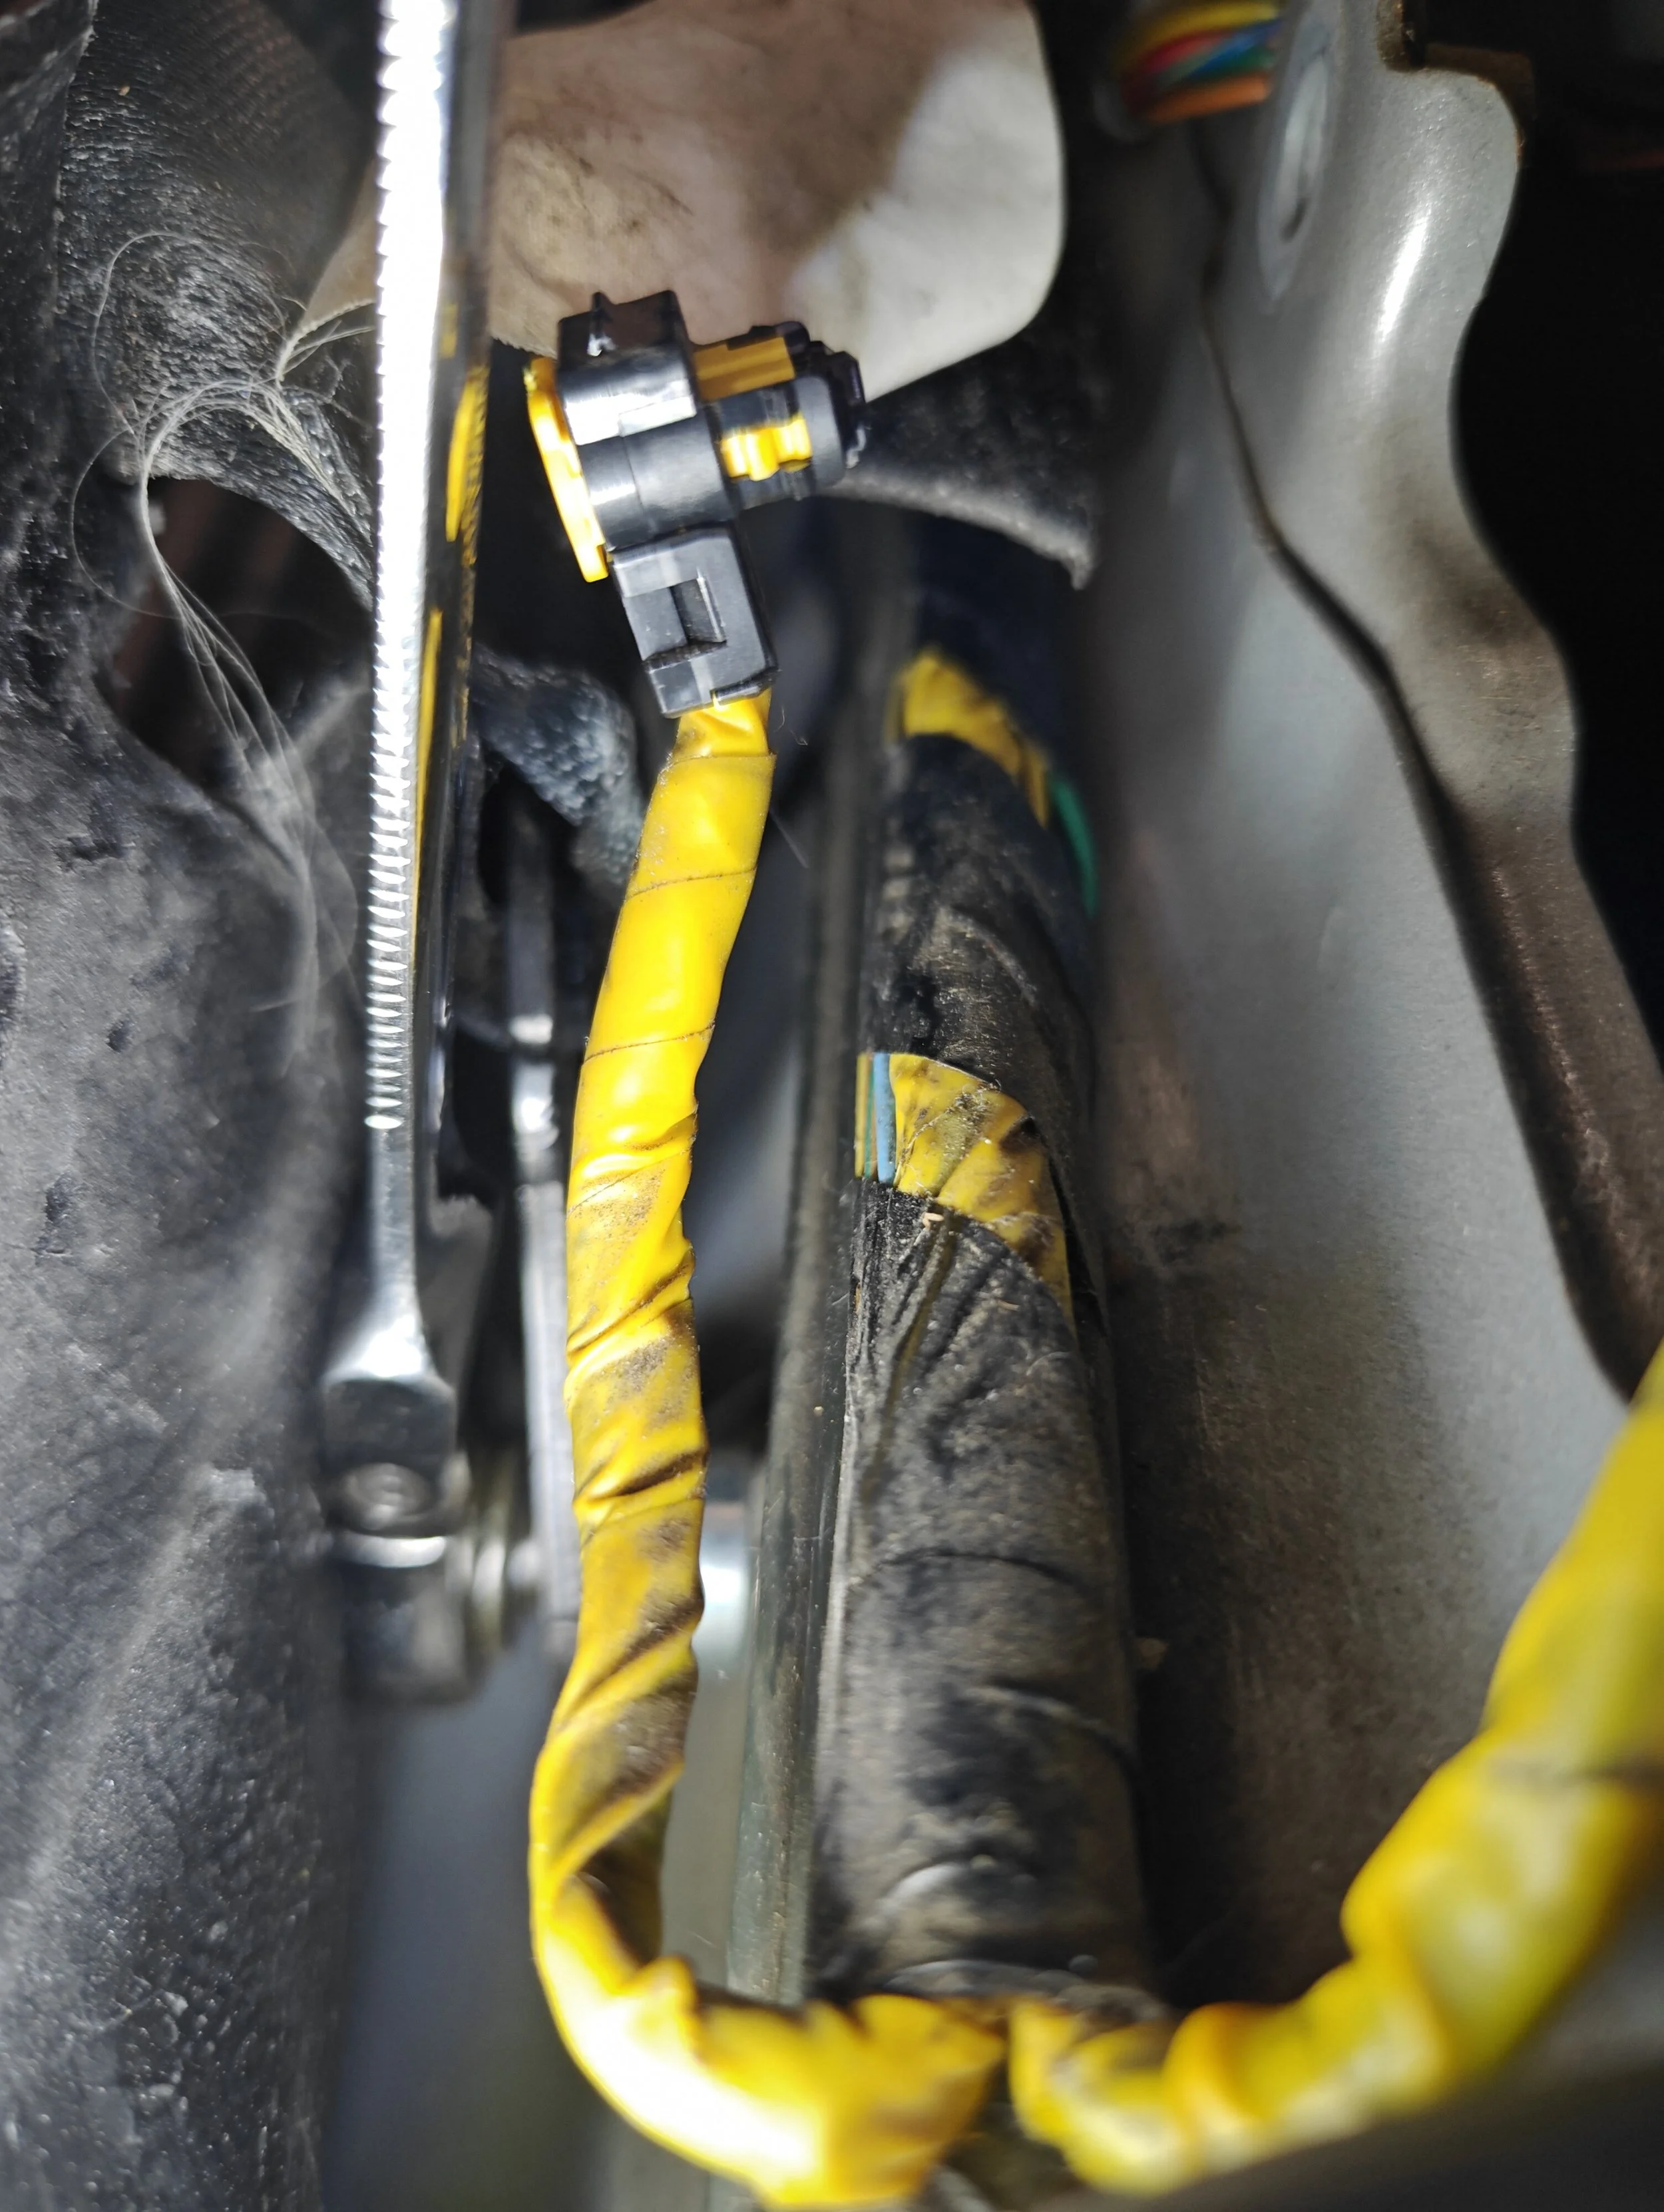
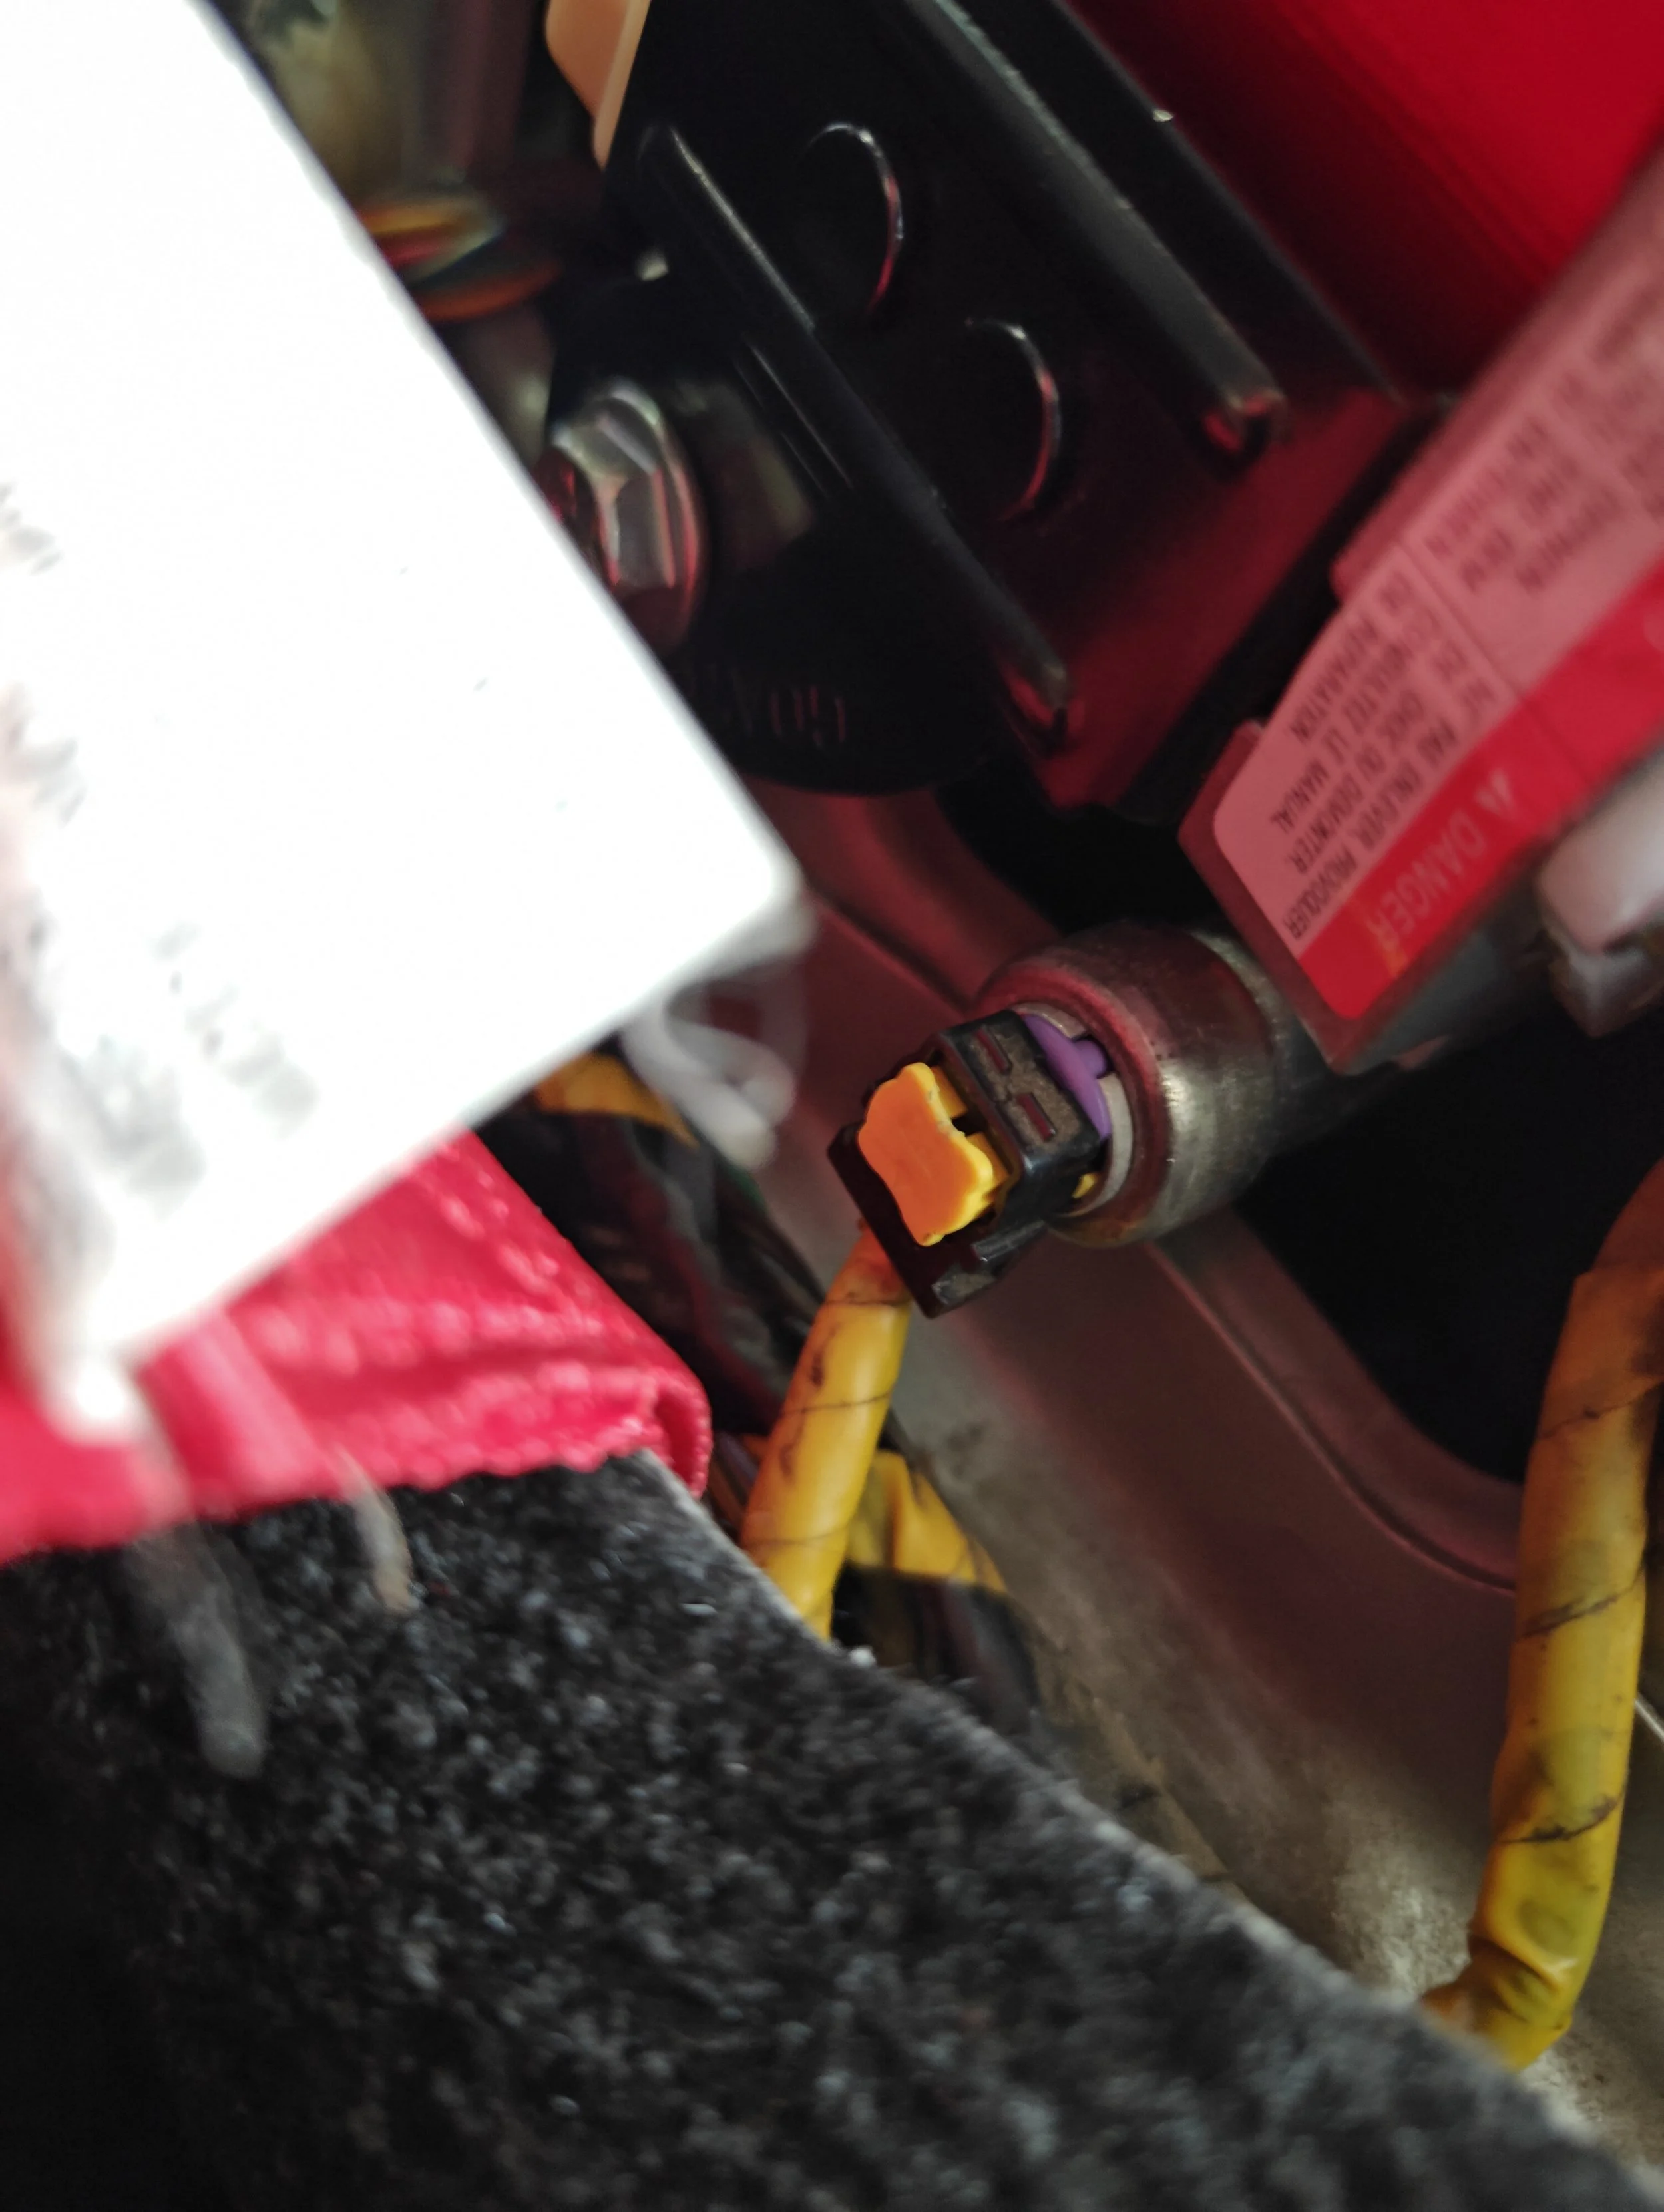
I then moved to the lower portion of the seat belt. You will need to pull the carpet away and locate the SRS connector, lower seat belt anchor and seat belt retractor. I began with removing the SRS connector which is the black and yellow electrical connector. You will need a small prying tool to unlock the center yellow lock device. After it is slid out and unlocked you can pull on the outside black connector to remove it from the retractor.
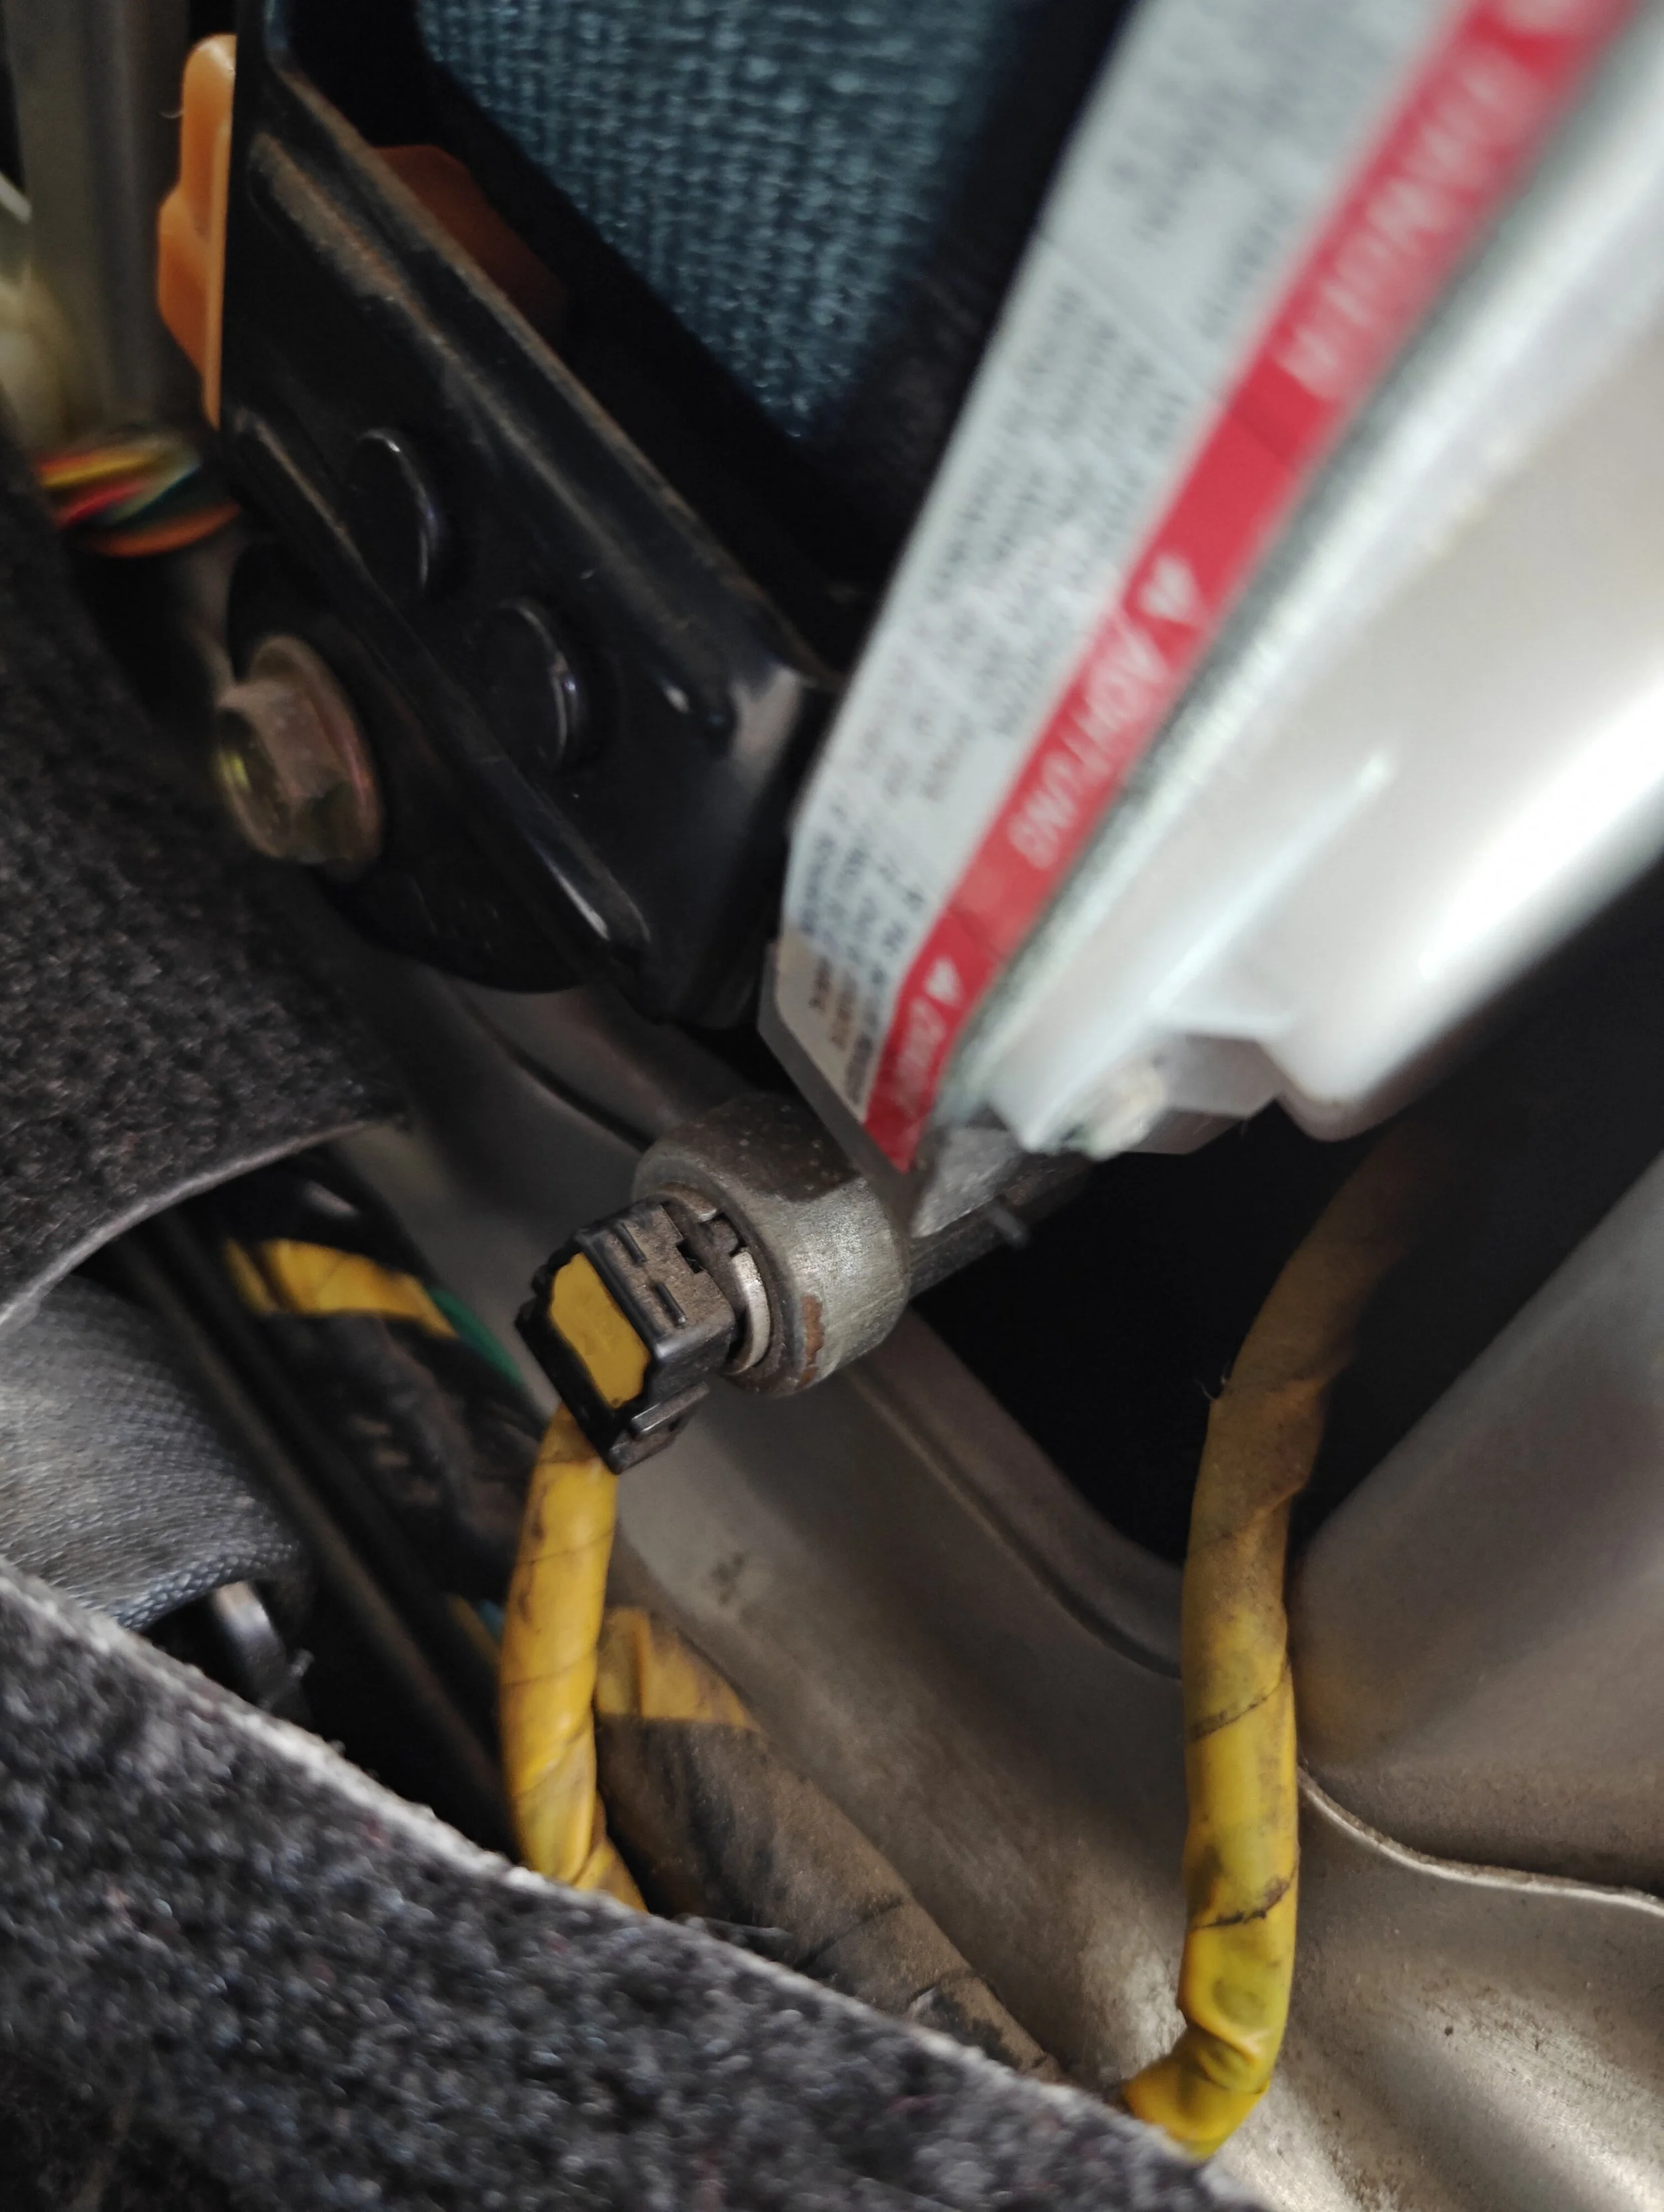
next up is the electrical connector
Pull out the center tab and it will be unlocked and ready to remove.
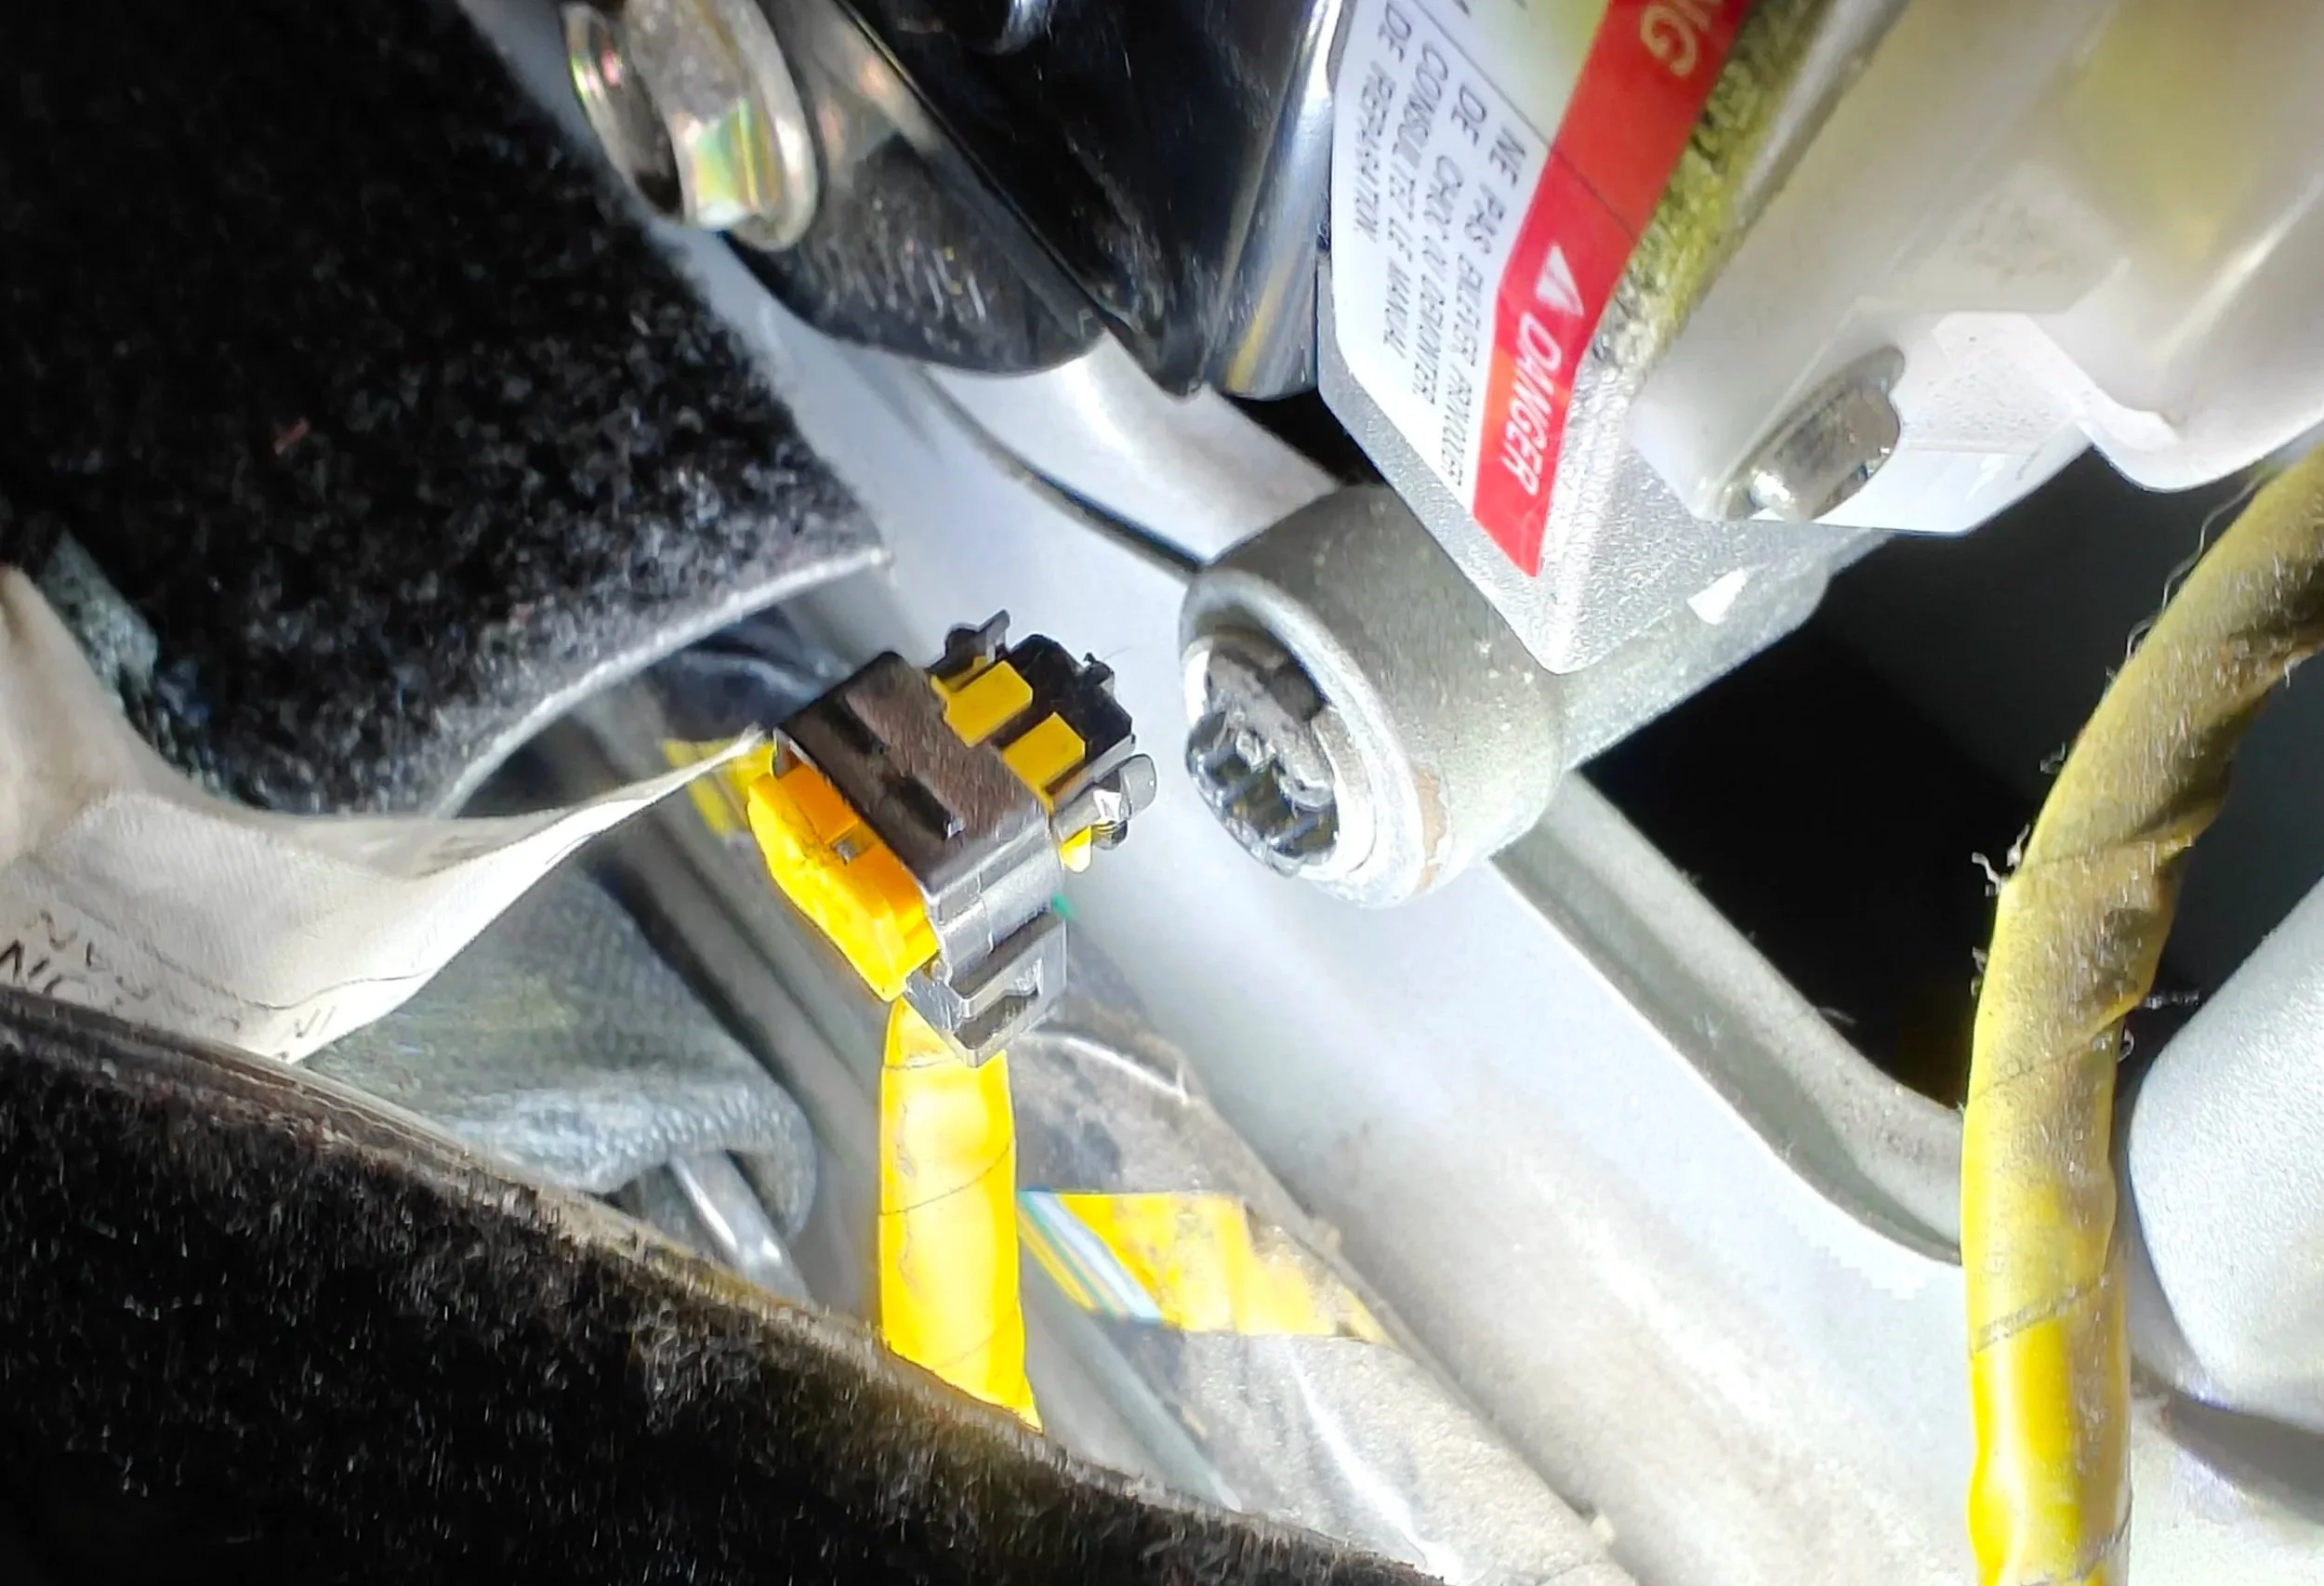
All done here.
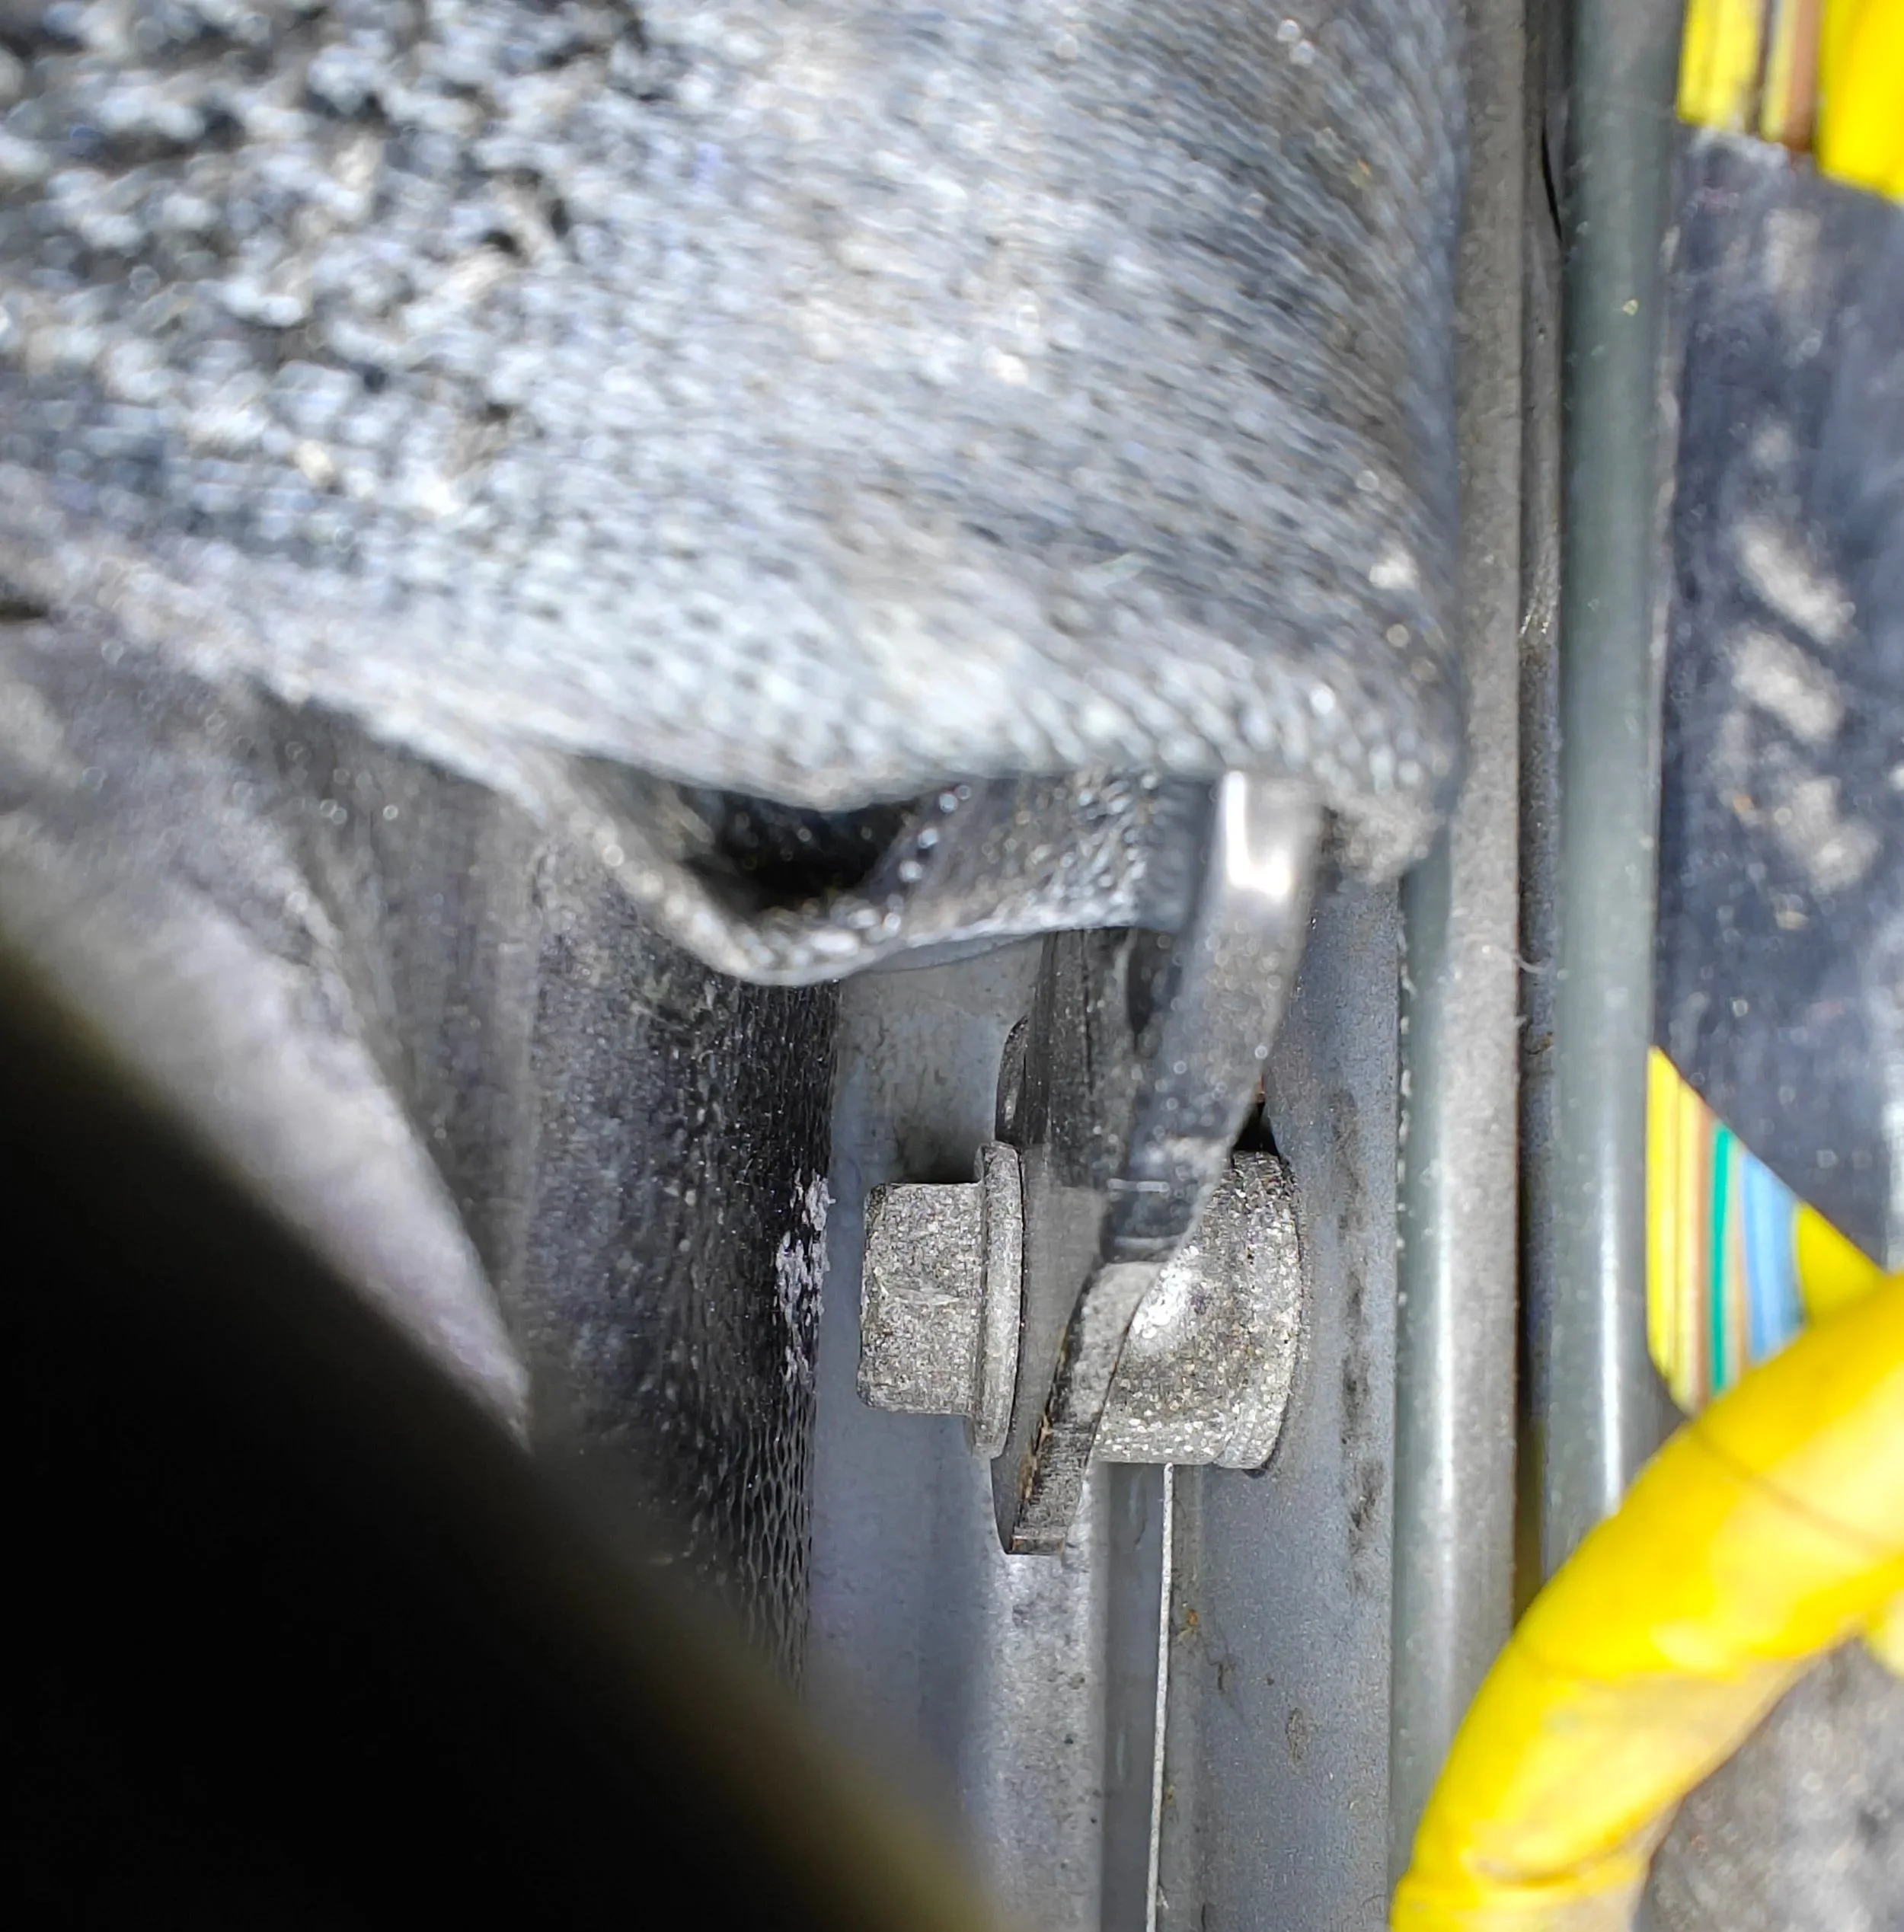
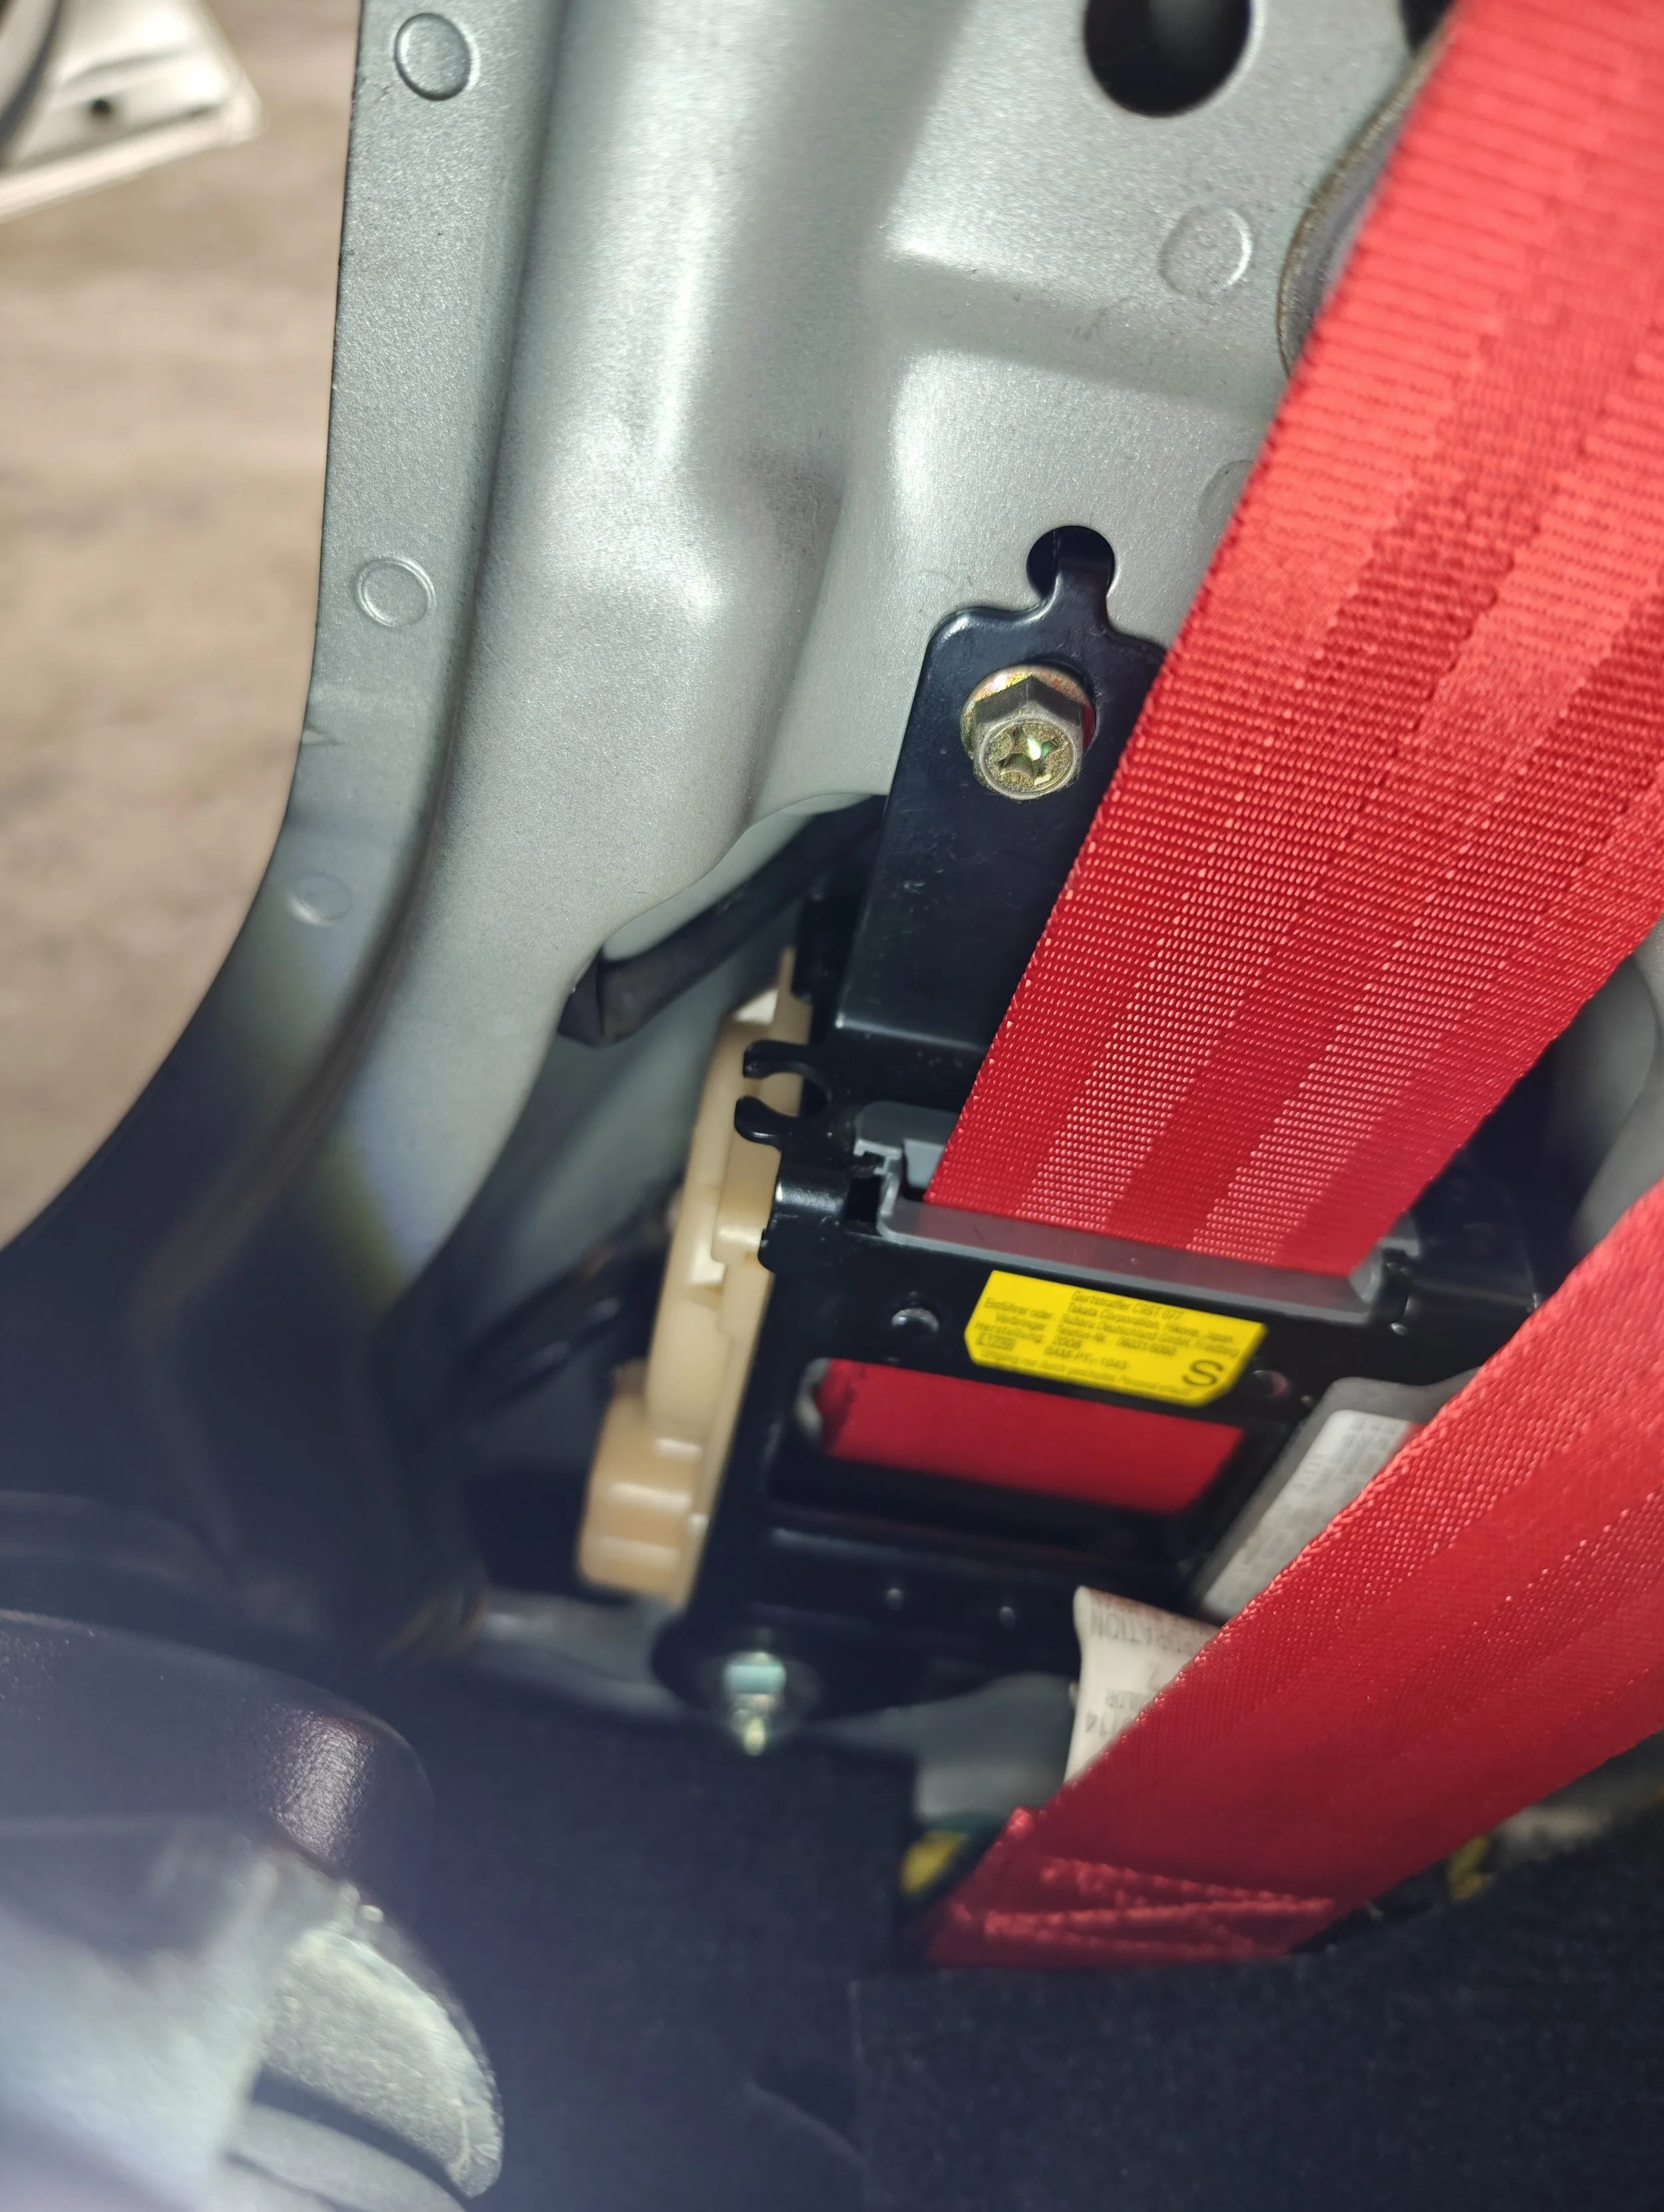
With the electrical connector undone you can begin removing the large seat belt retractor. It is held in at two locations. Both are easily visible and you will need to remove them. The retractor can be placed on of the way as there is only one more bolt to remove.
Next up is the top bolt on the retractor.
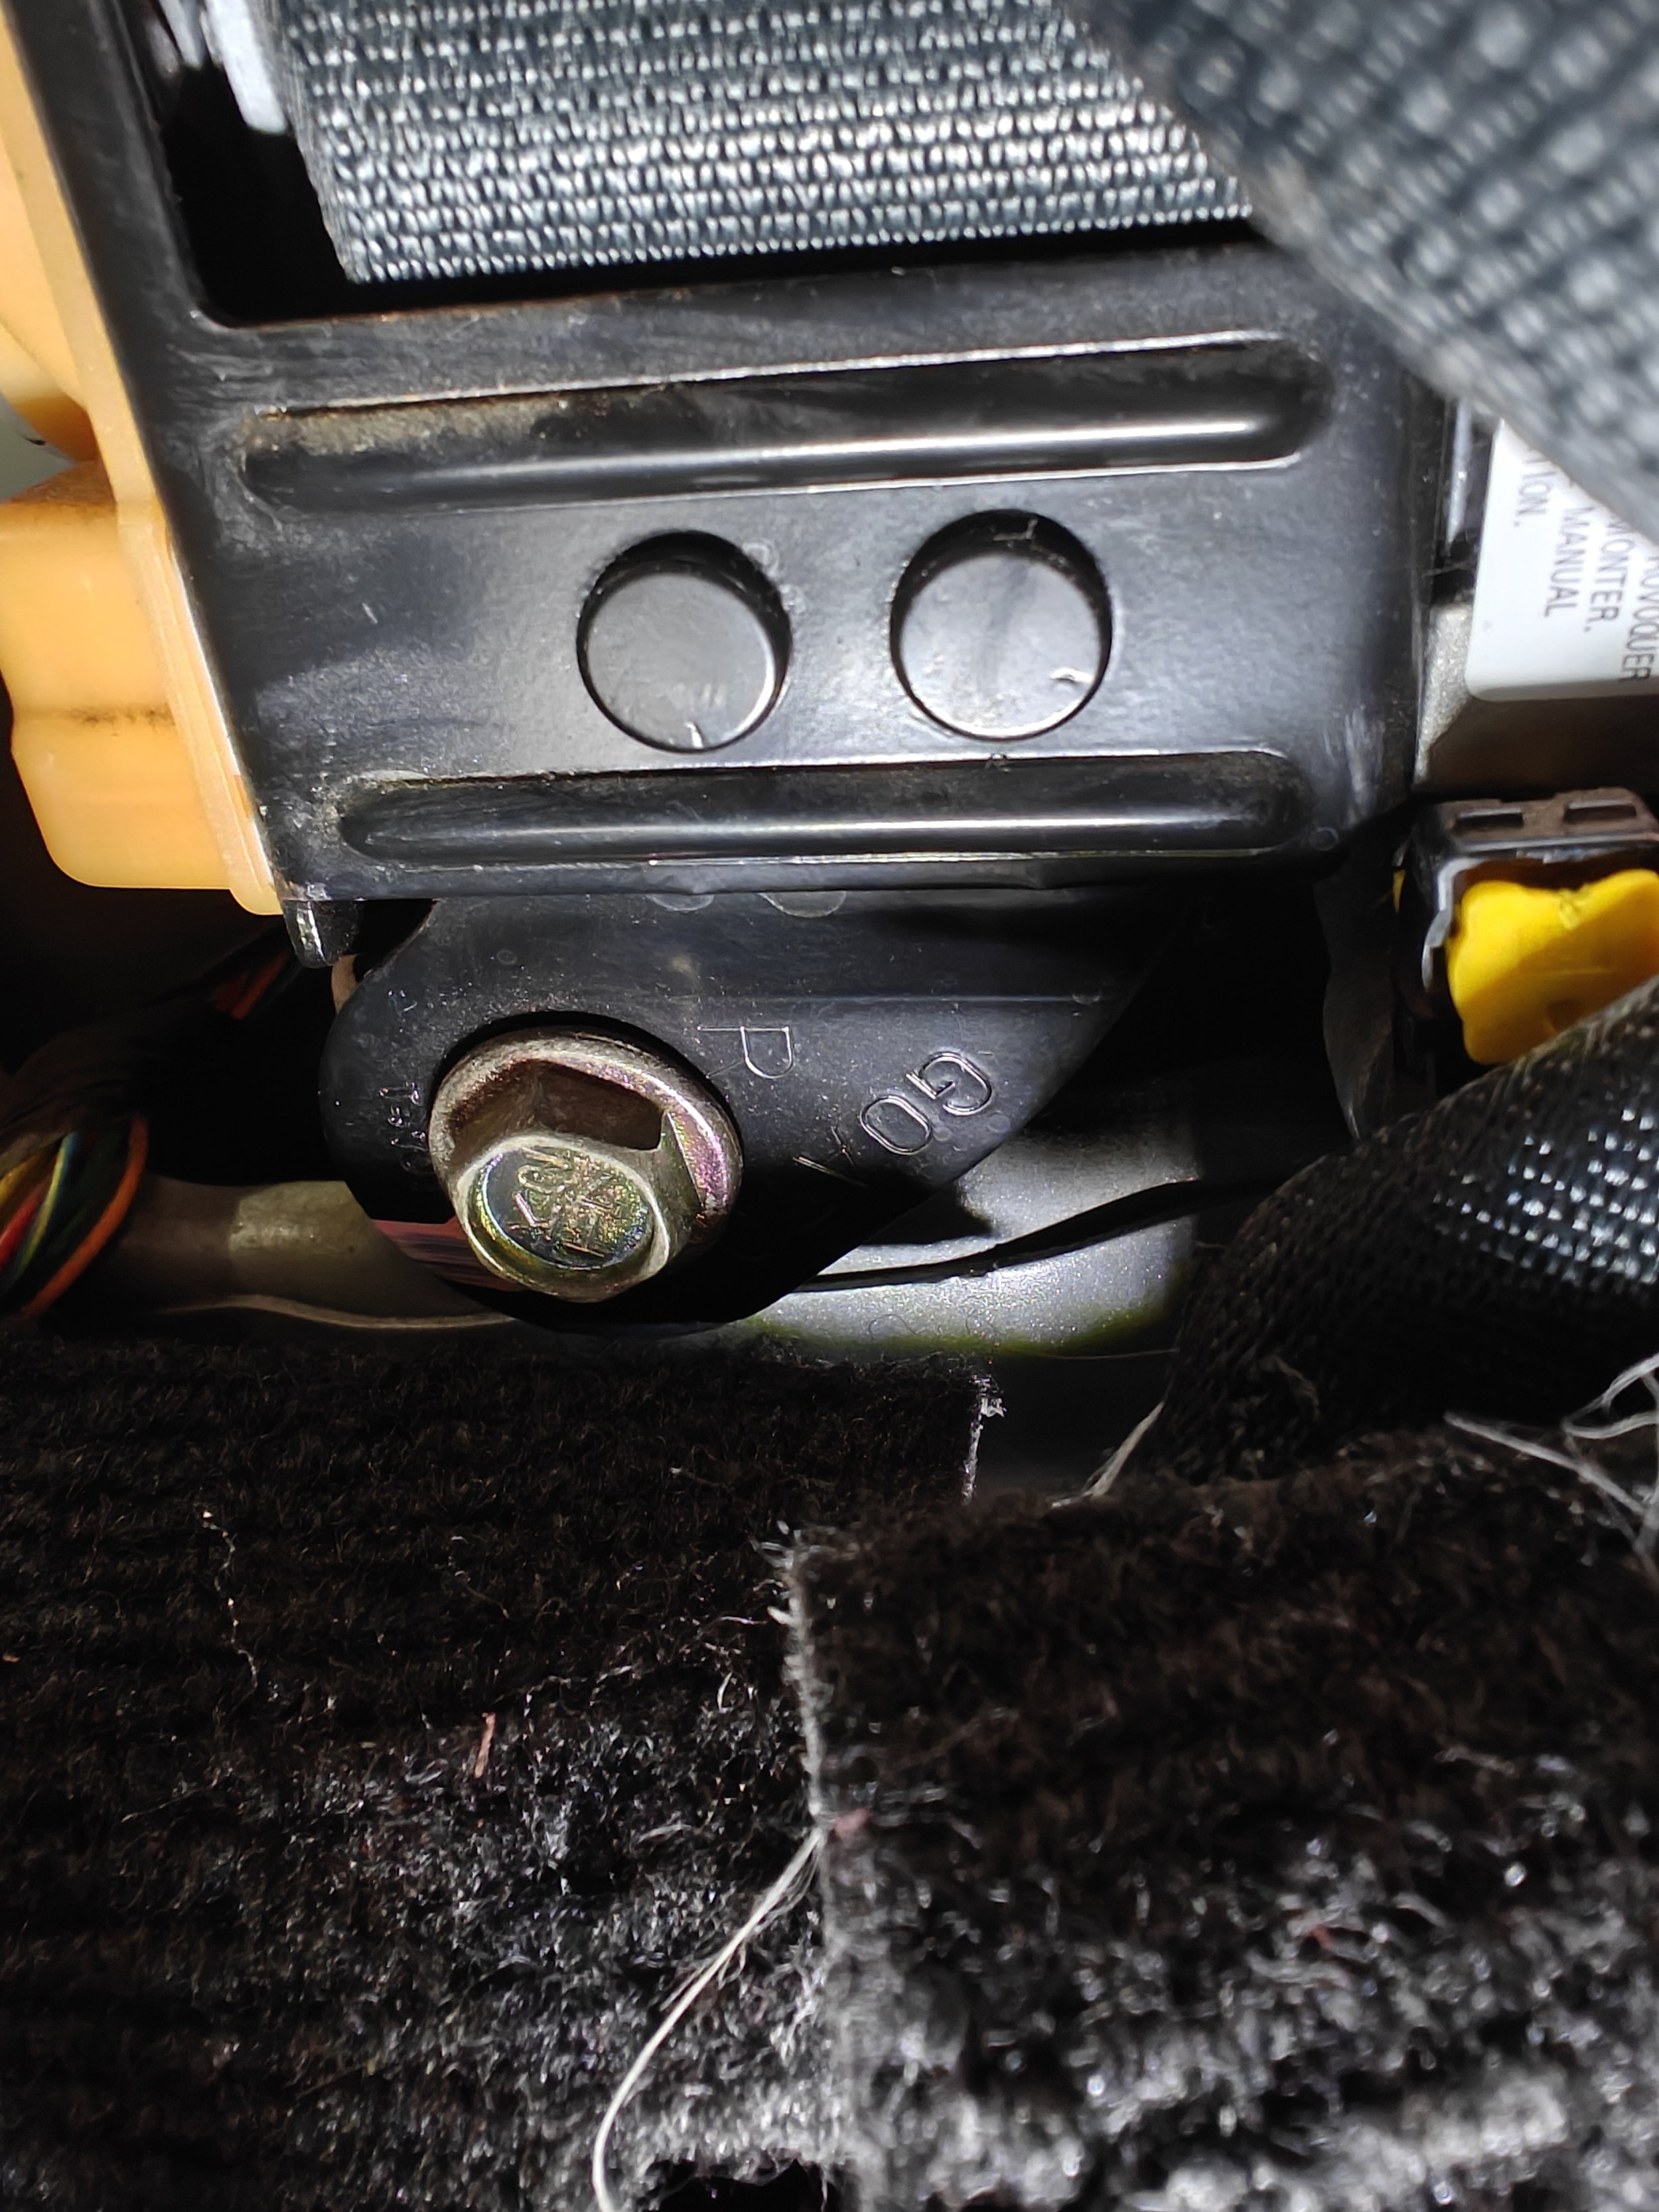
Then on to the lower bolt.
It is now free to be moved to the side.
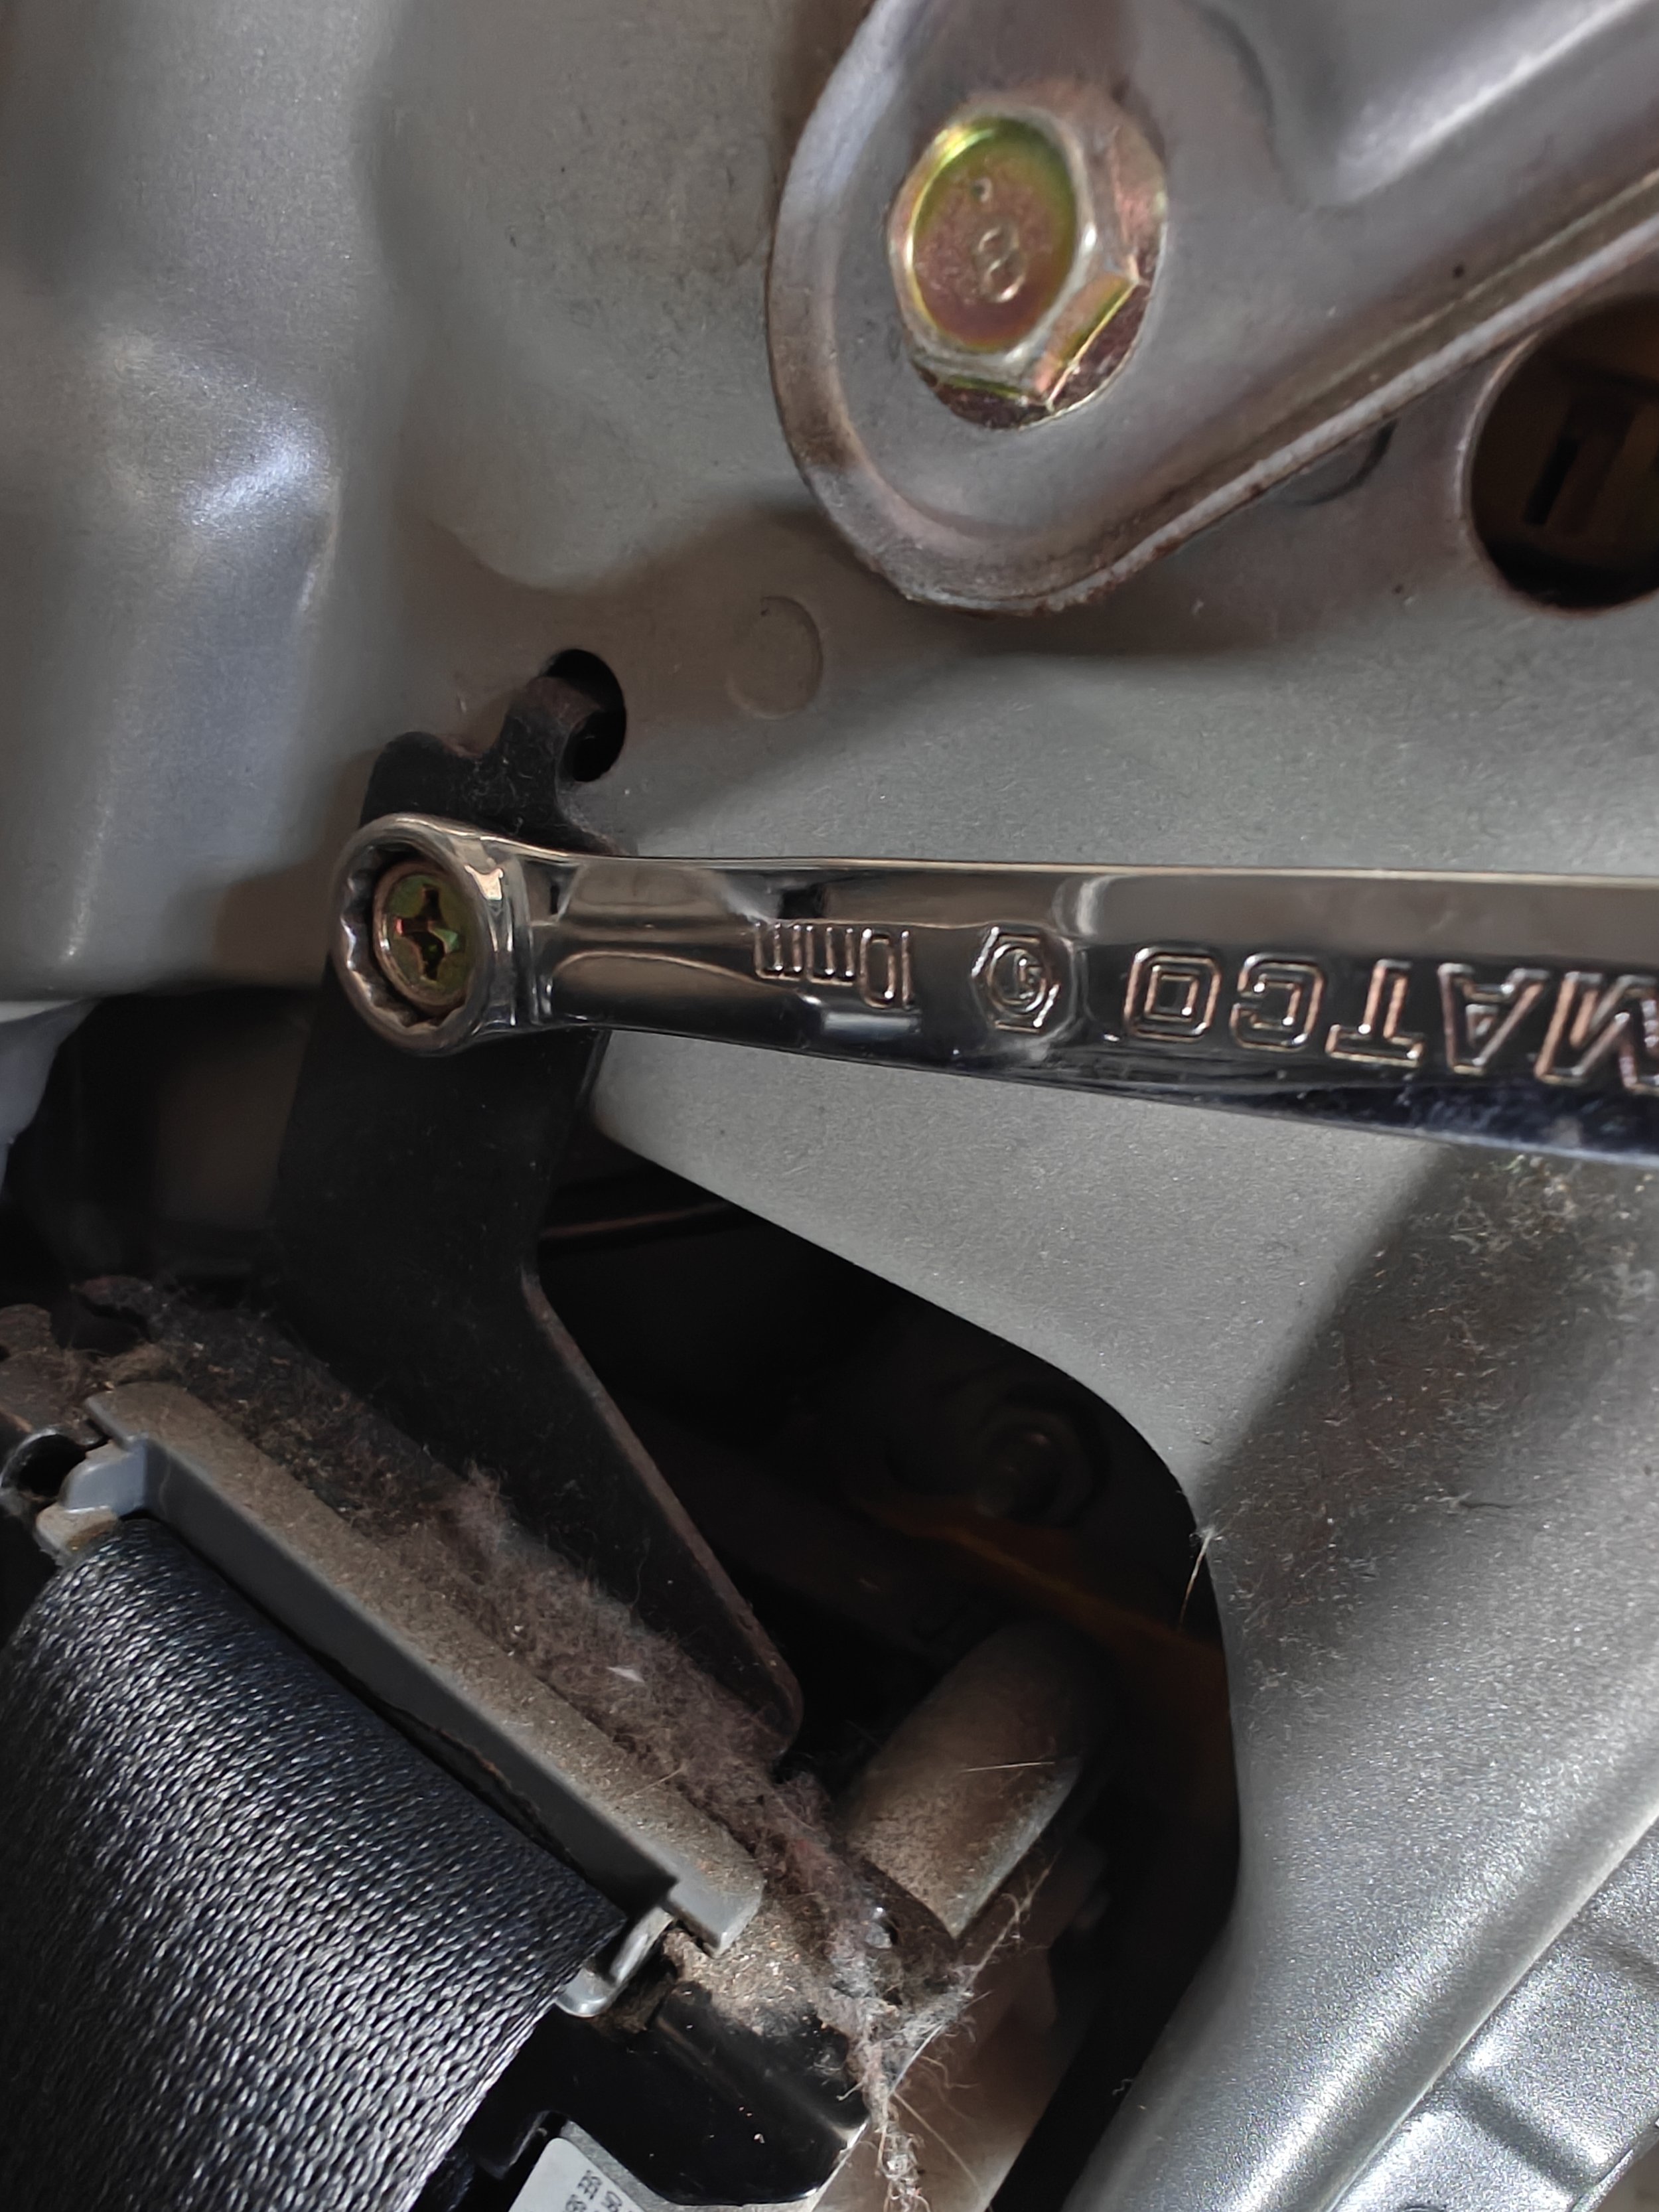
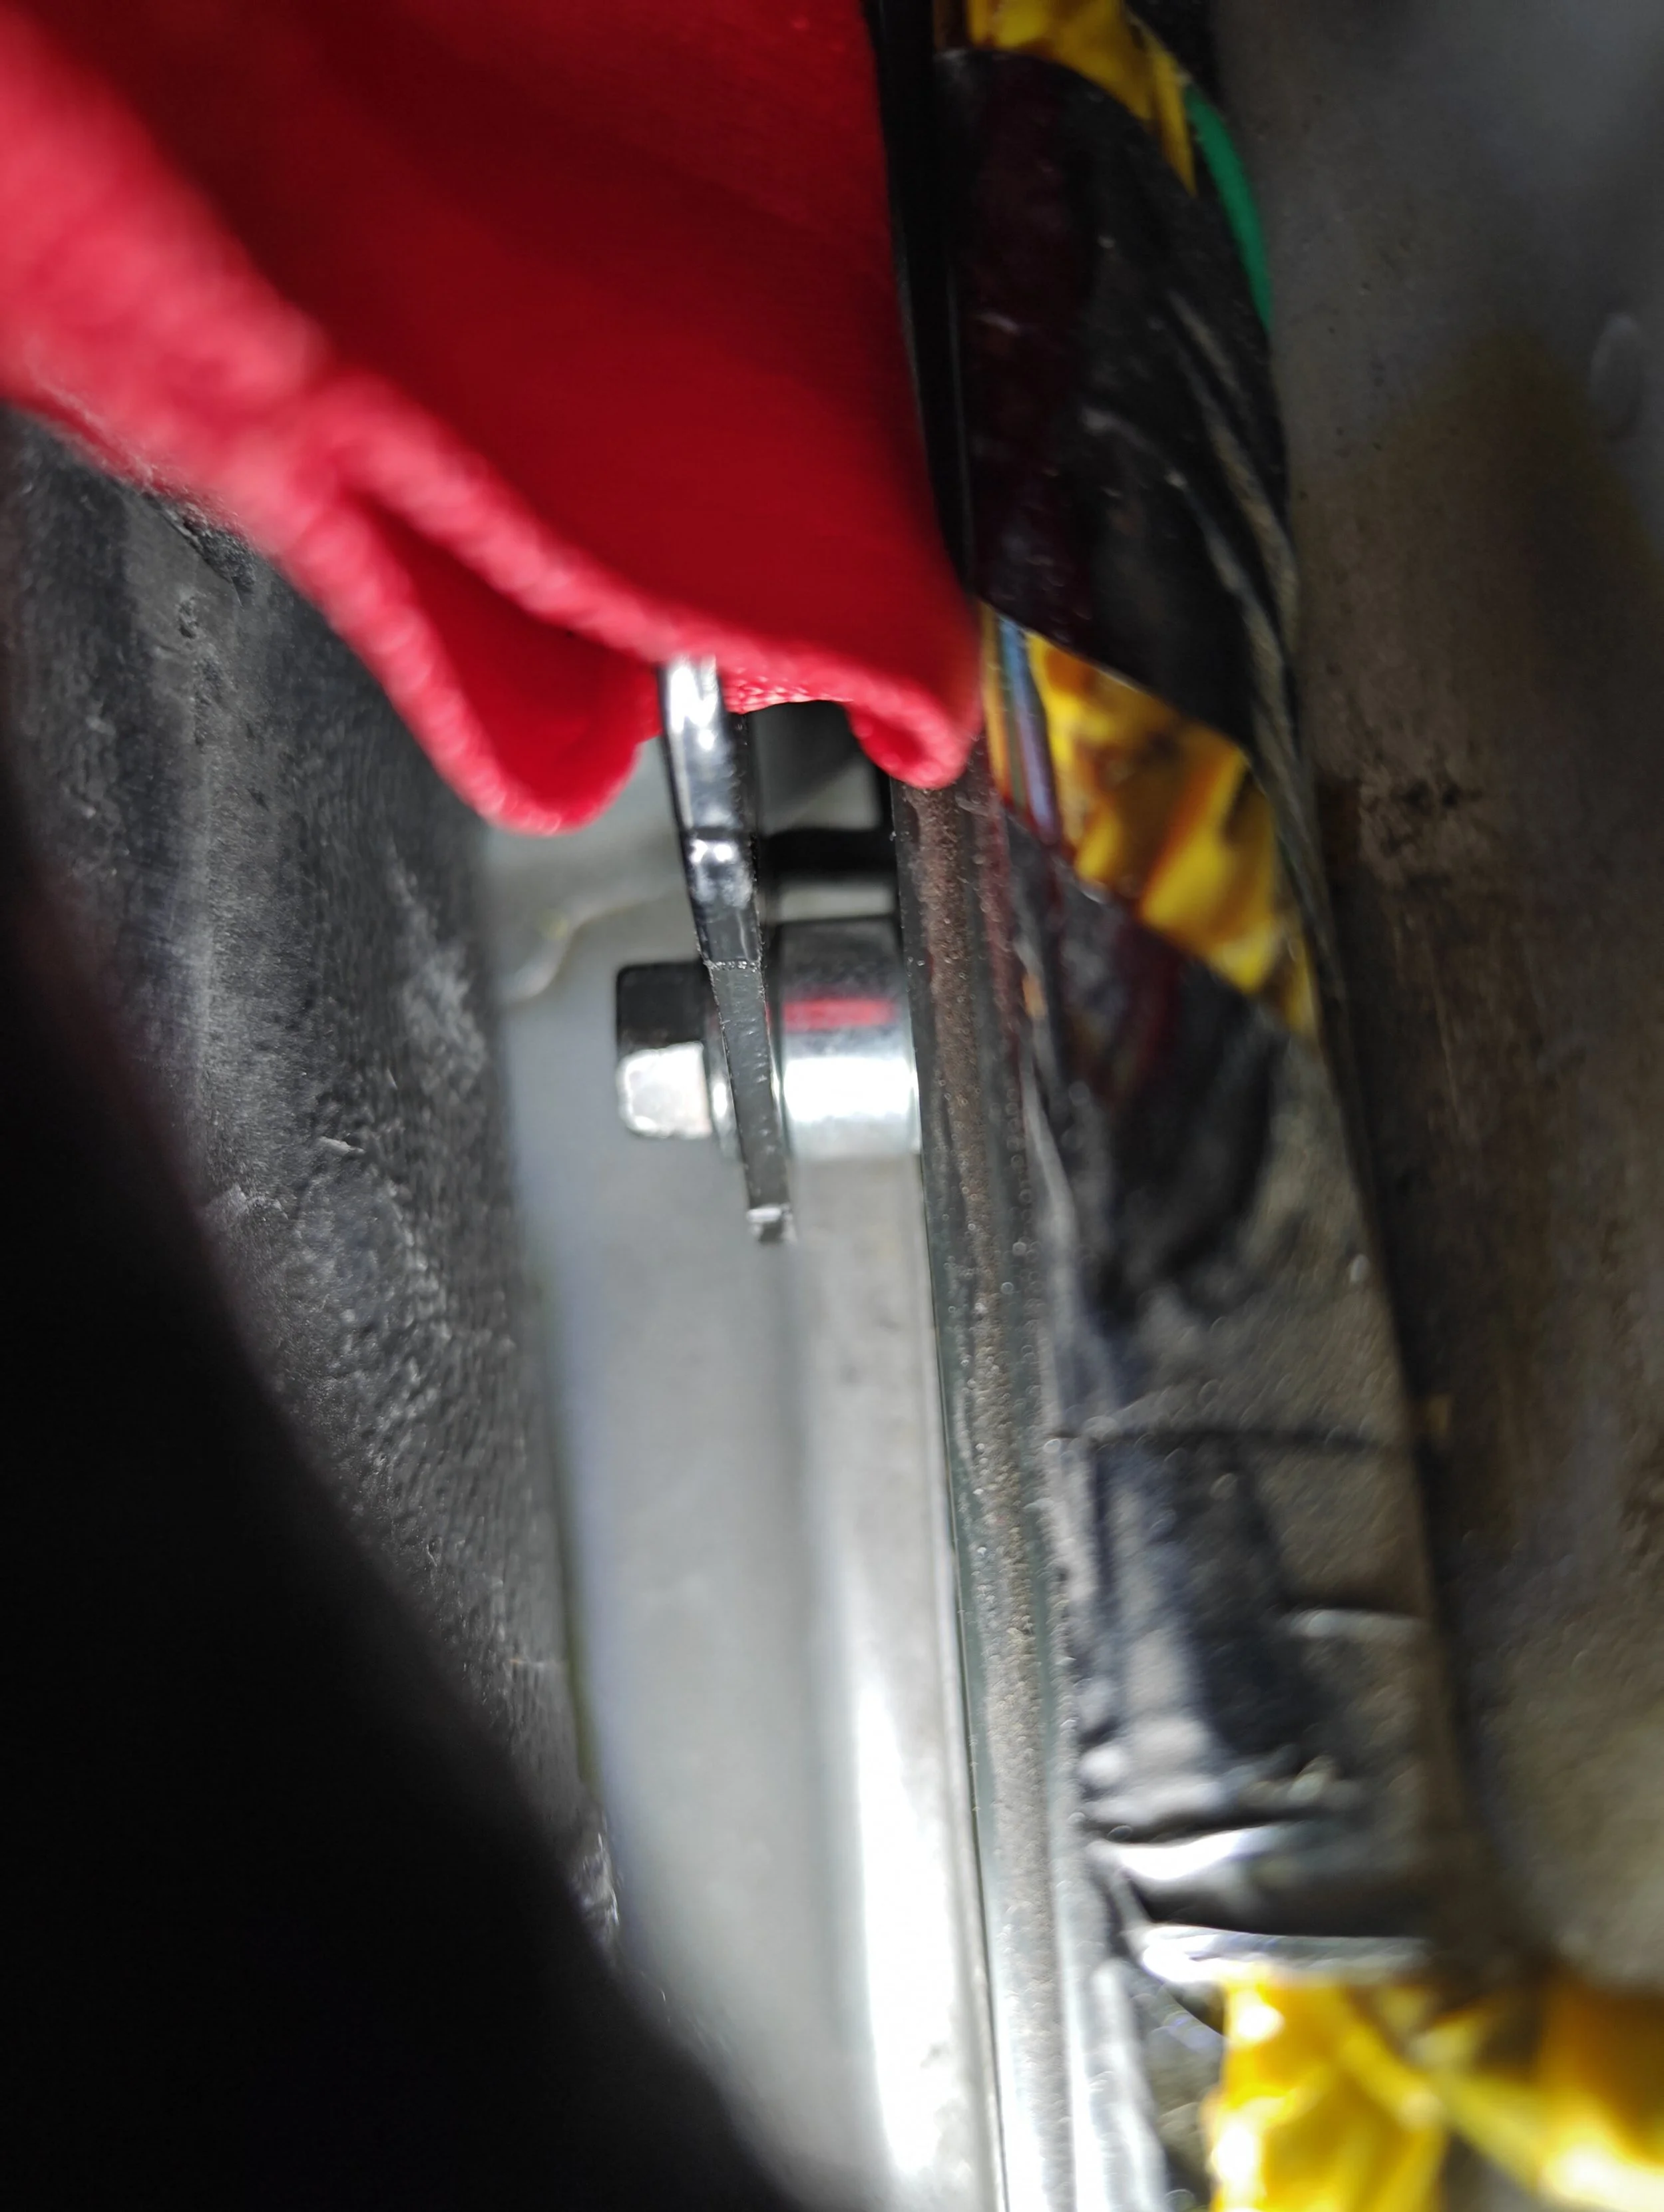
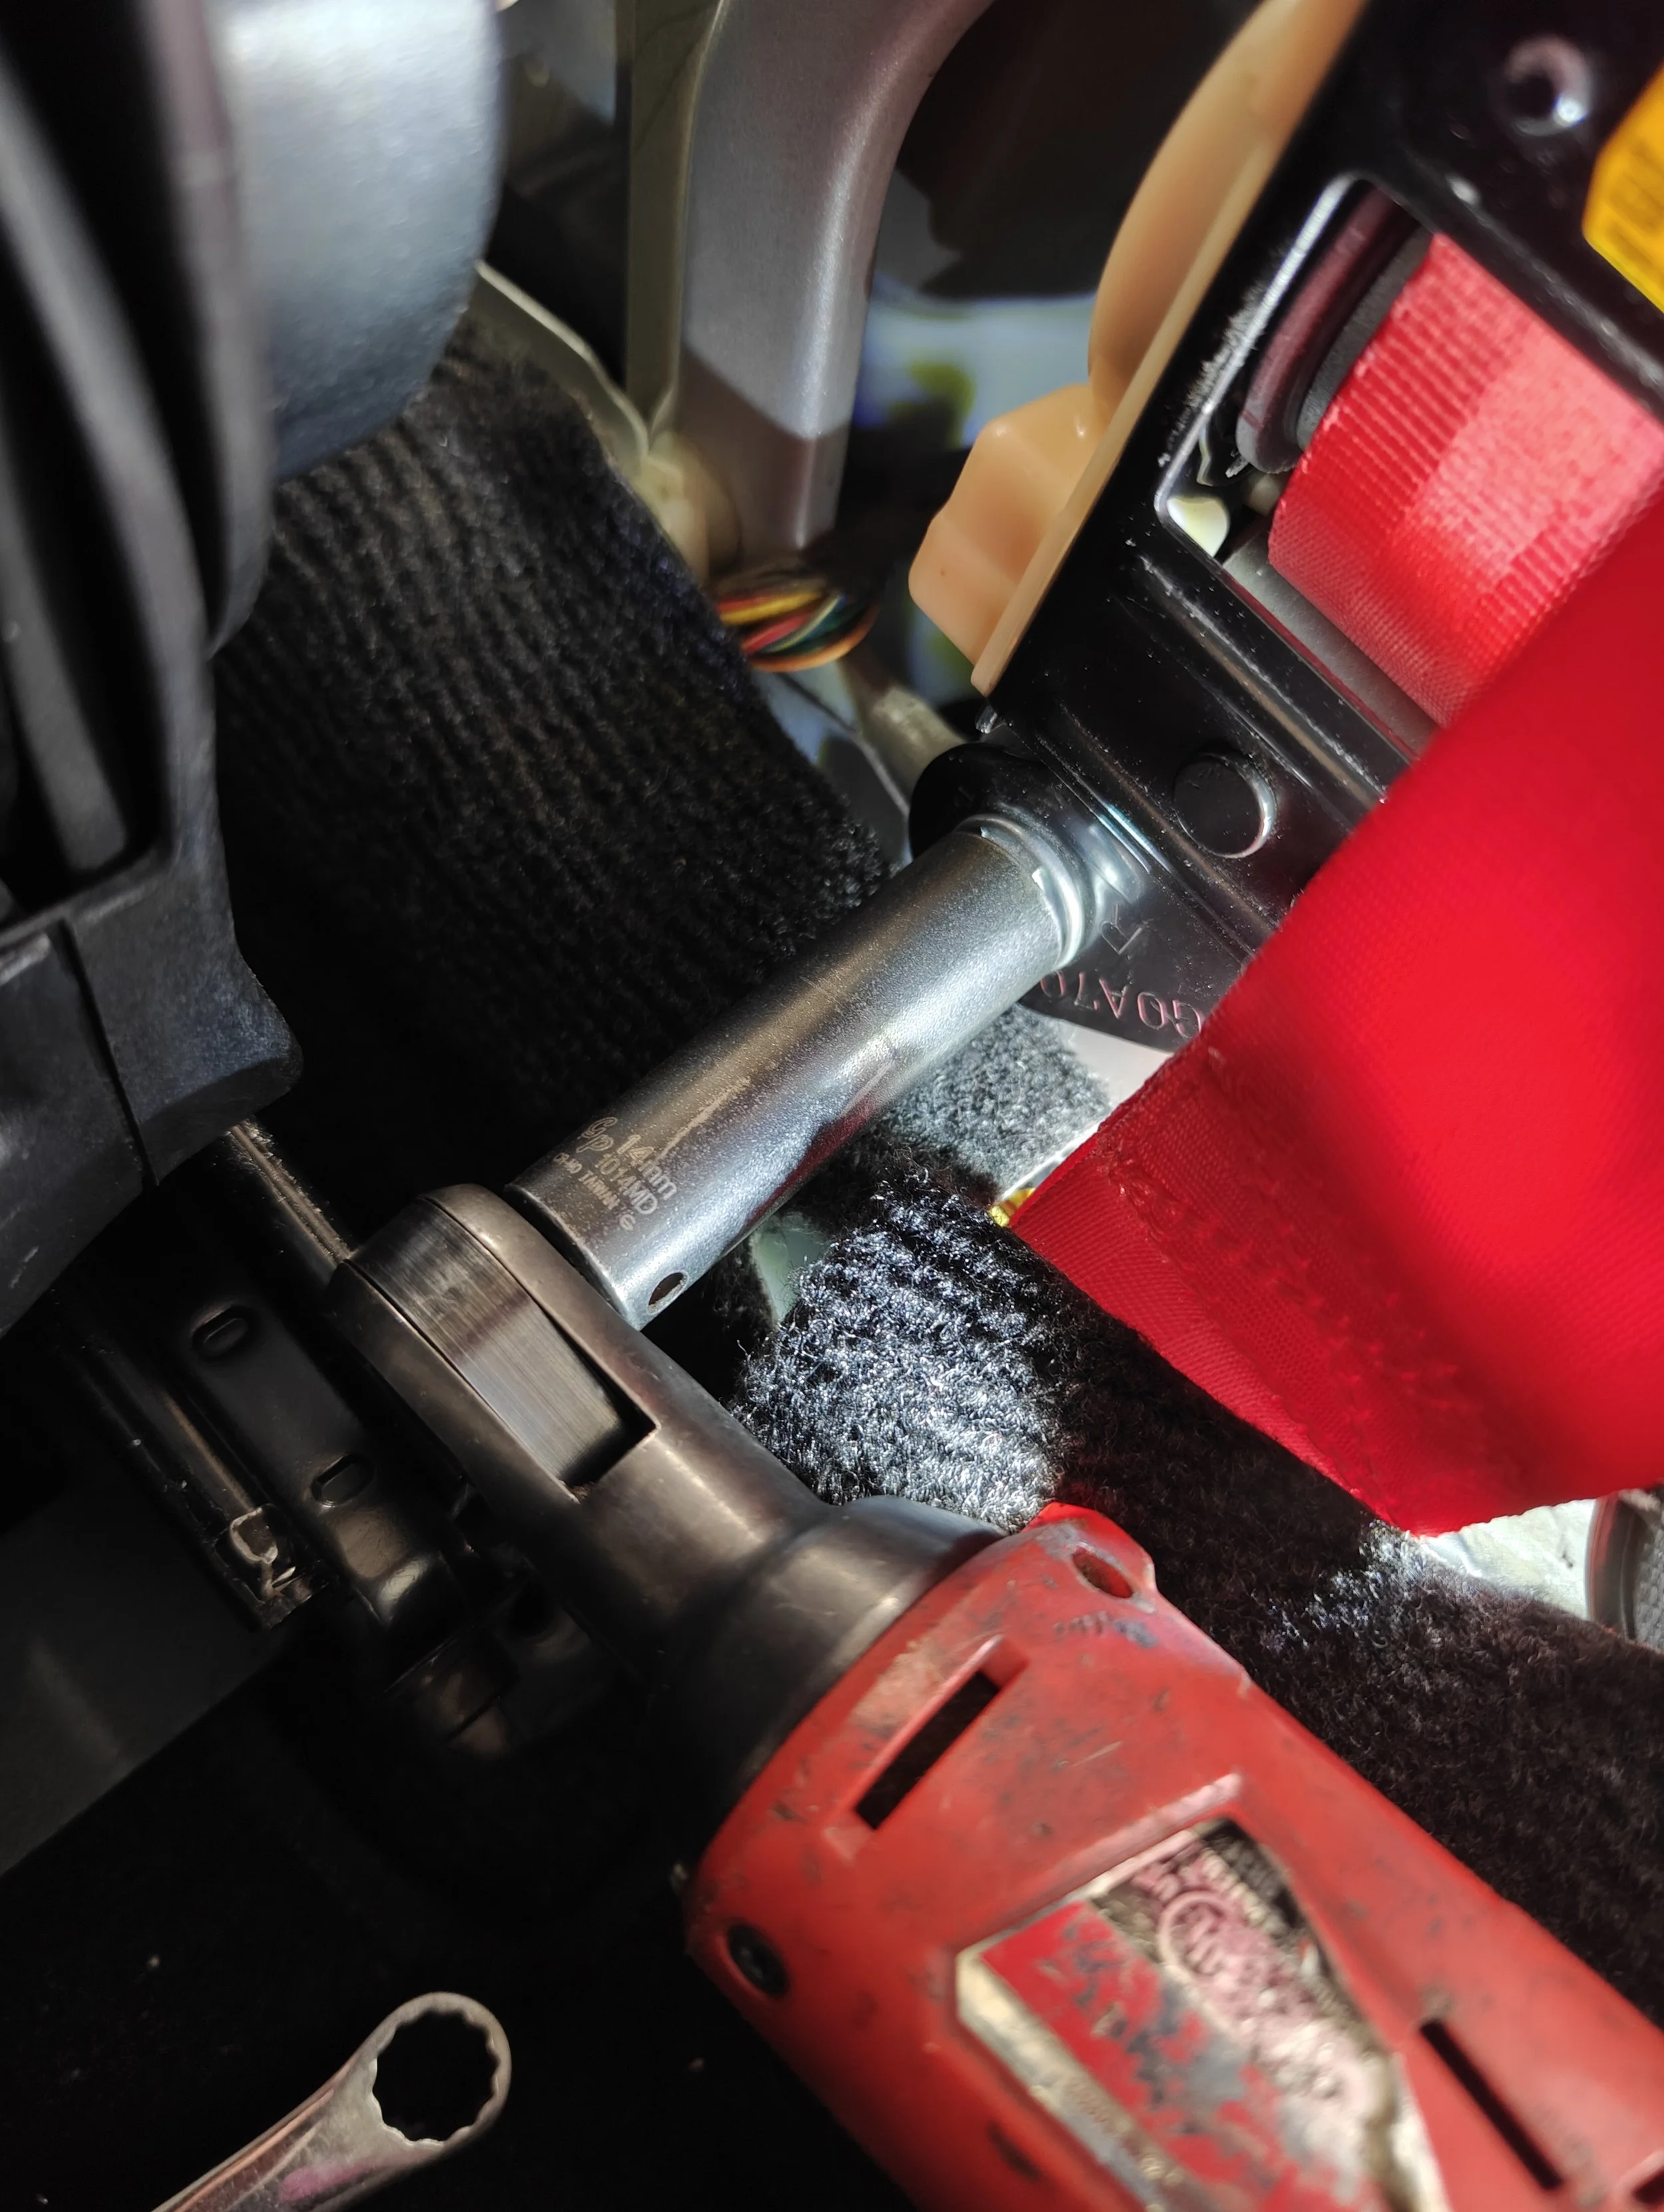
The final bolt to remove is the lower seat belt anchor. This is a little tougher to access, but can be done with the proper tools. With a long box ended wrench I was able to access it and break it free. I then moved to a ratcheting wrench to speed up the process. Once this bolt is removed the seatbelt can come out and you are ready to start installing your new belt.
The final bolt is the lower anchor bolt. It can be tough to access but with ratcheting wrenches we should be able to take care of it
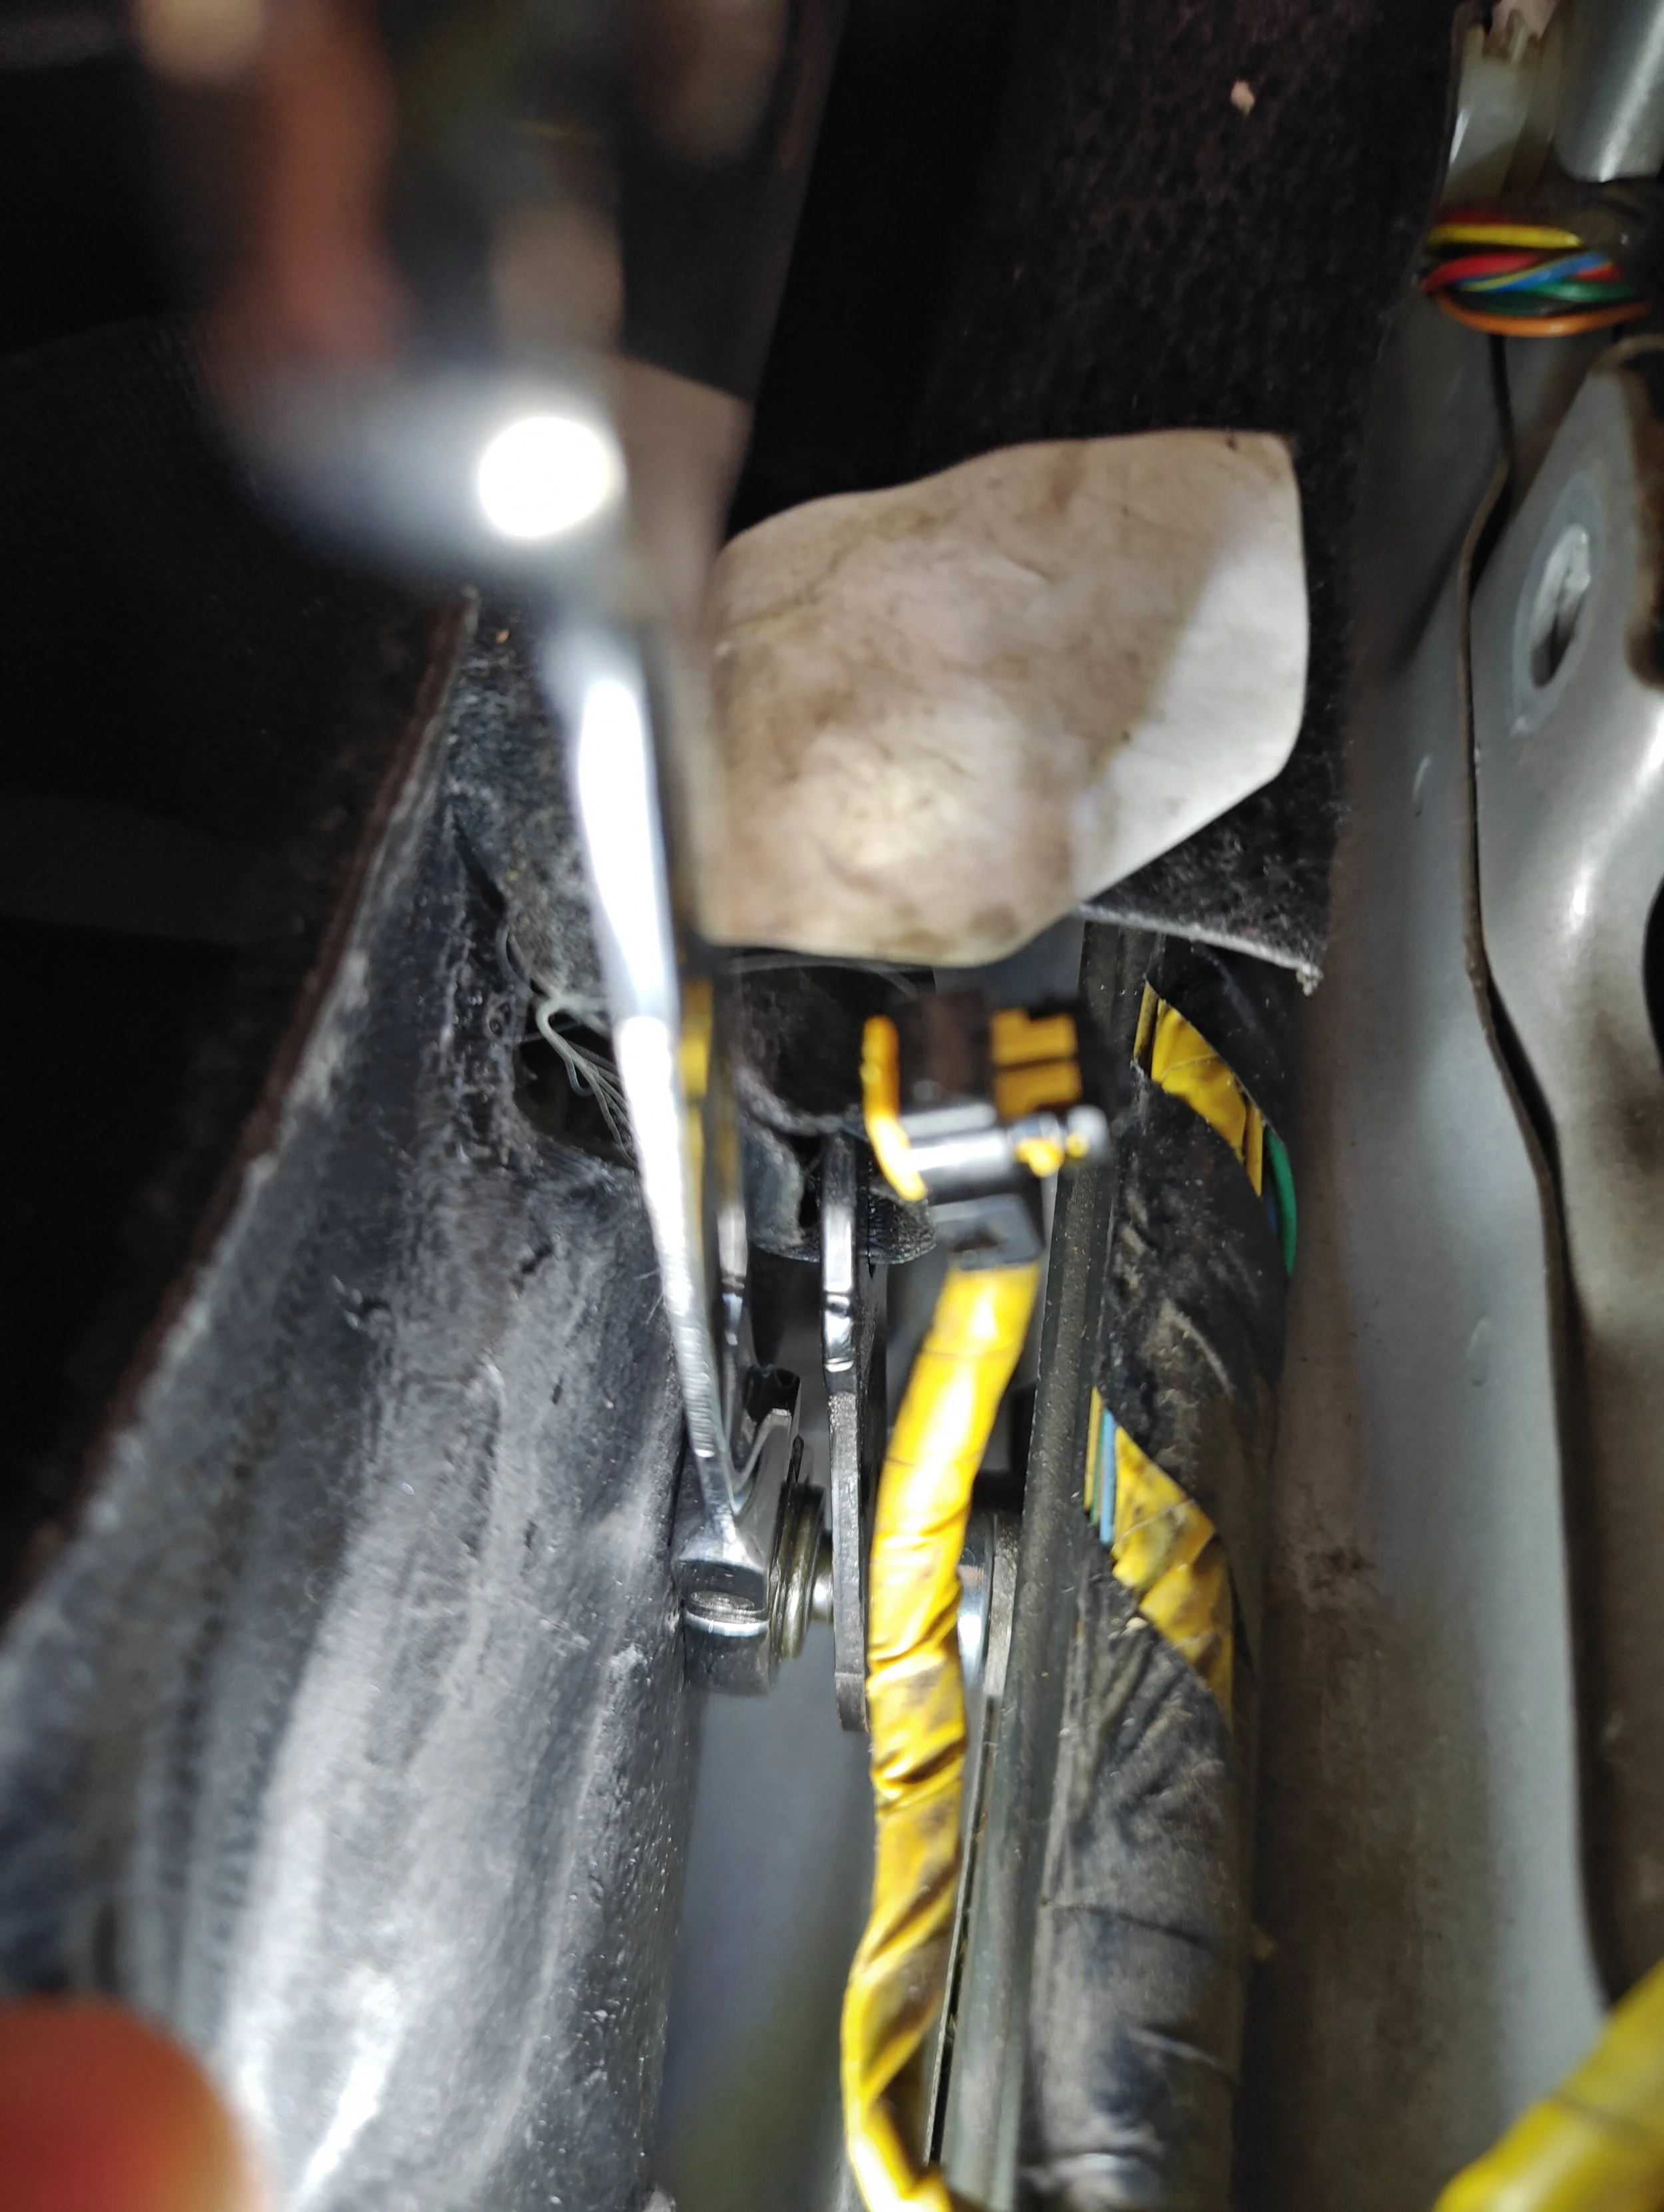
Slow and steady. The carpet the biggest difficulty.
Rachet on.

We are ready to get the new belt in.

Old belt out!
We can begin the reverse order that we removed the seat belt. This has us beginning with the lower anchor and moving on to the retractor. Once the retractor is properly in place, you can reconnect the SRS connector and move to the upper anchor. Making sure to torque all fasteners to their proper value. I would recommend testing out that the belt by sitting out and making sure everything is working as it should (examples: testing out the operation of the seat belt and airbag light) before putting on the trim panels.
Starting with the hardest bolt first.
Moving on to the lower retractor bolt.
Upper bolt is back in.
You can go ahead and reinstall the connector. In this image the lock has yet to be set. Make sure to push it in!
Last up for the bolts is the upper anchor.

Upper cover is back on and we can do a bit of testing before placing the trim pieces back on.
All done!
Once all the checks have been made and everything is in working order, you may disconnect the battery and proceed to the other side of the car and repeat the process.
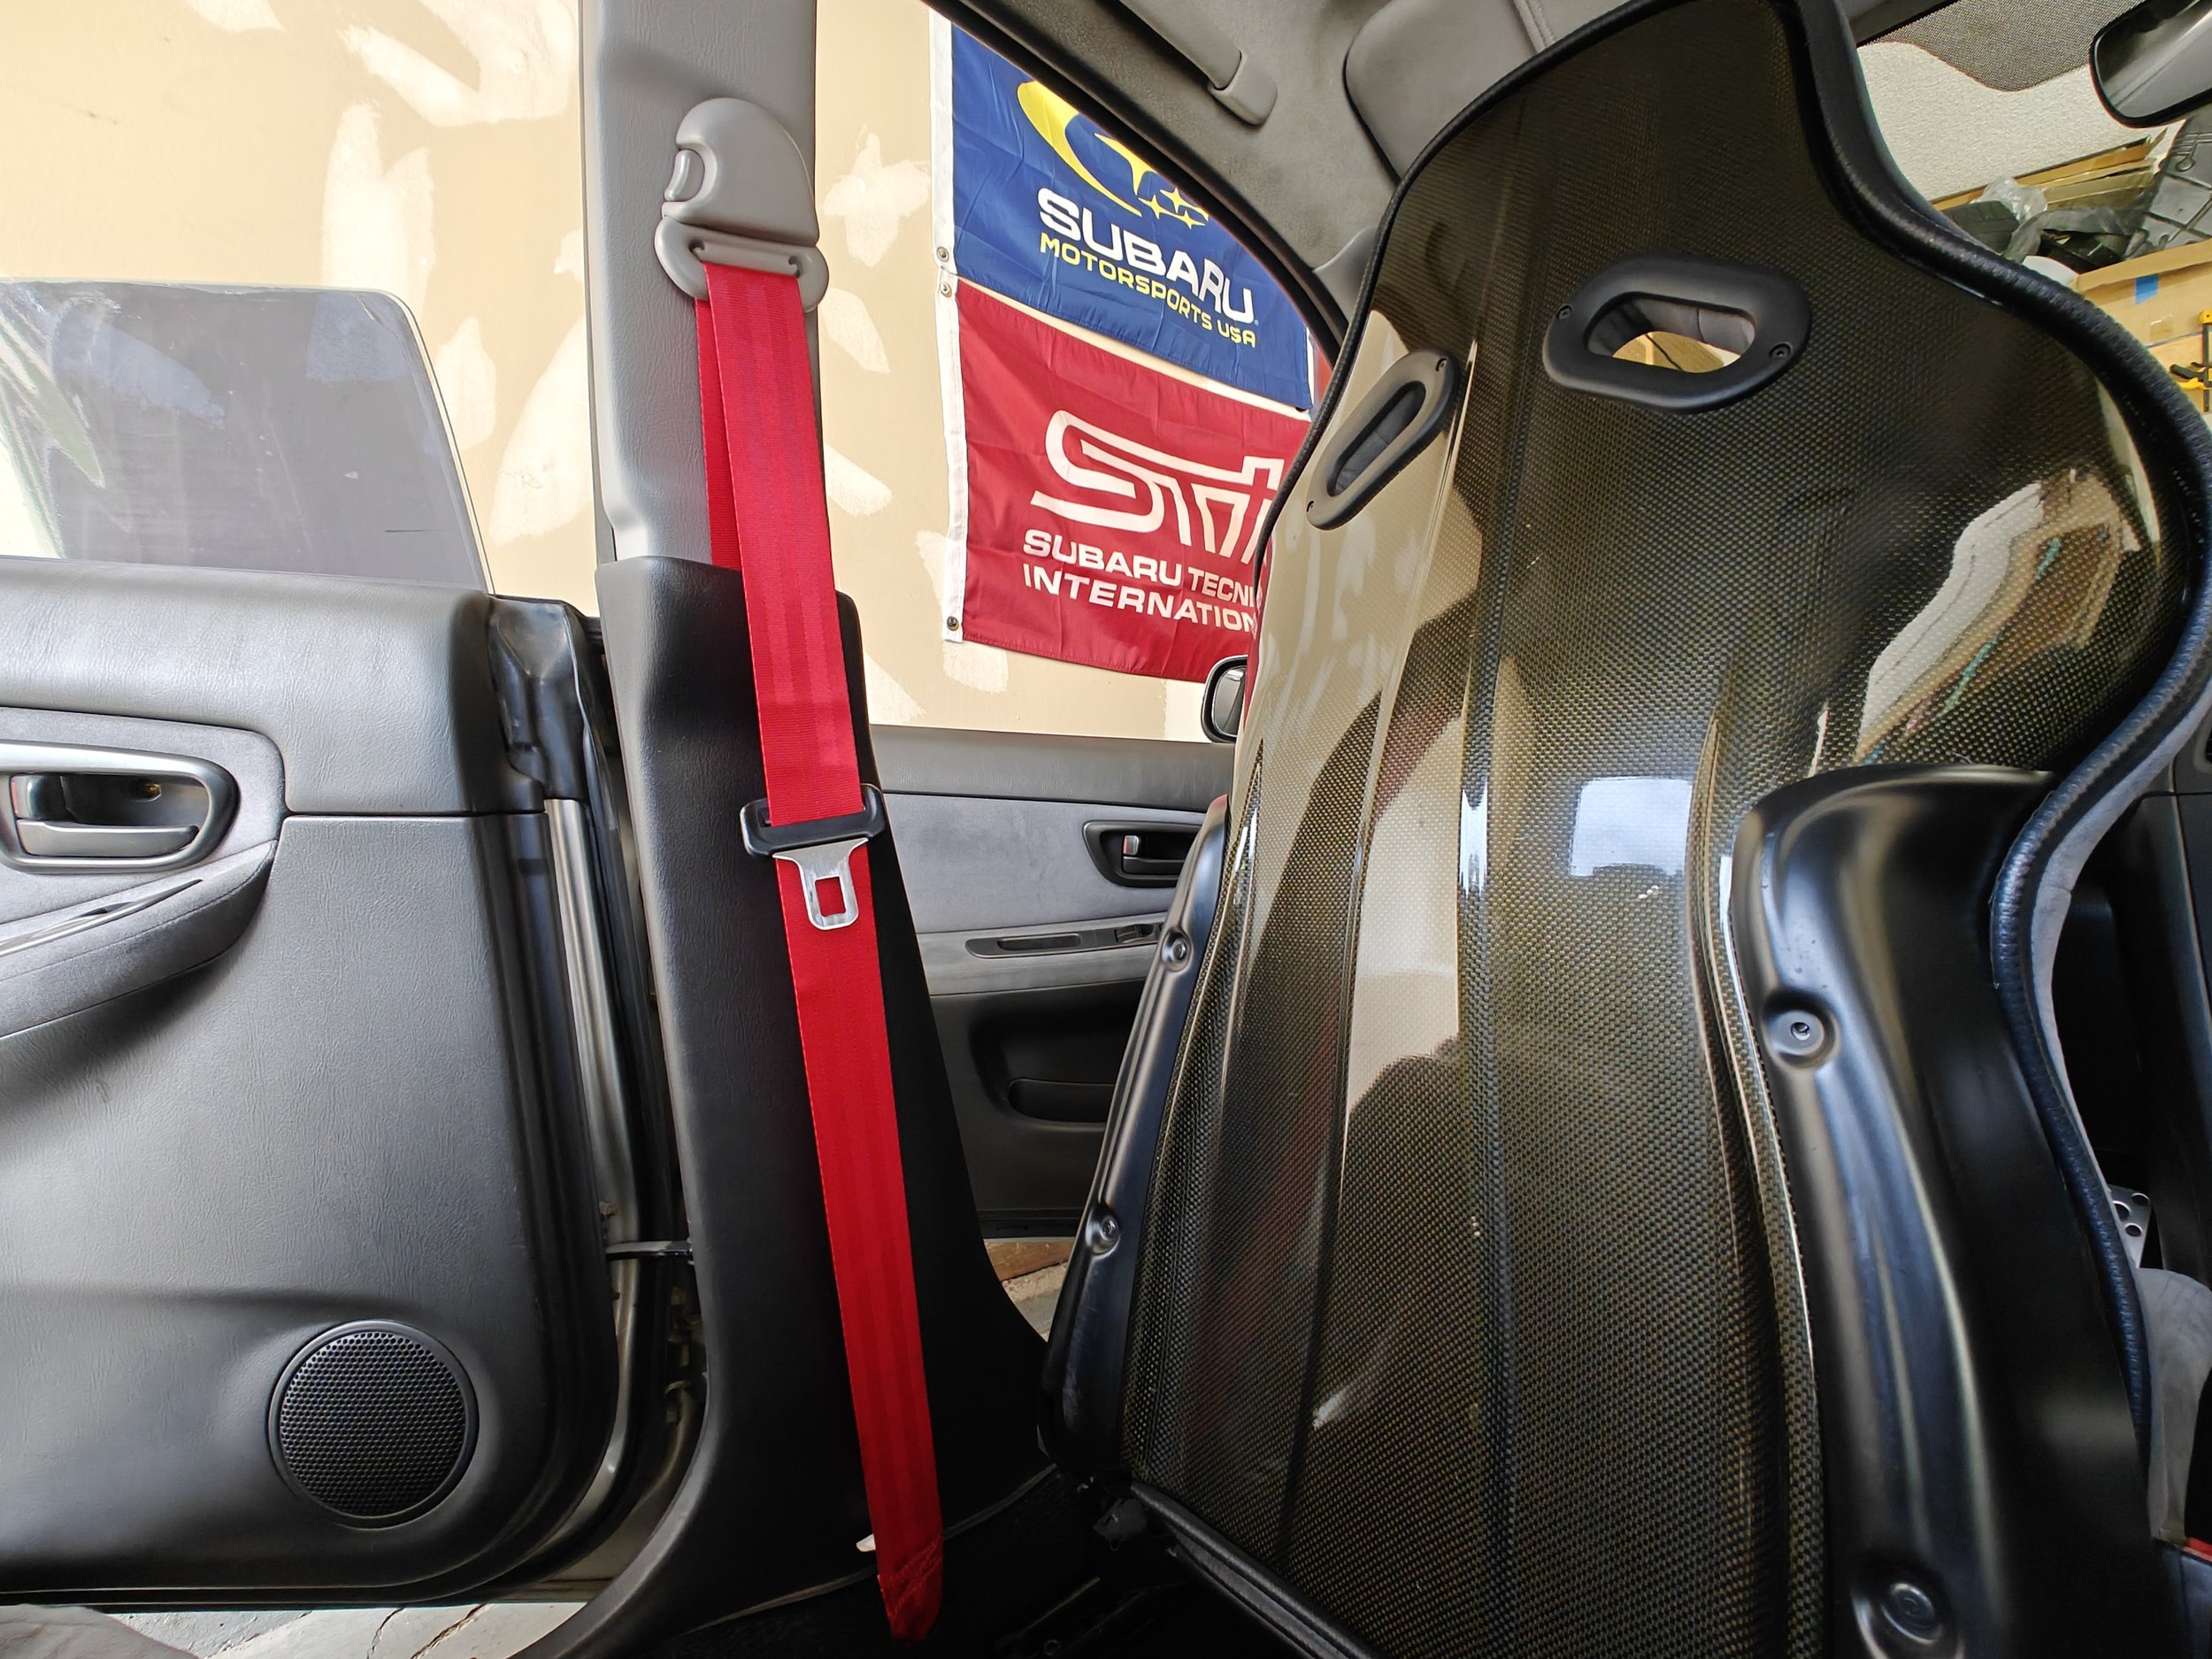
Both in, we can go drive now.
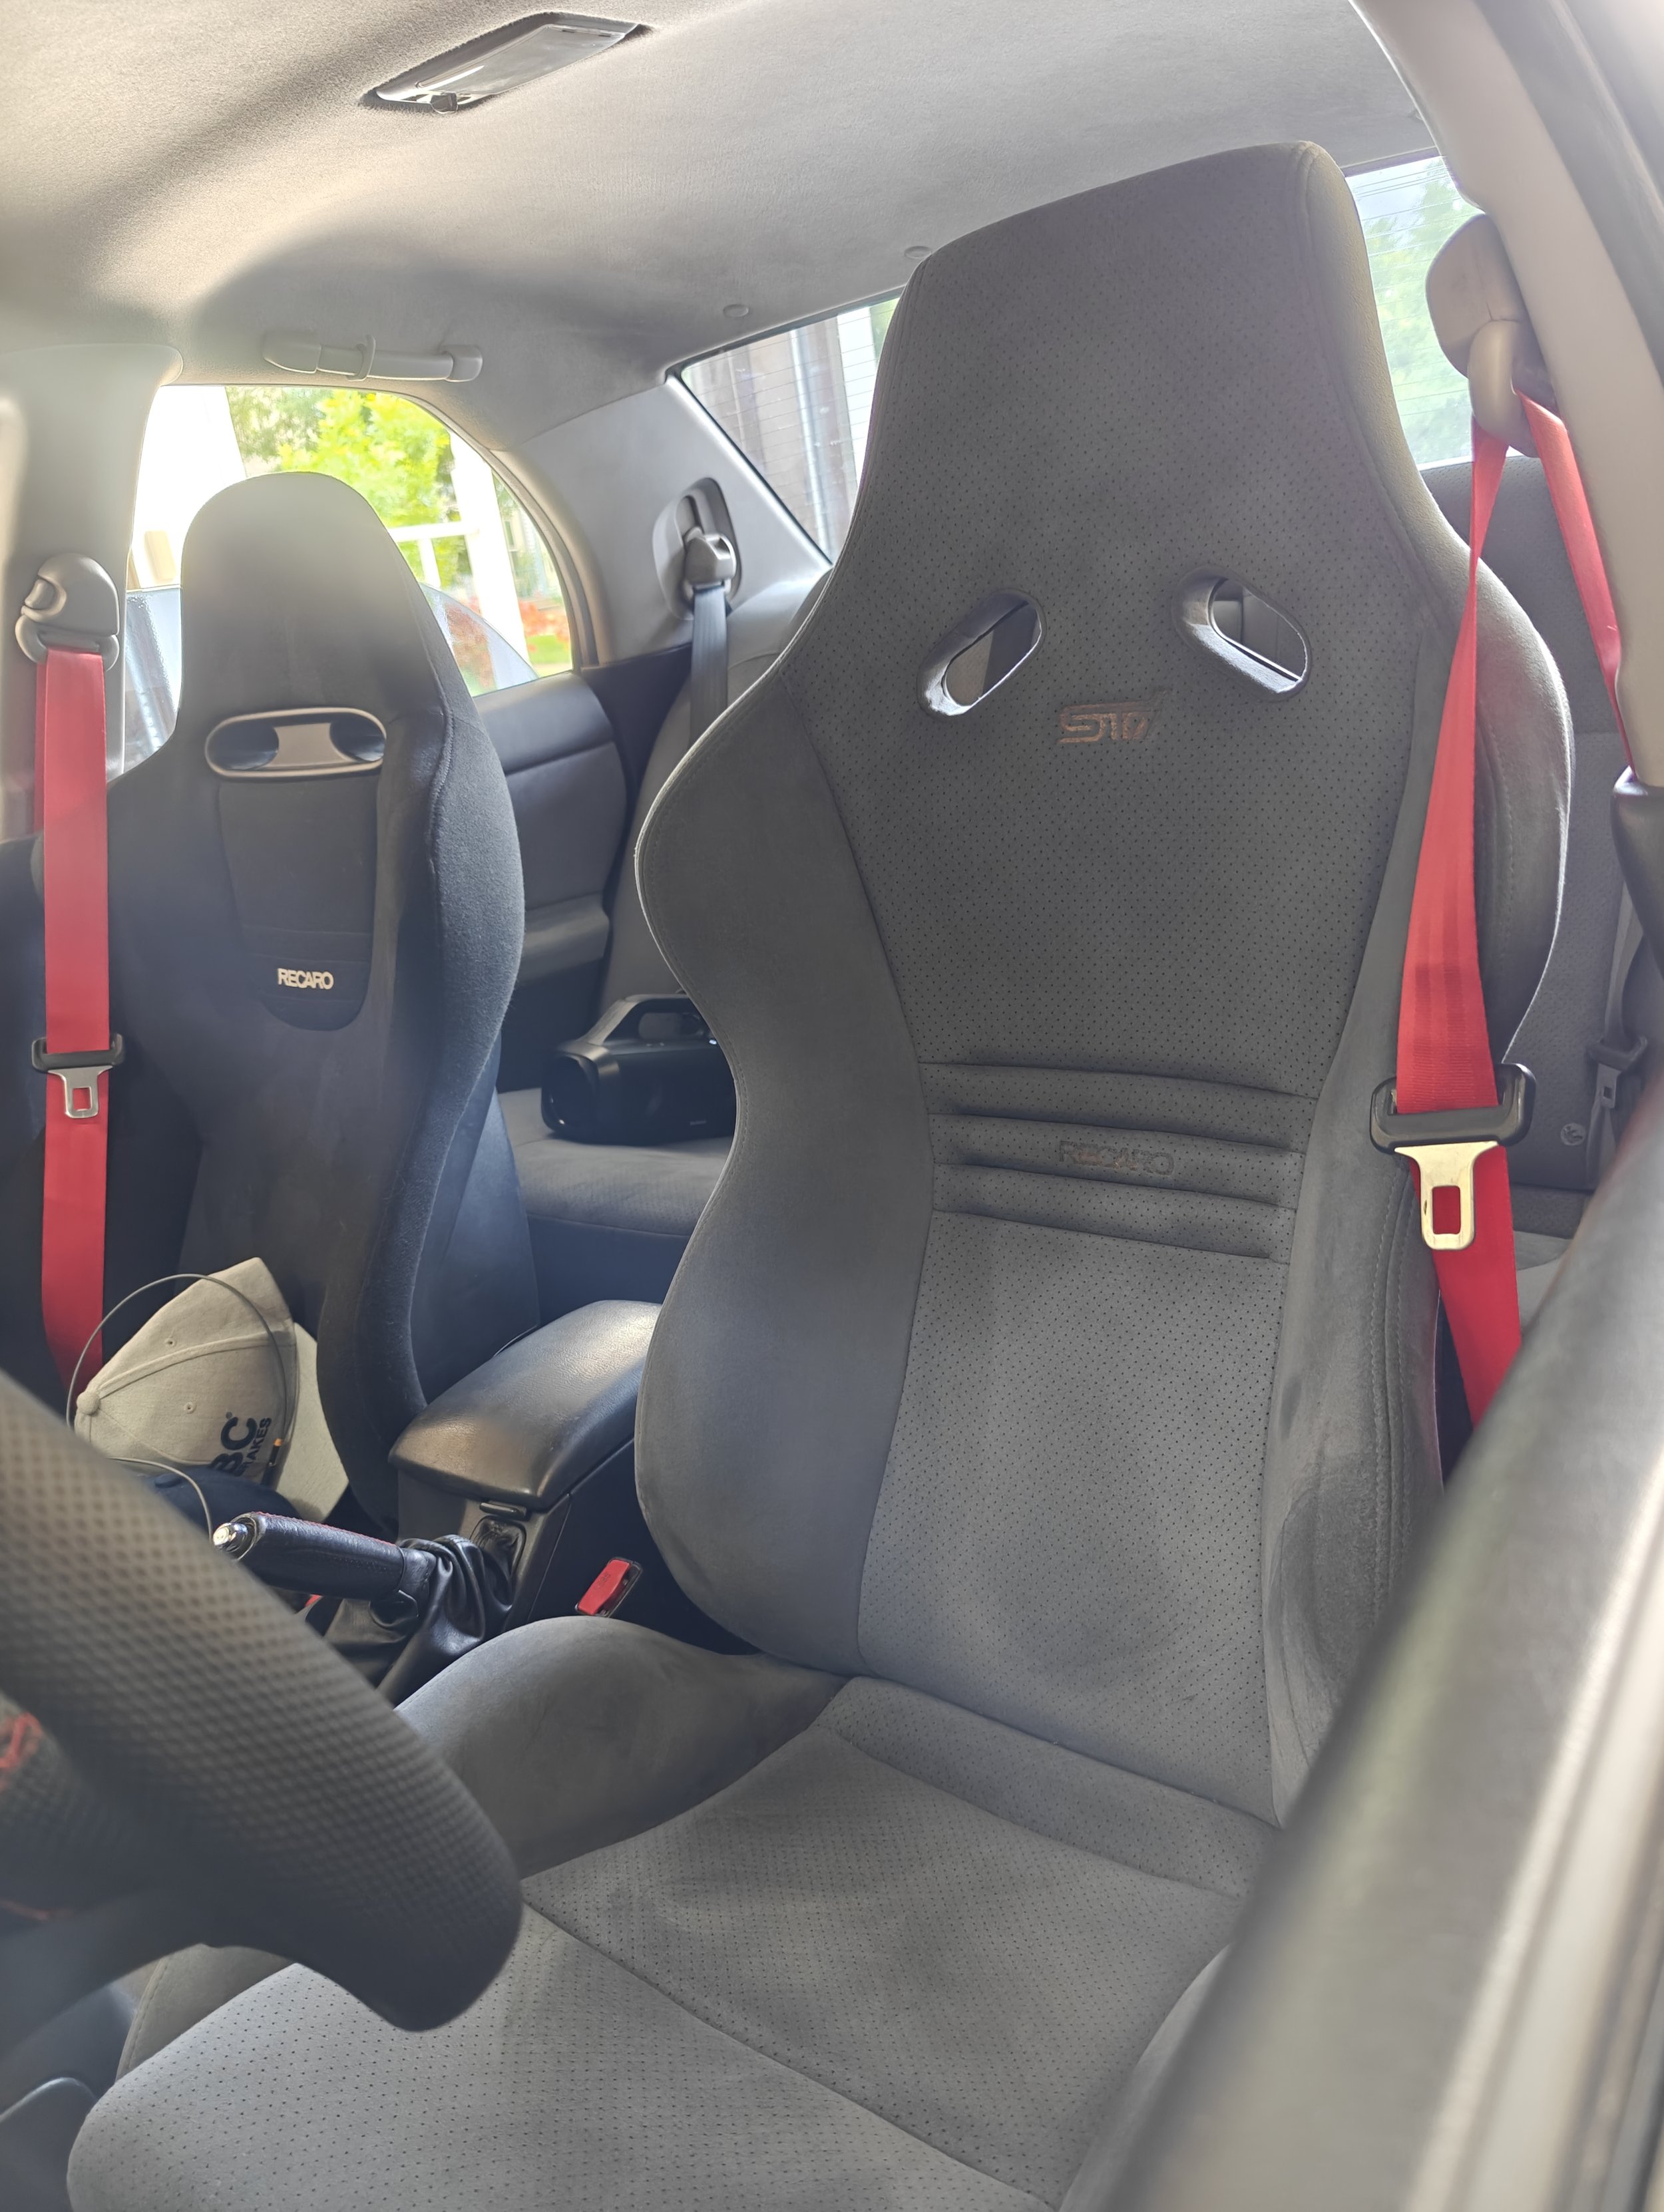
Congratulations! You can now enjoy some fresh seat belts draped over you body.