Intercooler damaged... What can you repair and how?
While I predominantly have been quite content with the parts on my Usdm STi it always seems like Japan kept the best for their vehicles. Case and point the S203 Tmic, which is about 15% larger than the standard STi tmic found on the majority of cars. Up top you will find that the tank has been divided to keep flow across the intercooler more uniform and effective across the core.
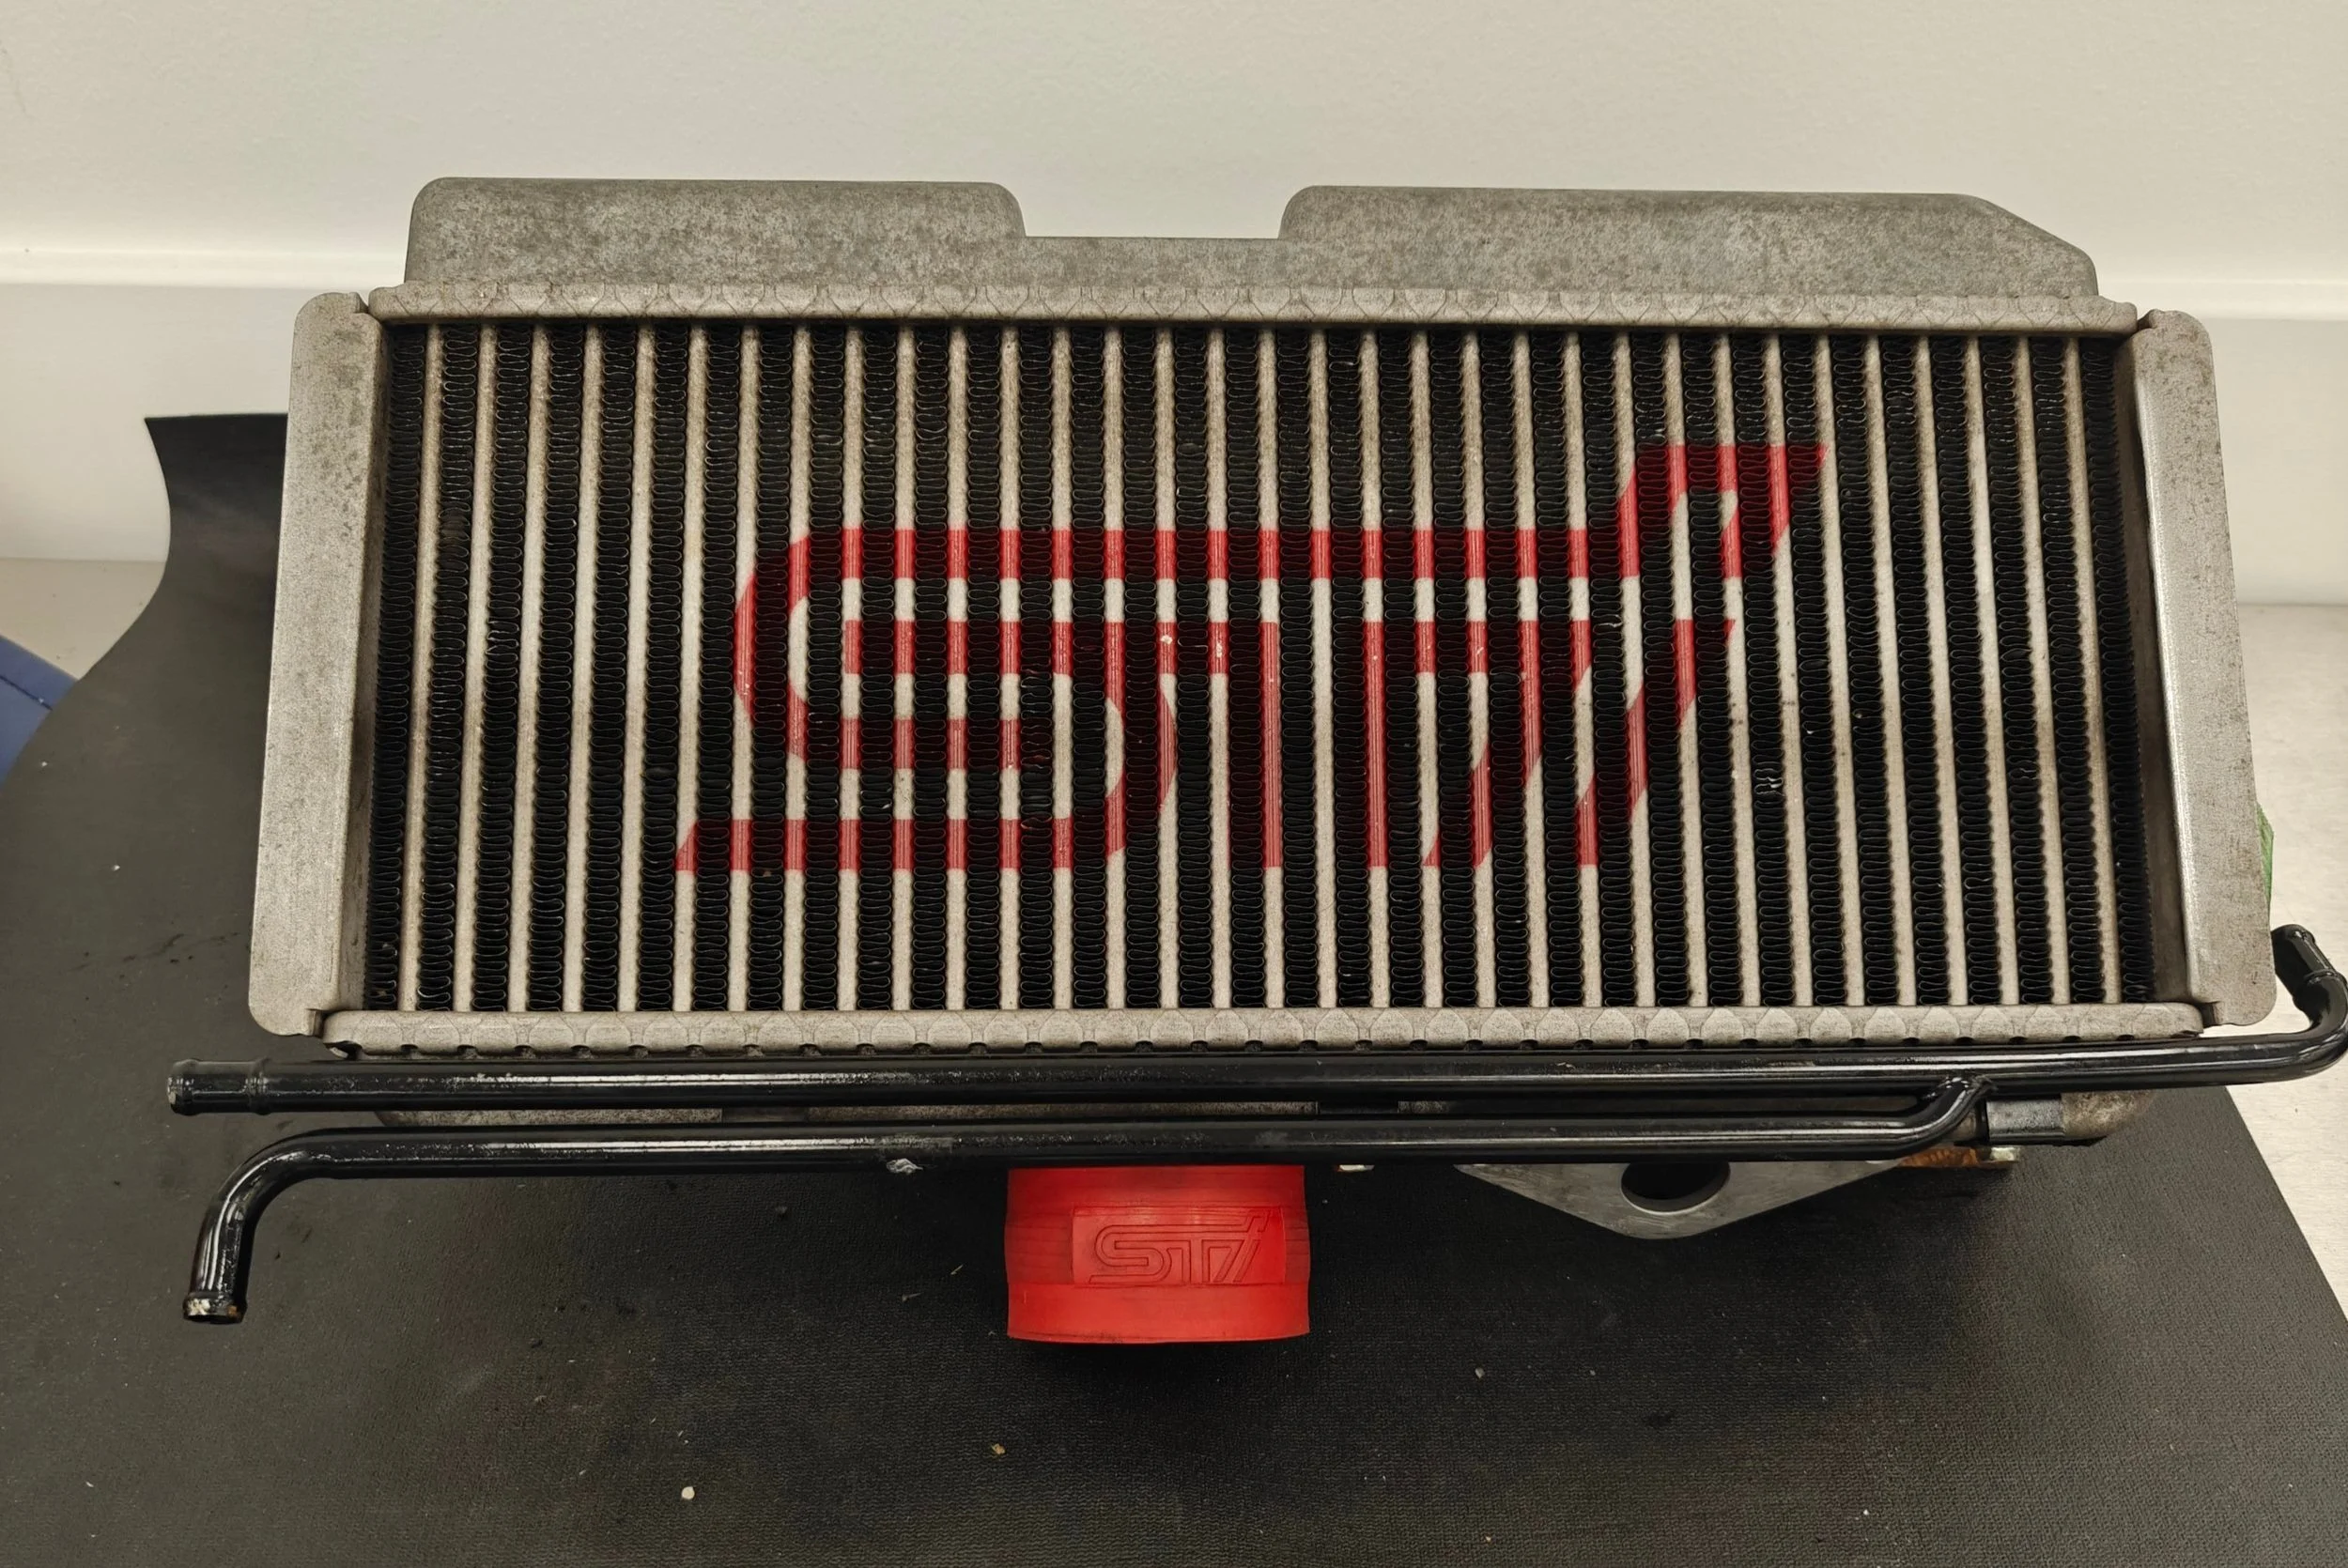
This Jdm tmic has quite a bit more surface area over its North America counterparts.
The downside to locating these harder to acquire JDM pieces is the fact that they have to make the trip from one side of the earth to the other. Being made of aluminum helps in many ways, heat transfer, light weight, etc… but it also makes it more susceptible to being damaged en route to your house.
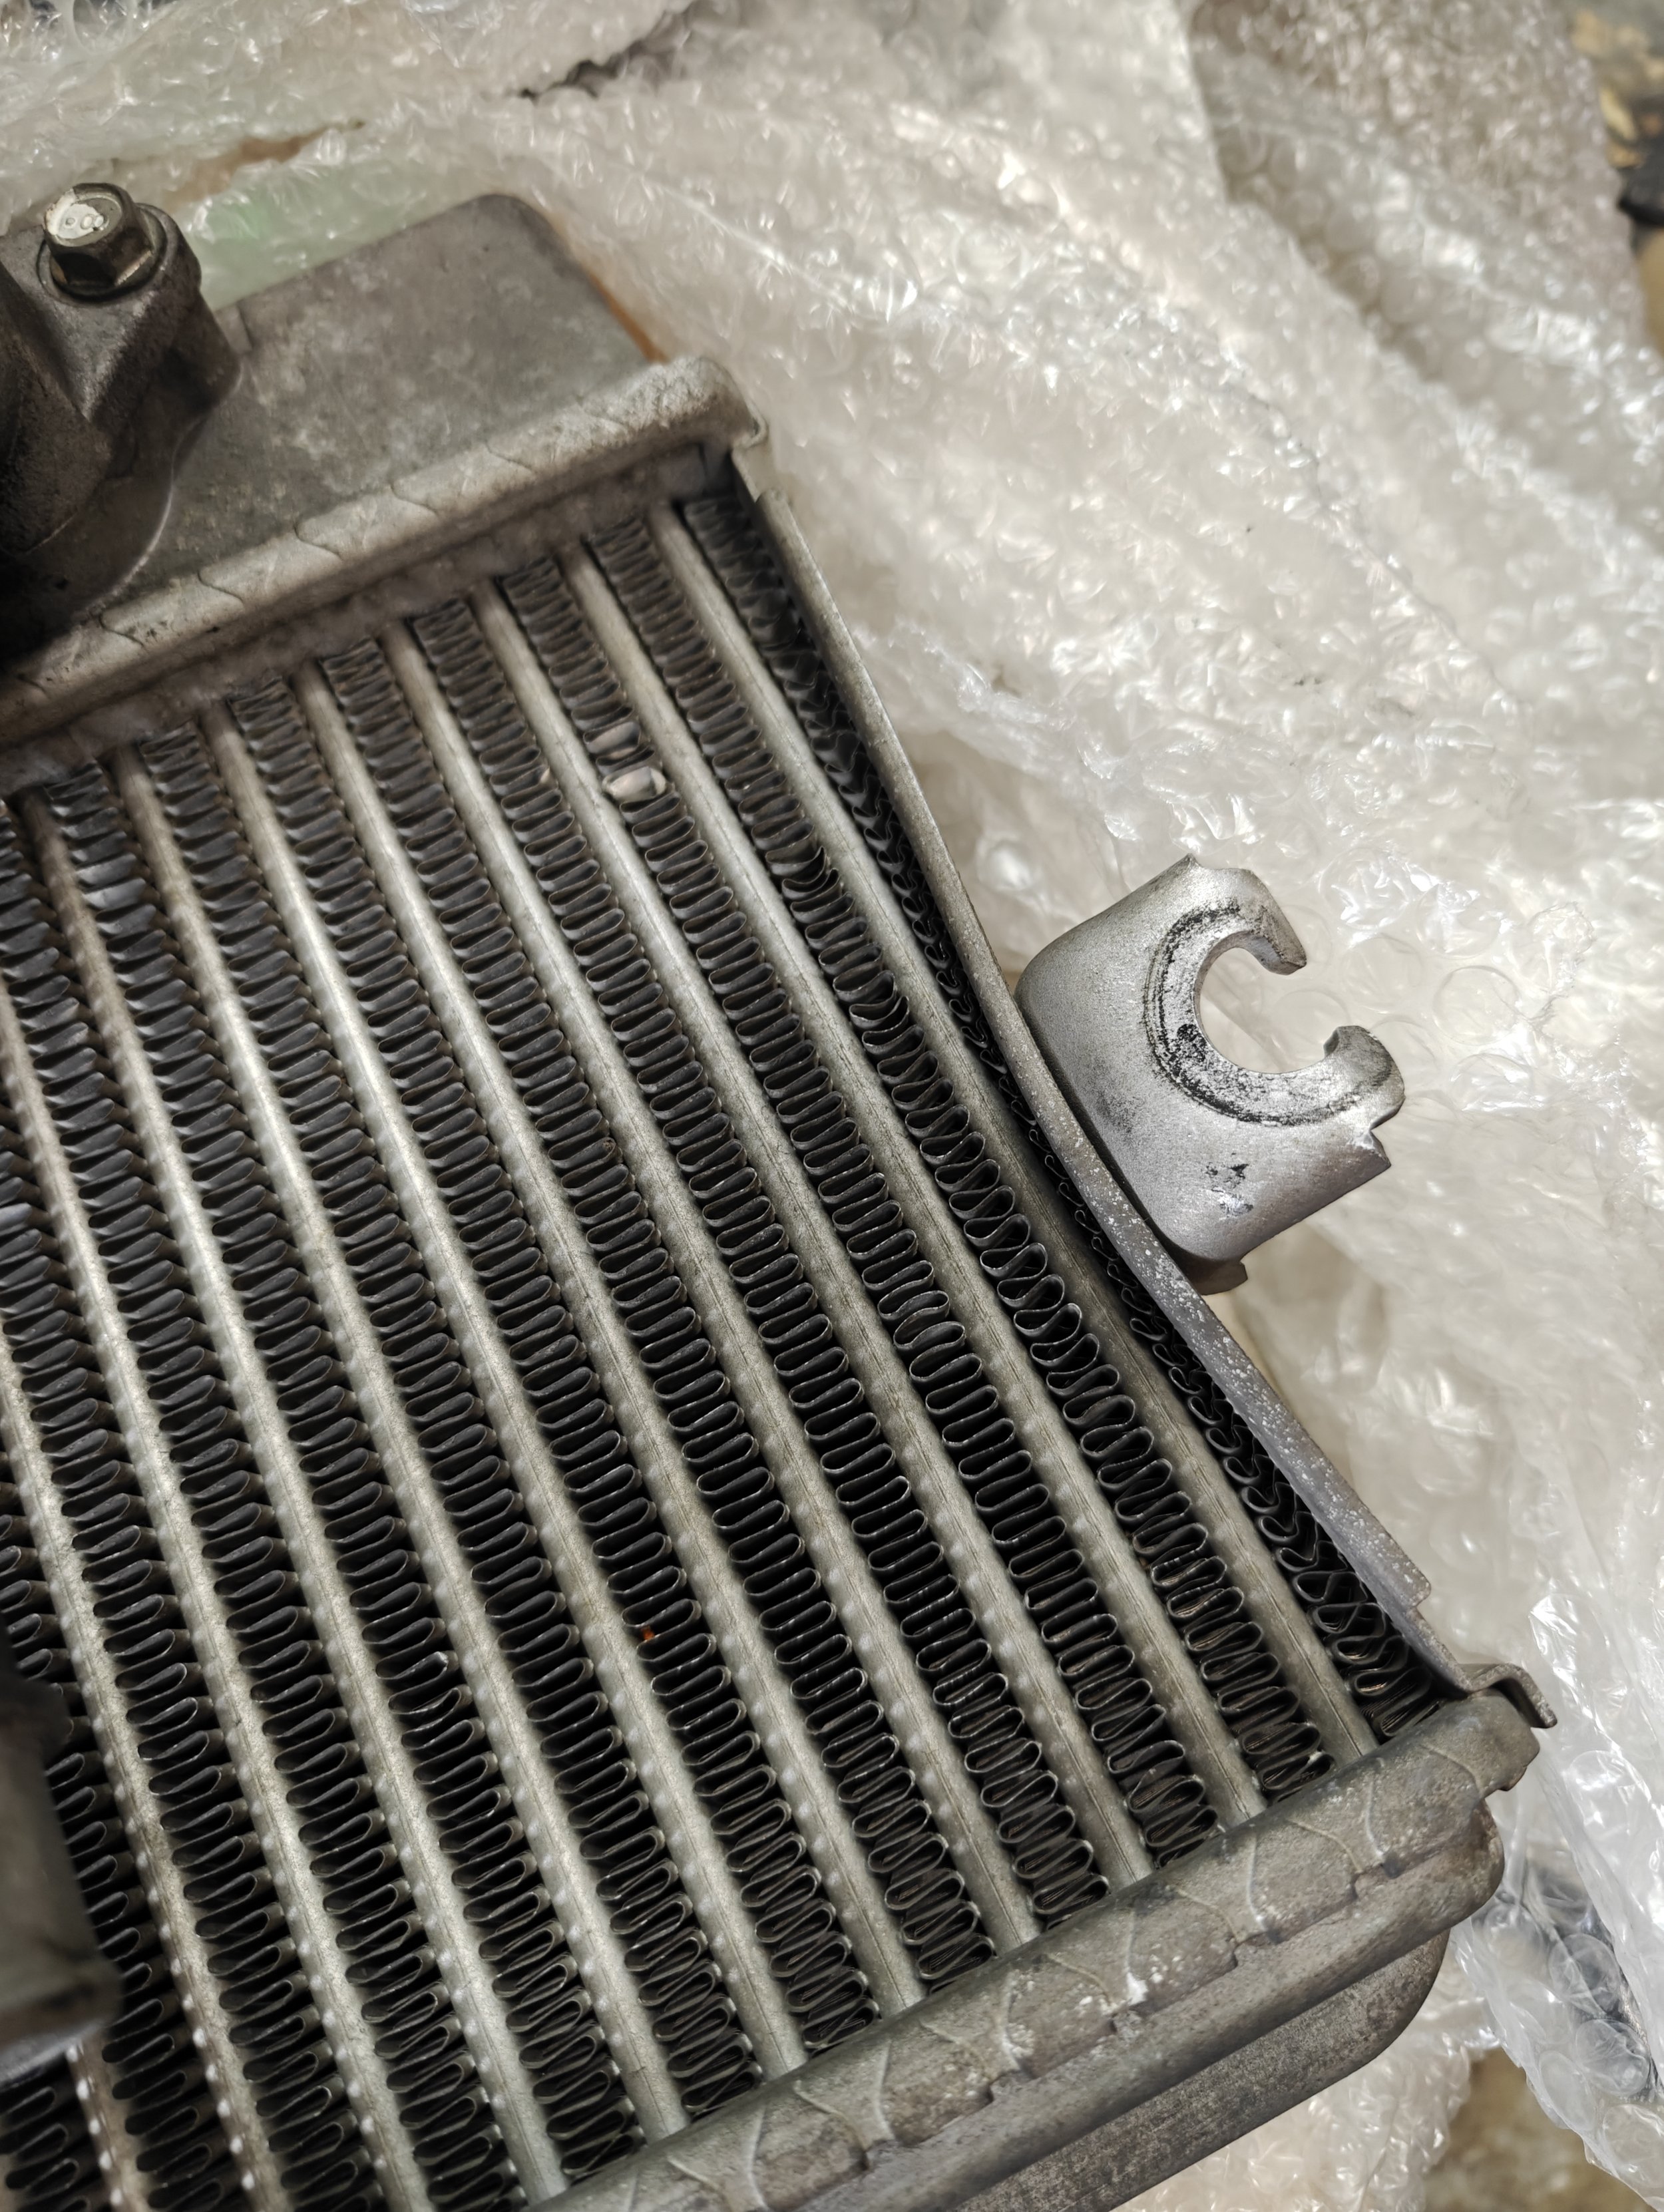
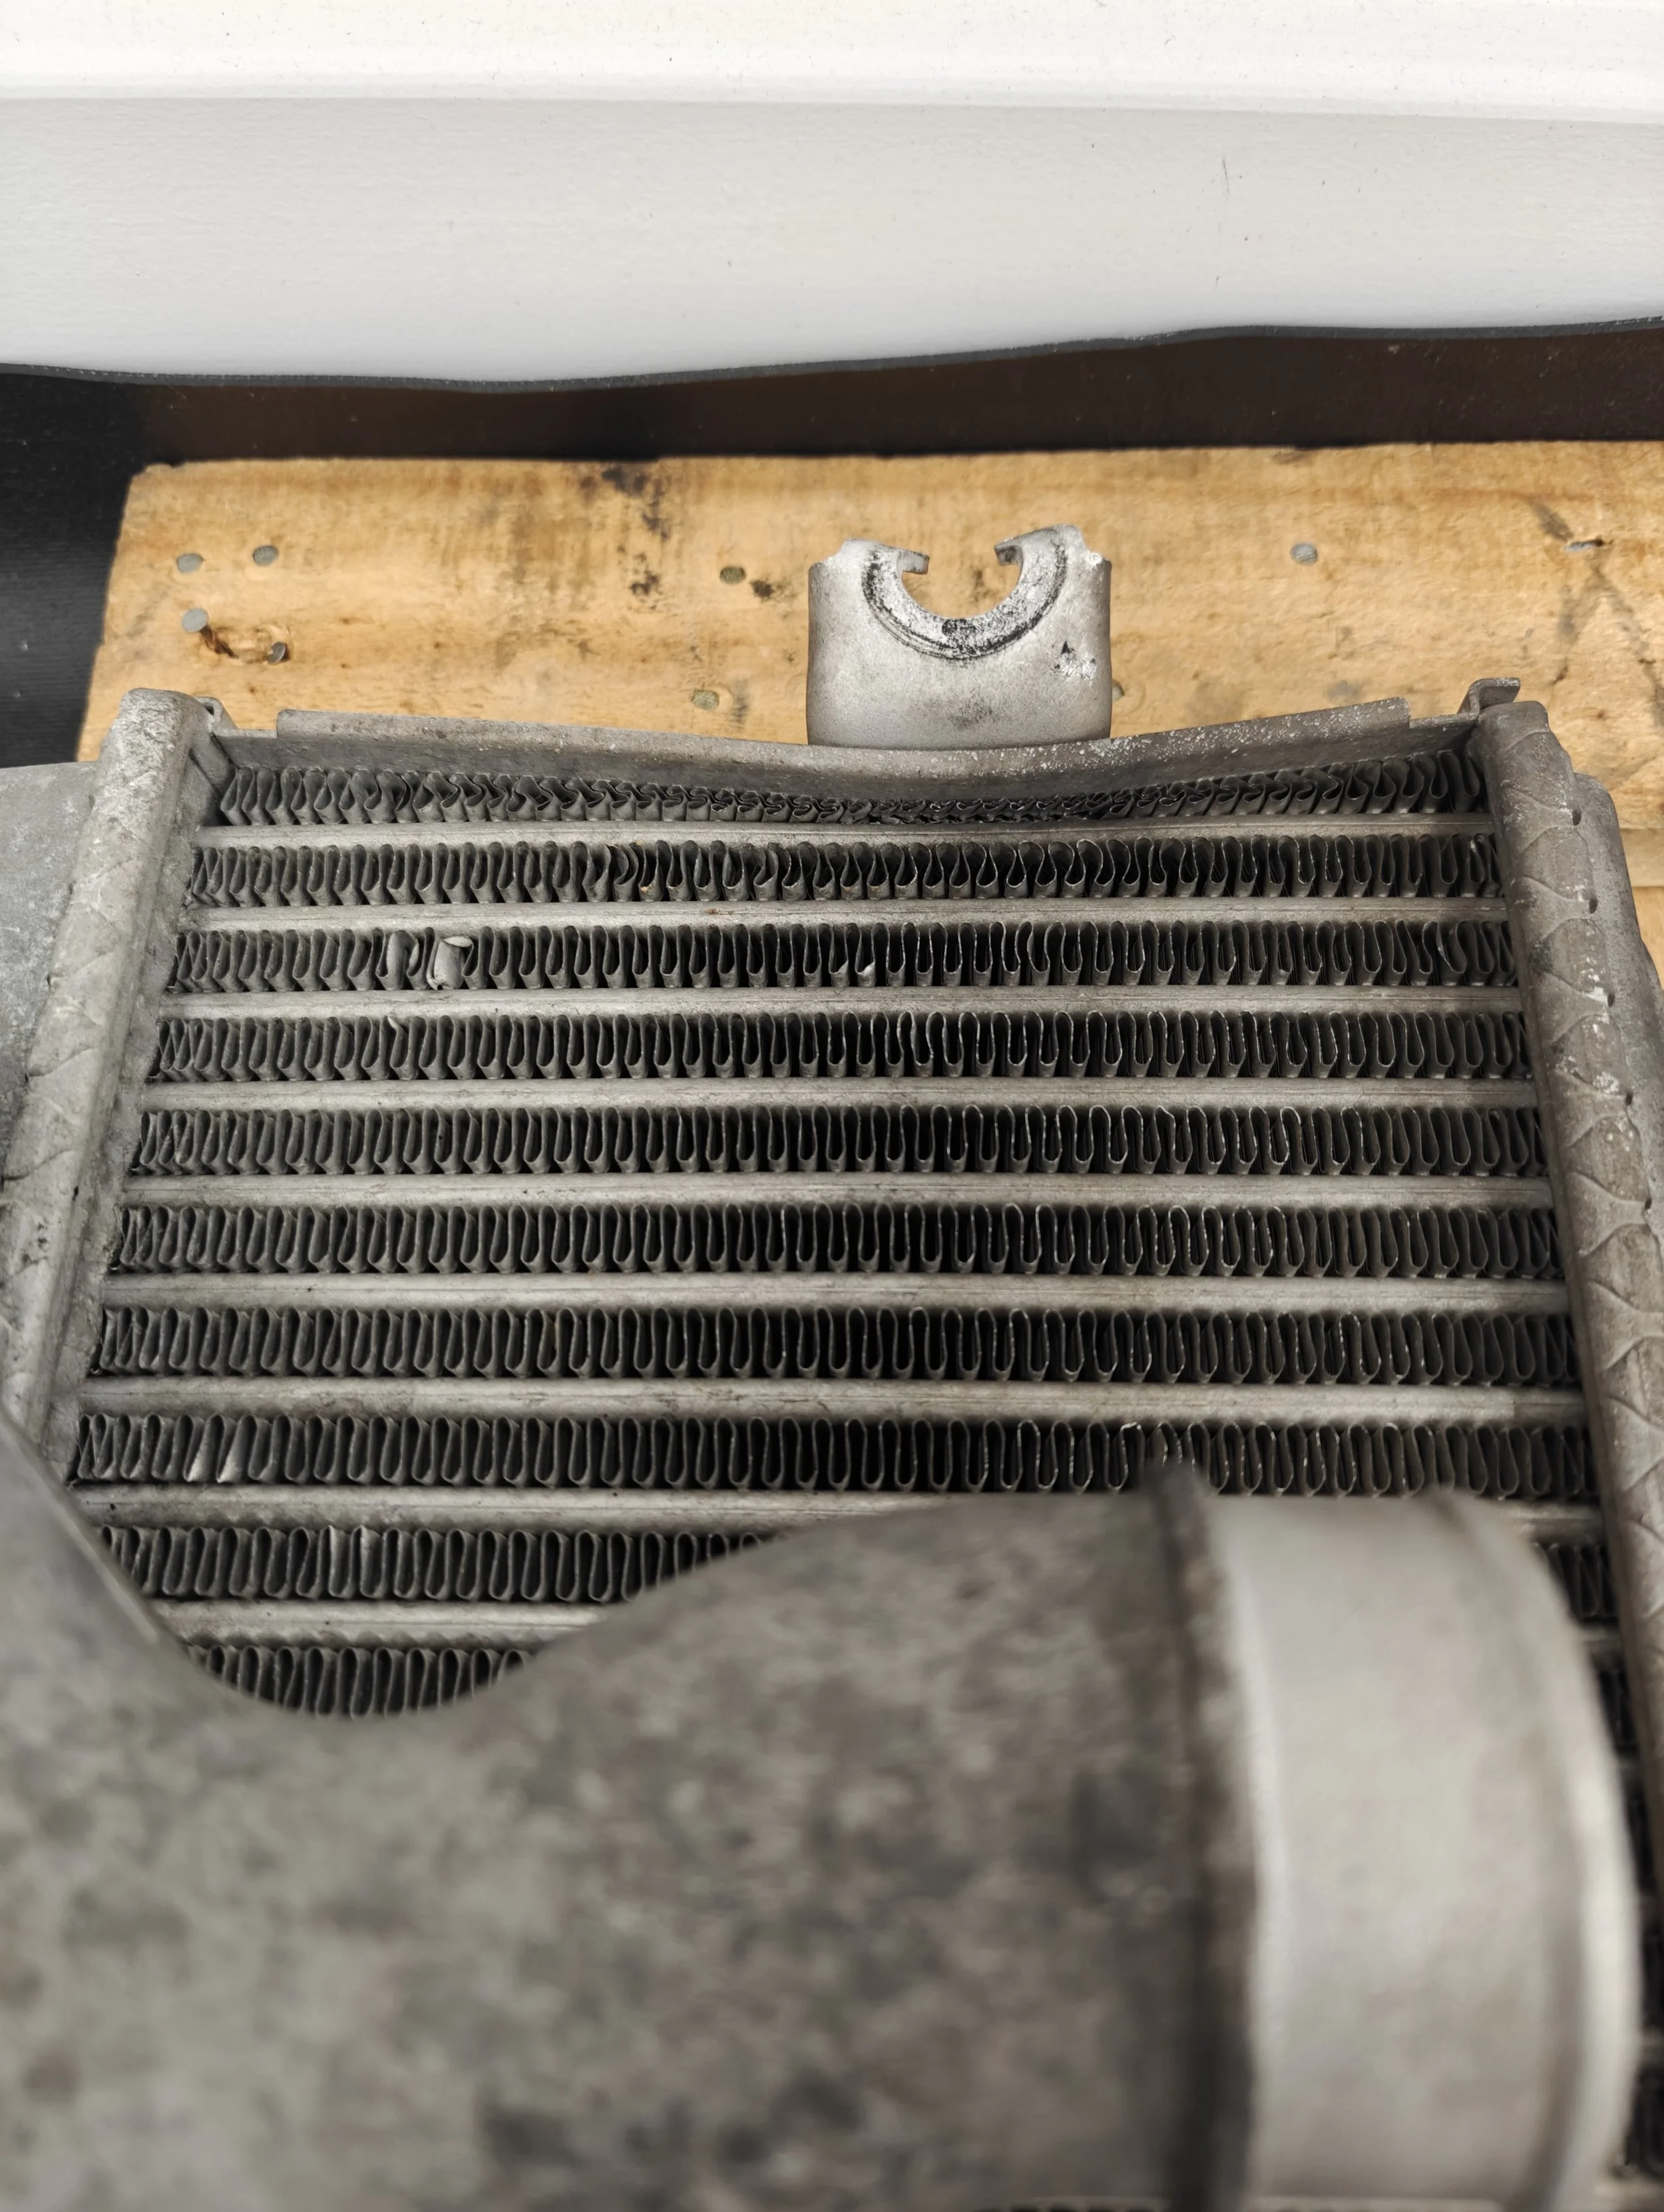
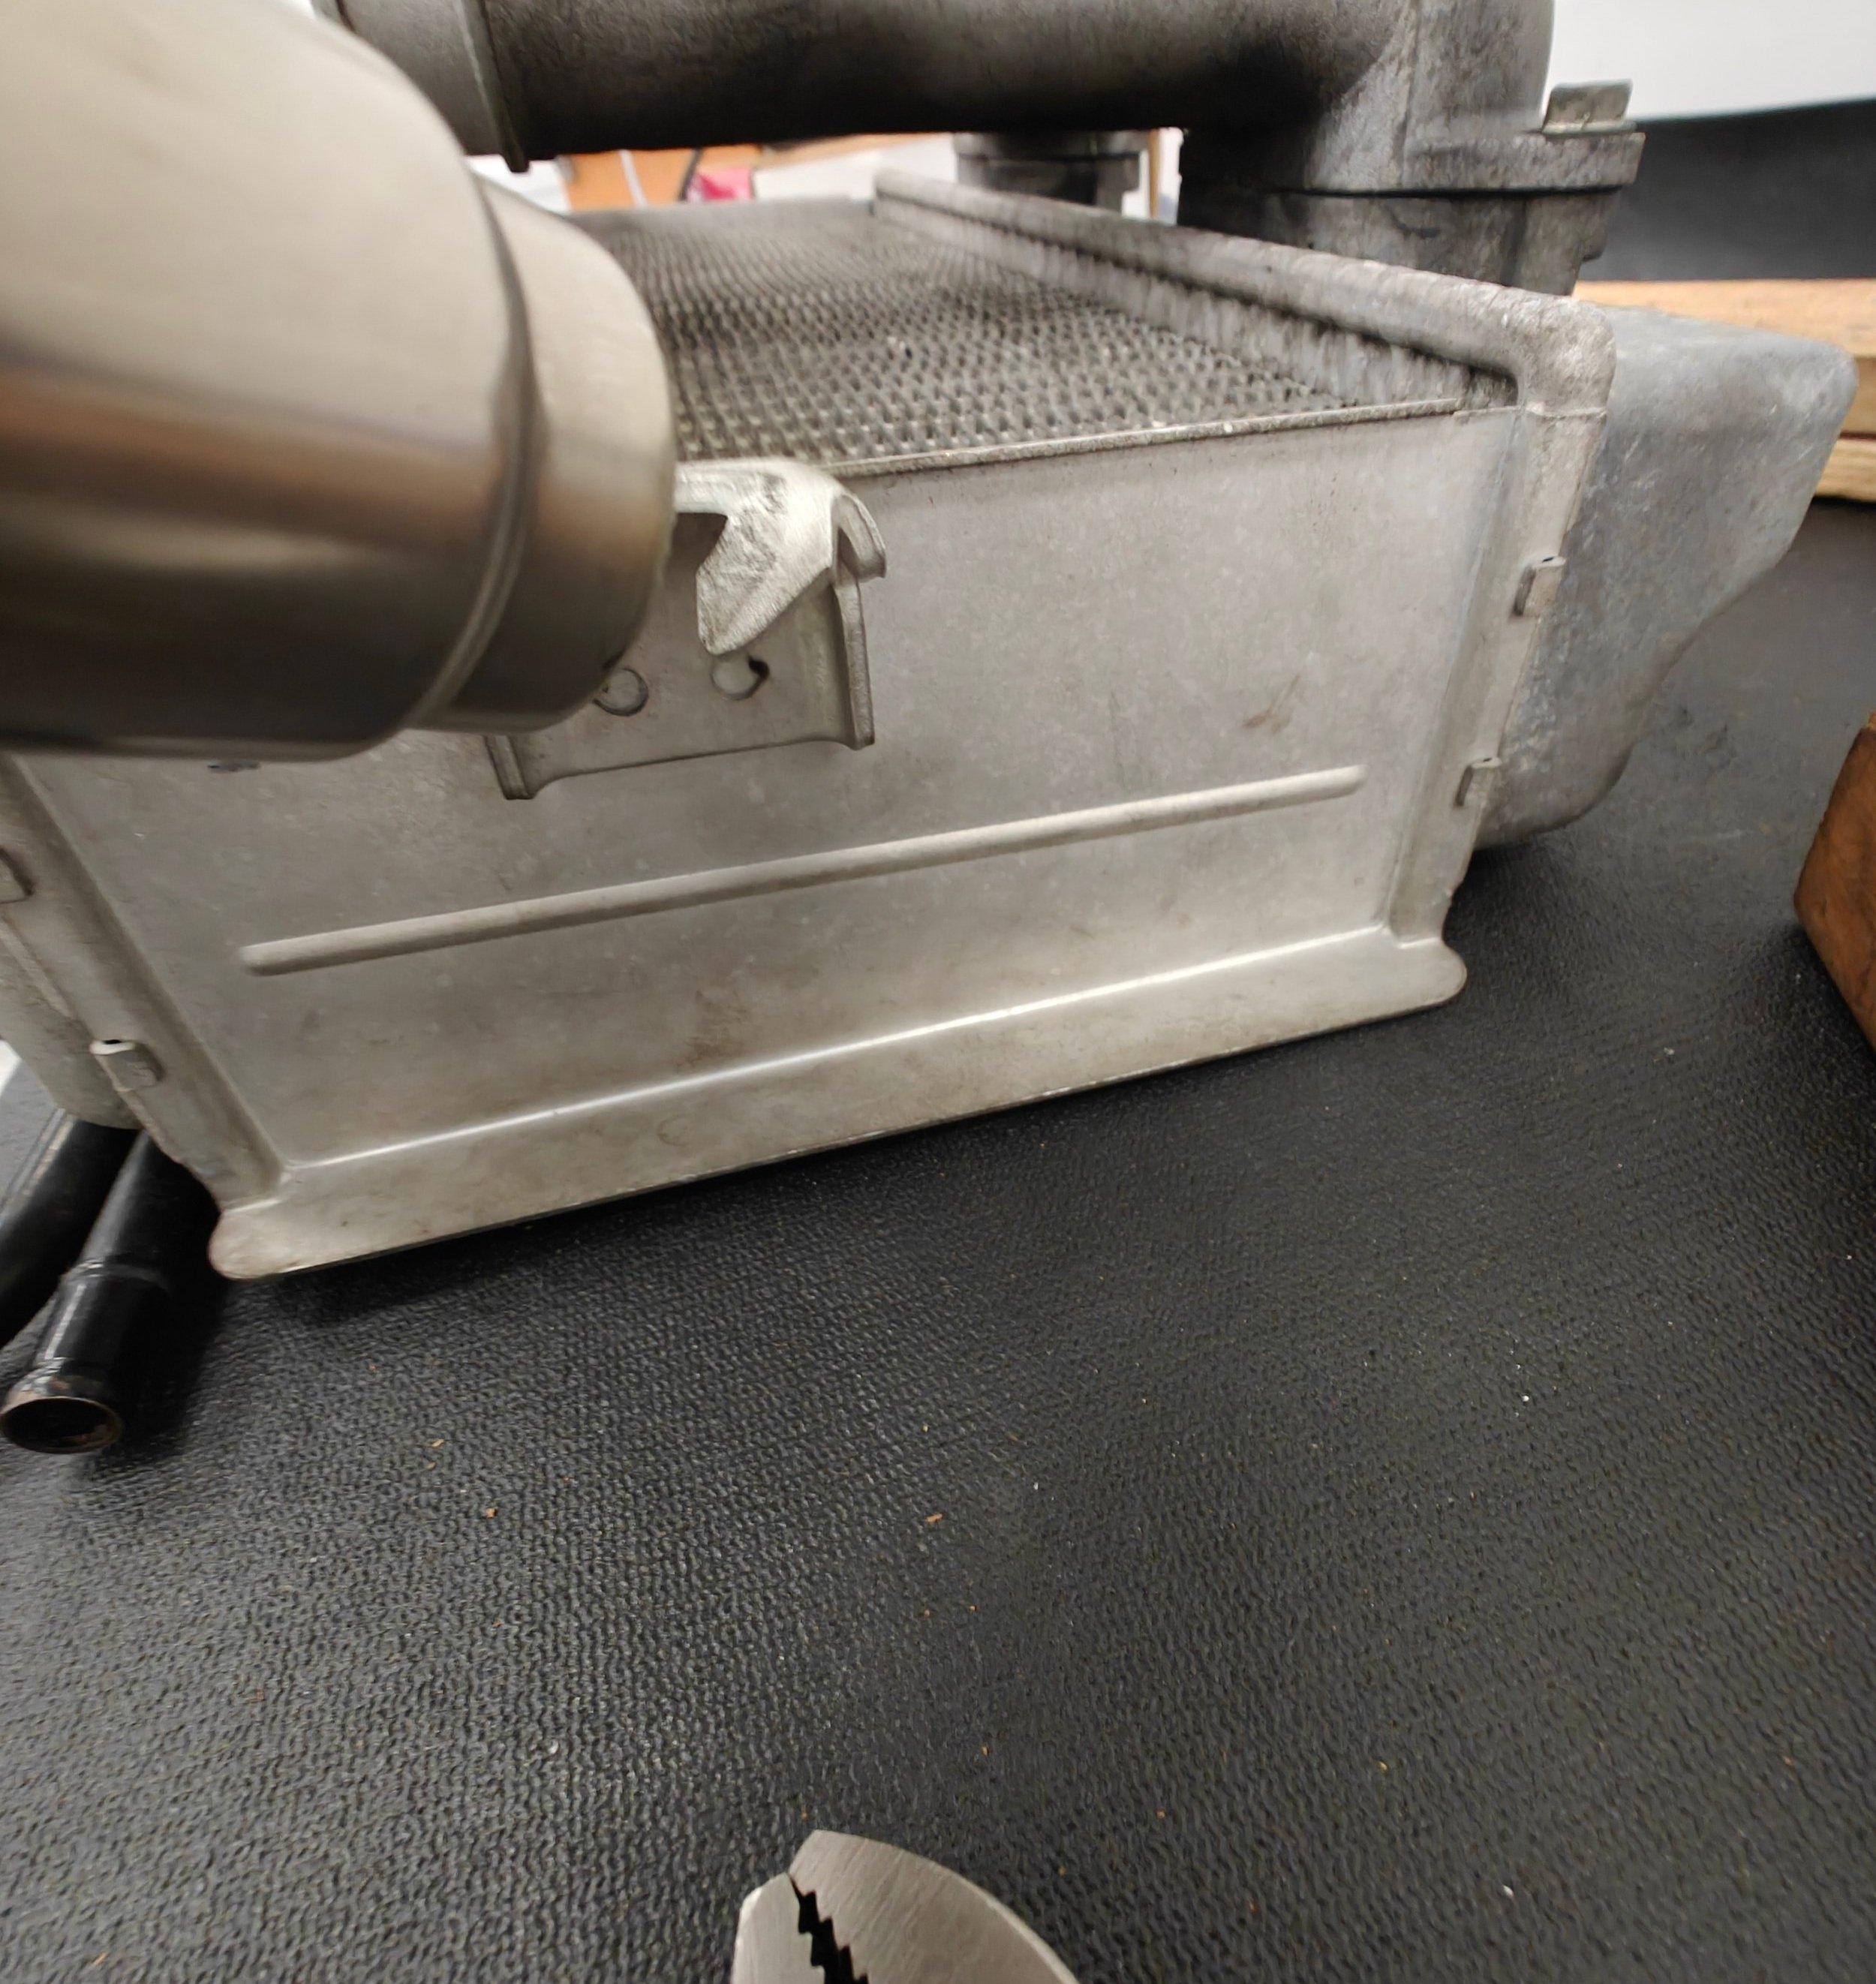
While the outside of the box looked relatively intact, a small dent on the outside of the box was enough to cause this damage on the tmic.
You might have figured out by now why I am making this post, as the intercooler I ordered did not make it over to me safely. And while I didn’t think the damage was incredibly significant, I was worried about accepting the item to later find out it had a hairline crack or would need significant money and time to fix. After figuring out the messy return details of who it was at fault during shipping, waiting over a month and then being told my package which includes a few other hard to find item was disposed of…. I was wishing I would have just dealt with it.
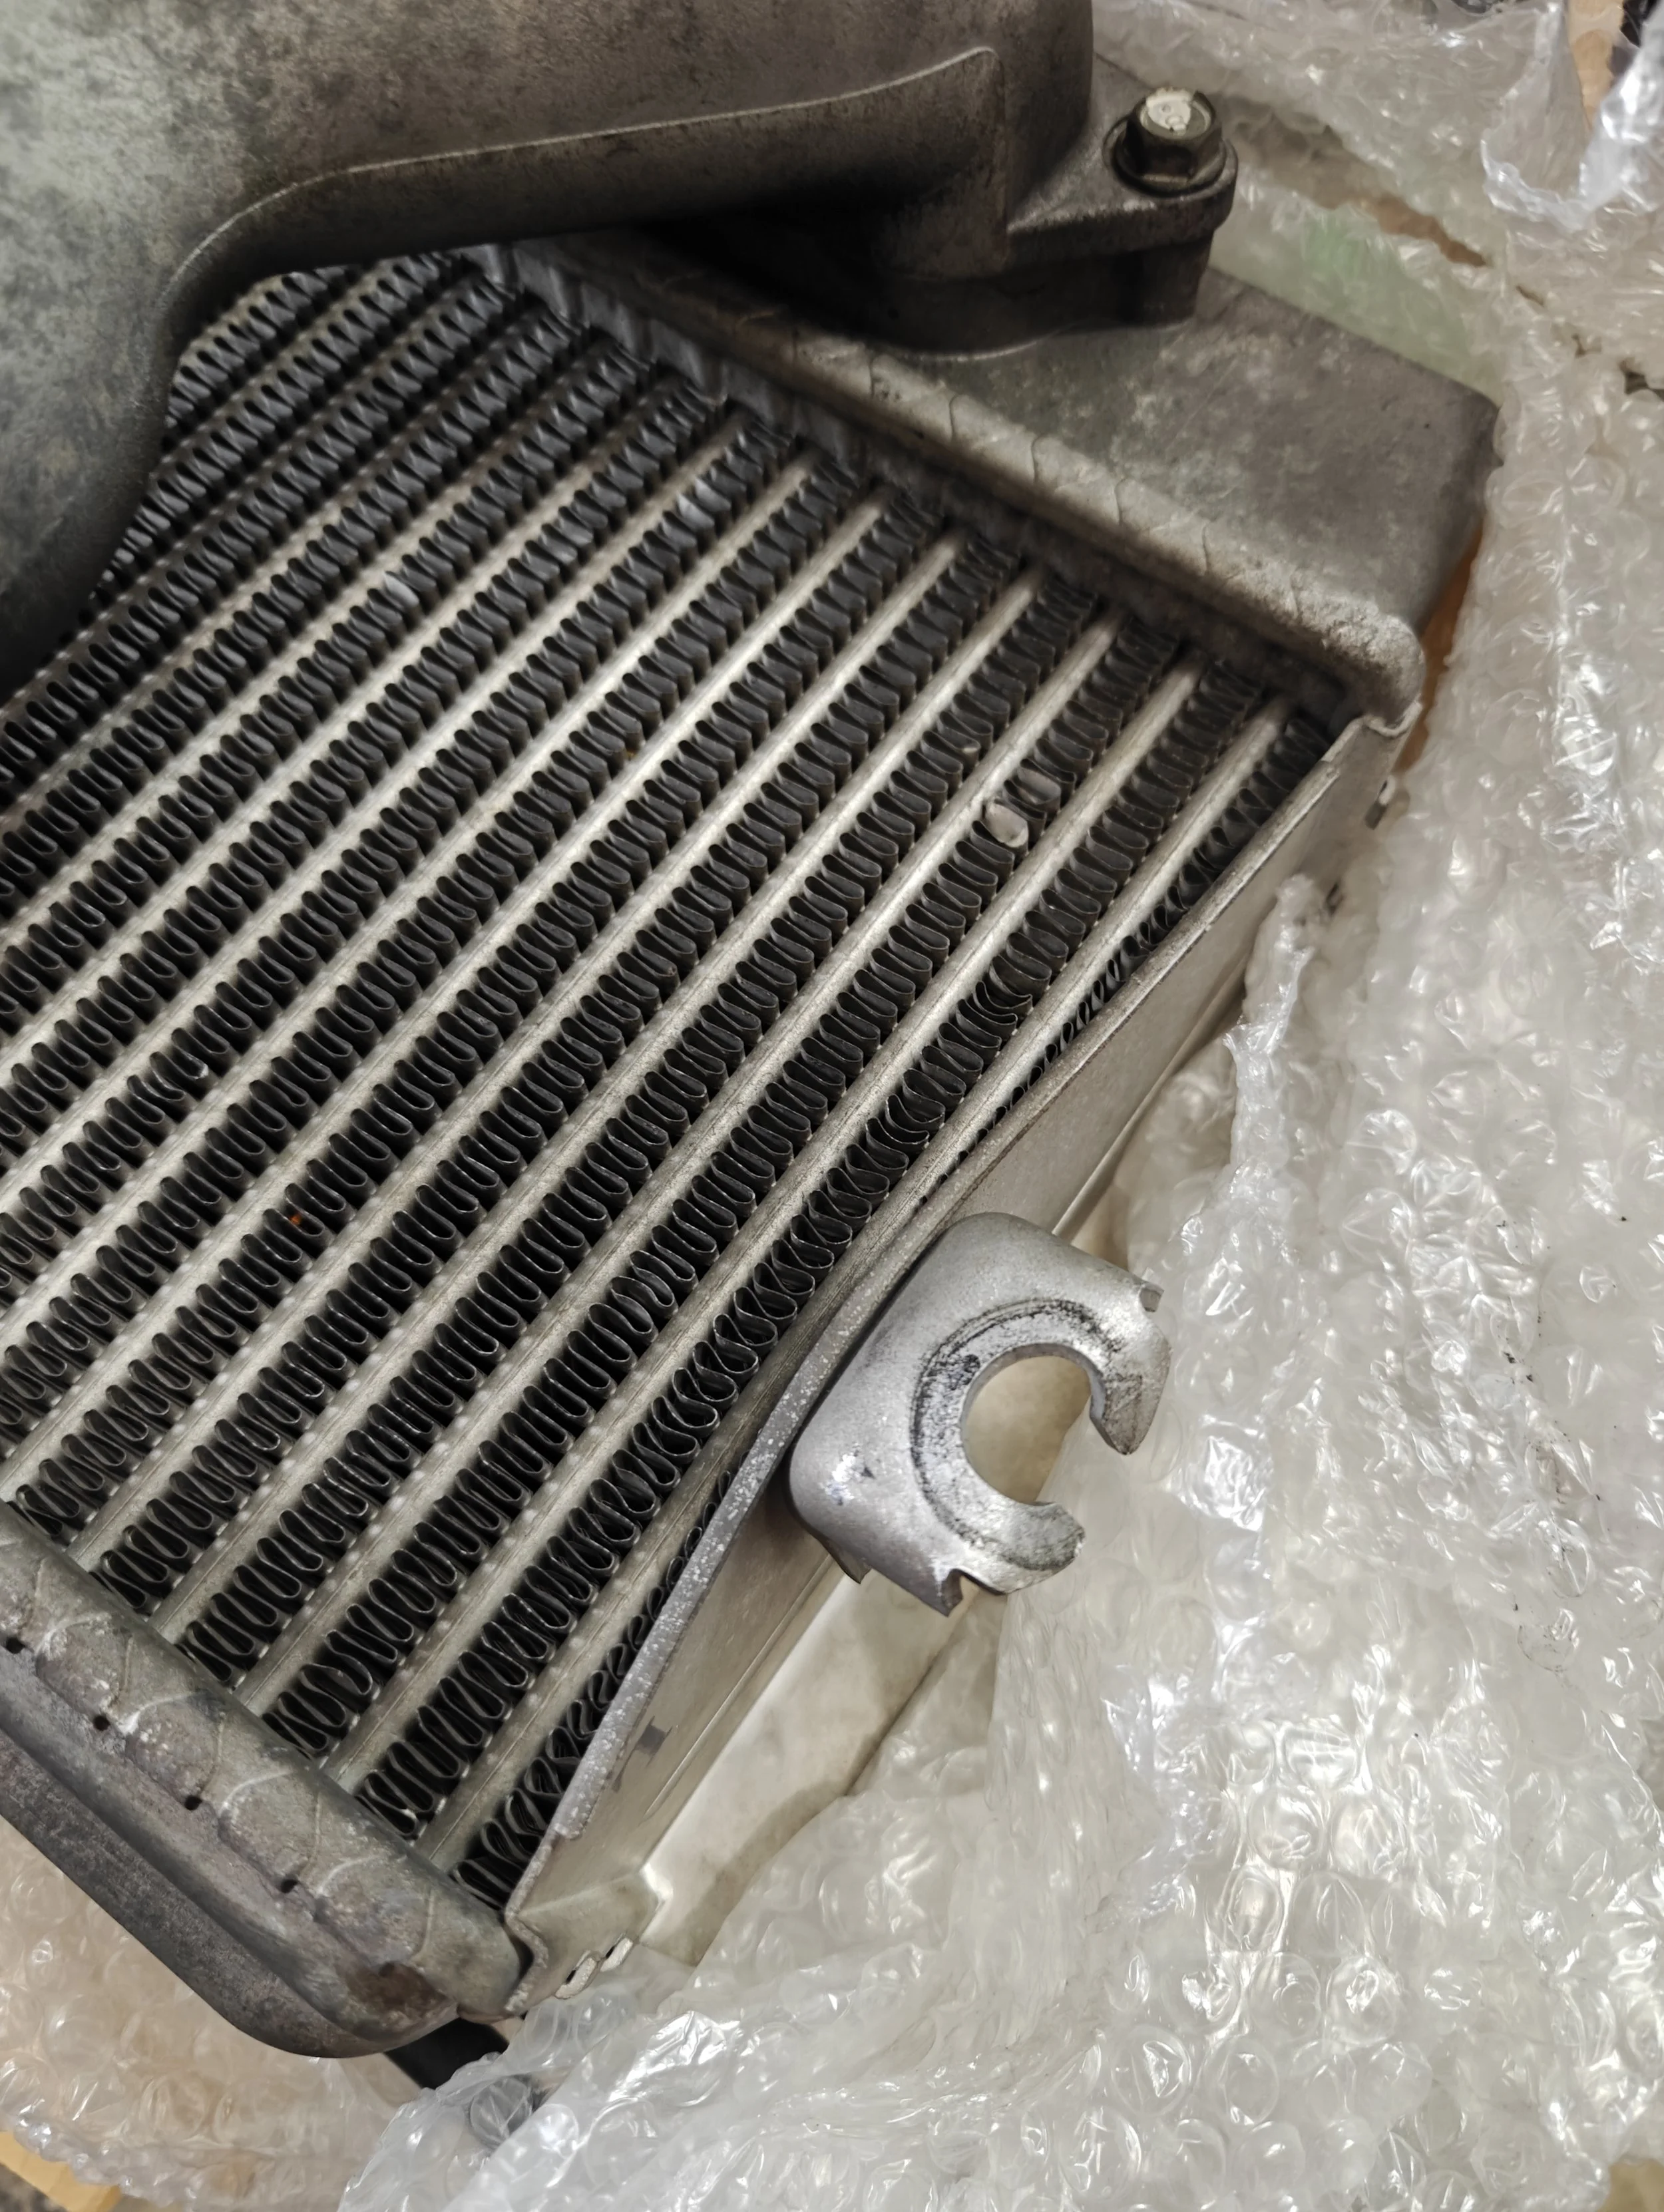
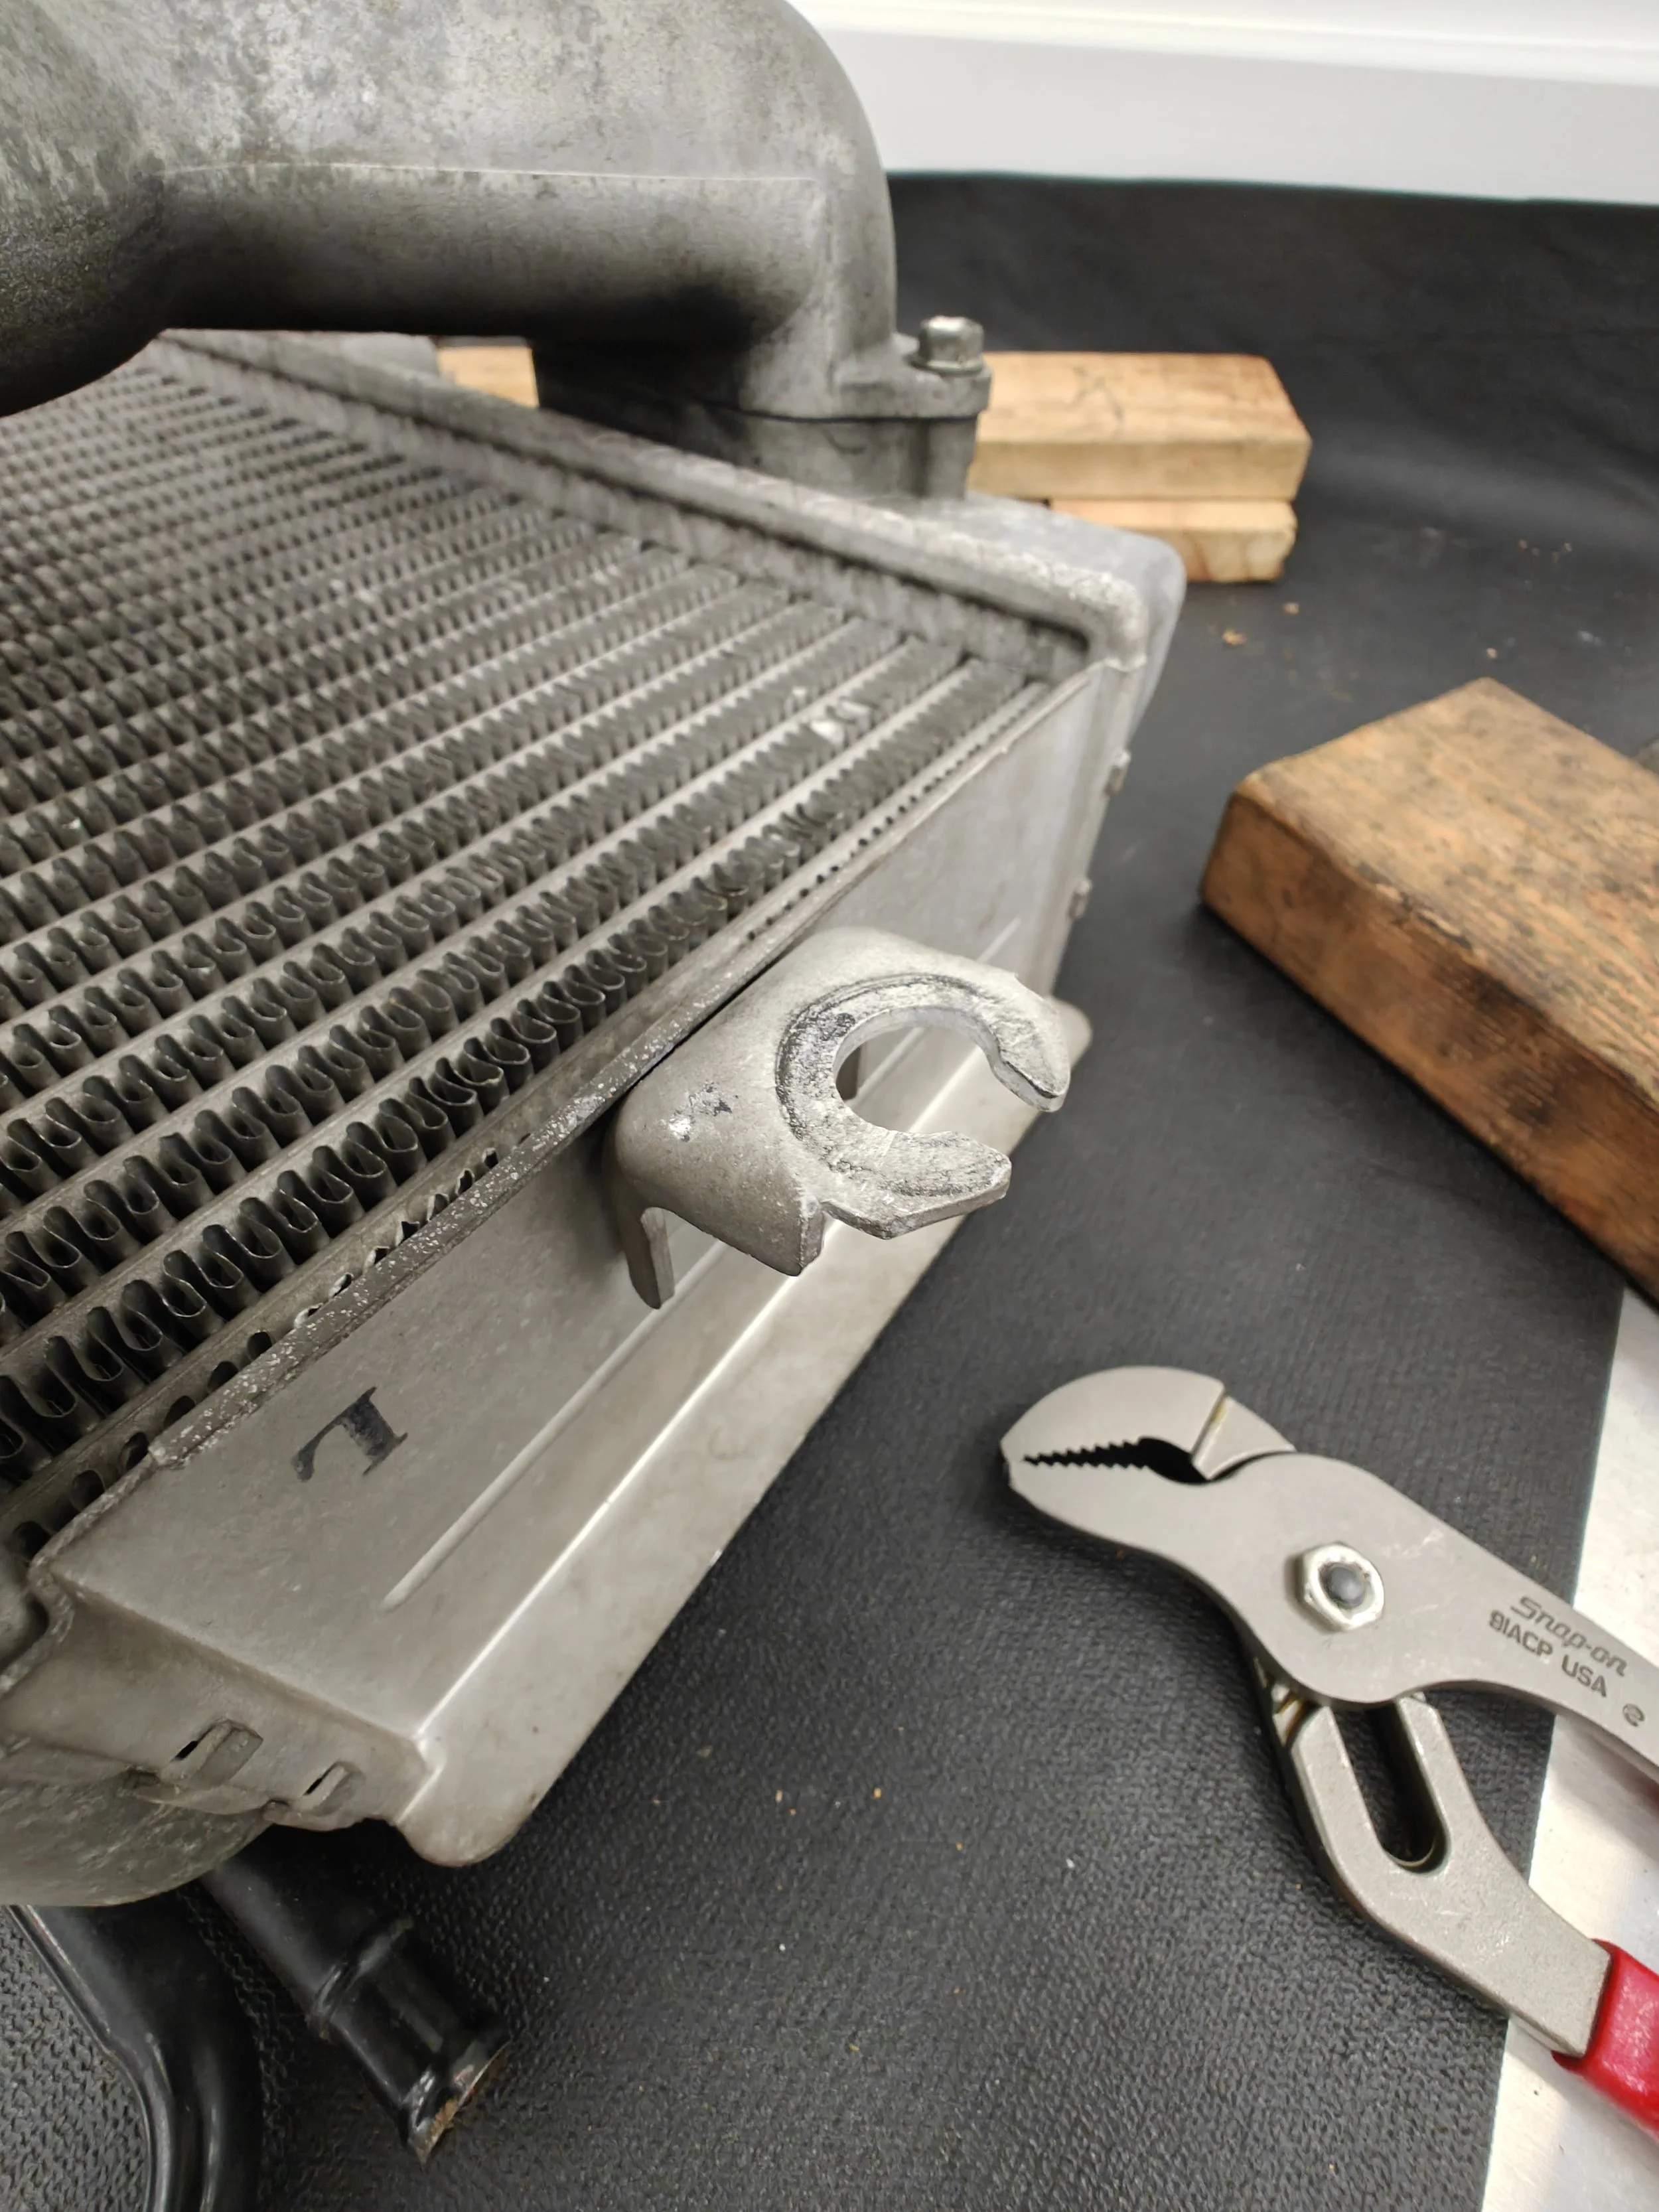
Another angle of the damage both to the fins and the mounting location
While this can be a difficult choice I hope this post will help you with deciding on whether you can or should attempt a repair. Whether that banged up Tmic you found on Marketplace is worth it or if the tmic your kid just knocked off the work bench can be easily fixed.
Time frame
This is a pretty difficult one to calculate, as determined by the amount of damage your tmic has sustained while play a huge part in how long it takes. For the damage you see below I spent under twenty minutes to repair it.
Tools
On the tools list is a nice sturdy 2x4, your favorite hammer, a vice, heat gun, and pliers. Additional you could use a slide hammer with the right attachment.. Alongside these tools a few picks, a radiator fin repair tool and tweezers can also be incredibly helpful.
It is very important to be able to test your repair so having a either boost leak tester or cleaning solvent that can find micro cracks that may not be able to be seen.
Parts
How to
The first step is making sure the damage can be repair with the simple tools we have allotted. This can be done a couple of ways, if you have boost leak tester you can use that while it is installed on the car or you can seal it off. You can also use brake clean or another solvent and fill the tmic and tilt the tmic to the area of damage to see if any leakage occurs. If this checks out you can move towards repairing.
After filling the tmic with brake clean for cleaning and testing for leaks. Looked like there were no leaks and it was time to repair it
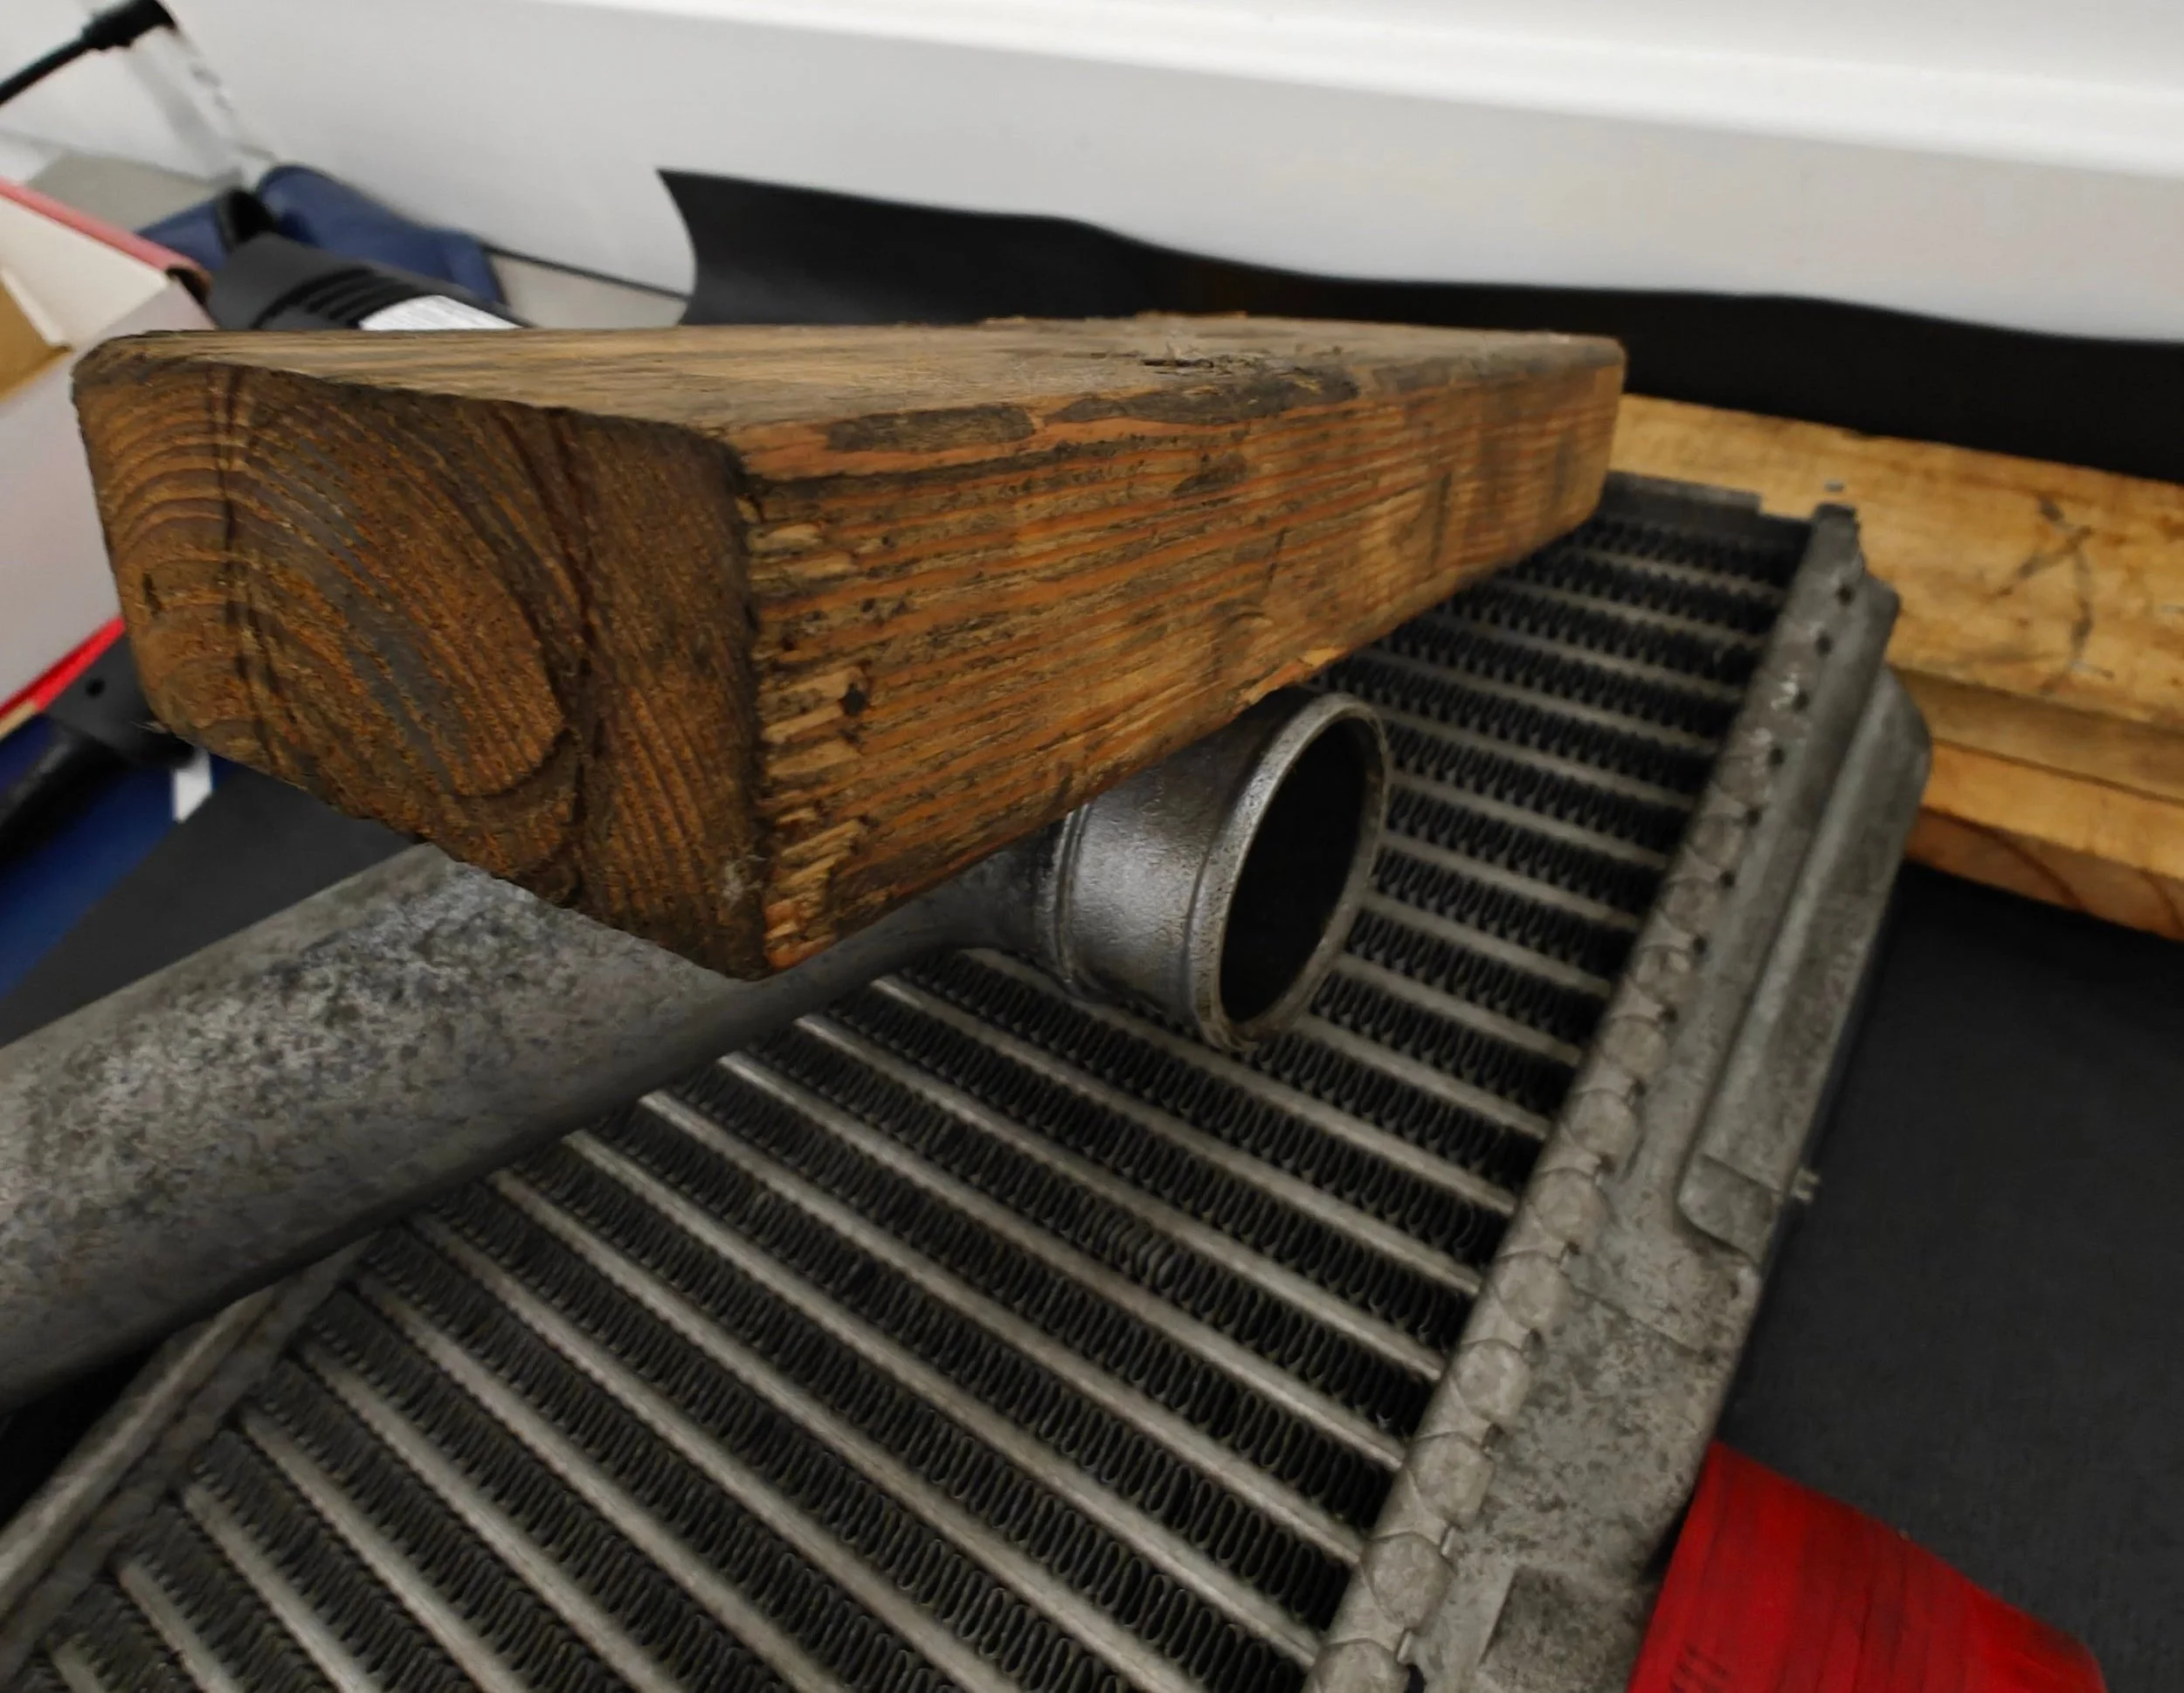
Next you will need to support the tmic so that you can start massaging it back into shape. This be done by securing it with clamps, a vice or possibly you just need a wall to keep it from sliding across the work bench. You may find it necessary to remove the Y-pipe to gain additional access to the damage.
Supported against the wall with a 2×4, this seems like it will work out.
Given the damage on my tmic my first goal was getting the core straightened back out. I found that I had plenty of access without removing the Y-pipe and so I started to heat up the aluminum. With it warm I start gently tapping on the core to find out what was necessary to return it to its previous shape. We don’t want to take it too far and cause more damage, so take your time.
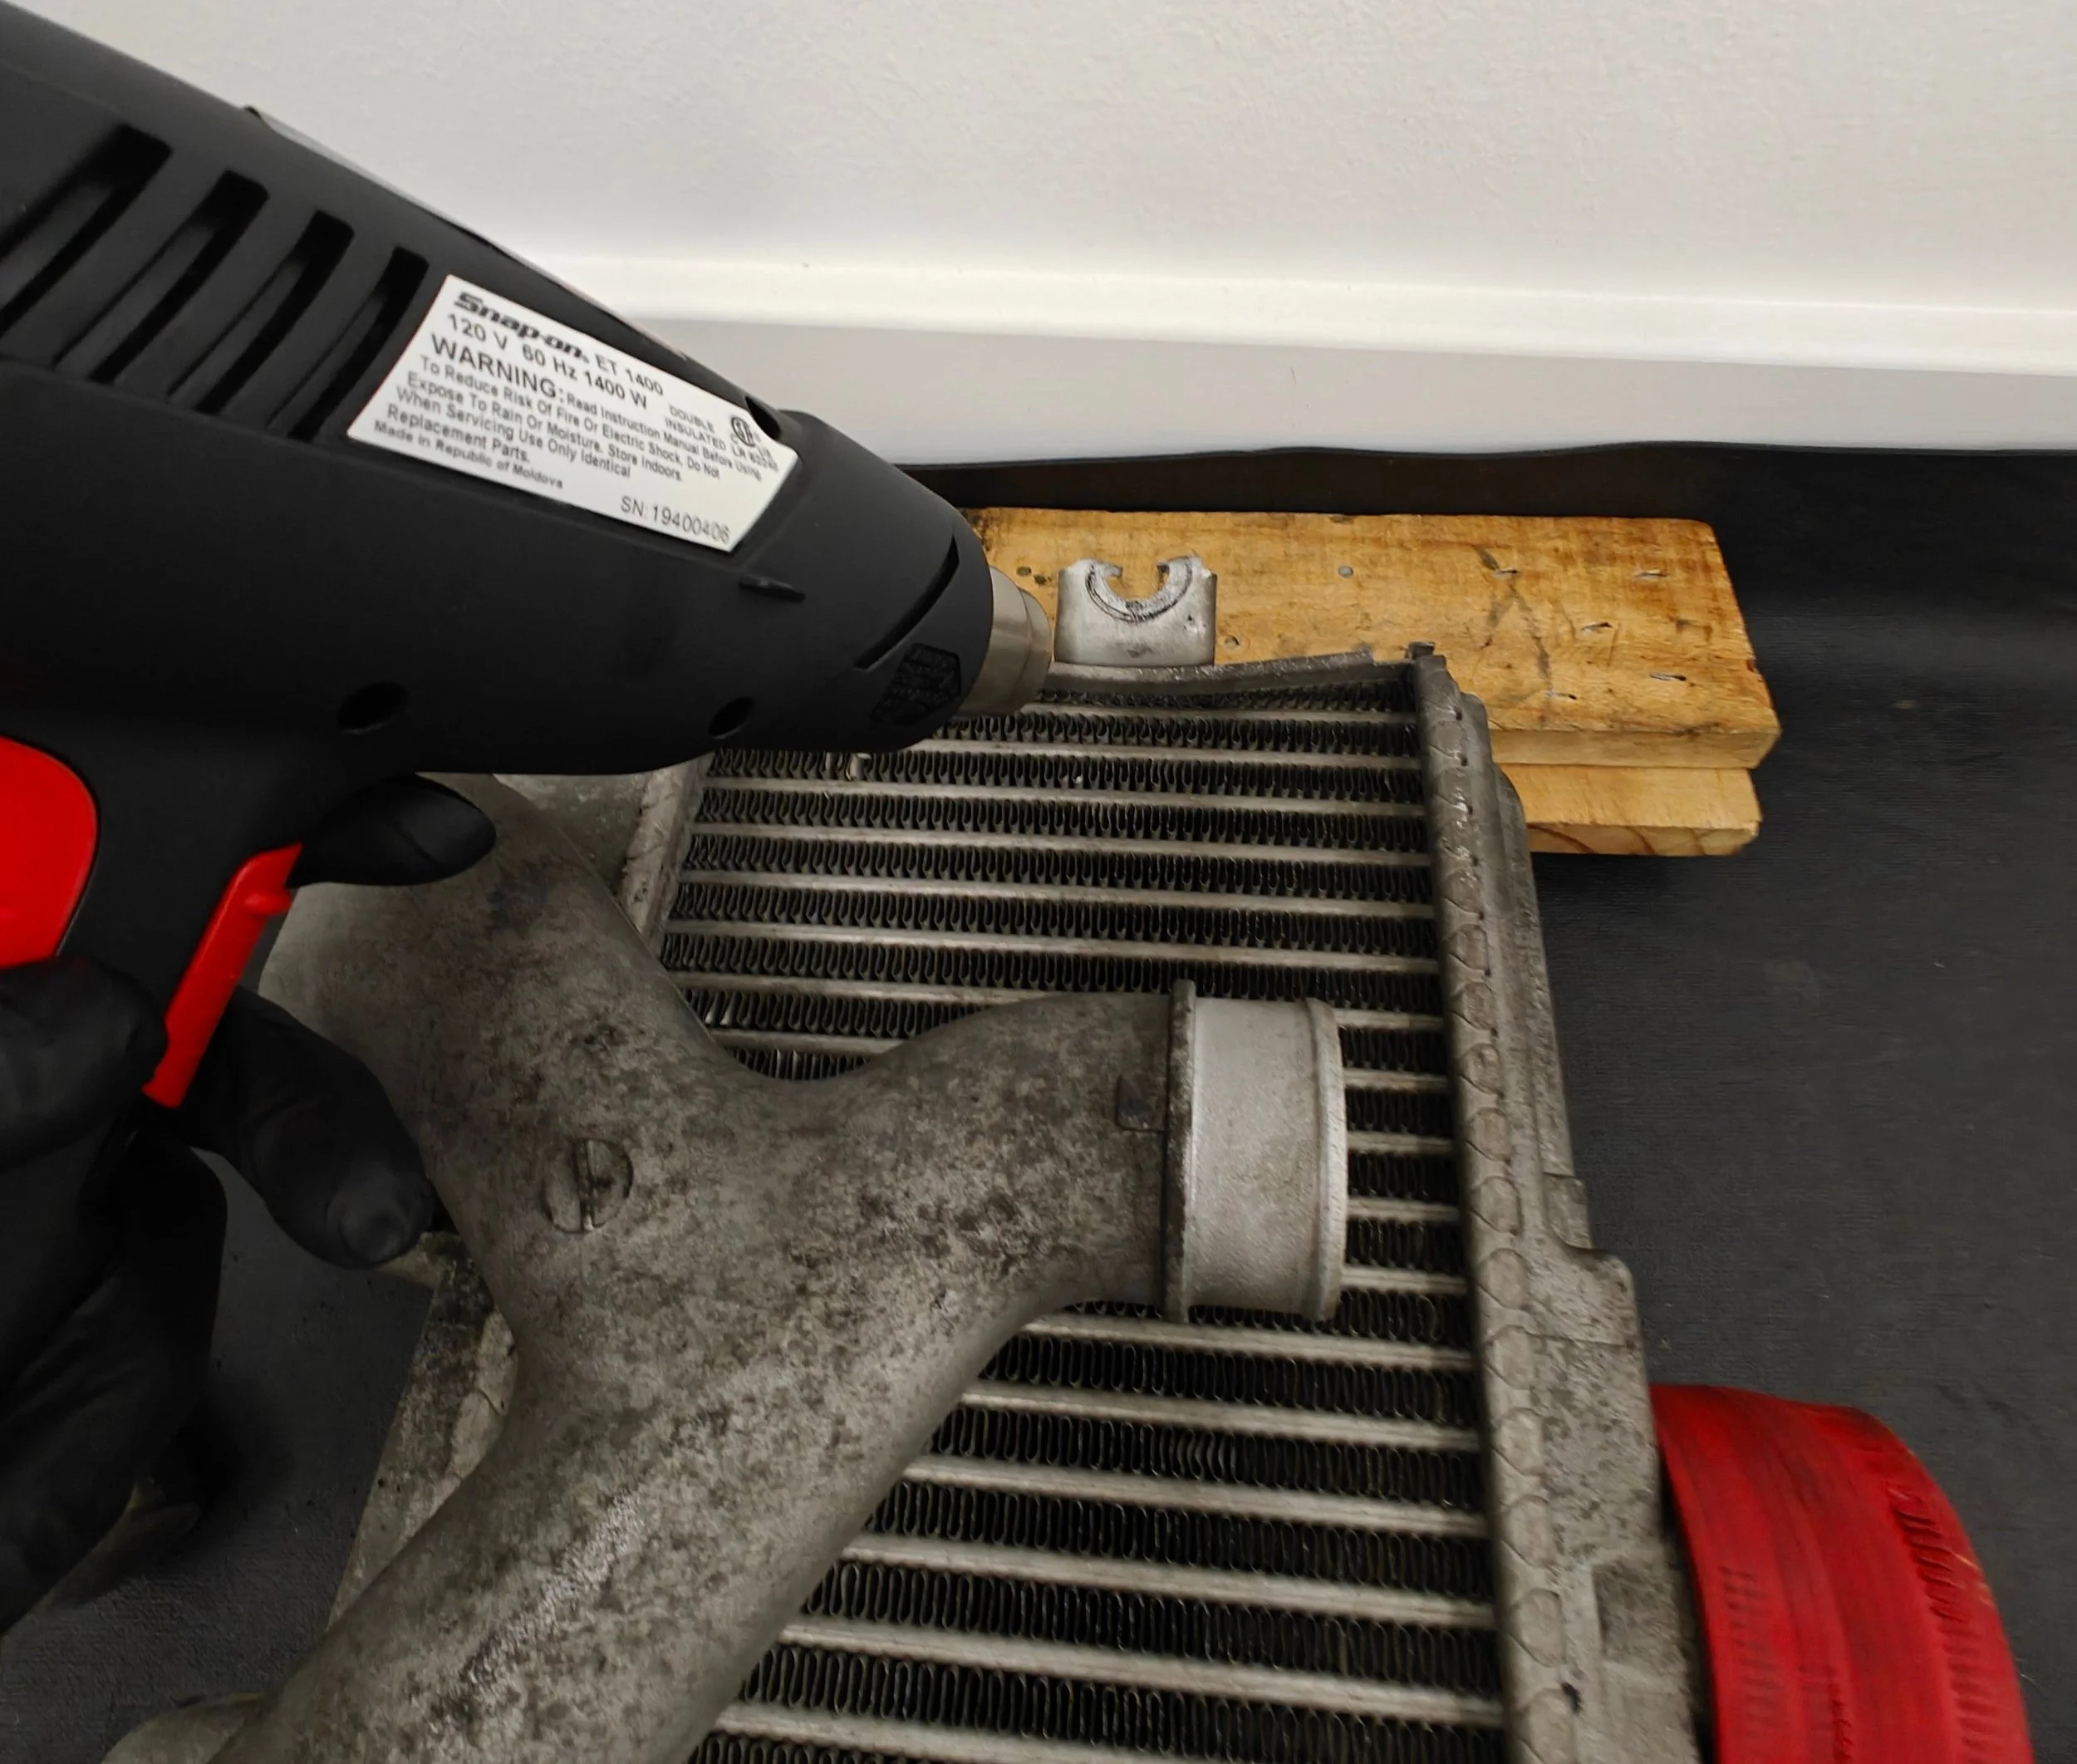

Once we have that back in place we can look at getting the mounting bracket back in shape. I started off with the heat gun to help make the move easier and then was able to effortlessly get it back into position.
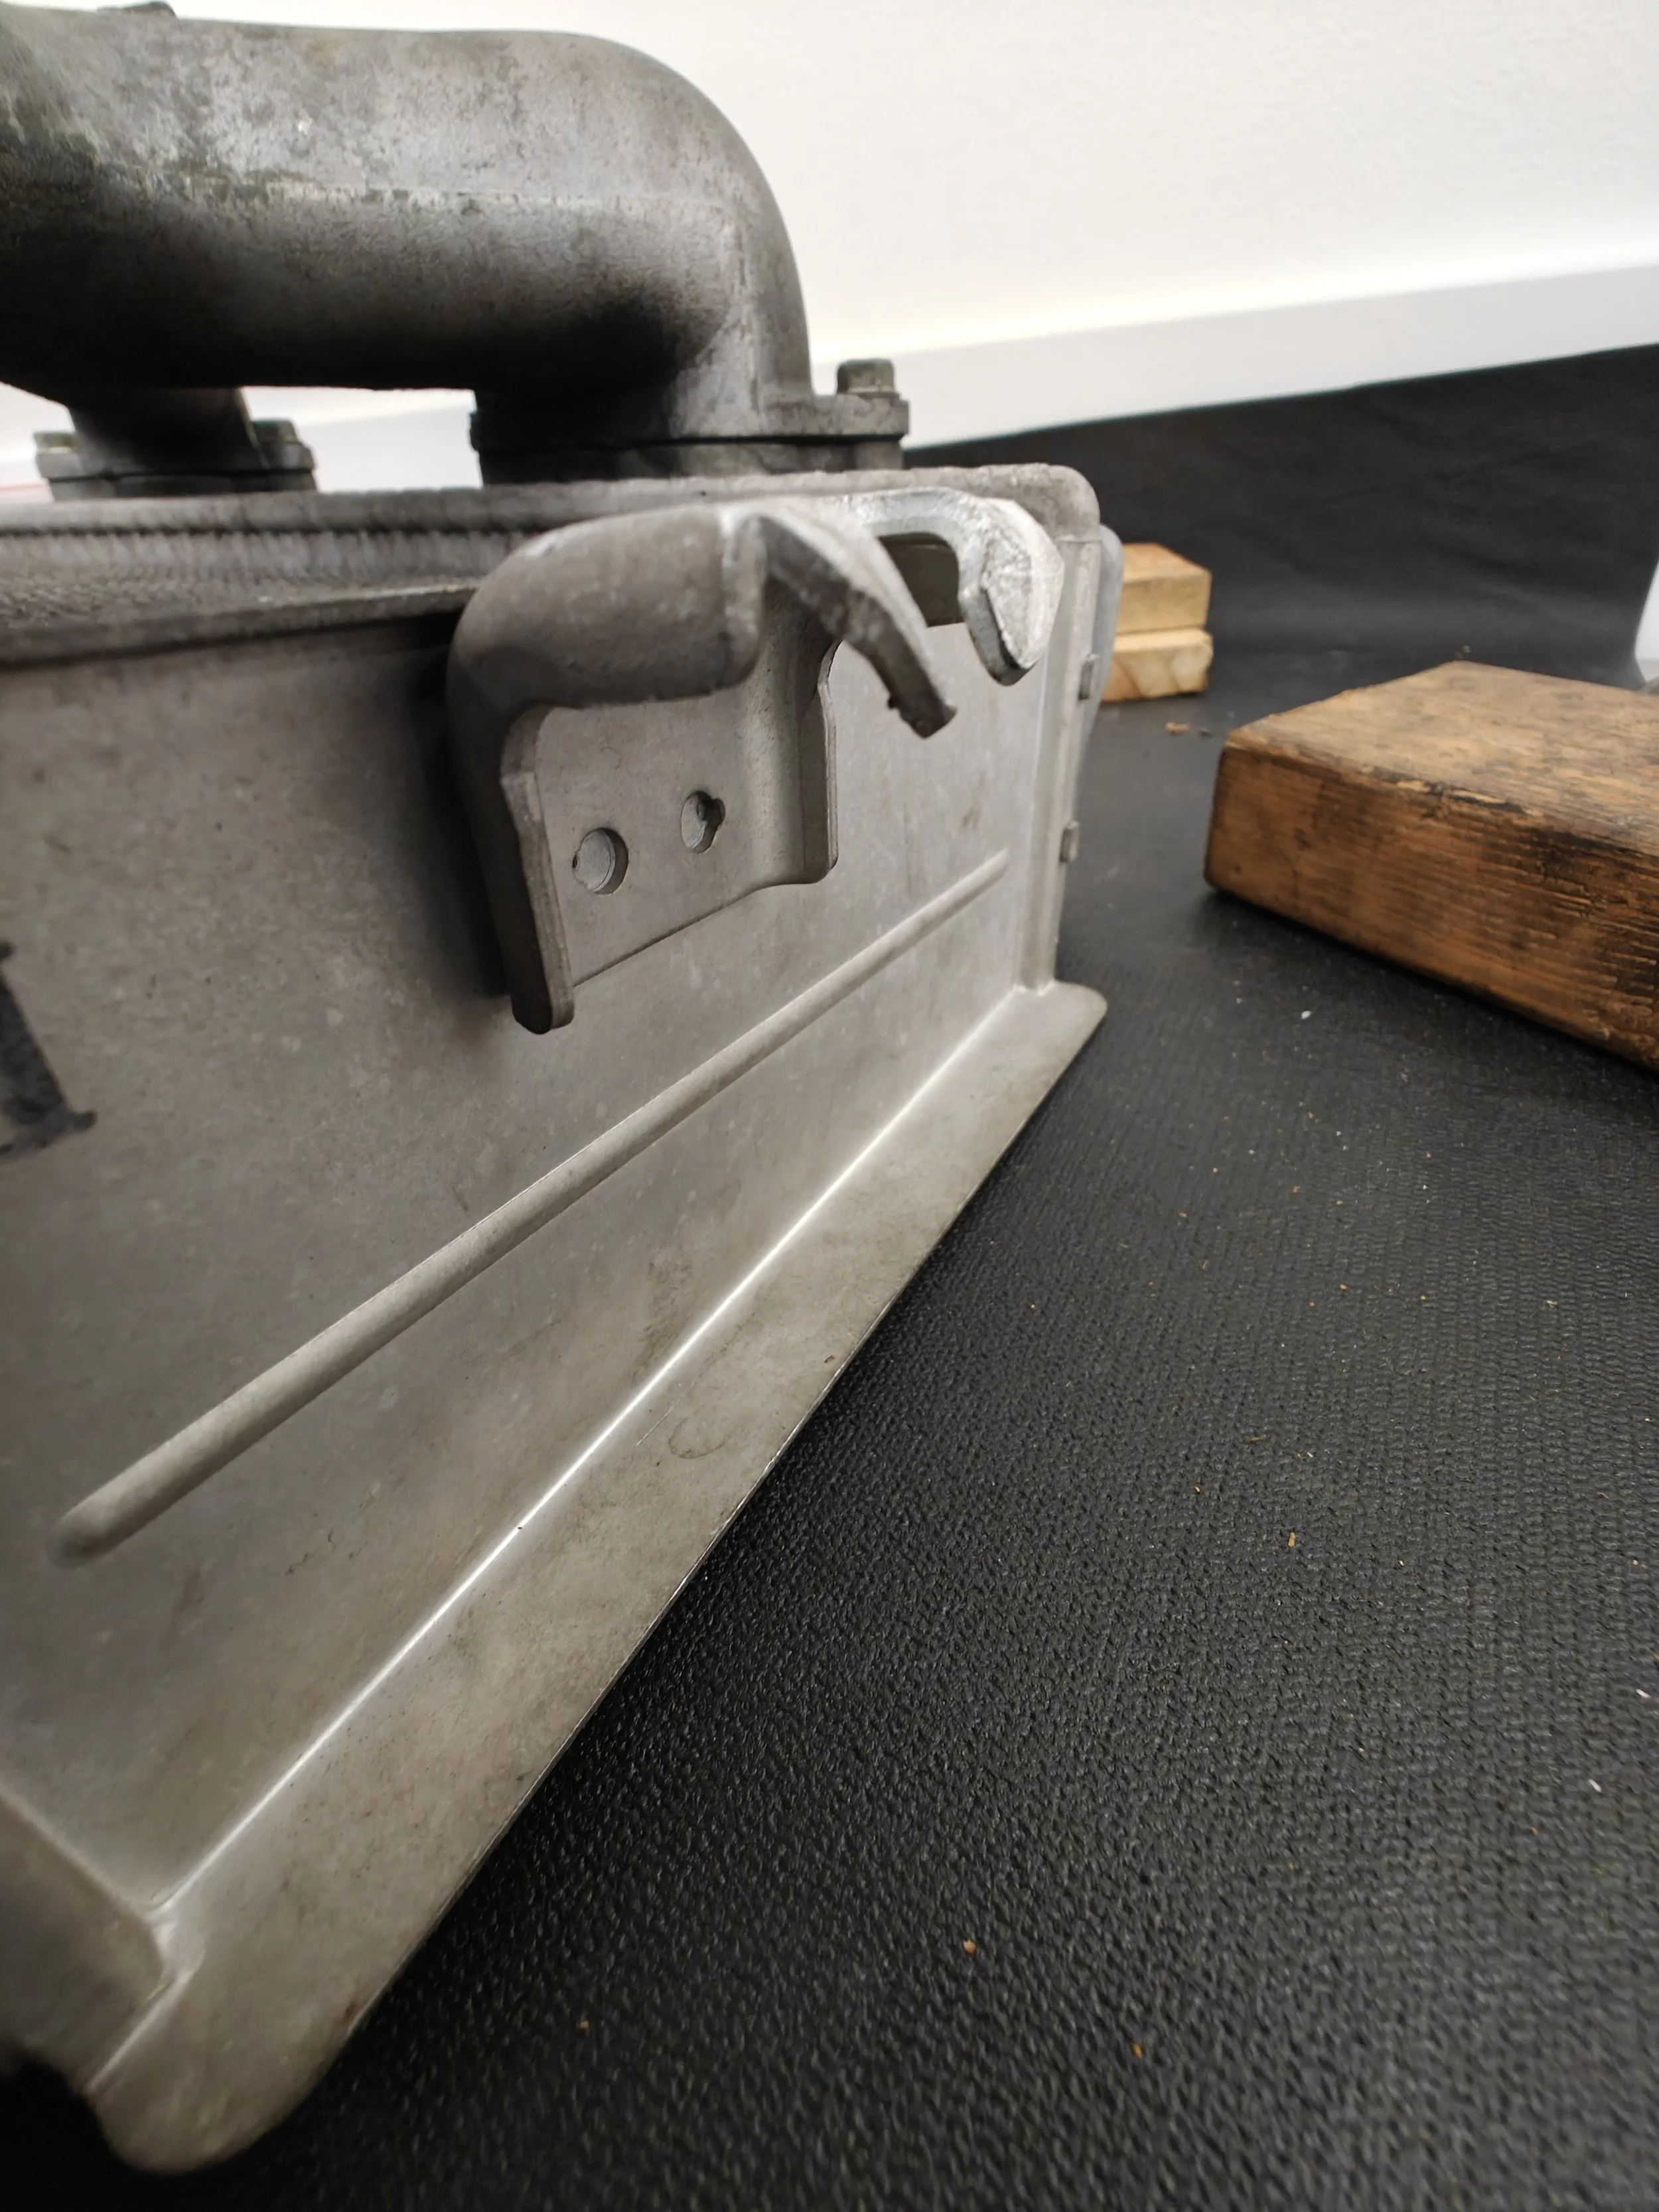
Looks quite good from this side!
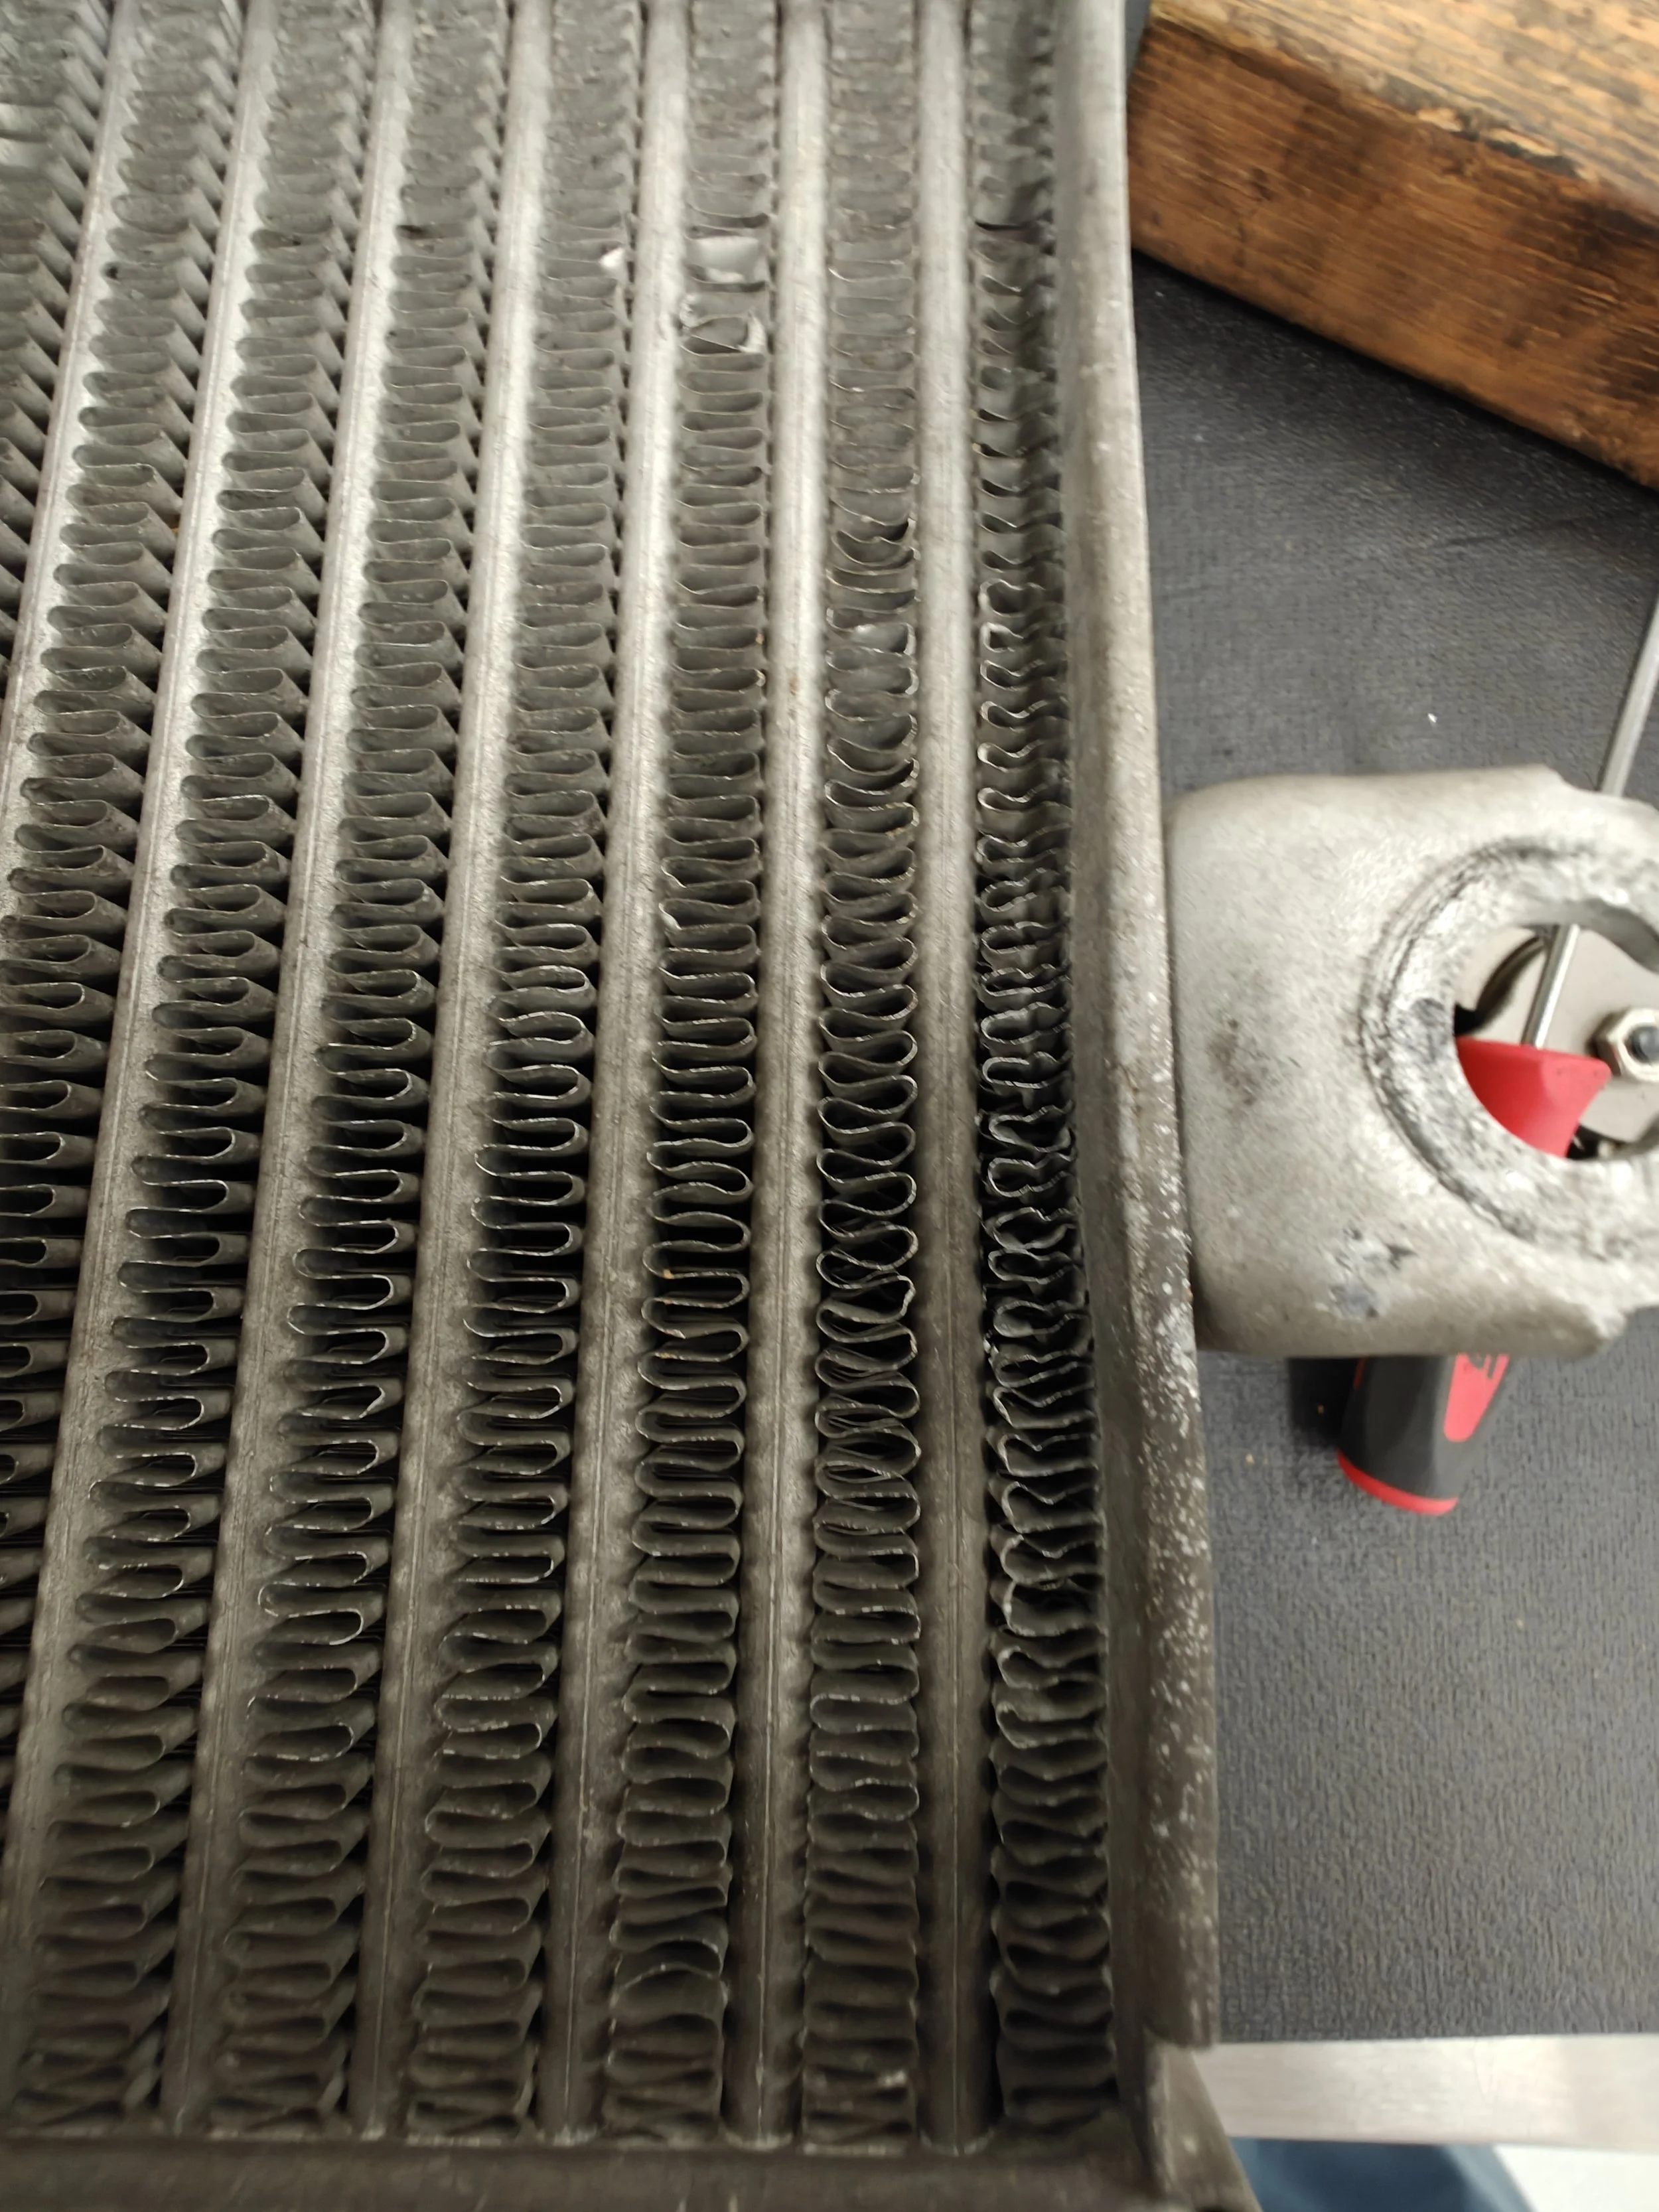
Up next is assessing the damage to the fins which have all been flattened. I started our with my pick and shifted them back toward their original position. Then you can use either your tweezers or fin repair tool to complete this.
After you have them all straightened to your liking its back to pressure testing the tmic for any damage that may have occurred during your repair. This is why it is important to only apply the amount of pressure necessary as aluminum is quite malleable but can/will become brittle with excessive force and bending.
If you need help with straightening these fins head right over here. https://www.blingstrom.com/diy-project/2018/12/29/refreshing-your-intercooler-fins-by-hand
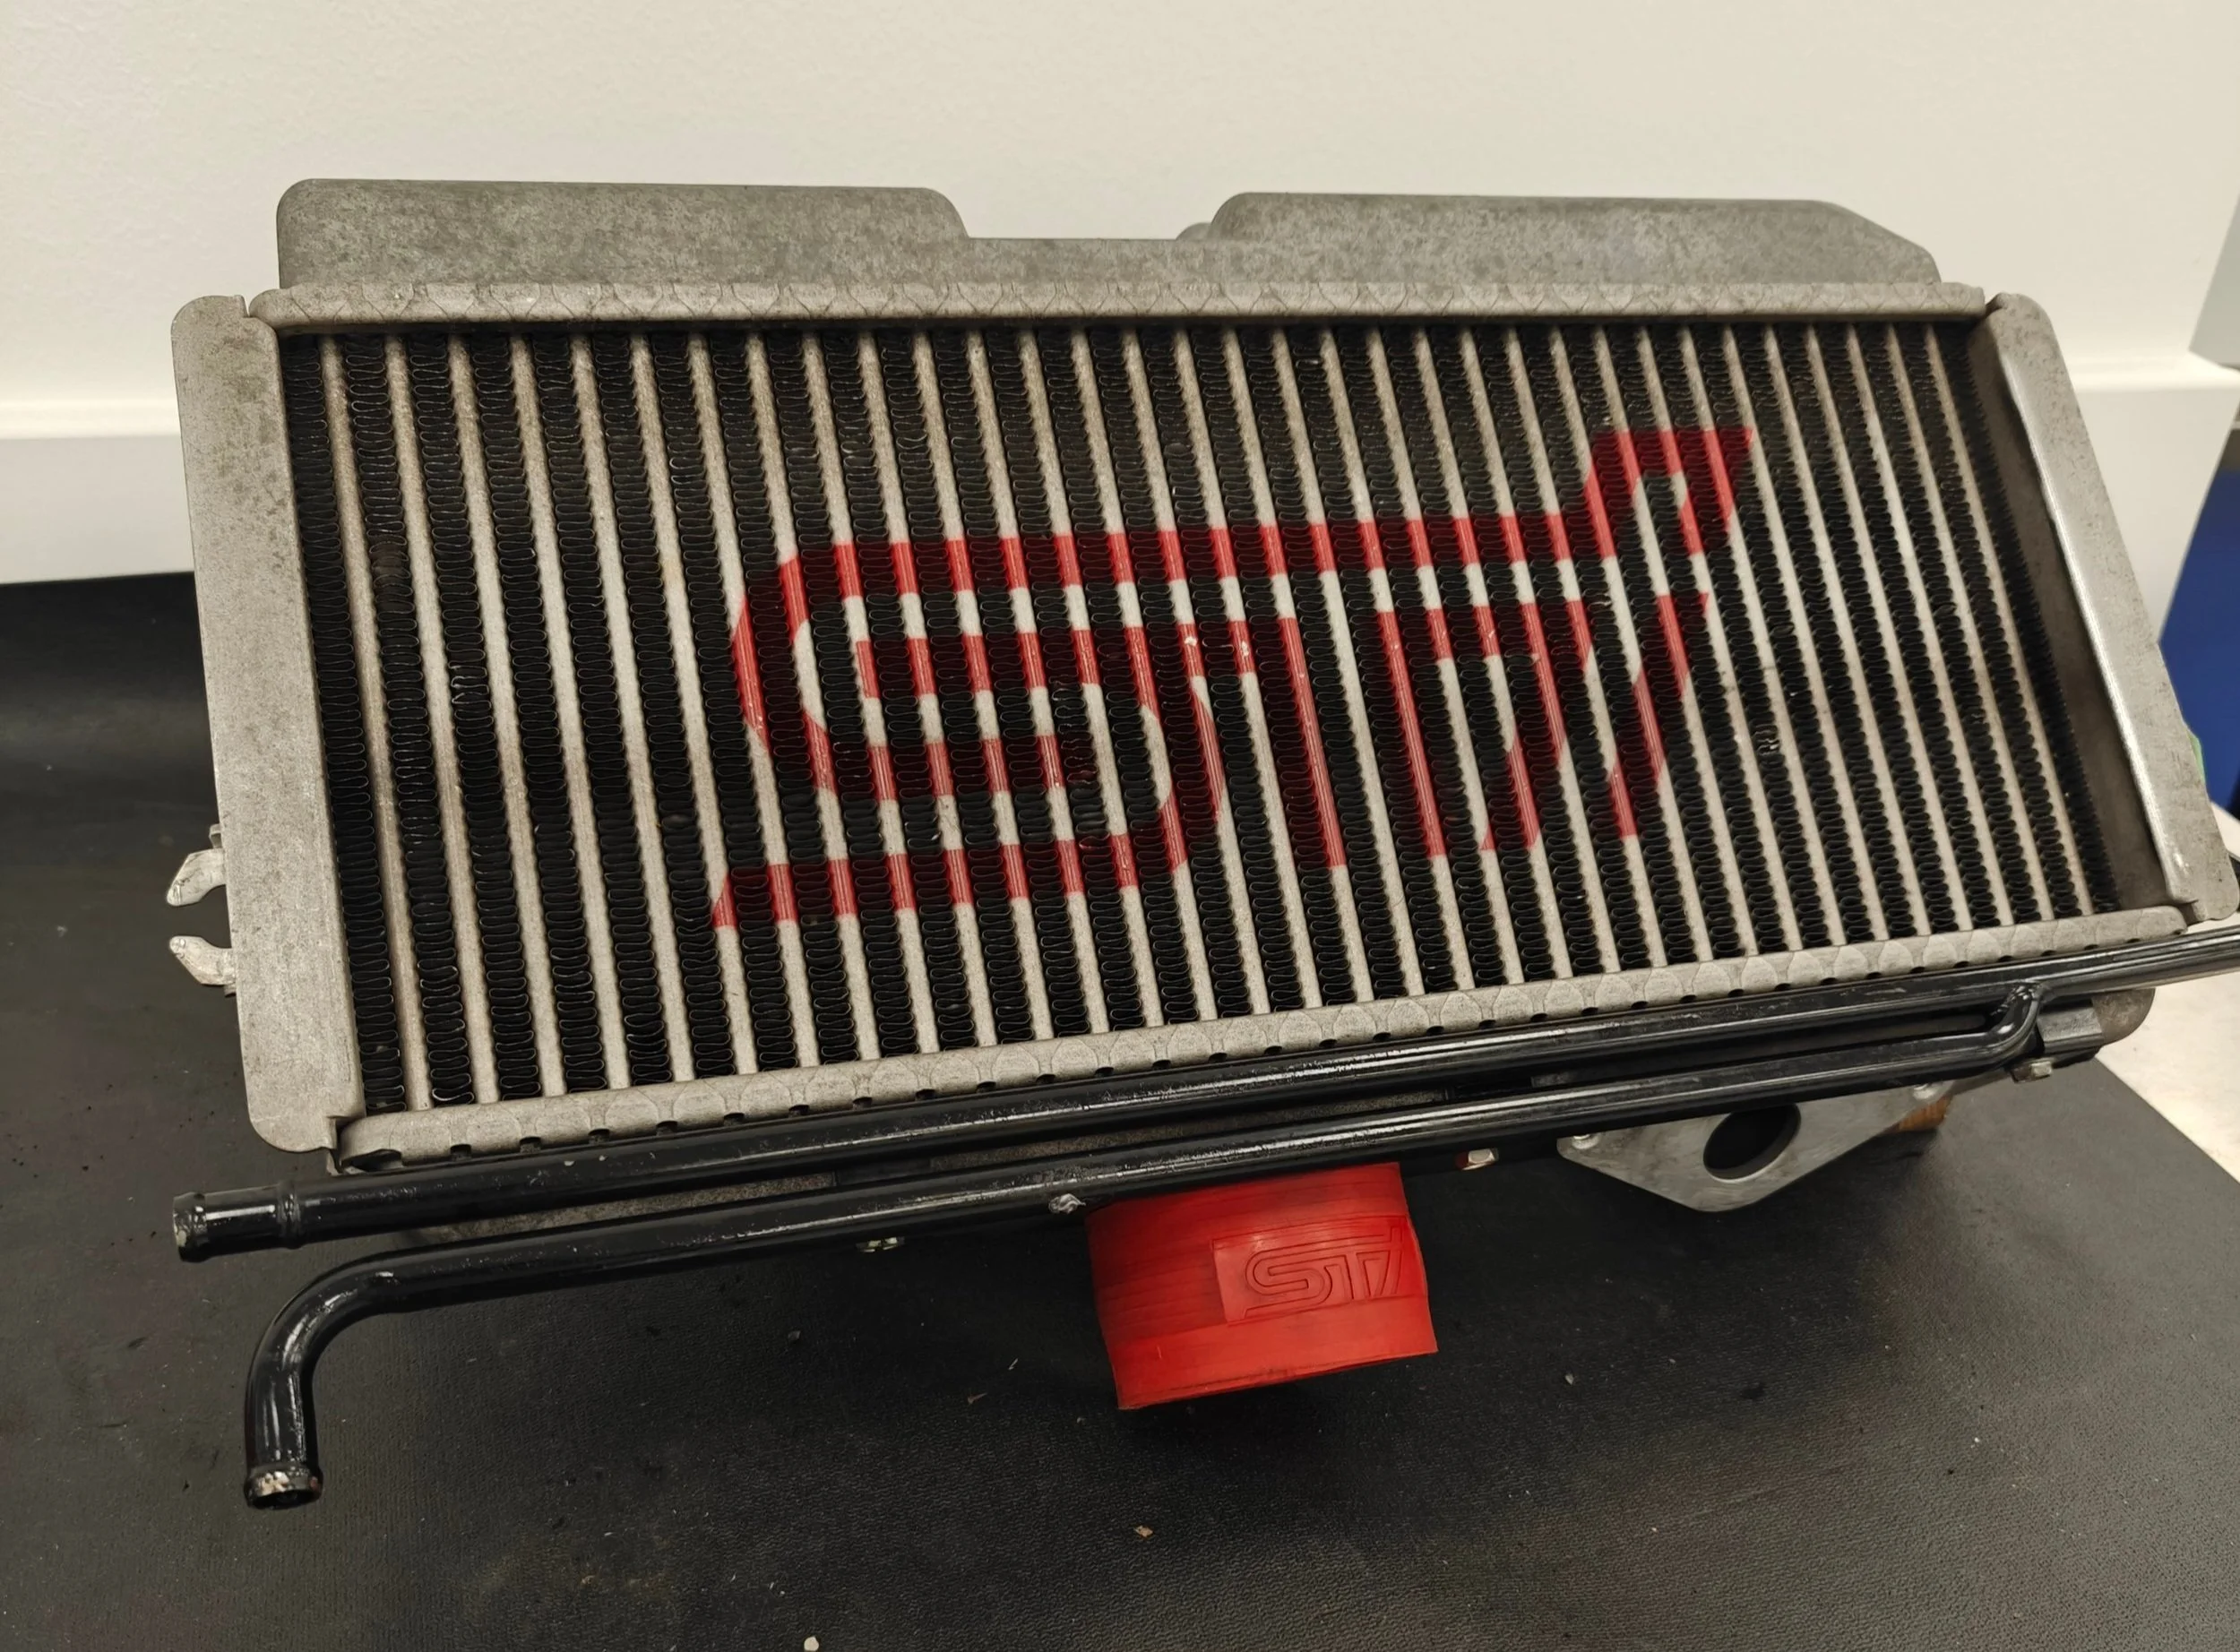
If everything checks out it is time to test fit it to the car making sure the brackets are in the right location and everything is happy,
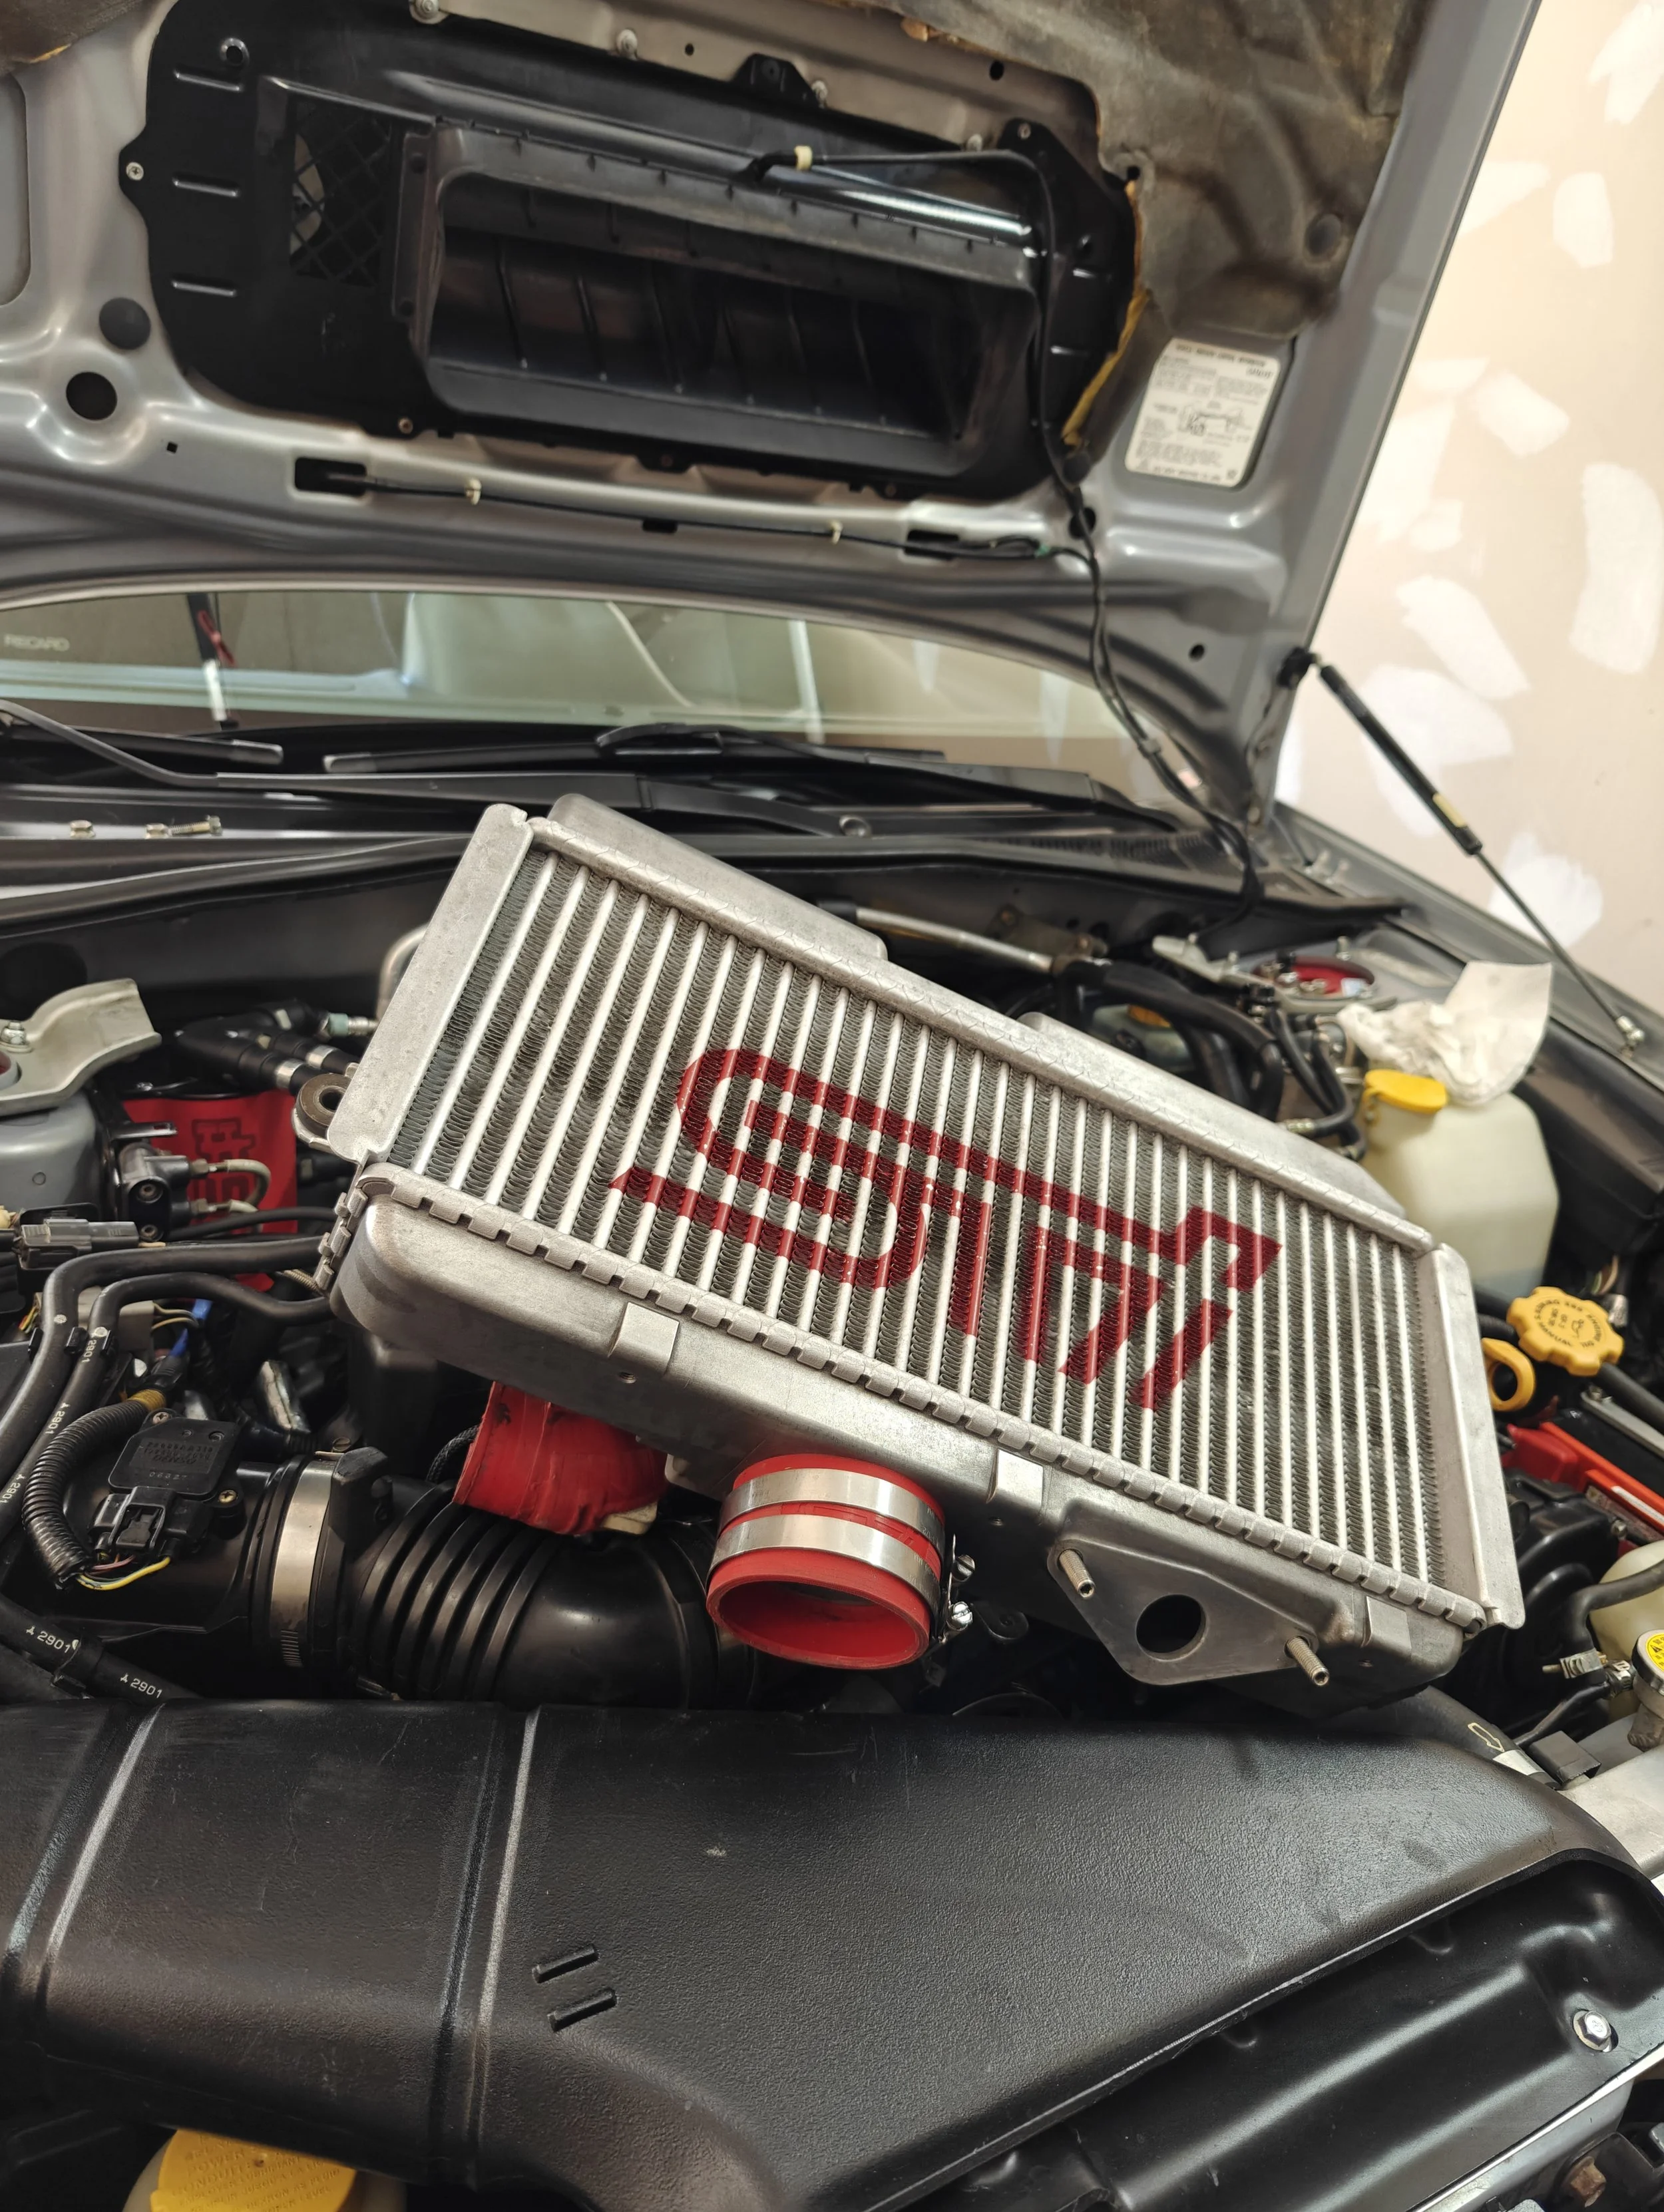
Looks ready to be fitted up!
Congratulations, it is time for a test drive to enjoy the labors of your hardwork and enjoy your vehicle!
Amazon tool links
Ebay search link