STi carbon fiber driveshaft install! Rid yourself of old u-joints and a bit of weight.
What is my favorite kind of repair? It is a repair that replaces a good but worn out part with a upgraded part. And that is exactly what brought us here to adding a carbon fiber driveshaft. After I had removed my 6 speed transmission to replace the gears and upgrade the dccd, I found that the u-joints were very worn and sticky. Which can cause issues when leaving a stop light, you will notice this as taking off from a stop light is quite jerky.
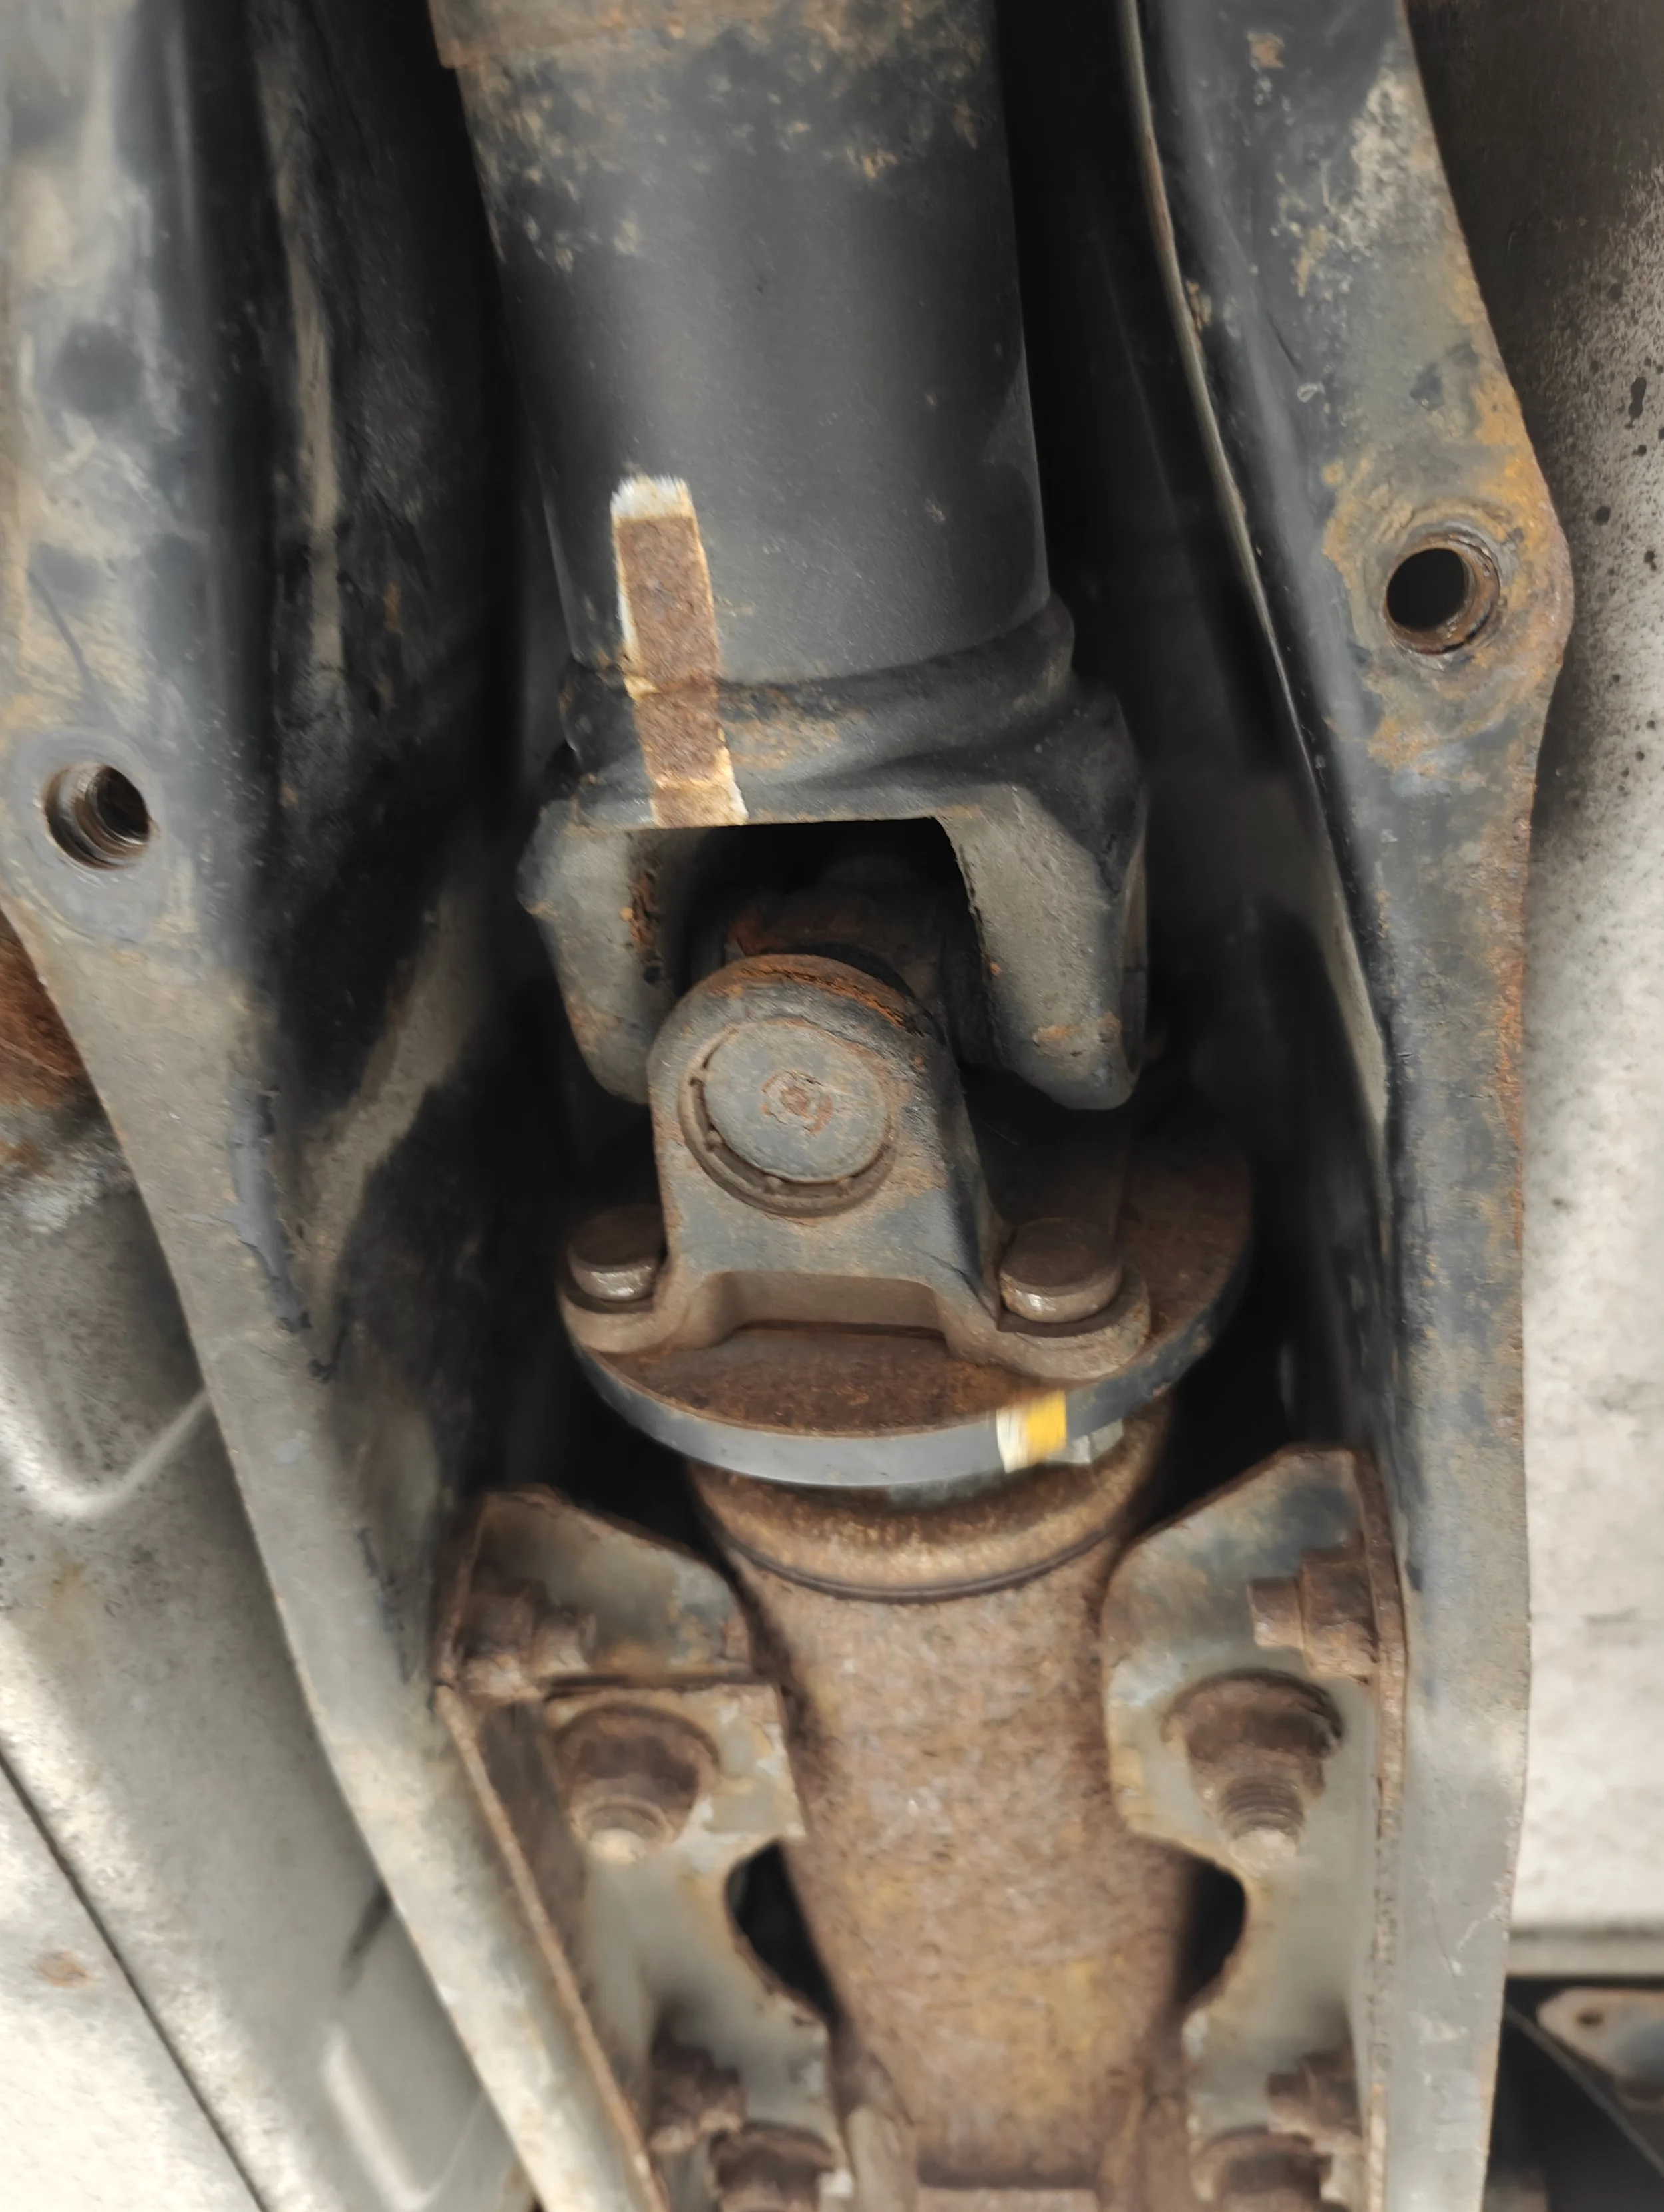
Old crusty u-joints aren’t beneficial in any way. So why not upgrade them by replacing the driveshaft as well.
Now I think a new driveshaft would remedy this issue, why not add something with some performance benefits to it. Another reason to upgrade to a carbon fiber driveshaft was to reduce the amount of NVH that can travel from the rear diff to the rest of the car. Now let’s see what it takes to remove the old driveshaft and install the new unit.
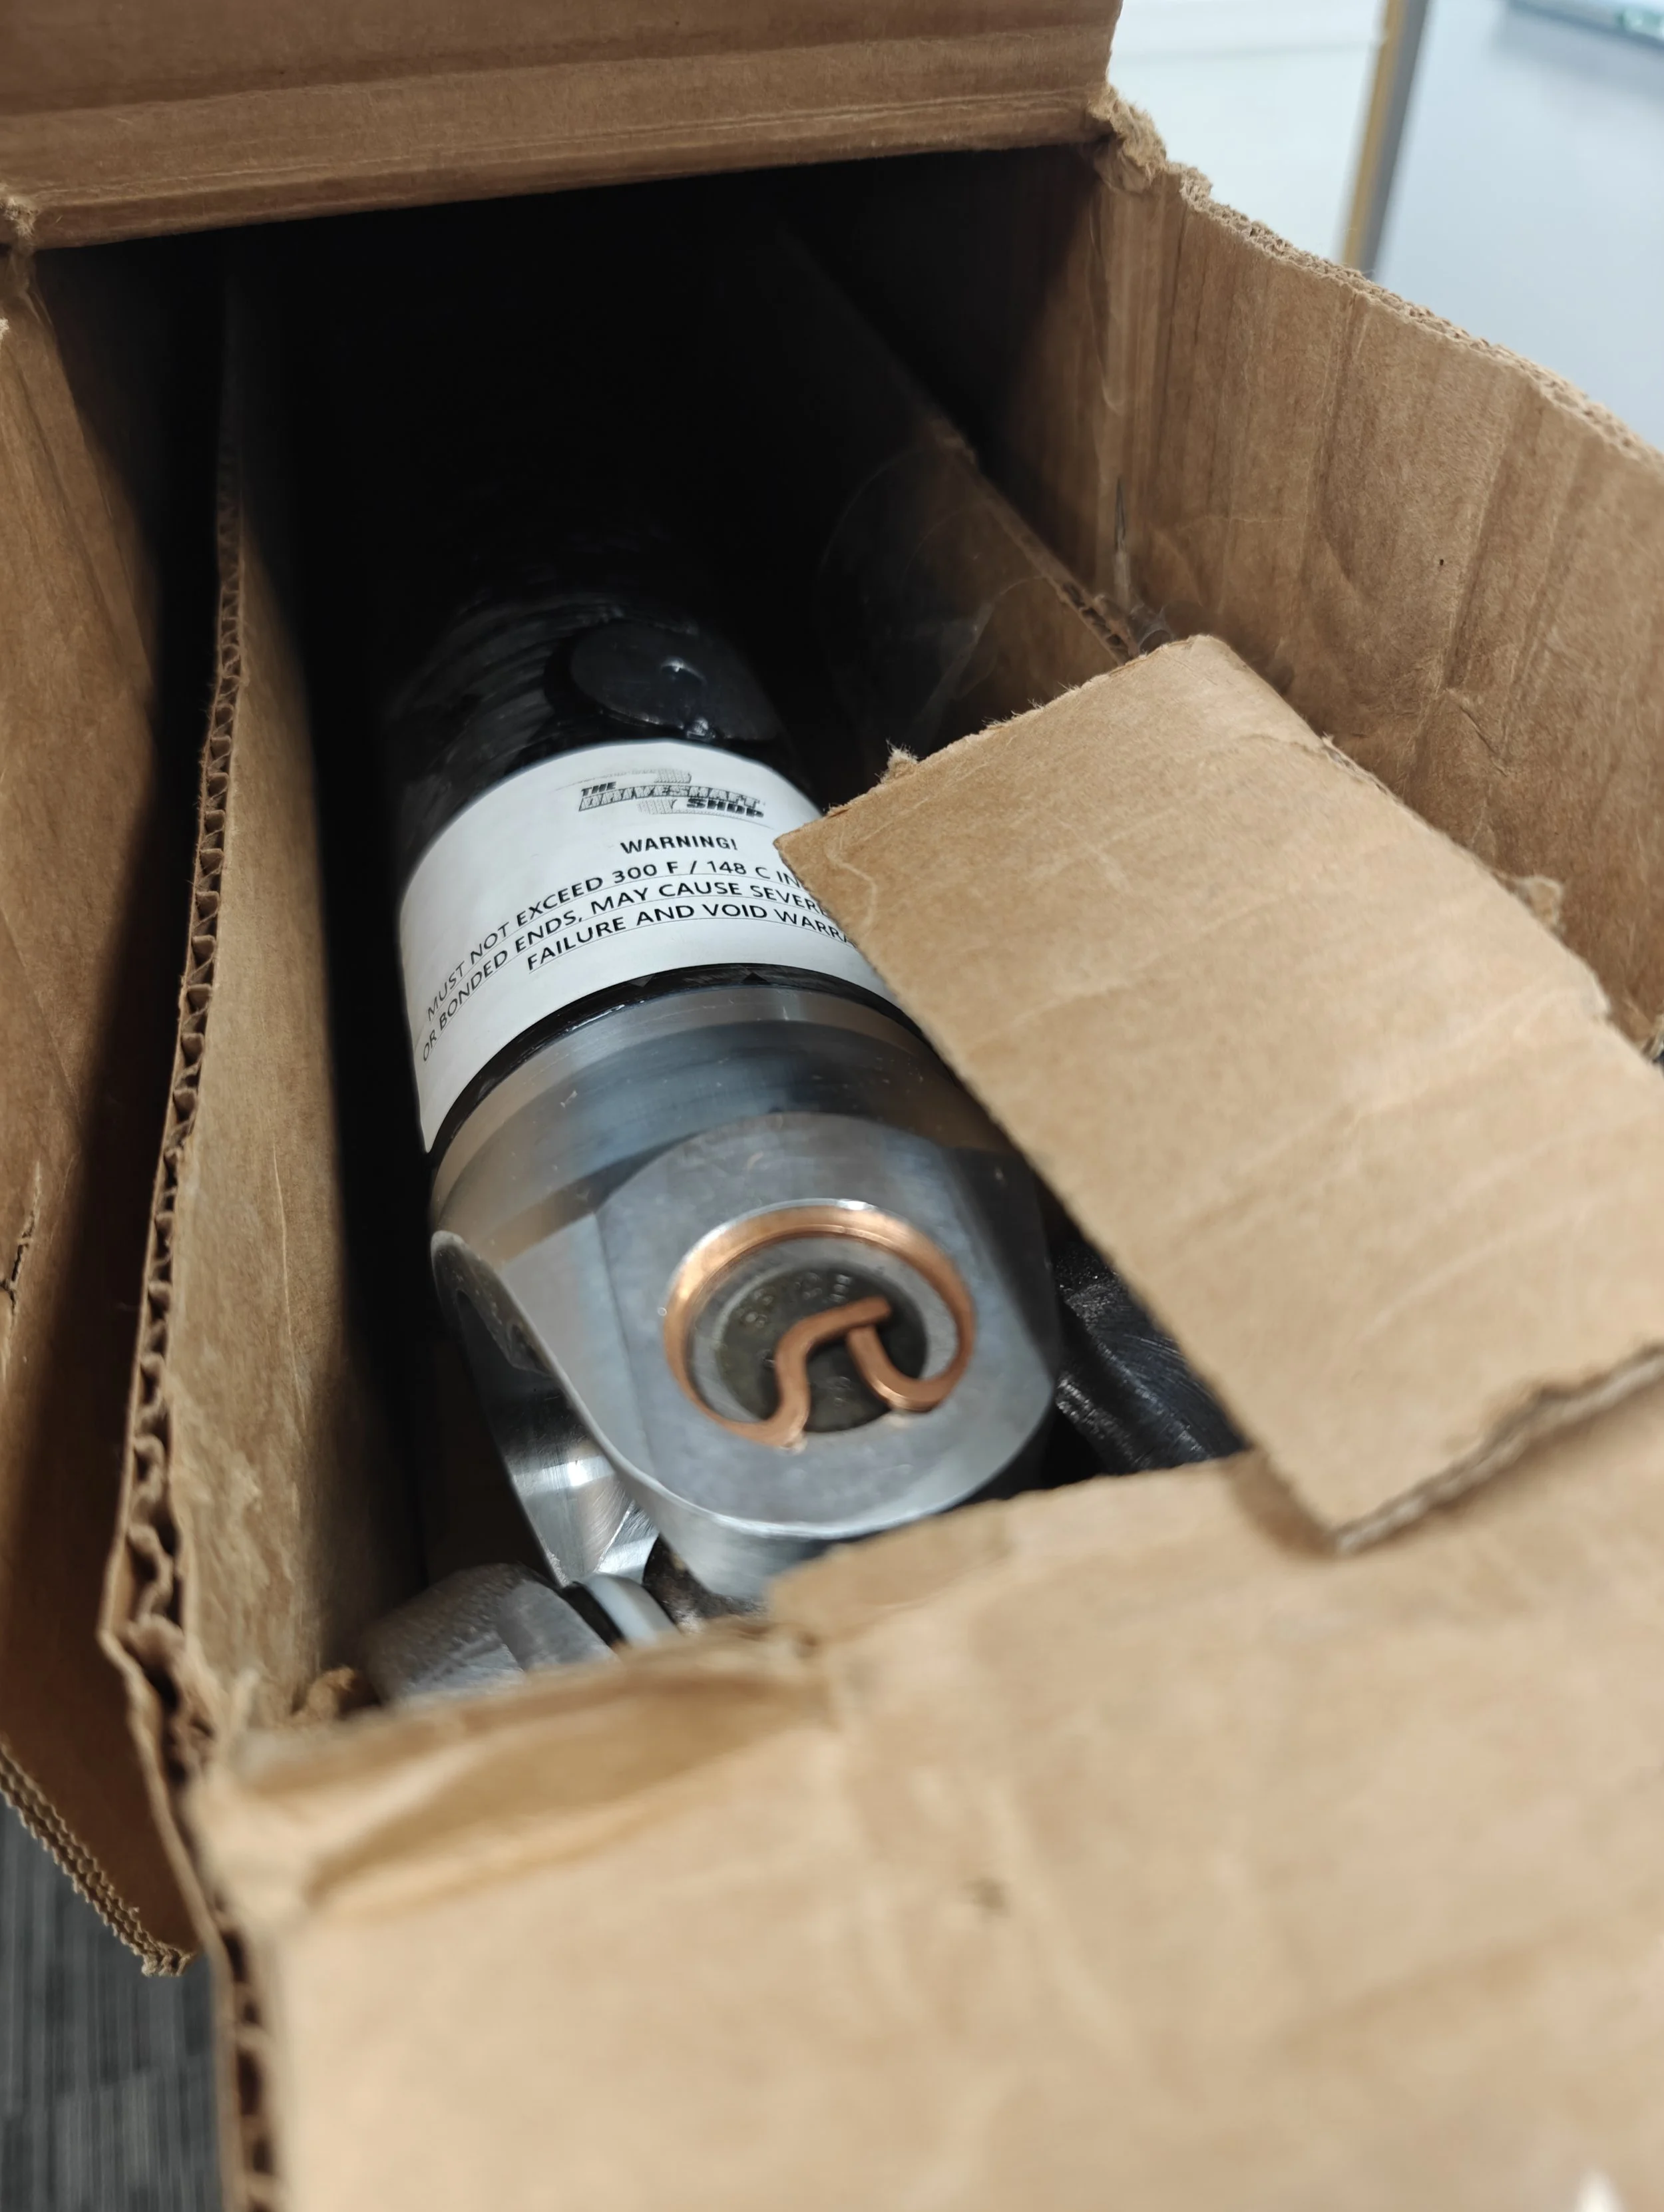
New u-joints have arrived with a nice new lightweight carbon fiber driveshaft attached to it.
Timeframe
This should be pretty straight forward as long as your undercarriage isn’t rusted over. I think with 2 hours this should be very easy, but I think 1 hour is very doable. Especially if this is your second time doing this…. It was for me.
Tools
Not too many tools here. We will need to remove just a few bolts and nuts around the exhaust, rear diff and original driveshaft. Here is a small list of what I used.
Parts
DSS 04-07 STI carbon fiber driveshaft (find it on eBay)
How to
As with any repairs that reside below the car, our first step is properly lifting the vehicle and getting it supported safely and correctly. I put together a write up for this and you can find it here.
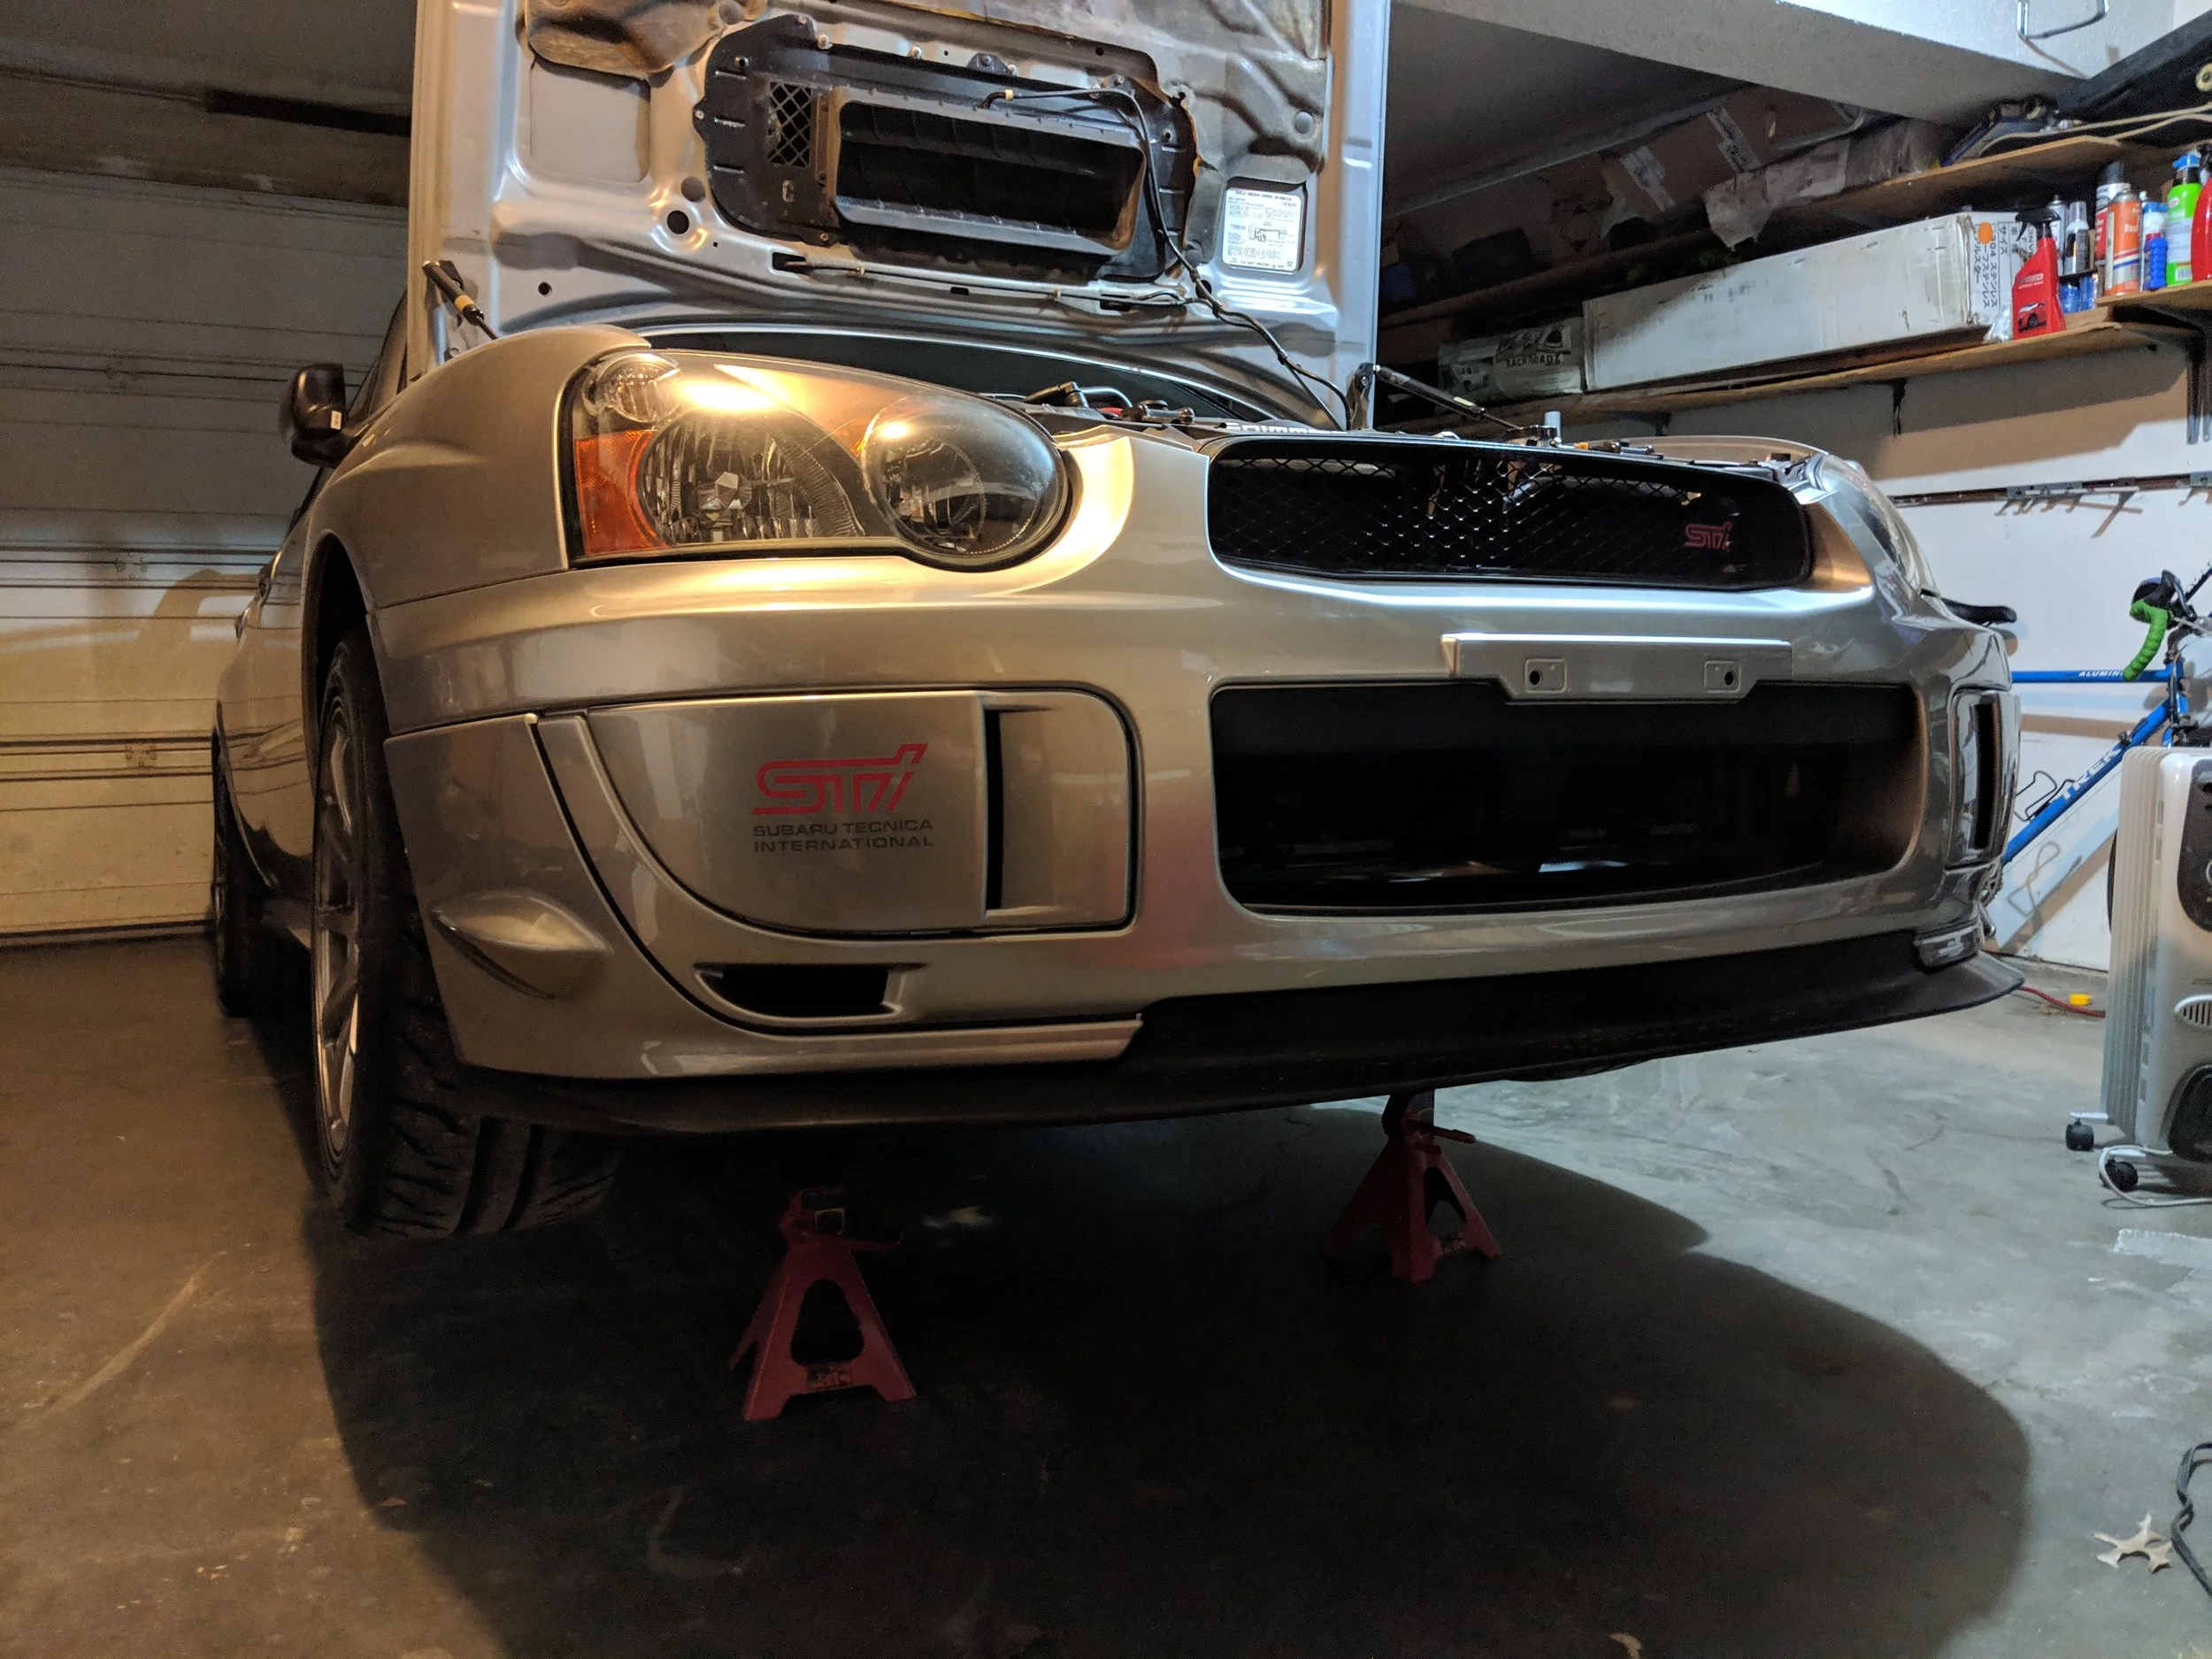
As with so many replacement parts guides, we start right off by properly supporting your vehicle on jack stands before getting underneath it. How to properly put your Subaru on Jack stands
With the car well supported on jack stands or a lift you can start with the removal of parts to access the driveshaft. My first step was to disconnect the exhaust at the connection of the midpipe and downpipe. For my Cobb titanium this is two bolts and nuts at the downpipe connection. And a clamp at the midpipe to axle back connection. Then I was able to undo the single exhaust hanger and set it aside.
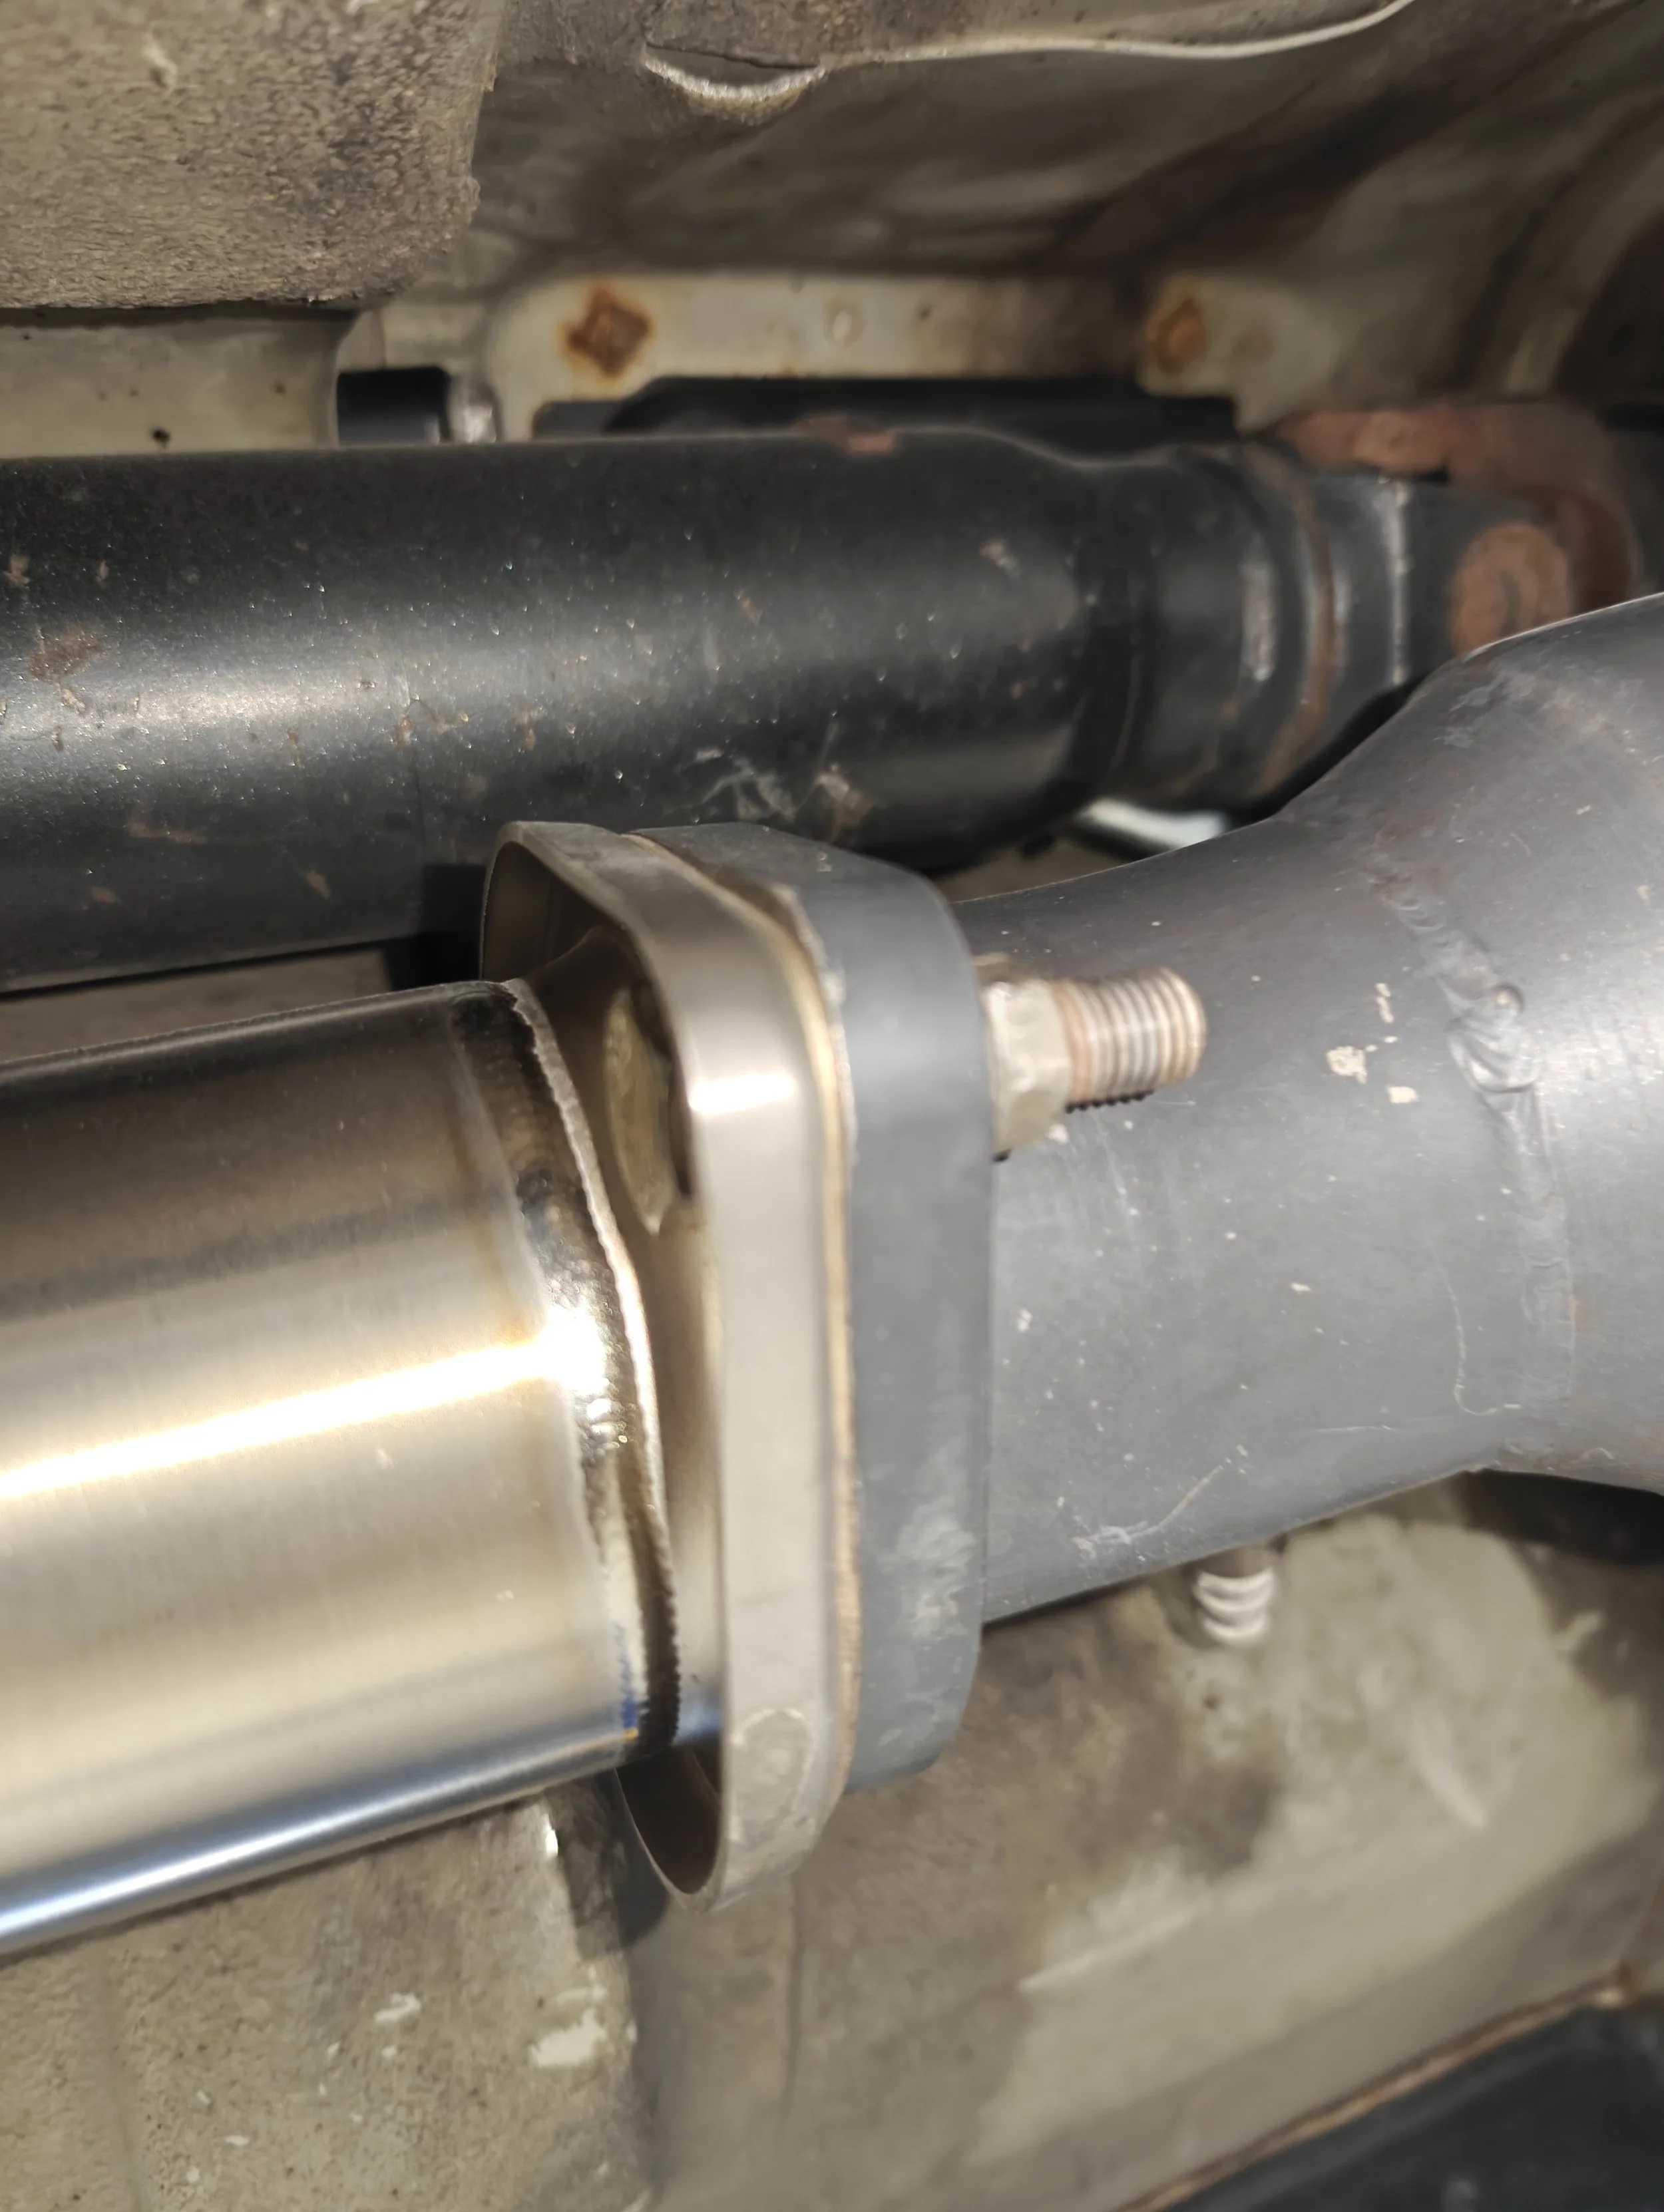
Couple of bolts and nuts to remove from the midpipe to the downpipe.
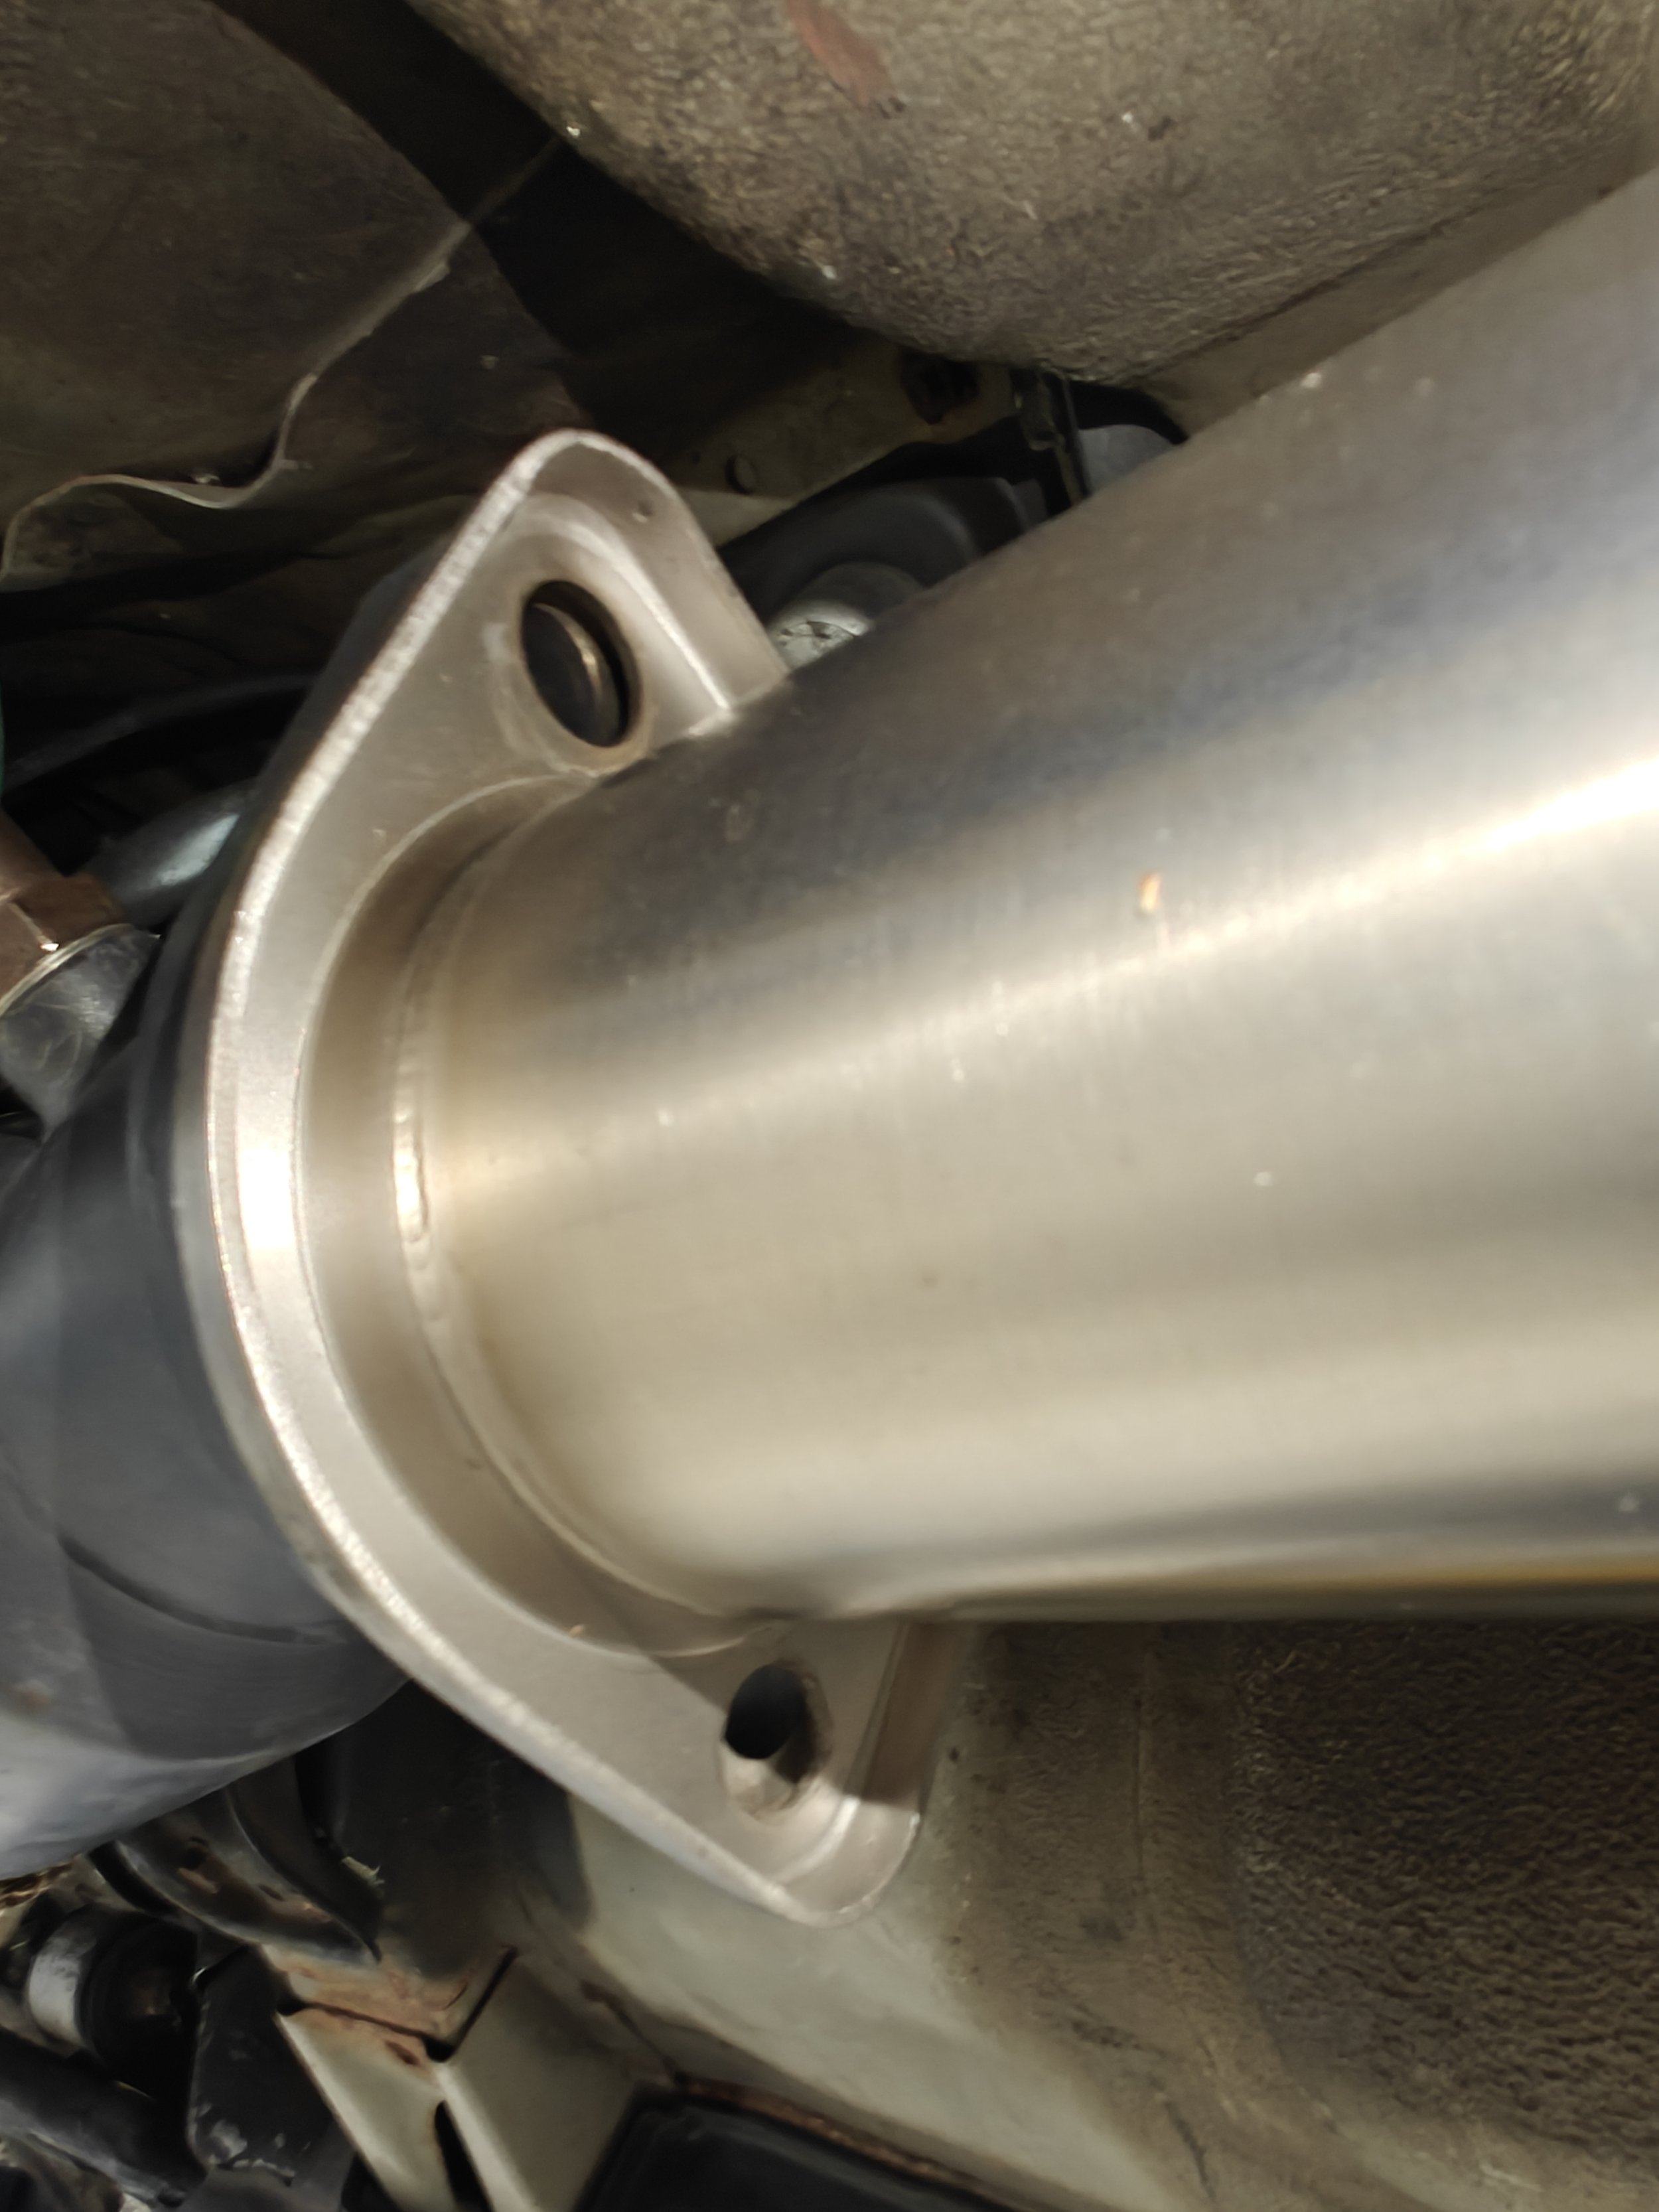
Gone!
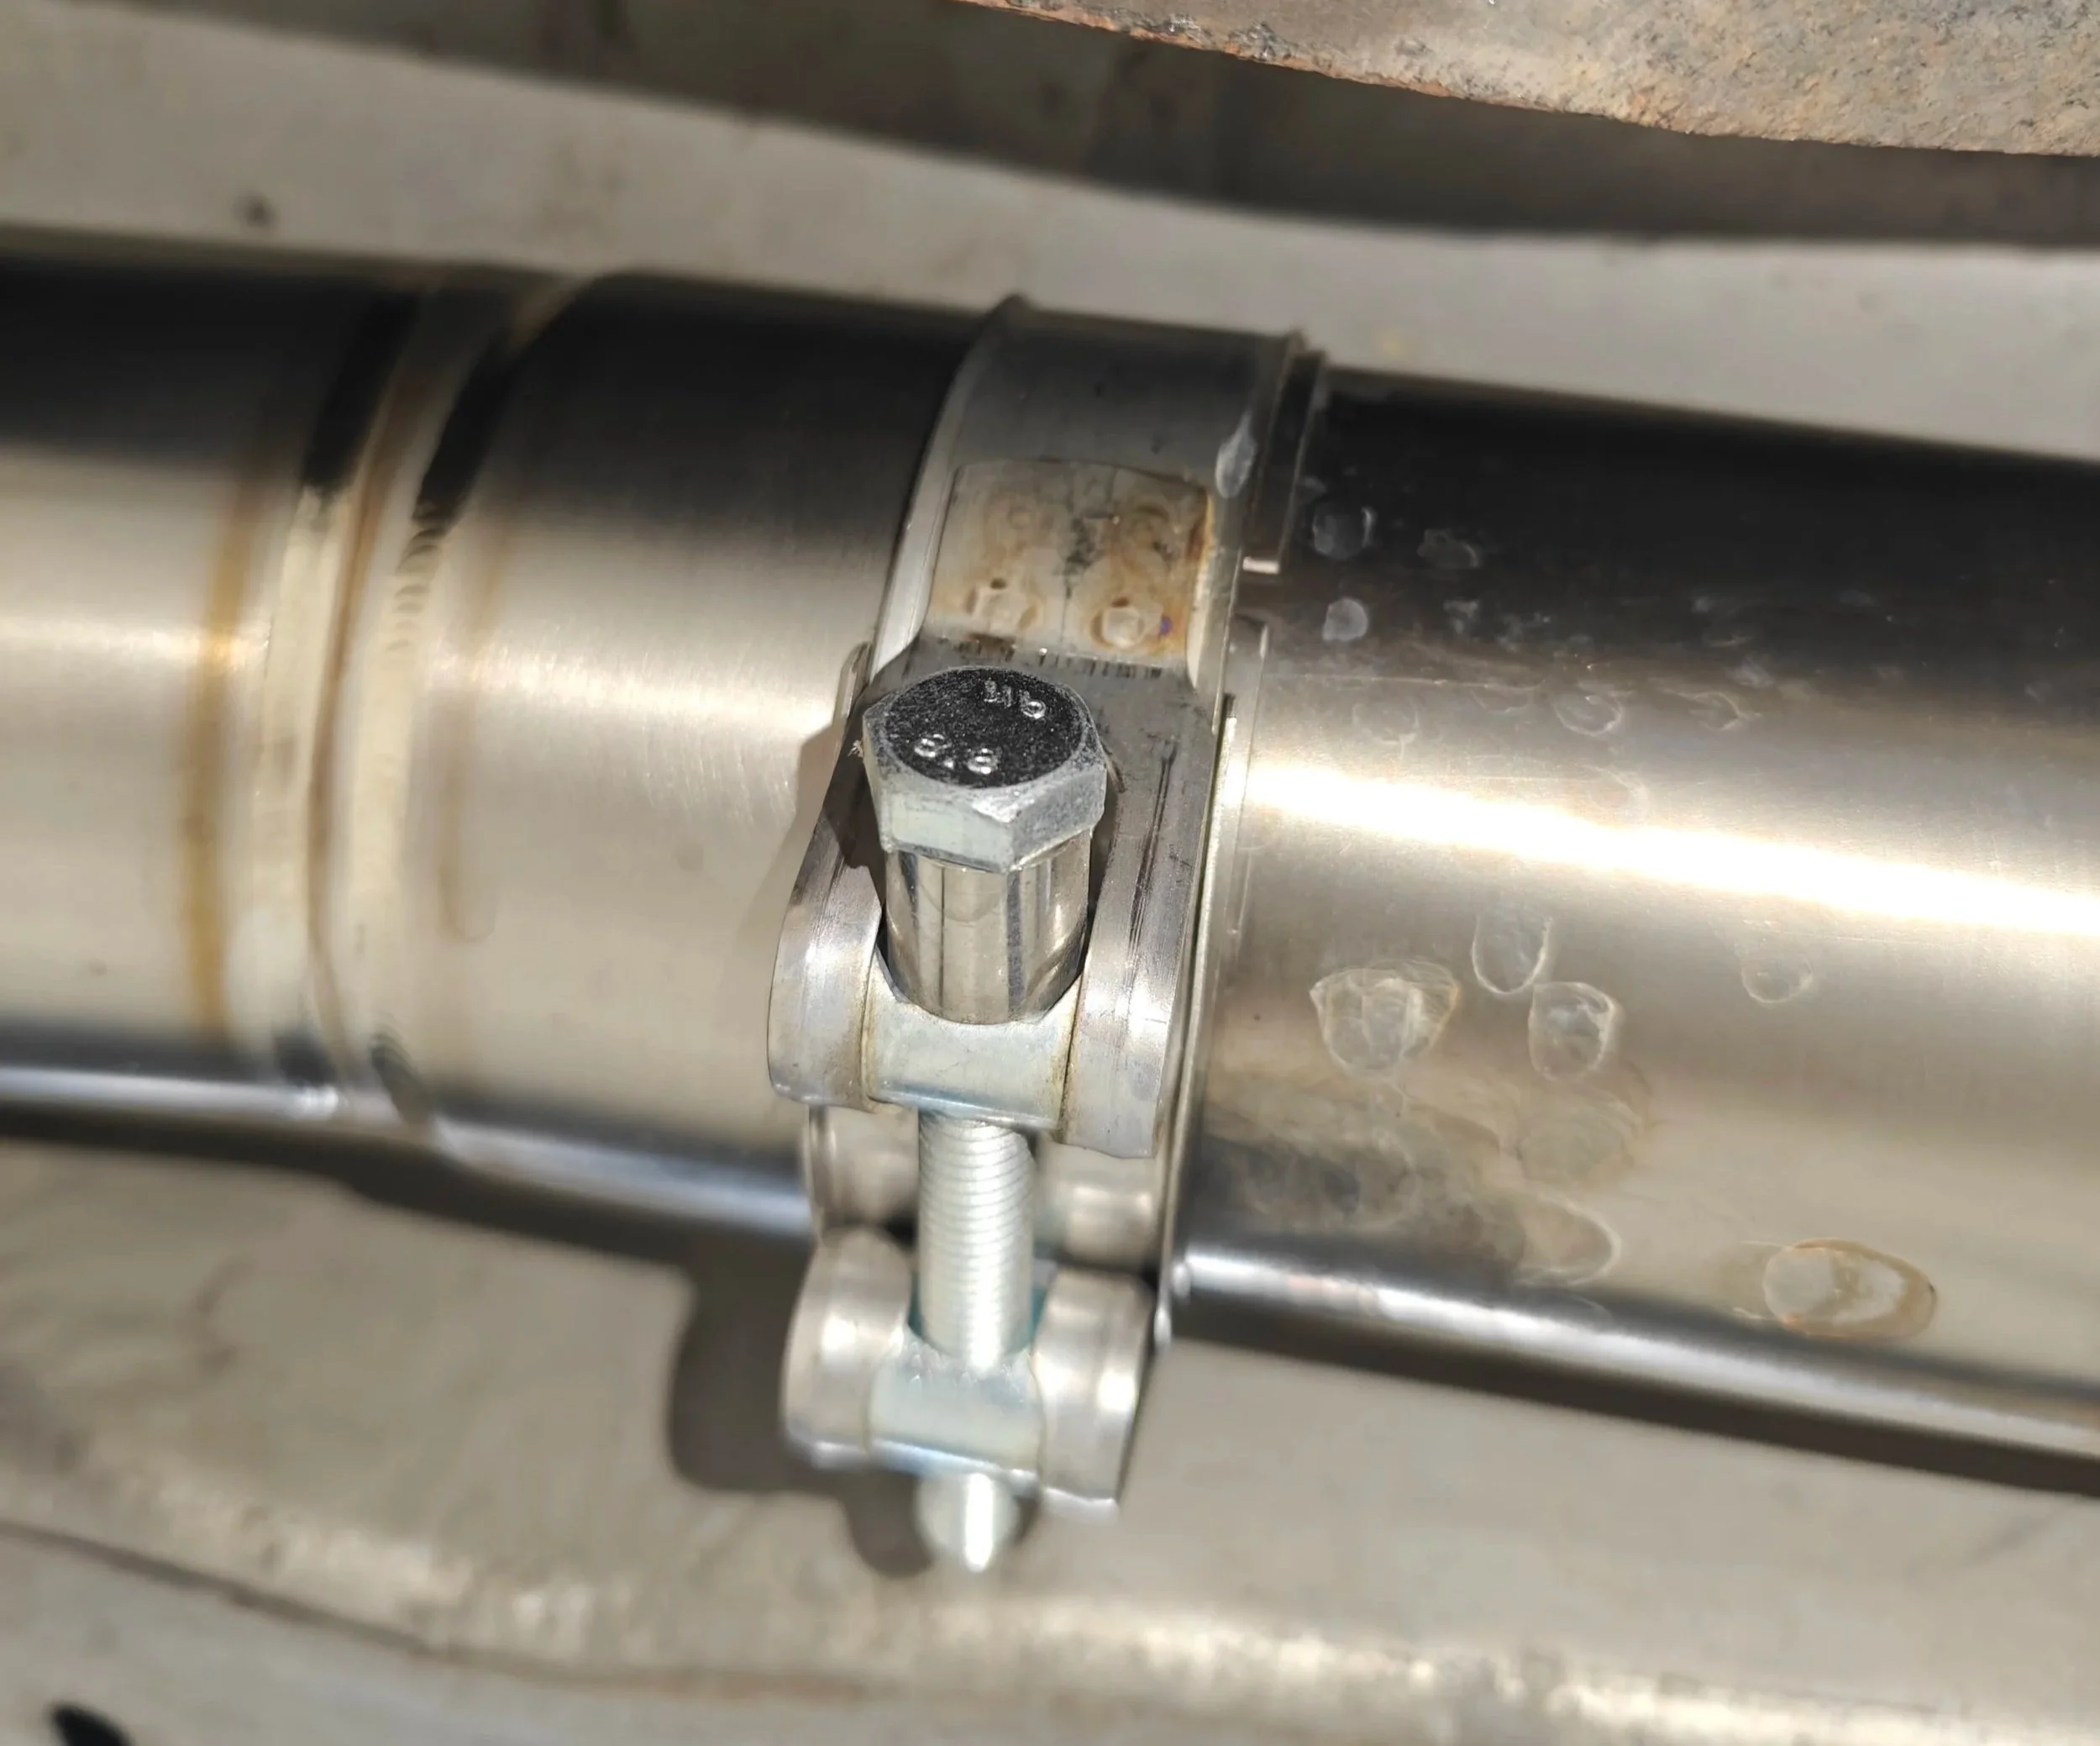
A single clamp holds my Cobb Ti exhaust mid-pipe to the rear muffler piping.
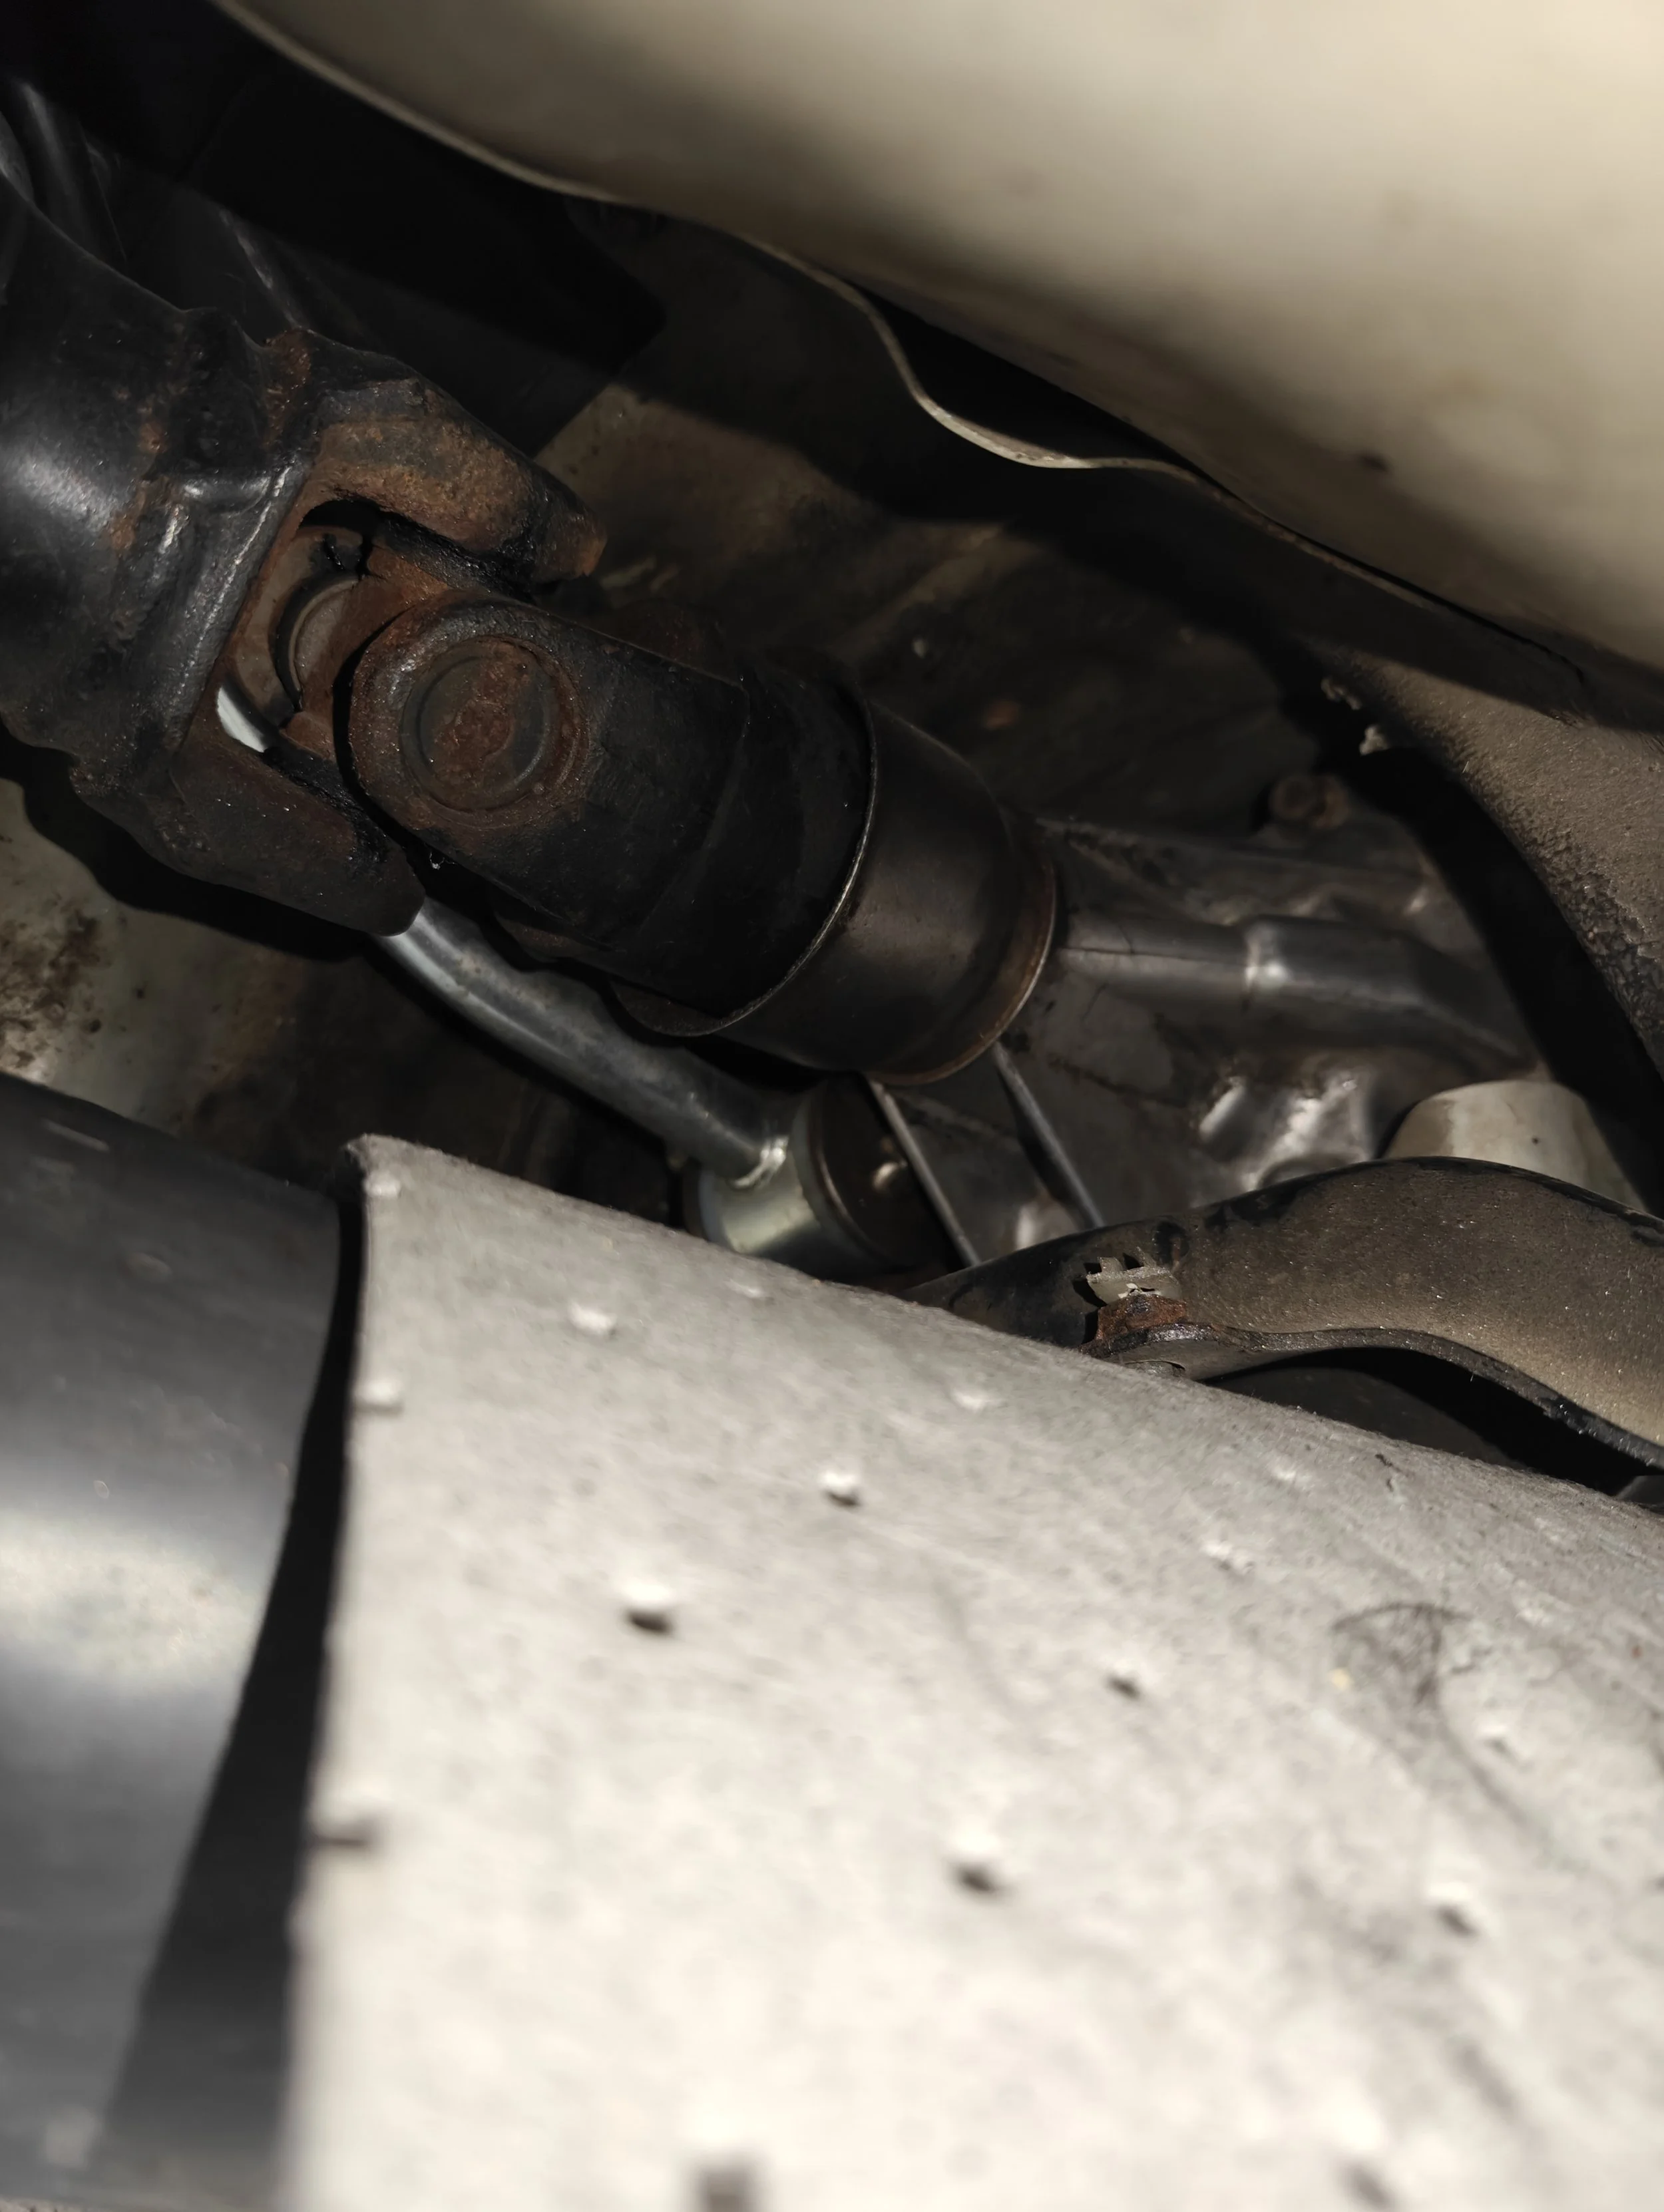
With the exhaust out of the way you have plenty of access for the driveshaft
Next up is removing the rear diff lower cover to gain access to the rear bolts that connect the driveshaft flange to the differential pinion. This will be 6 bolts.

On 04-05 Stis you might find this lower diff/driveshaft shield. It has 6 bolts that need to be removed to access the bolts to remove the driveshaft
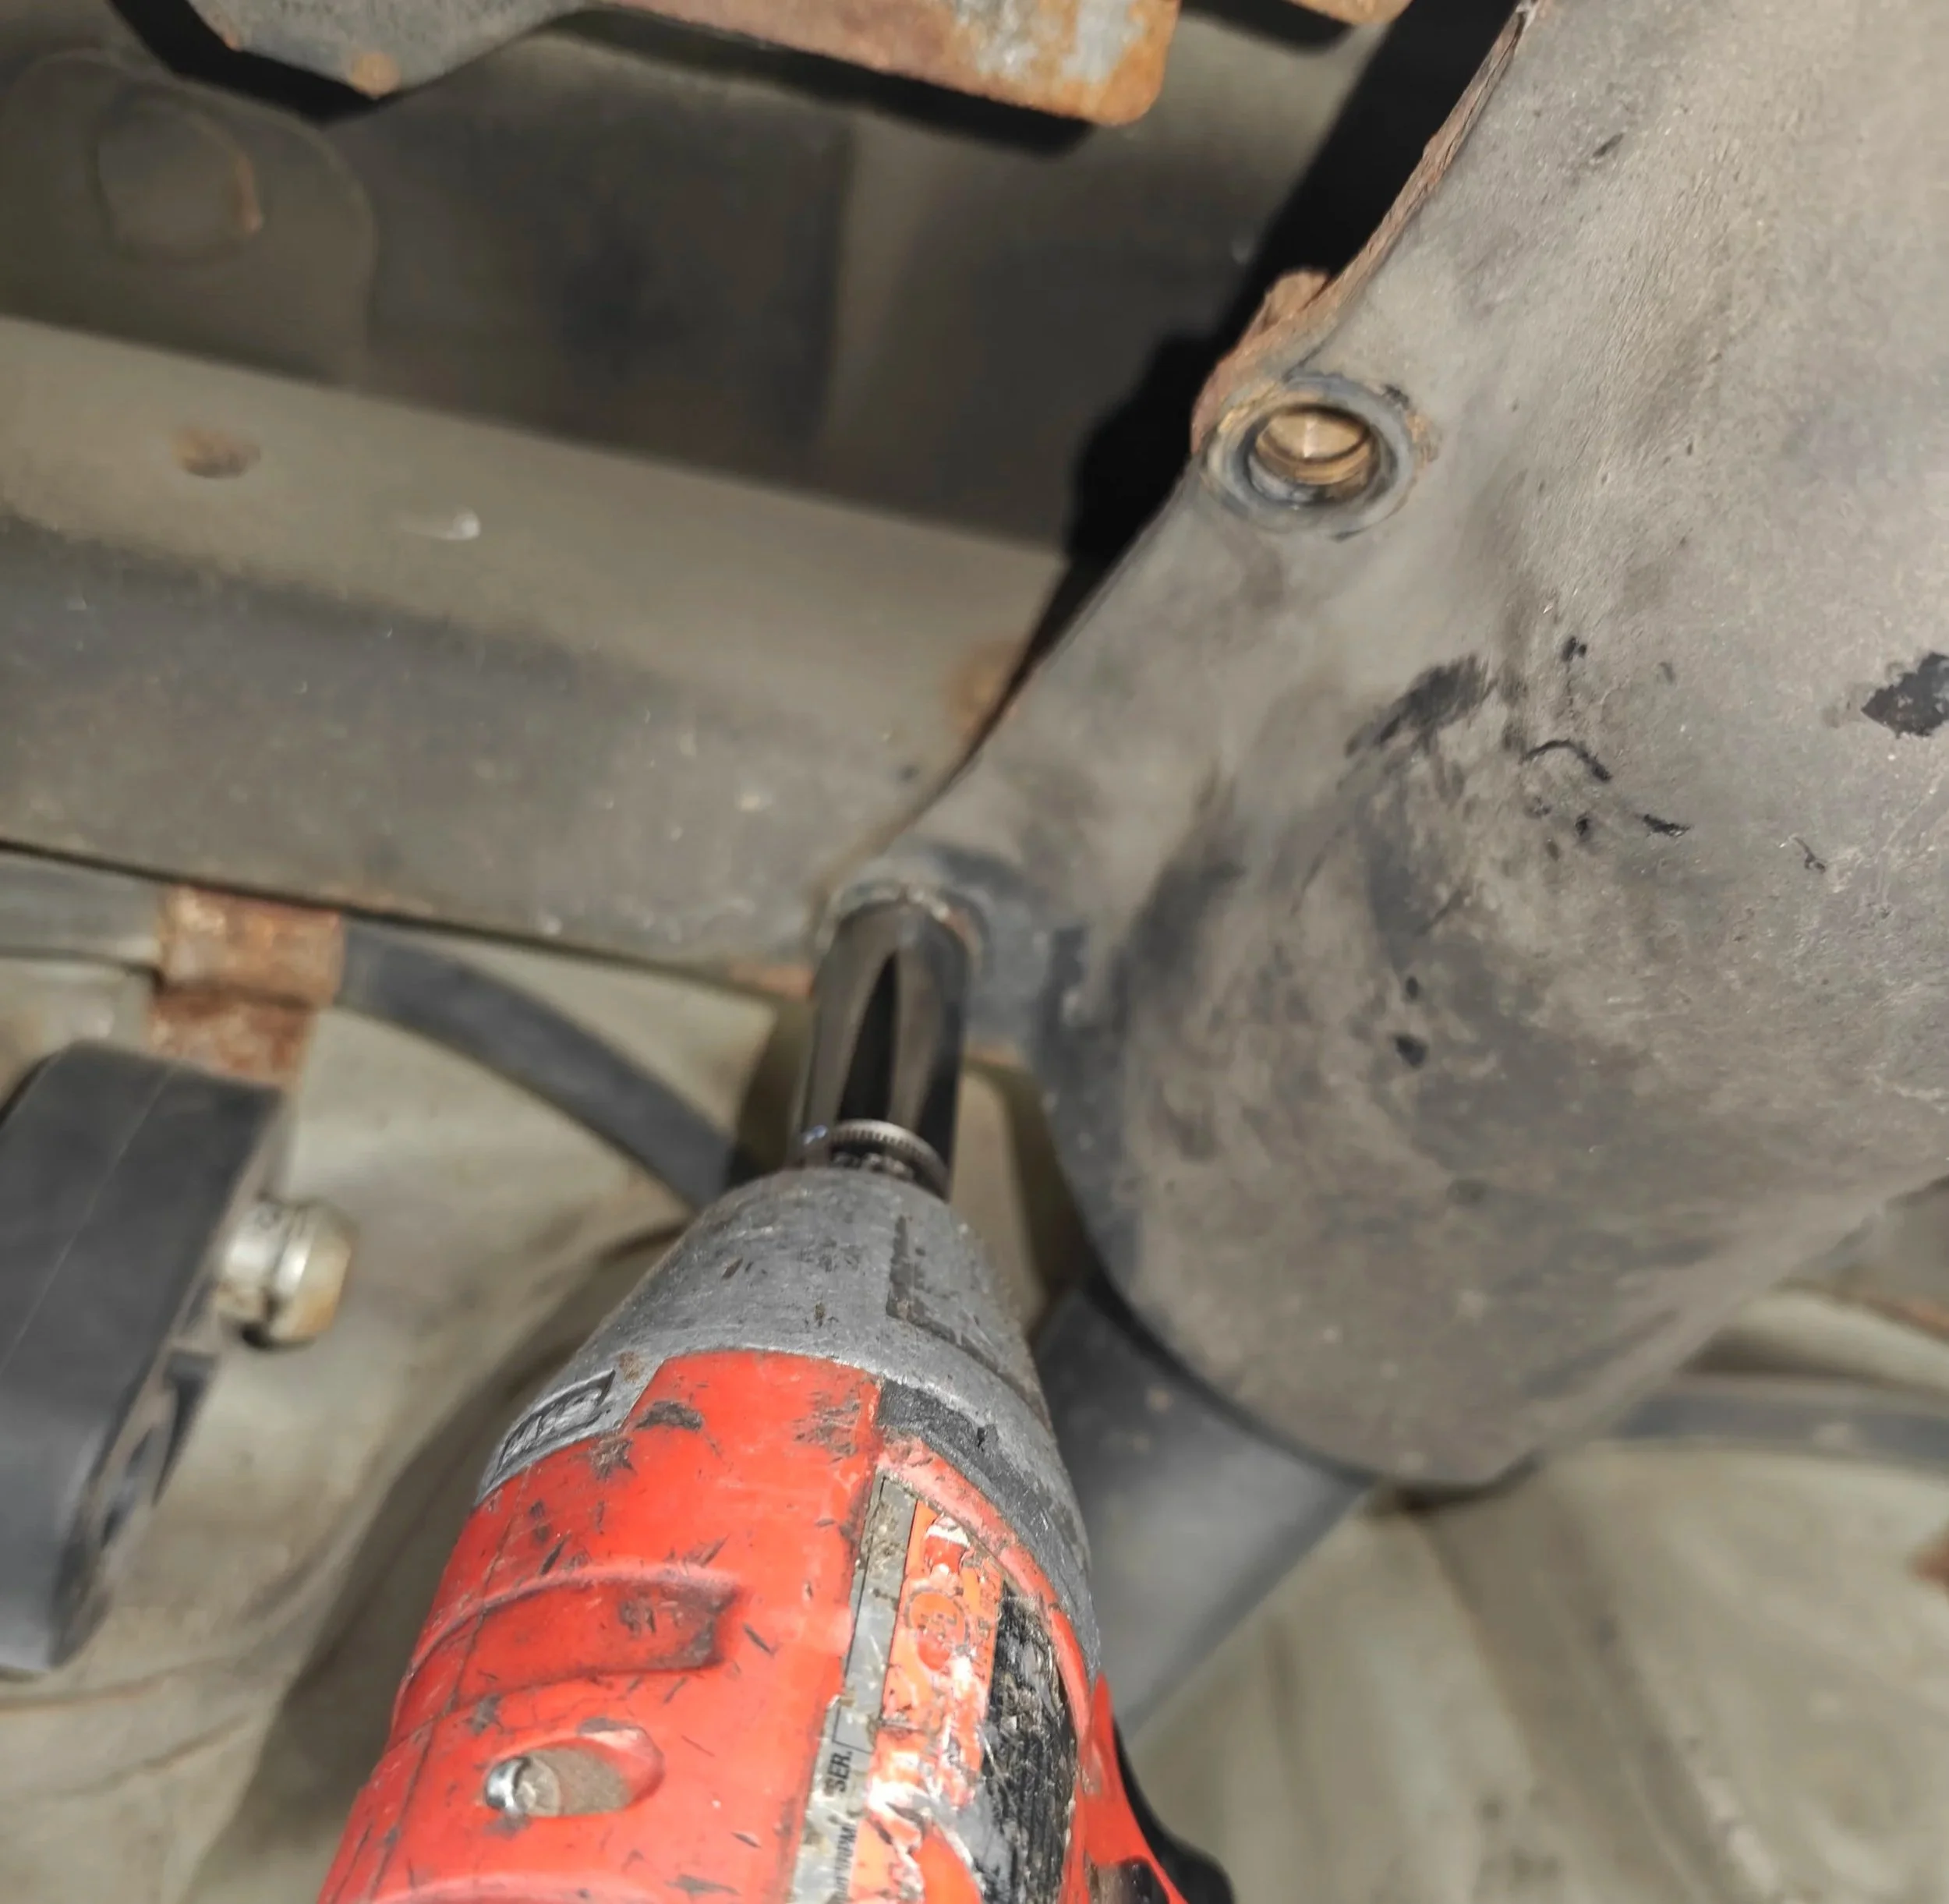
They might take a bit of force to remove.
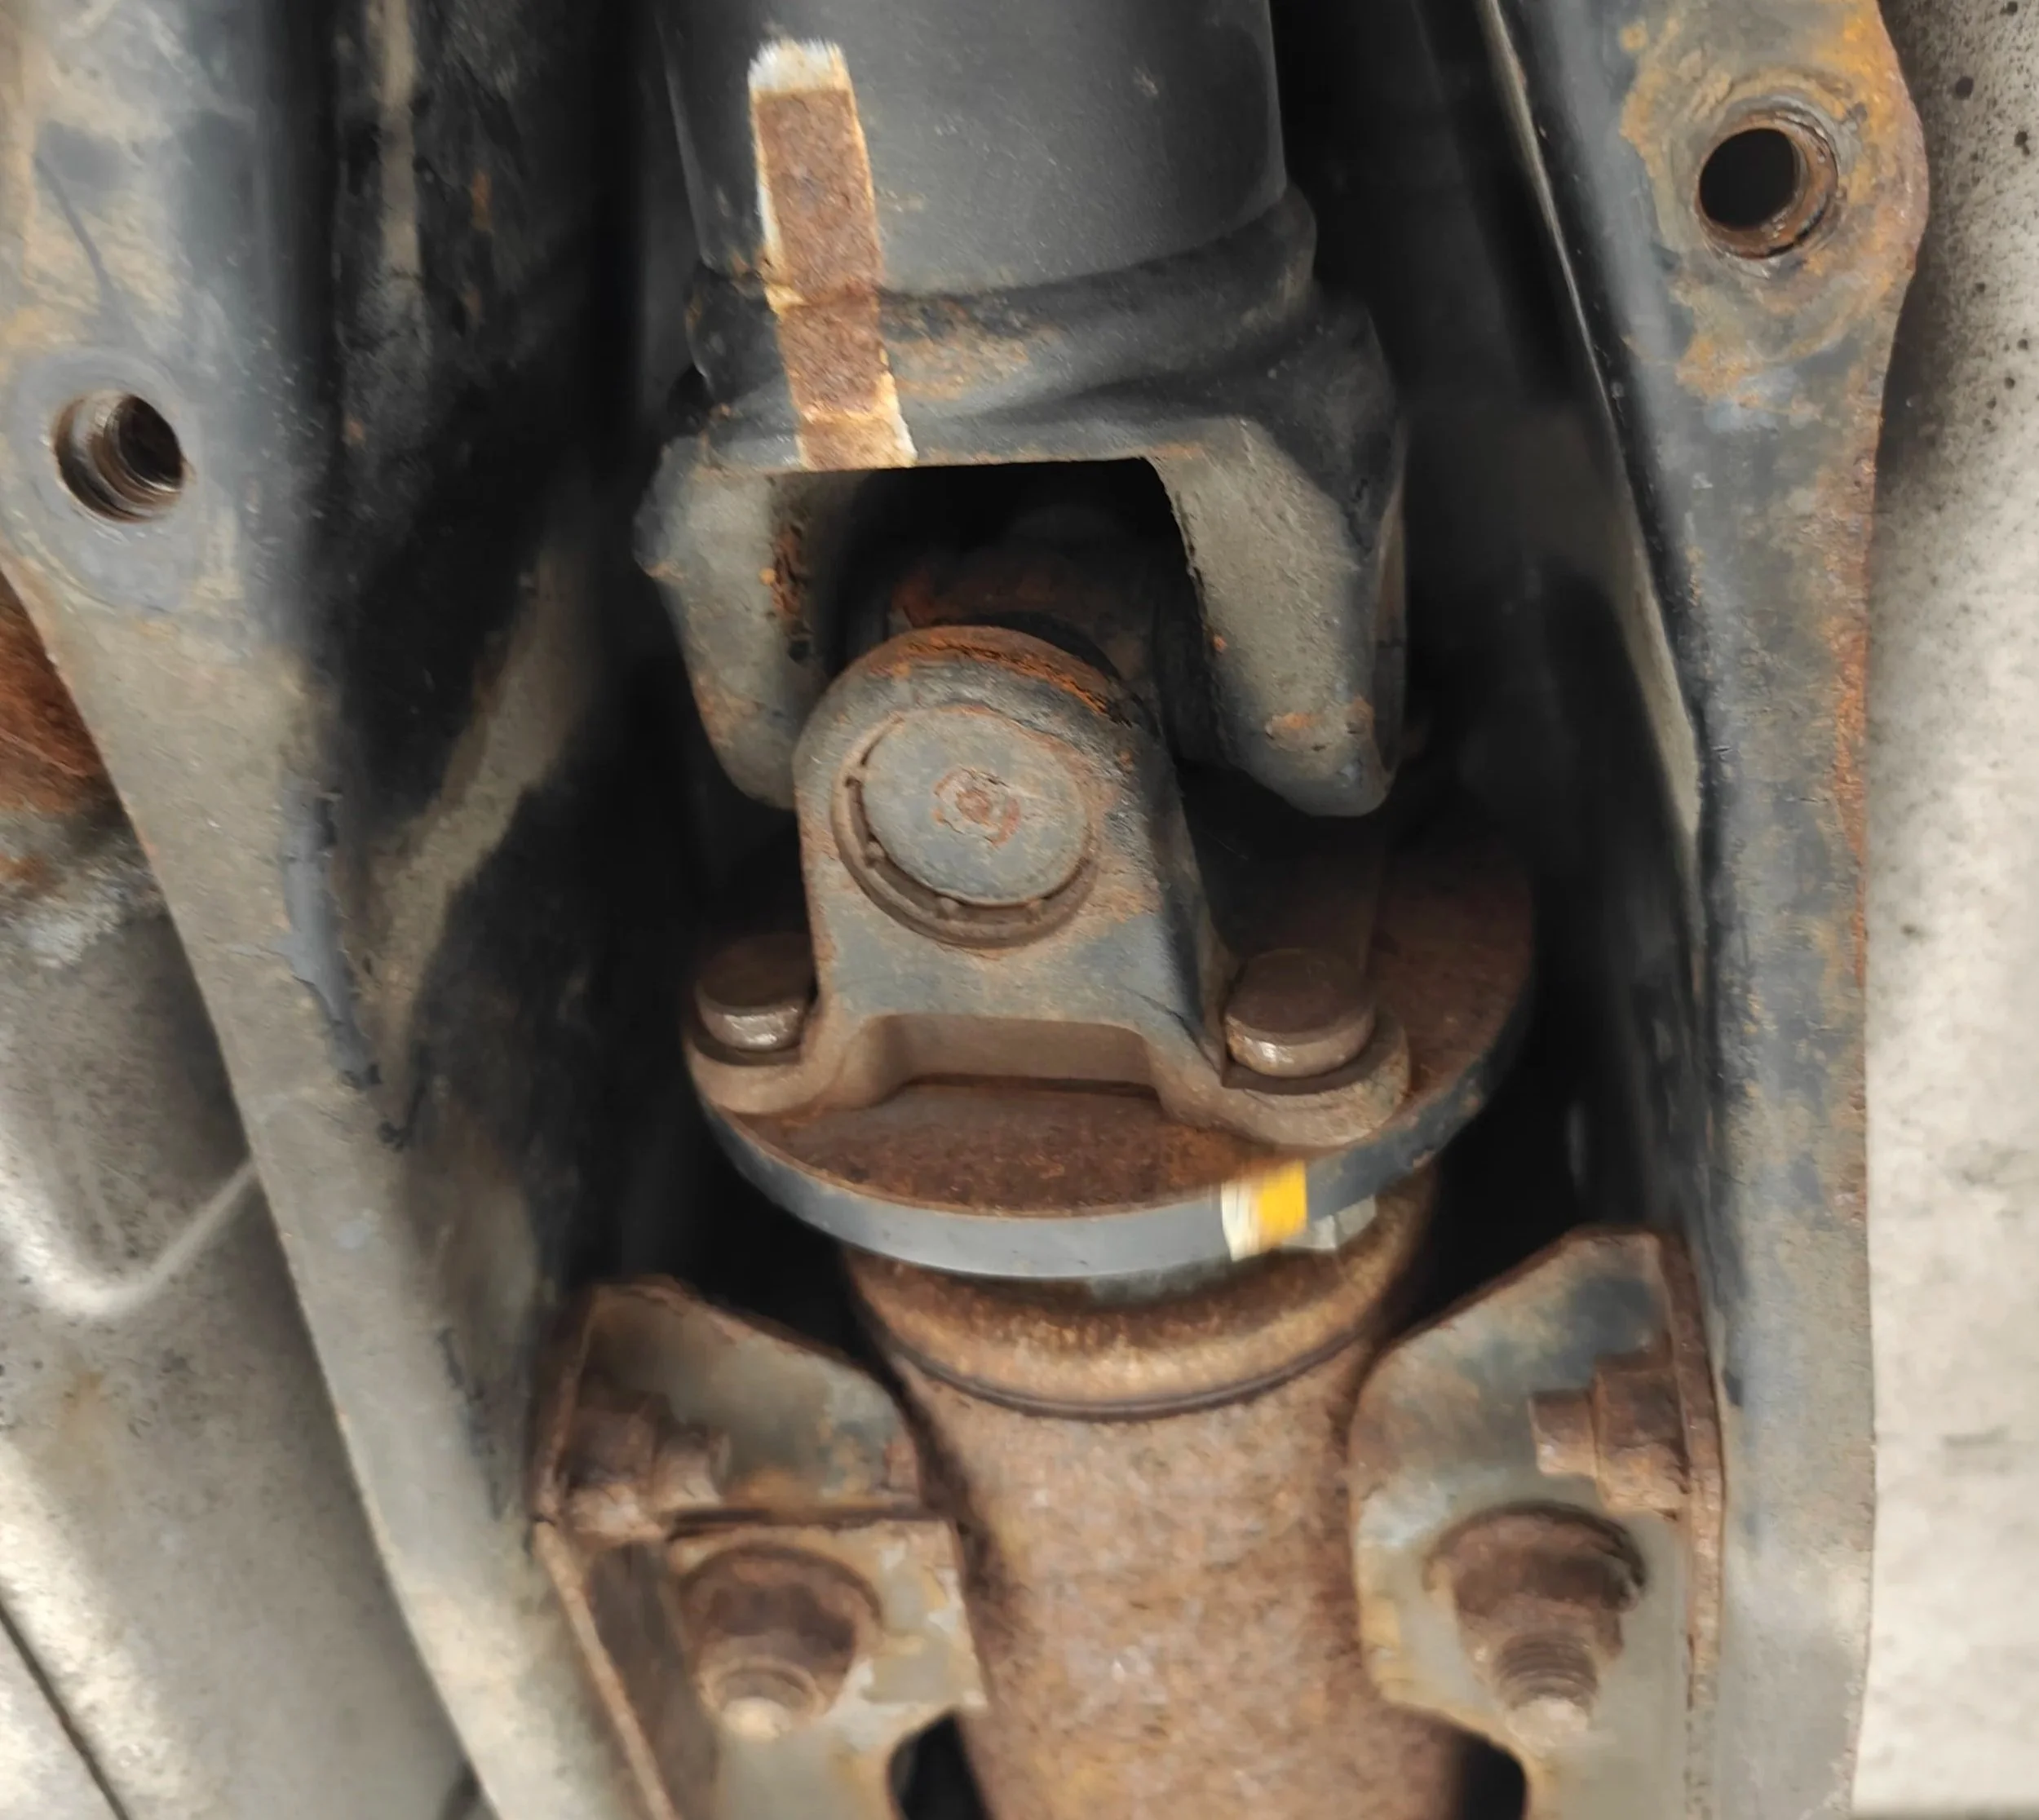
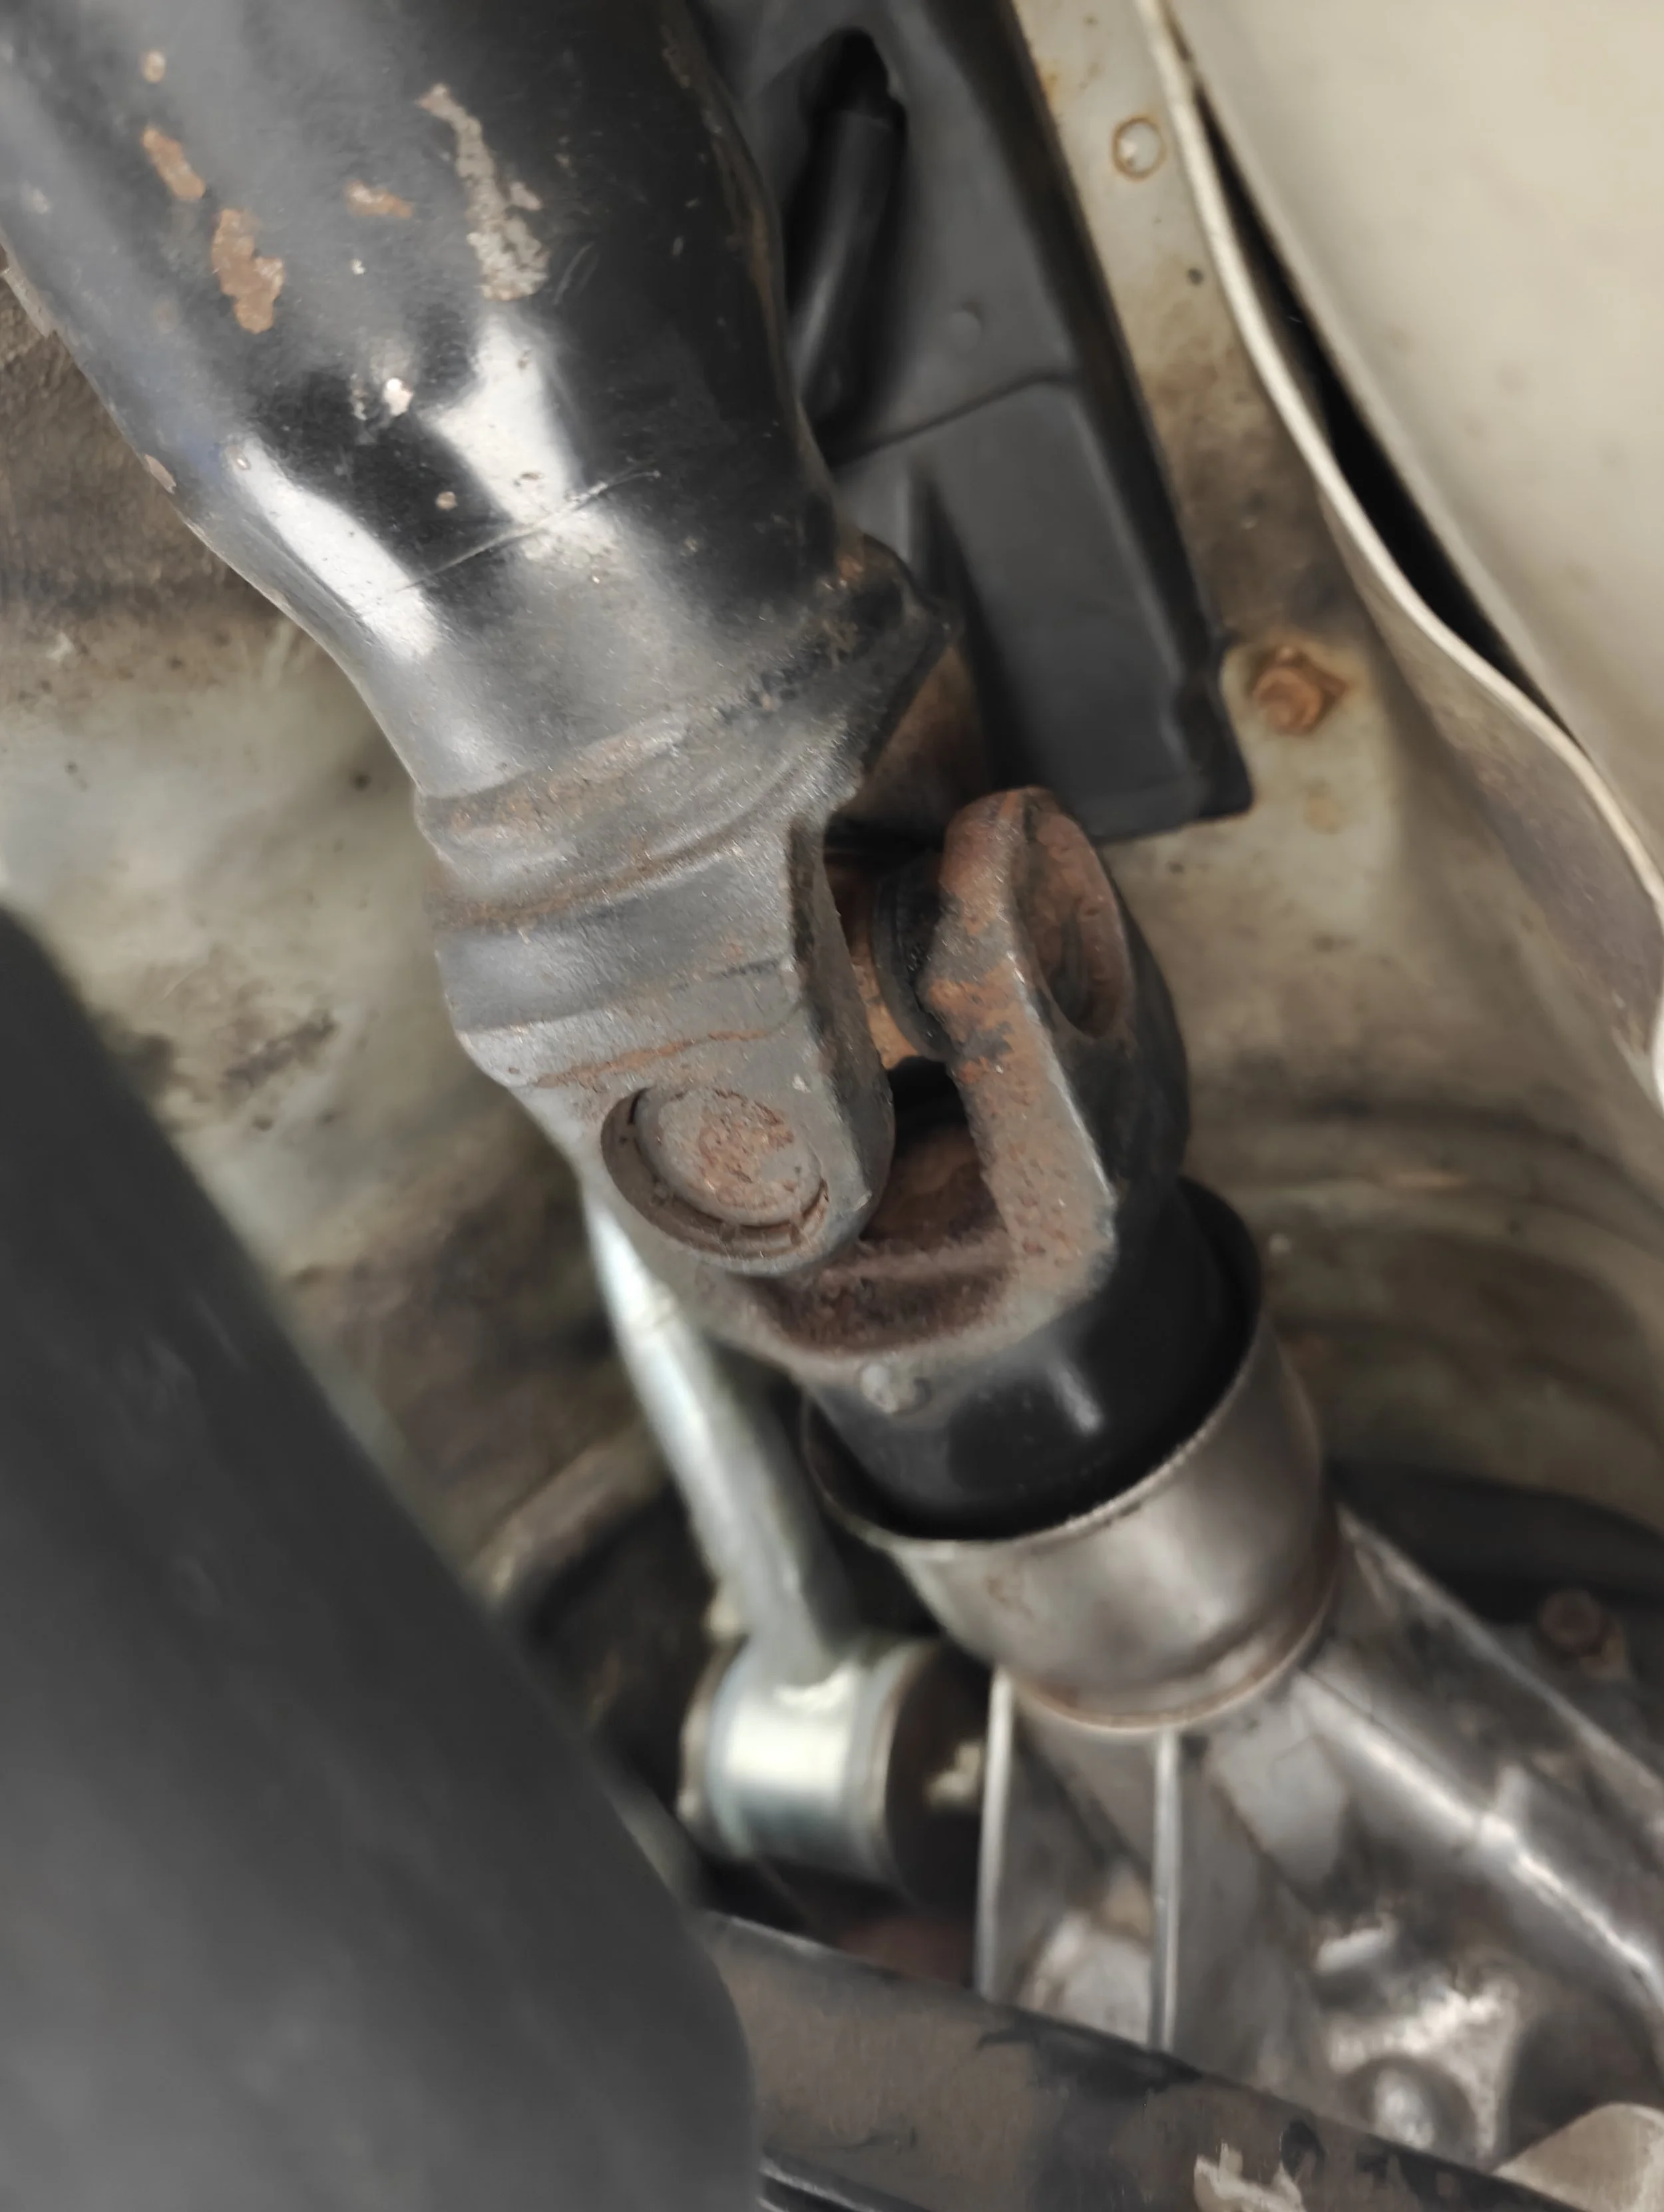
Now you have access to the rear driveshaft pinion and can start removing the bolts.
Now you will have access to the four nuts on the differential pinion. I prefer to use a prybar slid into the u-joint to hold it steady while you break the nuts free. As you are removing the four bolts, washers and nuts from the flange be careful as it could fall down on you. I would recommend placing a support item below it incase it falls.

Forgot the capture an image while I was removing the factory driveshaft, but the technique is the same.
Rotate it around until all the bolts are removed. You can use a loosely set bolt or jack to support the driveshaft so it doesn’t fall unexpectedly while you move towards the front and remove the parts of the driveshaft.
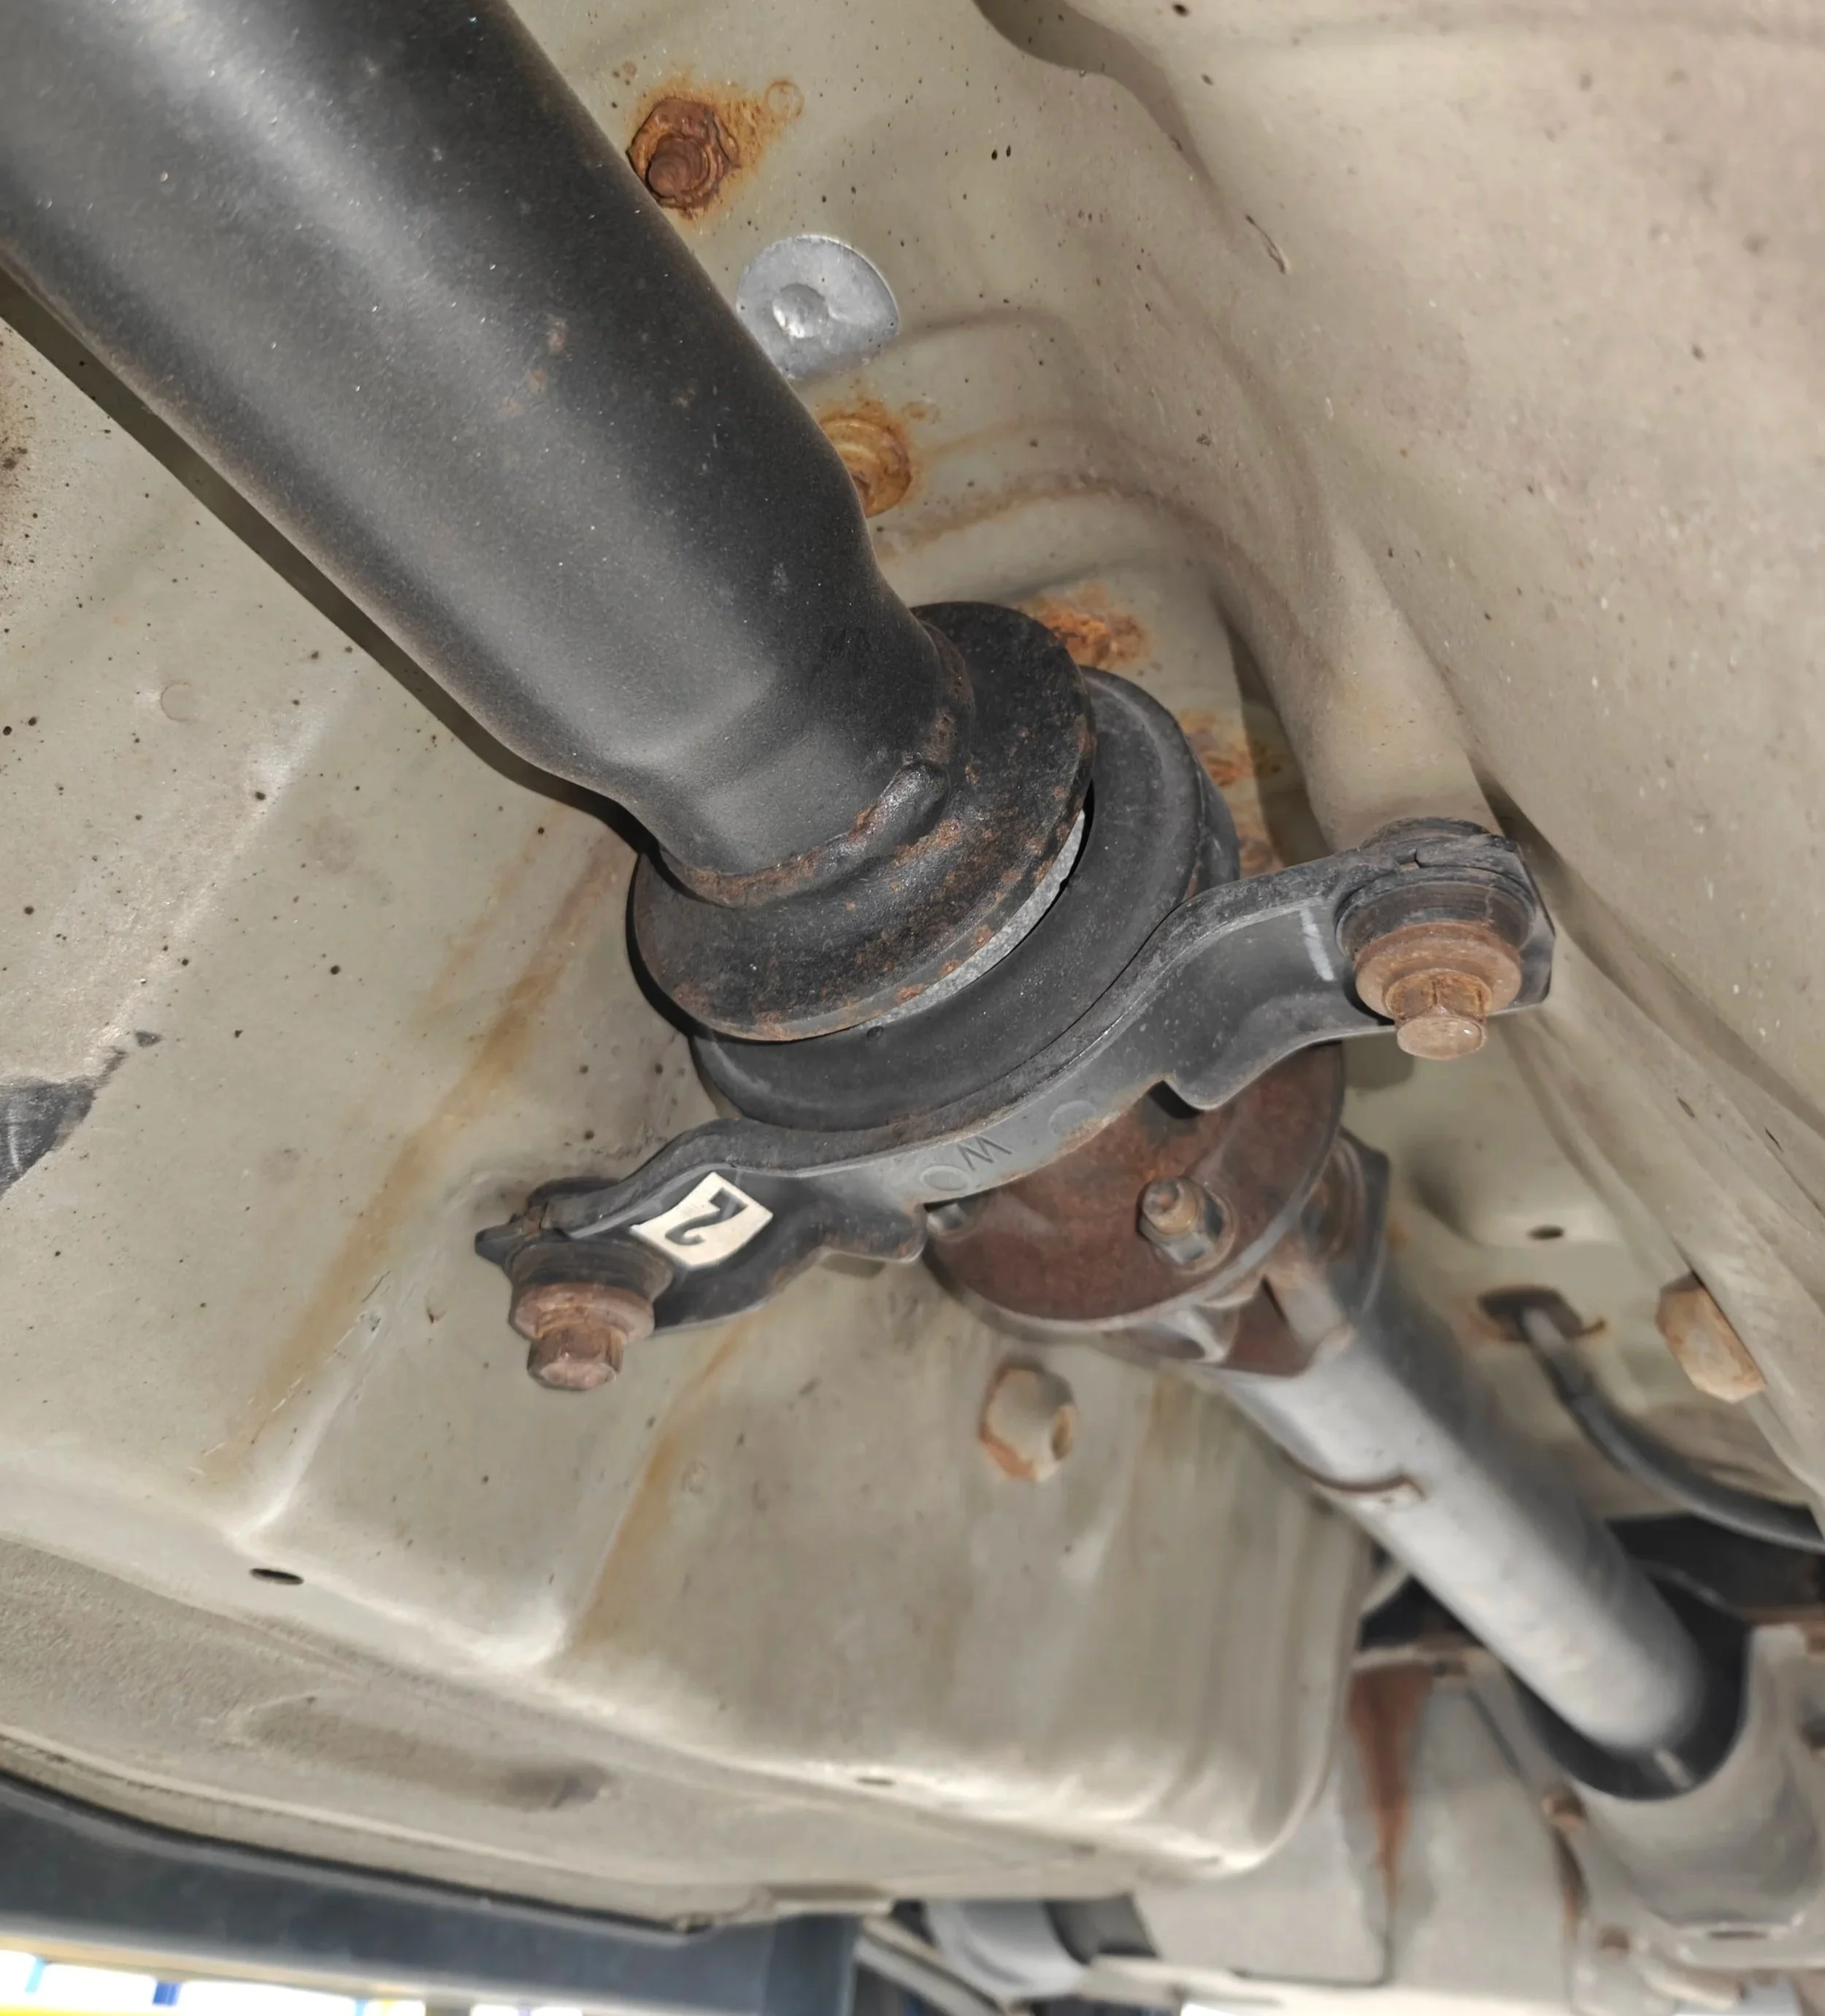
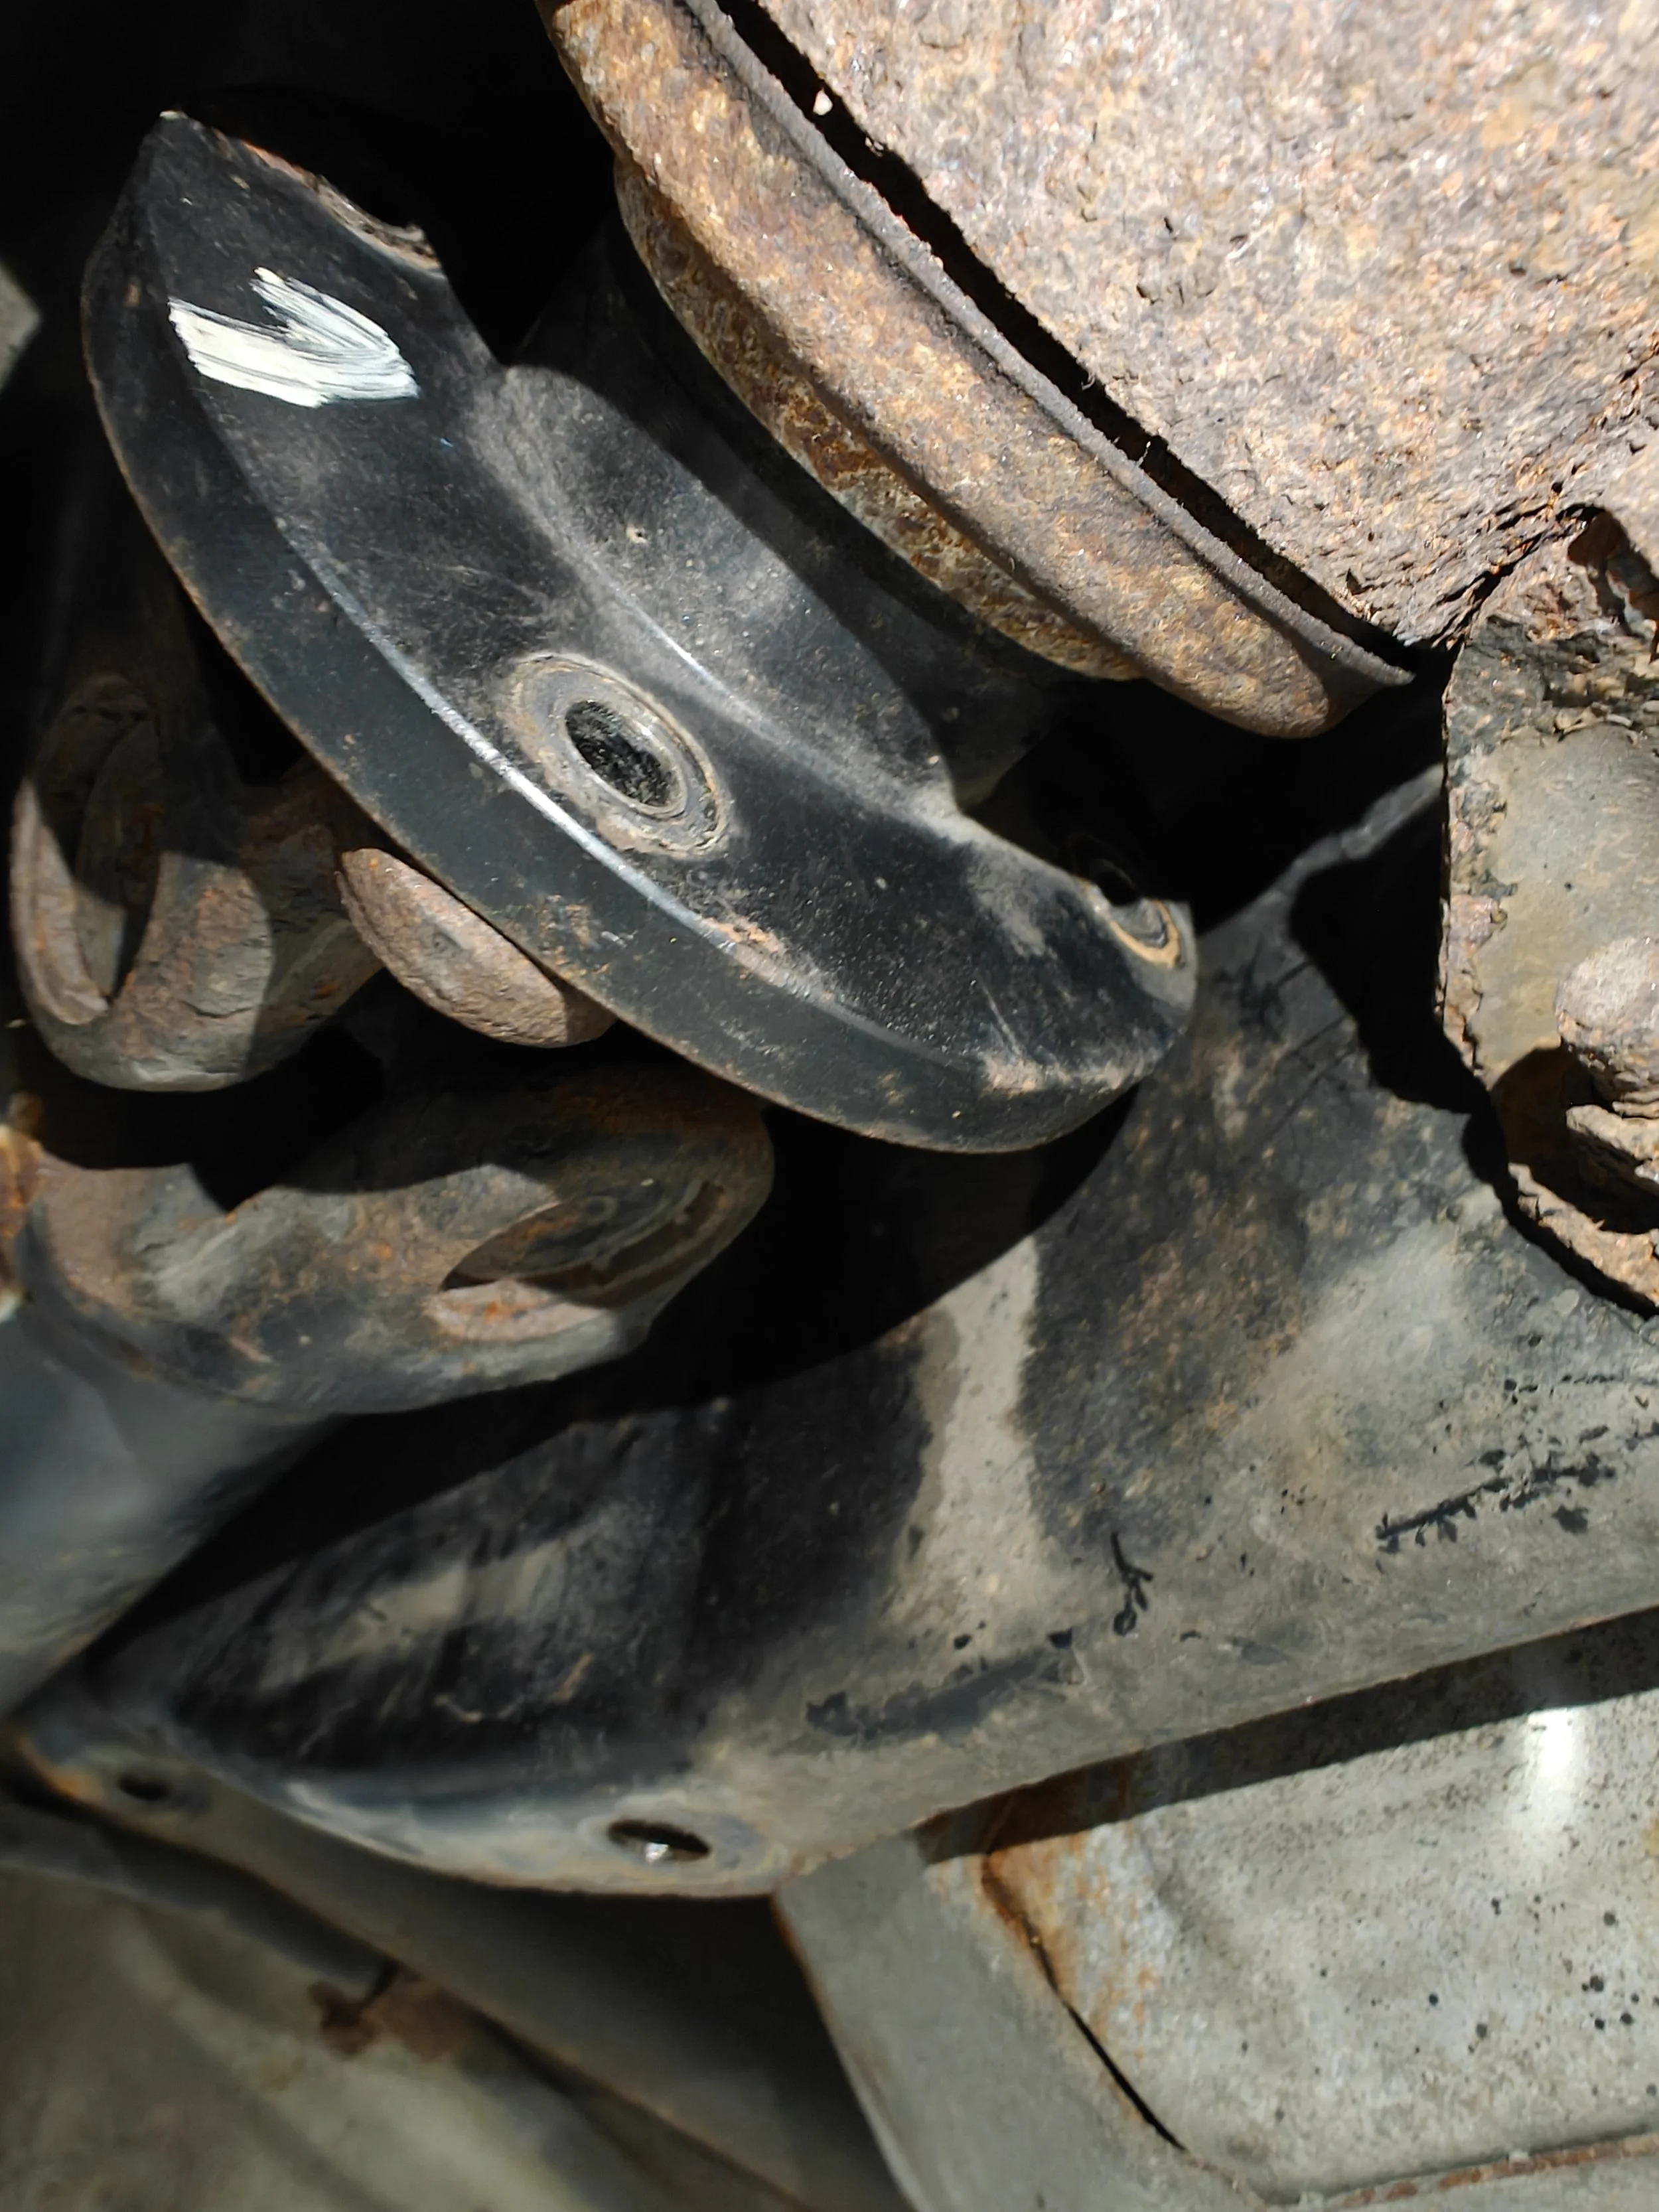
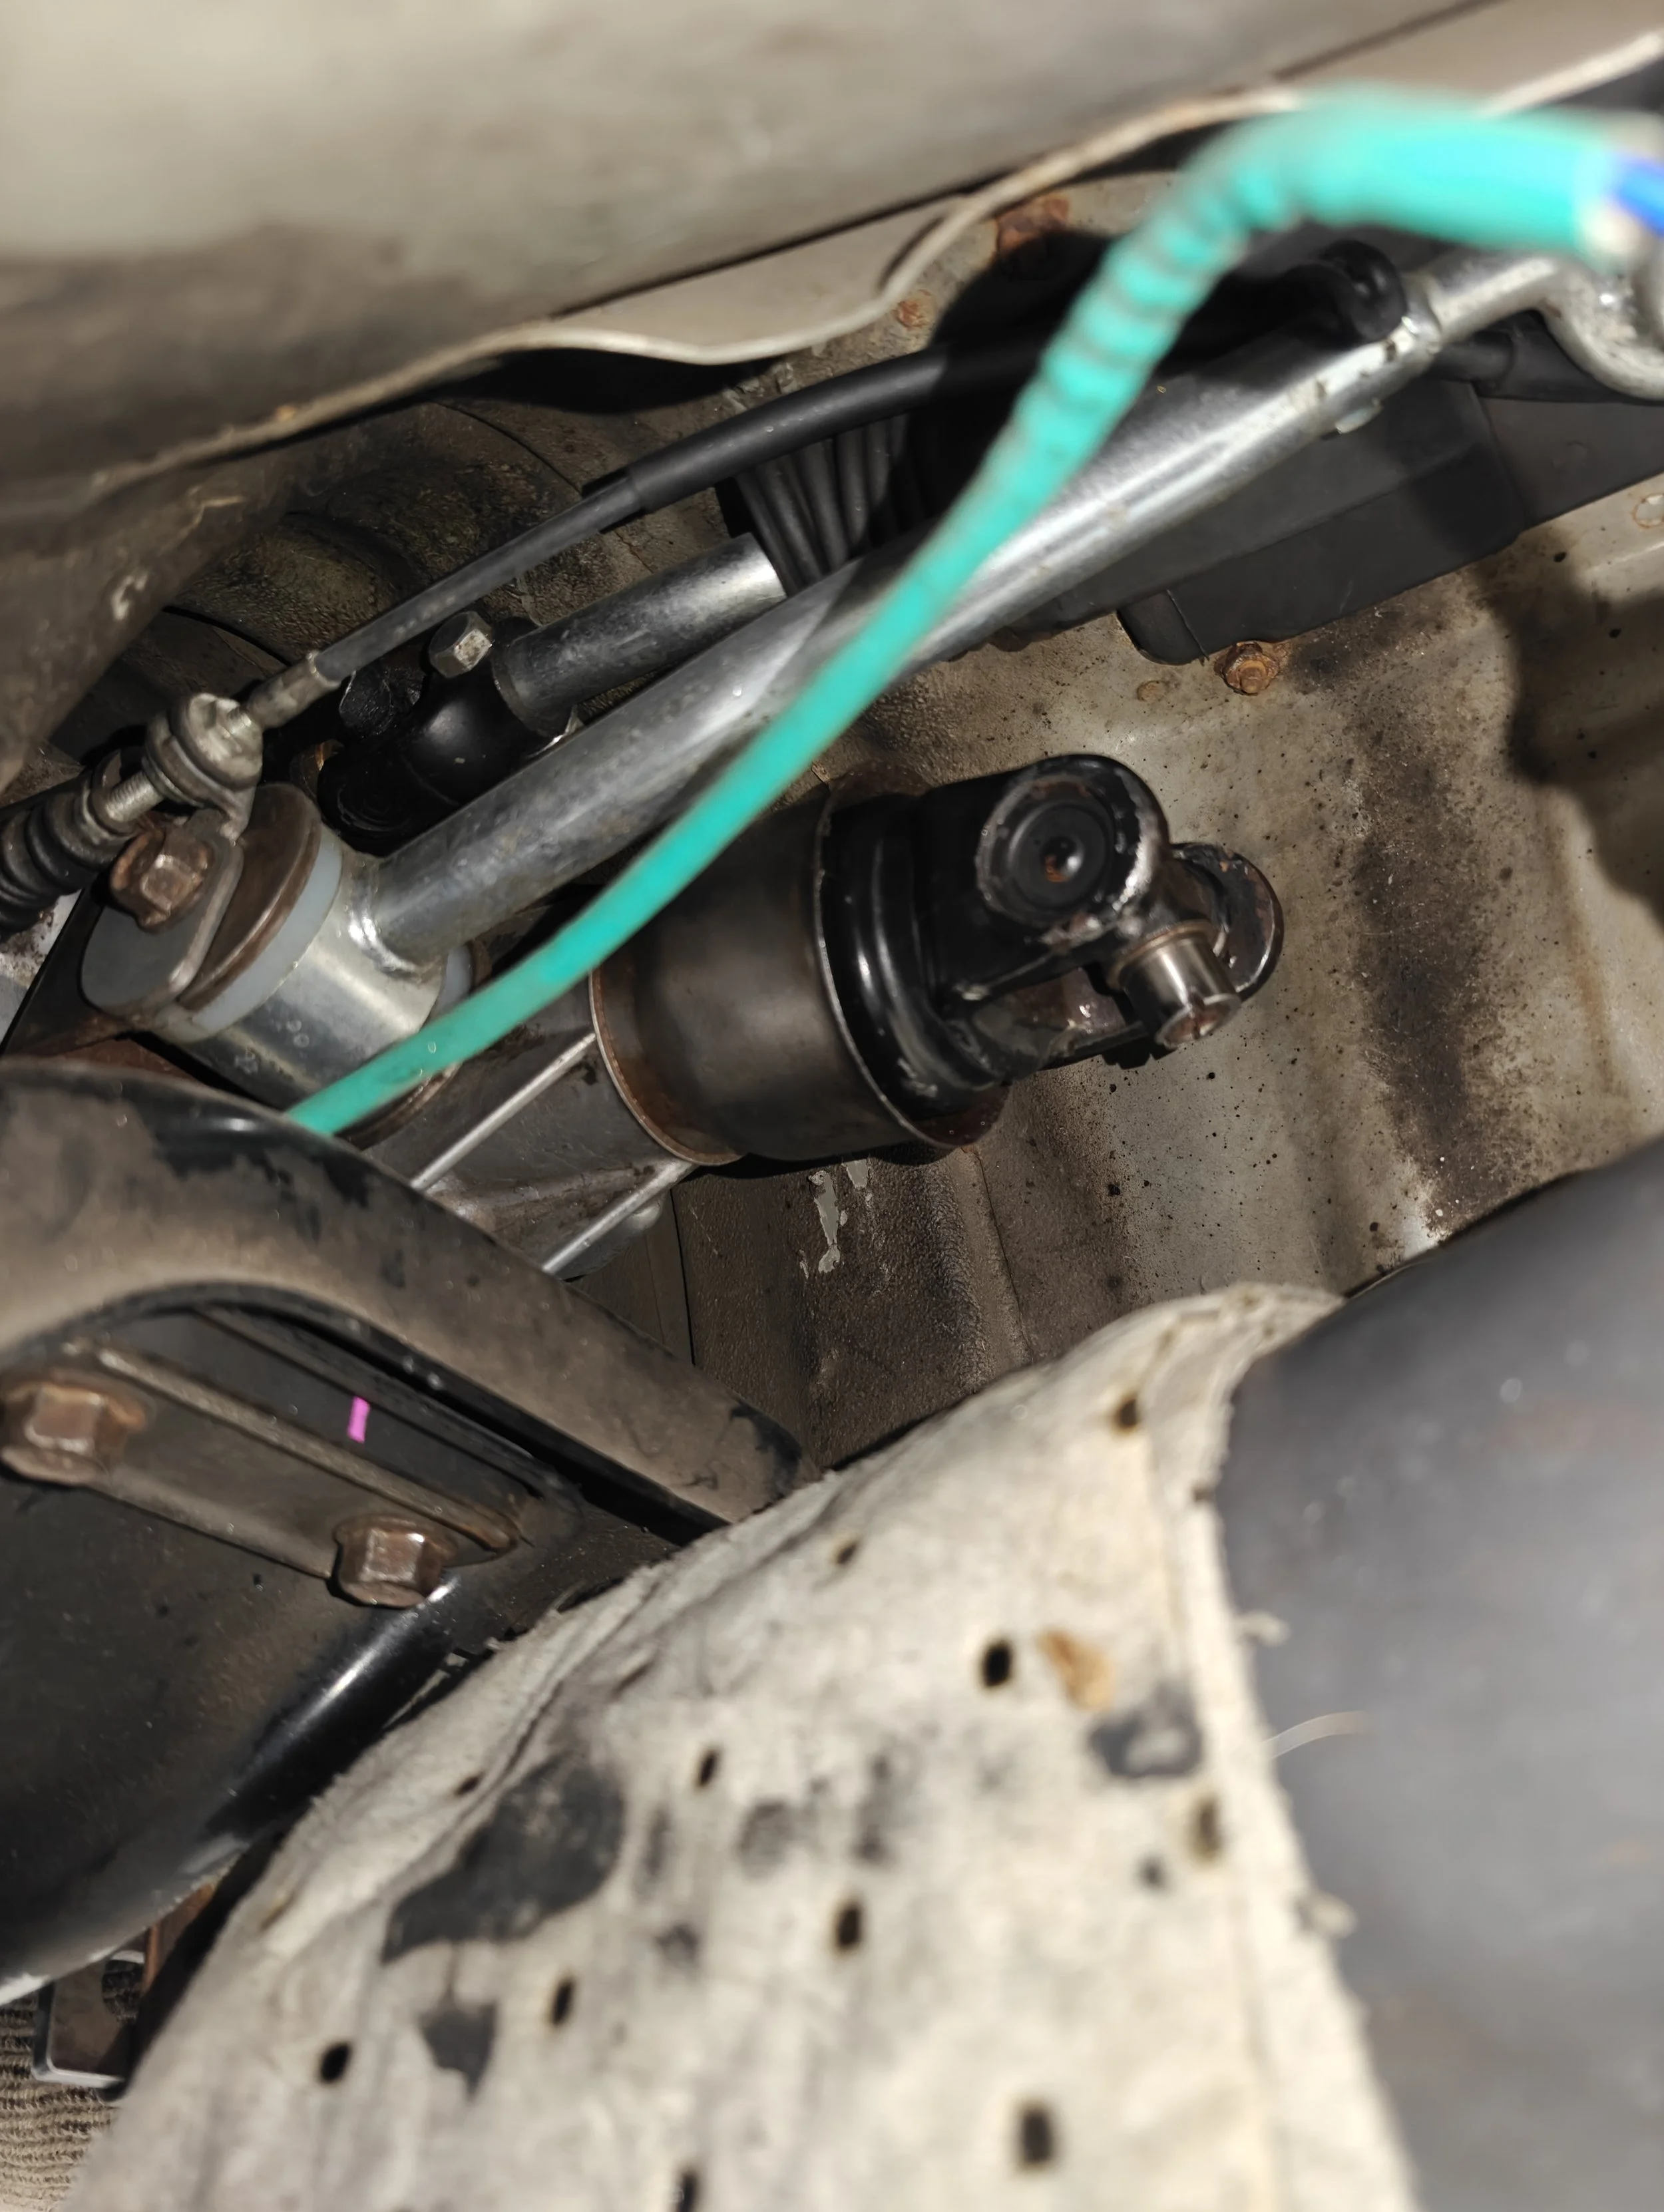
We can move on to the middle of the driveshaft to remove the two bolts that support the center driveshaft bearing. Again be aware that removal these bolts will free another portion of the driveshaft which will try and fall on you.
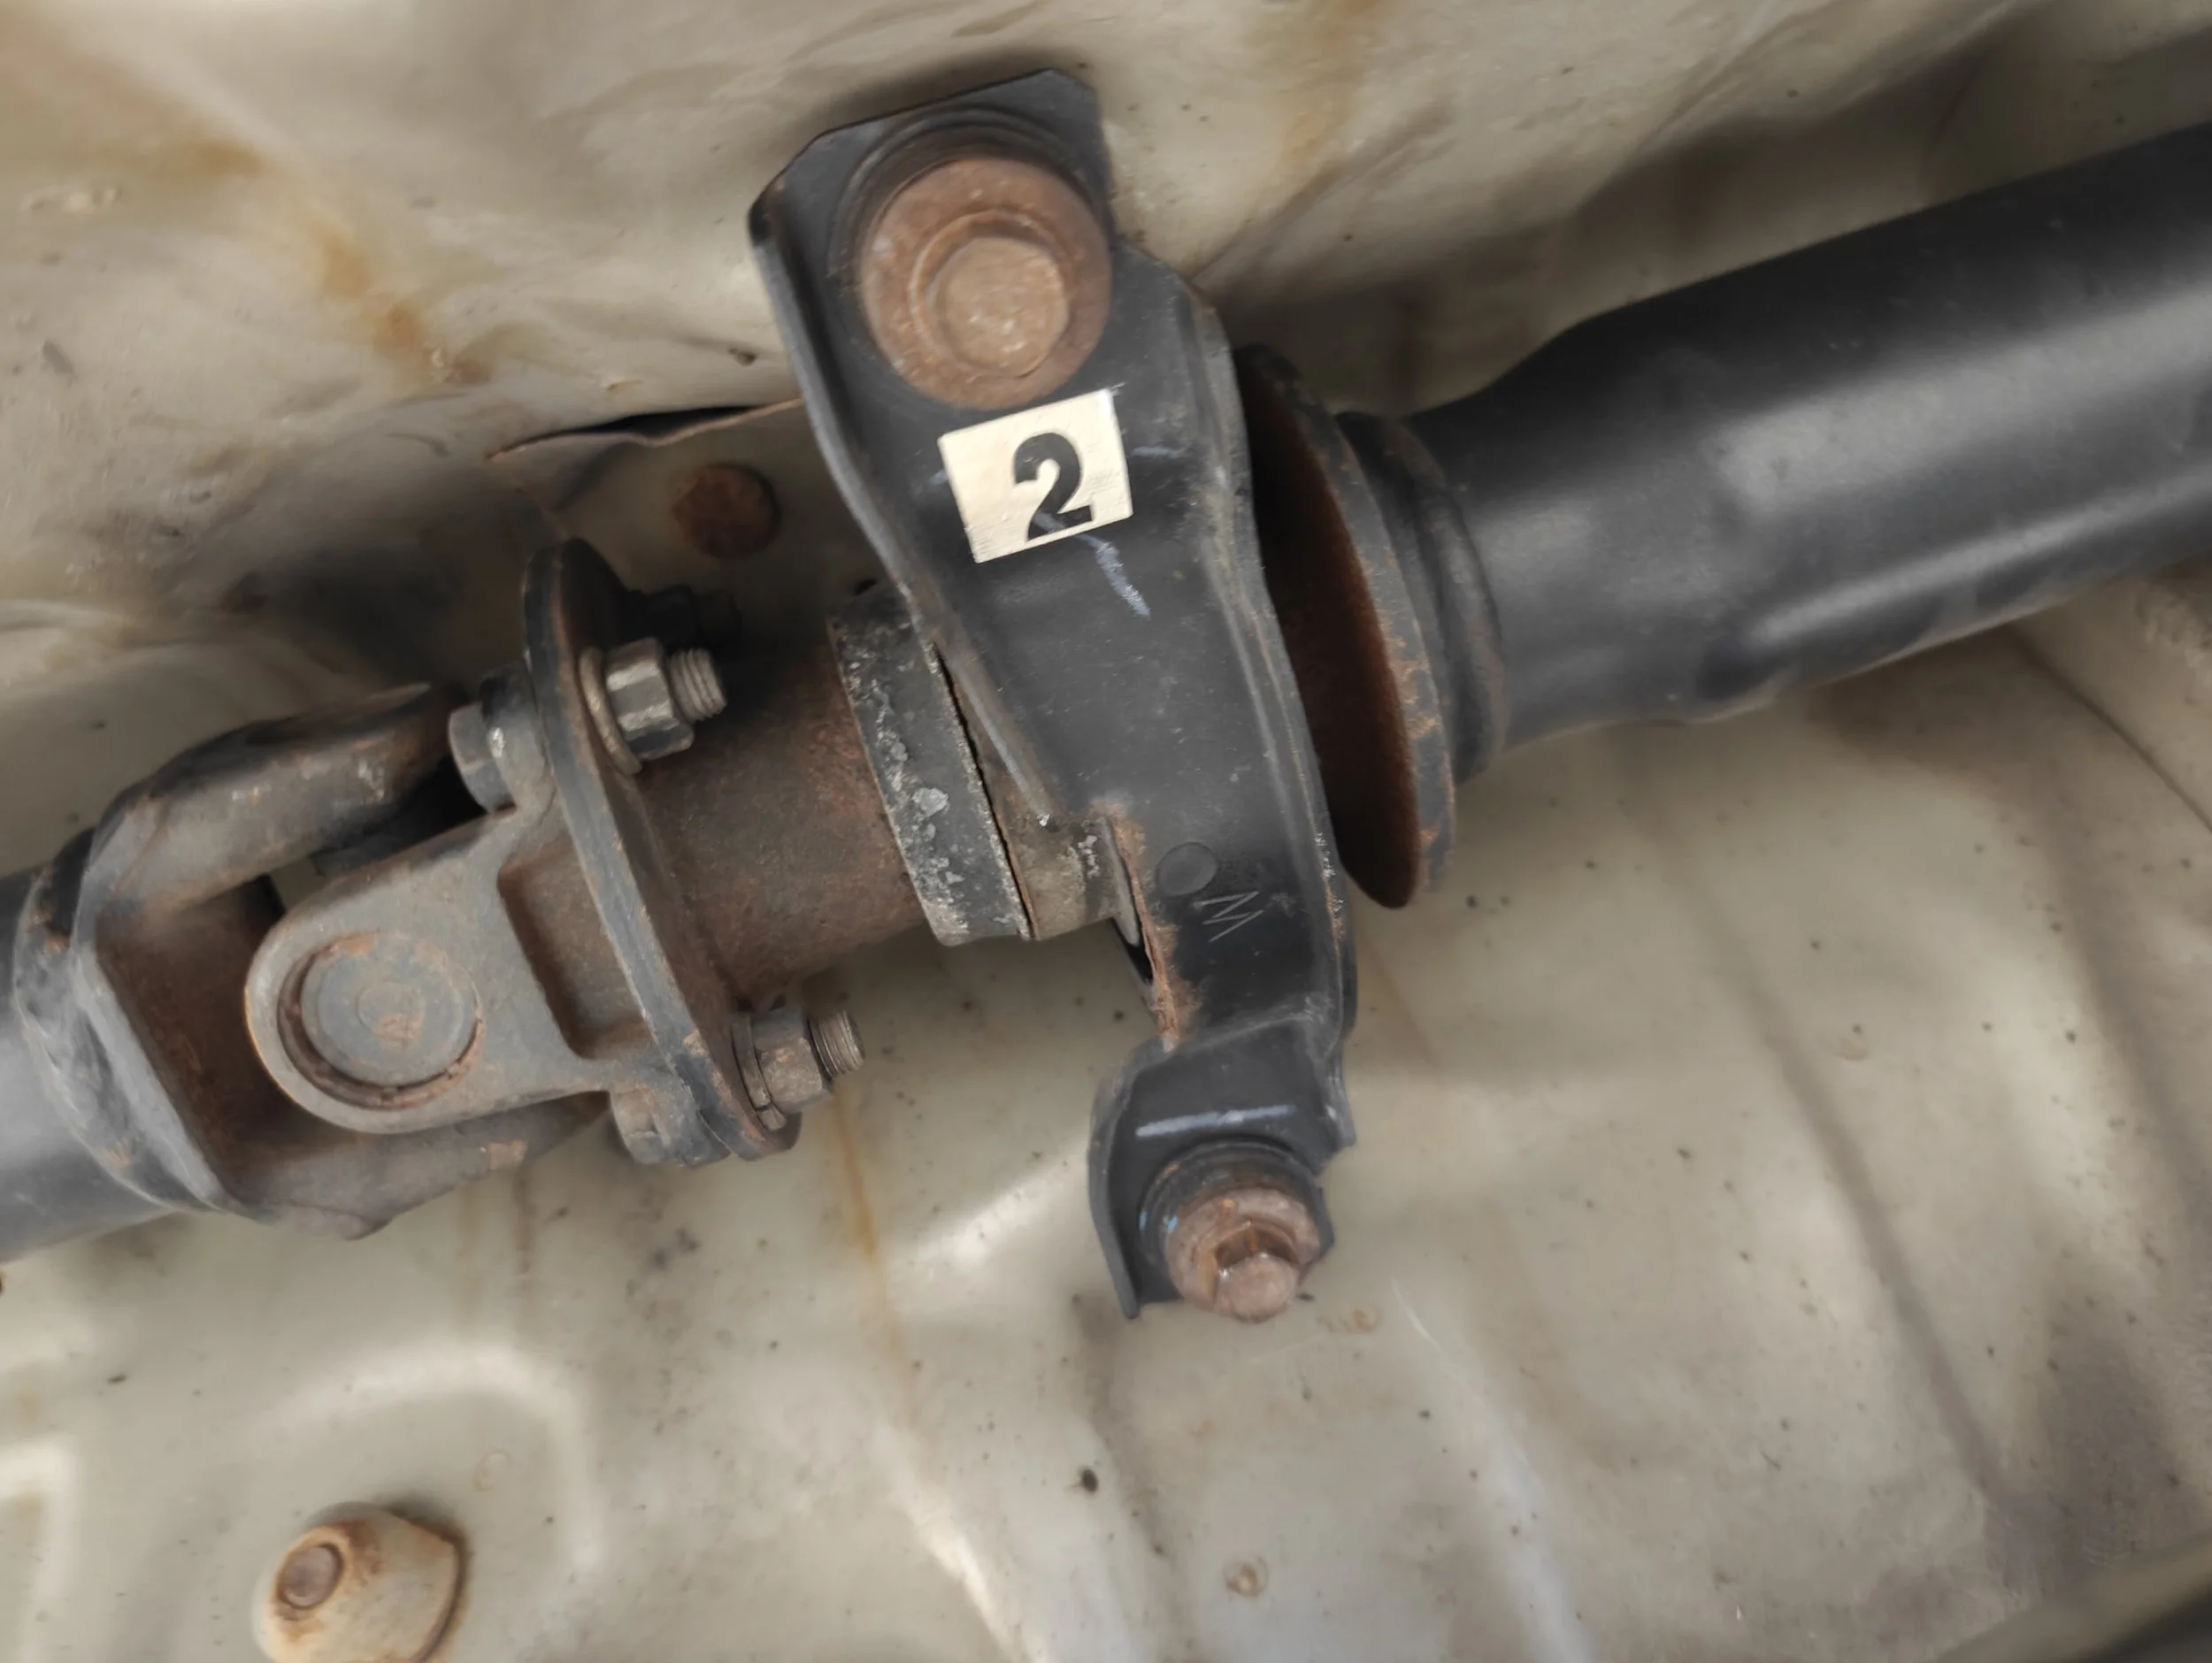
The next bolts on the list are in the middle here. You could also split the driveshaft in half if that helps make life easier.

Once the bolts come out this will want to come right down onto your face or head.
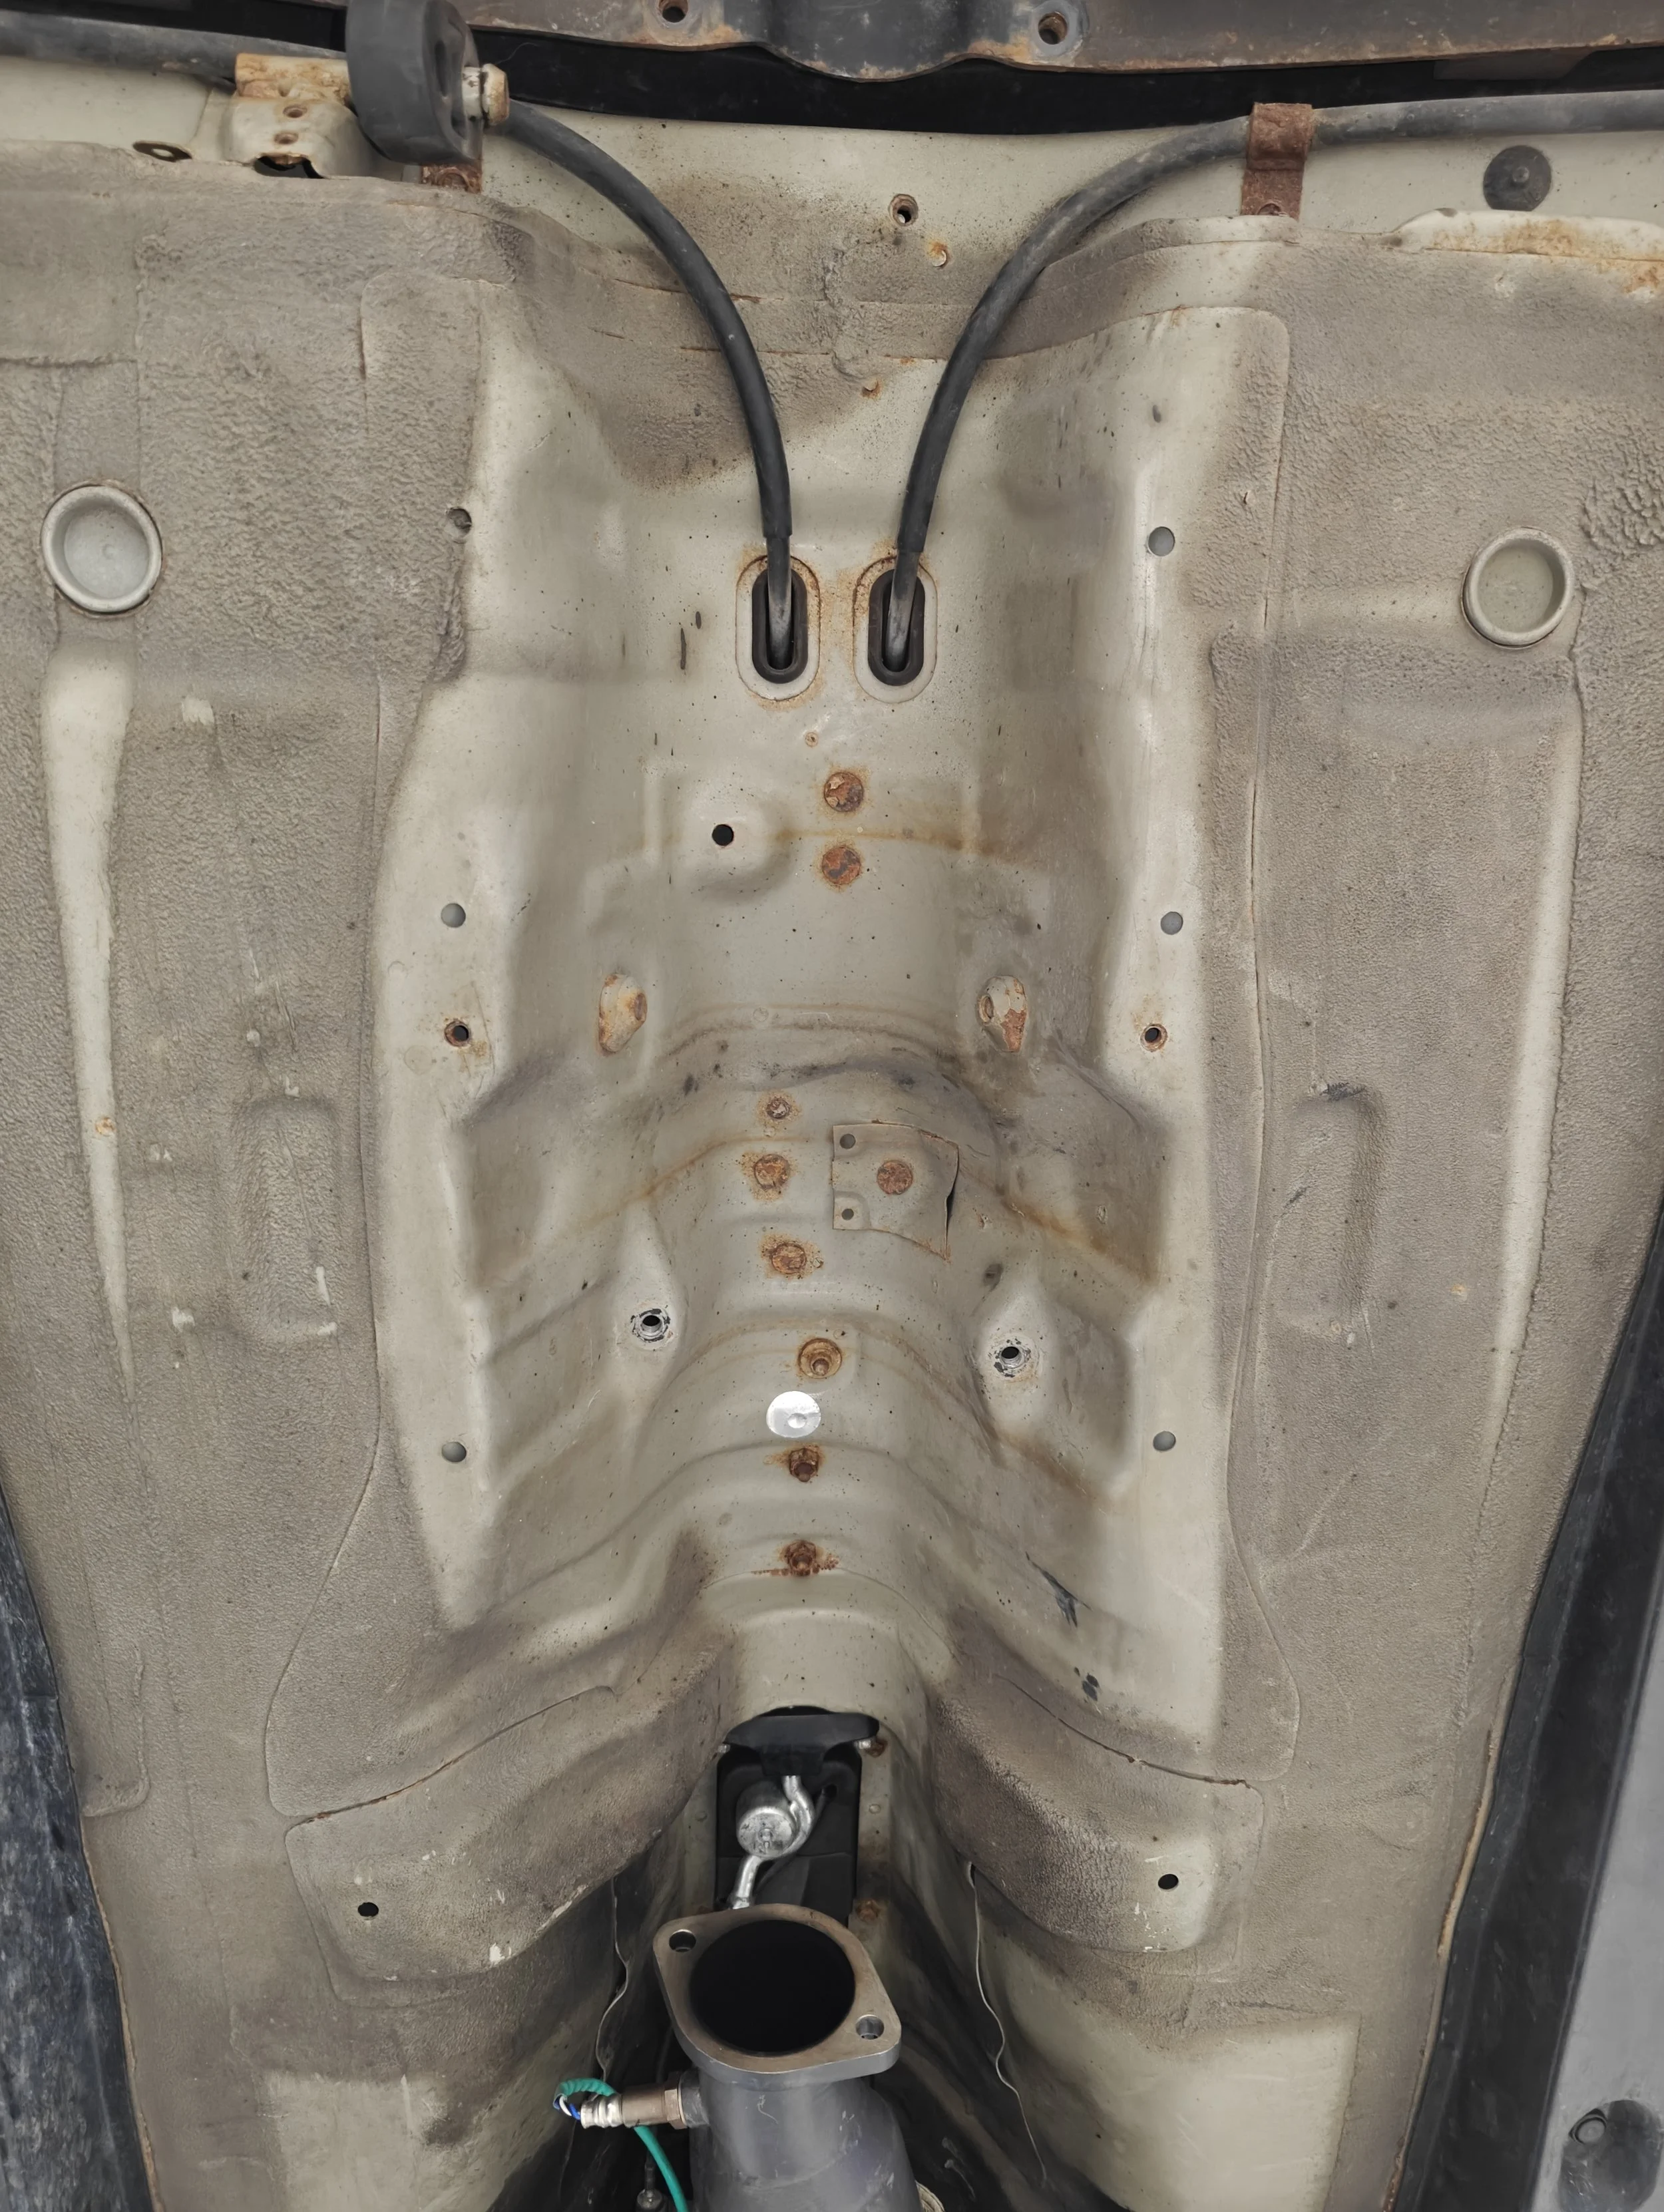
Before removing the driveshaft you can place a a couple rags or absorbent mats on the downpipe. When we pull the driveshaft out it is highly likely that transmission fluid will come out. And we don’t want it to land on the exhaust to be burned off later. With that complete we can do one of two things, we can have a friend ready with the carbon fiber driveshaft to install after you slide out the old driveshaft. Or you can use a plug or old driveshaft to keep the fluid from spilling out in between replacing it.
Place a couple rags or a mat on the downpipe to keep it clean of trans fluid.
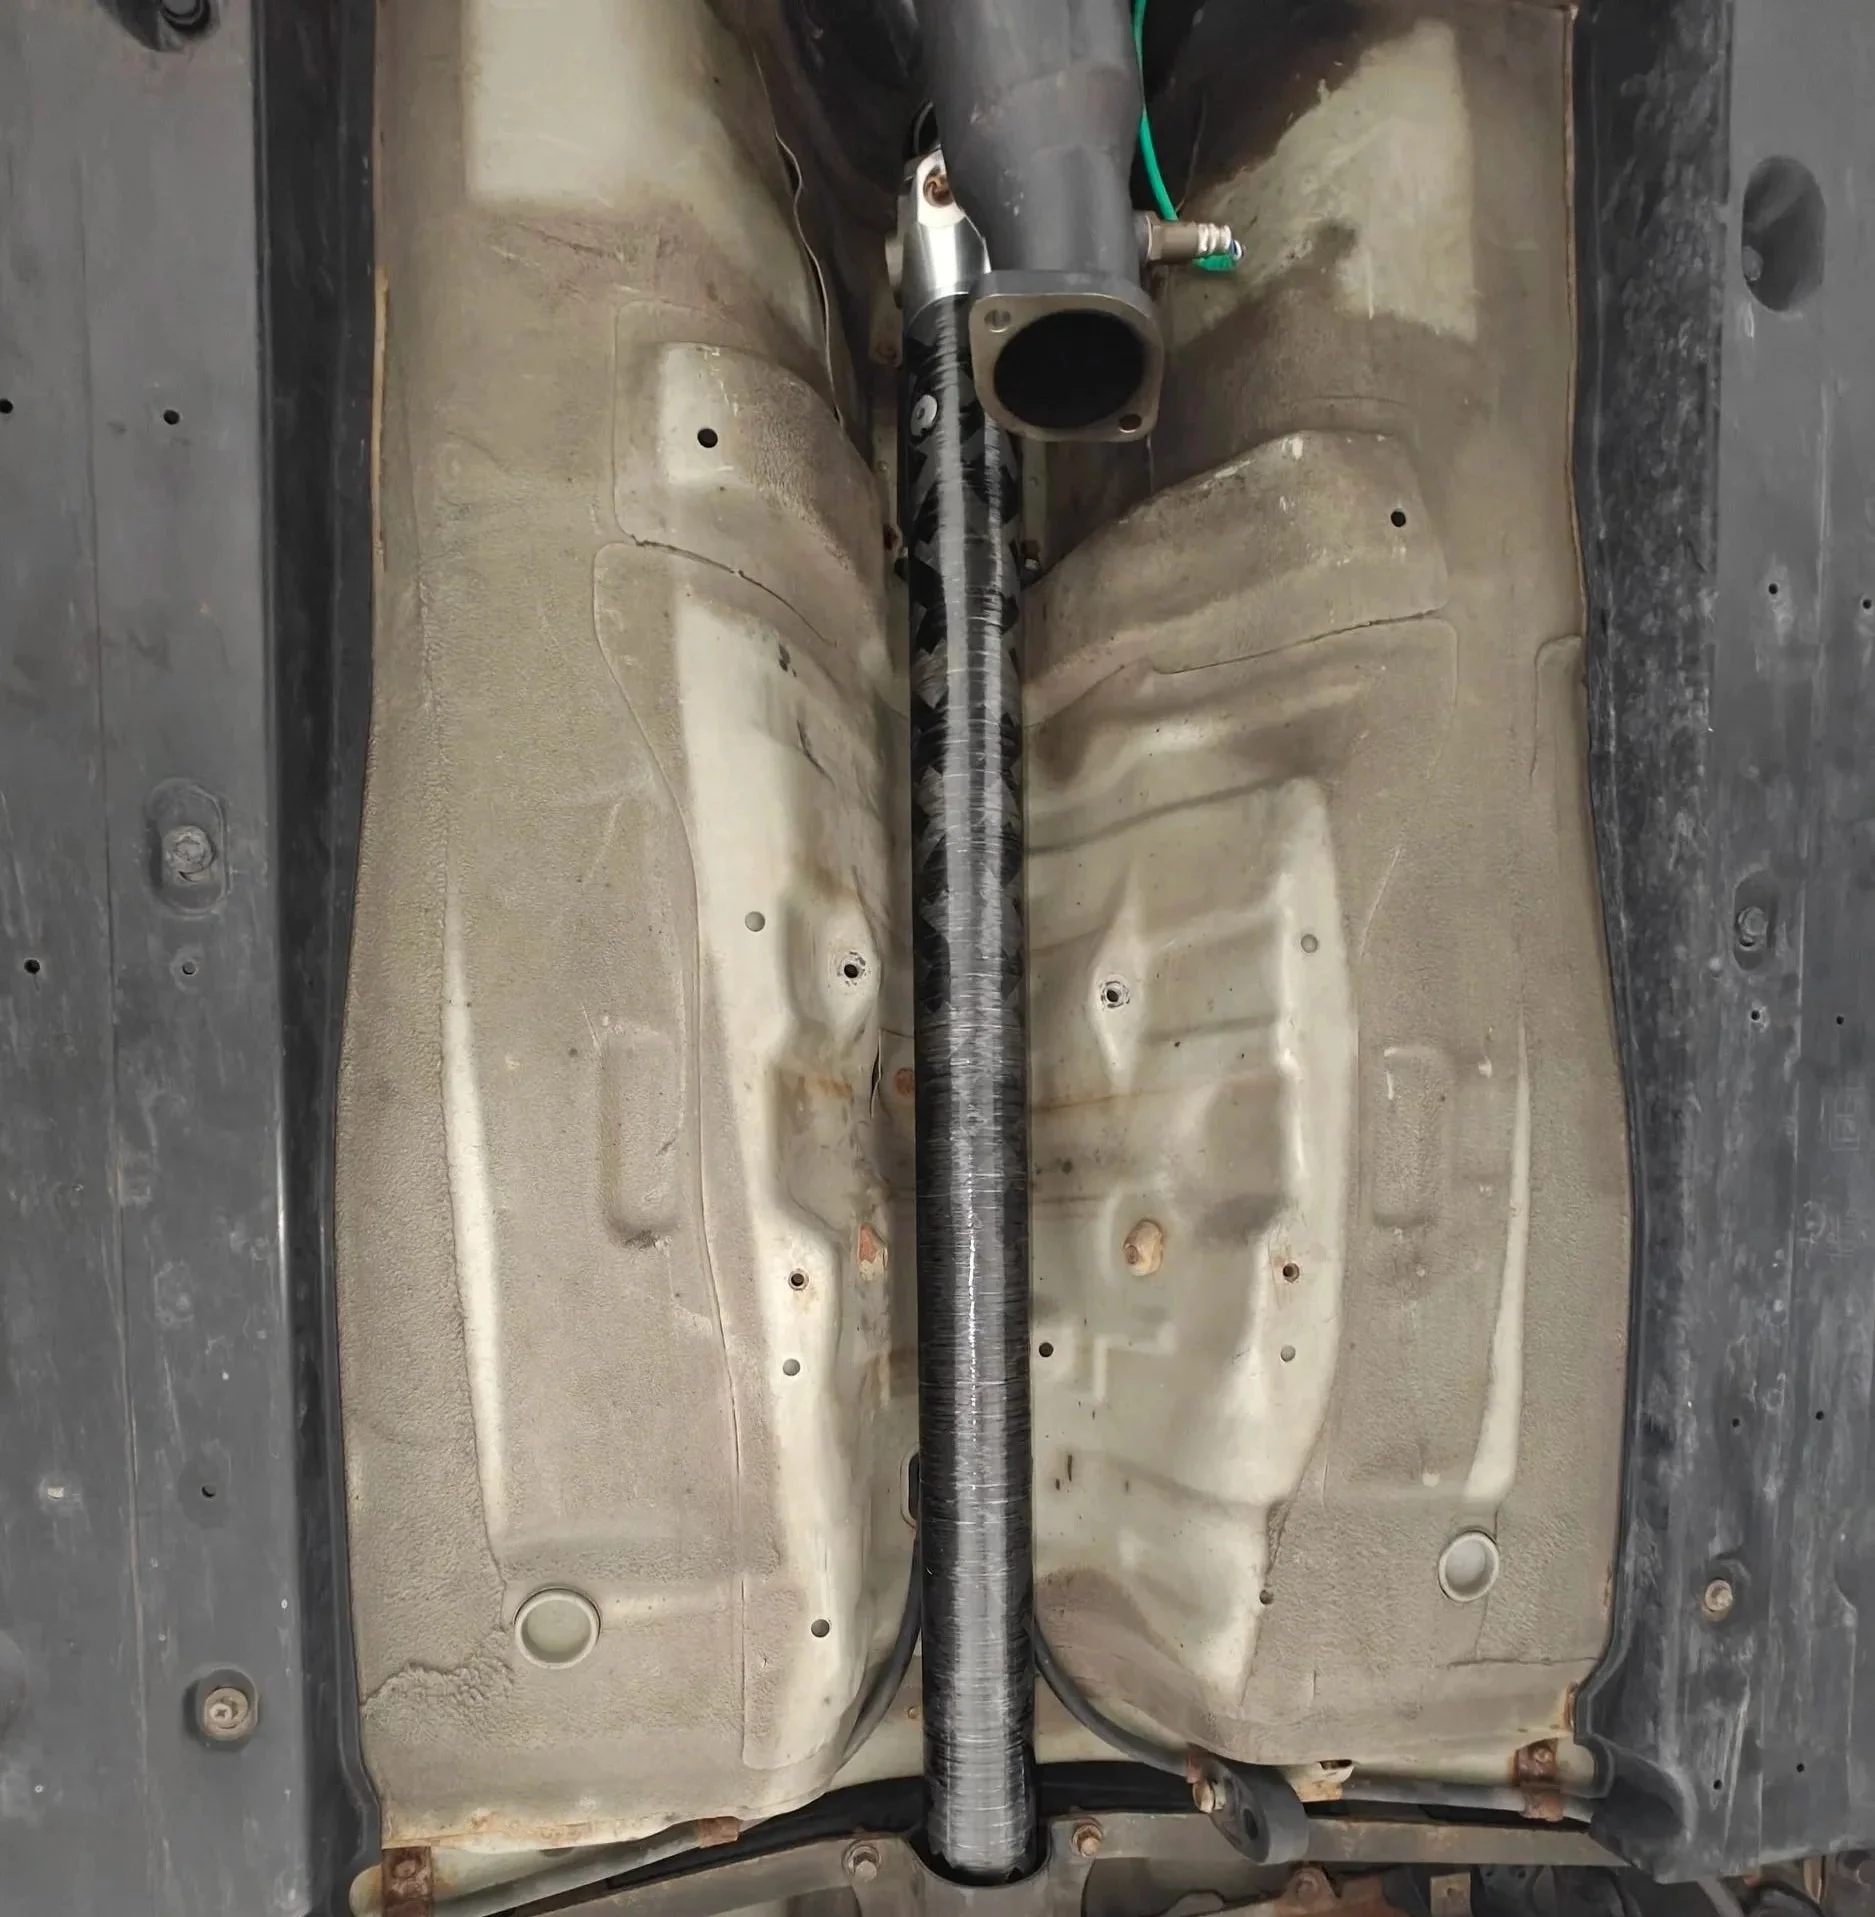
Now you can draw the driveshaft out of the transmission.
If you have an extra driveshaft around you can cut it down and make this tool.
Empty and ready to accept the new driveshaft.
Once the new driveshaft is in you might notice that it looks different. Most of the carbon fiber driveshaft options out there don’t have the outer cover that is fitted to the factory driveshaft.
When you slide in the new driveshaft you will notice that it doesn’t look the same. Unlike the factory driveshaft its missing the secondary cover.
Since the new driveshaft is a one piece unit the old center support section bolts aren’t used.
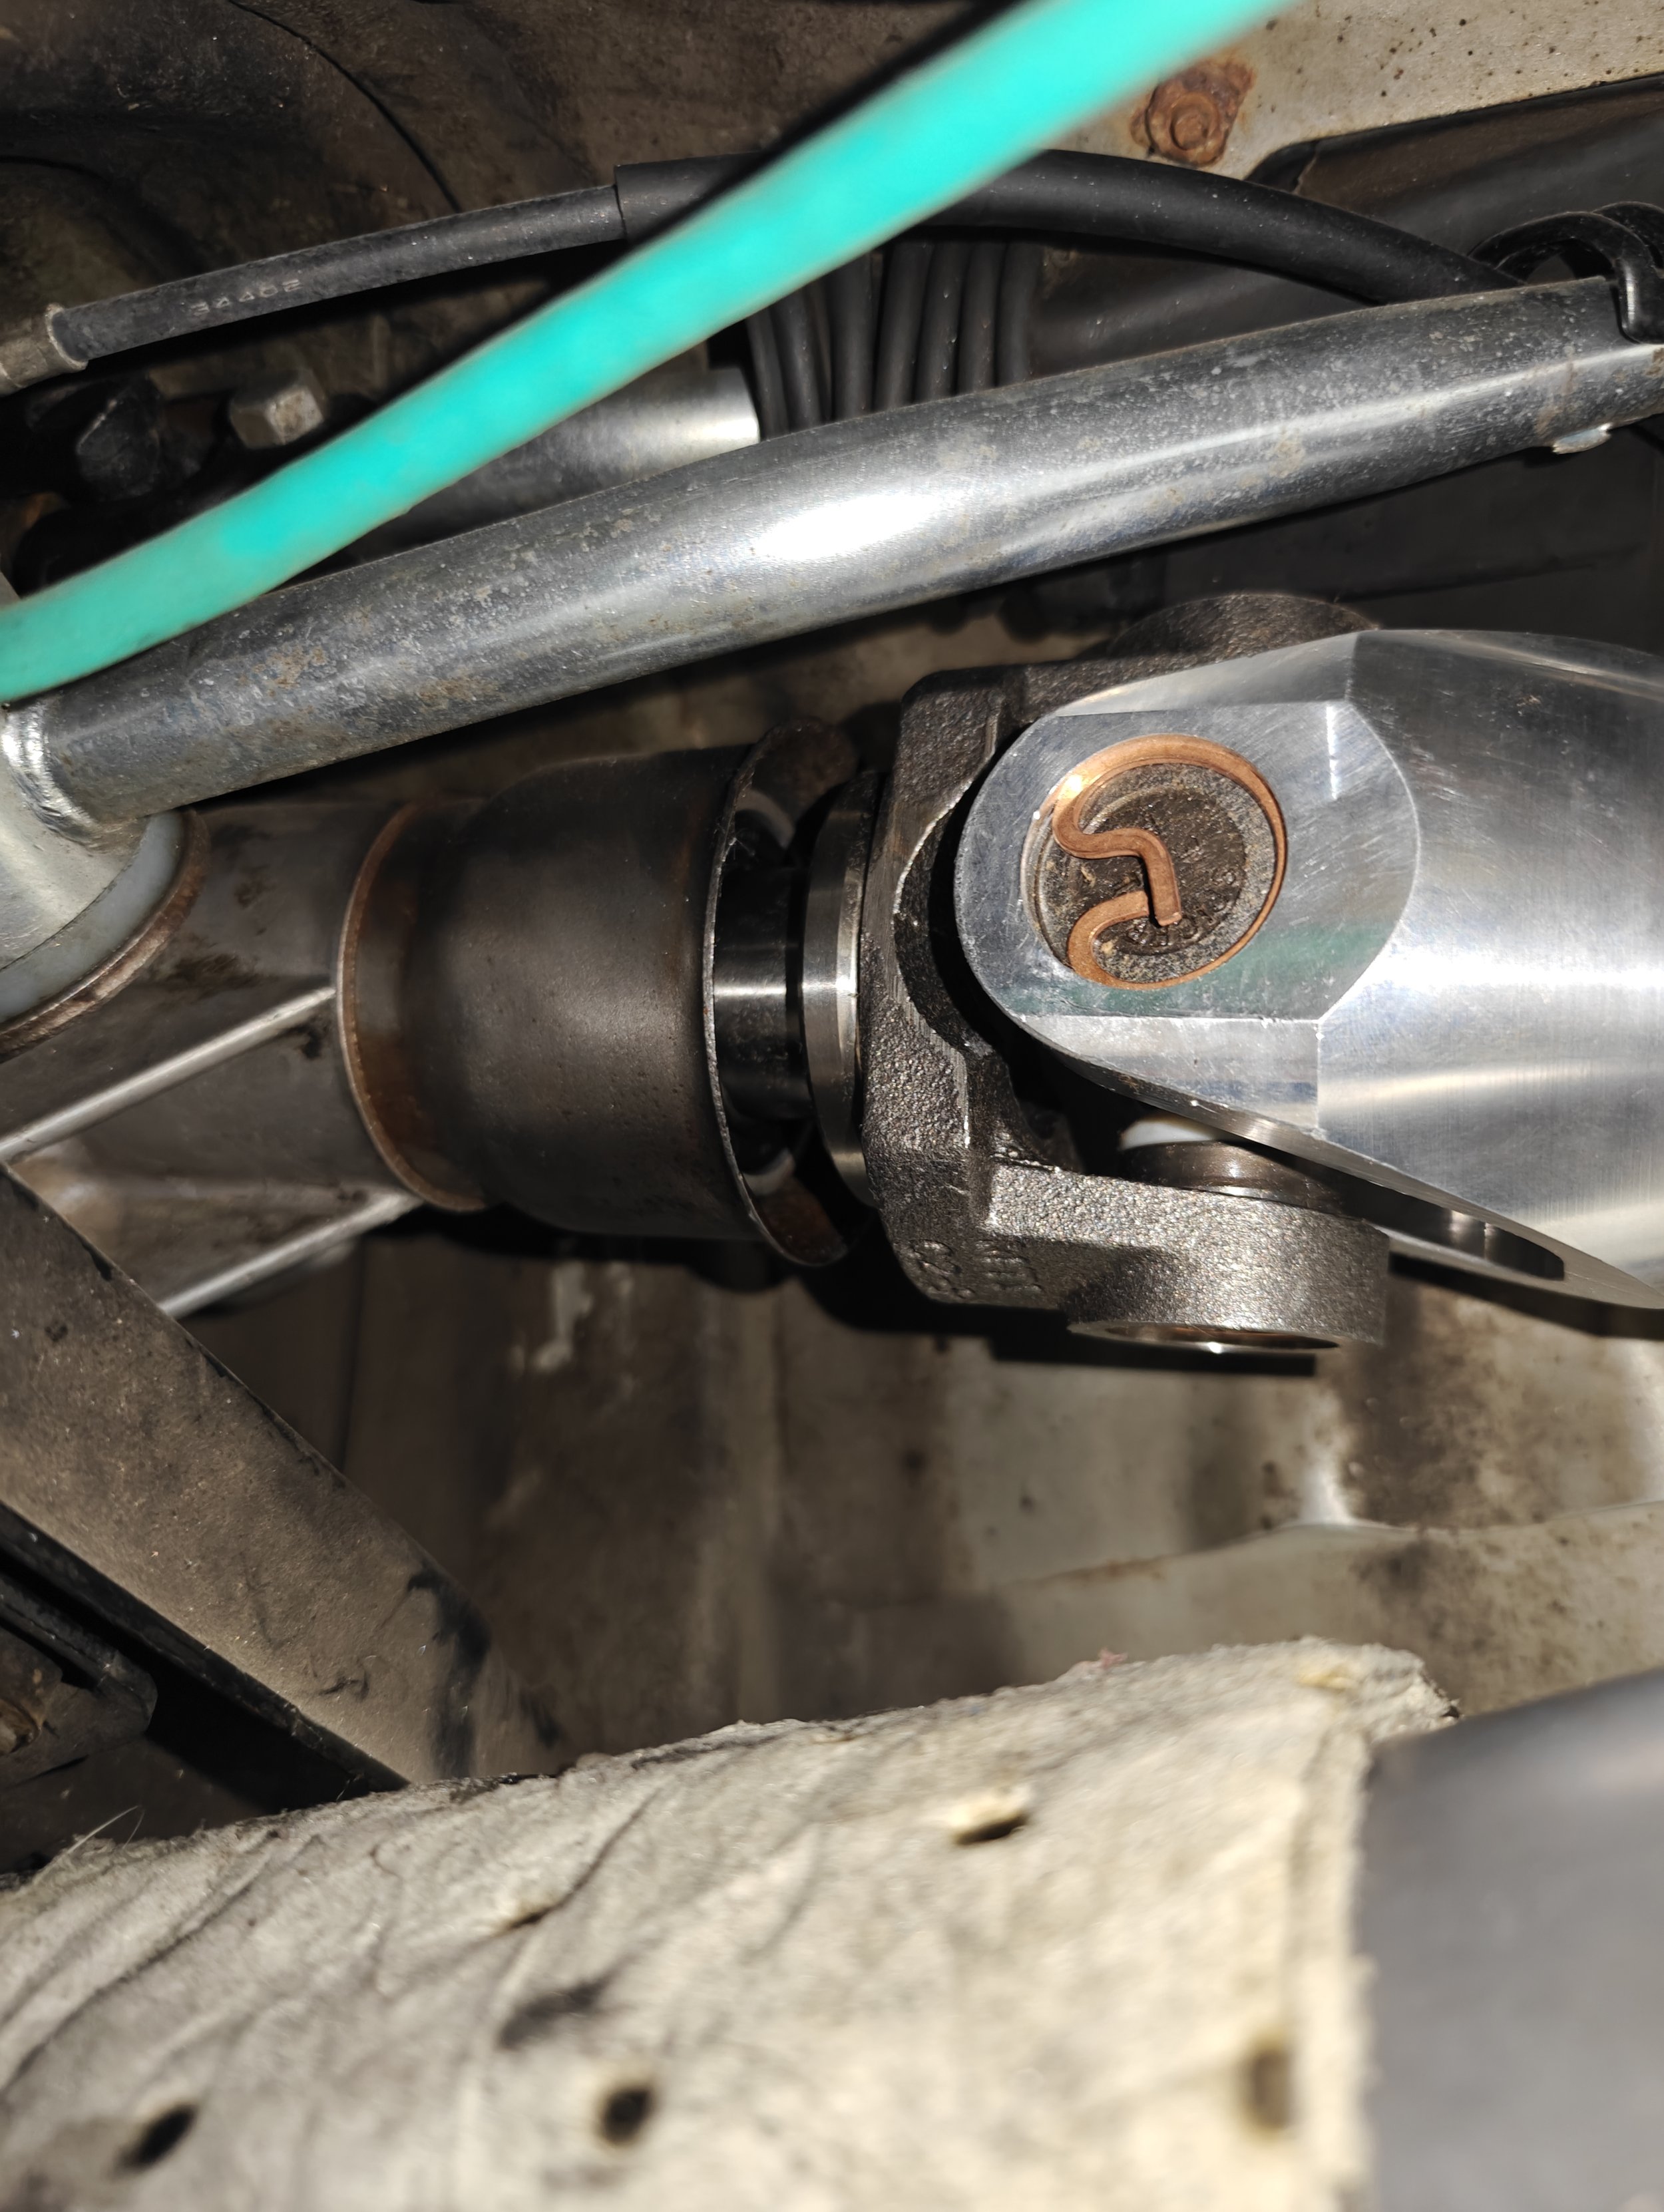
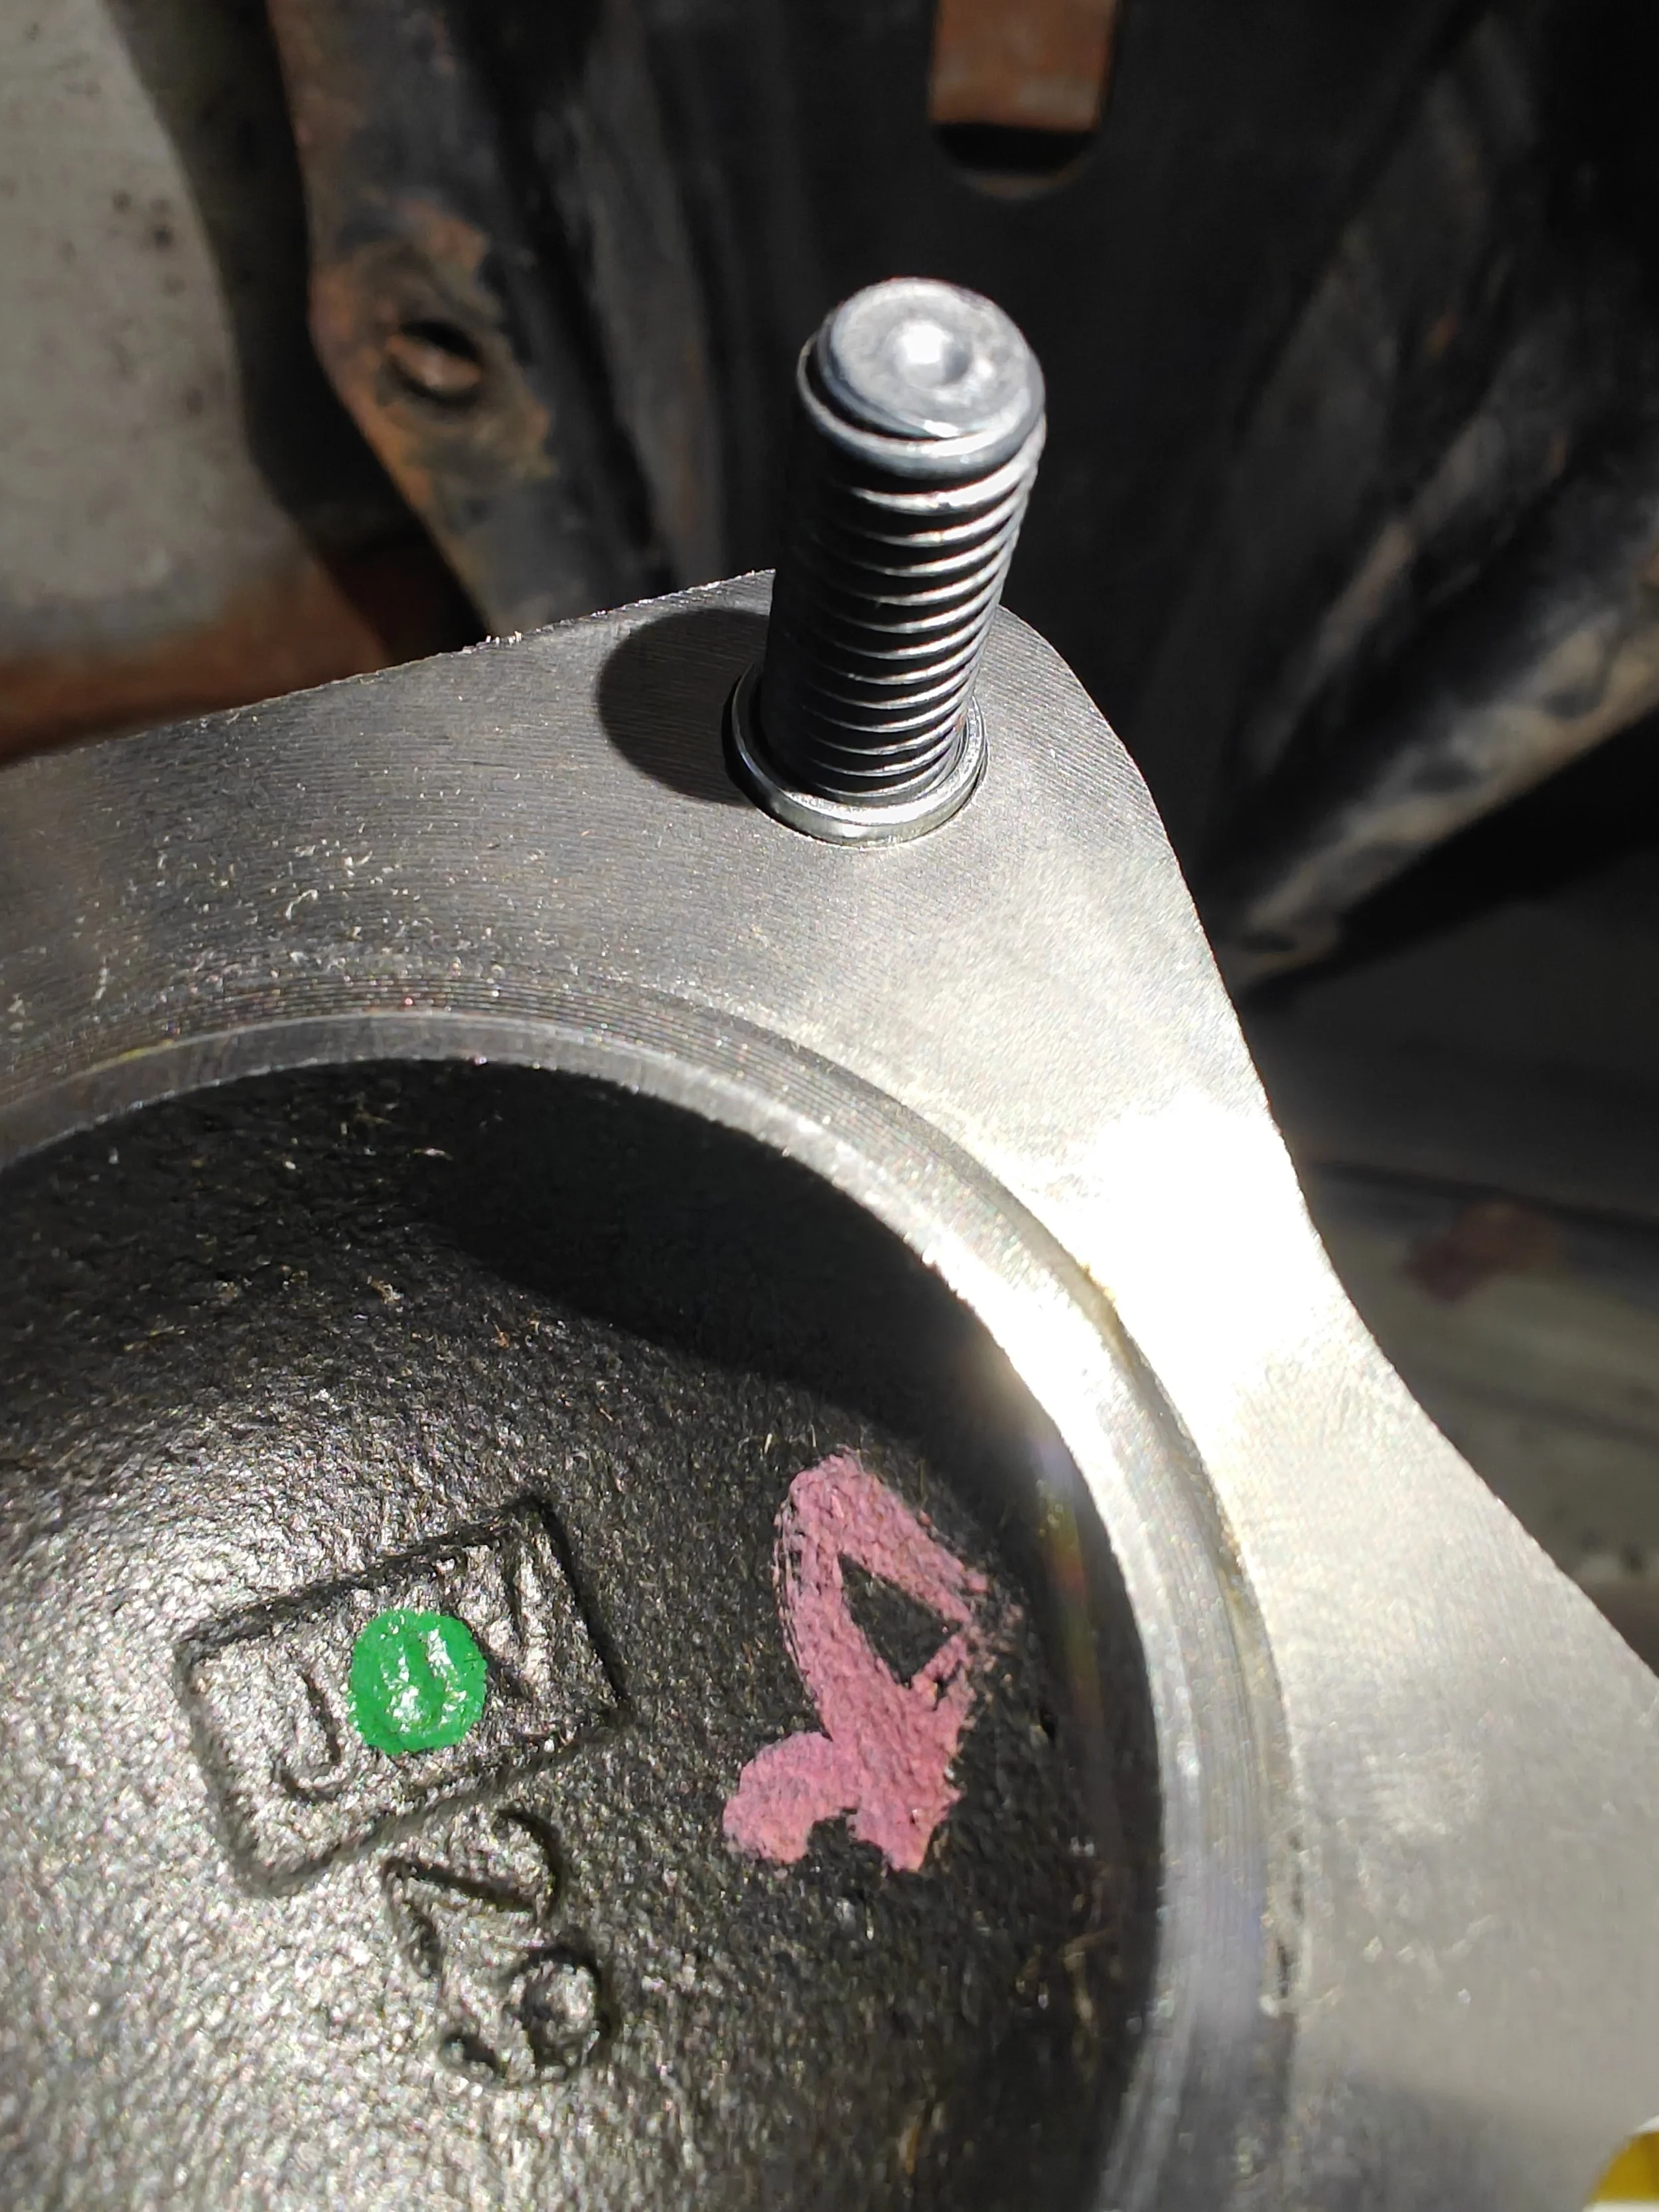
Moving back to the rear of the car you will now be to install driveshaft to the differential. I found on my DSS carbon fiber driveshaft that the flange wasn’t deep enough to allow for it to properly mount to the differential flange. I read that this issue effects some vehicles but not all. You can find more about this in my DSS carbon fiber driveshaft review. You can drill out your factory differential flange to use the supplied hardware. Or I found the proper sized shim spacers that you can utilize that will allow you to use factory or factory like hardware.
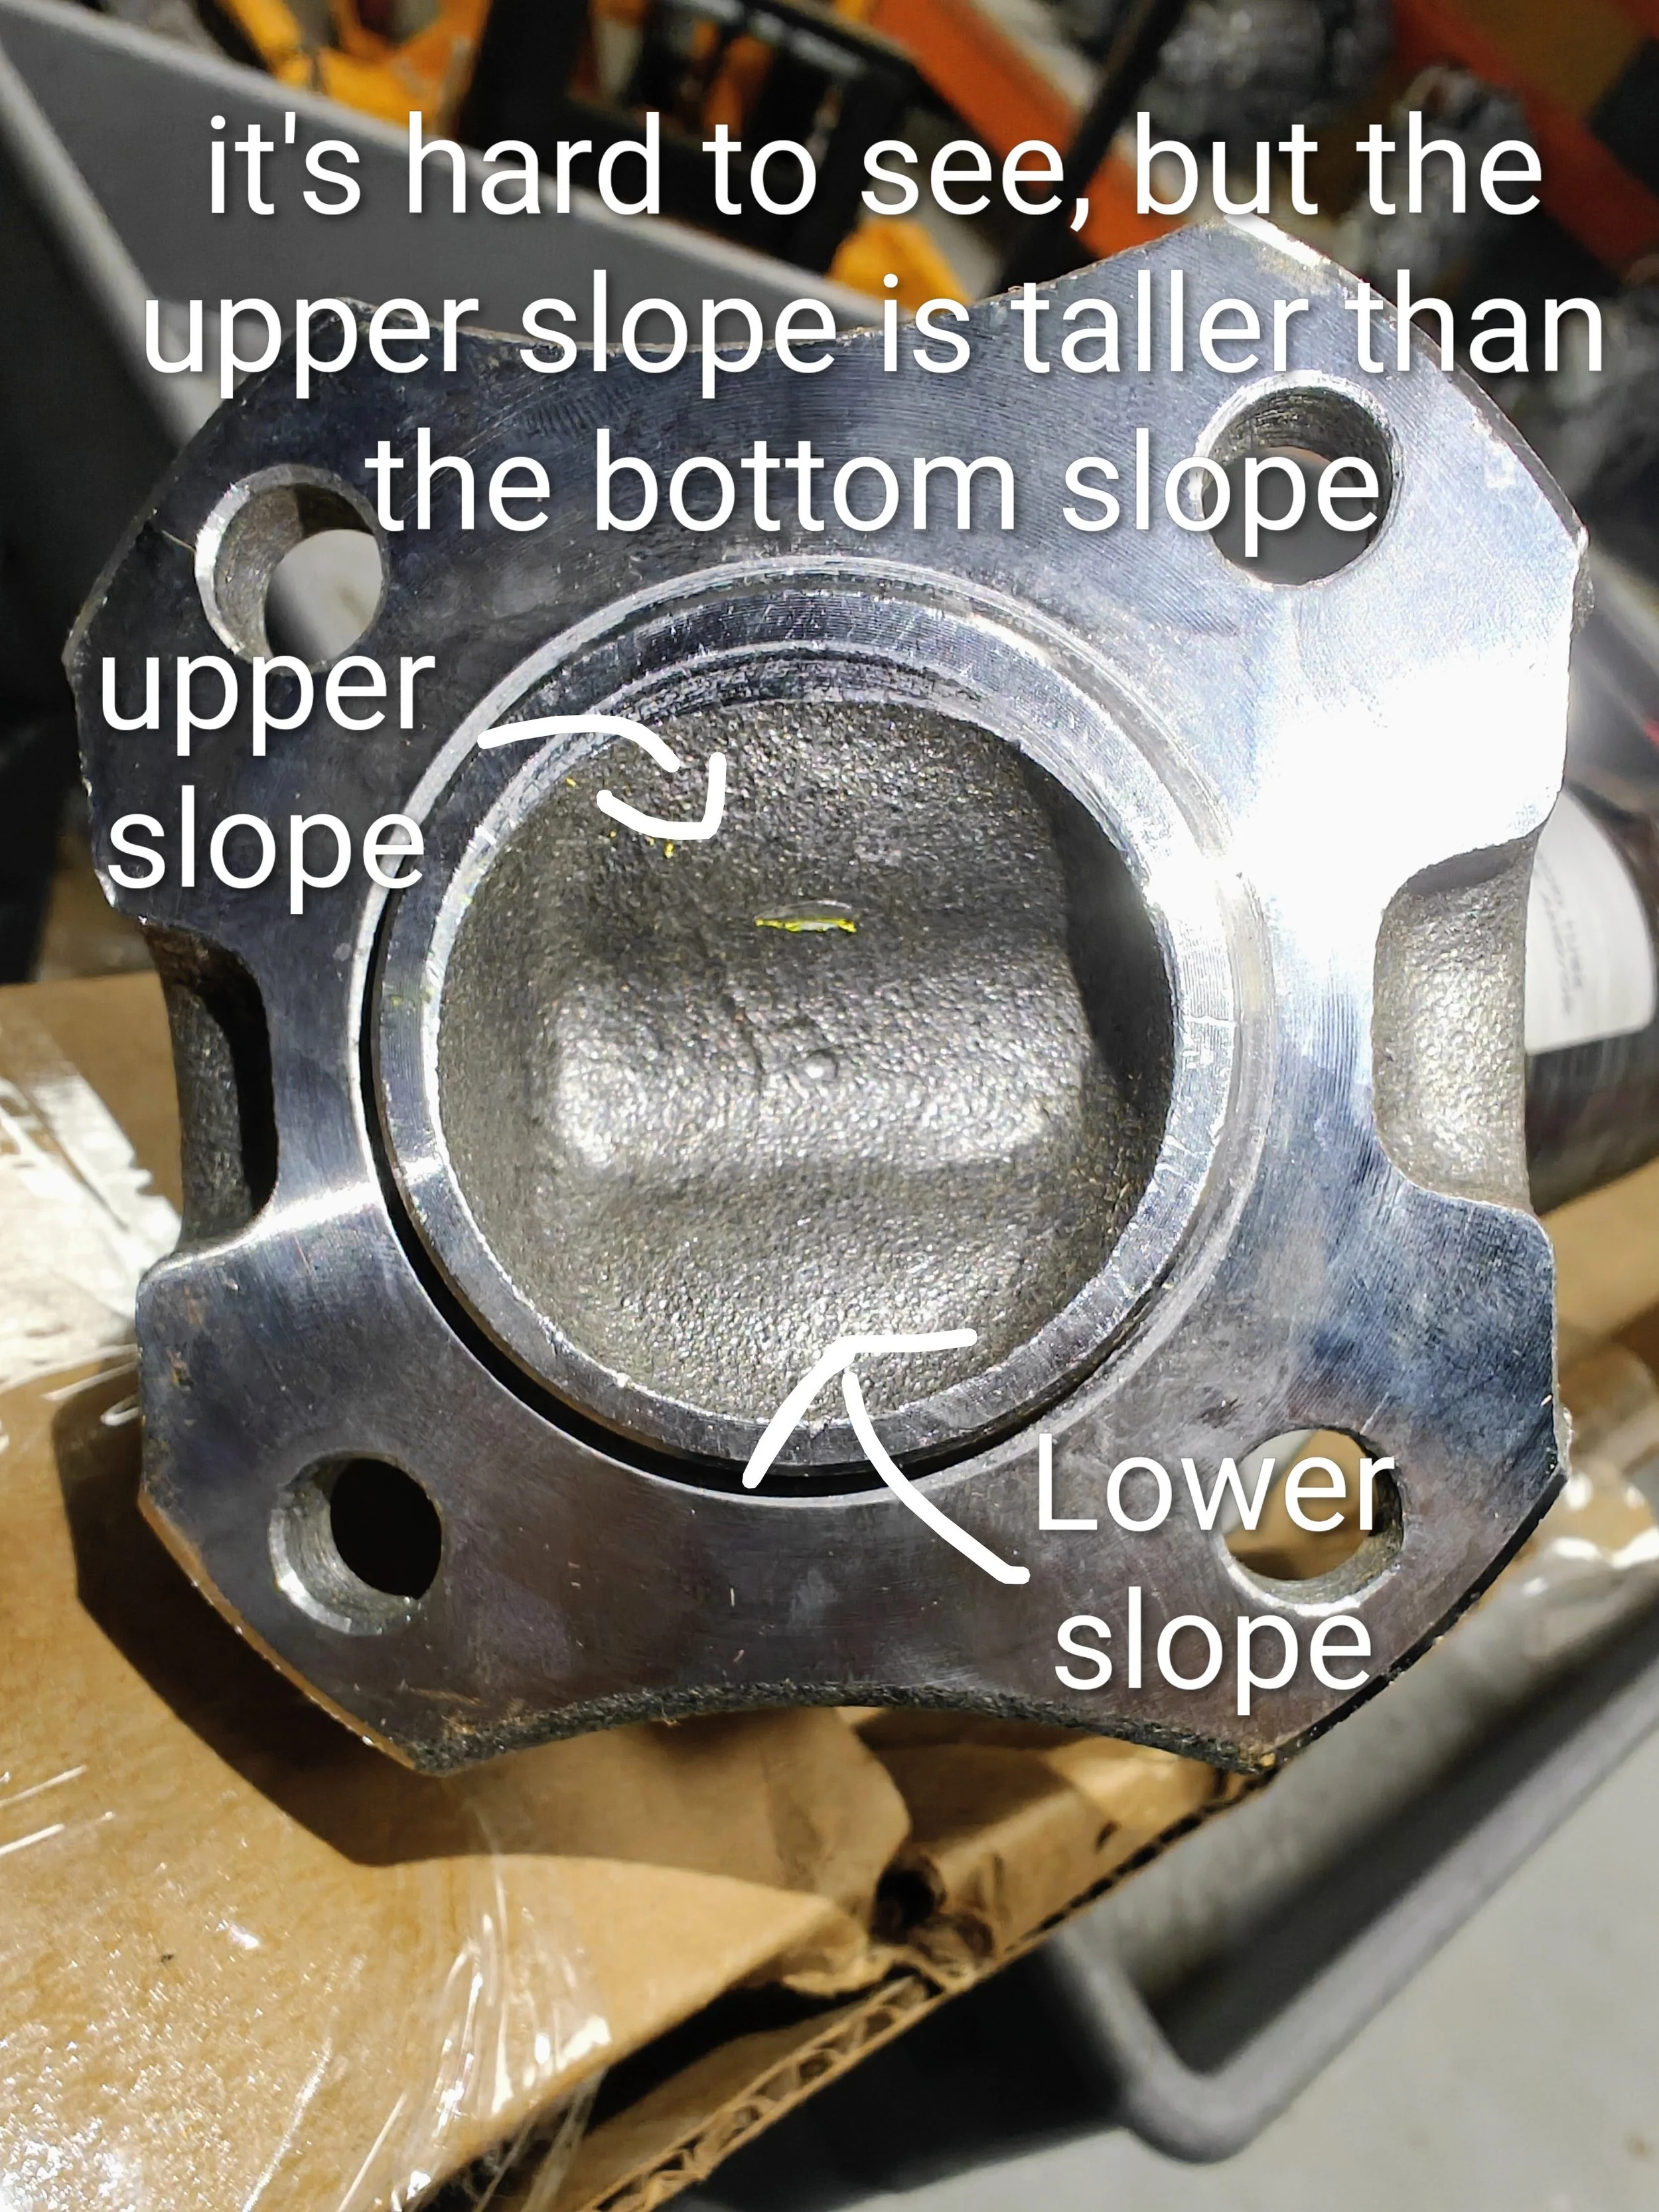
A bit of a warning for those out there. I originally had issues installing this due to an improperly made flange as shown above.
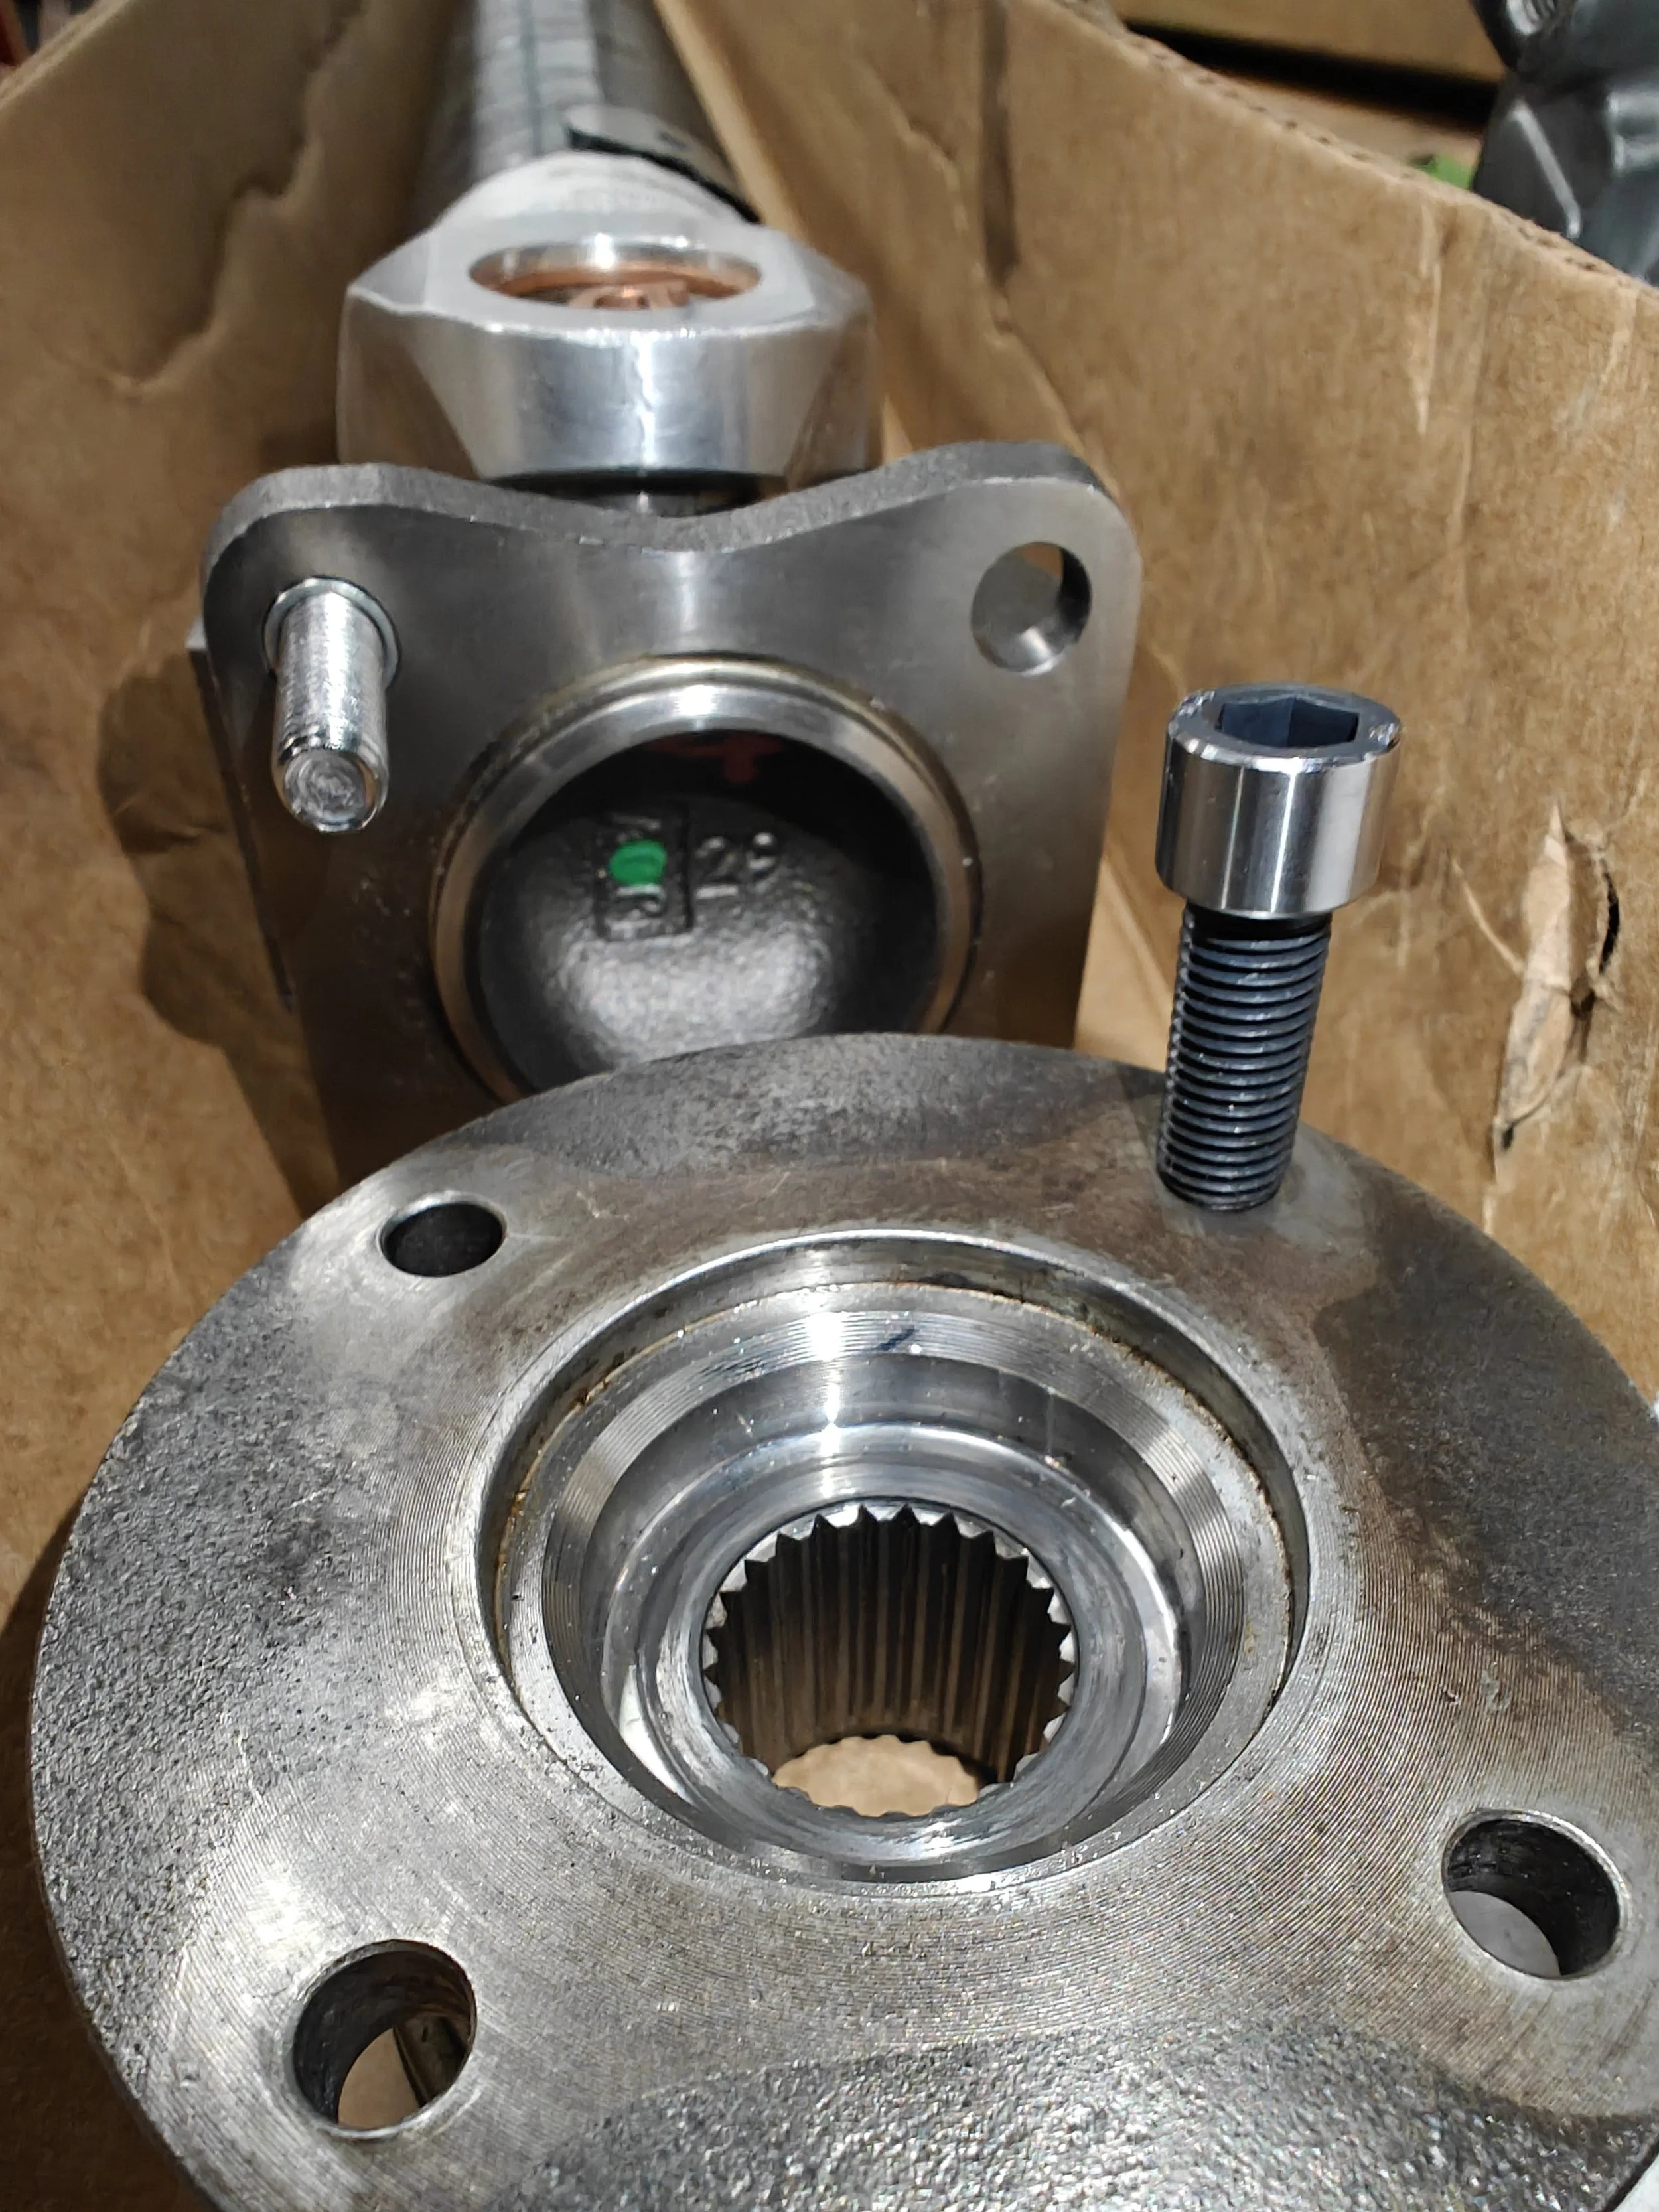
Another thing you will deal with is the fact that the supplied hardware fits the flange of the driveshaft but not the differential flange. On the left side you see a small spacer to use a bolt that goes through both flanges. On the right is the supplied bolt that won’t fill through pinion flange.
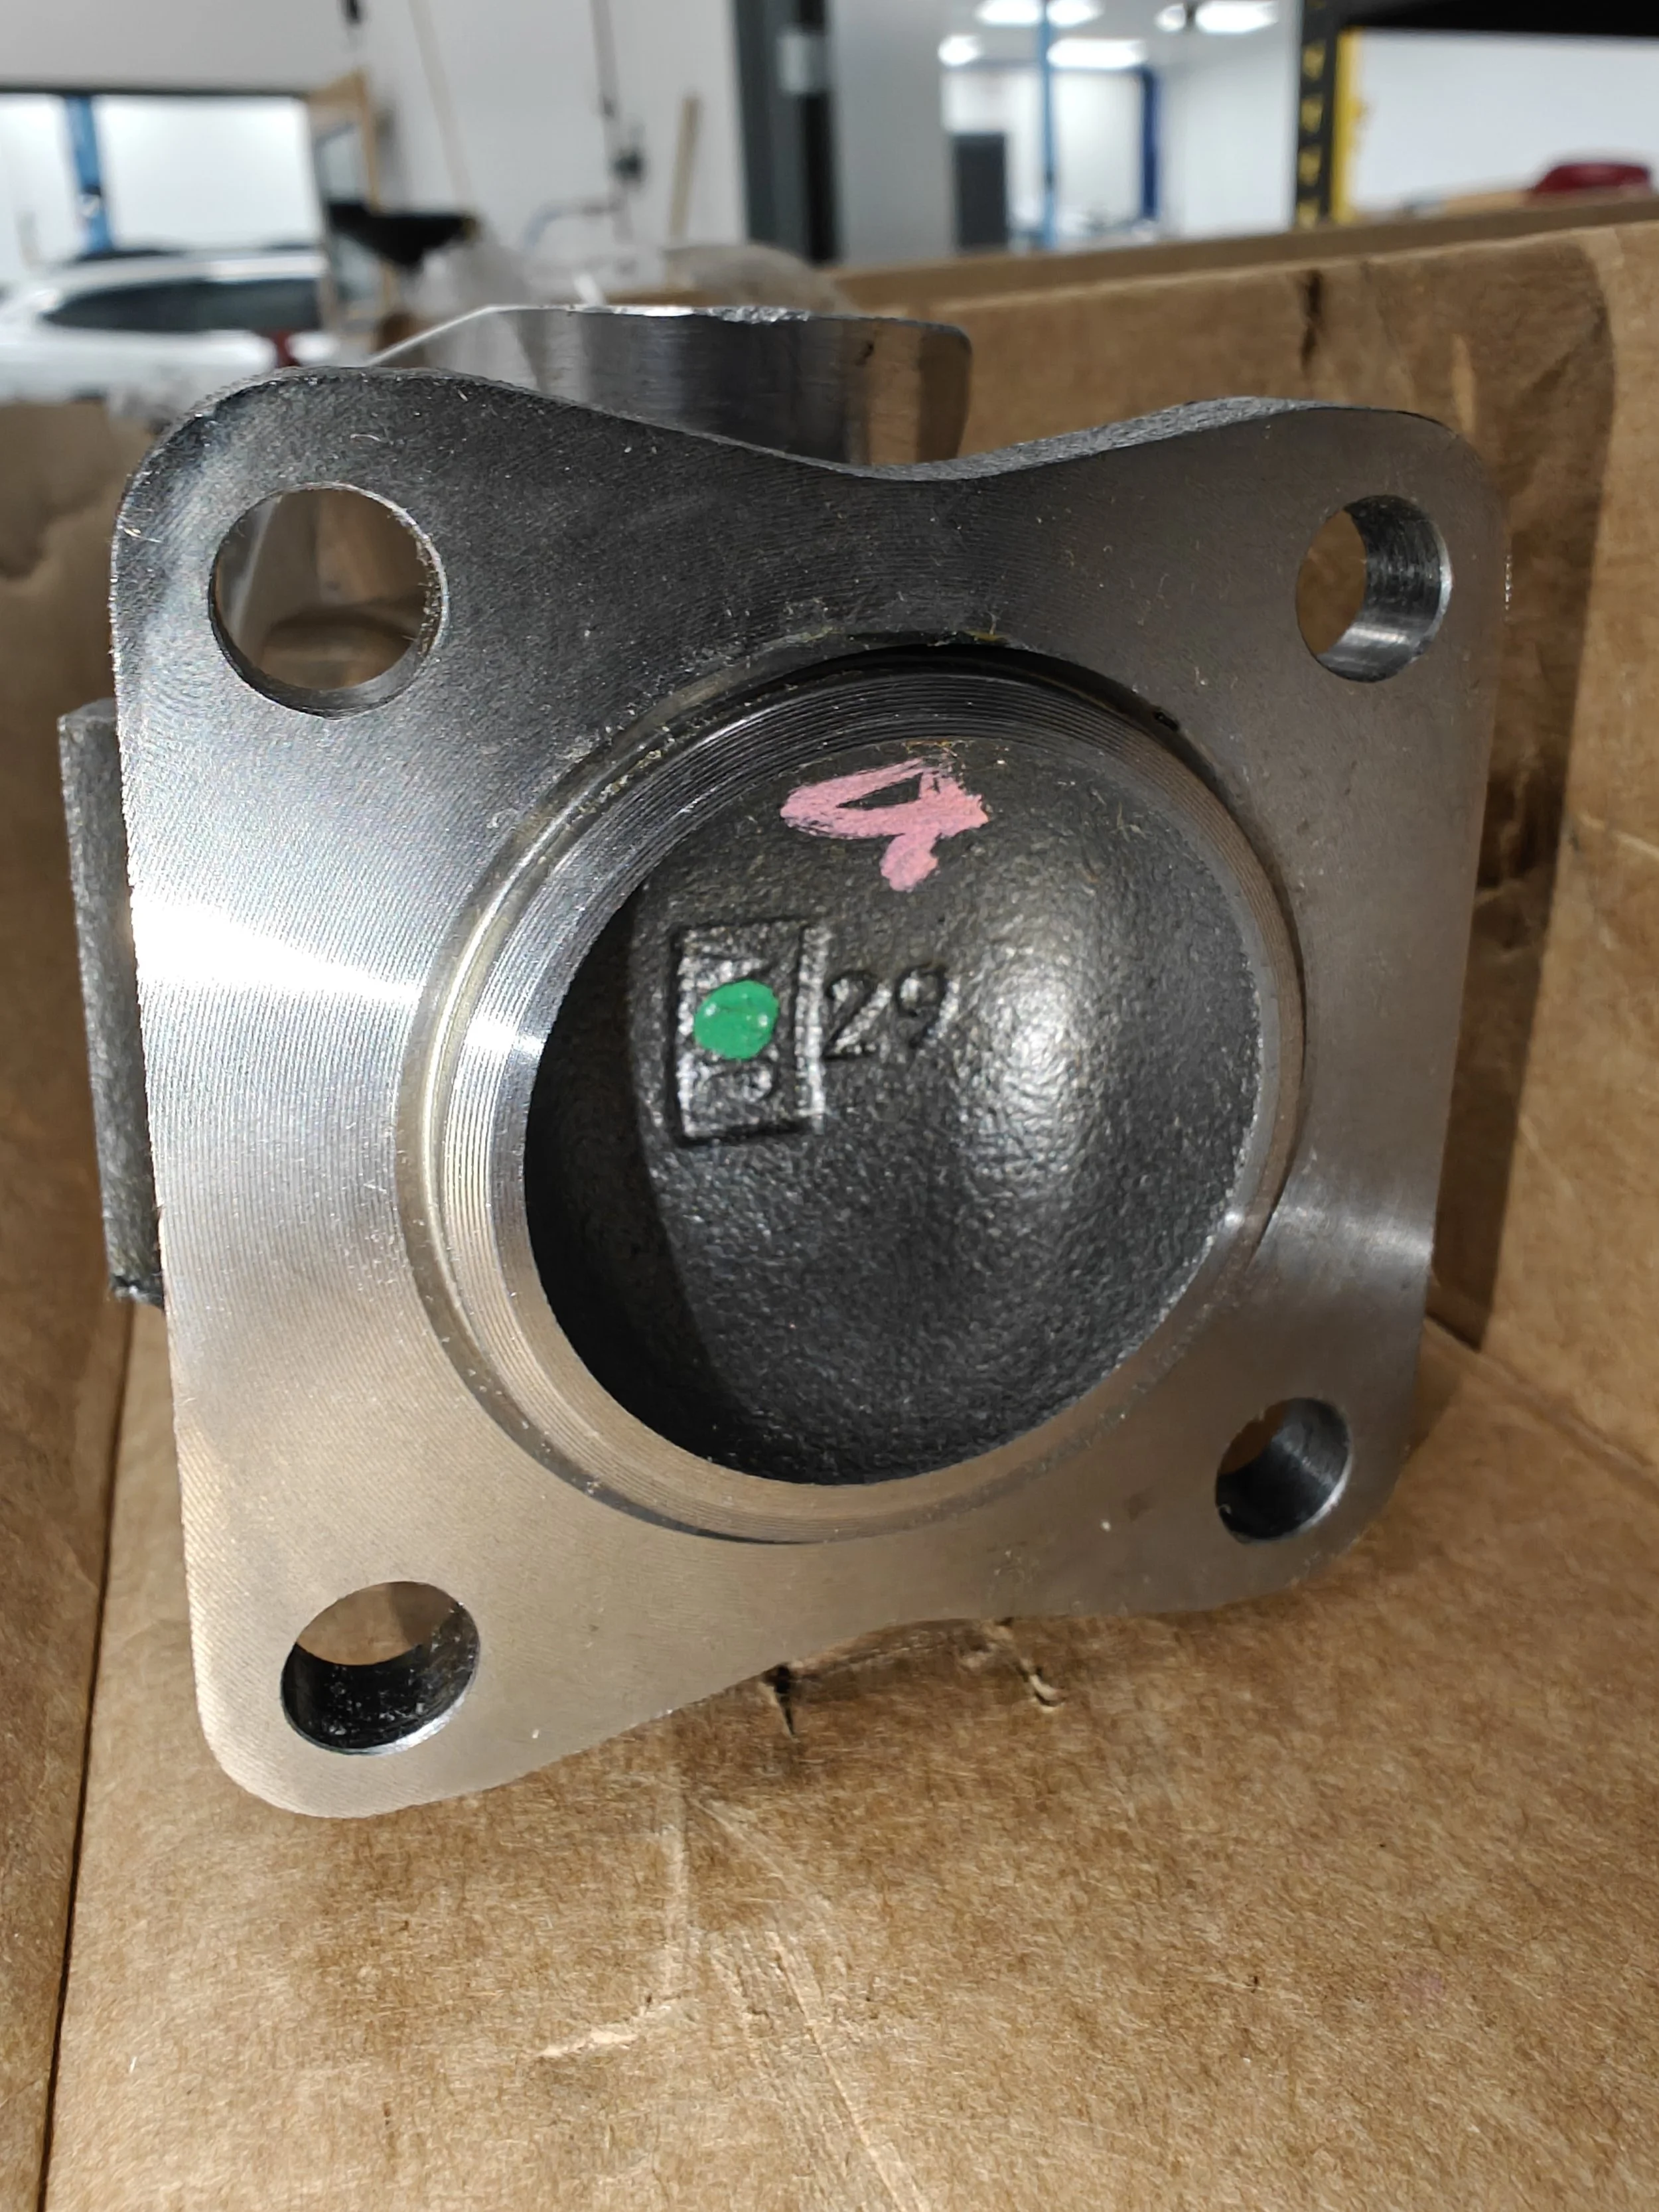
A visual of the updated flange I was supplied.
Another image of the small sized bolt and I found this spacer on gobuildya.com
With it torqued and installed it is time to return the exhaust back on so that you can test out your new part. After everything is reinstalled and retorqued, you should lower the vehicle down and take a very slow test drive to make sure everything is happy.
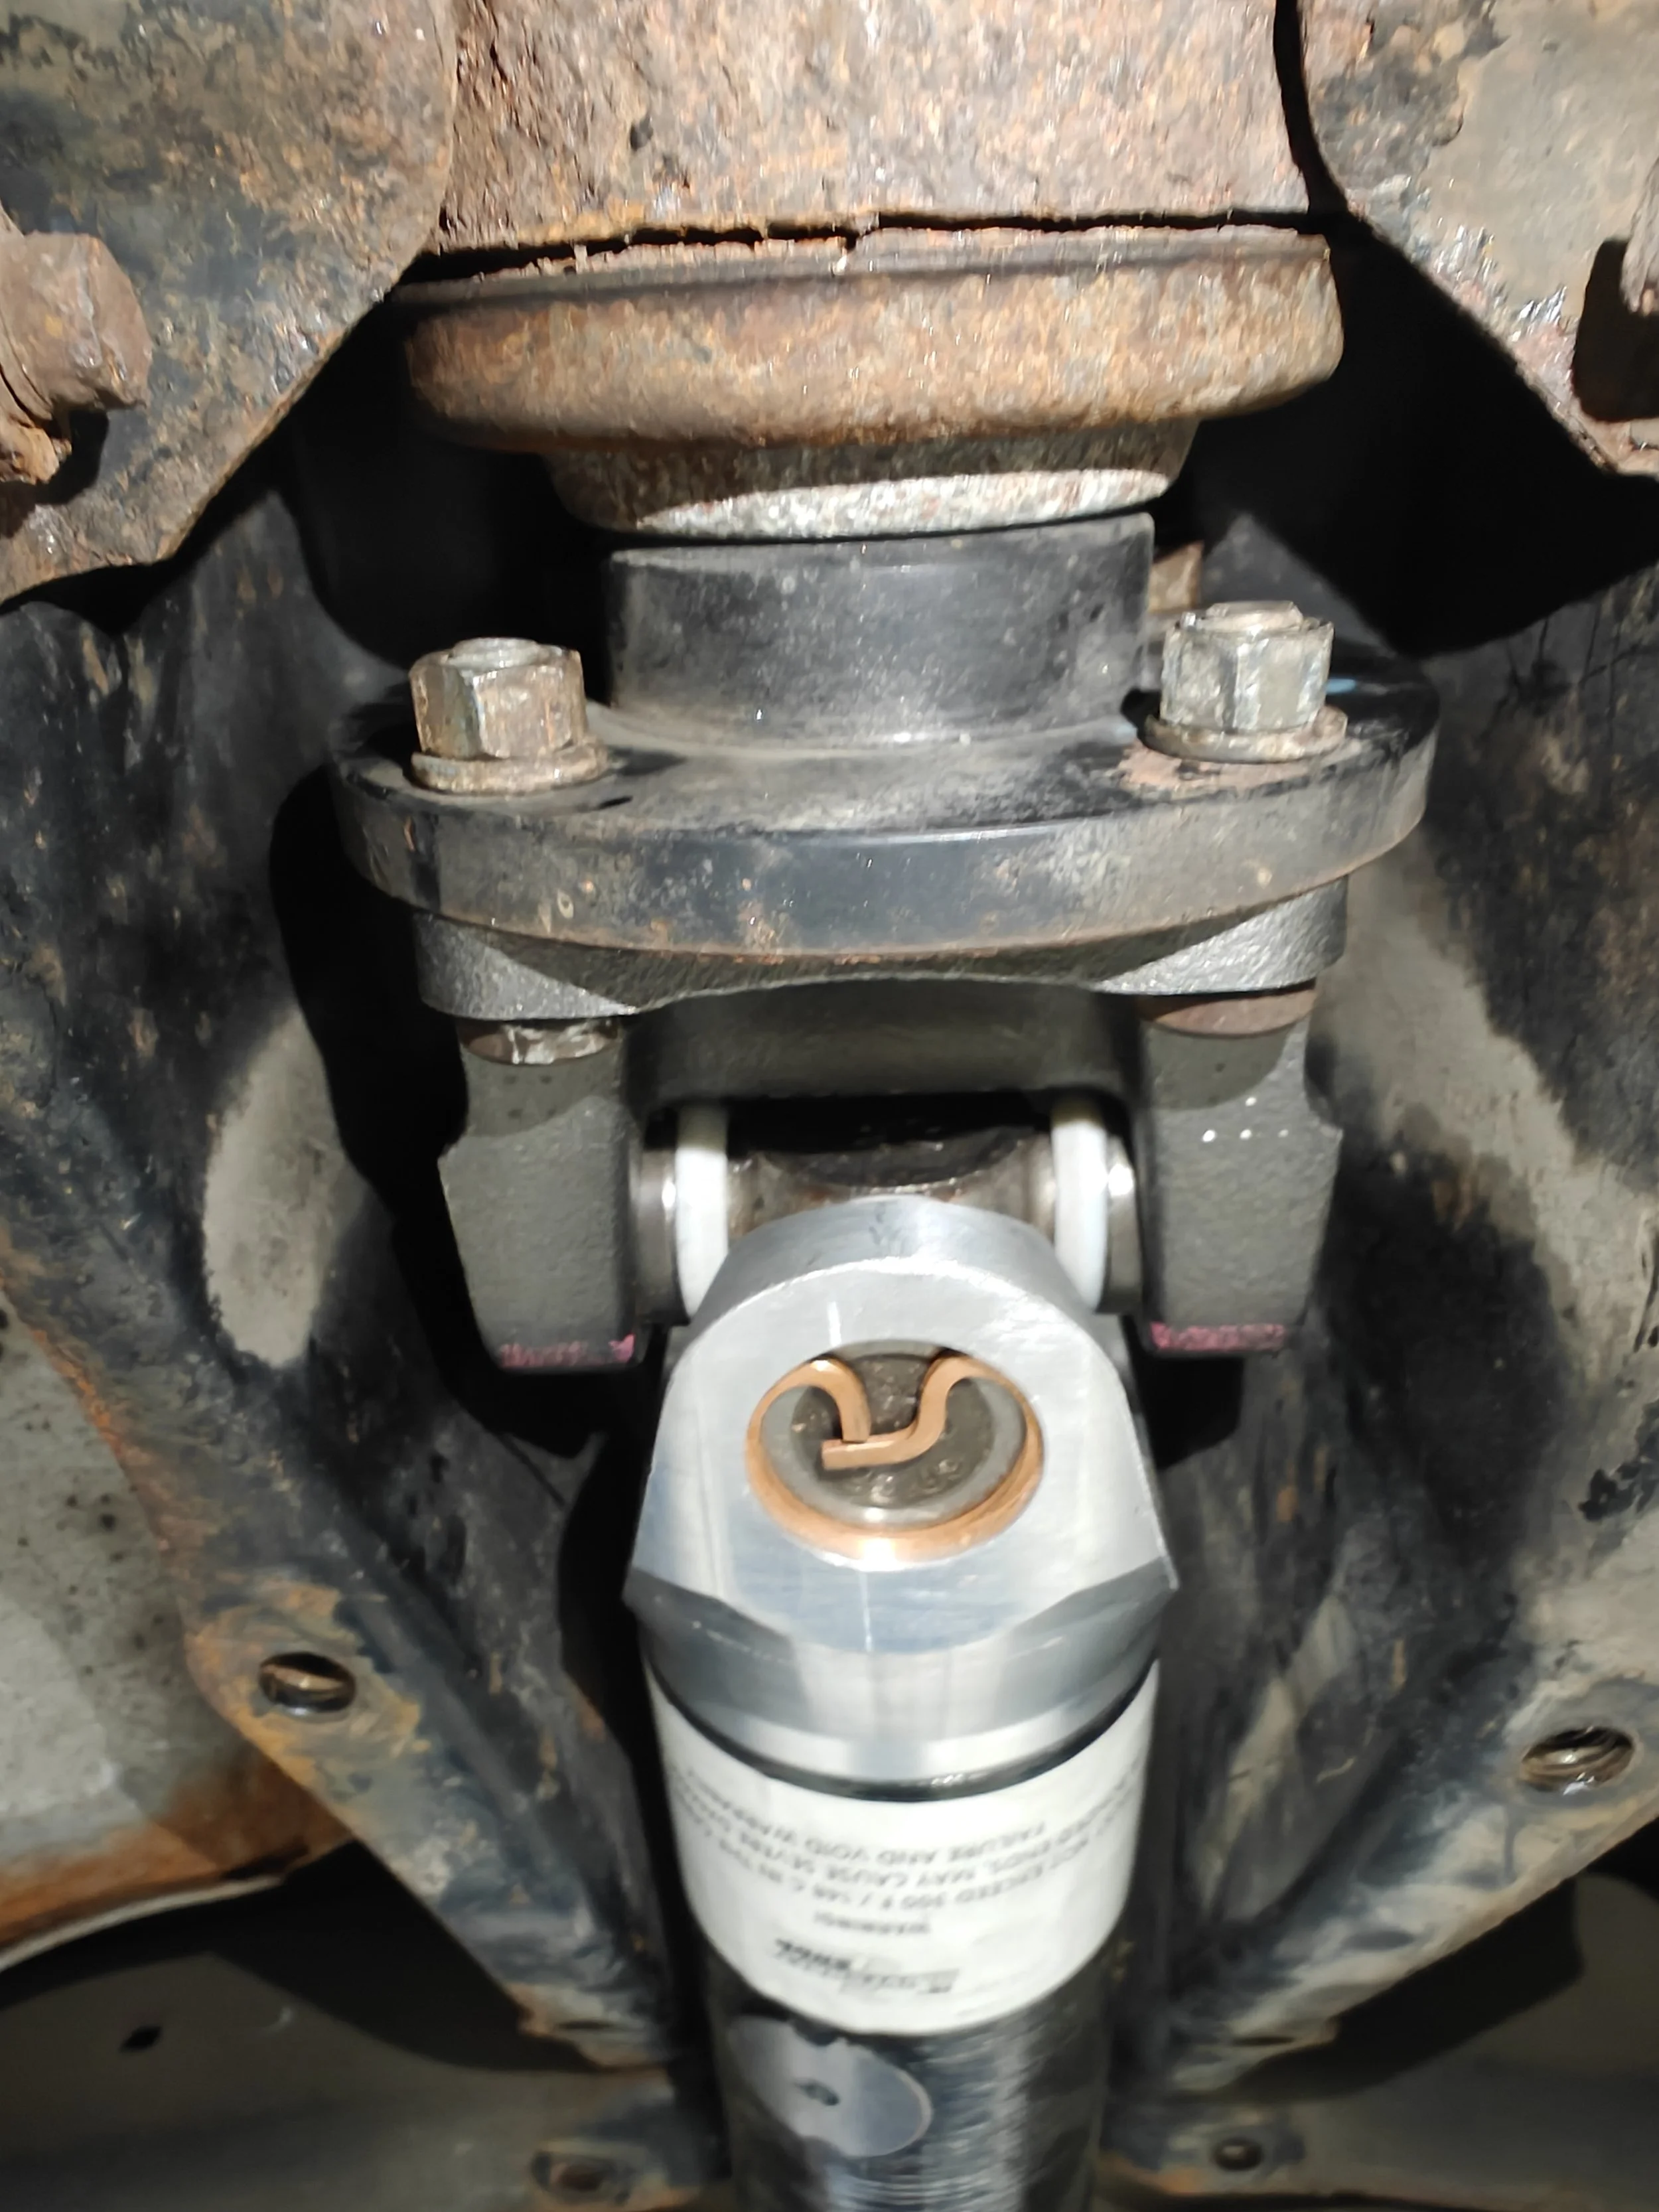
New flange is in and installed.
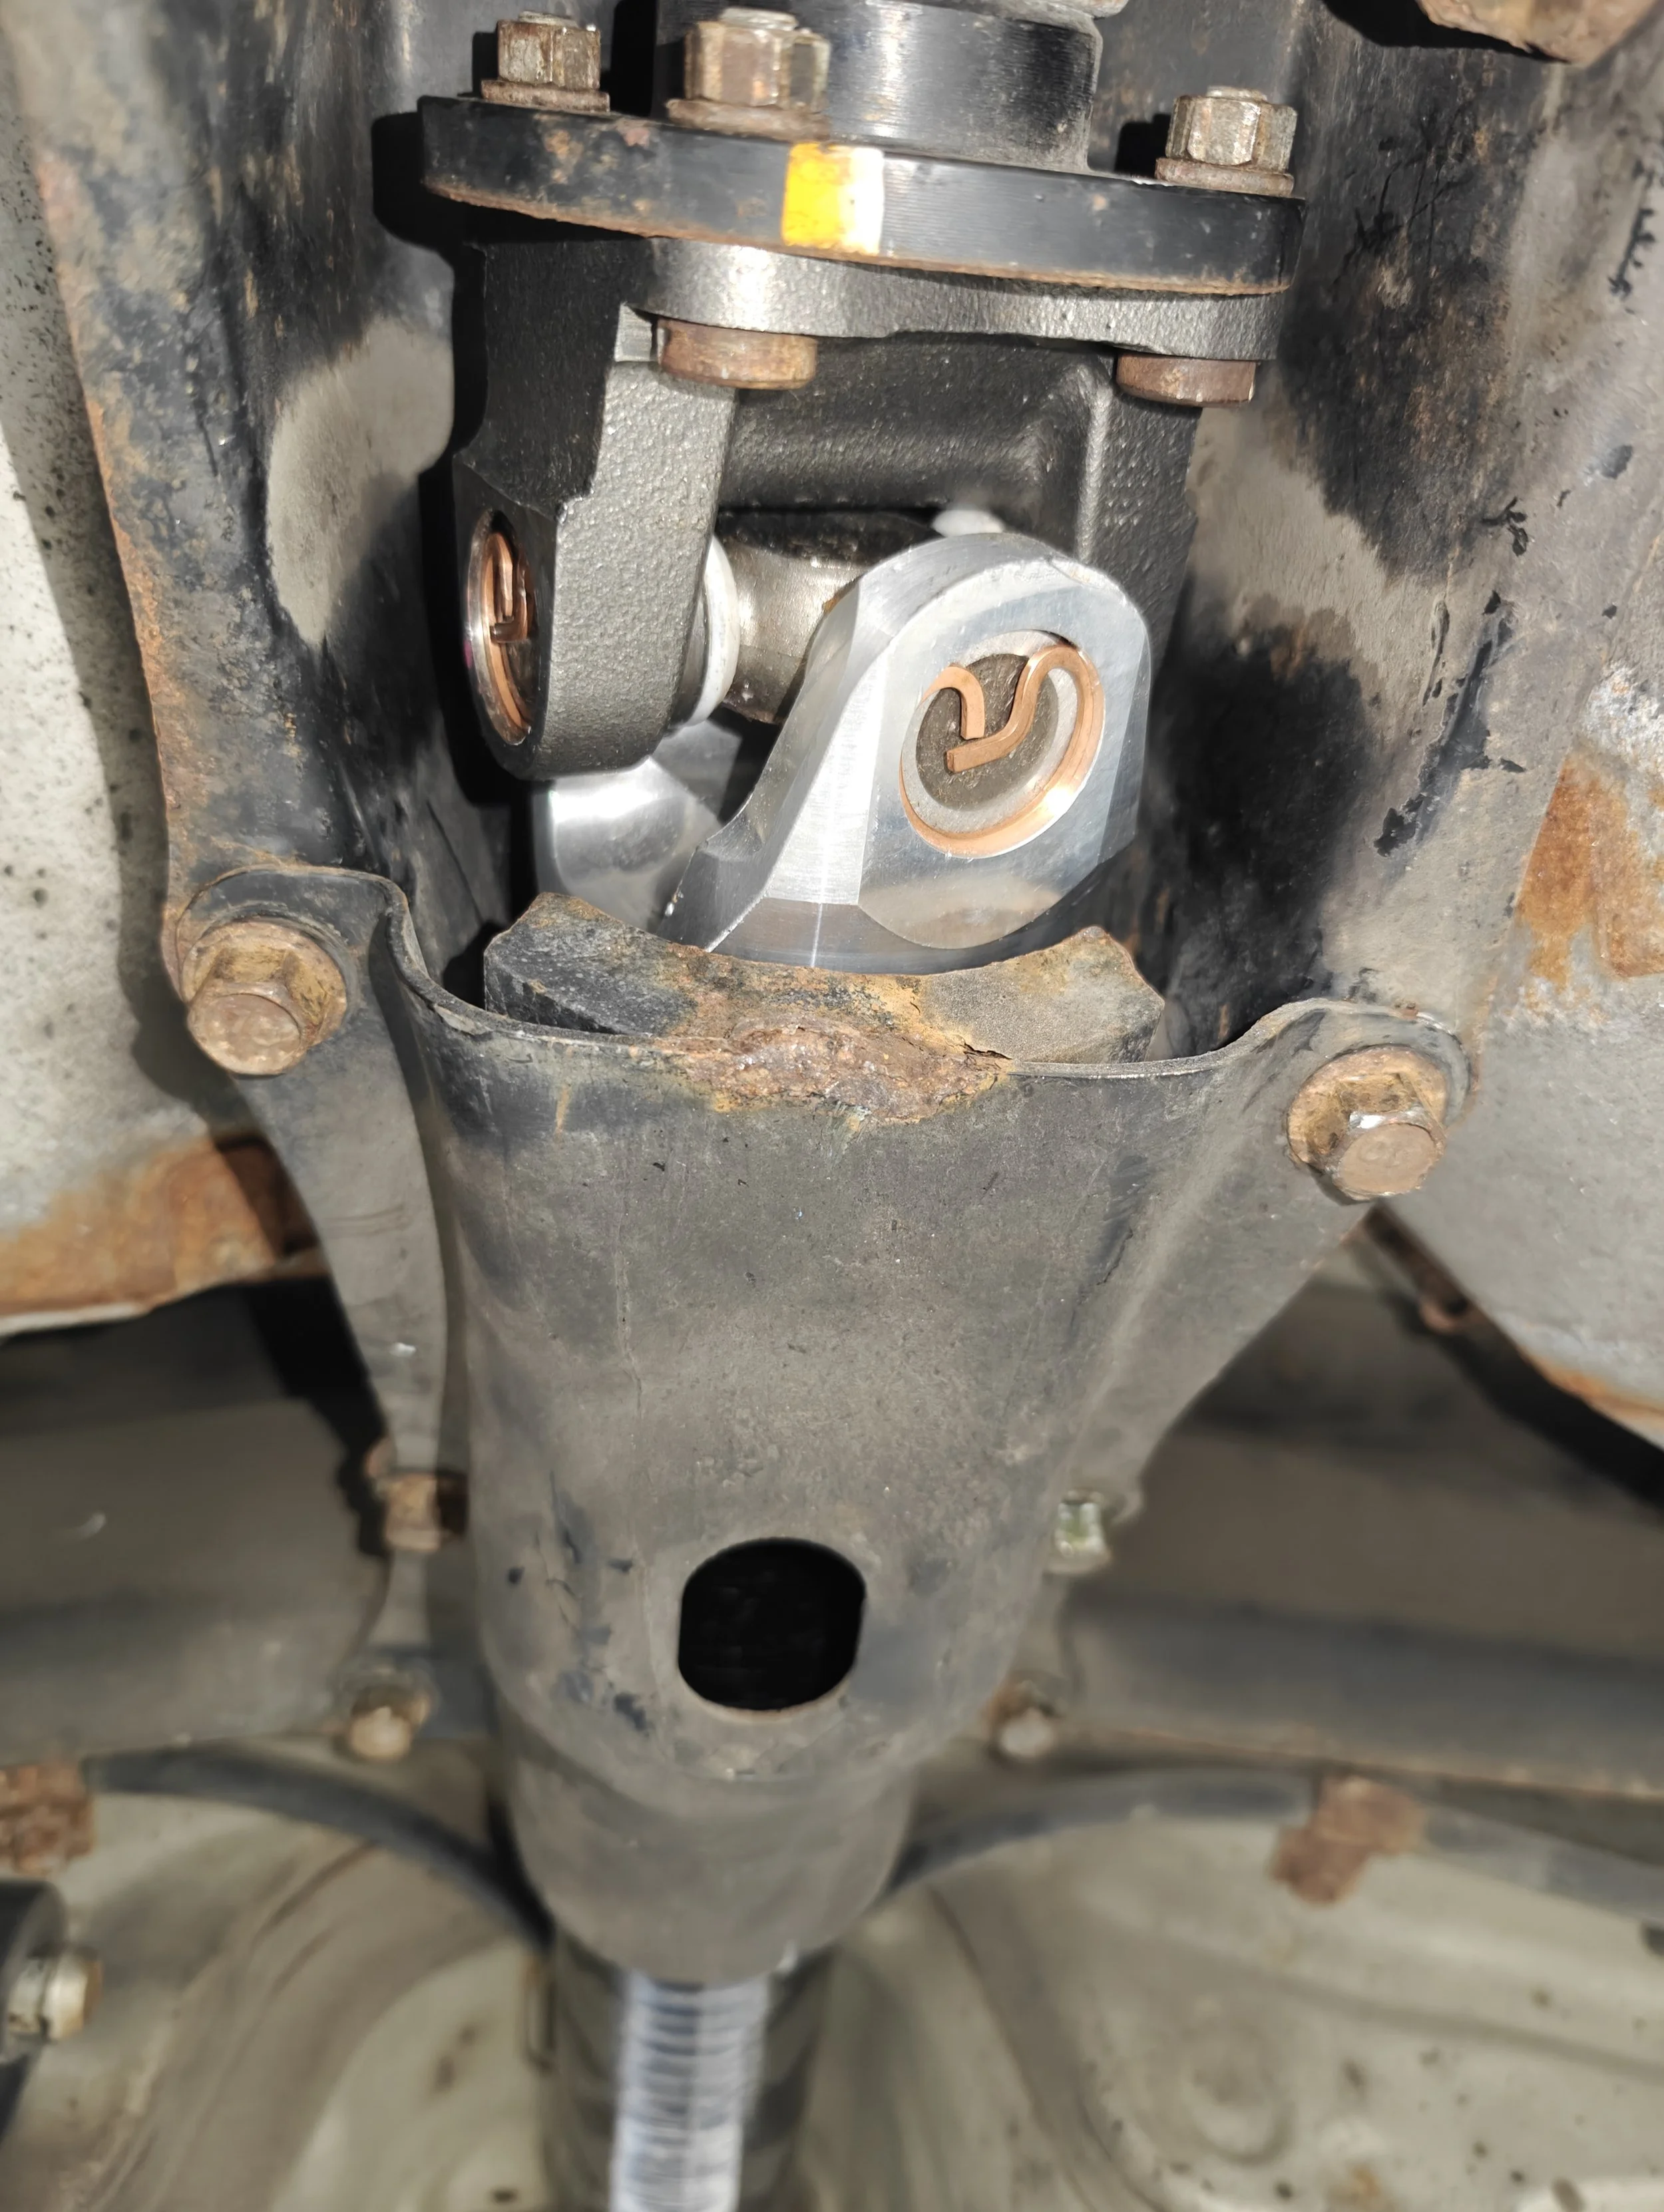
Cover is on and we are ready to move on to the rest of it.

Exhaust goes back up. The lightweight titanium exhaust looks perfect next to the carbon fiber driveshaft.

Another parting shot before lowering it down and drive off into the sunset.
And that is it! Congrats, you have reduced your weight and improved your old U-joints by adding new units.