Subaru battery replacement! Make it memorable with an Antigravity lithium battery!
Replacing the battery is one of the simpler maintenance in car ownership. With generally a couple of nuts to loosen to remove the battery cables and another couple of nuts to remove the battery tie down a free it from the car. Outside of the Subaru world there are a few batteries that are more difficult based on their location within the car, whether its hidden in the trunk, under the cowl or under the seat.

A nice battery helps finish off the little details within the engine bay.
So for Subaru owner’s the bigger question might be….. what battery is right for my application. Battery replacement can be a certainly be a difficult decision for car enthusiast. While some of us may look towards adding an upgraded battery for lights, camping equipment, winches with upgraded Amp hours and cold cranking amps. Others may be looking to eek our every ounce of performance by adding lightness with an undersized battery that they can make work with a few tradeoffs.
And for awhile you had to choose your route of either adding lightness or extended/increased power… but now with Antigravity’s Lithium batteries you can get the best of both world with once choice. Now with all that covered let’s get down the business at hand and replace a battery.
Time frame
For your typical Subaru you are going to be looking at around 30 minutes to get the battery up and out of the way for the new battery. There is one often overlooked procedure that will add a few more minutes to your job… we will cover that at the end.
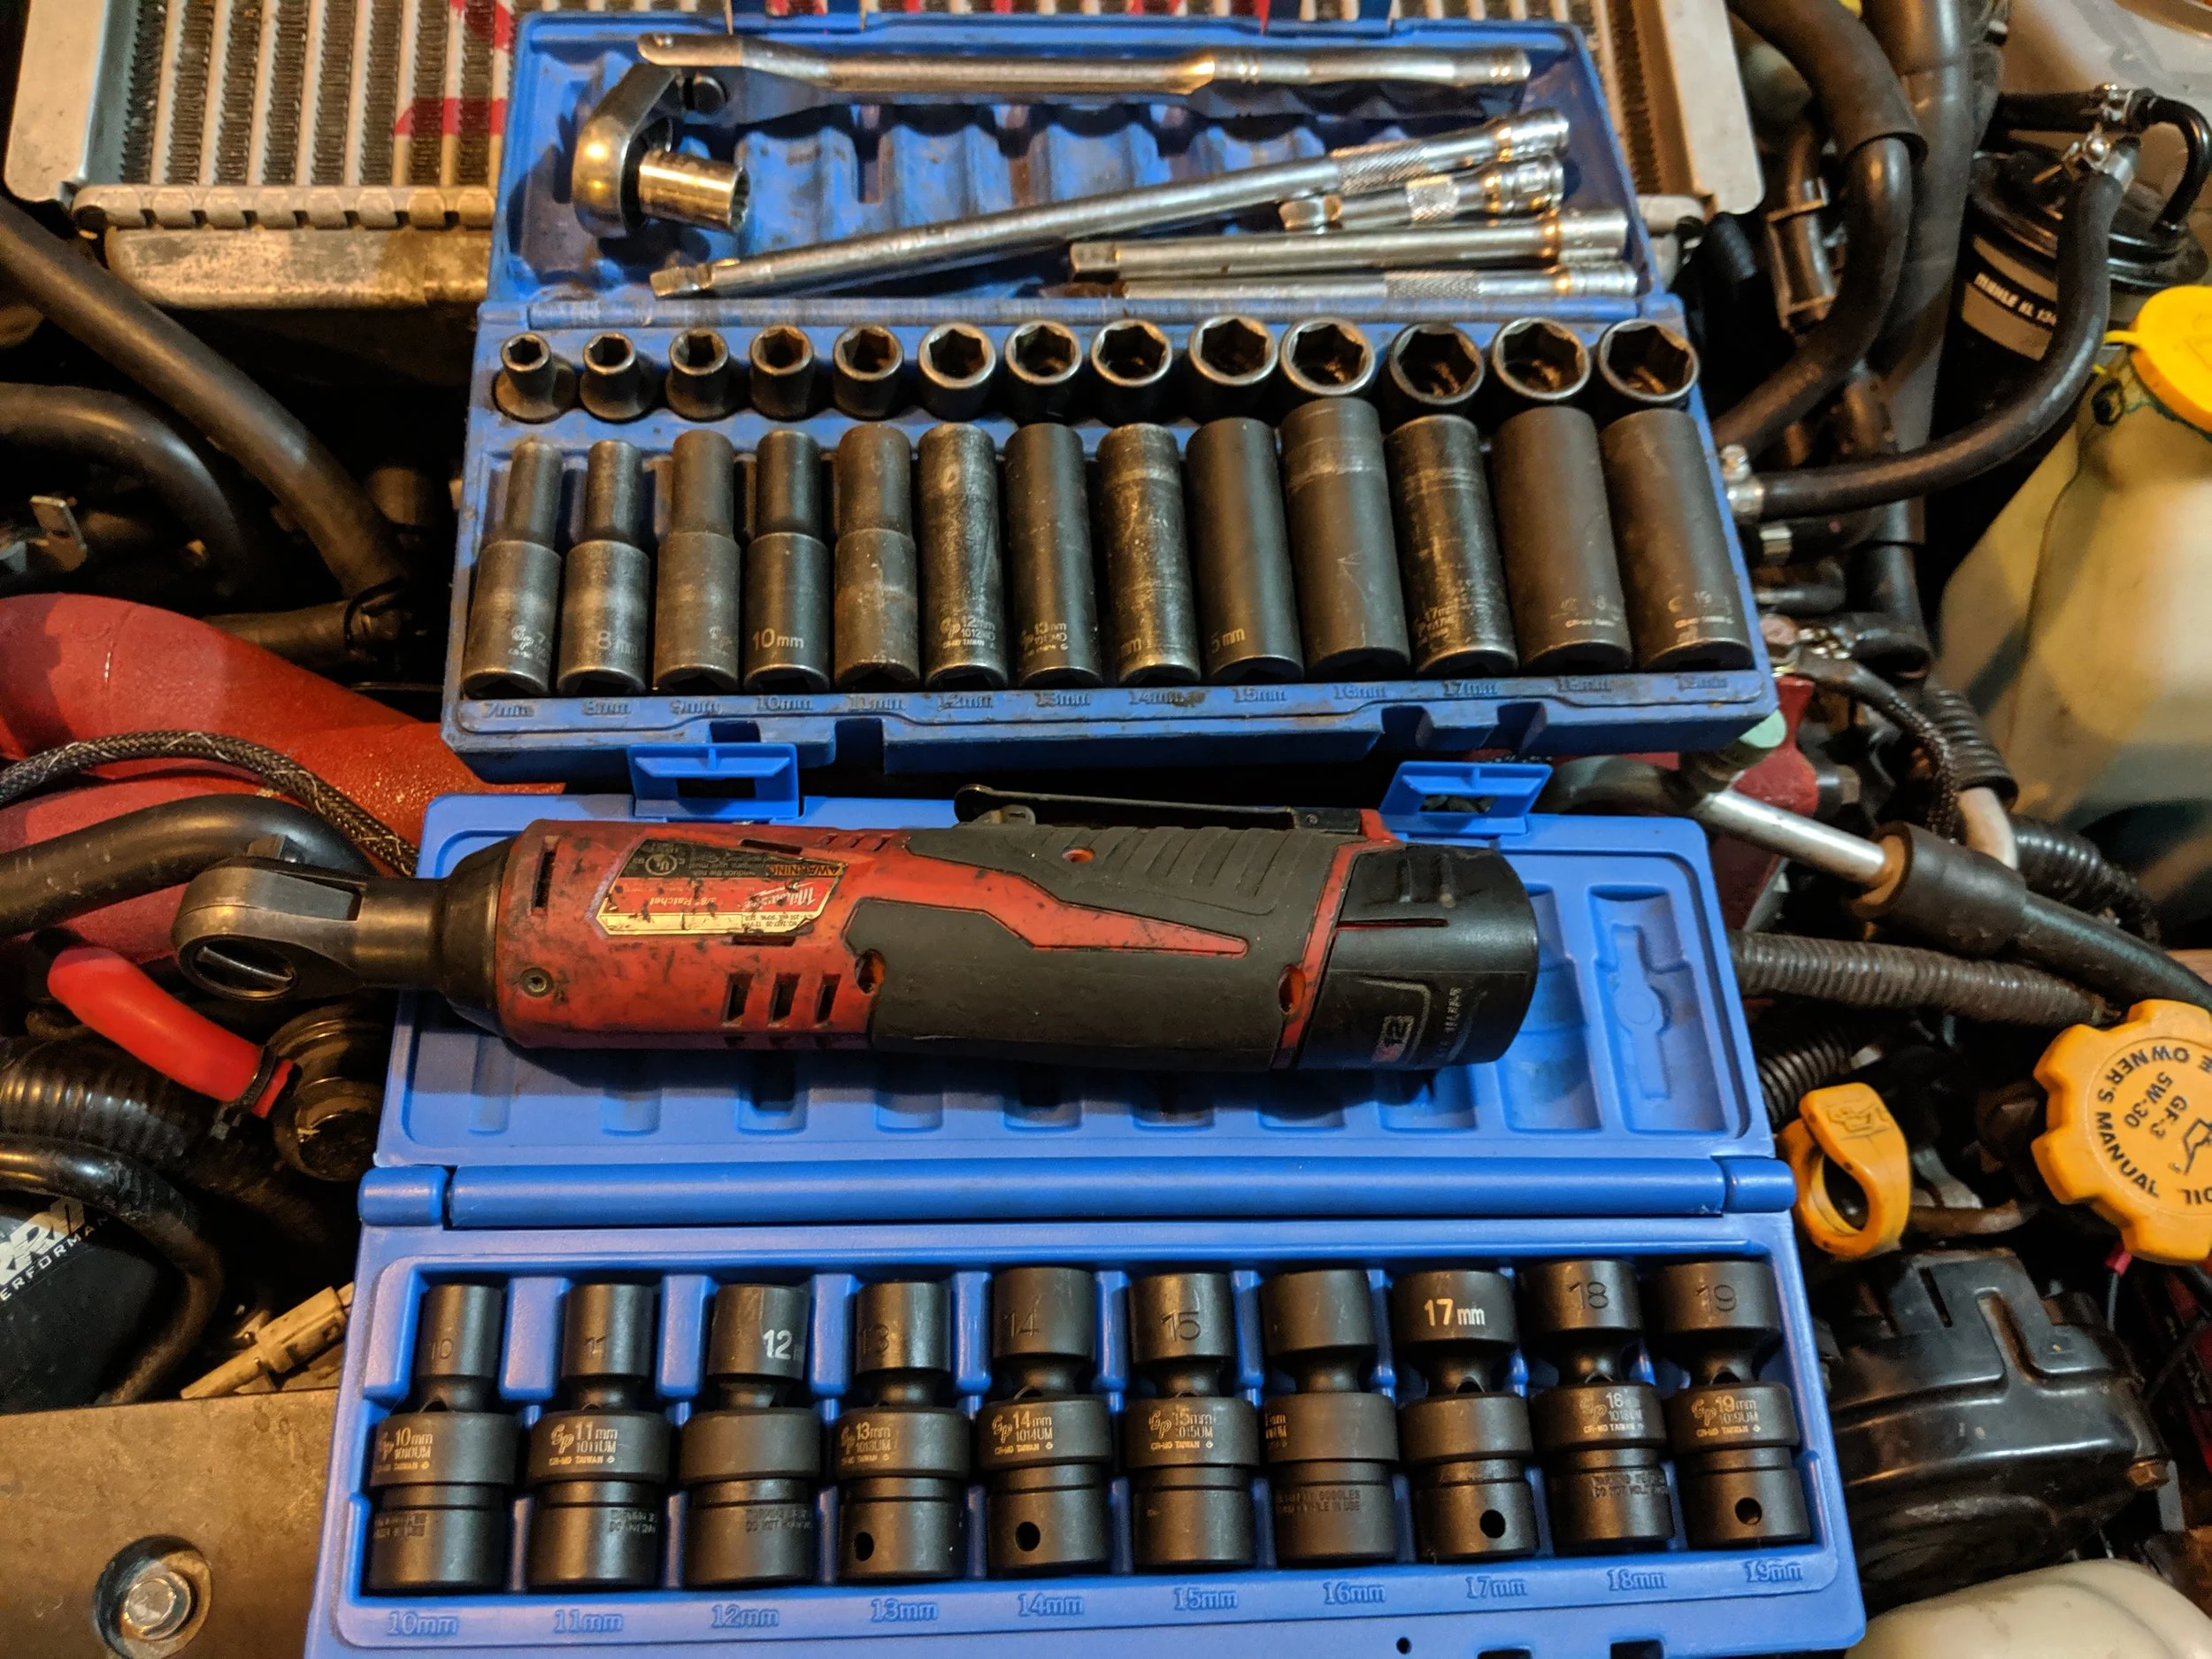
Tools
10mm socket and ratchet

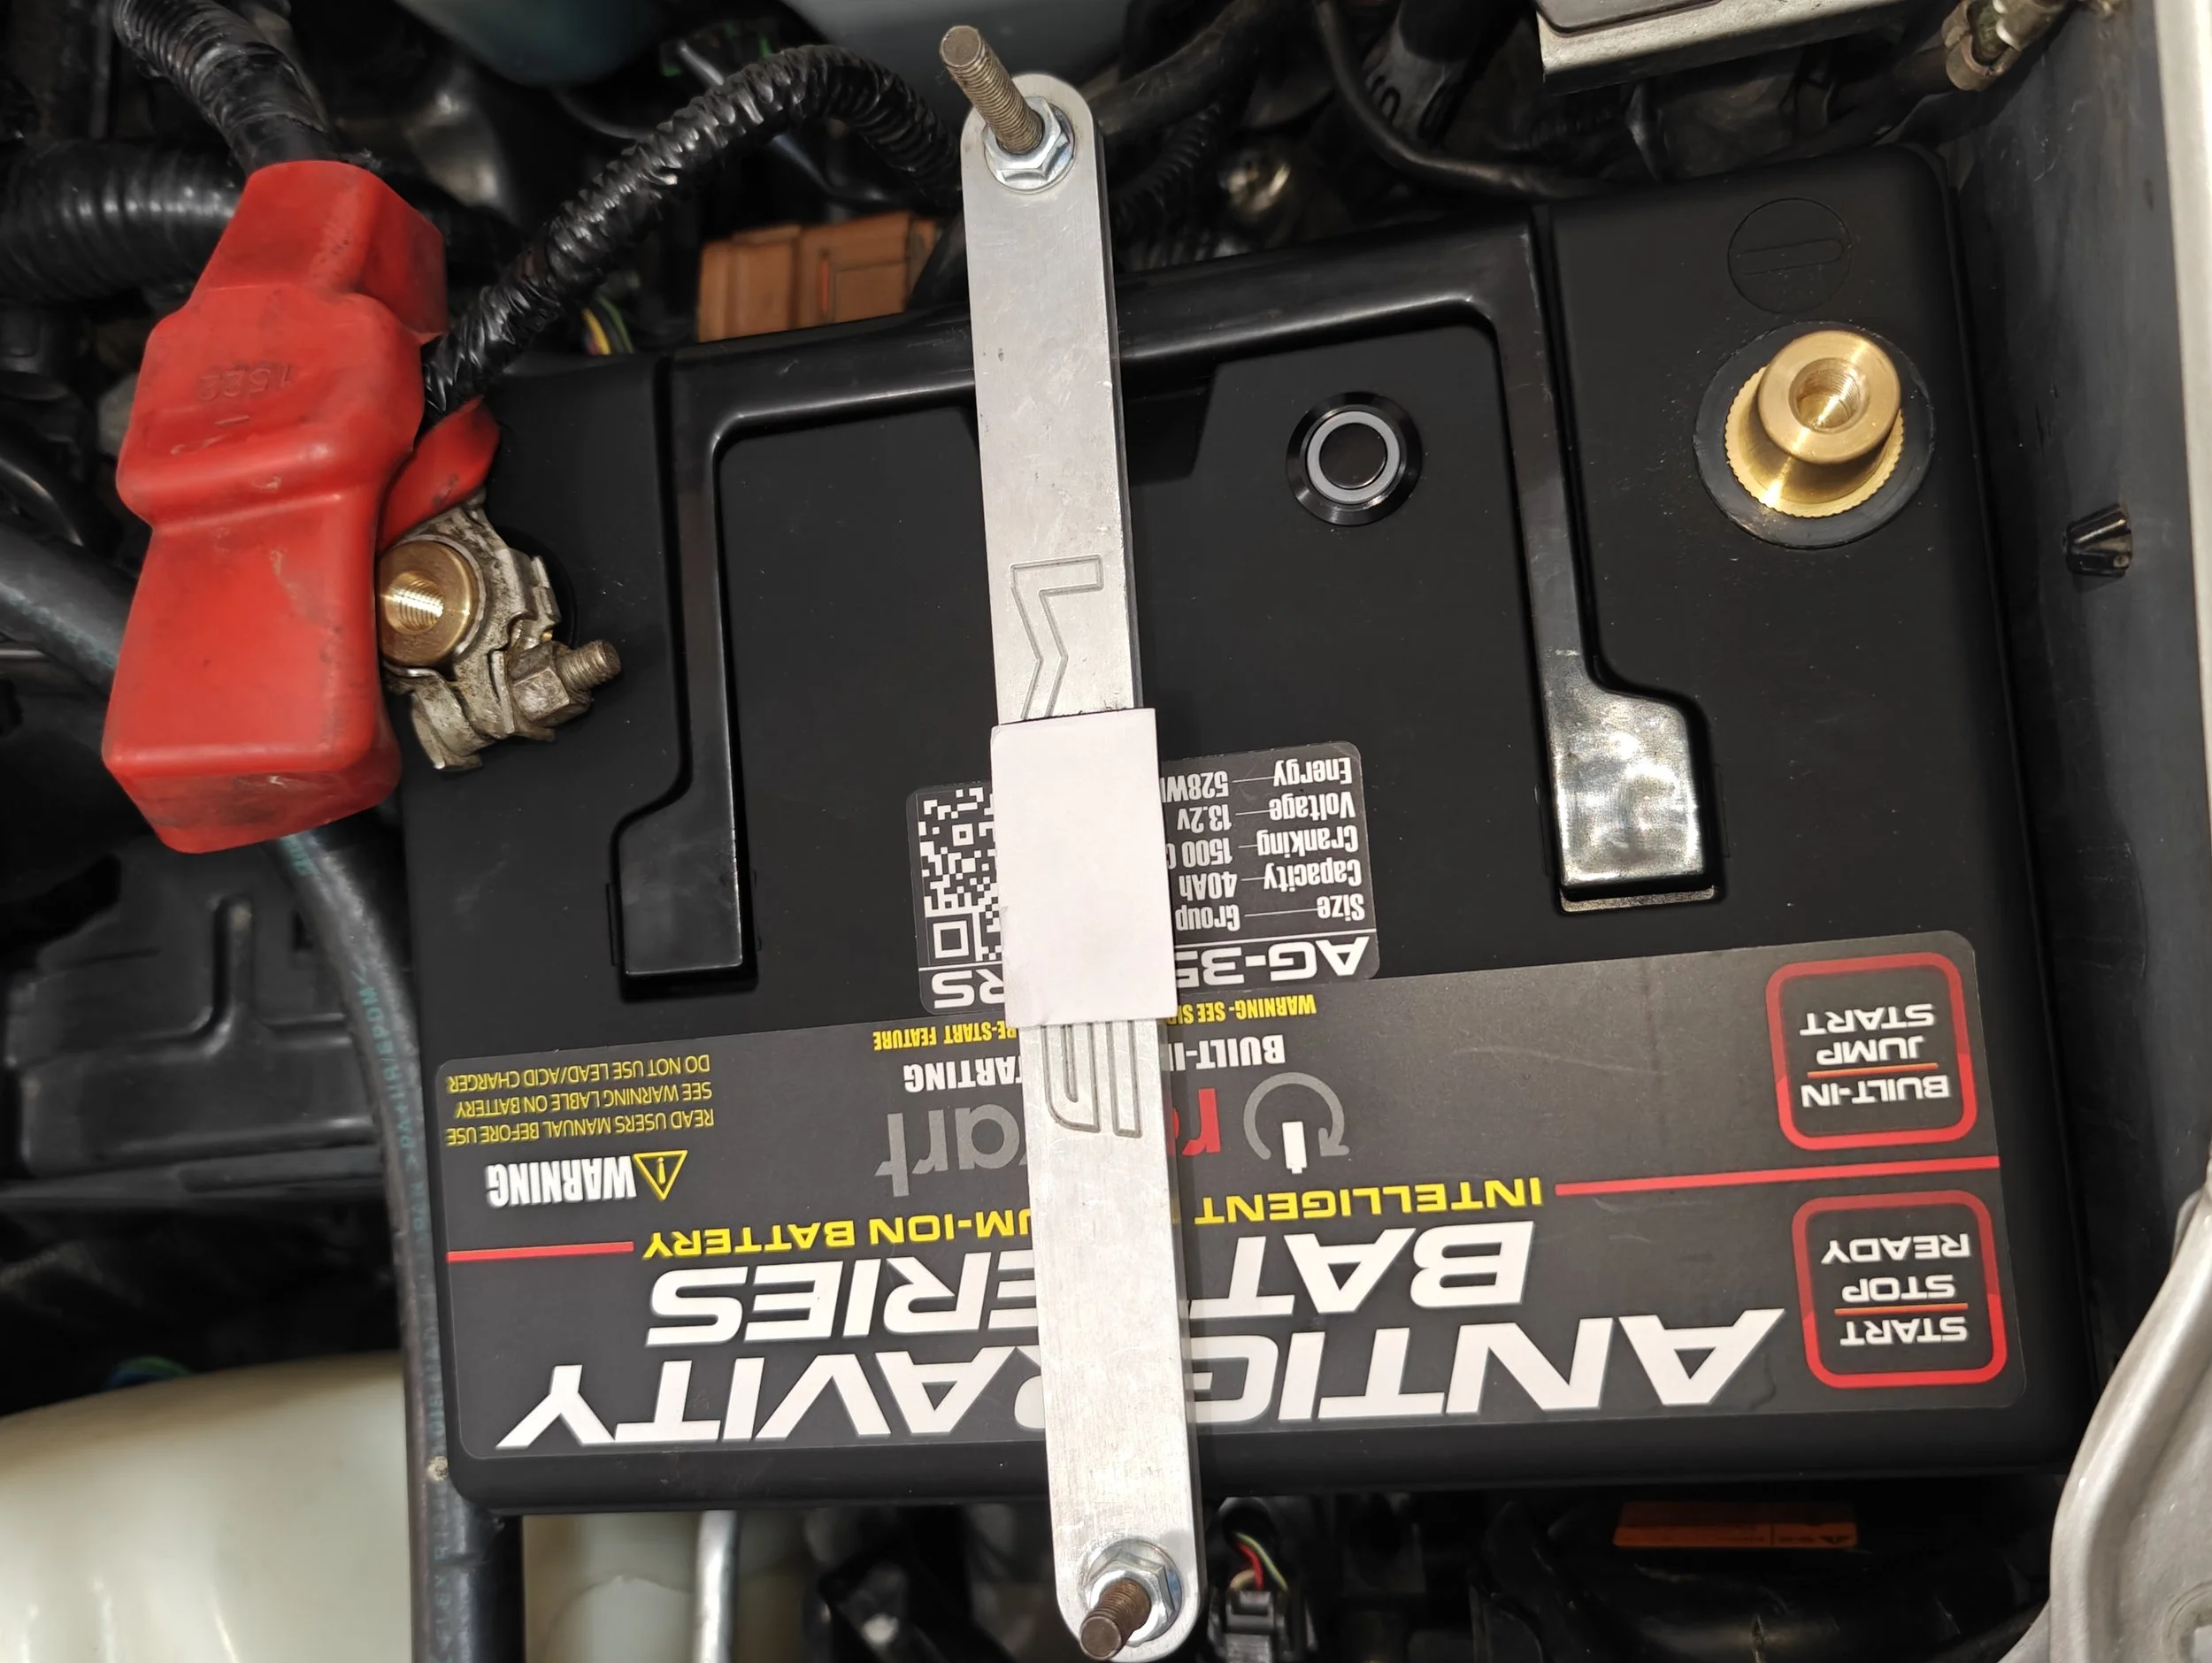
Antigravity battery tracker plus
How to
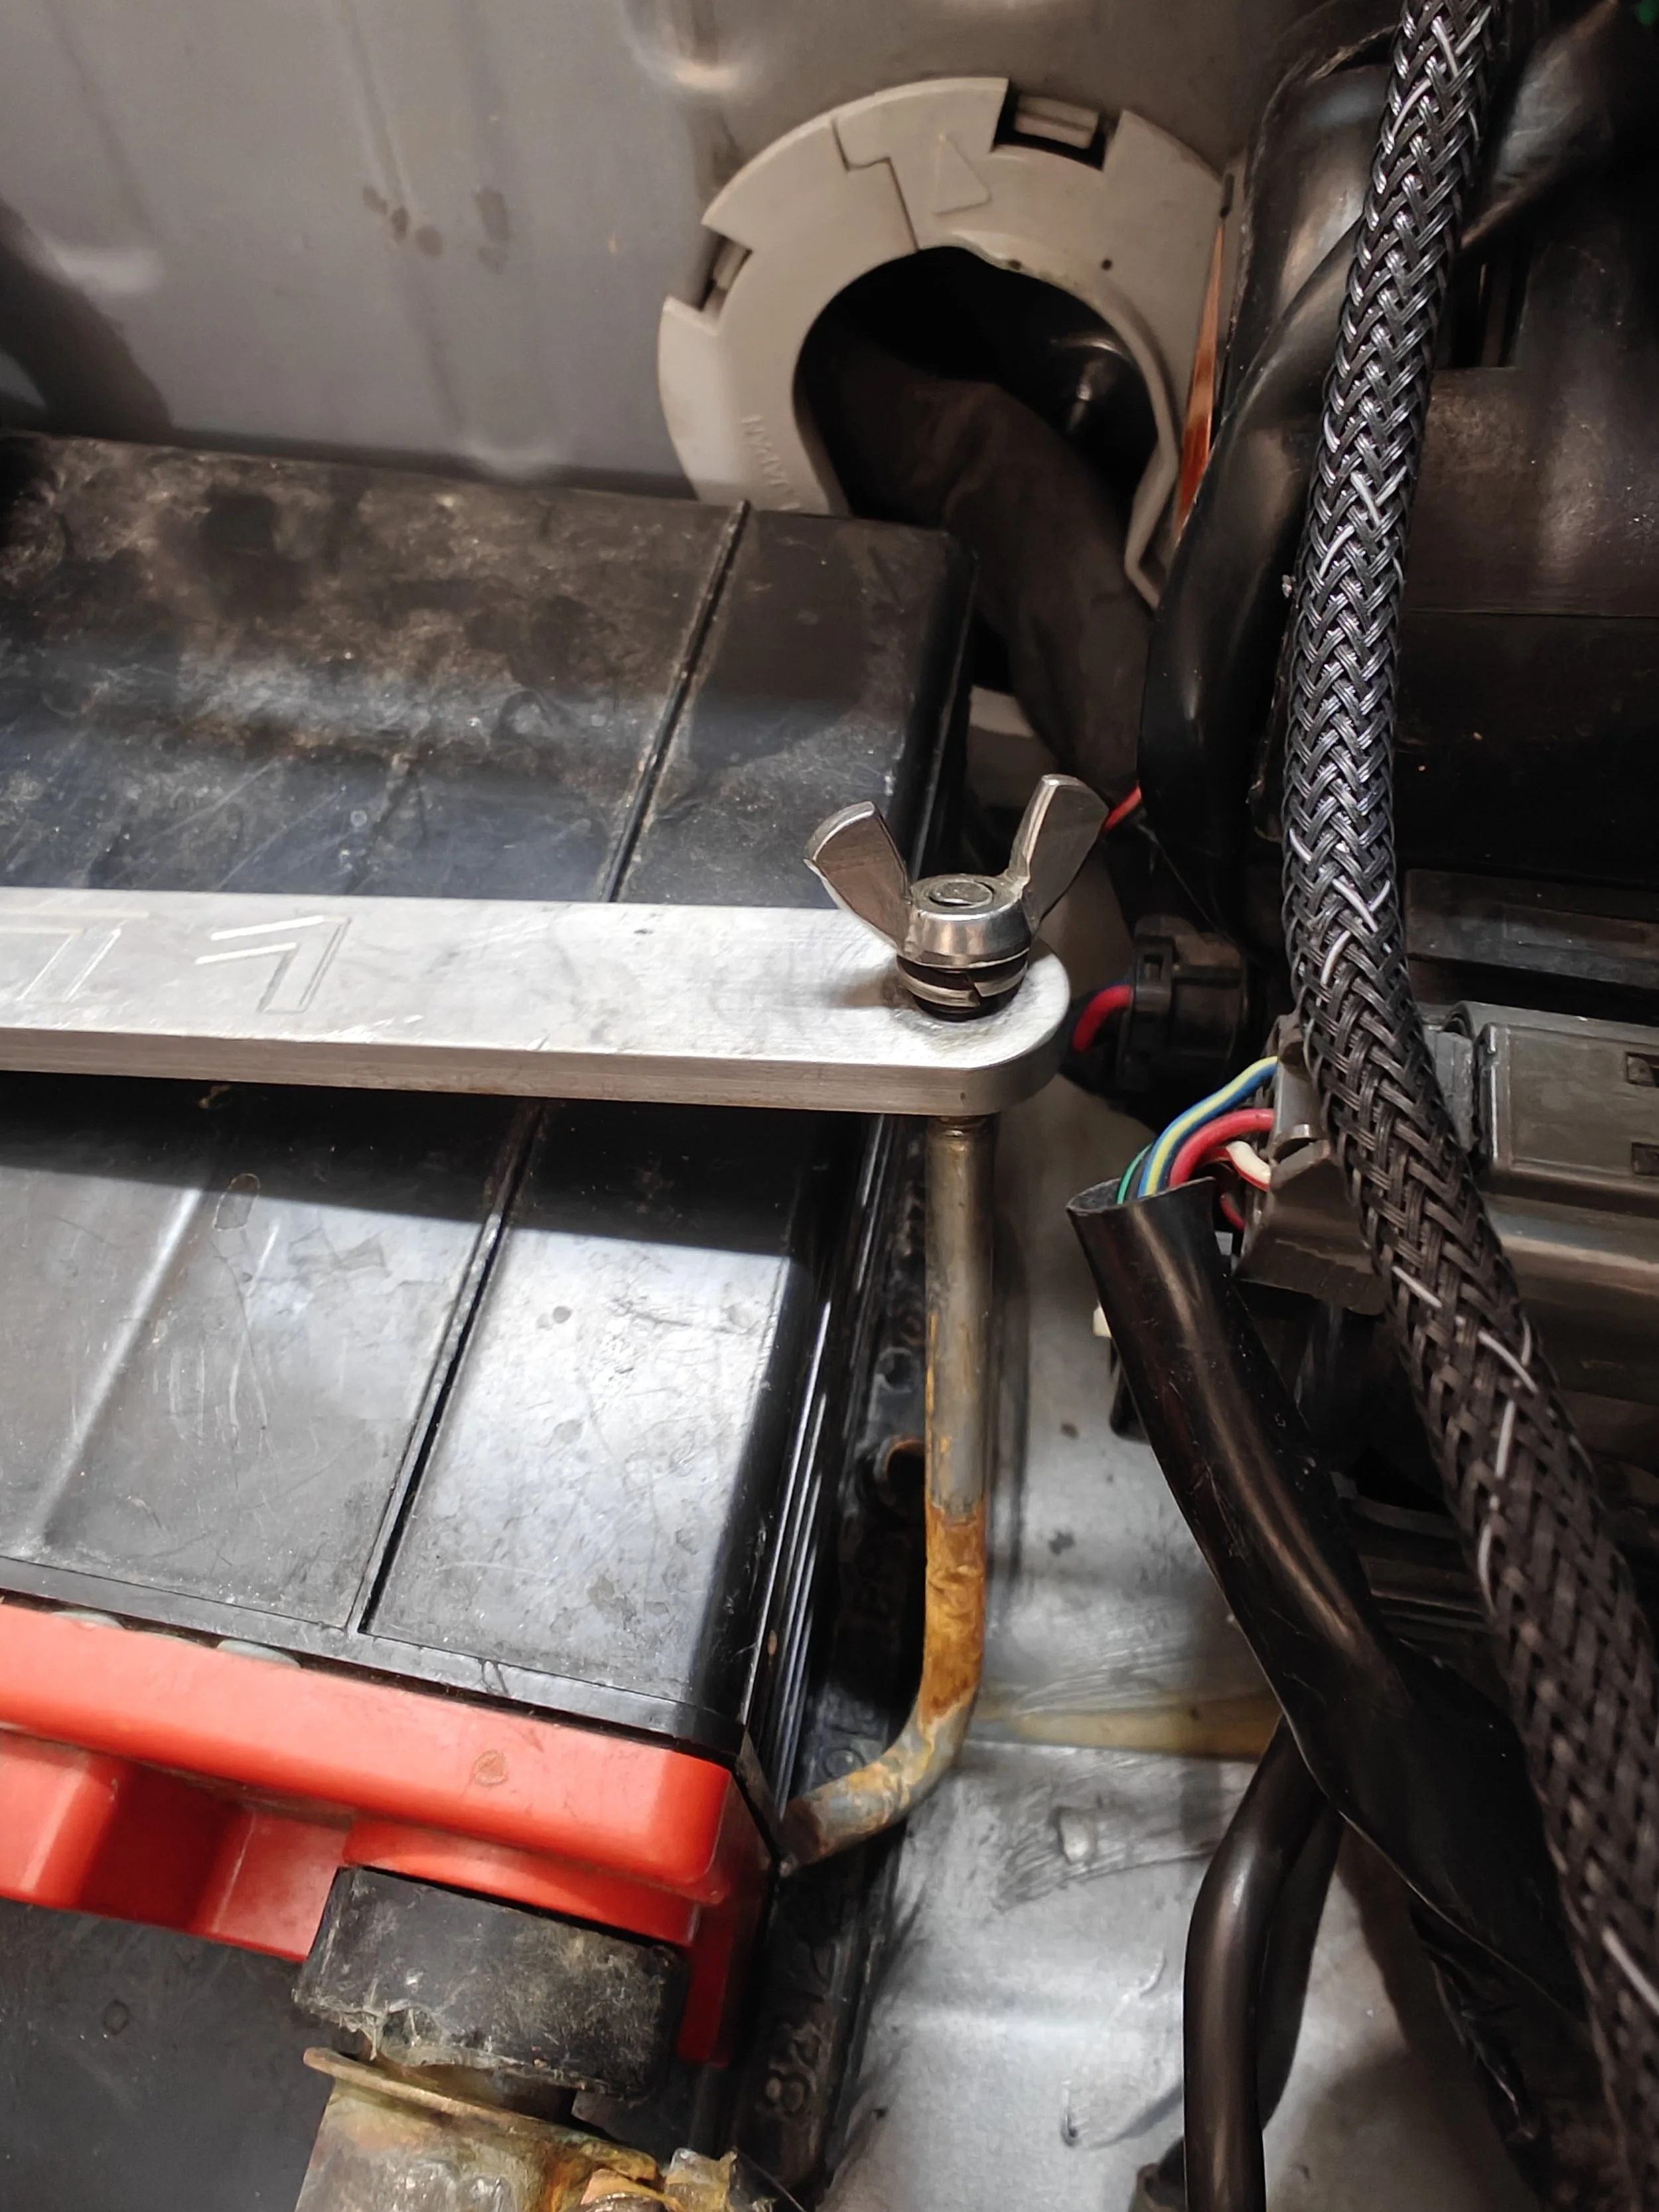
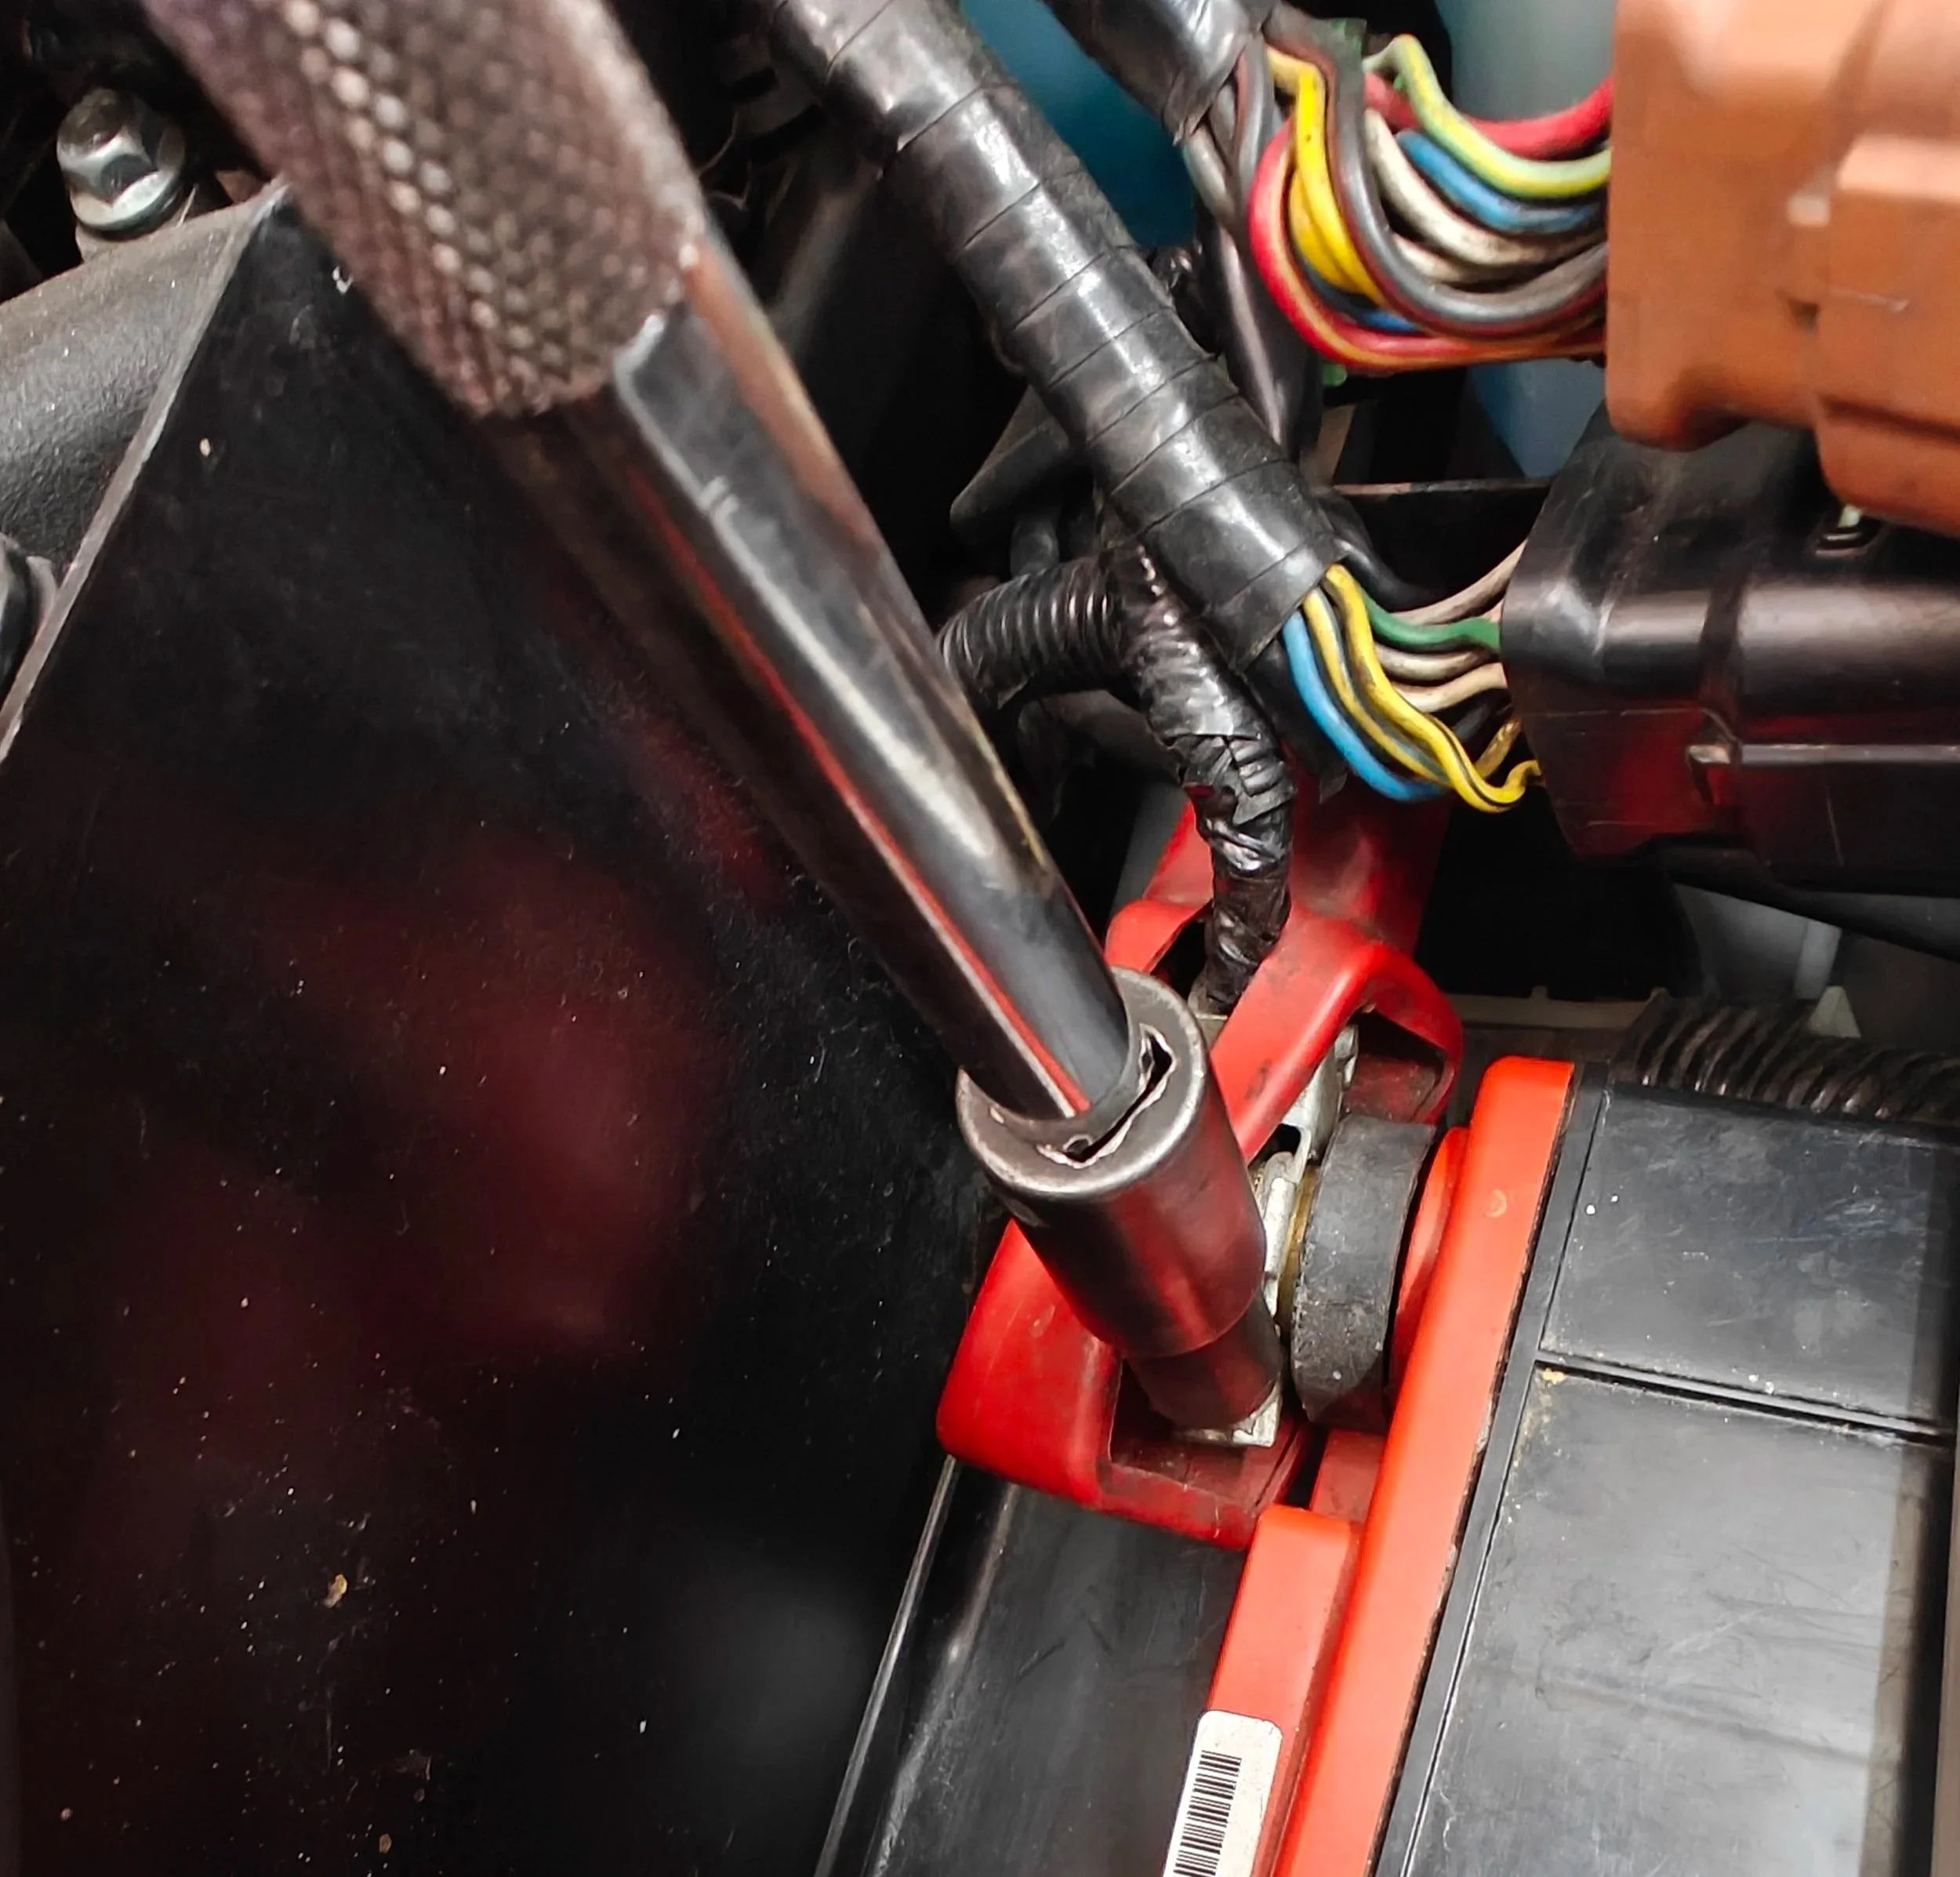
First we will need to open up the hood and locate our battery. For most Subaru’s you will find them up front near the driver’s side headlight. With it located you will want to first remove the battery tie down. There are two 10 mm nuts that will hold the battery in the car via two J hooks. With them remove you can now slide out the hold down and follow them up with the two J hooks.

Time for the old battery to go.
J-hook bolt number one to remove!

The battery tie down has been removed and next up is the terminals.
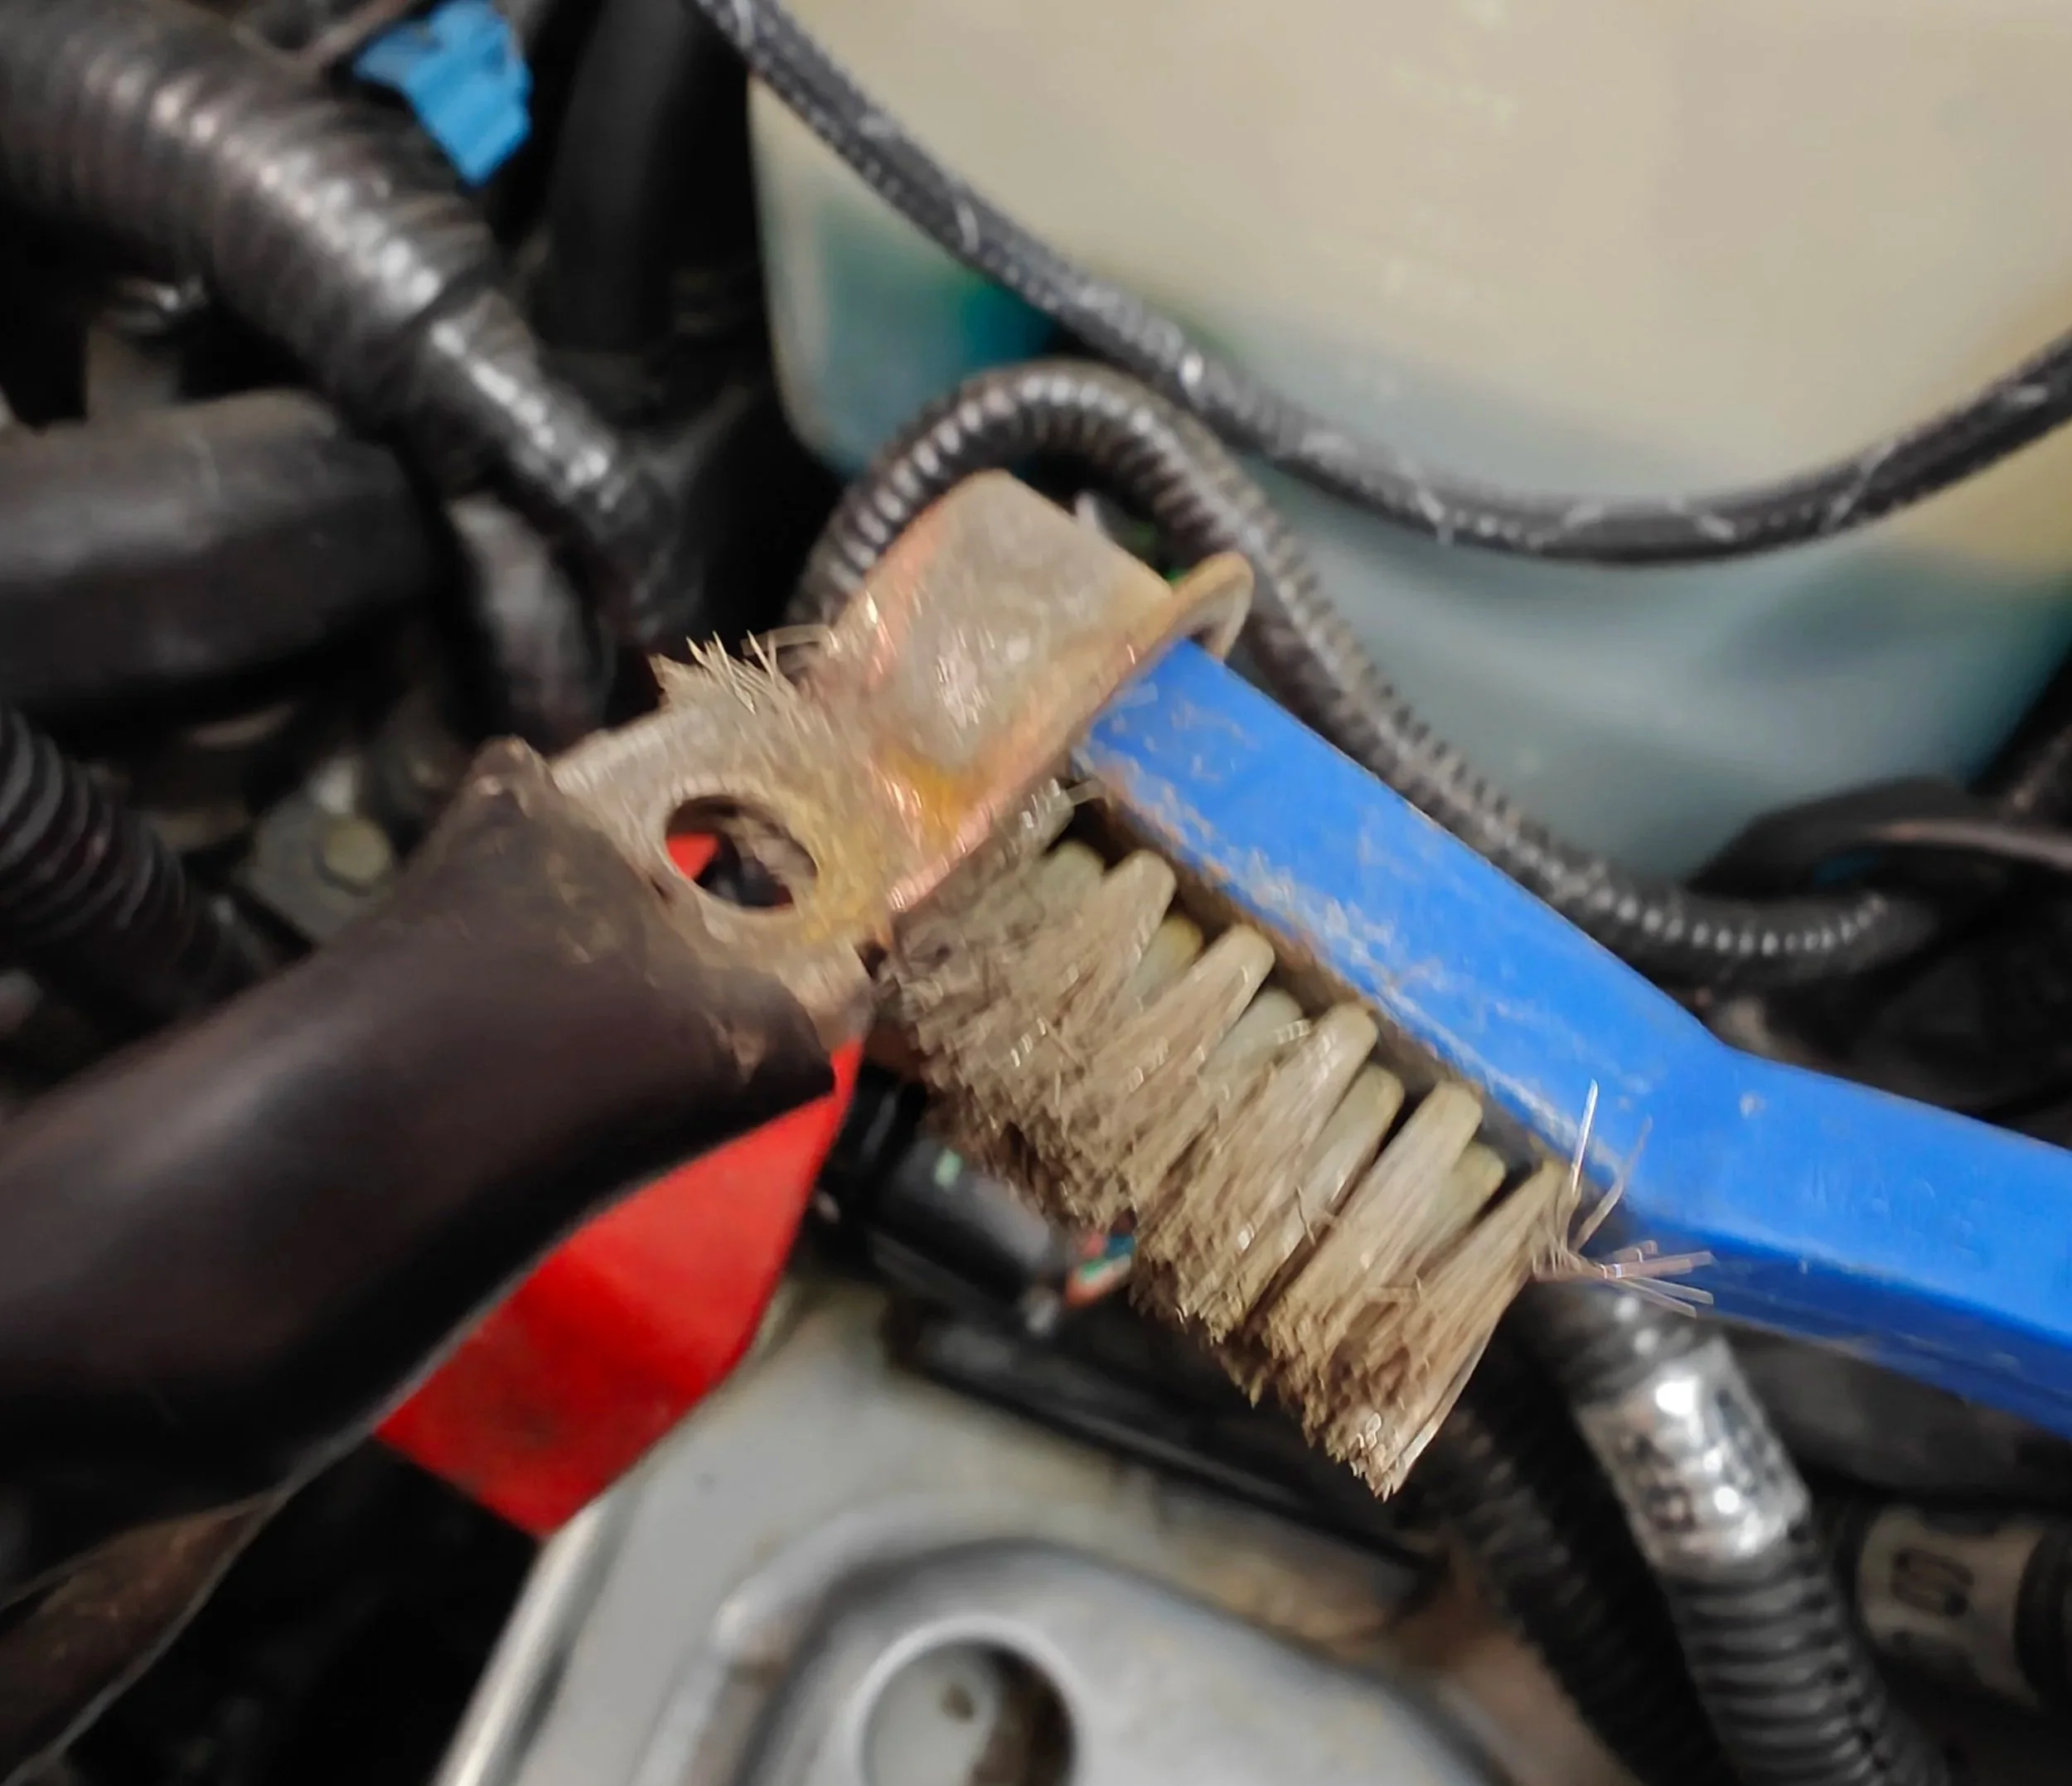
Now our battery is free of the tie down but we need to remove the terminal clamps in a specific order to keep from arcing and causing a fire. The first terminal to loosen is the negative. With the negative terminal cable remove you can use a cloth or a piece of plastic to secure it from returning to the battery terminal.
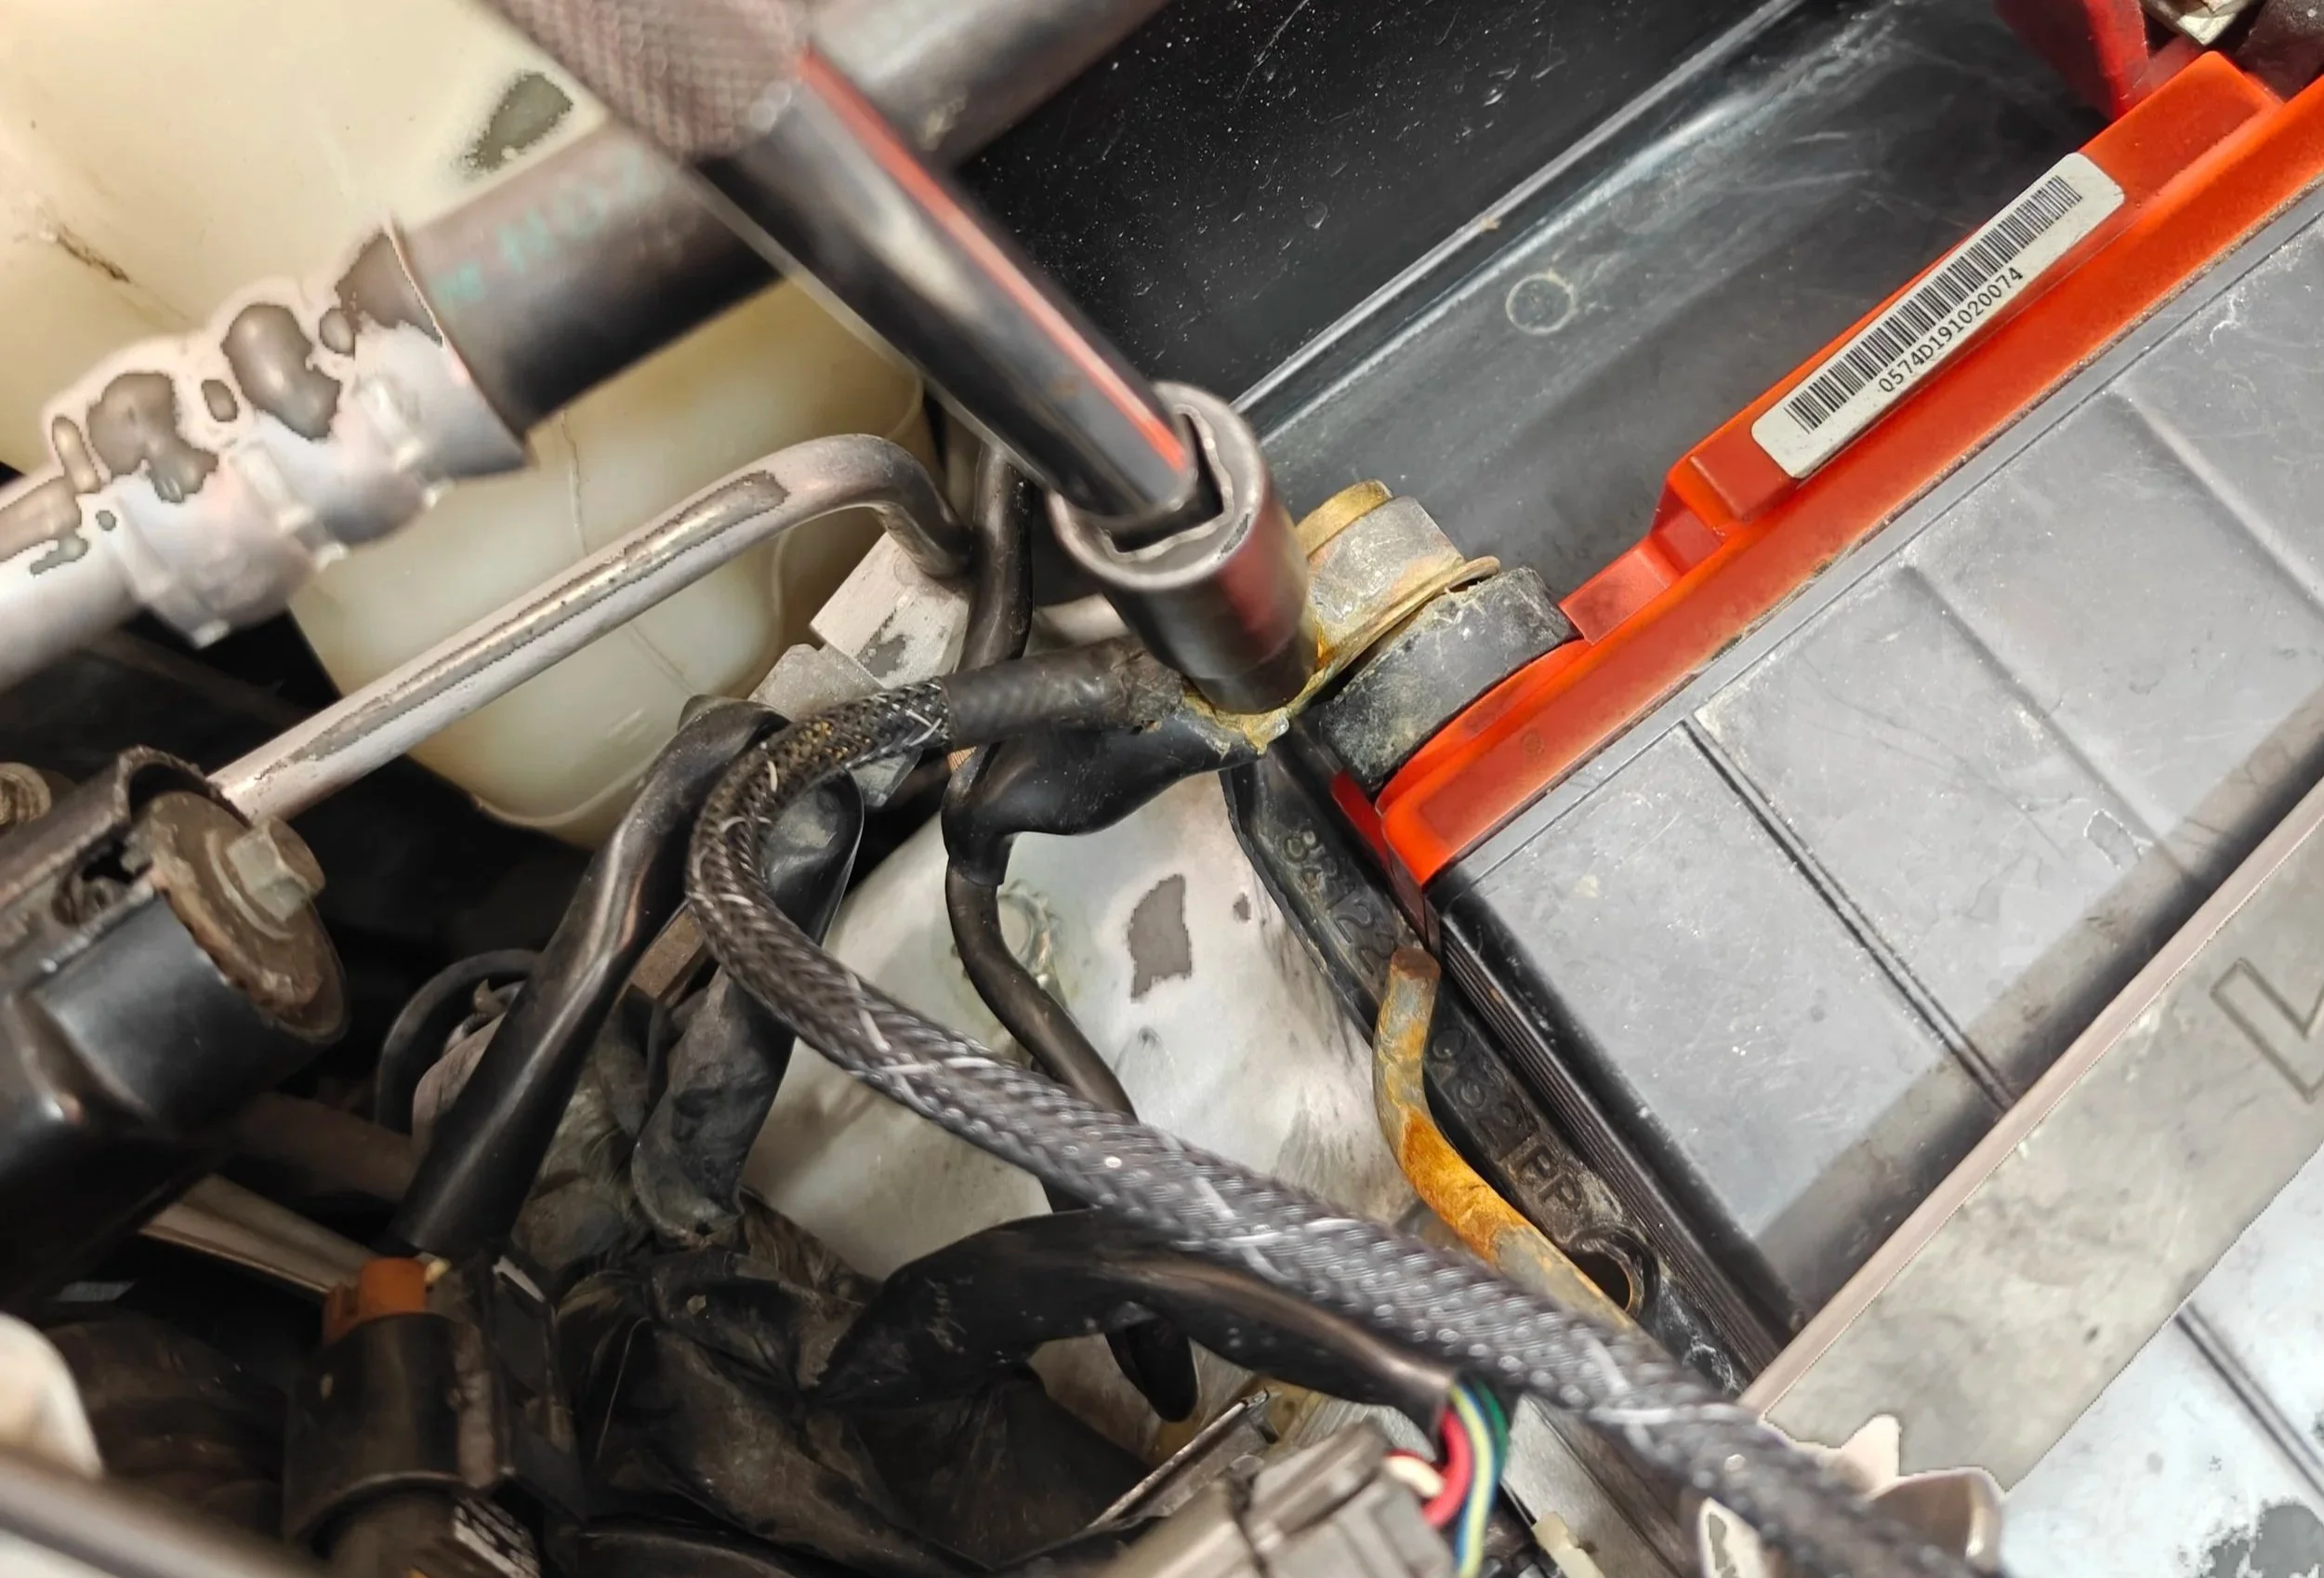
Negative terminal is up first!

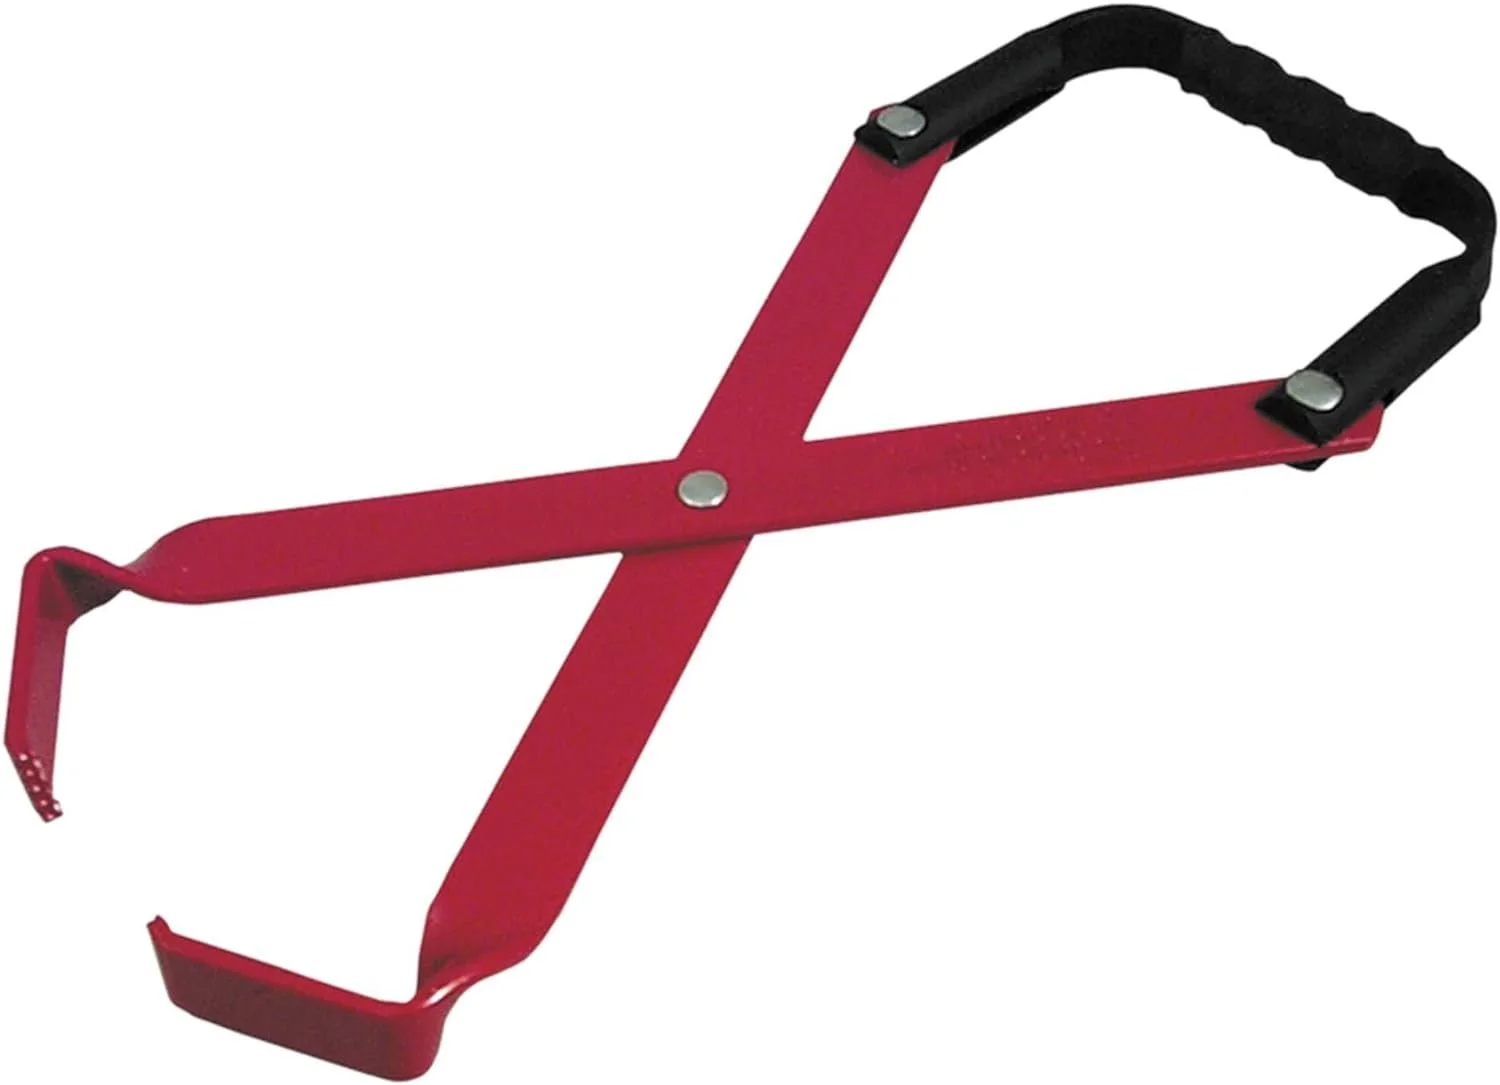
With that complete we can move to the positive terminal, once again we will need the 10mm ratchet to loosen the clamp allowing us to remove the cable from the battery. You battery is now free to be removed. If it has a handle this will be the most convenient way to remove it from the car. If not you need to find a location on the battery to grip and lift from. This isn’t always easy nor safe for you or the battery. If you want to make easier on yourself you can use a battery pick up tool as pictured above.
Positive terminal is next
If you are anything like me you will want to know what the outgoing battery weighed especially if you are adding Antigravity’s lithium unit to your car. I of course did this and the results below show the difference.

New boss coming in! Antigravity full sized and with plenty of cranking power but super light weight.
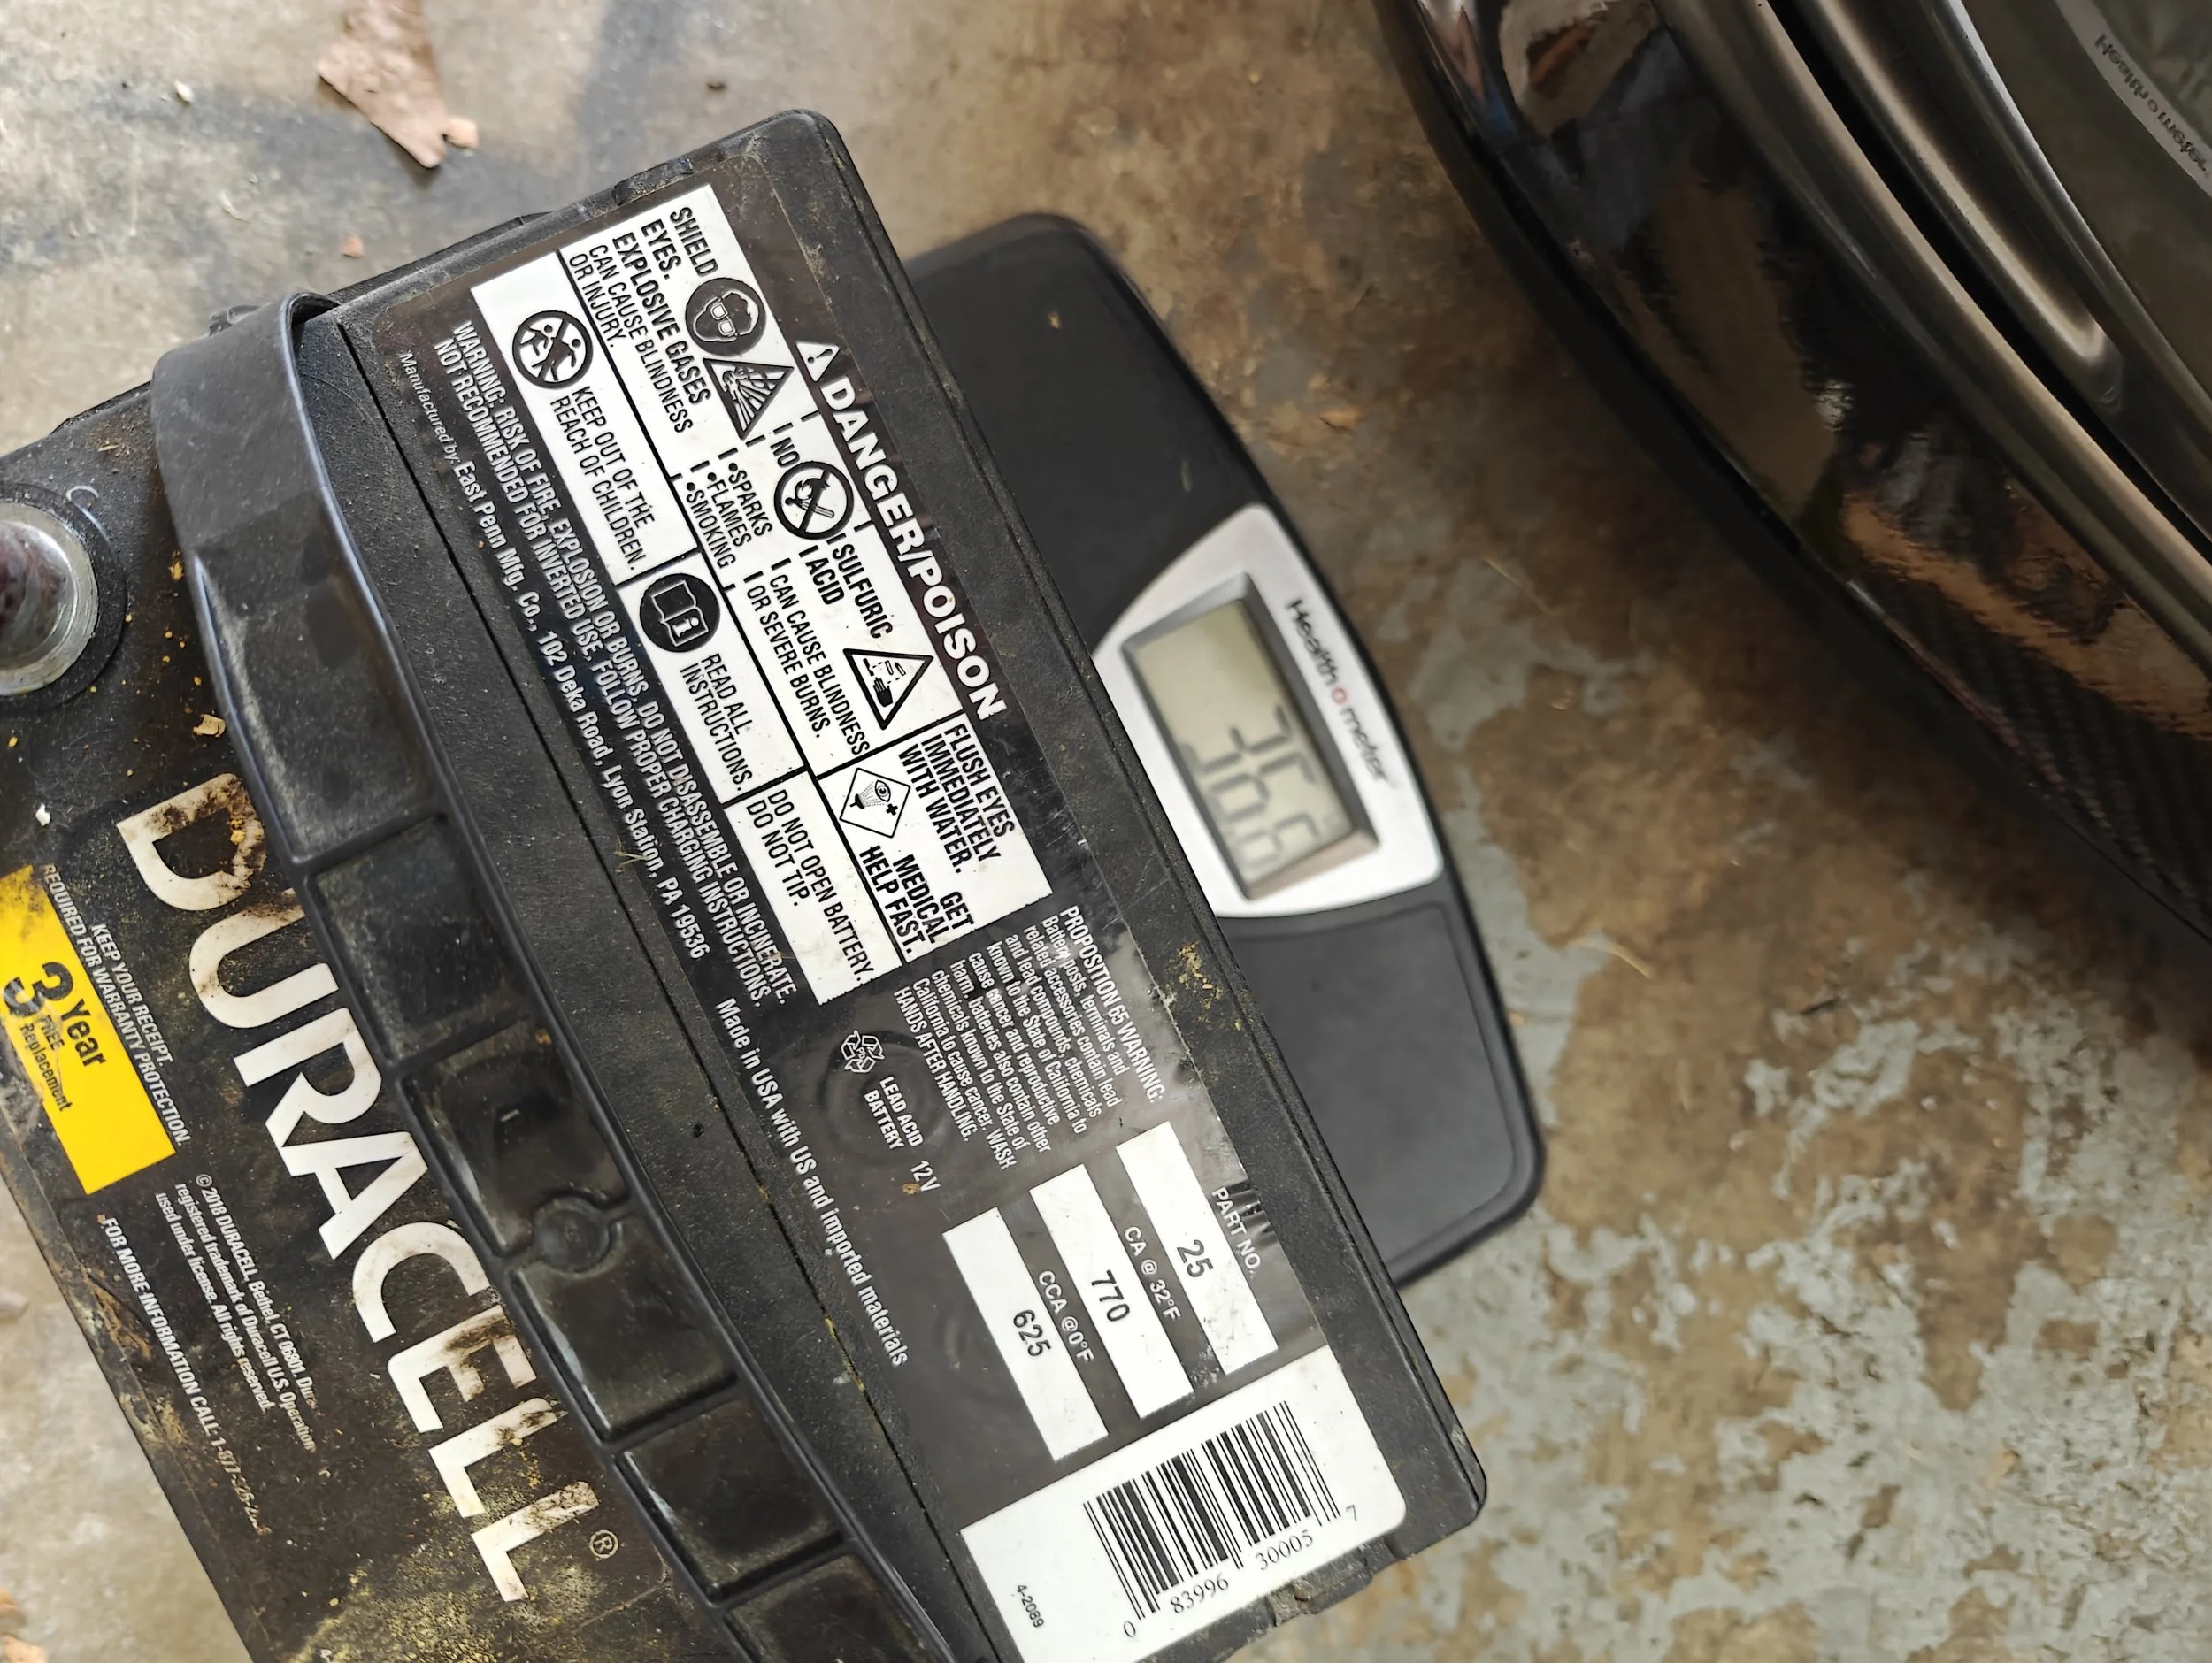
Not the exact size that would come out. But this is what you should expect from a typical full size lead acid battery

The outoging battery was a great option back in the day but the shortcomings are many. If it isn’t on a trickle charger for a few days, expect a slow crank or a no start. It isn’t too happy to be driven in the cold temps either.
I would also recommend to check your terminals for signs corrosion and clean those off to give your battery the best possible connection. You can also take out the battery tray and clean that off as it has probably accumulated a little dirt and debris since the last time the battery was installed.
Next up is getting the battery back into the vehicle. Which once again is made much easier with the proper tool, handle… and of course with a lighter battery. Once the battery is in we will take safety into consideration by installing the positive terminal lead first. Being careful not to overtighten it with a power tool, these are very malleable and it is easy to distort them and cause issues with the connection points.

Battery up and in!

Next J hook to go in and hold the battery safely in the car.
The positive terminal will go on first.
Up next we have the negative, with the same rules of a tight but not too tight terminal are important. When are on to the battery hold now, make sure to not overtighten the J-hooks. And we should be all set on mounting down the battery.

Up next will be the negative terminal.
The last step if you have an electronic throttle body, i.e. drive by wire throttle. You need to relearn the throttle position. To relearn the throttle we need to allow the car to idle without touching the throttle or using any accessory electrical loads on, this includes power windows, A/c, etc. Allow the car to idle for 2-10 minutes and you should be ready to drive. If this is not completed you may find the car has an inconsistent idle and it might even try and die when approaching a stop.
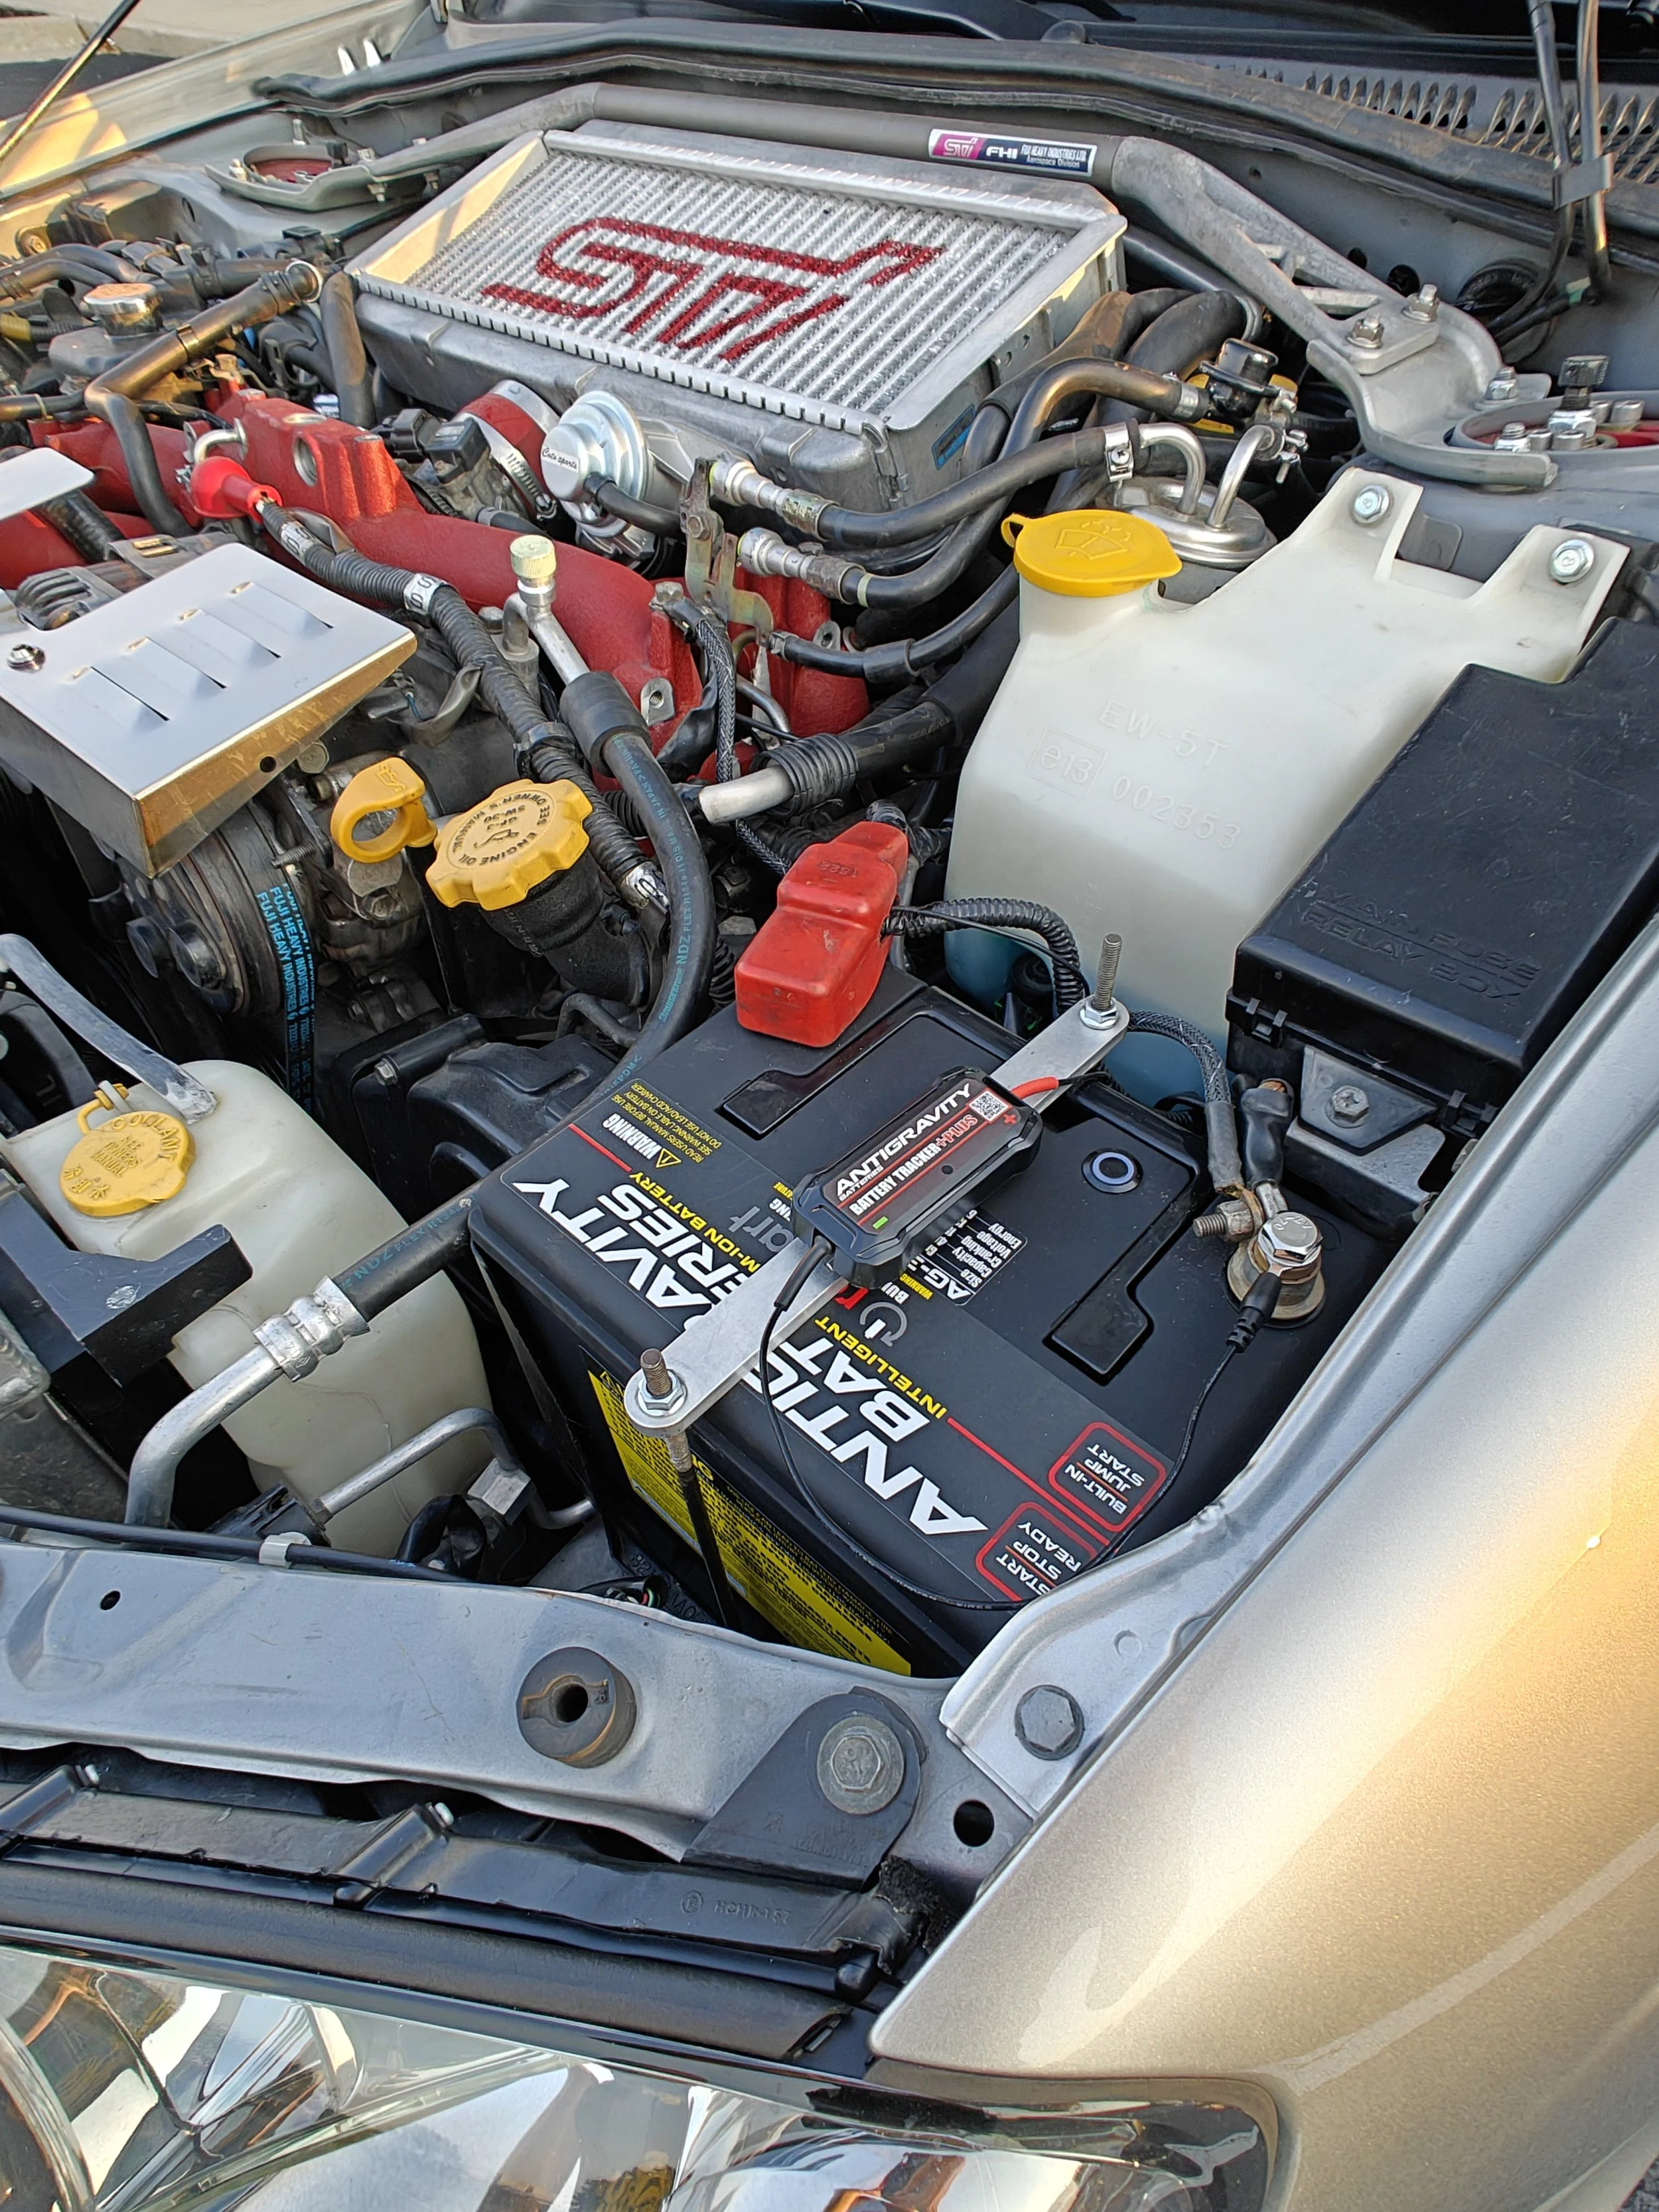
All done! With an extra Antigravity battery tracker plus, you will see more on that later. But this allows you to know where you battery and car is at your fingertips.
Congrats! You have successfully replaced your battery and you can get back to enjoying the car.
Antigravity links
Antigravity size 35 battery
Antigravity battery website
Amazon tool links
10mm socket and ratchet