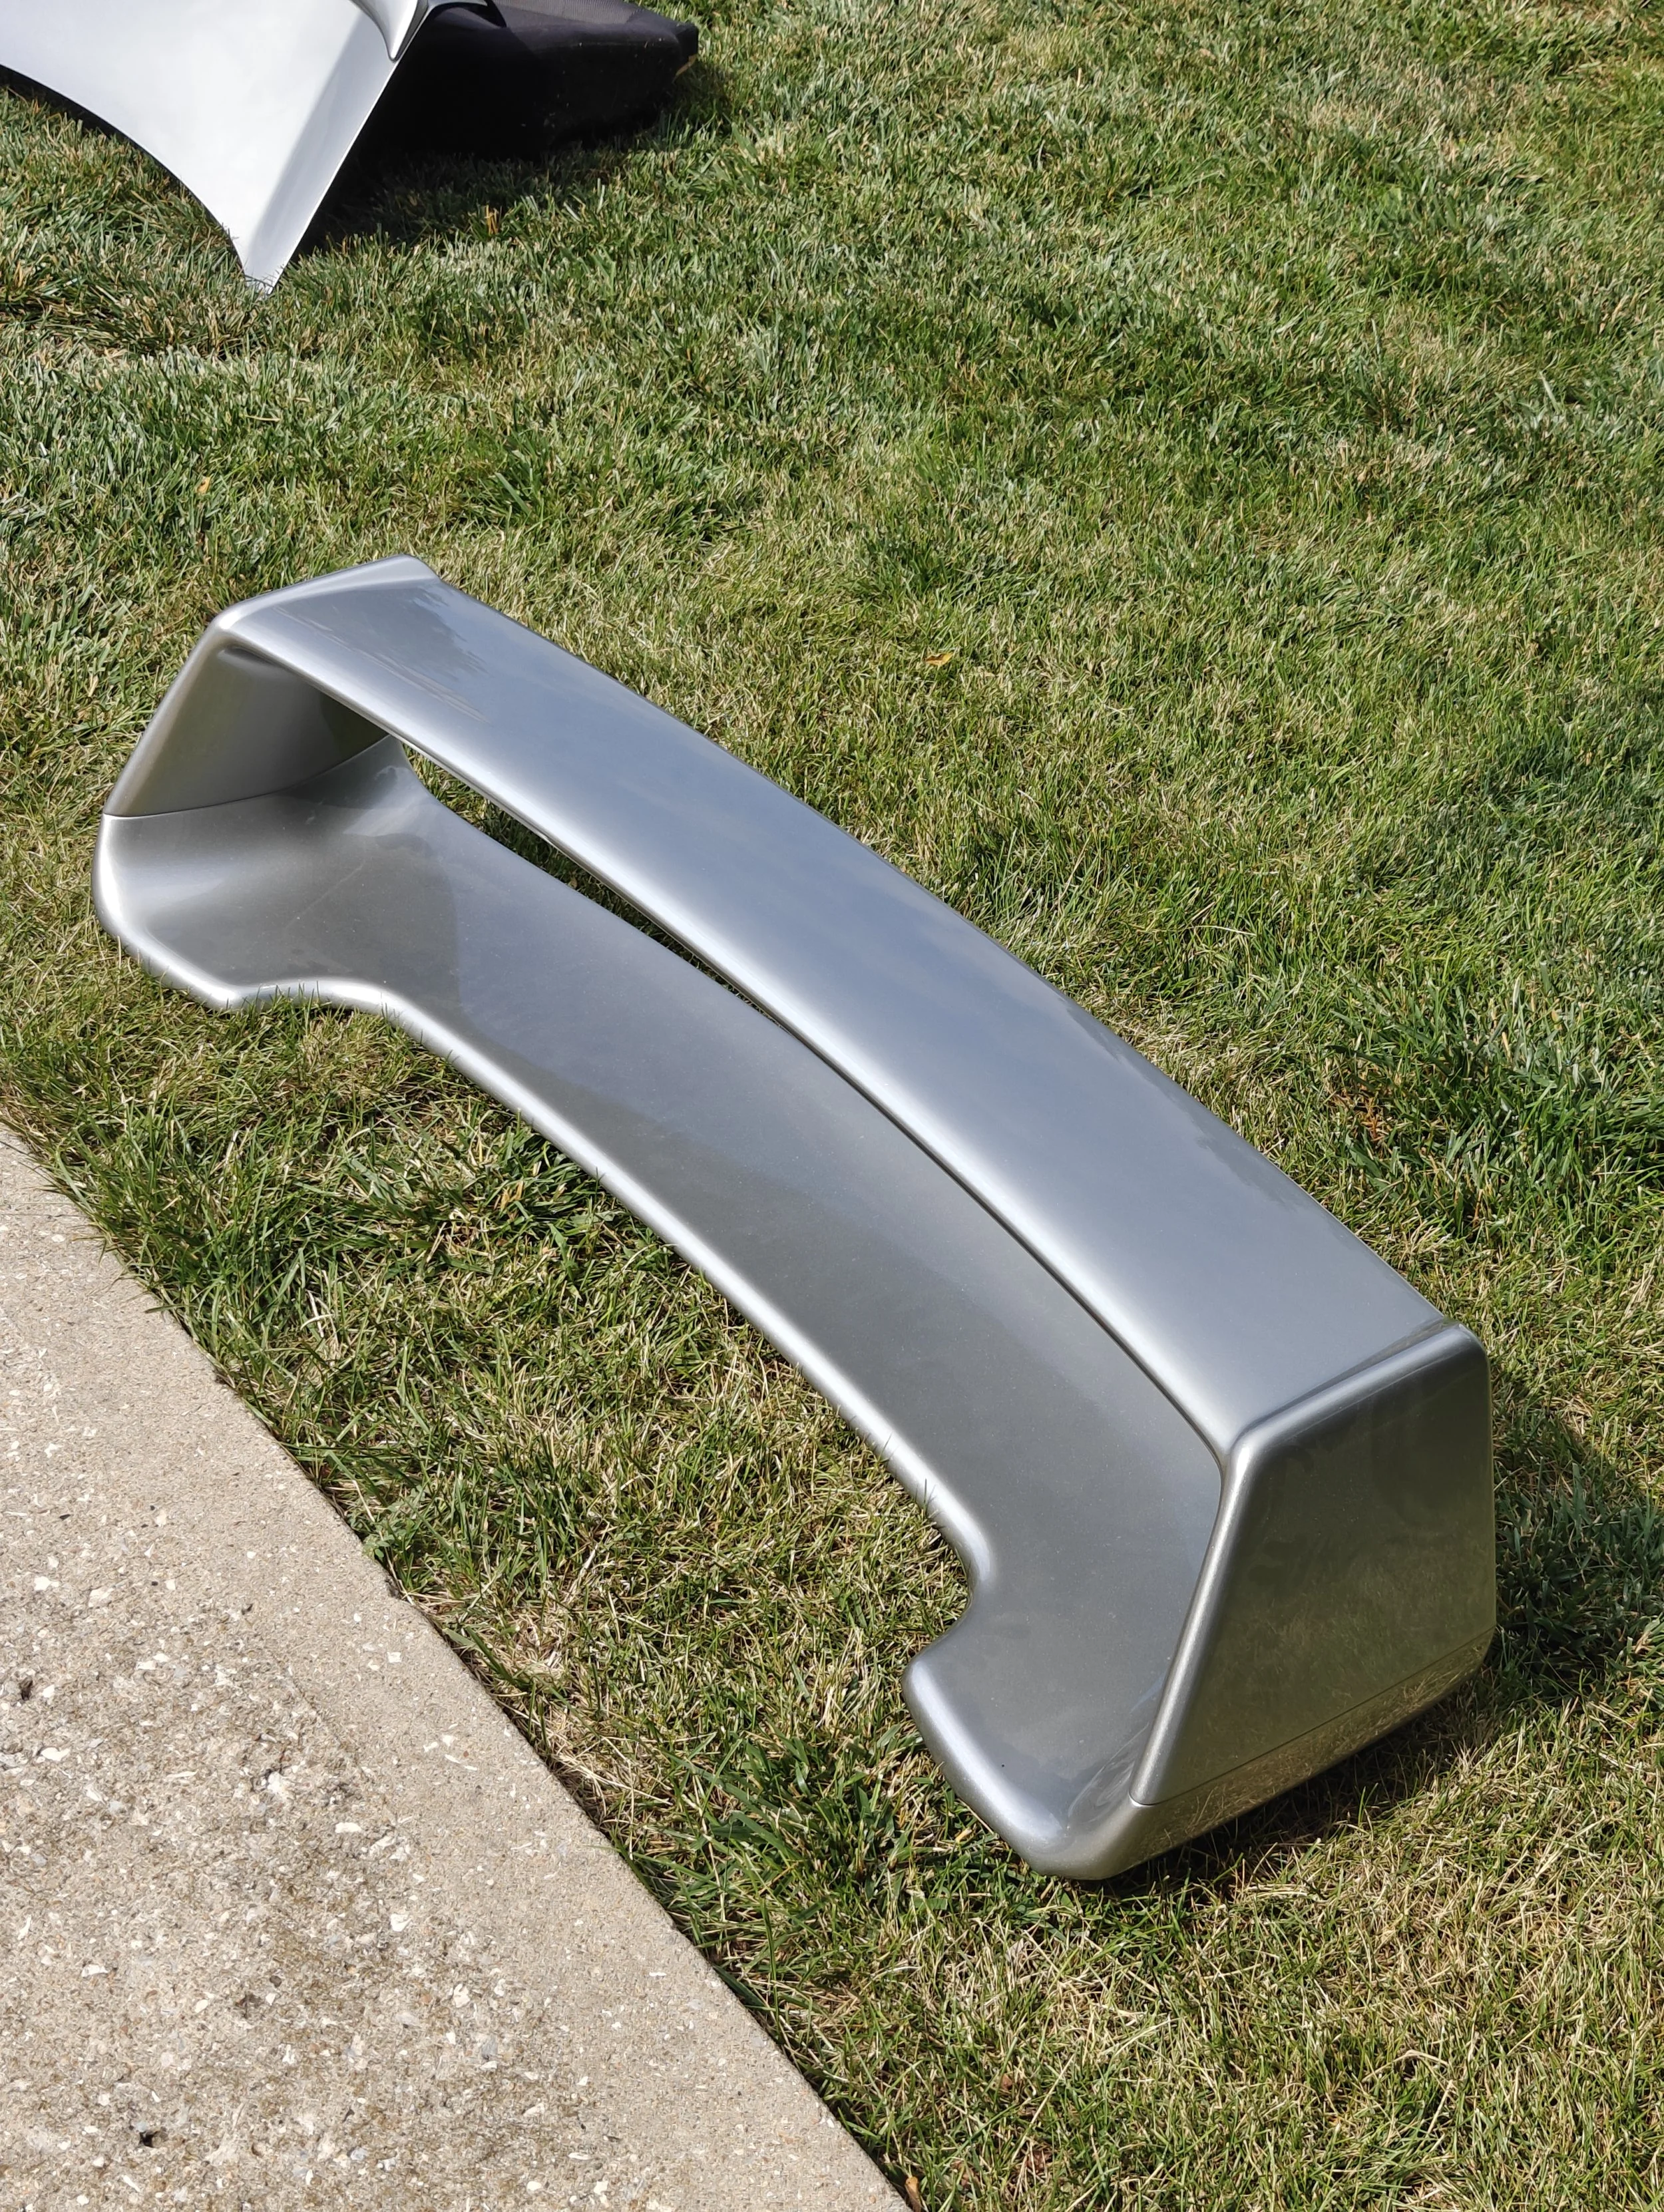
04-07 STi Wing overhaul. What lies beneath this giant rally wing...
From it’s days on the WRC course and on to the streets the STi wing is certainly a head turner. To further the purpose of this wing, Subaru wind tunnel tested the benefits of this wing on the redesigned 2006 Hawkeye model. I have always been a huge fan of factory aero parts and so this furthered my love of this generation of vehicles.
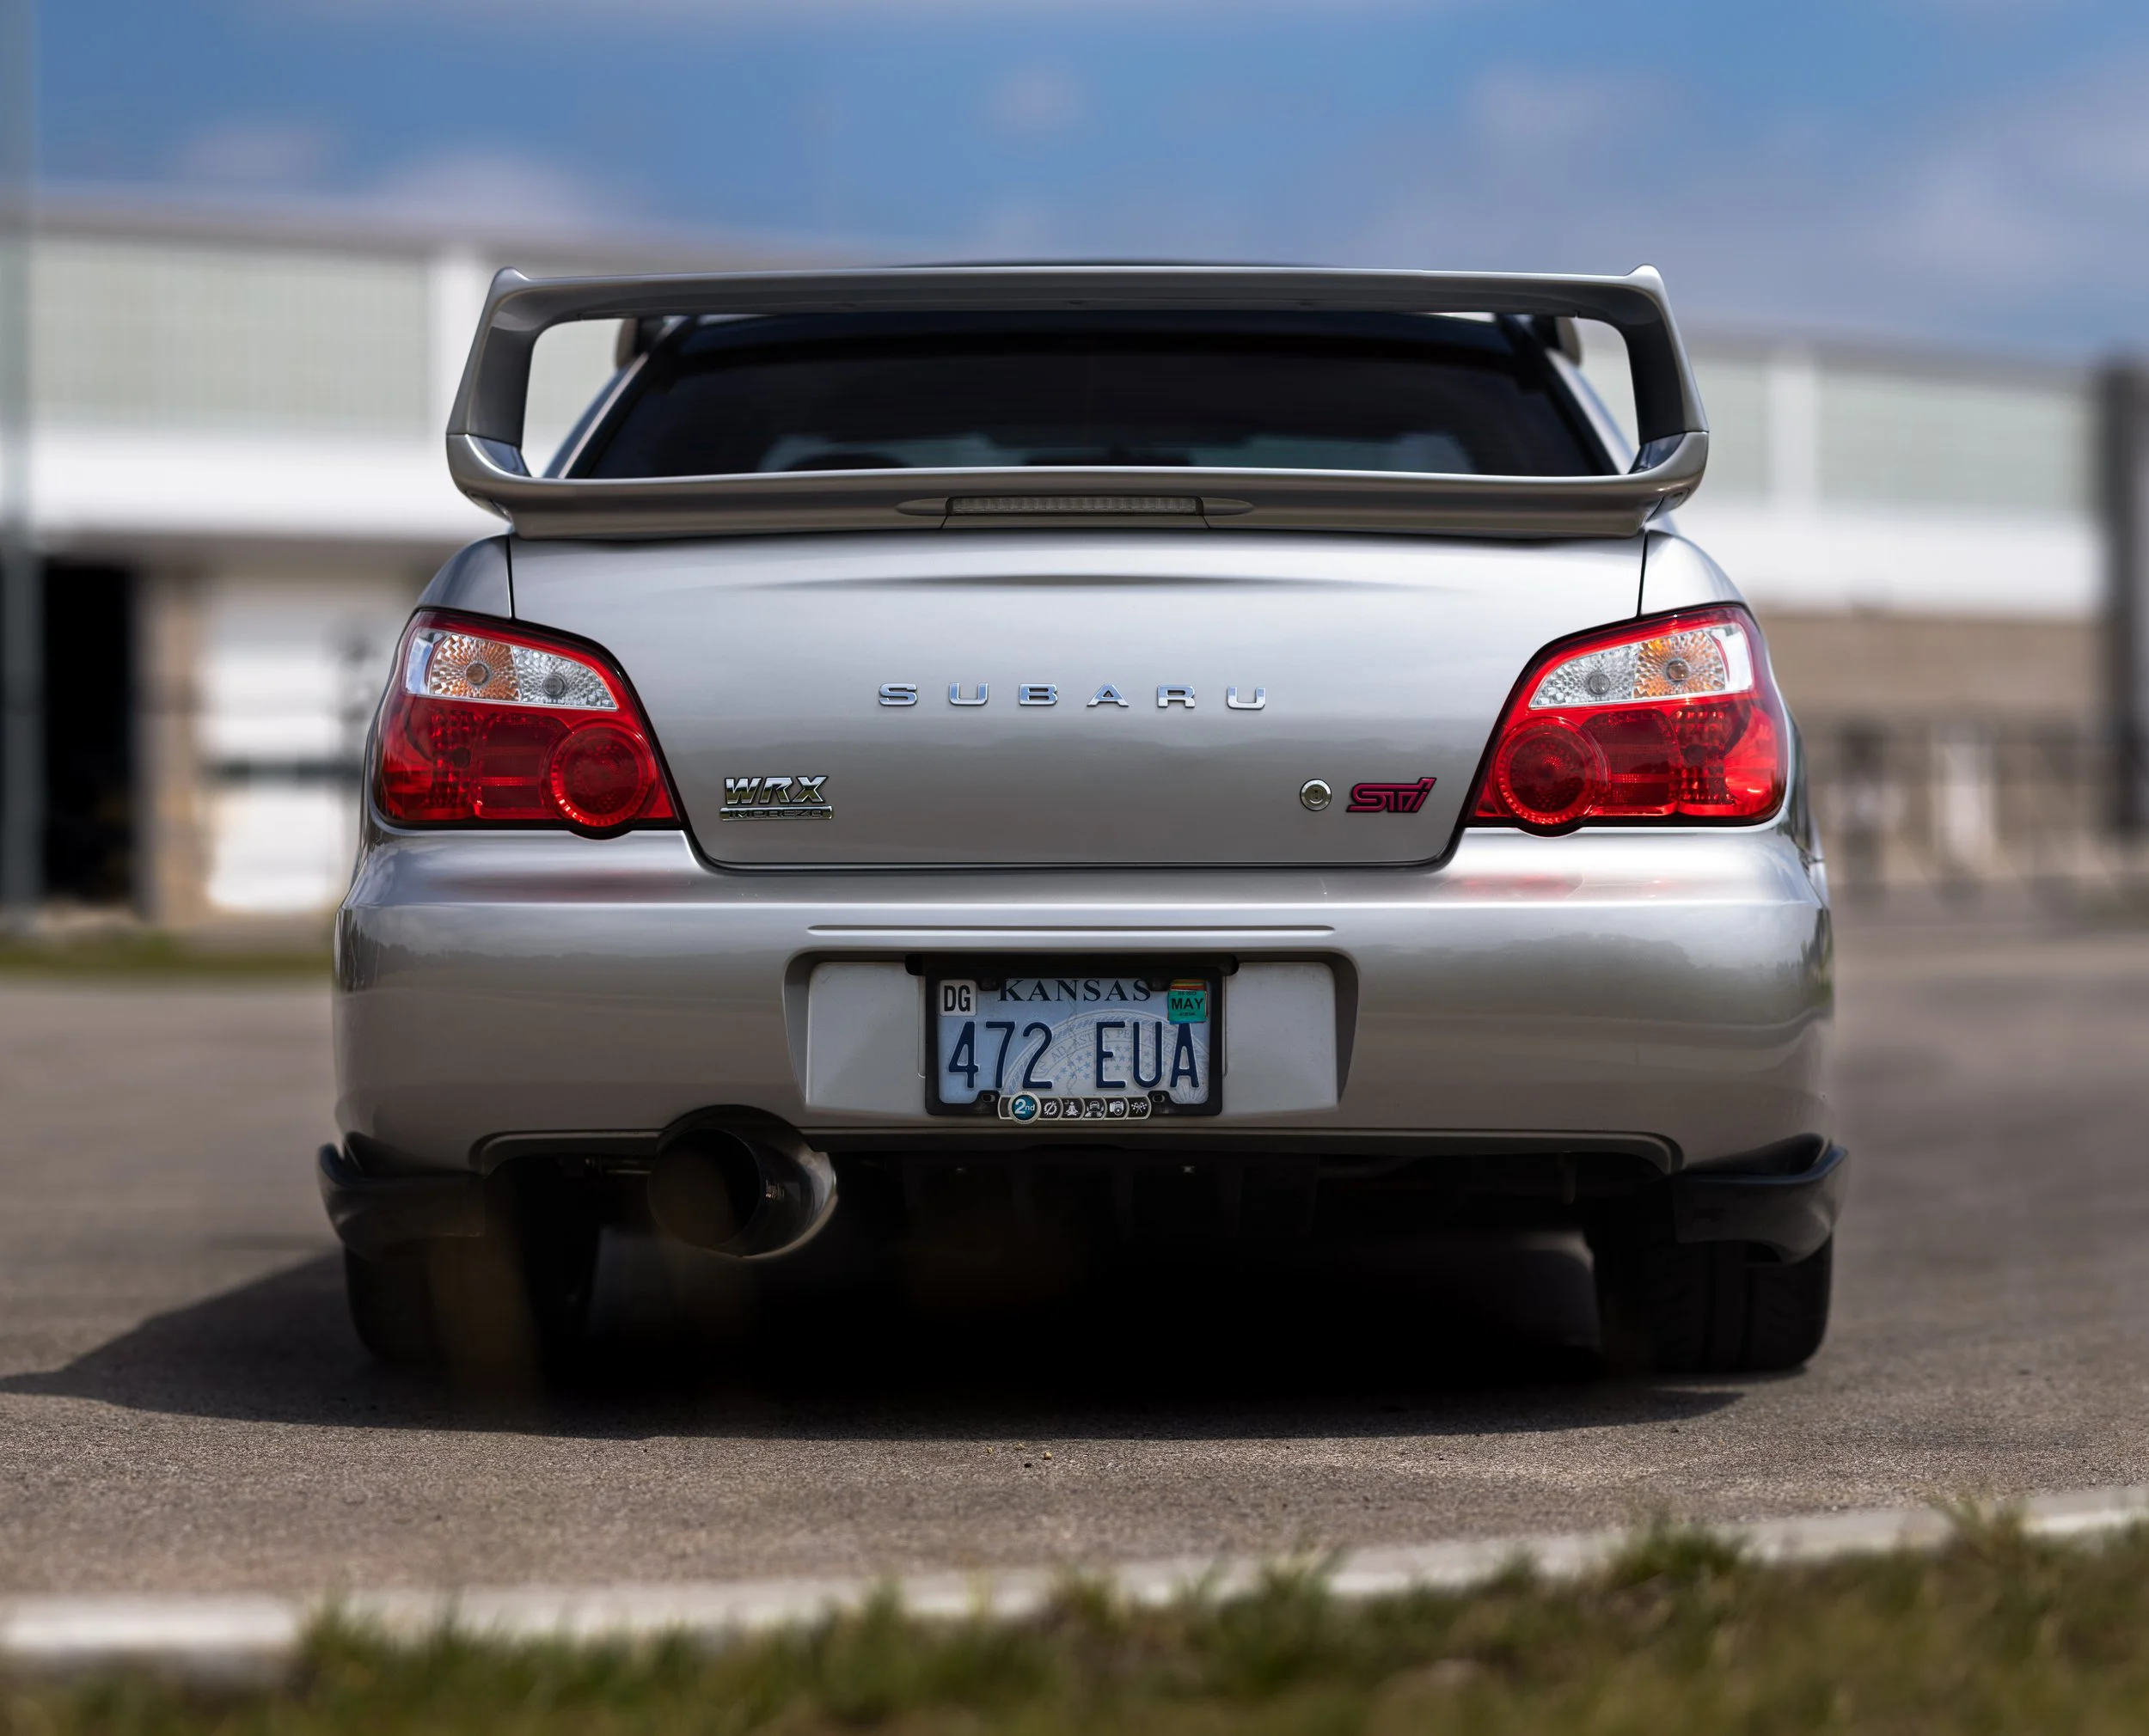
It looks nice on the outside.. but what lies below the surface..
While there are many benefits from the huge whale tail of a wing, there are a few drawbacks. Many complain of the wing bouncing up and down at highway speeds, which can be remedied by adding the roof vane wing to reduce the turbulence and direct the air to the wing. But by far the biggest complaint rust forming around the wing and rusty water coming out from beneath the wing during a wash. Which is precisely what we are going to fix in this how to.

While Subaru added a couple of fluid exits on the wing.. as you can see it still has the ability to pool up and cause some issues. The image above showcases what happens when the water is trapped.
Time Frame
You can easily remove the wing from the vehicle in less than 10 minutes as it is just a few bolts. The biggest trouble with this project will be how much time and work is spent fixing the rust damage on the trunk. I let the body shop take care of this but if you have rust on the trunk, you will need to set aside quite a few hours for this. If you are just working on the hardware, set a two-four hours aside for this.
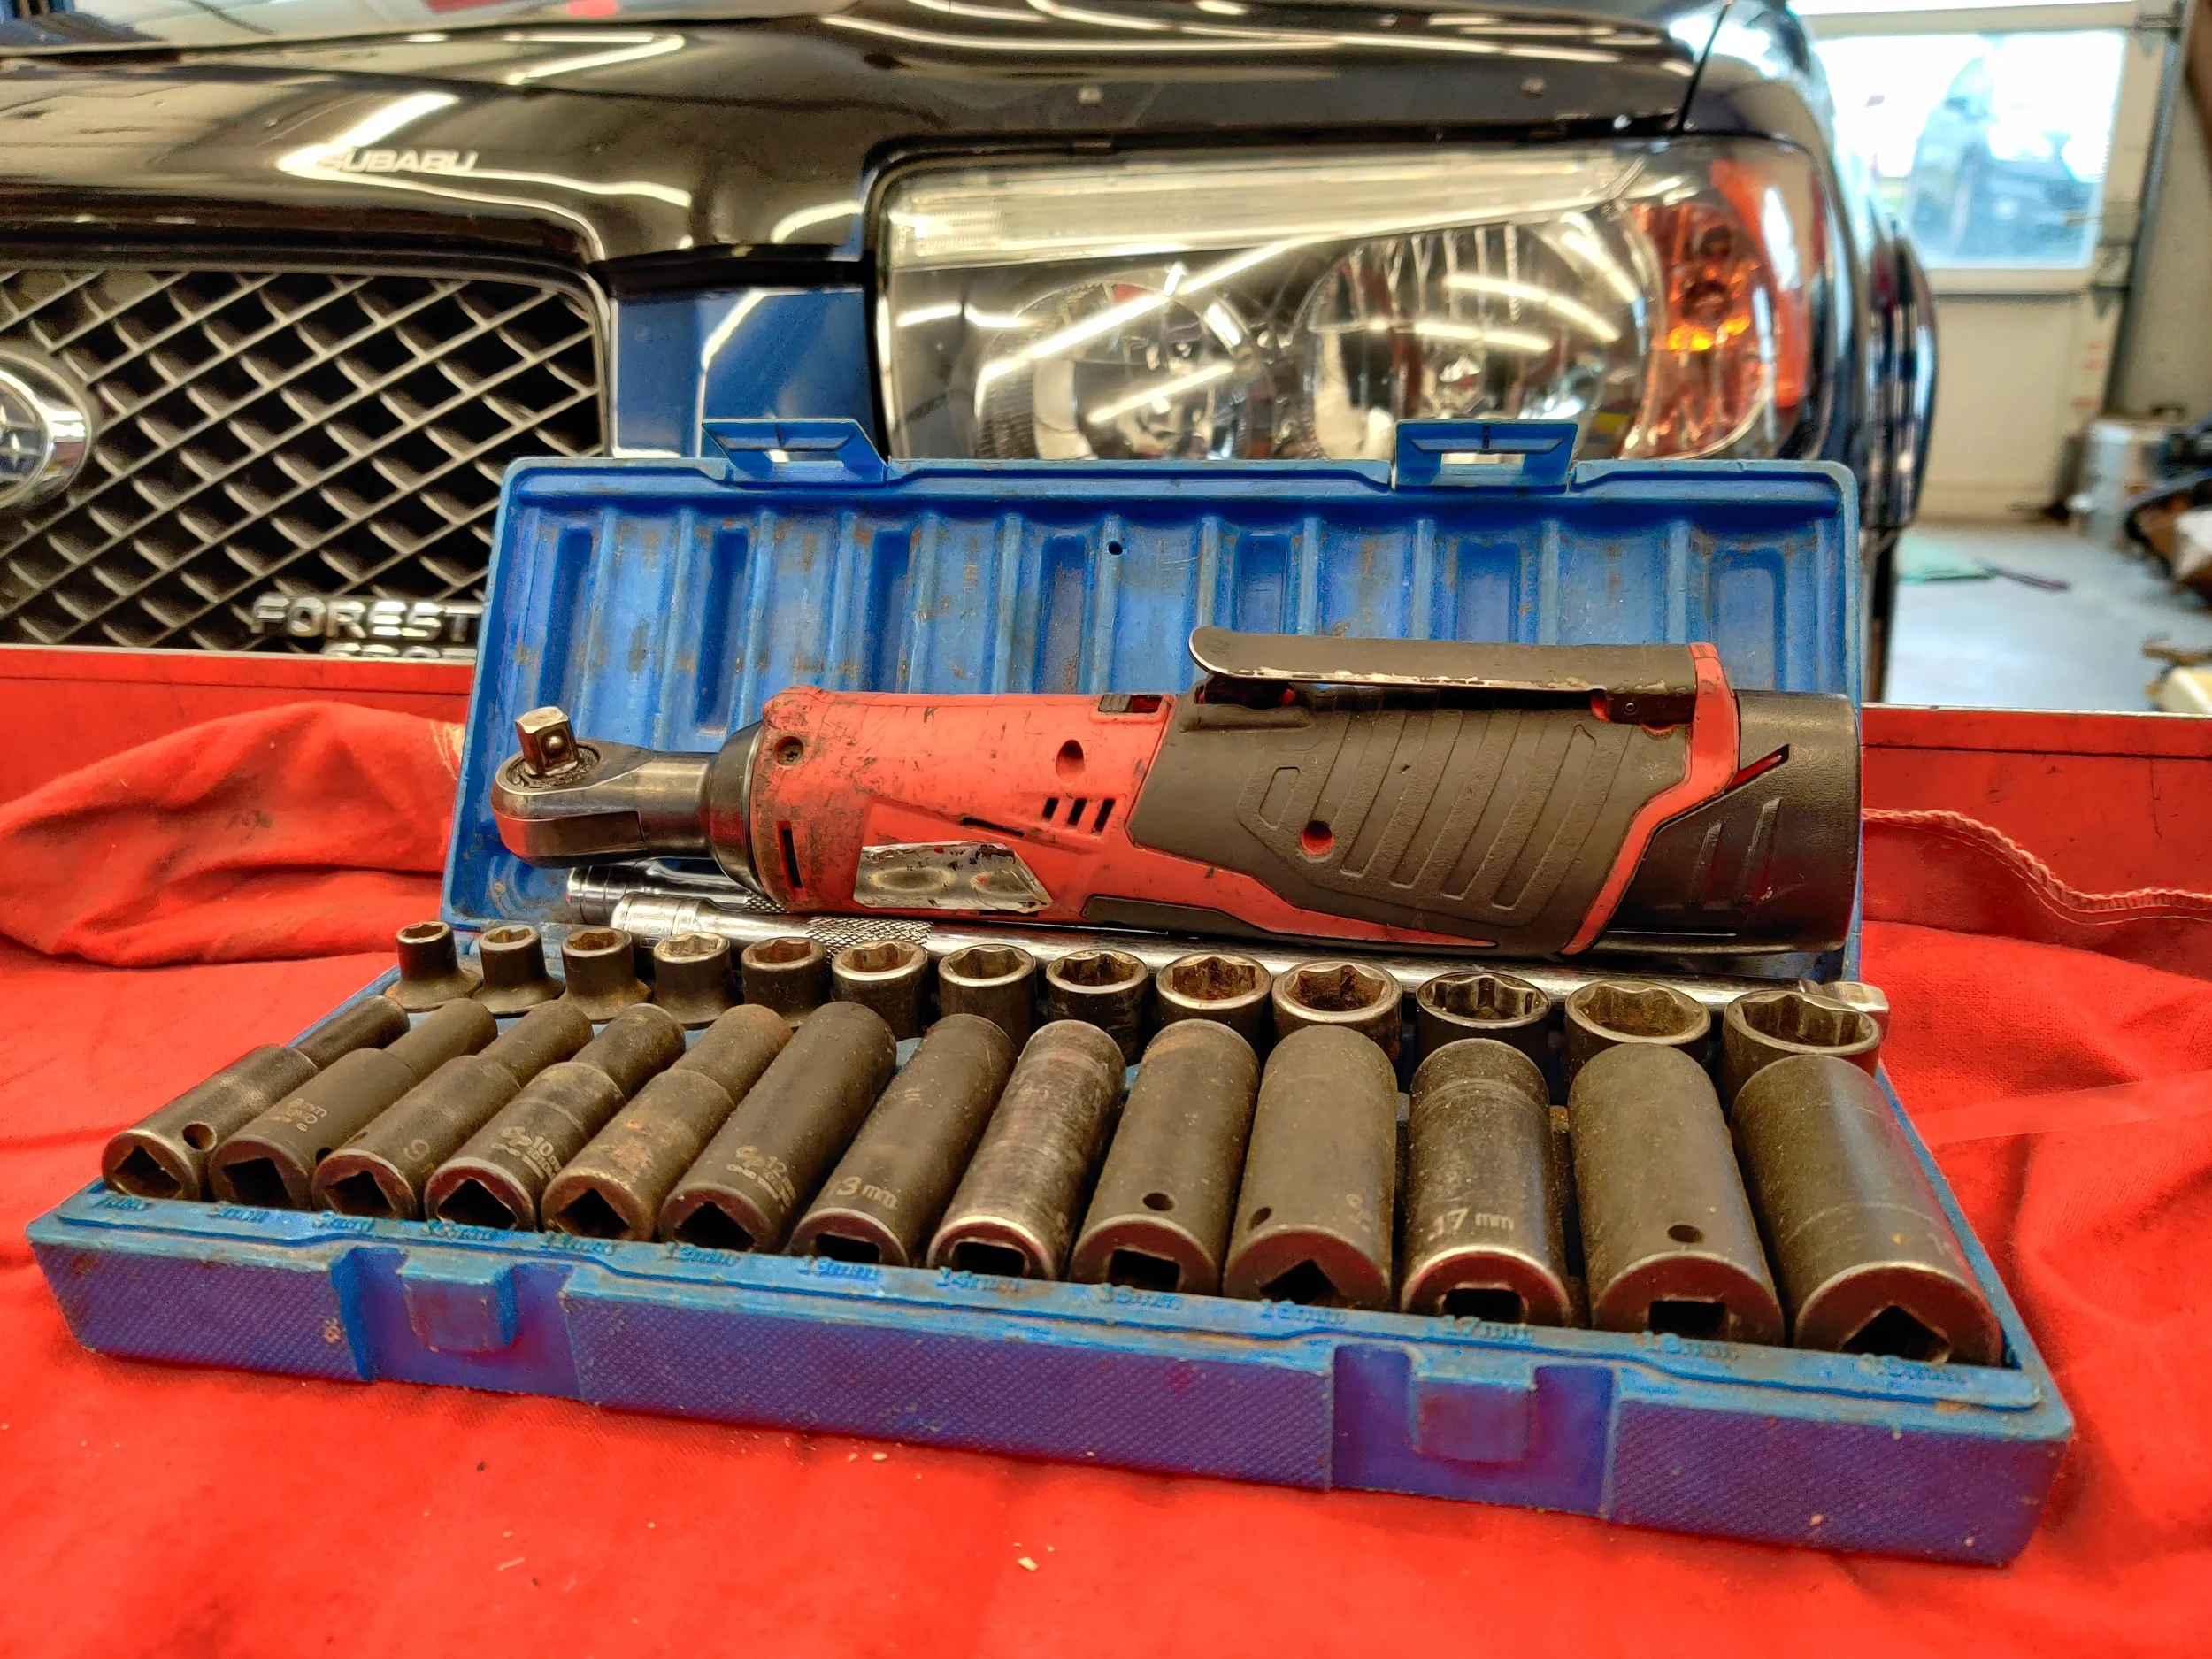
Tools
Parts
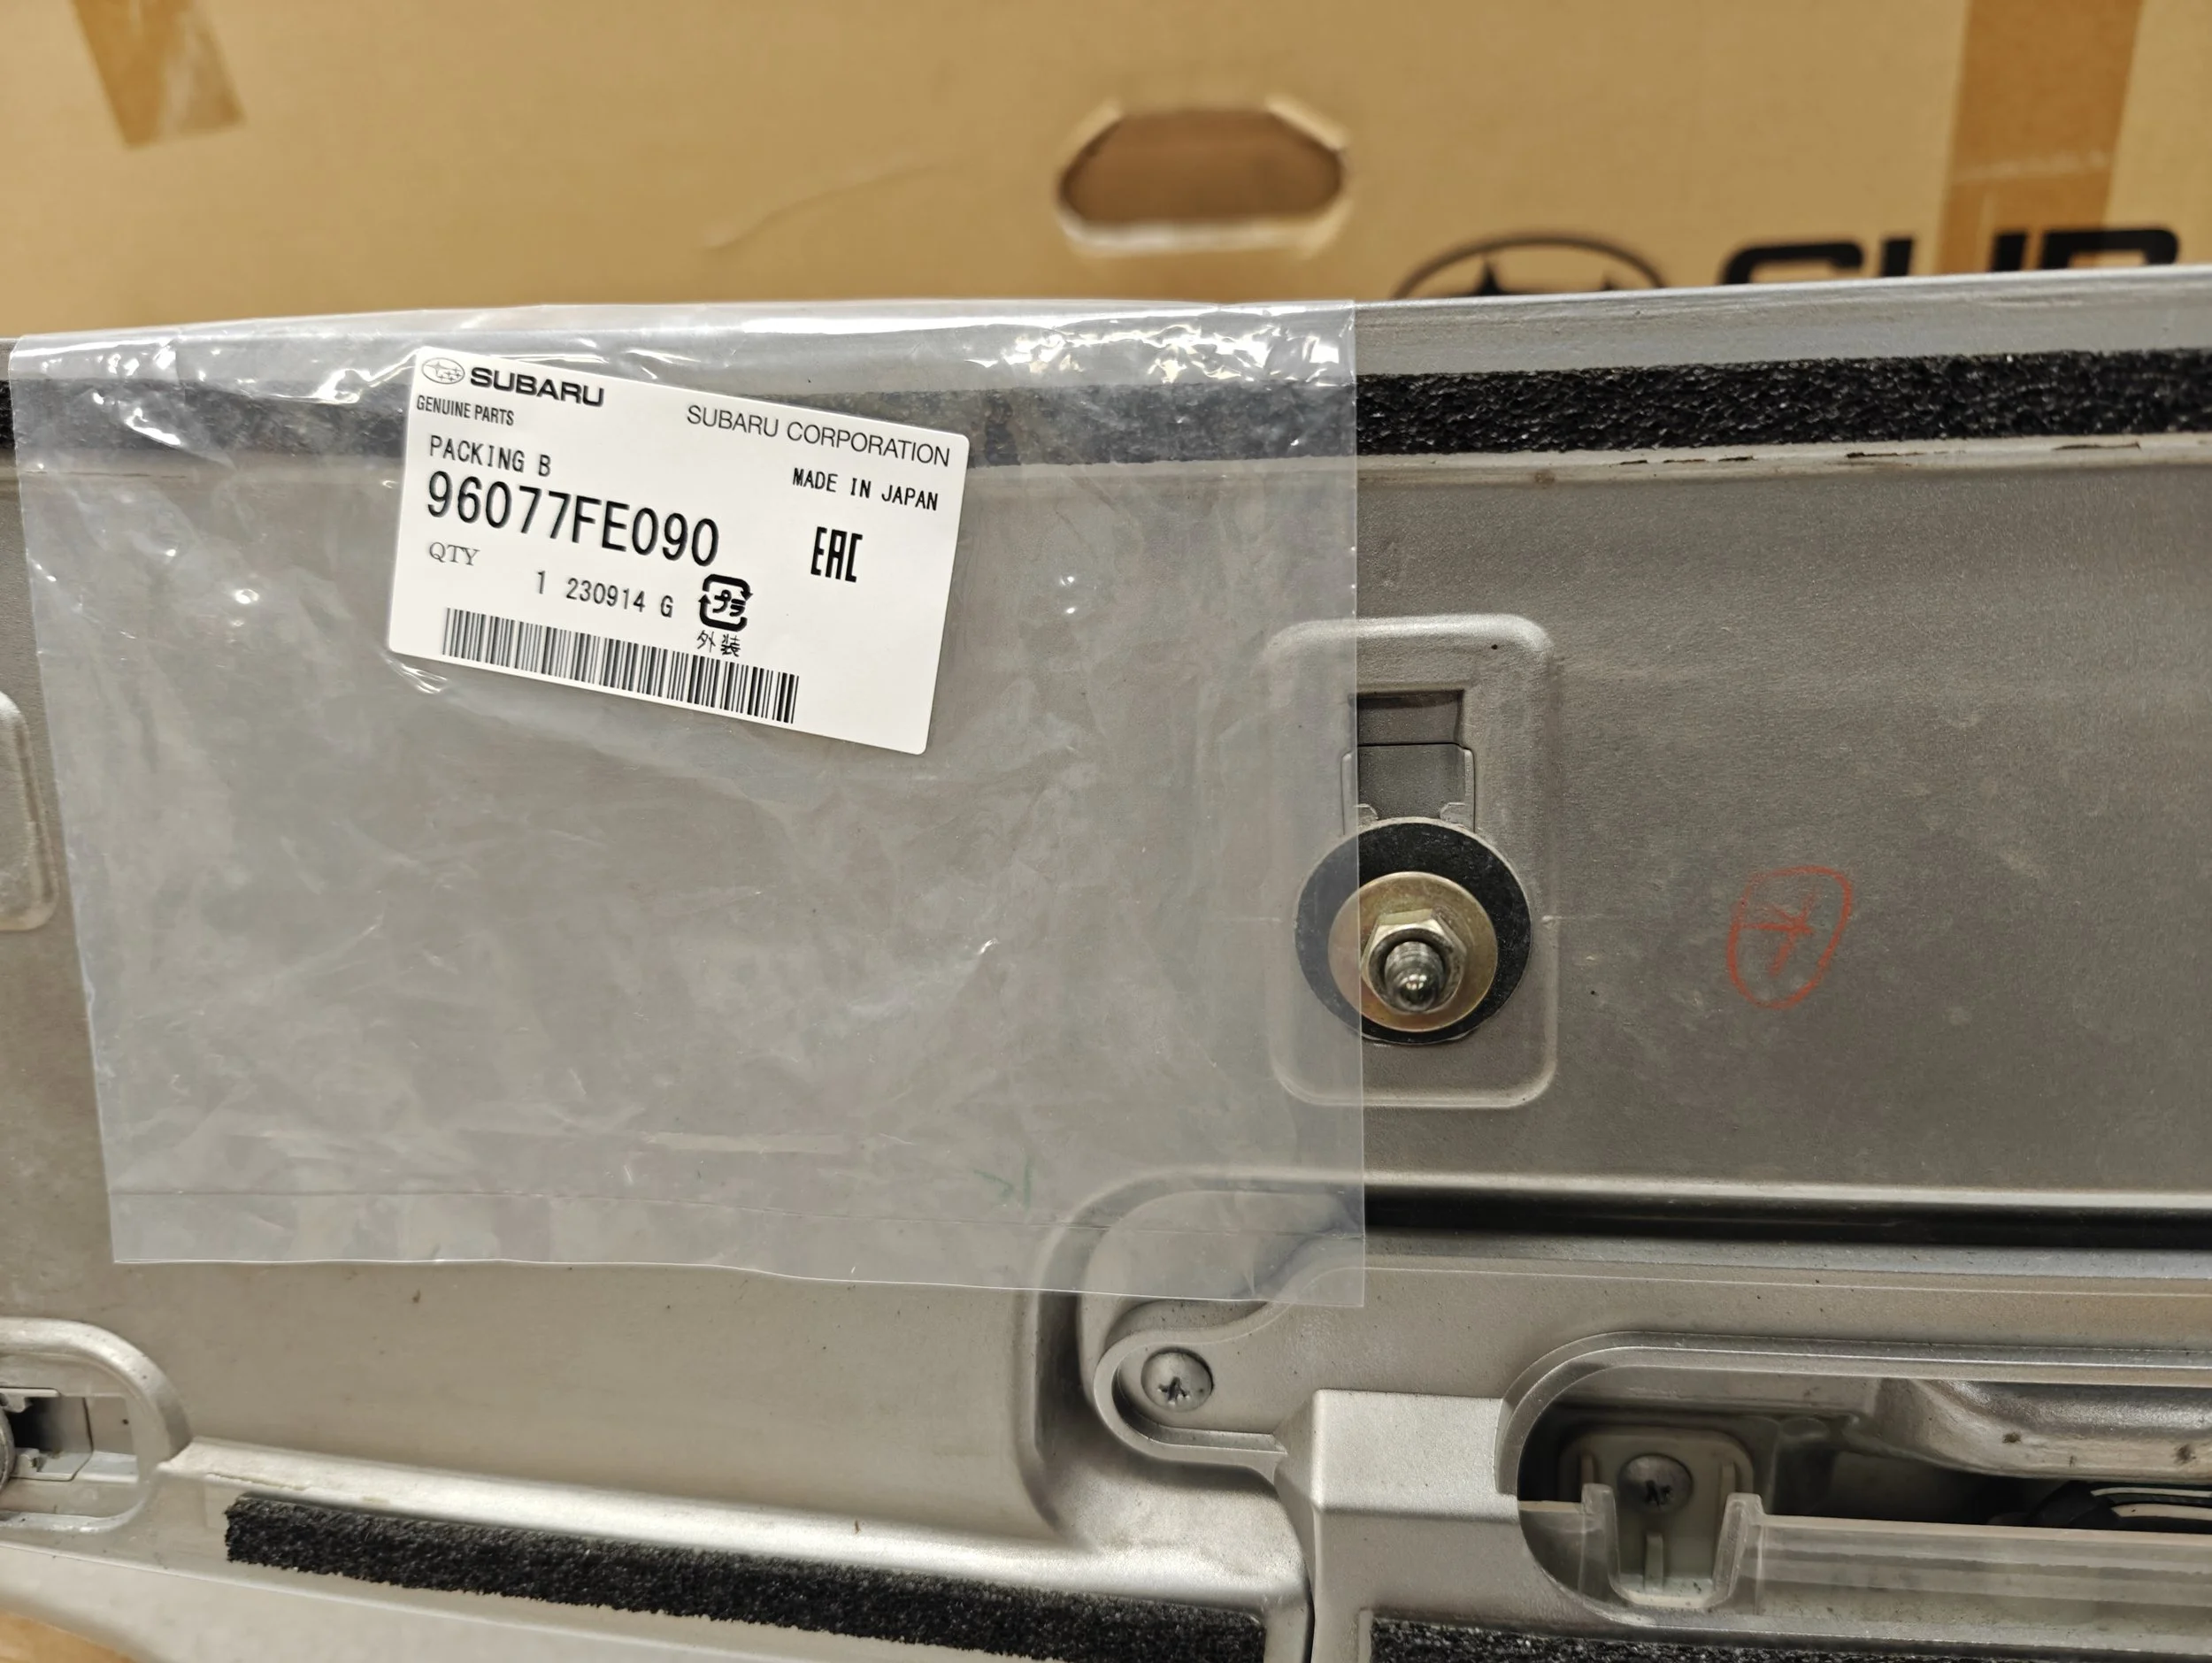
Subaru packing A B C D E
96077FE080 96077FE120 96077FE100
Seal Cover 96078FE030
Subaru mounting studs 901700162 901700161
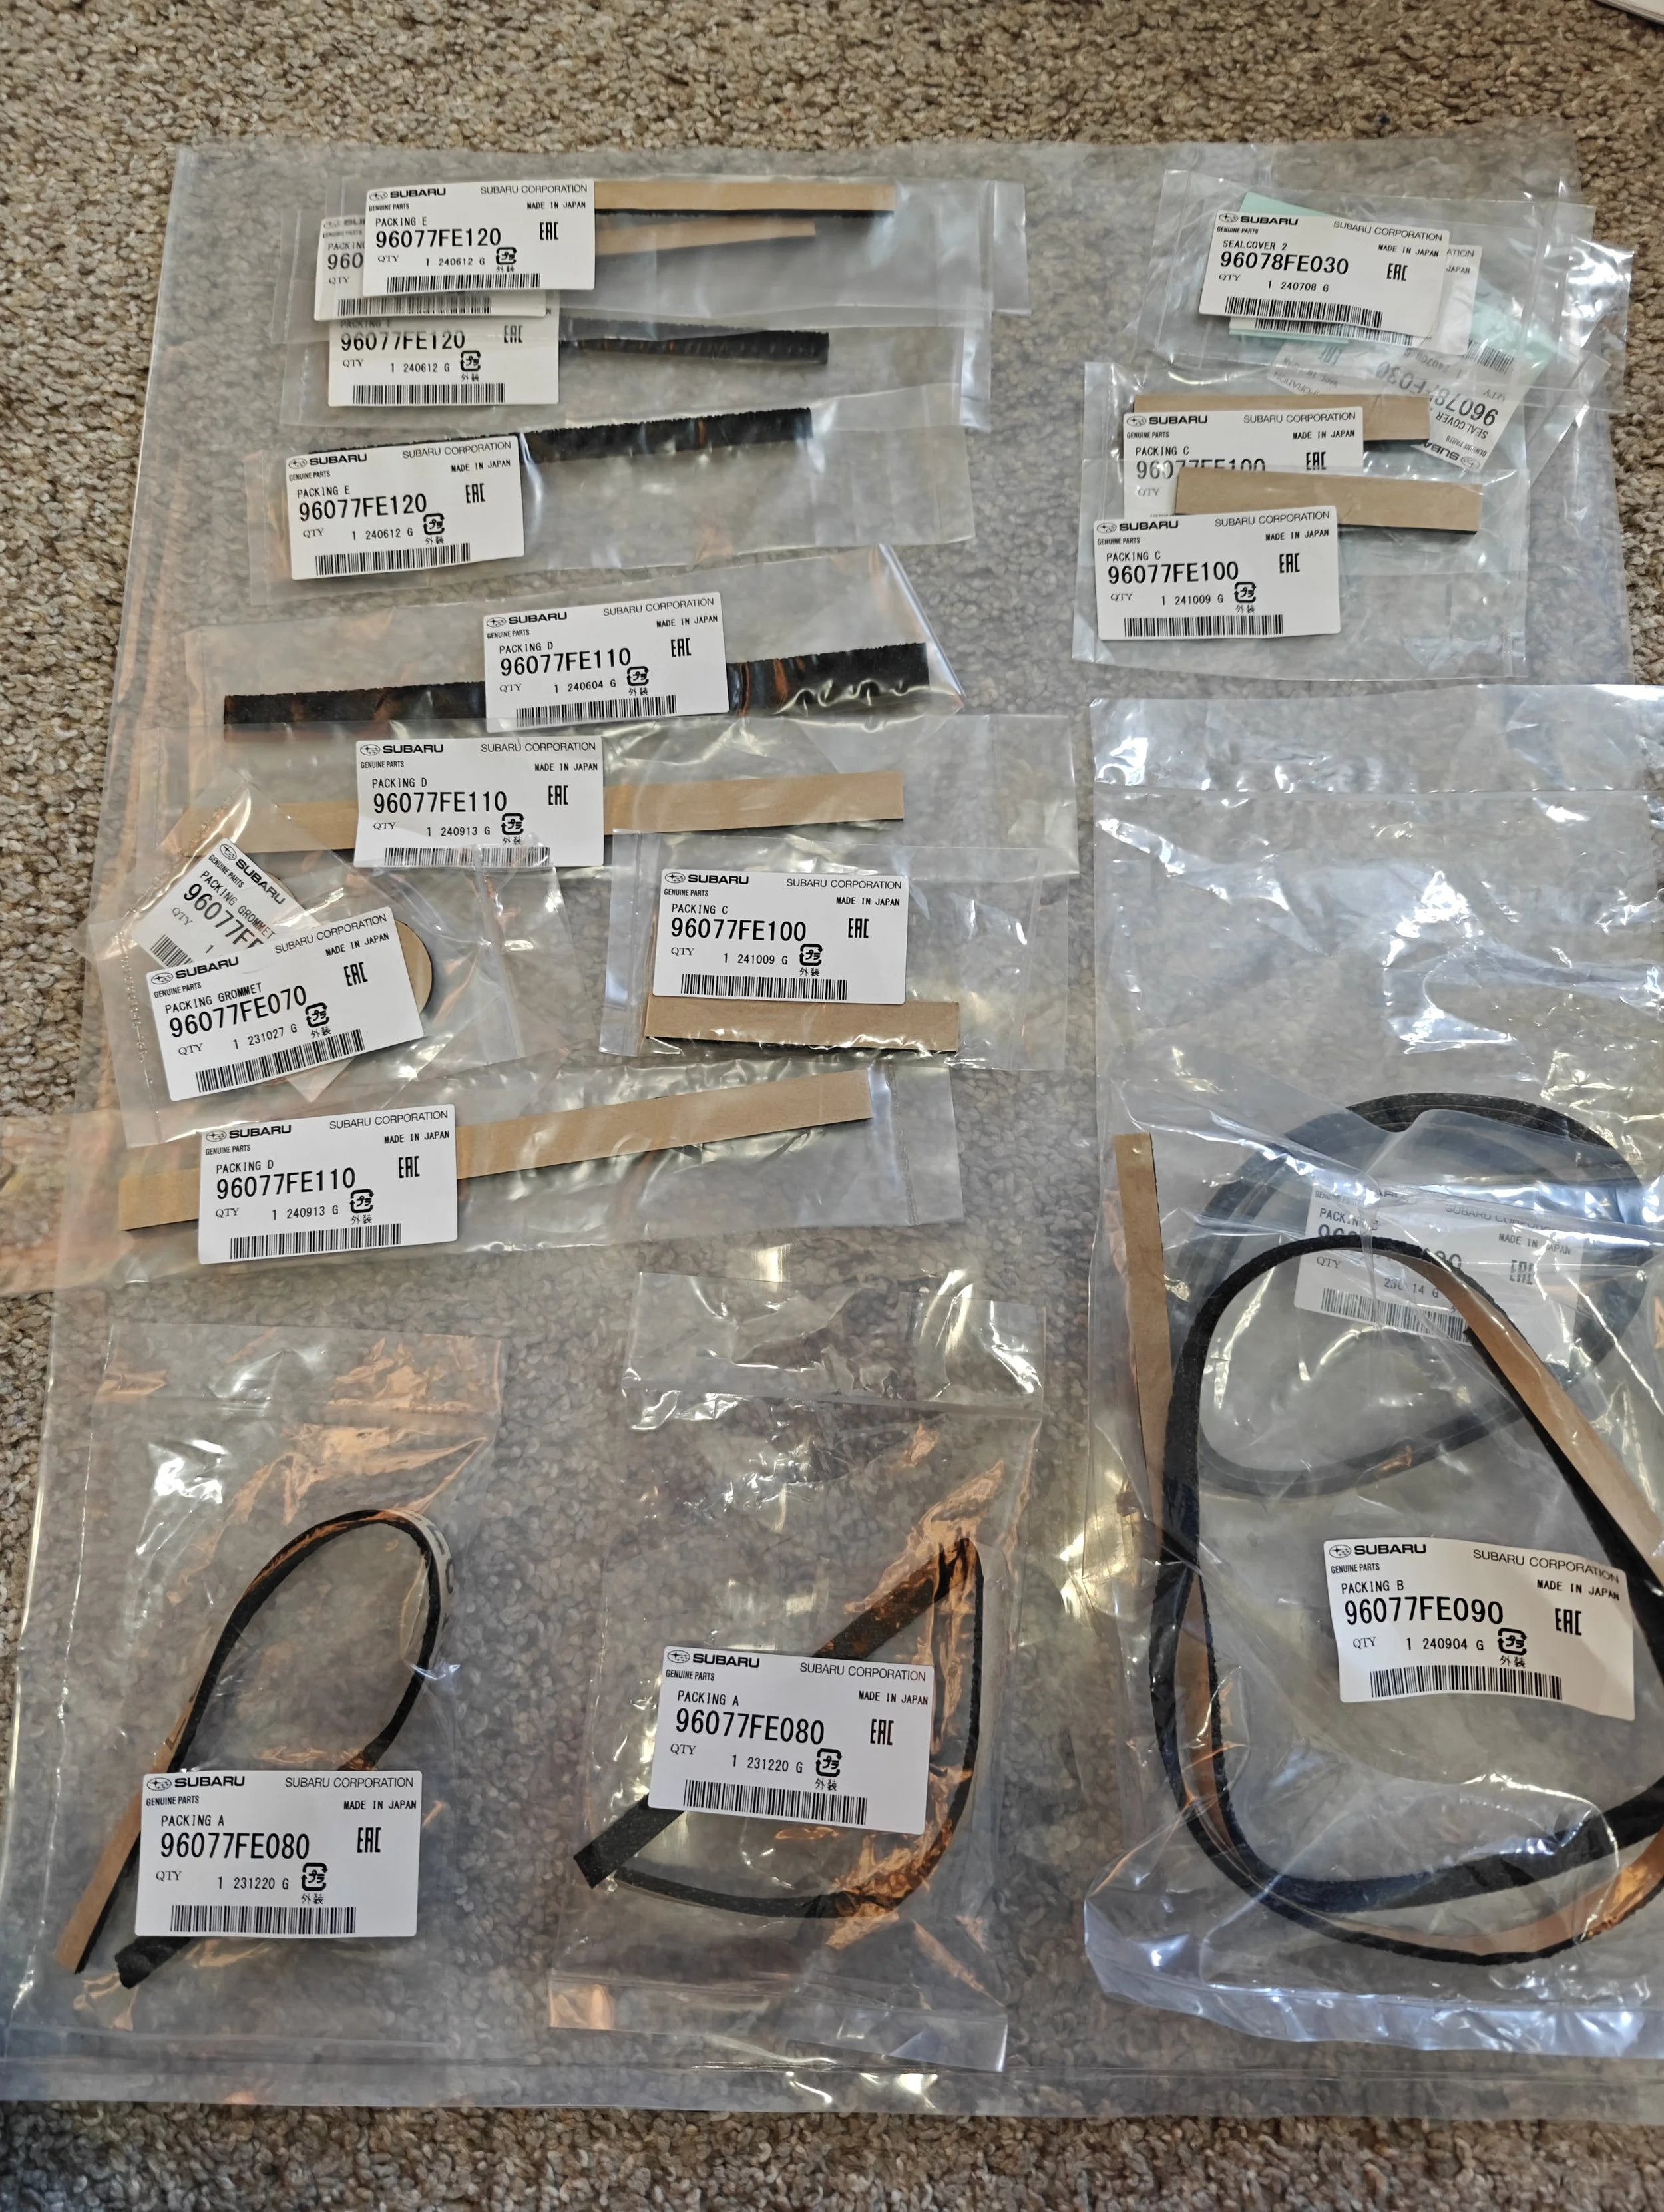
All the seals and then some


Prologue
Before we start you might need a little back story, I originally had aspirations to do this repair all by myself, but with the STi at the paint shop I made a game time decision to allow them to repaint the trunk lid. There was a large dent in the trunk lid that had been PDR’d but I could still see the edges of it.

So they did a lot of the dirty work like removing the trunk, wing and taking care of the rust. If it wasn’t for them completing this work I was going to remove the wing while the trunk was on the car and then work on them separately. I was told my trunk had a bit of rust like they all do. If I was to start at this point I would have removed the rust and then masked off the area and painted it with a rattle can. All of the rust lived under the wing and so this wouldn’t have been an issue.

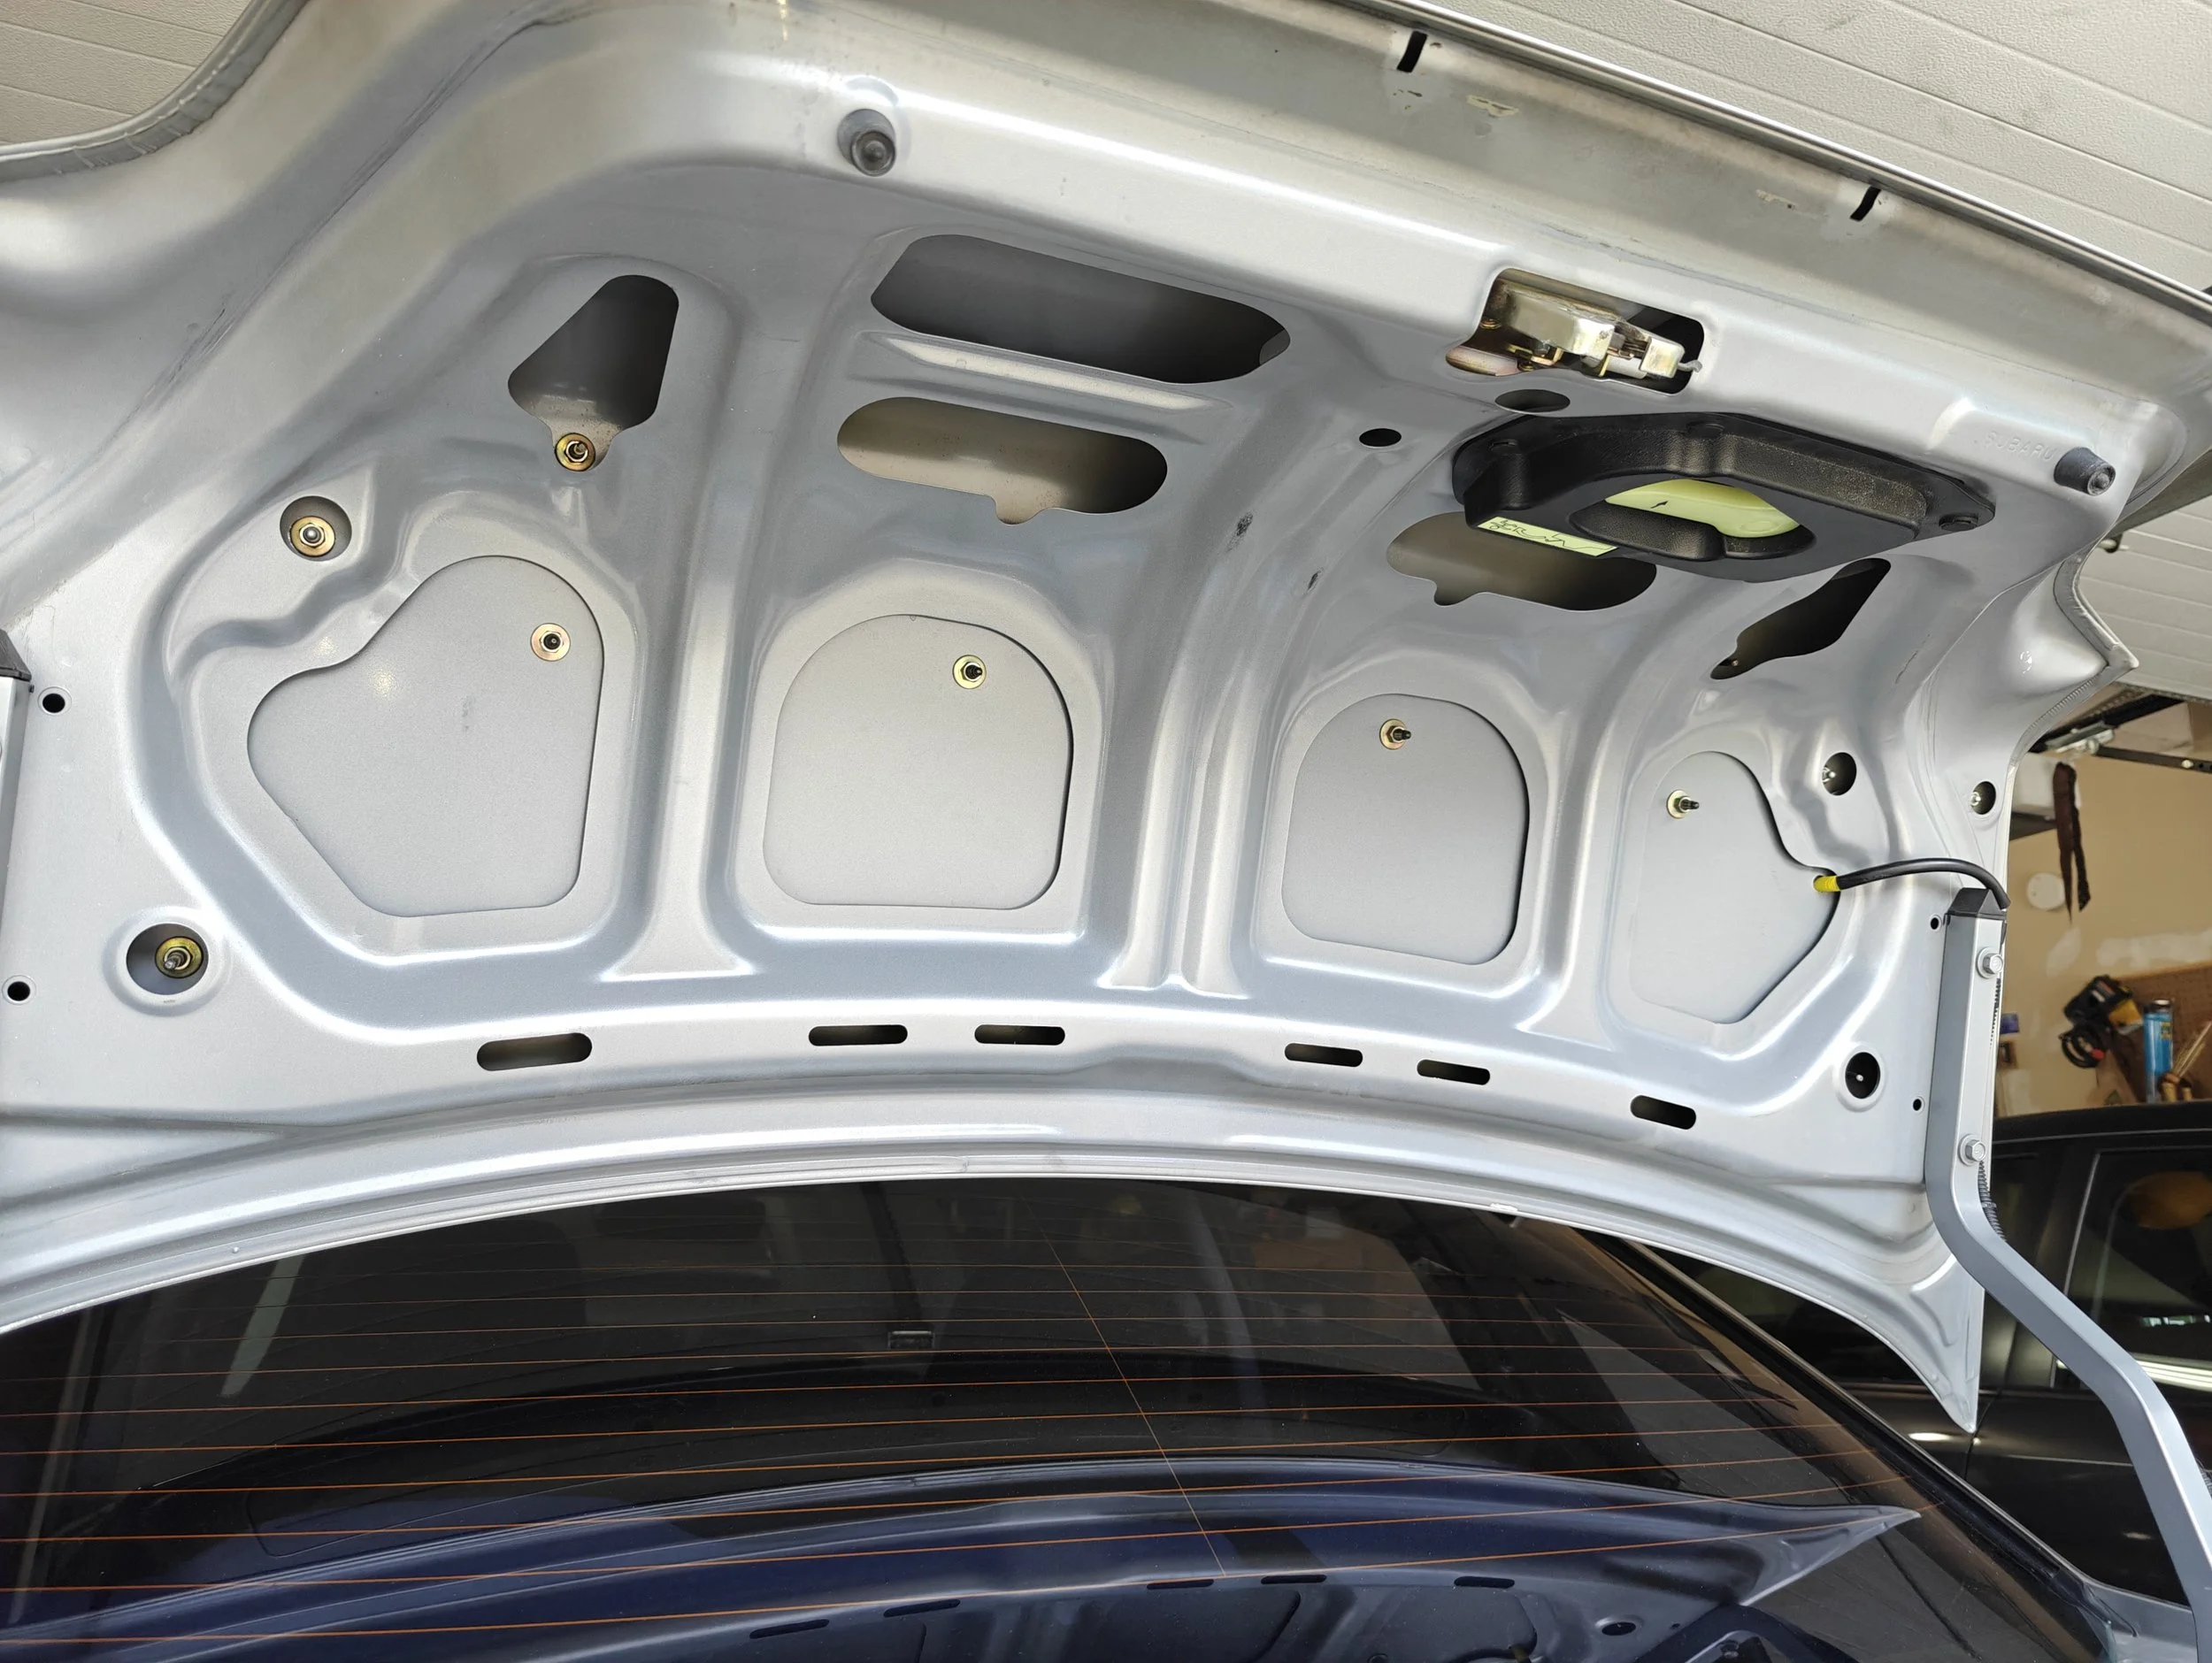
If the body shop isn’t assisting you with removing the nuts. Here is a good image of all of them. Two near the rear quarter of the car will be covered by rubber stoppers, make sure to get them before trying to yank the wing off. As well as unplugging the 3rd brake light!

First up is removing all the nuts that hold the wing on the trunk lid. Don’t forget to unplug the 3rd brake light.

The trunk lid you will be looking at won’t likely be this clean. This is after the body shop removed the rust and repainted.
How to
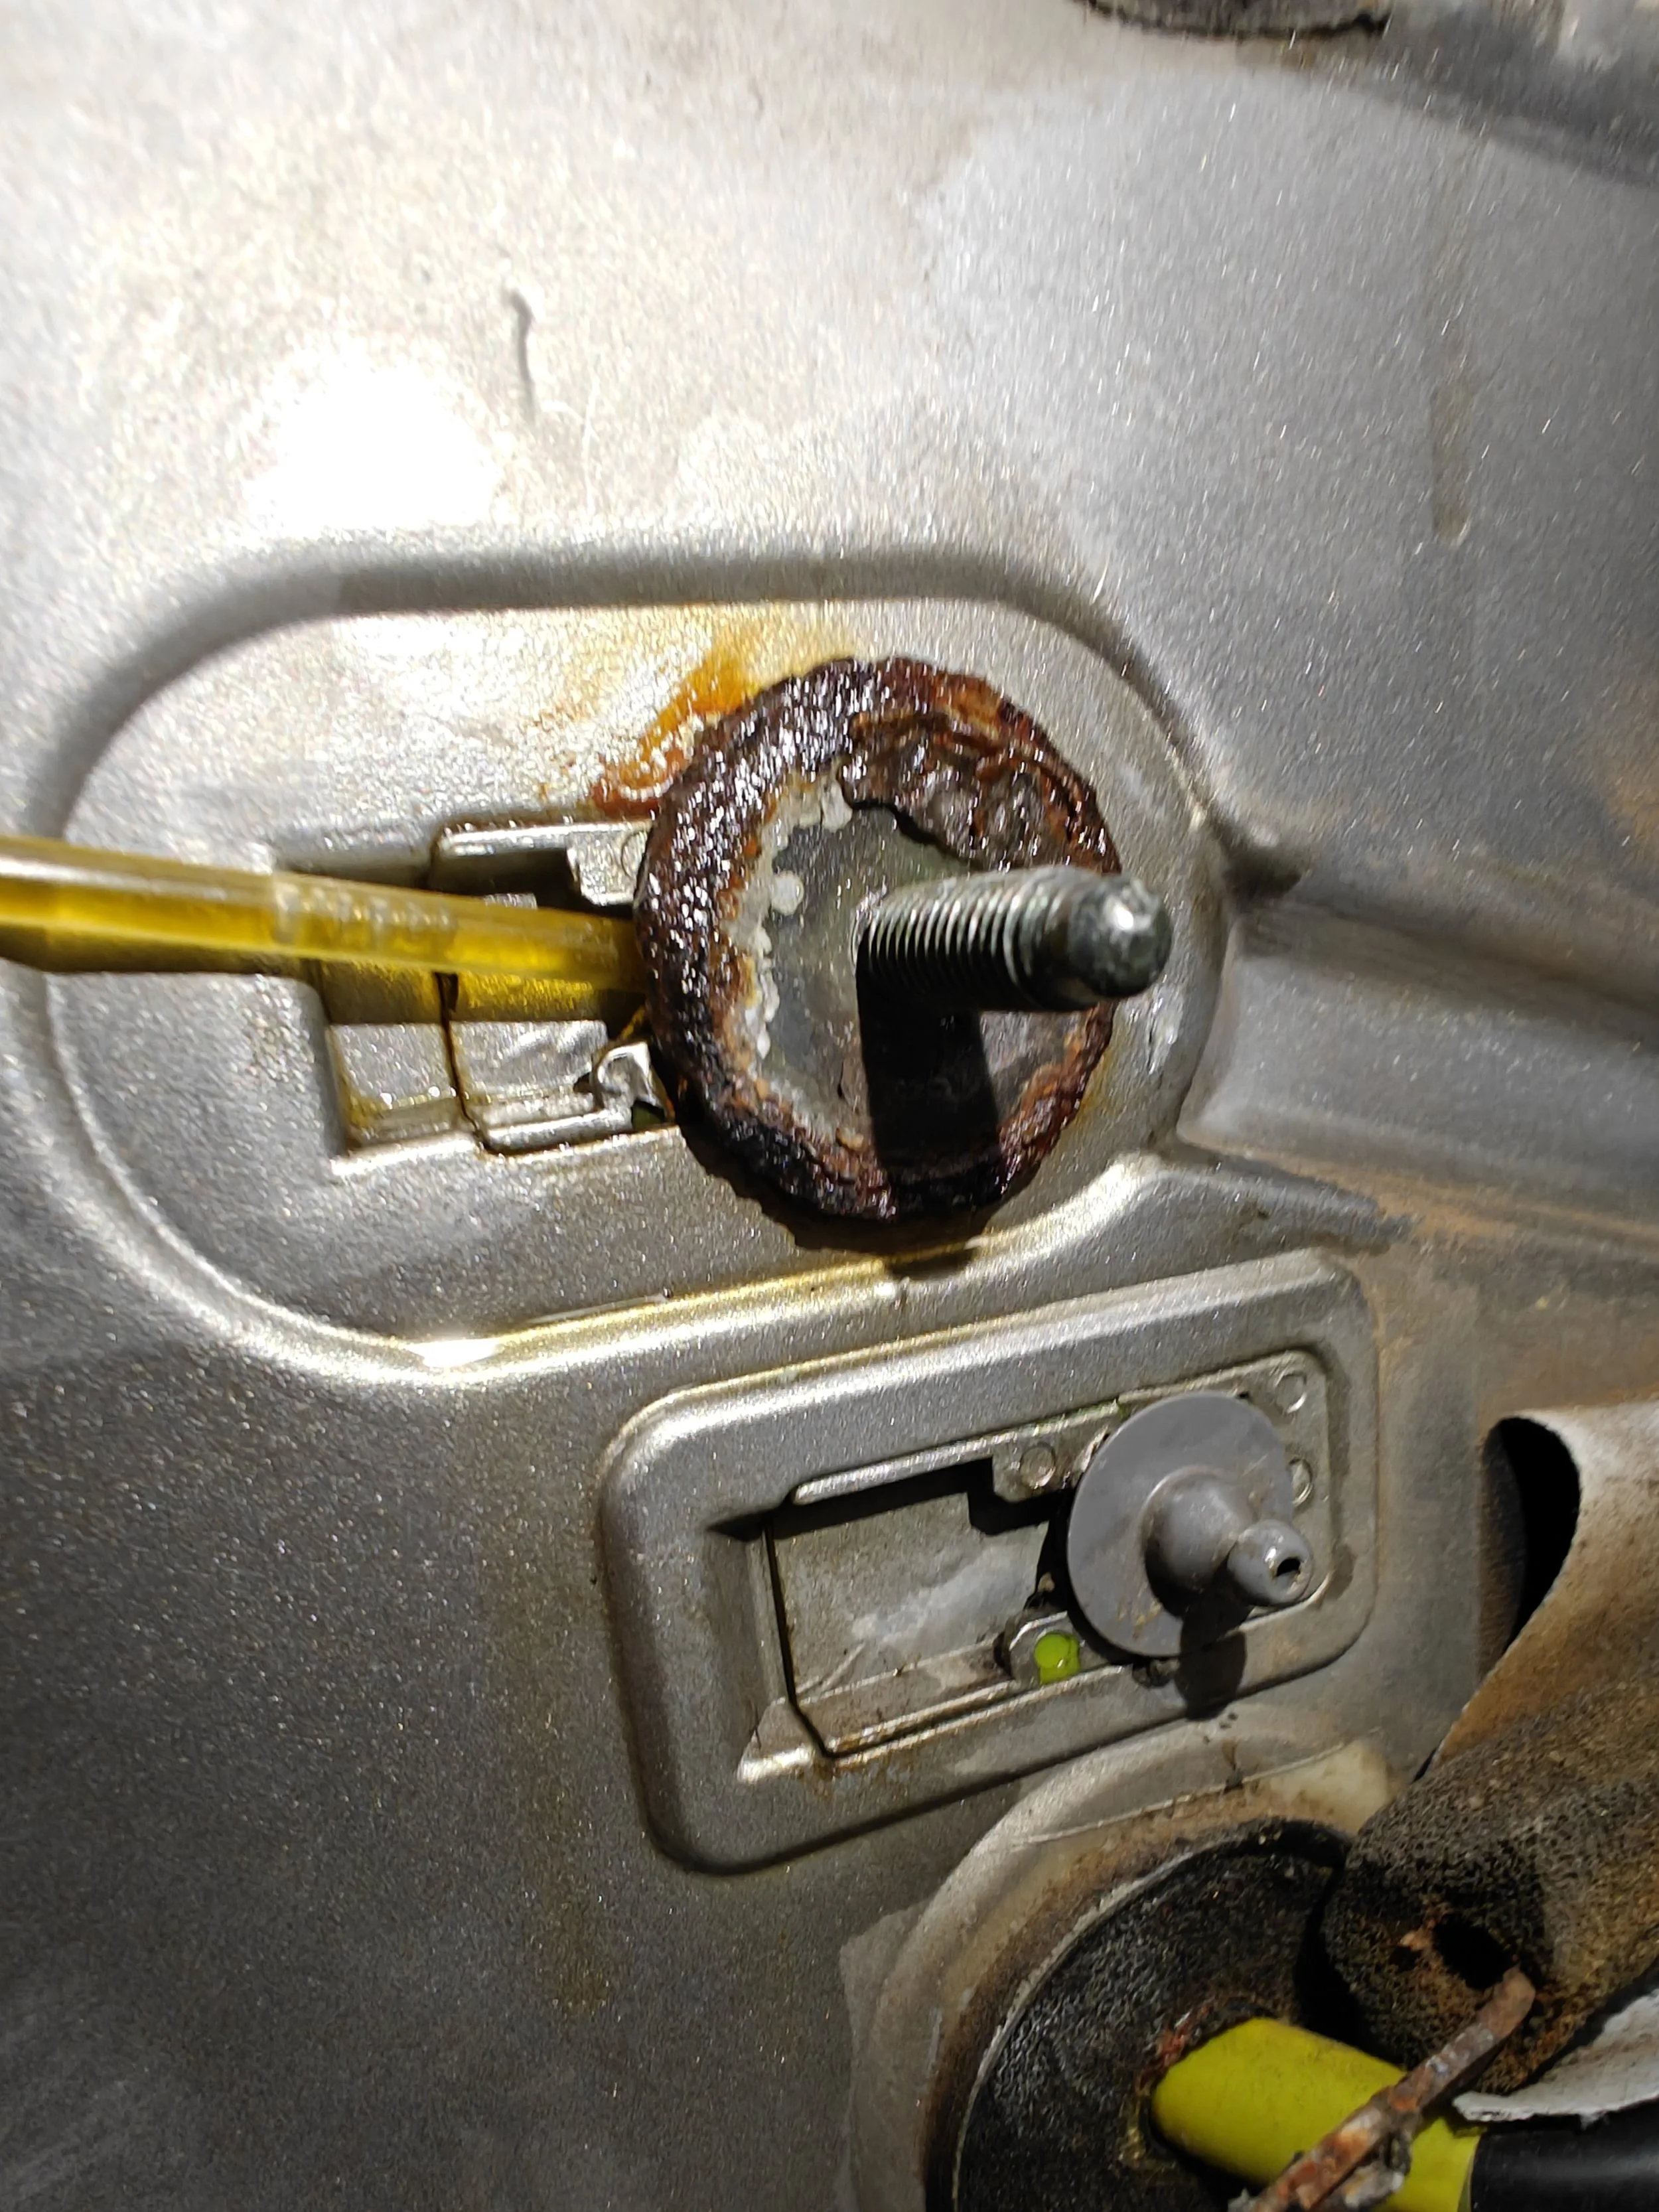
Now that the prologue getting you an idea of what to do and now on to where I started from. With the wing and trunk lid separated you will see the rust I was talking about. The place where you will find the majority of the rust will be on these bolts and the safety wire perhaps? I believe this safety wire is added to keep the upper portion of the wing from flying off and causing more injuries, but I could be wrong and it is just there to keep the pieces together.
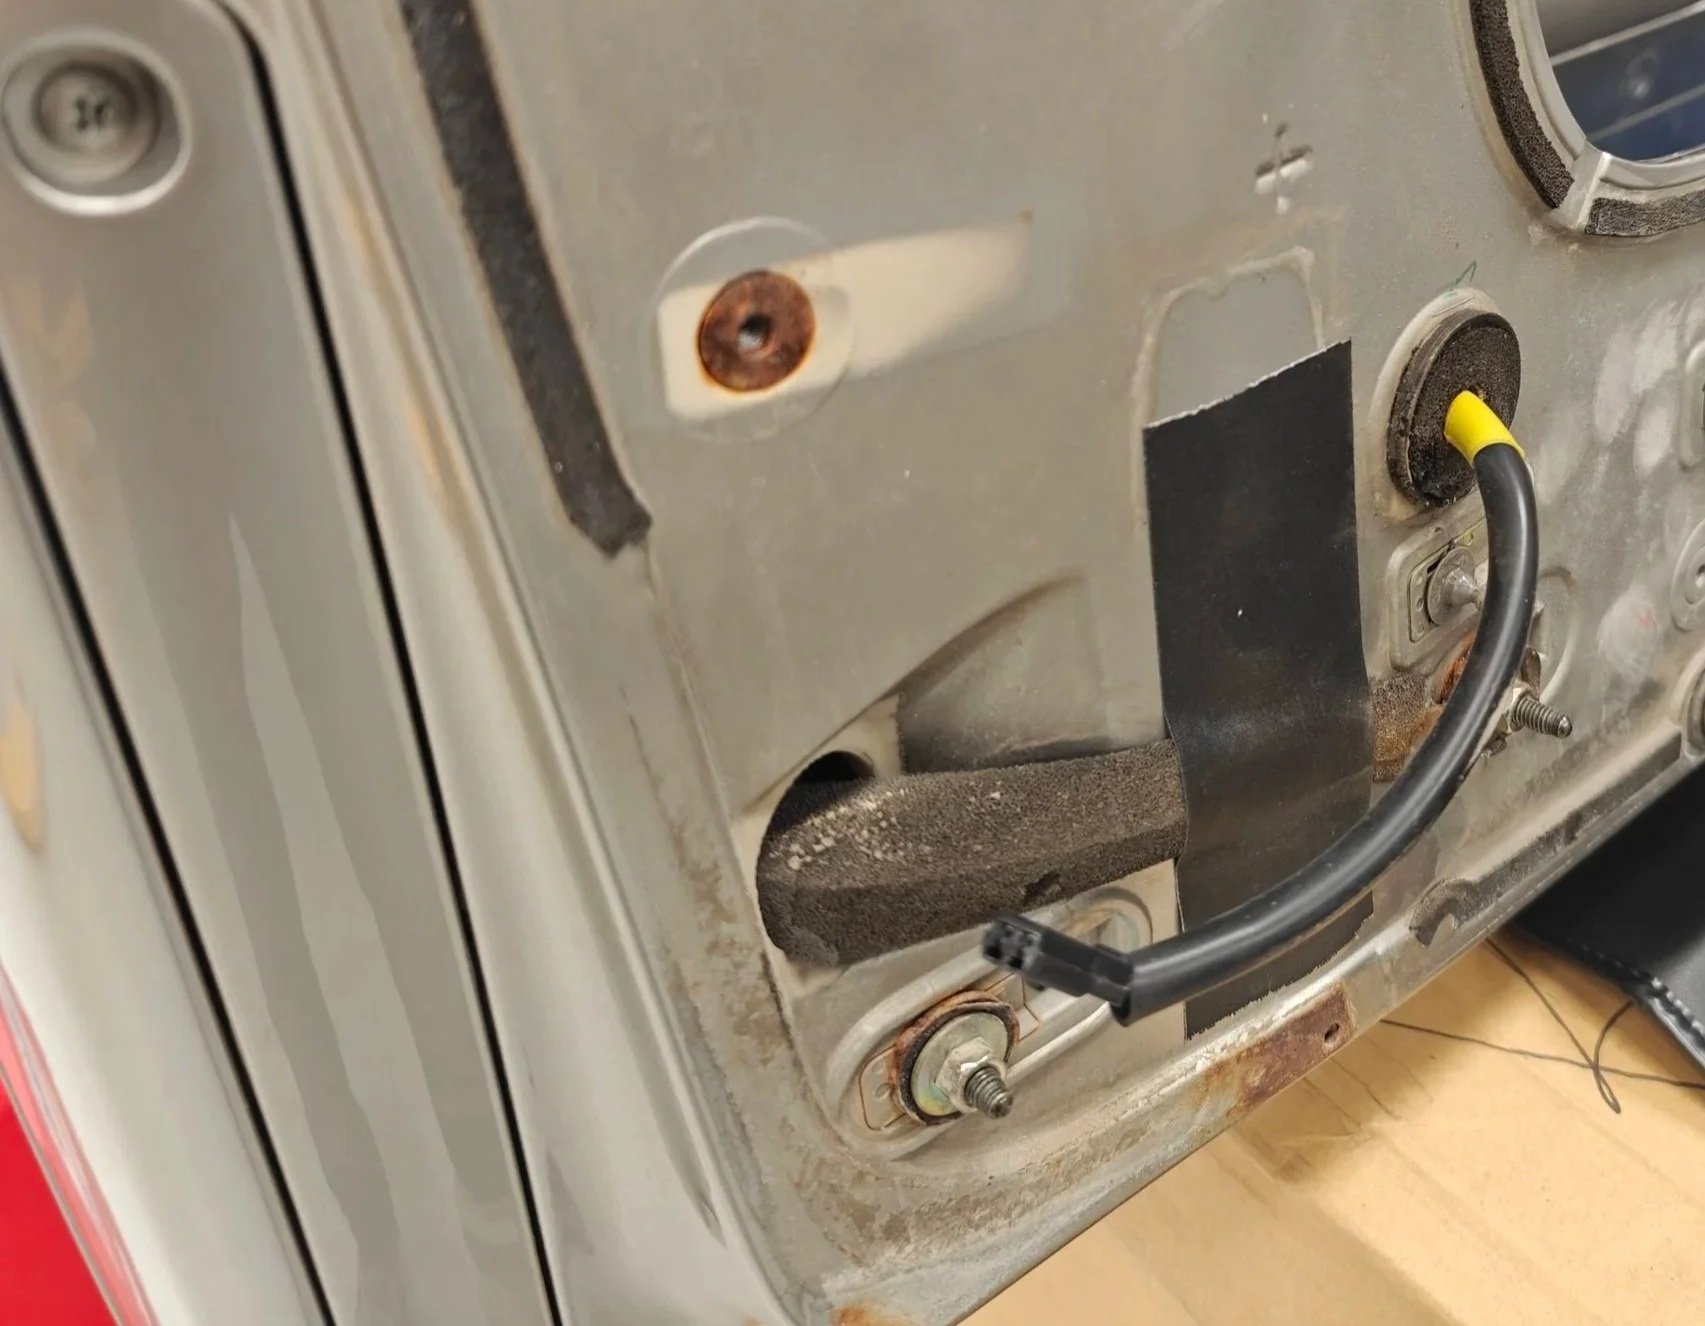
Now we can get a view underneath of what is happening. Plenty of rust on the studs and and wing.

Up close we see the biggest perpetrator of the rust. This safety wire connects the upper and lower portions of the wing together. It is not going to be easy to get this stud removed from the plastic holder.
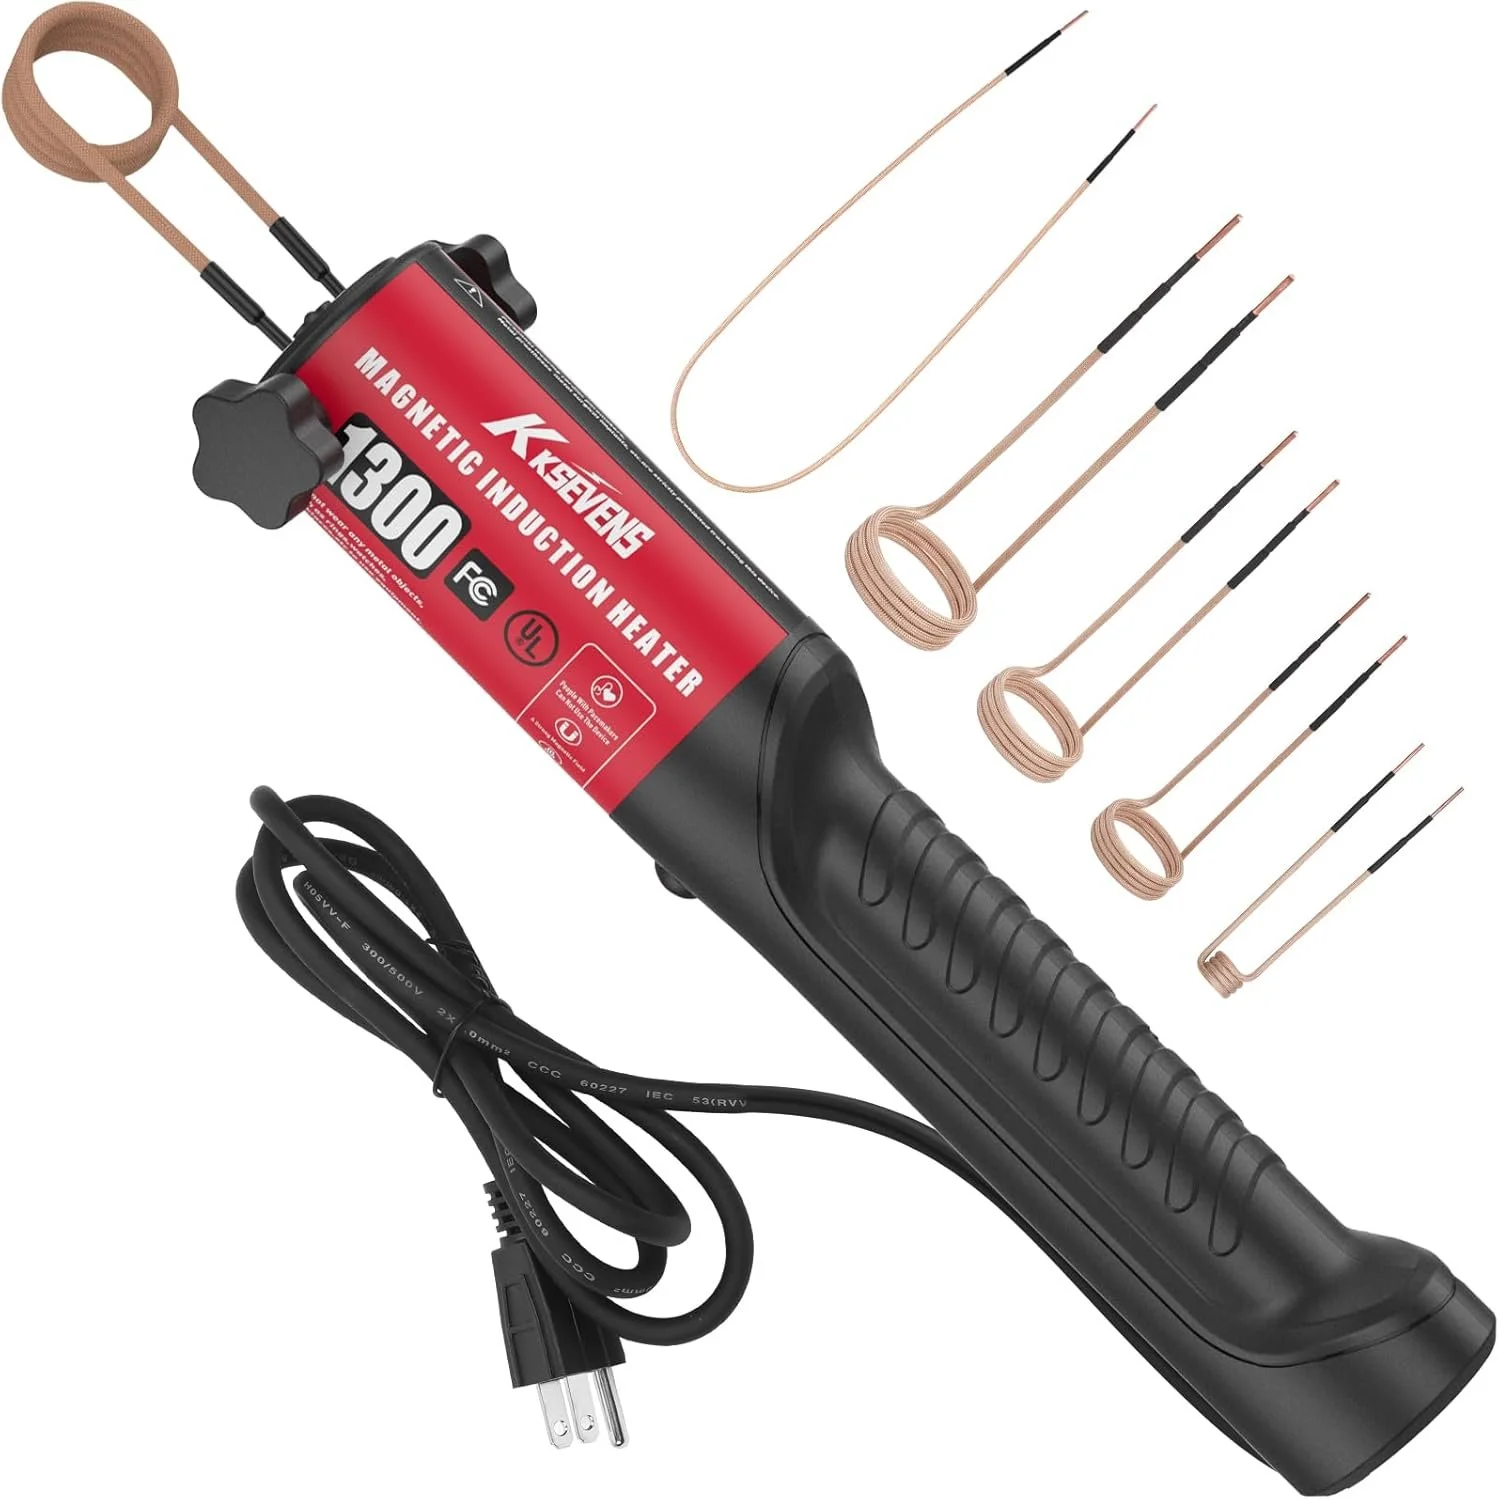
Removing the wire is the first task on your list. I was called by the body shop about what I wanted them to do as it was rusted to the bolt and was not keen on coming free. They ended up heating it up, which is why the inductive heater is on the list. This broke it free and they were able to save it. I feel like if the wire broke it wouldn’t be hard to patch it back together. I have also heard of plenty of people removing it, so its up to what makes you sleep easier at night.

Soaking the stud and wire was very necessary to get these apart. If you have an induction heater, that can make it a bit easier.

Here we can see the safety wire separated
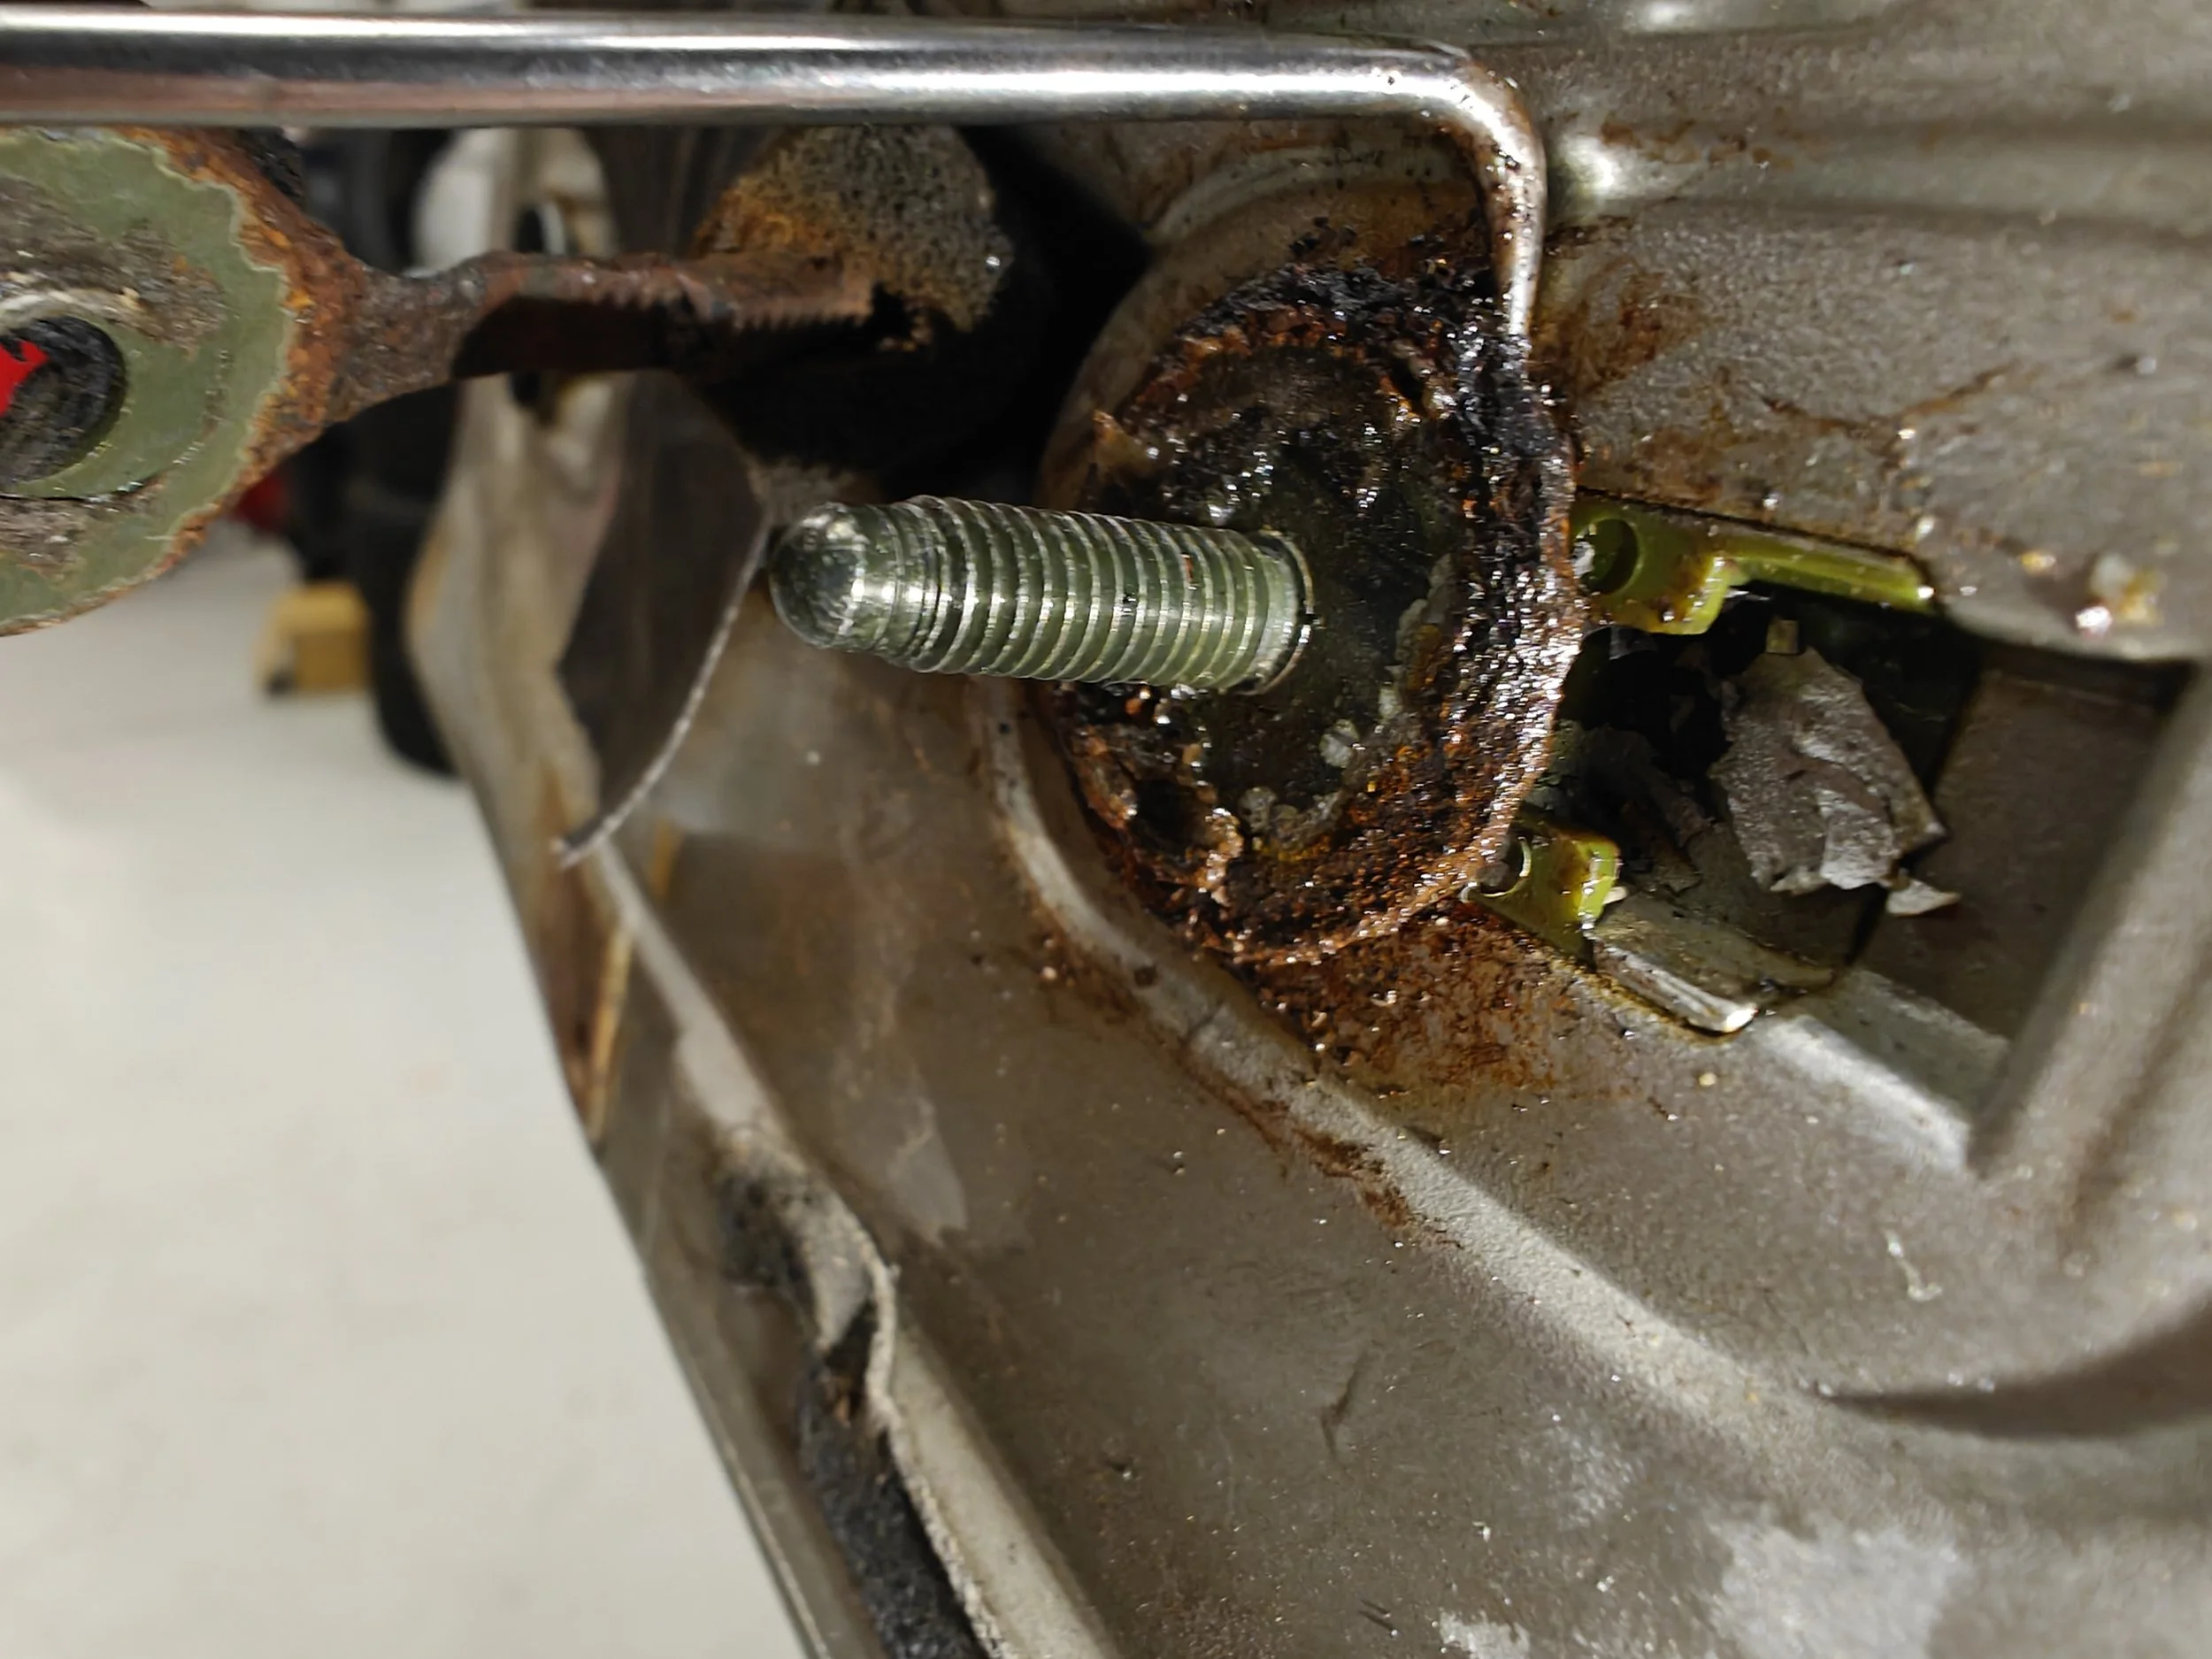
It would be nice to seal water from entering under the wing but that is not really an option.. as it would find a way in but not out, thus causing more rust. I spent a good time soaking the slide bolts in rust remover and two bolts were able to be removed. As shown below I used picks to try and chip away at the rust and a screwdriver to tap gently hoping it would come free. During removal of one of those bolts I was tapping progressively harder and ended up damaging the plastic holder.
After this mishap I decided to take a bit more care with the last two bolts. This brought out the cutting wheel to assist with removal. At the time I did not have an inductive heater but the idea was the same. I used the blade to heat up the bolt which loosened up rust and allowed them to come out much easier. The inductive heater is probably a better option as the cutting wheel runs the chance of cutting into the wing if you aren’t careful.
Next we are soaking the stud to get it free,
Using a small pick to help brake apart the rust to allow it to remove.

If you don’t have an inductive heater, a cutoff wheel can be beneficial to add heat. This should allow it to break free.

With heat and rust penatrent you can now start to slowly tap with your mallet and screwdriver. Be careful, too much force can easily break the plastic housing on the wing.
Here is the completion of our hardwork.

And the stud that will replace it. You can see how misshaped the stud has become with the rust,
The next step will include the supplied contents from the Por-15. I started by using a grinding/sanding tool to clean off the take off the large pieces of the rust.
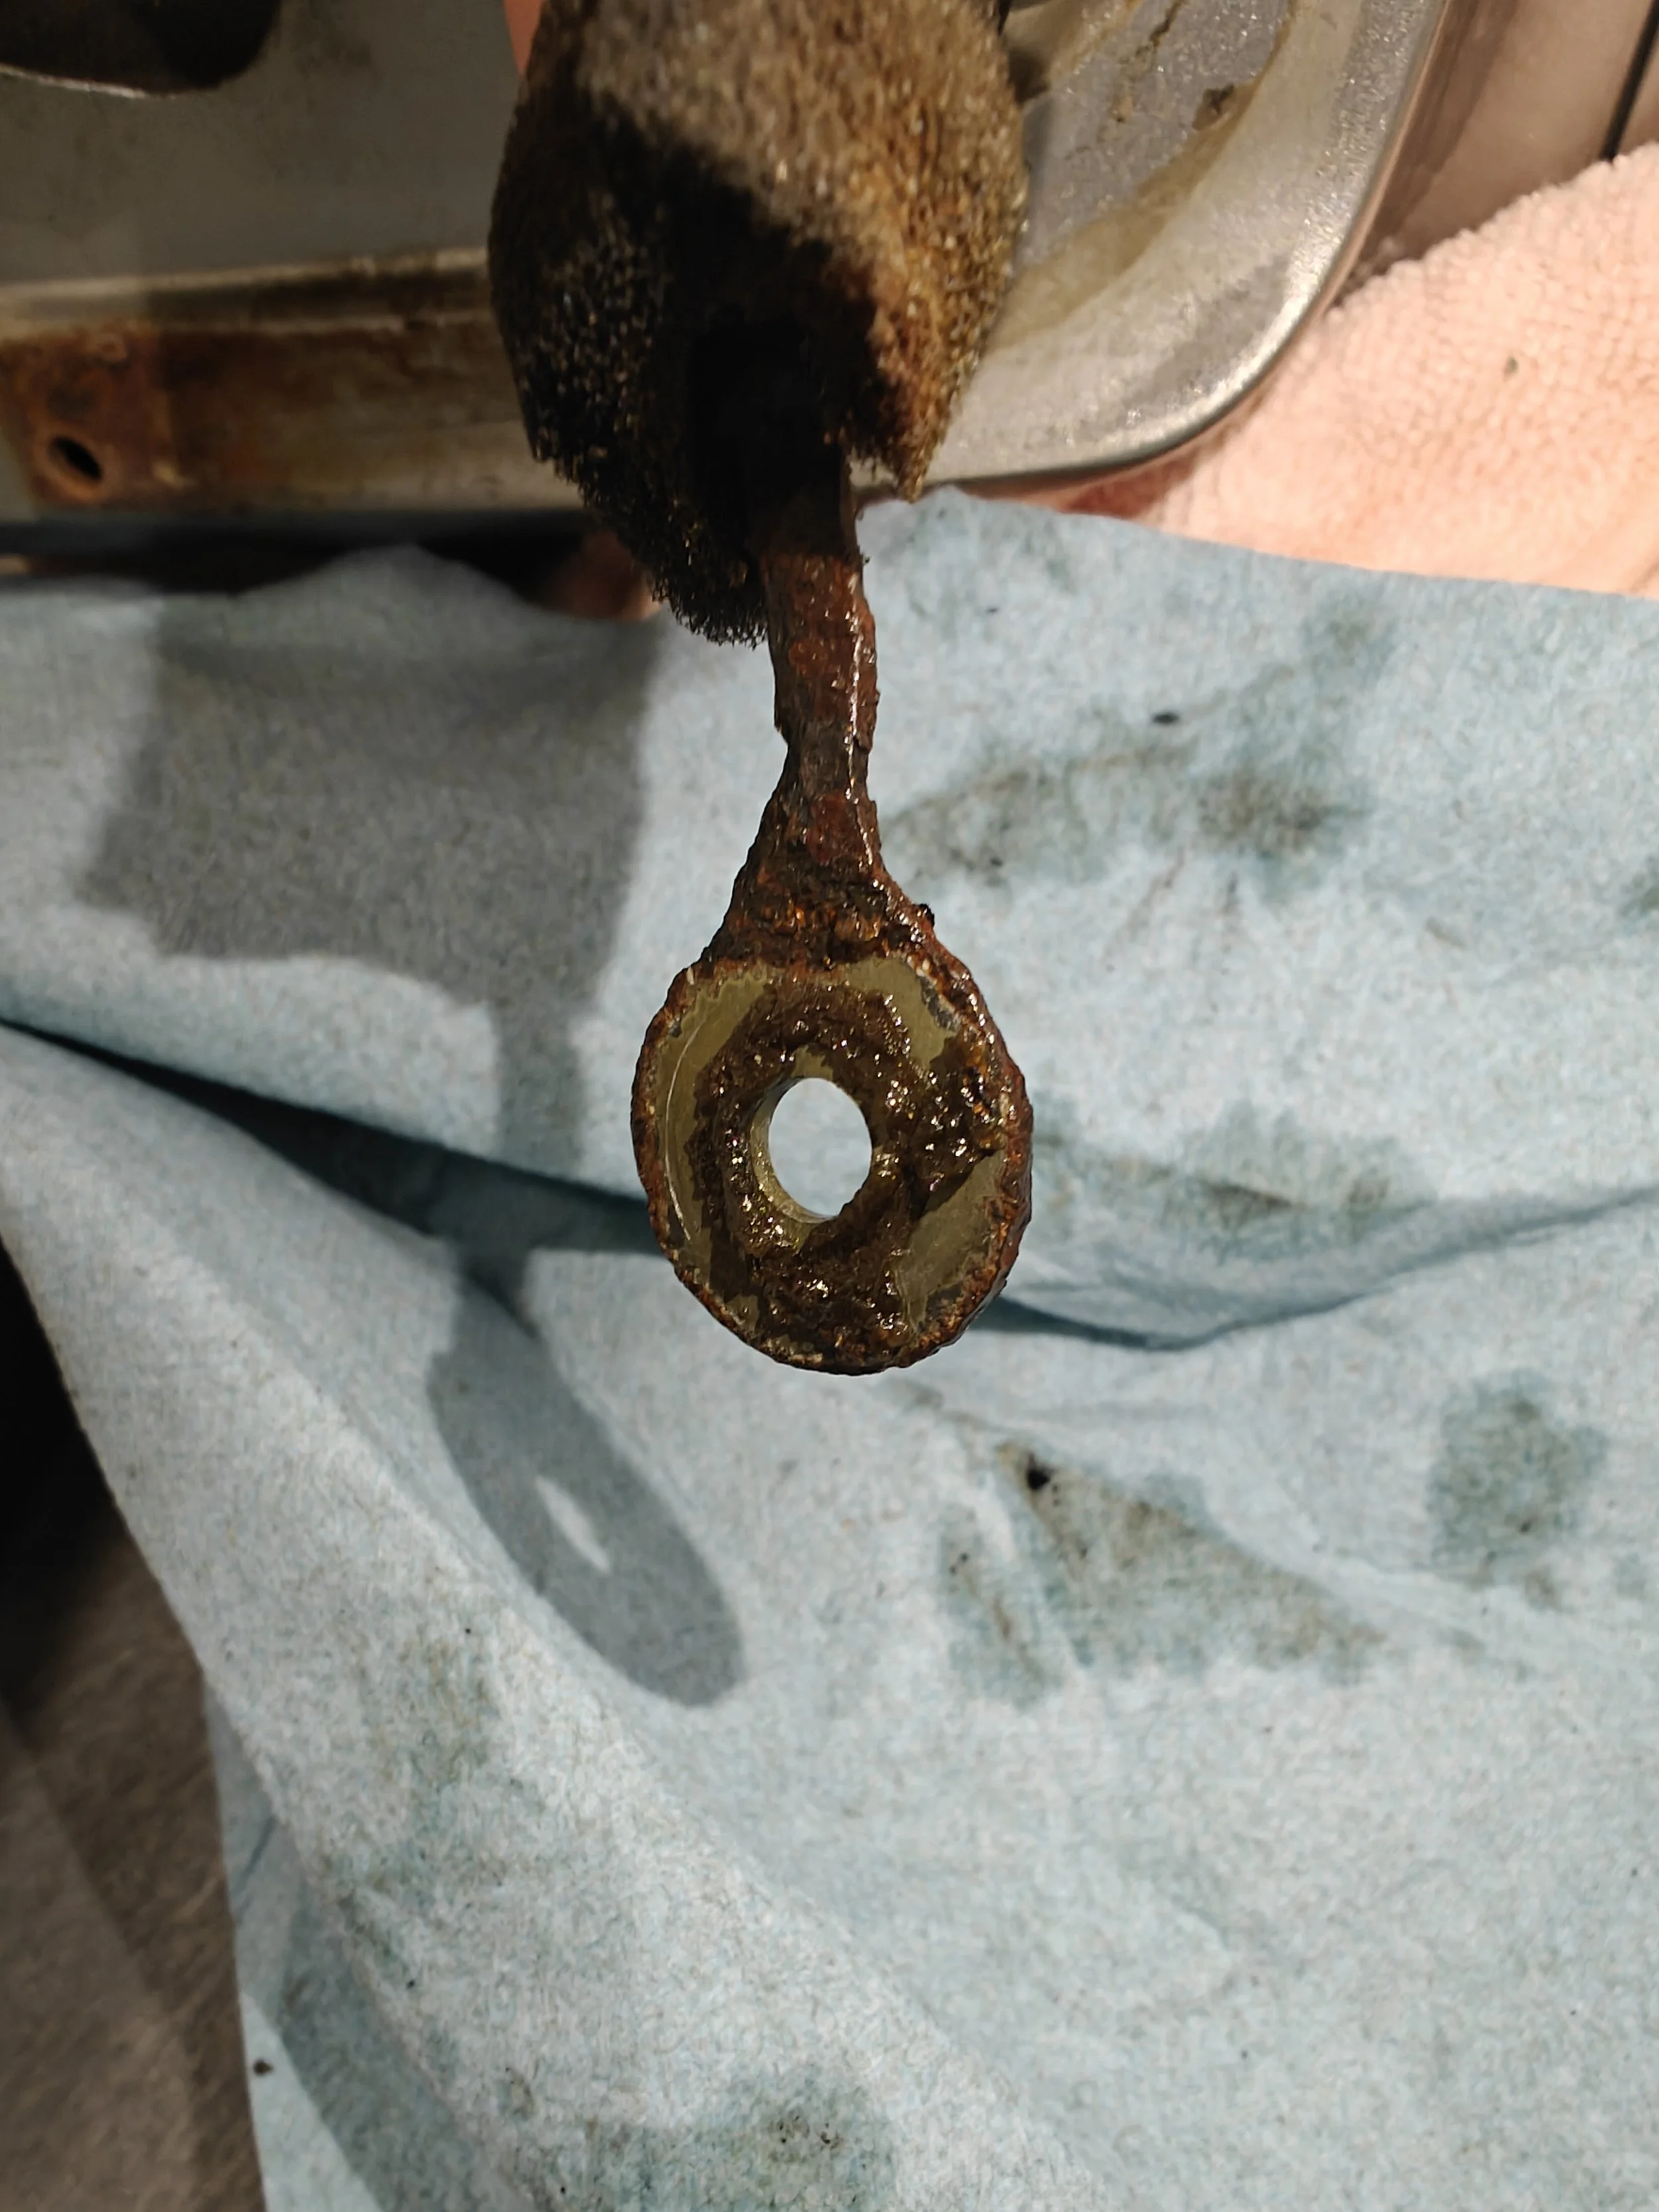
Using your favorite sander/grinder you can proceed to remove the remaining rust from the safety wire.

All cleaned up and ready for the next step.
With that complete we will begin by prepping the surface with Metal Prep for a proper rust prevention coating. I filled a glove finger with this and waited the allotted time.
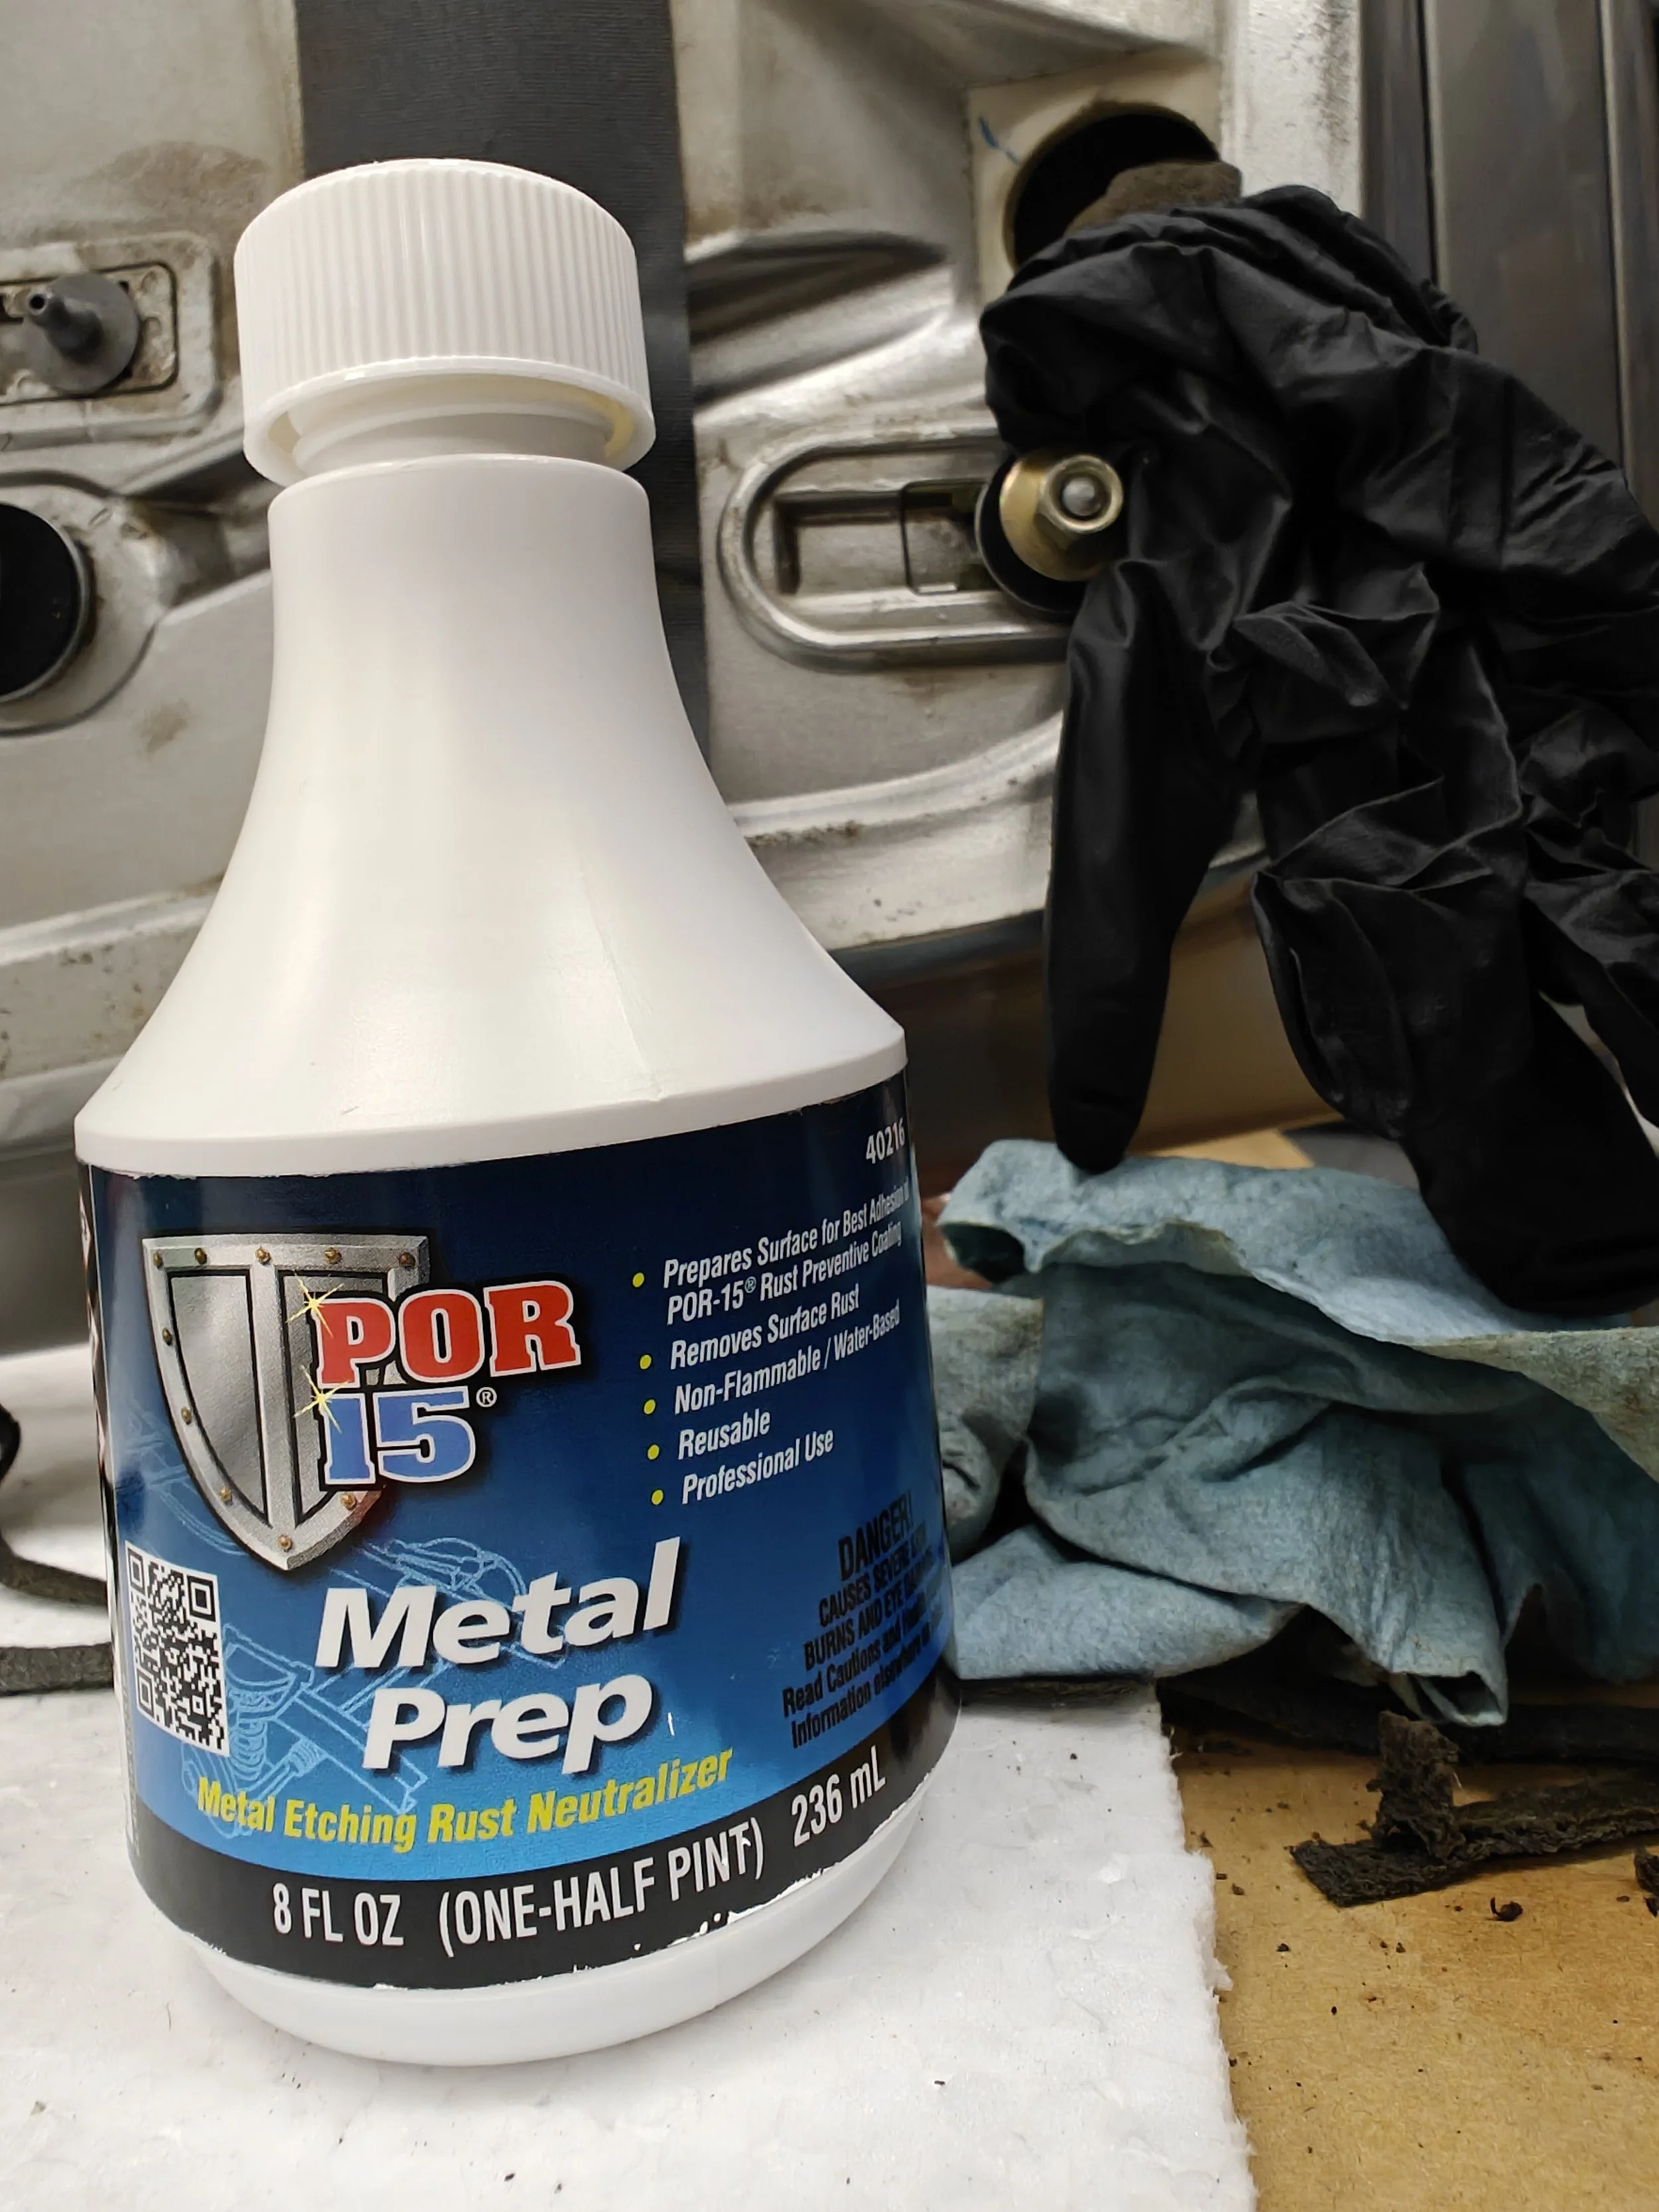
With your bottle of metal prep we will soak the eyelet to ready it for the next steps. In the background you will see a glove which I filled with metal prep and slide the eyelet into.

Post metal prep bath the eyelet looks ready for the next step.
Once it was completed I moved it to the Cleaner Degreaser to prep the surface for Por-15. Again we will soak it inside a glove and let it sit.
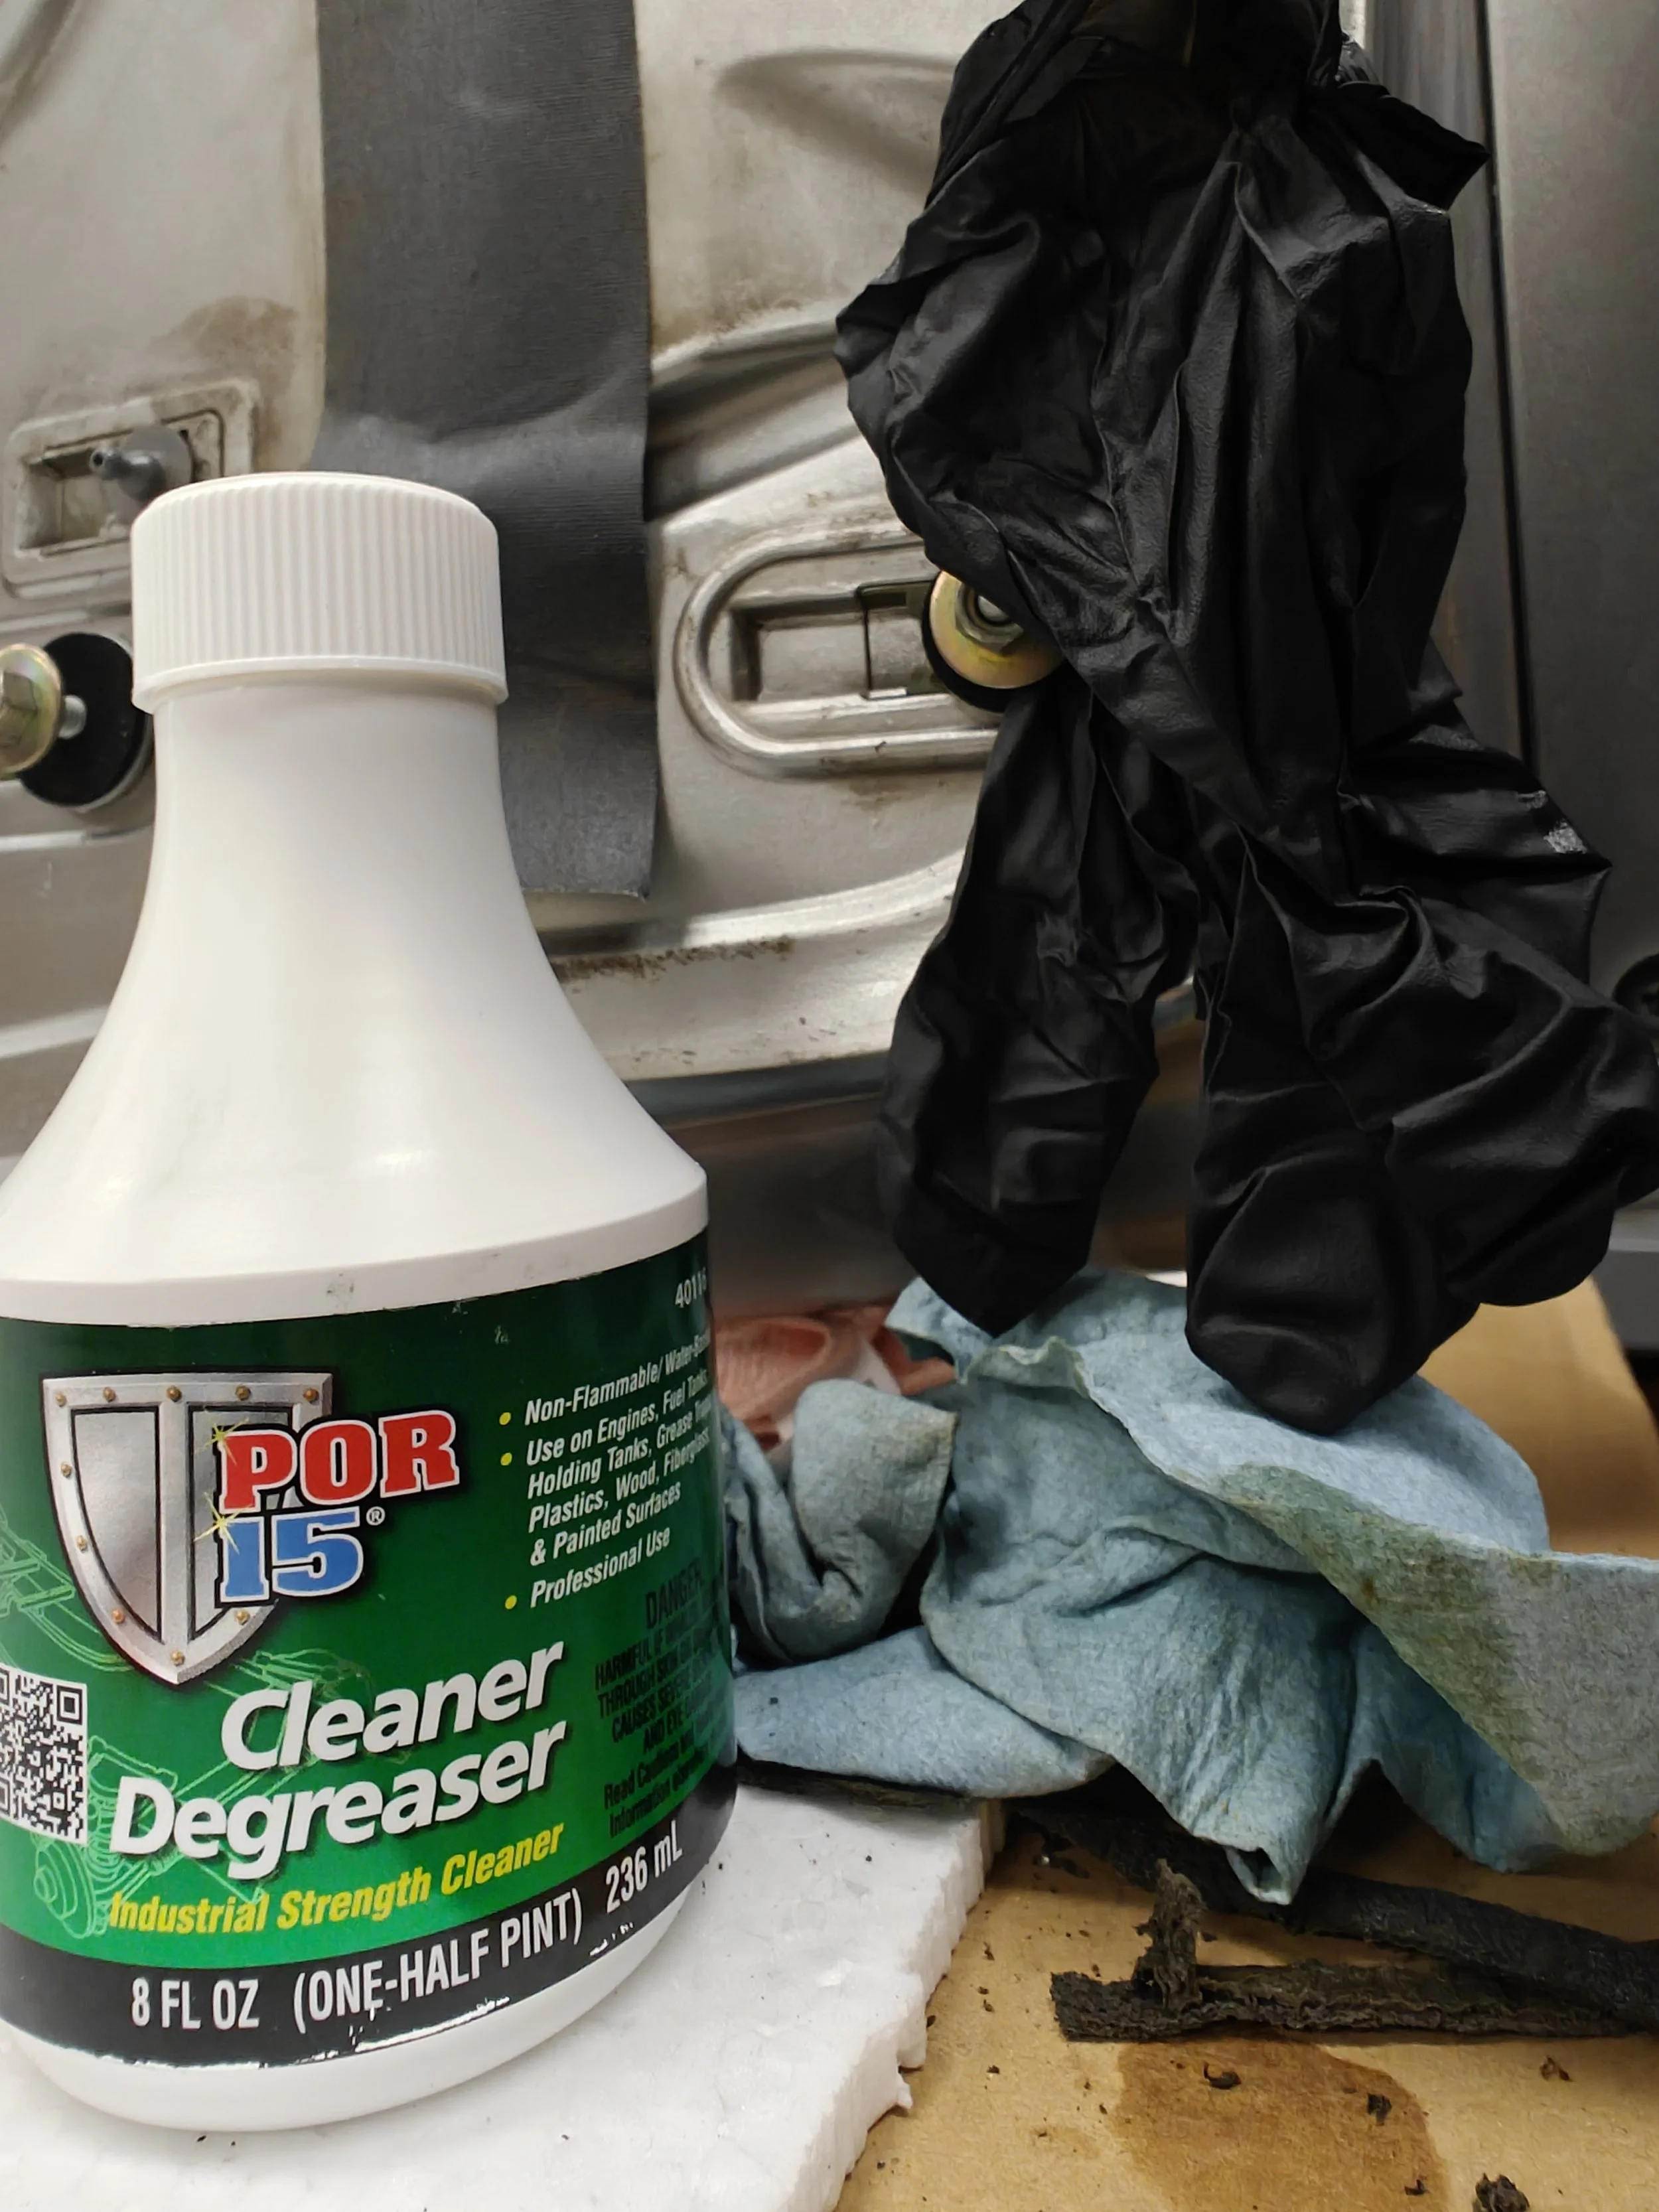
With a new glove in hand I filled a fingertip with Cleaner Degreaser and allowed it to sit for the allotted time.
To finalize the job I will now apply a coat of Por-15. Once the Por-15 is nice dry, which can take a couple of hours, I added a second layer as recommended. This will hopefully keep the rust at bay for many years to come.

The final step to the process is dunking into the sealer. This is very straightforward as shown. I will recommend you to reseal the can as it is drying and let it drip on a towel. Otherwise your sealer will dry out.

Allow the proper time to cure before applying a second coat.
With the wire taken care of I moved on to the rest of the hardware. Originally all the mounting hardware included foam washers to provide protection to the trunk lid. If you look closely to the hardware you will see the flattened foam washer. I was cheap and ordered the smallest (cheapest) size hardware and removed the foam from them and added them to my existing hardware. You could also order each piece of hardware but it will cost you little more. Also I noticed the new hardware doesn’t appear to have the protective coating on it like the original hardware, another reason to reuse the old.

After twenty years of being attached to the trunk lid I noticed that these foam cushions were toast.

Here is a good visual of the old cushion versus a new one from Subaru.
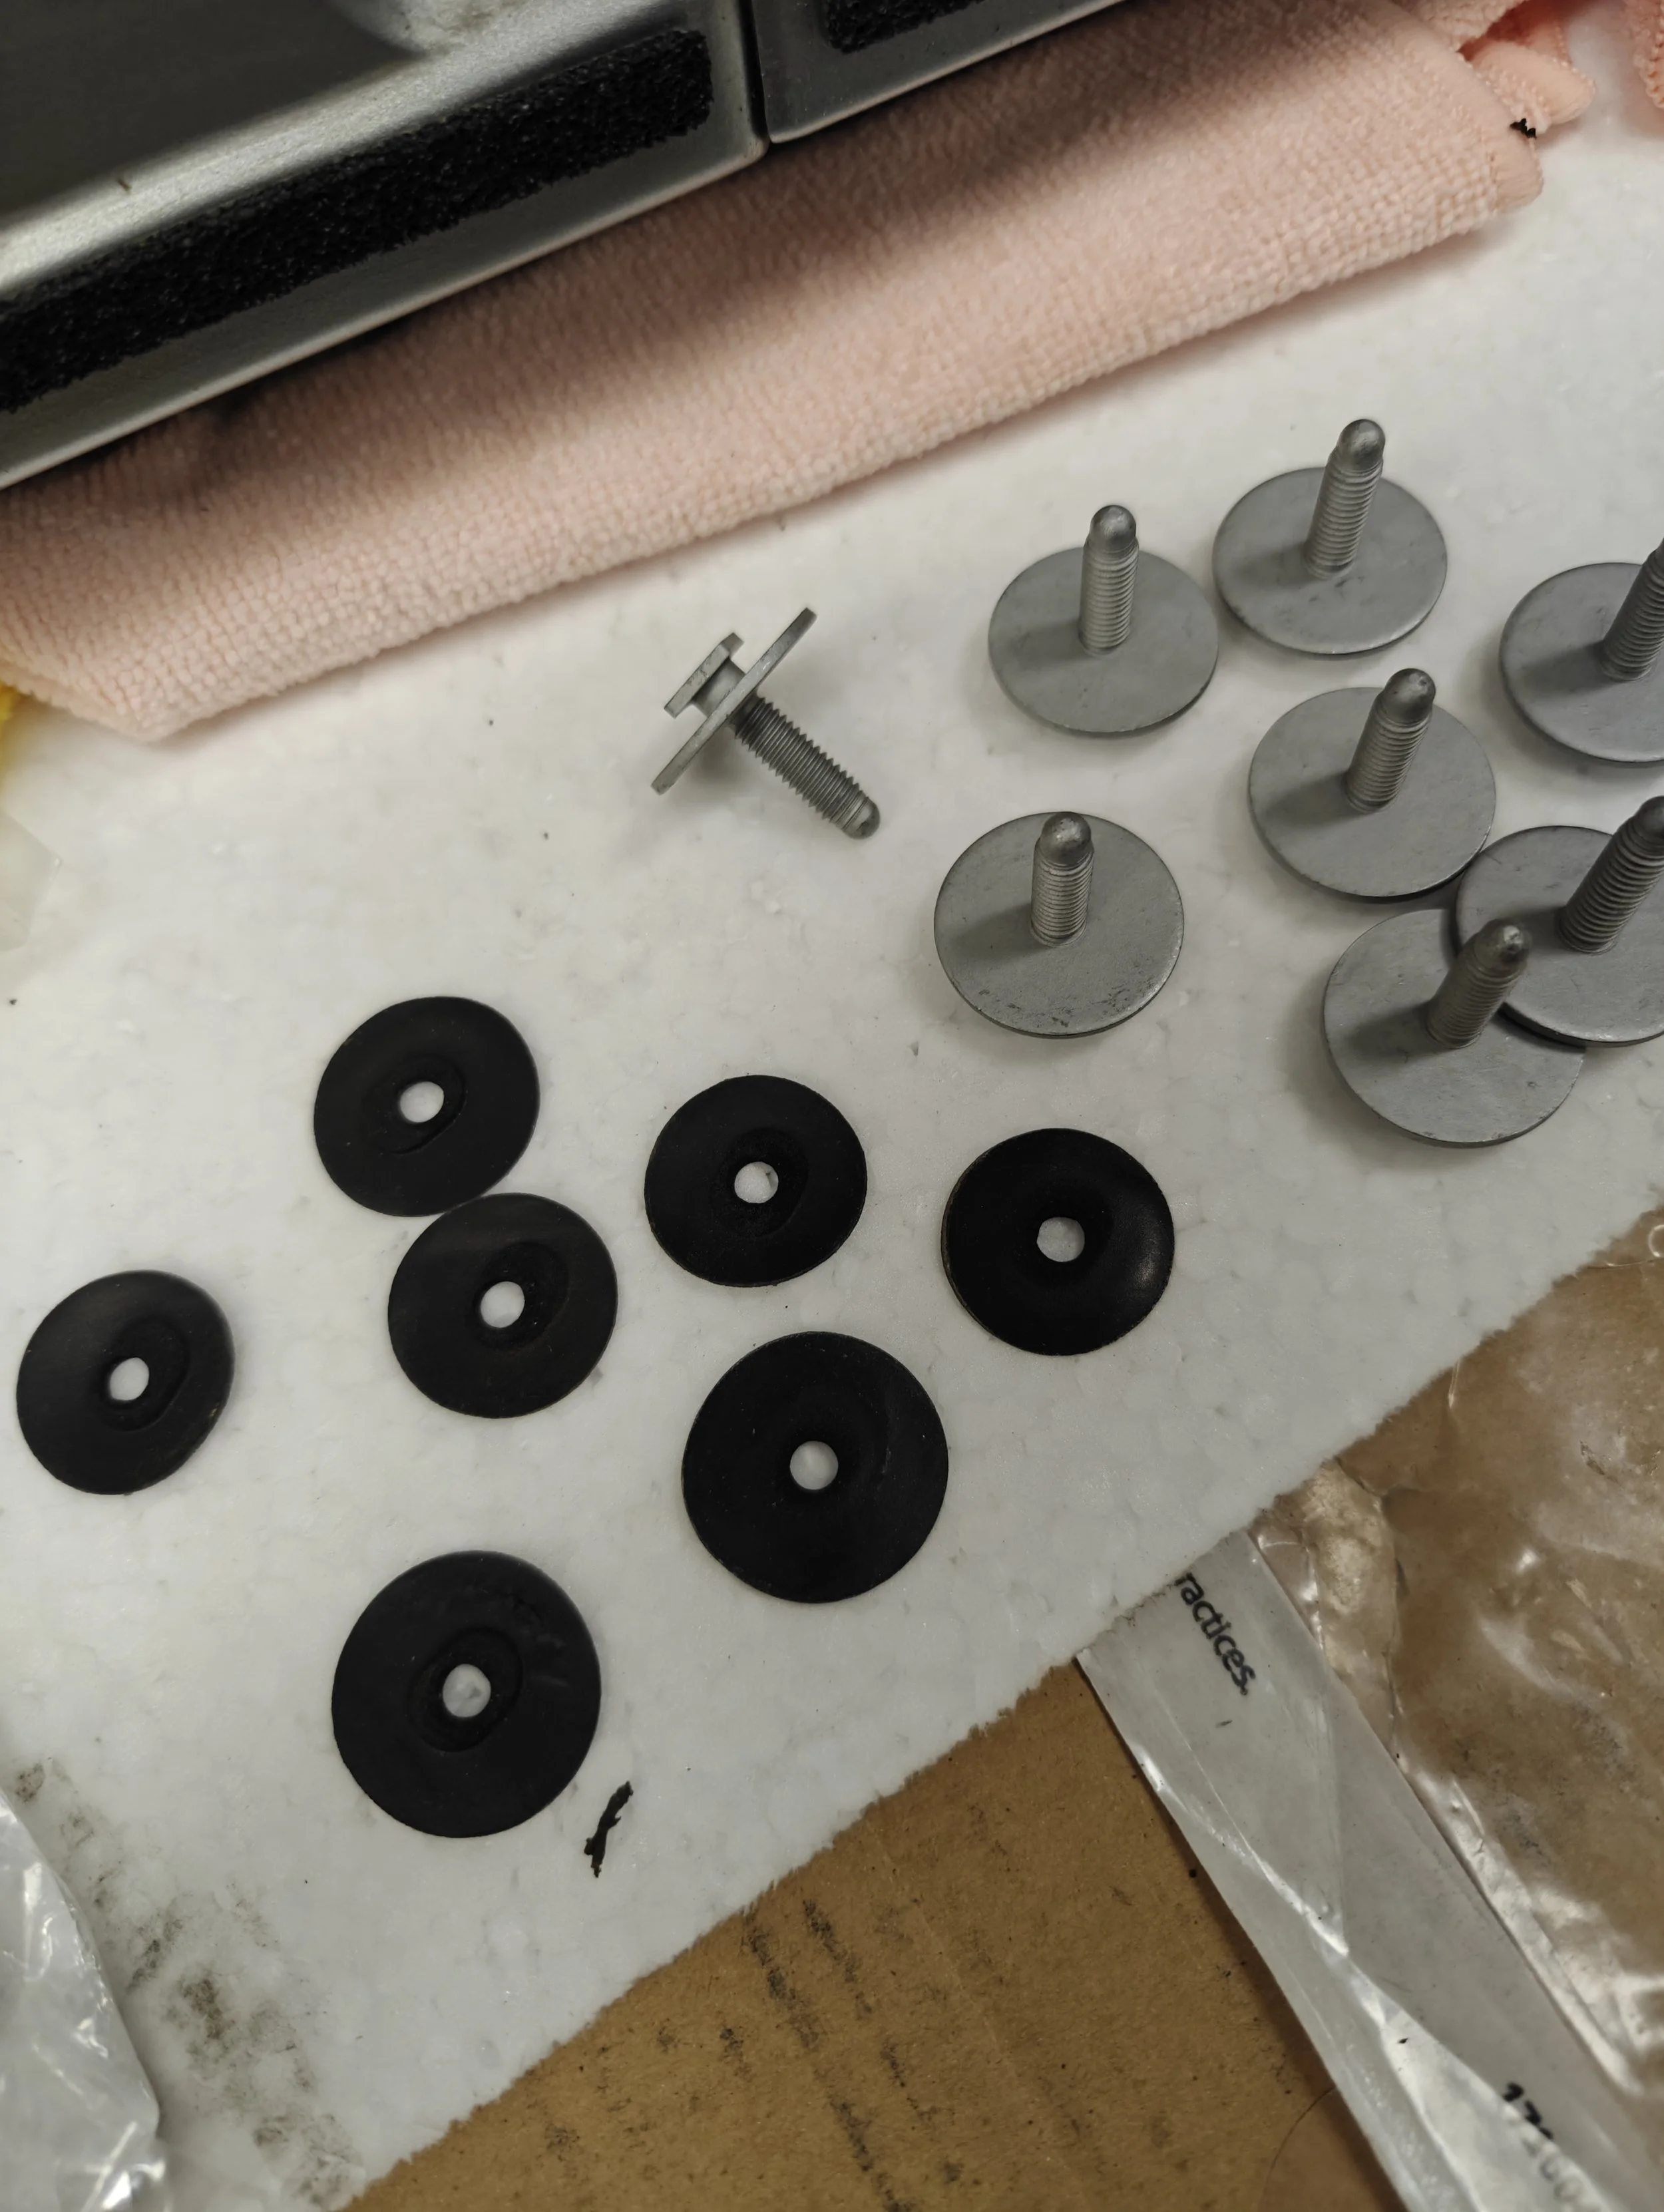
I was going to just swap out the studs until I noticed the new studs were a raw material. Unlike the older studs that had a plating to them. I decided to remove cushions and replace them without adding new studs.. as long as they weren’t the two that had rusted apart.
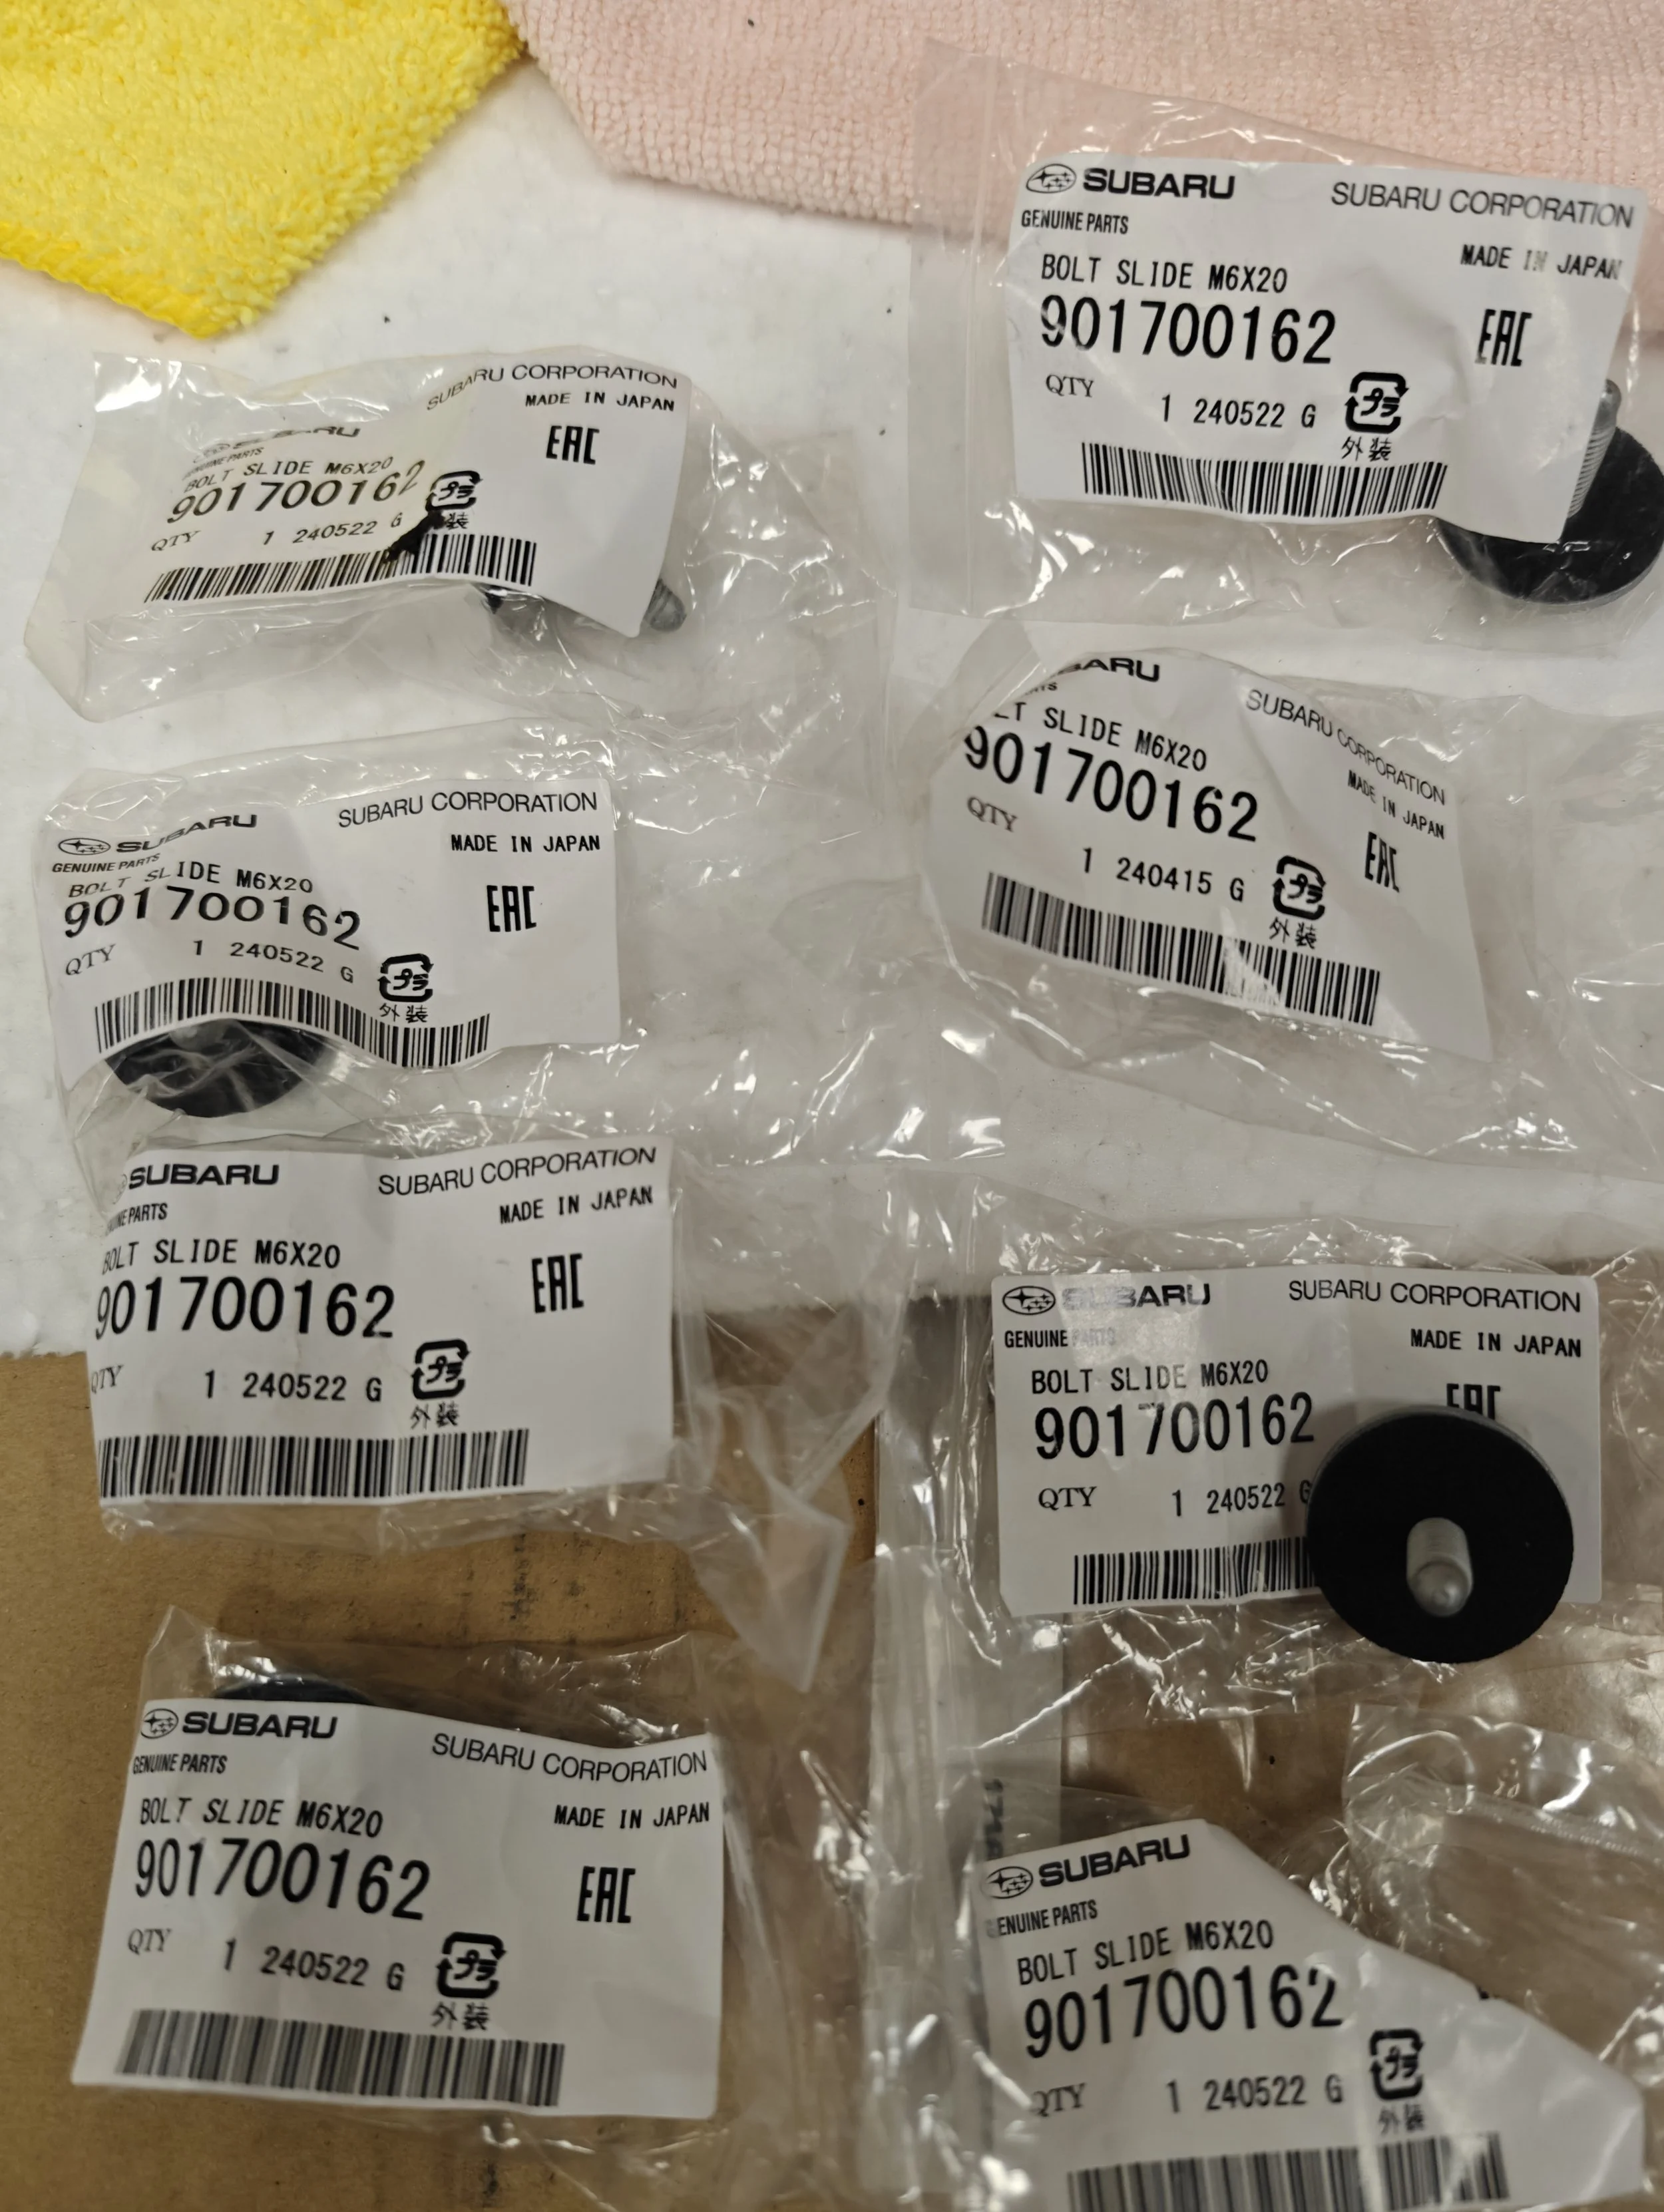
I wanted to do this right and so I bought the cheapest studs I could to remove and use the foam cushion they come with. This is the cheapest way to replace them all, buy these.
If you tore the wing down completely you may have noticed that the hardware has clear circular decals that cover the hardware. Now would be the time to reseal these back up and keep the hardware from corroding.

A clear decal keeps moisture from getting and causing corrosion on this bolt.
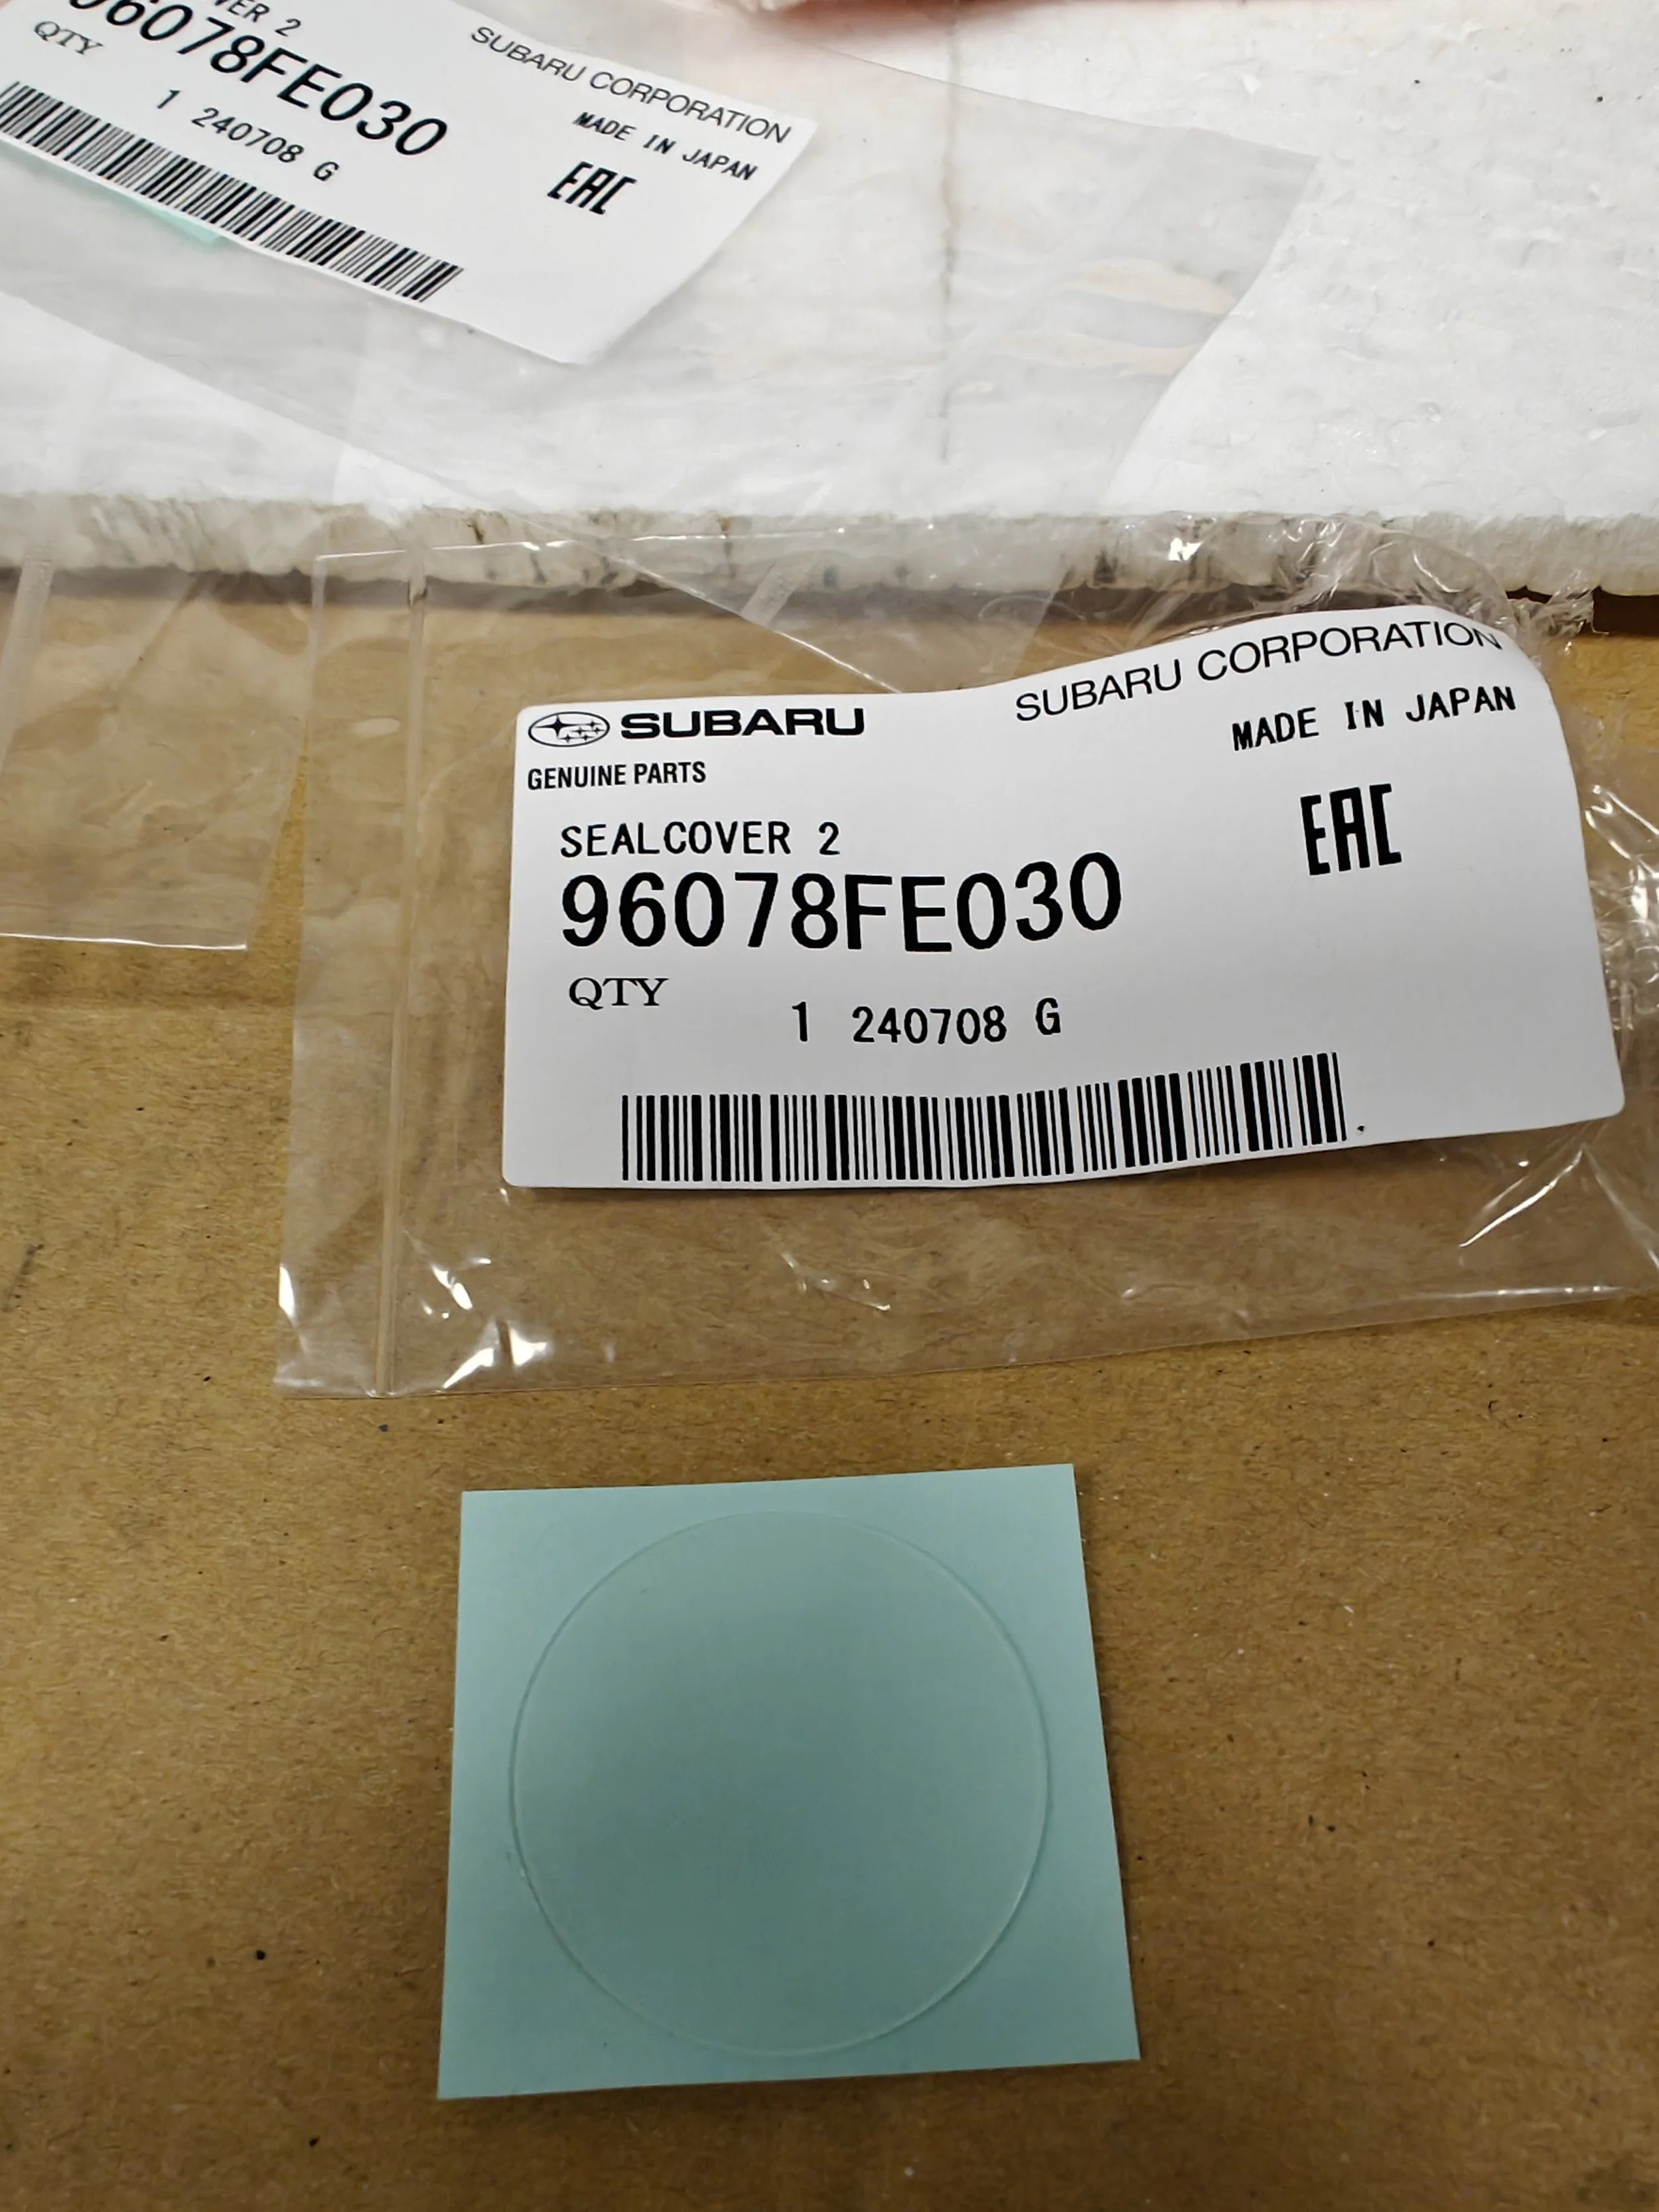
Here is your part number to fix this. These things aren’t cheap.
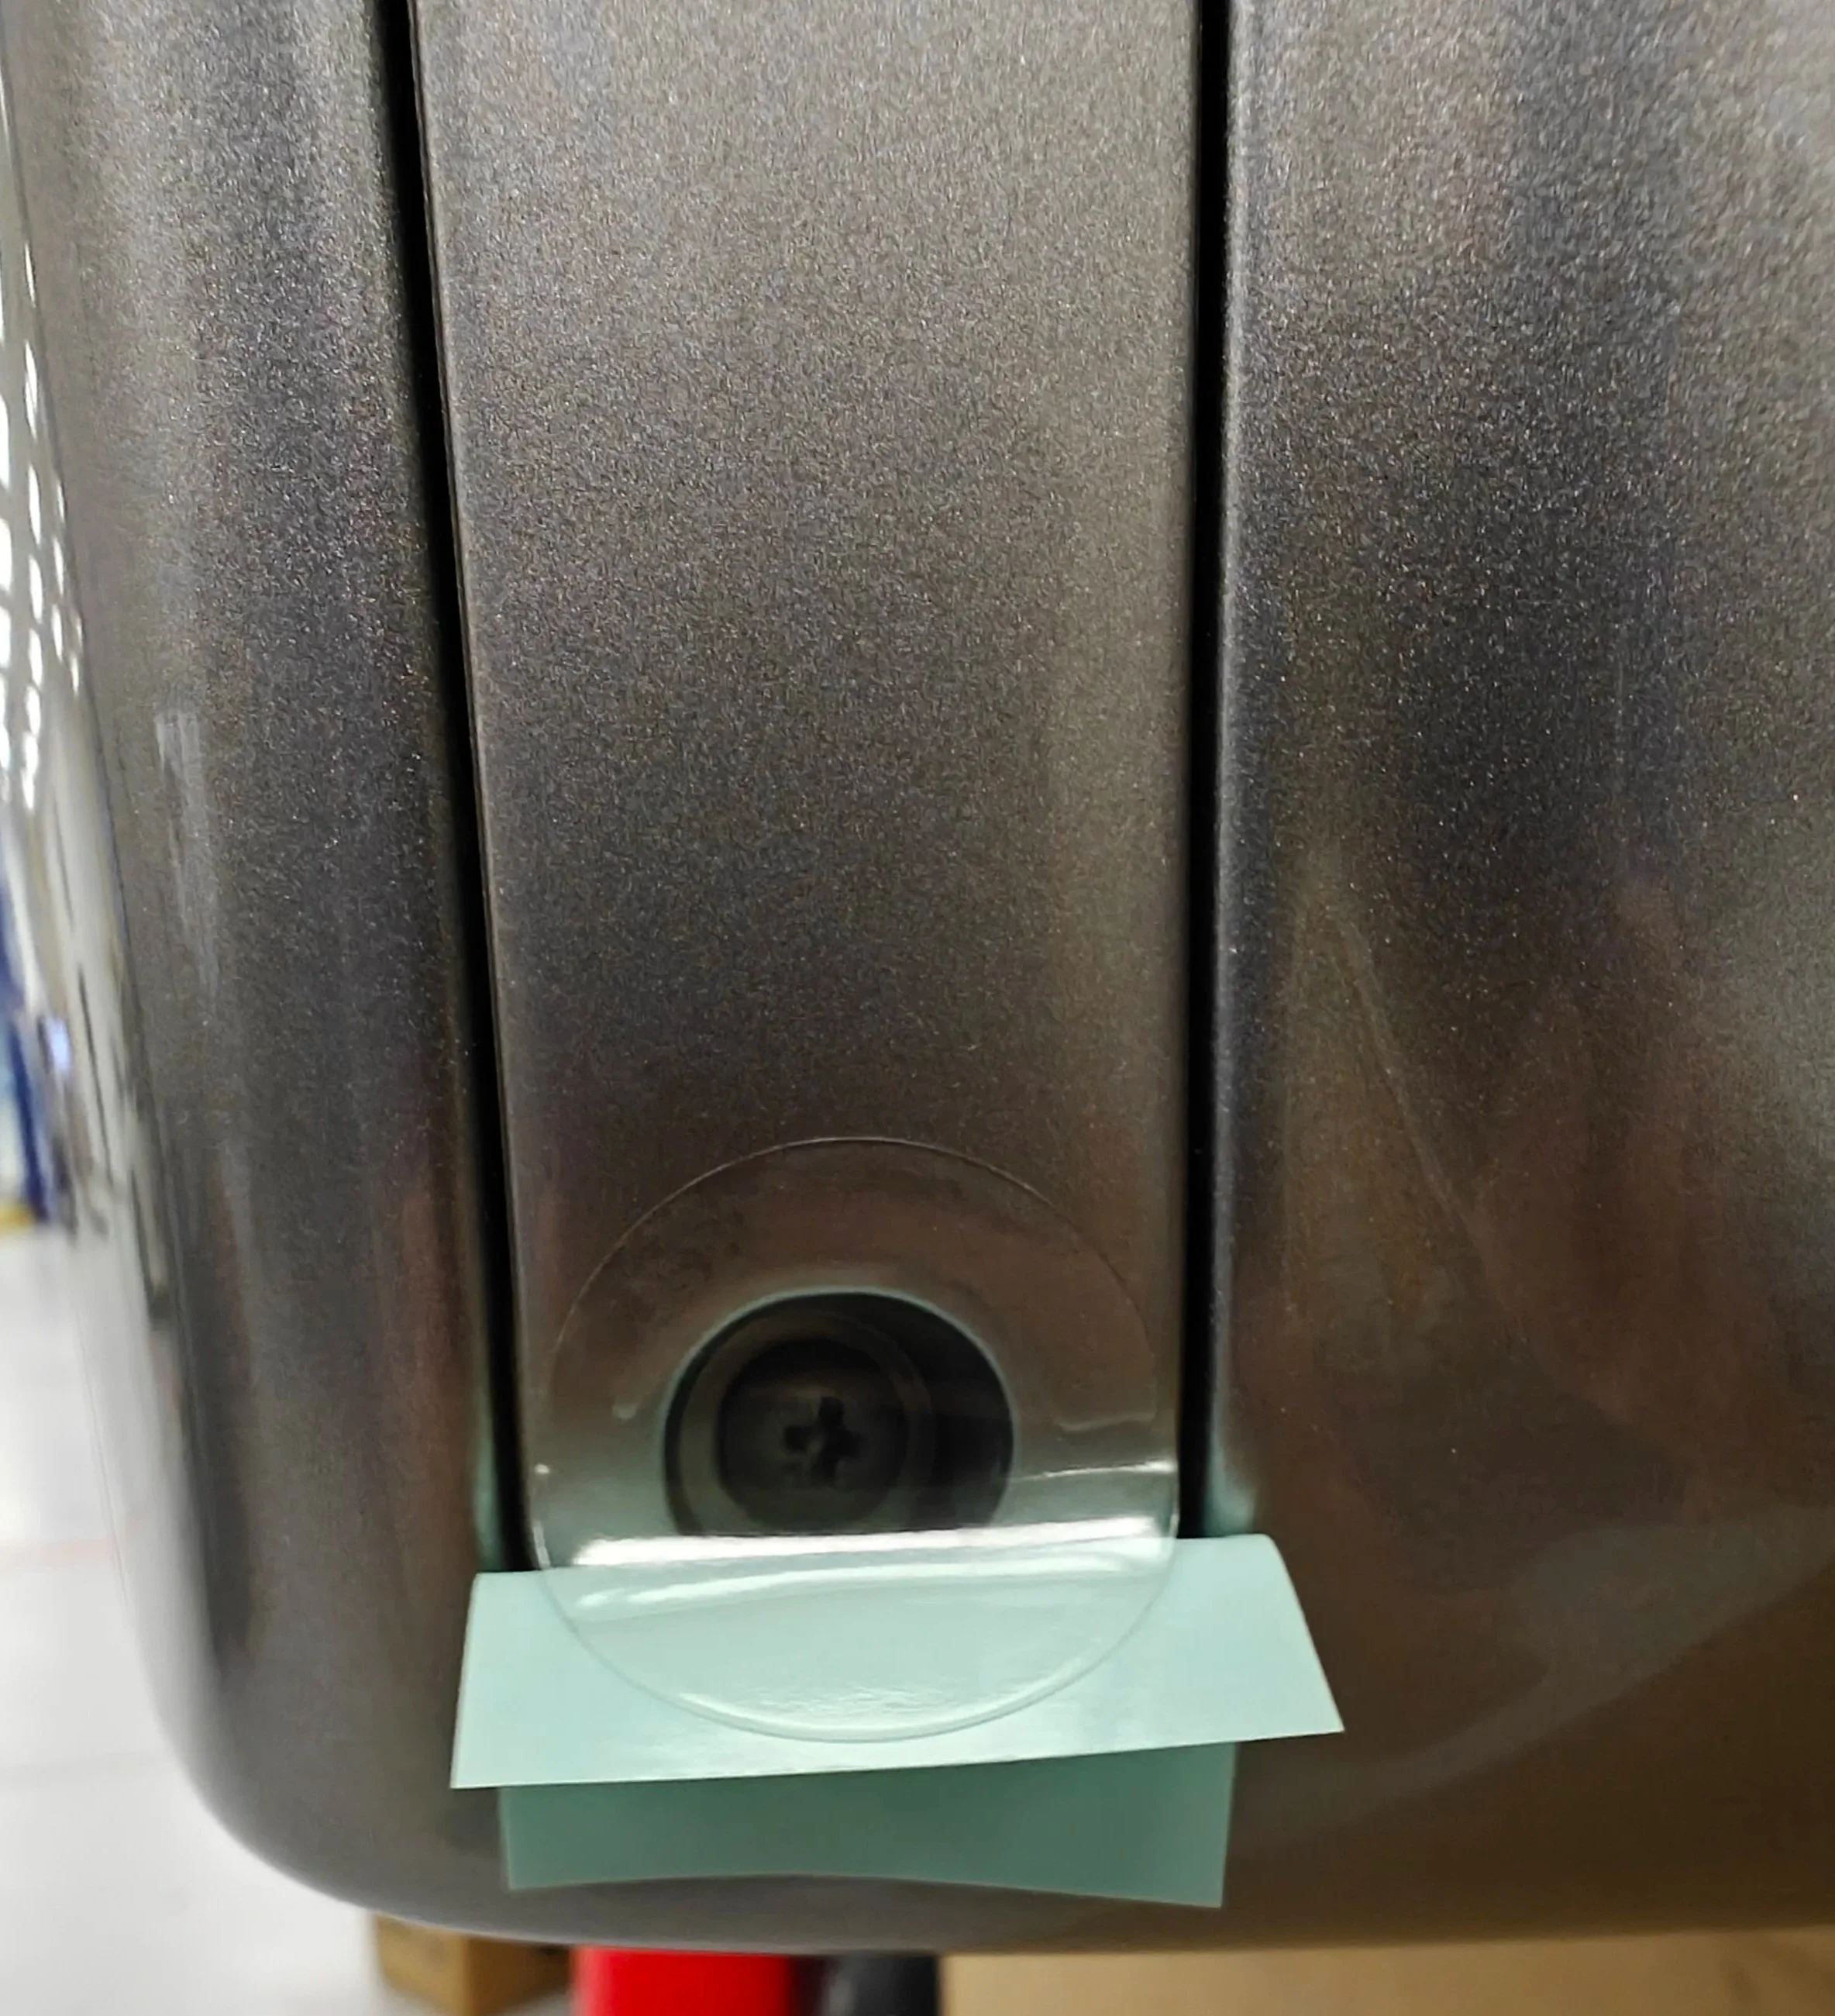
Easiest way I found to install these.

Completed!
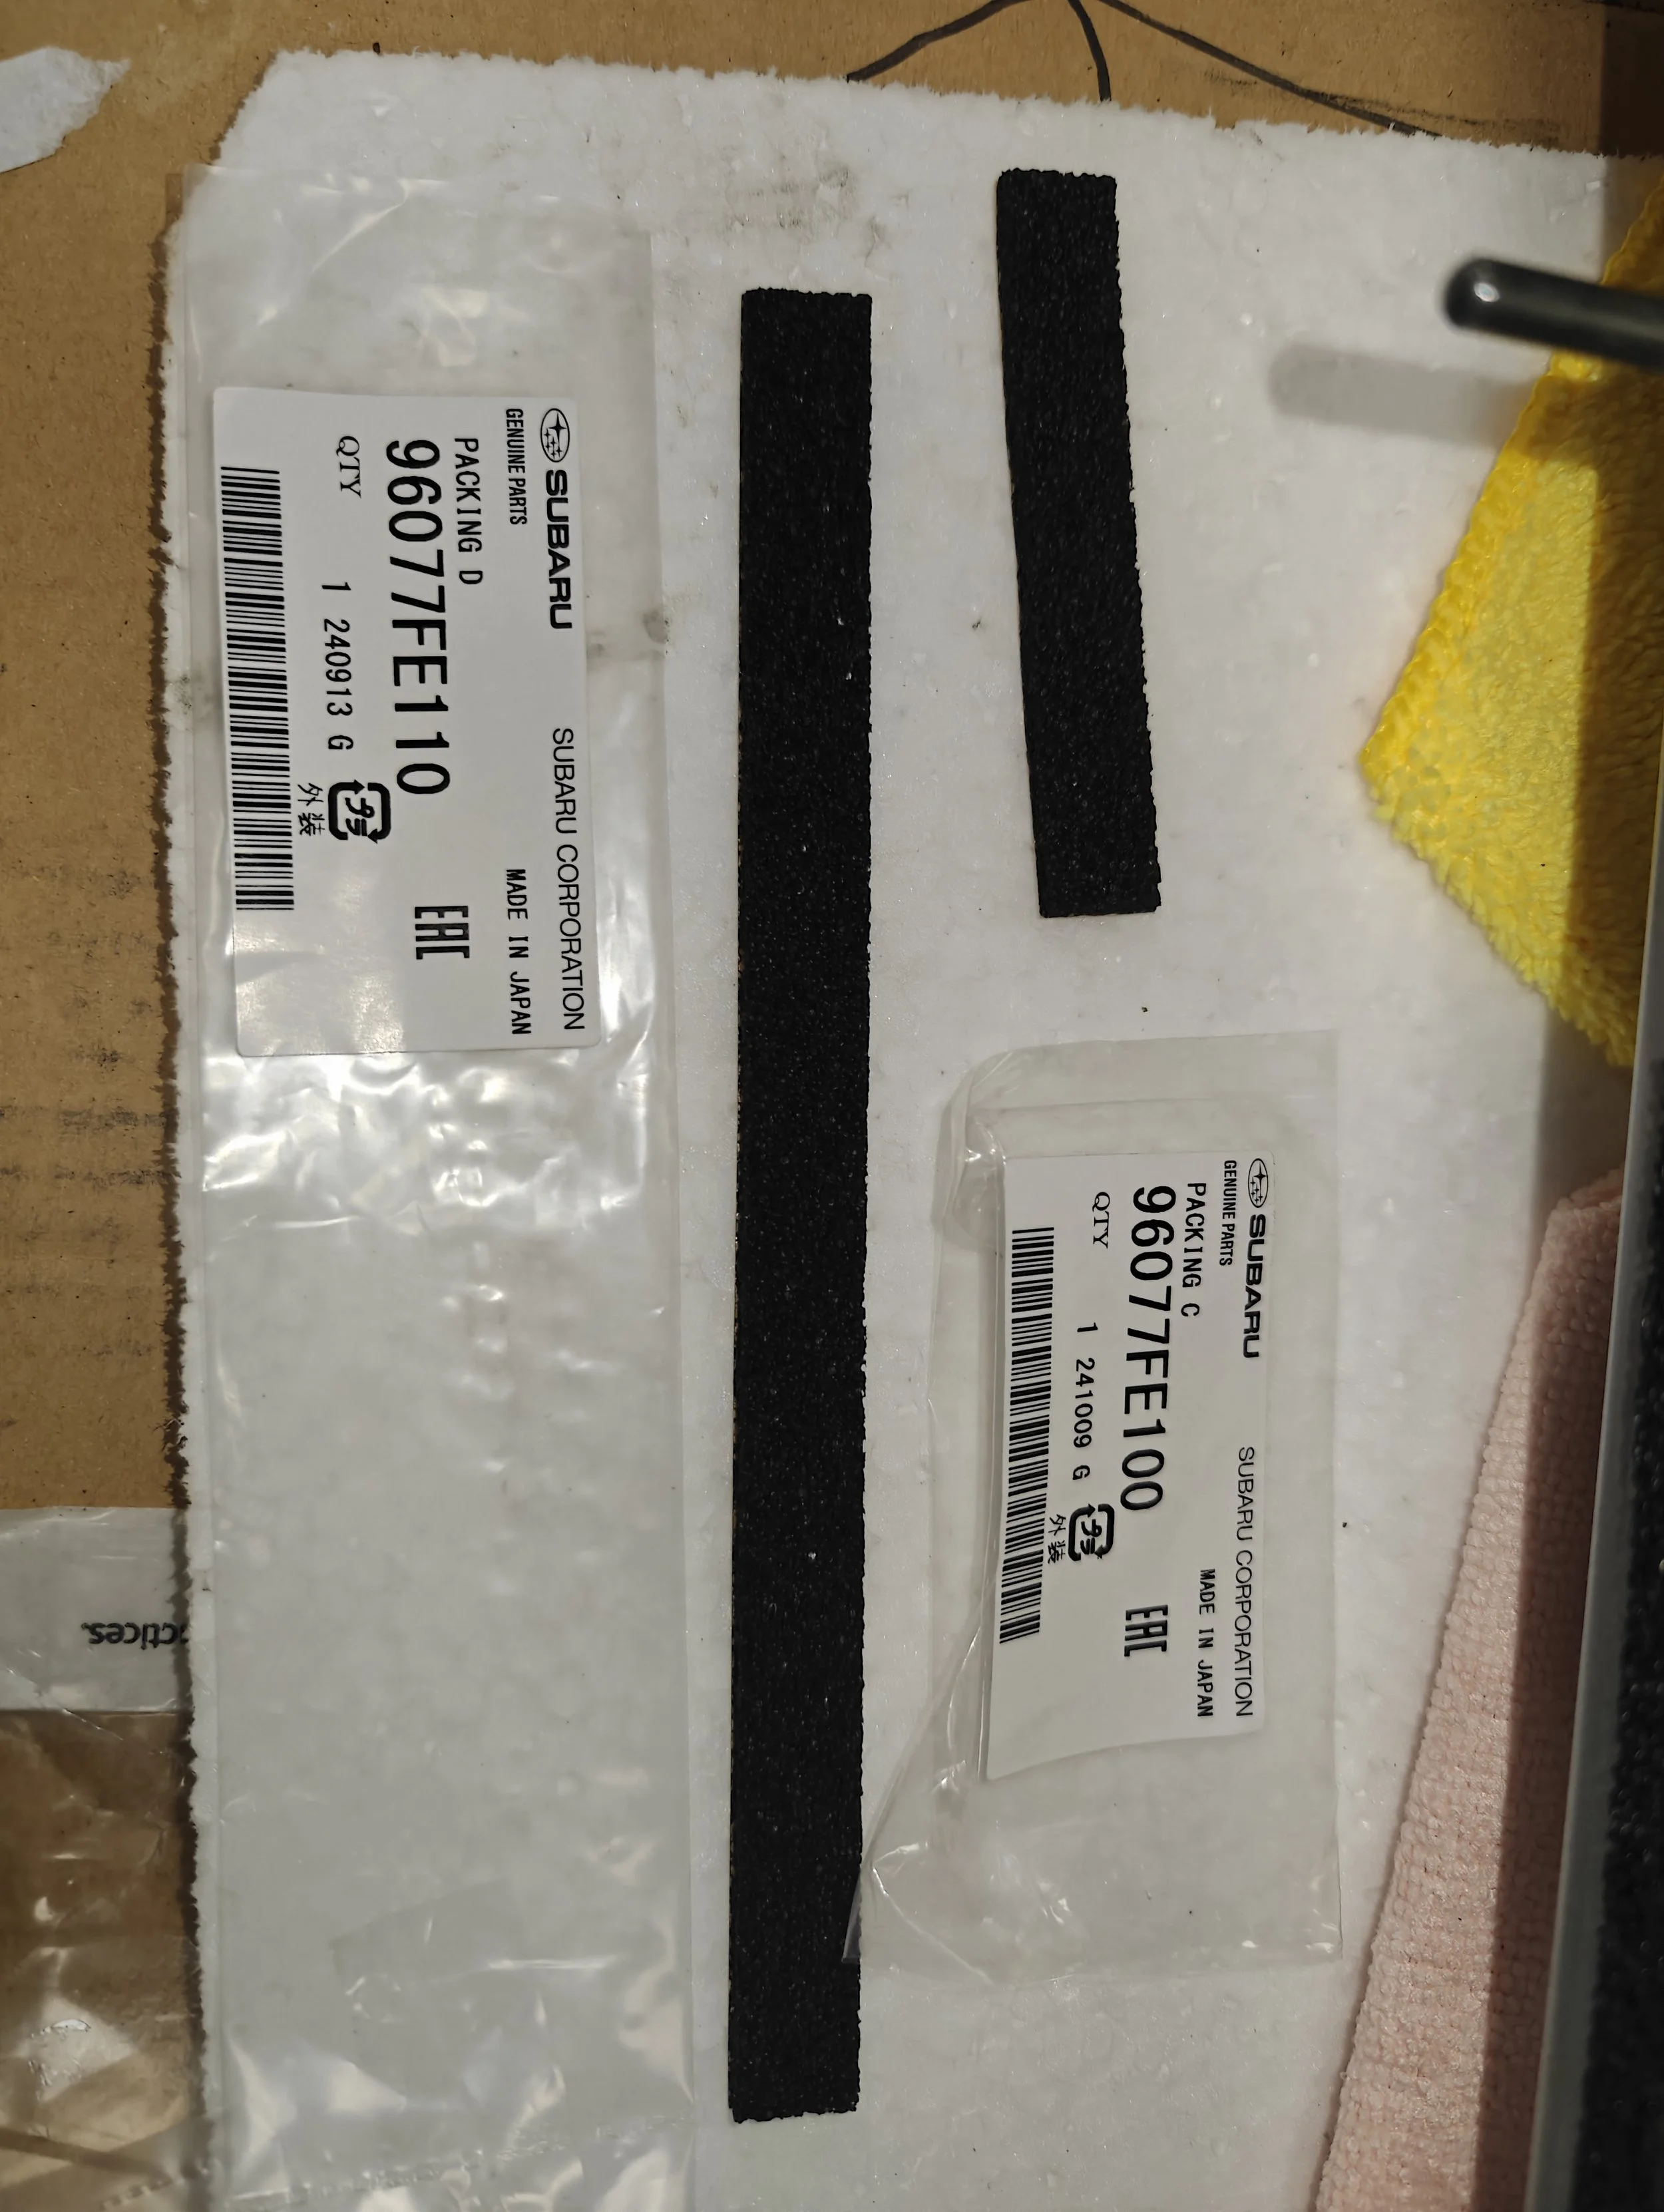
Last up is removing and refitting the foam seals on the wing. I had a little bit of trouble ordering all the necessary pieces as outlined in the Subaru parts catalog. The pieces are labeled as Packing A B C D E. I tried to order each of the necessary pieces of foam but found that they were not all currently available. But looking at the pieces I found out that packing B and D could be used to trim to shape for the missing pieces. Which is what you will see below. You could also purchase some small foam tape and build it all yourself, but in the interest of others who might want to go all OEM and so that was my route.
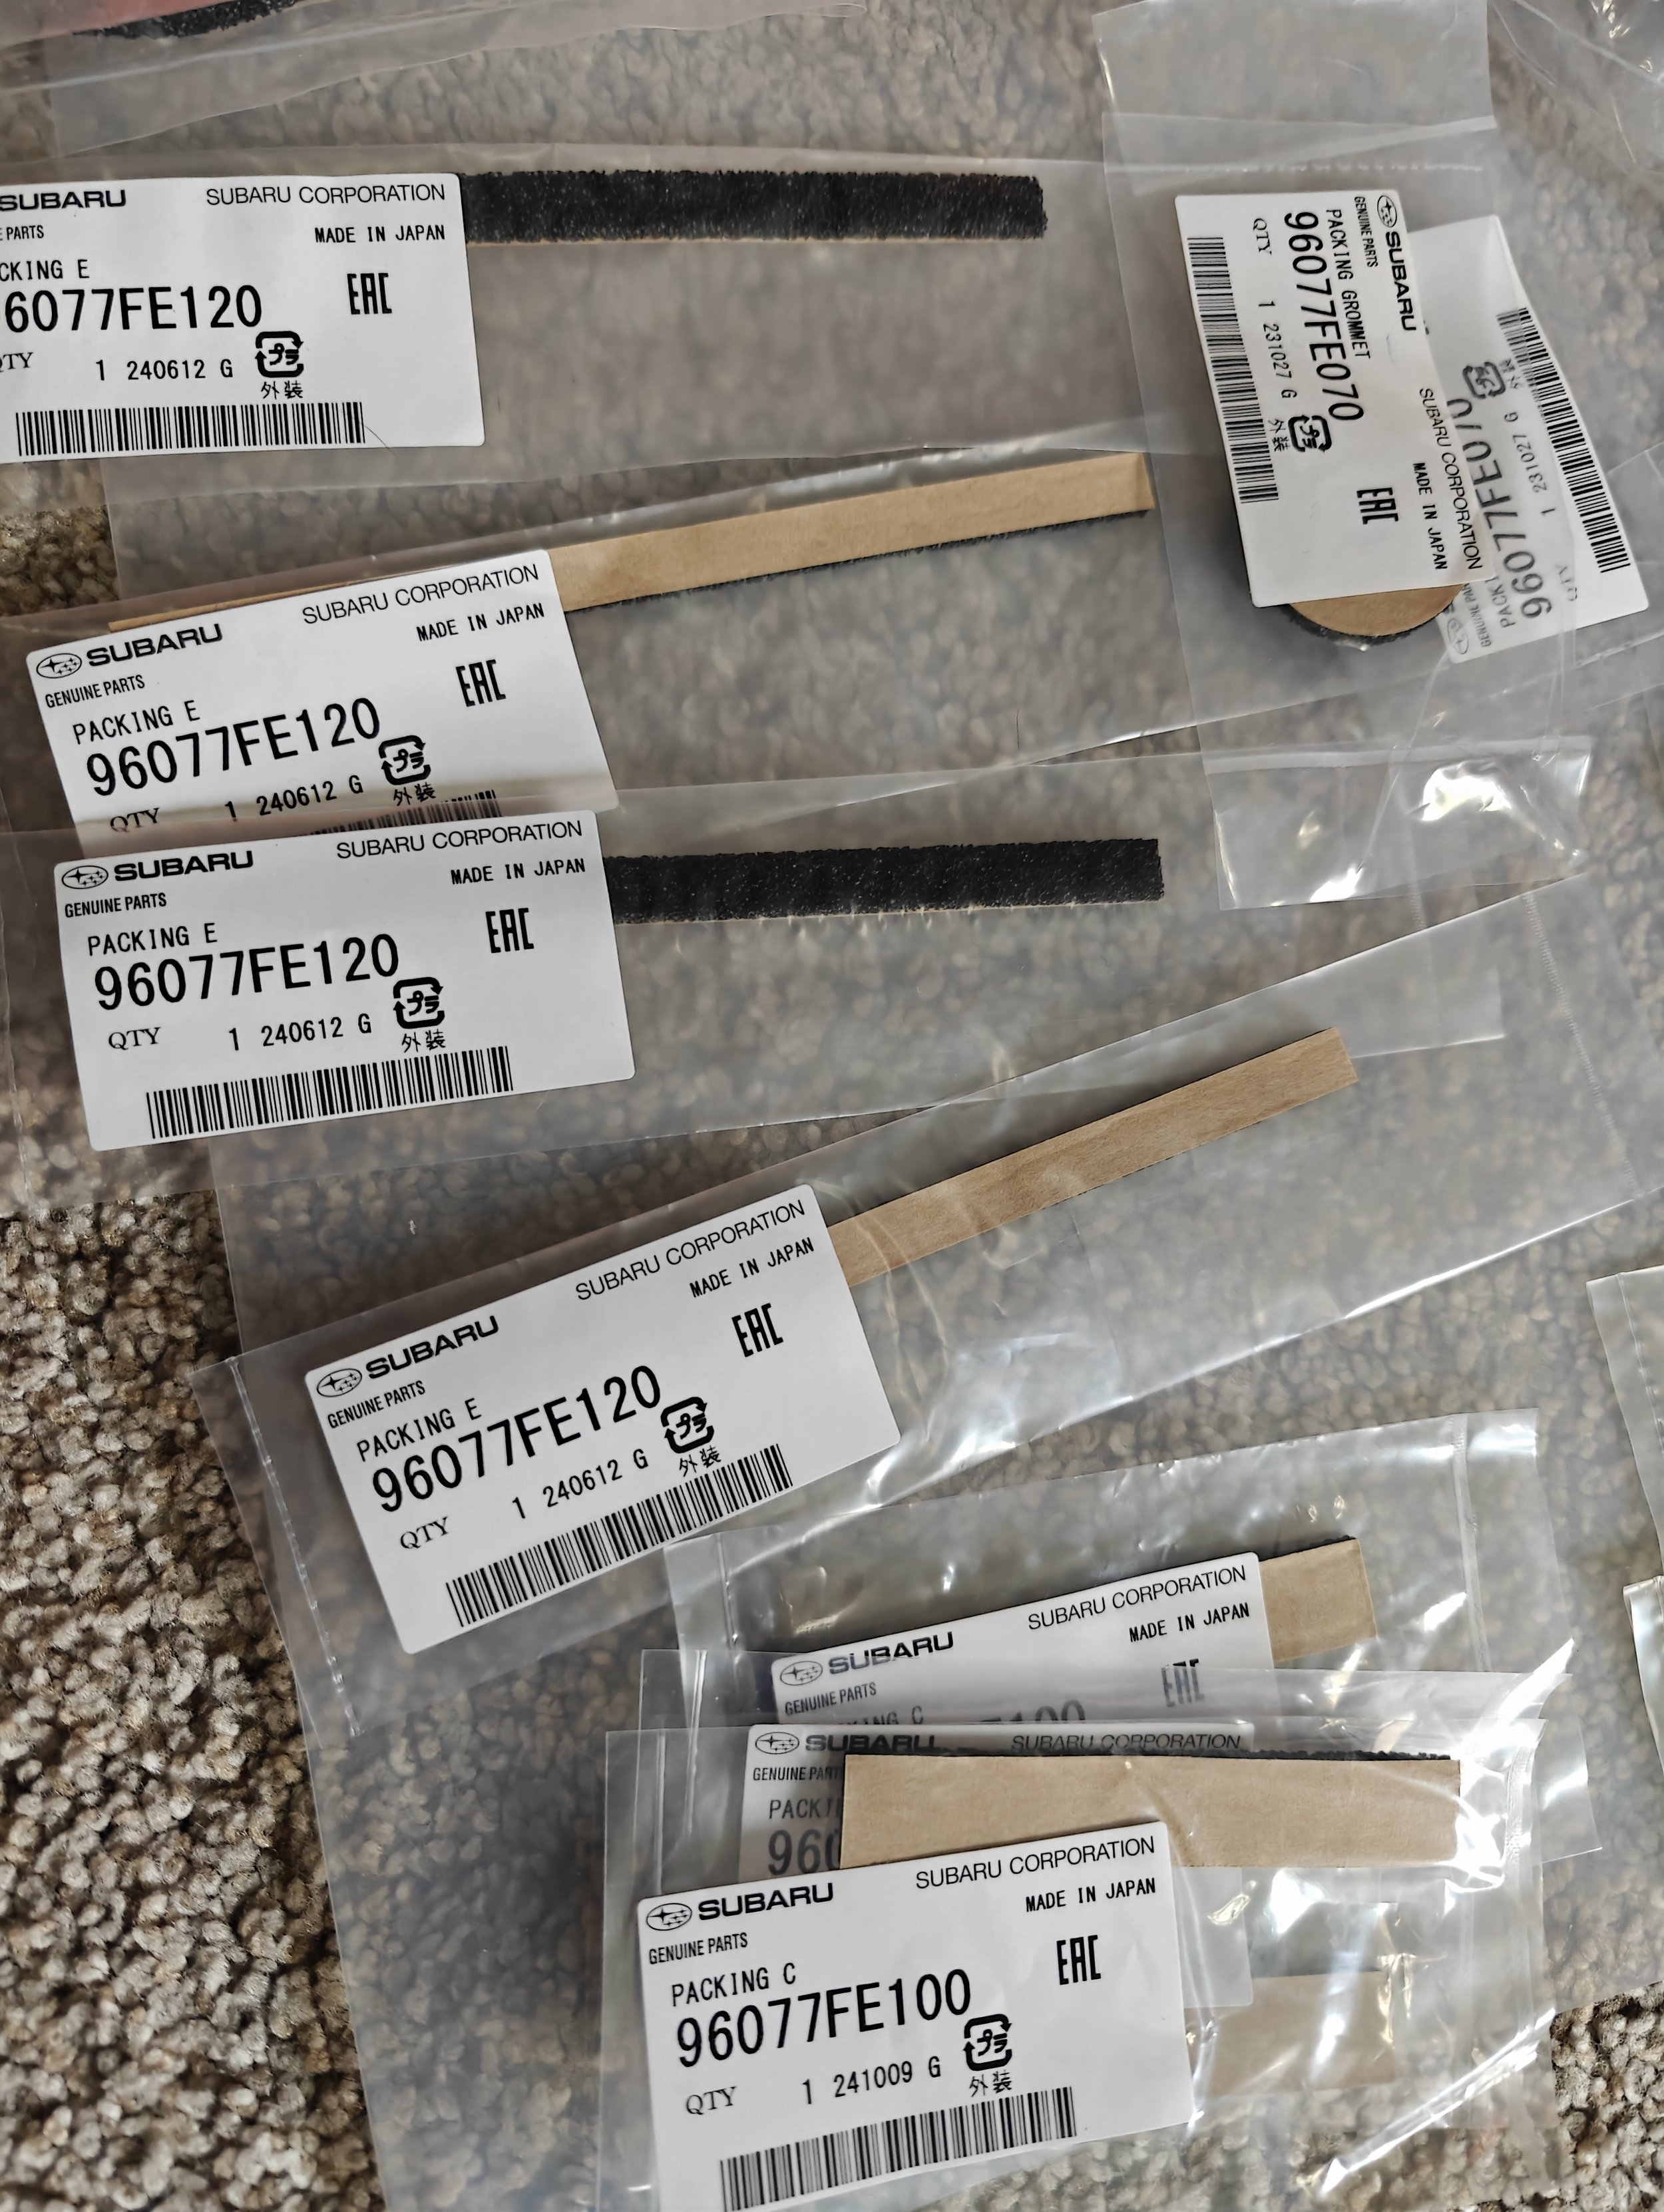
If you are getting ready to tackle this project, make sure to get these in advance. I found trouble trying to order them all. This delayed my project for a couple of weeks.

So many to buy.
Adhering the packing strips willbe your next task. A big protip to anyone with this project in mind.. you can likely buy sheets of this foam from other suppliers and make your life much easier. I also found out that the kit that comes with 06-07 limited STi spoiler kit can be used. You can take the two long strips out and cut them to the right length, replacing one after another.
Another tactic is to buy plenty of packing D and E which are much longer and then cutting those to the appropriate length. As I was waiting for these strips to come in I went ahead and used this, you will see this shown below.
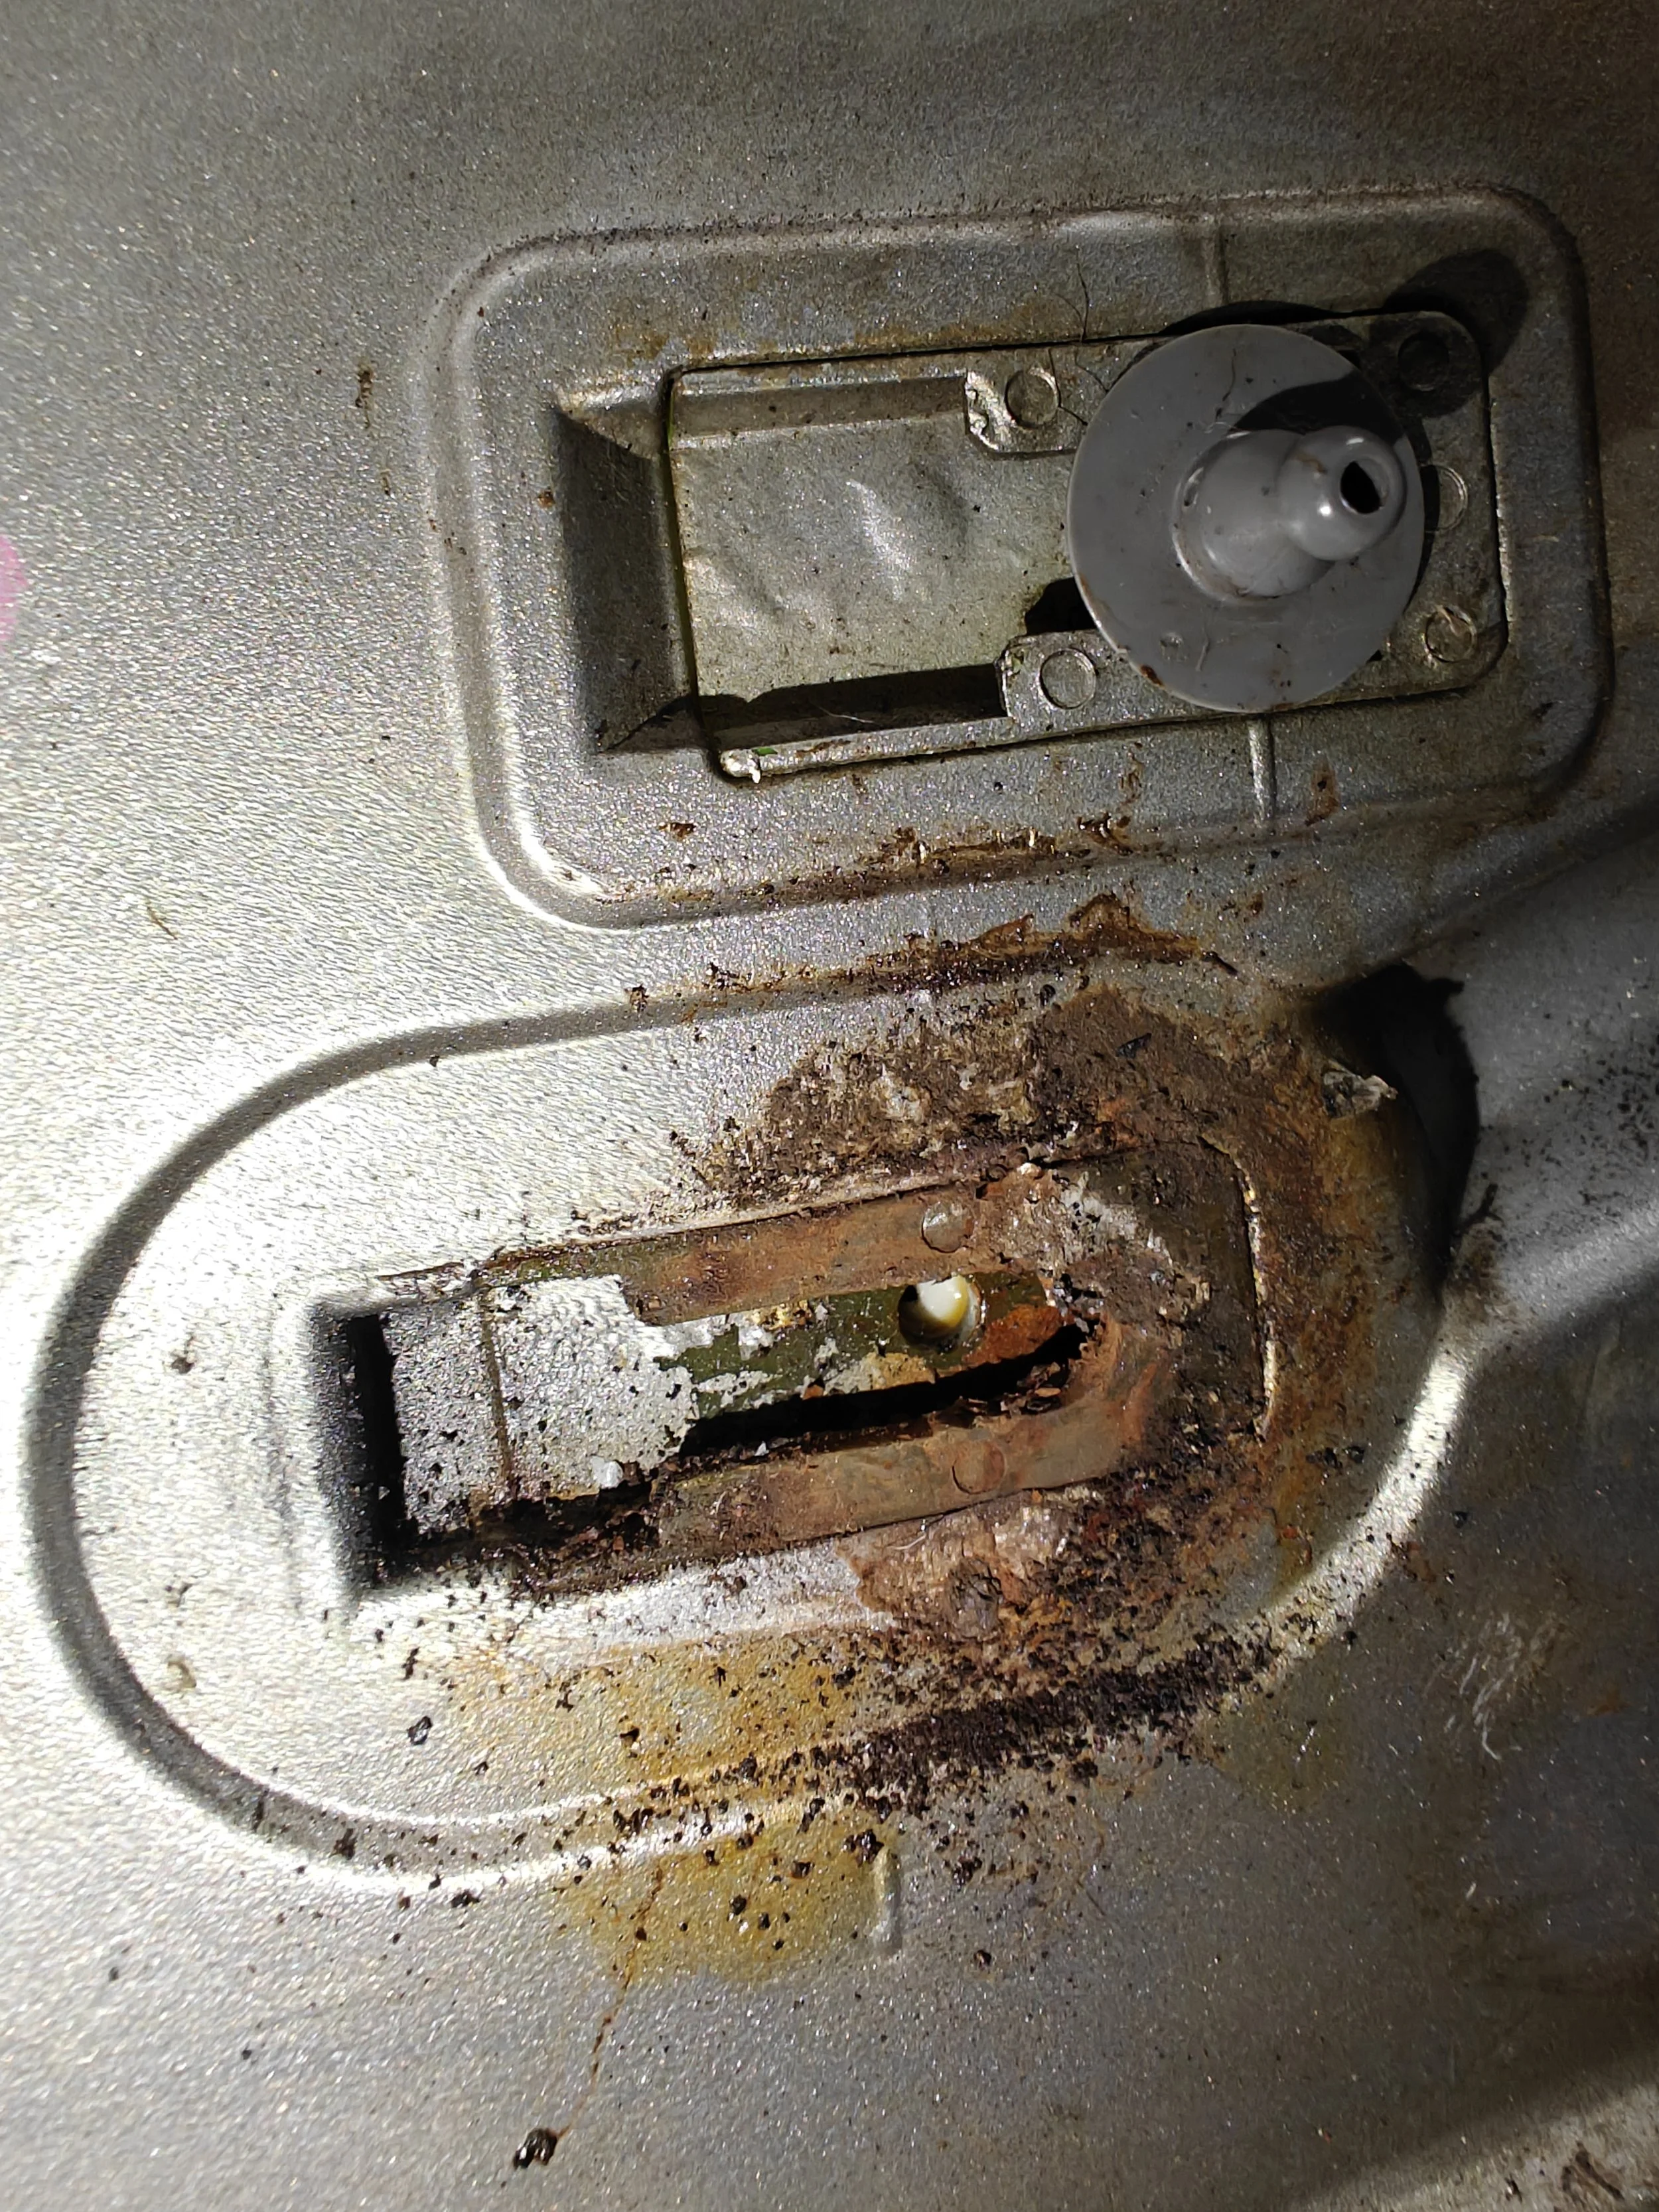
Below you will see a couple of images of how the seals will look after 20 years of use.

After twenty years these seals are barely even recognizable as a seal.

Some will come off easier than others. I used light pressure and my finger tip to just roll them off.
Below I tried to make images of which piece goes where. You will see a piece and the location it goes in.

Packing A will go towards the back of the car and underneath the 3rd brake light.
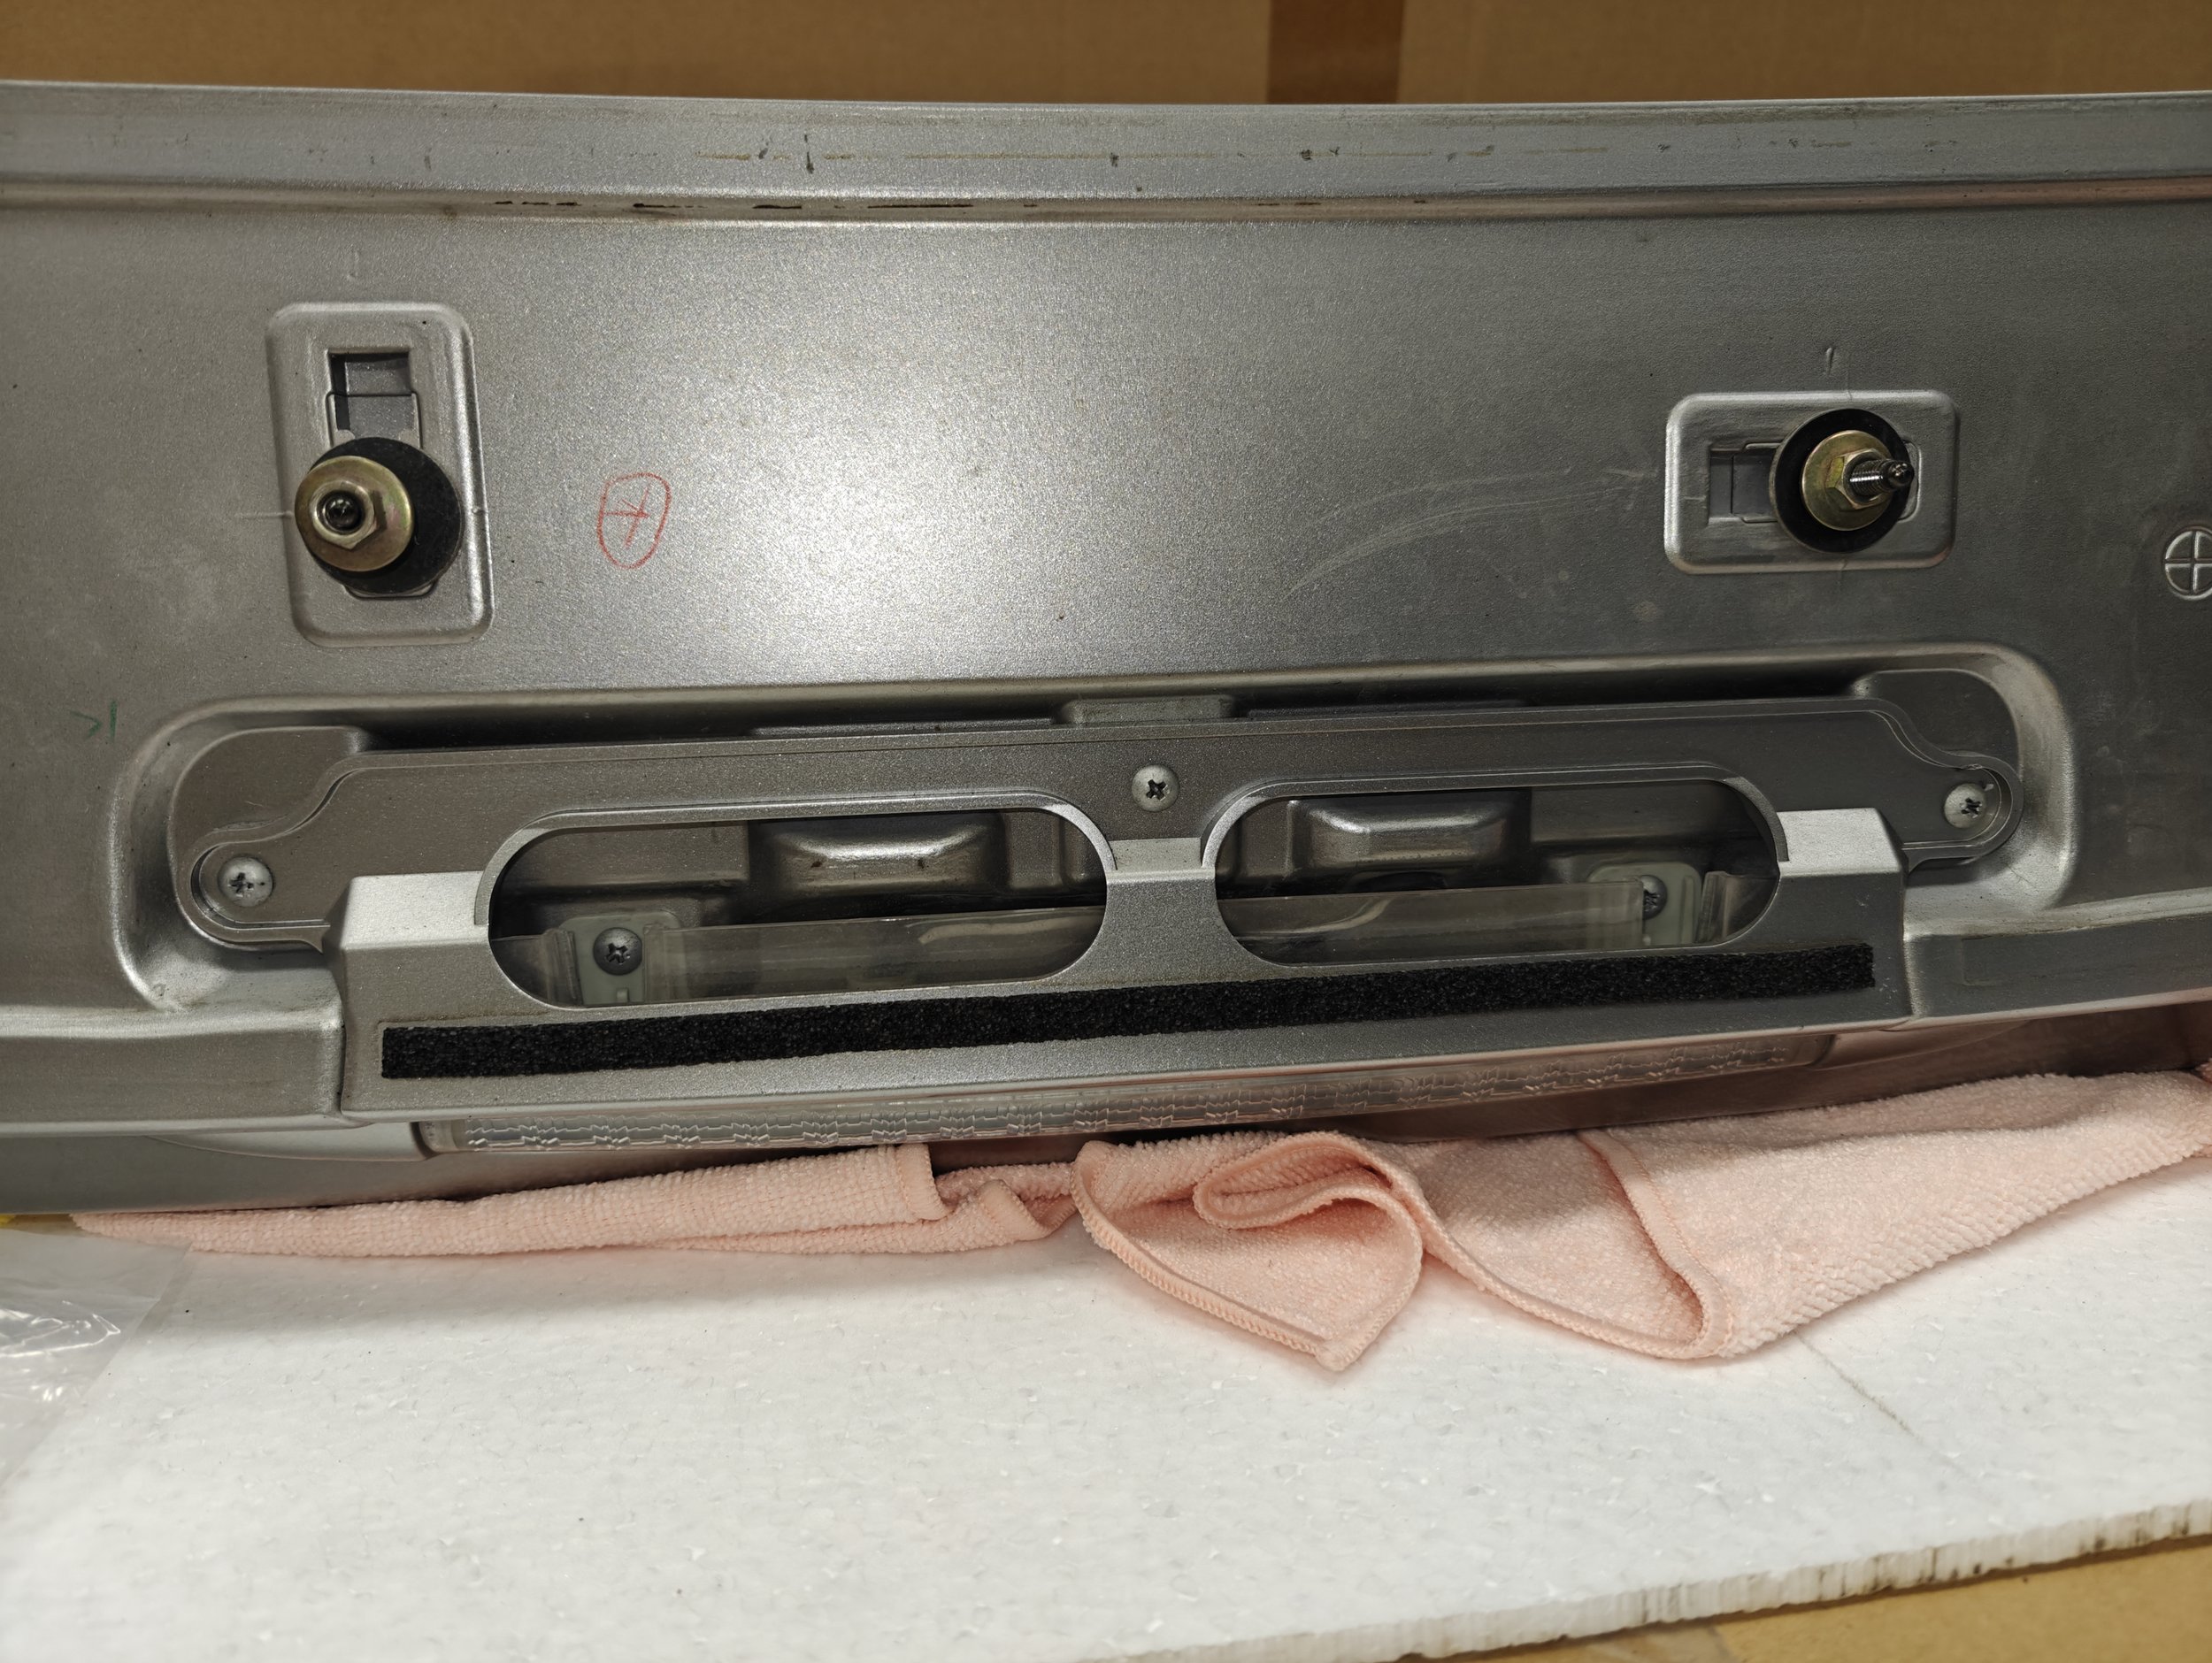
Packing B goes towards the front of the car.


Next to Packing A you place packing E to the right and left of it.

Packing C will go up top and Packing D will be along the side. Not shown on the bottom around the curve is another Packing A

Might as well replace it if everything else is fresh and new.
Here is a great example of buying a longer piece and cutting it to make smaller sections.
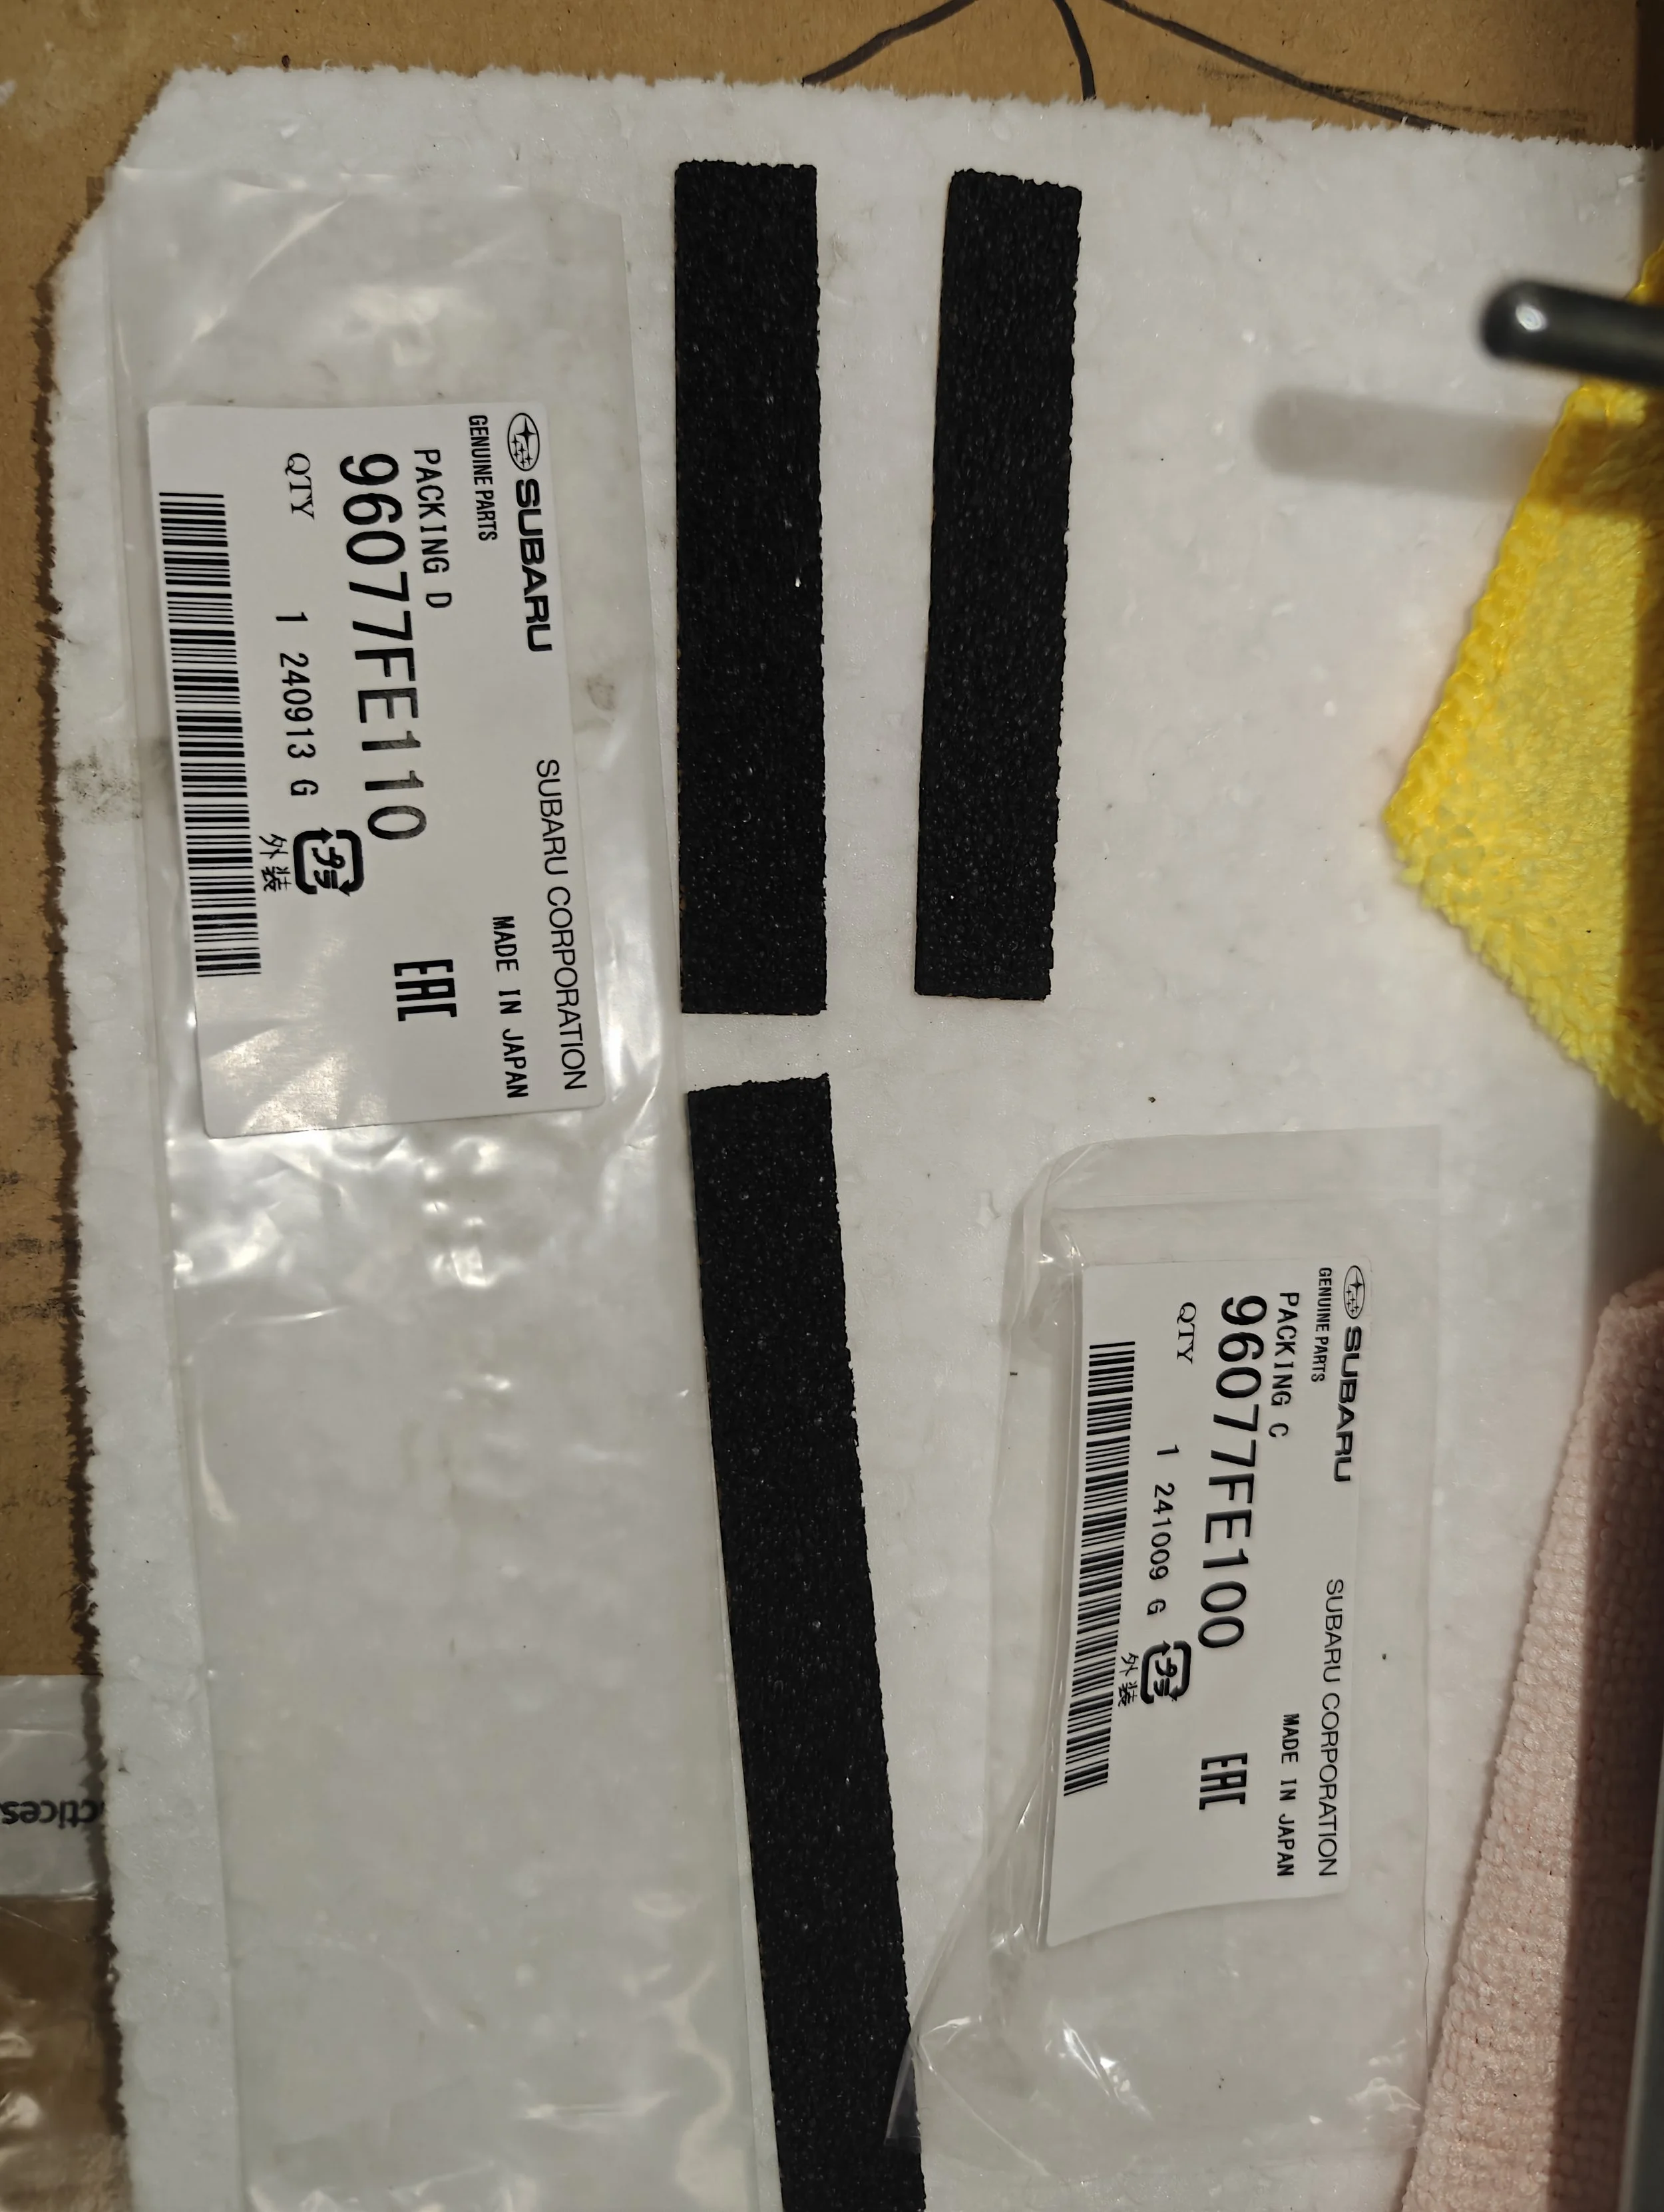
I was unable to purchase enough packing C pieces so I used a packing D and cut it down to the right size.
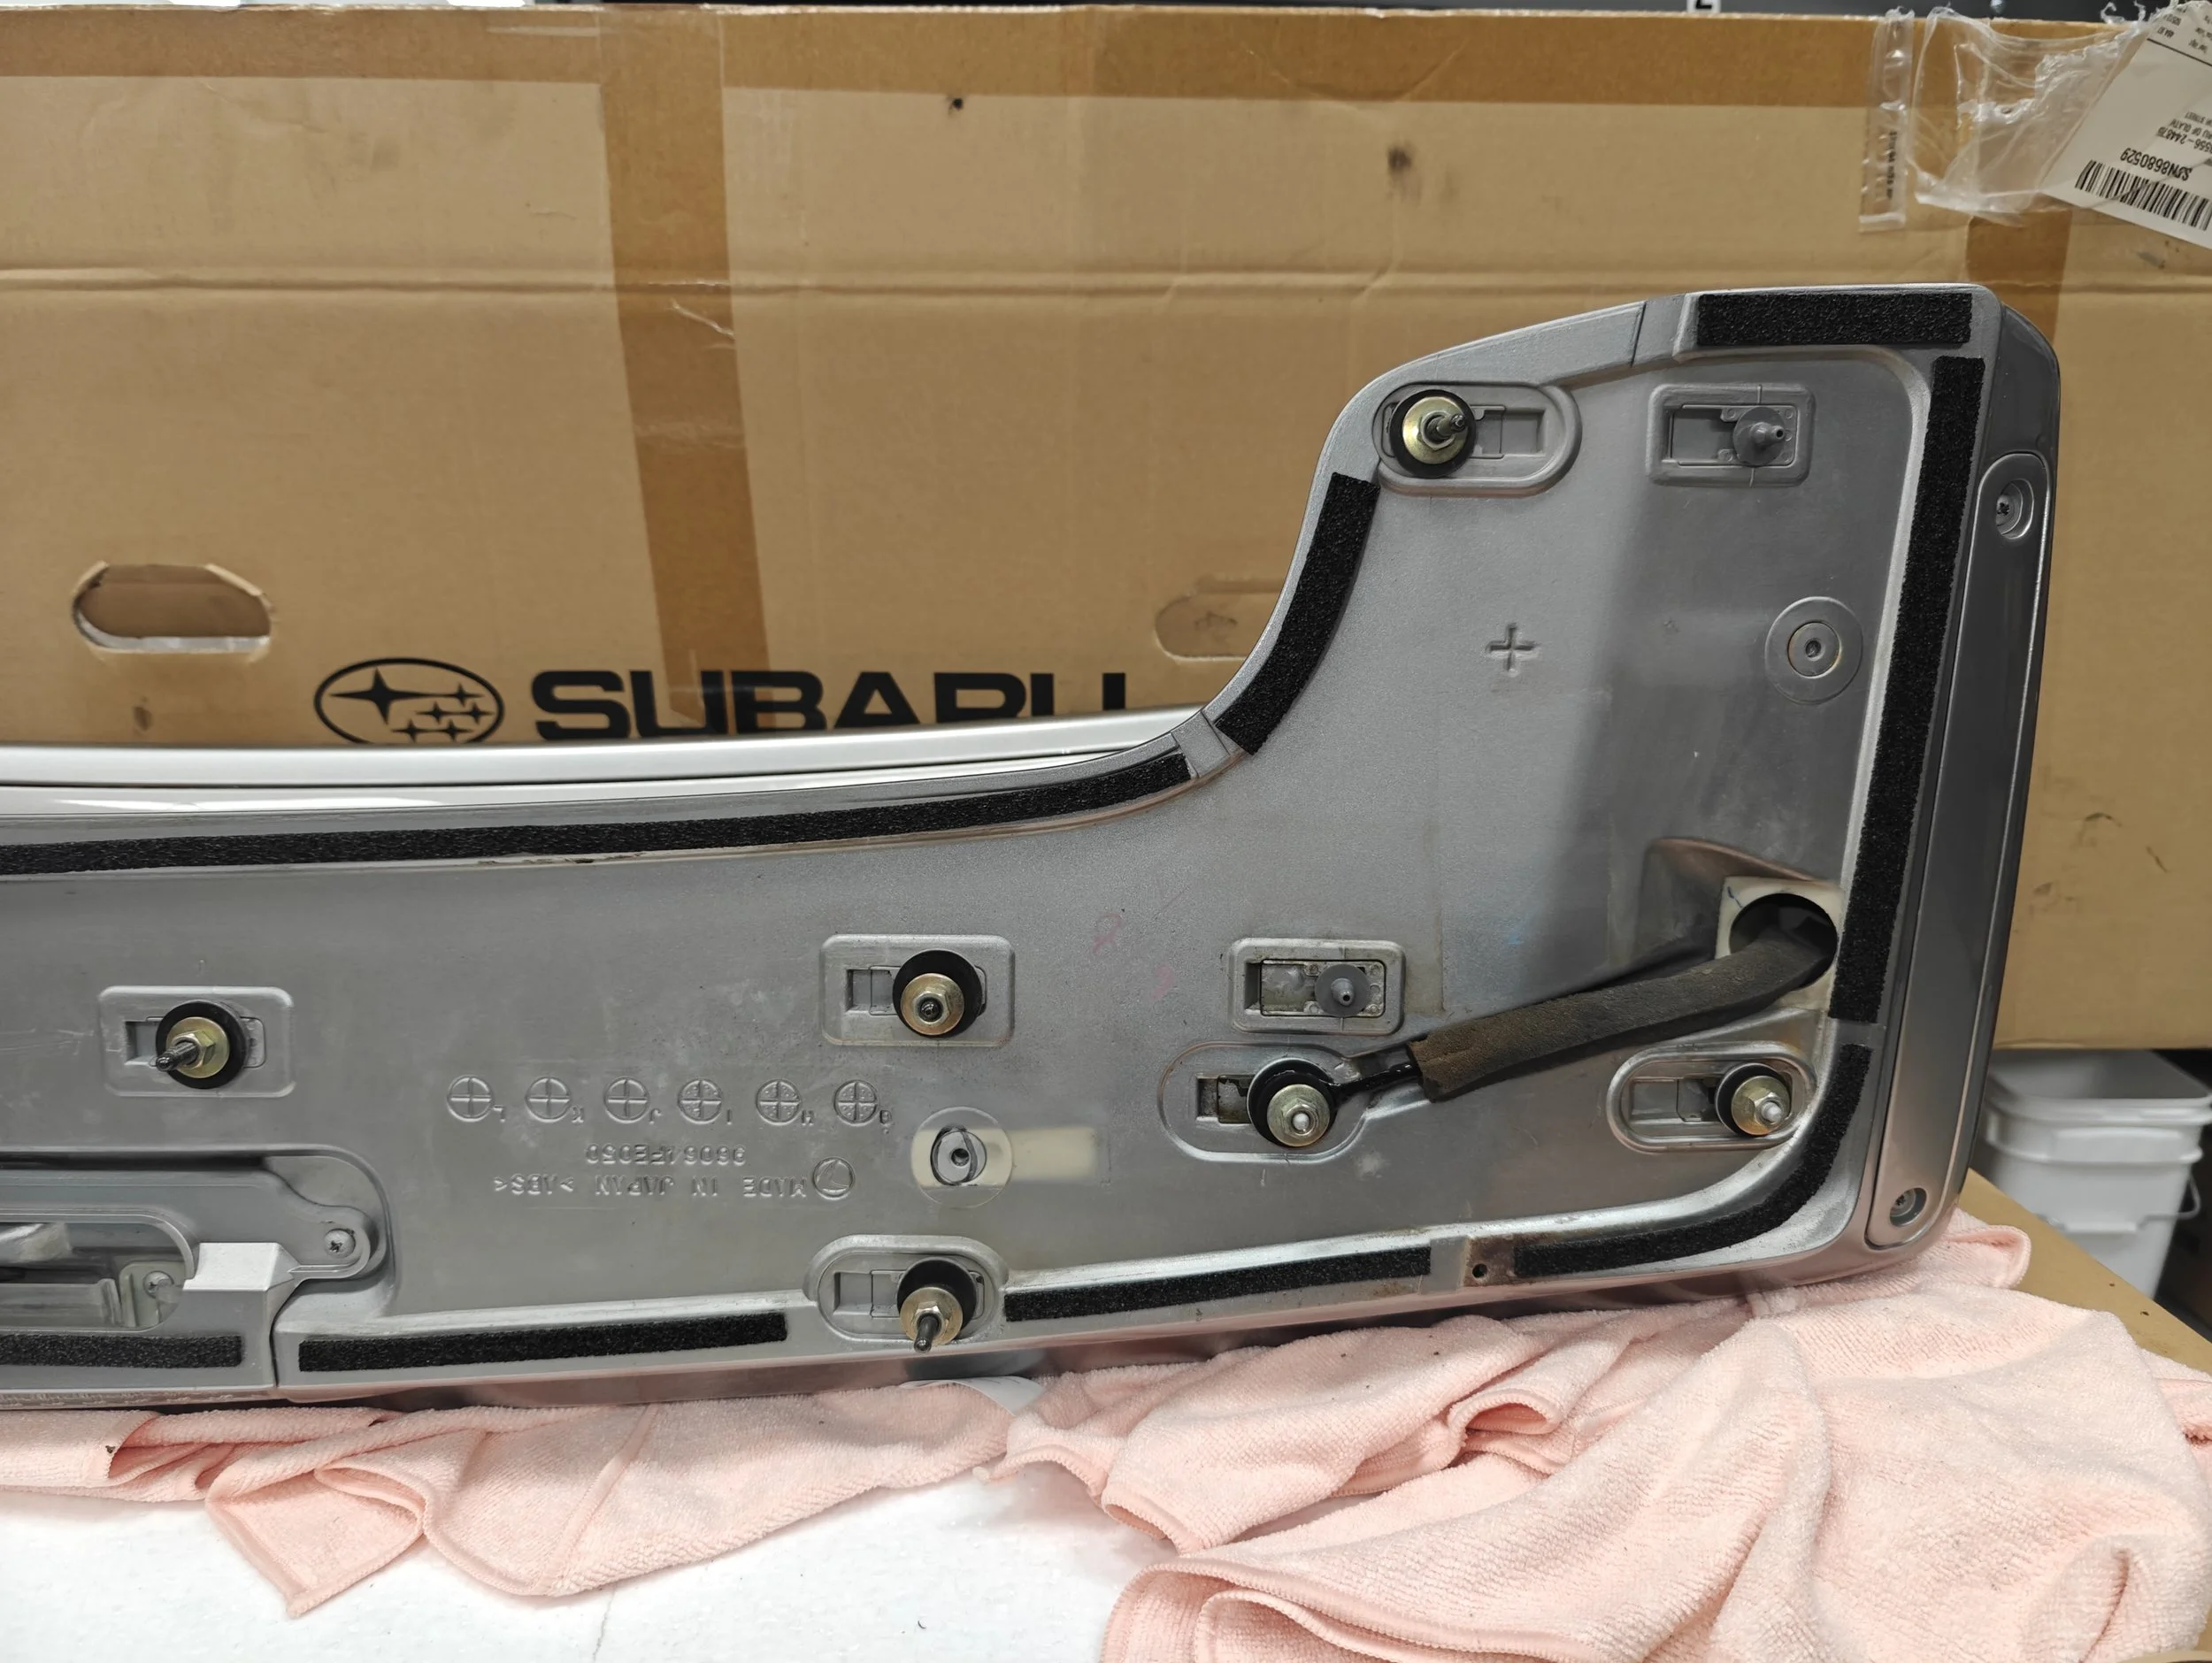
Here we are all finished with the seals. Next up will be a piece of tape to hold the safety wire in place and keep it from rubbing the trunk lid.

Another source if you need assistance with placing your seals is finding a Subaru parts website and using this to help guide you of the locations they should be in.

It should look something like this with all the pieces fitted and ready to be installed back onto the trunk lid. Make sure all your mounting studs are locked into position.
Ready to lifted up on to the trunk lid. I recommend using a friend when putting this together, especially if the trunk lid is mounted to the car.
You are ready to set the wing back on top of the trunk lid and bolt it on. As stated above, this is best done with two people. I am sure you could do it as a solo individual but I wouldn’t want to risk damaging anything after all this work.

Trunk lid bolted on and ready to accept the wing.

Here is a good view of how everything needs to get lined up. The yellow wiring can be a little tricky when trying to hold the wing and route it through.
Now you can add all of the nuts on to help hold the wing to the trunk. Torque spec for these bolts should be 5.5 foot pounds.
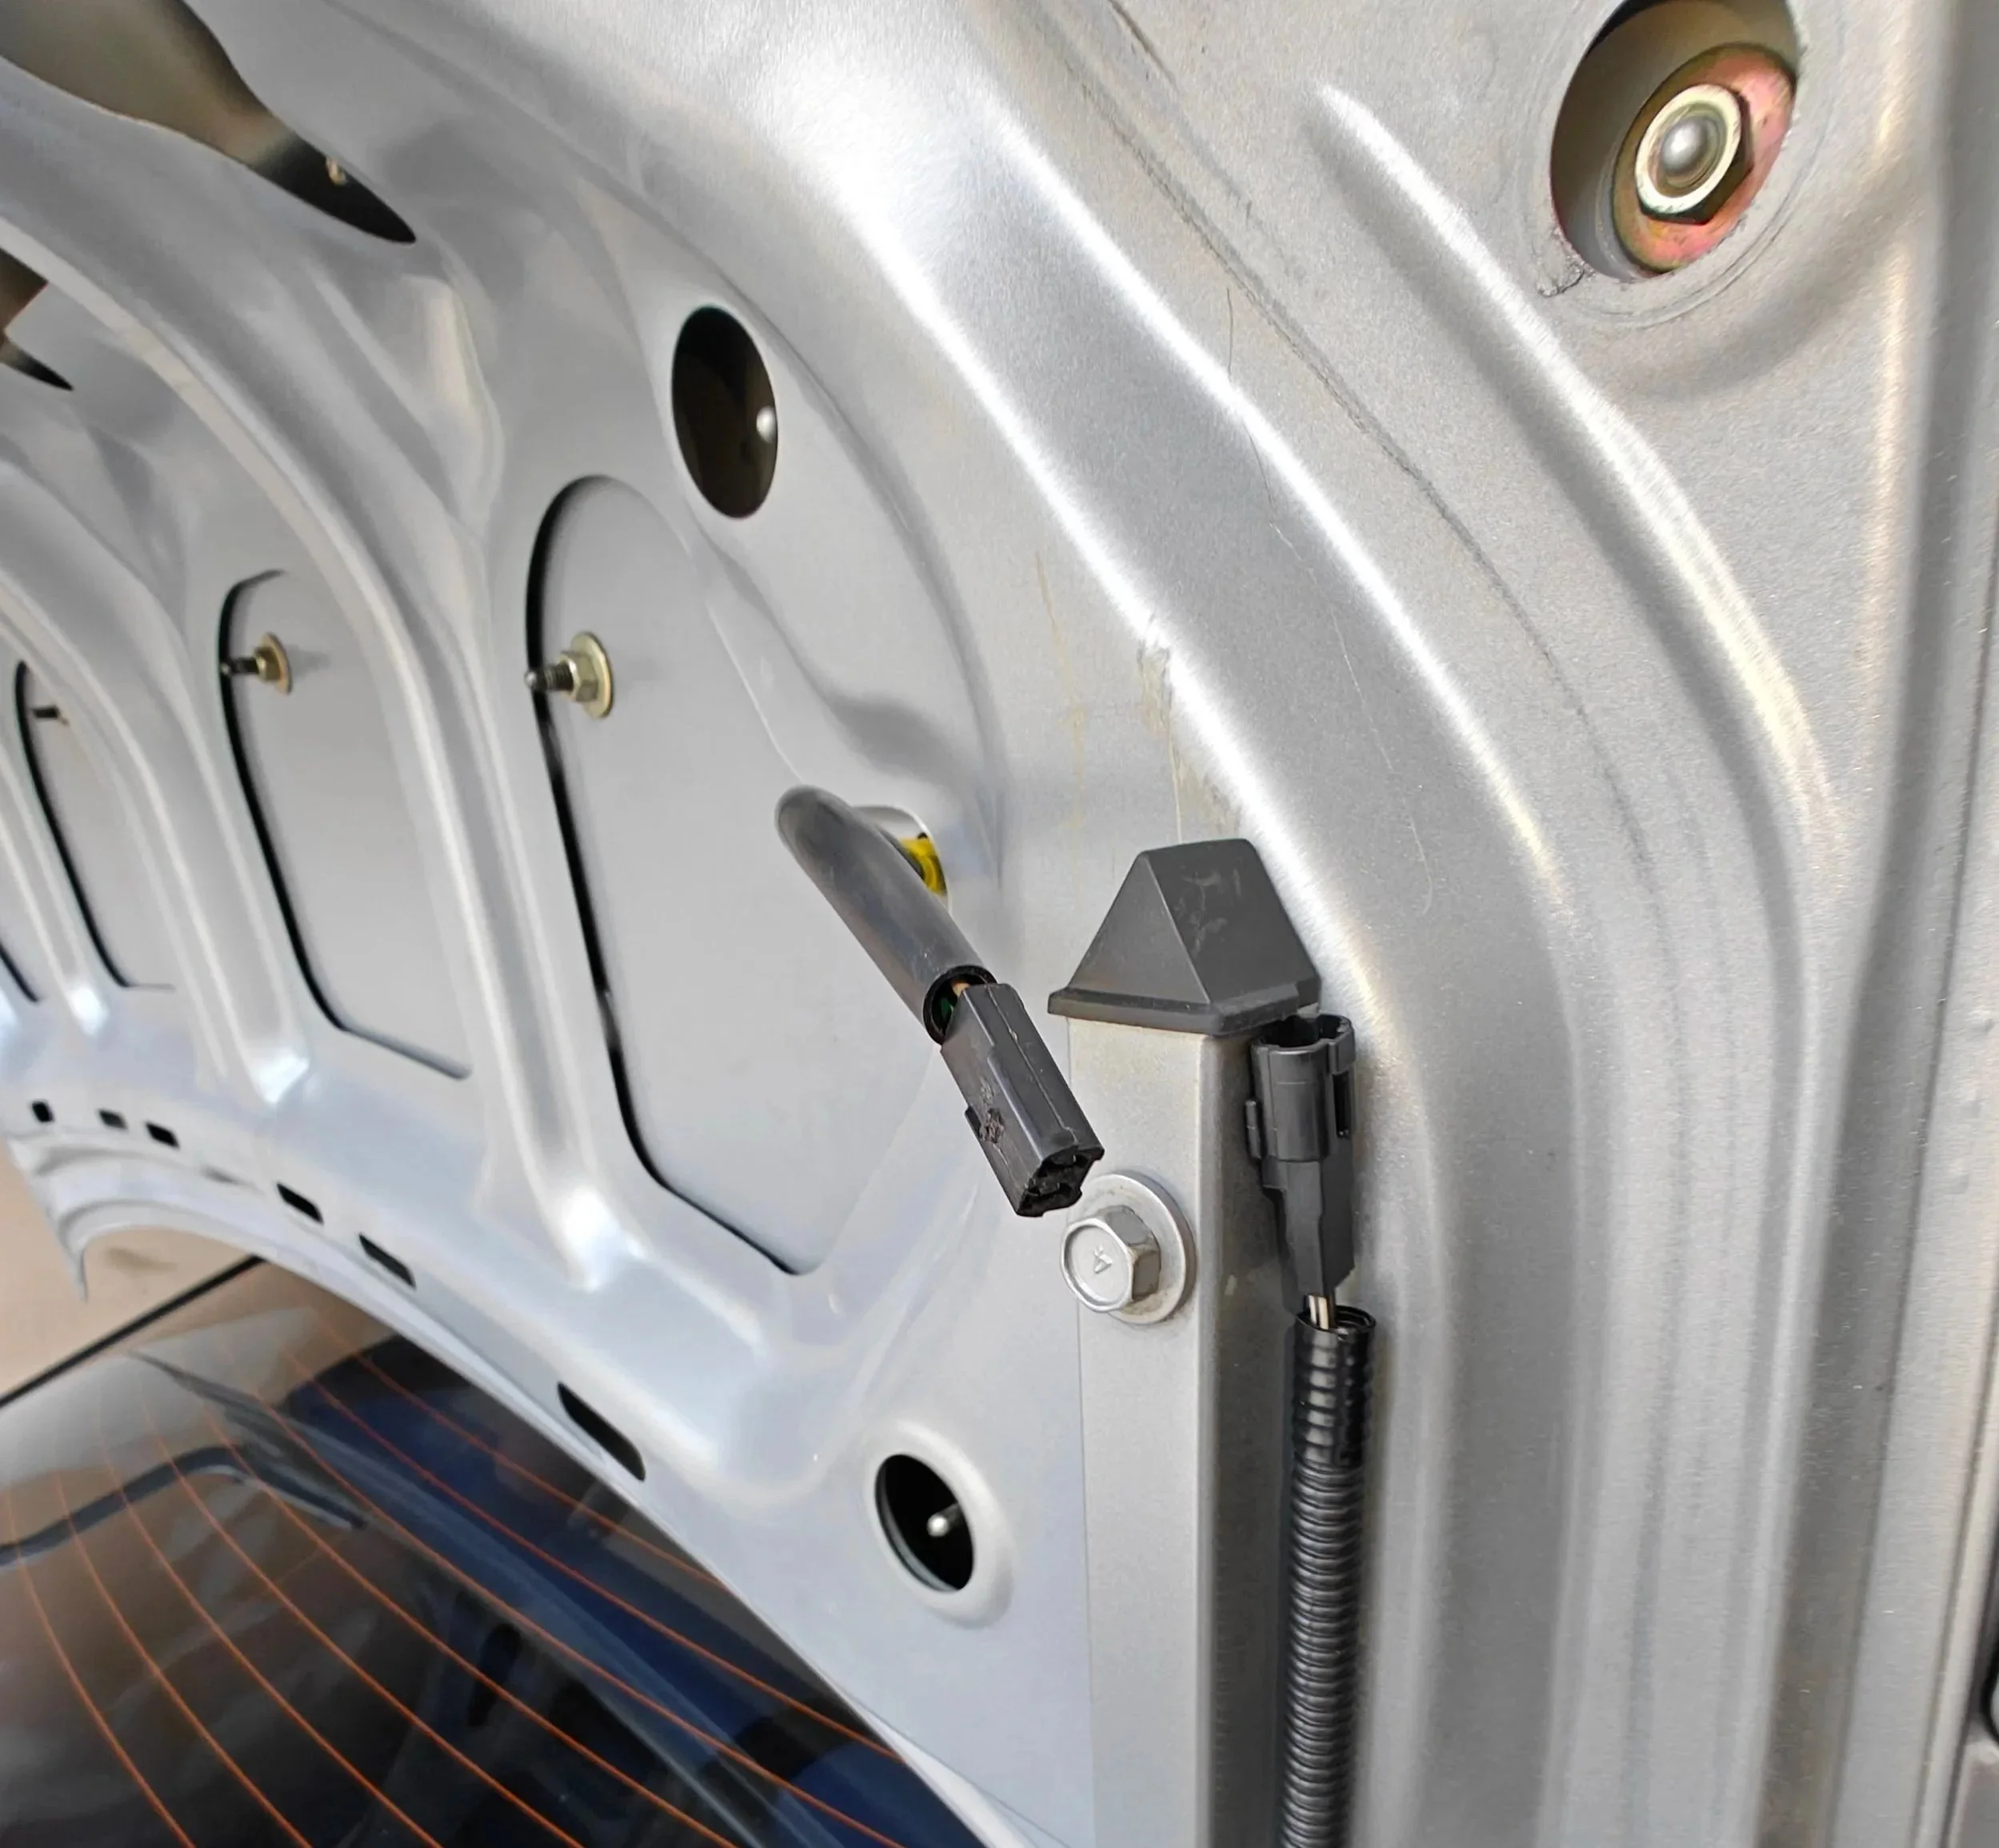
Make sure to plug you 3rd brake light back.
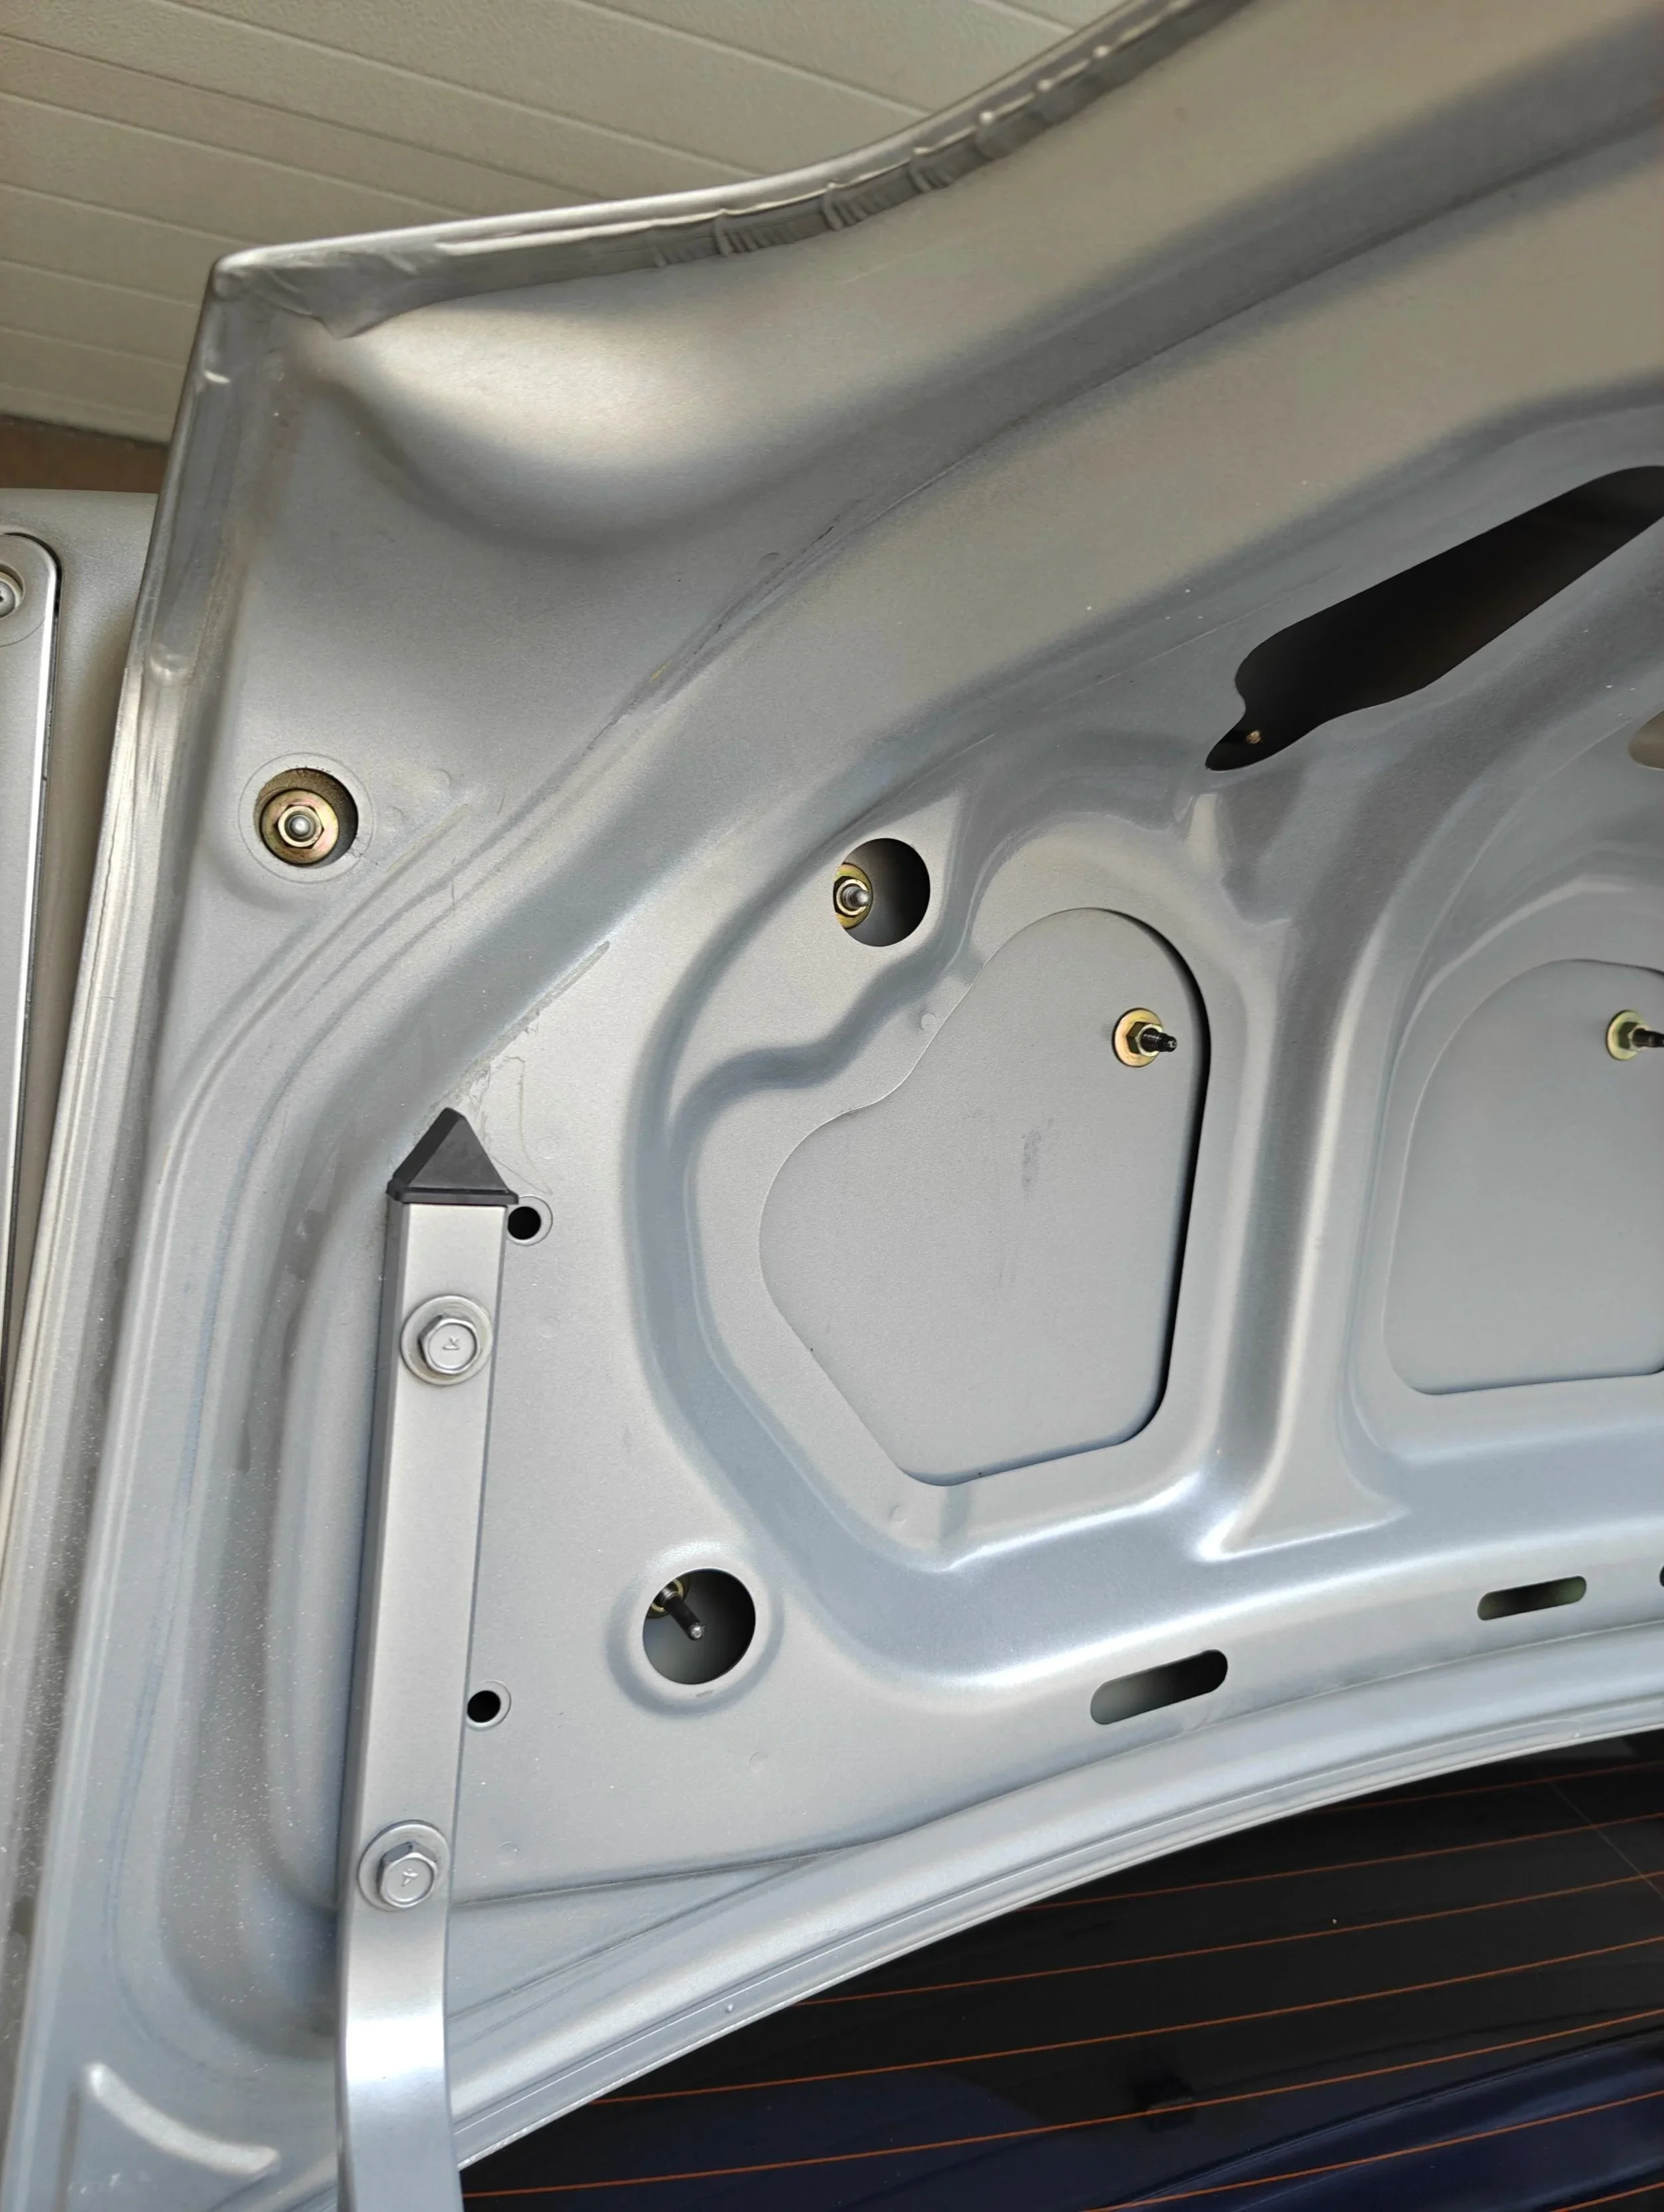
Make sure you don’t miss any hidden studs.
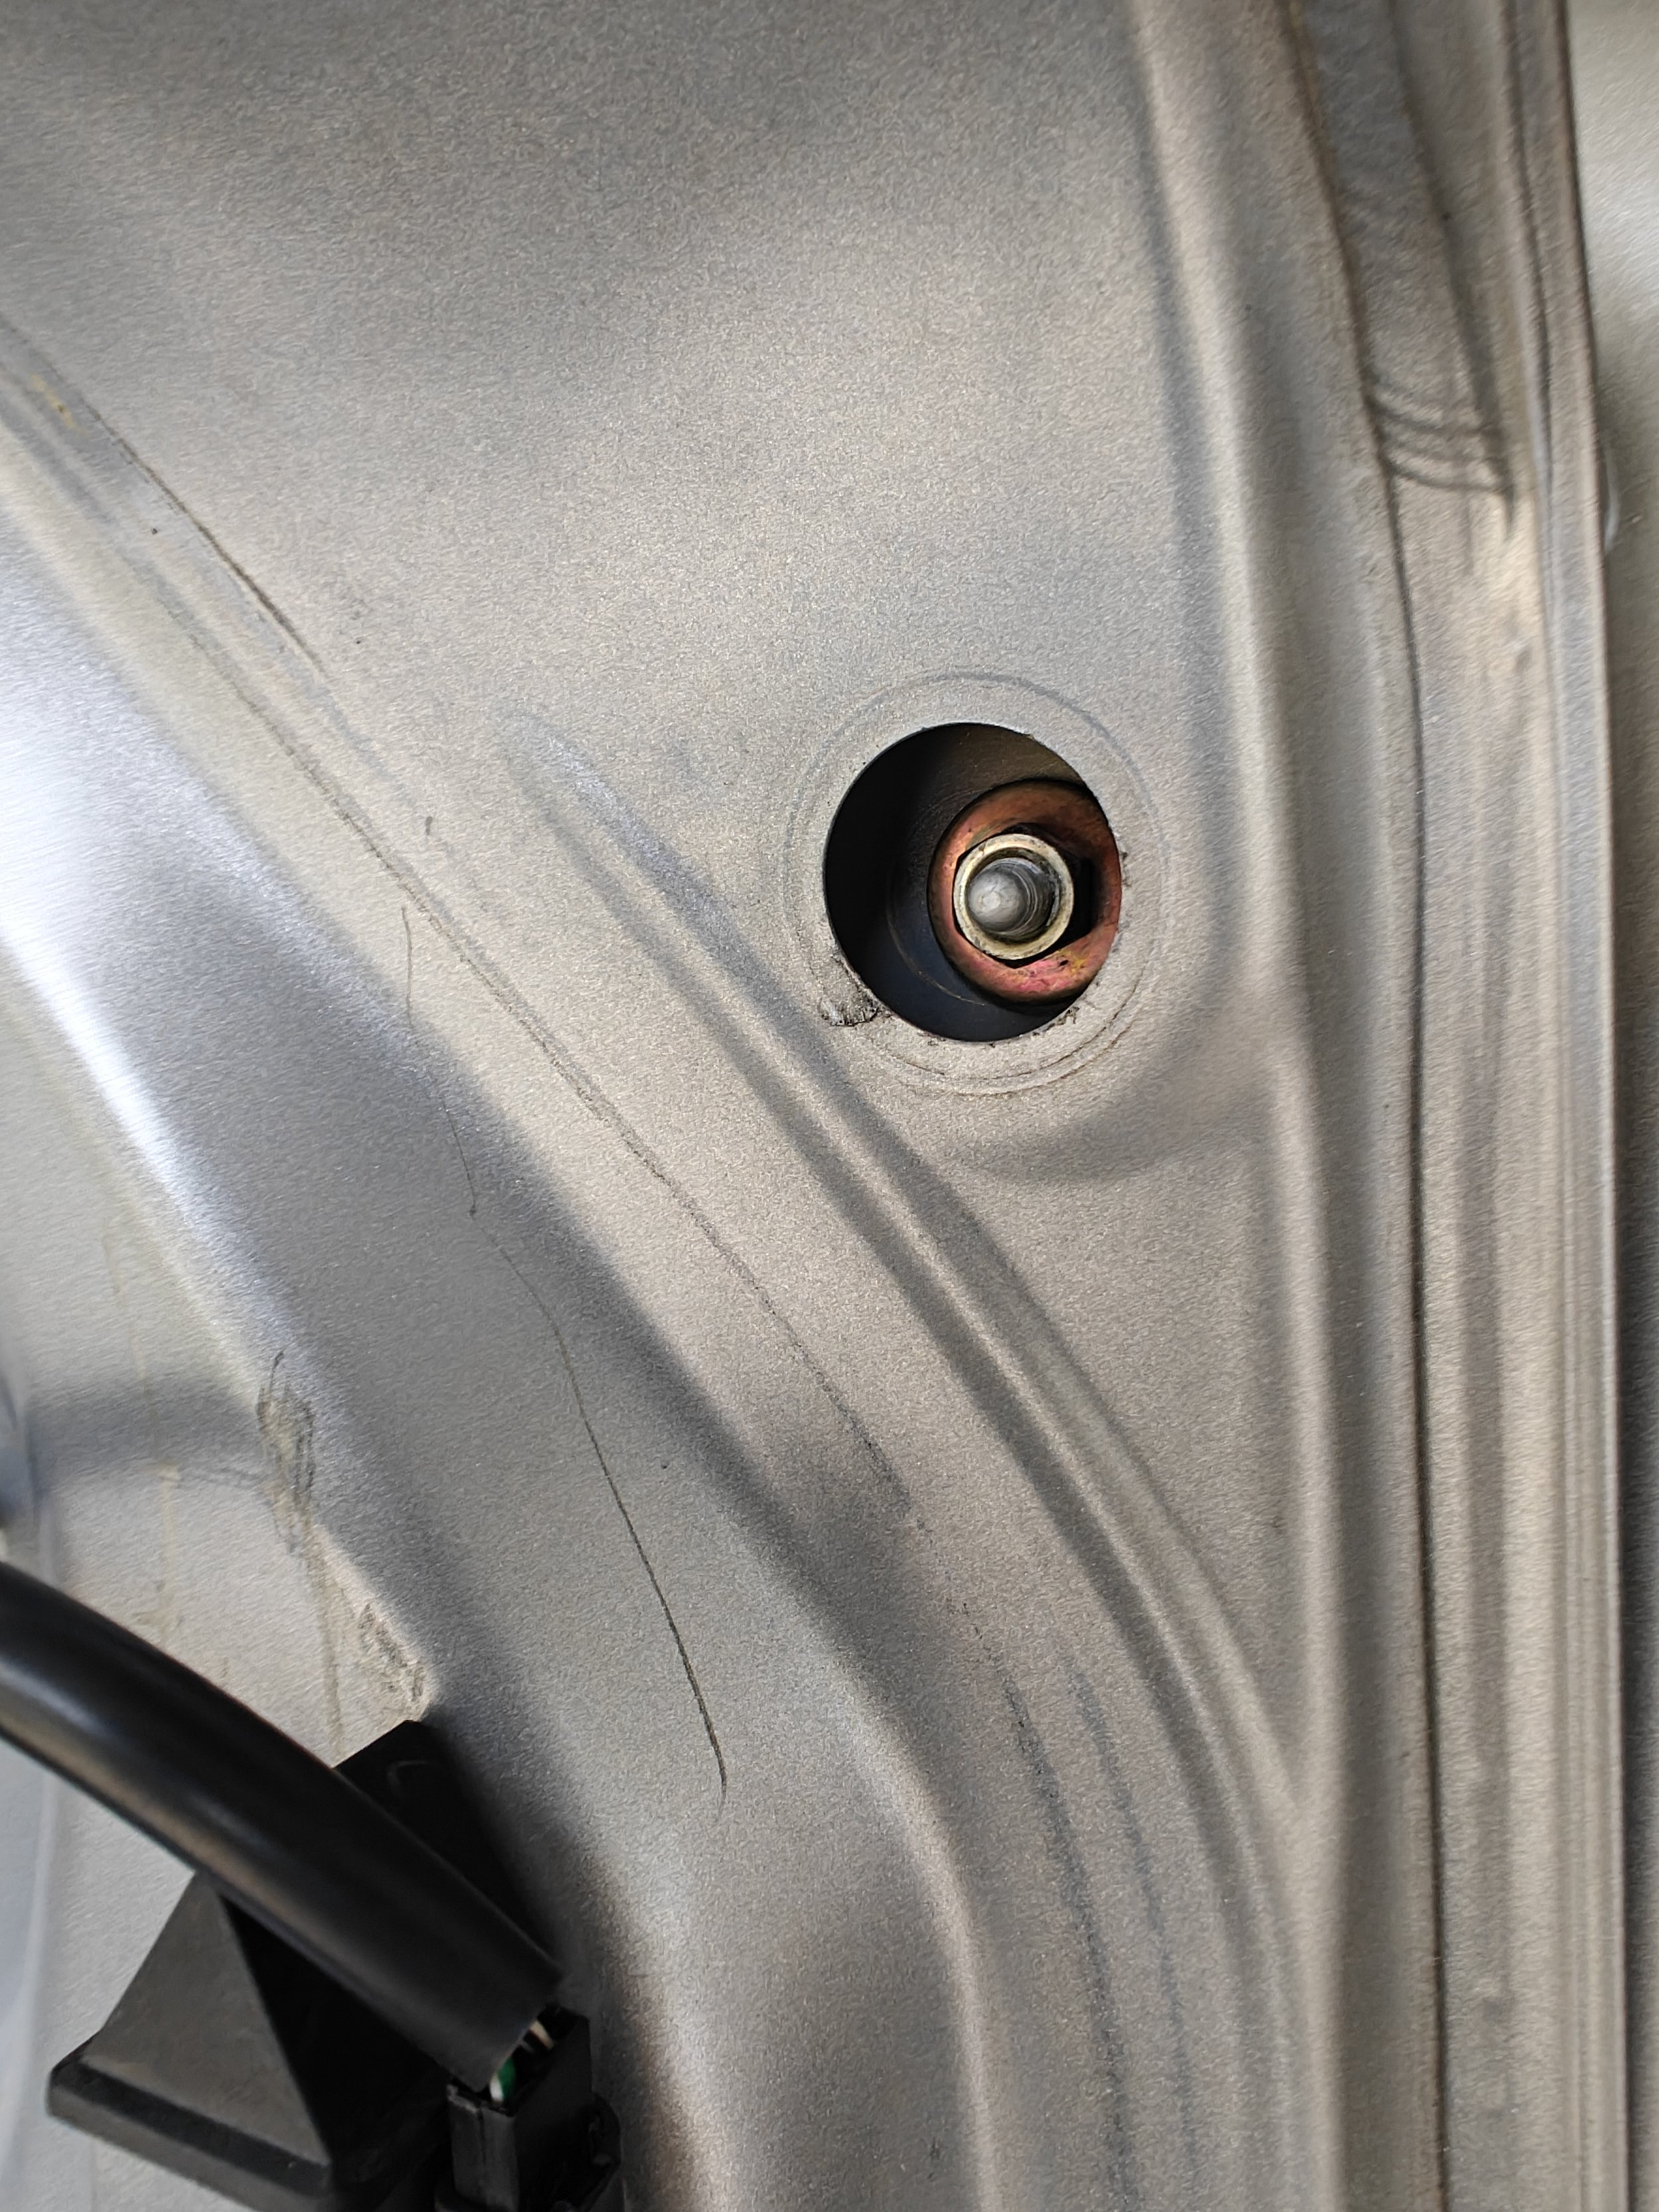
This is one that is hidden behind a rubber stopper, Make sure to tighten it up!
Congratulations! You can now wash your car without a stream of rust trickling out from the water channels. And you can think about what it will be like to do this again in twenty years… or maybe not. Maybe the new bolts and Por15 will keep it from returning.
Tools
Parts
Subaru packing A B C D E
96077FE080
Subaru mounting studs
901700162 901700161