2005-07 Sti rear bumper bracket replacement! No more saggy and loose bumpers!
If you are into loose saggy rears you might want to stop reading right now.. but if you are looking to tighten up your rear, read along to find out how to replace a few couple of pieces to get tighten it up.

Just trying to keep 20 year old cars looking decent!
When my driver’s rear fender flare was damaged I assumed I would simply replace it by popping it out and putting on a new unit. But I quickly discovered that the flare is mounting behind the bumper.. then I found a small rusty 10mm bolt holding them together. With a couple turns of the bolt and it broke. What do you expect from a near 20 year old car though.
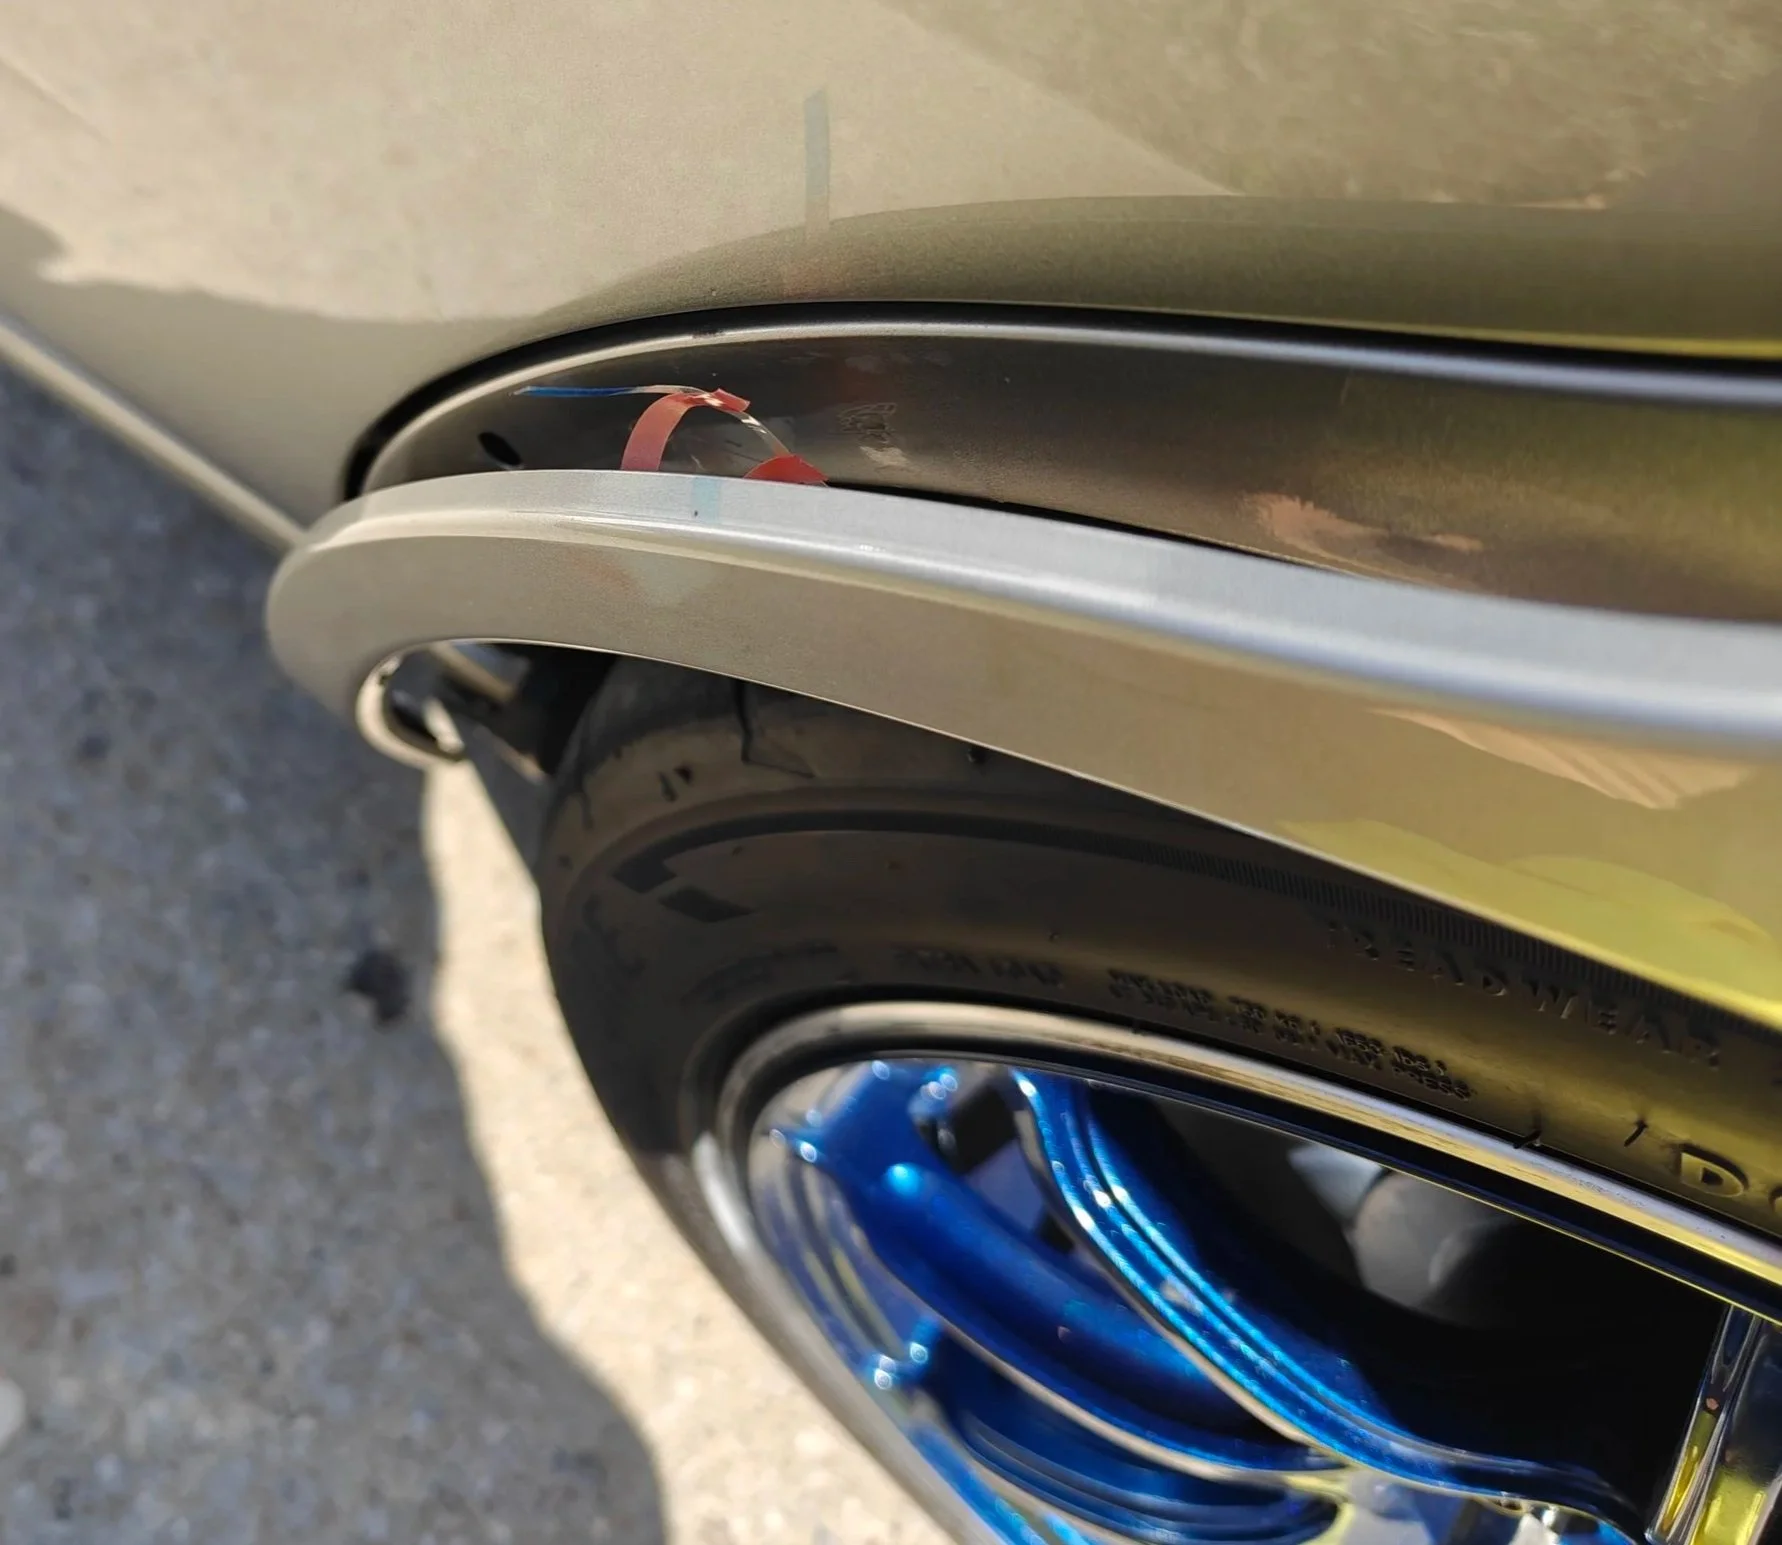
Replacing my old damaged over fender flare brought this issue to me.
With that let me pass a little of my knowledge along to you, hopefully it makes your life a bit easier.
Time Frame
This took me around one hour with a friend to assist when lifting the bumper off and on. I was figuring it out as I went, so you might be a bit faster than me.
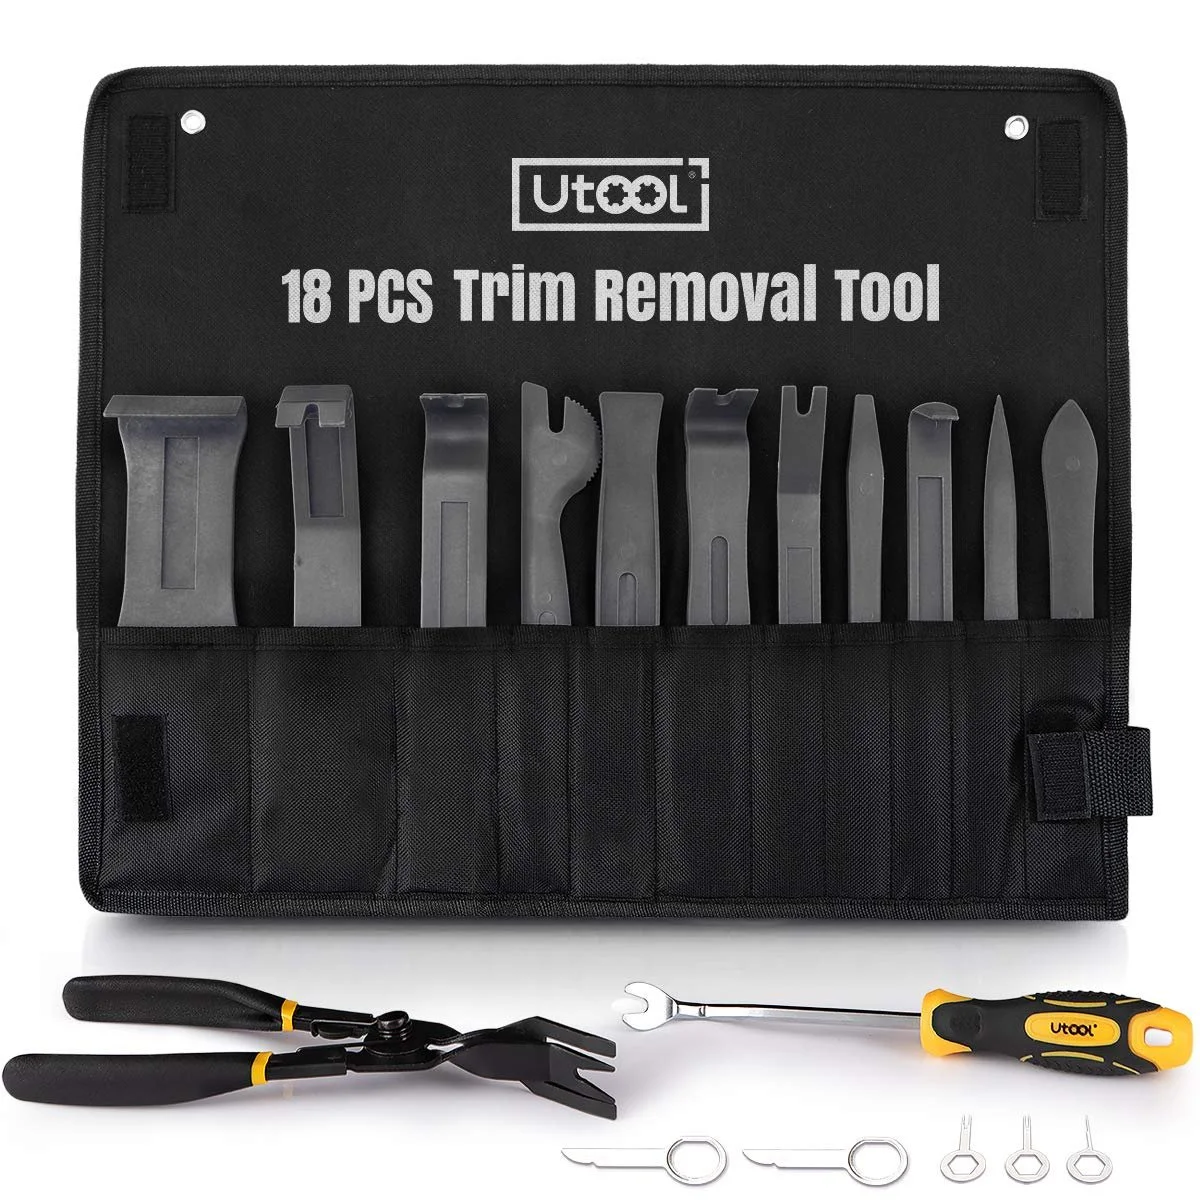
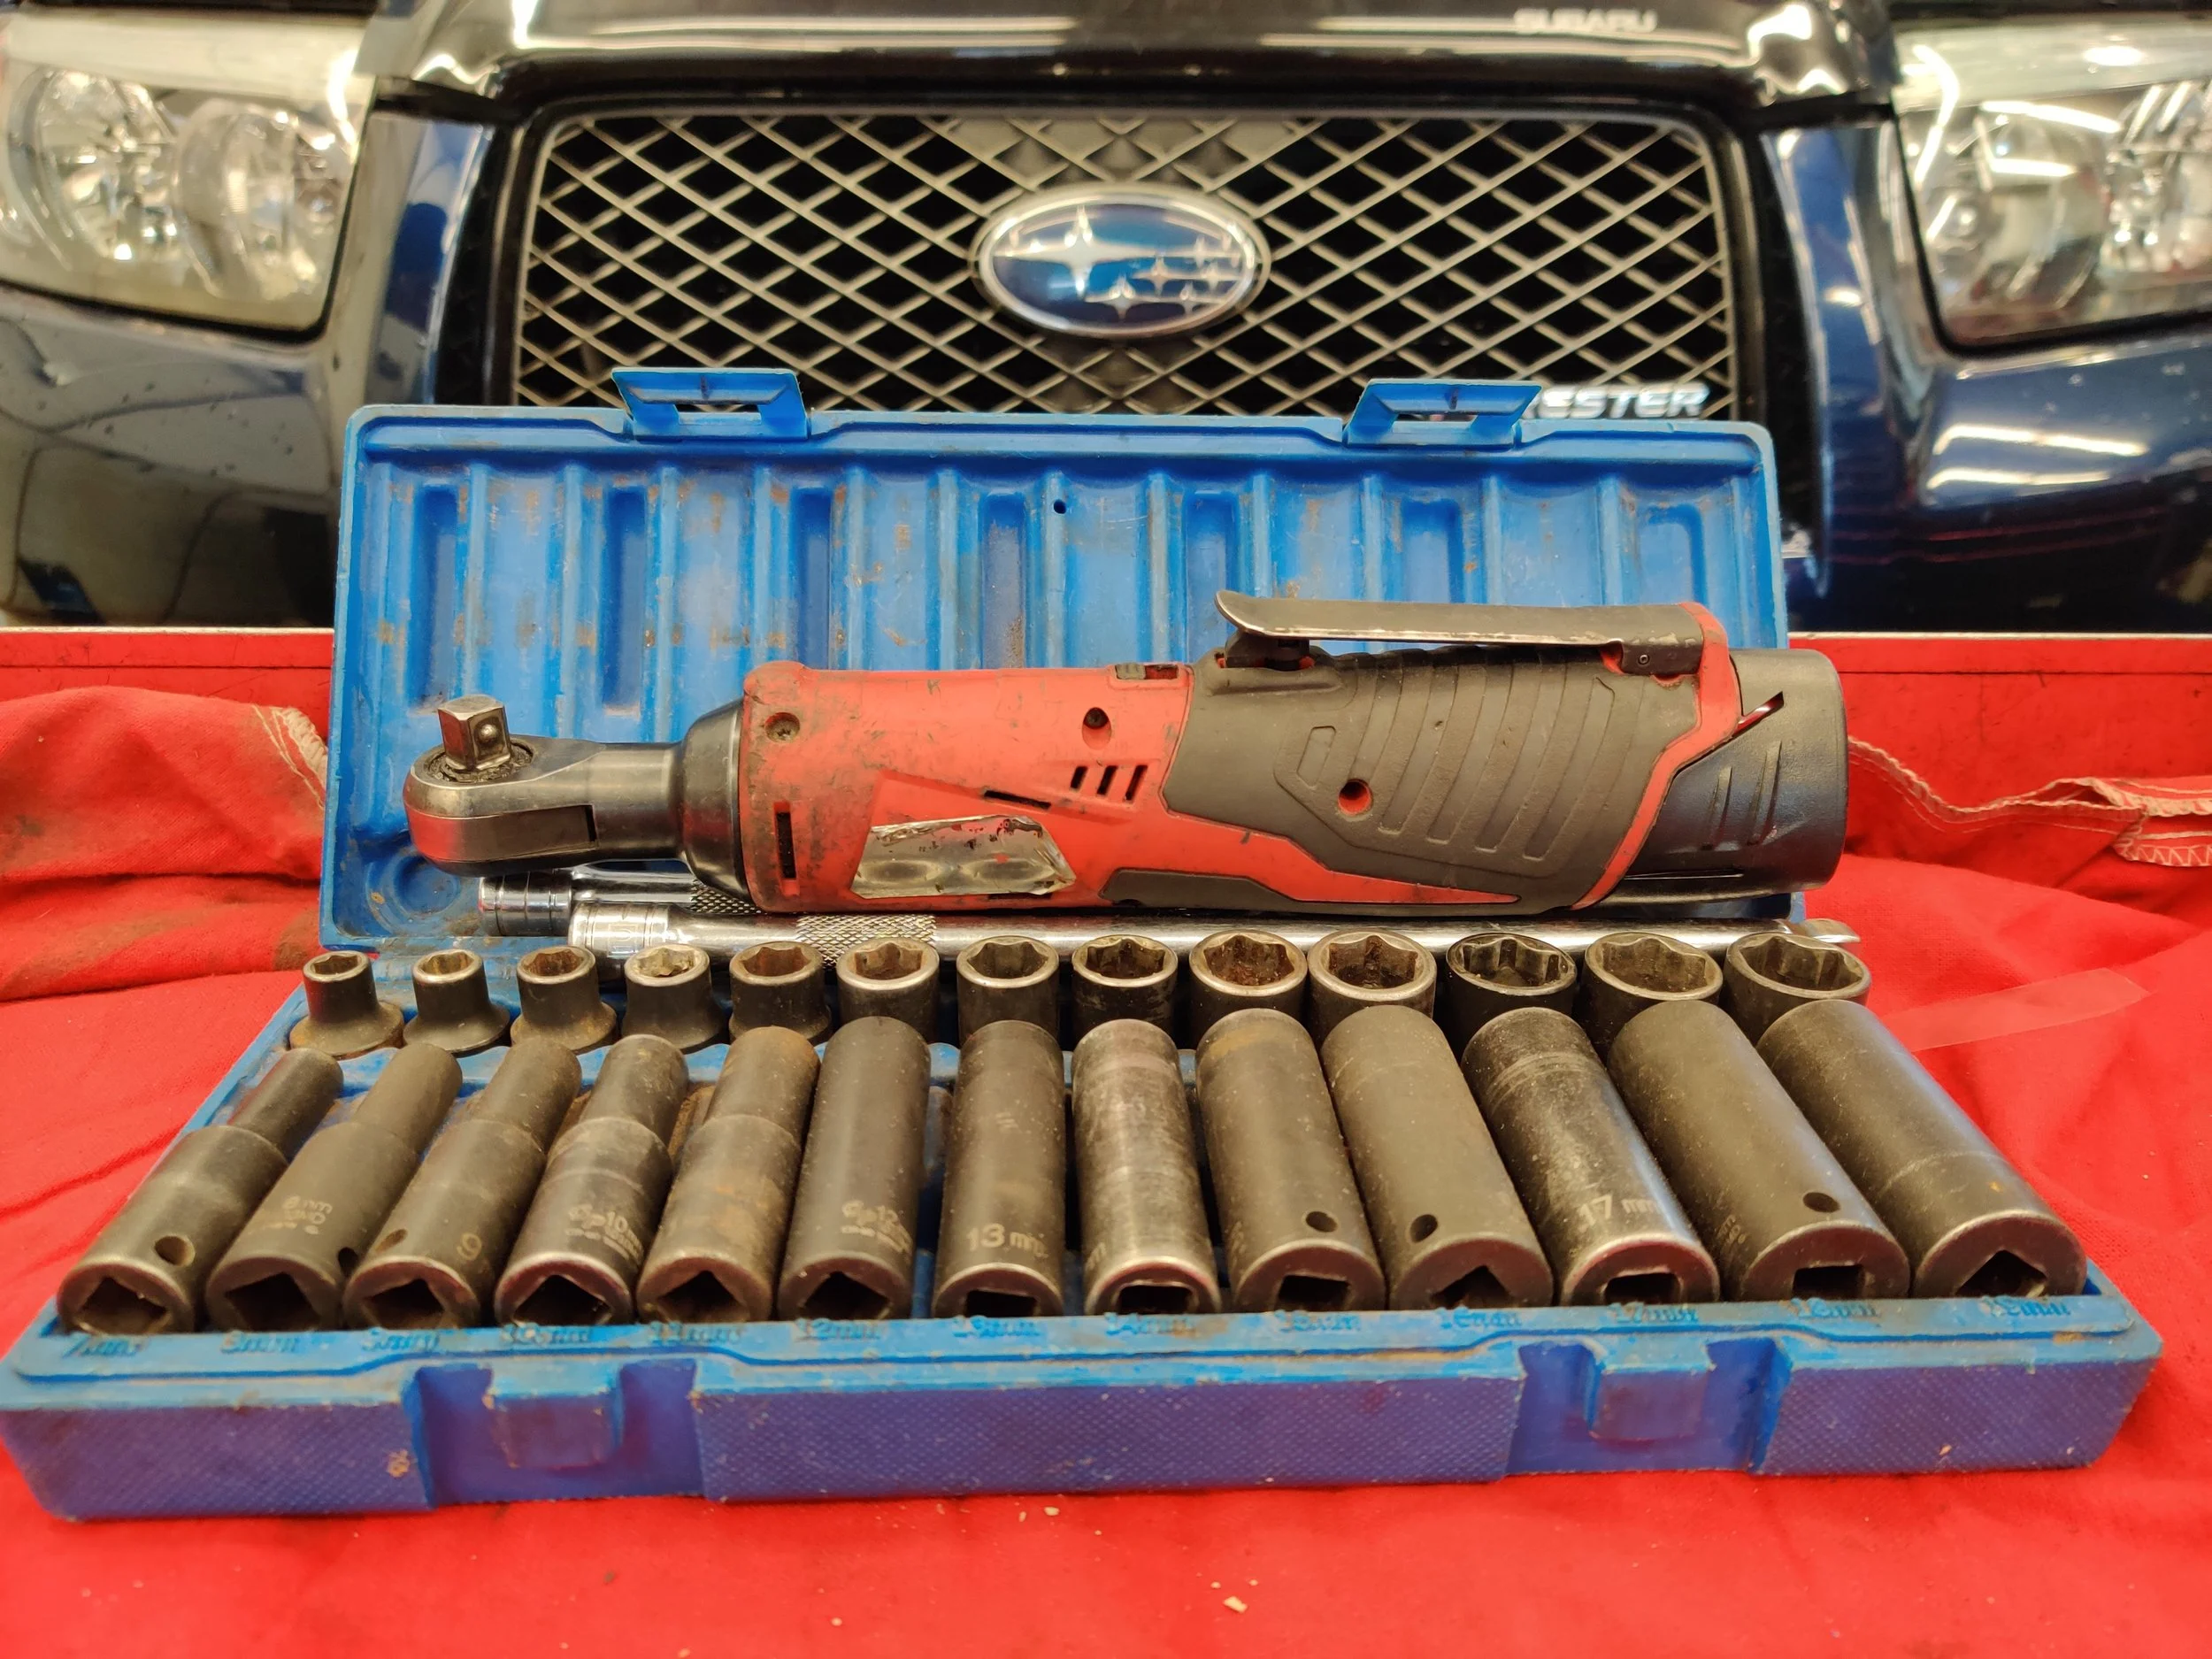
Tools

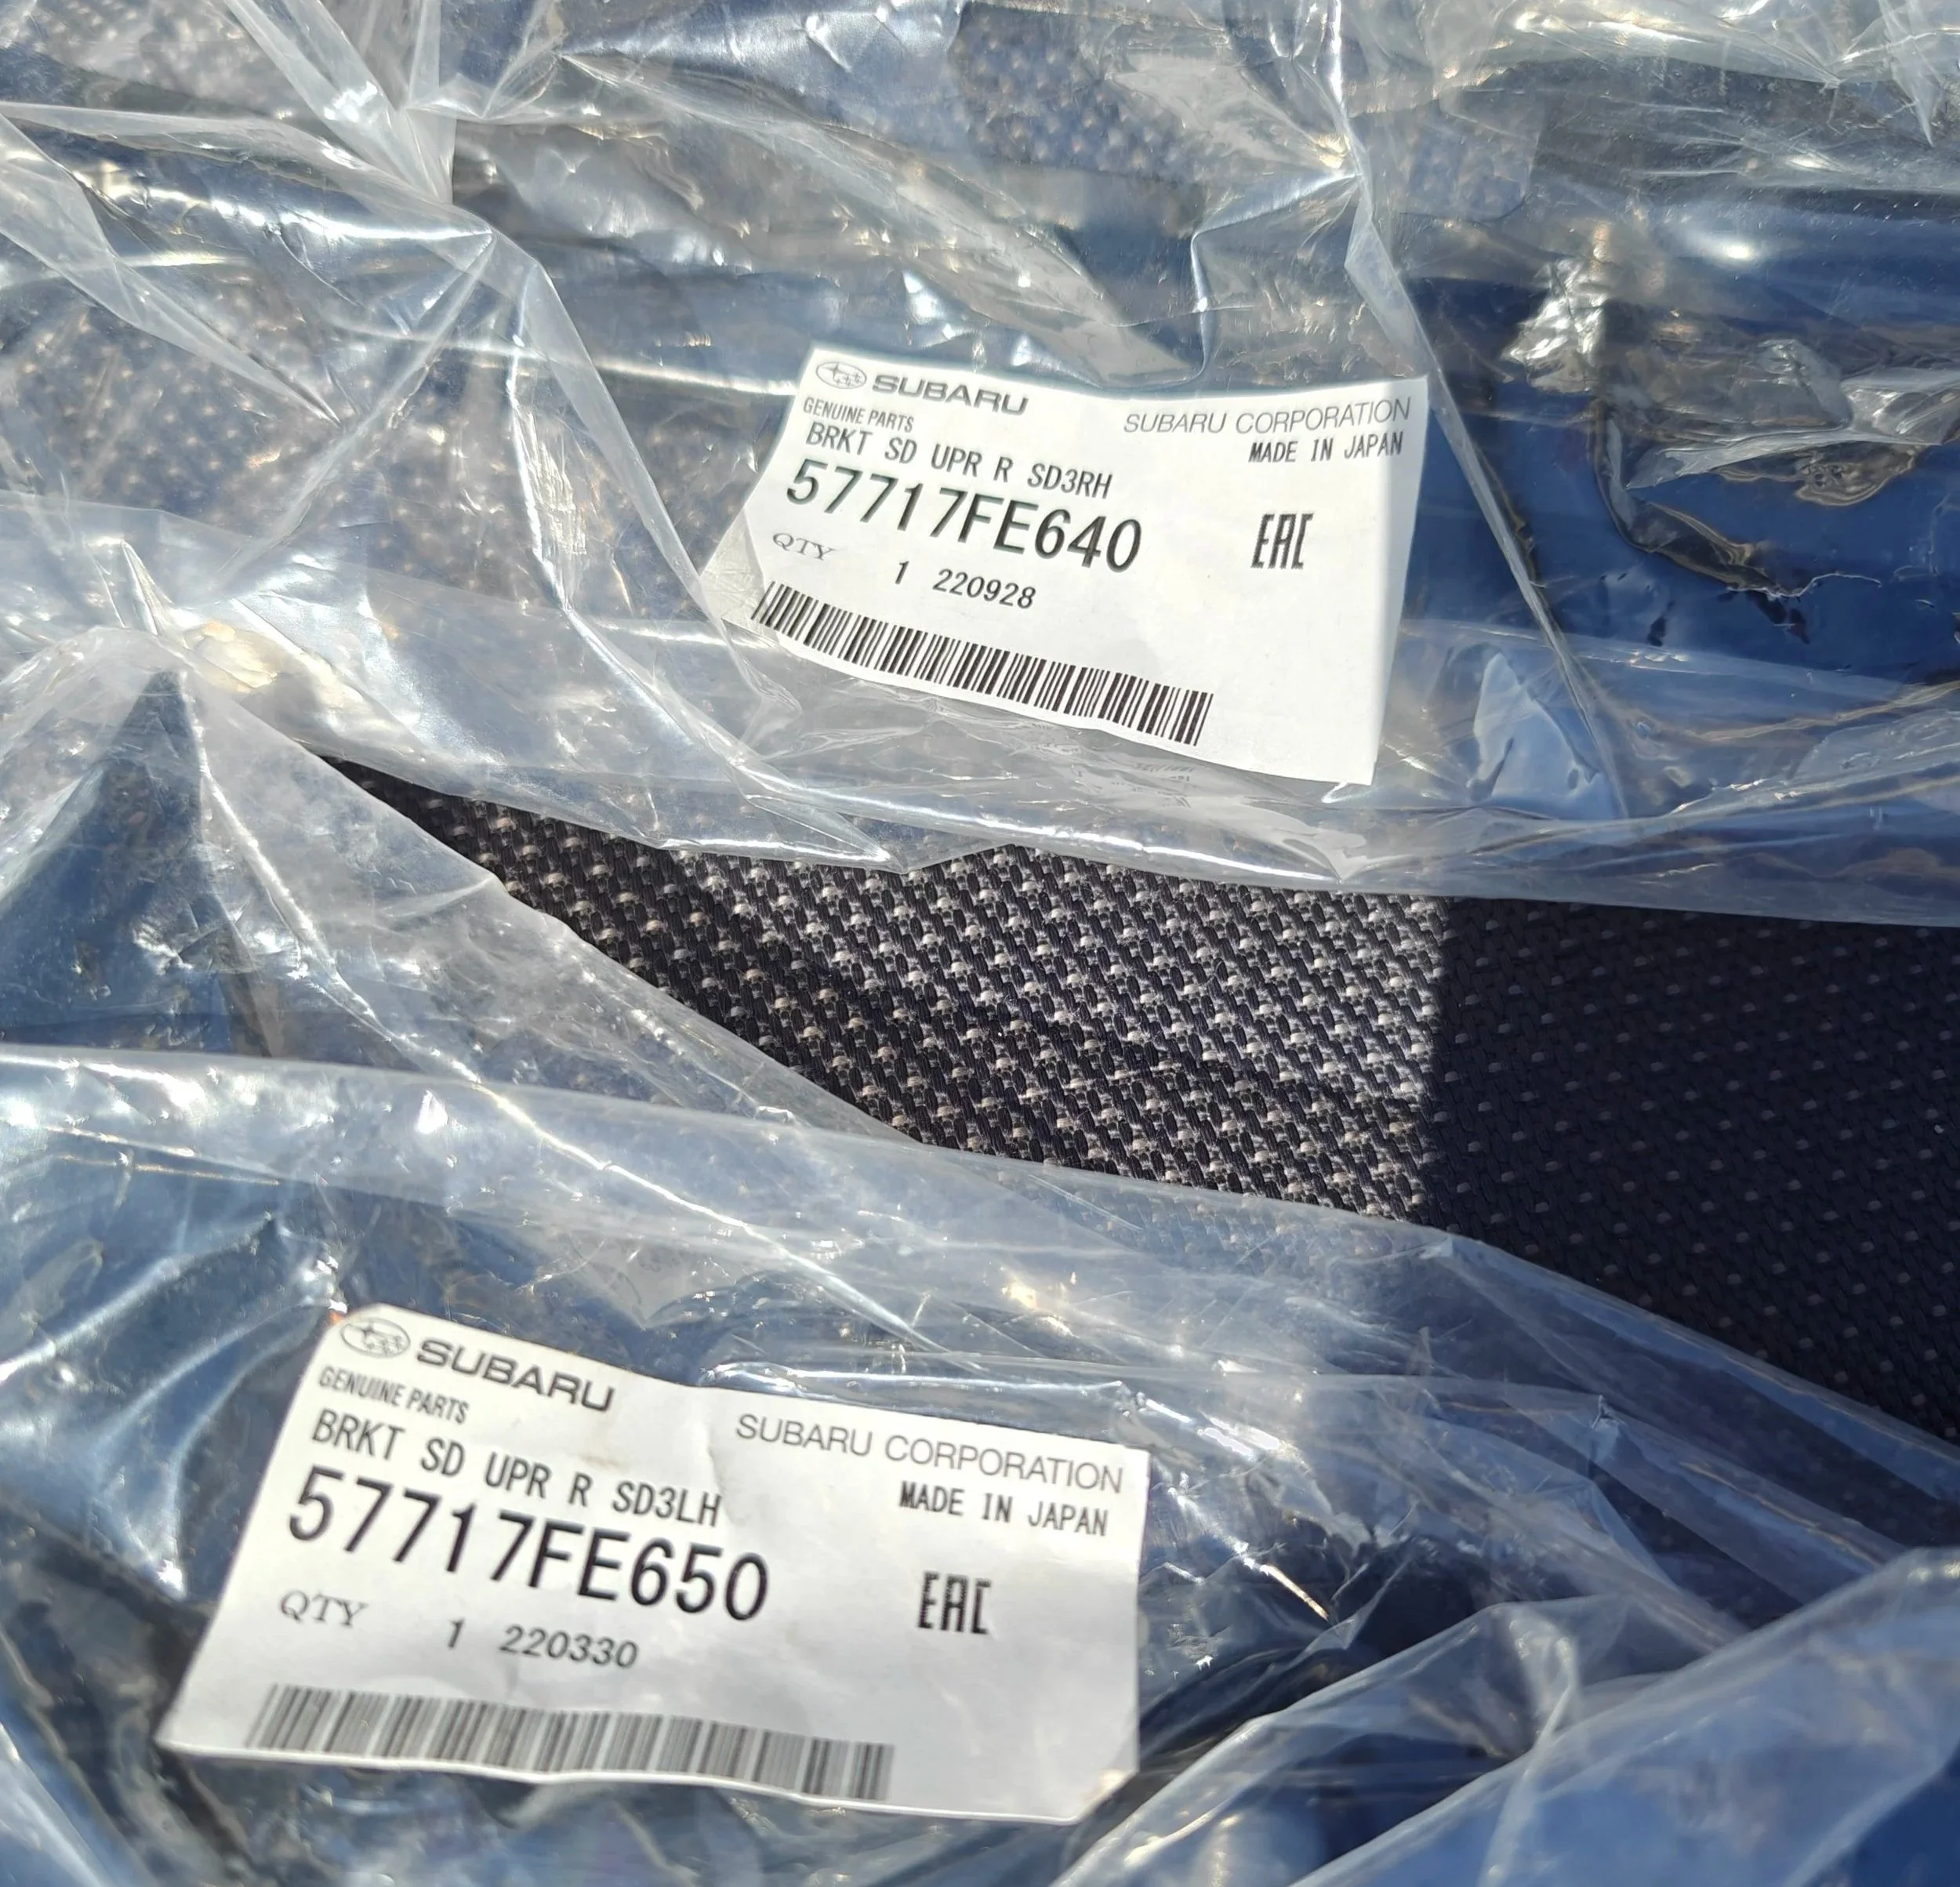
Parts
LH 57717FE650 and RH 57717FE640 bumper brackets

How to
First on our list is gaining a bit of access around the tires. I used my jack and and a set of jackstands to lift it just high enough. You could also remove the wheels if you want to make it a little bit easier. Once everything is properly supported for your personal safety you can move on to the next step.
Car is in the work area.
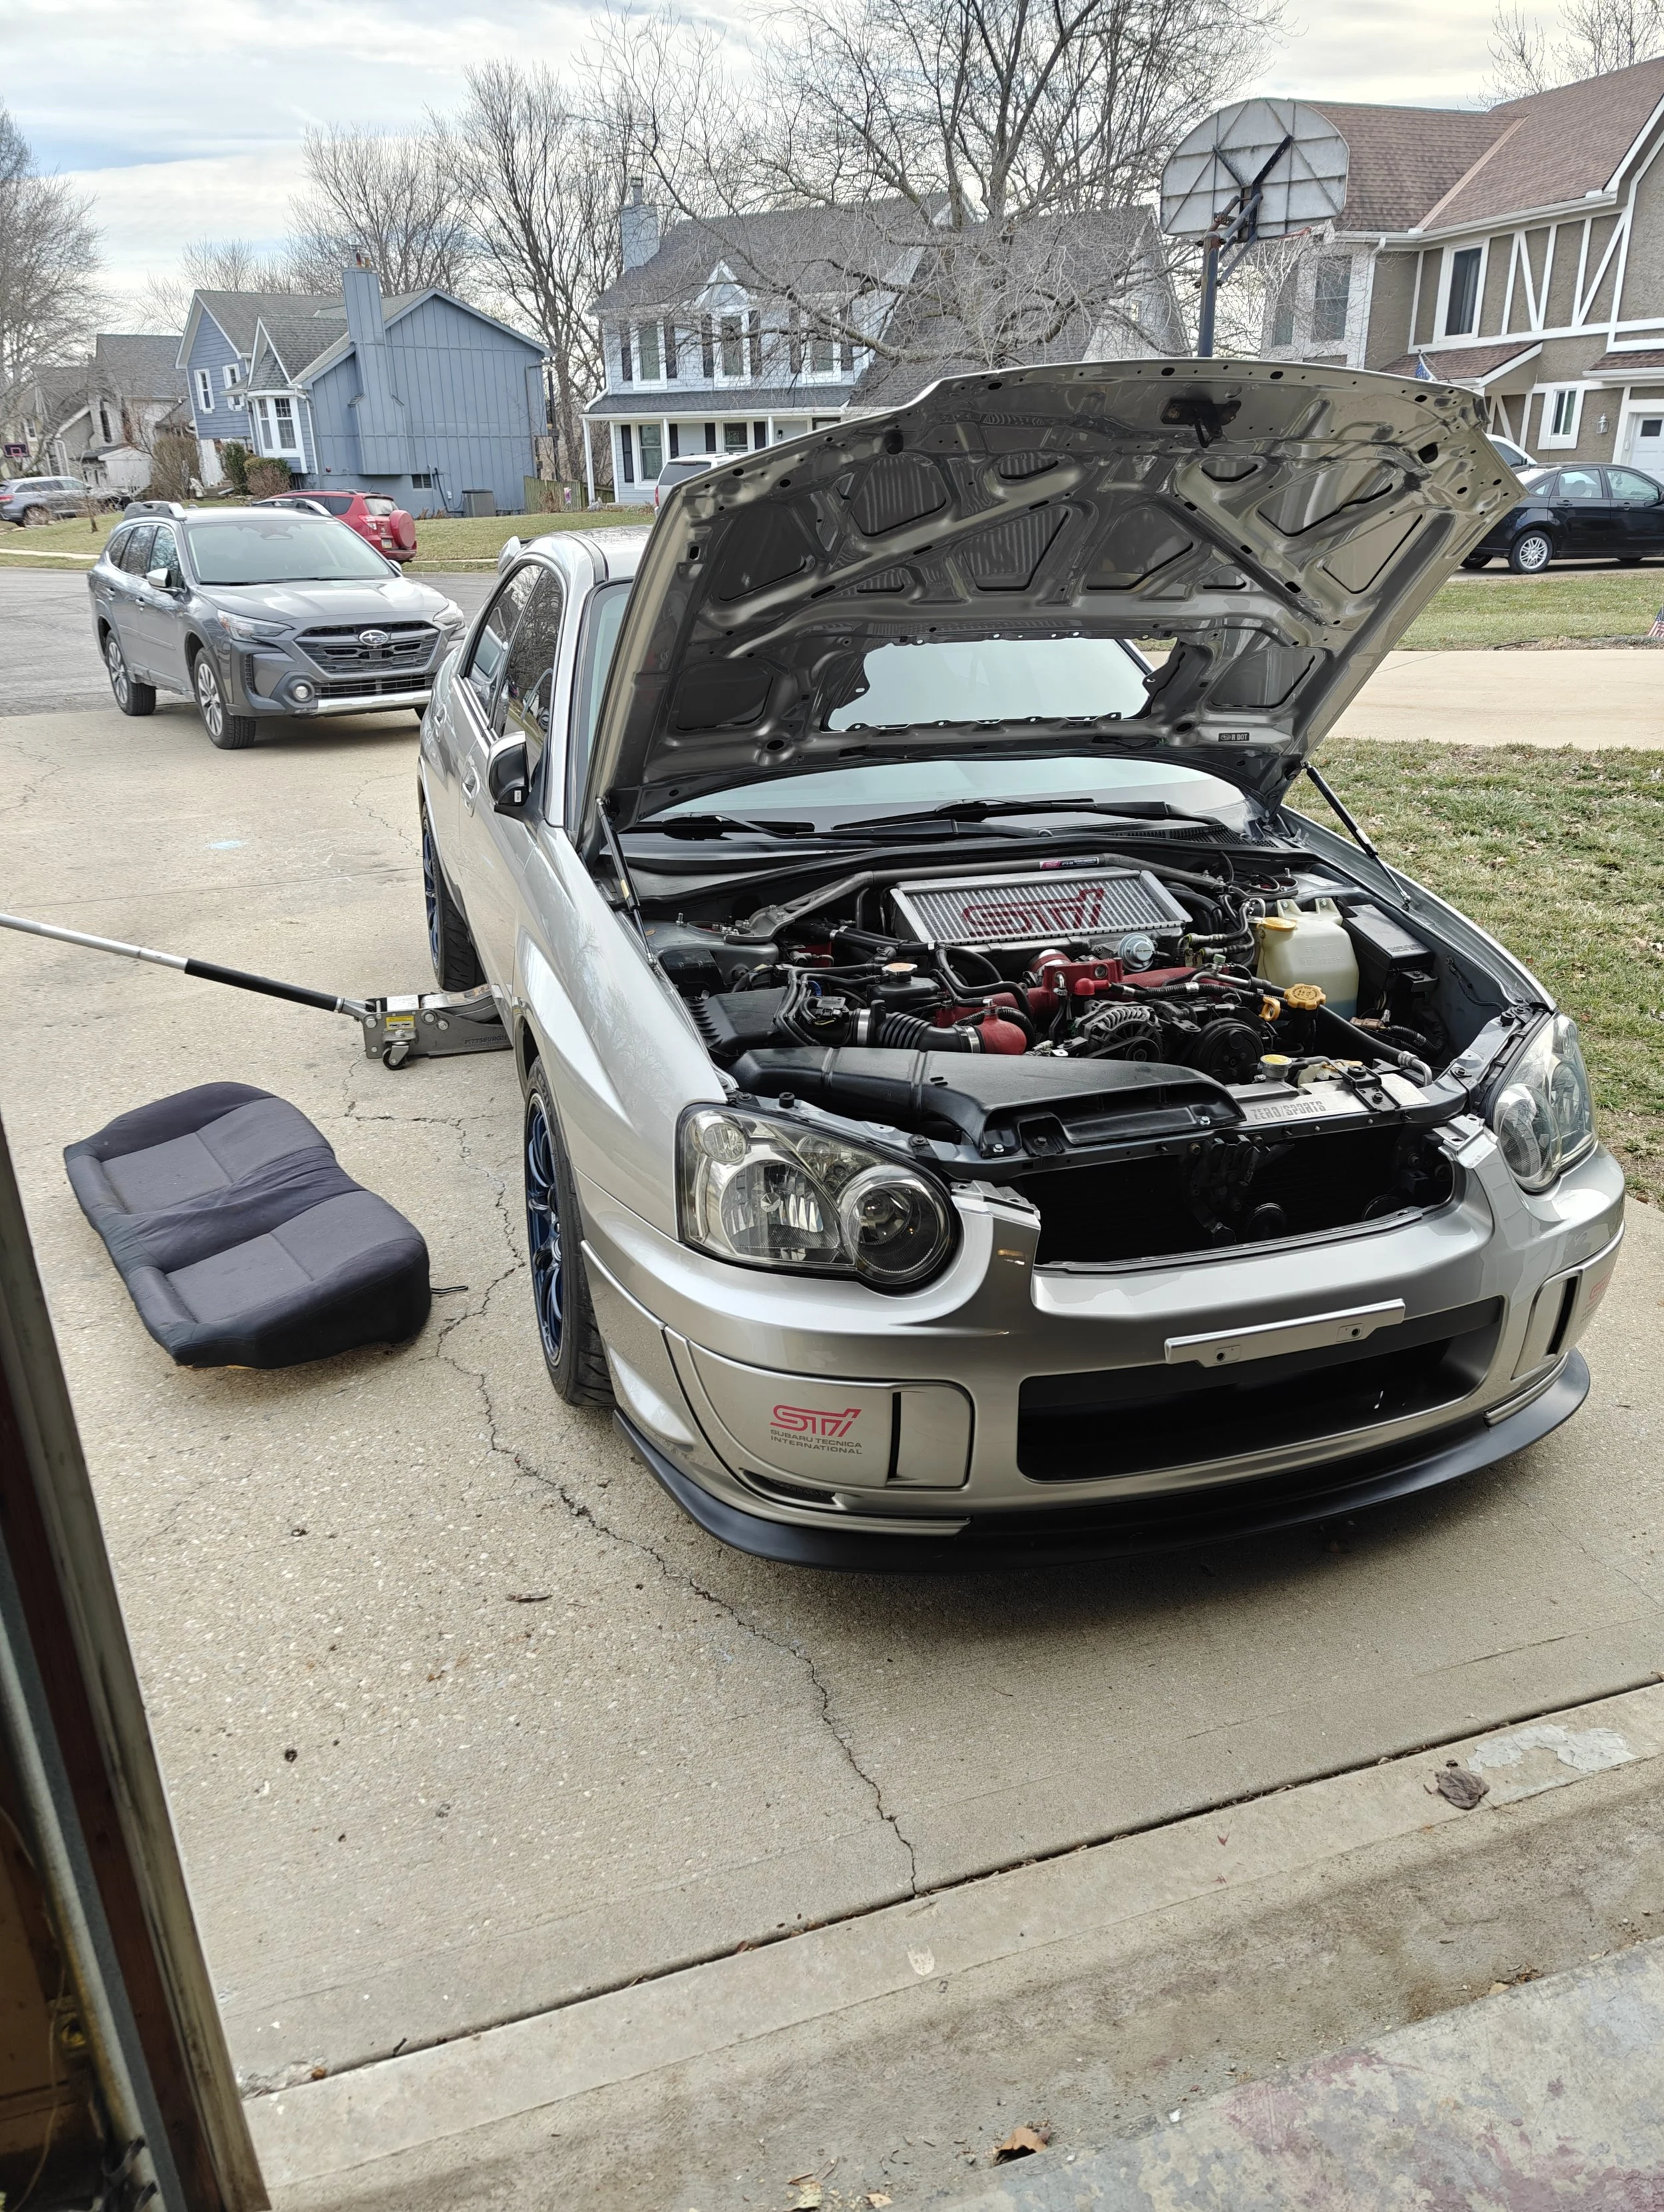
Getting the car up in the air helps you access everything a bit easier
This will also give you the room to take out the lower plastic clips that further support the bumper.
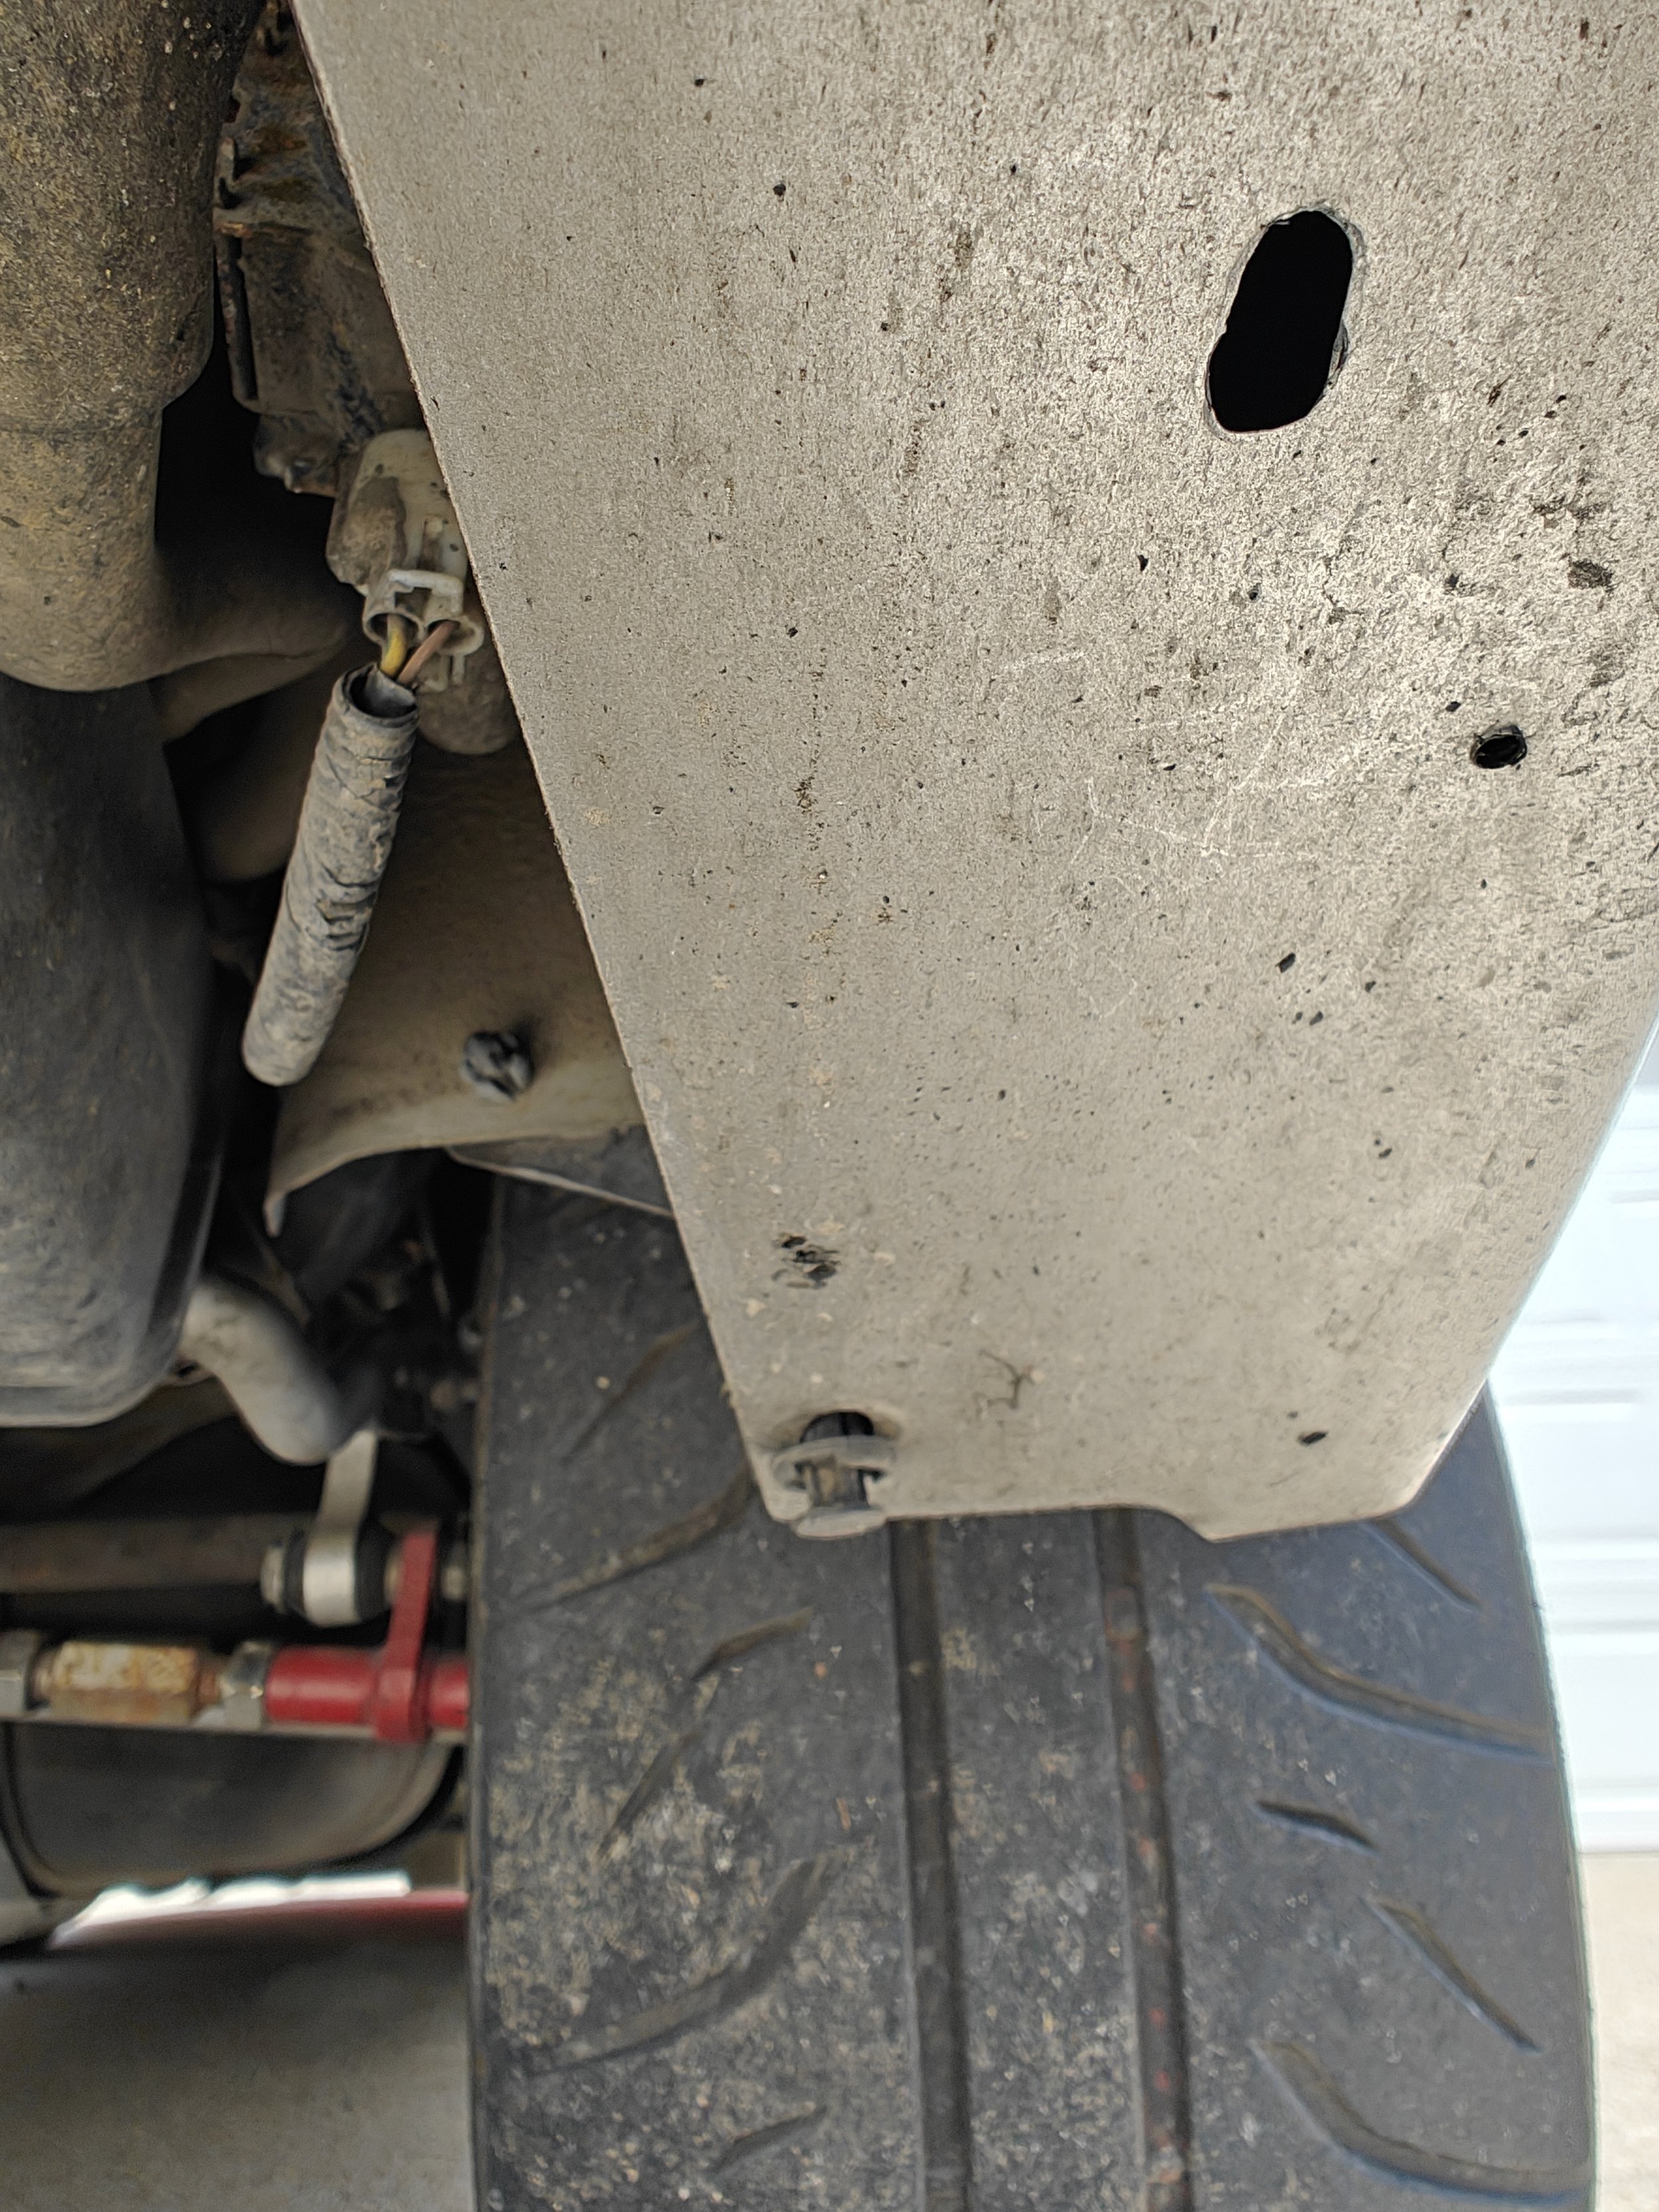
First up is removing any clips holding the lower portion of the bumper to the chassis.
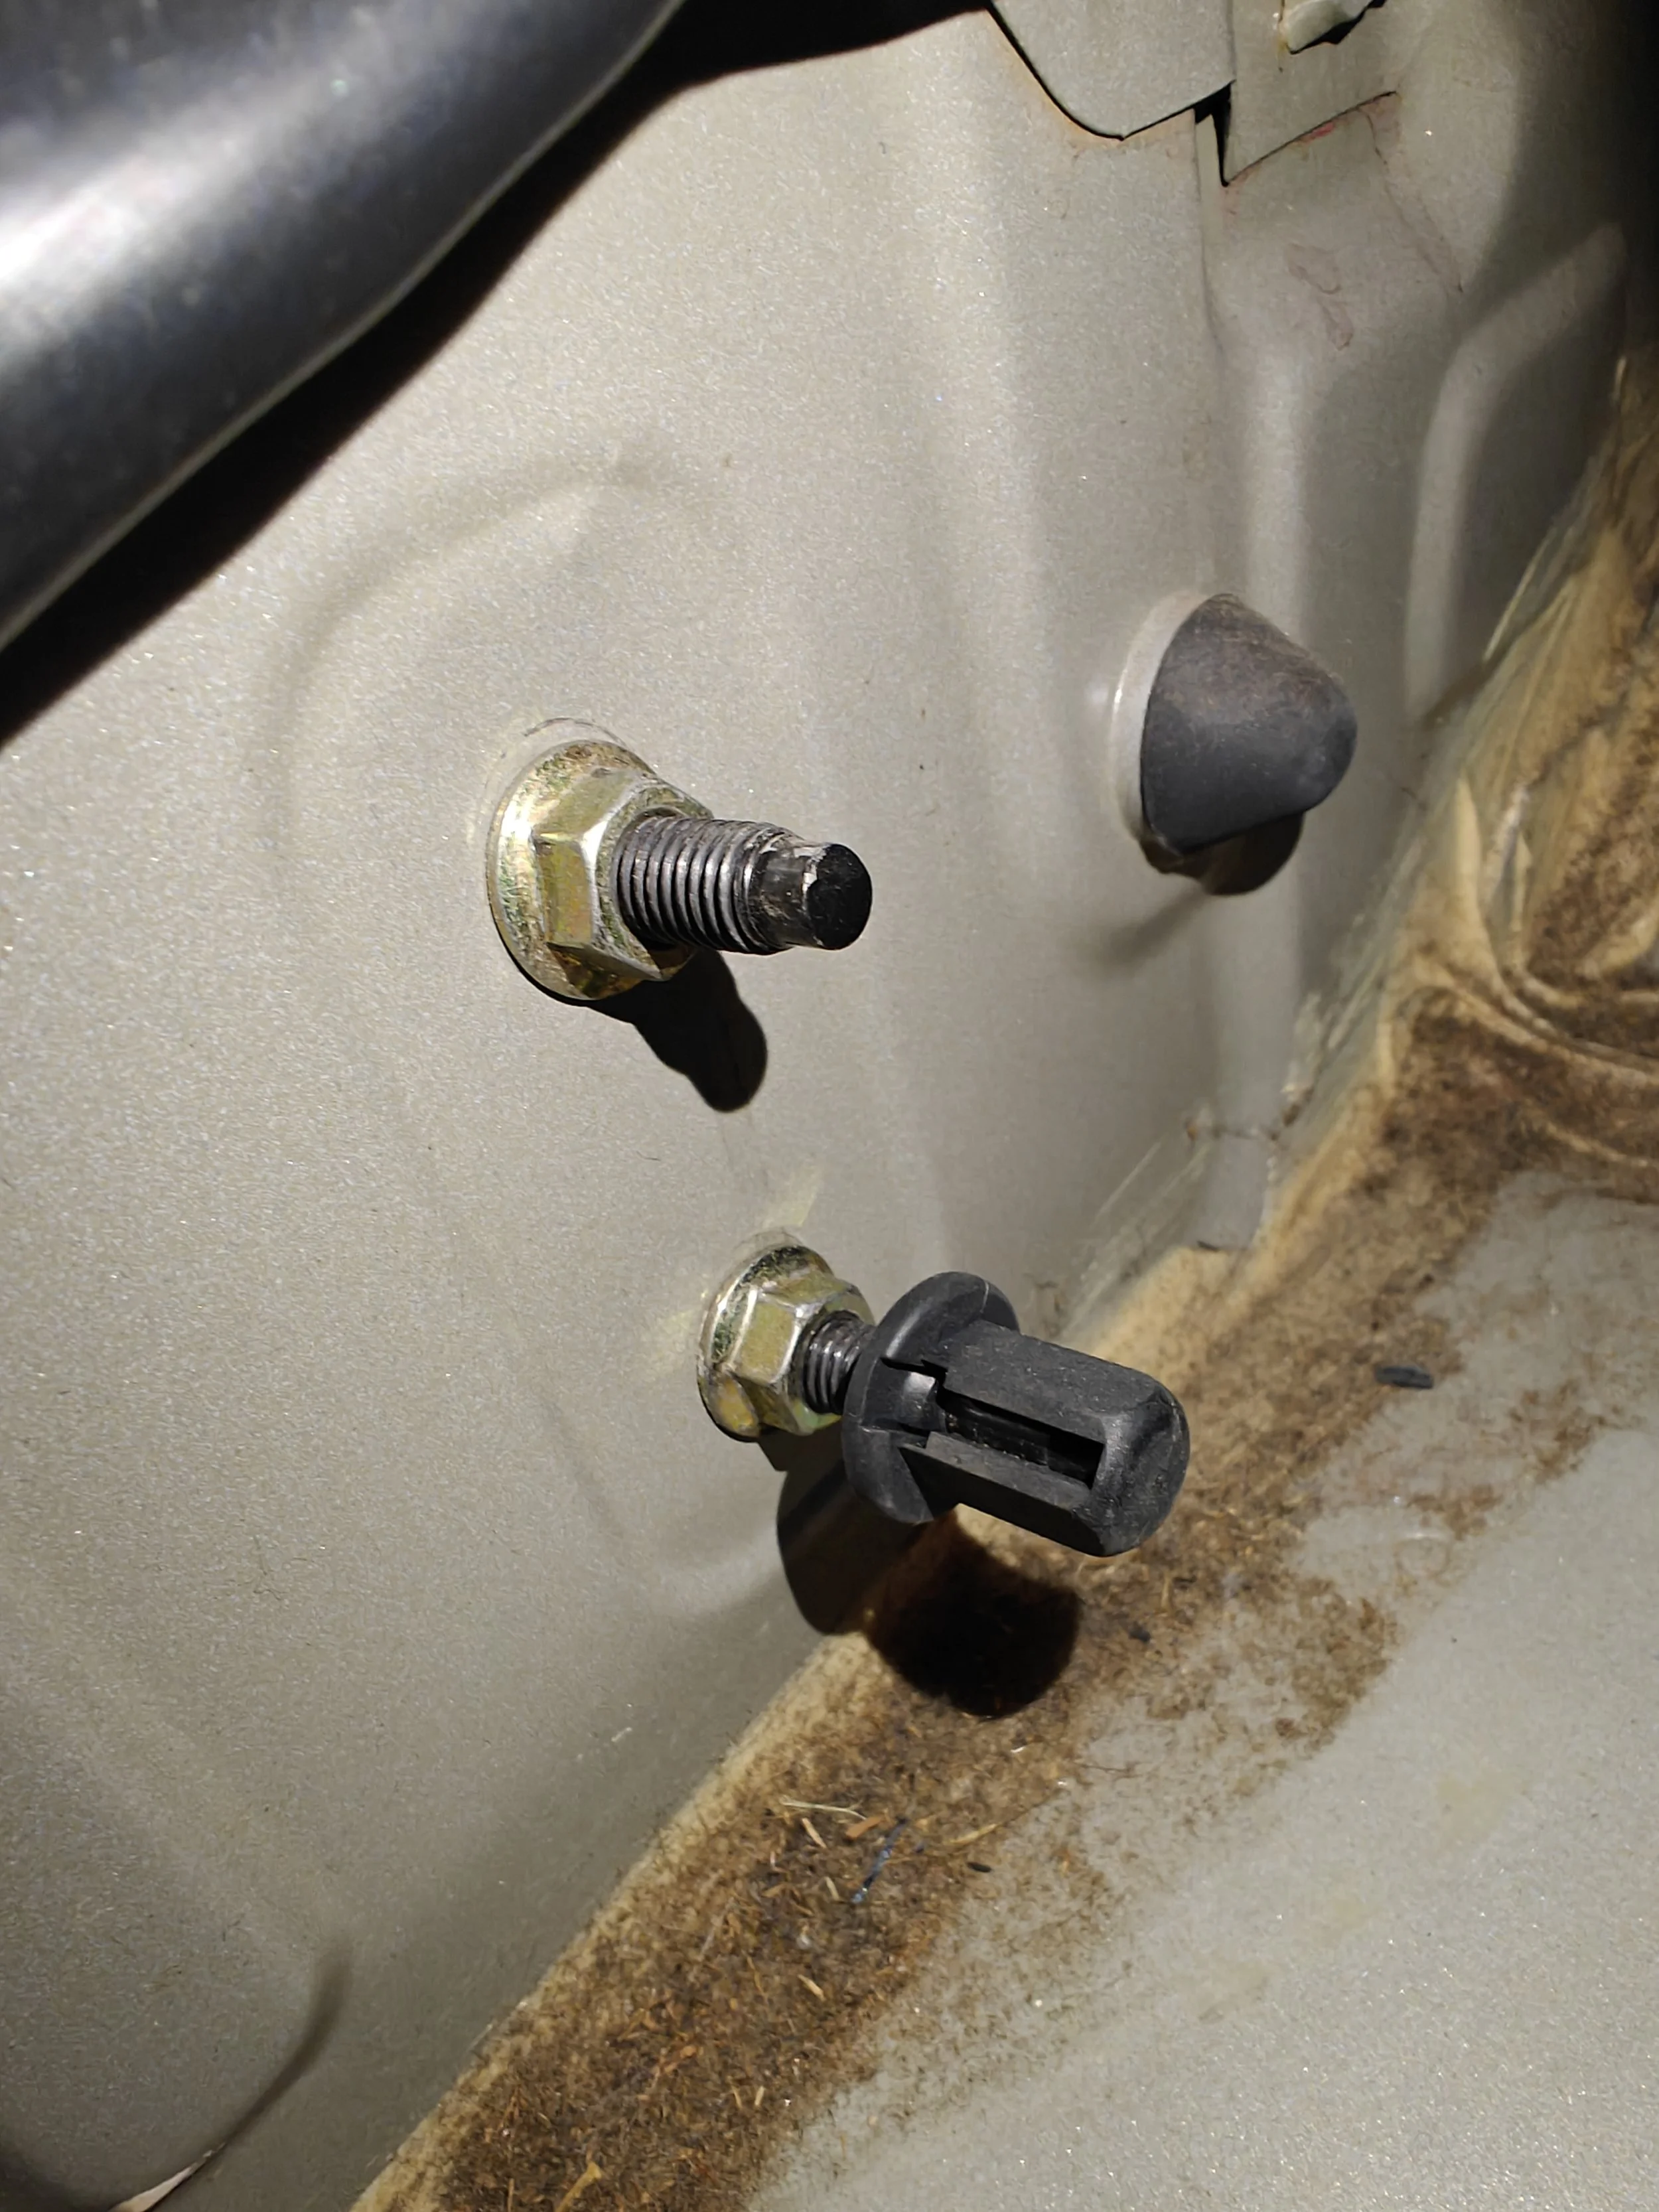
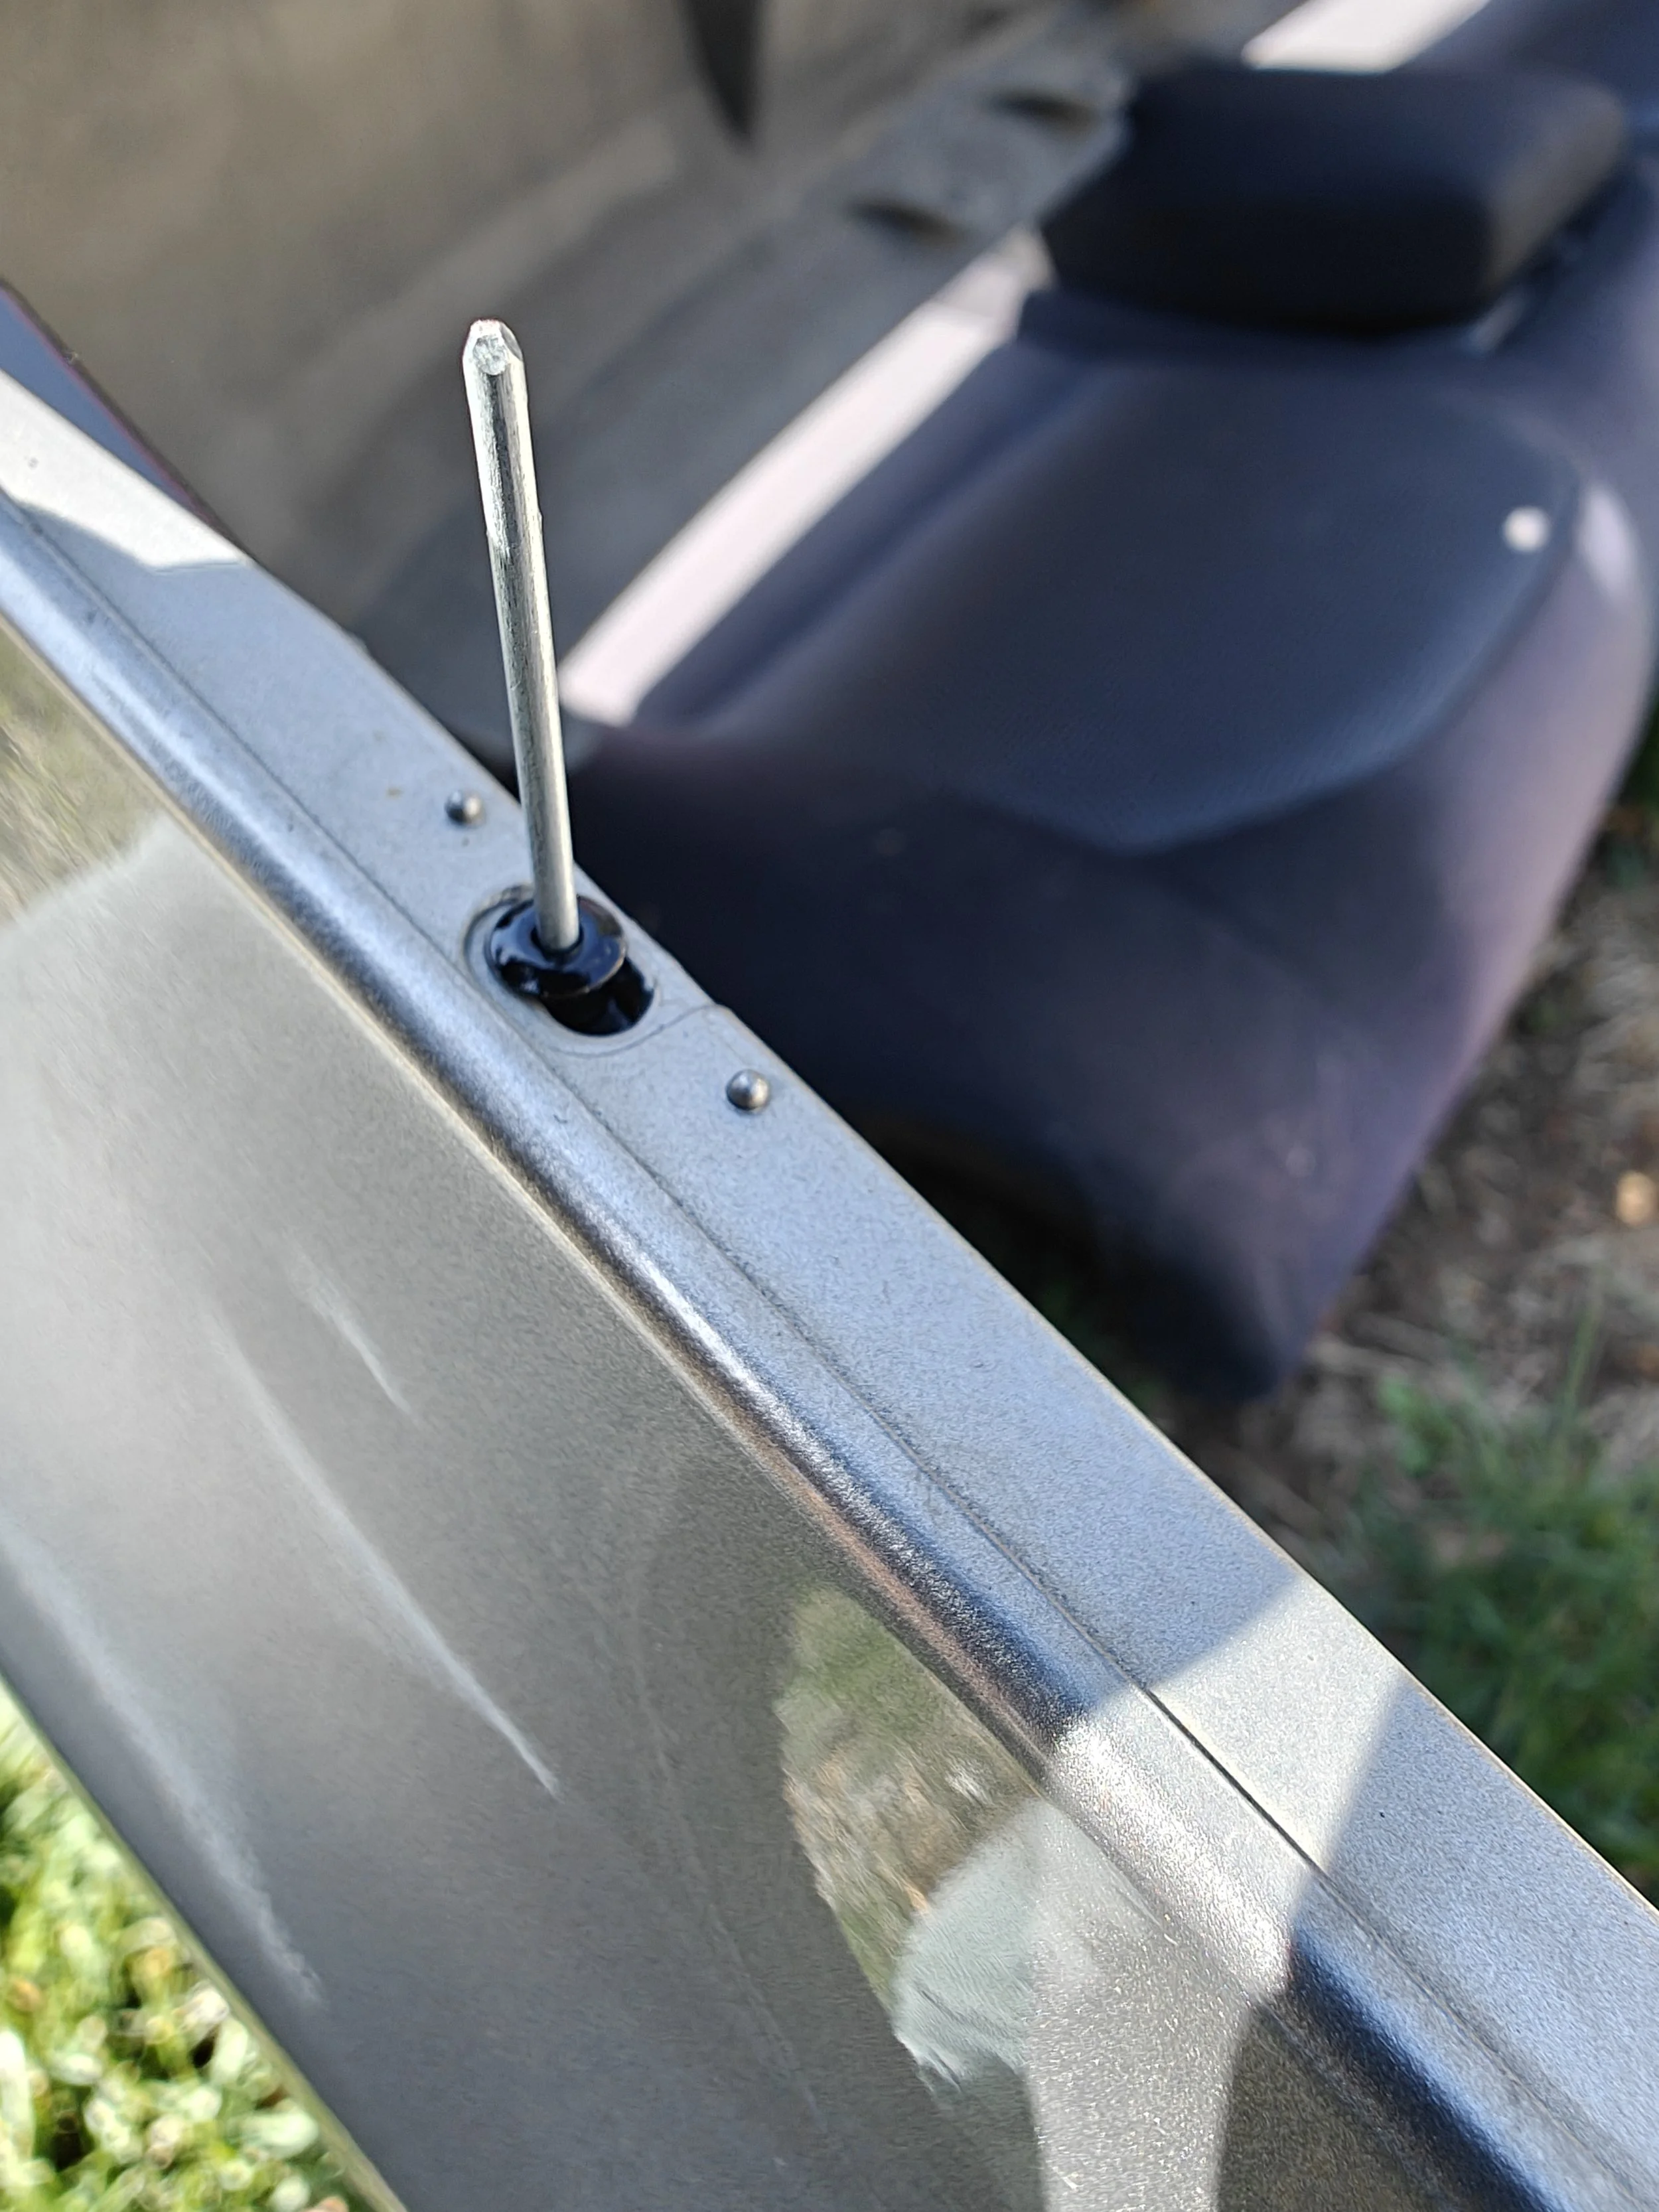
Now you can slide in and get a view on the bolt that holds the bumper to the body of the vehicle. Both bolts on my car were rusted in tight and with a couple of turns the bolts broke. Unfortunately that’s what I have grown to expect on these smaller bolts.
This is the view from the side and the bolt you are looking for.
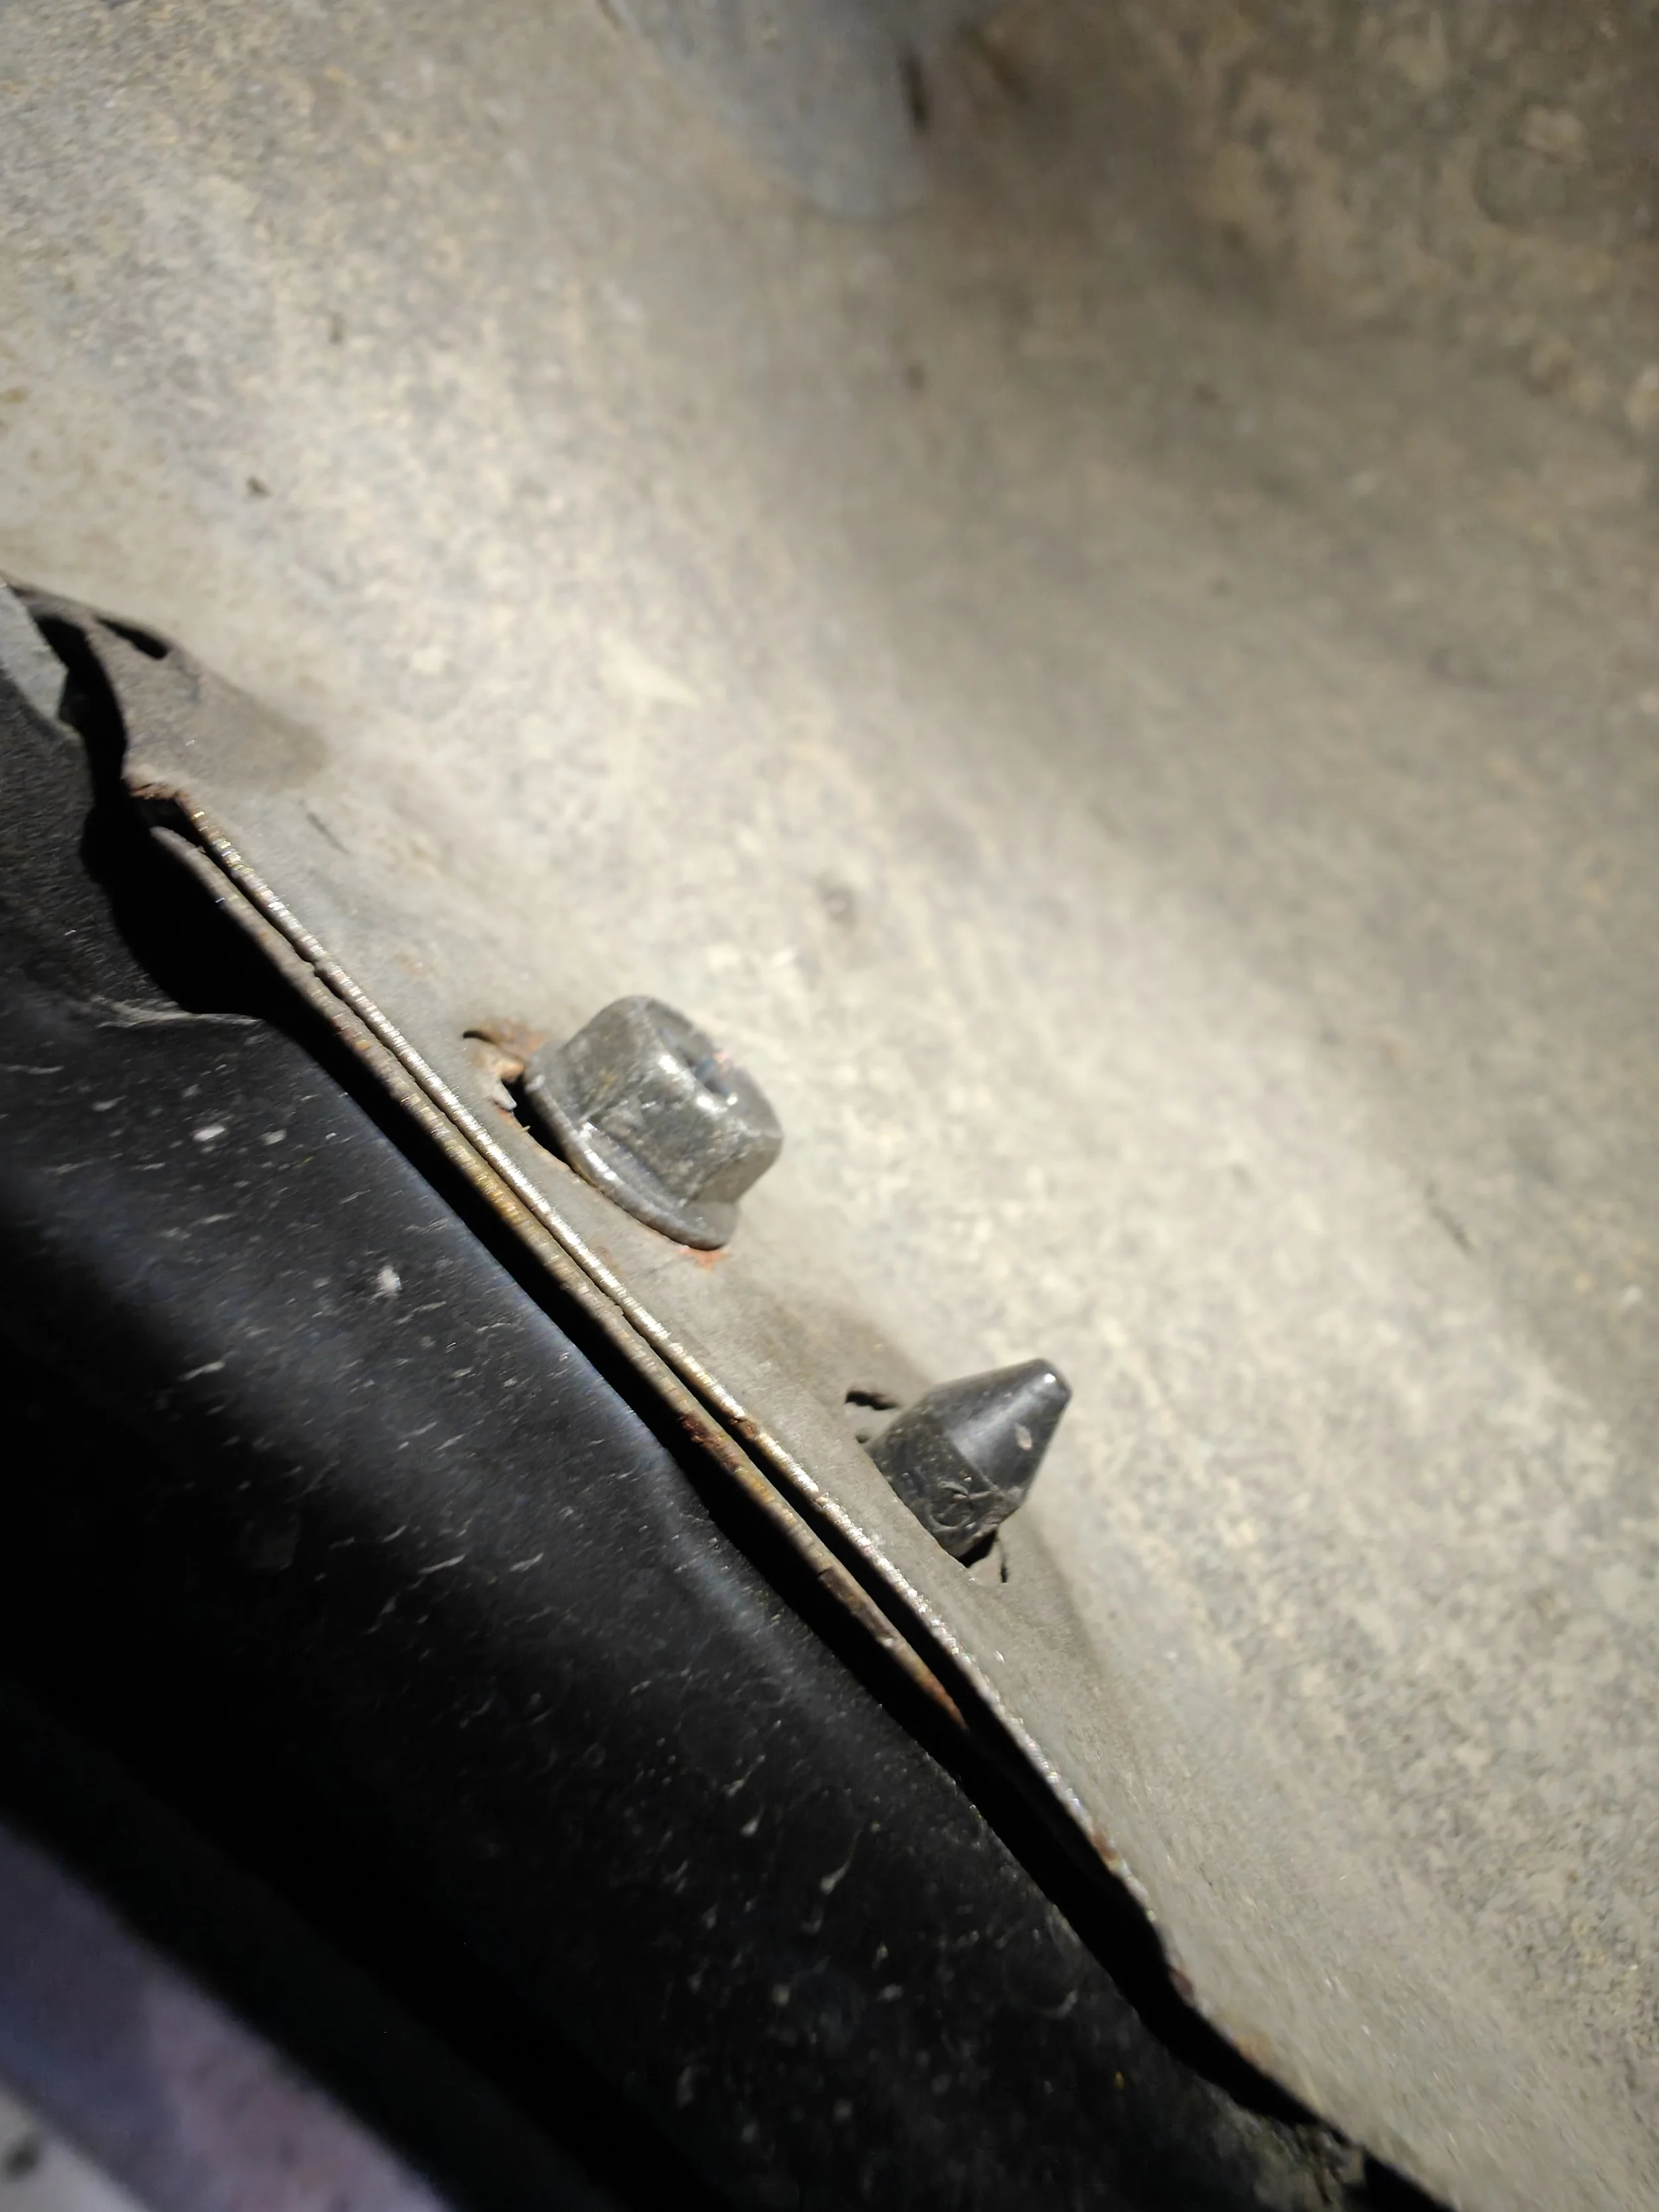
Another angle from below.
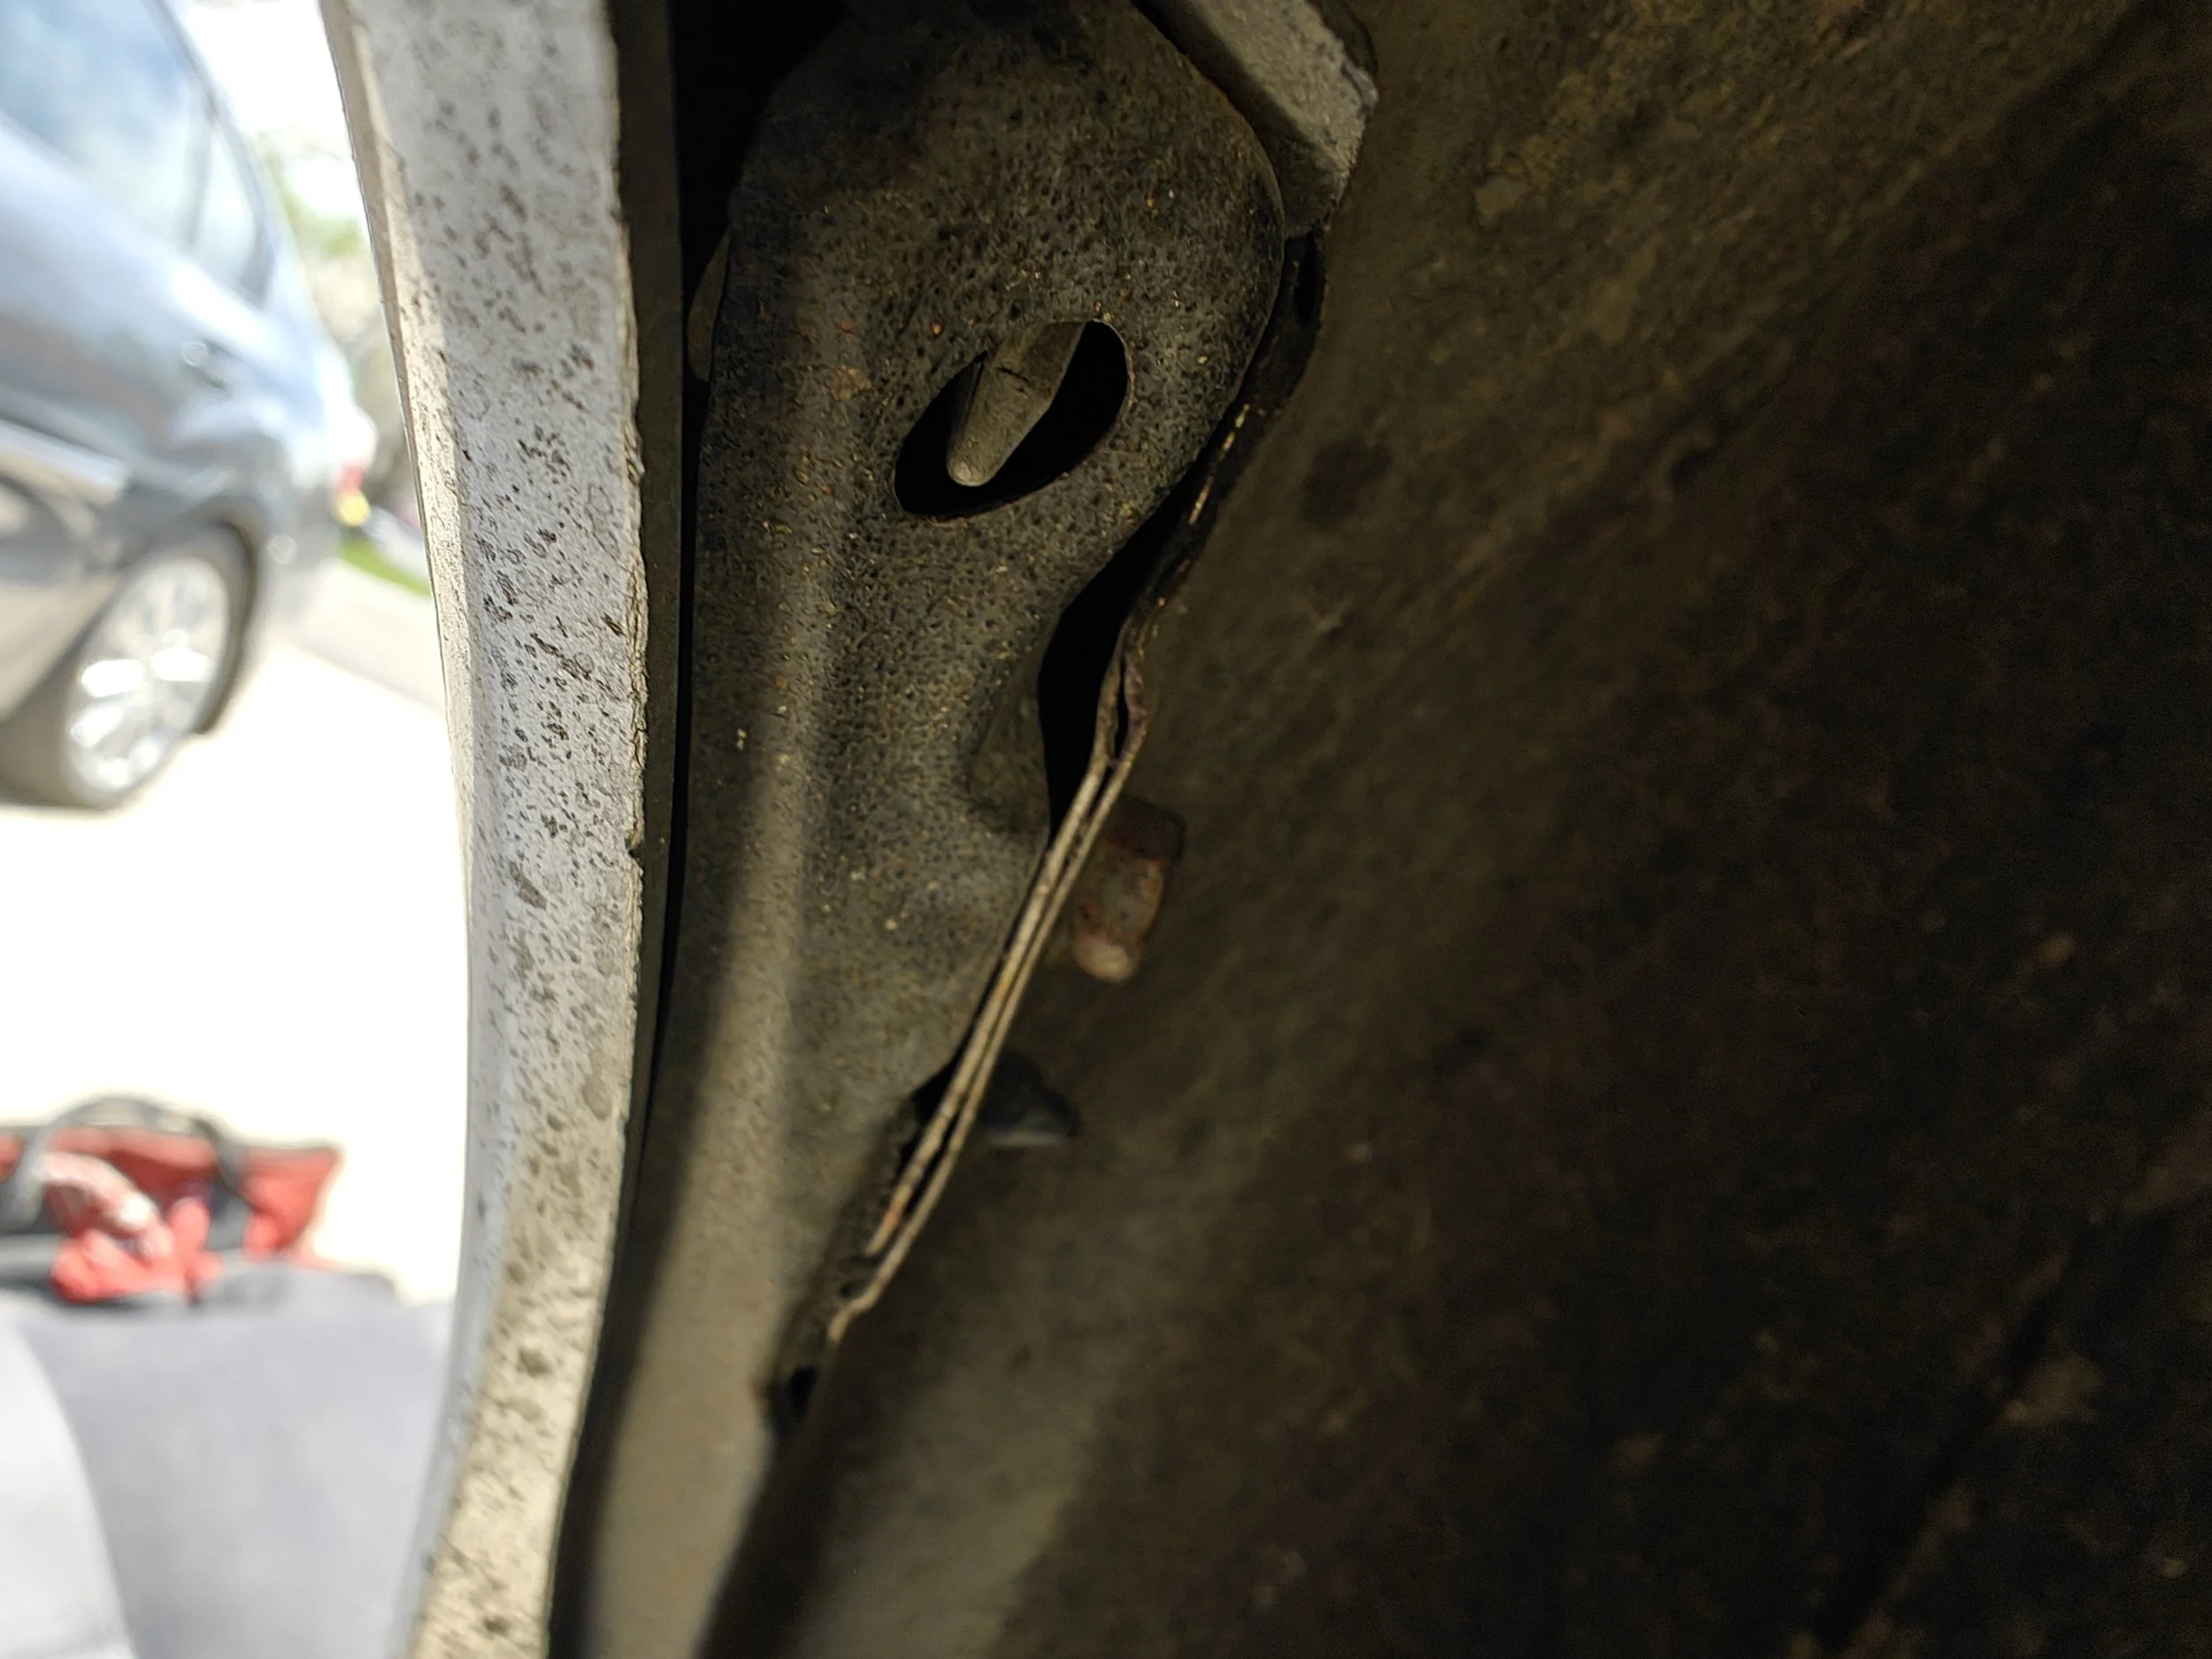
With the bolt removed you can then pull the bumper away from the chassis.
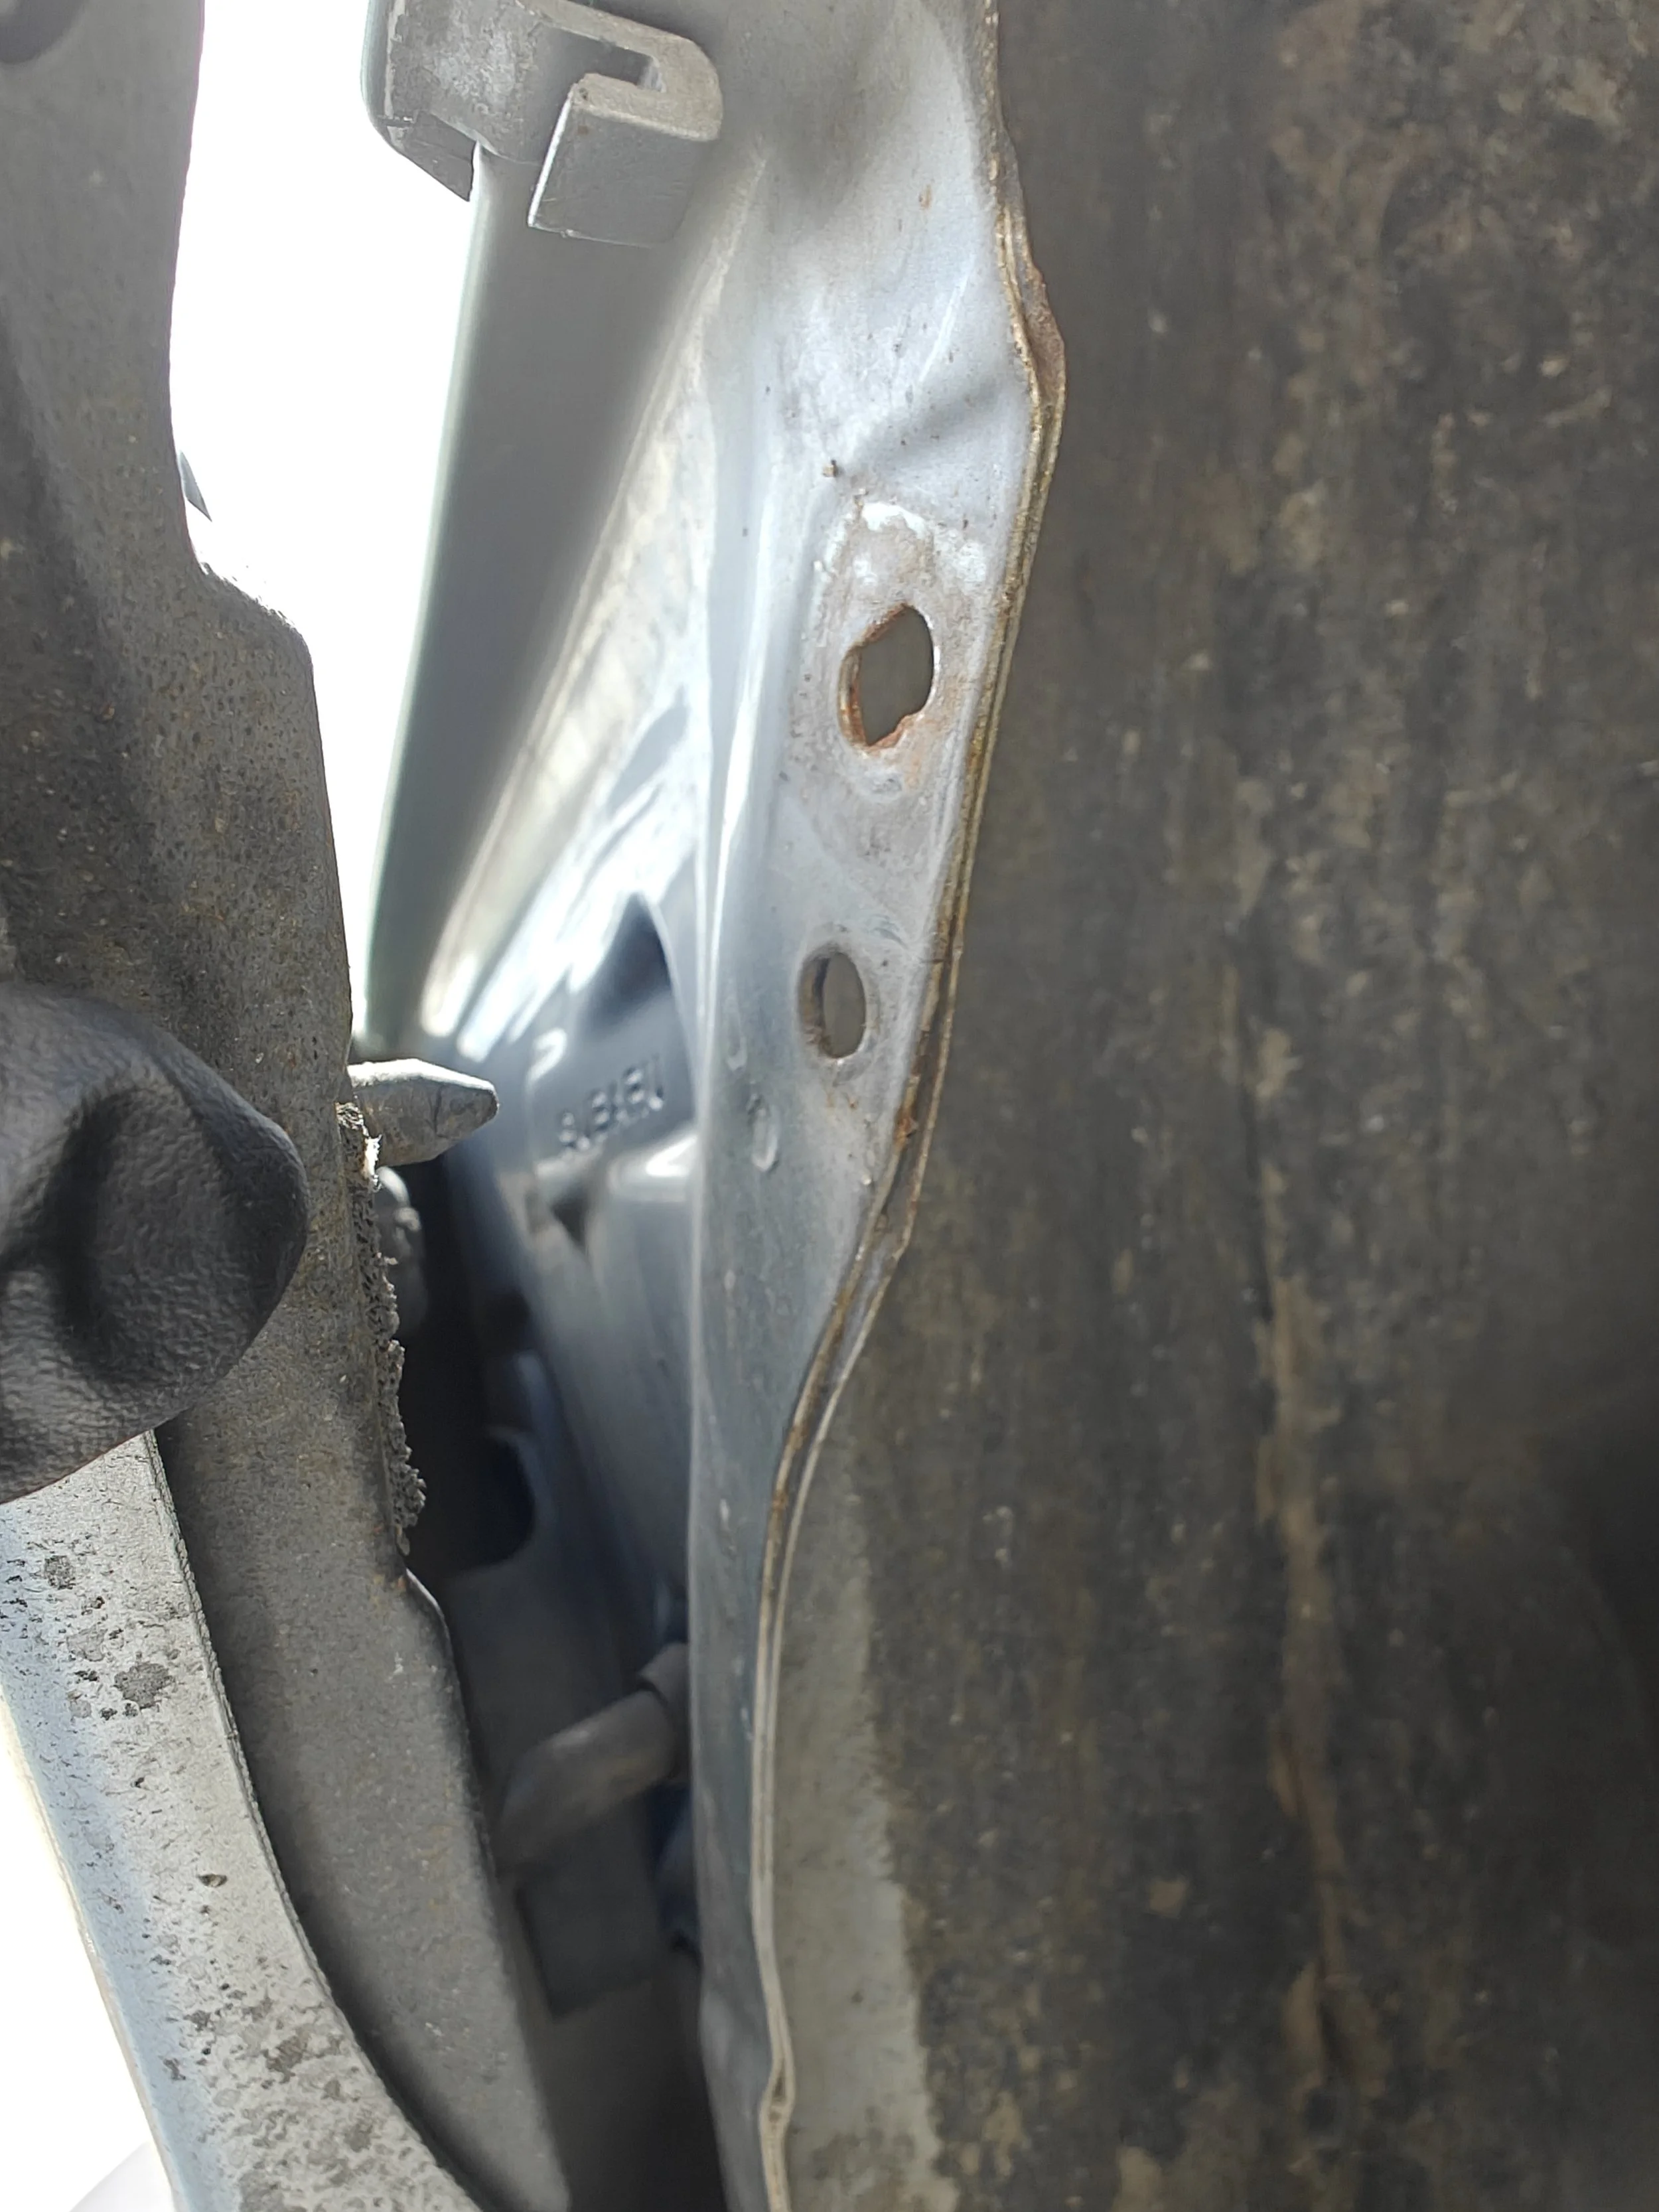
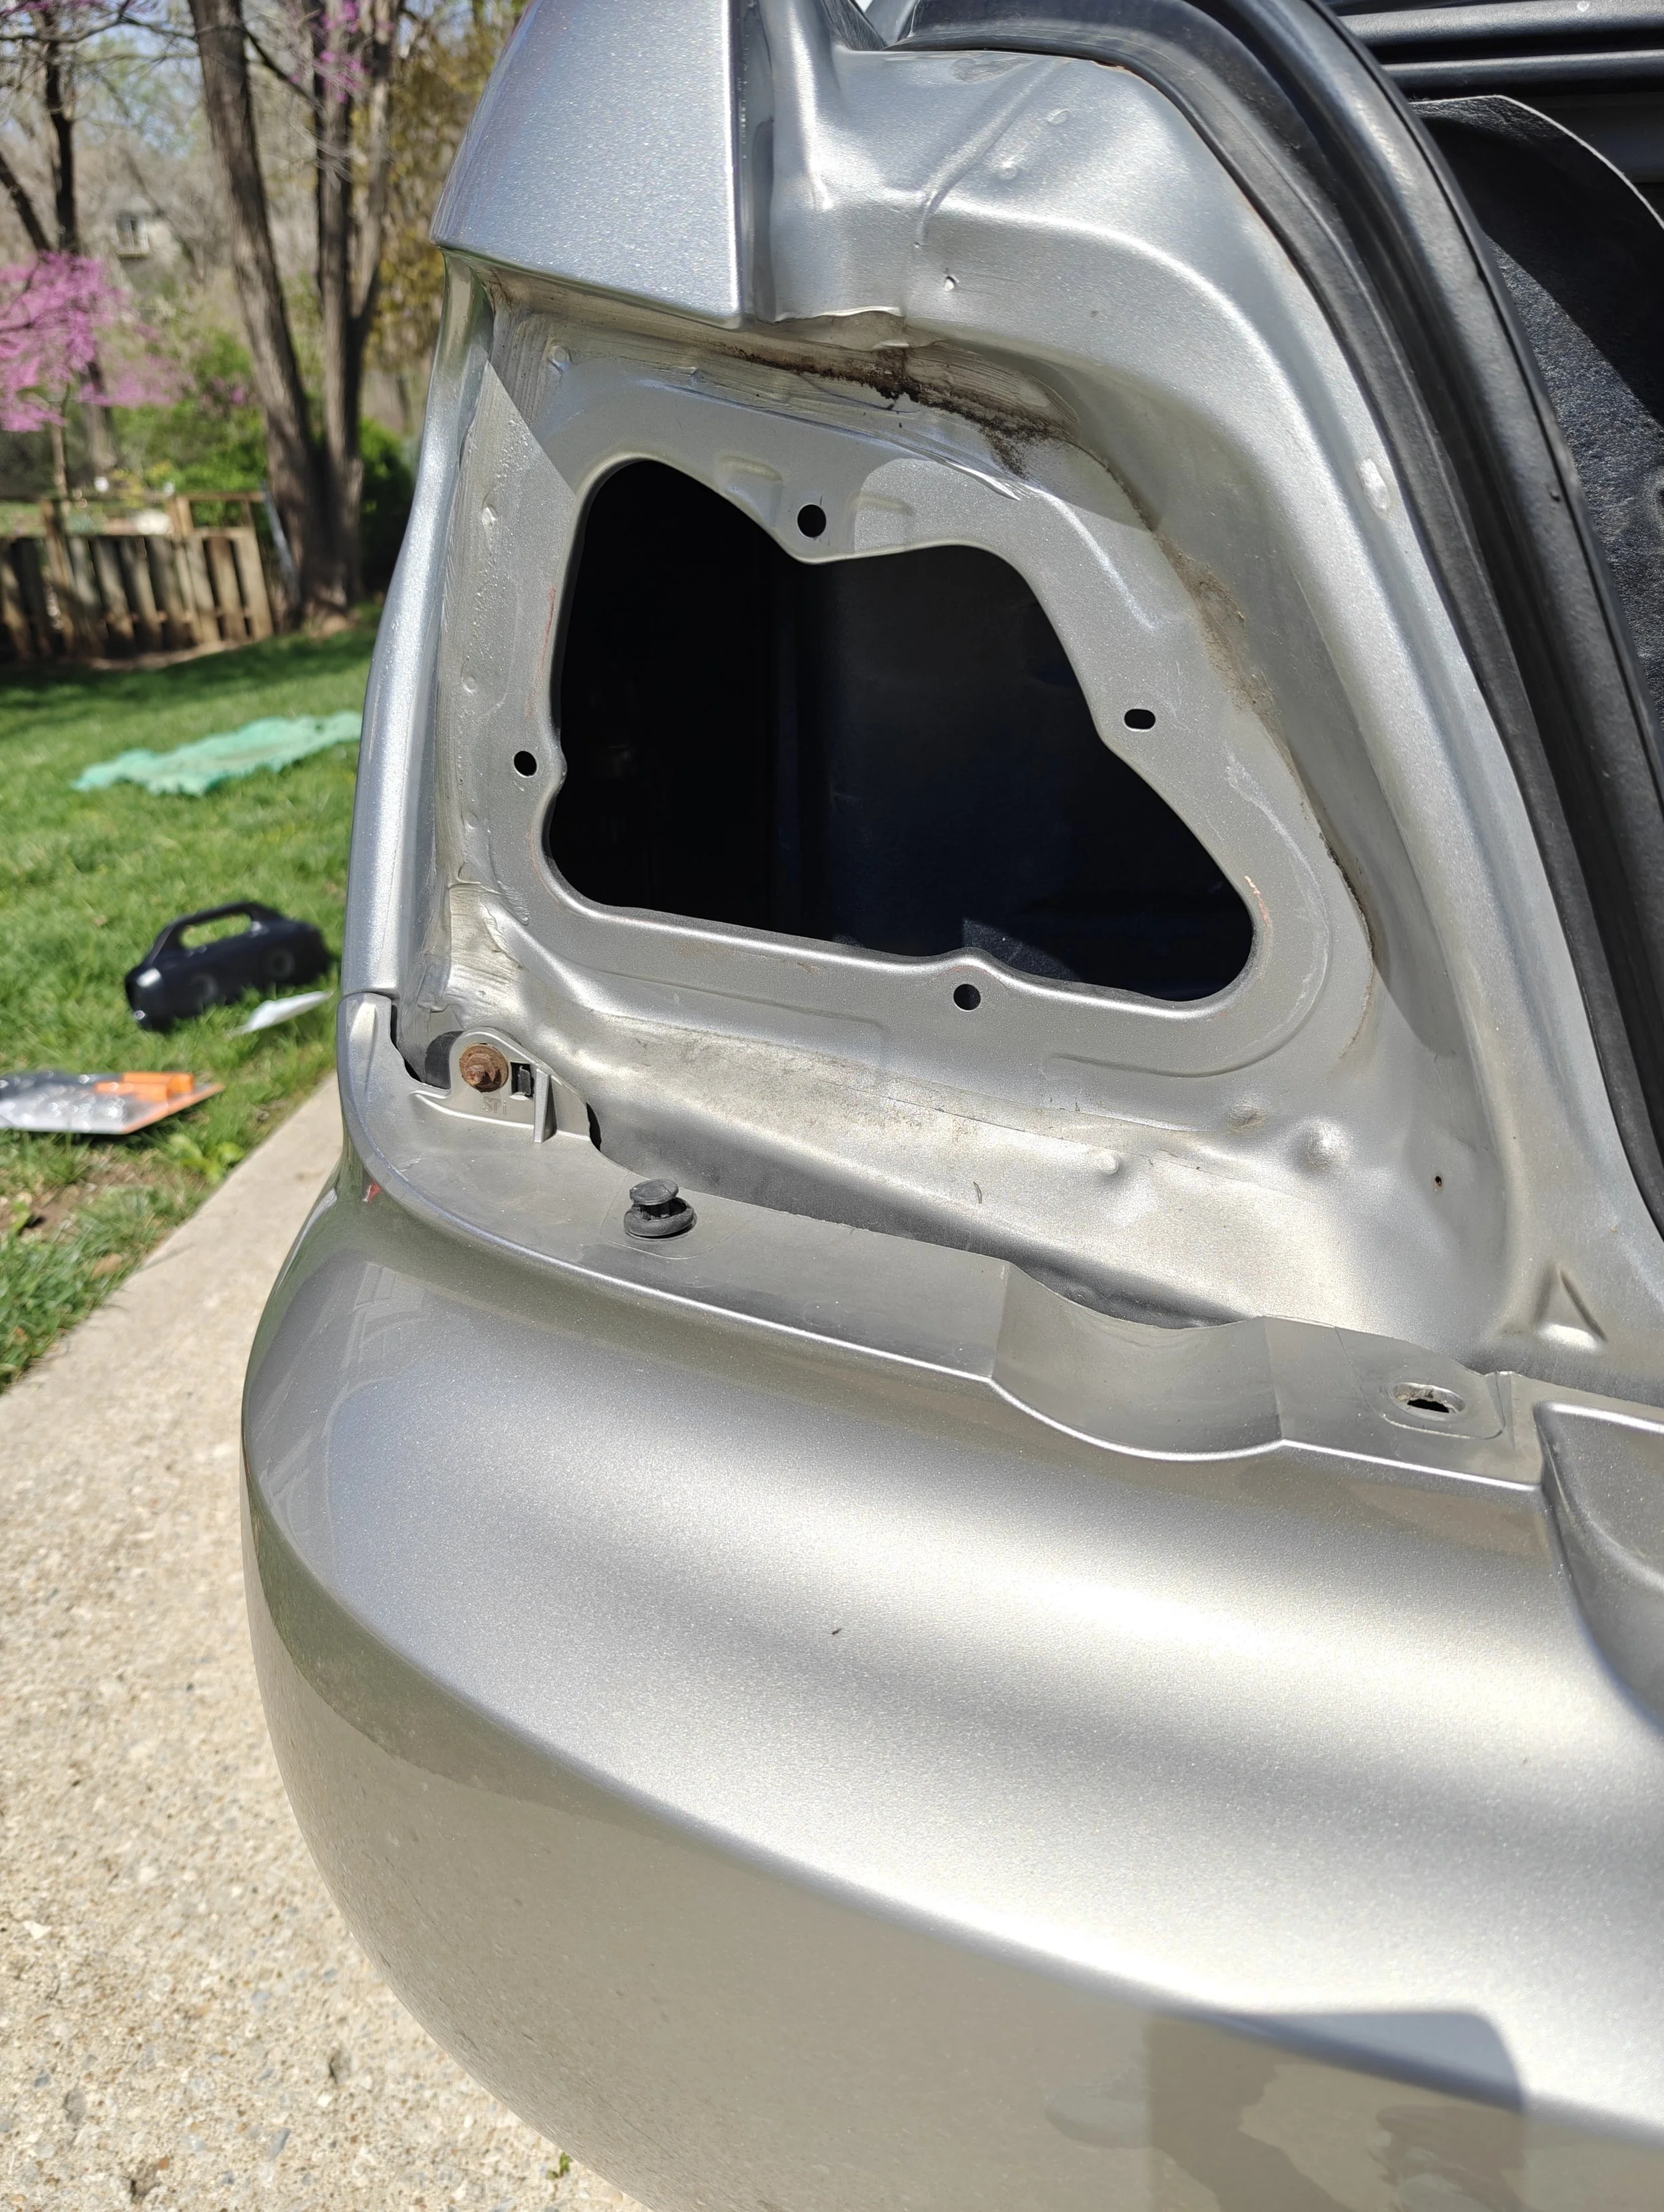
Here is a close up of where that bolt leaves. The lower bracket had to be cut up due to the bolt braking off in it.

The bracket is riveted in which is why we need to remove the whole bumper to replace them.
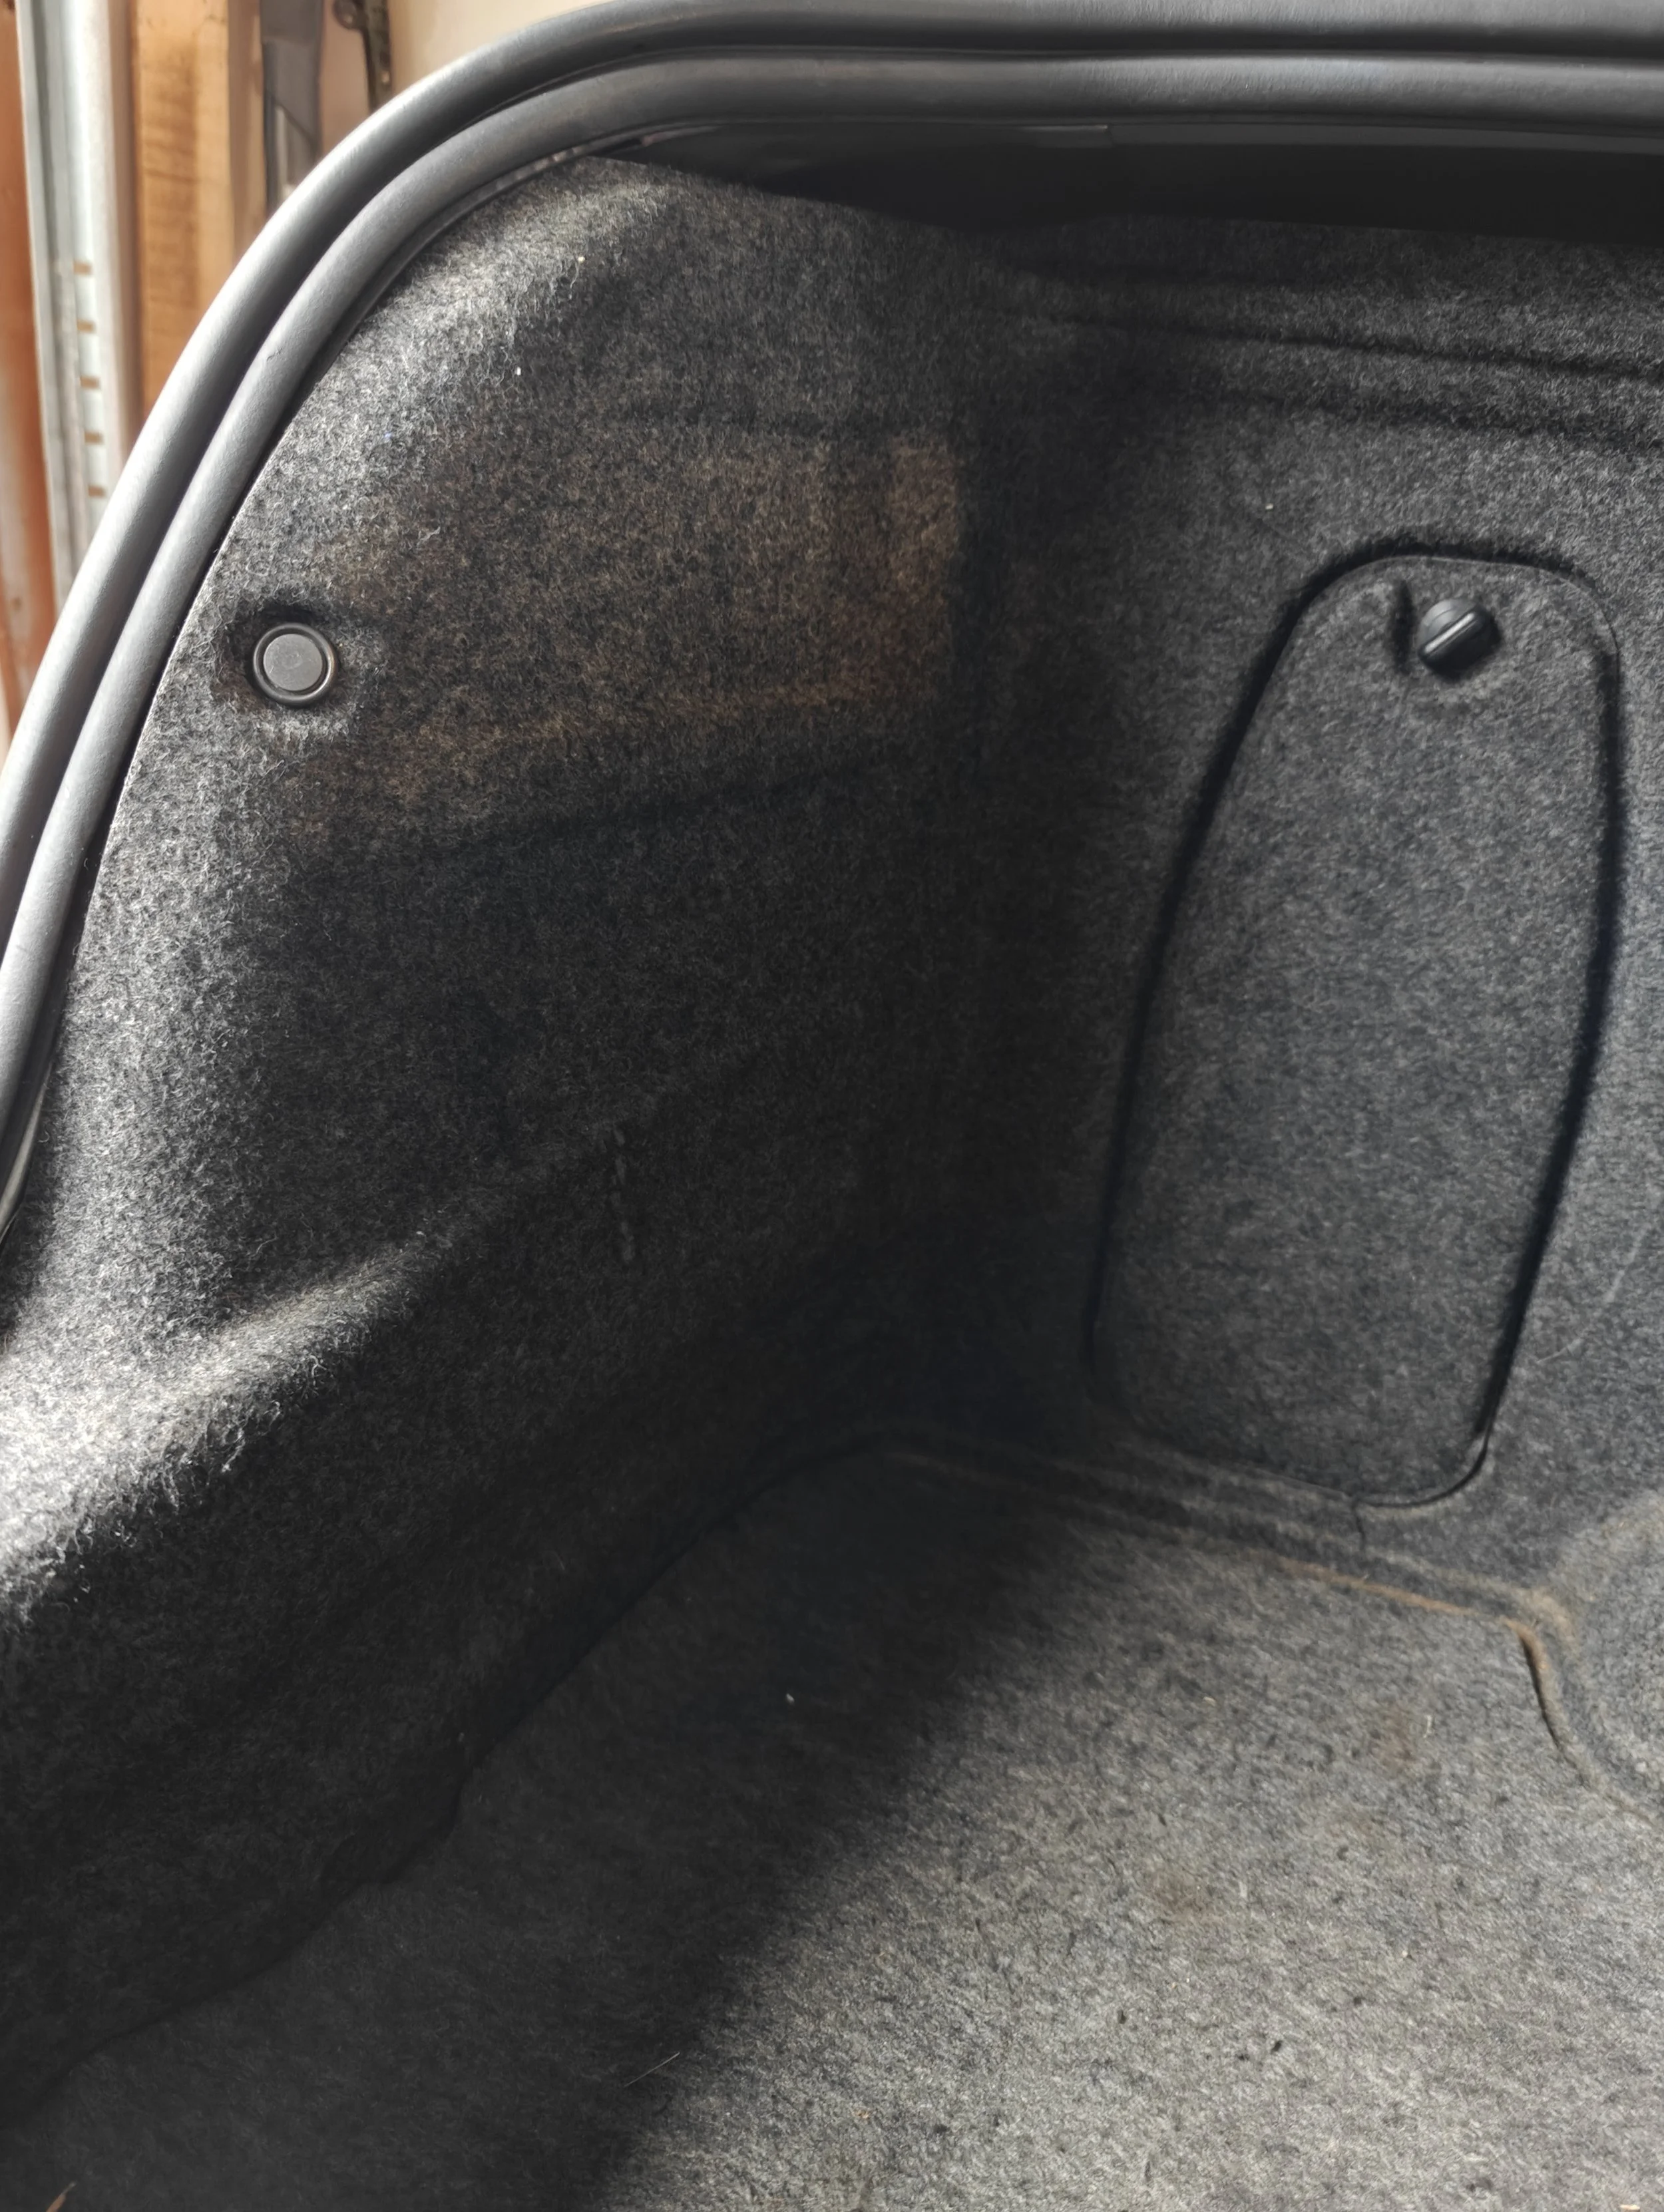
With both sides removed you can now open the trunk and remove both tail lights. You will start with moving the trunk carpeting, then we can remove the connectors to the tail lights. If the tail lights are stuck you can use a plastic trim tool to help remove them. You can set both safely aside for the time being.
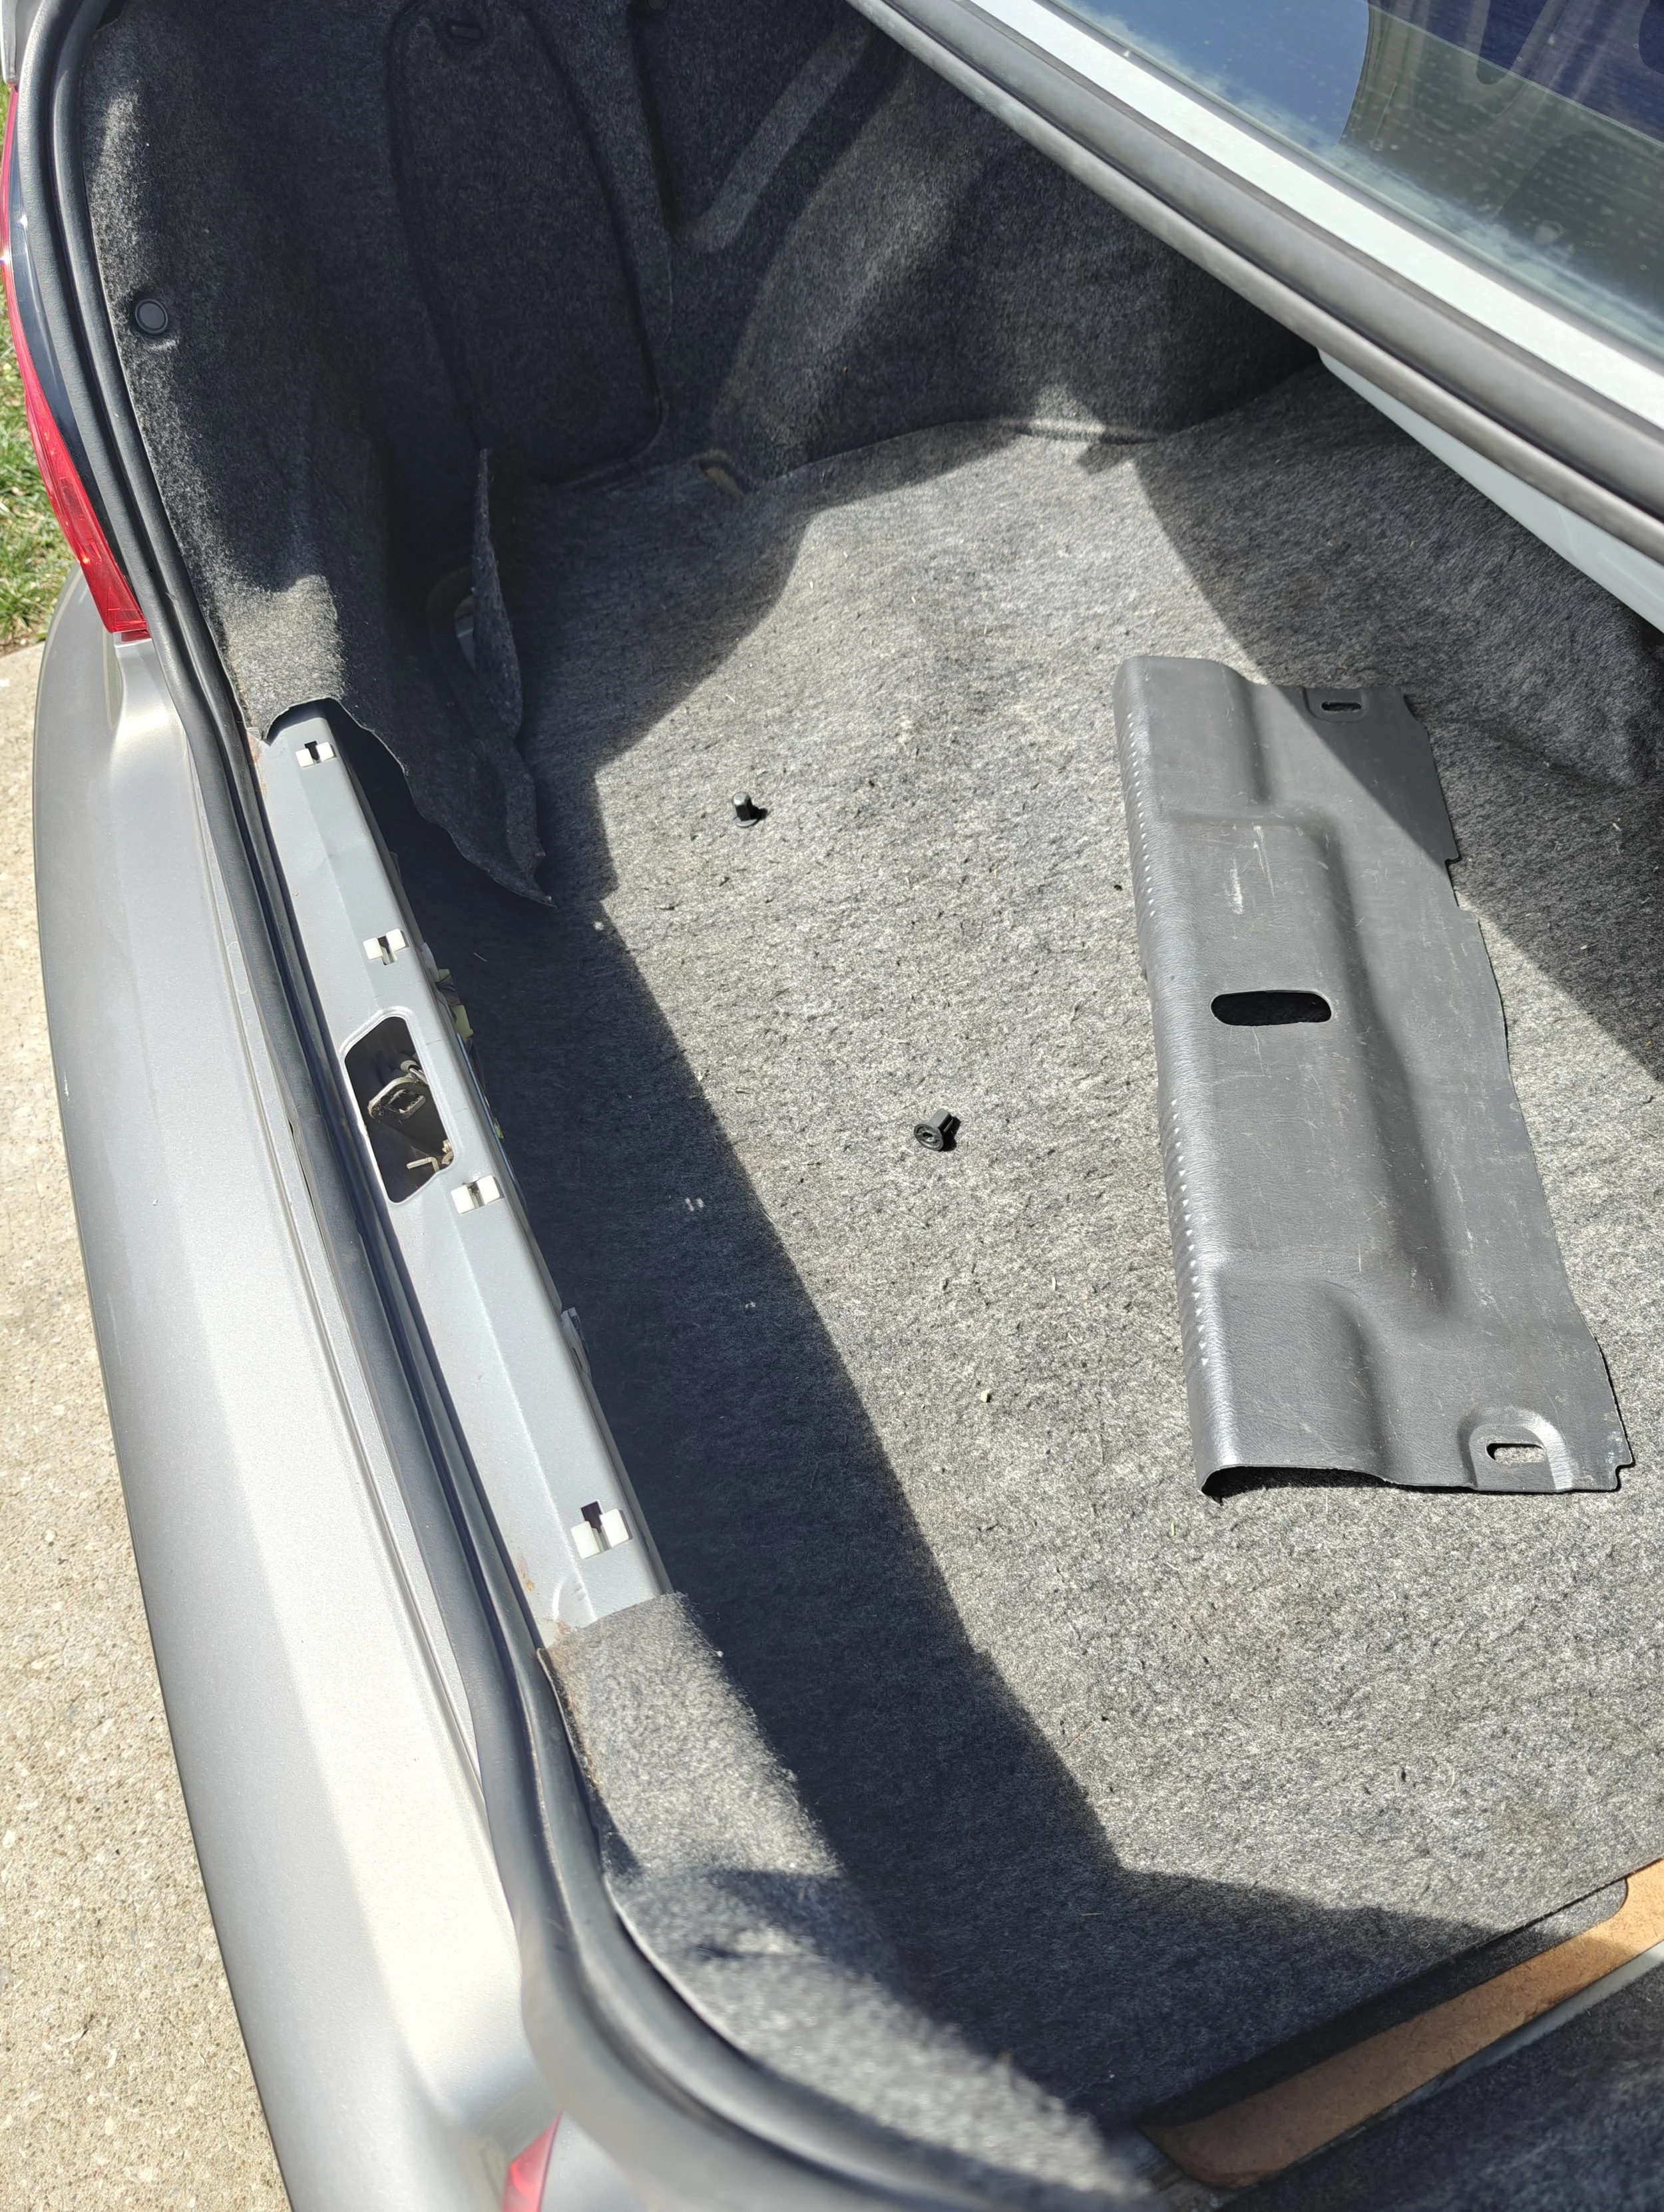
Remove the cover
Next up is the clips near the tail lights
Then you can access the taillights that need to come out. Both sides!
With the tail lights out you will now see two more clips and a bolt. Don’t forget the other side!
Since we are already in the trunk with plastic covering in the center removed. Now we should see two large studs sitting in the trunk. Two plastic pieces will cover these and you can then access the nuts with a deep well socket.
Accessing these nuts from the inside of the vehicle will allow the center section of the bumper be freed.
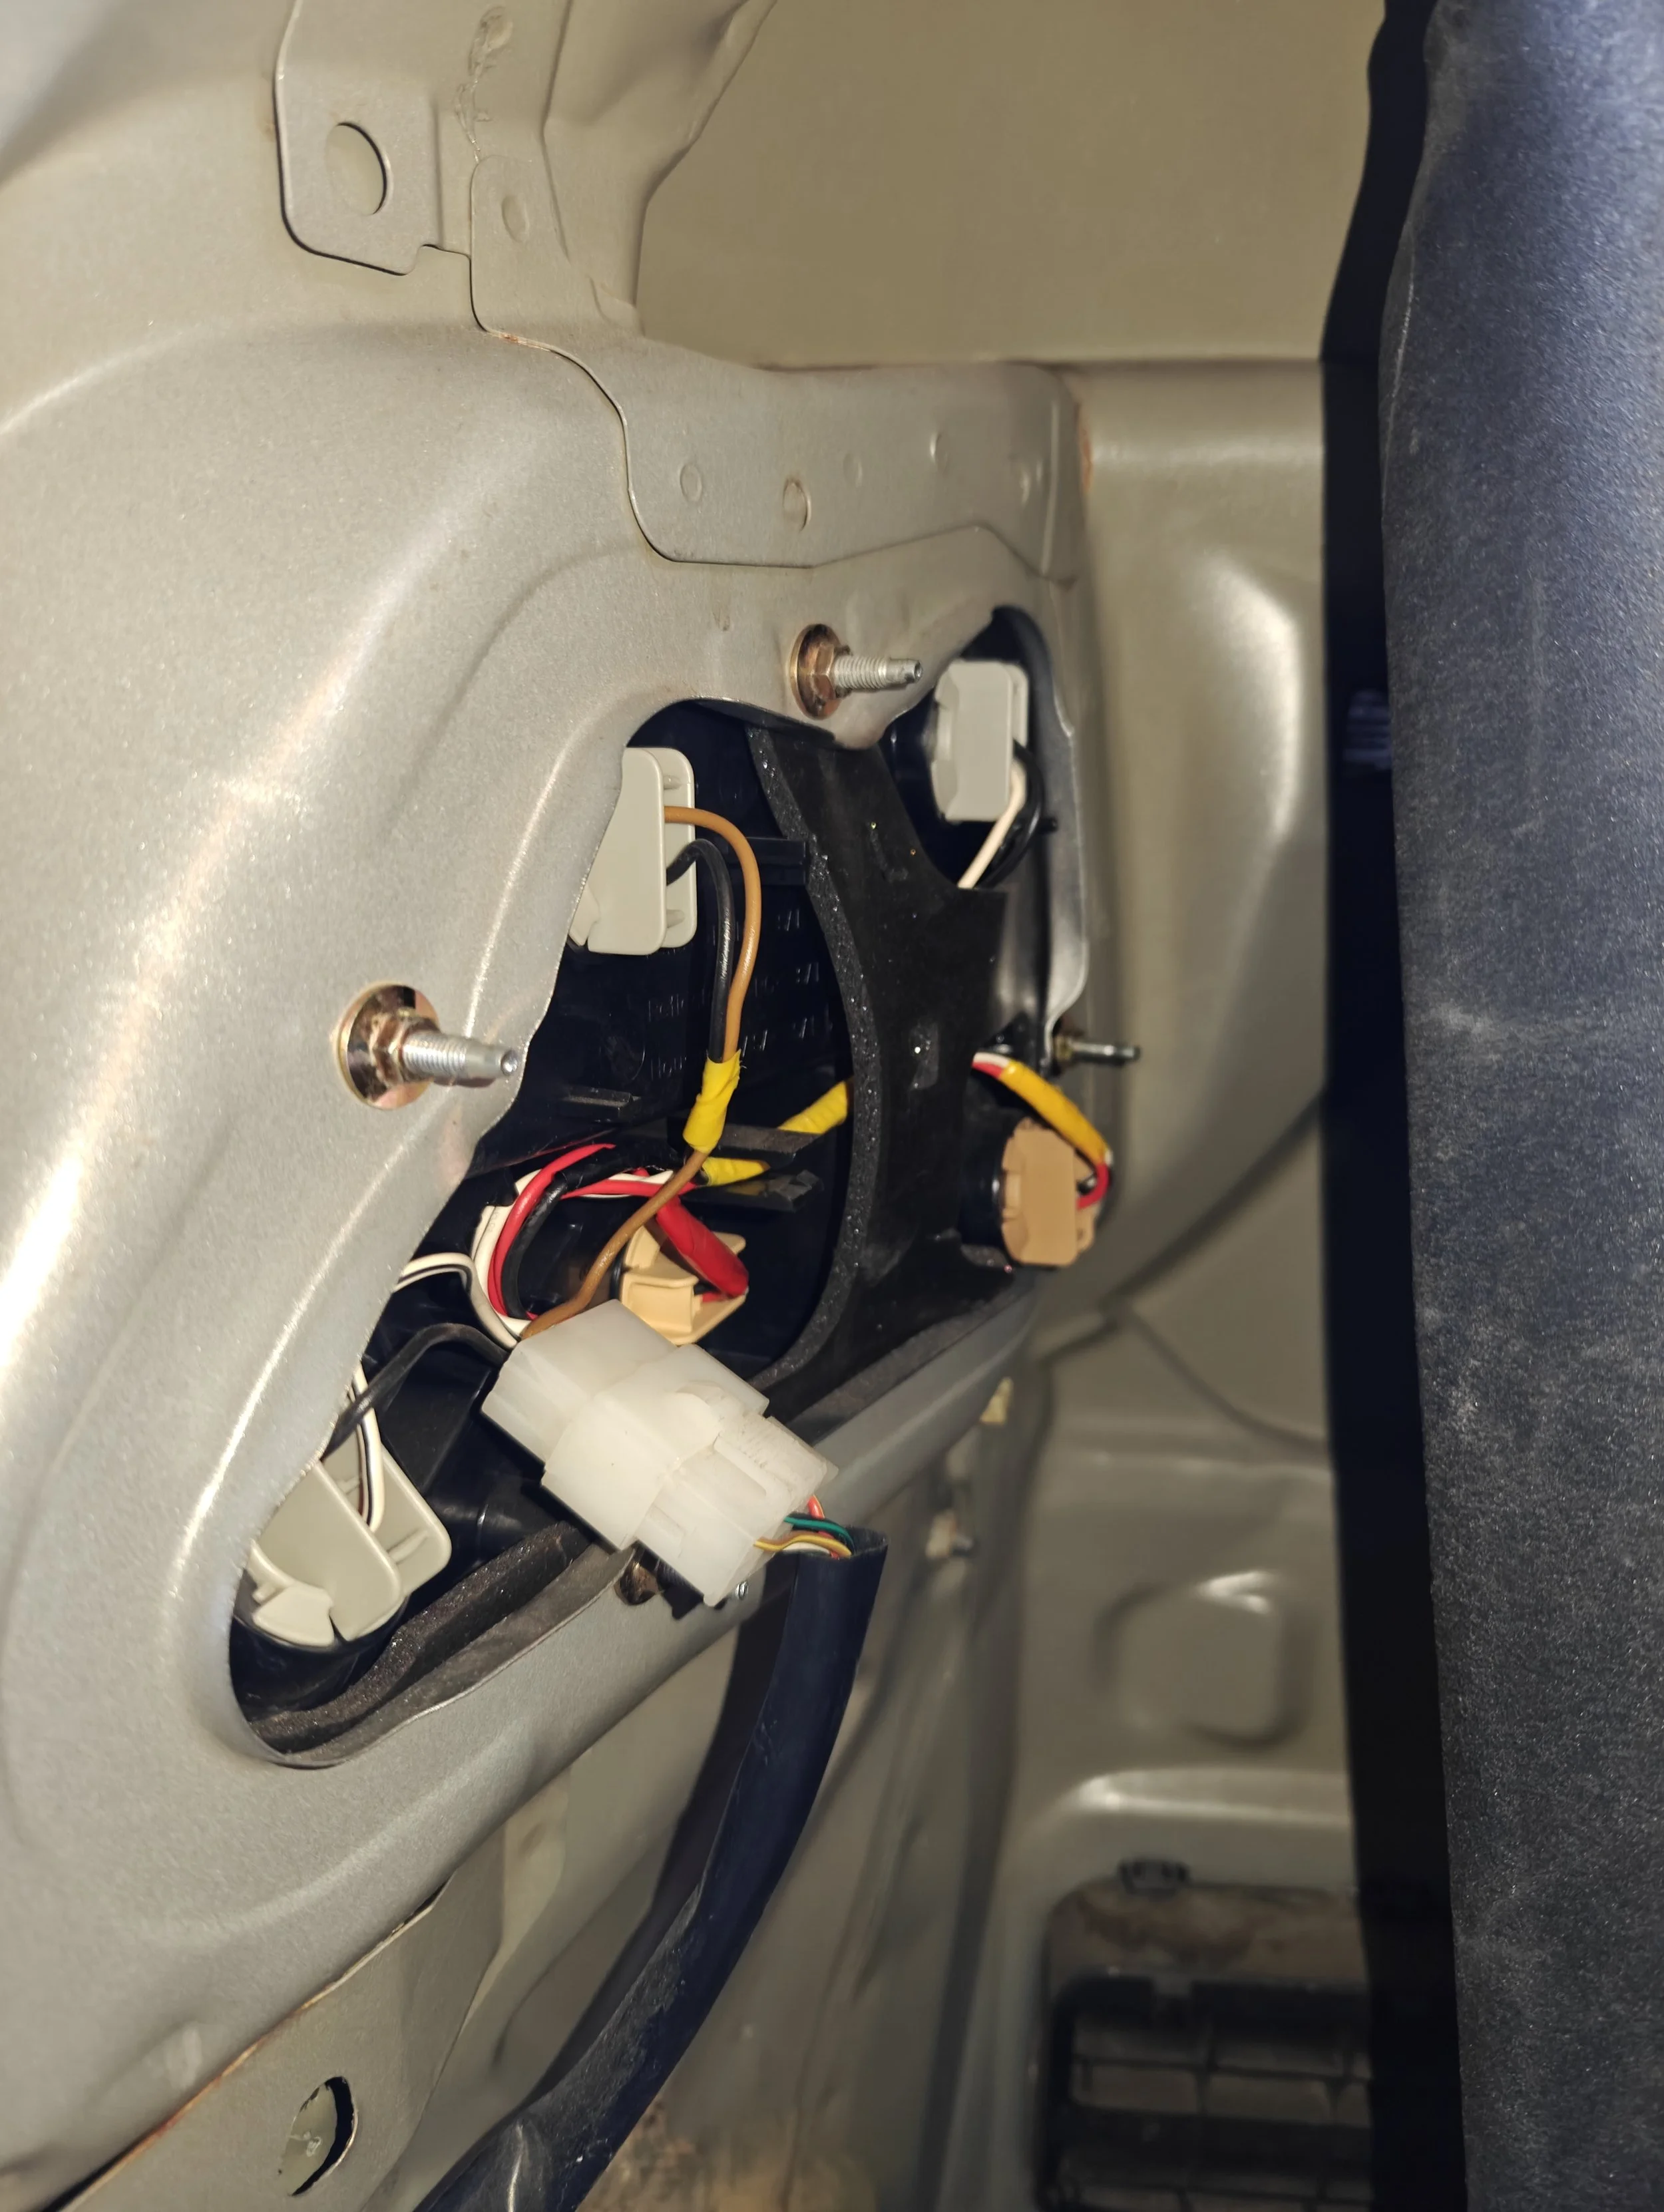
The last step before the bumper is free is disconnecting the tag lights that are plumbed through the trunk.
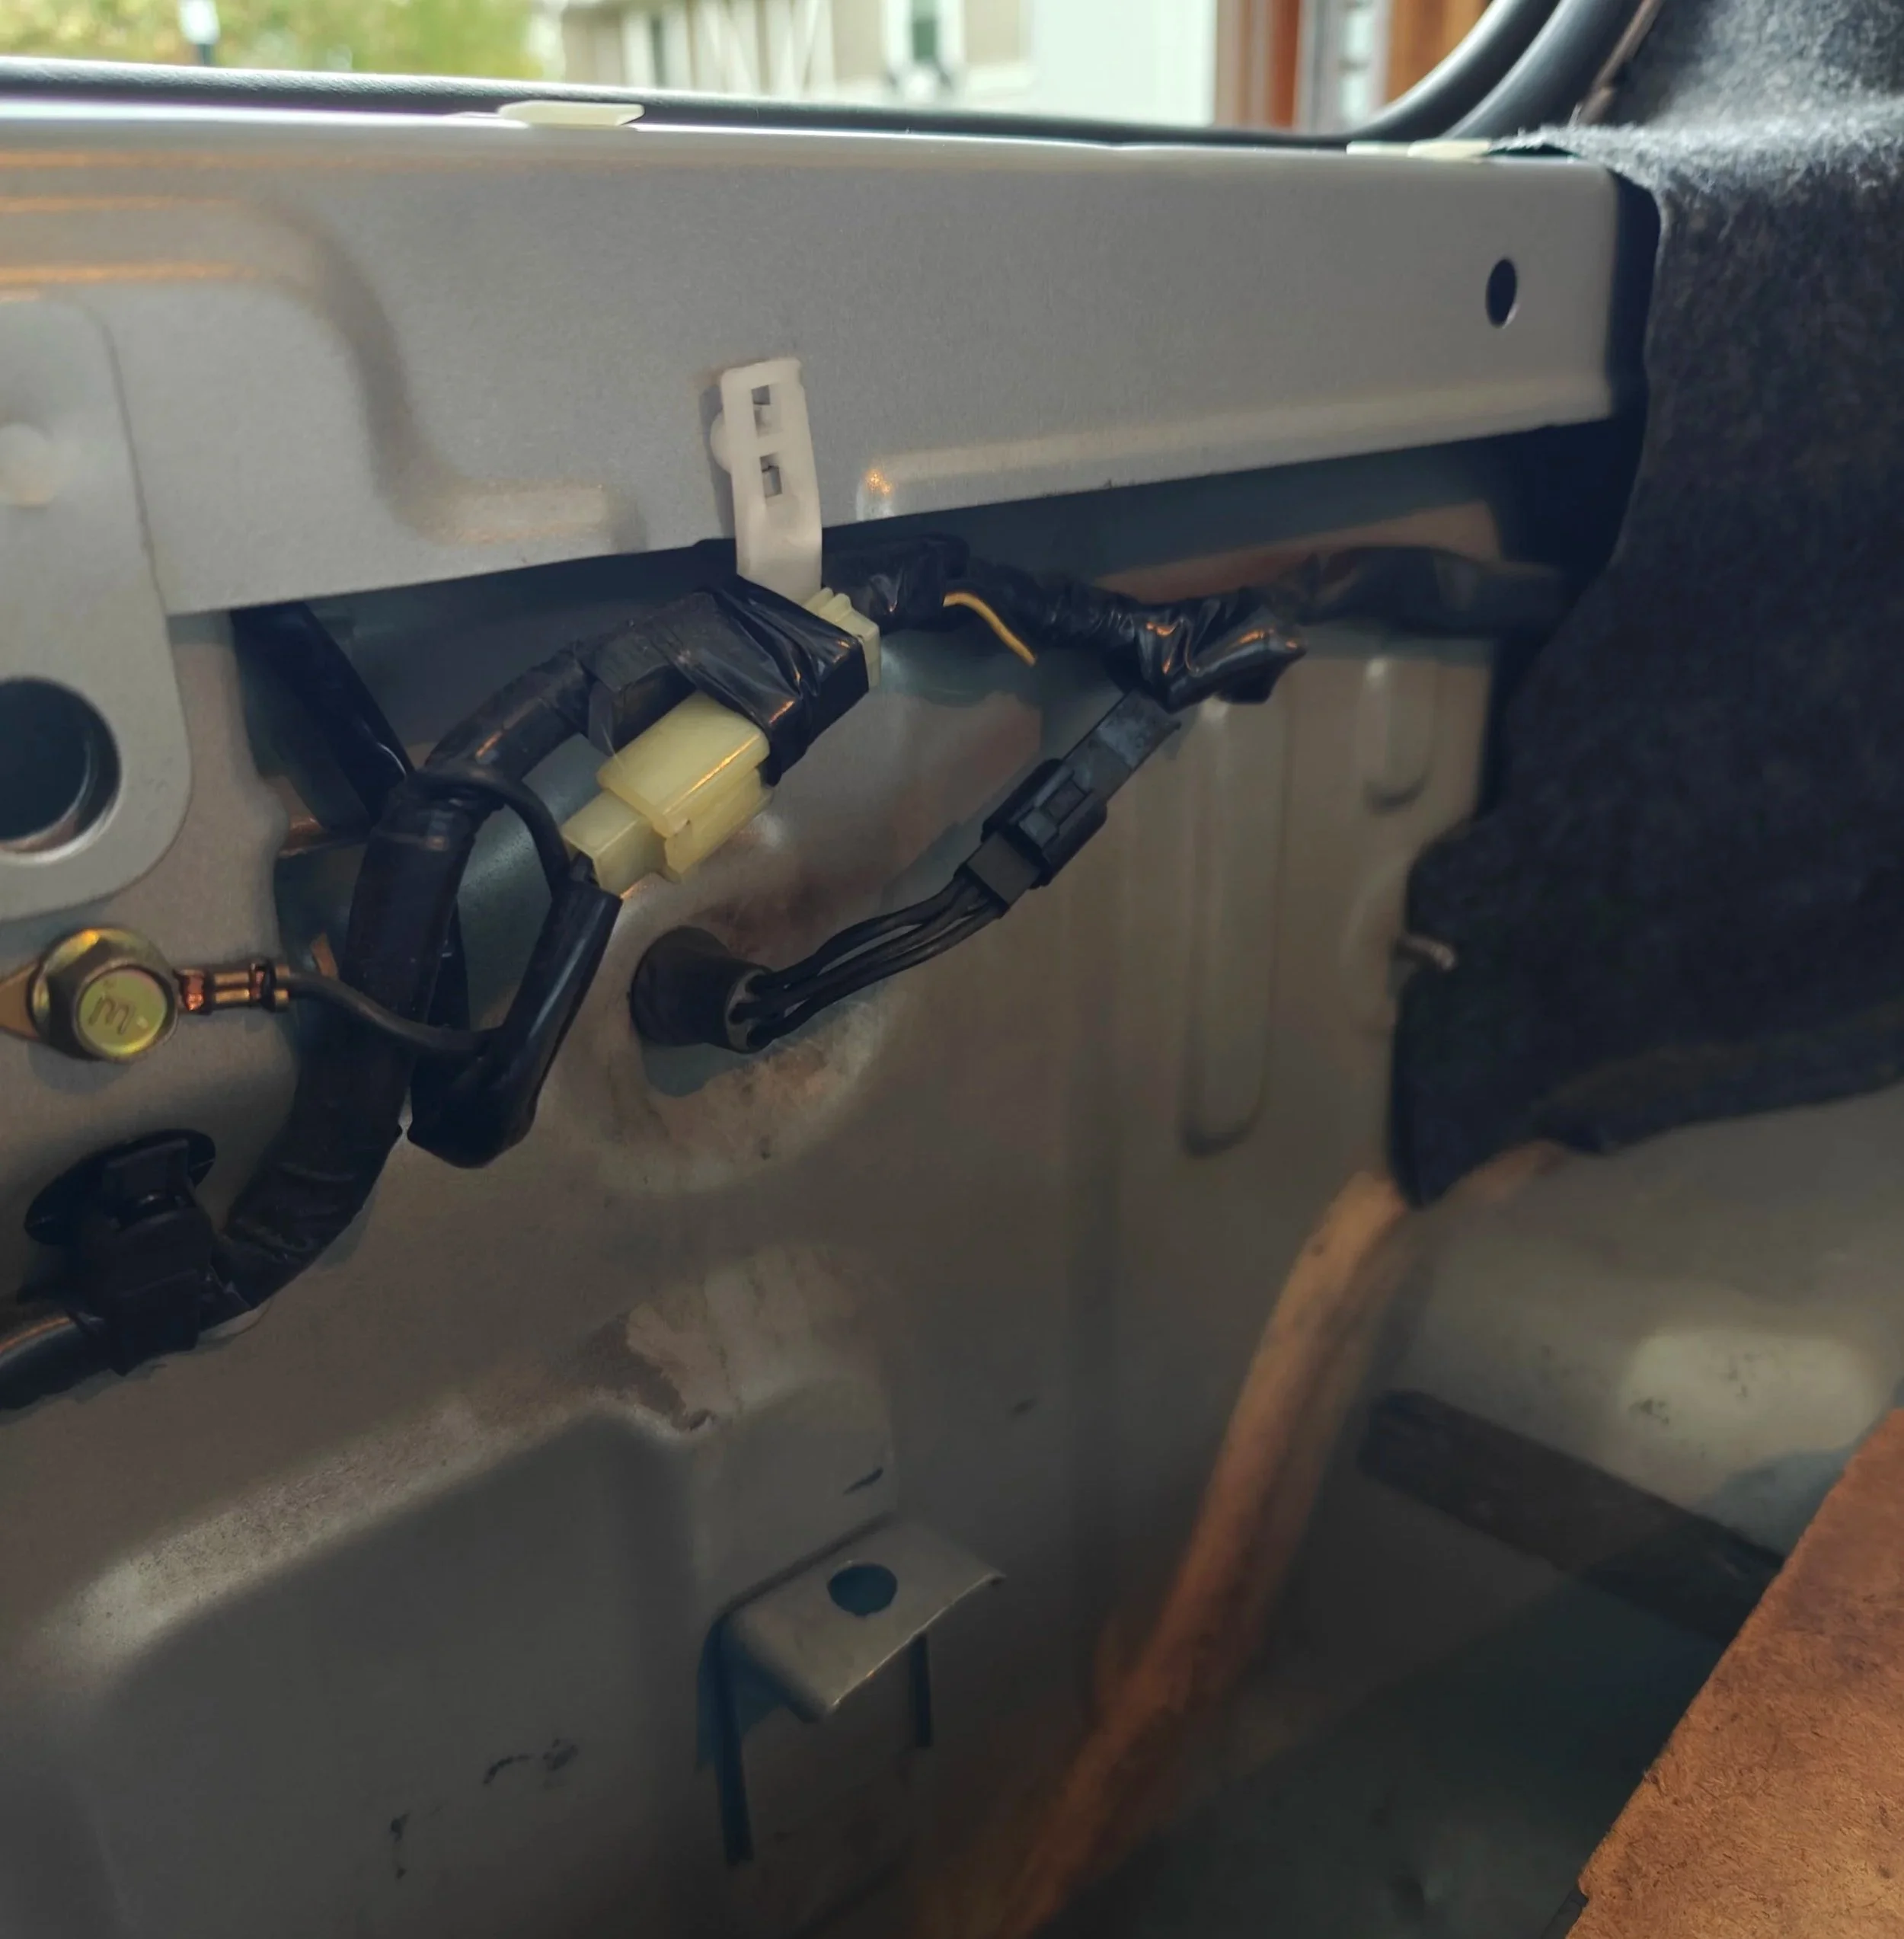
You will also need to disconnect the wiring for the tag lights. It’s the black connector to the right.
If you have an assistant you can start to pull from below the fender towards the rear of the car to remove the bumper. You will now find out whether your removed everything or not…
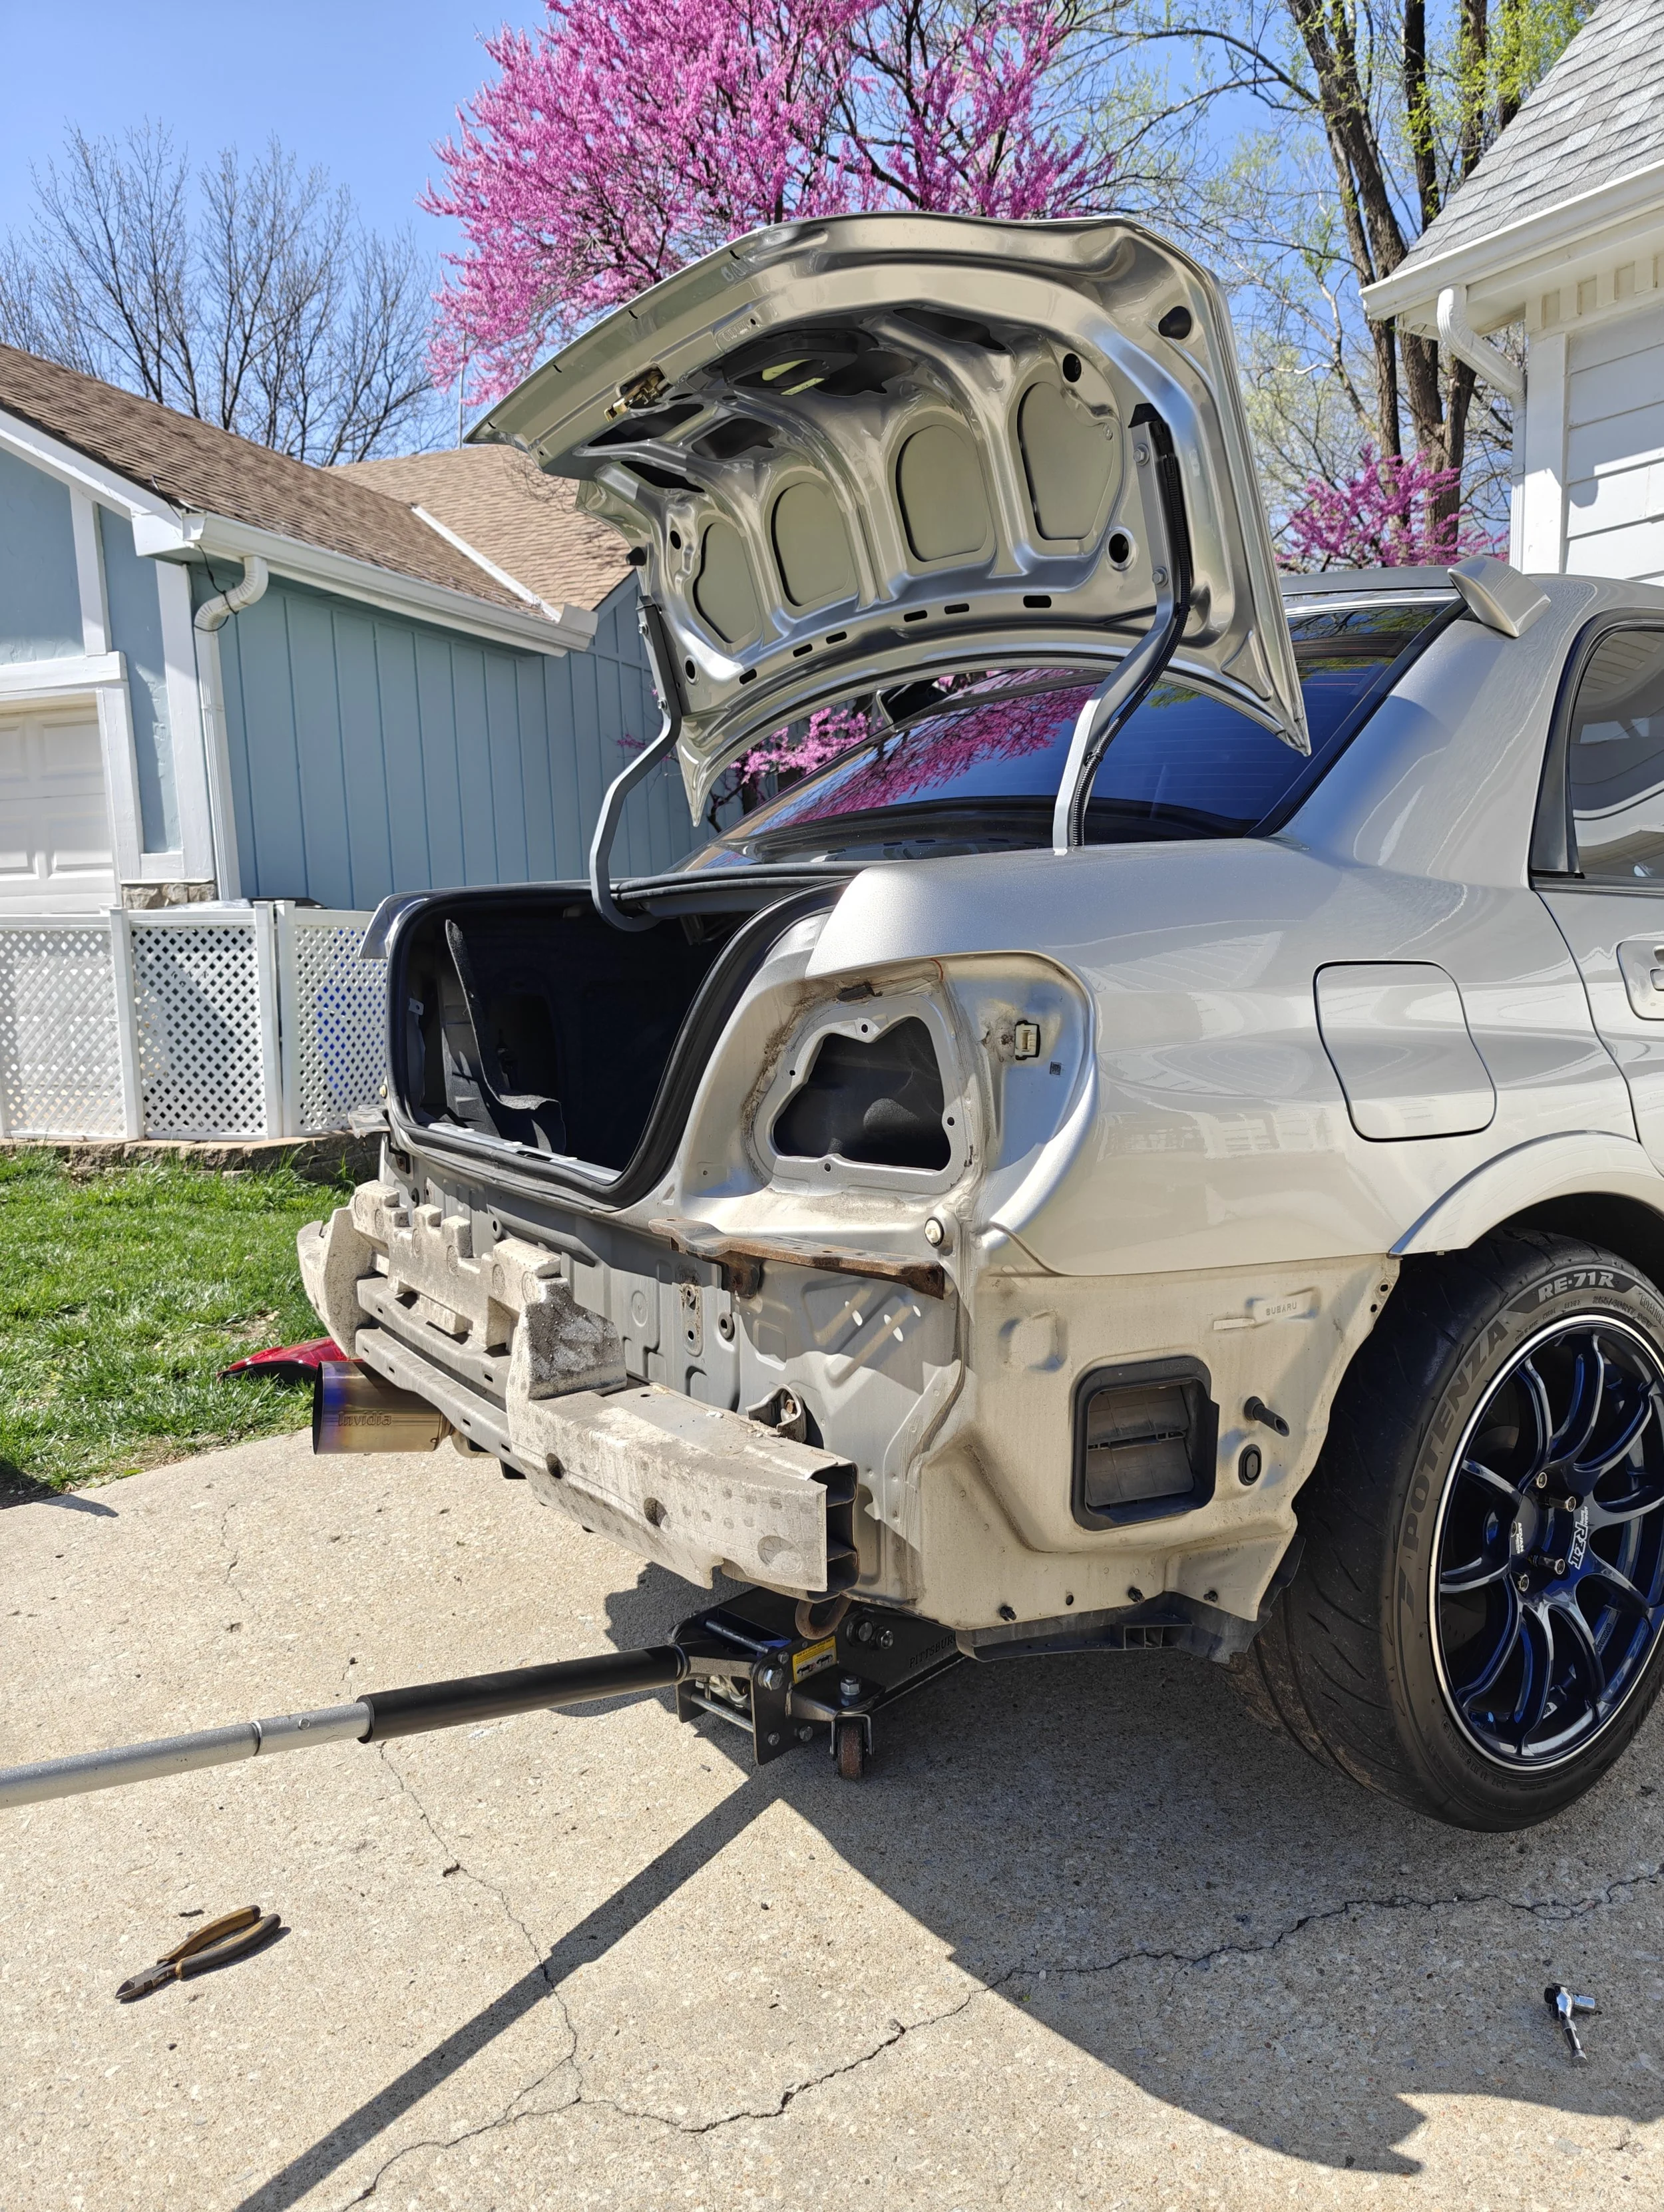
The bumper has been freed.
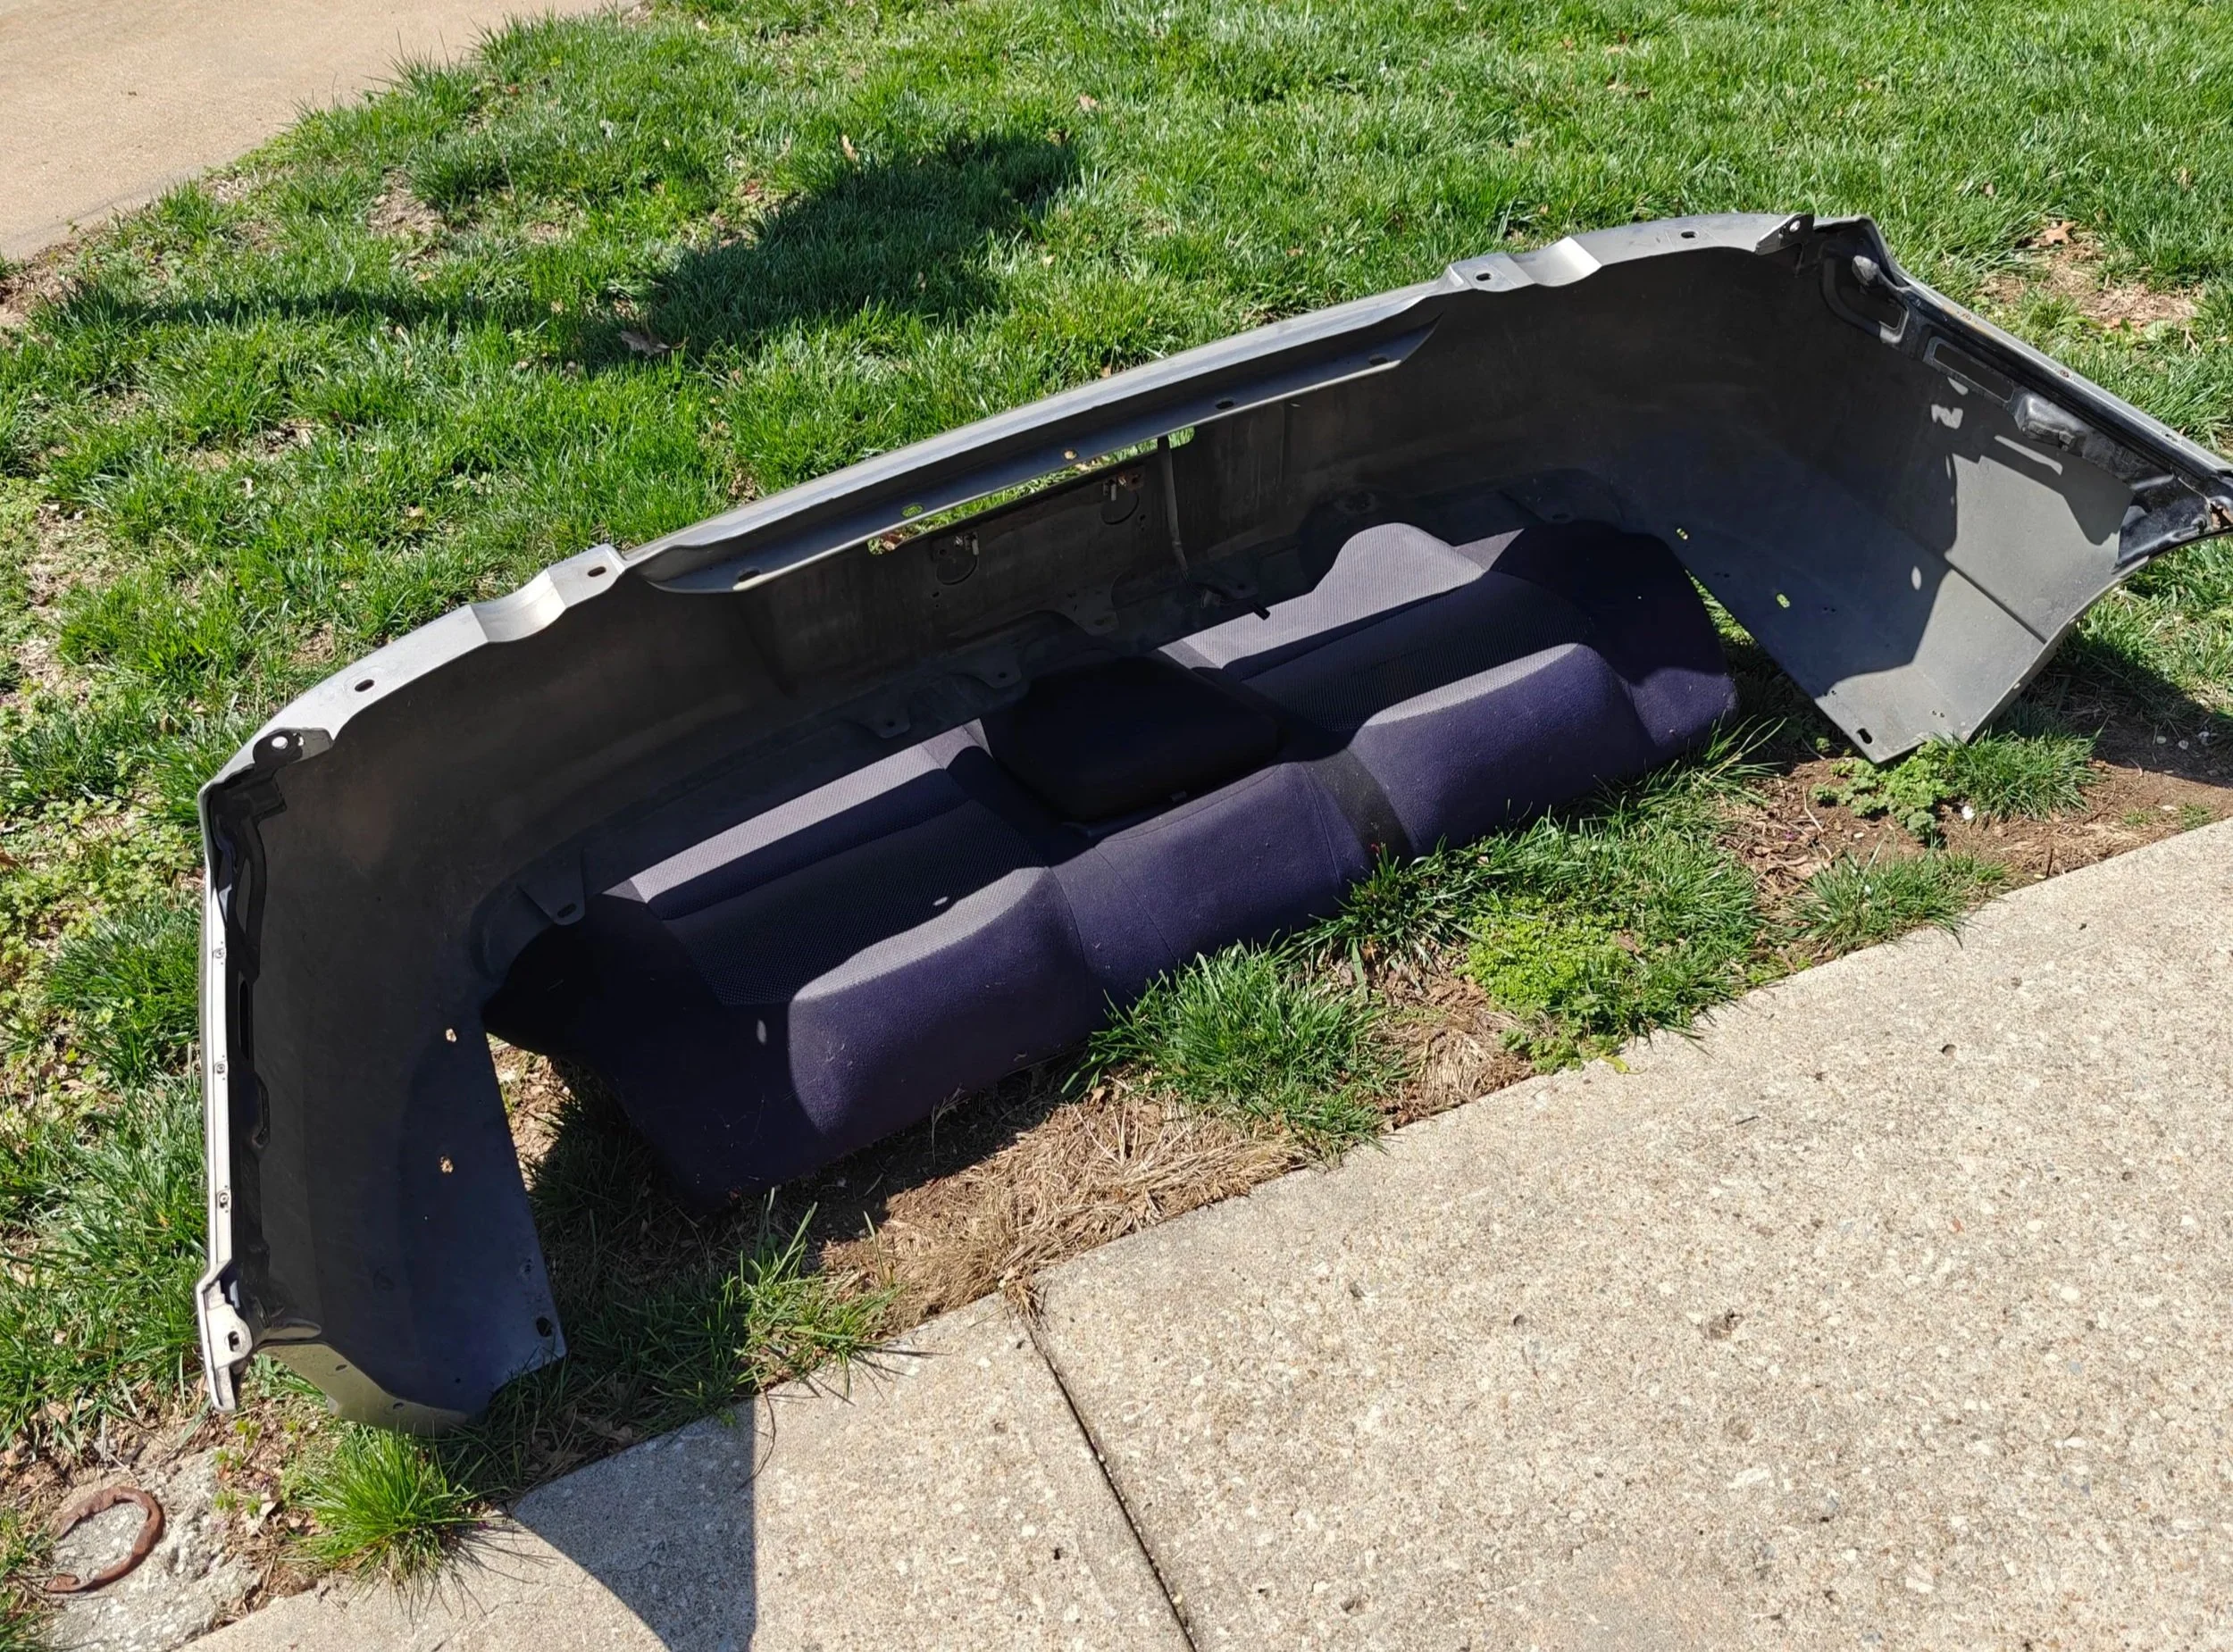
Finding the bumper a nice place to keep it from getting scratched up.
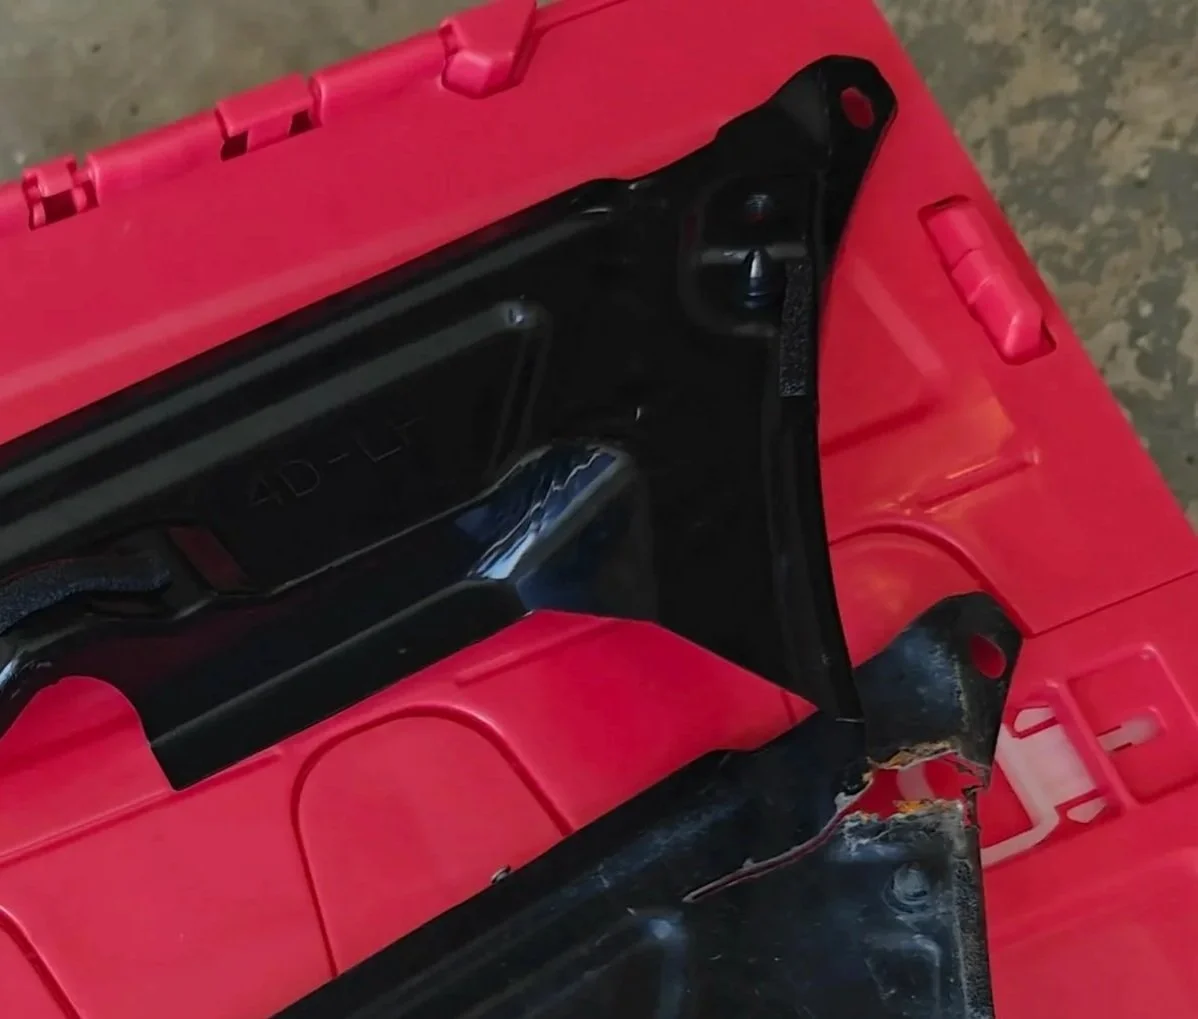
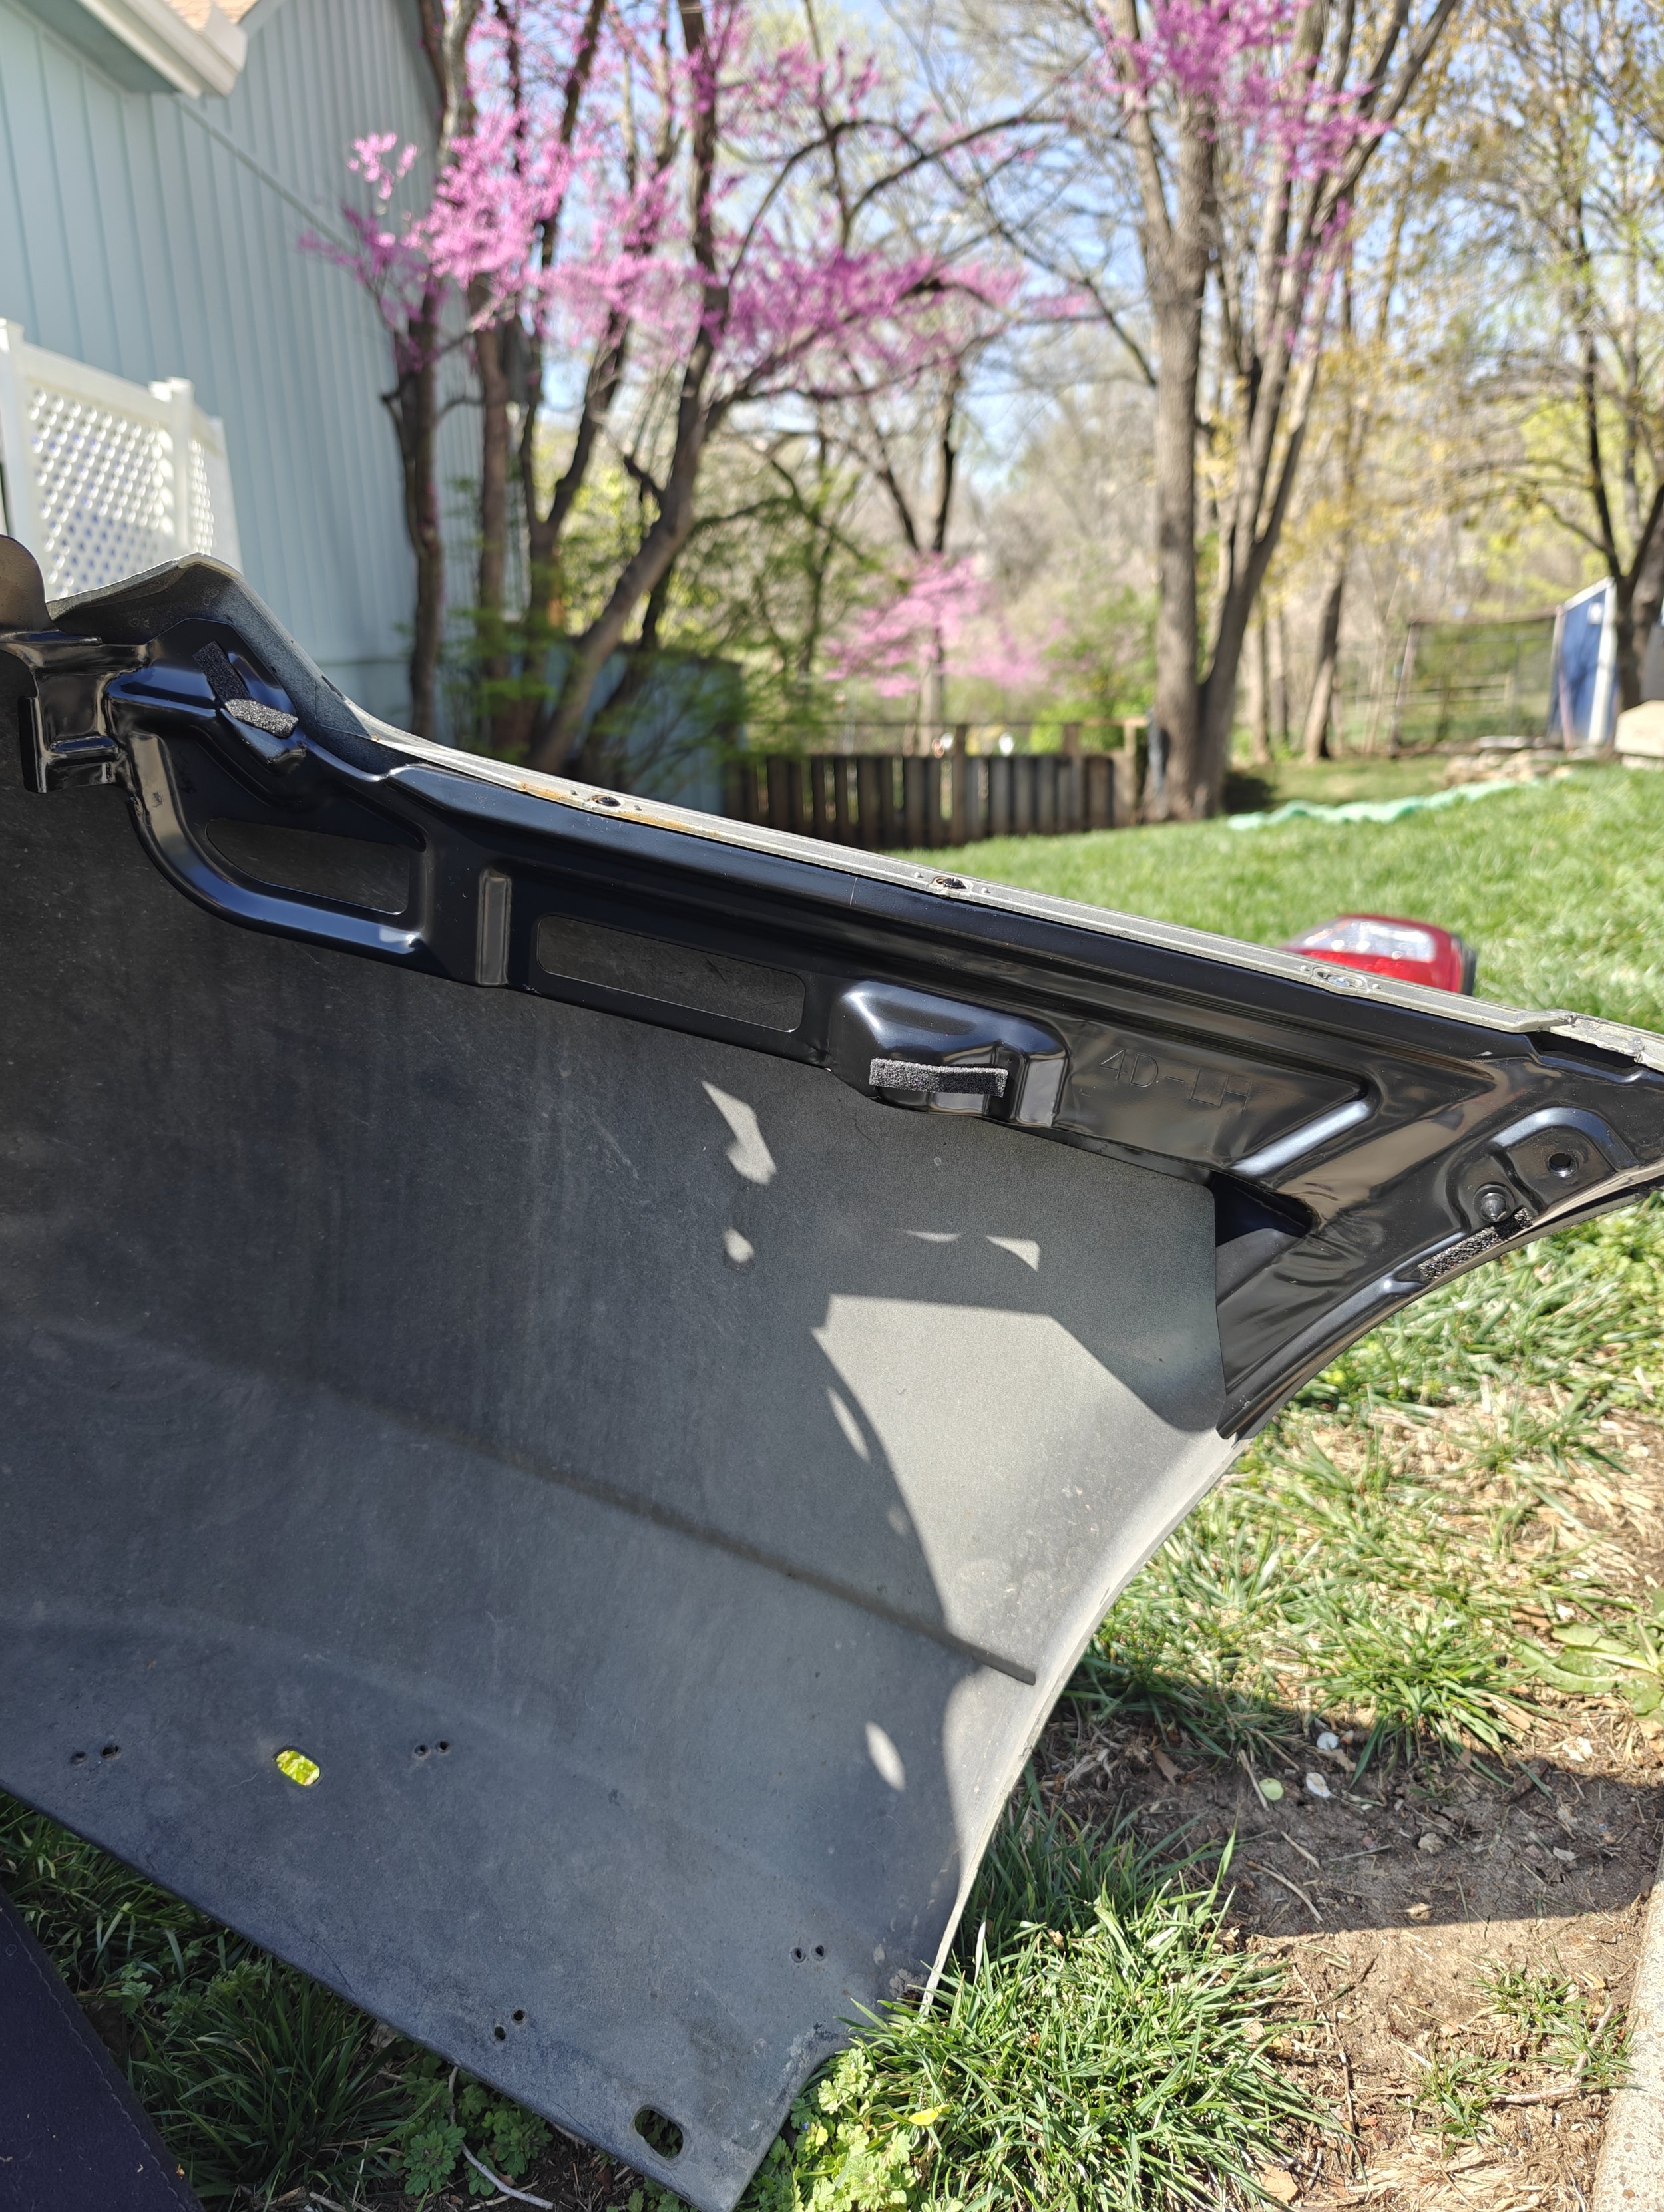
You will now see the old brackets located on either side of the bumper to give it the proper support the bumper needs. If you find it necessary to drill out the rivets, that is your next step. I found a couple needed to be drilled out while a few just fell out.
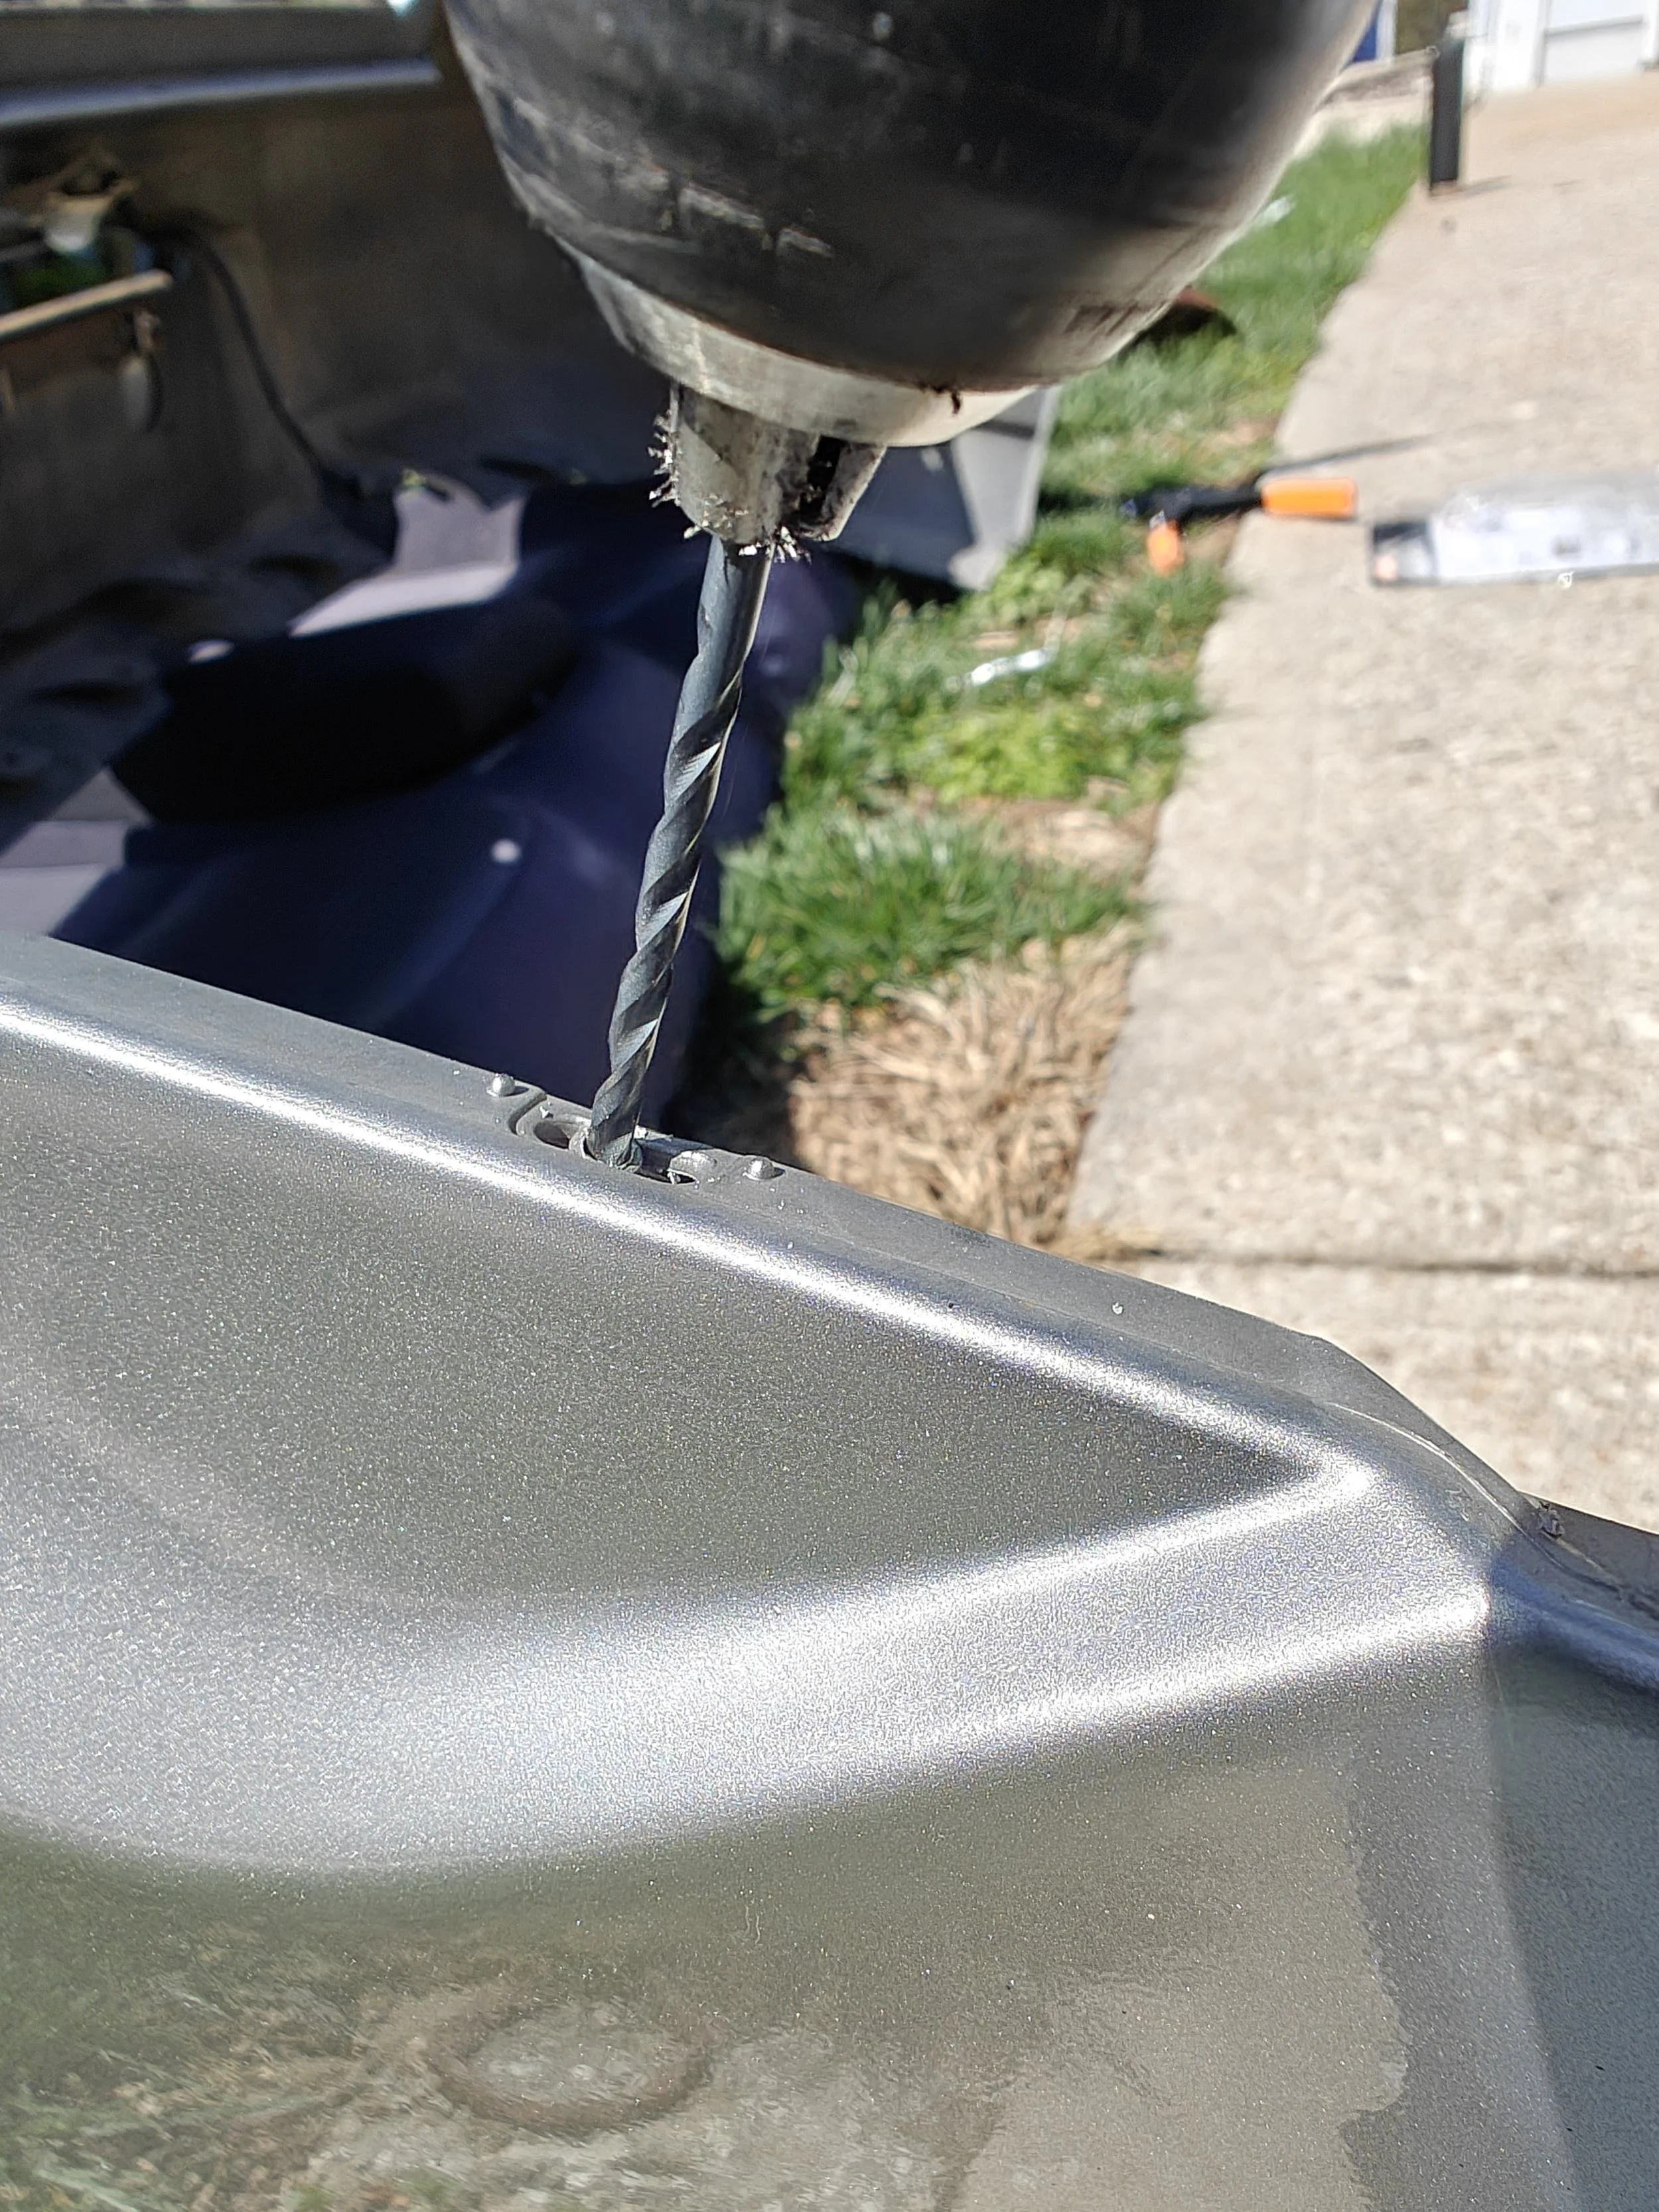
Since the brackets are riveted on you will need to drill them out.
Once the old rivets are out it is time to install the new piece. There are few tabs to help you line everything up and then you can start riveting.
New bracket installed and rivets ready to go in.
Having all the rivets applied means it is time to reverse the order and reinstall the bumper back on the vehicle.
Rivets fully installed and bracket on.
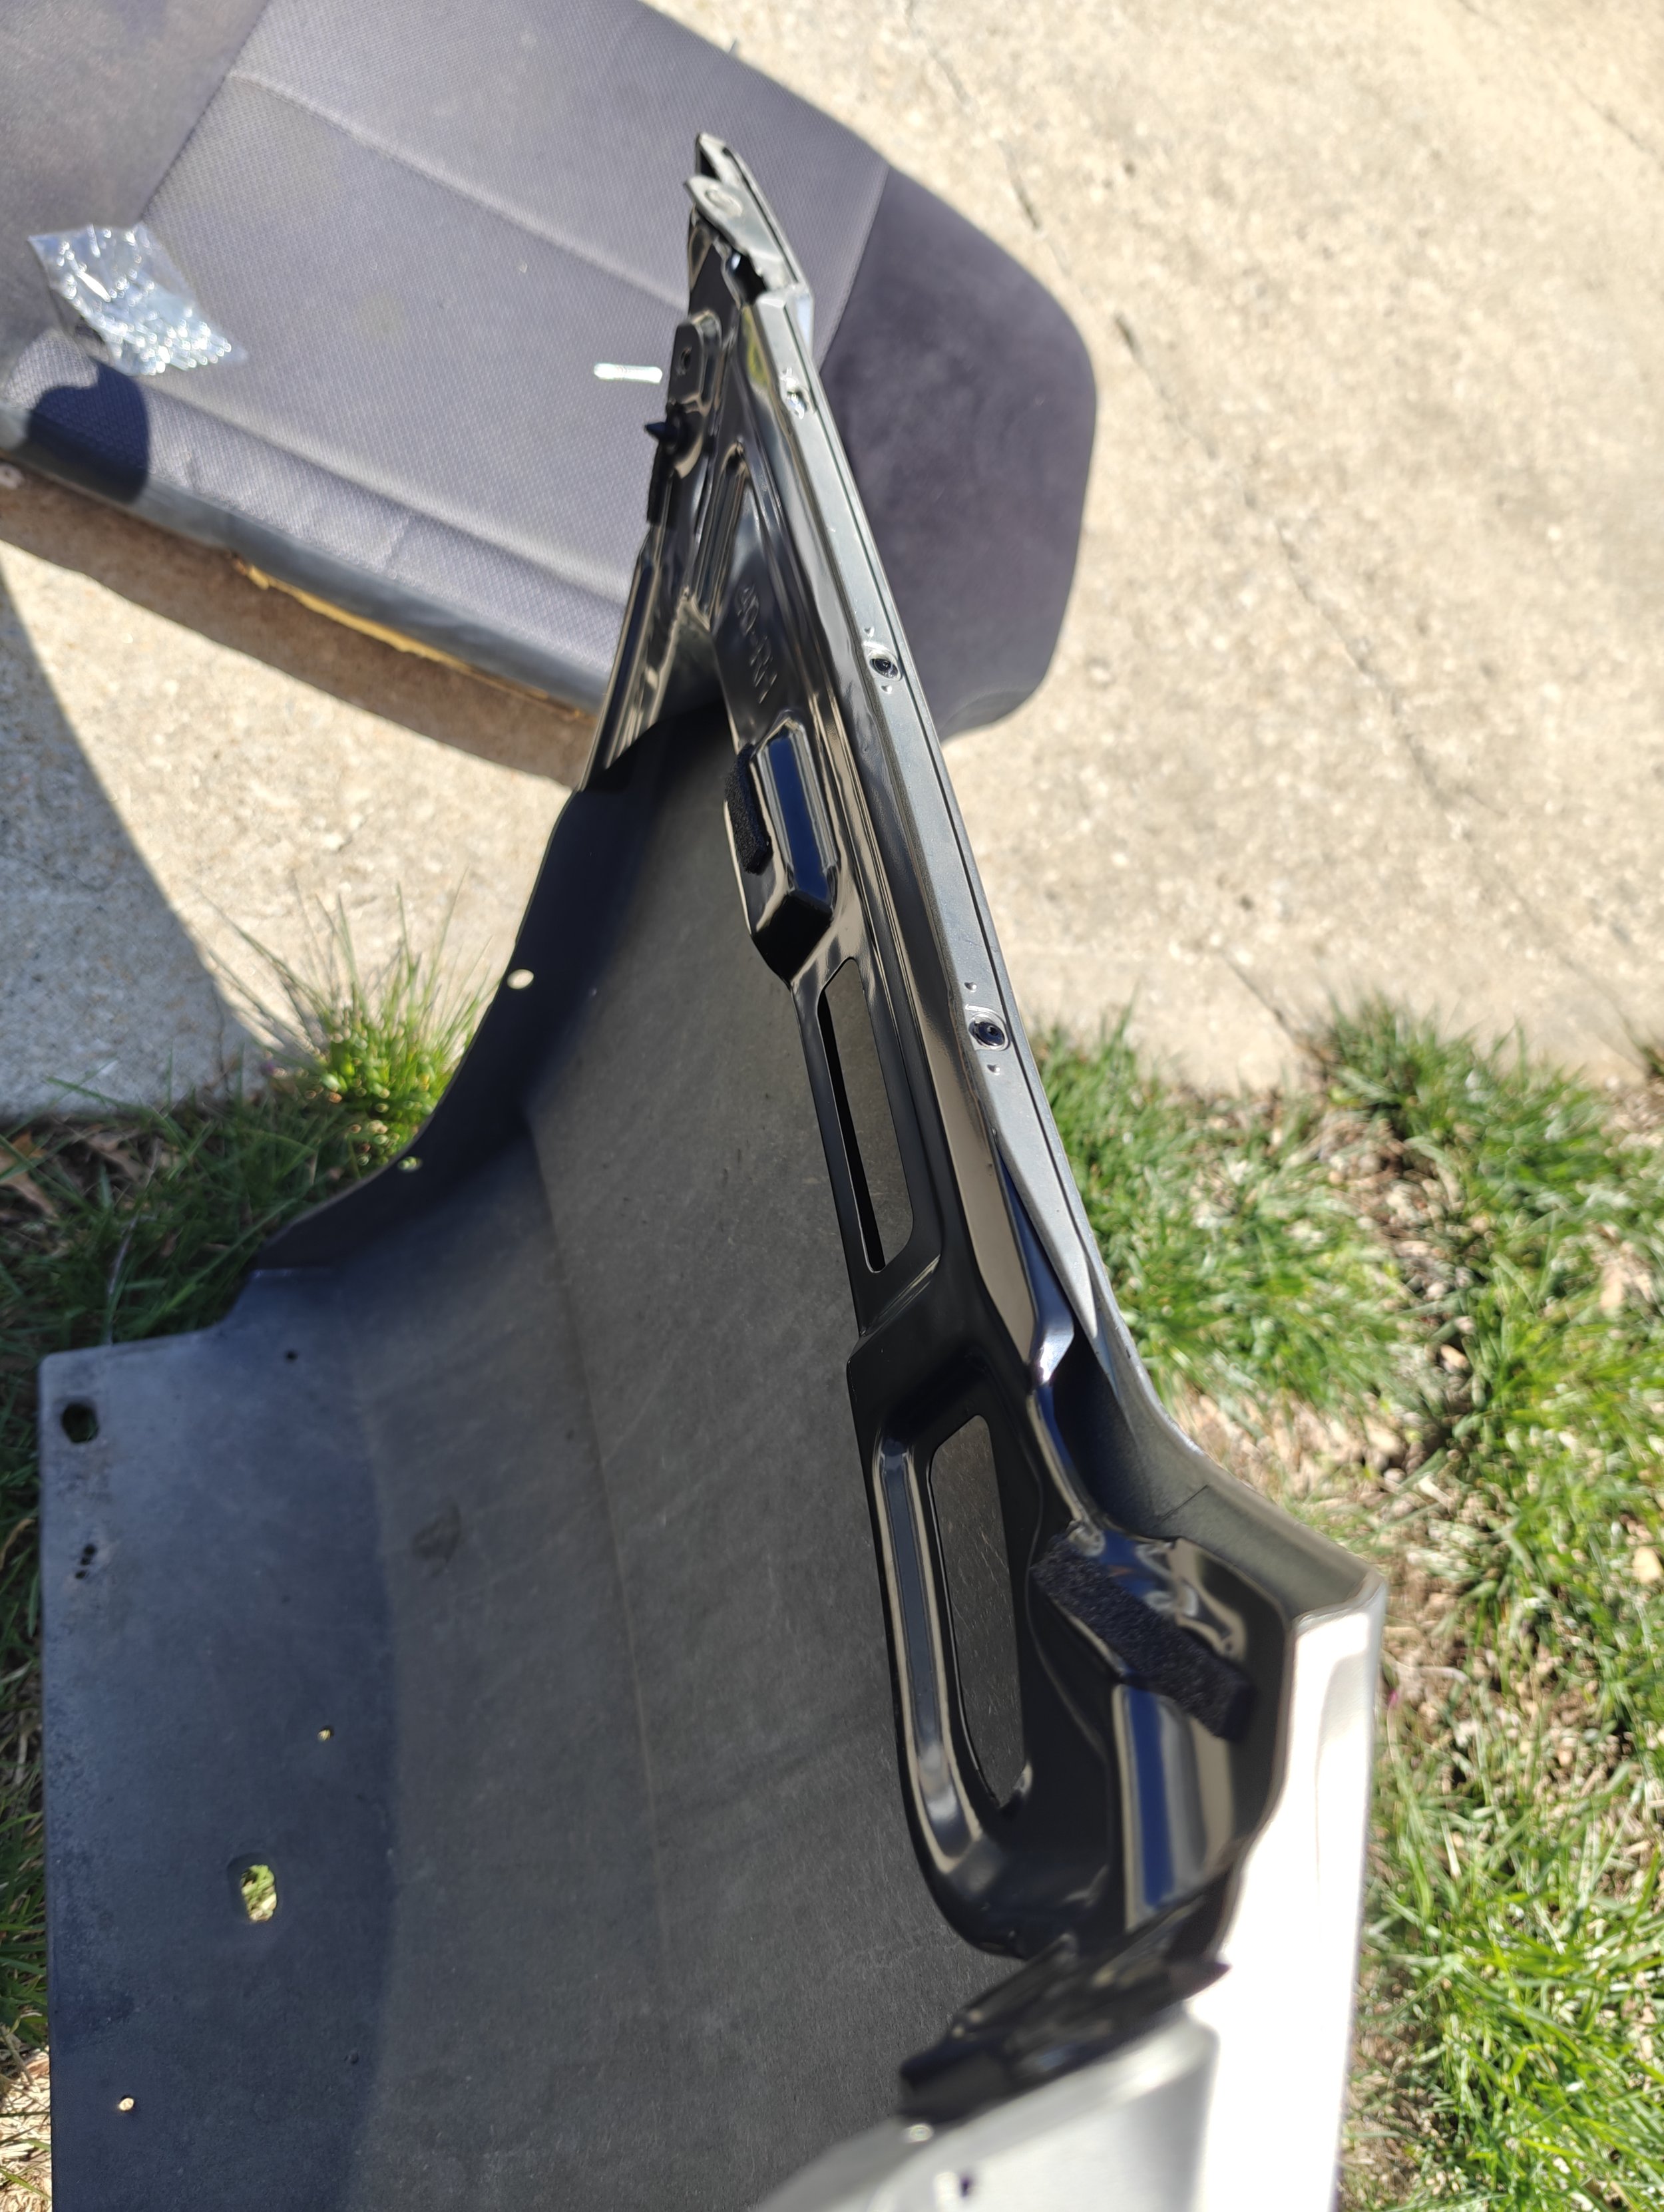
Another angle
Reverse the order and get the bumper back on!
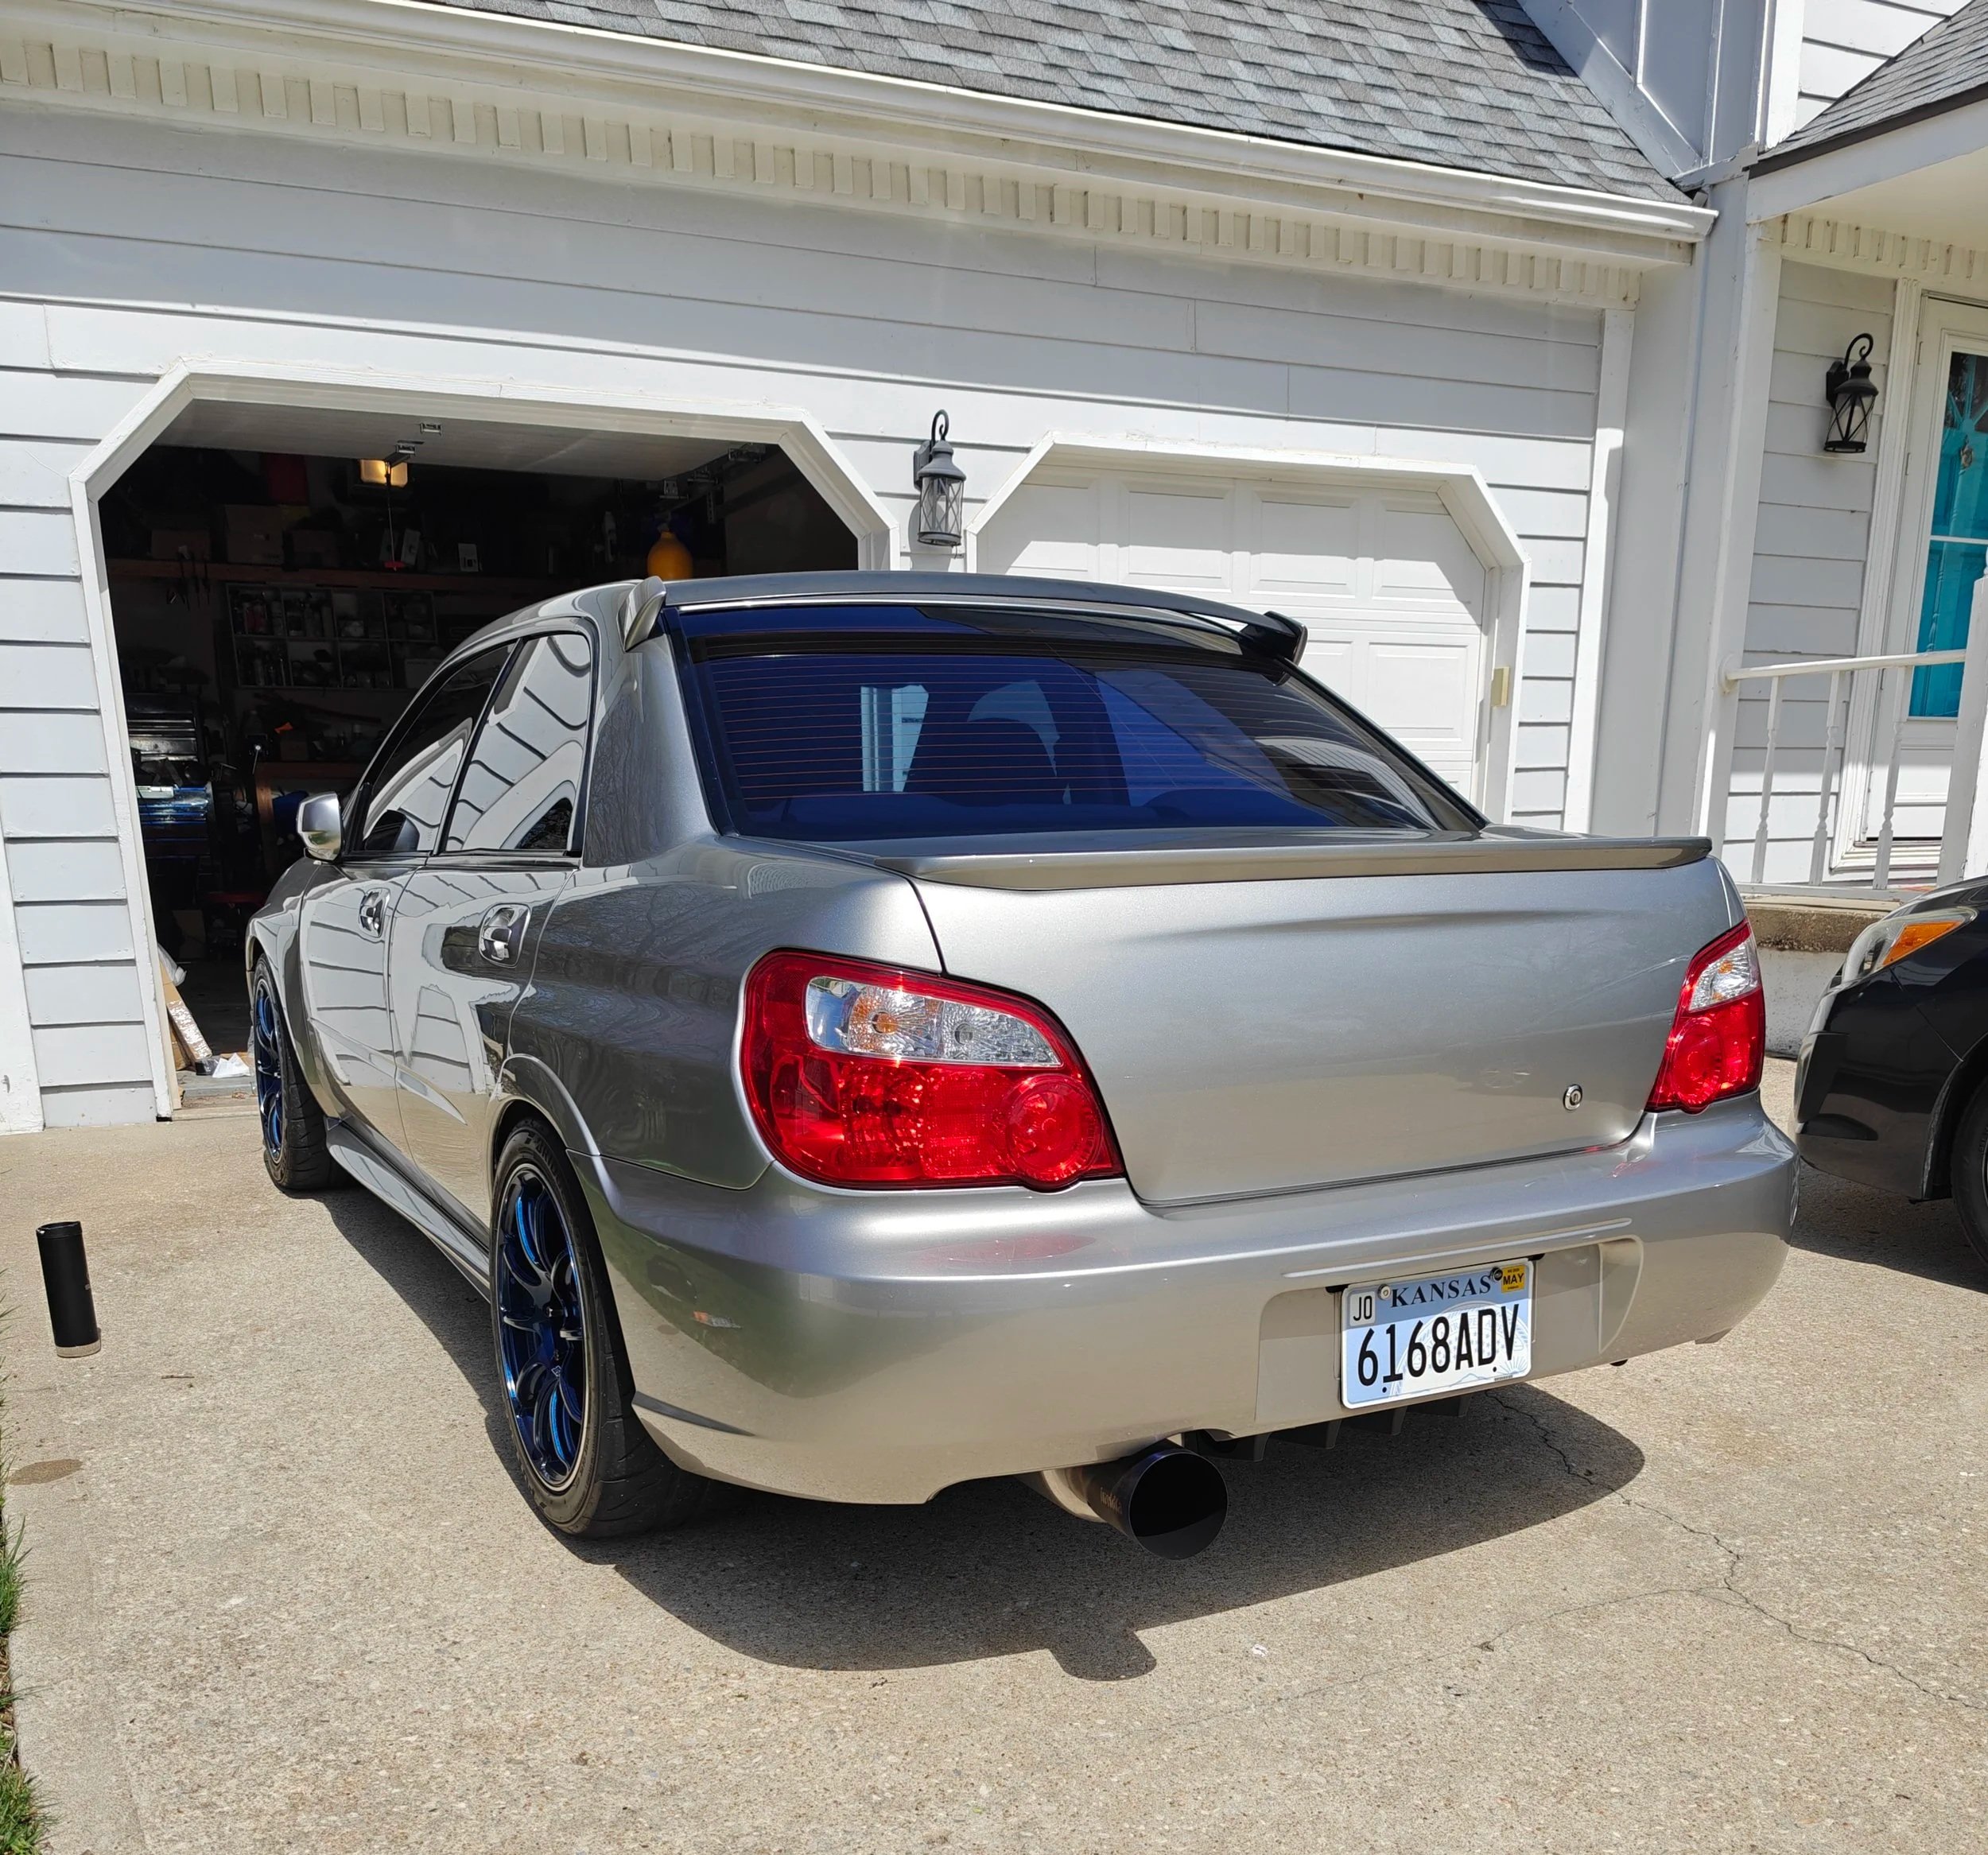
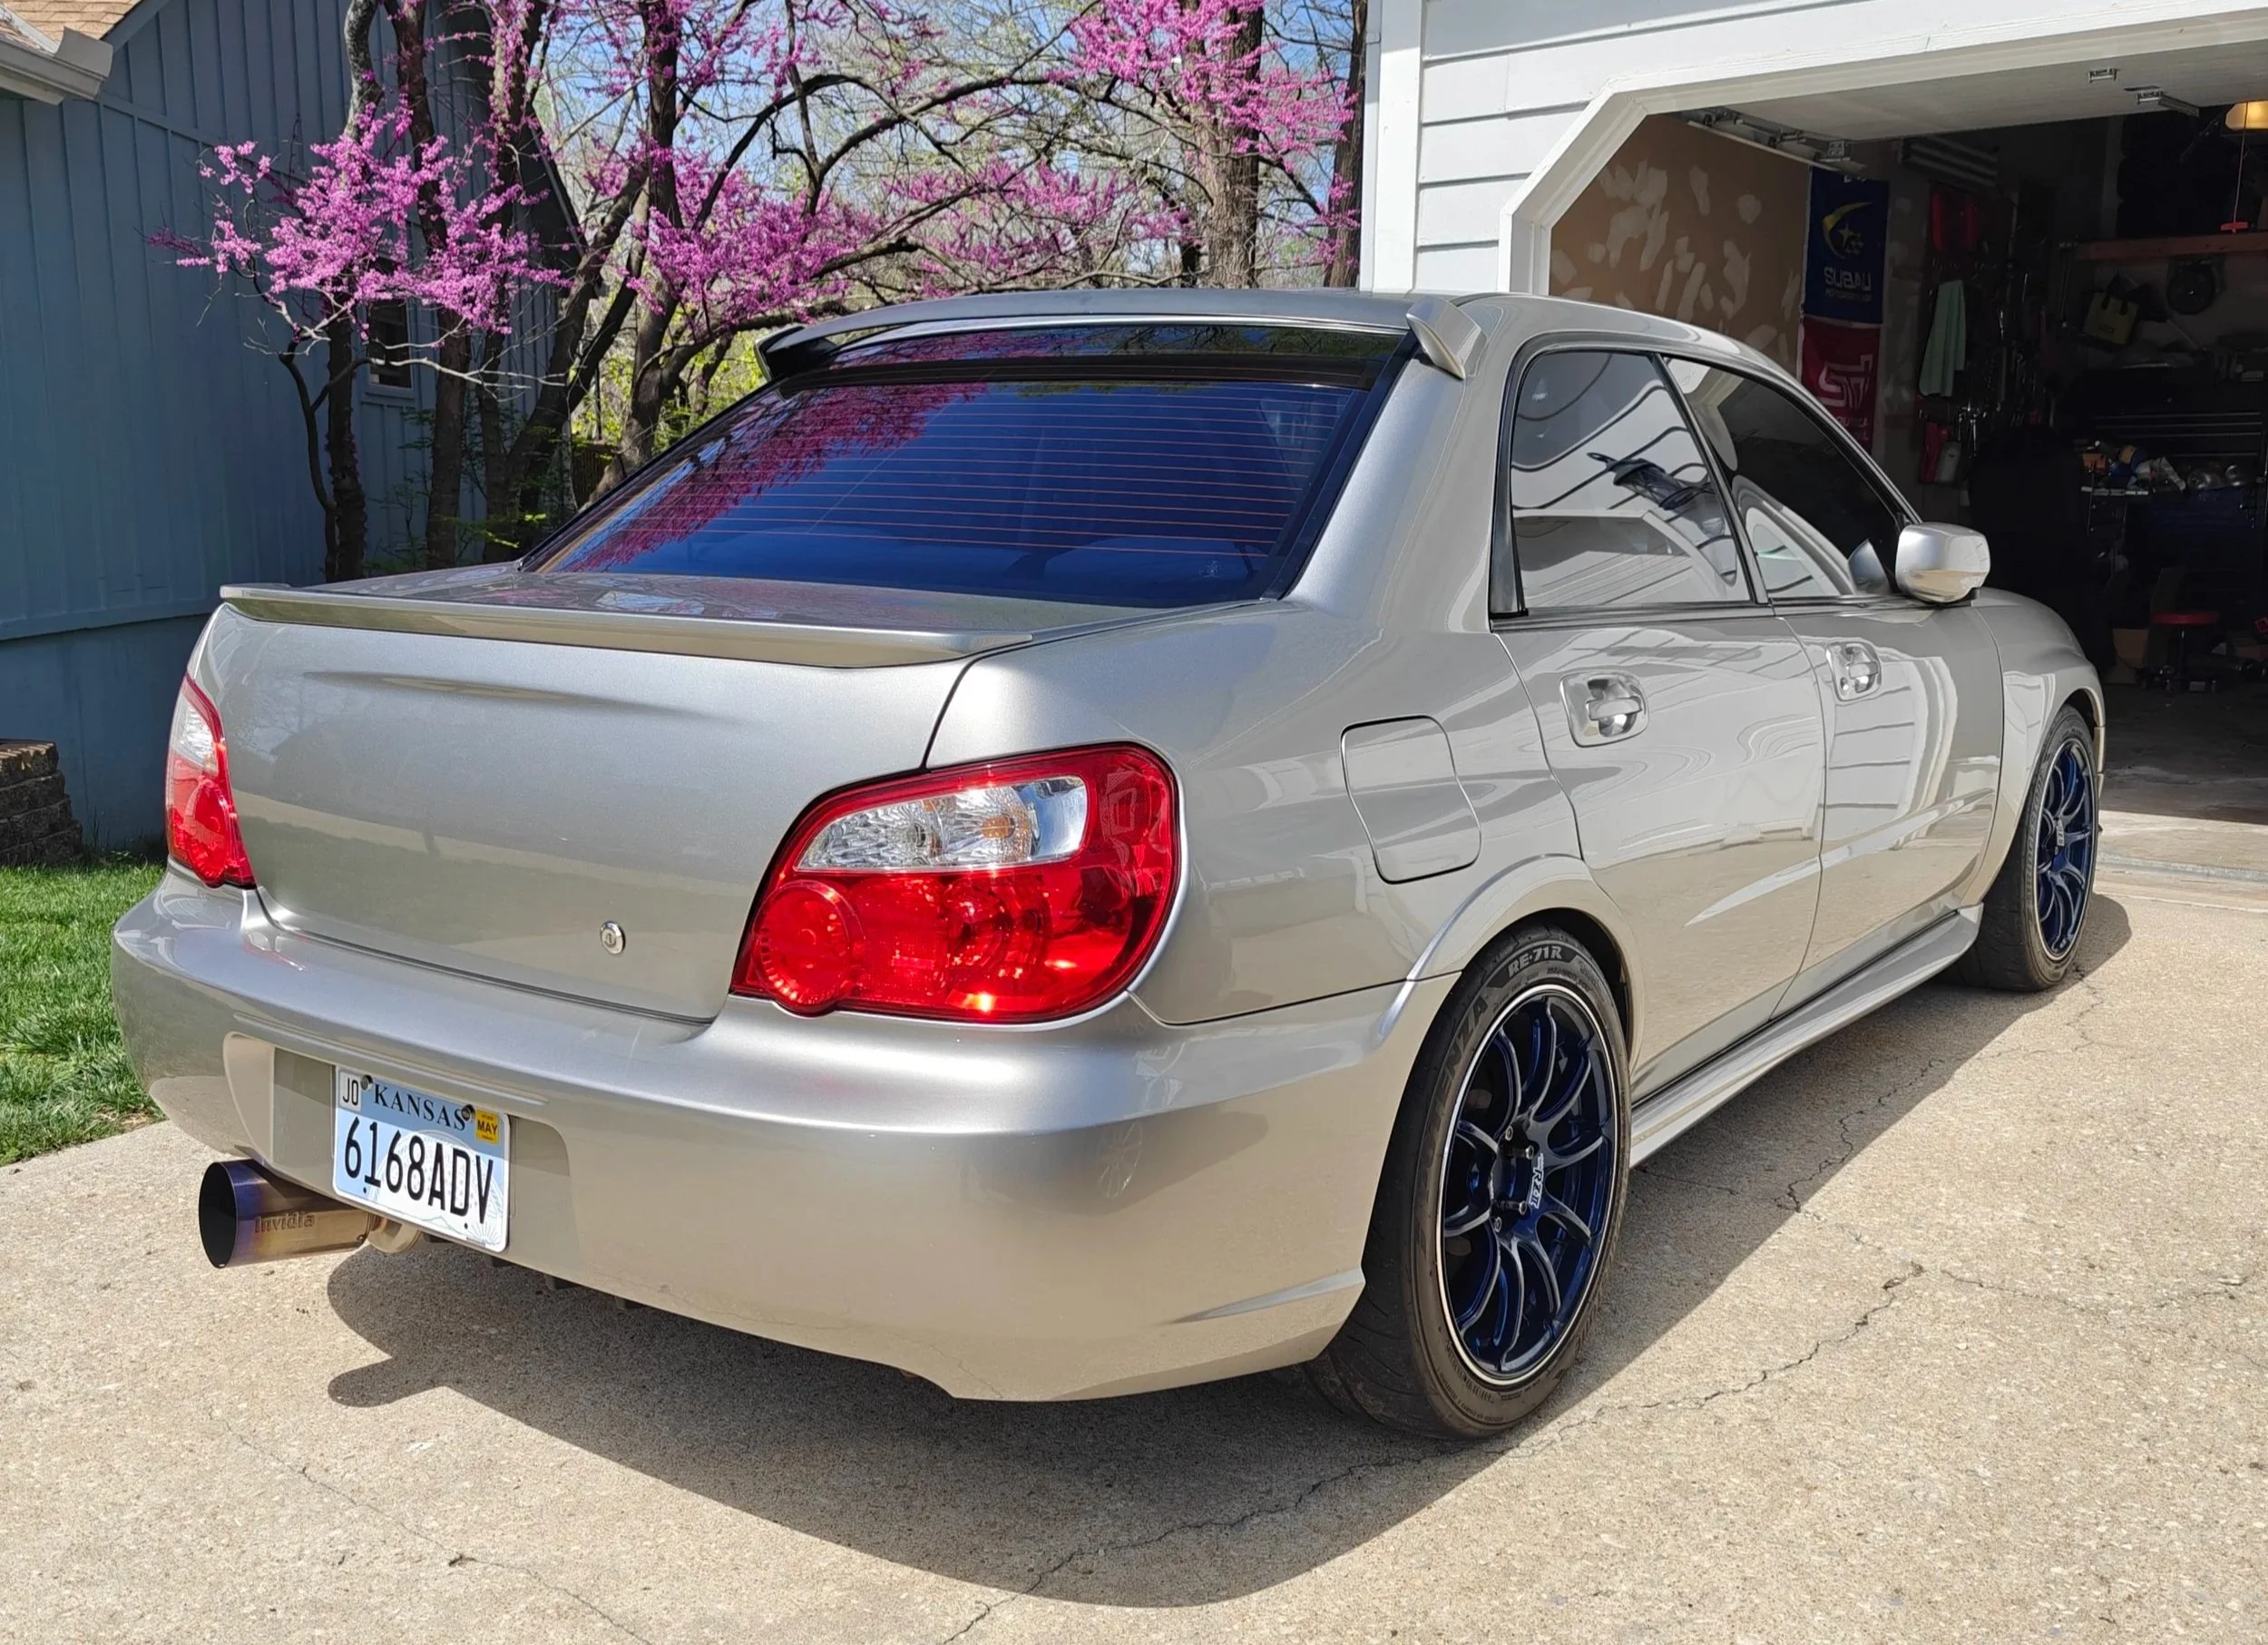
Now enjoy your fresh looking bumper and take it out to take a few photos for yourself to see how good it looks.
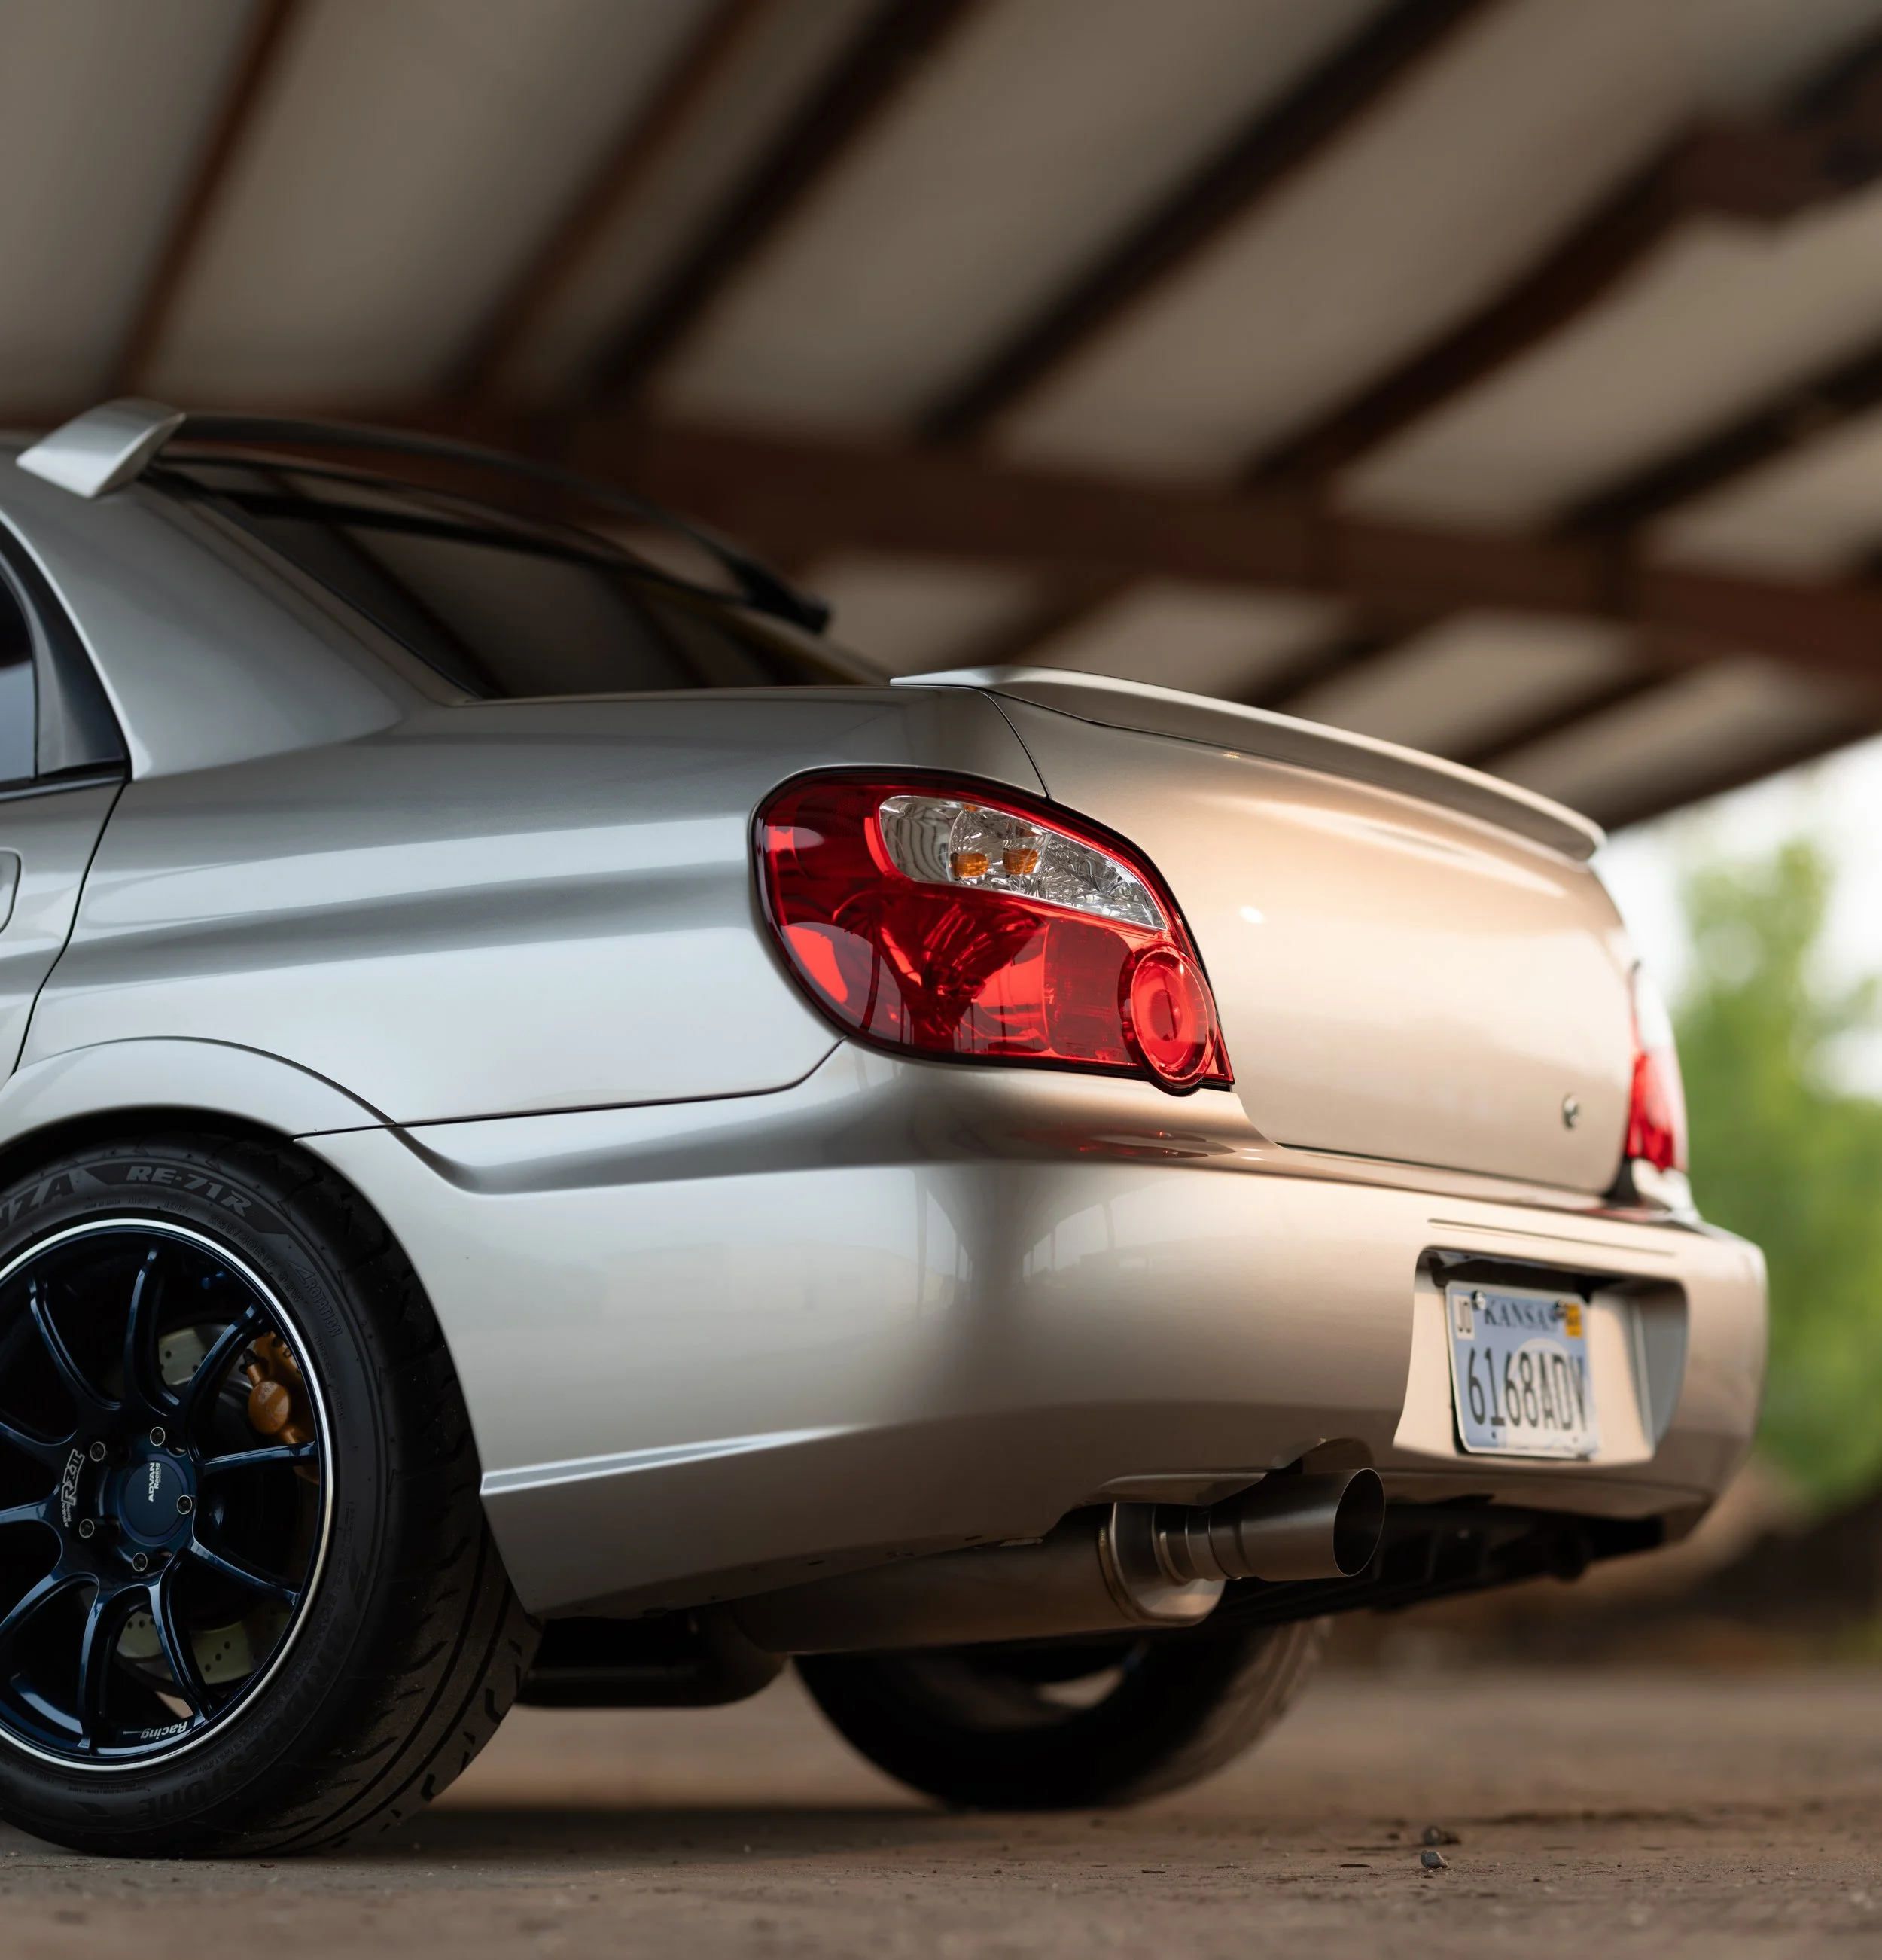
Bumper lines are nice and tight.
Amazon Tool links
Amazon Part links
LH 57717FE650 and RH 57717FE640 bumper brackets