DEI titanium knit exhaust sleeve. How to keep the keep in your downpipe!
When you are chasing a bump in power you are likely to find the downpipe as the quickest, easiest area to go to is the downpipe. And with good reason, its a great bang for the buck modification. The downside of removing the factory downpipe is we lose a lot of heat shielding.
Why does the factory downpipe have countless heat shields on it…? Maybe the Subaru engineers were sitting around a crystal ball and got a glimpse of you and knew that they wanted to make your life more difficult. Right!? That is what they wanted to do… right… Or maybe, just maybe they were thinking about the longevity of your car and the parts that surround it.
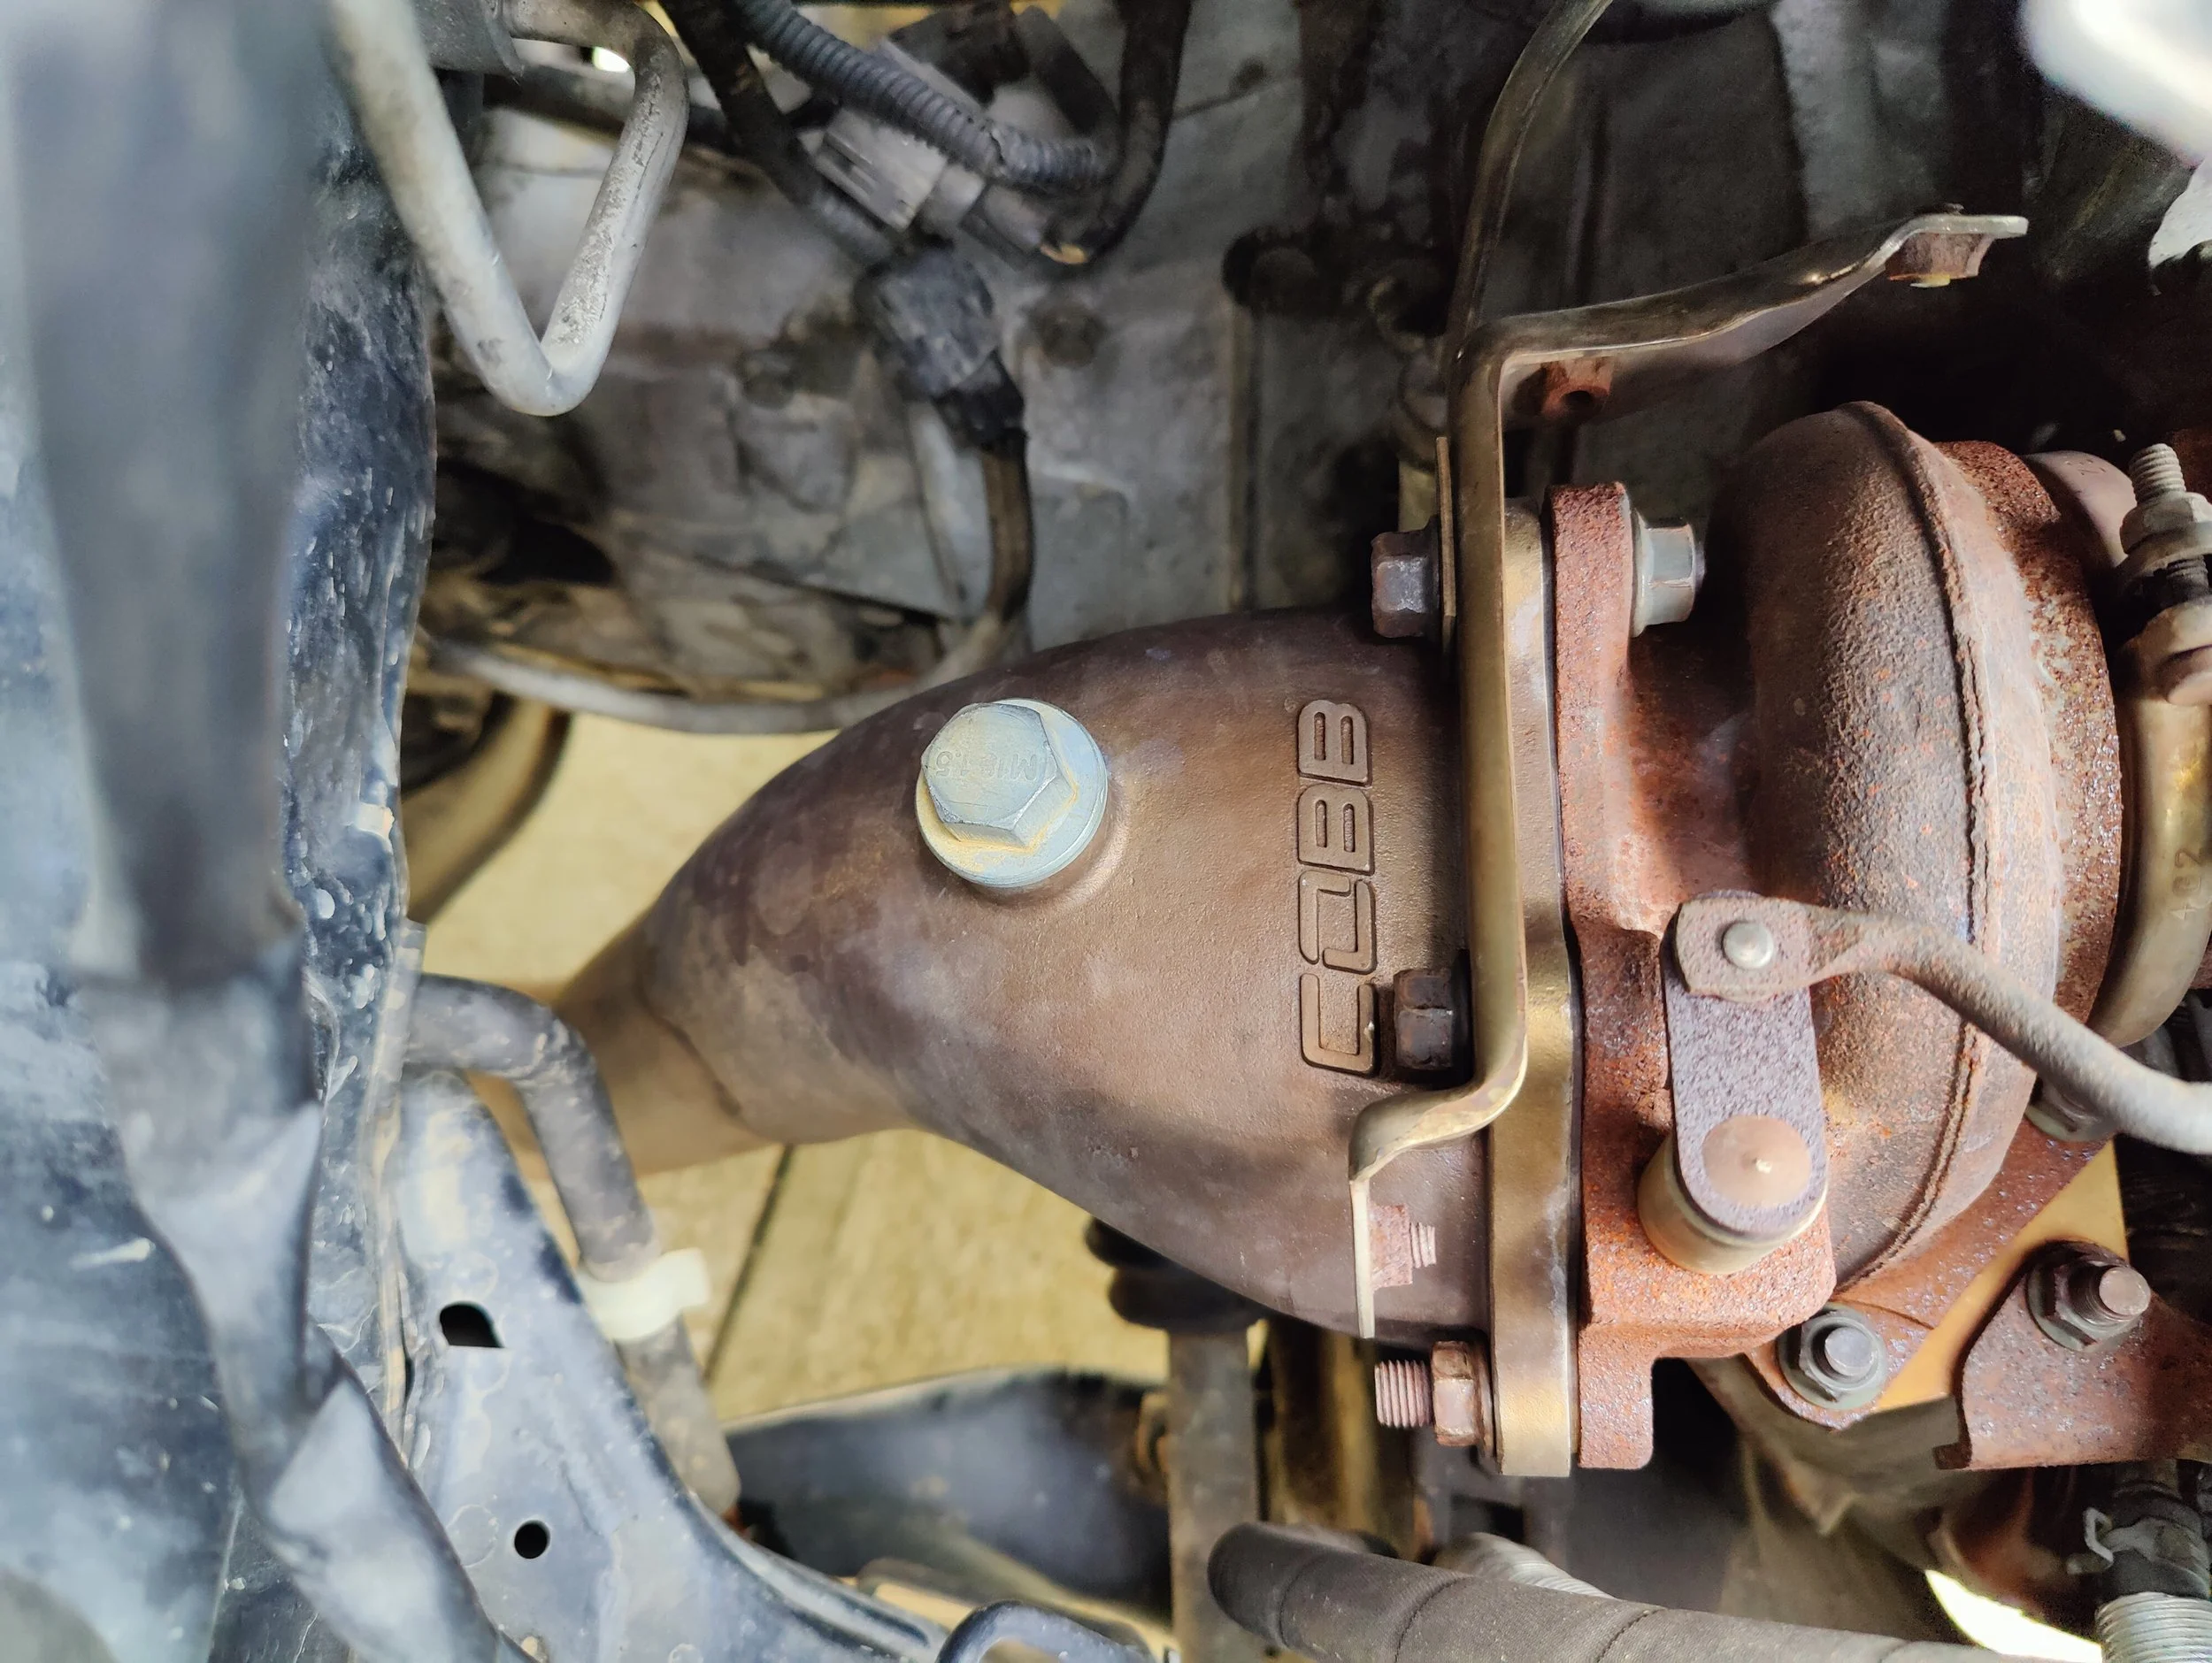
My Cobb downpipe on my Forester is a good visual without any heat shields on it. Heat is now able to soak into all the surrounding parts and break down rubbers, plastic, etc.
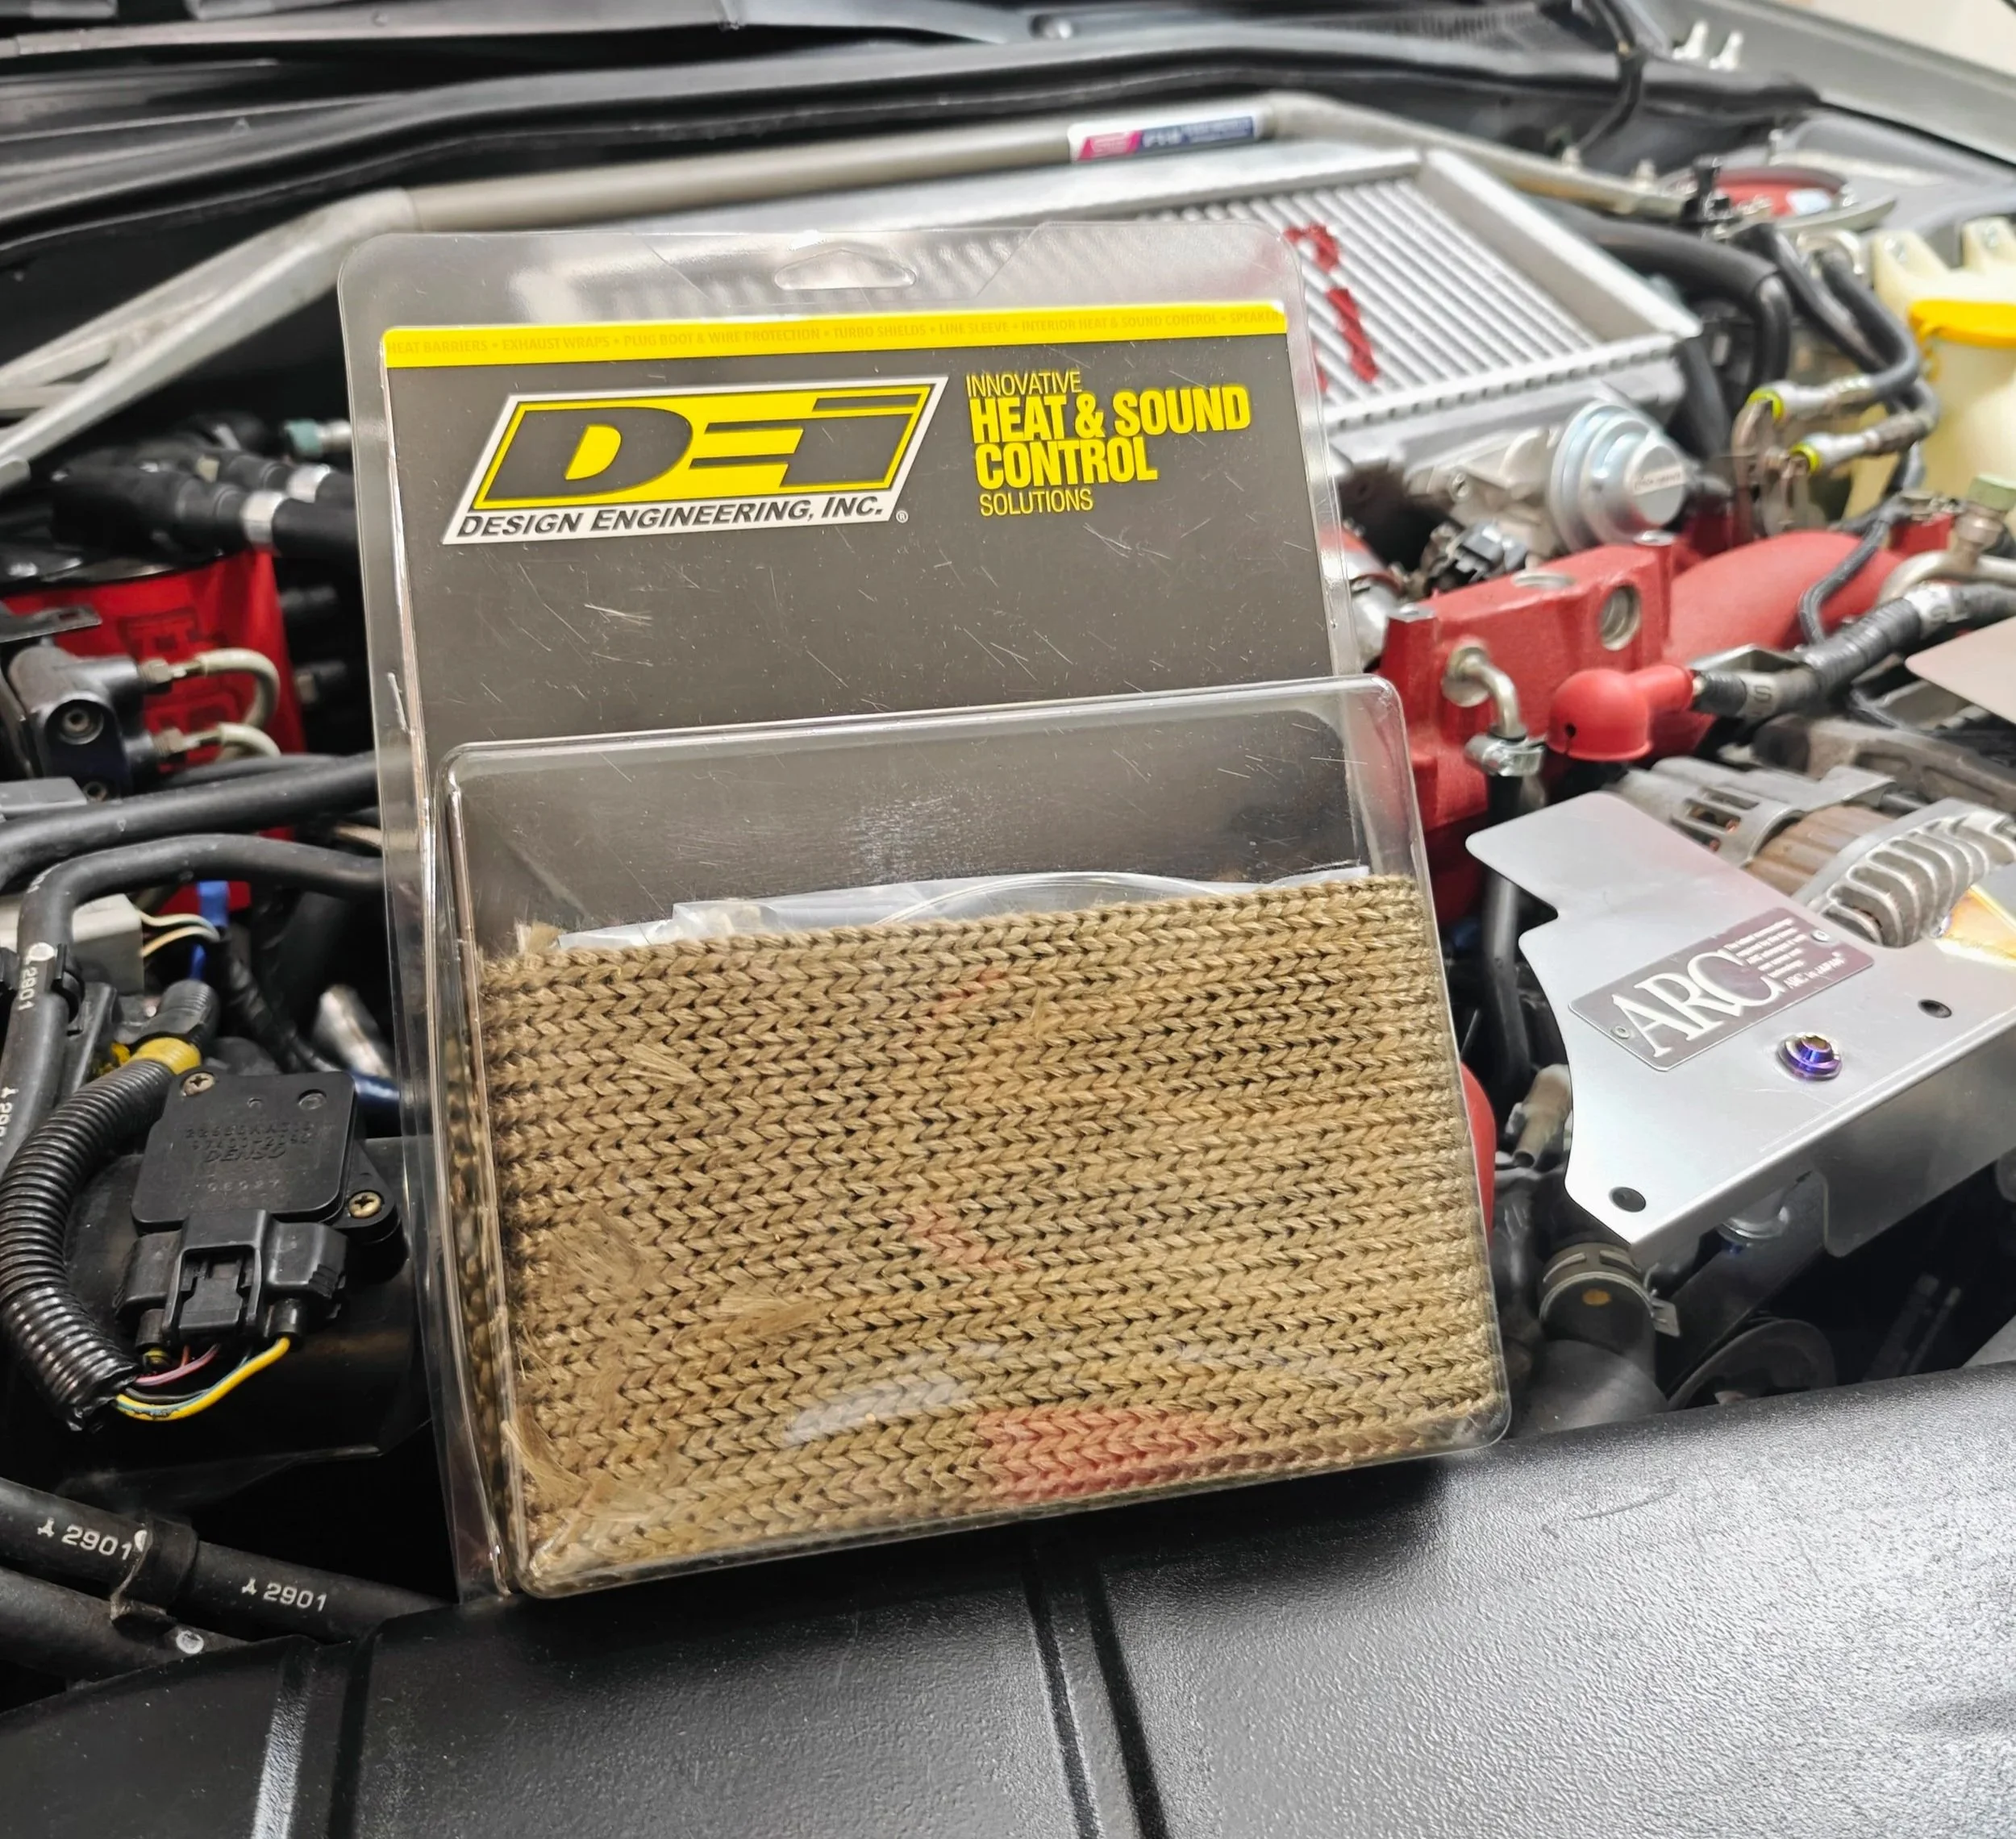
So now that you have yanked off all their hard work. What do you do about the increase in heat around the transmission and parts. Well lucky for us, Design Engineering Inc has come to our rescue and made this easy to install titanium knit sleeve to make your life a little bit easier. Let’s see we can use it to protect your precious parts from all that heat.
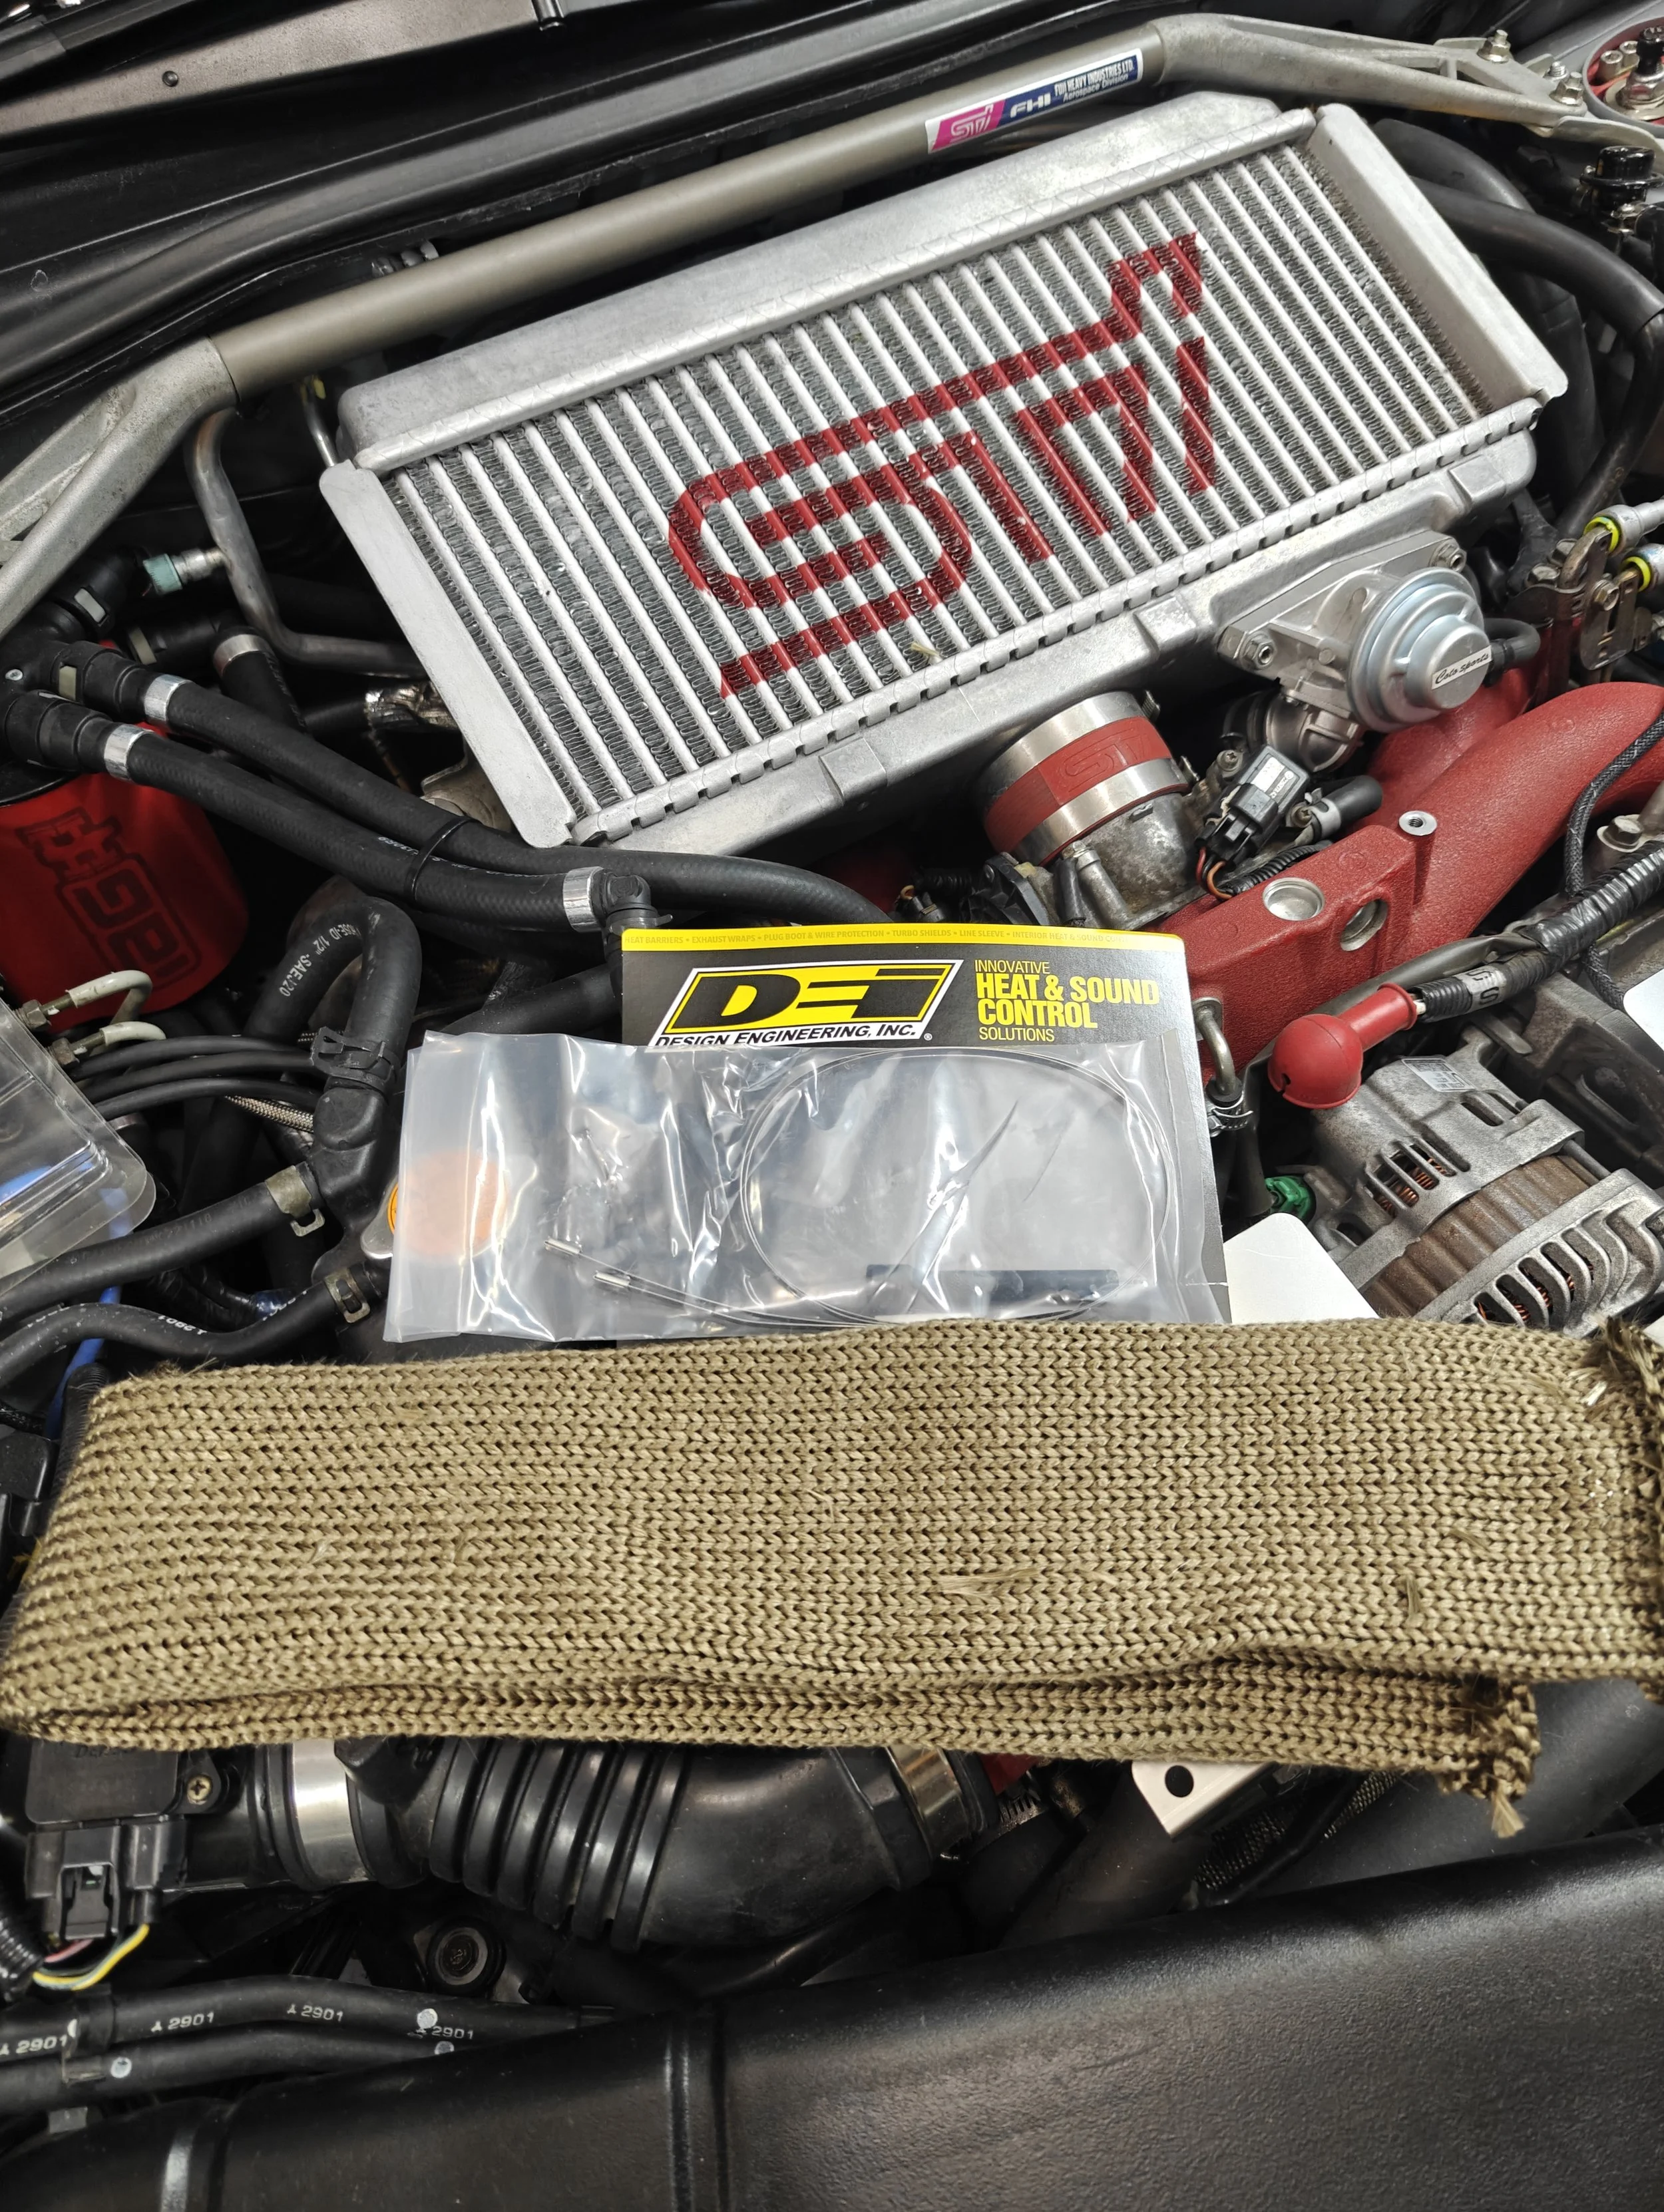
I picked up the larger 3” x 36” sleeve, but DEI offers many sizes determined by what parts you need to cover.
Timeframe
If you are replacing your downpipe it will maybe take ten minutes as you can preinstall it on the downpipe before it goes in. If not I think I spent a total of 40 minutes to get this installed onto my car, which the downpipe was on the car. The most time consuming process might have been to safely get the vehicle on jack stands.
Tools
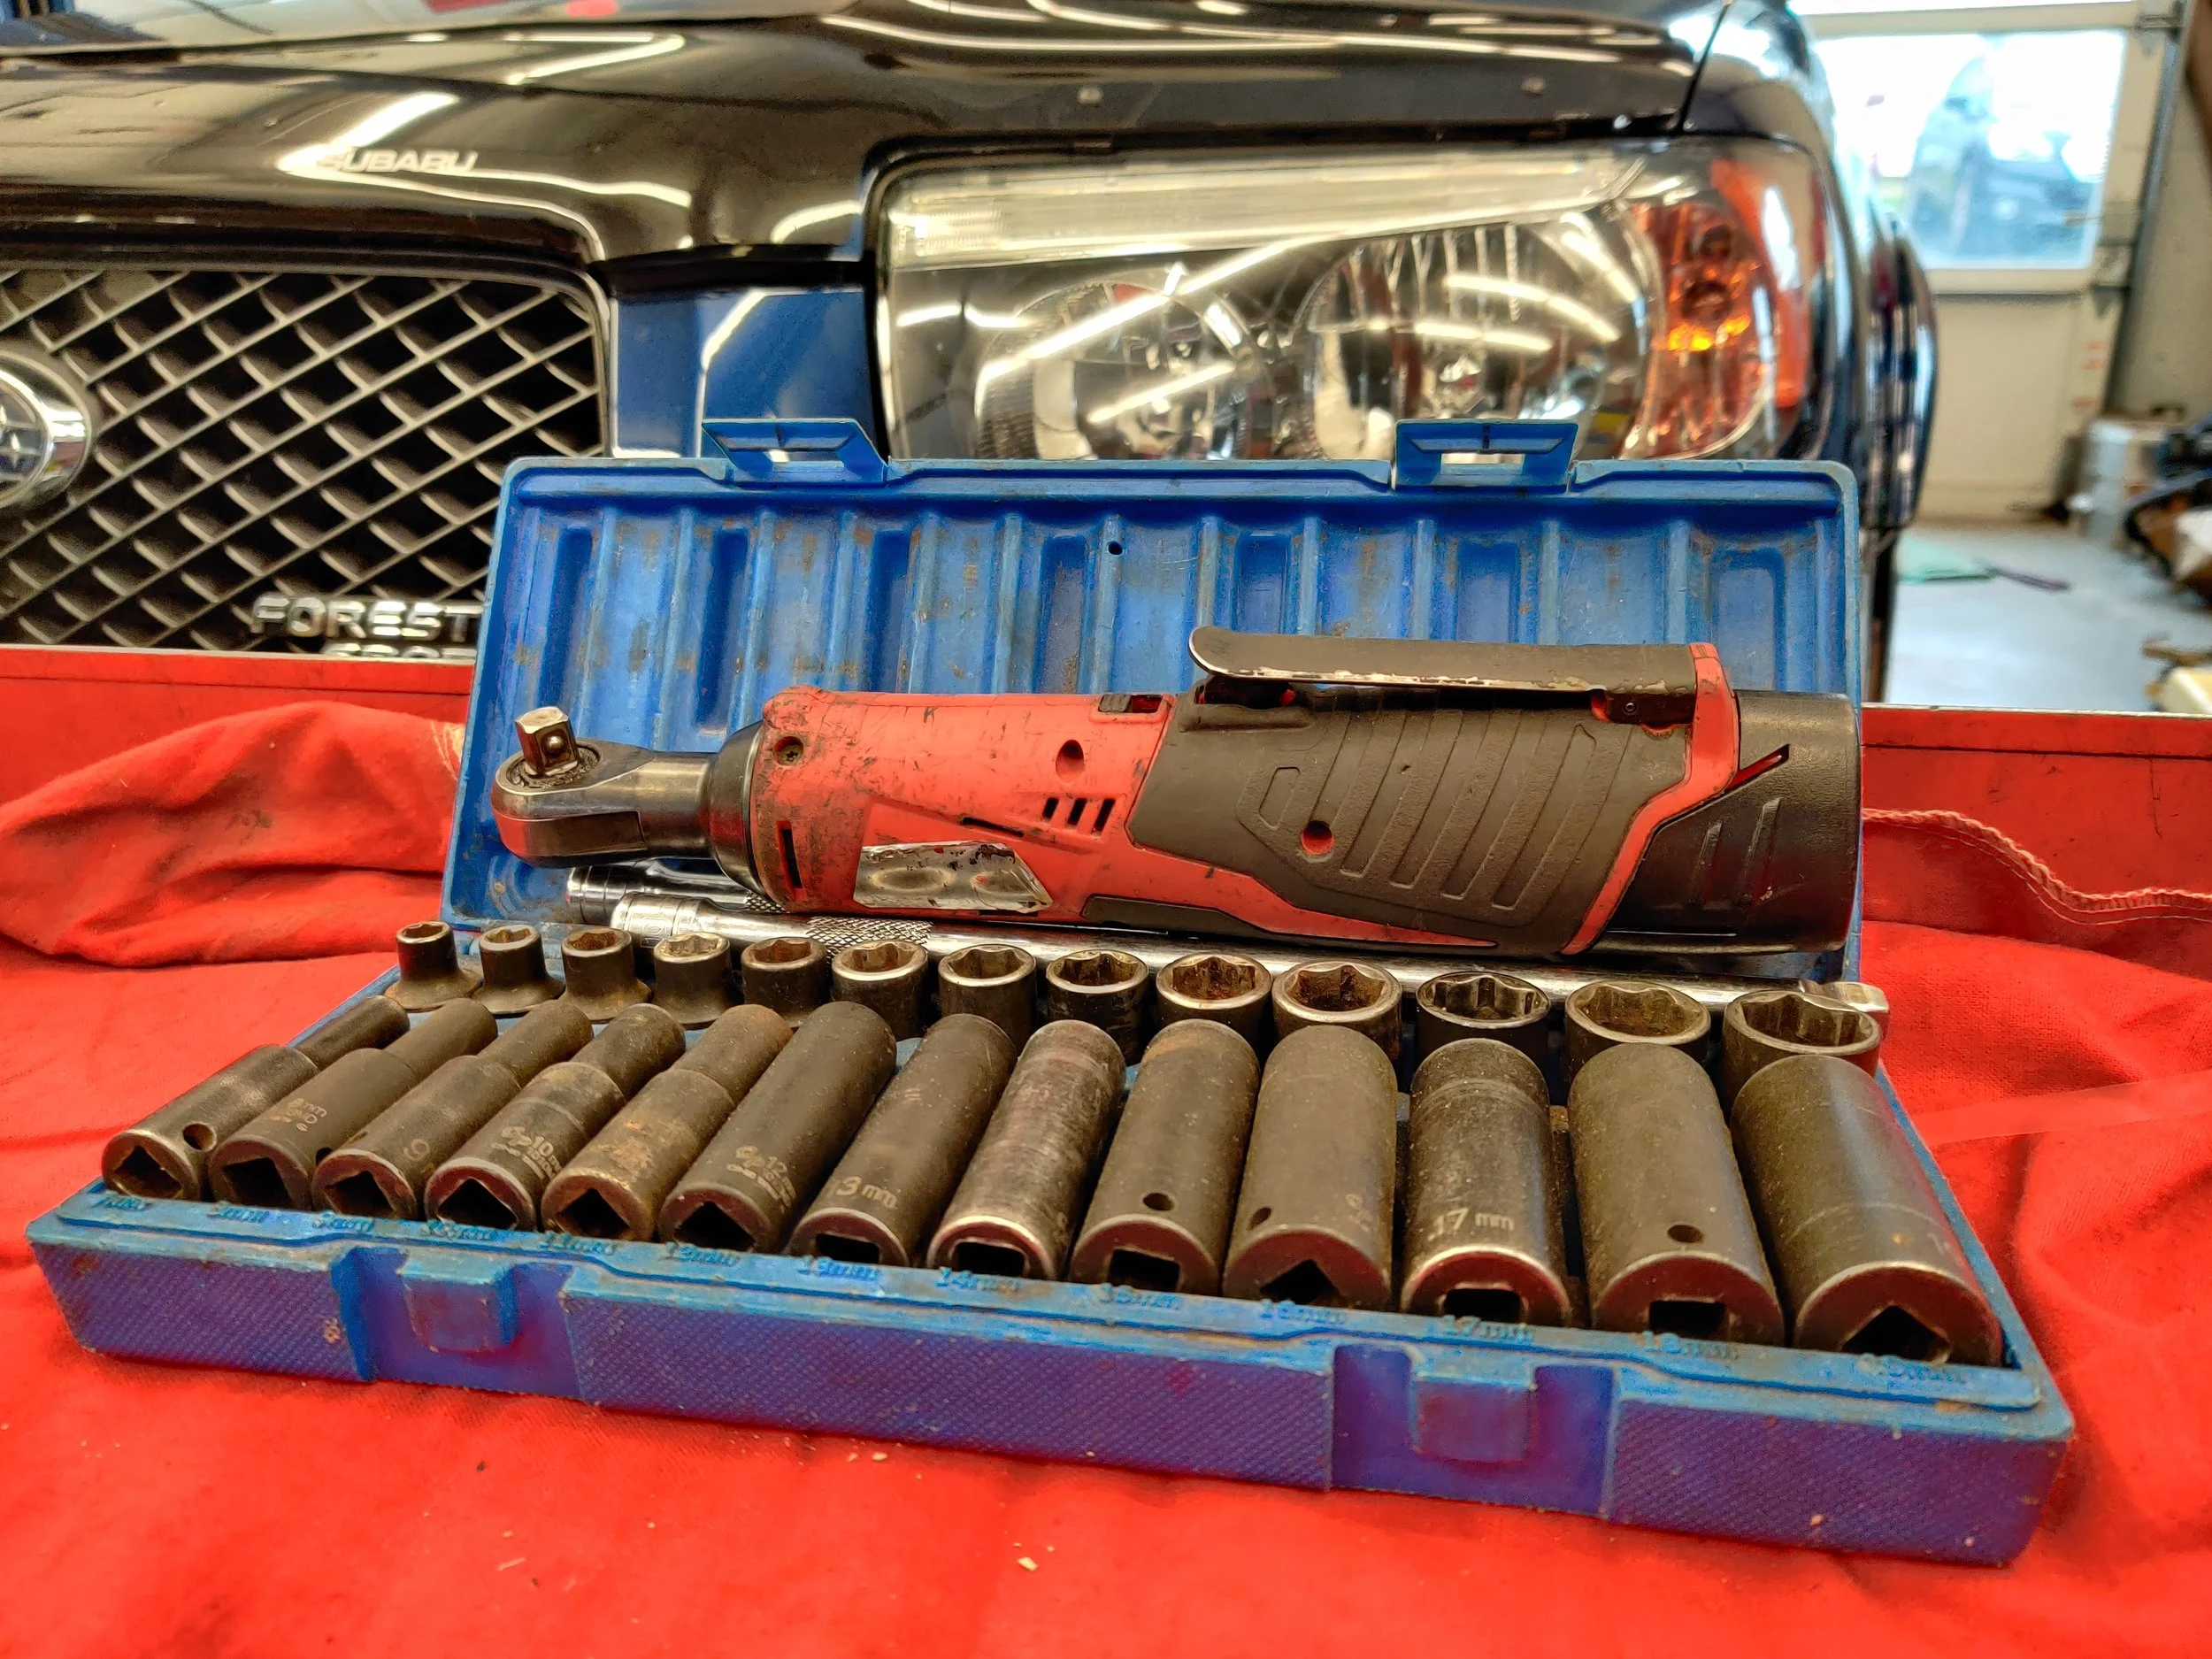
A few hand tools and some specialty tools will get it all done for you.
How to
If you are like me and your downpipe is installed, you will need to get your car up on jack stands to safely work underneath it. If you need assistance with that follow this link. Otherwise get your car off the ground and I’ll see you at the next paragraph.
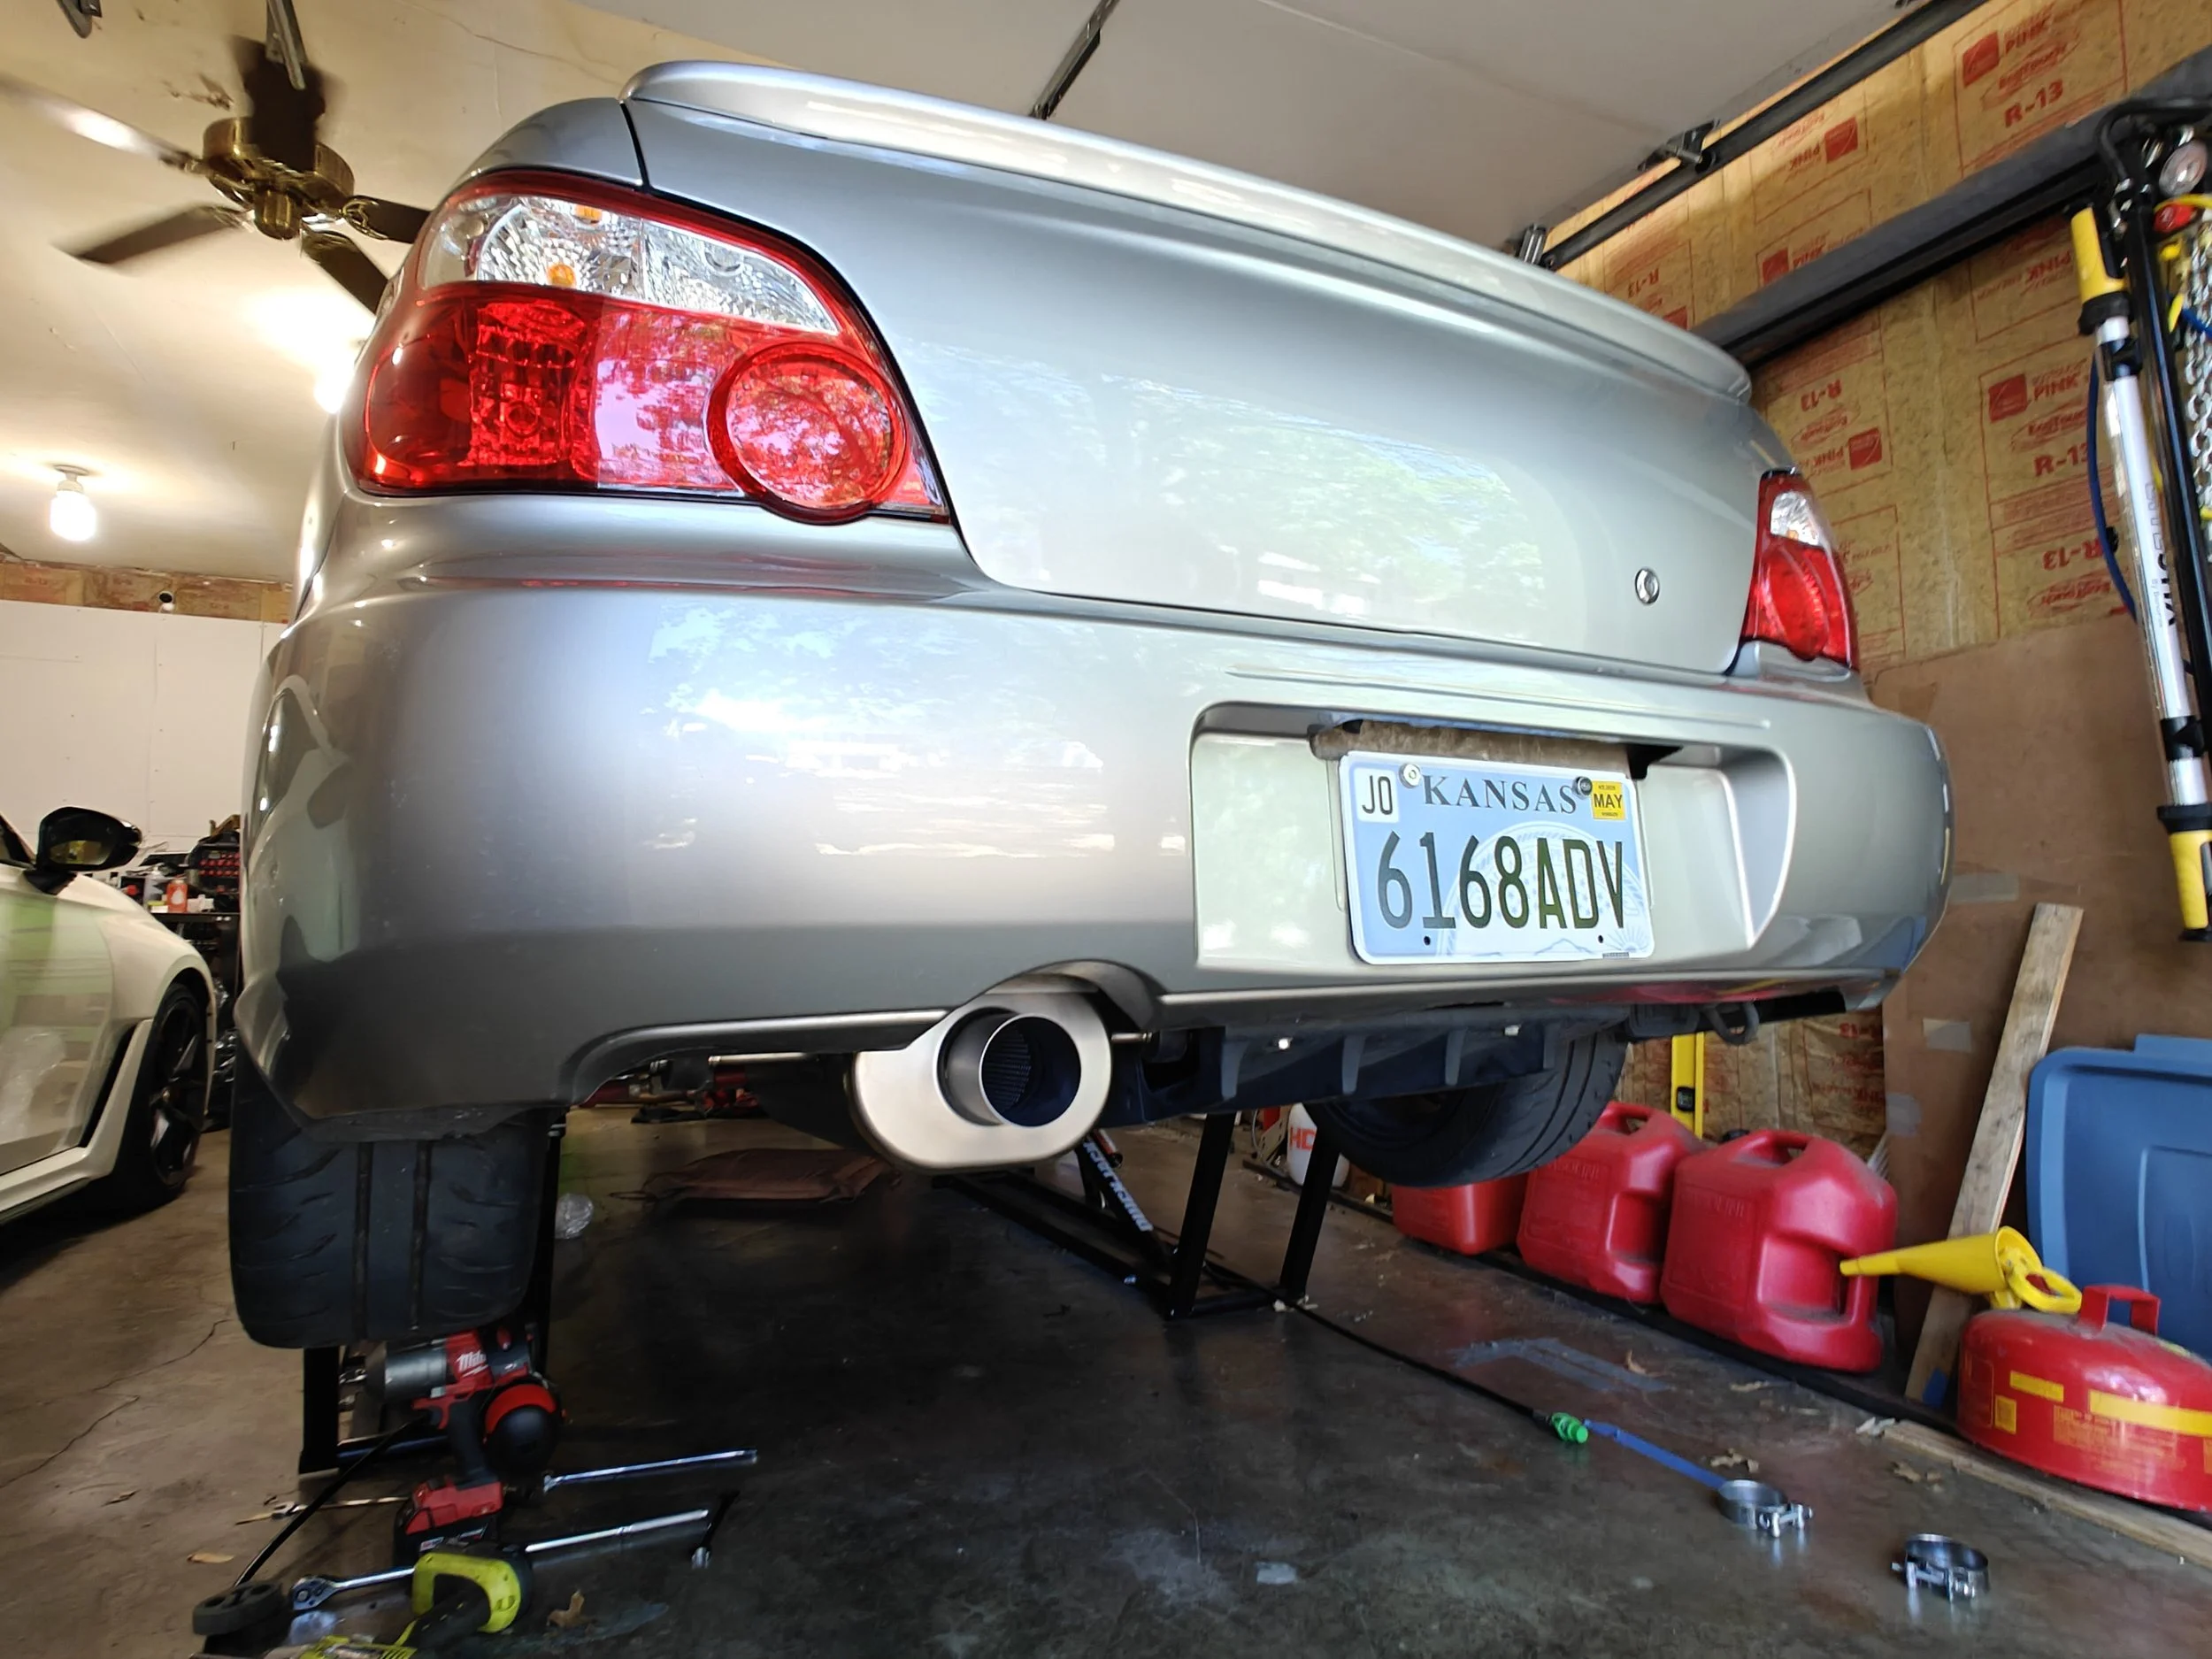
With my downpipe already installed on the car I decided to leave it on the car and install it.
With the car safely secured on jack stands you can now slide underneath and locate the connection point from the downpipe to exhaust midpipe. You can start with breaking the rear O2 sensor and place it safely away from your working area. For my setup this was two bolts but your exhaust flange connection may be different, have a extra gasket on hand.
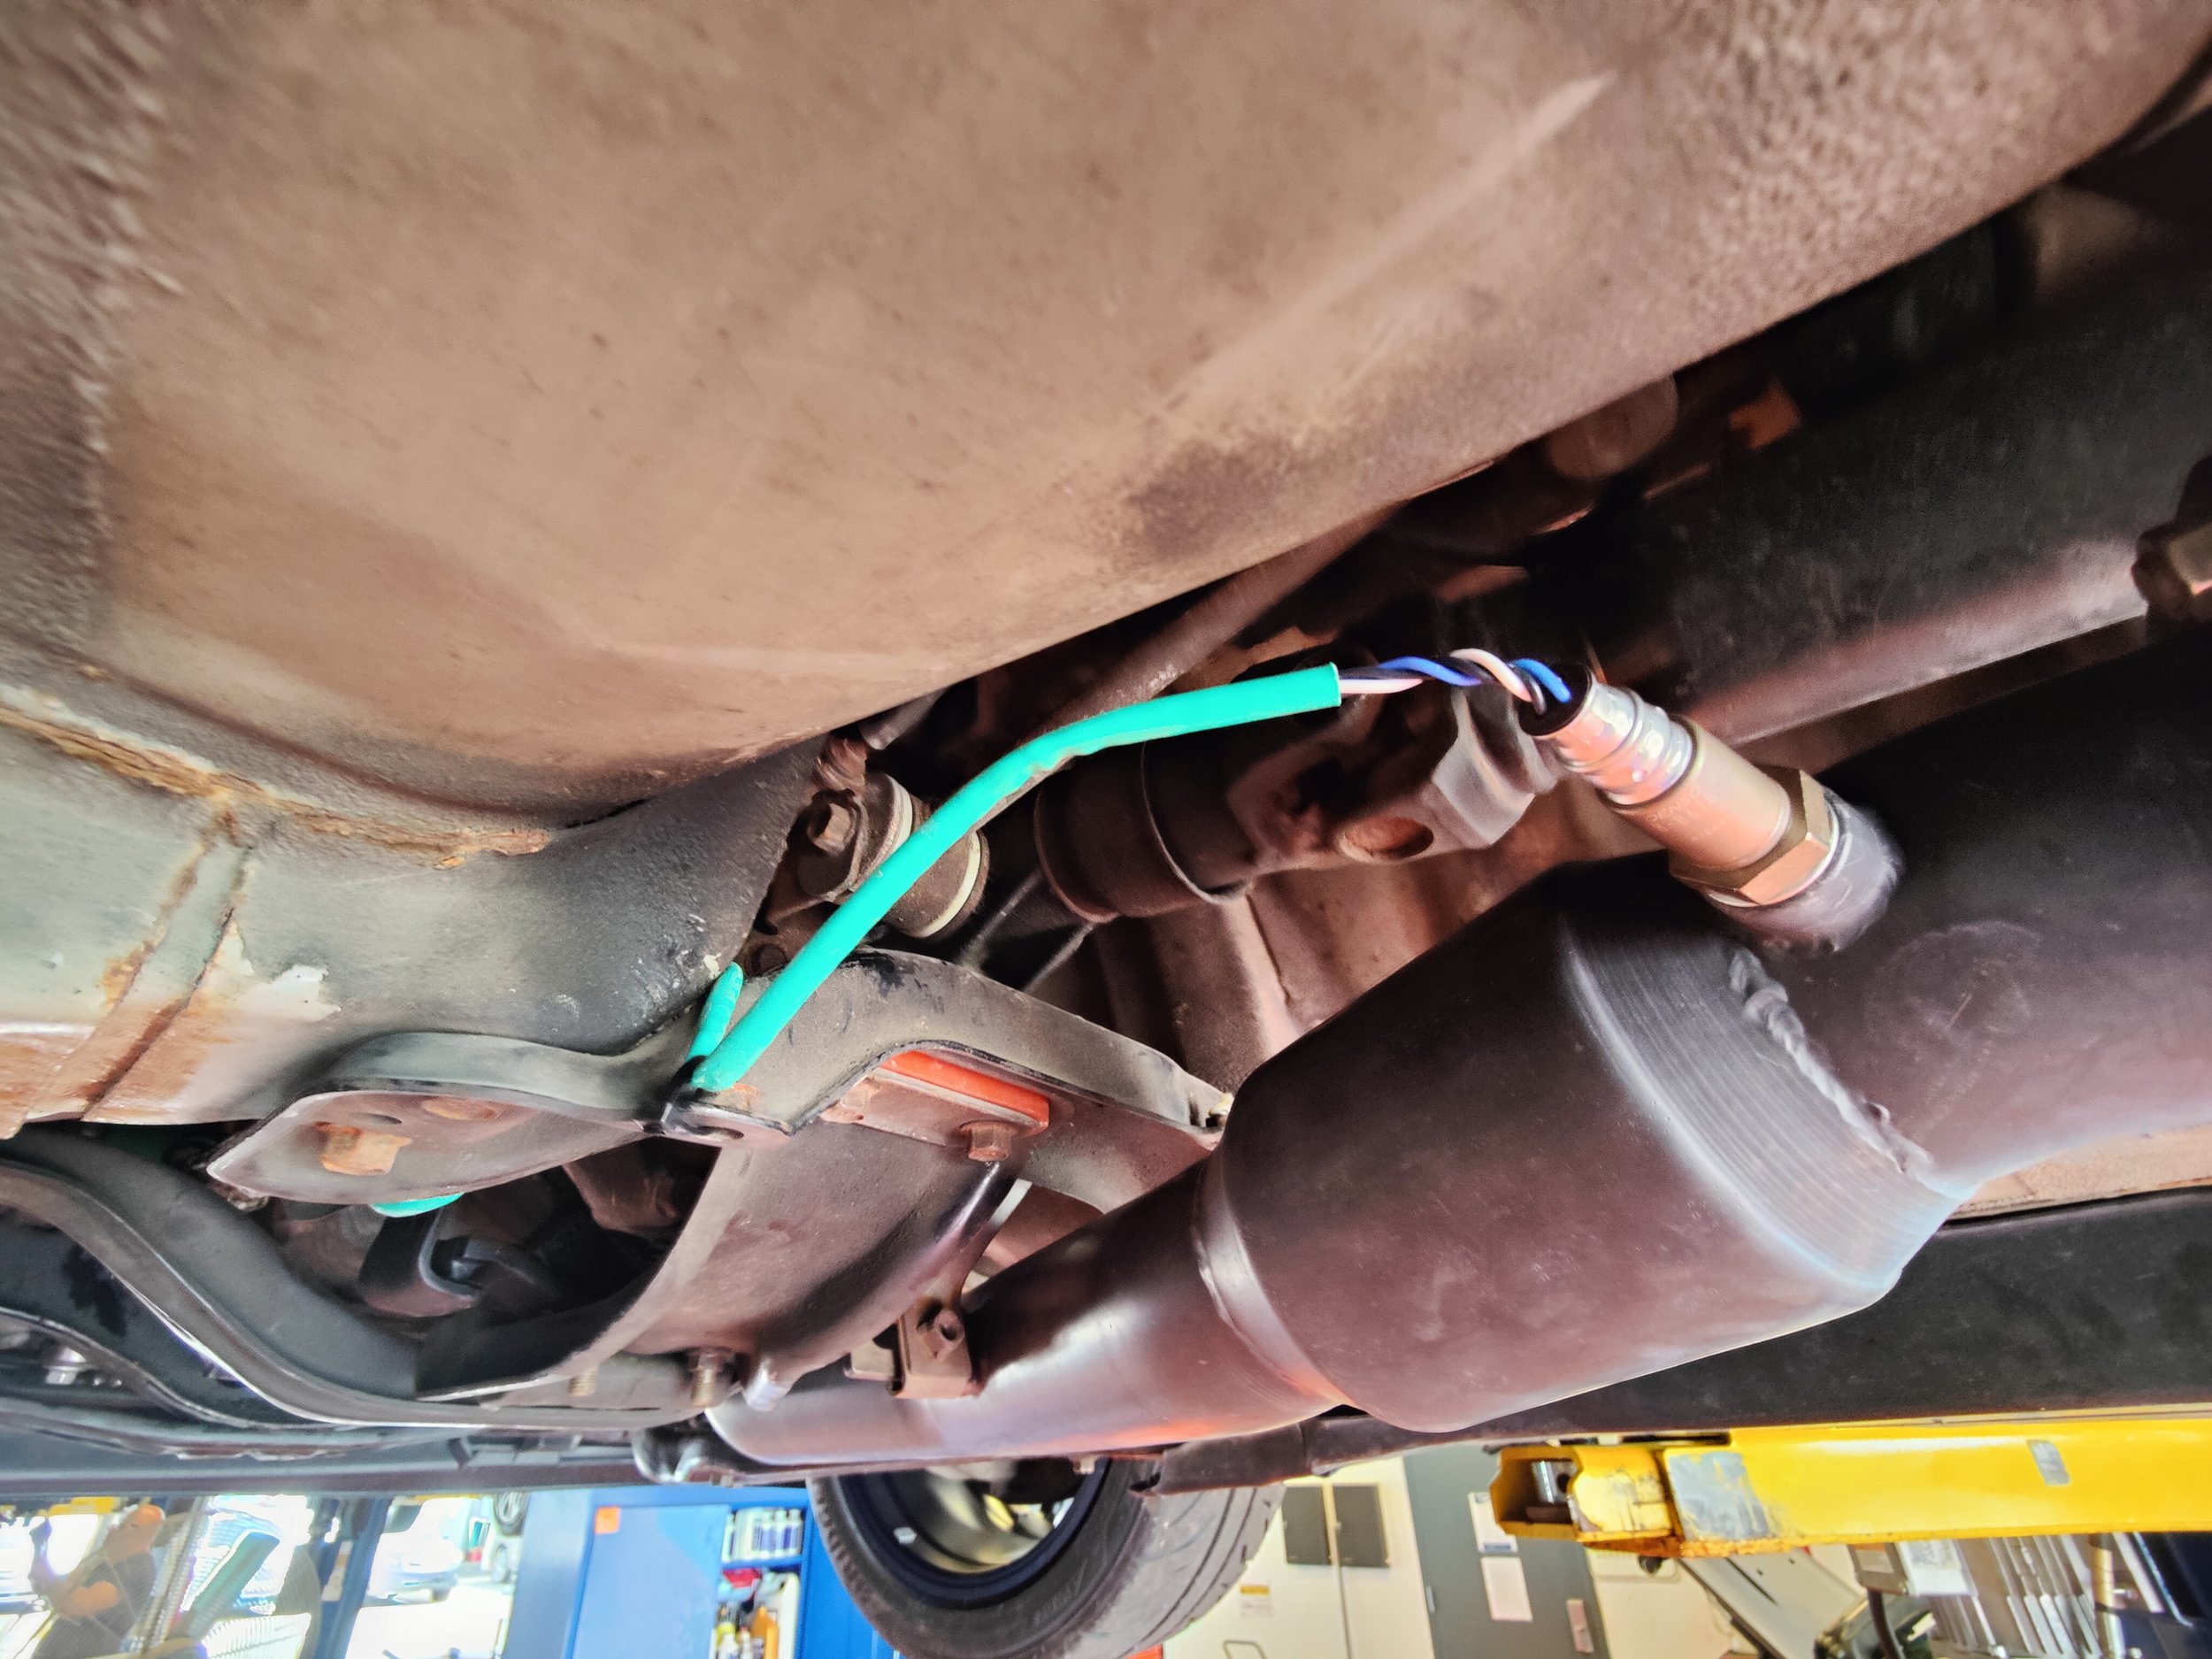
Before disconnecting the exhaust I decided to remove the 02 sensor.
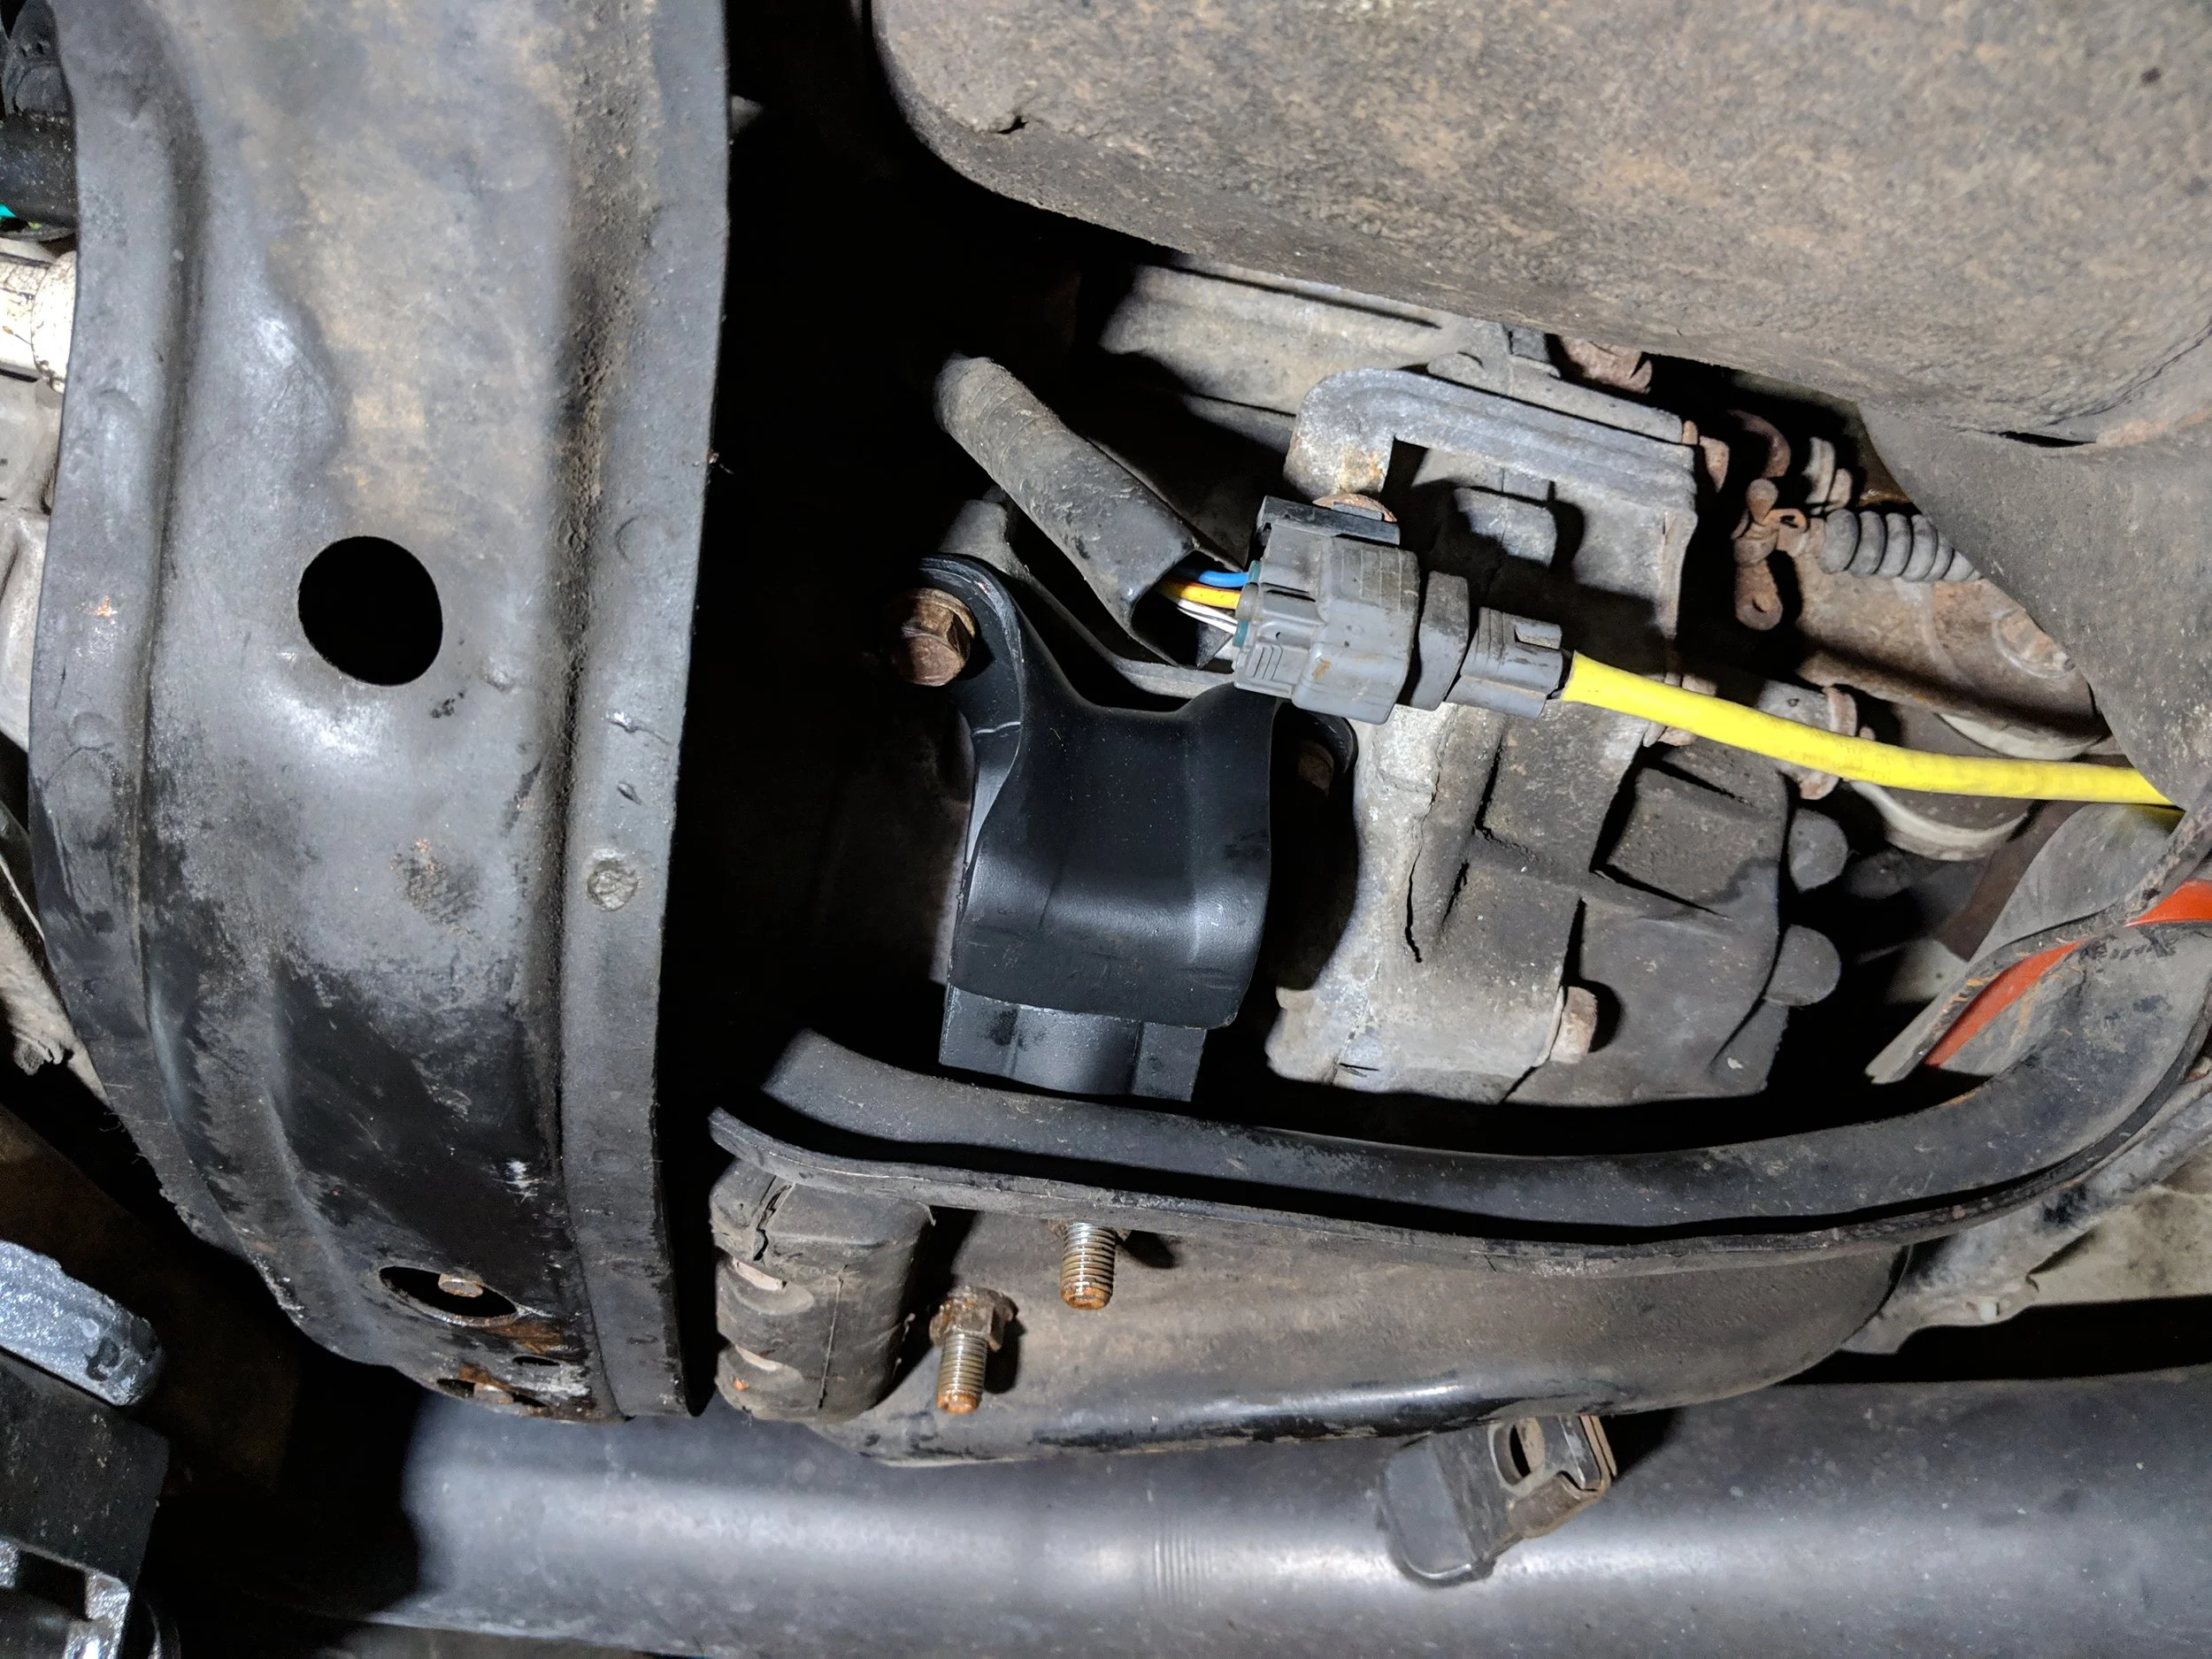
To keep the 02 sensor safe you can disconnect it from the driver’s side for USDM models
Once the exhaust pieces are separated you can move the midpipe to the side. If the exhaust keeps getting back in the way you can use a bungie strap to hold it aside. Next up is removing the bolt that secures the downpipe to the transmission.
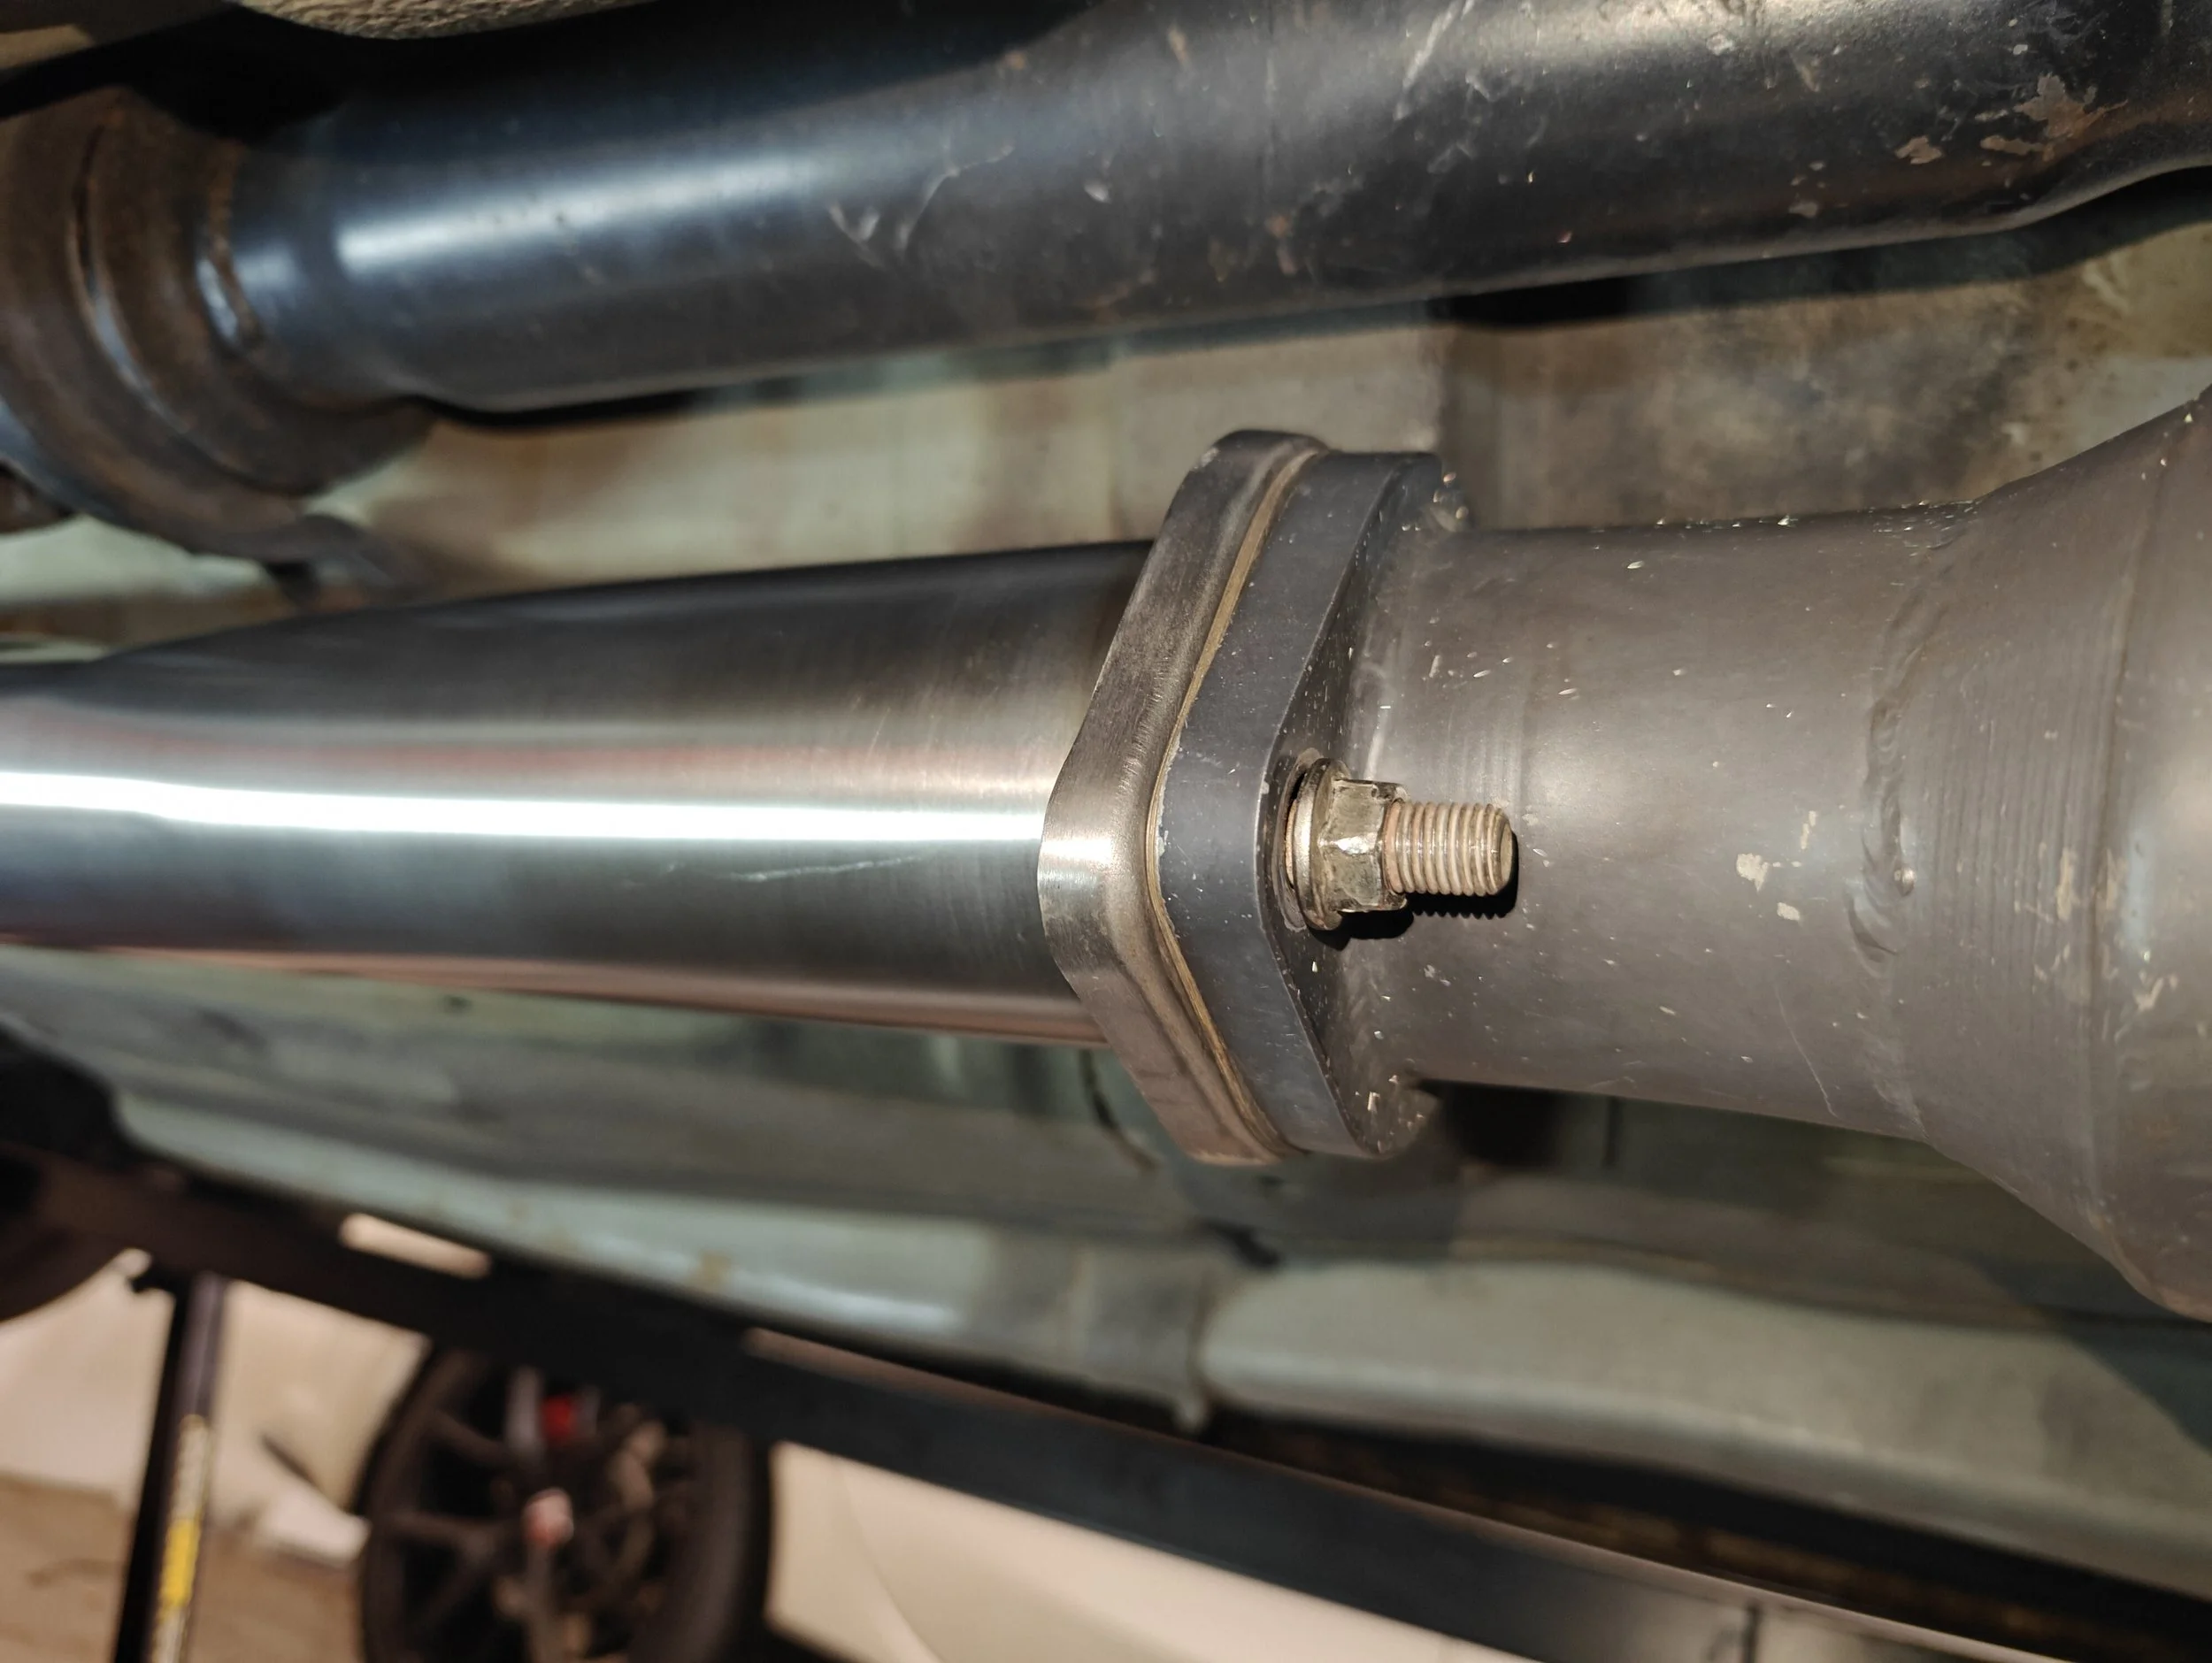
Now it is time to take apart the bolts that connect the exhaust and the downpipe.
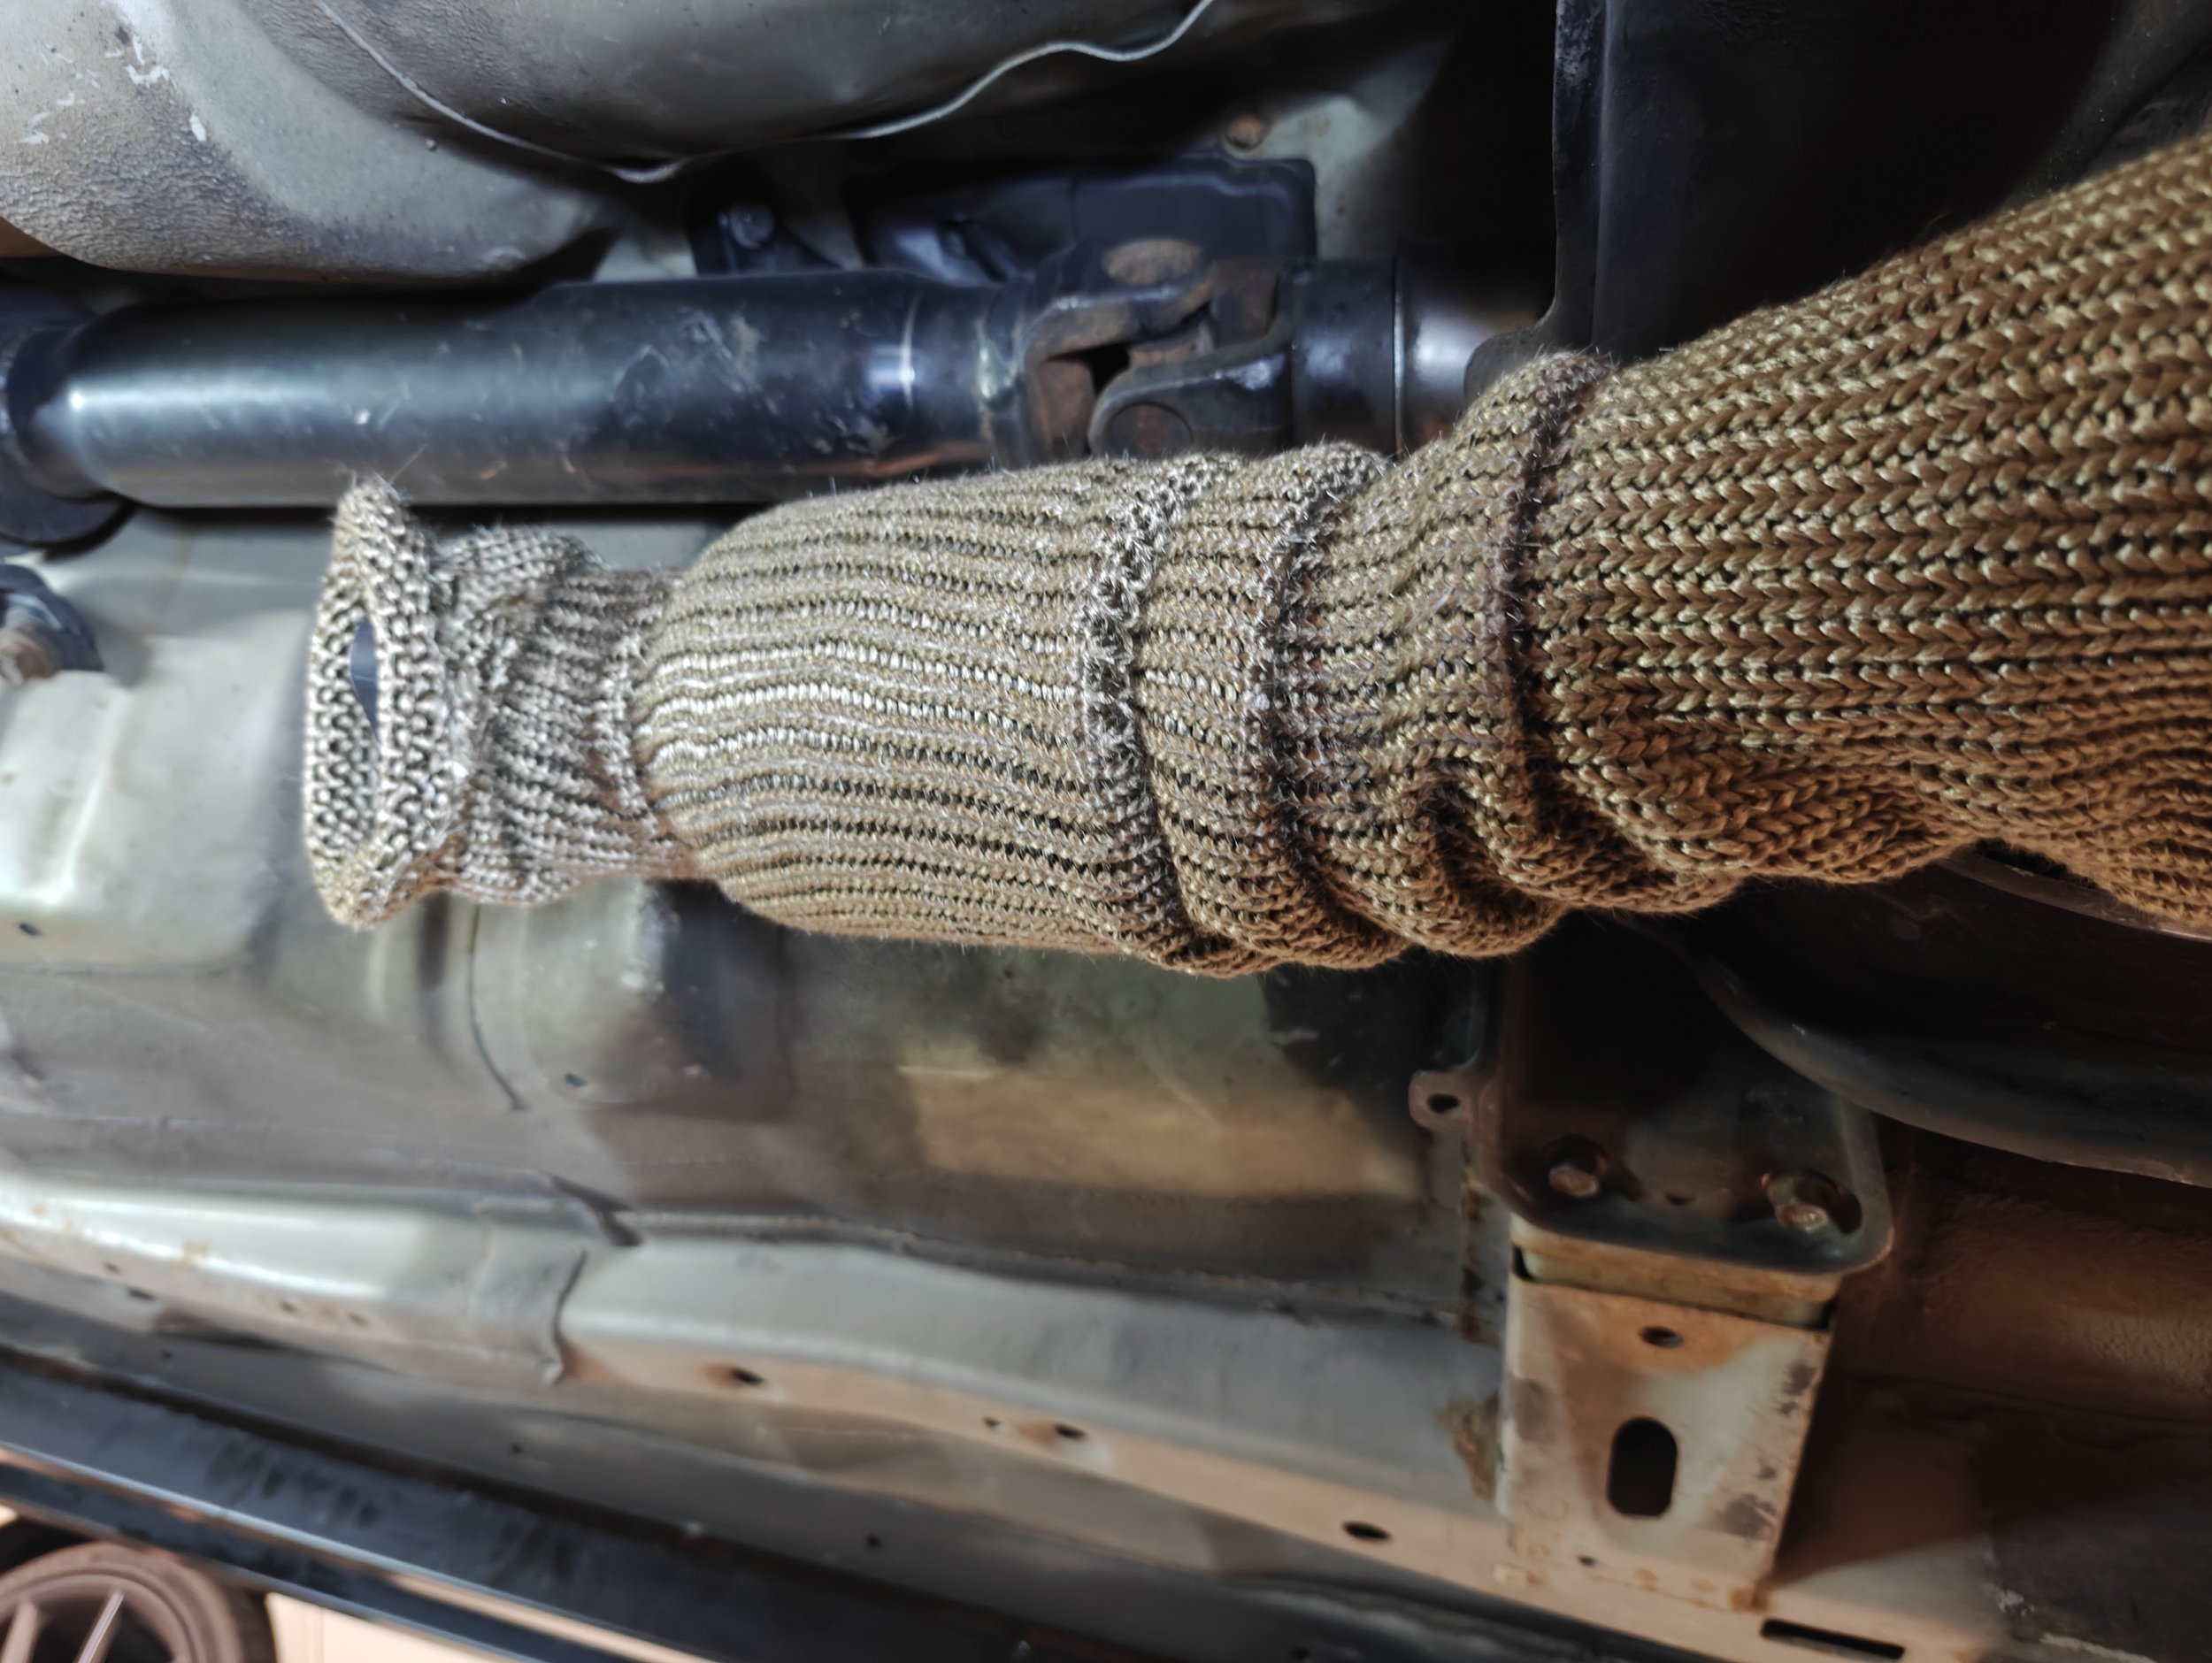
We can now start to install the titanium sleeve. I would highly recommend putting on a mask of any type to keep any of the fibers from getting into your mount, nose, lungs etc. A long sleeve shirt and hat that you don’t care about is also a great idea. It won’t be the easiest get over the 3” flange, so you will need to take your time and slowly move it over. Once it is over you will need to pull it over the catalytic converter which shouldn’t be too bad.
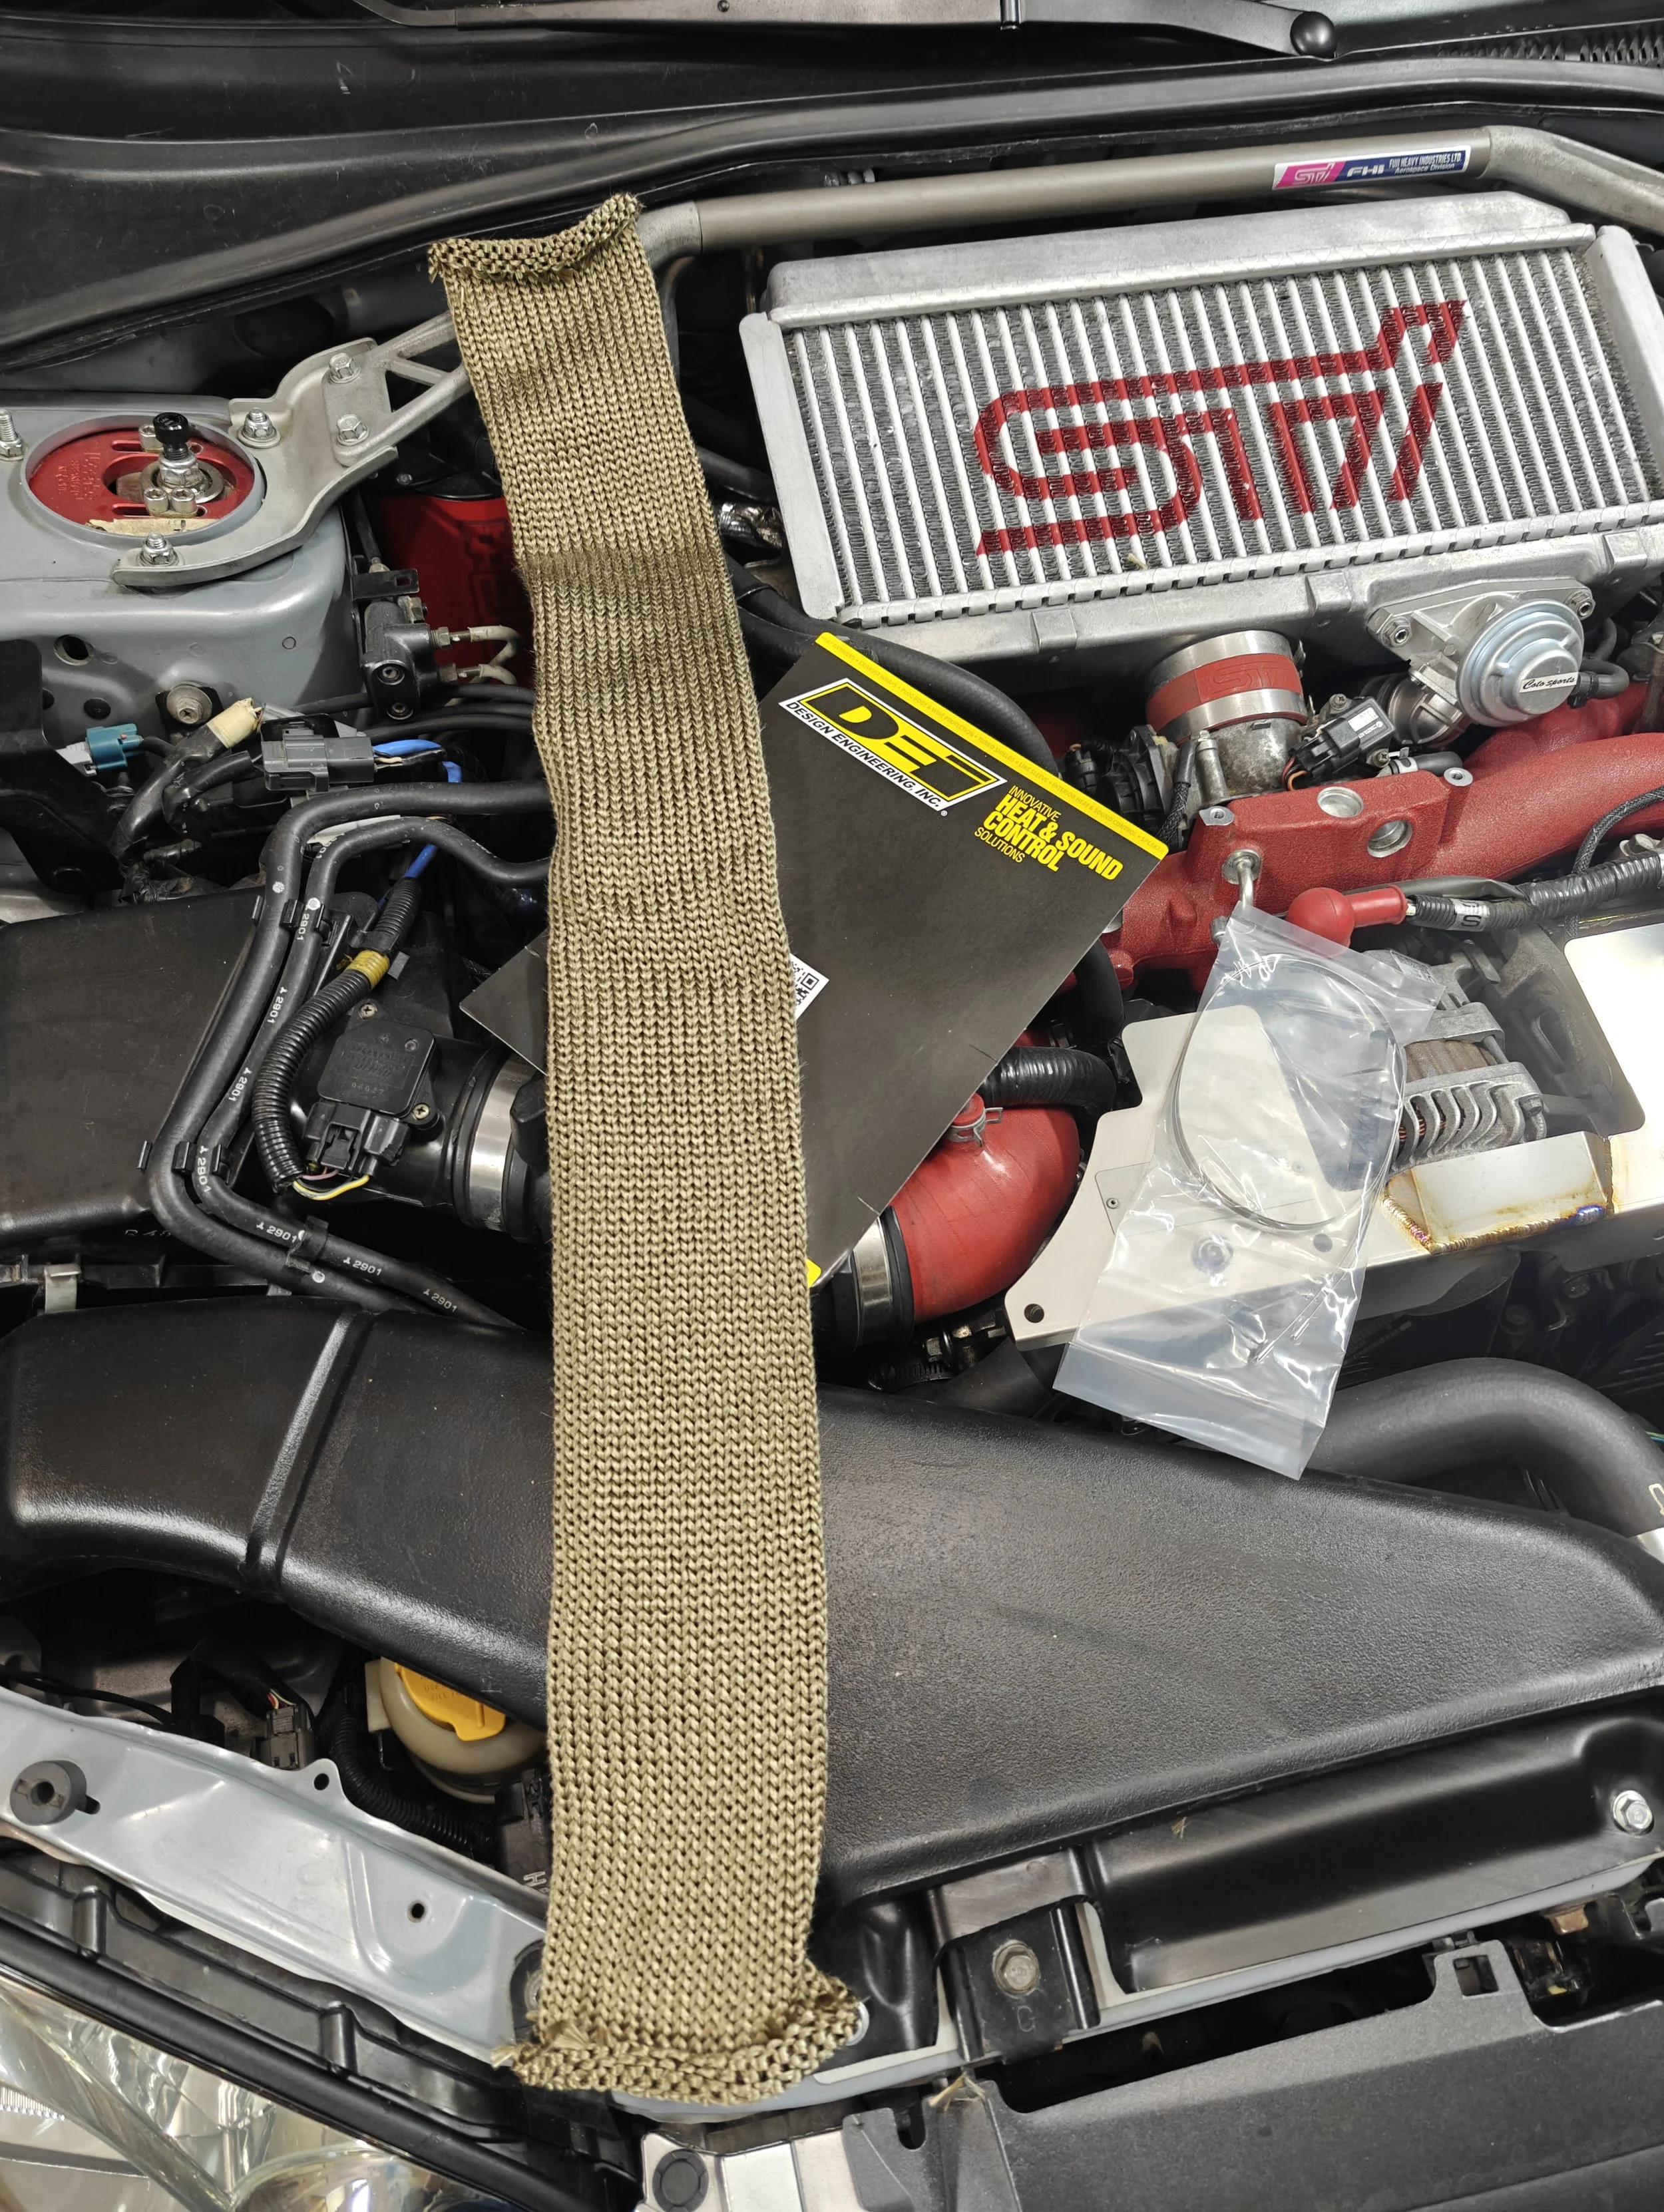
Your DEI sleeve should be ready to go. But make sure to put on your gloves, sleeves and mask at this time!
Before you install the sleeve…. It’s time to glove, sleeve, eye protection and mask up, etc! The more coverage you can apply the better. Otherwise you will be itchy, uncomfortable and could have trouble breathing. This is because as you drag the sleeve across the exhaust it will shed much like when you are handling or managing fiberglass.
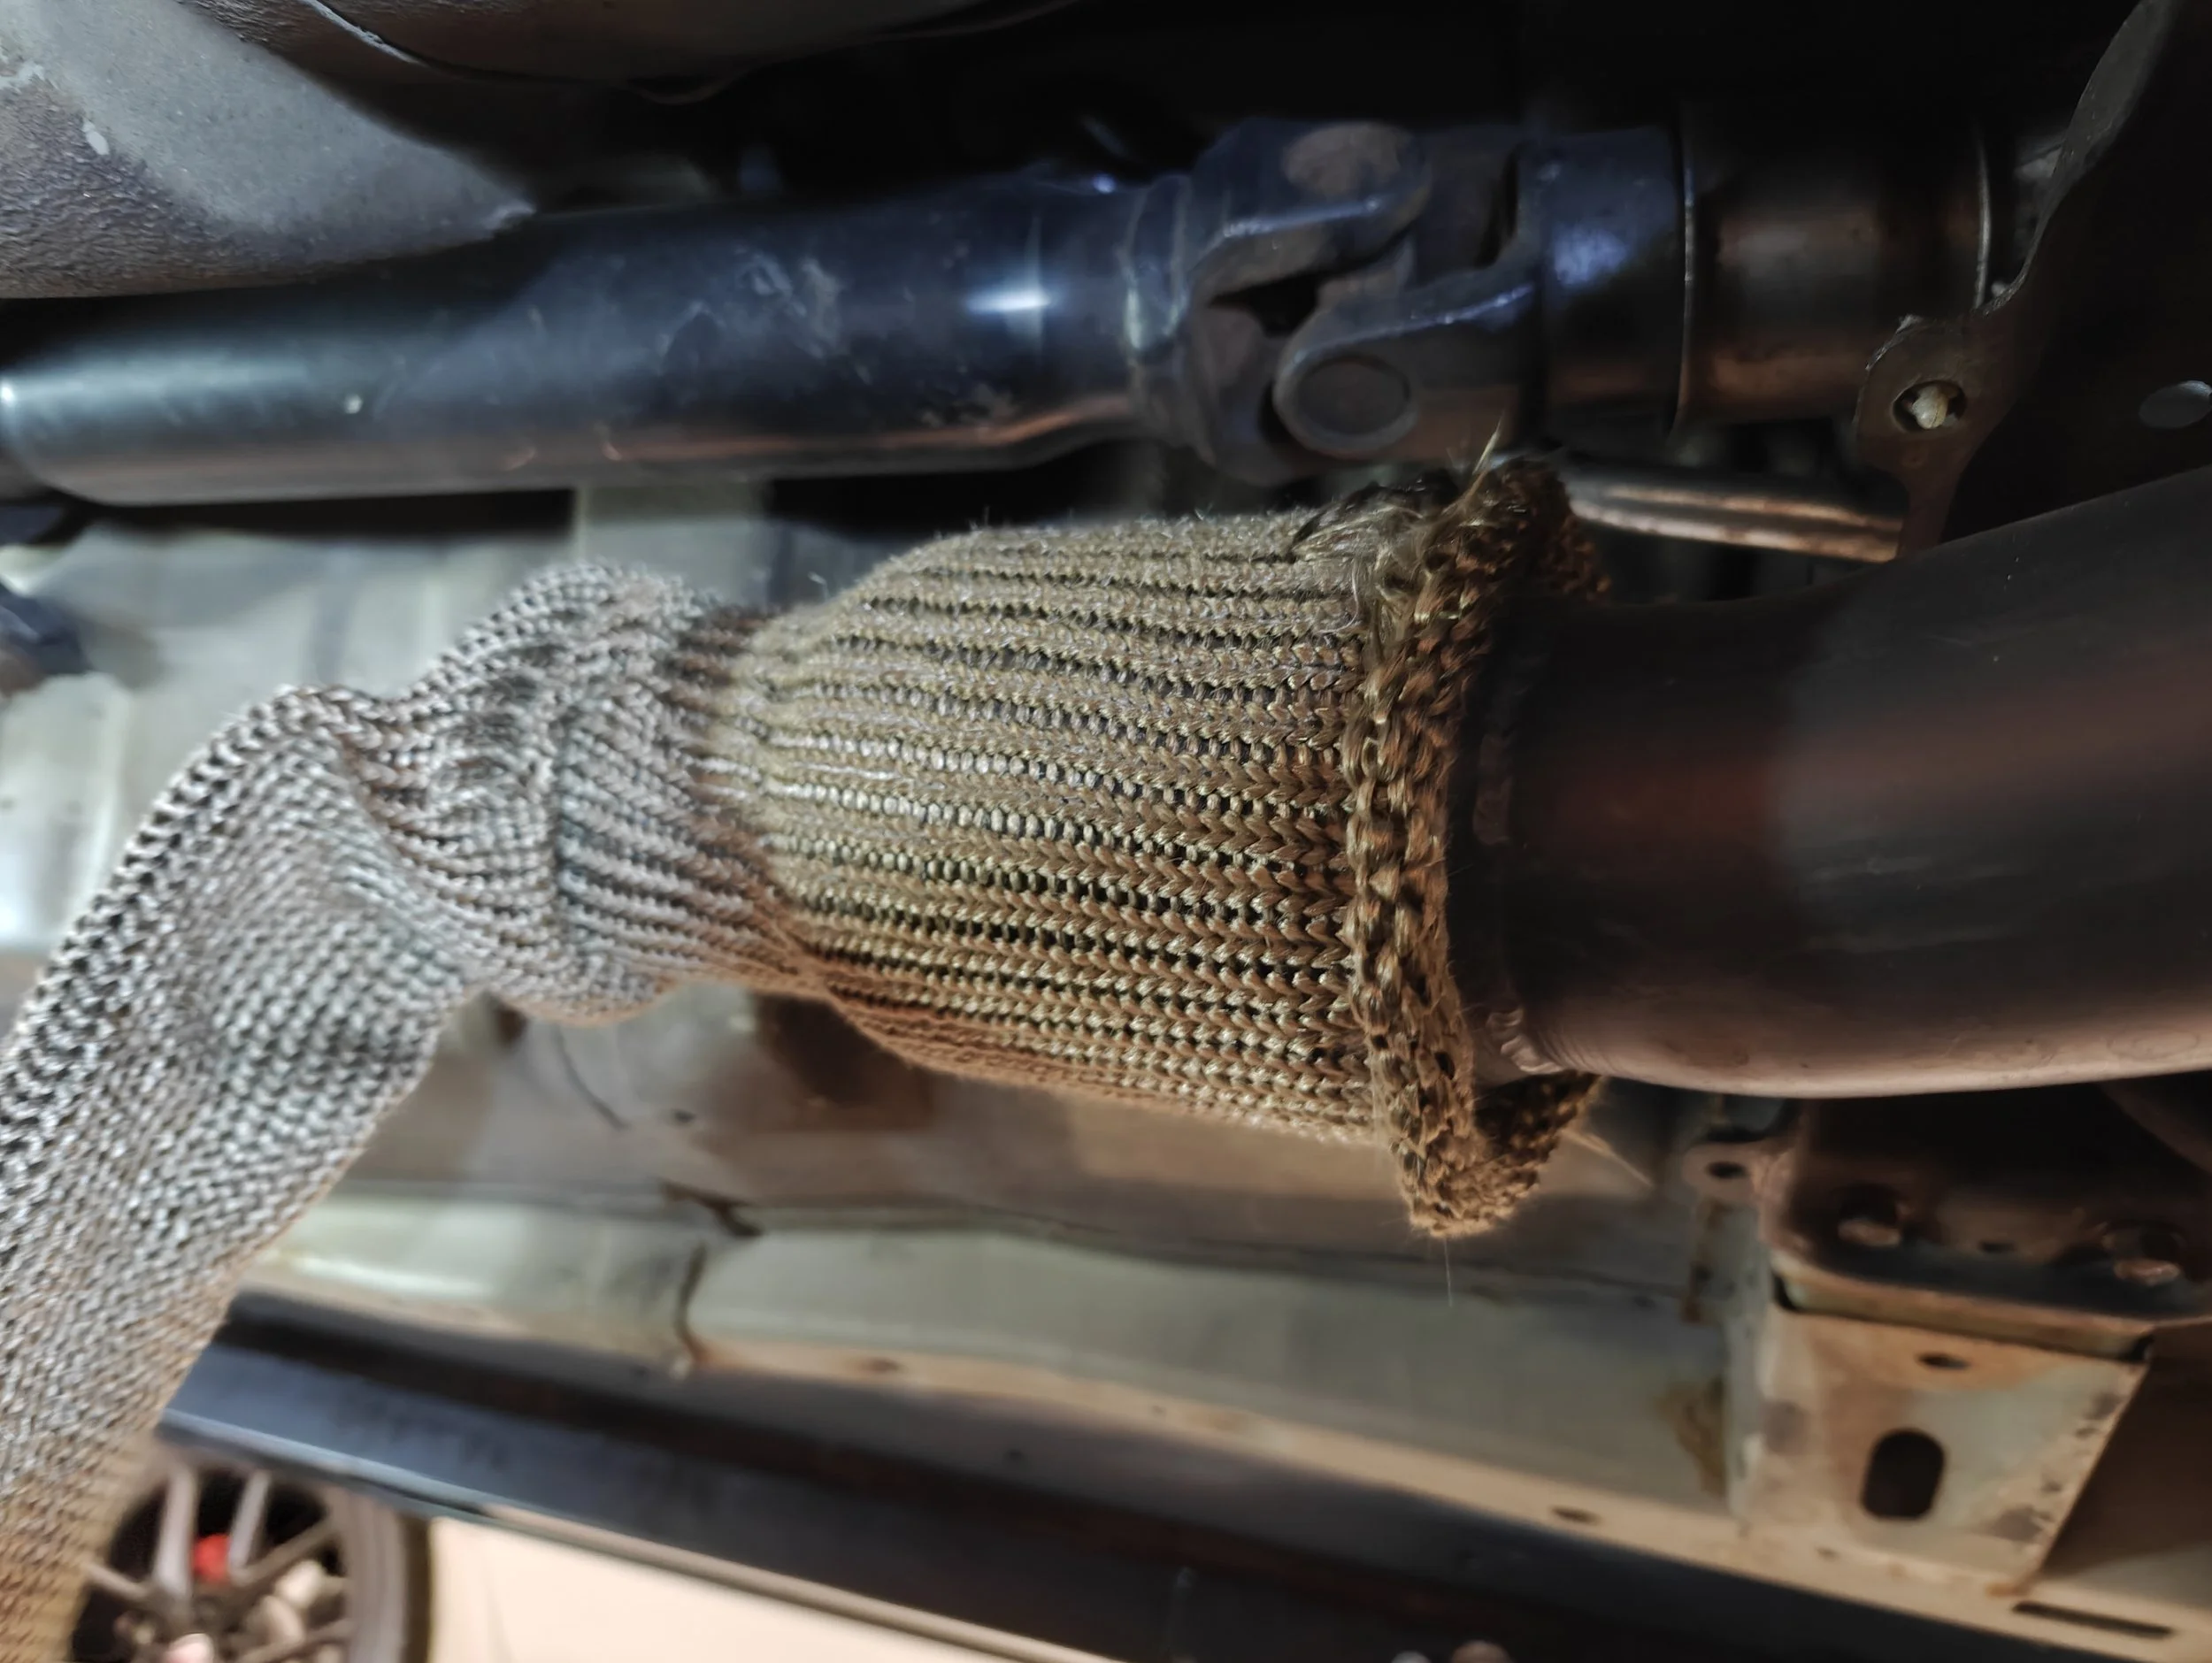
While the flange is a bit bigger than the inner diameter of the sleeve, but don’t worry.. it will make it.
The next difficulty with this job is pulling the sleeve over the downpipe bracket. Once you are able to pull the sleeve you can start to eye ball where the sleeve will go. In the instructions it will tell you not to install it over the catalytic converter so make sure the sleeve is not on top of it.
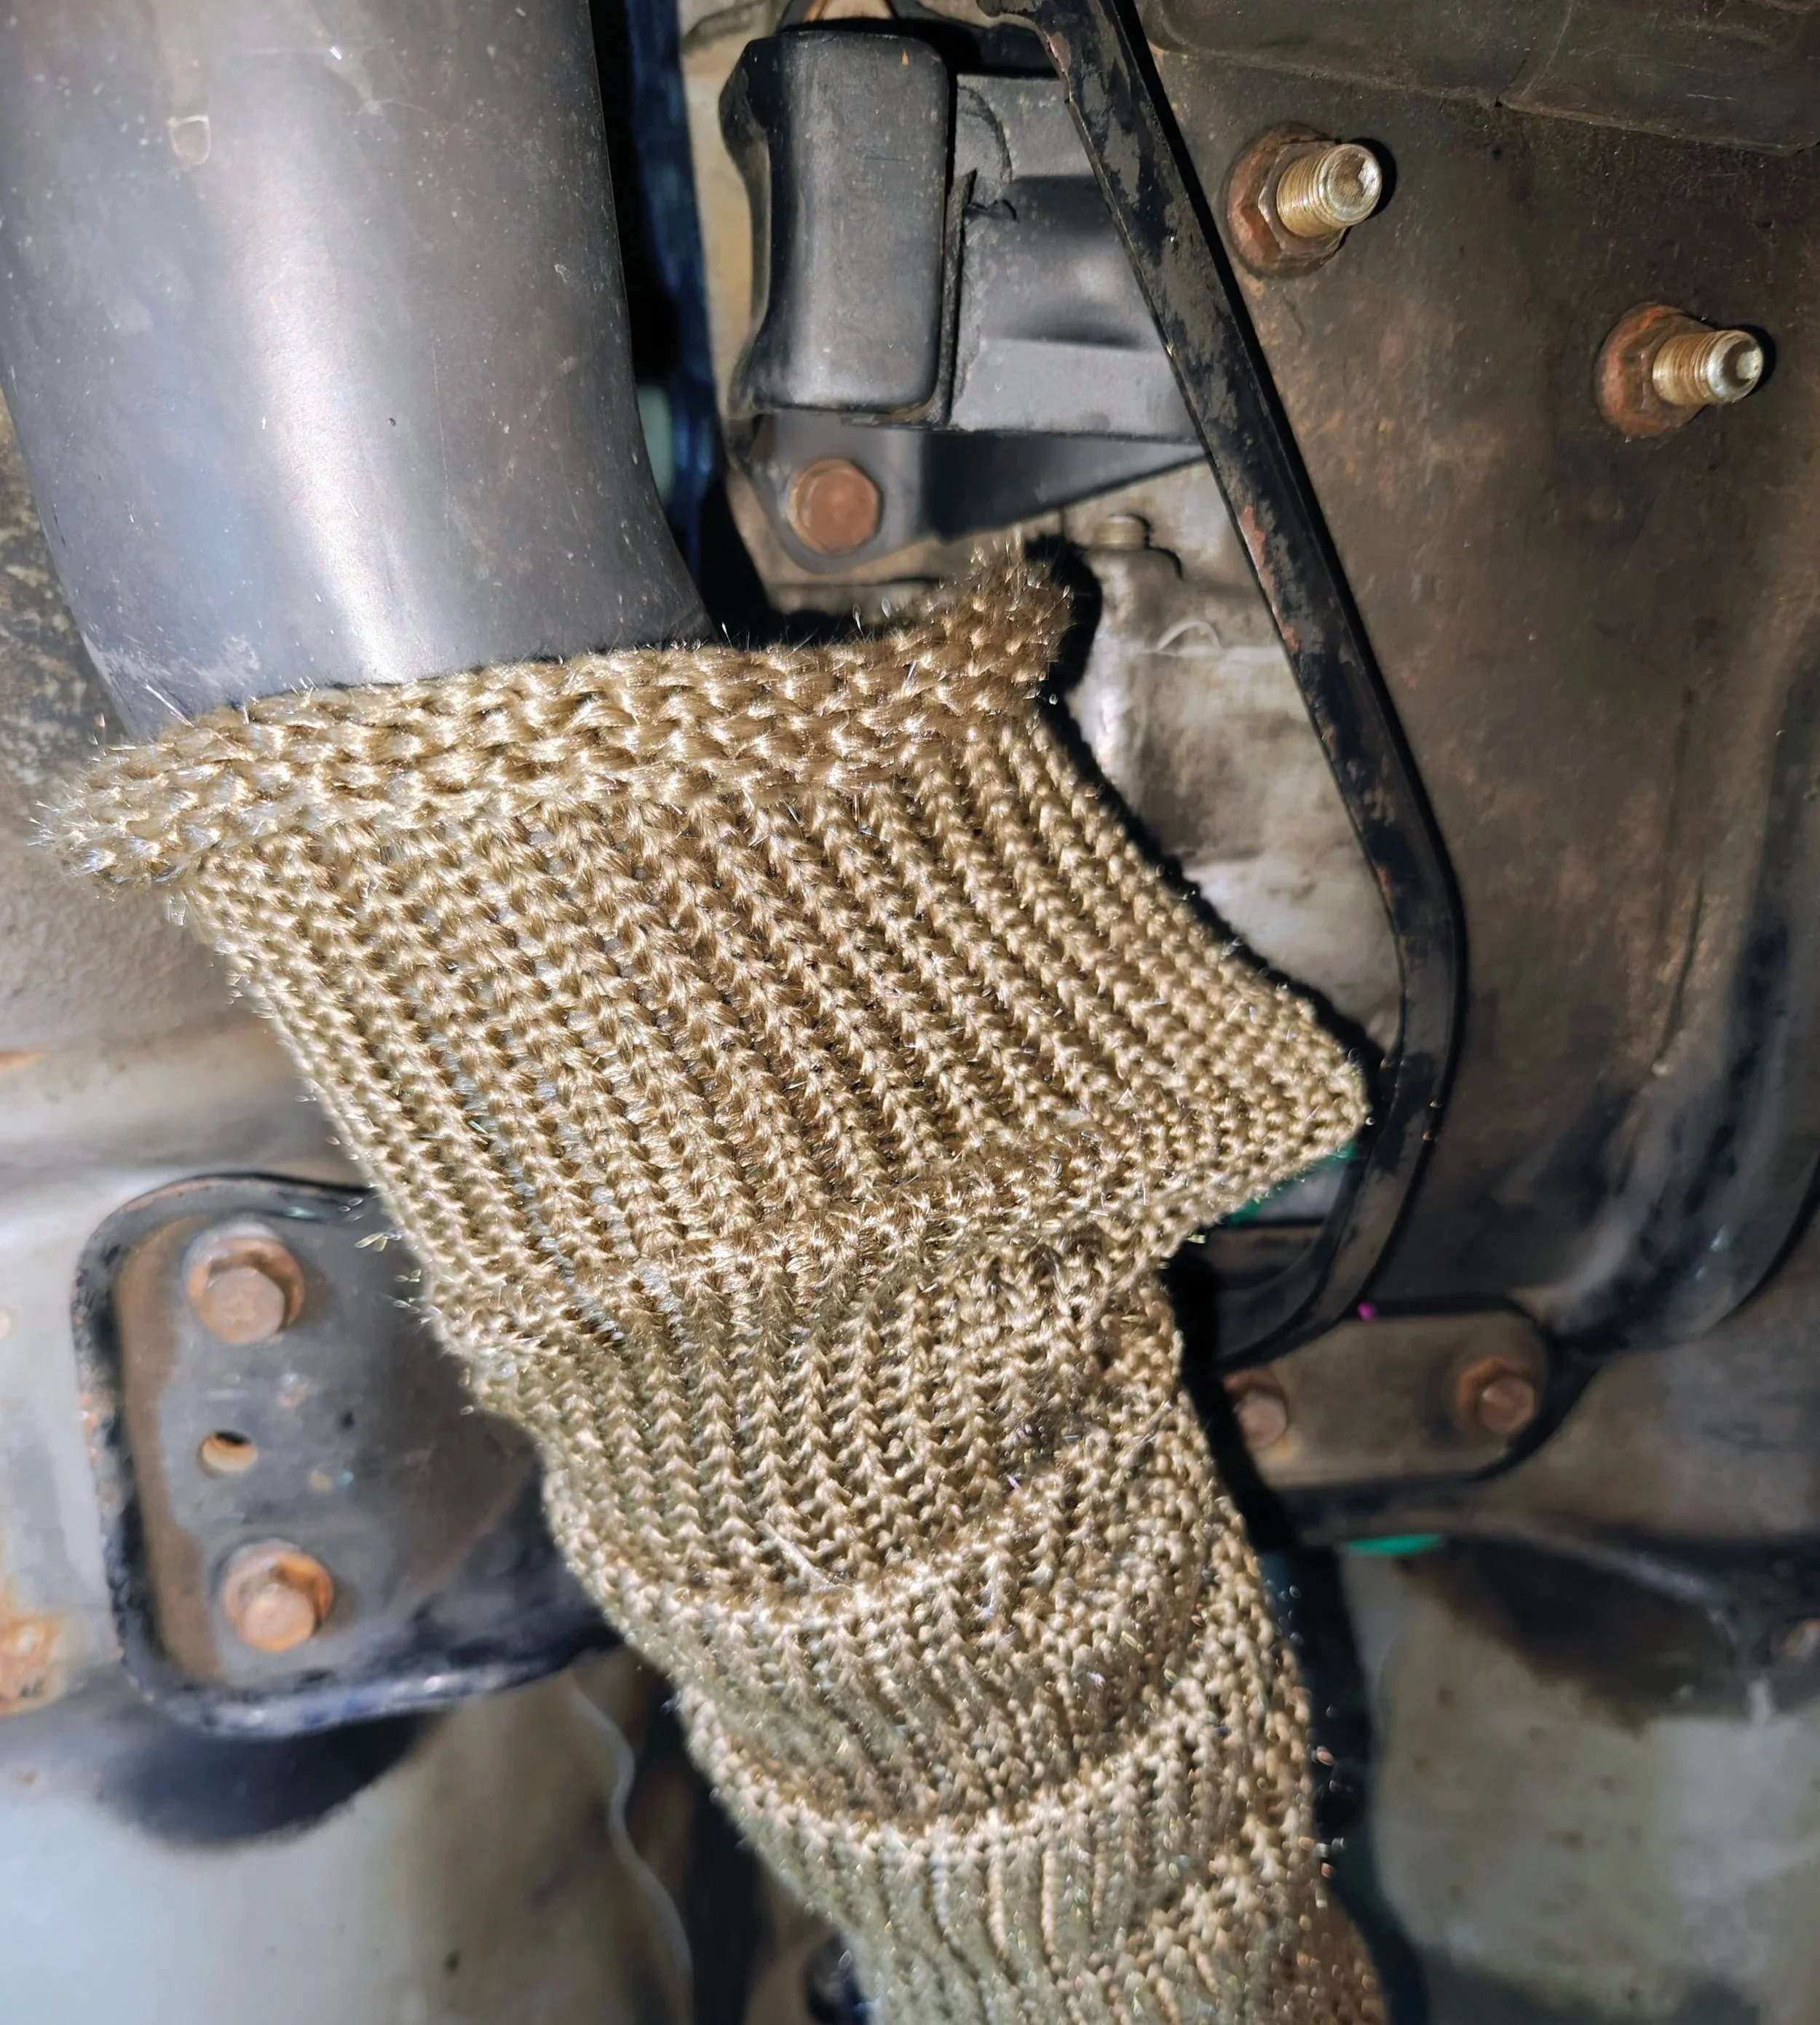
The next difficulty will come from trying to make it over the transmission bracket.
Once again take your time and it will be able to make it up and over.
With everything lined up where you want it, you can now find the places to start snipping the wrap to allow the bracket to still be utilized. The slide the bracket through the trimmed hole. Next on the list is the using the supplied zip ties and tool. I felt like it might be beneficial to roll the edges over the zip ties to help it from unraveling, might be overkill but I think it looks nice as well.
The heat sleeve is not to placed on the catalytic converter.
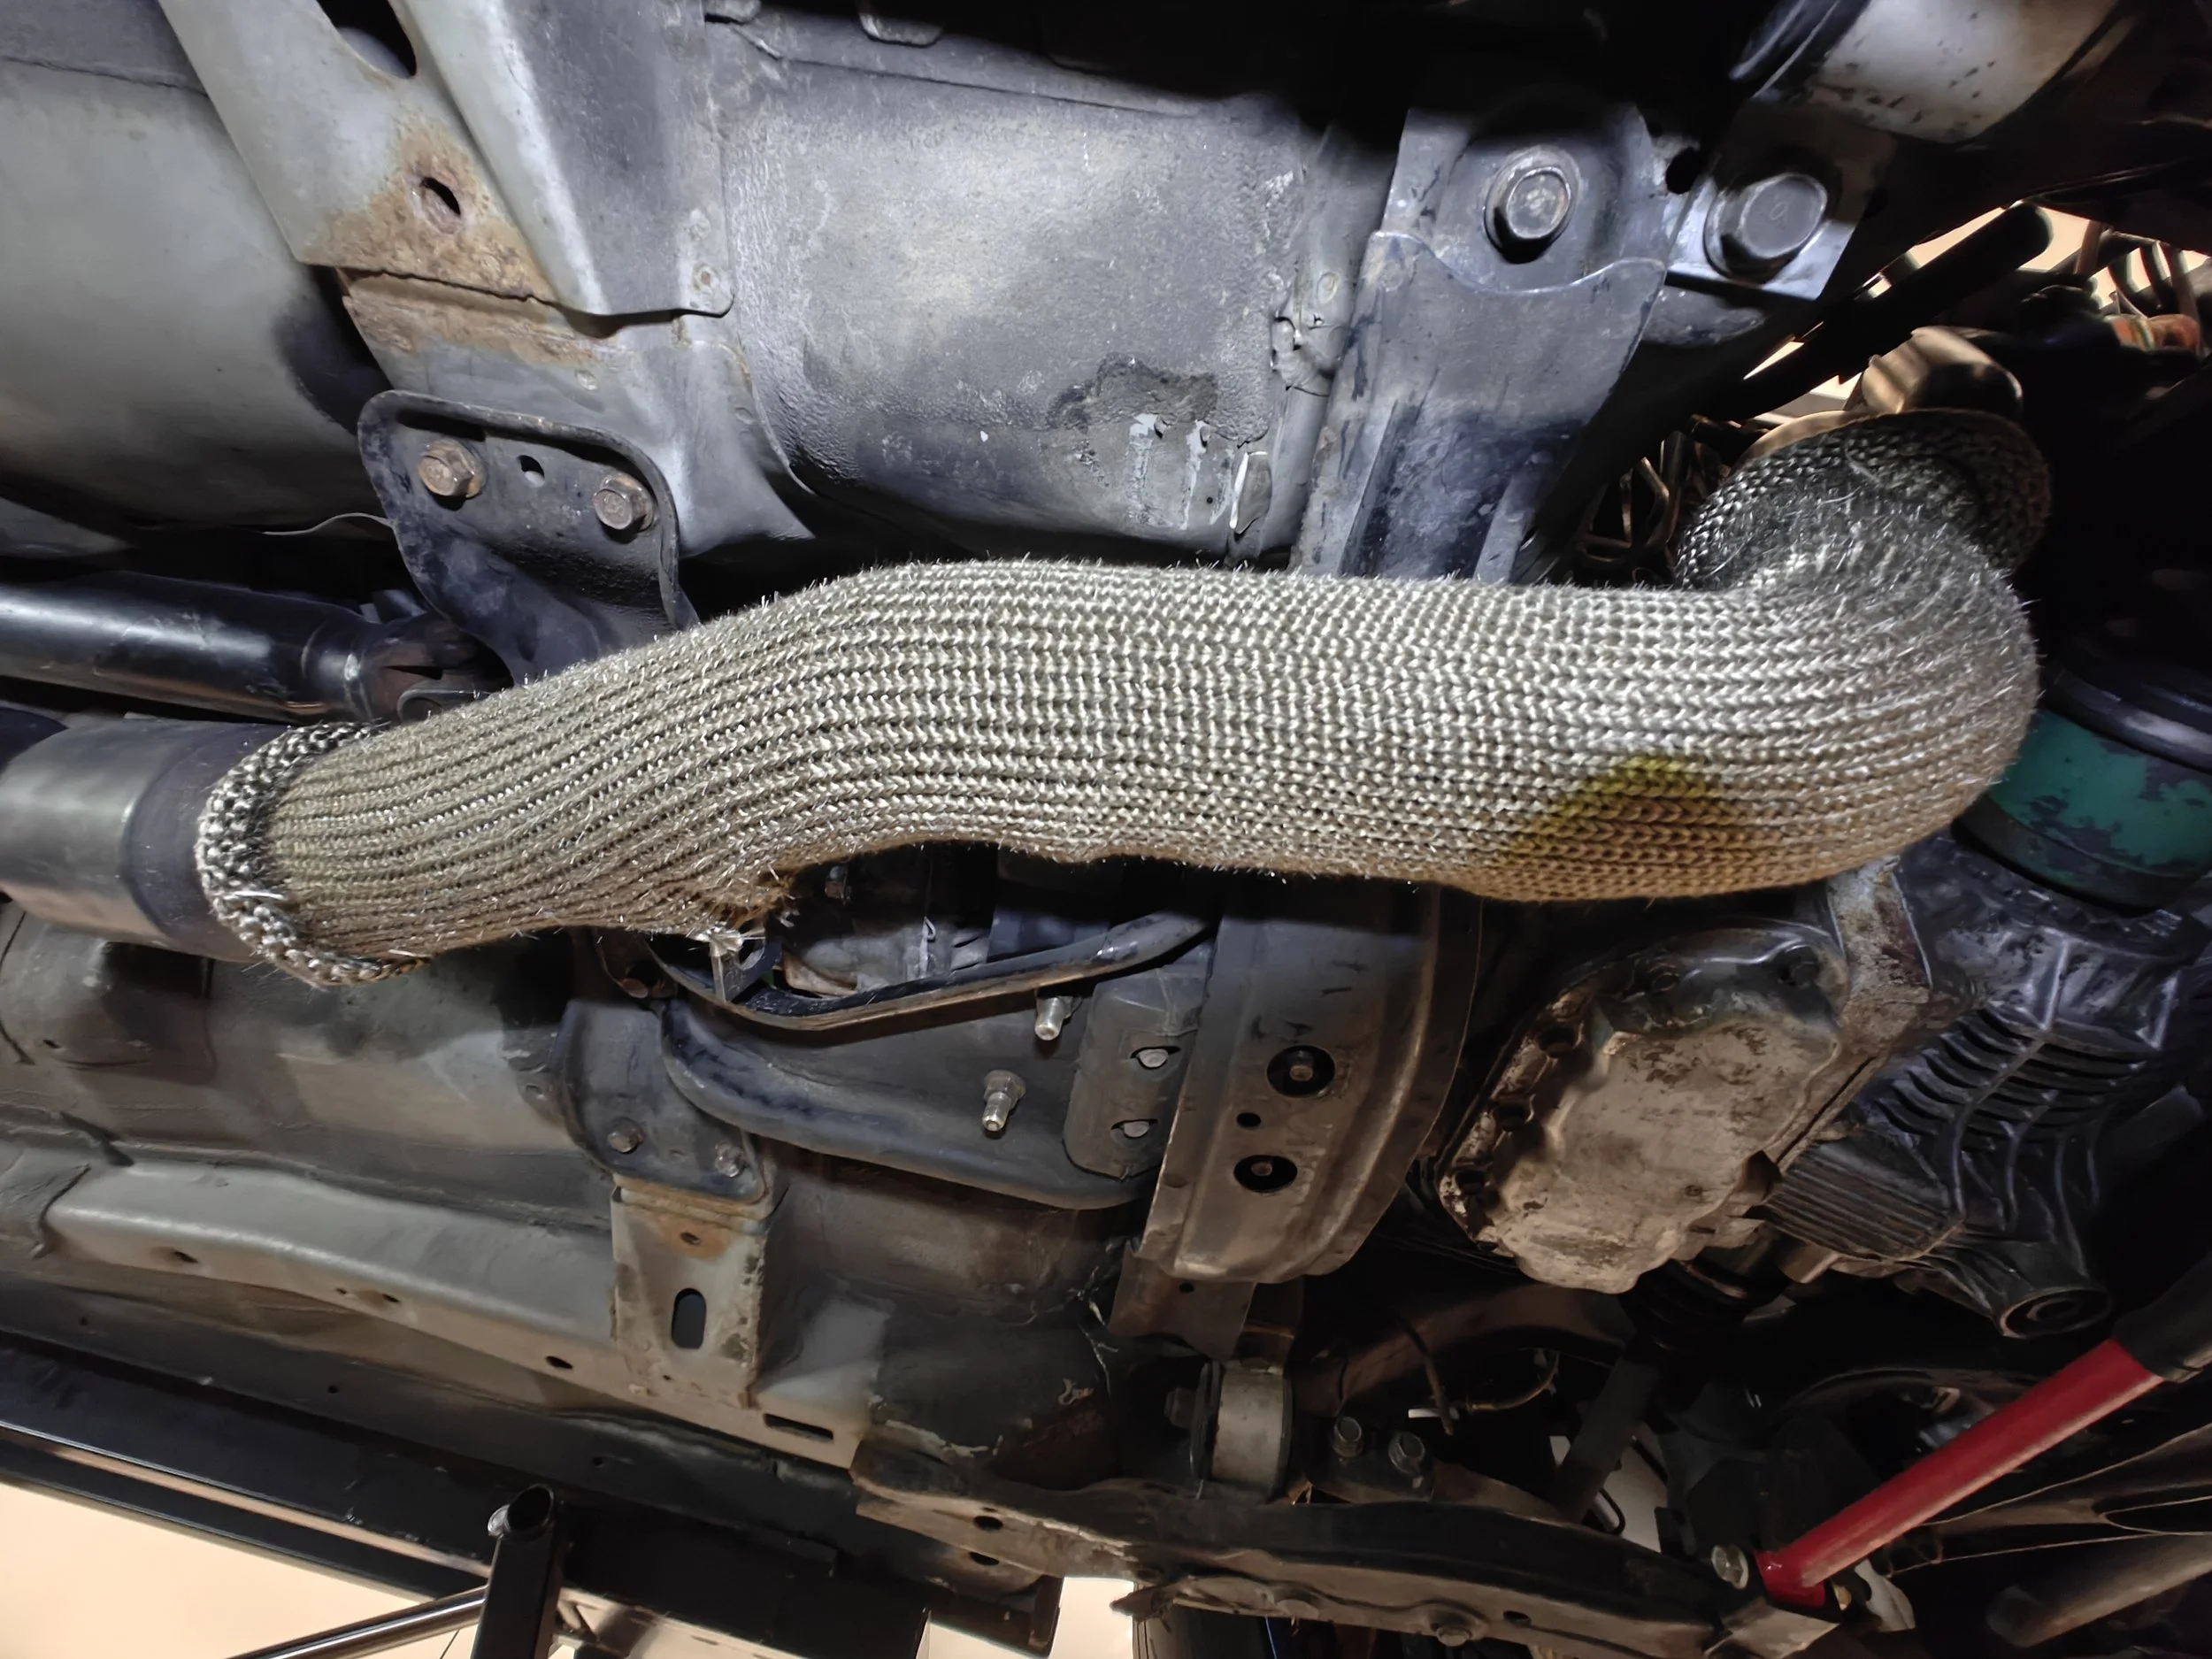
It should look a little like this once it on.
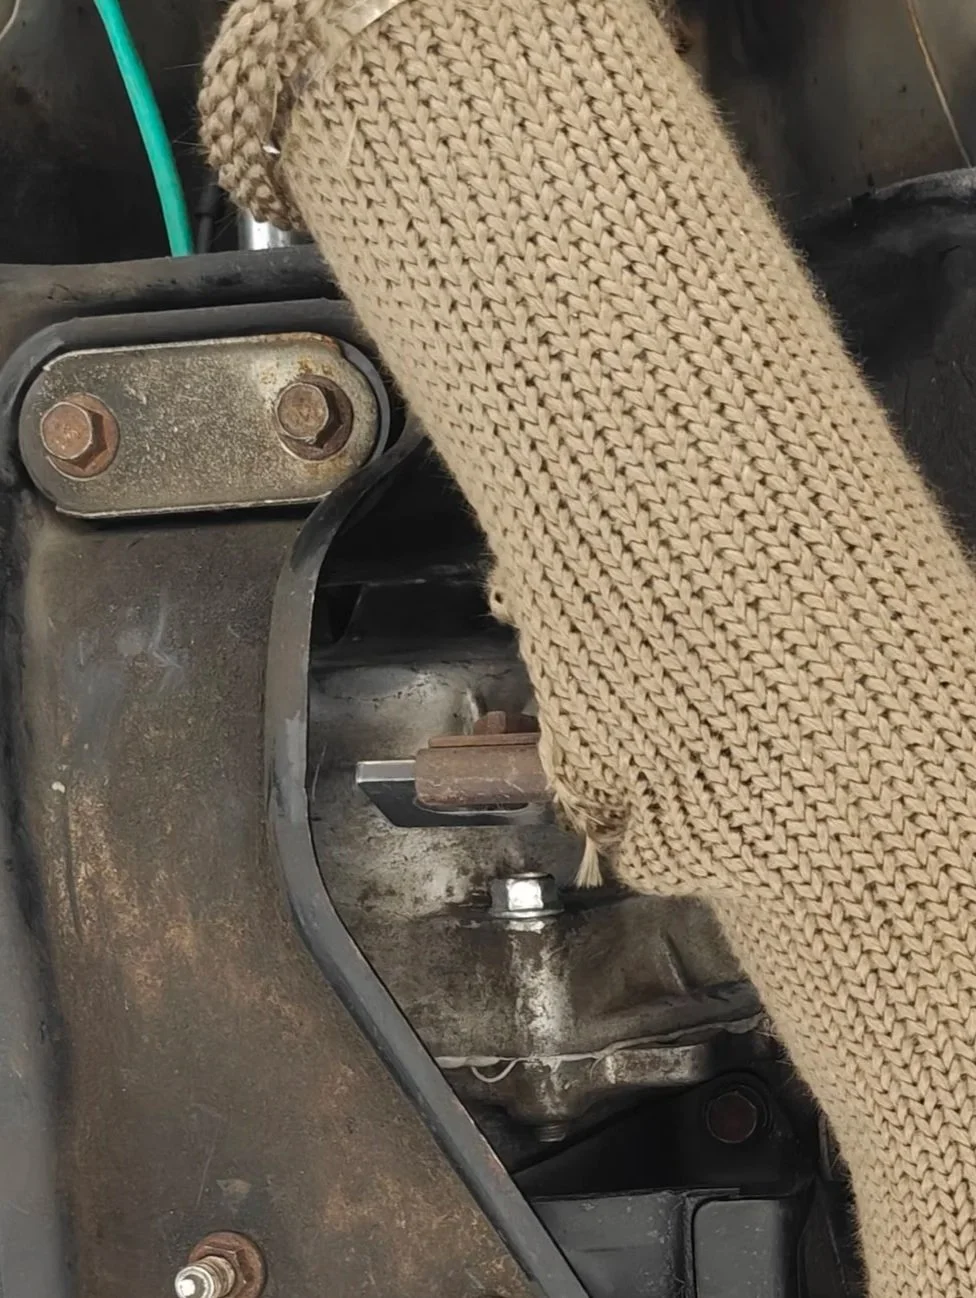
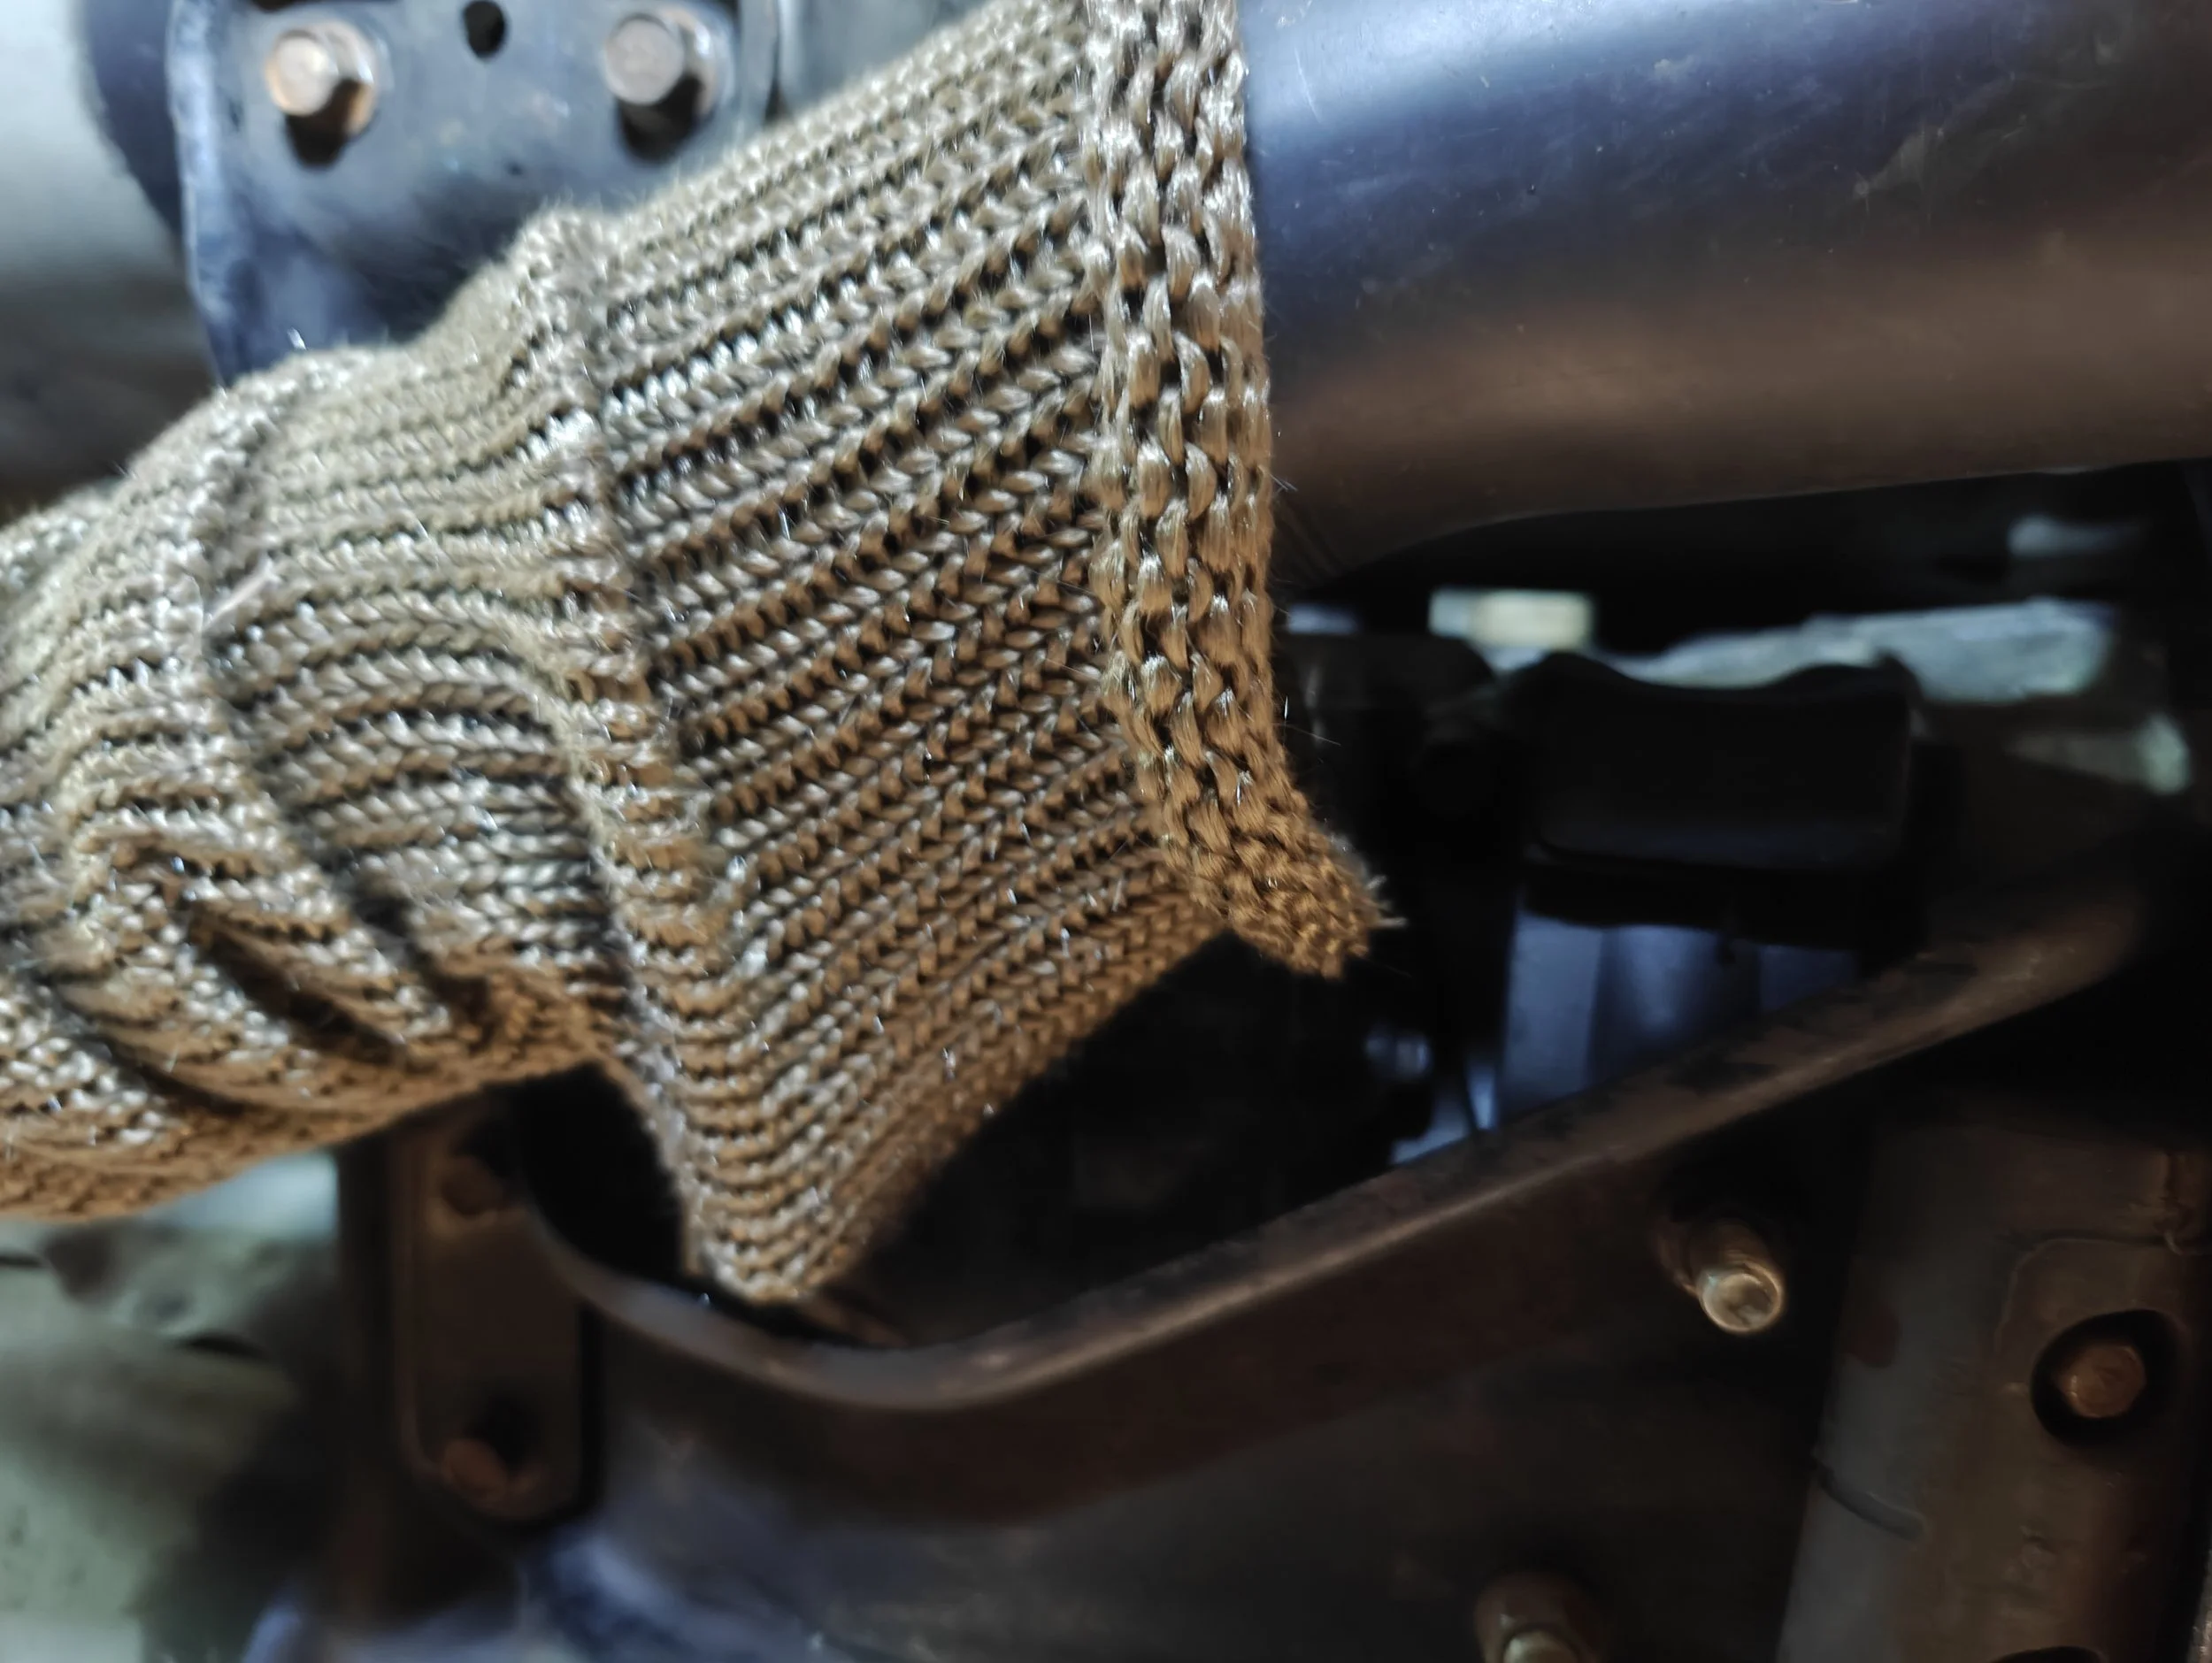
Once everything is in place you can trim out an opening for the downpipe support bracket.
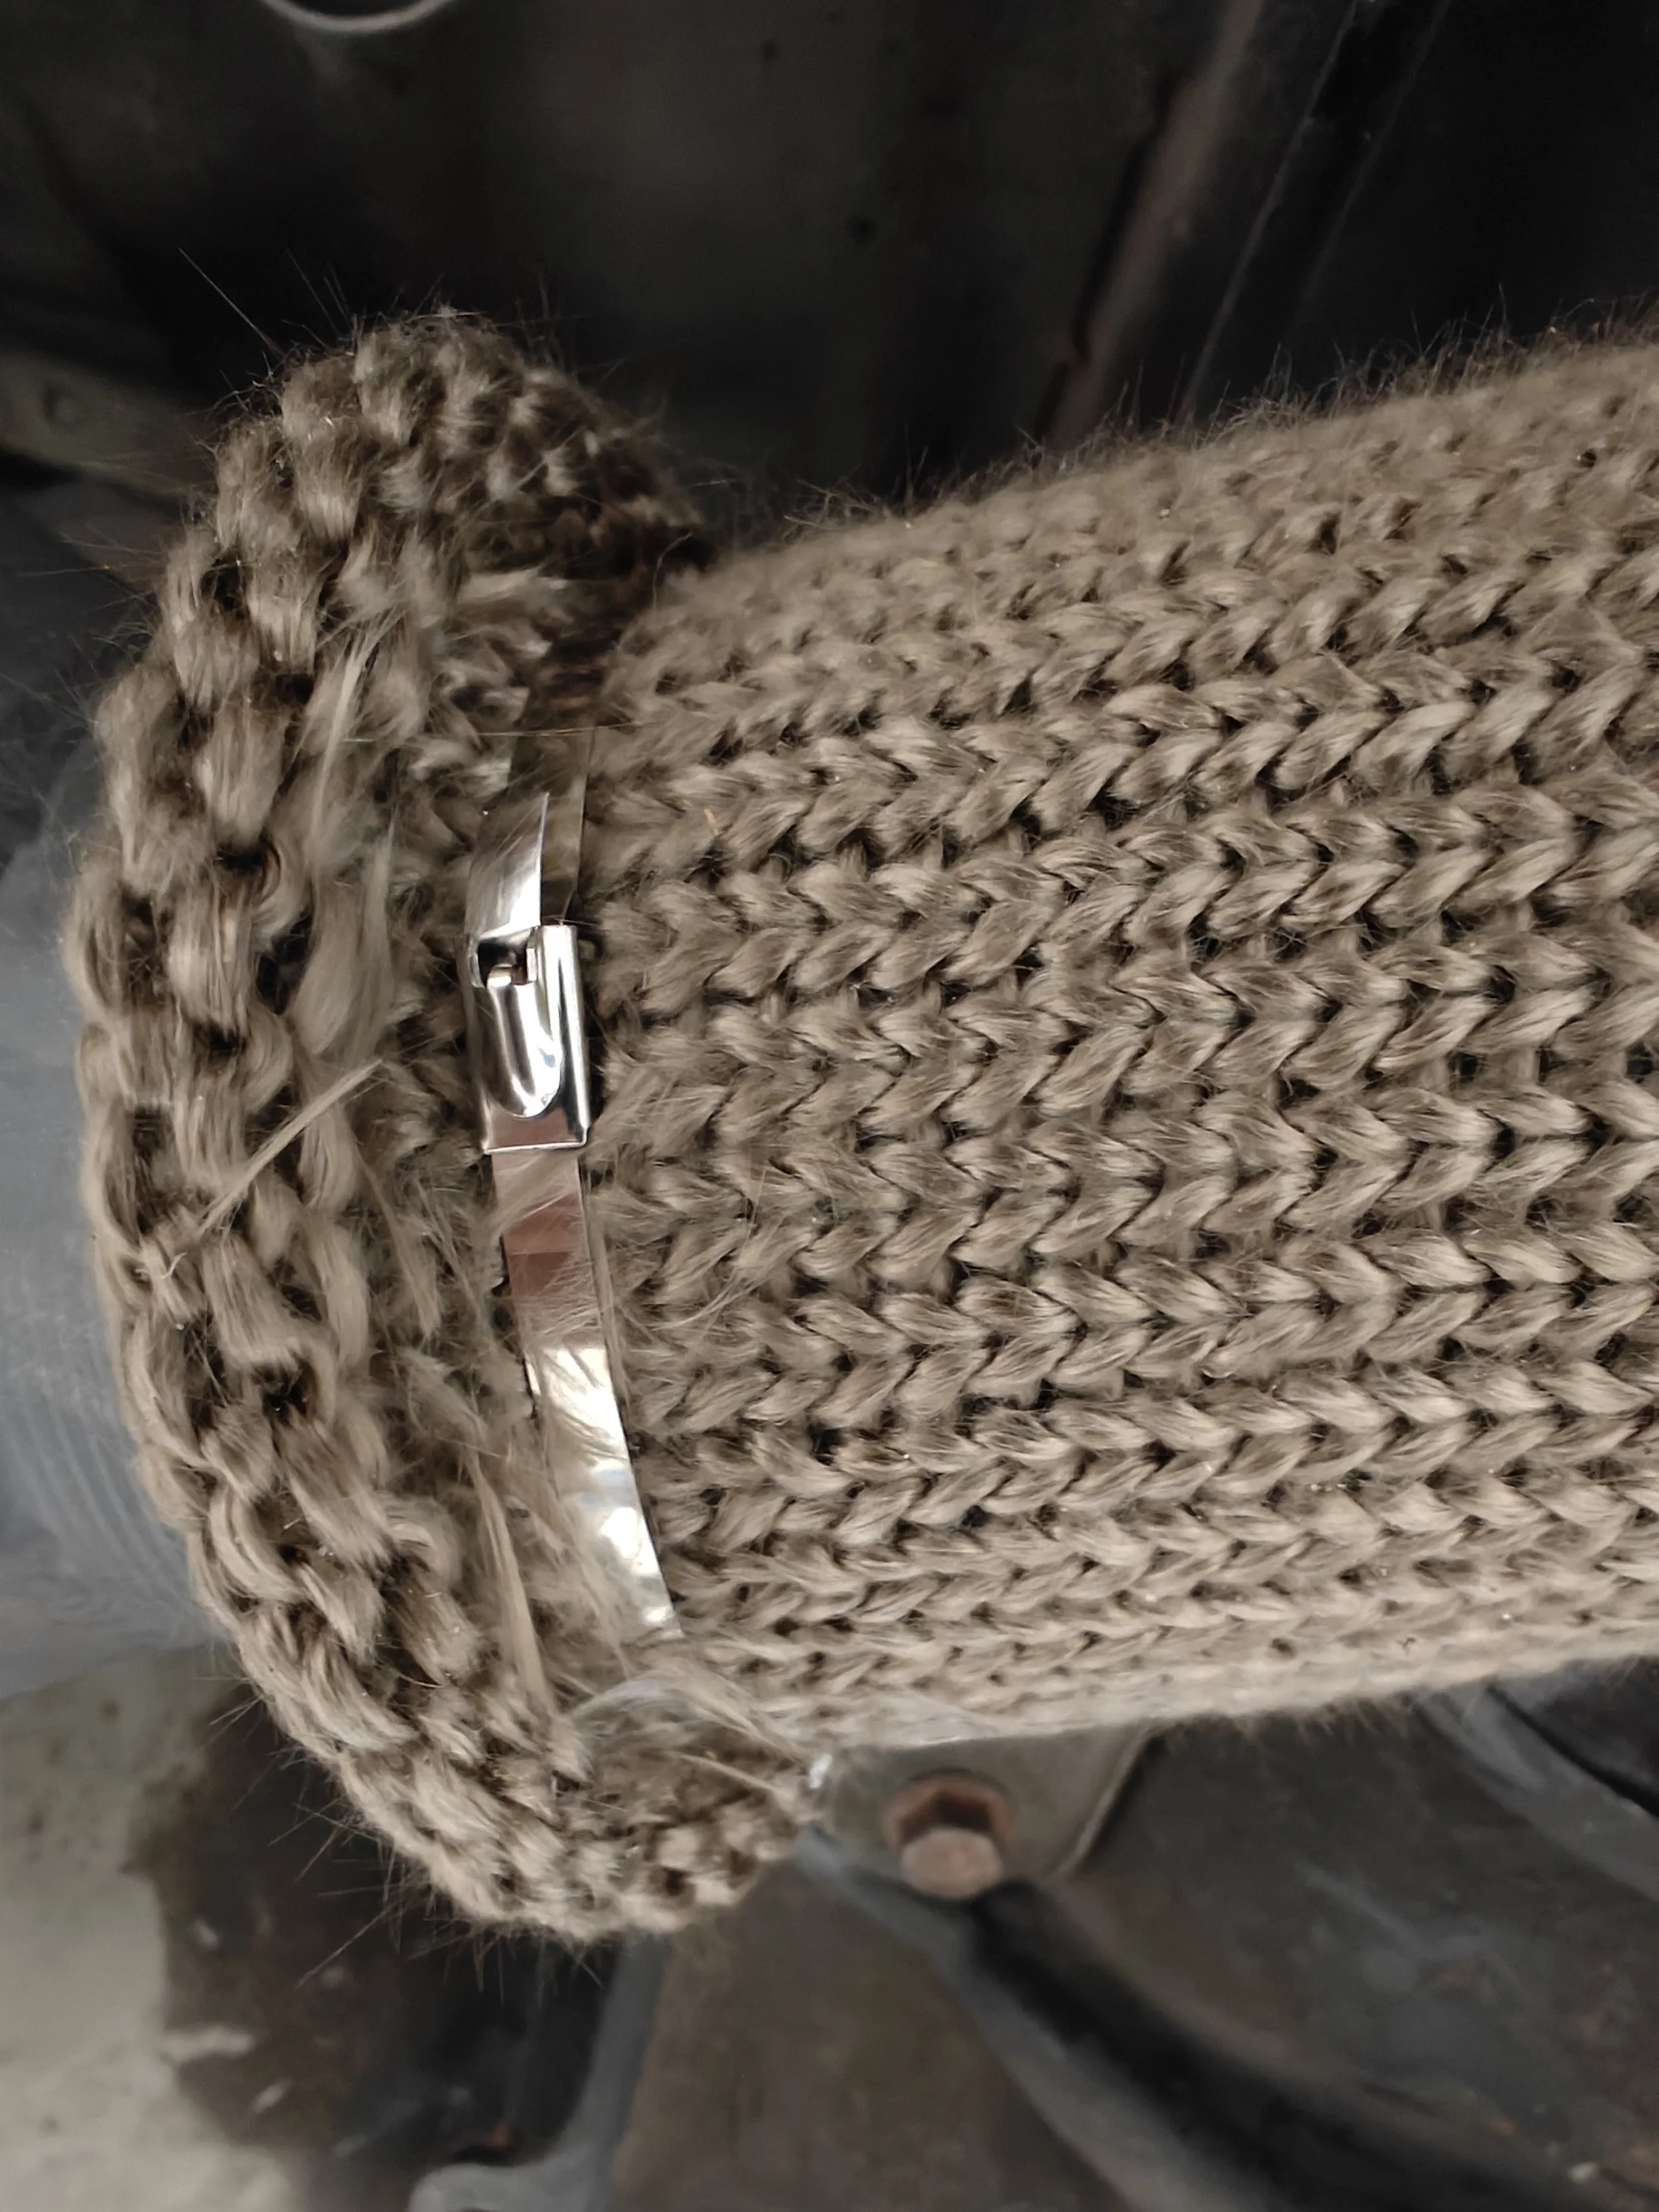
Using the supplied tool you will crank the clamp down until it is completely tightened. They are self locking and so it shouldn’t be too difficult to do.

This is how it should look when it is completed. I decided to roll the sleeve over the zip ties.
Now that everything is in place for the titanium sleeve you may now reinstall the transmission to downpipe bracket bolt. Followed up by the gasket for the midpipe to downpipe and finally the rear O2 sensor.
Congratulations! Your transmission and cv axle thank you for shielding them from the hot hot heat of the downpipe.
You have completed everything and it is time to make sure the gasket is not leaking and allow the car to come up to temp. It is very normal to smell a bit of burning while the sleeve burns off a bit of chemicals. I drive just a few miles a day so it took awhile for my sleeve to stop smelling. Which I believe is also a good sign that it is able to keep that heat inside.