Subaru Forester window seal replacement! We already have enough wind noise from everywhere else!
One thing SG (03-08) Foresters don’t do well is keep out the wind noise. When the mirror, door and window seals become degraded and old you pretty much can’t hear yourself think, let alone a passenger. The frameless doors use the window pressure against the upper seal to keep wind noise out, with countless door openings/closing and rolling the windows up and down will cause wear to this seal. The mirror gussets are a very well known problem area but if you have replaced them and still continue to have noise, this is a great next step.

I tried my hand at a few DIY fixes for the mirror gussets but ultimately found their replacement cured most of my issues. But I still had a bit more wind noise than what I thought was typical.

After 218k miles it is time to swap these seals out.
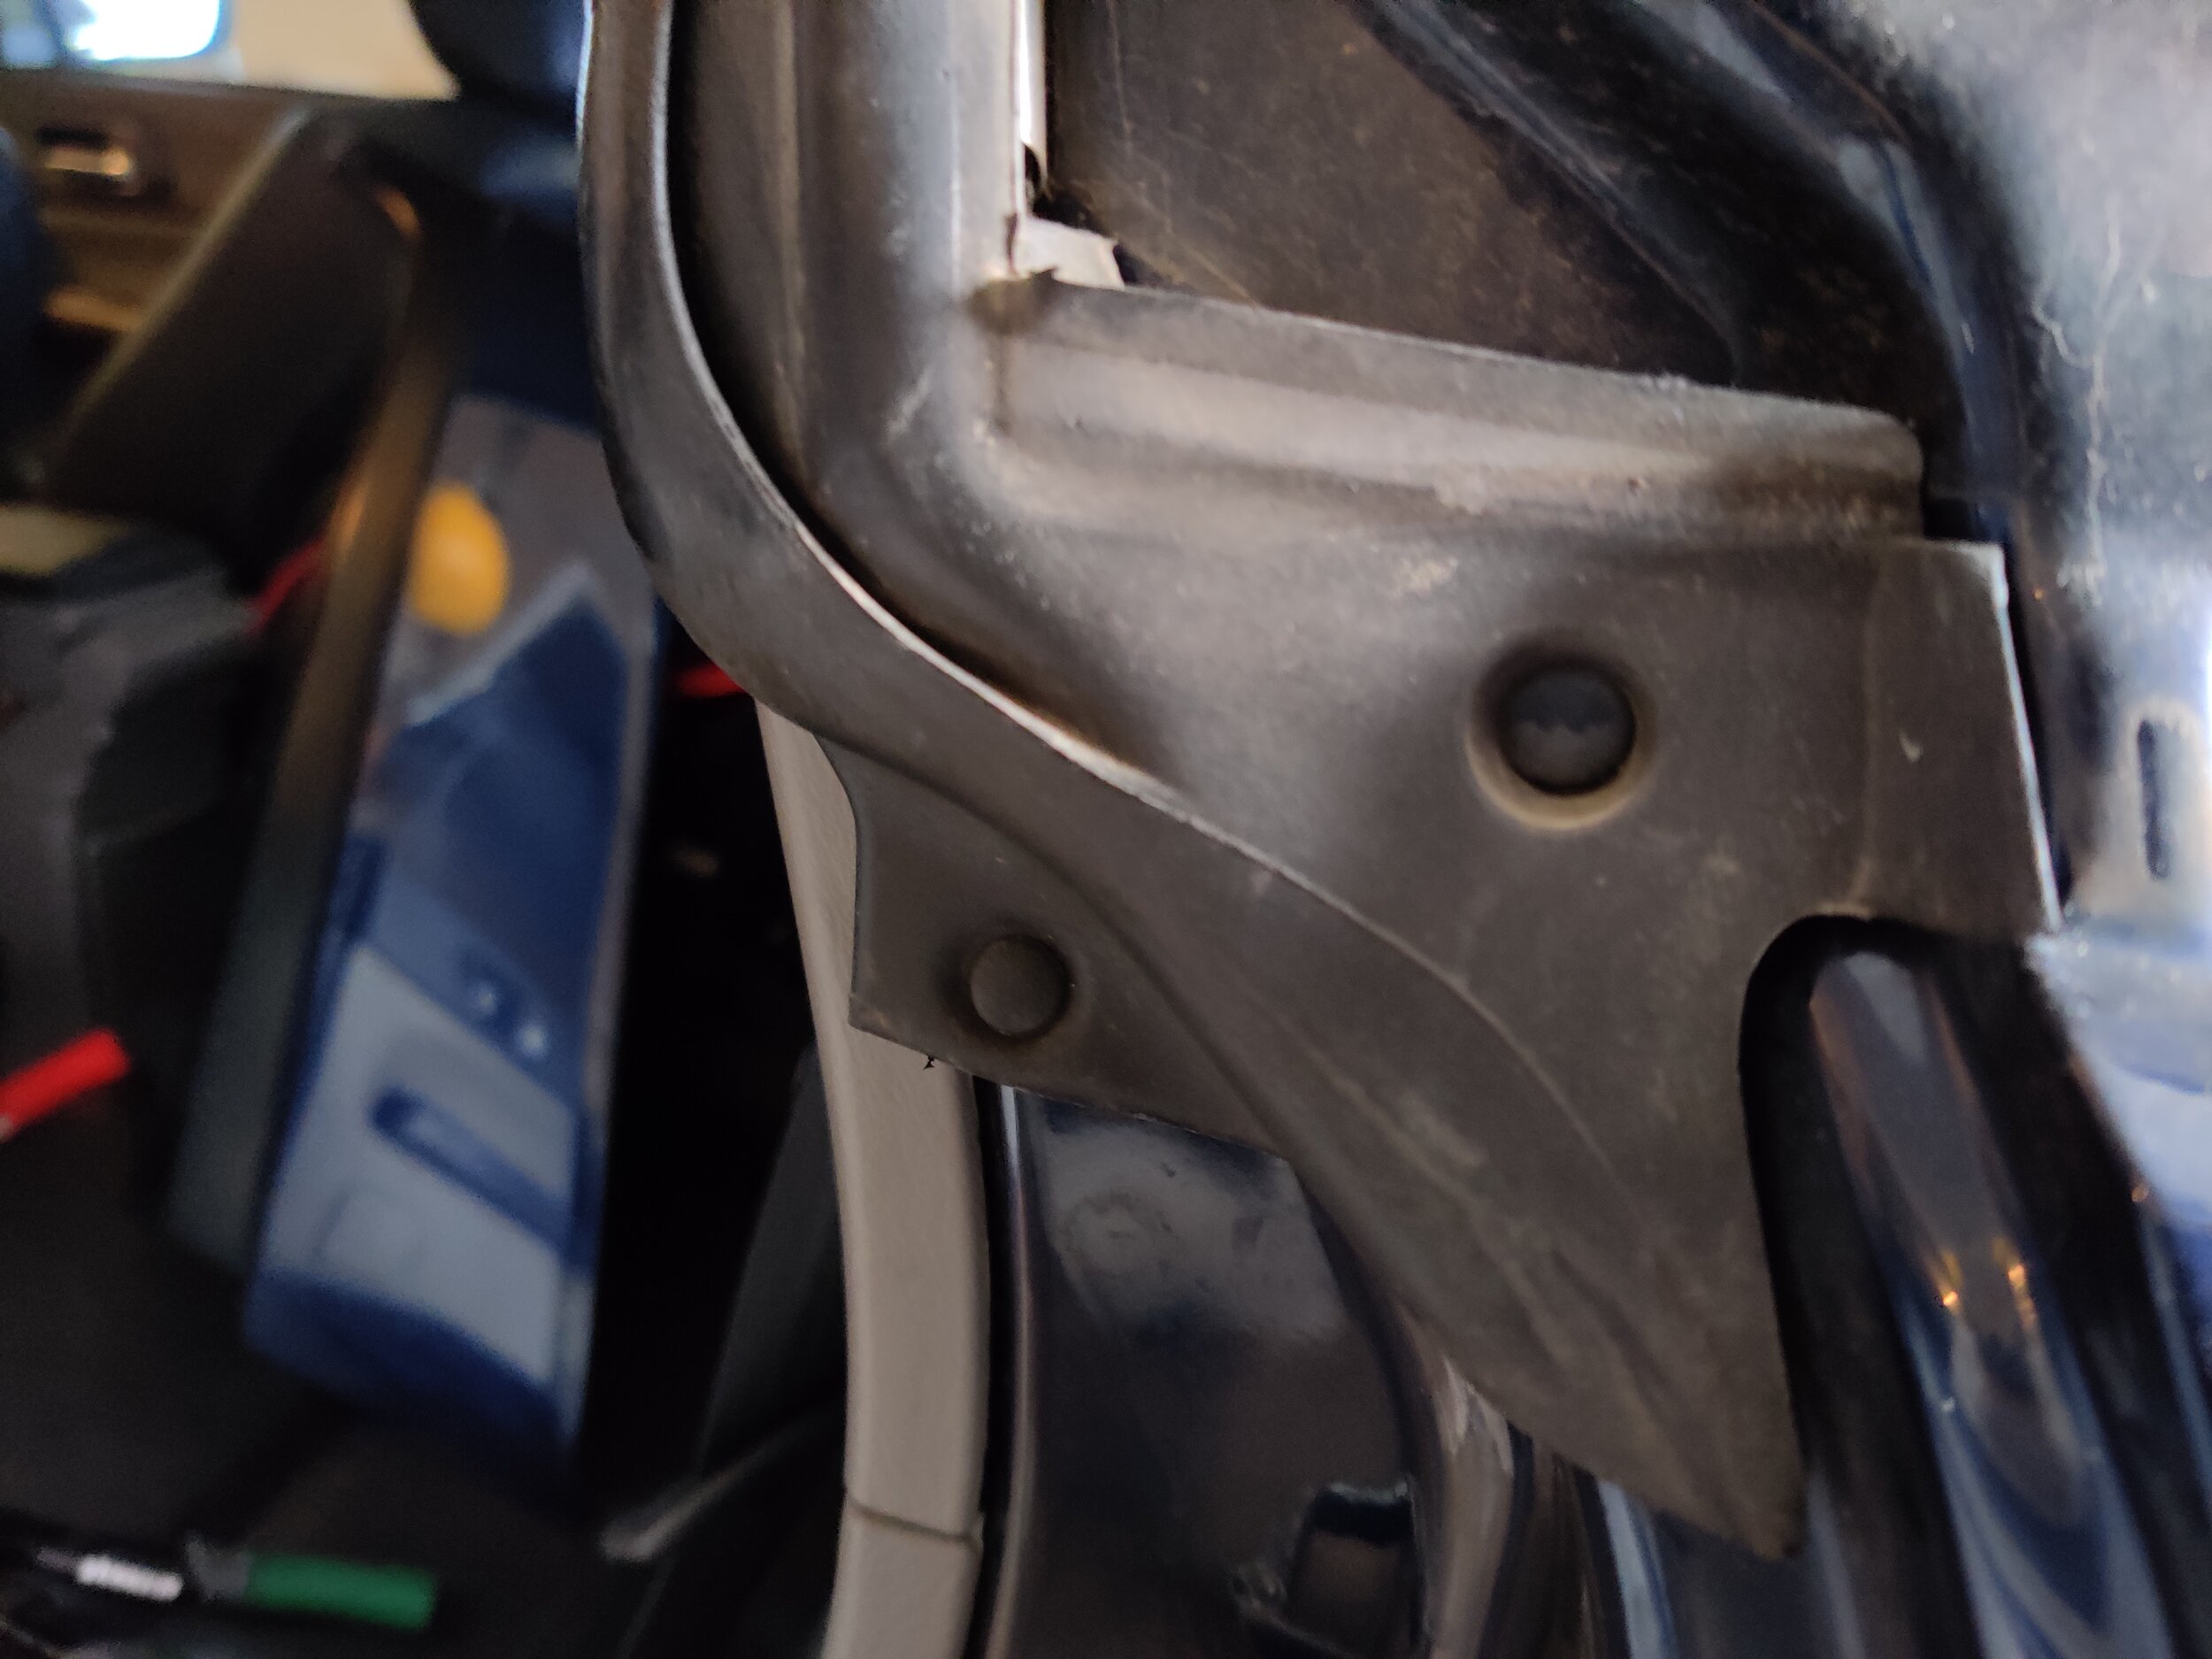
On my own Forester this seal appears to be the factory unit with just over 218k miles on it. There is a hole in the seal that I resealed, near the mirror gusset. As of late this area has also become a very noisy area when driving above 45 mphs. I used a a small piece of rubber hose behind the seal to help bolster it out to help seal up the upper area. On the highway the rear of the driver’s window at the b-pillar, was always a bit loose and with enough crosswind it would become quite noisy. These are among my key reasons to replace it with a newer, younger seal. Now we will take a look at what it takes to swap out your own.
Timeframe
Without a guide I spent about 20 minutes to complete this repair. The only difficult part is the B-pillar removal, which took a bit of figuring out that will be explained below.
Tools
Being a seal that snaps into a metal channel it is easily removed with your hands for the most part.
You will need a phillips screwdriver for removal of the B-pillar trim.
Otherwise a few assorted trim tools will help you pop the rivet clips off. These can come in handy when removing the C-pillar trim too.


Parts
The one seal makes up the driver’s front and driver’s rear window seals.
Subaru window seal, Driver’s side: 63521SA010

Installation
On to the task at hand, the first step will be to open both doors. To make things a little easier and so you don’t constant bump into the glass you should roll down both windows.

I have replaced my mirror gusset, which is one of the most common failure points for Forester. I did notice a tear in my upper window seal and would often feel air rushing through the door and window seal here.

If you need to swap out your mirror gusset here is the part number and link for it. Mirror gusset 03-08 Forester
Next you can head to C-pillar and using your prying tools unsnap the trim from the car. This helps uncover the the rear window seal for easier access.

We can start with the front seal located on the A-pillar. There is one clip that will need to be removed to start removing the seal. Once you pop it free you can start pulling the seal right out by hand up to the B-pillar.

This clip needs to be removed and you can start pulling the seal out.

Seal being removed.

Here is the channel with the seal removed.
Now you can step to C-pillar area and do the same thing. Removing the two clips that hold it in place and pulling the seal from the channel.
Here are the rear clips you need to remove. Then you can go ahead and start pulling this seal out towards the B-pillar.

With the seal removed you can now see the channel it resides in too.
Moving to the B-pillar there are two clips on the lower portion of the seal, remove these that hold the section of the seal in. You can now pull down on the seal to remove around the plastic B-pillar trim. Up next is pulling the seal up and around from the B-pillar seal.

Here is the rear B-pillar clip, with this and the front clip removed it is ready to be removed.
With the seal out of the channel on the B-pillar you can move it to the side and remove the 6 screws that hide beneath it. Having these removed allows you to pull the B-channel and trim off. This will allow us to separate the seal from the B-pillar trim. This also shows why you can’t just remove the plastic B-pillar trim without removing the whole channel system. The clips and seal don’t allow for enough movement while on the car.

You will want to pull down on the bottom of the B-pillar window seal. When you remove it from the bottom of the plastic portion of the B-pillar you can remove the side channels.

When you pull the B-pillar seal away from the channels you will find three screws on each side to remove. With the screws removed you can now take the channels and B-pillar off of the car.

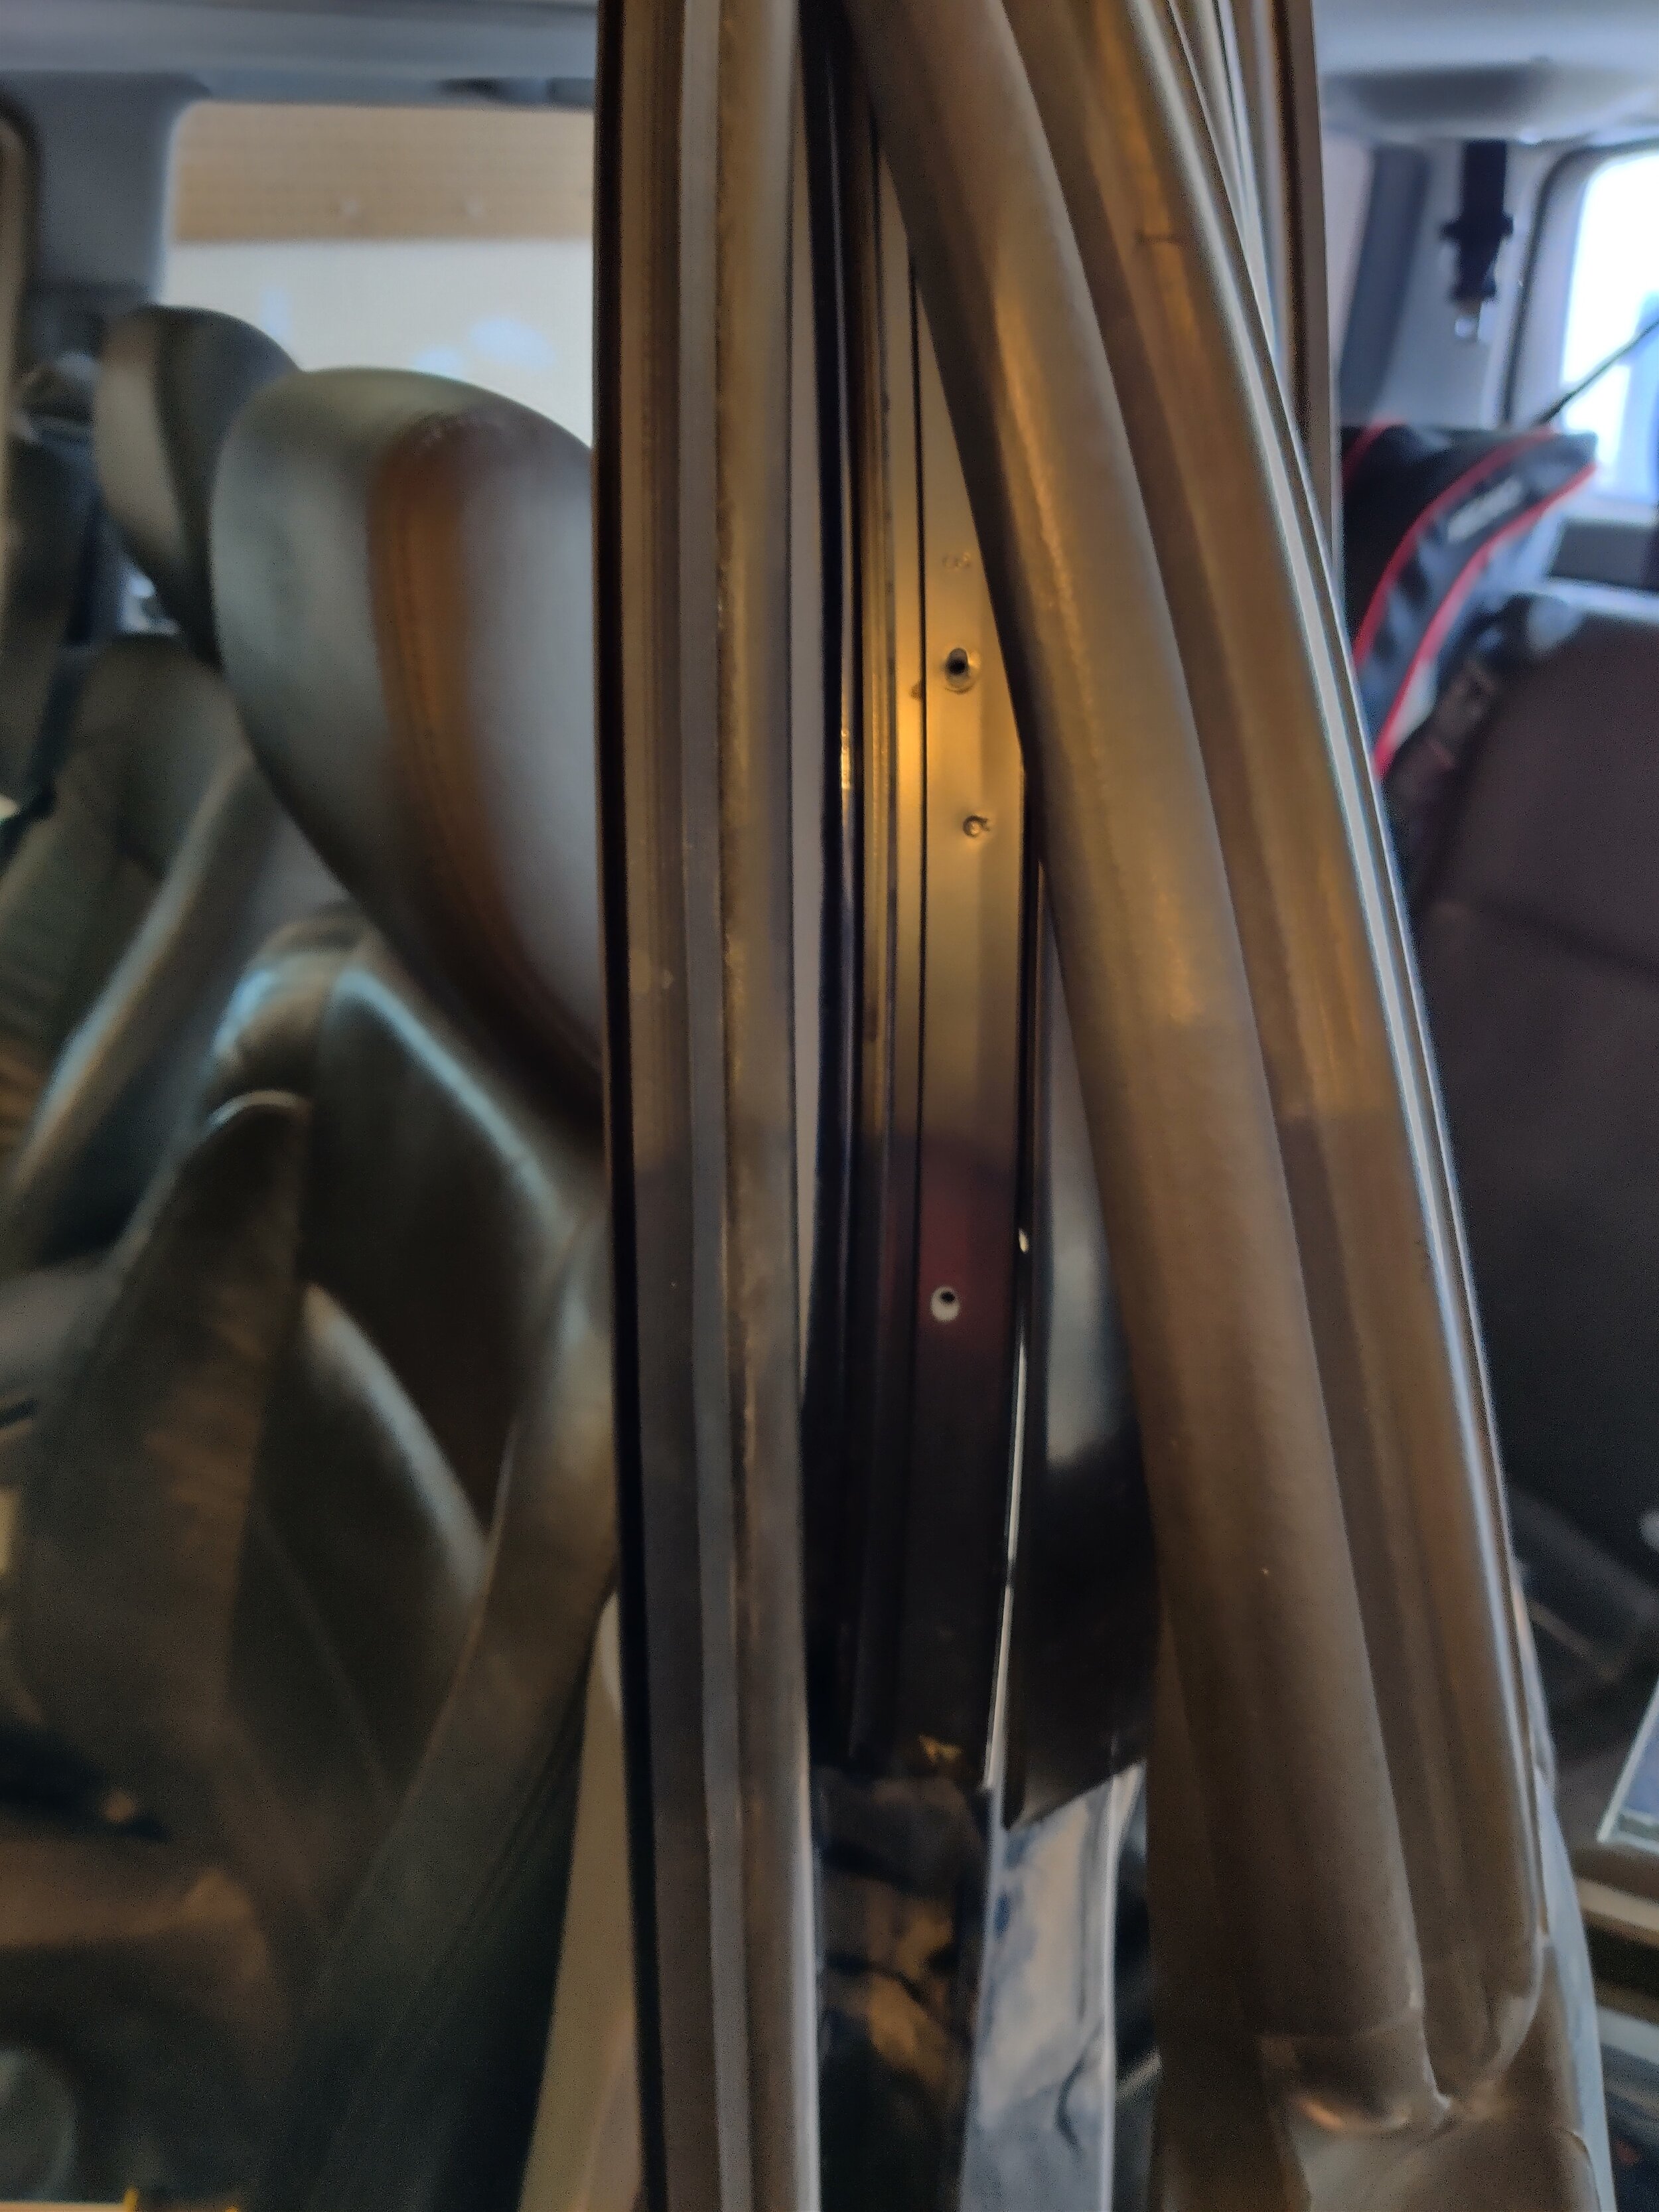
Here is what B-pillar looks like without the center garnish and seals.

With the seal out of the car you now have room to remove the B-pillar channel and center section. You can now swap over the B-pillar section and channels to your new seal set, just like it was when you removed it.
You can now slide the new seal over the top of the B-pillar. Leaving the side channels open to allow you to reinstall it. Push the window seal to the side and put the six screws back in. With the channels back in place you can pull the seal down and install it under the B-pillar plastic garnish. Then applying it back to the side channels.

Slide the B-pillar into the new seal set.

Placing it back on the car you will need to put the six screws back in. Make sure you haven’t put it back into the channels, otherwise you won’t be able to put the screws back in.
Seals pulled back and ready to be bolted back on.

With all the screws in you can start pushing the seals back into the channel and pulling the bottom seal over the center B-pillar garnish. This is also a good time to pop your clips back in.

B-pillar seal back in and now on to the rest of the window seals.
After that you may begin to install the rear window seal across the top and back to the C-pillar. Now you can reinstall the clips and then place the C-pillar panel back in.

Rear window seal installed and C-pillar cover installed.
Finally you can install the front window seal and ended are the A-pillar and snapping the clips back in place. You can now double check your work back running your hand across the seal for pushed out areas or visible differences. Ending by rolling the windows back up and trying to shut the door and checking the window seal. You can now take a short drive to make sure you haven’t made any of the sealing worse and then on to the highway to really test it out.

Front window and A-pillar seal installed back into the channel.

Checking the window seals. The doors definitely have a nice solid thud when closing the door/window.
Congratulations! You have restored your noisy window seal to slightly less noisy window seals… right? I had plenty of air bypassing the gusset and window seal area up by the A-pillar that was fixed by this. But it definitely can’t be better than the original less than optimal design.
Ready to run down the highway and see what it sounds like.
Amazon part links
Subaru window seal (weather strip) 63521SA010
03-08 Forester Driver’s side Mirror gusset
Amazon tool links
Stanley all in one screwdriver.