Forester mirror gusset replacement! You can once again hear yourself think...
When your vehicle is basically a box on wheels you expect a fair amount of wind noise. What you don’t want is the continuous rush of wind roaring through your ears at 40 miles an hour and above. There are many areas that are guilty of allowing in excessive wind noise, but none are as guilty as the torn and worn Forester mirror gussets.
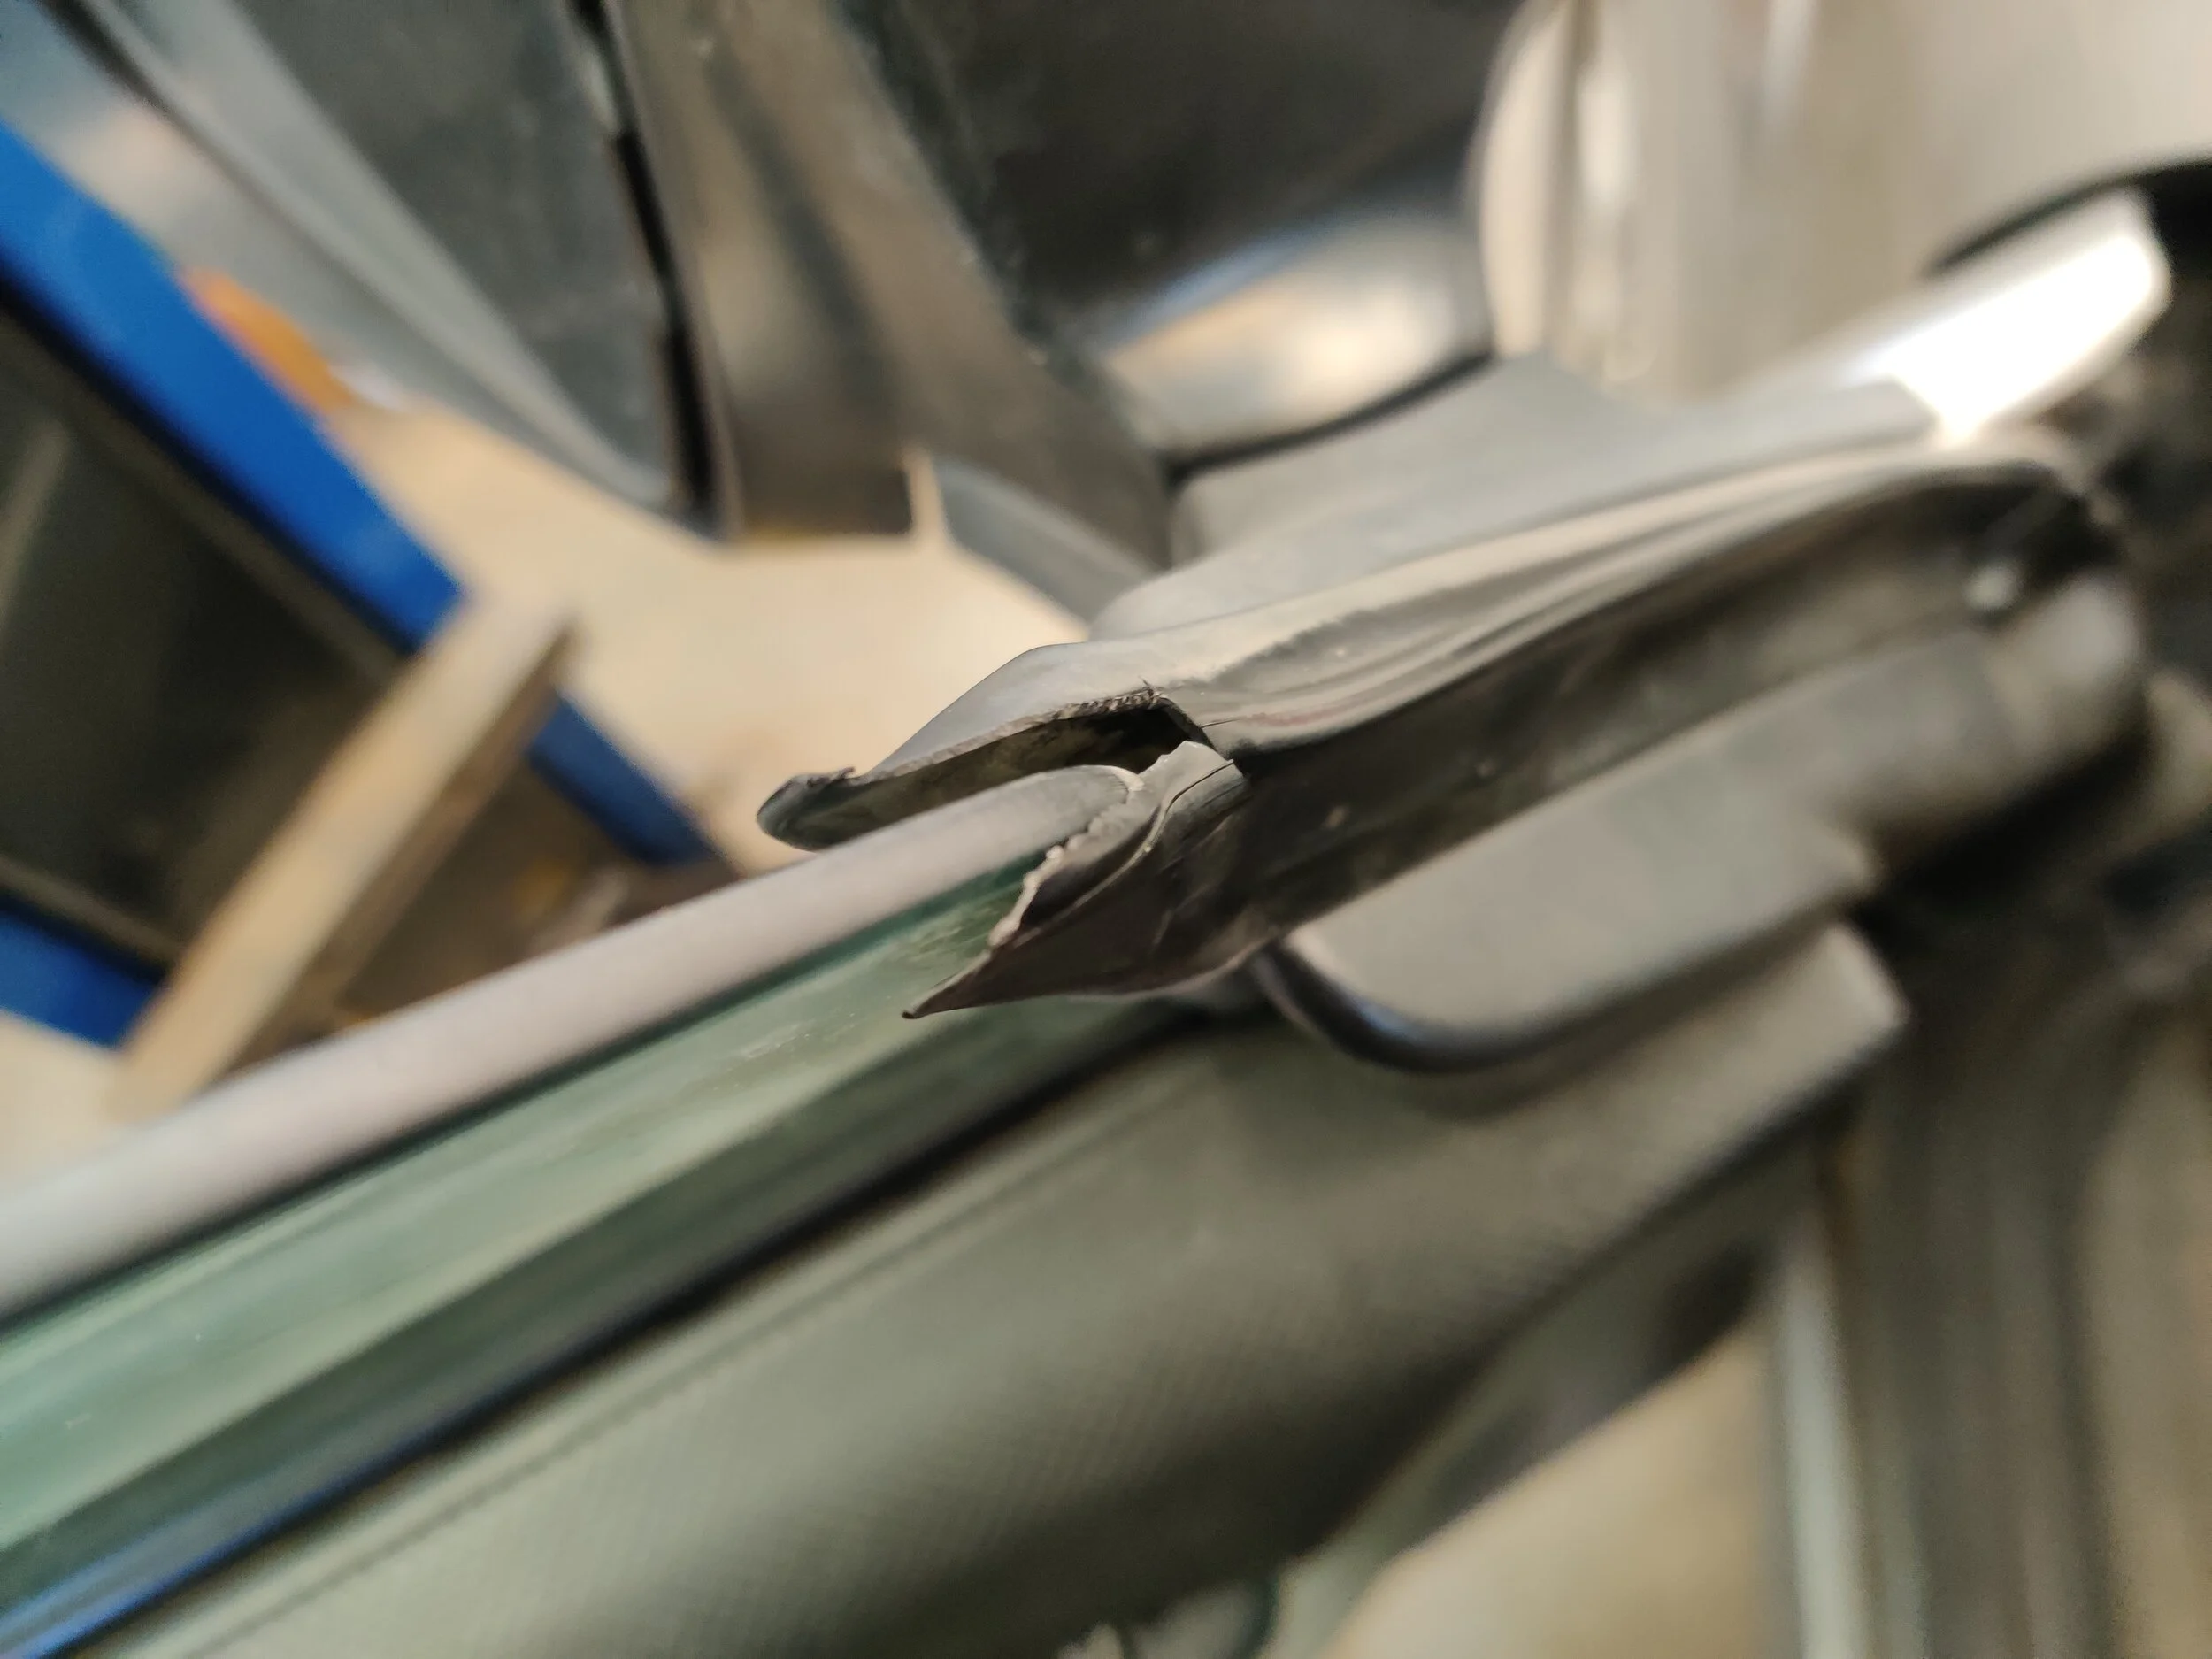
If your gusset looks like this… You are in the right place to find out how to replace it!
All the typical factors take their toll on the gussets, with enough weather, time and use they will end up torn. Luckily Subaru has plenty of these to help quell the wind tunnel you call the inside of your car. Let’s take a look at the tools, parts and time that will be necessary to this repair.
Time frame
While there aren’t very may bolts and screws holding this together, it can easily be one of the most frustrating repairs on your Subaru. For what appears to be something so simple, Subaru oddly installed the mirrors with philips screws… With what appears to be thousands of torque. Without the right tools you can easily damage a screw and spend a lot of time drilling it out or rethreading it. With all that said, I would allot one hour to completion.
Tools
With a lot of screws in your future a good screw gun or electric driver. A good old philips screwdriver can also be helpful.


Due to the small openings a set of 1/4” sockets and Gearwrench 1/4” ratchet.


Your best tool if you run into problem screws coming out will be a impact driver. When used with the proper bit this will knock that screw loose and get your back to your task.


Parts
Well, what else could be expected to be here but the gusset! Below you can find the set of both and then the separate links/ part numbers.


Installation
We begin this project on the driver’s side door, everything will be the same for the passenger side. Open the door as wide as possible and roll down the window.

Door open and ready to start.

Unable to roll down this window but this is where we start.
Now we can remove the two screws that attach the door card to the door. One screw is located behind the small cover within the door handle. The second screw is located in the door handle pocket, remove the small cover to expose the screw. Remove these.

One screw located behind this cover.. Remove it!

In the door grab handle behind the window switches. Pop the cover up and the screw is located below.
Next you can pull up on the window and door lock switch panel out of the door card. Then remove the two wiring plugs and set the panel to the side.

With a bit of force it will unclip and pop out.

Push in on the clips and remove the two connectors.


Now you can set the switch panel and set it somewhere safe.
You can now move up to the mirror gusset and remove either the tweeter or the cover. This will help you easily remove the door card.

Gab the top and pull outwards. Only three clips snap it in place.

If you have a model with a tweeter, this is what you will find behind the cover. It comes off very easily with a bit of pulling/prying.

The tweeter pops right out. You can unplug it and set it aside for now.

Here is what it looks like without cover on.
On the bottom edge of the door card you can begin to pull the door card away from the door. This is the time where you can either remove the door handle trim off with your trim tools or you can go ahead and remove the door card and the surround should pop right out. To remove the door card slide you trim tools on the lower portion, then slide you hands underneath and start pulling away from the door.

You can use trim tools and remove the handle surround this way. The other method is to pull on the door card until it pops it out. I generally go with the door card removal method.

Sliding a trim tool you can pop it loose and then pull the car out with your hands.

With the door card removal method of the door handle surround. You keep pulling out on the bottom of the door car until it pops the surround right off. I used this for many years and it always seems to get the job done without issues.
The clips will snap and pop out. Once all the clips have come out you can pull up on the door card and set it somewhere safely.

The clips snap right out and you can move the door card away.

Door card removed.
With the door card removed you can unhook the mirror power connection and remove the two covers that obscure two of the screws. You can also pull away the a bit of the plastic weather barrier to find one of the last bolts that hold the gusset to the door.

Here’s what you will see with the door card and tweeter removed.

Unplugging the mirror connection.

Two covers hide these mirror screws.

Here is where the weather cover will hide a bolt from you. Pull it back and you will find a bolt in that hole.

The weather cover pulled back shows one bolt that is hidden behind the plastic and in the hole.
Let’s go ahead and start removing bolts and screws! I generally start with my screw gun and a screwdriver number two sized philips. If they don’t come out easily I will move on to a slightly more powerful electric tool. Making sure to push the bit into the screw to make sure it fully engages the screw. During this install I actually had a screw that was so stuck it shattered my bit..

Follow the door seal down and you will find this one lone nut on this stud. Remove it!
If you are having considerable trouble removing any of them stop before you rounded out the screw head. This would be time to use the impact driver tool, I generally will remove the entire assembly before attempting that, so on to the next step.
The lower bolts should come out easily with the proper 10mm socket and ratchet. An electric gun can always speed up this process too. There is one bolt located behind the door seal right below the mirror. You can easily remove the single clip and pull it out to access it.

Pulling back this upper part of the seal shows another hidden bolt inside the hole.

Here the door seal unclipped and pushed down. Now through the hole is exposed and you can see the bolt.
If you have magnetic sockets these will be extremely useful, if a bolt drops you will find it falls into the door and you will now have to dig around for it. If you don’t have magnetic sockets you can put a powerful magnet on the side of the socket to help keep it from falling.

Use a magnet socket or magnet tool to hopefully keep the bolts from falling deep into the door.
After you have removed all of the bolts and single nut you can start maneuvering the whole gusset and bracing out of the door. If your window is rolled down this is a much easier task, just be careful to not scratch up the window or tear the tint off when puling it out.

There is metal bracing underneath the rubber gusset and you can bend it out of the way with a good set of pliers. This was necessary as the lower screw wasn’t coming out.
Now if you had any stuck screws that are holding the mirror on you can basically do what it takes toremove them. Whether it is using the impact driver, for the driver I was using I needed to basically destroy the gusset to have adequate space for using it. Other methods would be drilling the screw out completely or using a cutoff wheel to cut the head off. The cutoff wheel being a last ditch effort.

Screw removed and mirror no longer adhered to the old gusset.
With all the bolts and screws removed you can move on to replacing the unit. If any of your screws that hold the mirror are damaged you can easily find a small bolt that is the same thread pitch and add a washer. Now if you ever need to remove them again you won’t have as much trouble.

Small bolt to take over for the damaged screw.

The mirror bolted down and ready to go back on the car.

Make sure the wiring for the mirror is through the new gusset and then start pulling it through the new gusset.

No more torn gussets!
Everything else will slide back in like it once was. Make sure to plug your mirror back in otherwise you won’t be able to move it or use the heated function or turn signals if equipped. Then you re back to putting the door panel and install everything in the reverse of your removal.
Congrats! You have completed your mirror gusset, check for that your window still rolls up and down without obstruction and head to your favorite highway to enjoy the drive with a bit less wind noise!
Amazon tool links
Milwaukee electric screwdriver
Grey Pneumatic 1/4” socket set
Amazon parts links
Subaru Forester 03-08 Driver and Passenger set
Subaru Forester 03-08 Driver’s mirror gusset. 61158SA010
Passenger’s mirror gusset. 61158SA000