Vorshlag camber caster plates! Get control of your alignment angles!
Hey!.. Welcome back to another #modmonday where I give you my take on a installed car part on one of my Subarus. This week we will be showcasing @Vorshlagengineerings caster camber plates.
After countless hours of searching you finally decide on a set of coil overs... now what will you top them off with? If you are looking further adjust camber and caster look no further than these camber plates from Vorshlag. Adding a static degree of caster and varying camber to set to your specific vehicles setup.

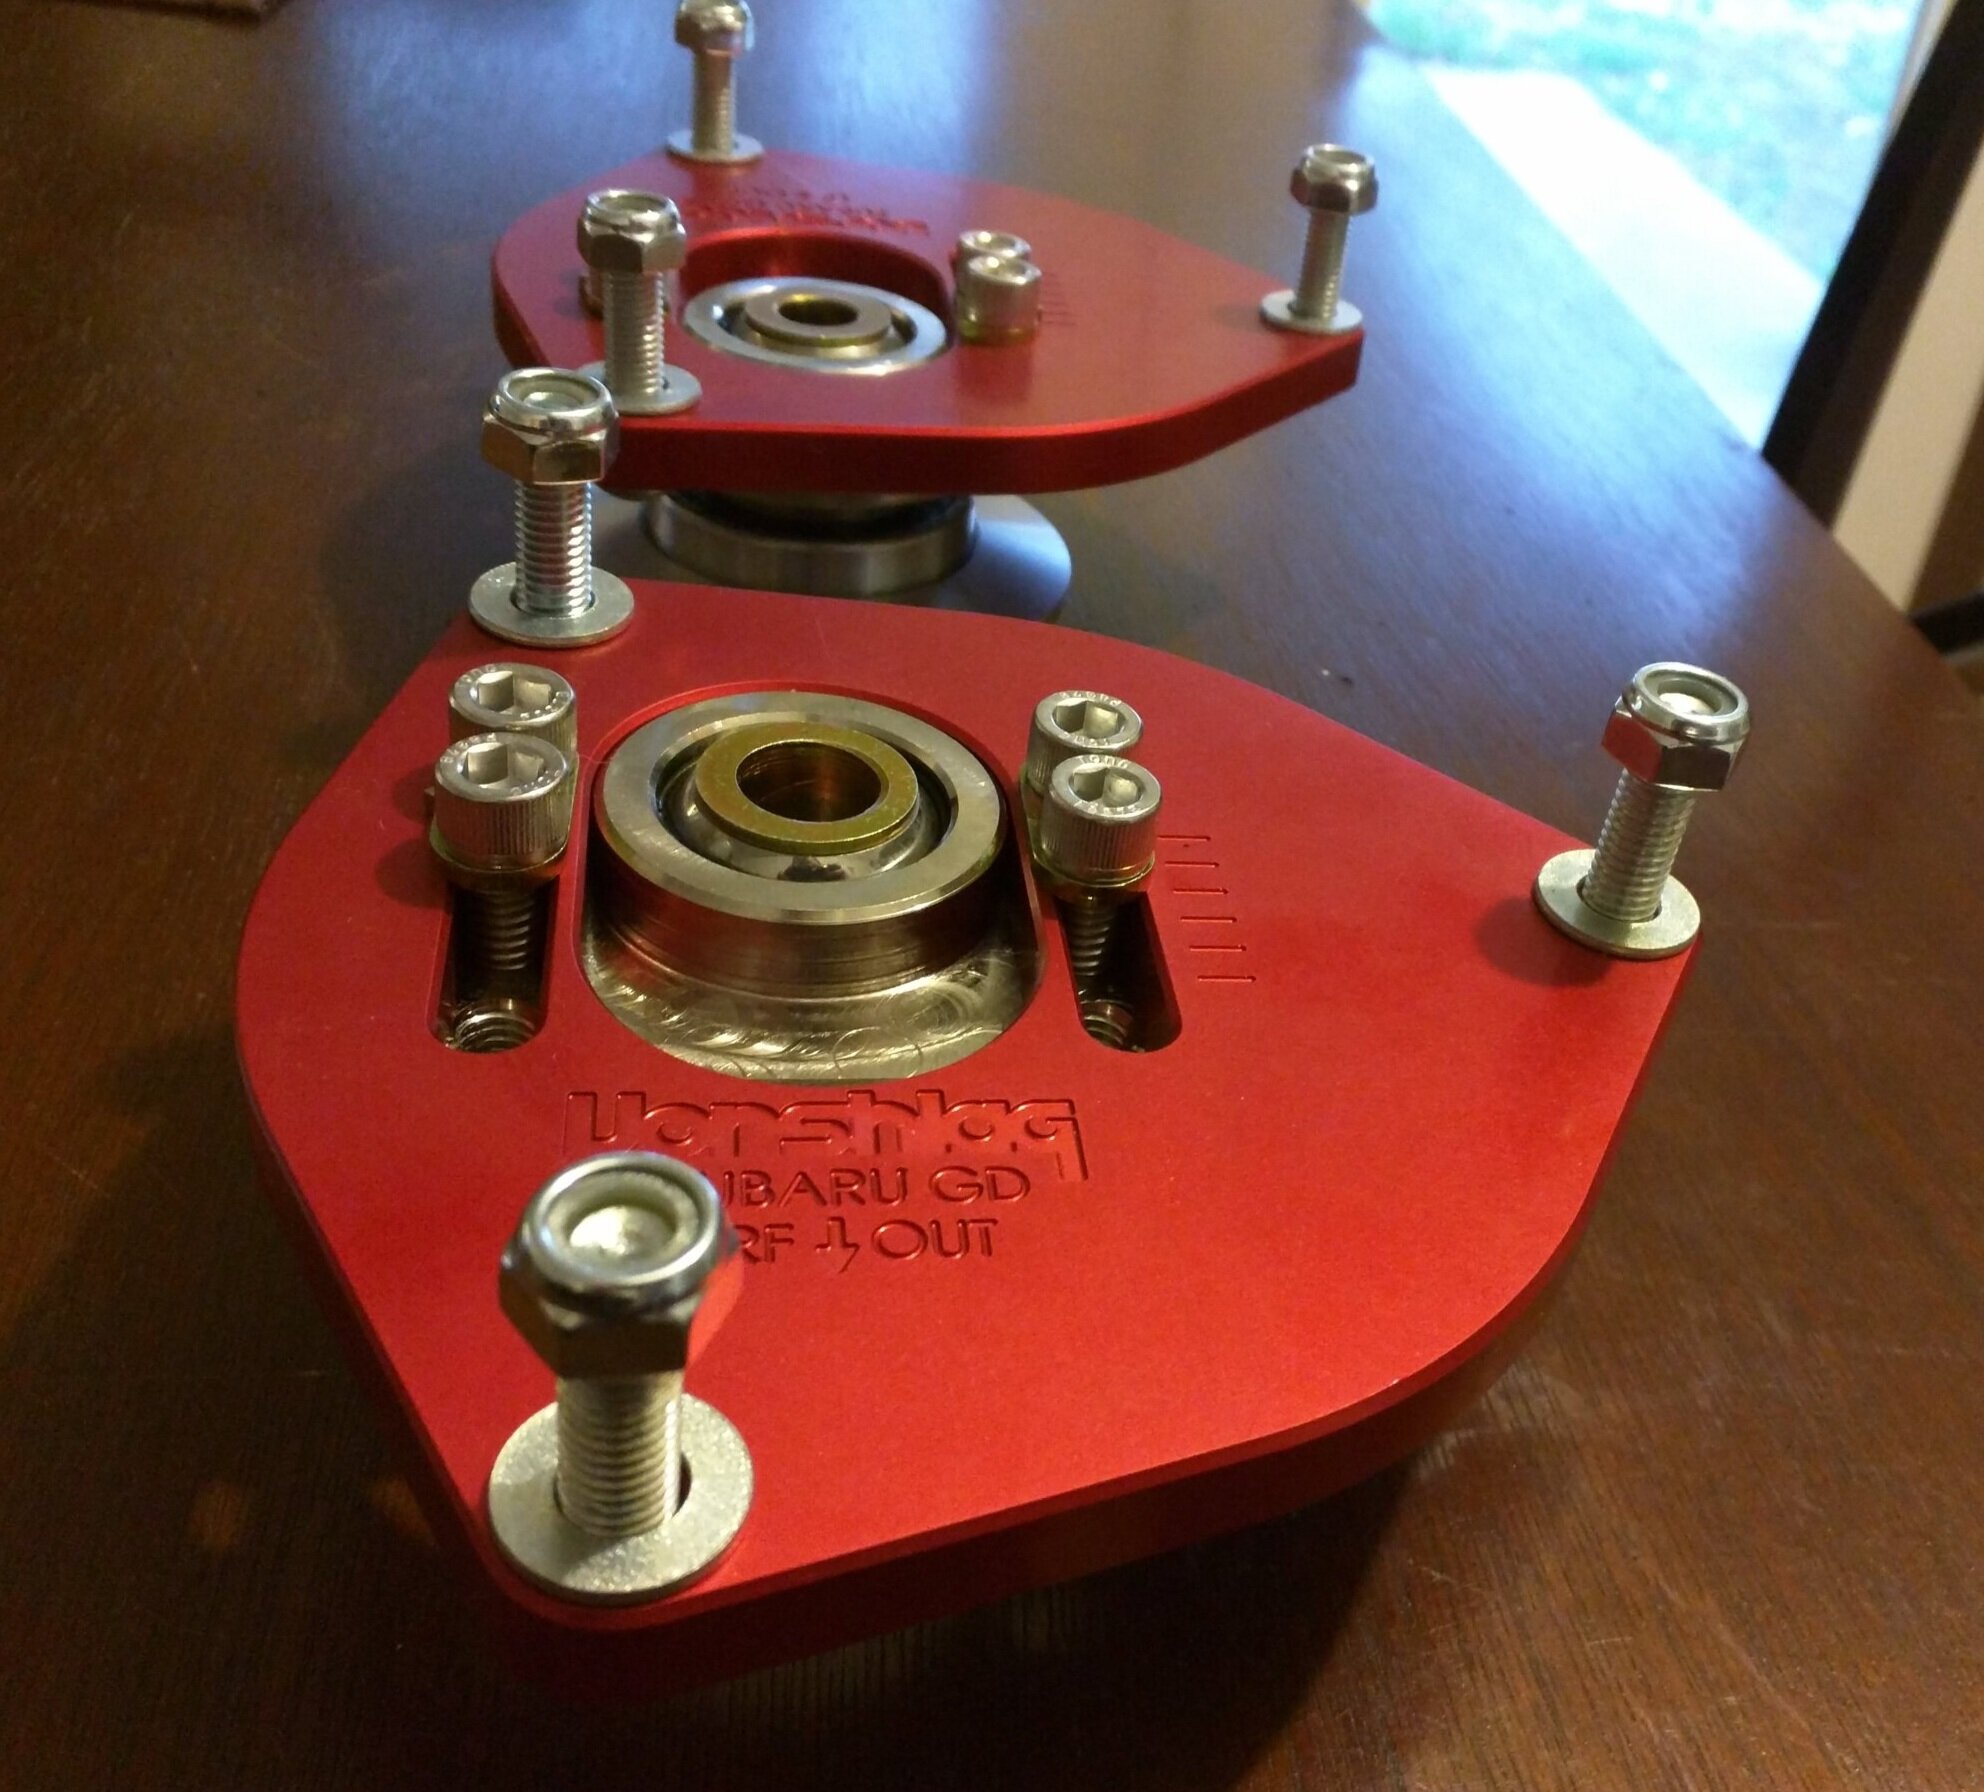
A lonely strut tower in need of a nice caster camber plate to fill the emptiness.

All setup and ready to hit the auto-x course.
What features make these stand out among a sea of products? A extremely low stack height of the bearings allow for further suspension travel than most, this helps maintain ride quality on your vehicle. The design has a degree of caster built in, which helps diminish camber roll and improve turn in. They can be designed to fit your coil over brand, which is something you won't find with other competitors.
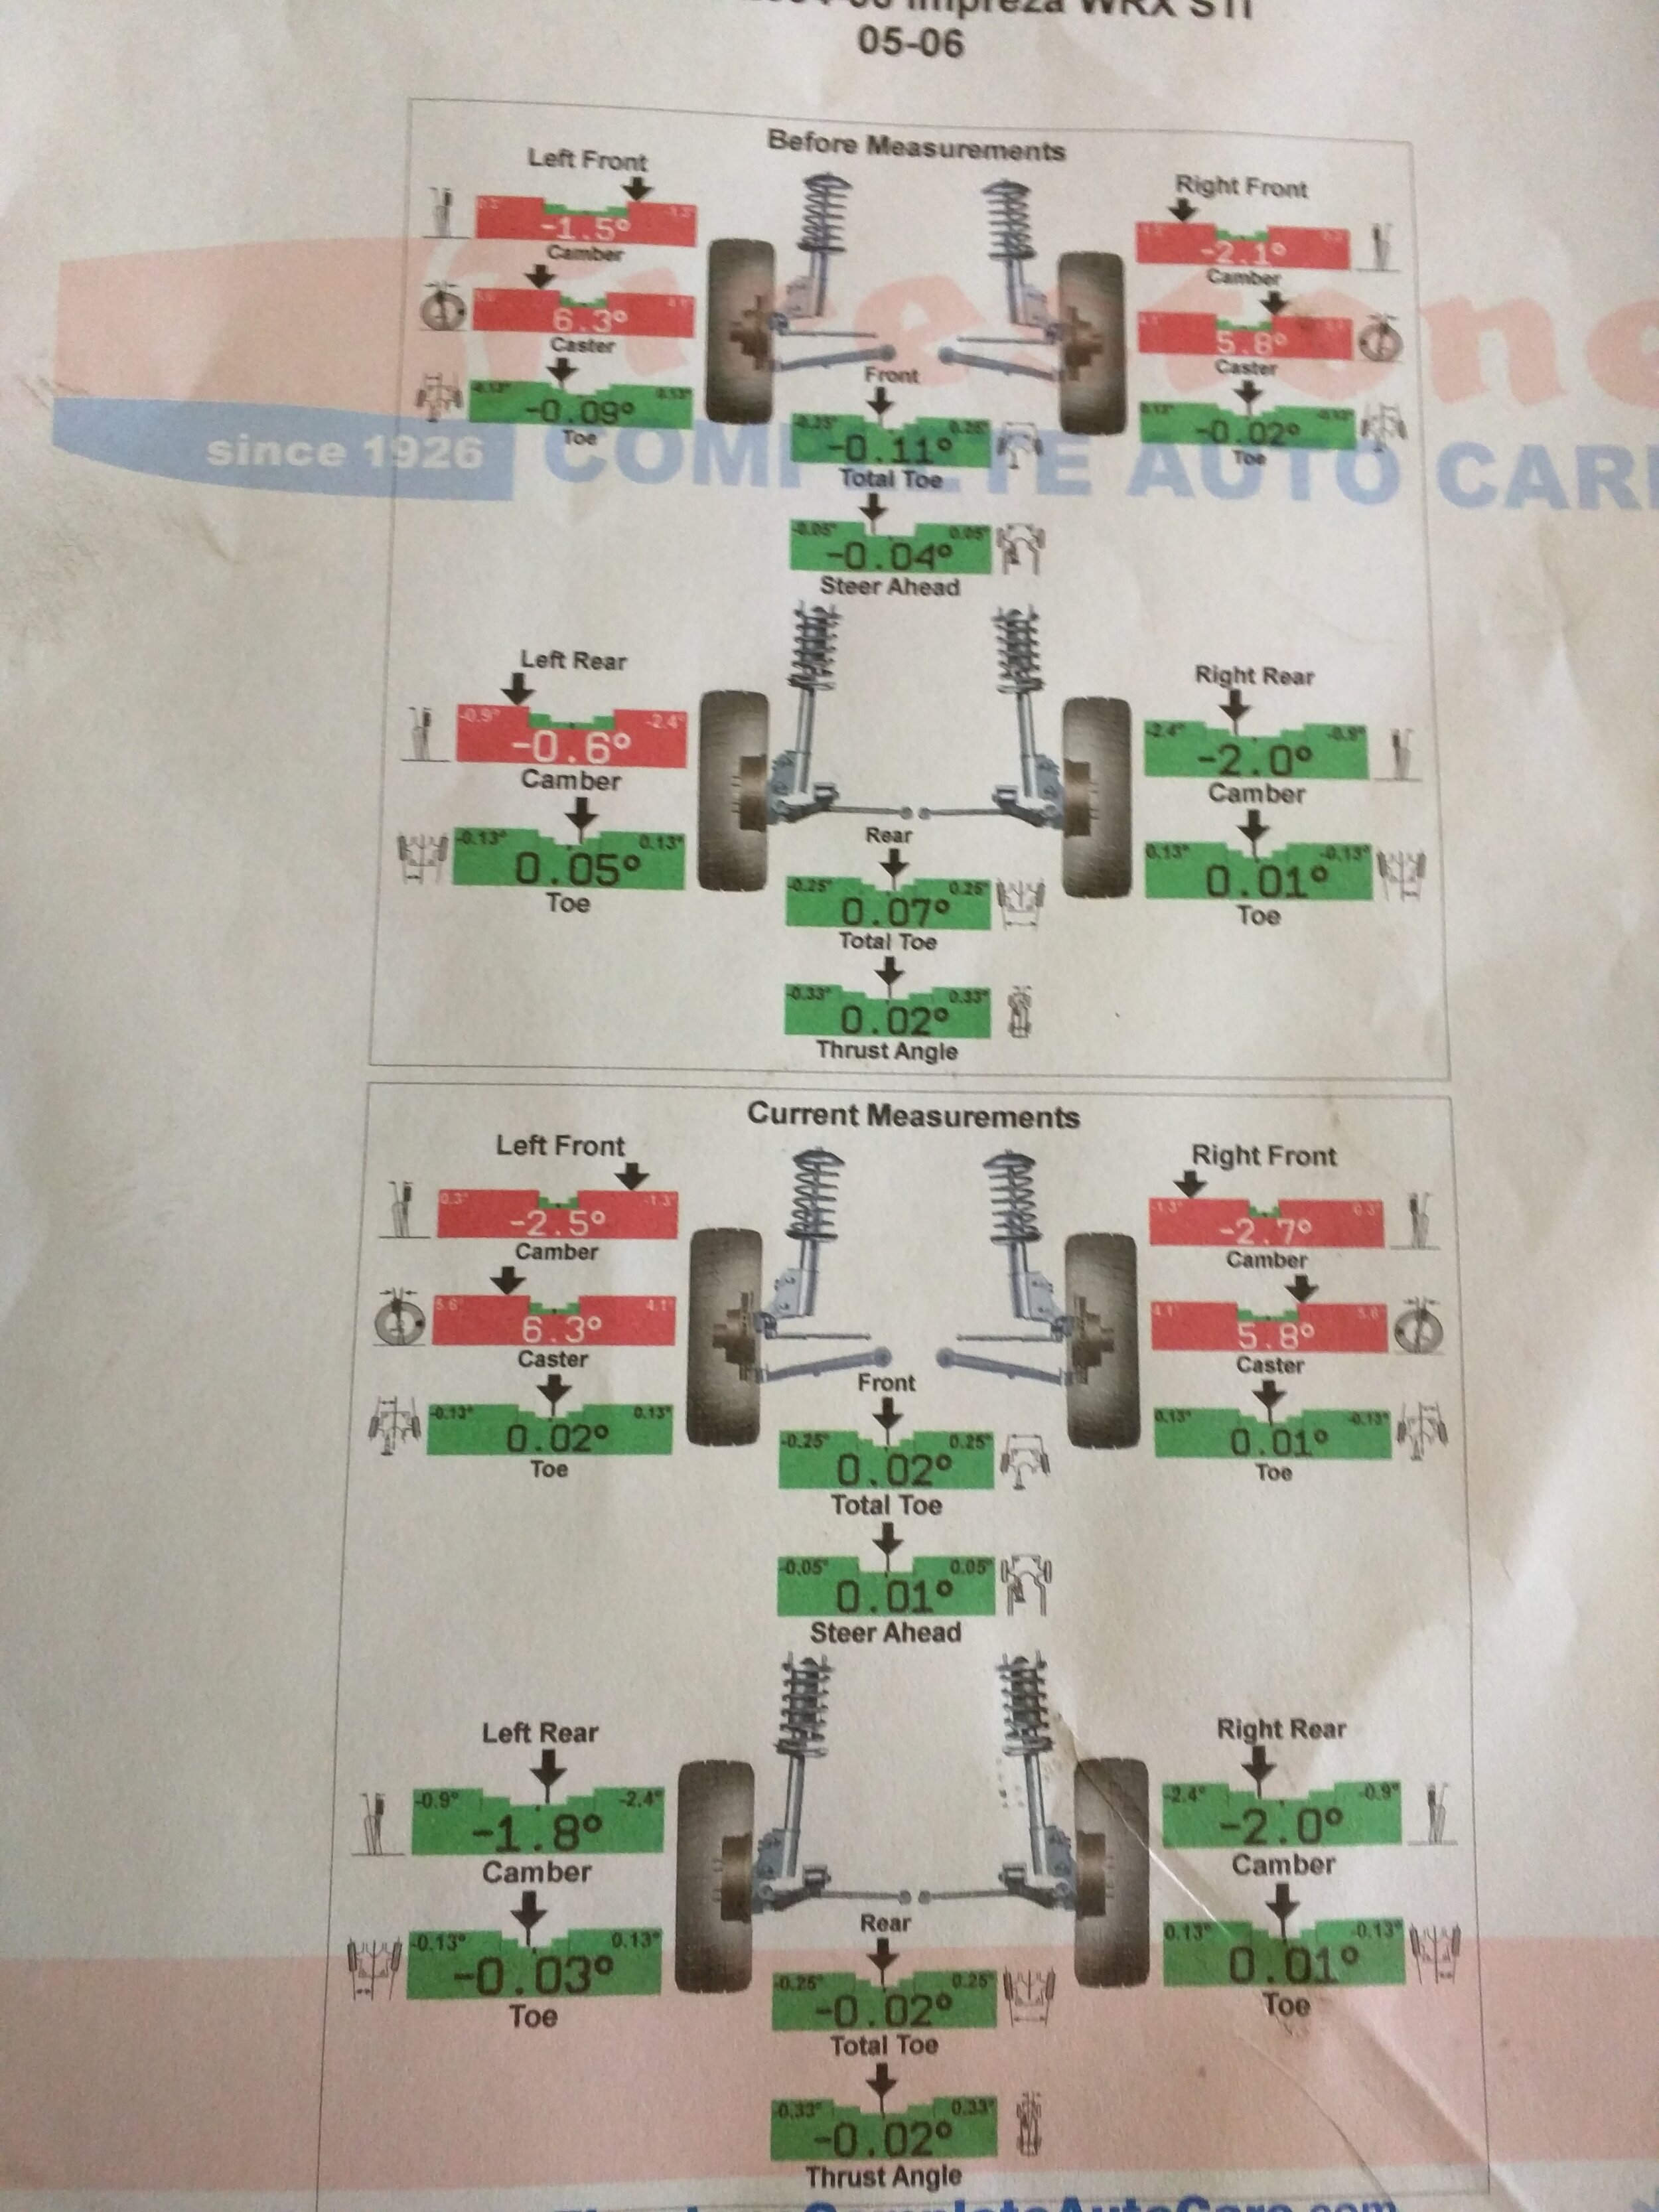
First alignment shows the specs you can easily attain with these.
The slotted camber adjustment is easy to utilize and can add an additional degree of negative camber for your vehicle. Using the factory strut eccentric bolt and the plate I was able to attain -3.5 degrees of camber on my STi, and if there is anything a Subaru needs on the race track it is as much camber as you can toss at it.
Installation is very simple and just takes removing the coil over and unbolting the top mount and bolting this unit on. This is when you may take notice of how thin the stack height is, you may need to adjust ride height to put it back to your original setup.

Making sure ride height is where it needs to be post install.
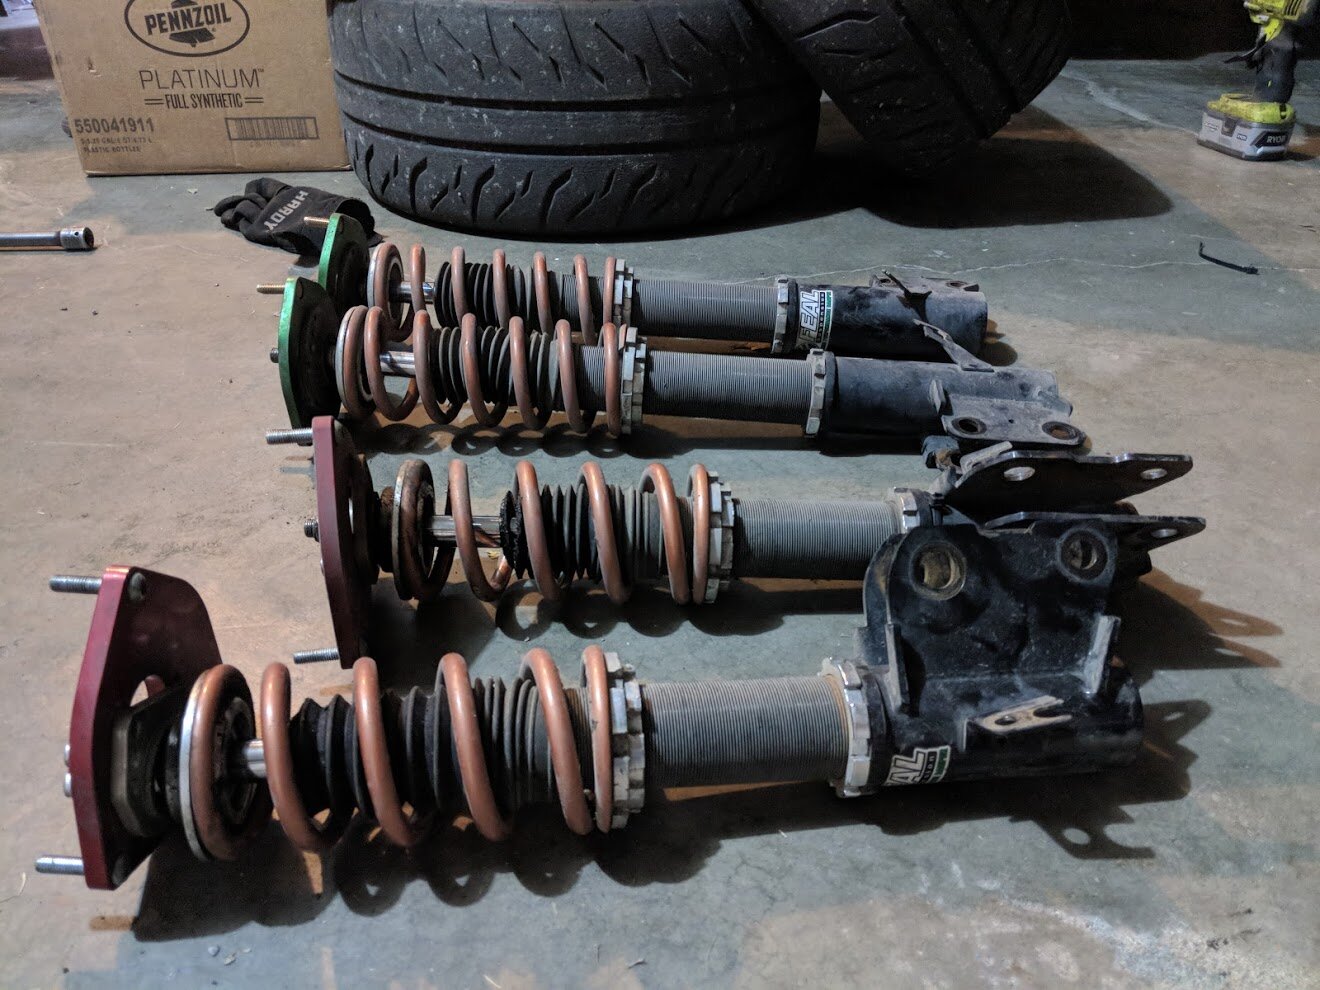
Overall, I have used had no trouble with these over the last 4+ years of use. I did end up sending in the right front as it seemed a bit rough when pivoting versus the driver's side. It was a simple process and just something you can expect when using any vehicle used in a racing application.
Questions, comments, thoughts? Leave them below!