Lifted with more power... What else could you need?
Now that the car is sitting right, with a bit of added power and on to a few tasteful exterior mods…You would think we have a complete complete “budget” build, but I still wanted to more…. What were the mods it was missing? For me I was looking for a few mods to help accentuate the safari/off-road look I wanted.
First off was a picking up a 5th tire and wheel for a spare. The new increased tire size of the Firestones the factory spare was pretty much worthless. The spare was removed from the car and now I was left with how I would tote the full size spare around. Checking the spare compartment it obviously not going to fit in that spot. The next location was inside the hatch area, which it obviously fit.. But I hated giving up my cargo room. Where else could I place it…?

The difference between the two is pretty hilarious.
After taking some time to think it over I decided to pick up a Yakima Loadwarrior to do the tire carrying work. With it up top and a few ratchet straps, I could have the best of both worlds. First it makes a nice addition to the exterior styling and secondly, an easy way to carry the tire without worrying taking up precious cargo space.

Yakima loadwarrior assemble! It’s getting dark but that won’t stop me from completing something that could wait another day!
It arrived late in the evening but that was not going to halt my excitement of completing it. As the Sun went down we were just finishing up the task and thus not many pictures exist. As the Sun raised, a peek out of the window found the finished product from the night before.

That is exactly what I was looking for! Carrying my tire and looking rad! Yakima Loadwarrior review!

Enjoying a drive and shooting a few photos!

Lake side!
Having that problem taken care of, I decided to turn my attention to my new tire setup, which was now pelting the sides of the car due to the new offset. What better way to fix this newly made issue than buying a fix for it! After quite a bit of looking I couldn’t really make up my mind, I was trying to keep this as a “budget” build and so I was thinking, maybe I could make my own mud flaps out of some small cutting boards….? After pushing it around in my mind I found the Rally Armor generic flaps and the price fit my budget.

Rally Armor basic mudflaps, let’s see how long these stay on the car!
With my original mud flaps as templates I marked the holes and started drilling. I had picked up a screw and speed nut set from Amazon to install them. Placing the speed nuts on the side skirts I was easily able to install the flaps.

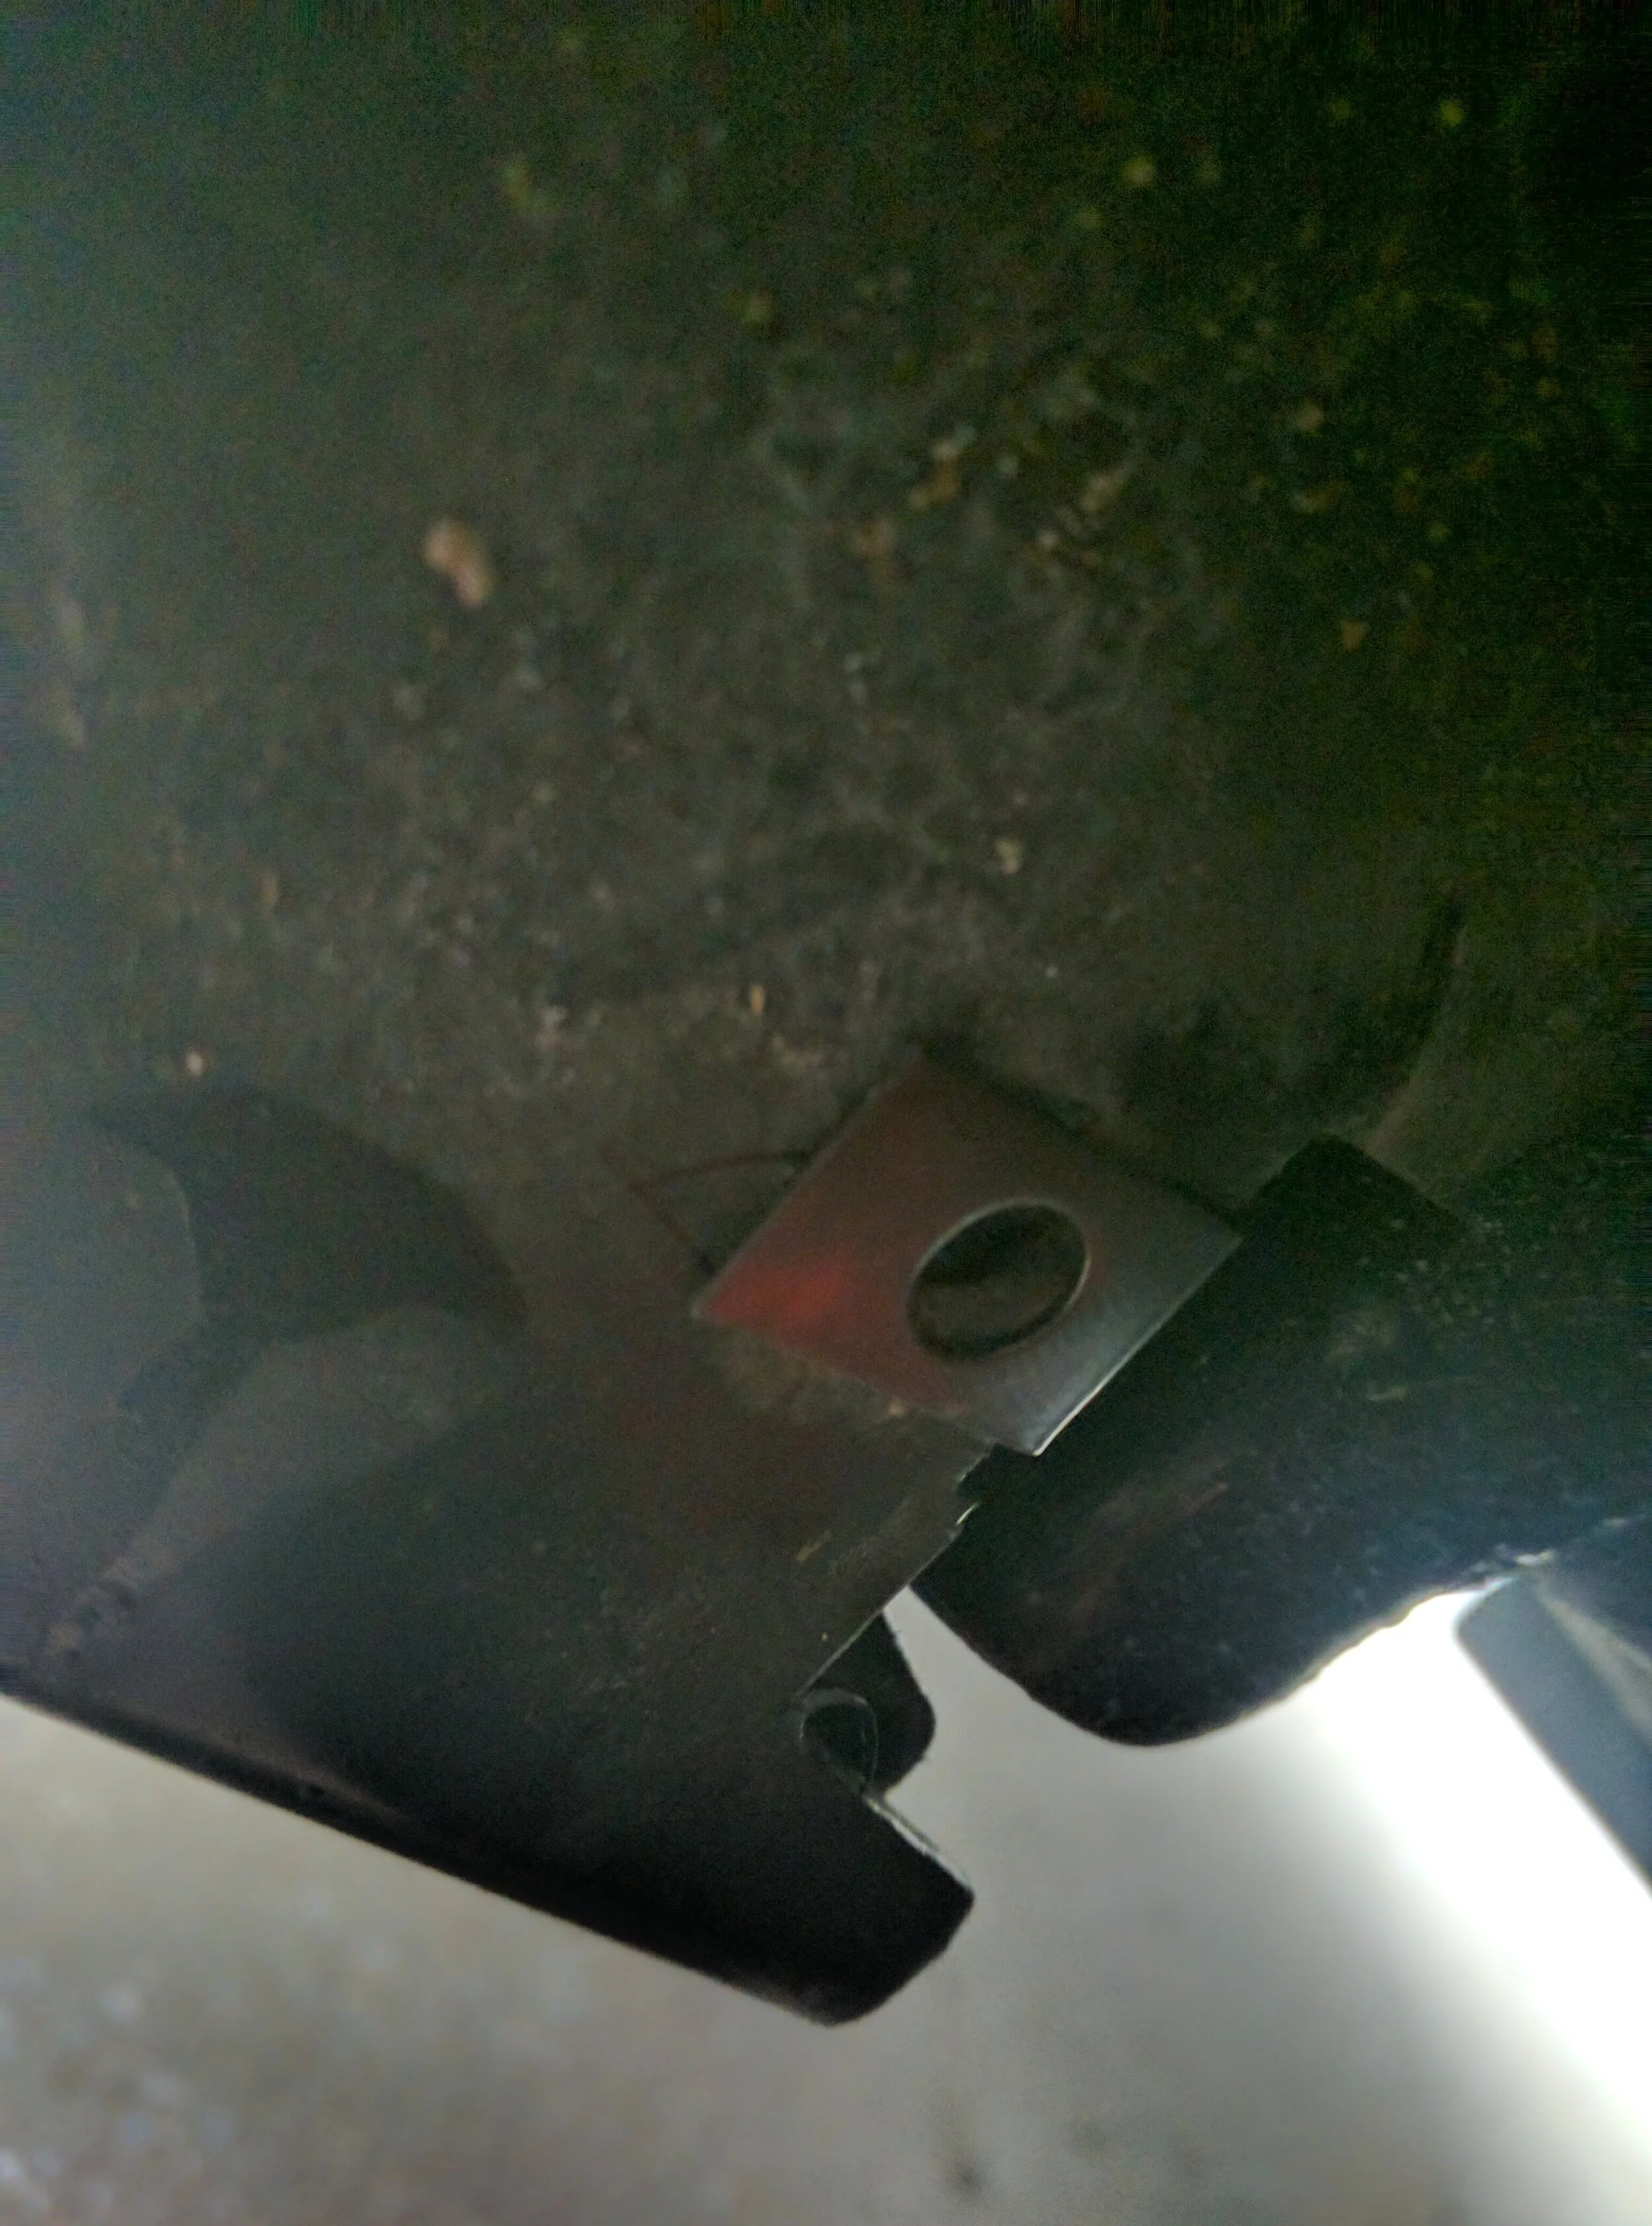
The factory mudflaps were removed due to the new larger tire size rubbing them badly. Fitting 28” overall diameter tires how to!

Installed!
Using the Amazon screw and speed nut set to get these mounted up.

Checking the current fitment.

A little test for the Rally armors, working well!
So far I had been using the factory lug nuts to bolt up my Methods, but decided that wasn’t going to be my forever answer. After a bit of forum searching I ended up finding what appeared to be Volk Rays lug nuts, after a few back and forth chats I decided to purchase them at a good price, which was a bit worrisome. After receiving them it was pretty easy to tell they weren’t what I was supposed to be sold… As with most things, if the price is too good, it’s probably not good. Got some more off the price due to this and decided I would give them a try and they were installed without issue.

Ready to bolt on.

The wide mounting one makes them a tight fit.

I was supposed to get these Volk Rays lug nuts, after some scrutiny I am pretty sure I was sold knock offs, but ended up working it out with the seller.

Fun in the sun…
Completing a few exterior mods gave me the idea to do a interior mod to make the big exterior come alive inside the car. Random internet searching landed me into shifter extension land. A friend of mine had been running a homemade shifter extension for quite a few years on his car. I had driven it a few times and dug the higher shift knob location and throw. Deciding the way to go was a big inside mod for the big outside look I purchased a 10” shifter extension from SickSpeed. Installation was as easy as screwing on a shift knob with your hand and on to the Big Rig Billy shifts! Acquiring the new shift extension made shifter more fun… But I really needed to do something else to complete it.

Stock and…
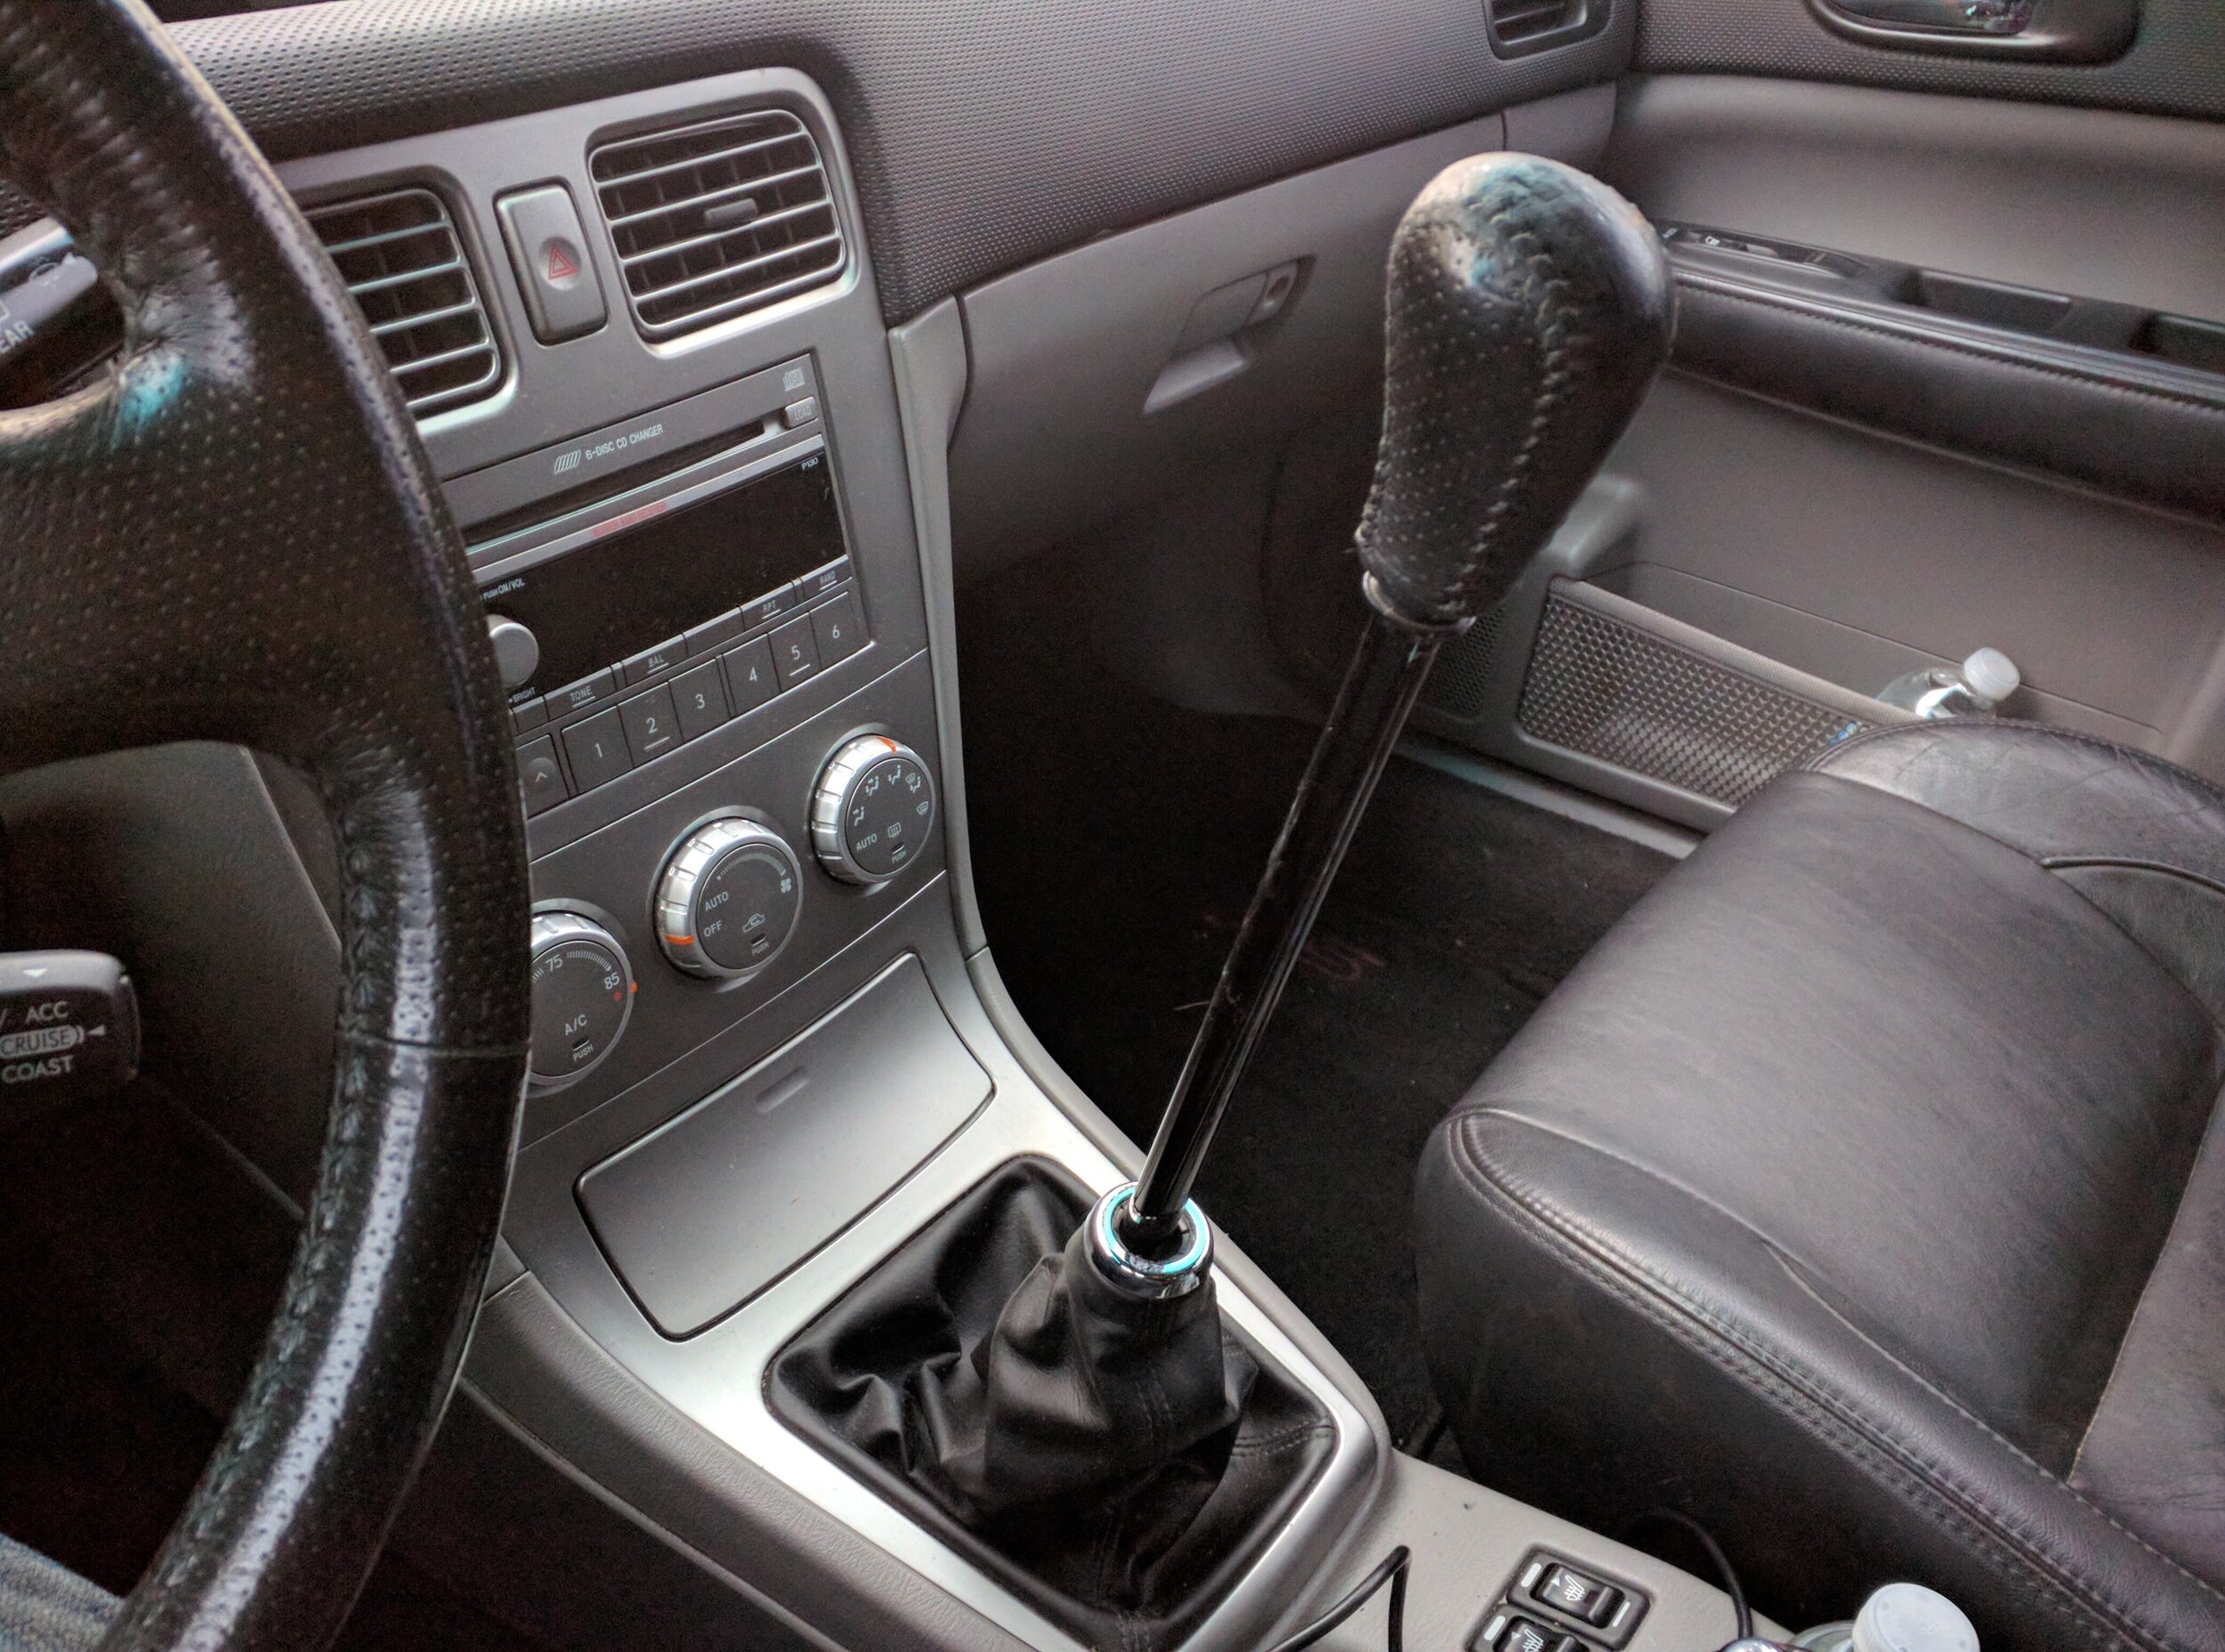
Not so stock! Sickspeed 10” shift extension review!

For a little more insight this is what it is like going from 1st to the 2nd.
The newest shift knob was a leather/metal 6 speed Sti knob from Subaru, chosen for it’s weight and style.. also if I wanted to swap it to the Sti it was ready to move! This plus the shift extension brought the lifted exterior styling inside, it also is a great conversation point for anyone who takes their first ride in my car.

Sti six speed shift knob. The leather has a great feel to it and the metal body gives it a nice weight and throw.
These additions were all installed within a coouple of months and gave my Forester a much needed upgrade after almost 200k miles of stock styling. But I wasn’t quite through with the upgrades, plenty of ideas were still swirling around my mind and I had just joined Instagram… Which was giving me plenty of new ideas and reinforcement of continuing the mods.

Enjoying the new setup and finding more places to just drive and shoot at!
Where to head next with the mods is the real question… Motor? Body work? Interior? So many things to do and so little time. Stay tuned and stop by for the next installment of the daily driver that should have stayed stock!
Amazon links!
Screw and speed nut set for mud flaps install.