Forester fender brace install! Giving your wet noodle of a chassis some refinement!
We all love our project cars and like to think grand thoughts like just how well built they are from the factory and just born to burn up the local track…. But sadly for most of us we drive the standard commuter version of our car. Don’t fret though, there are plenty aftermarket parts to fix up those factory weaknesses. That brings us to today’s part, Paranoid Fabrication’s fender braces!

What can this lovely piece of metal do for your car…? It’s simple looks hide how impressive it truly is.
Looking at most two point fender braces leaves you wondering how much improvement will you see, feel, etc…? Much more than meets the eye is my answer for you. After installing my first set of fender braceson my STi I was blown away by the added refinement to your car, it truly felt like a different car. Large potholes and bridge transitions that once shook your Subaru to the core now seem like small cracks in the asphalt. Your cornering is now much more predictable as your alignment angles stay put and keep your tires glued to the ground. All these and much more improvements will be discovered but first we need to install them on your Subaru.
Time Frame
With the tools below you should be looking around hour for both sides. This is definitly an install where the right tools make it doable or not, so make sure you are equipped! The chosen method through online voting was to leave the fenders on for this install. Fender removal would be a much longer install but much more straightforward.
Tools
We start with your favorite plastic clip removal tool(s), a flathead and phillips screwdriver can also be of help. Now for the specific tools that help you get into those very hard to reach places, a 14mm swivel headed ratcheting wrench and an adjustable 1/4 wrench with a 14mm shallow socket. These two tools will be your dream team.

Here are your big heroes, with these tools your install should be as easy as it can be.
Gearwrench 3/8” & 1/4’ ratchet set Gearwrench ratcheting wrench

This cheap set with the funny name has worked well for me over the last year. Utool trim removal tools

This or my Subaru spare tire screwdriver is never to far away. Makes life easy while being able to swap between either style. Stanley screwdriver
Parts
I choose these Paranoid Fabrications as they reminded me of the fender braces I have installed before and they met all my expectations. There are plenty other brands to choose from but this style will be covered below.

Two lovely pieces of shaped metal, stickers and bag of bolts and we are ready to improve your Forester.
Installation
There are two methods to do this and I went with leaving the Forester on the ground and just turning the wheel inward to gain some working space. Otherwise you can lift your vehicle and place it safely on jack stands, remove the wheel and gain even further working space.

Crank the wheel towards the side you want to start with for a bit of extra room.
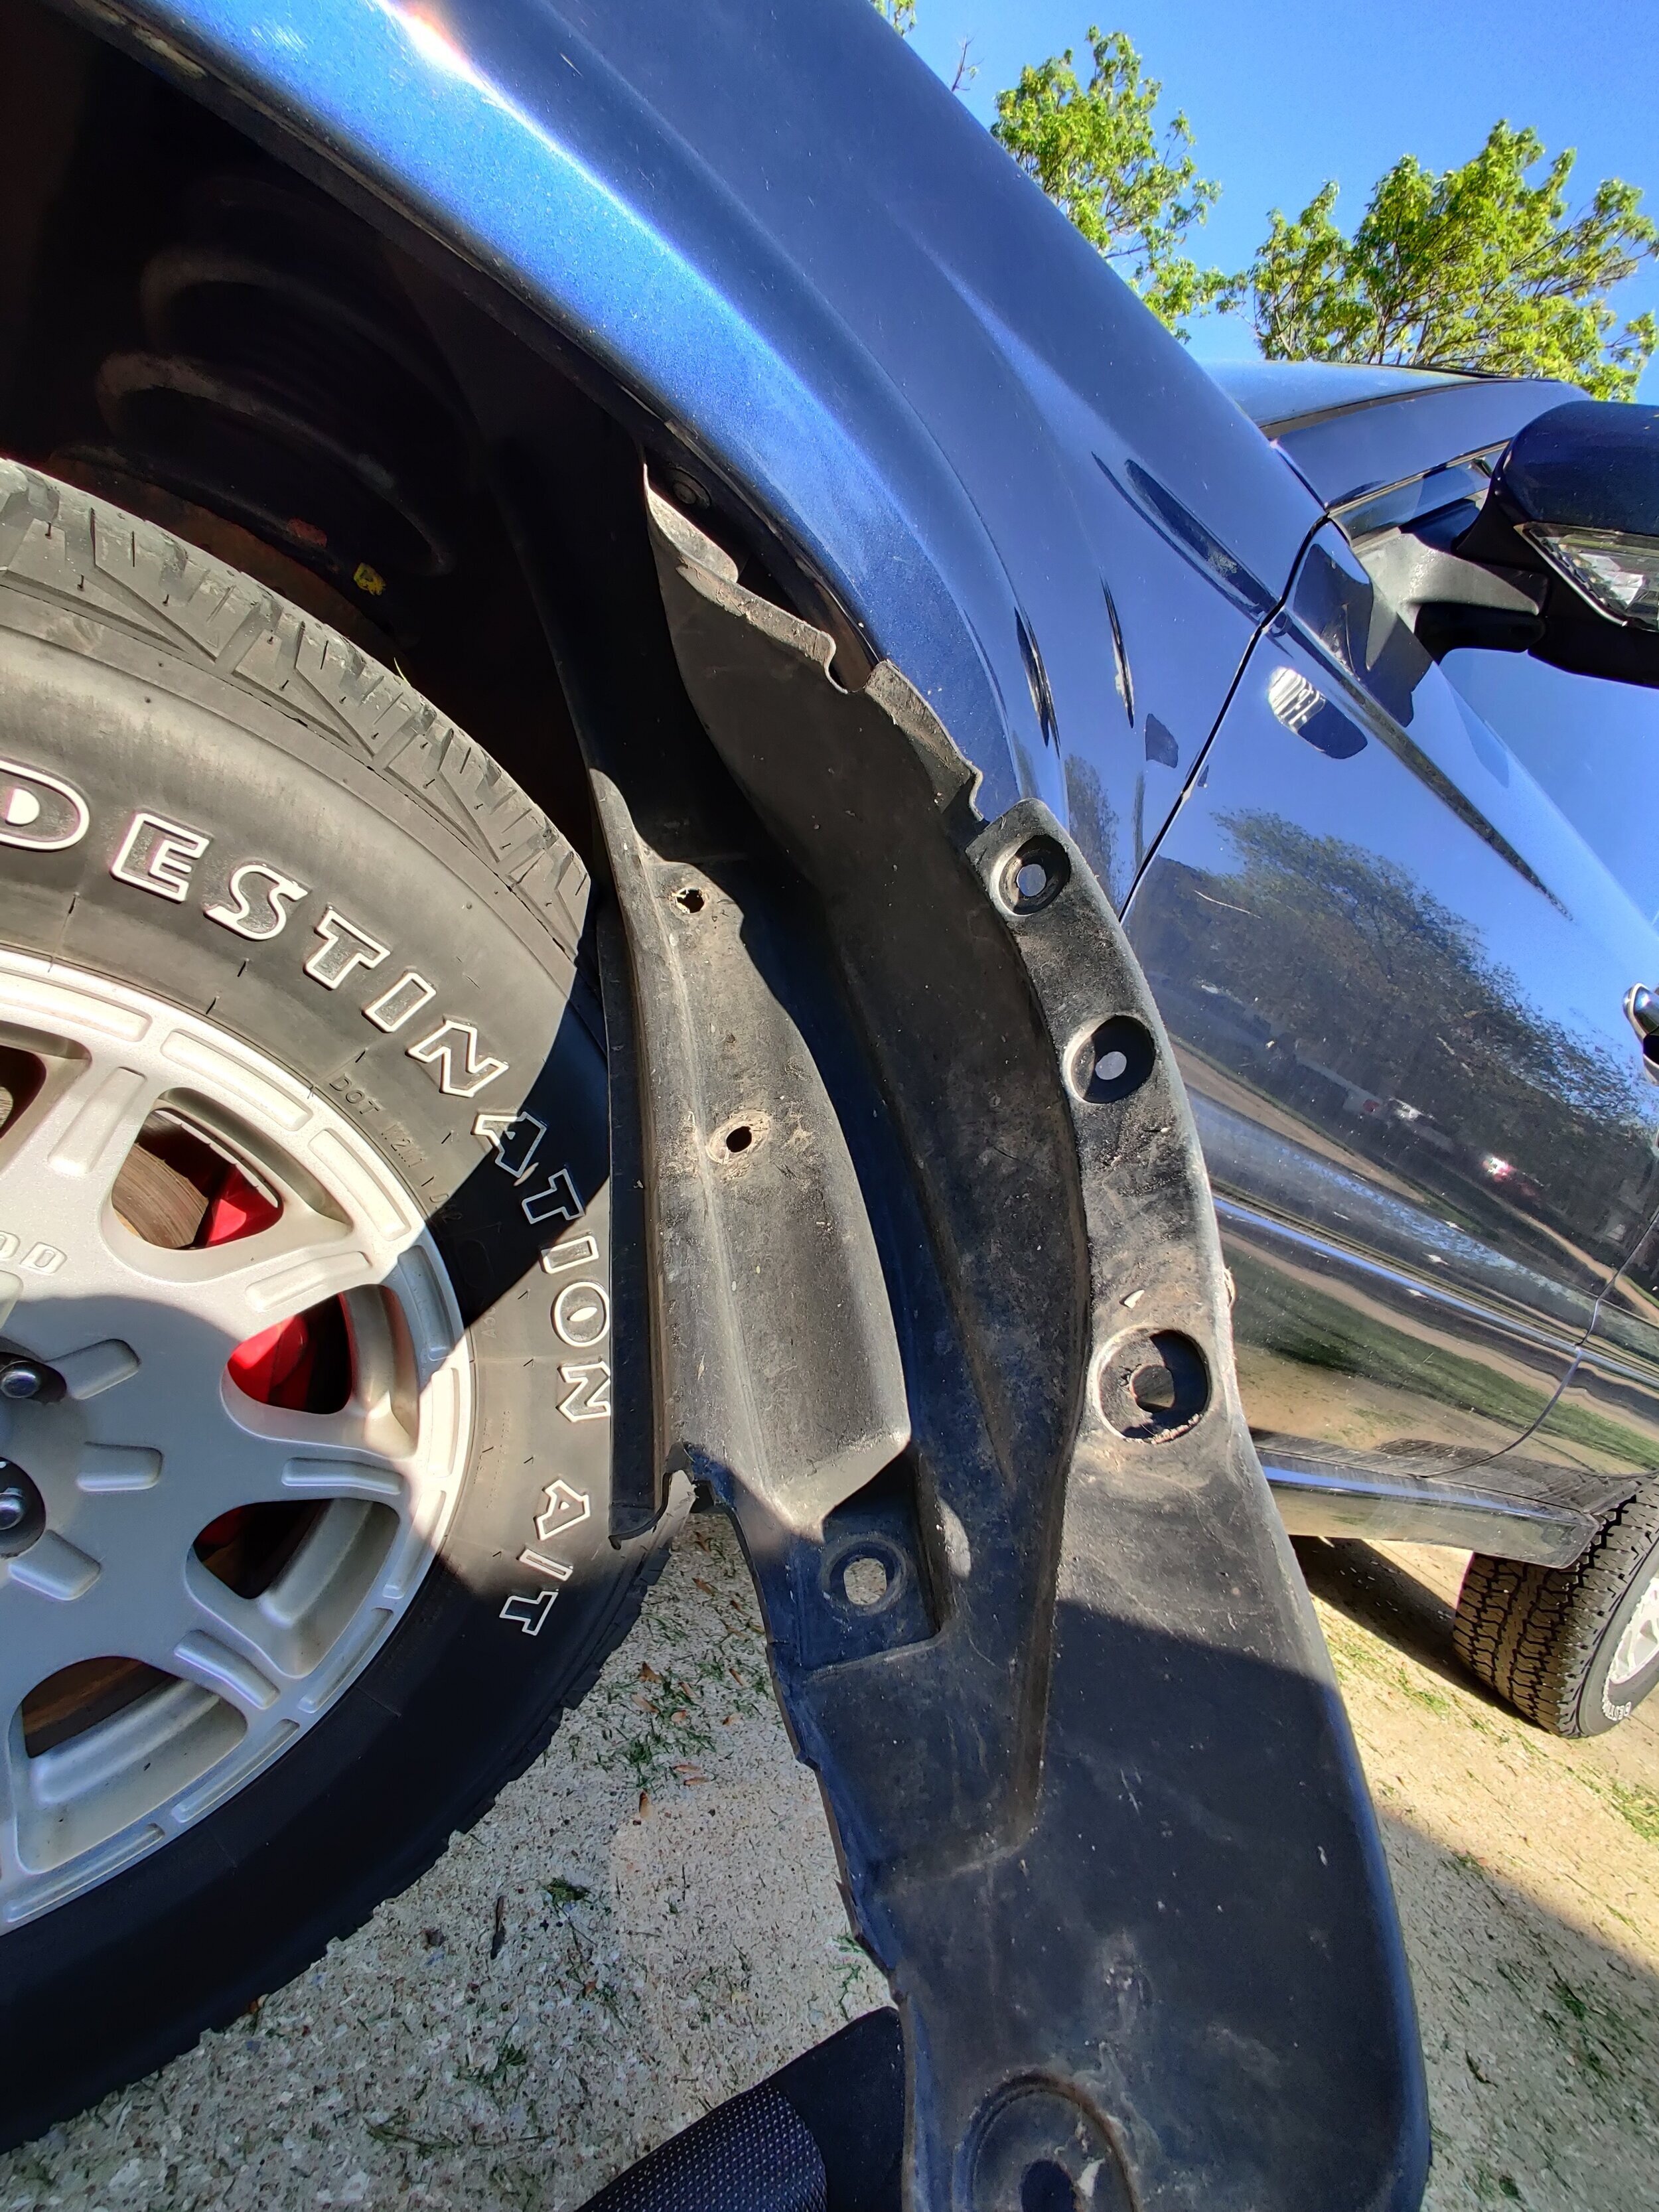
Now that we can see our target area we will start by removing the mudflaps, unless you don’t have any then you can skip this step. Then you should have a bevy clips that hold the fender liner to the back of the fender. Locate all those and remove them! Now you can slide the fender liner up and out of the way, if you want to go one step further you can fully remove the clips and 10mm bolt from the fender liner and set it to the side.

Here is where we start, the backside of the fender liner

Start where you like best but at a minimum you will need to remove all of these you see
My fender liners are newish and so they fold easily, if you have old fender liners they may easily tear when being folded. Be careful.
Having the fender liner out of the way you will now be greeted with leaves, grass, dirt, etc.. And behind that is a foam insulator for noise reduction, we will pull it straight forward which will remove it from the plastic peg that adheres it in place.

Next up is this sound deadening pad, it’s held on by one plastic stud.

Removed! It will likely come with quite a bit of dirt and other various pieces of earth

More dirt and debris to bring out.
You should now be able to locate the door hinges and in between those are two black stickers that cover the two rear bolts. With these removed we can now utilize them for the backside of the brace. I would start with inserting the lower bolt and then the upper bolt but just finger tight.

Wide shot of the sticker covers

Start peeling to find out if you are a winner!

Lovely clean threads ready for a fresh new bolt!

Finger threaded bolts to hold the brace up and check for the welded metal piece clearence.
We will move forward to the front bolt holes and once again use your fingers to start them in. Now you can double check your pinch weld that is located above the top rear bolt. If you can press it flat against the car, then you can start bolting it down. If not you will need to either fold down the pinch weld or trim off a notch to your fender brace. Since I had no intention of removing my fender, I felt notching the brace was the easiest answer.

Line up the front bolt and hand tighten it to hold the front end.

Needs just a bit more to get past the raised metal.
It’s time to bolt it down! I started with the lower rear bolt as it is the easiest to access and can be quickly installed with your ratcheting wrench. Next you can move to the upper bolt which can be accessed easily through your open door. Looking through the hinges you can easily use the ratcheting wrench again and tighten it down.

This is the best and quickest way to tighten the upper bolt in. Inside the fender you will run in to plenty of interference.
Moving to the front bolts you can once again use the ratcheting wrench on the lower bolt to install it. The upper front bolt is a tad bit more difficult as the fender and fender brace make tough to easily run the bolt down. With this I ran it down with my fingers and then ratcheting wrench and moved to the 1/4” ratchet to finish the job.

The front of the brace can be installed with the same technique, ratcheting wrench on the lower. Use the wrench to run the upper bolt in until it hits the bar of the brace, then swap to the ratchet.

Fully installed!
Now you can reverse your removal order and complete this side. Then using the same guide you can start on the other fender. With everything completed you can take a short drive to make sure everything is working without a hitch!
Congratz! You have completed your fender brace install without removing your fenders. You can now reap the benefits of your install, which are better turn in and a much more refined ride.
Amazon Tool Links!
Gearwrench 3/8” & 1/4’ ratchet set