Fluidampr crank damper install! A touch of smoothness for your rowdy boxer motor.
We all want our Subaru engines to last as long as possible and with that we often seek out products that not only add power but also hope to increase engine longevity/reliability. But when we add power or track our cars our engines are experiencing higher cylinder pressures and more vibration and stress. While the stock damper can contend with stock power levels you have to remember it is made to get the job done but for a price, so pushing it harder can easily expose weaknesses.
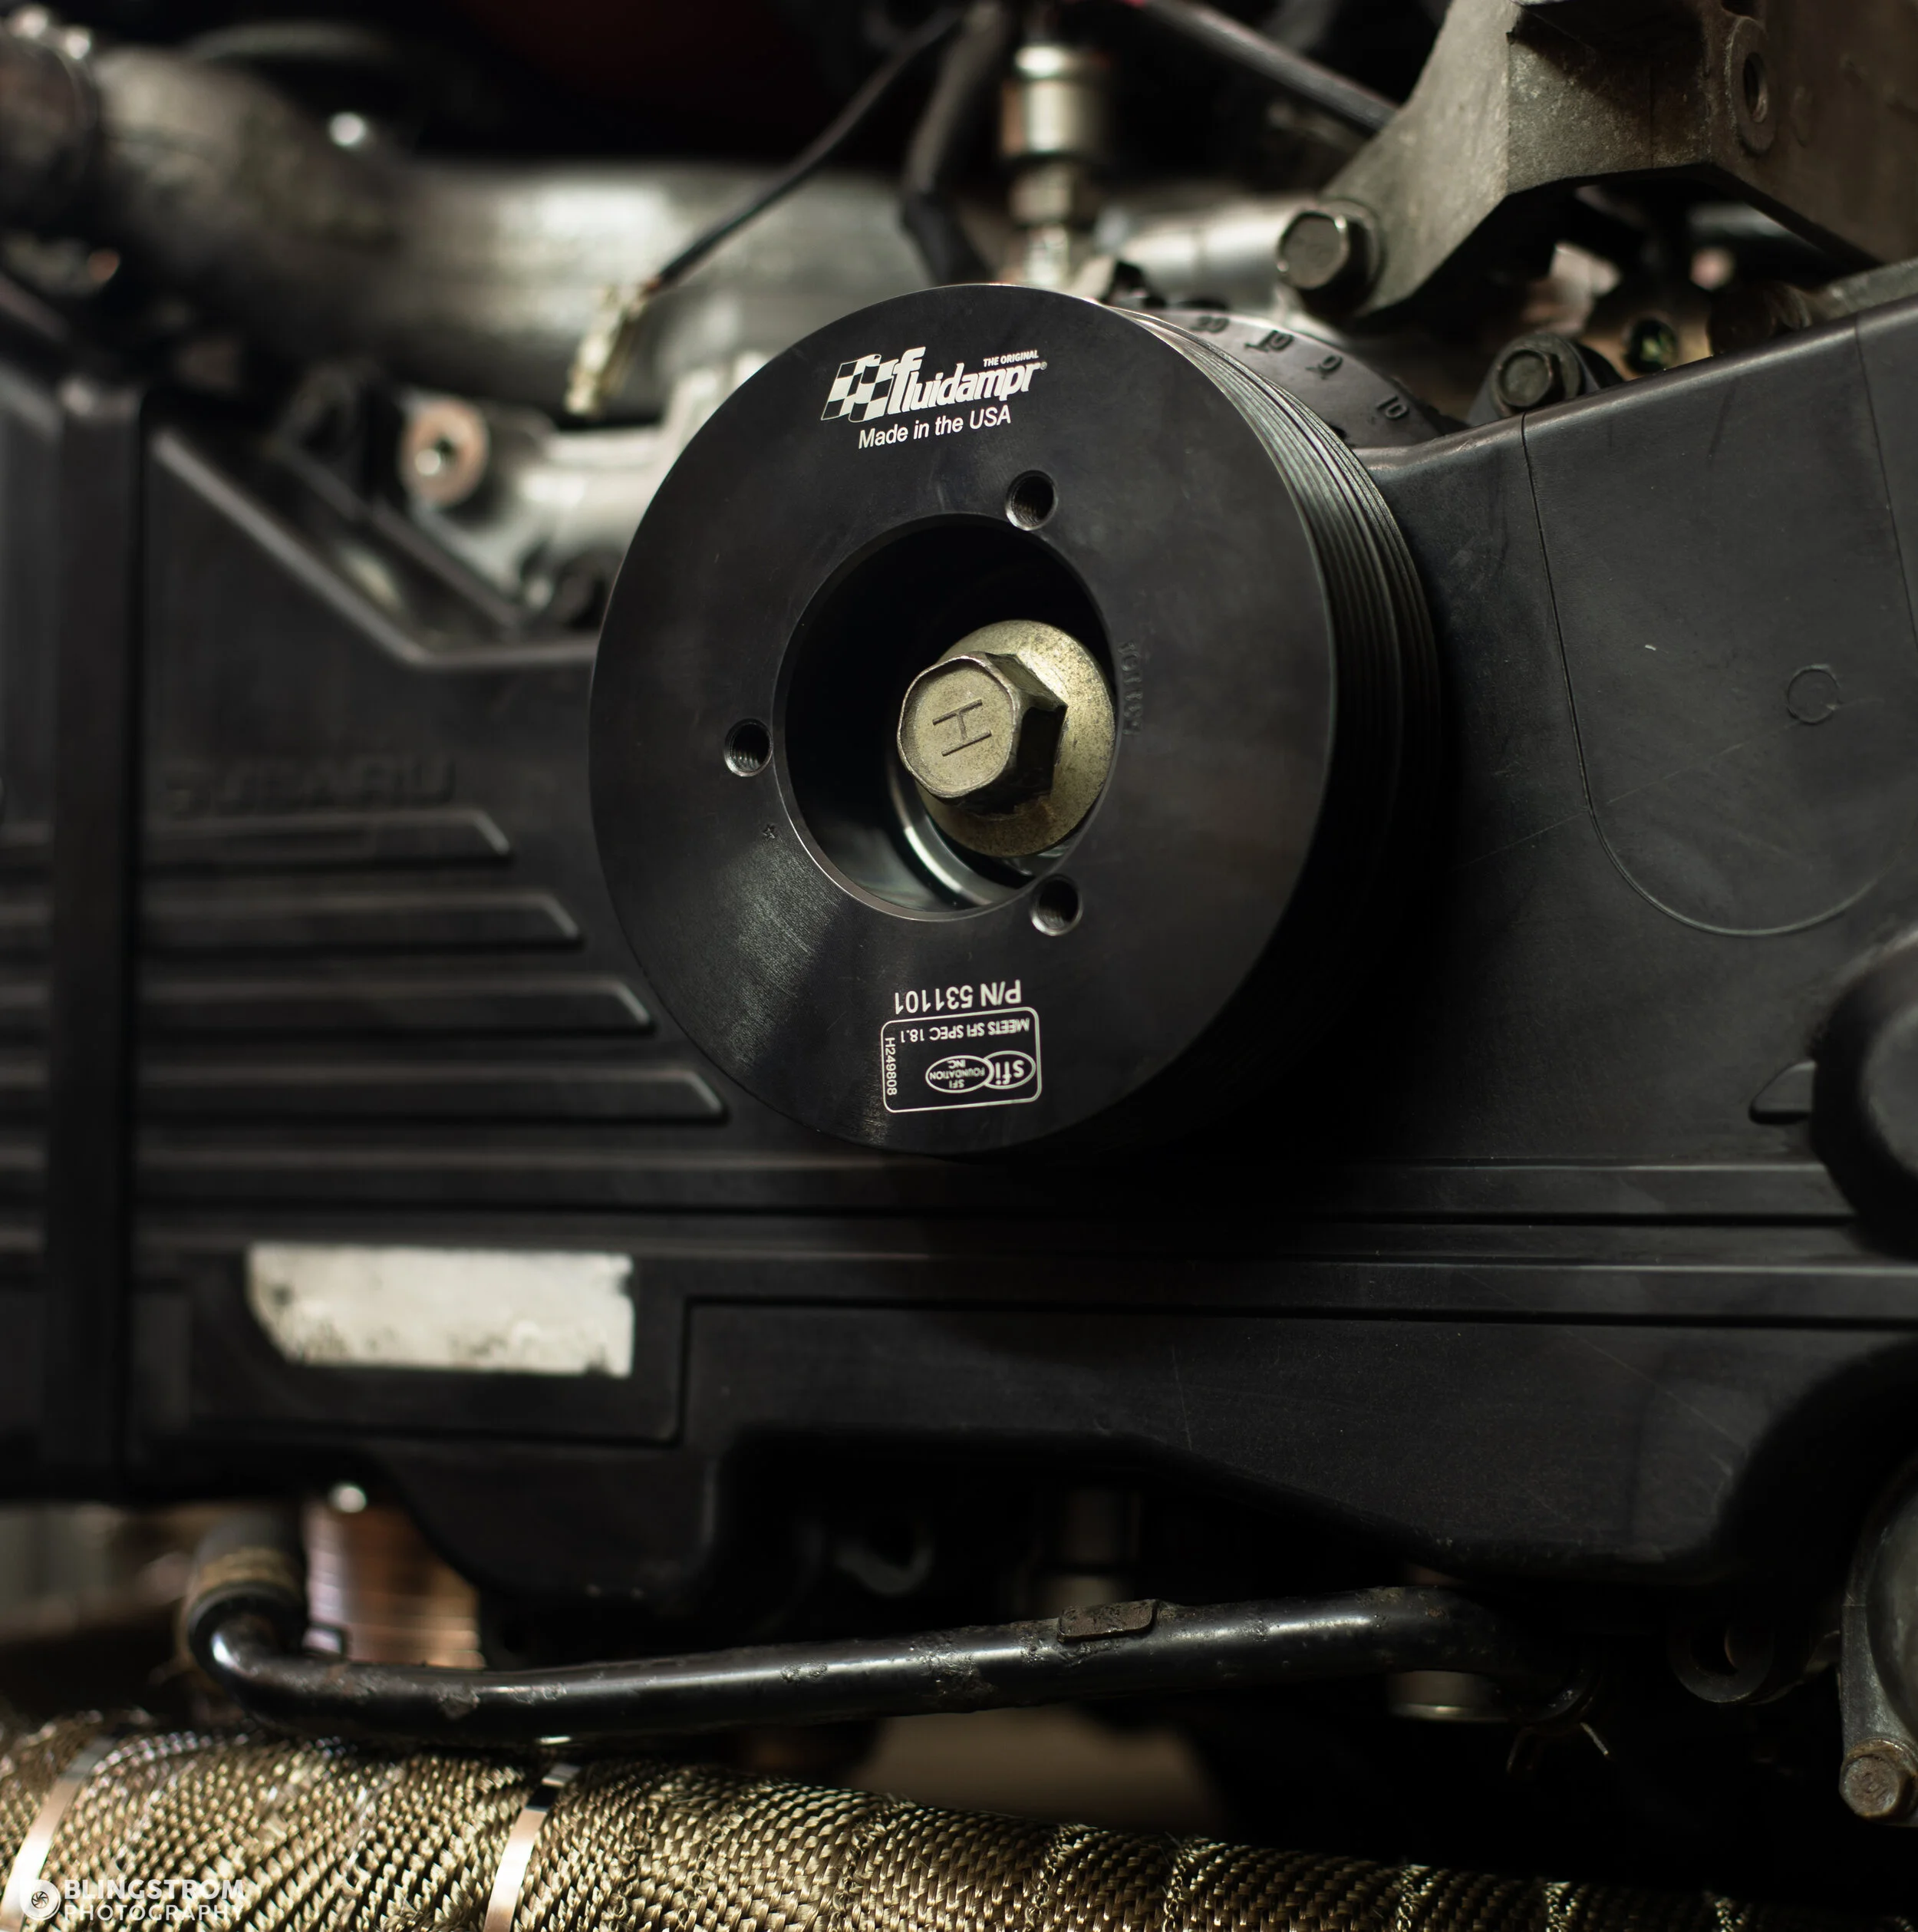
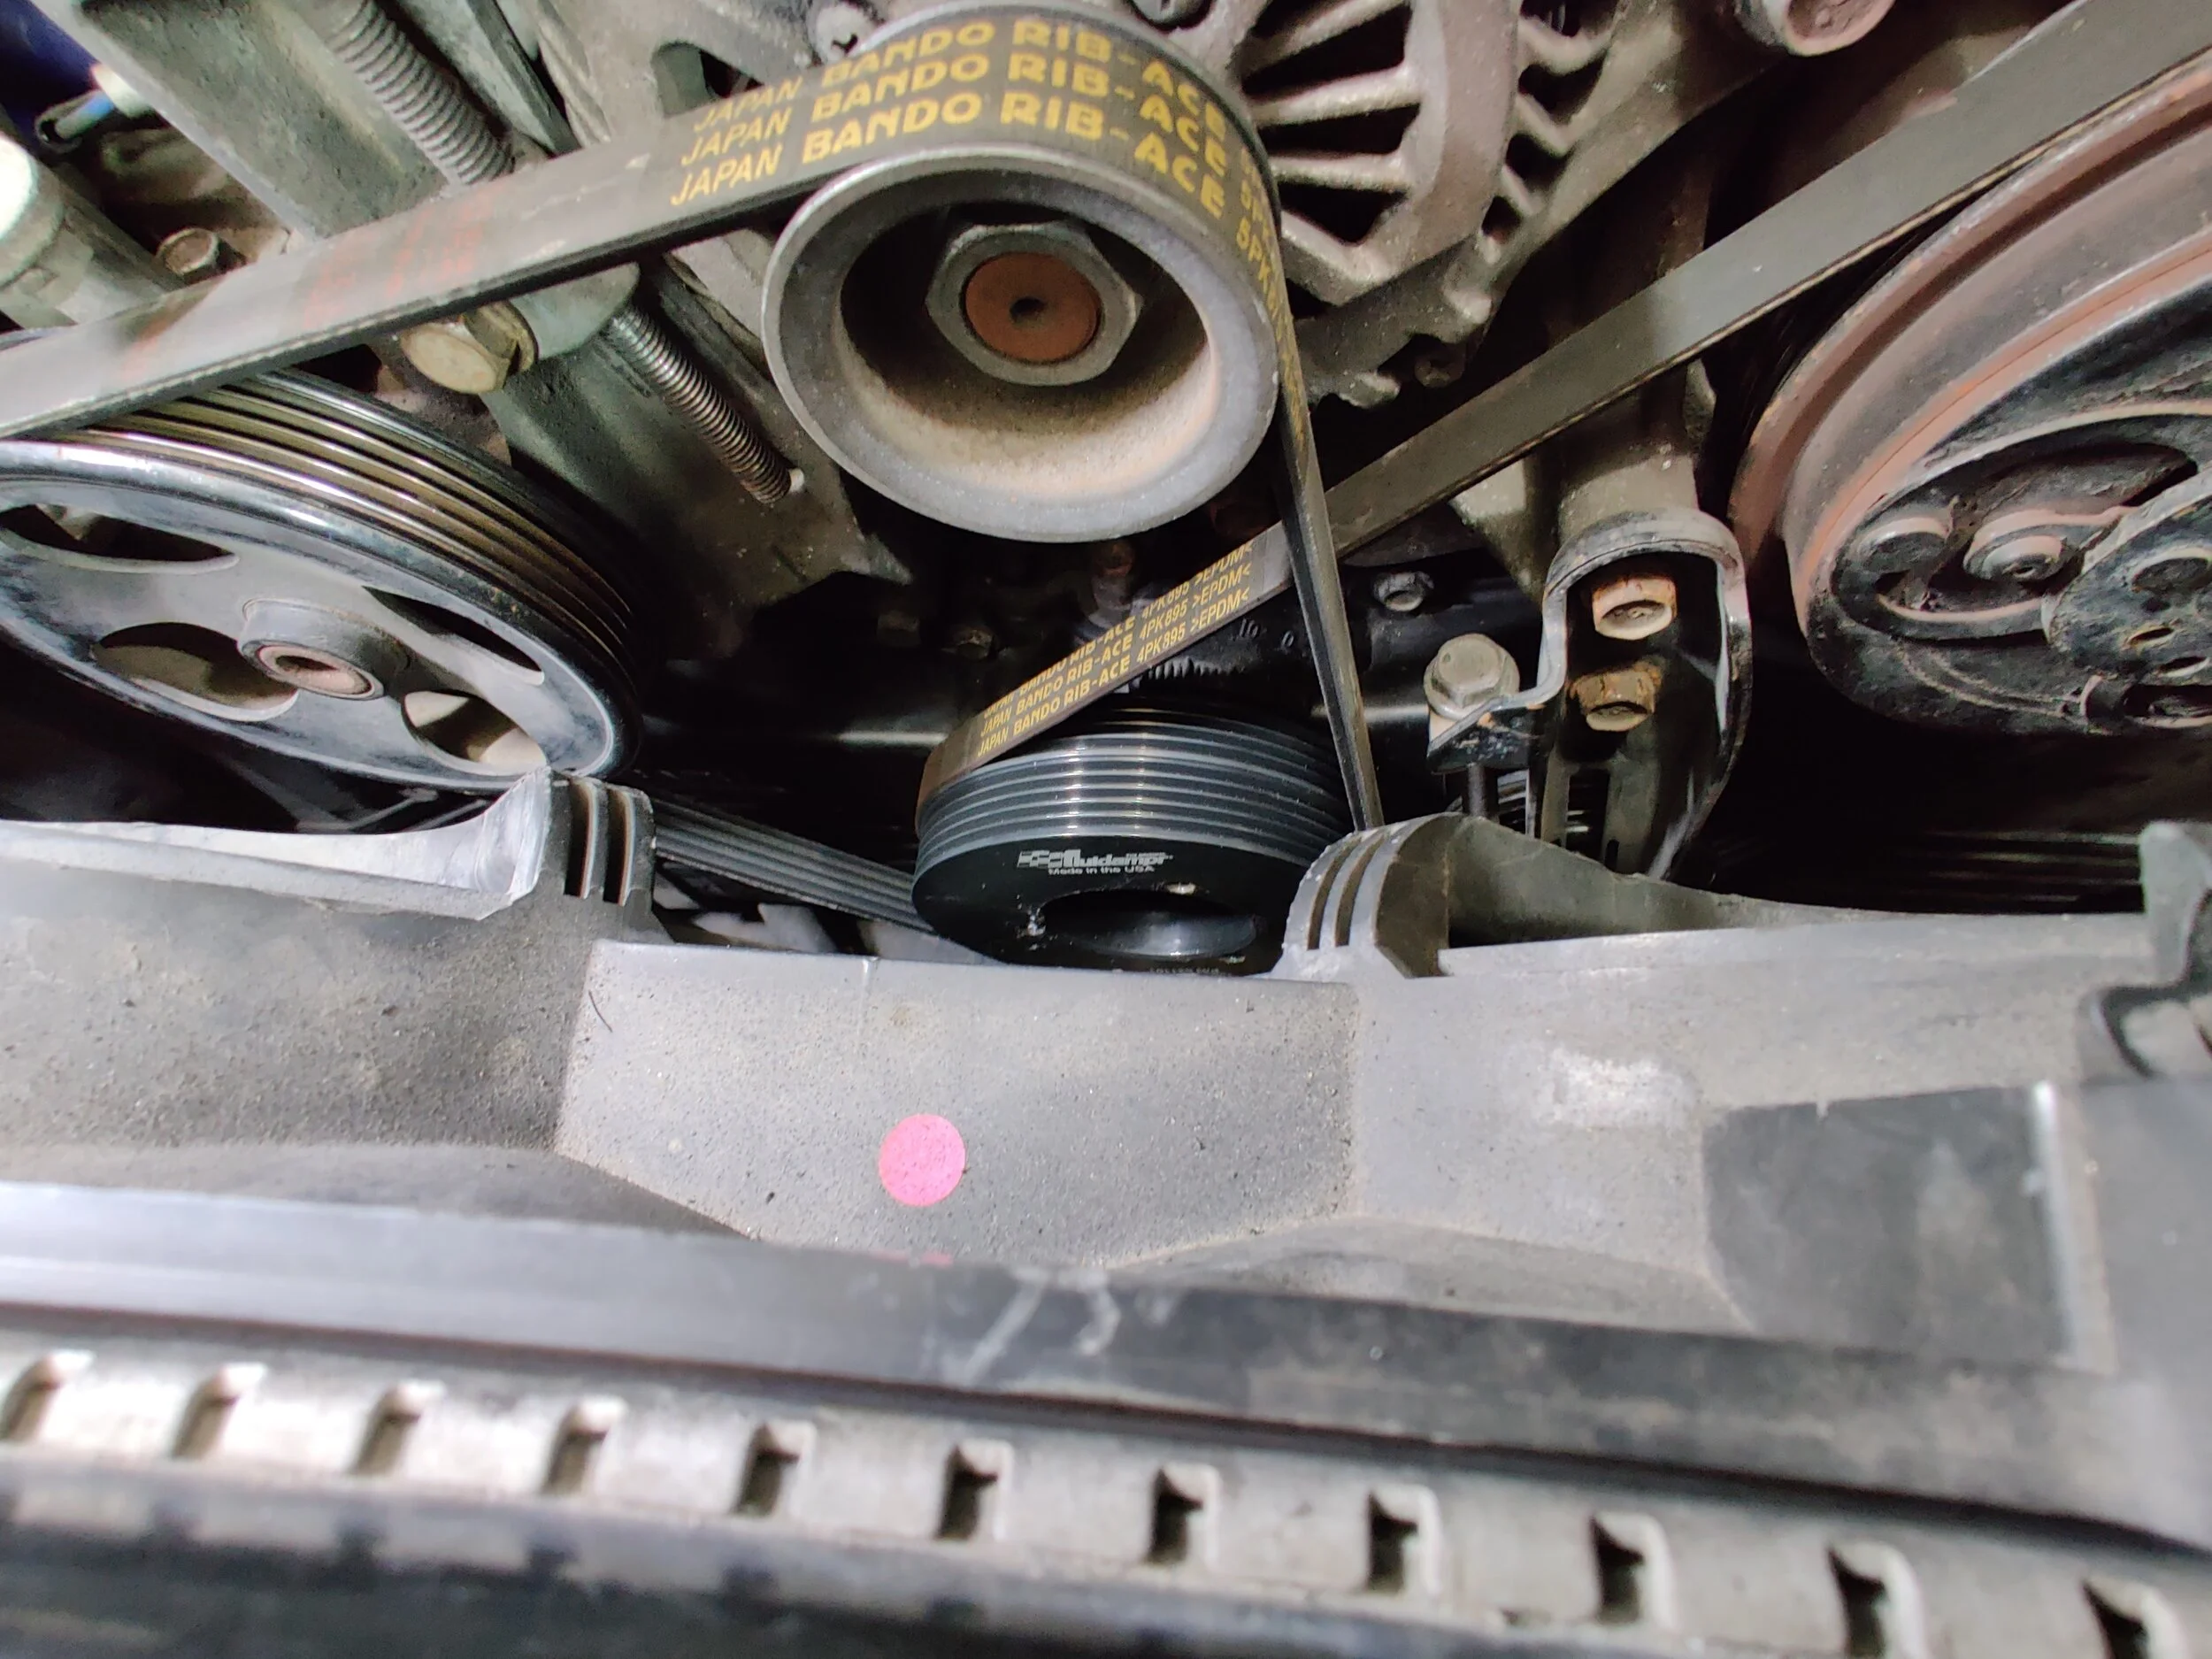
Fluidampr just adding a touch of class to the crank snout.
That brings us to our installing product of the day, the original damper… Fluidampr! Filled with a heavy weight viscous goo the Fluidampr helps smooth out those crankshaft vibrations to help smooth out your vehicle at all ranges of the rpm band. Countless race teams have used Fluidamprs alongside many other vibration reduction products showing you just how important it is to smooth and steady even at the race track. So let’s see what it takes to plunk this onto your Subaru engine bay!
Time frame
For this project I would set aside around two hours for this. If you have an extra timing cover and can prep ahead of time it can speed up the process.
Tools
Your favorite ratchet or electric ratchet alongside your very special 10mm that you keep in a lock box close to your heart will be necessary. You will also need a 12 and 14mm socket for the accessories. Next on your list will be a 22mm socket with your breakover bar. Then a Company 23 or an oem crank pulley holder. That should be everything for removing the oem crank pulley and timing covers. Your trusty torque wrench will be needed for finishing the installation of the Fluidampr.
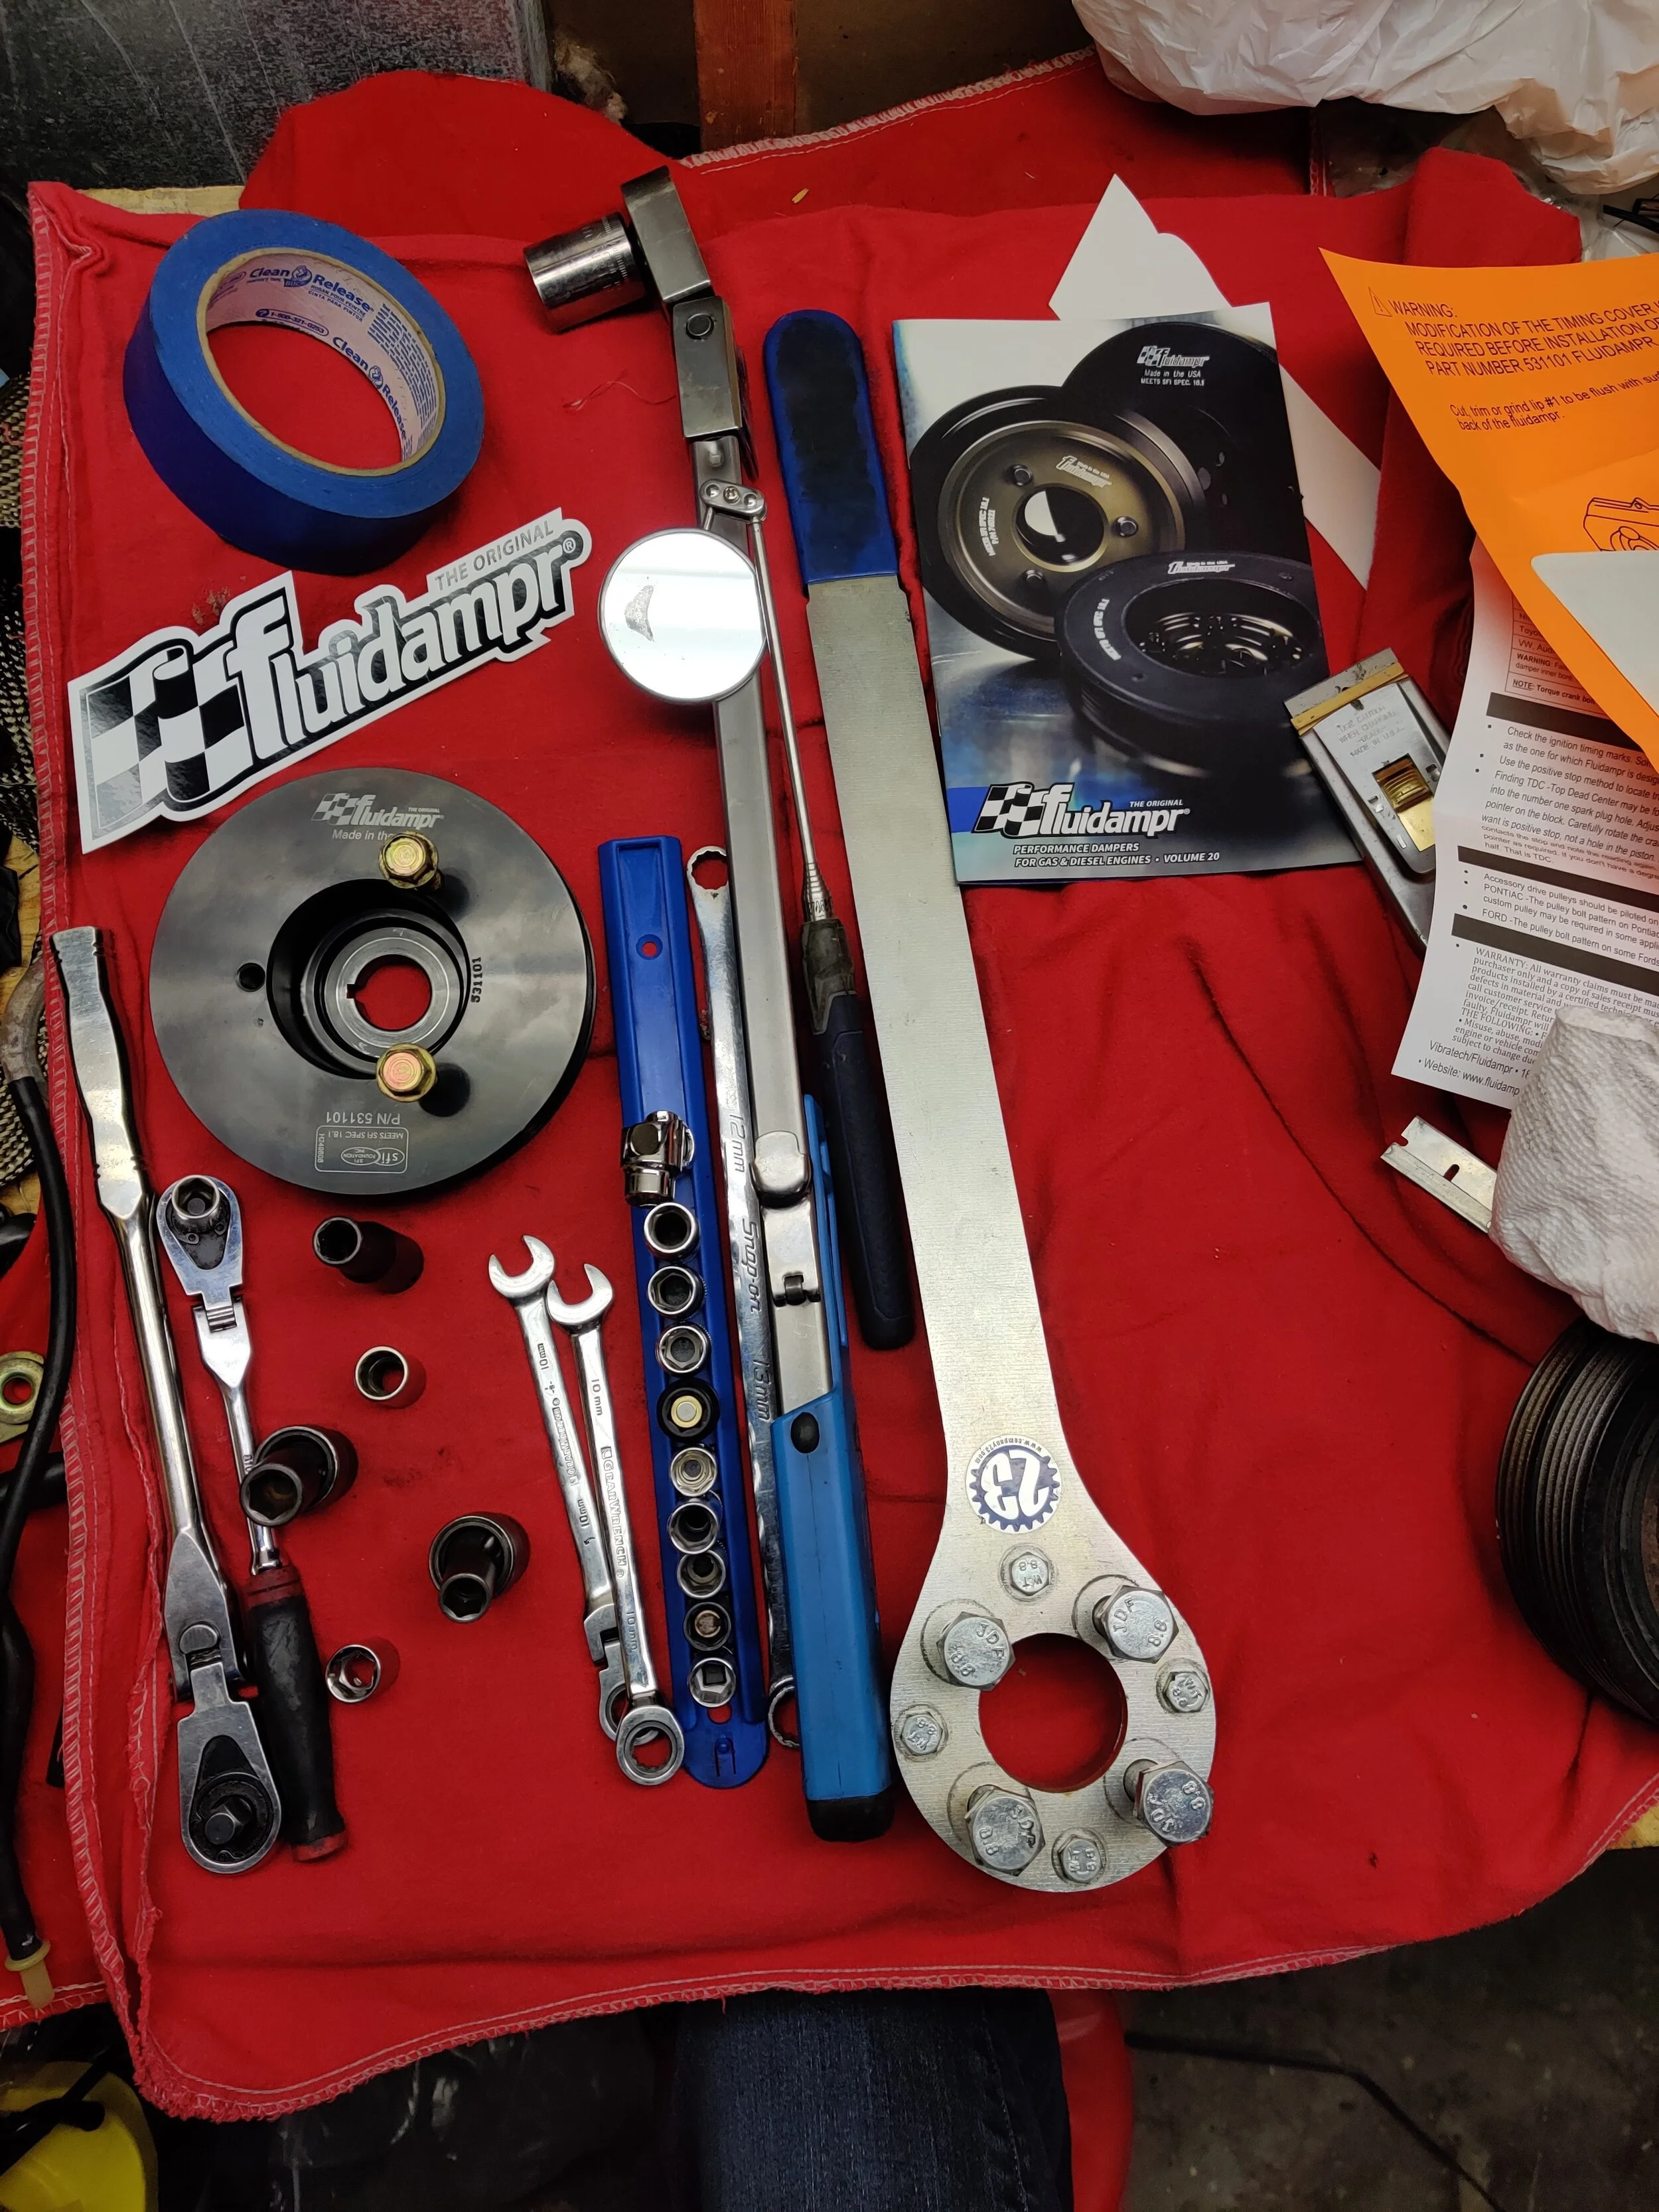
Precision torque wrench Pry bar set Gearwrench 10mm set Grey pneumatic socket set Company 23 crank pulley holder Gearwrench ratchet set
Milwaukee 3/8 ratchet Is an excellent addition to this list, mine was being repaired at this time.
For installing the Fluidampr we will need two bolts, painters tape and a prybar. For modifying the timing belt cover we can use a small saw and razor blade.

Chop chop! The oem cover will need a bit of work to accomdate the Fluidampr.
Parts
Like the title states we need a Fluidampr for our EJ engine. You can also order an extra center timing belt cover if you like, this will allow you to prep it prior and have it ready to go. Fluidampr for Ej25 part number 531101

Ready to run! Fluidampr 531101

Subaru timing belt cover You don't need an extra but it's nice to have it ready to install.
Installation!
First we will need to find a flat area to park on and chock the wheels. Next the hood goes up and we will locate our crank pulley. Remove any air ducting that might be in your way.

The excavation mission of the oem damper begins here! It's pretty crowded down there…
For this install we are working on my 06 Forester Xt and we will need to remove the our coolant overflow tank followed by the two radiator fan electrical connectors.

Overflow hose removed and the tank is just two bolts away from coming out.

Down deep on the passenger side resides the fan connection.

Driver's side is dead center of the fan.
The radiator fans can just barely sneak out without removing the upper radiator hose. Undo the 3 screws that hold it tight to the radiator and undo the overflow hose. If you are struggling you might just want drop a pan for coolant and pull the radiator hose. A single separated fan setup should be much easier than the two combined into one shroud.

Three 10 mm screws hold the fans in place. It's a very tight removal for the fans when leaving the upper radiator hose on.

Just takes a bit of finesse and the fans are out! The singke fans should be much easier to remove.
Now is a great time to go right ahead and break the pulley bolt loose with belts attached. This will give a bit more resistance to hold it in place while using the Company 23 crank holder tool. Once the bolt breaks free just leave it for the time being.
Going back in, this time with a hair more room?

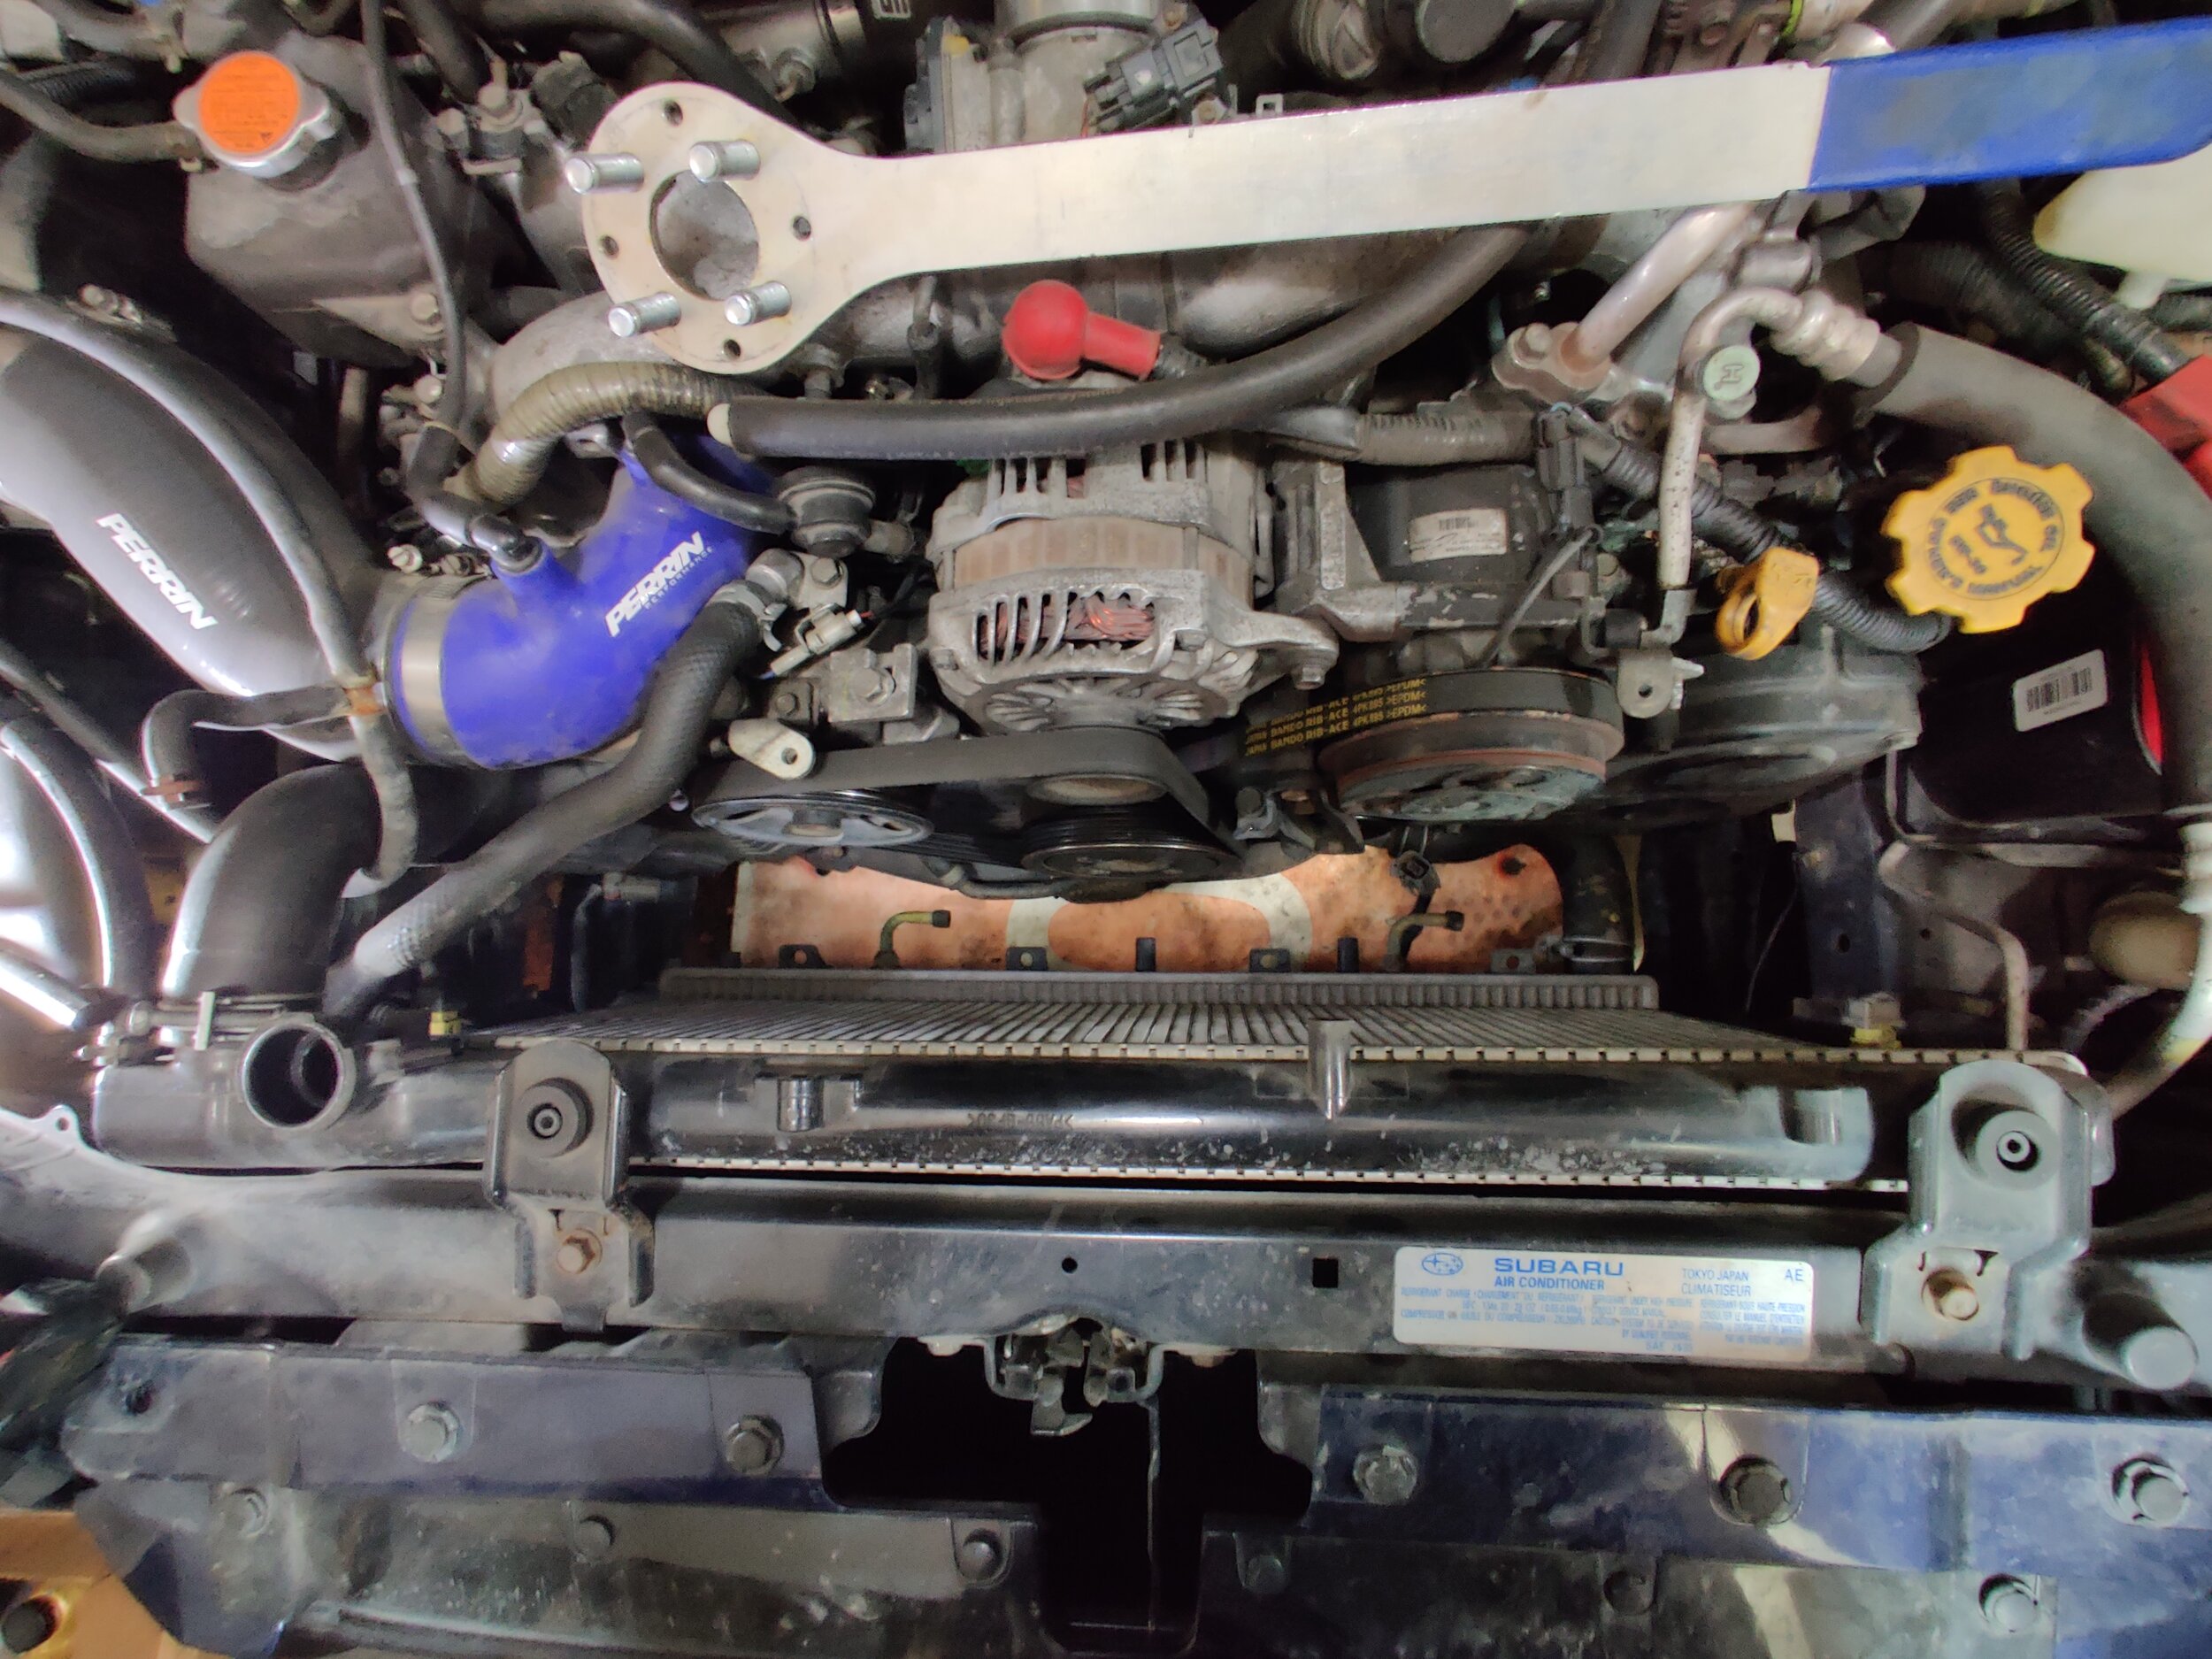
Company23 makes holding the pulley still a breeze.
With the pulley bolt loose you can now remove the belts to allow the damper to be removed. The power steering/alternator belt is up next, using your 12 mm you can loosen the right side bolt of the alternator that bolts to the A/c bracket. Now you will loosen the lower bolt on the belt tensioner and then spin the belt tension bolt up to free the belt up and you can set it to the side.

Next up is the power steering tensioner. Loosen the lower bolt then on to the top.

Break this bolt free to allow the alternator to pivot and the belt is free.
Having dealt with the power steering belt it’s off with the A/c belt tensioner. Break the 12 mm bolt that cinches down the tensioner pulley, now you can spin the pulley up to free the belt up. Lastly remove the two 12 mm bolts that hold the bracket on and you can now set it to the side.

On to the A/c tensioner and bracket. Once again loosen the lower, then you can spin the bolt out to remove belt tensioner.

With the two bracket bolts removed it comes right out.
You can now finish the job of removing the crank damper bolt. If the damper won’t come out easily, I leave the damper bolt in by just a few threads while I work it from side to side to slide the damper off, another helpful tool is a deadblow mallet. It isn’t pressed on but it is a very tight fit.

And this is your new sight with the damper removed.
With the timing belt covers in full view we can now start removing all three of them. The cam covers on each head will need to come off first. The Driver’s side has four 10mm bolts while the Passenger side has three 10mm bolts. Once they are removed you can slide both covers right off.

Driver's side has four 10mm bolts

Passenger side only has three, couldn't get a good in car photo.
The center cover is next, five bolts reside on the upper portion and three along the bottom. All these bolts are 10 mm once again and once they are removed you can slide off the center cover. Make sure the two rubber seals come with it, you don’t want those falling off into the timing belt area and ruining your day.

Lower cover is ready to go in. The lip has modified to accept the Fluidampr.
Having the center cover in hand you can now take your course of action to remove the raised lip section that resides behind the factory damper. This is necessary due to the design differences between the Fluidampr and Oem damper.

This is the lip.

Trimmed down and ready for the show
I have always been a make due with what I have laying around kind of guy. Looking through my various tools I decided to use a mini hacksaw and straight razor to do the deed. I used the saw to cut notches into the raised lip that are even with the flat section. Then I scored around the base of the lip and now you just need to wiggle them a bit and they pop right off. There are plenty other ways to do this, but this was an easy way for me with tools I had around.
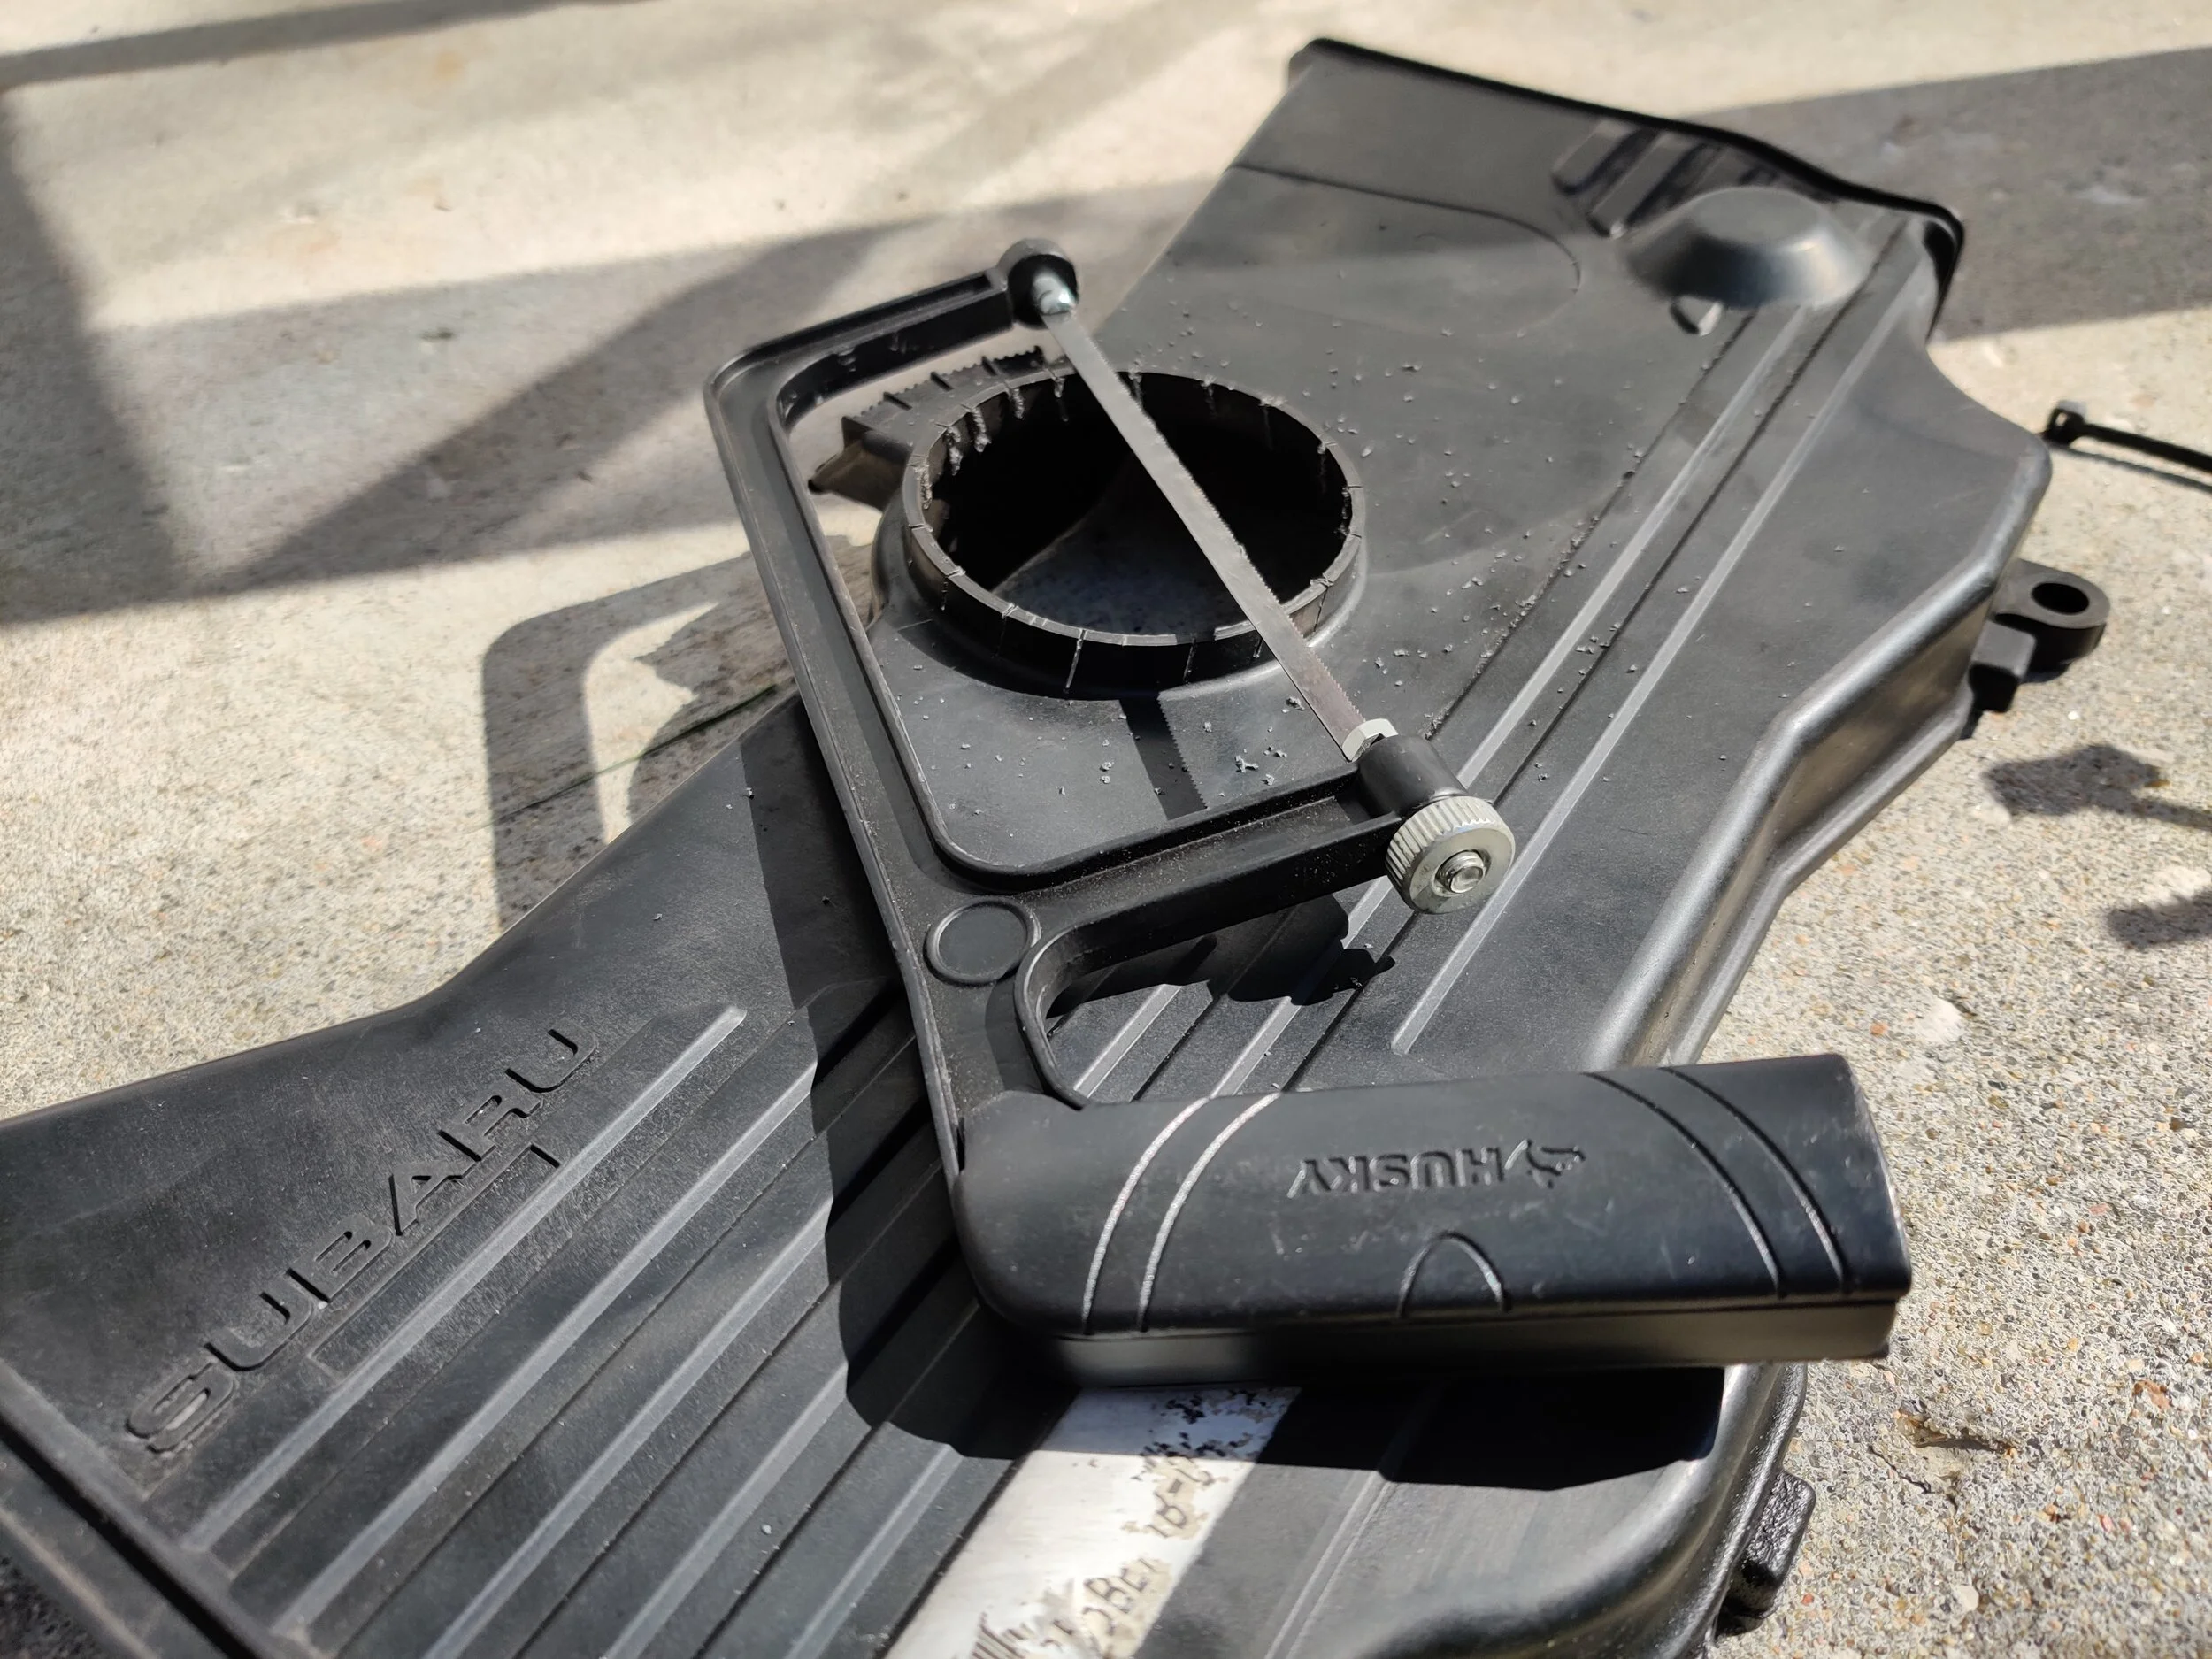
With my small hacksaw and hand it’s time to take care of business

Make as many cuts as you can, then score the base with a exacto knife. Then a few wiggles like a loose tooth and they pop right off.

Finishing it up.

Completed!
Now the downfall of the Fluidampr… the Company23 crank holder won’t hold the three hole setup. I decided to use a couple of bolts threaded into the Fluidampr’s holes, then I plastered painters tape all over the front to keep it from being damaged while installing it.

Find a couple decent sized bolts to thread in fully. Then start the taping to protect the Fluidampr.

All taped and ready to head into the engine bay.
Having the timing cover modified you can now install it followed by the cam covers. Once again make sure your timing cover seals are locked in place with one another and your rubber seals are in place.

New timing belt cover ready to go on
Using a pry bar you can now hold the damper in place while torquing it down. Now you can remove your tape and gaze upon the lovely black zinc finish.

Holding it steady to allow for the proper torque value.
To finish up your project you will follow the above steps in reverse to put the belts and tensioner back on. Then on to fans(make sure they pop into the lower holders), fan electrical connectors and lastly bolting in the overflow tank and hose.

Getting close to being finished!
Warm and cozy deep within the engine bay.
Double check that all your connections are in place and everything is clear of the belts, fans etc and you can give the car a start! With a quick look under the hood that everything is in working order you can commence to a short test drive.
Congrats your Fluidampr has been a success! You are ready to enjoy a smoother boxer at idle and every rpm to redline! Your crankshaft and bearings also thank you for thinking about them!
Amazon part links!
Fluidampr for Ej25: Part number 531101
Amazon tool links!
Company 23 crank pulley holder
Gearwrench ratchet set
Grey pneumatic socket set
Milwaukee 3/8 ratchet