Forester window motor/regulator replacement! You can now return to your favorite drive-thru!
Everyone loves a nice drive on a spring are fall day with the wind rushing through the car. But what happens when you go to roll that window down and it starts then stops midway down or perhaps nothing happens at all? The most common issues will be a bad switch, motor or regulator.

Nobody likes a nonworking window… So let’s figure out how to replace it and get your window back up or down!
With a bad switch you will likely have no operation or intermittent operation when the contacts find that sweet spot. In my Subaru career I haven’t seen many bad window switches but it’s always good to check before you buy a new part hoping it will fix the issue. Up next are the regulator which is a linkage that transfers the power from the motor to slide the window up and down. If this linkage is binding it won’t allow the window to travel up and down. The regulator can also break causing window to be unmovable or it may even just drop the window into the door.
Having all the above guidelines can help you figure out what might be going wrong with your window. If your regulator or window motor appear to be the problem at hand let’s see what it will take to replace it.
Time Frame
I would allow yourself an hour for this, perhaps an hour an half if this is your first time. If your window is unable to roll down the window you might need another half hour.
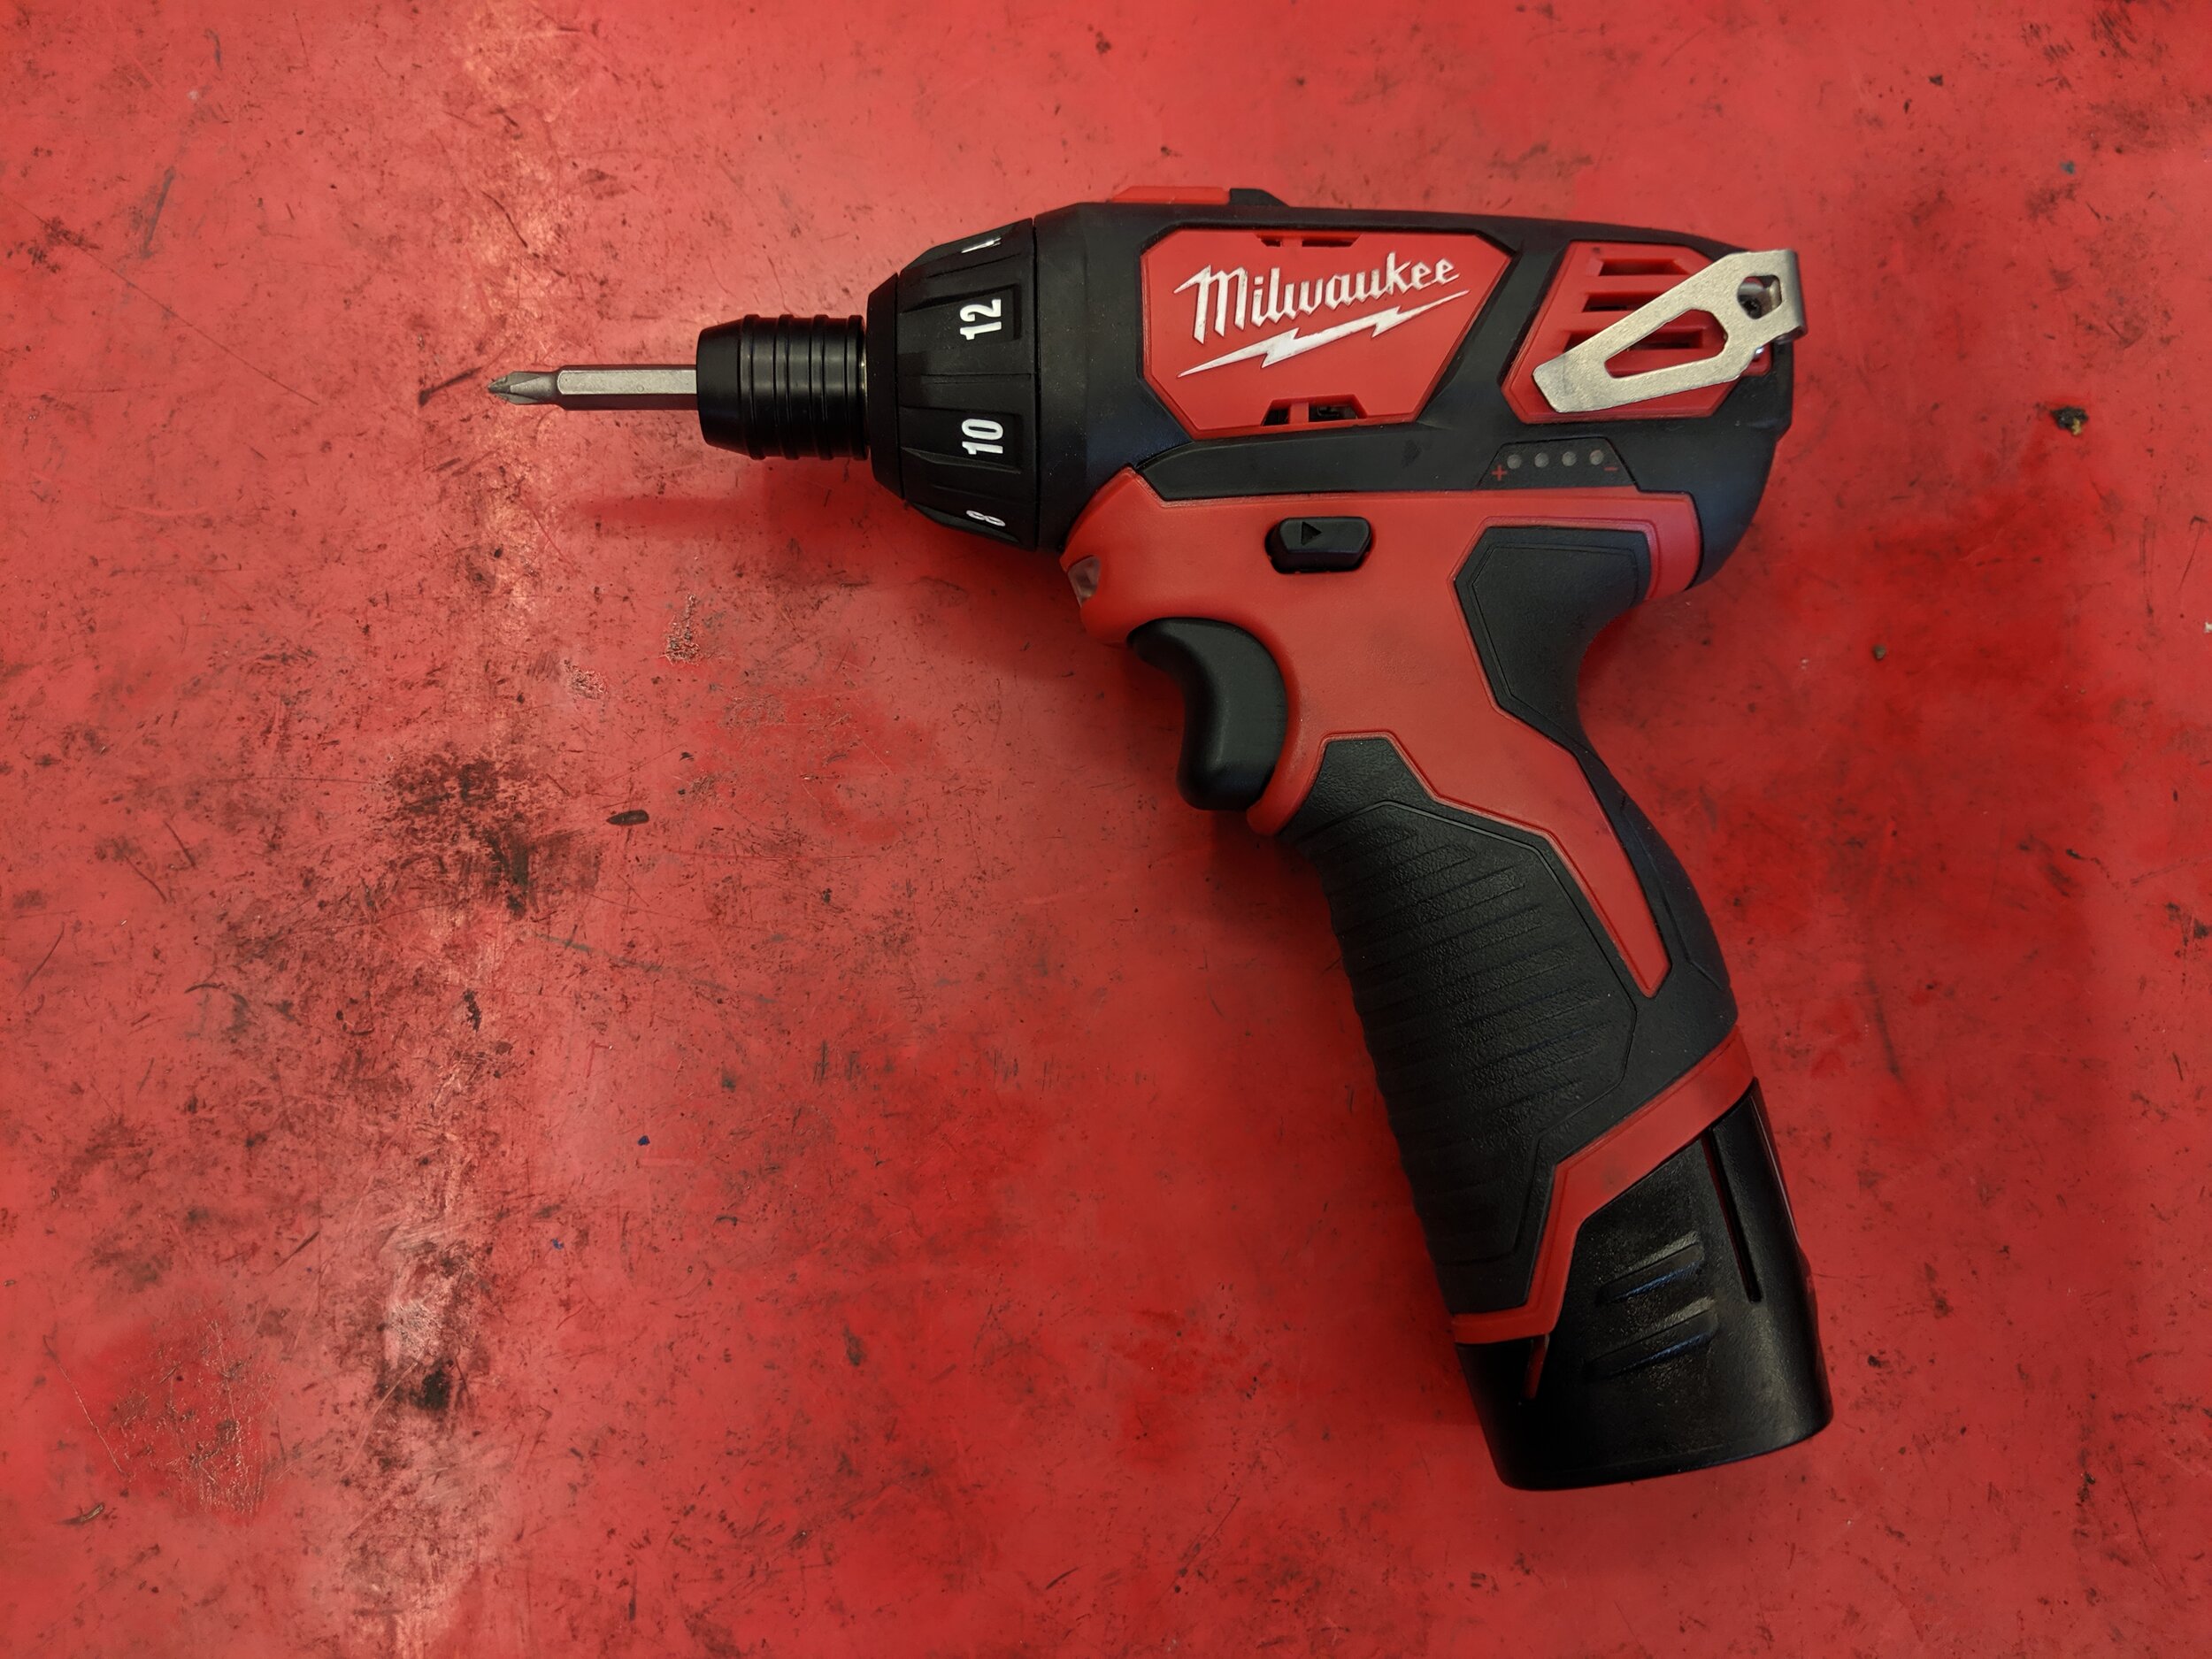
Tools
A screwdriver or electric screwdriver will be necessary. Others will be a ratchet or electric ratchet and socket set.


Parts
If you are just interested in replacing the motor, that will be all you need!


For those that want to replace both the regulator and motor, here is the regulator part number,


Installation
Finding a nice open area where we can fully open your door is the best place to start. Next if you can roll the window down, this will help you out immensely.

Door open and ready for surgery!
With the door open we can take our screwdriver and undo the screw that resides within the door grab near the window switches.

One screw holds the door card on, it is just below this cover.
You can now pull up on the switch panel and remove the connections and set it to the side. Now you can remove your mirror or tweeter cover.
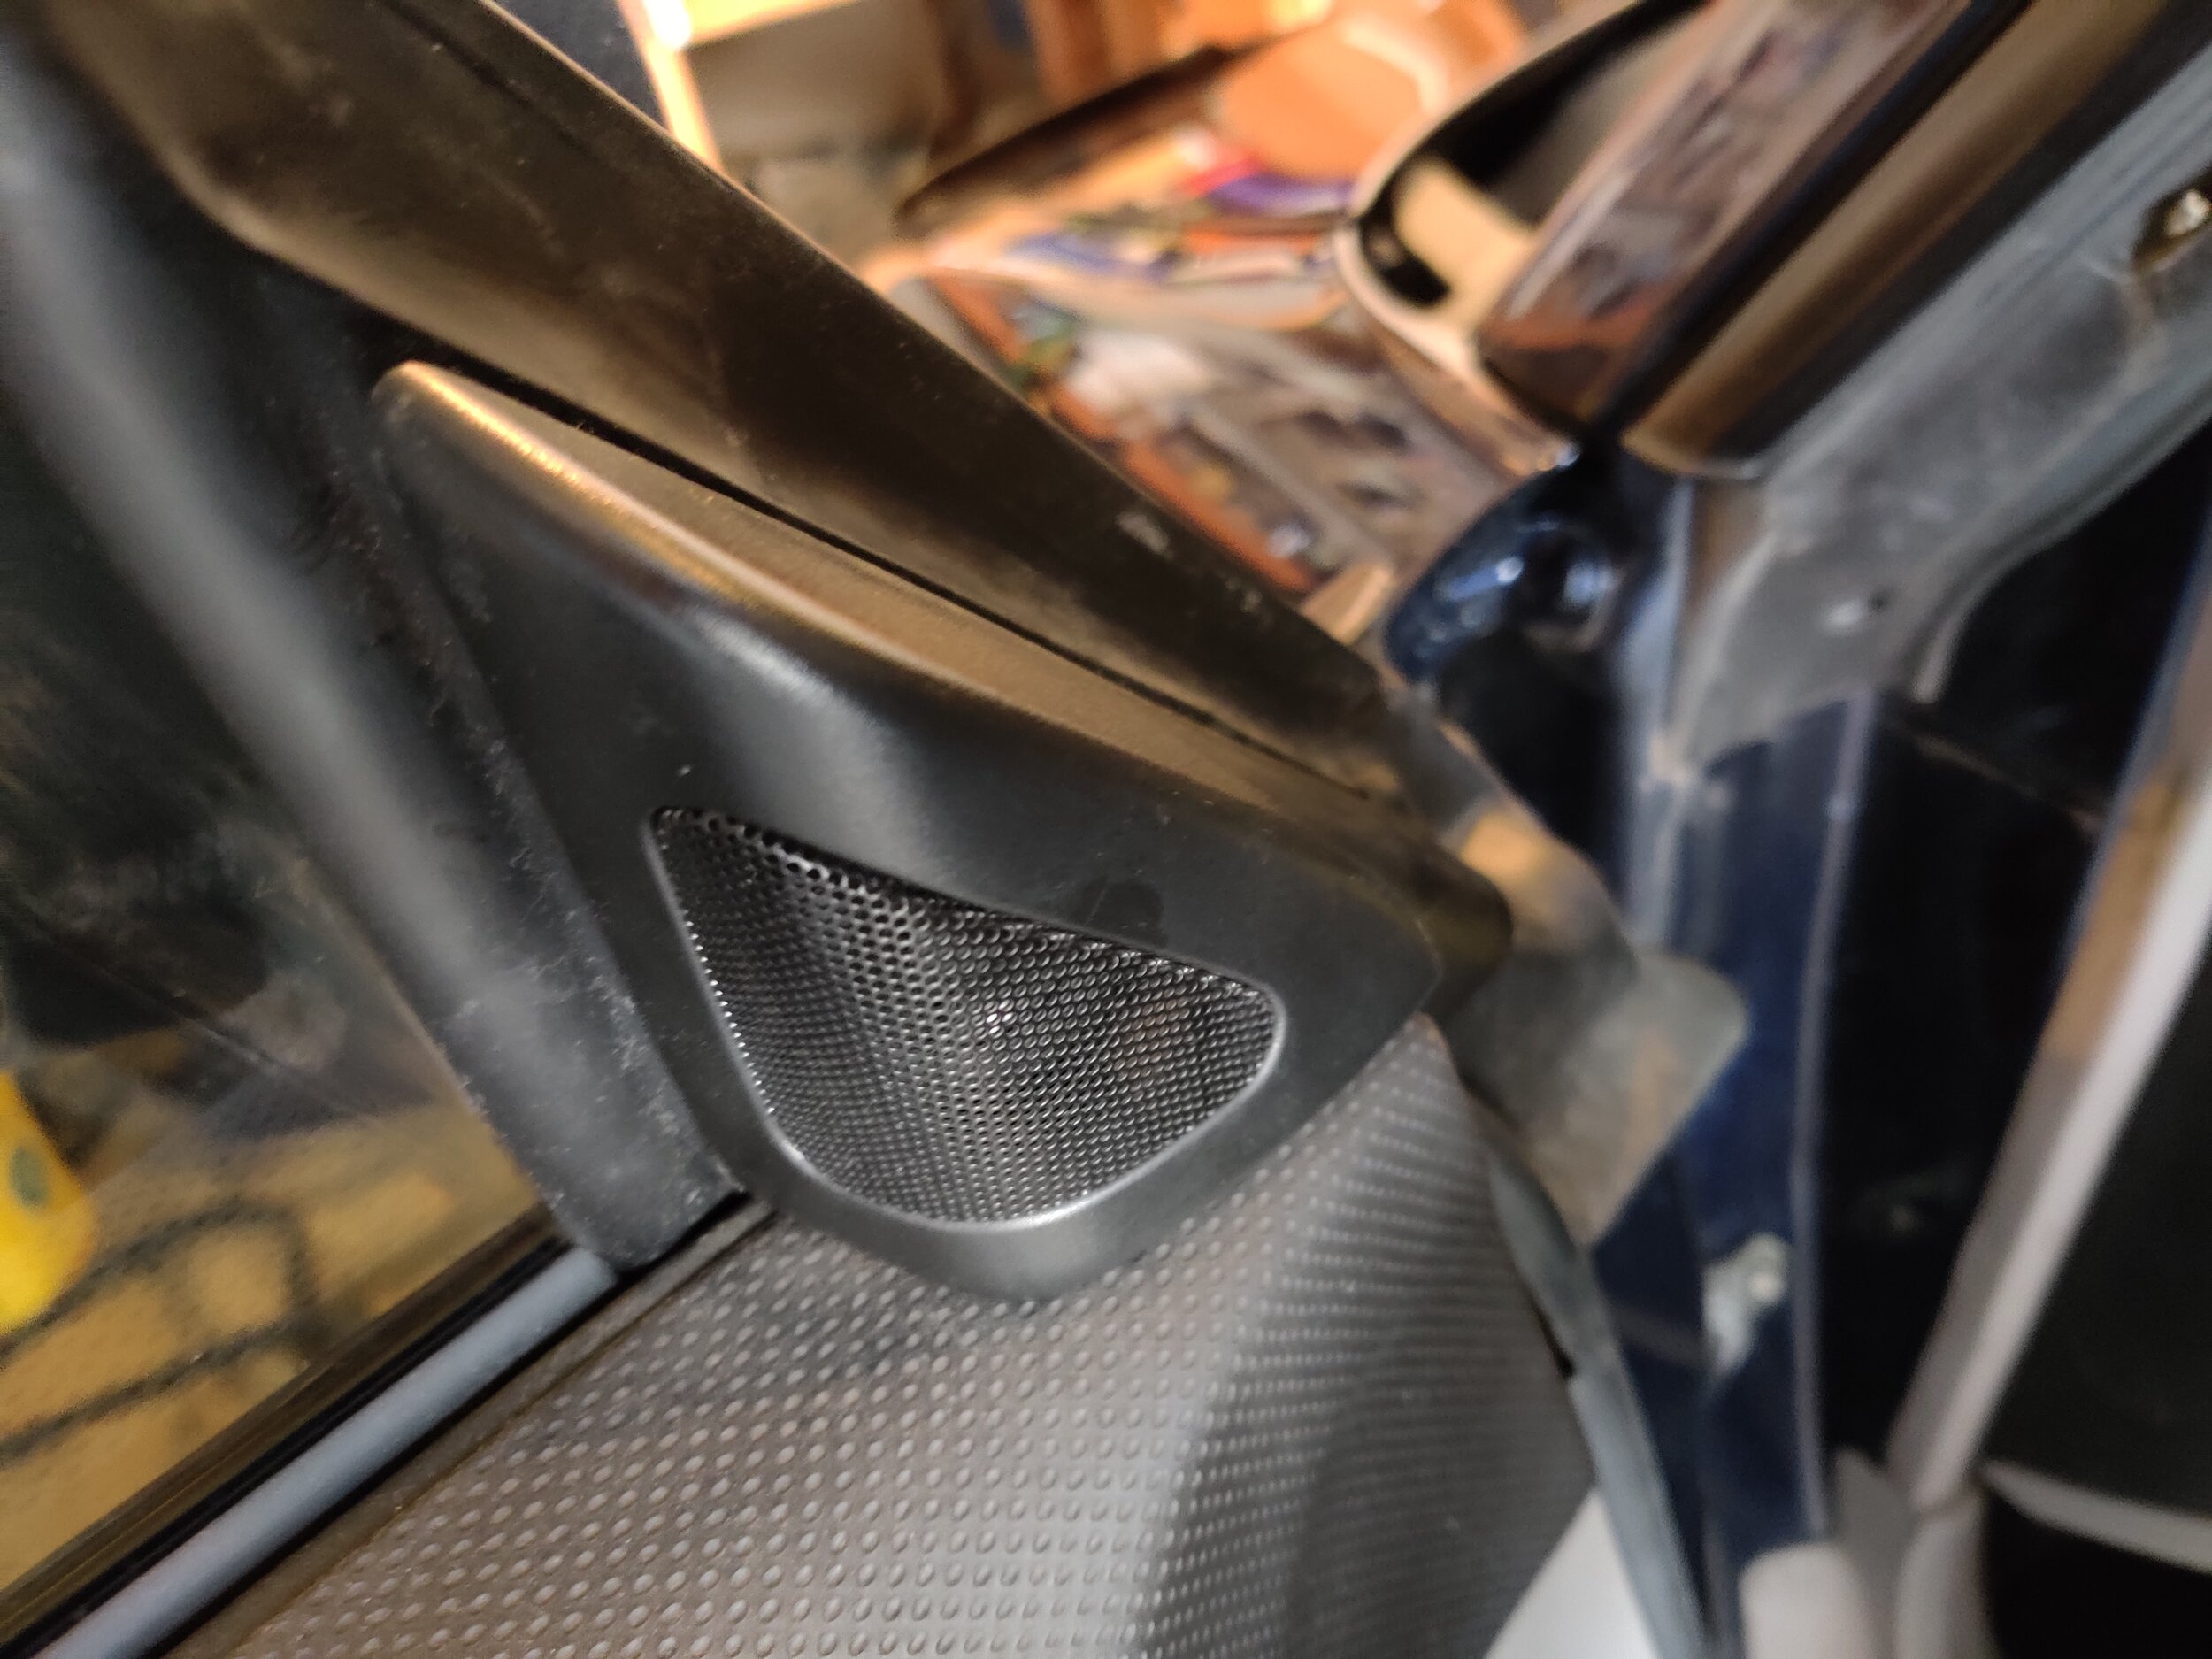
Tweeter cover that needs to be removed. it makes removing the door car much easier.

You can move the tweeter out of the way but it isn’t necessary.
The next task will be using a trim tool to remove the door handle surround off. Or my method is to pull on the lower portion of the door card away from the door. This will pop the door handle surround off. You can now set the door card off to the side.

Two ways to remove the door handle trim.

Just pulling the door card away from the door will pop the handle surround off. I have always had good luck with this method.

Door card removed and set aside.
Now you can see inside of the door and the plastic covering that helps keep out the elements and suppress sound. You can now peel the plastic cover away from the black goo, be careful not to stick it on anything. If it becomes adhered to anything it will be unlikely to easily be removed. This is also a great time to remove the window motor electrical connection.

Without a door card on this is what you will see.

With the plastic peeled back, you can use the metal grab handle to tuck it out of the way.
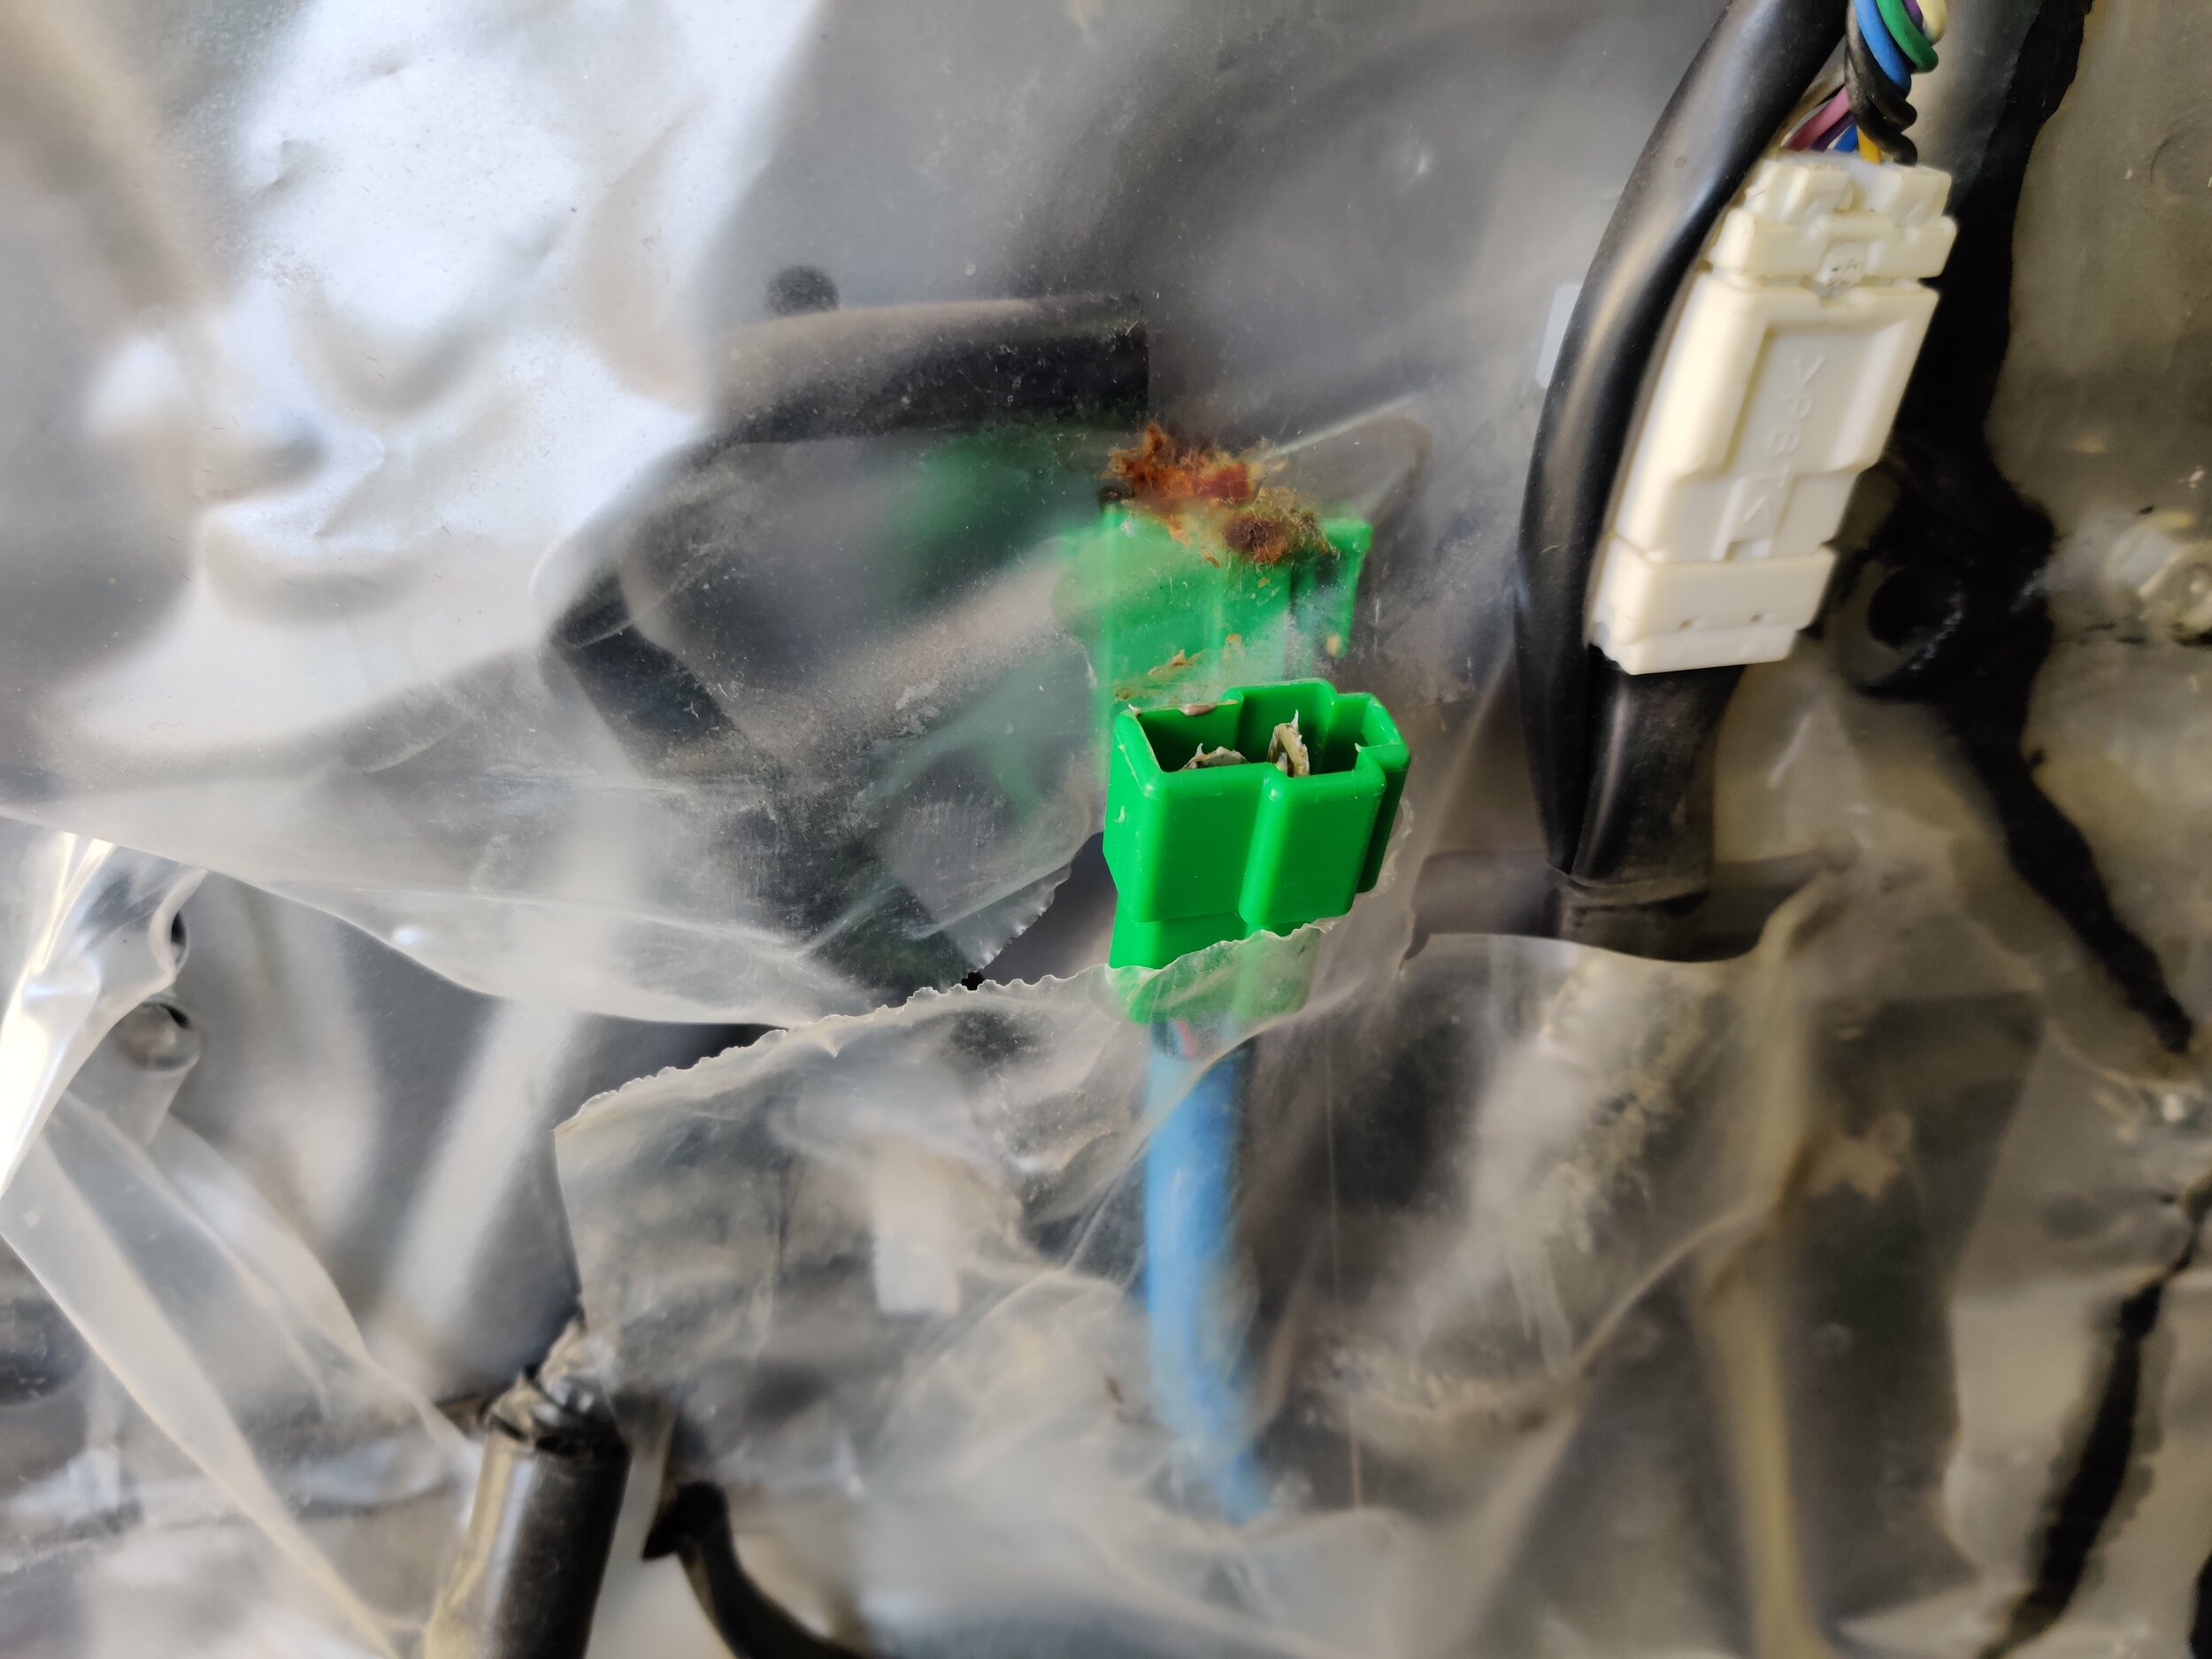
Unplugging the window motor.
Next up we can remove the speaker and the little plastic cover on the door. These will help open everything and allow you to maneuver the regulator and motor out. If you are really talented and only need to remove the motor. You can most likely sneak a ratchet with a screwdriver bit to the back located motor screws. I was replacing both so I went ahead and skipped this step.

The speaker hides one of the window bolts.

With the speaker removed this bracket holds the window to the regulator.

This plastic shield makes removing the regulator difficult. Remove it.
If were able to lower the window, the openings will now allow you to unbolt the window from the regulator. If the window is stuck in the up position you will want to secure it with suction cups or tape. Then you can use a ratcheting wrench to break the nuts free.. This is how I had to go about it. Not easy but very doable.

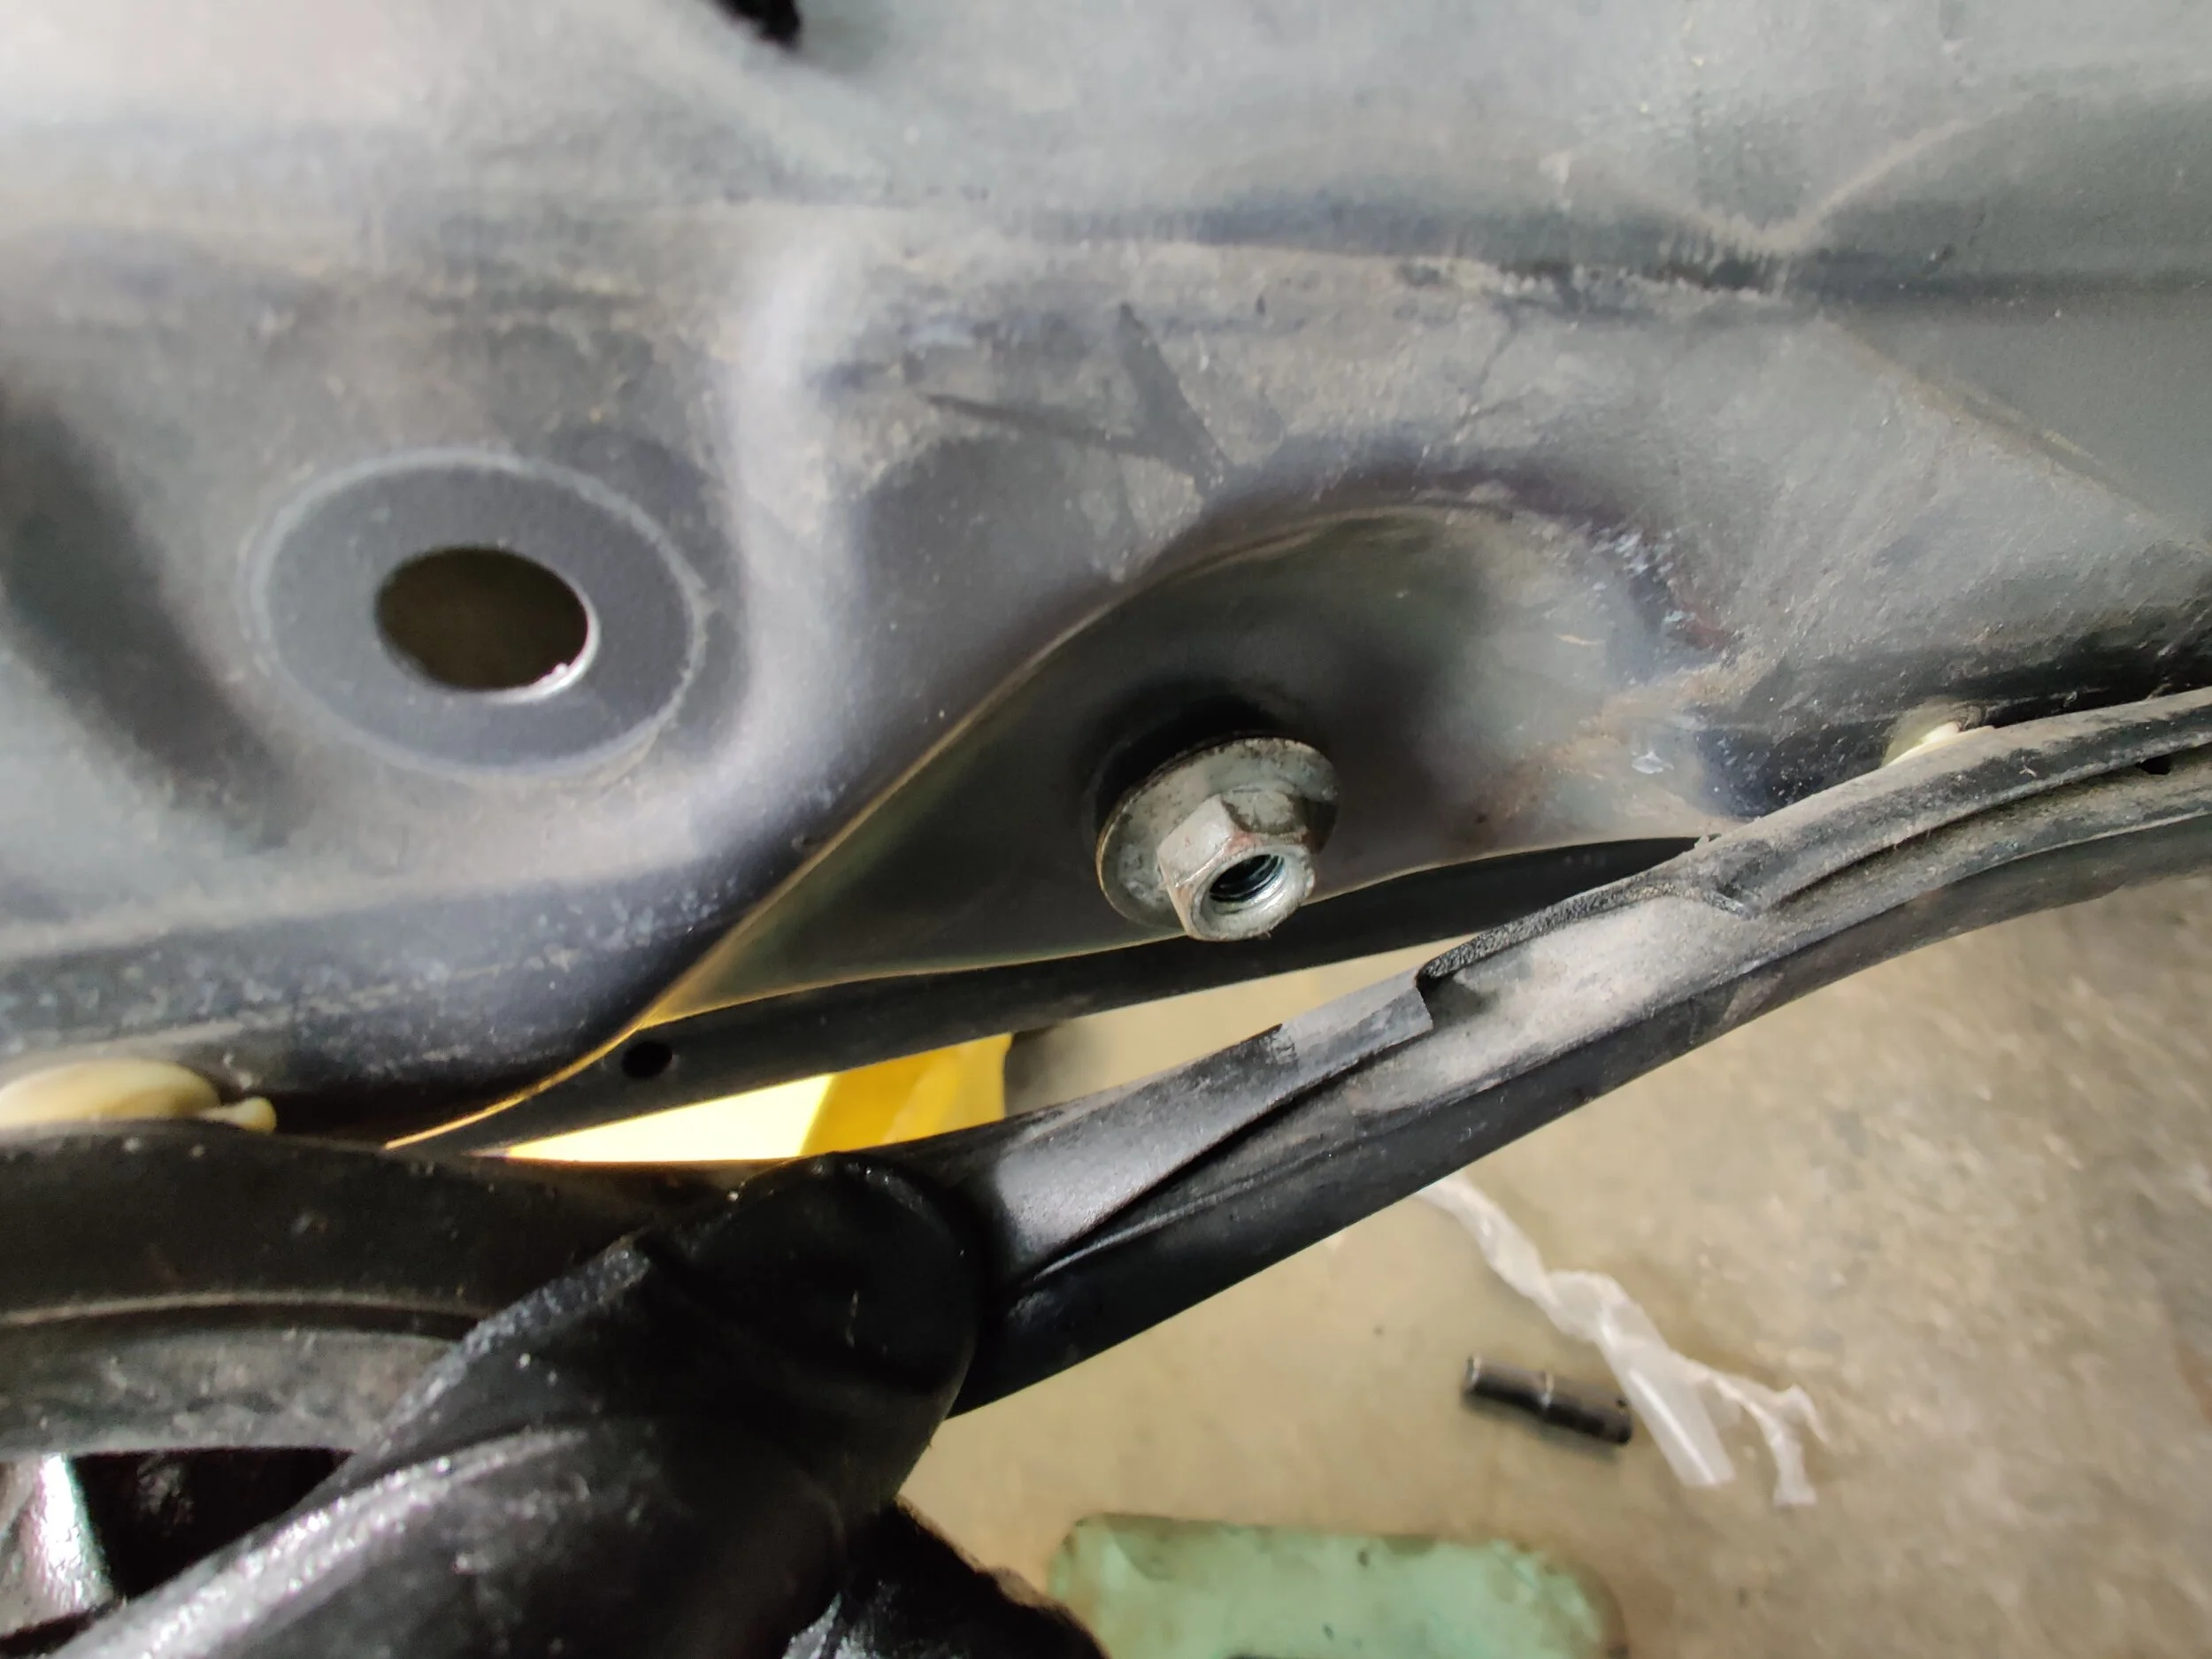
These two nuts hold the regulator to the window.
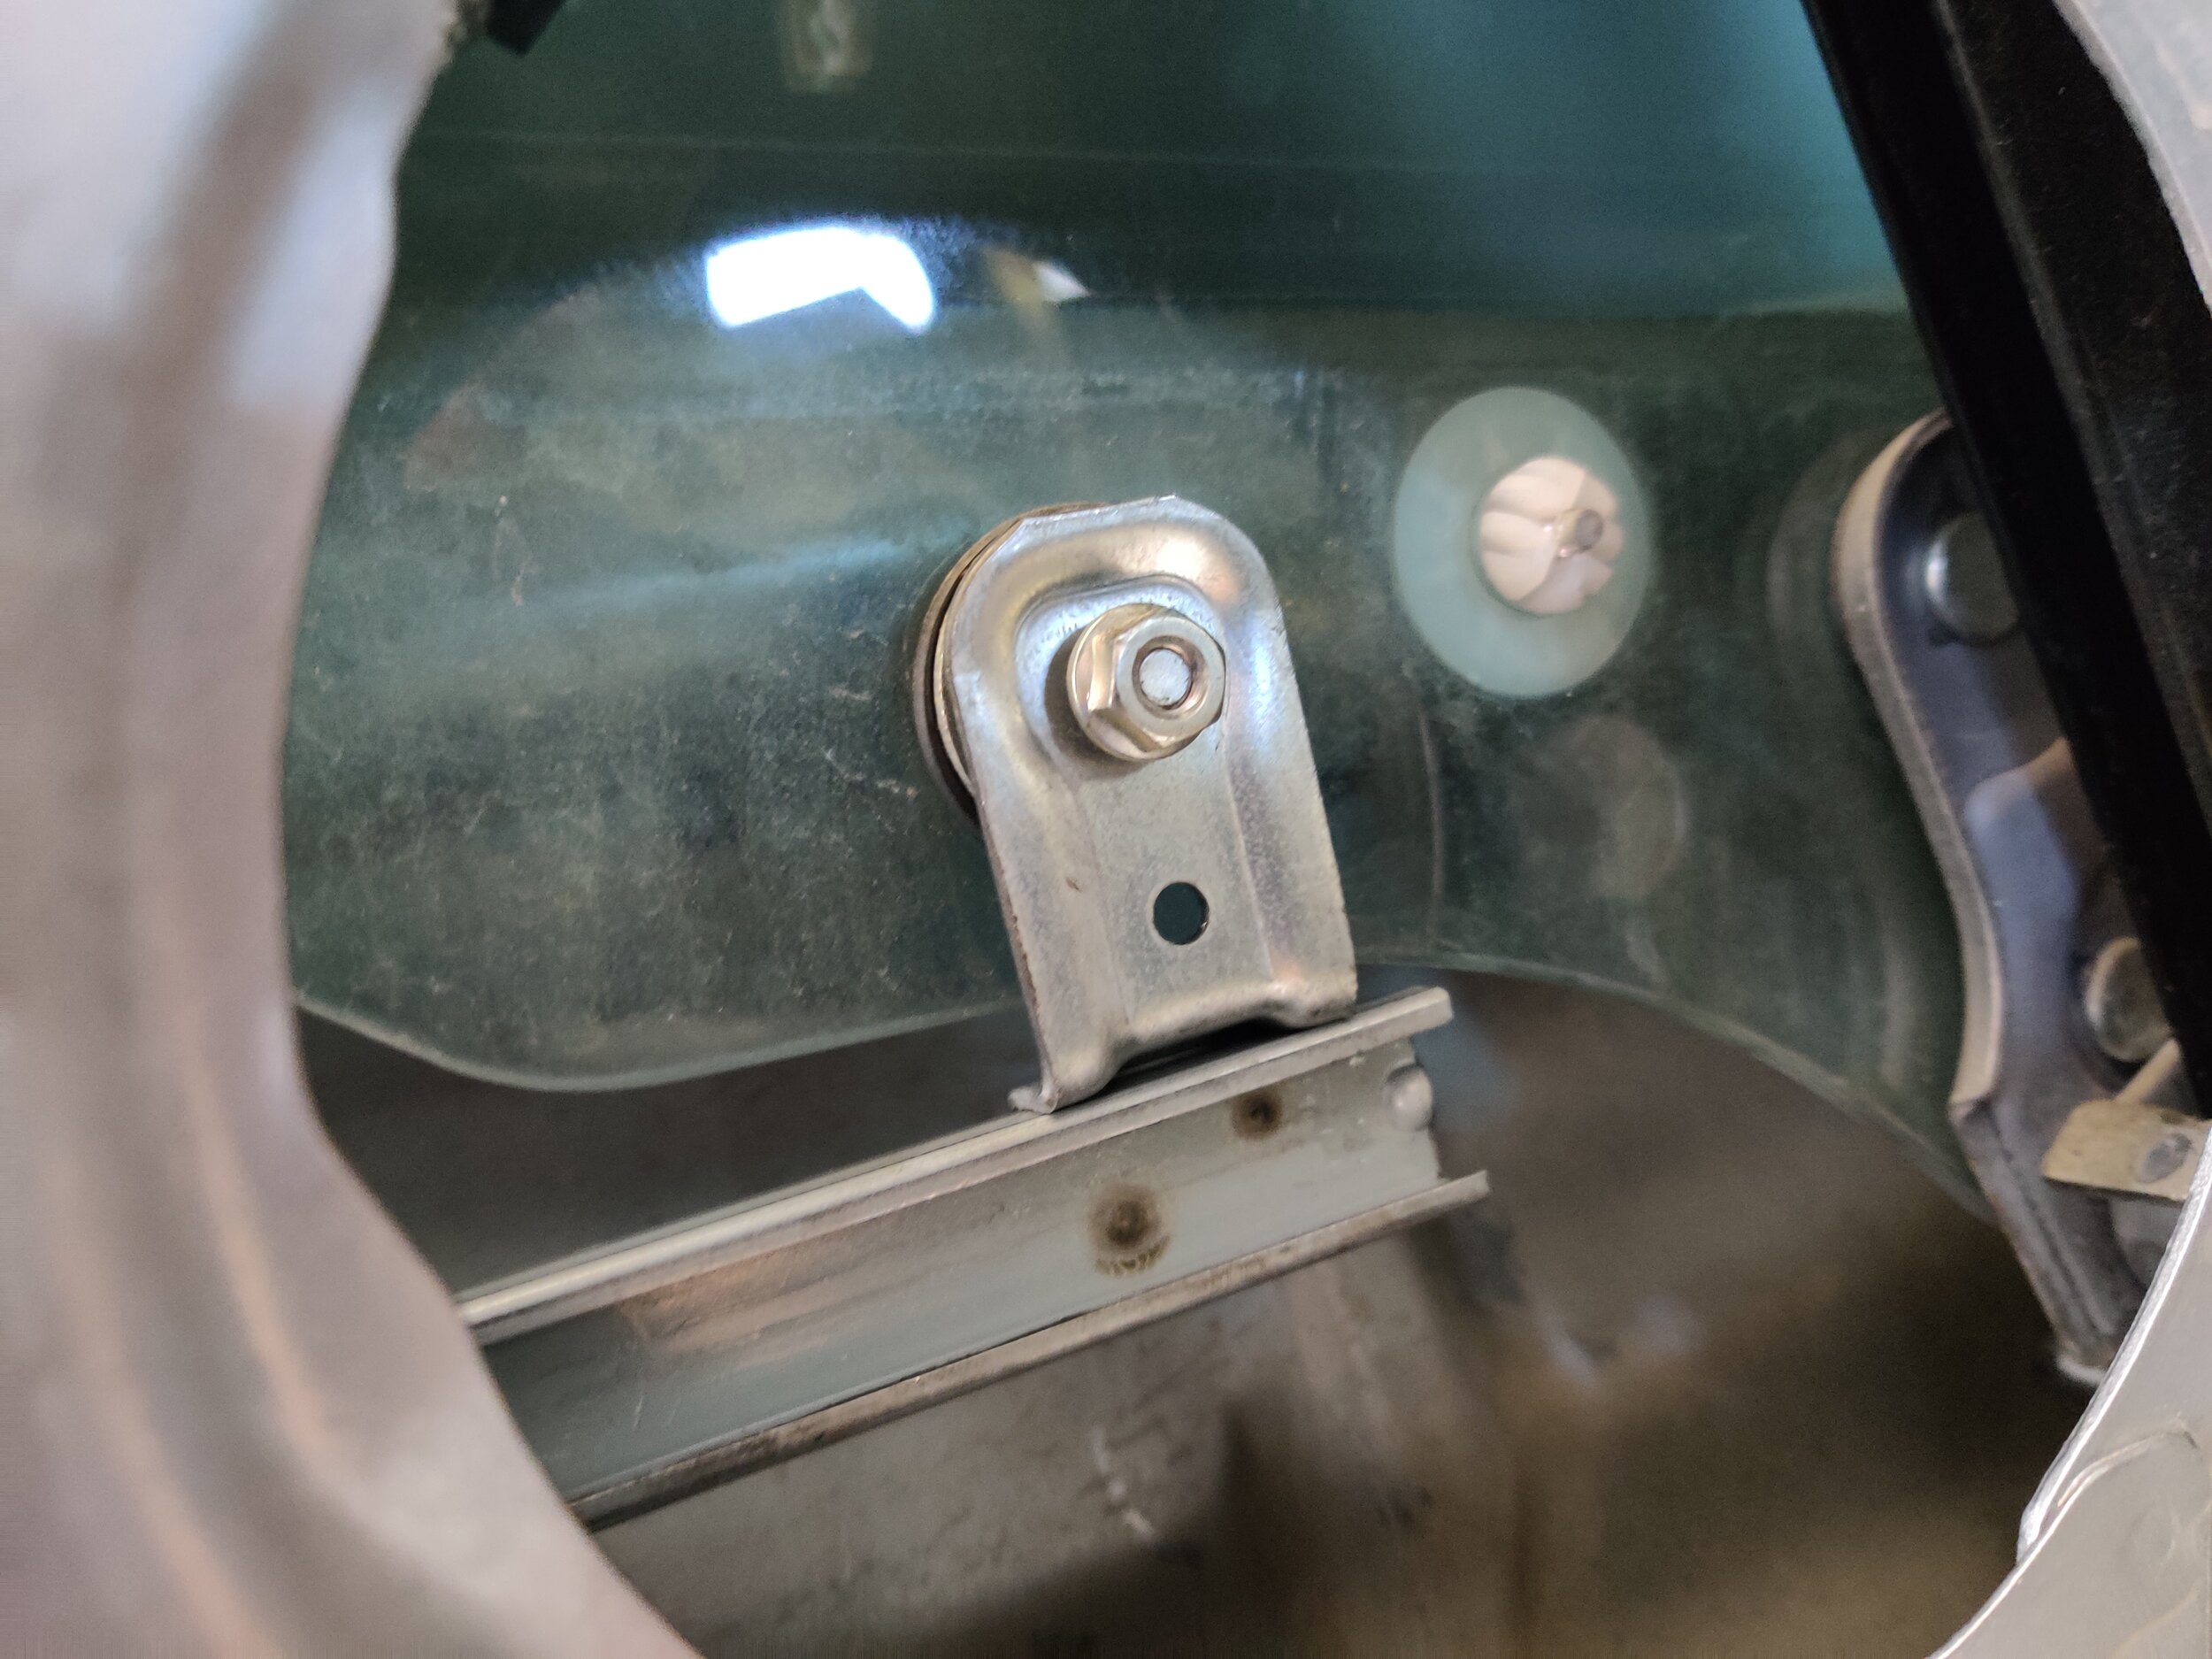
Remove this nut and the front of the window will now be loose and ready to be removed.

Using some good tape you can hold the window up and out of the way. Window suction cups are also a good tool to keep the window up.
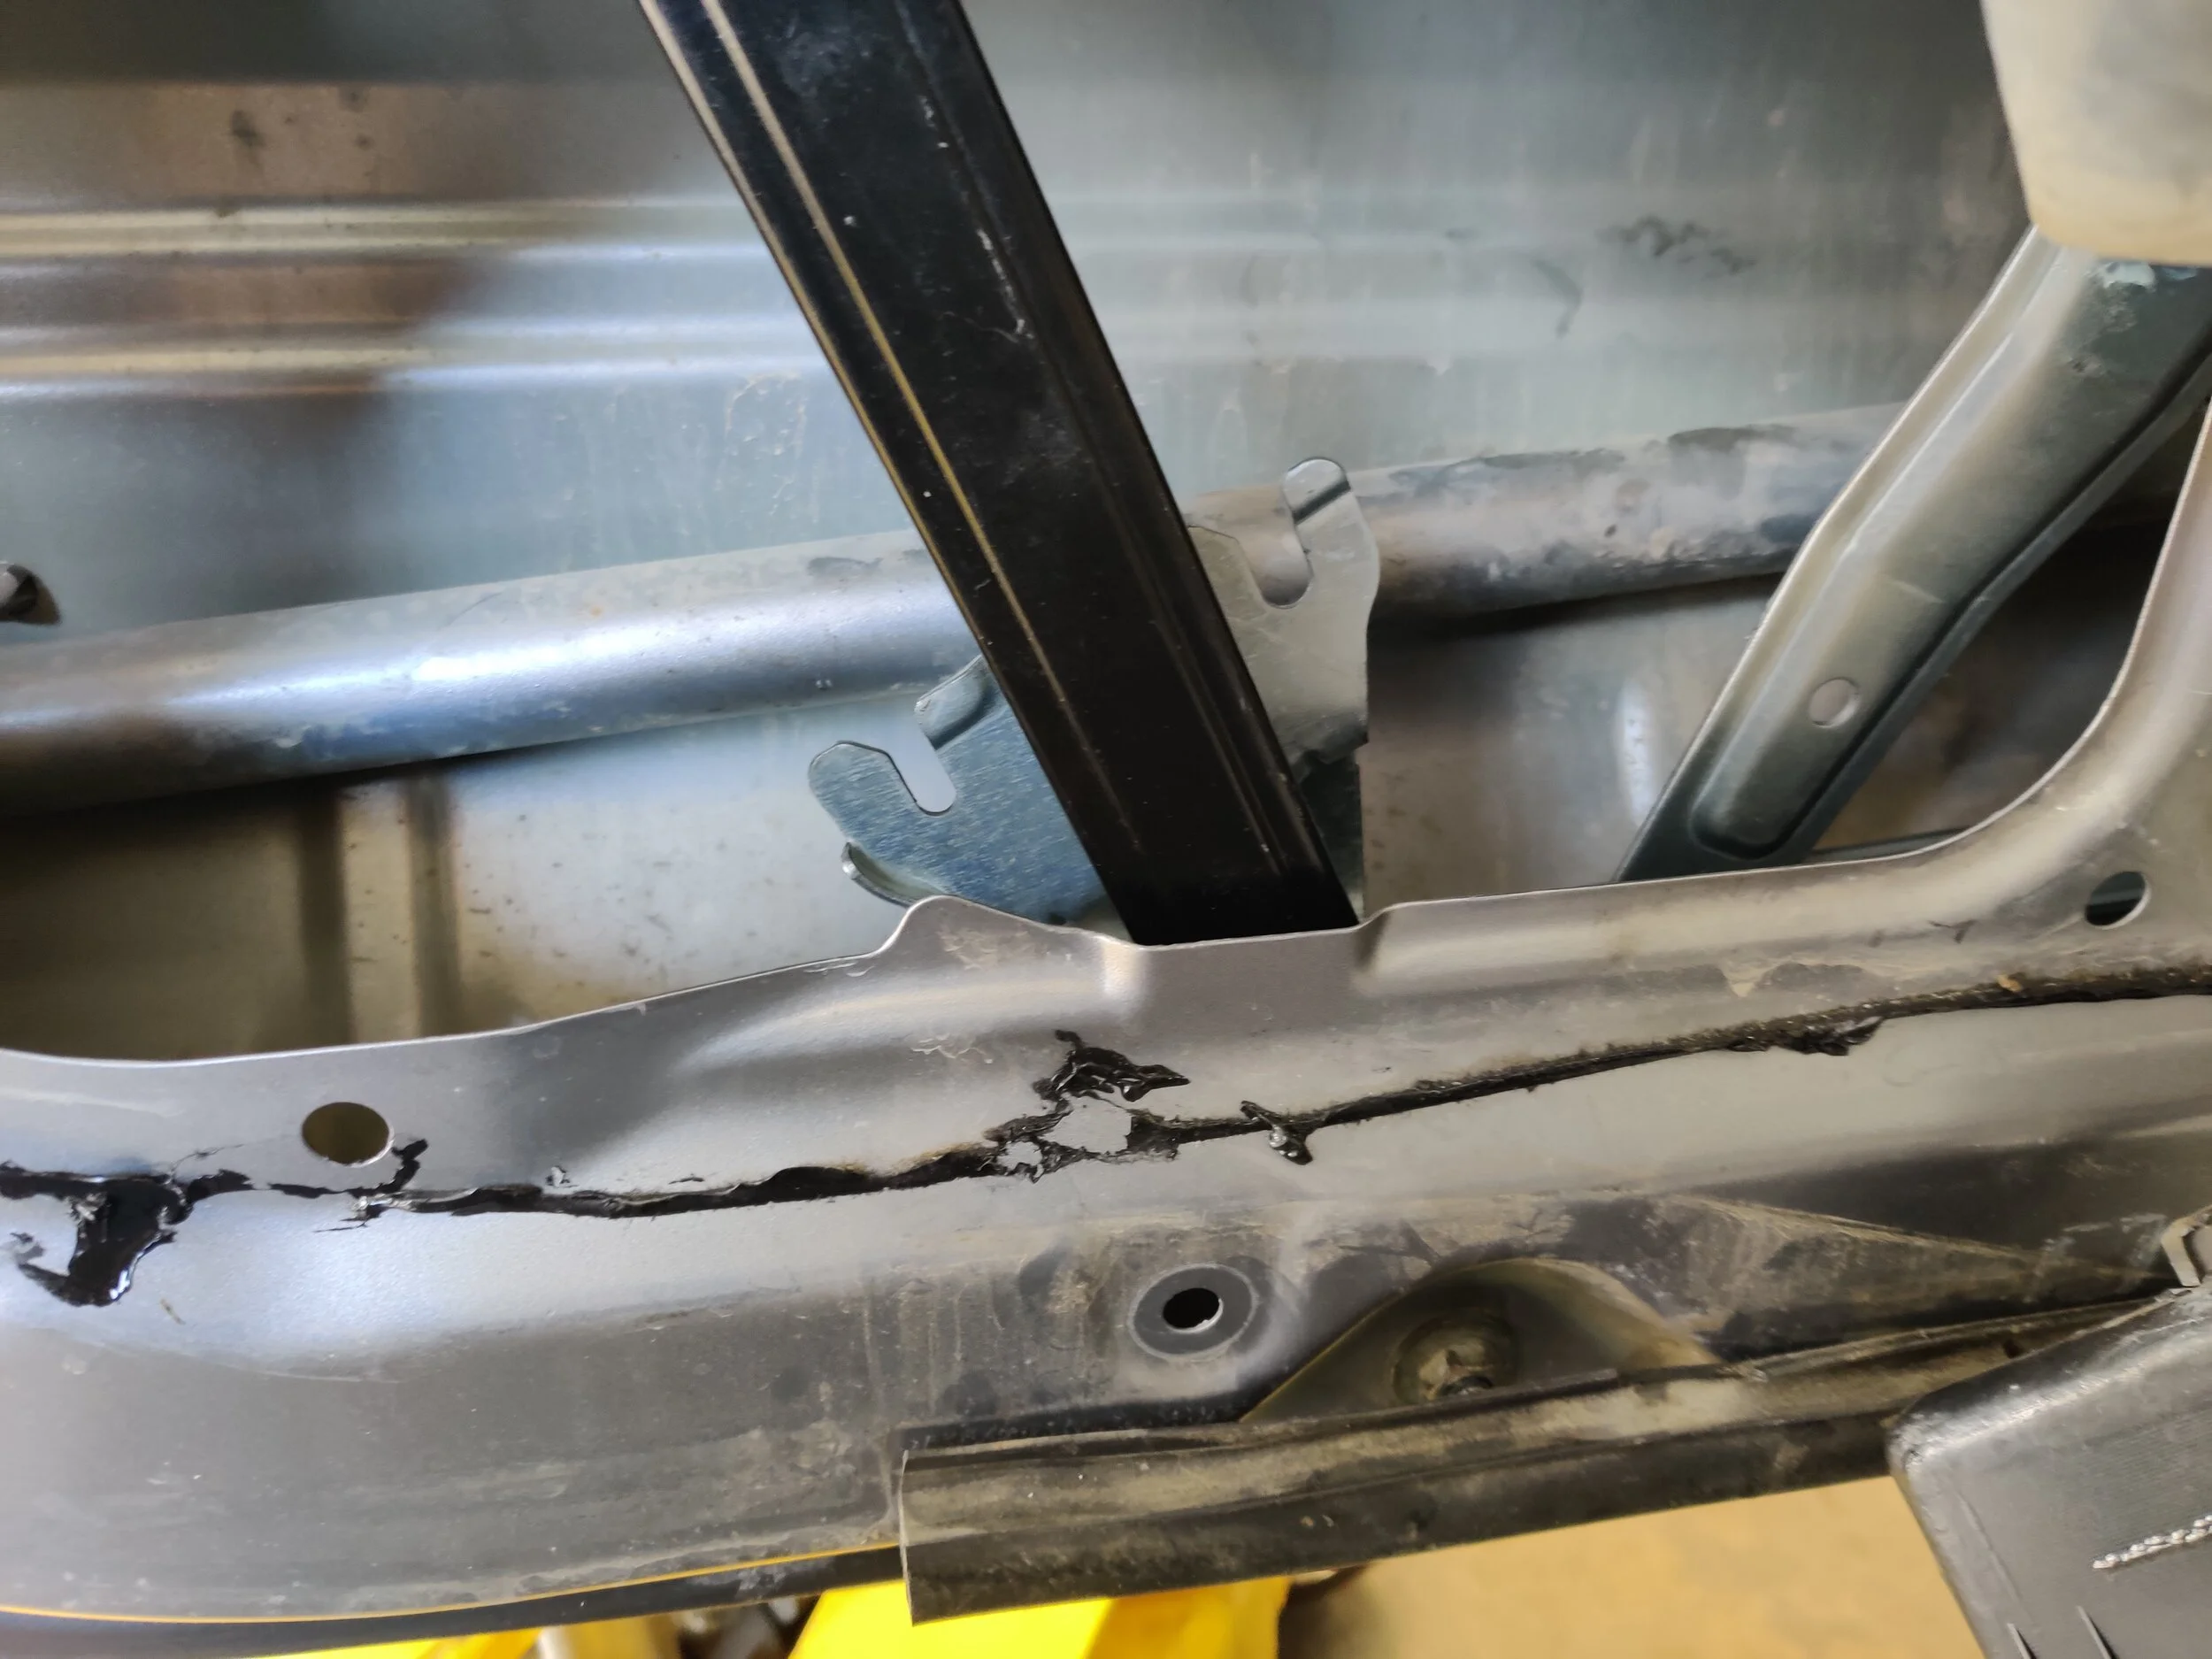
You will now need to undo the rear window channel that holds in the roller wheel. With the channel loose you can now lift the channel up and allow the window to be free. Being careful to not gouge the window when moving it. You may now lift the window up and out at this time.
This lower nut hold the bottom of the channel to the door. Remove it.

These are the last two nuts that hold the channel in place. Remove them.
With the channel loose you can now pull the window roller out of the channel and remove the window from the door.
We will now go about locating all the bolts that hold the regulator to the door. There are six bolts/nuts in total, two around the metal grab handle of the door and four more around the center of the door just above and off to the side of the speaker.

These two nuts hold part of the regulator to the door.

These hold the larger portion of the regulator that holds up the motor. Remove them and get ready to take the regulator out of the car.
When all these are removed the regulator and motor may try and fall into the door. If not you can move it out of the mounting holes and then fold it up to allow it to slip through the door hole.

With a few different attempts you should be able to figure the right bends and folds that remove it from the car door.
Placing it on your favorite work bench you can now you can now remove the motor. It is held in by three screws which are a philips size three bit. Once these are removed you can bolt up your new regulator/motor.
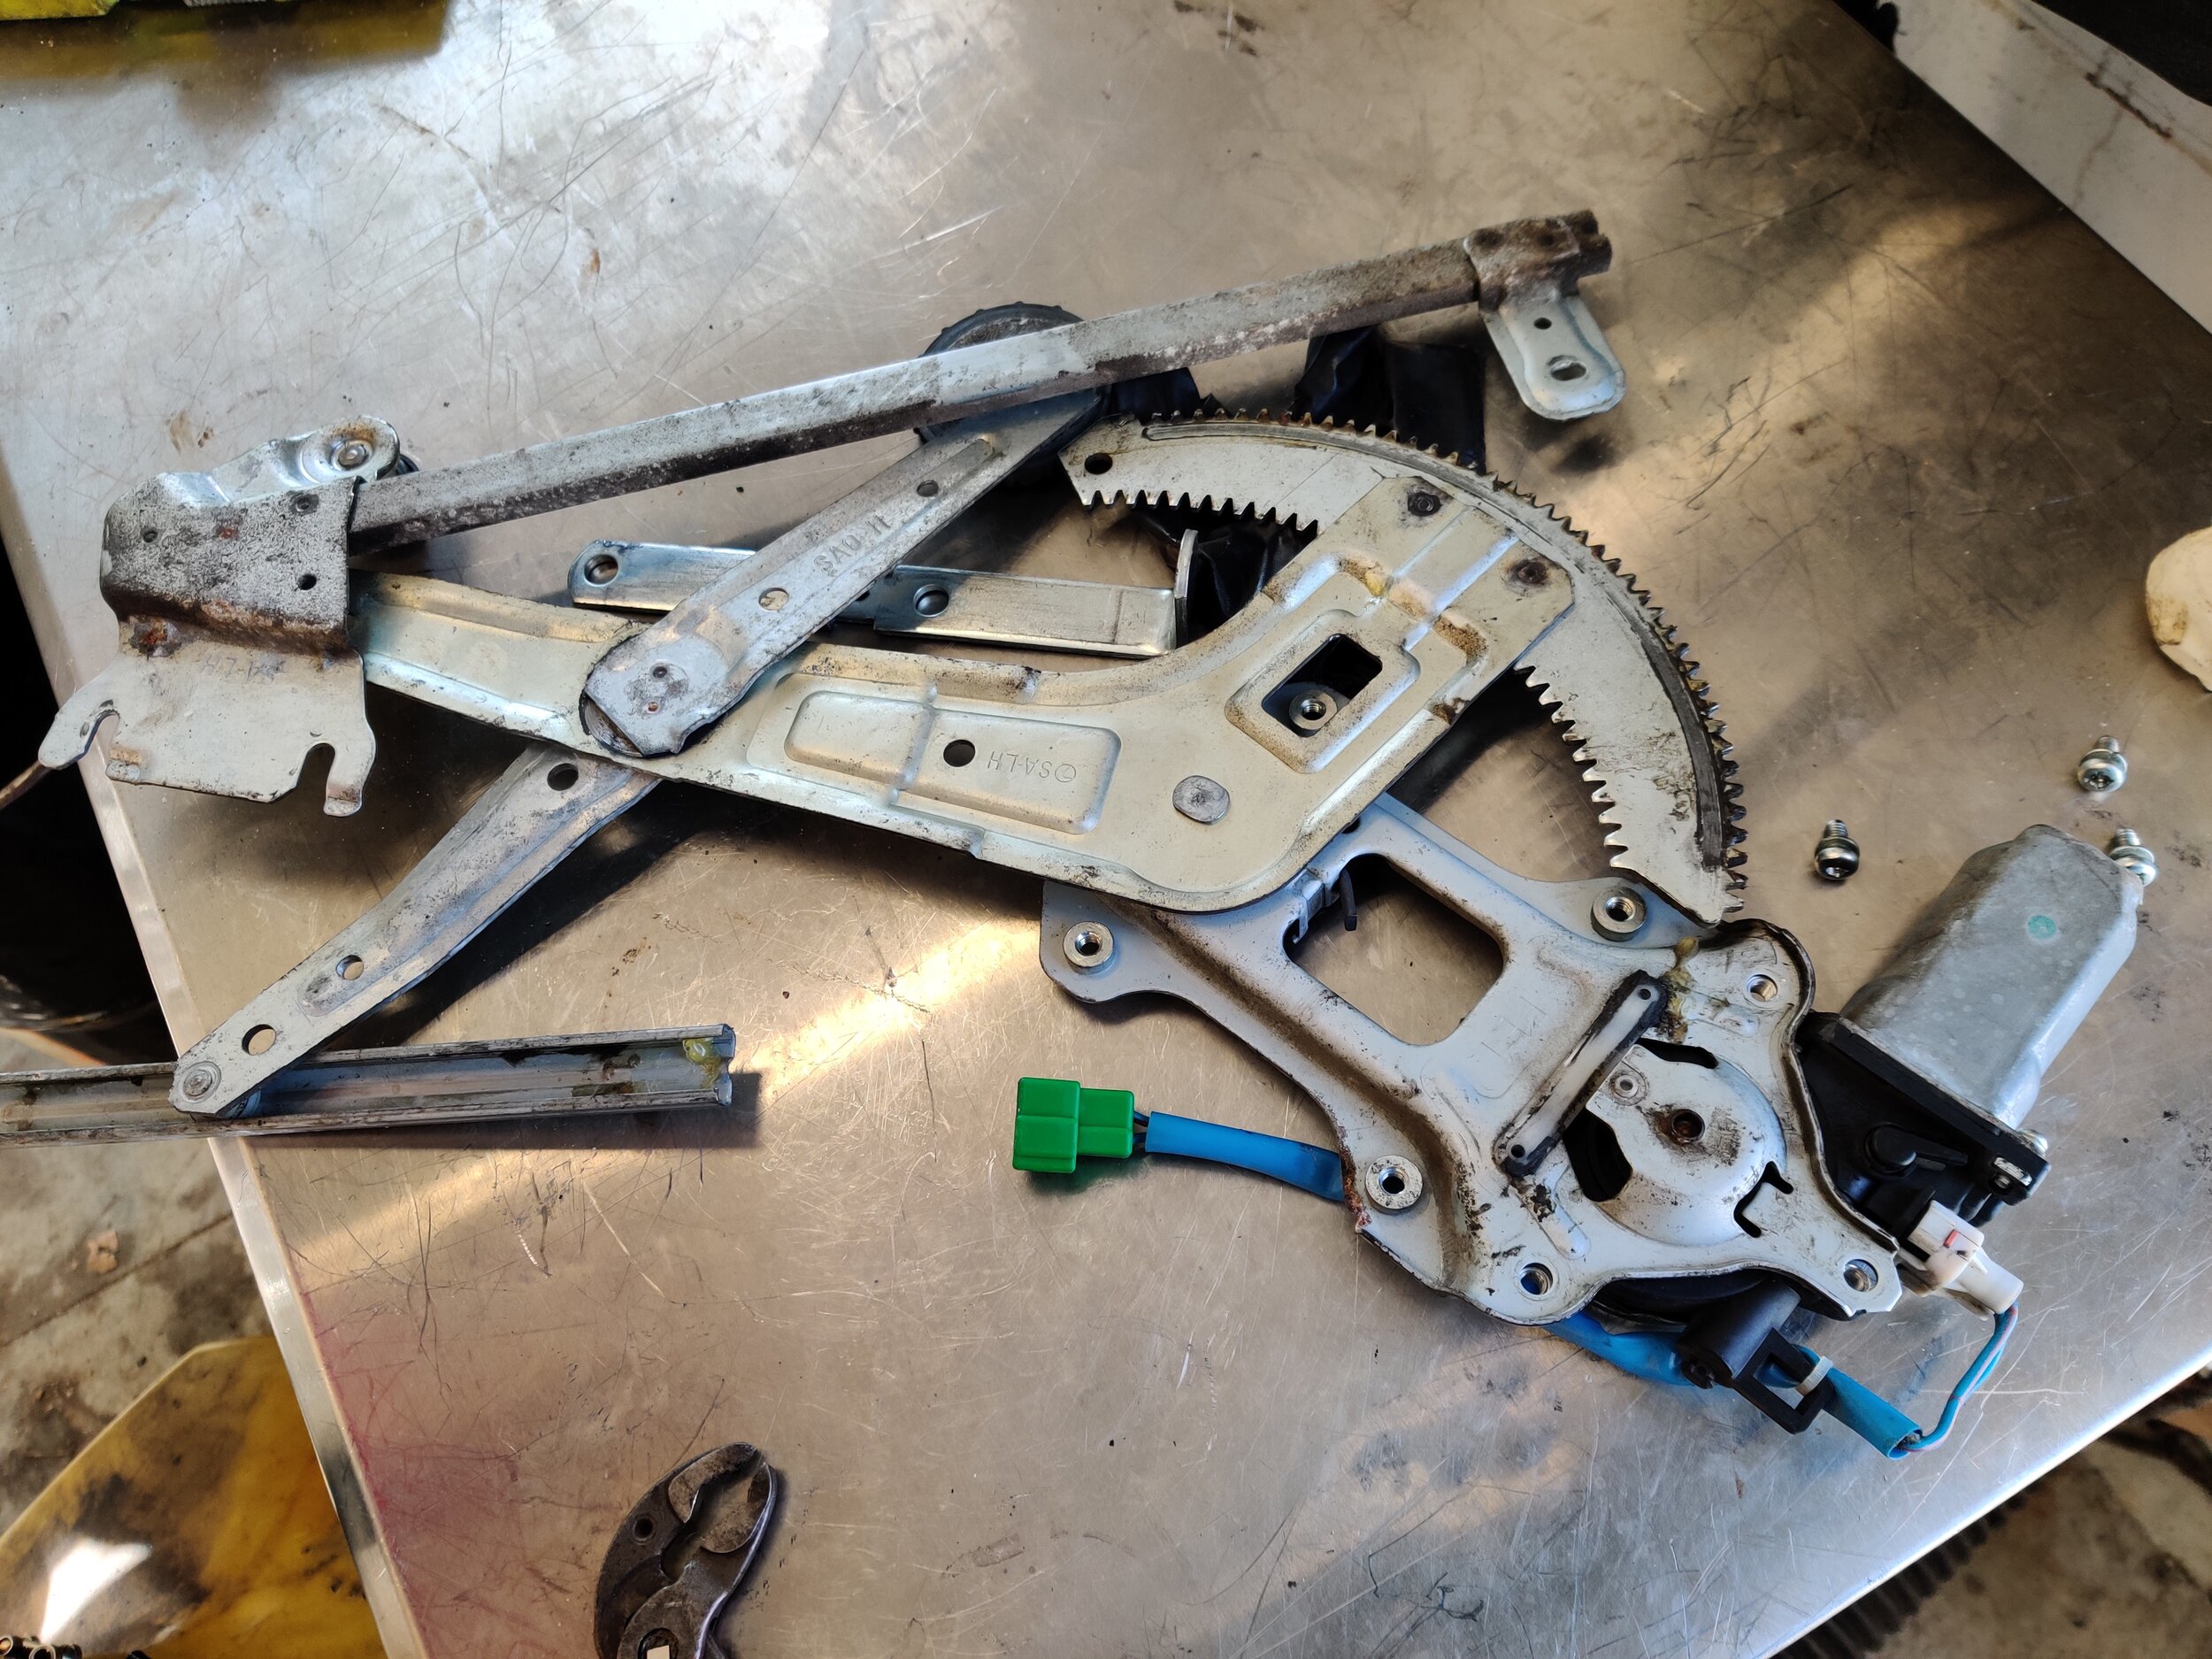

You will want to line up the motor so it is in the middle of the regulator gear. Once the teeth are meshed together you can install the screws to install the motor.
Next up we will reinstall the regulator/motor back into the door. Following the above directions in reverse you can install the regulator/motor and then slide the window back down into the car door. Next you can start window roller back into the channel and bolt the channel back to the door. Last up is bolting up the window to the regulator.

This is a great time to plug in the window switches and check for operation before finishing up the install. If everything is in working order you can complete the last few steps by putting the speaker back in and then putting the plastic covering back on the door.
Congratulation! You can now roll down those windows and enjoy the wind rushing through your car or just go to your favorite drive-thru and get a quick bite!
Amazon tool links!
Grey Pneumatic 3/8th socket set
Milwaukee 3/8ths electric ratchet
Amazon part links!
Front and passenger regulator and motor set.
Passenger window motor and regulator