Subaru rear brake replacement! Improve or refresh your stopping power!
As much as we all love the speed our cars can muster… We need an equal amount of stopping power to keep this balance. Or you might just need to replace an old worn out set of pads and rotors. stop thinking about these things, lets see what it takes to replace those rear brakes.

Fresh rotors from the mothership…
Our task at hand will be swapping out the rear rotors and brake pads on a Wrx with standard brakes. The factory option is up for the task if you are keeping it stock but for those looking to add performance in all categories that are countless options for brake upgrades.
Install time
For this install you will be looking at around 45 mins to an hour for a smooth brake install. This project can be made more difficult with sticking parking brakes when removing the rotors. Or the always upsetting… rust! Making bolts impossible to come out and rotors sticking to the hub and hubcentric instead of sliding off.
Tools
Your basic hand tools and brake caliper depressor will get you through this install smoothly. Let’s take a look at my favorite tools for the job.
Grey Pneumatic 3/8th socket set: These will start off the list. You will need your 12, 14, 17 and 19mm sockets will help get this job going.

The usual suspects.. And just about everything you need here.

Gearwrench 3/8ths ratchet Milwaukee 3/8ths electric ratchet Milwaukee 3/8ths impact gun Grey pnuematic wobble socket set A few of my favorites right here.
Gearwrench ratcheting wrenches. Helping you hold those bolts still, so you can undo the struts
Hammer(s). It’s hammer time, hub bearings usually don’t just fall out, this will give it the persuasion that is necessary. Proto antivibe hammer is my choice hammer. If you don’t have a bolt to use to remove the rotor from the hub, your next best bet is a deadblow hammer. Atd deadblow hammer set.
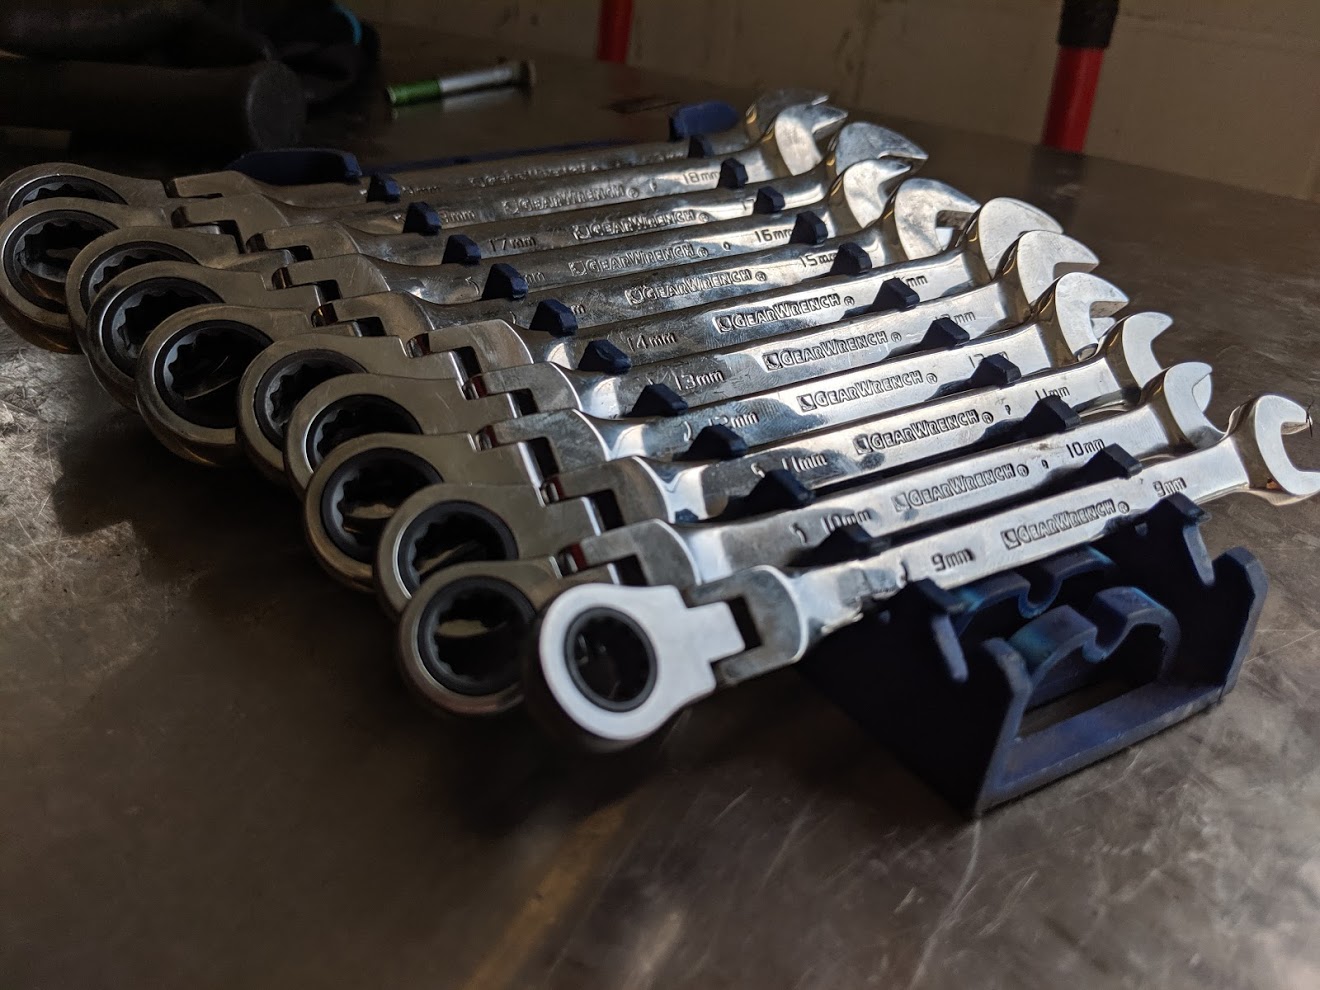
These wrenches are awesomely versatile for many jobs.

Hammer time! These are awesome and keep the vibration out of your body.
Lisle speedy brake spreader This gets the job done quickly! I have used this for replacing brakes for the last seven years, it was replaced once when it hit the floor and cracked. But the lifetime warranty leaves your money in your account instead of purchasing a new unit.

Single piston on the left and dual on the right.
Install
As with any project that involves removing the rear wheels, we will start by lifting the vehicle properly and supporting it for you and your vehicles safety. With the vehicle in the air and wheels placed away from your working area we can start on the brakes.

With the wheel off and vehicle supported, this is where it begins.
The first order of business is removing the caliper slide pins which for most Subaru applications will be a 14mm wrench or socket. The slide pins are slightly different, make sure to keep track of which goes where.

One caliper slide bolt…

..and two caliper slide bolts. The caliper is ready to be freed.
Now we can place the caliper in a safe place. Keeping the brake caliper suspended or supported, allowing the brake caliper to just hang by the brake line can cause brake line issues.

Not the ideal location but this works. The caliper is out of the way and supported, making sure not to kink the brake line either.
Having the caliper out of the way we will move to the caliper bracket. Held on with two 17mm bolts, being careful when removing the last bolt as gravity will bring it down on anything below it.

Caliper bracket bolts are next. A 17 mm will get these off.

We can now move towards the rotor, with the easiest method of removal being a a couple of bolts that thread into the brake rotor near the hub. Running them down in tandem will allow the rotor to pop right off. Otherwise a hammer can be used to remove it, once again being careful to not damage the parking brake that is housed within.

Residing on the rotor there are threaded holes for easy removal.

Powering it off! Swap side to side if you feel like the parking brake shoes are dragging and being pulled out.
We can begin the installation of the new brake parts. Brake rotors are covered in anti rust coating that needs to be removed to allow for proper braking between the pads and rotors. Otherwise the pads will be glazed over and it will severely hamper braking performance.


This cap helps keep dirt and water out of the parking brake parts. Make sure to put it on the new rotors.
With the rotor on you can secure it with one lugnut to help keep it in place while you install the caliper bracket. Start the bolts by hand to ensure the threads engage and you don’t damage them. Running them down and tightening them properly.
The slide pins are up, with their movement being important to the longevity and equal wear on the pads. Cleaning and lubing the slides will help keep the brakes working smoothly.

Slide pin removal.

Greasing up the slide pin for installation.
Having the caliper brackets off the car or in place you can install the new hardware, brake pads and lube the slide pins. Using your hands or a screwdriver the hardware should easily pop out, then you can use a small wire brush to clean the surface before applying the new hardware.

Removing the old pad hardware.

New hardware installed.

Caliper bracket and hardware ready for their new pads.
Brake pads are next, you can dab a bit of brake lube to the retaining tabs that locate the brake pad within the caliper for noise free operation.

New Oem pads.
Now is the time you can use your caliper depressing tool to sink the piston back into it the caliper. There are two schools of thought here, you can either open the bleeder and start depressing it to clear out the old fluid that resides within it. Or keep it closed and press the fluid back into the system and master cylinder. Unless I am having trouble depressing the caliper I will leave the bleeders closed.

Using the Lisle brake spreader to push the calipers back in quickly.
You may now take the caliper and slide it over the brake pads. If the caliper doesn’t slide over easily do not force it, this can cause the caliper to put unnecessary force on the brake pads. Which could cause the brake caliper to force the pads into the rotors, which will end your pads and rotors in a hurry. Head to your driver’s seat to pump up the brakes and close the gap of the caliper and pads, if you don’t the first time you try to utilize the brakes, they won’t be there for a few pumps. Once again double checking that everything is working properly.

Caliper installed and both bolts tightened down.

Ready for a wheel and you can break in the brakes!
Congratulations! You may now reinstall your wheels and take your vehicle for a short drive around your block at a slow speed checking that everything is working as it should. If your brakes have a specific break in protocol you should now complete it, to get your brakes working at full effectiveness.
Amazon parts list:
Genuine Subaru 26696AG051 Rear Brake Pad Kit (11 WRX)
Subaru 26700 FG000, Disc Brake-Rear (11 WRX)
Amazon tools list:
Grey Pneumatic 3/8th socket set
Milwaukee 3/8ths electric ratchet
Grey pnuematic wobble socket set
Find more brake installation info over at my 06-07 Wrx brake caliper install on my 06 Fxt on the previous text!