Subaru timing belt guide! Ej25 Dohc turbo. Let's keep those valves from touching one another...
When it comes to maintenance items nothing seems quite as daunting as the timing belt. Unlike most maintenance services that are draining and fluid, the timing belt needs a bit more precision. Without proper timing or proper cam rotation you can easily damage your engine costing you time and money.

Leaving a belt in too long can cause plenty of bad things to happen. Let’s keep those from happening.
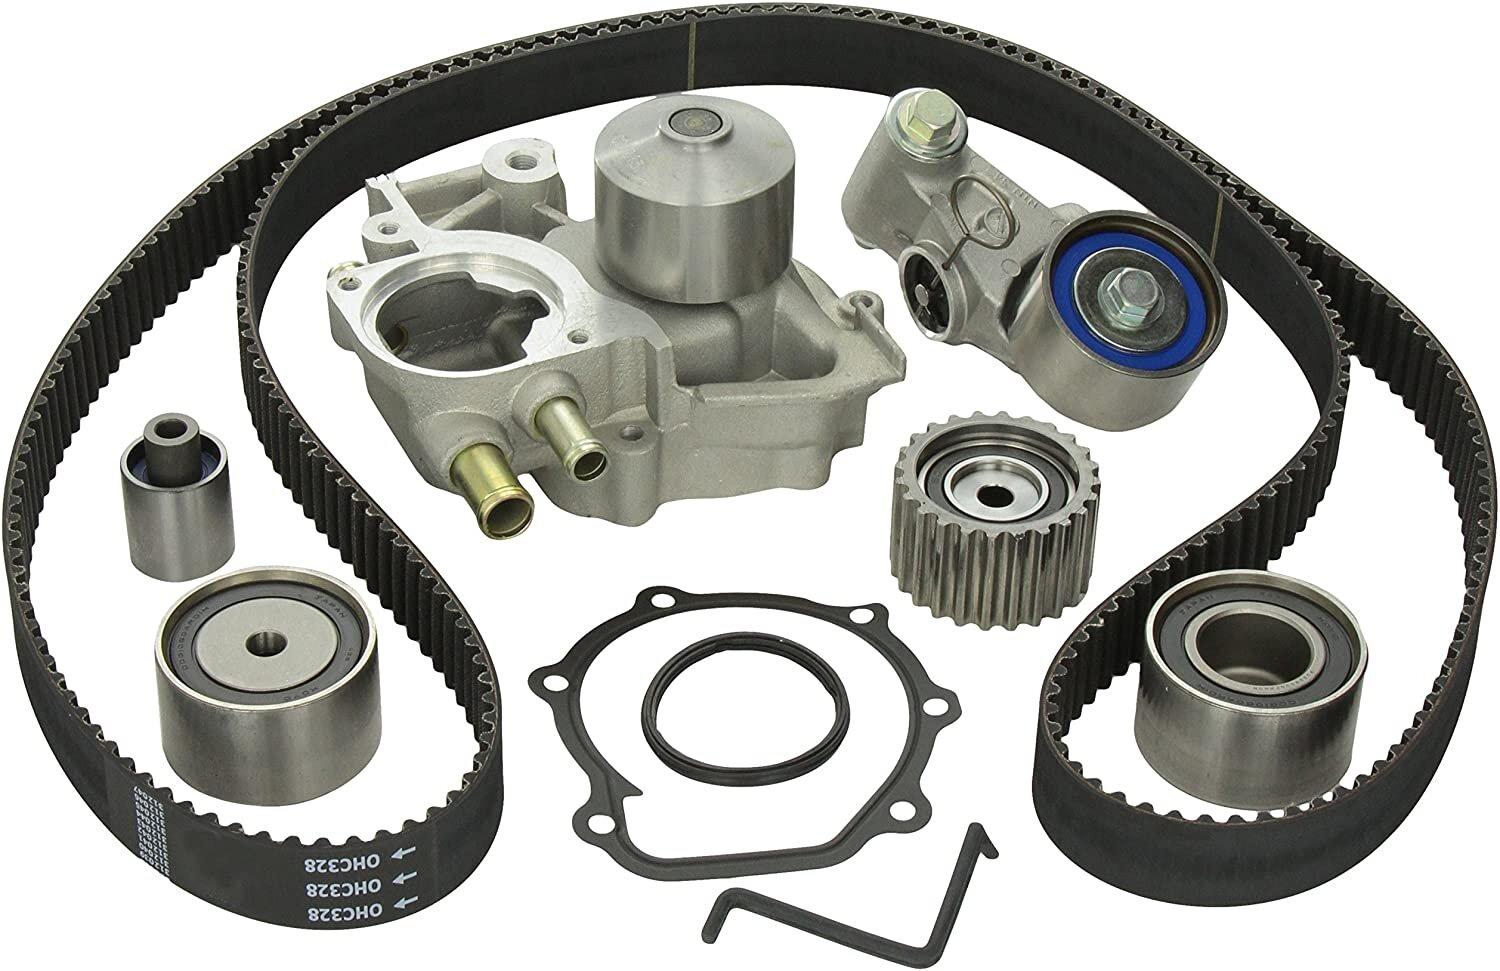
Like all Subaru timing belts this should be replaced at 105 months or 105k miles, whichever comes first. Along with the timing belt there are other parts that can be replaced alongside that include the timing belt idlers, water pump and timing belt tensioner. These all play an integral part of keeping your engine operating. More on those parts below.

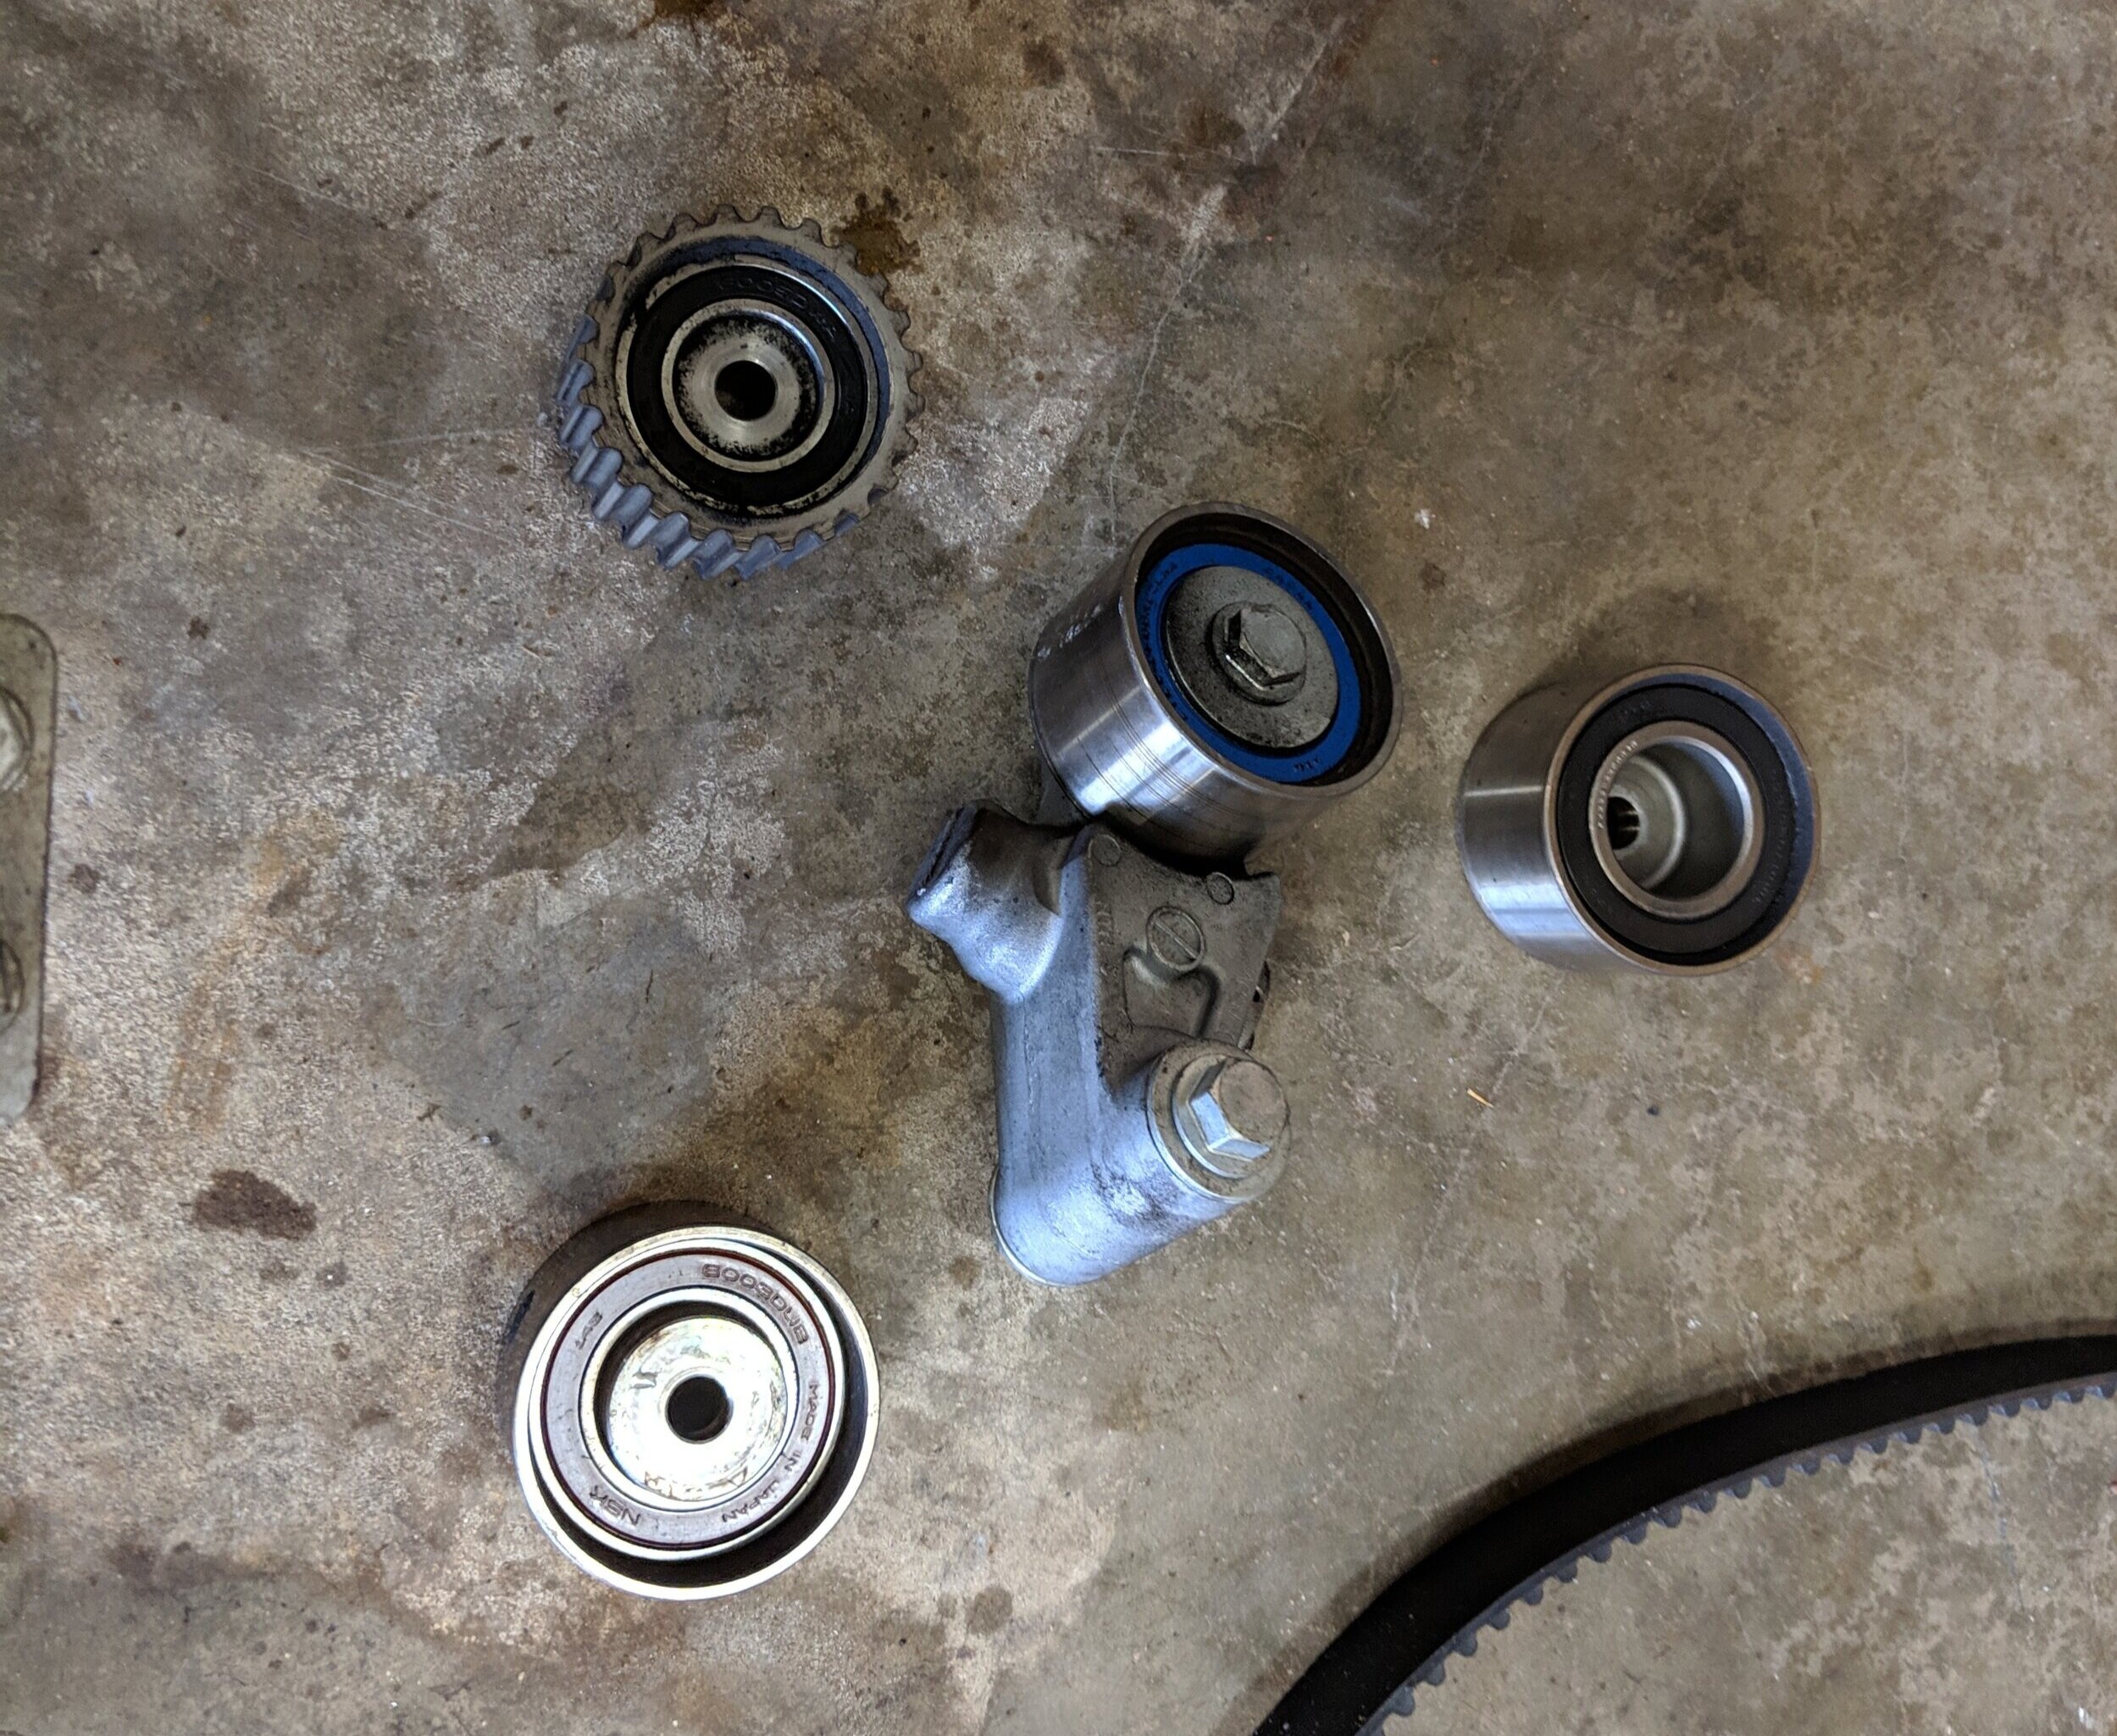
Here we have our gaggle of pulleys.
There are many schools of thought about the above parts, whether changing just the timing belt is sufficient or replacing every pulley and part on each timing belt replacement… and what brands to use. This is to your discretion but I have witnessed many Gates and Oem timing belt kit installs, alongside just replacing the belt without the pulleys. It comes down to what you feel is best for your vehicle. Both of my cars are equipped with Gates belts, idlers and tensioner with ideal operation for over twelve years with both vehicles combined.
Warning
This is a more precise and detail oriented job. If this is your first timing belt please read through the entire how to before starting your own project. There are many times where if the proper steps are not taken you can easily damage yourself or engine. Keep this in mind when undertaking this project.
Time frame
If this is your first attempt I would stress taking your time and doing it right, to keep oneself from repeating it soon or making an engine damaging mistake.. With the proper tools and know how I would block off two plus hours. If this is your very first belt but would put it closer to 3-4 hours, as slow and steady isn’t bad when it comes to the reliability and safety of your engine.
Tools
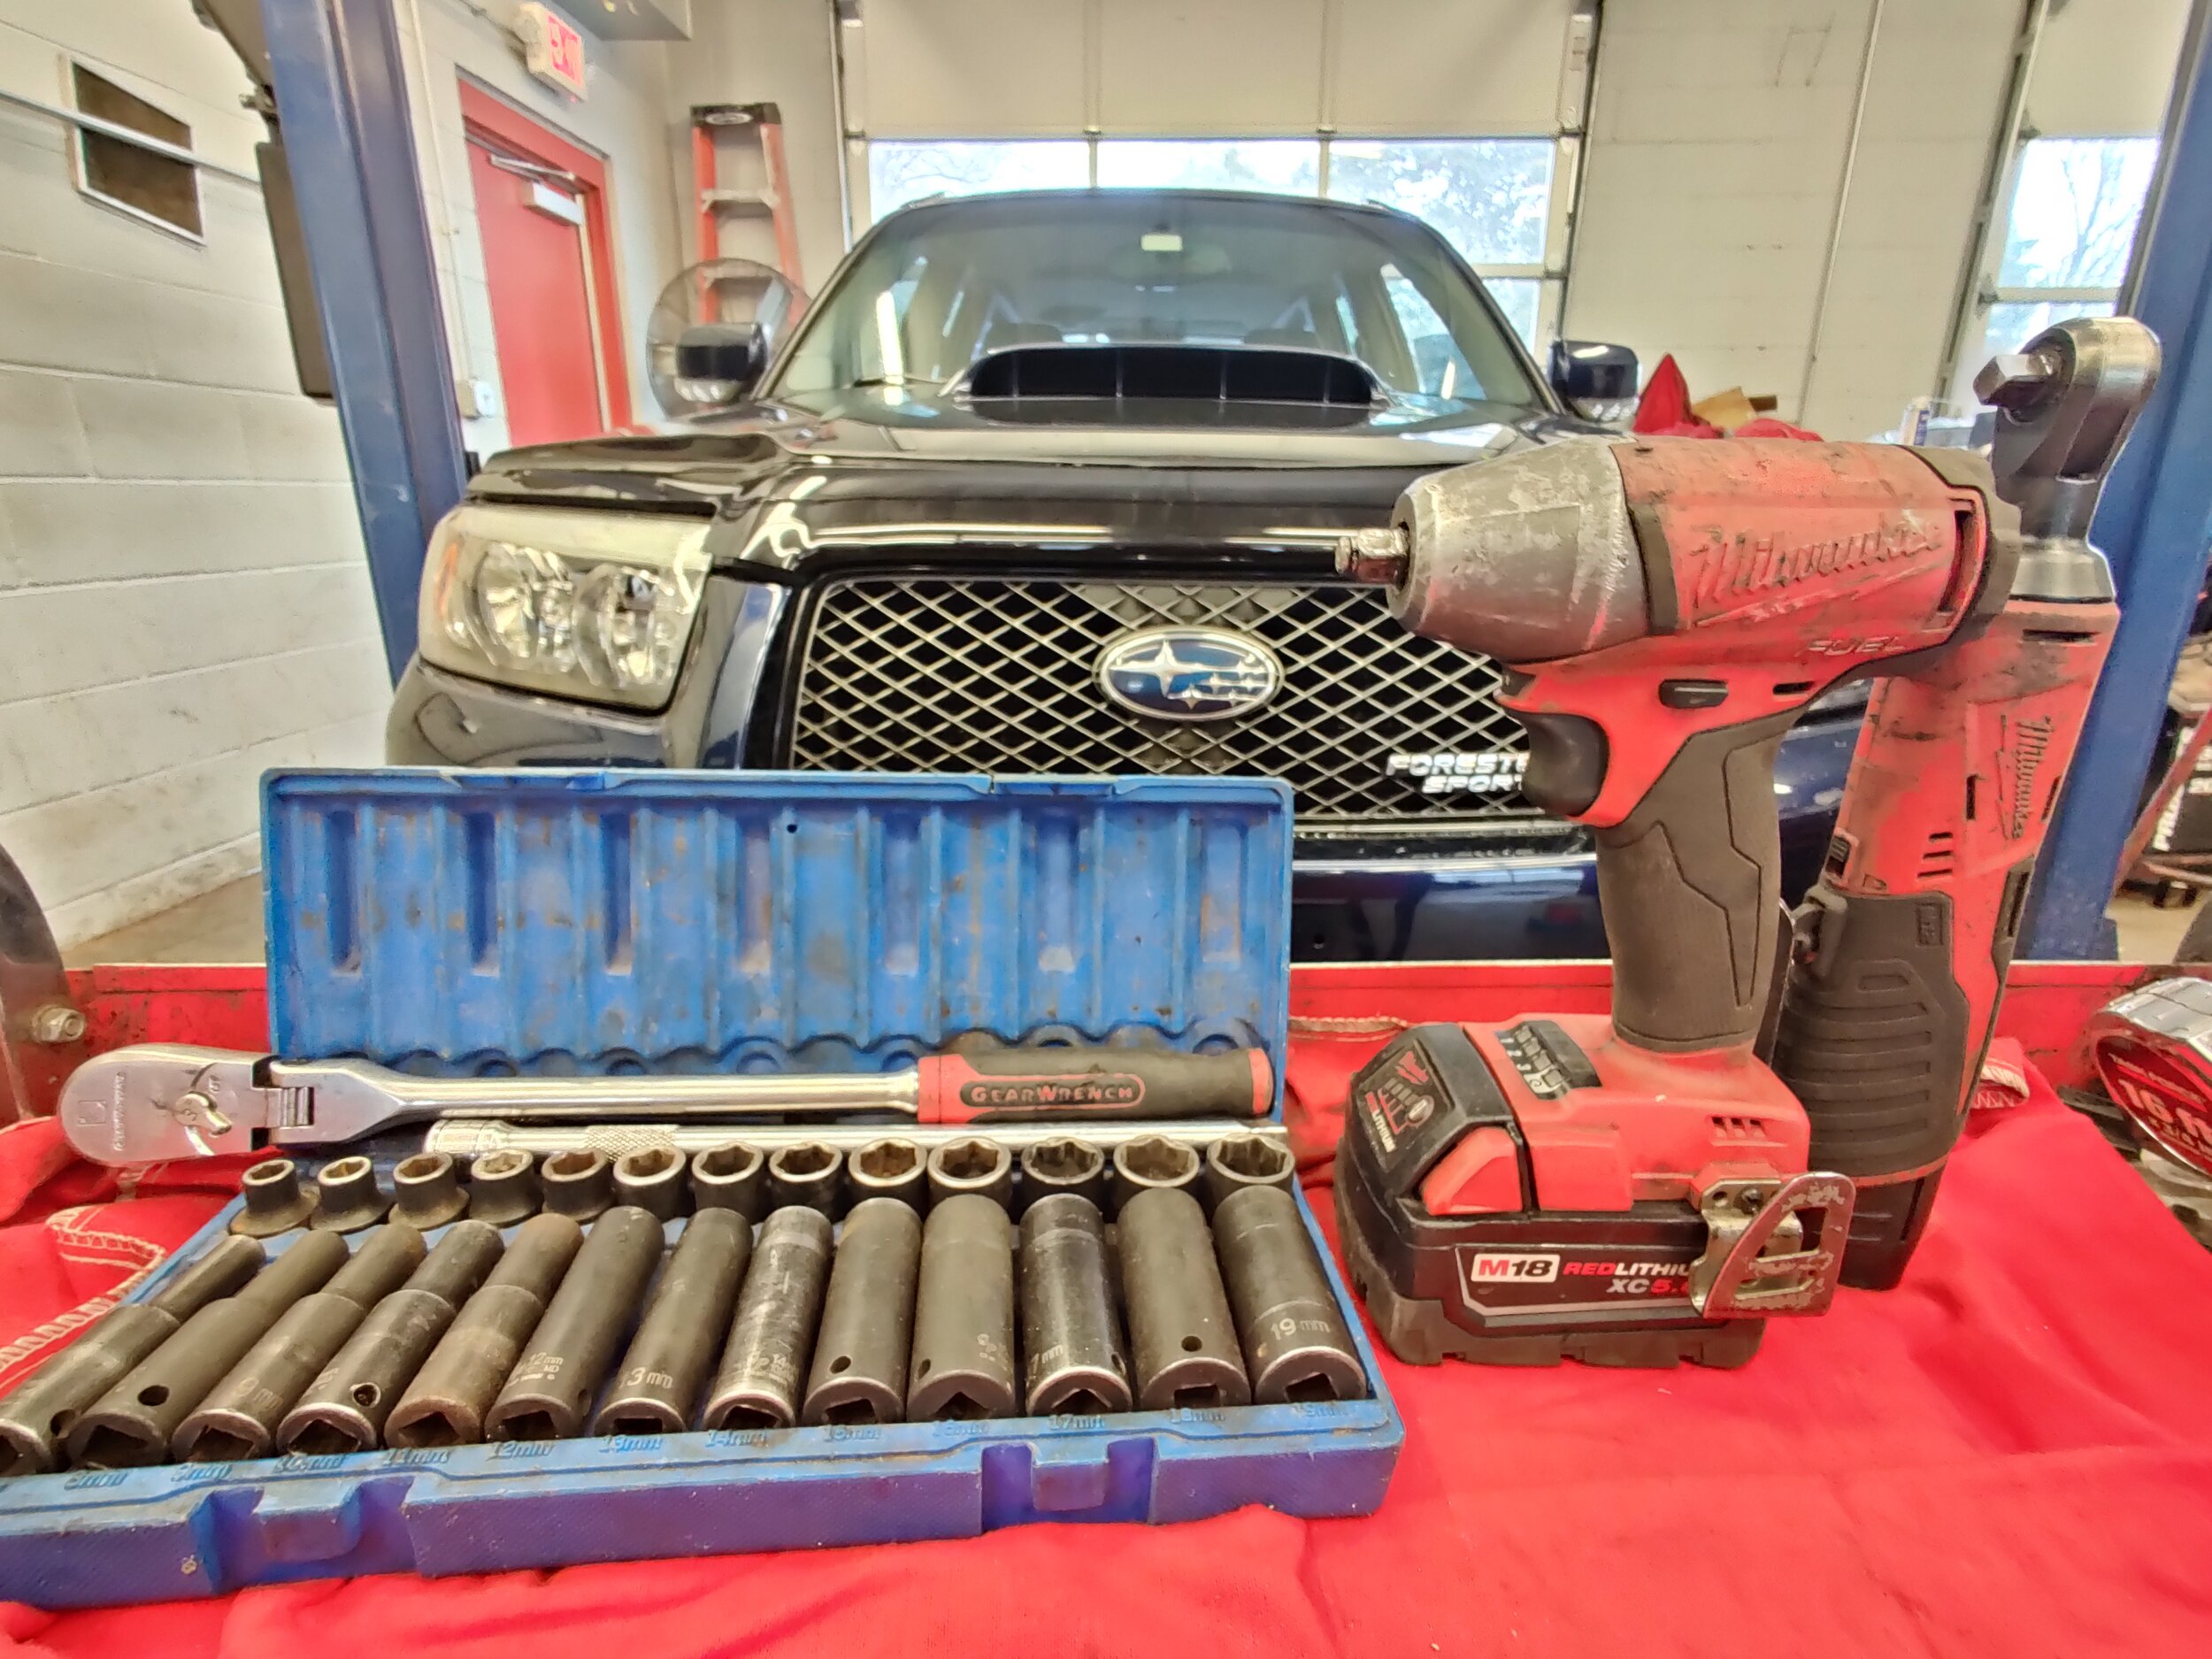
We will start with the typical hand tools and sockets that are necessary. Then move on to the more on to the specialty tools that may no be a hundred percent needed but making this just less stressful and easier i the name of the game, in my mind.


Parts
We will start off with the Subaru parts and on to Gates. All of these listings are for Ej255, Ej257, I.e. turbo dohc motors, but always double check for your specific model.
I have used the Subaru oem parts on cars at work and my personal cars currently have Gates kits on them. There is plenty of people that will use only Aisin or Oem versus Gates, which I am pretty indifferent on. Gates offers a cheaper China set that has been blamed for tensioner and bearing failures. I have been using the Gates Japan built kit in both my Subarus for the last five years without a hitch. With all this information make sure to pick up the set that puts your mind at ease for the next 105K miles.

Install Guide
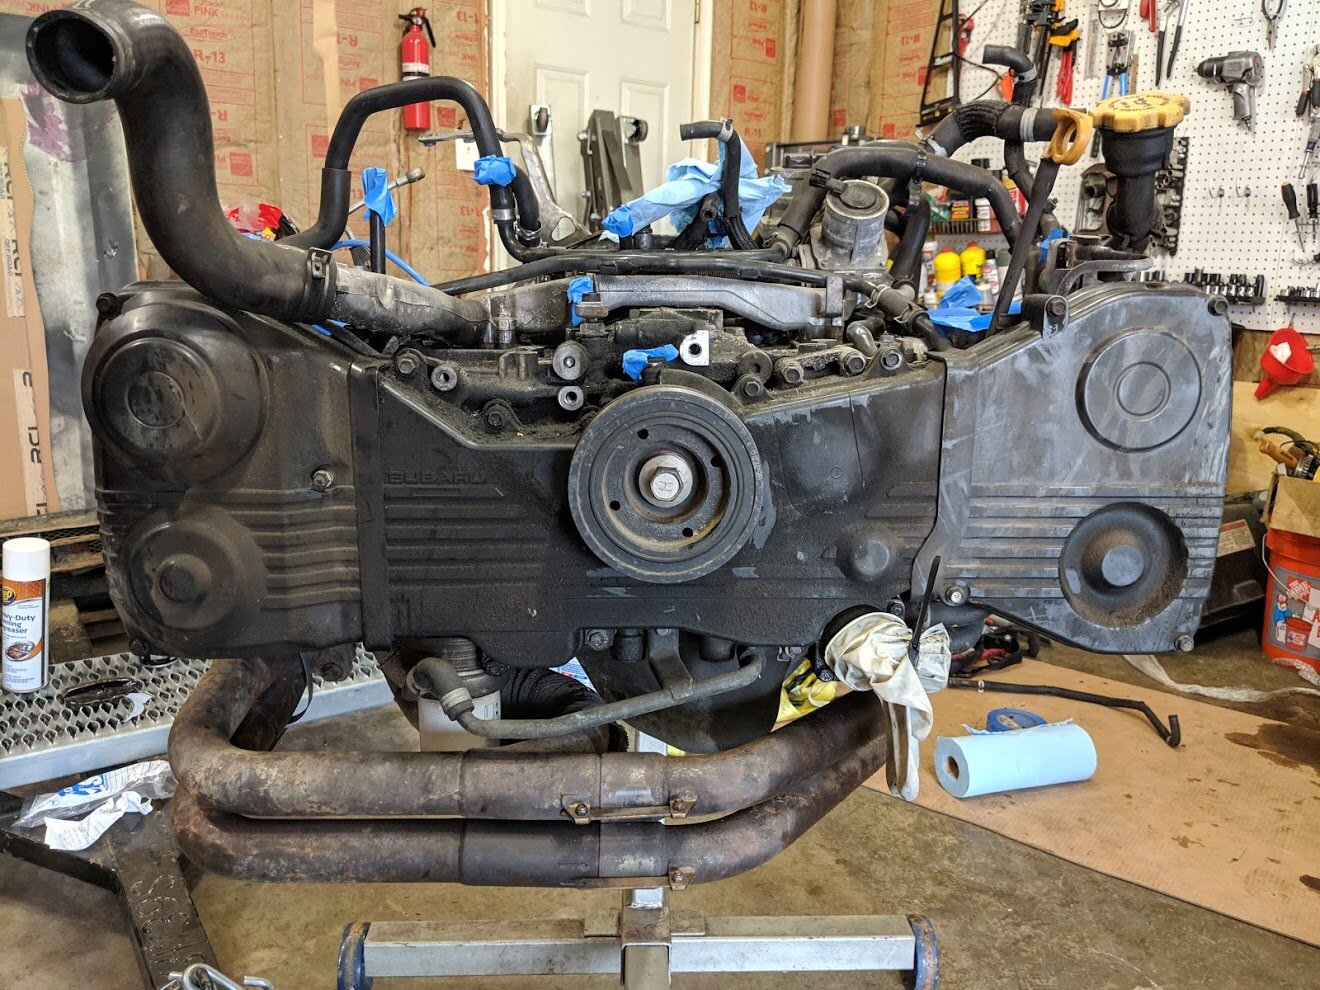
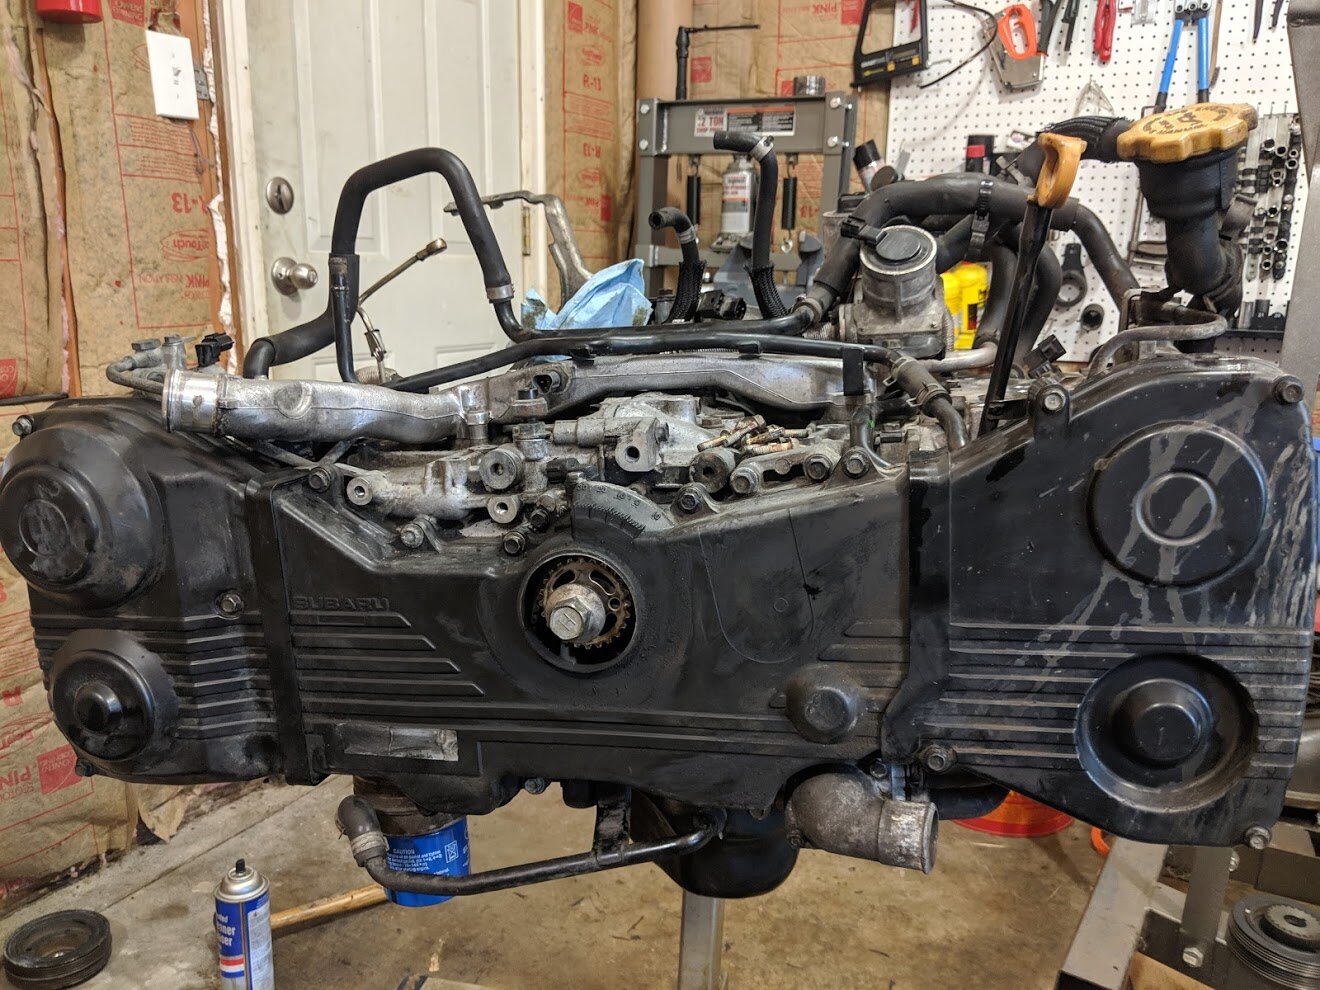
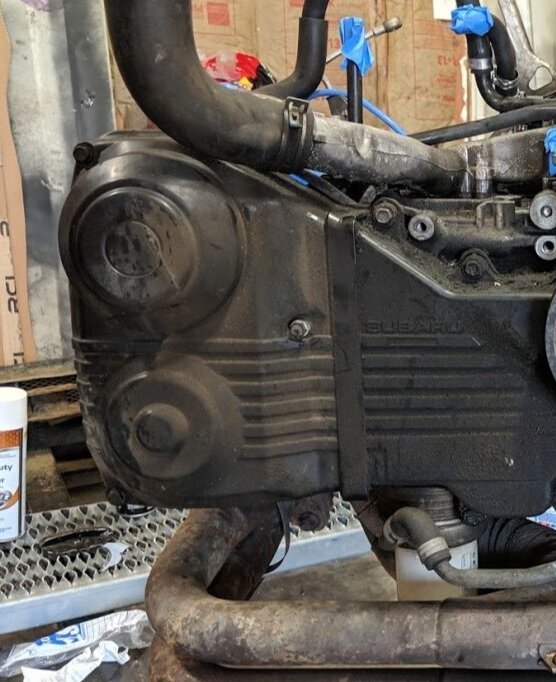
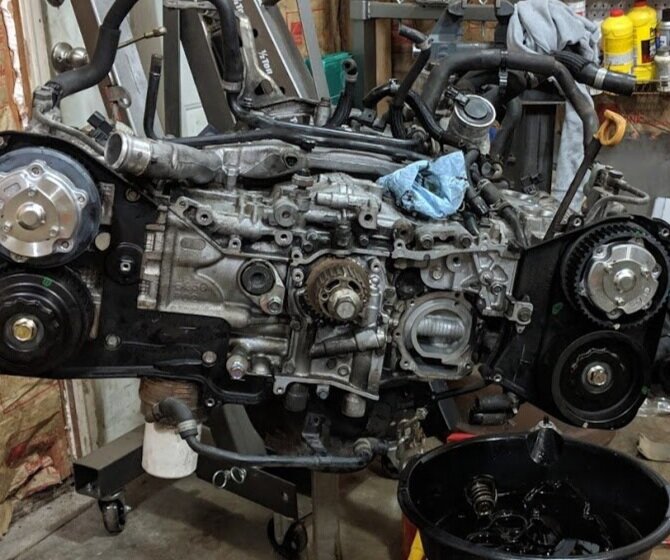
With the correct parts and tools by your side we can now begin the install. My photos are with an engine outside of the car but this isn’t necessary. I happened to be swapping motors and that explains the outside the engine photos.
Start with pulling the car into your favorite work space, then you can open the hood and begin. If you are draining the coolant and want to be able to get below the car you may want to put it up on jack stands now but to a point where you can still easily access your under hood items. Now is a great time to open that radiator petcock (drain) and fill your favorite coolant pan.
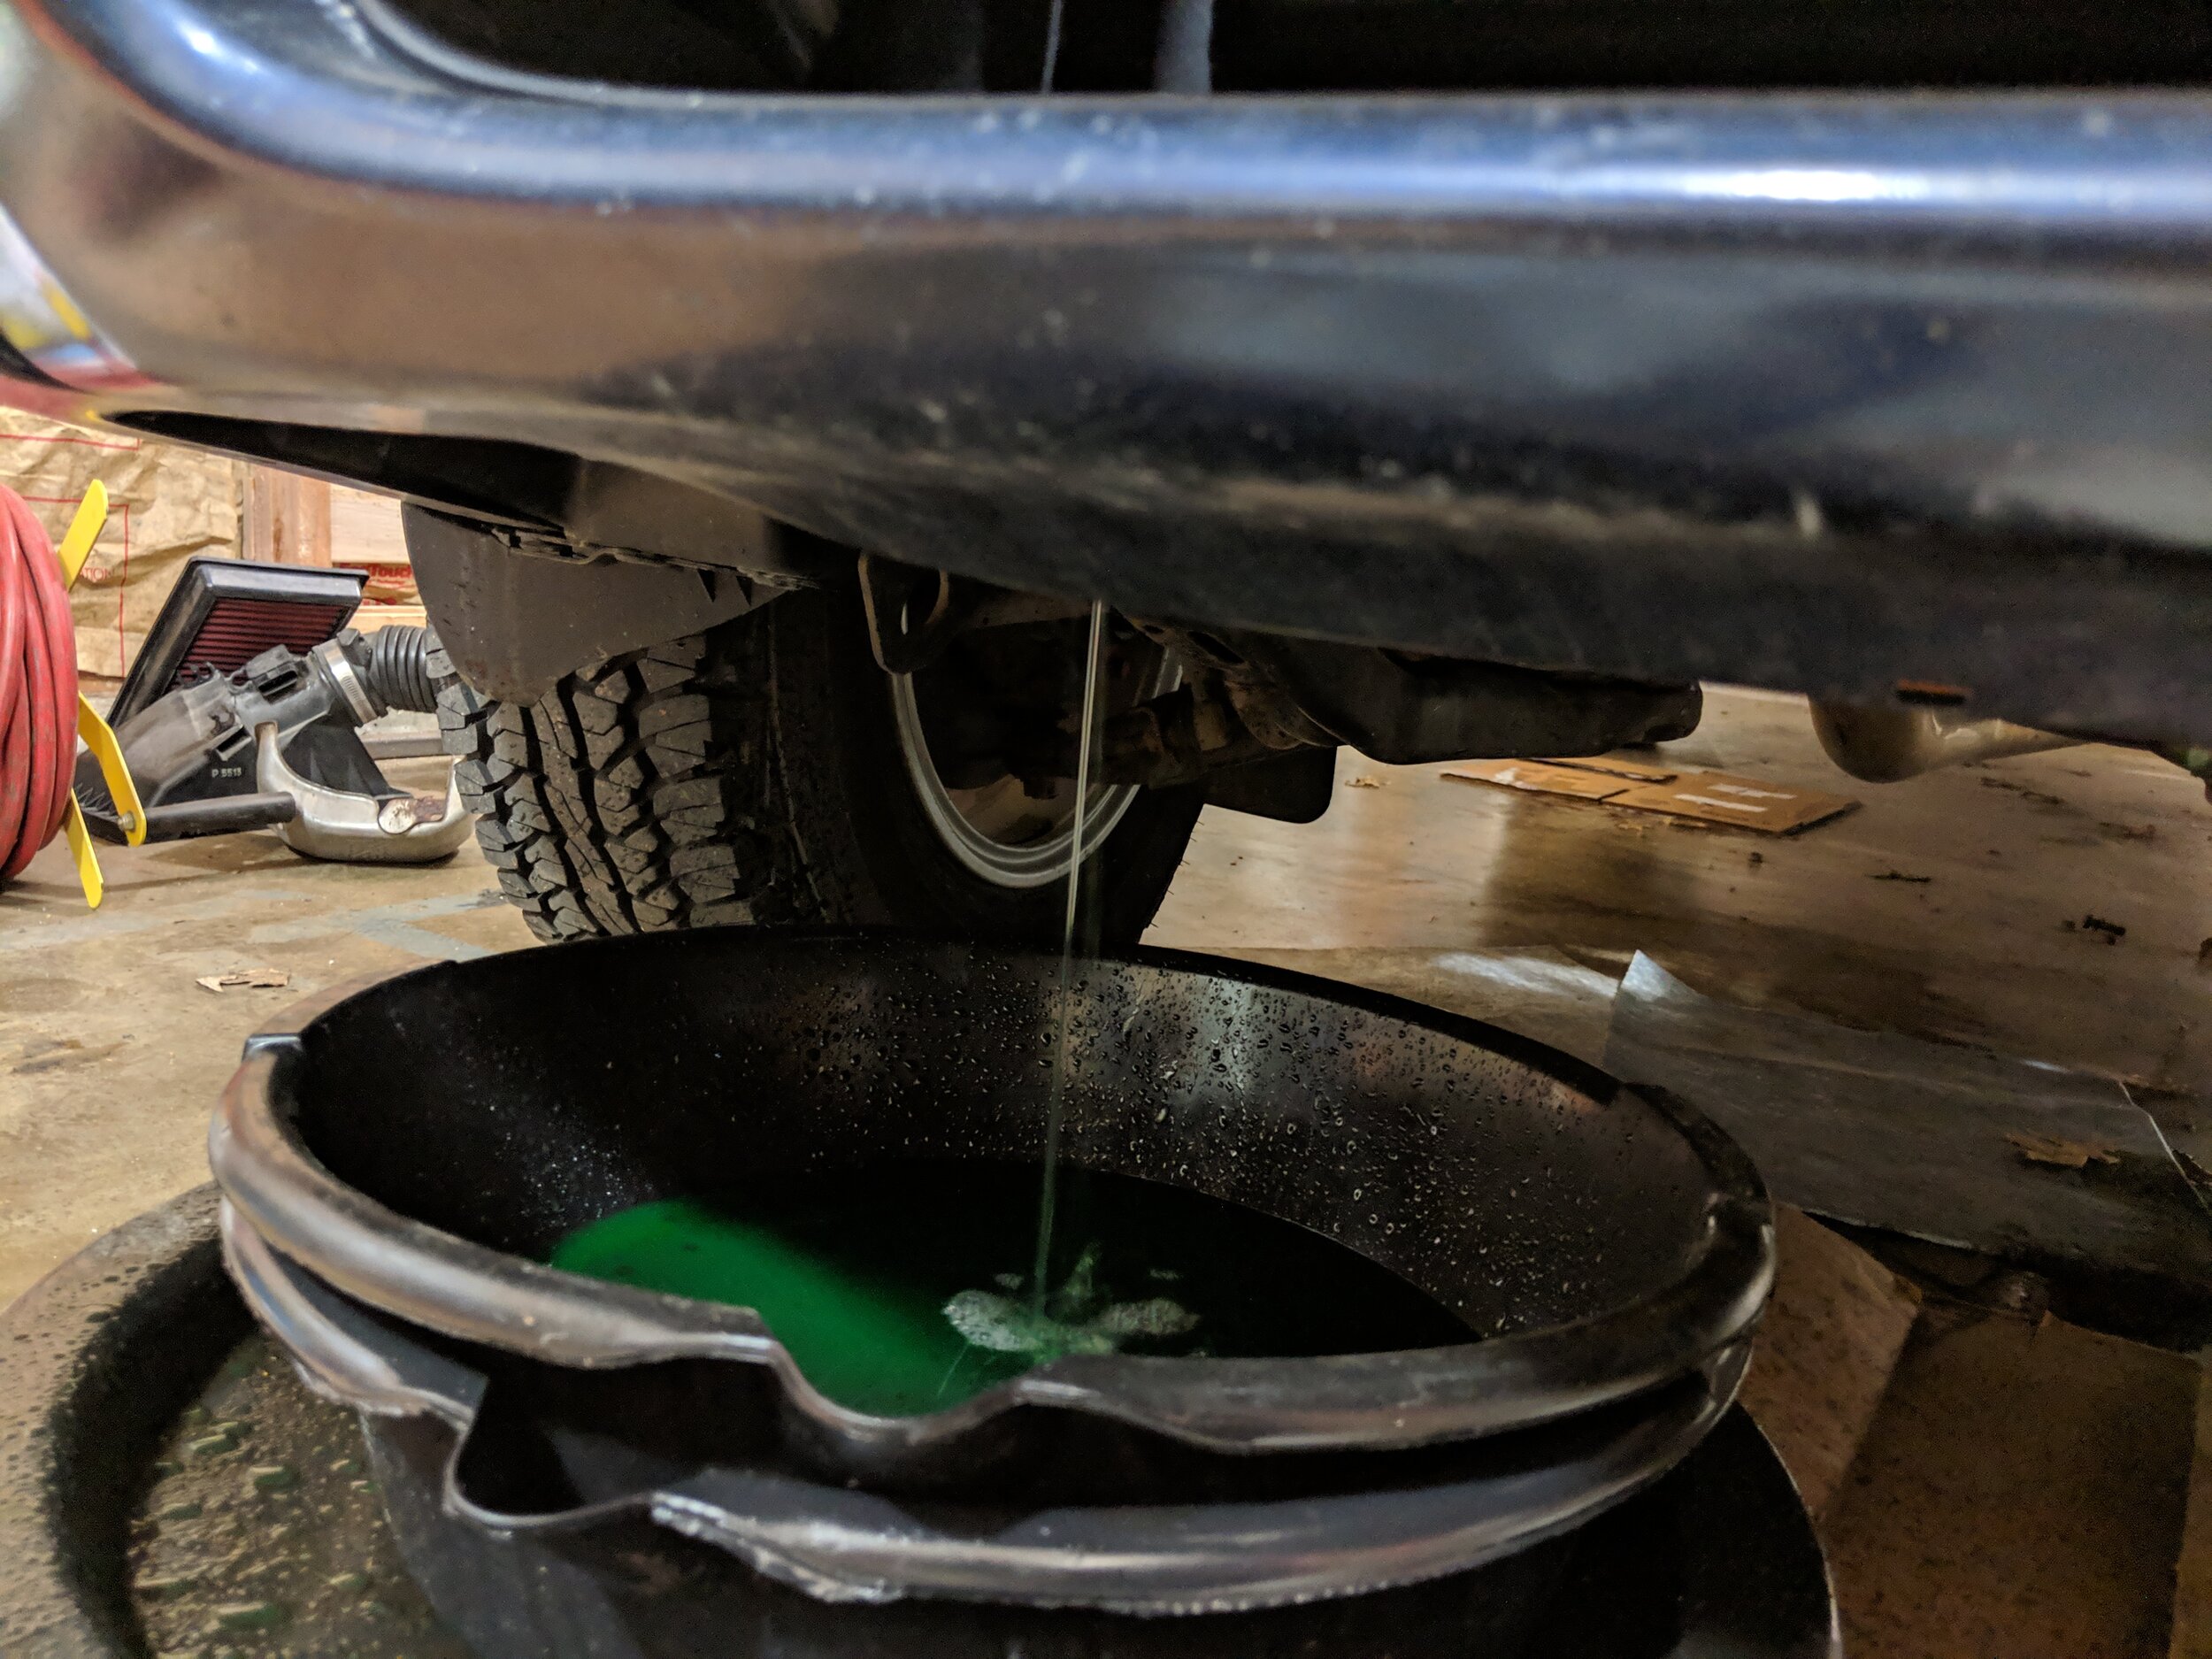
Get your pans ready, it’s time to remove that coolant.
For those with engines in their cars we can start by removing the upper radiator hose off the radiator and spinning it out of our way, you may need to loosen the clamp on the engine side. With that hose moved you should be able to extract the radiator fans, they both have a electrical connection that we will need to disconnect. This will grant us ample room for our timing belt job.
You will want to turn your coolant hose out of the way. The method I use inside the car, remove it from the radiator and then rotate it upwards on the
Next we can remove the belt cover and serpentine belt, take note of the routing for the final steps. You will start with the power steering belt and then to the A/c belt. If you need a more complete guide follow this link for those.
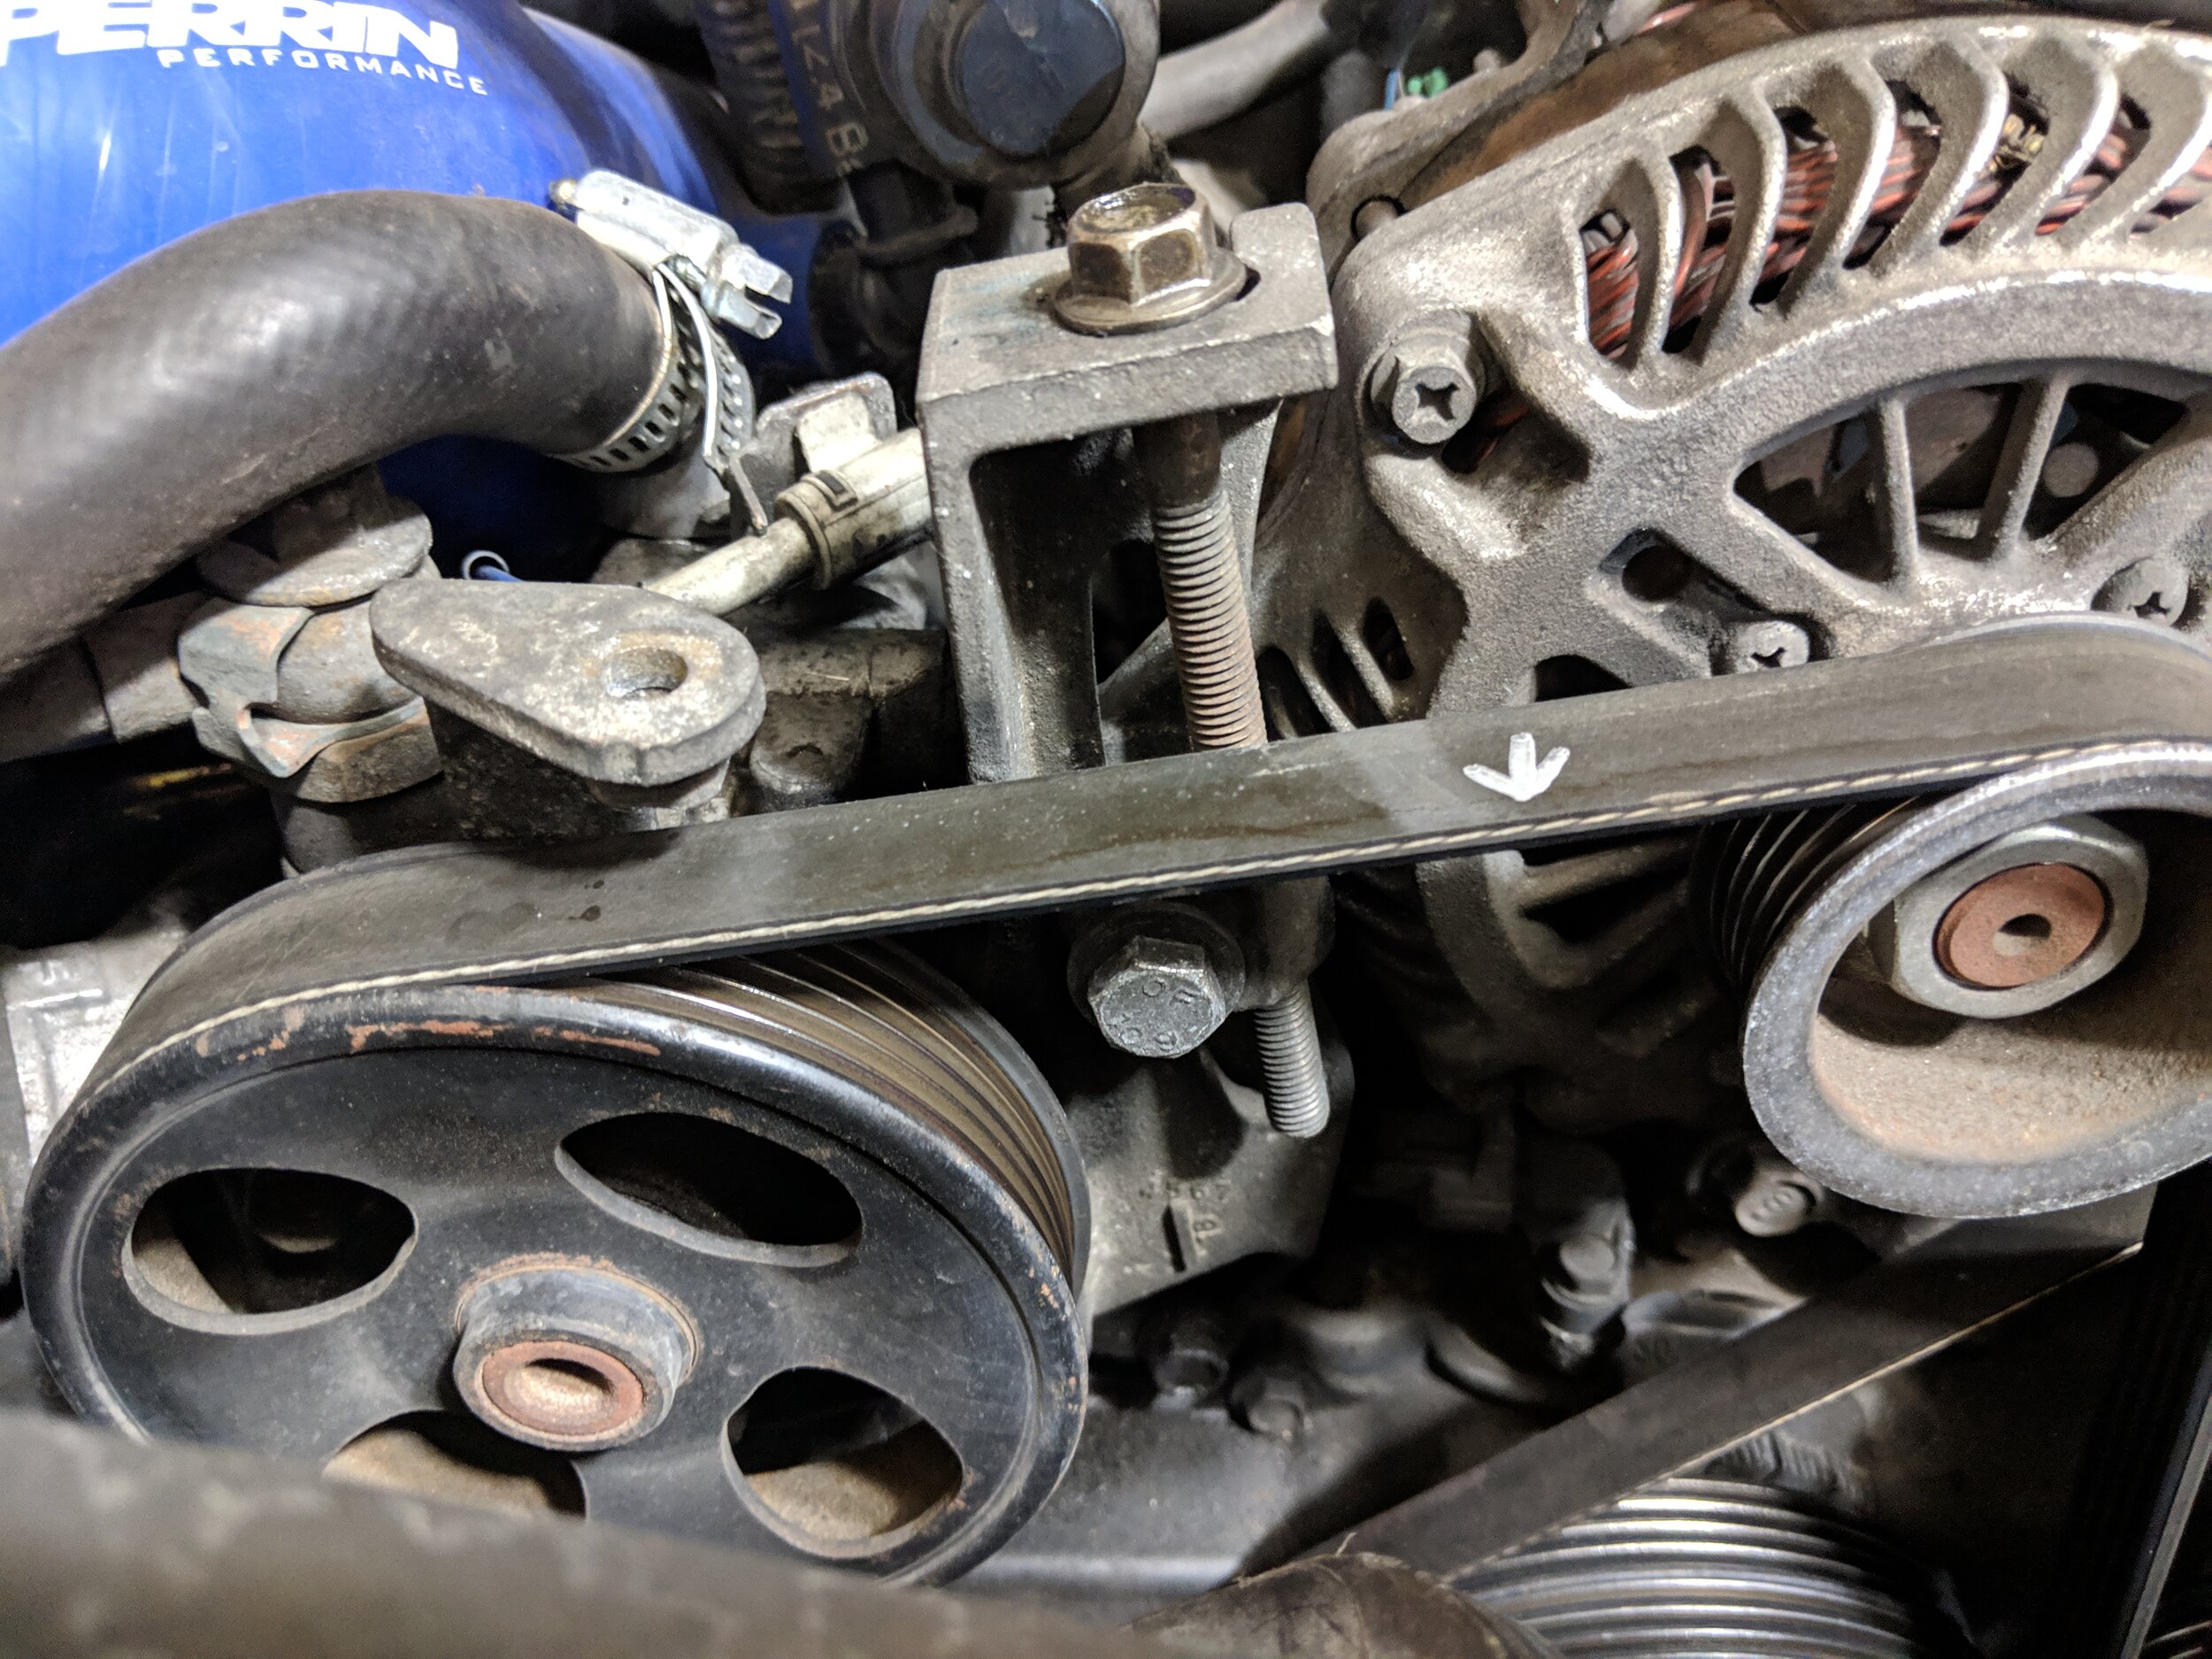
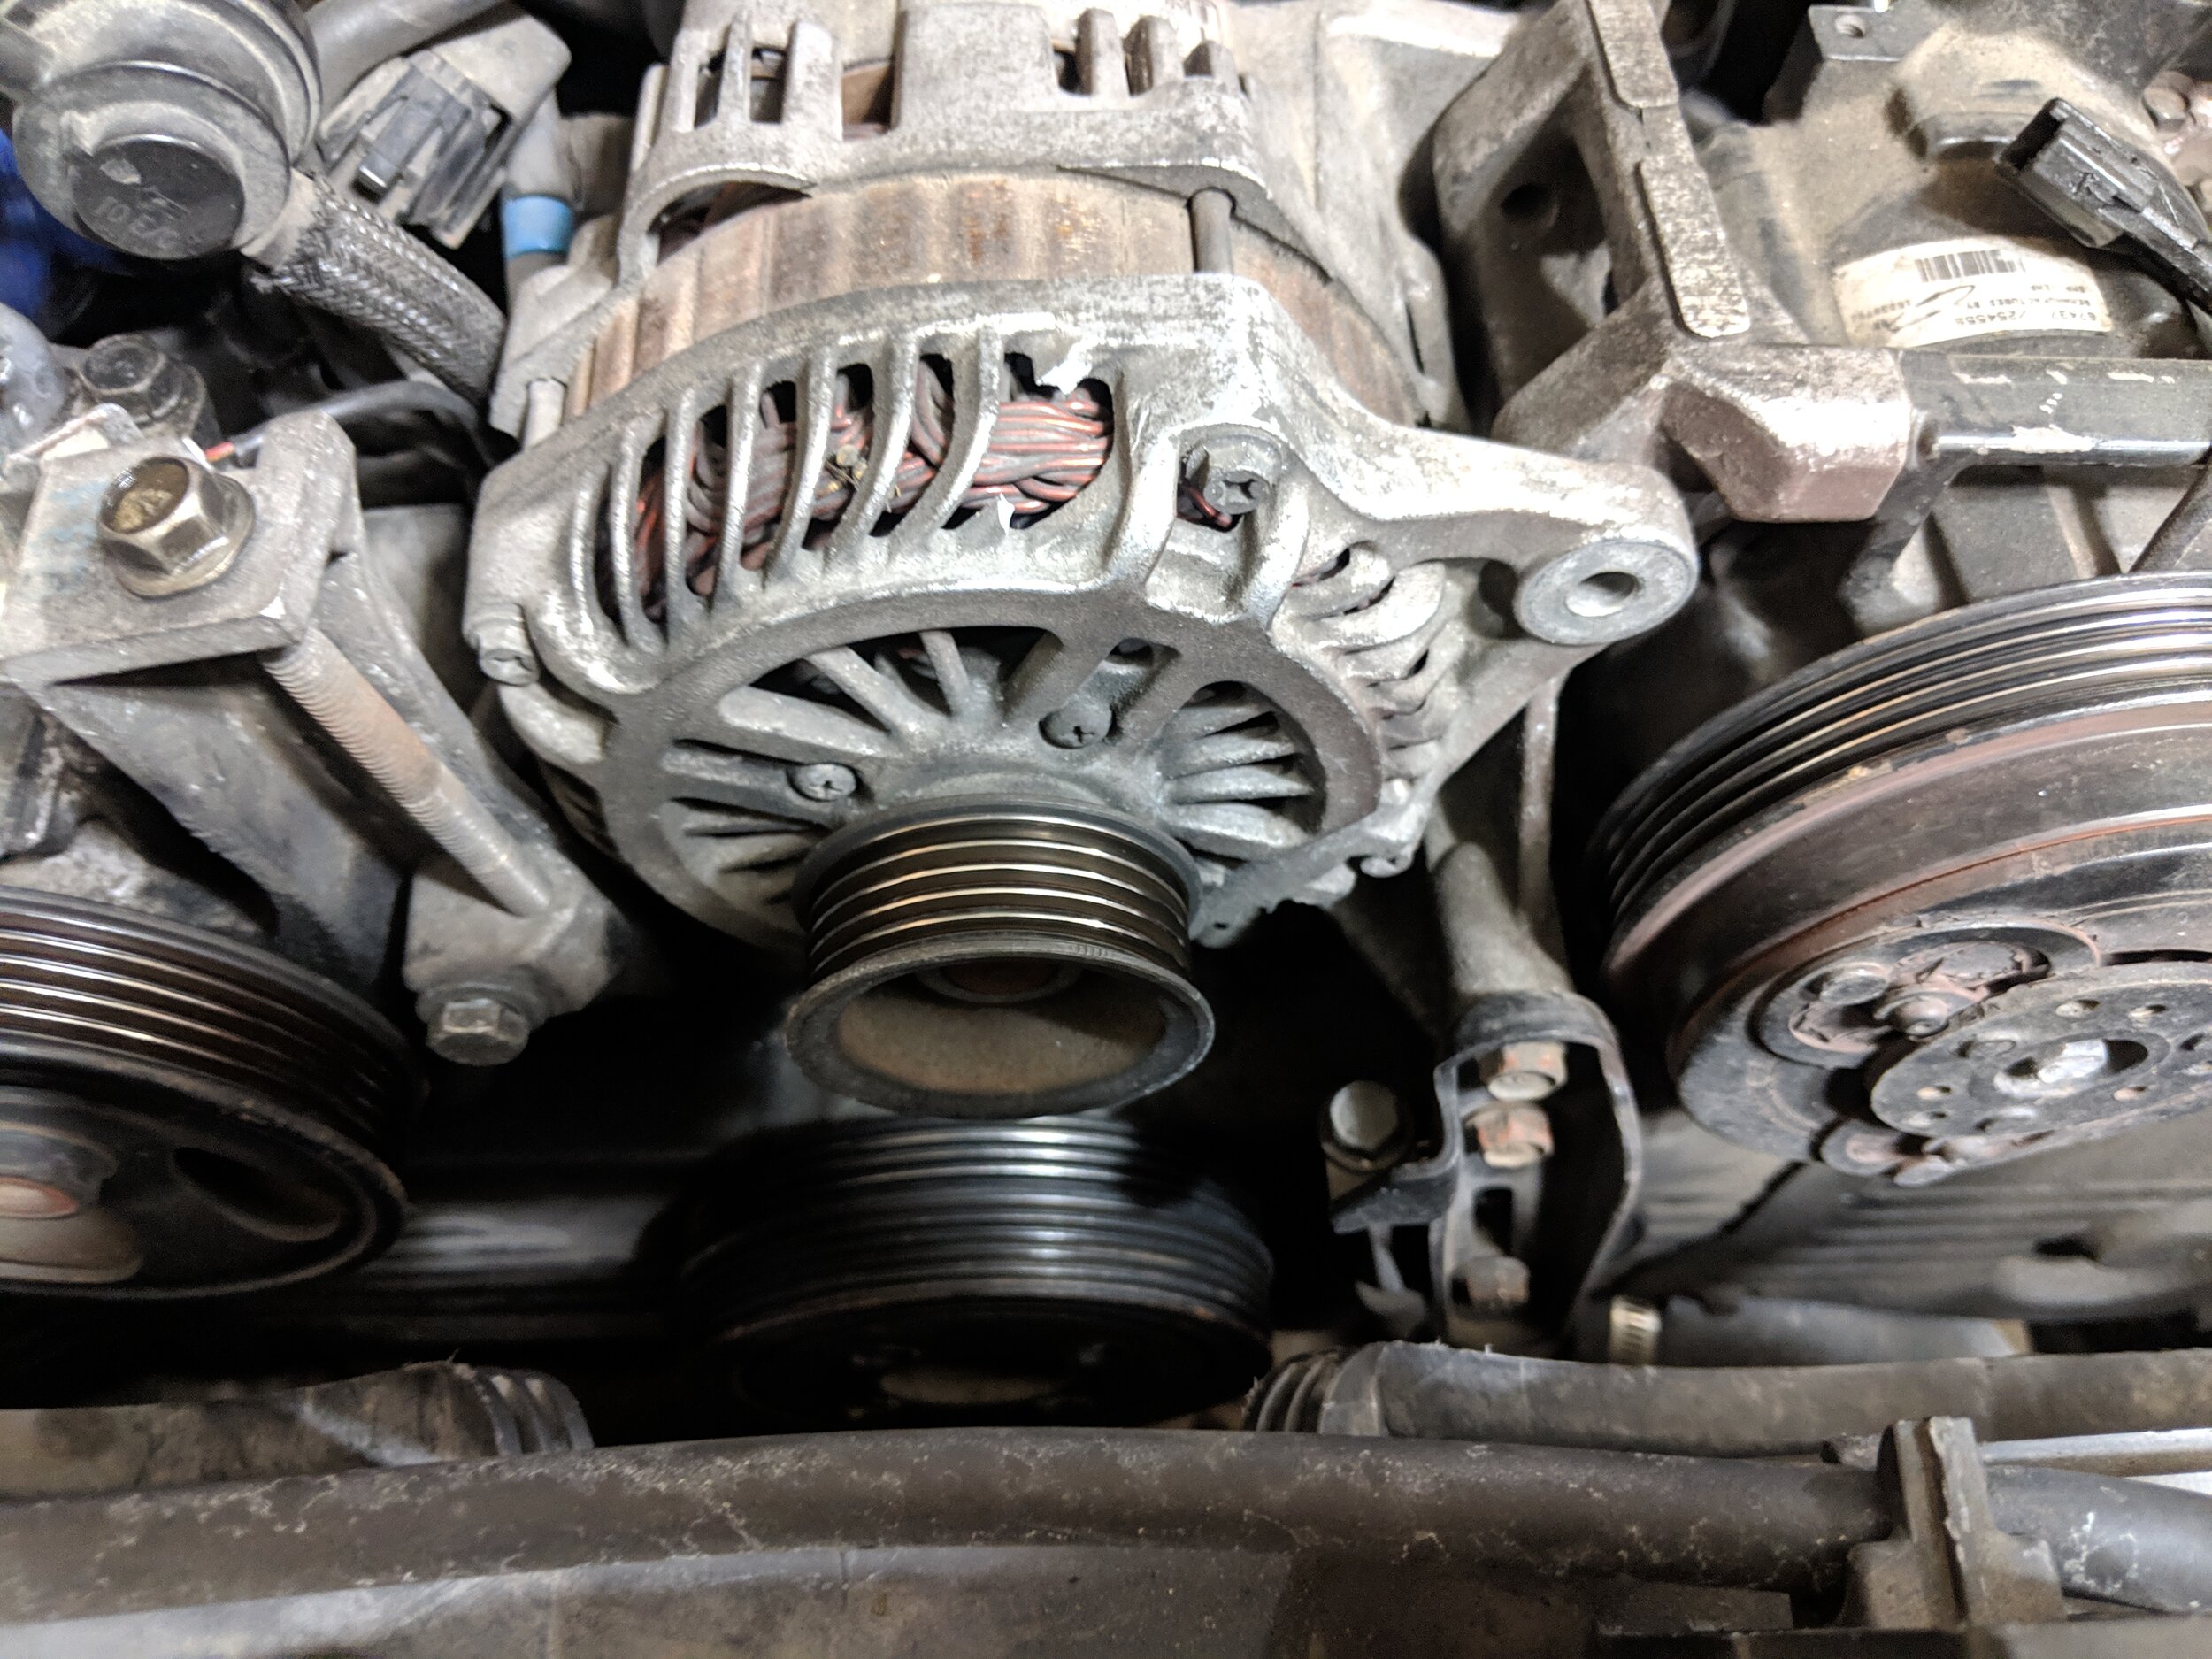
Power steering belt will be first to go. Here is the tensioner to all the belt to be removed. Make sure you loosen the alternator bolt on the A/c side to allow it to pivot.
Next up is the A/c belt, here is the tensioner. Using a 14mm break the pullet free and you can now undo the tension bolt.
With the belts off you are one step closer!
If you would like more working room you can now remove the fans to open up your working area. Both fans will have an electrical connection that needs to be removed. Then you can remove the upper bolts and coolant overflow tank. Now nothing will be holding the fans in and you can pull them out.
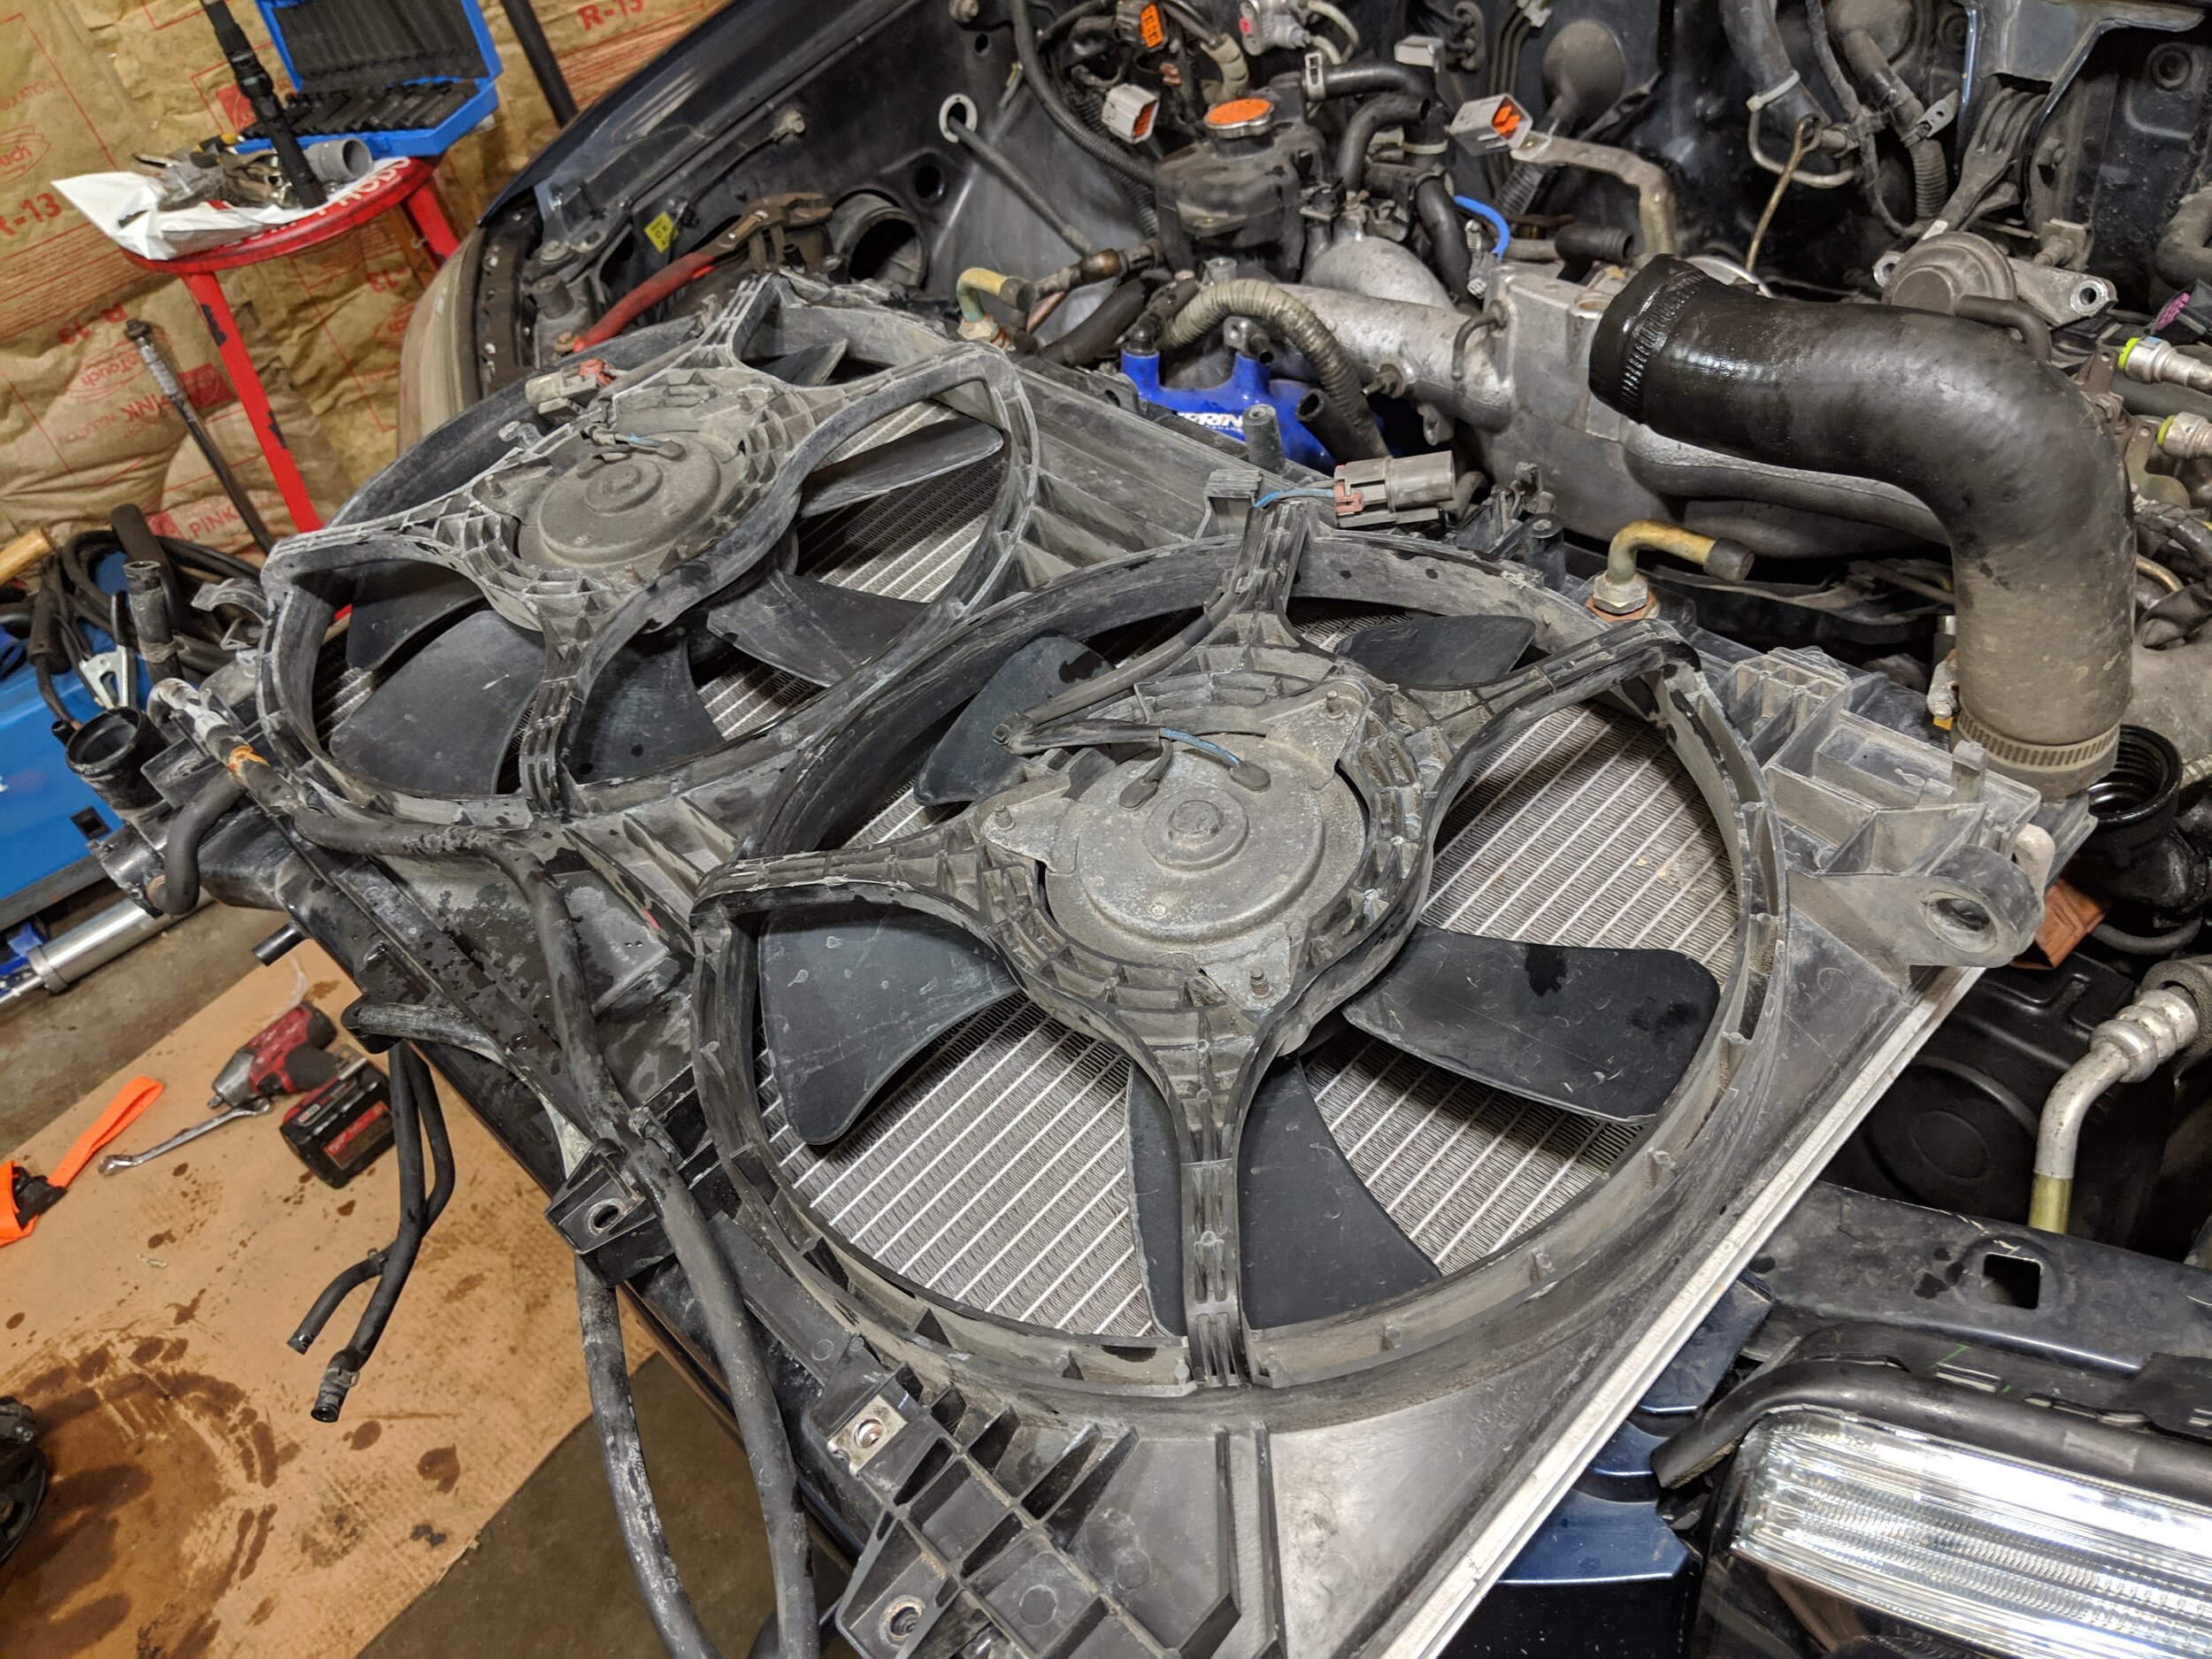
I removed the whole set since I was removing the engine and all the coolant. But here you can see the electrical connector and bolt holes that hold it to the radiator.
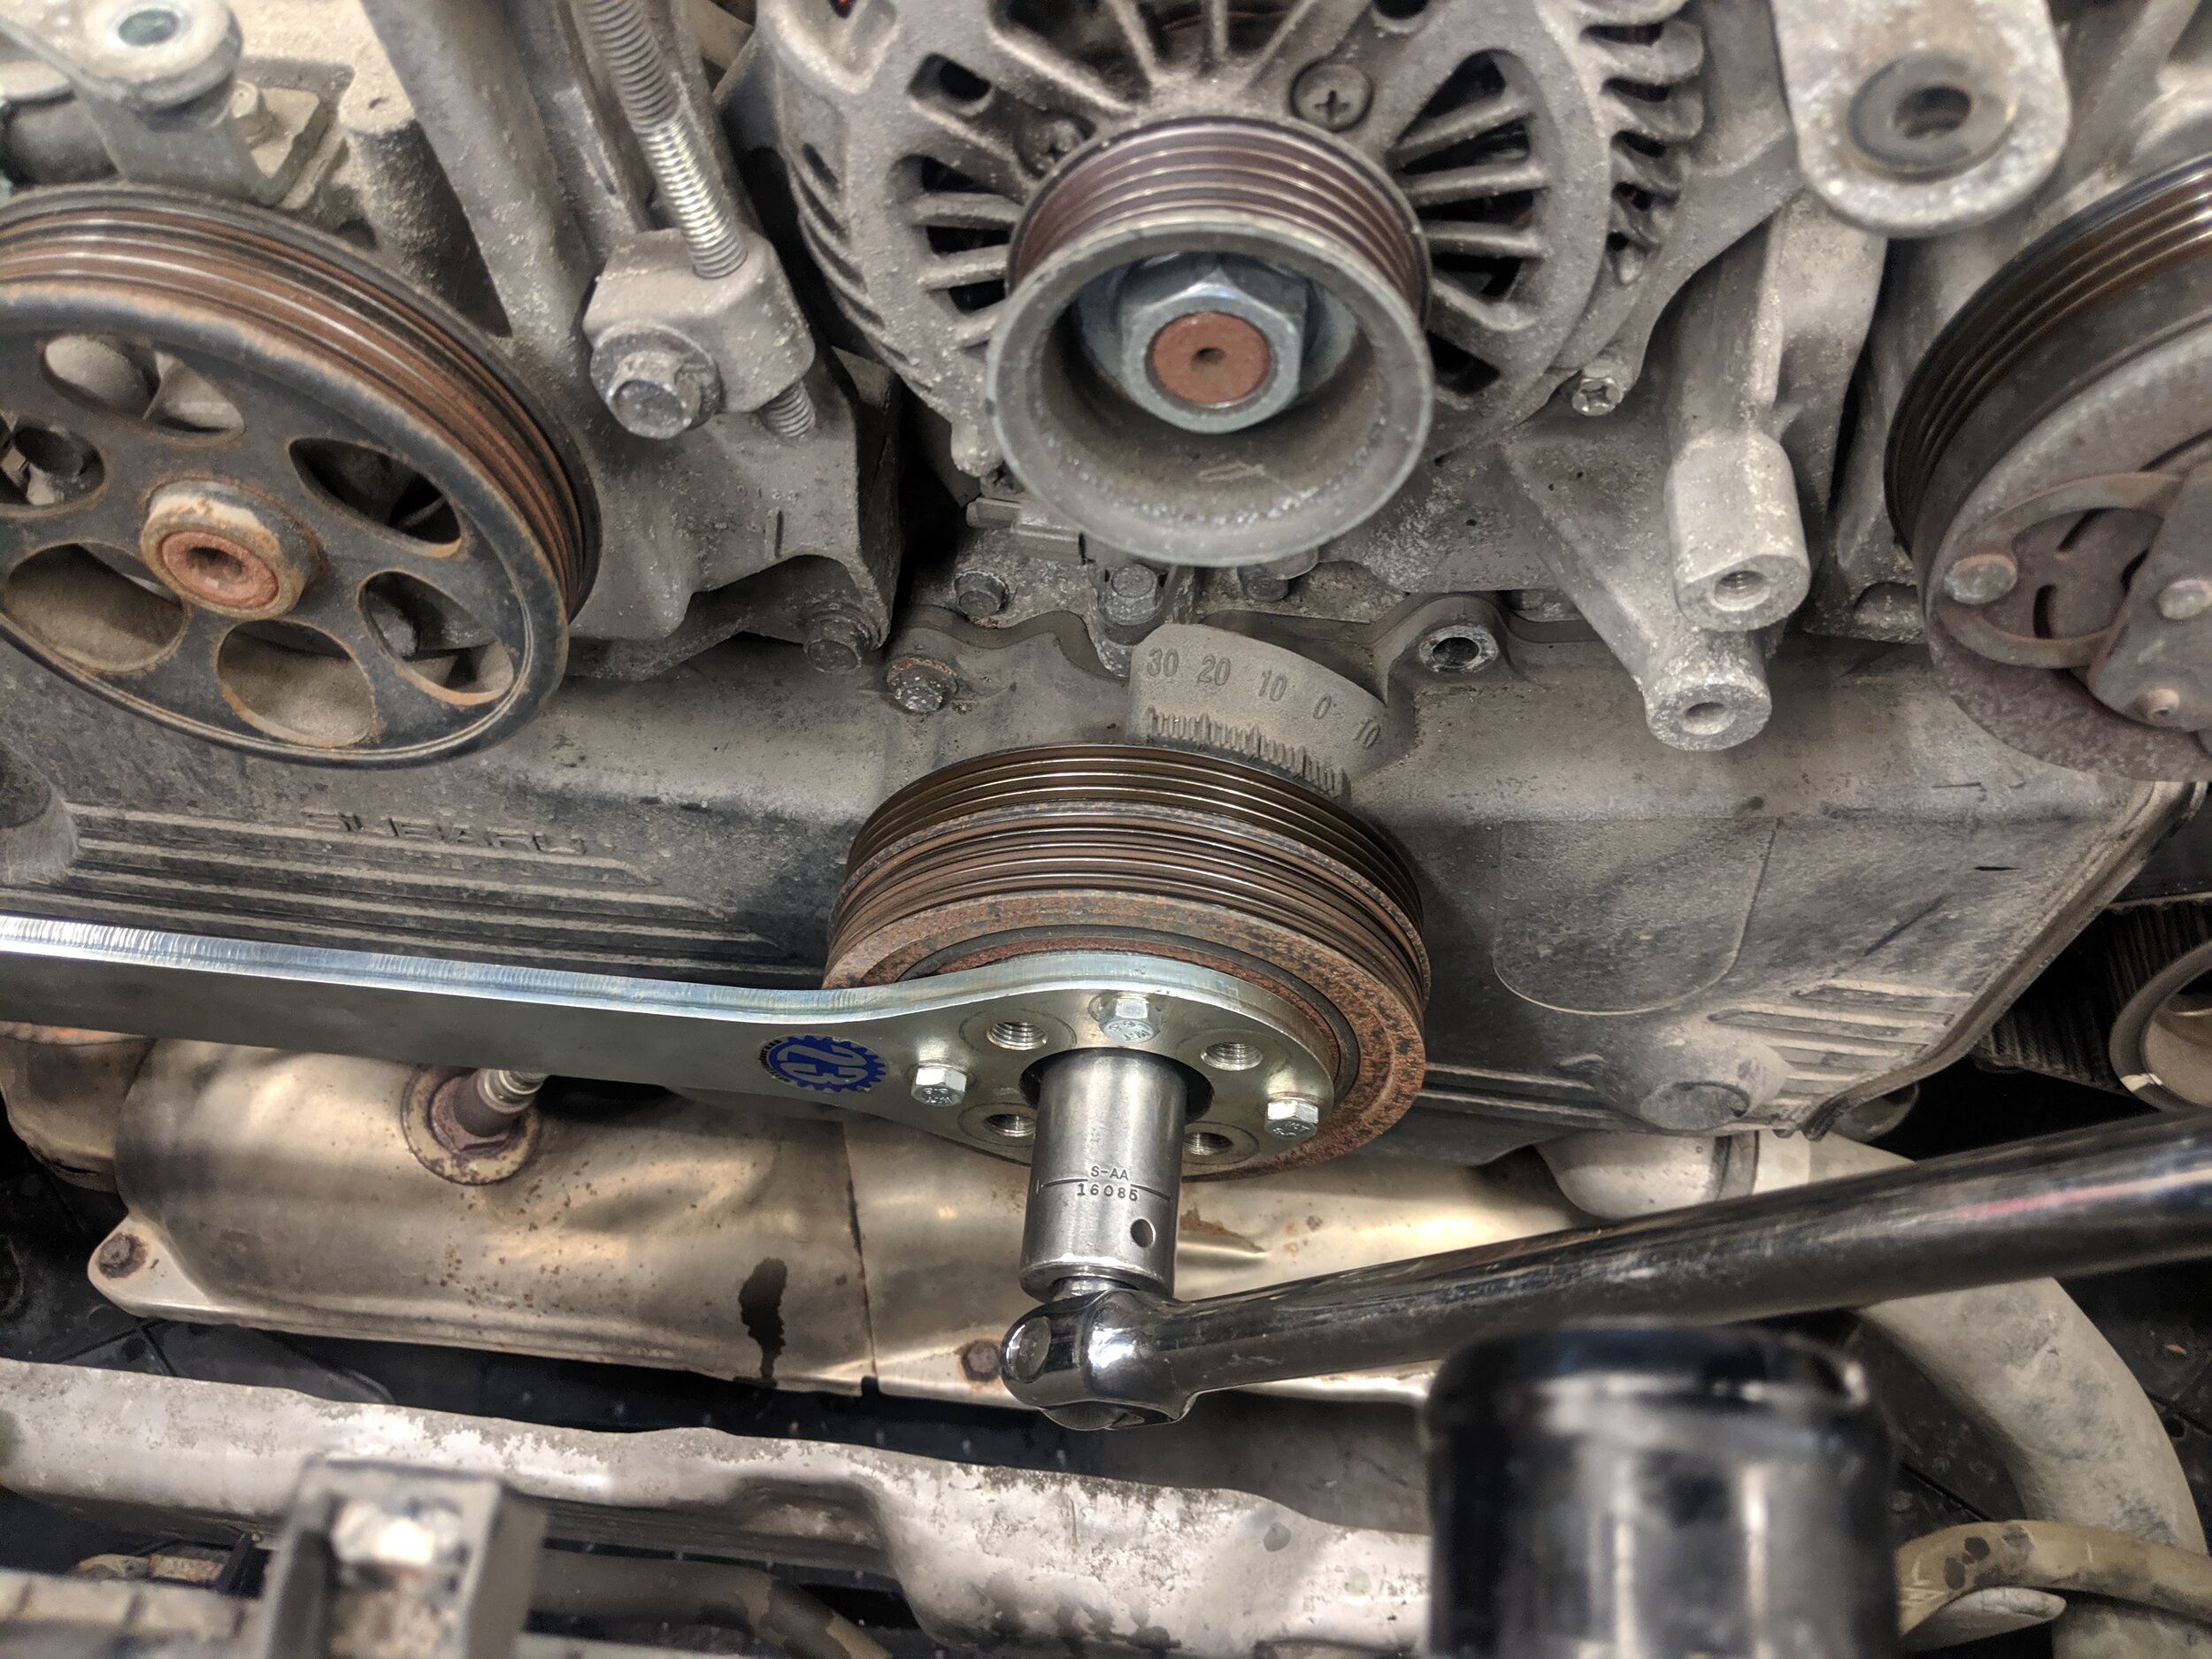
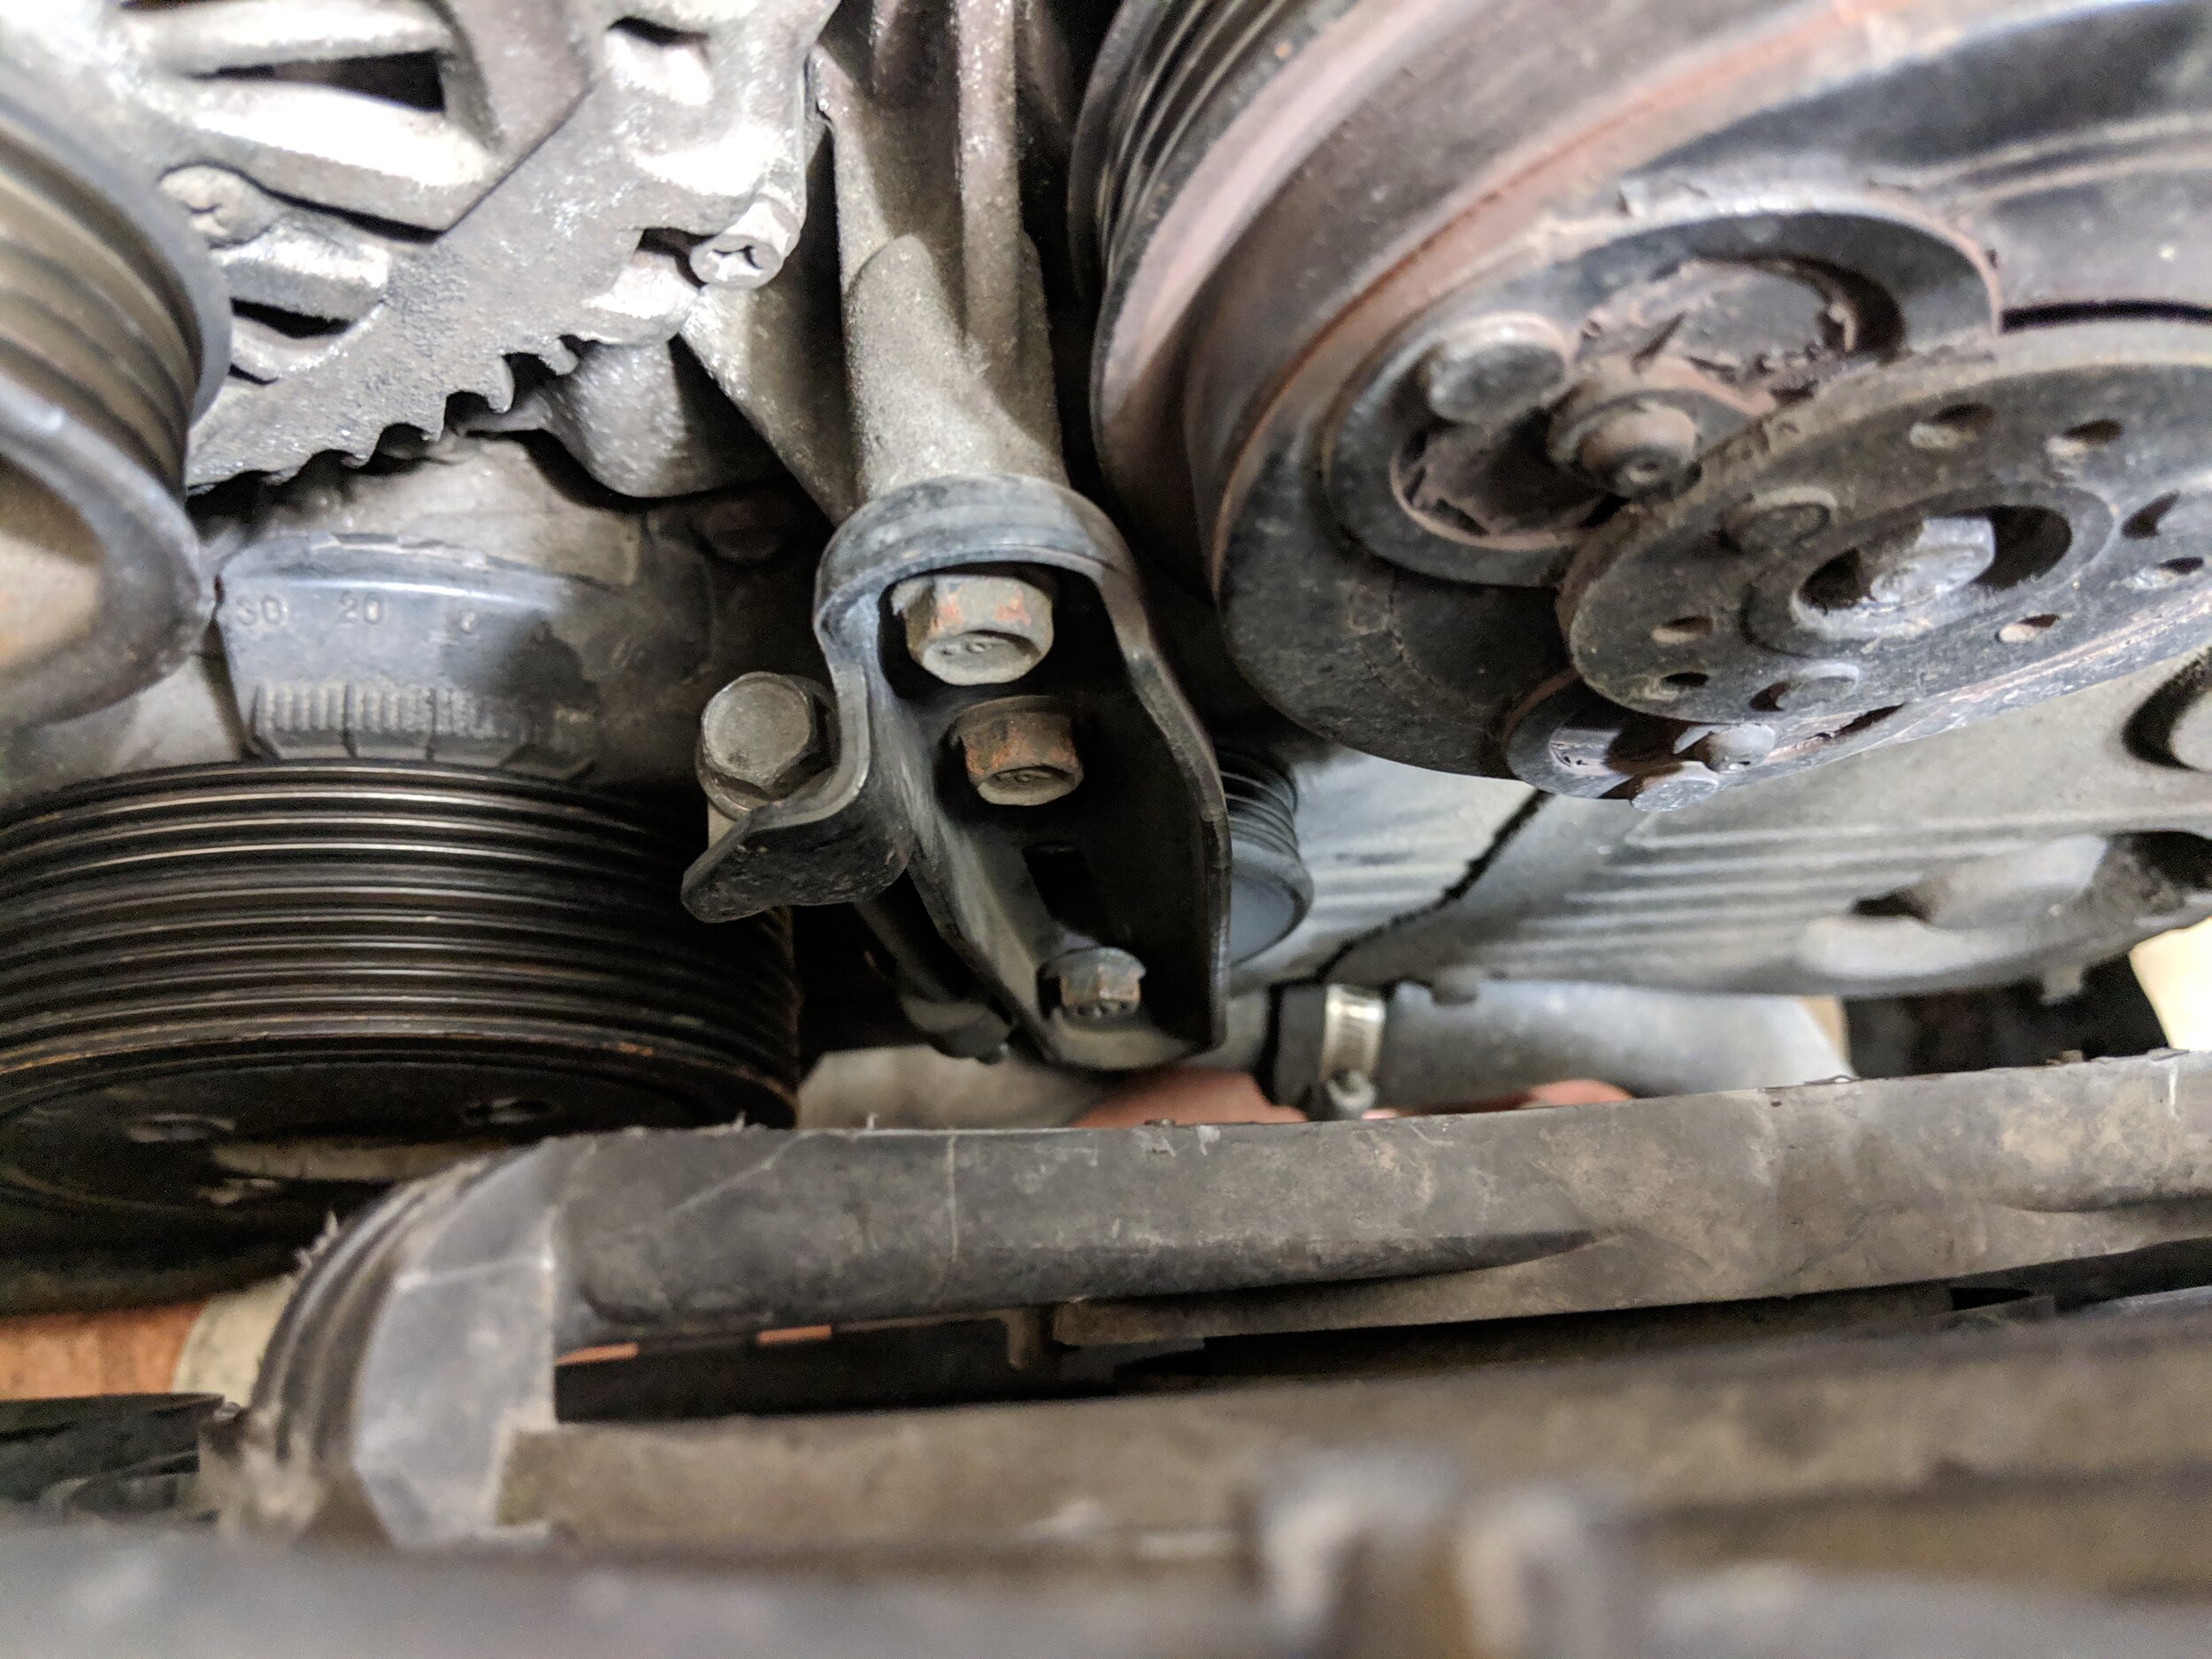
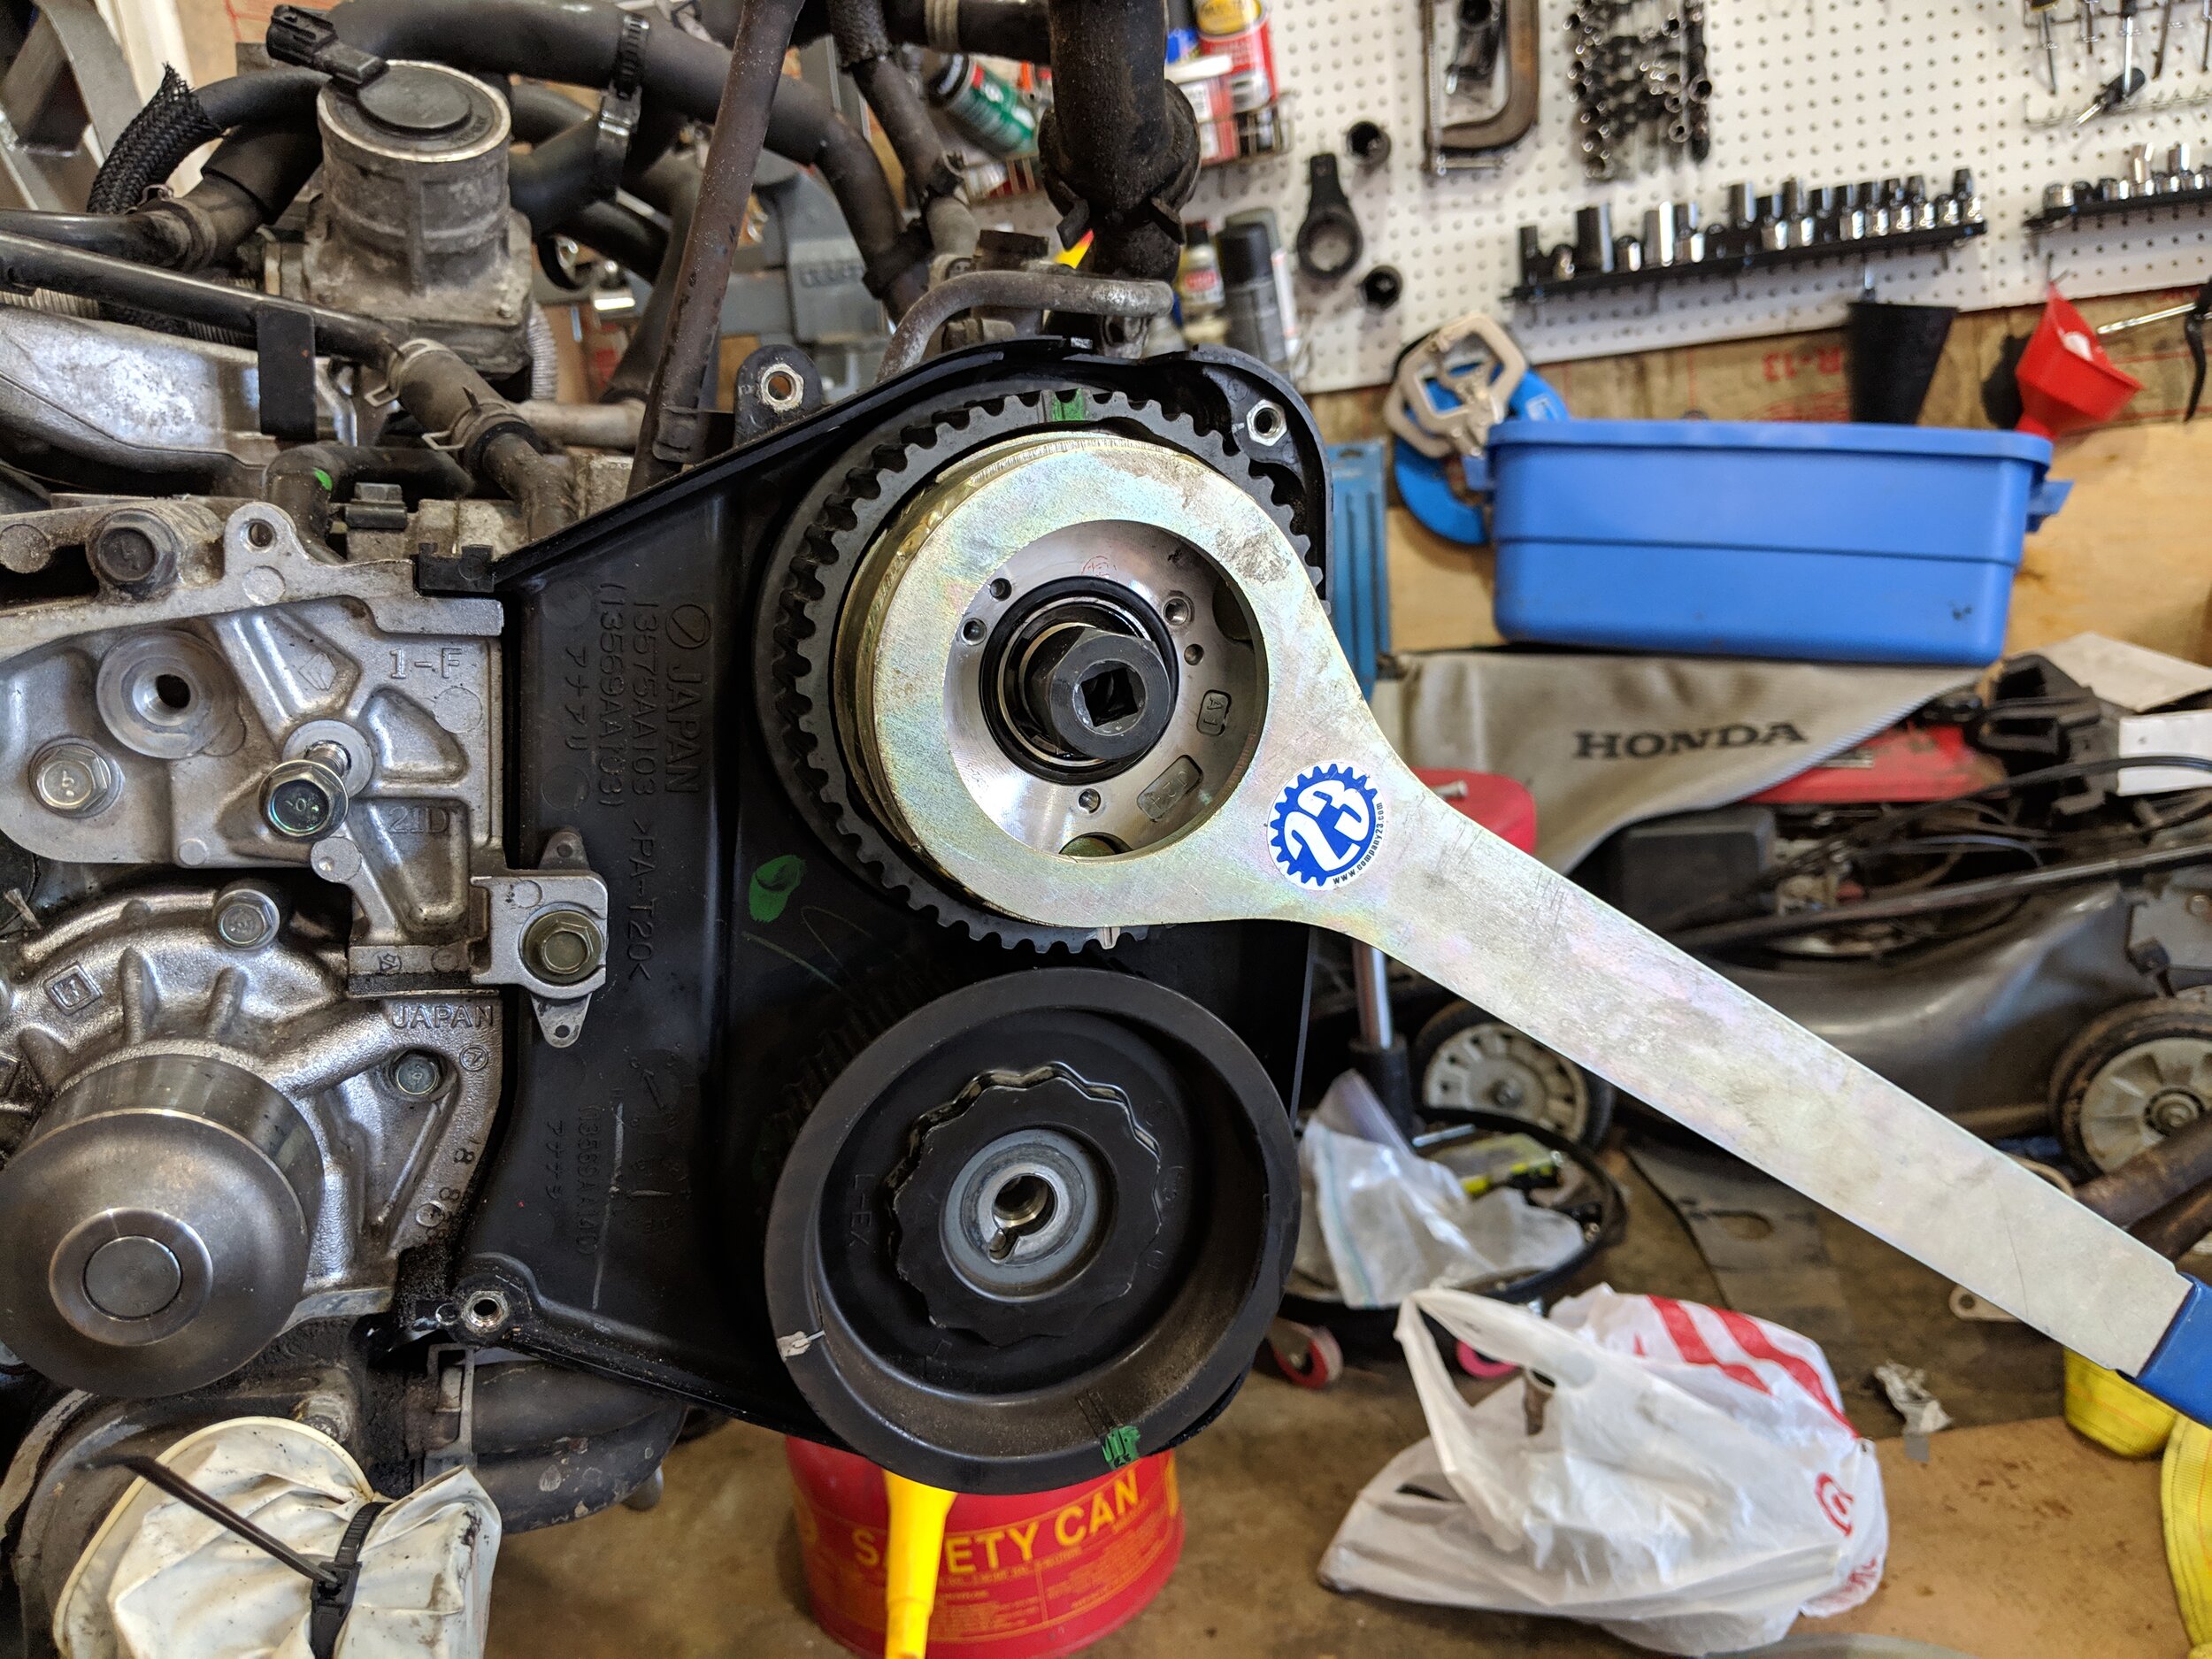
On to the harmonic balancer, i.e. crank pulley and it’s bolt. I have had moderate luck removing these with my Milwaukee 1/2 stubby impact. If that doesn’t work the Company23 crank holder tool plus a large breakover bar should get the job done. If your engine is outside the car any impact will also do my Milwaukee 1/2” electric impact never struggles to remove these.
With the engine out of the car this is a super easy task with a proper impact gun.
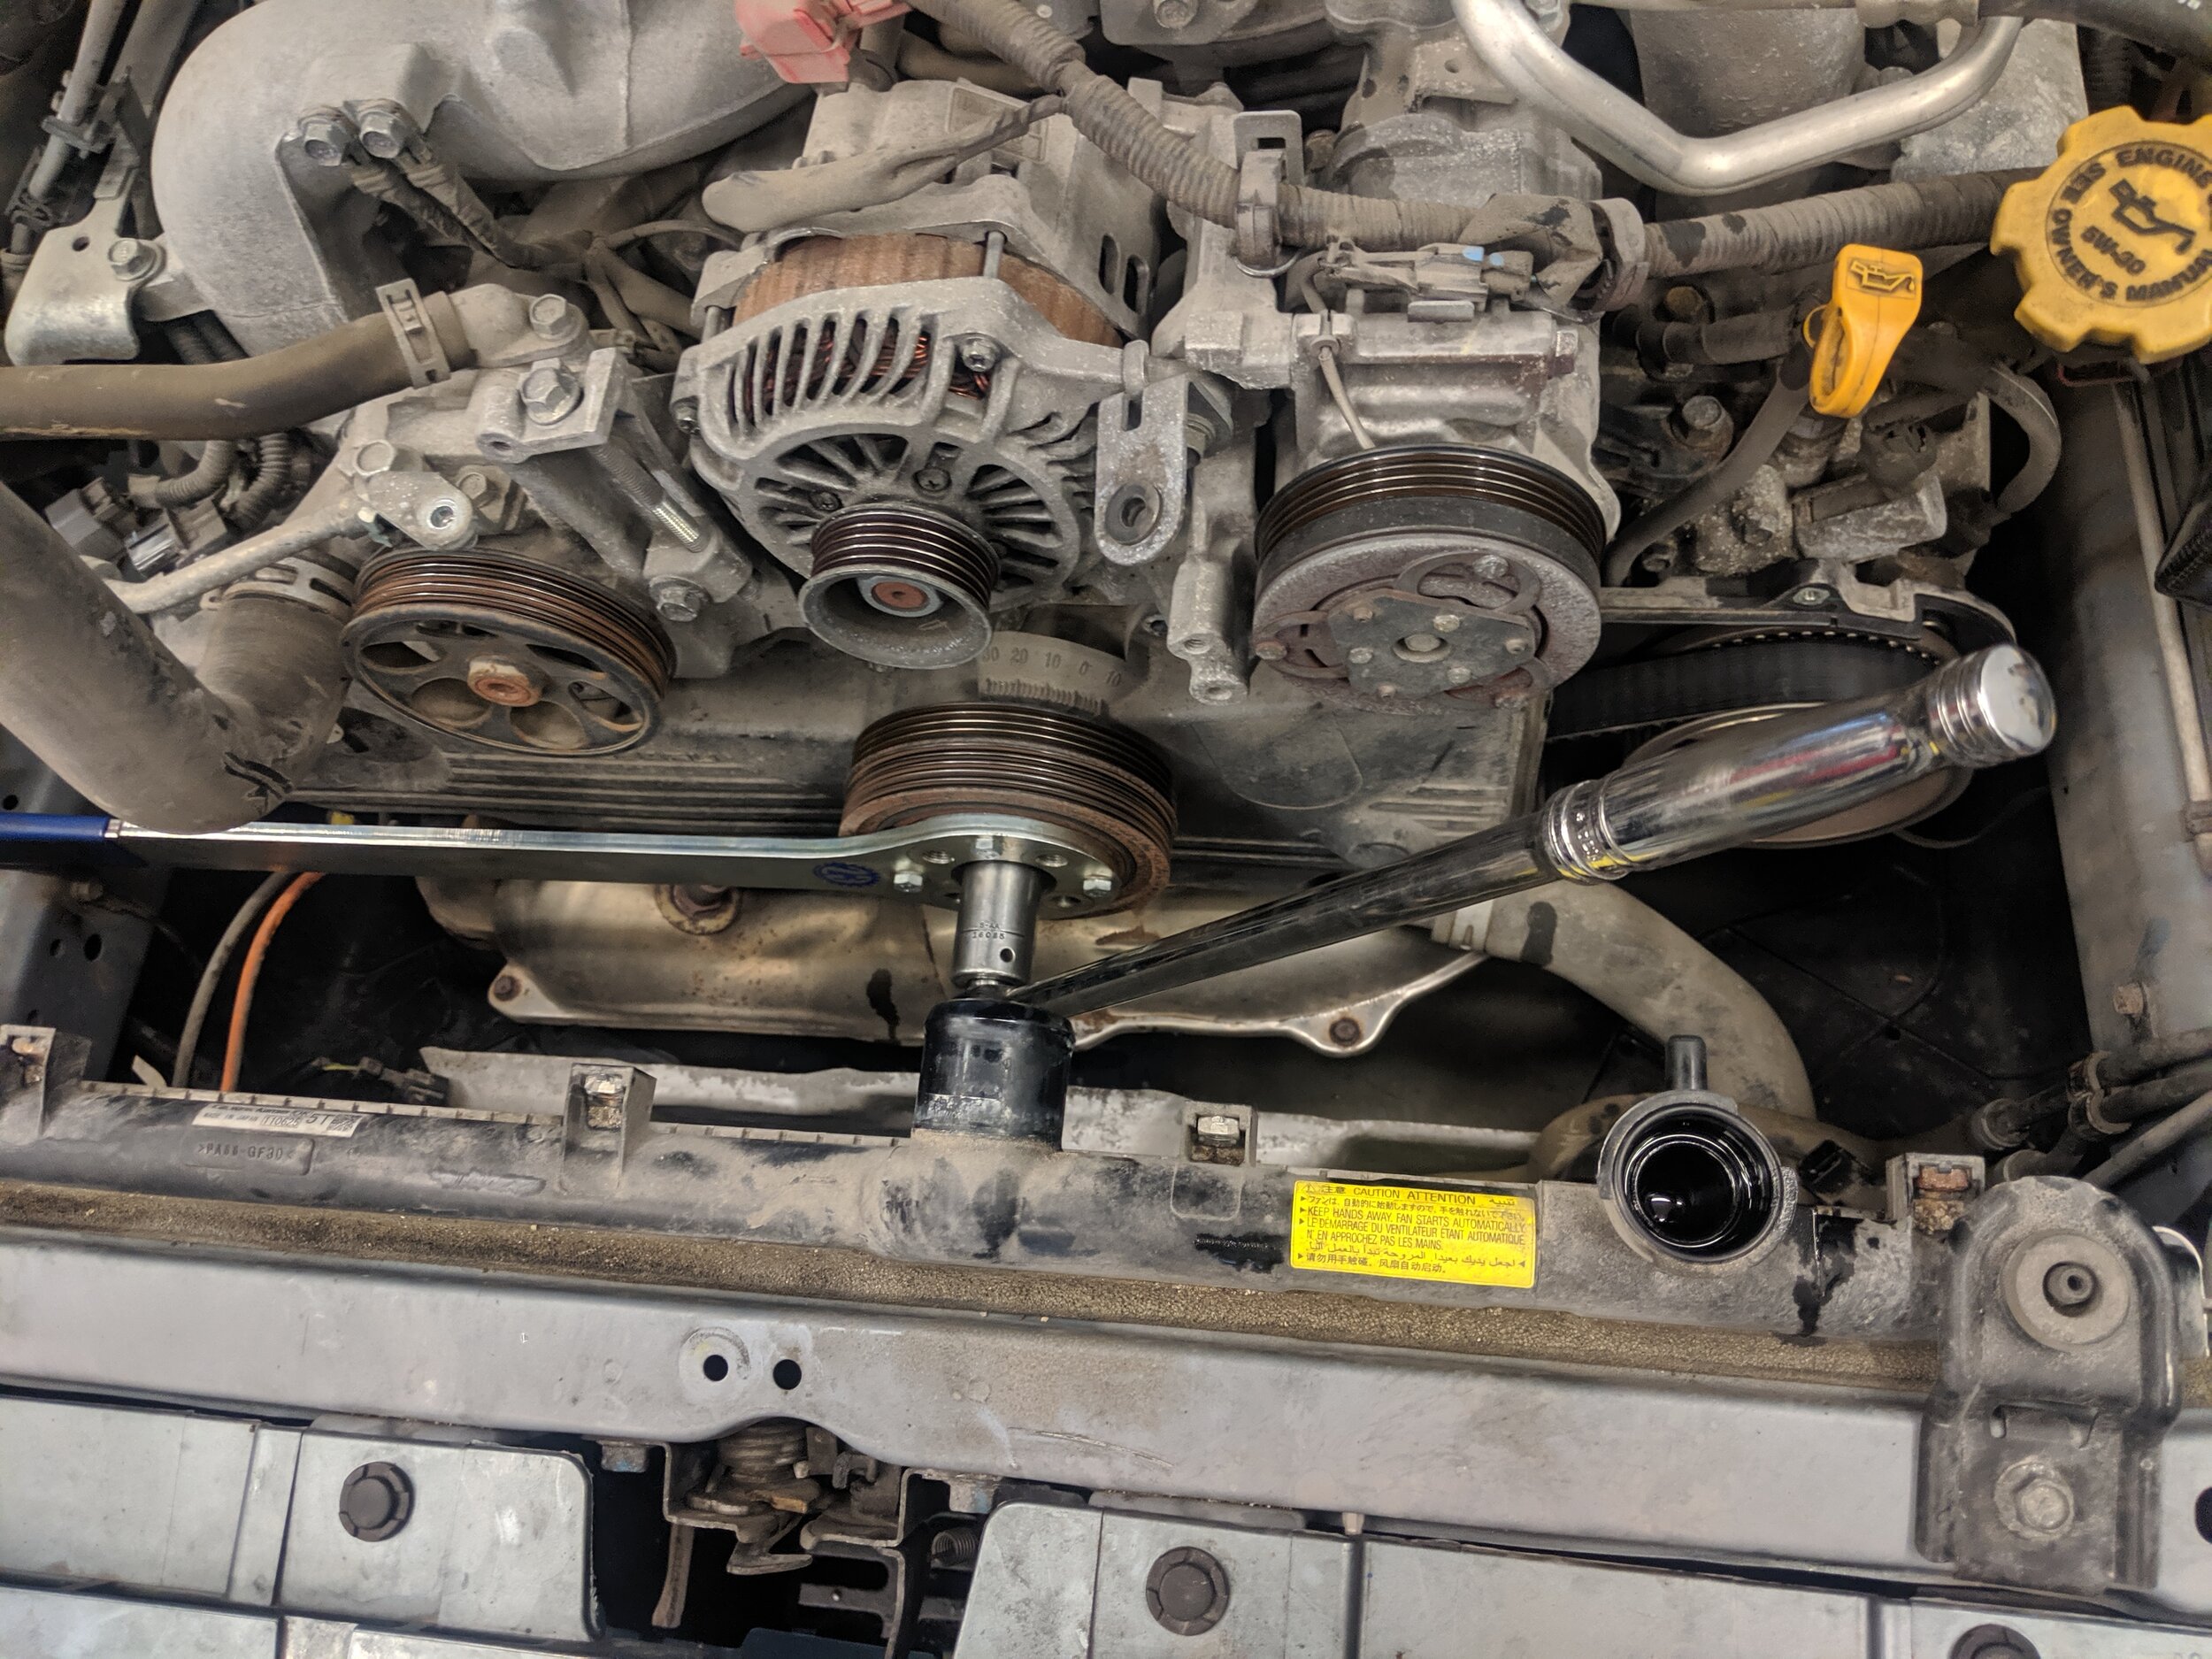
Don’t mind the sohc engine! This is a great use of the crank pulley holder and a breaker bar to get this pulley loose.
You can thread the bolt back into the crank with your hand, but not tightened fully. Now you can wiggle the pulley up and down without worry of dropping it when it pops off the crankshaft snout. If the pulley is really stuck, using a rubber mallet to tap the bottom and top can help free it.

If the crank pulley is happy where it is. Use a bit of rust penetrent and a soft rubber mallet to break it free. Leaving the bolt half threaded in will keep the crank from falling to the floor if it decides to break free without notice.
Having removed the crank pulley we can start to take off the timing belt covers. The passenger and driver side will be the first to go, as they overlap the center cover. They are all 10mm bolts, be careful to note where they go, as they are two different bolt lengths.
Passenger side cover and bolts.
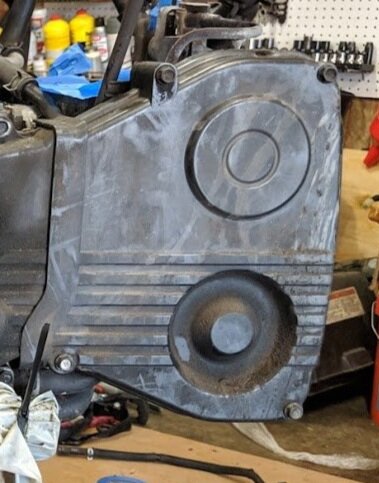
Four bolts hold the driver’s side on
Heading around the center cover just keep removing bolts till it comes off.
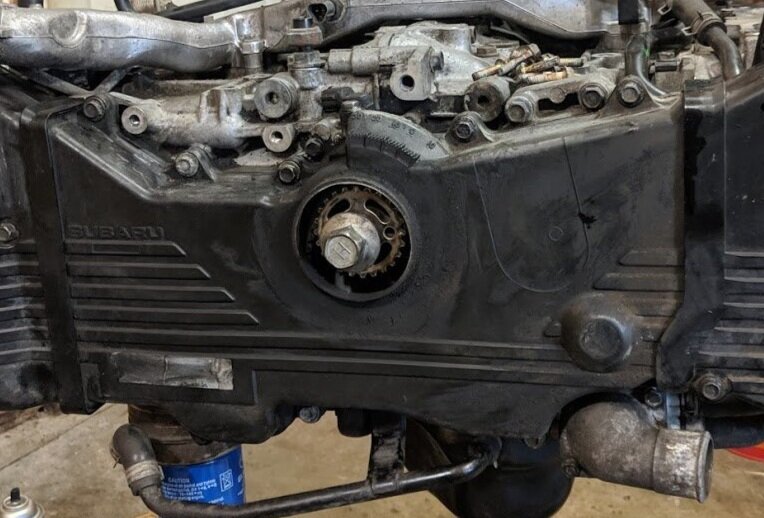
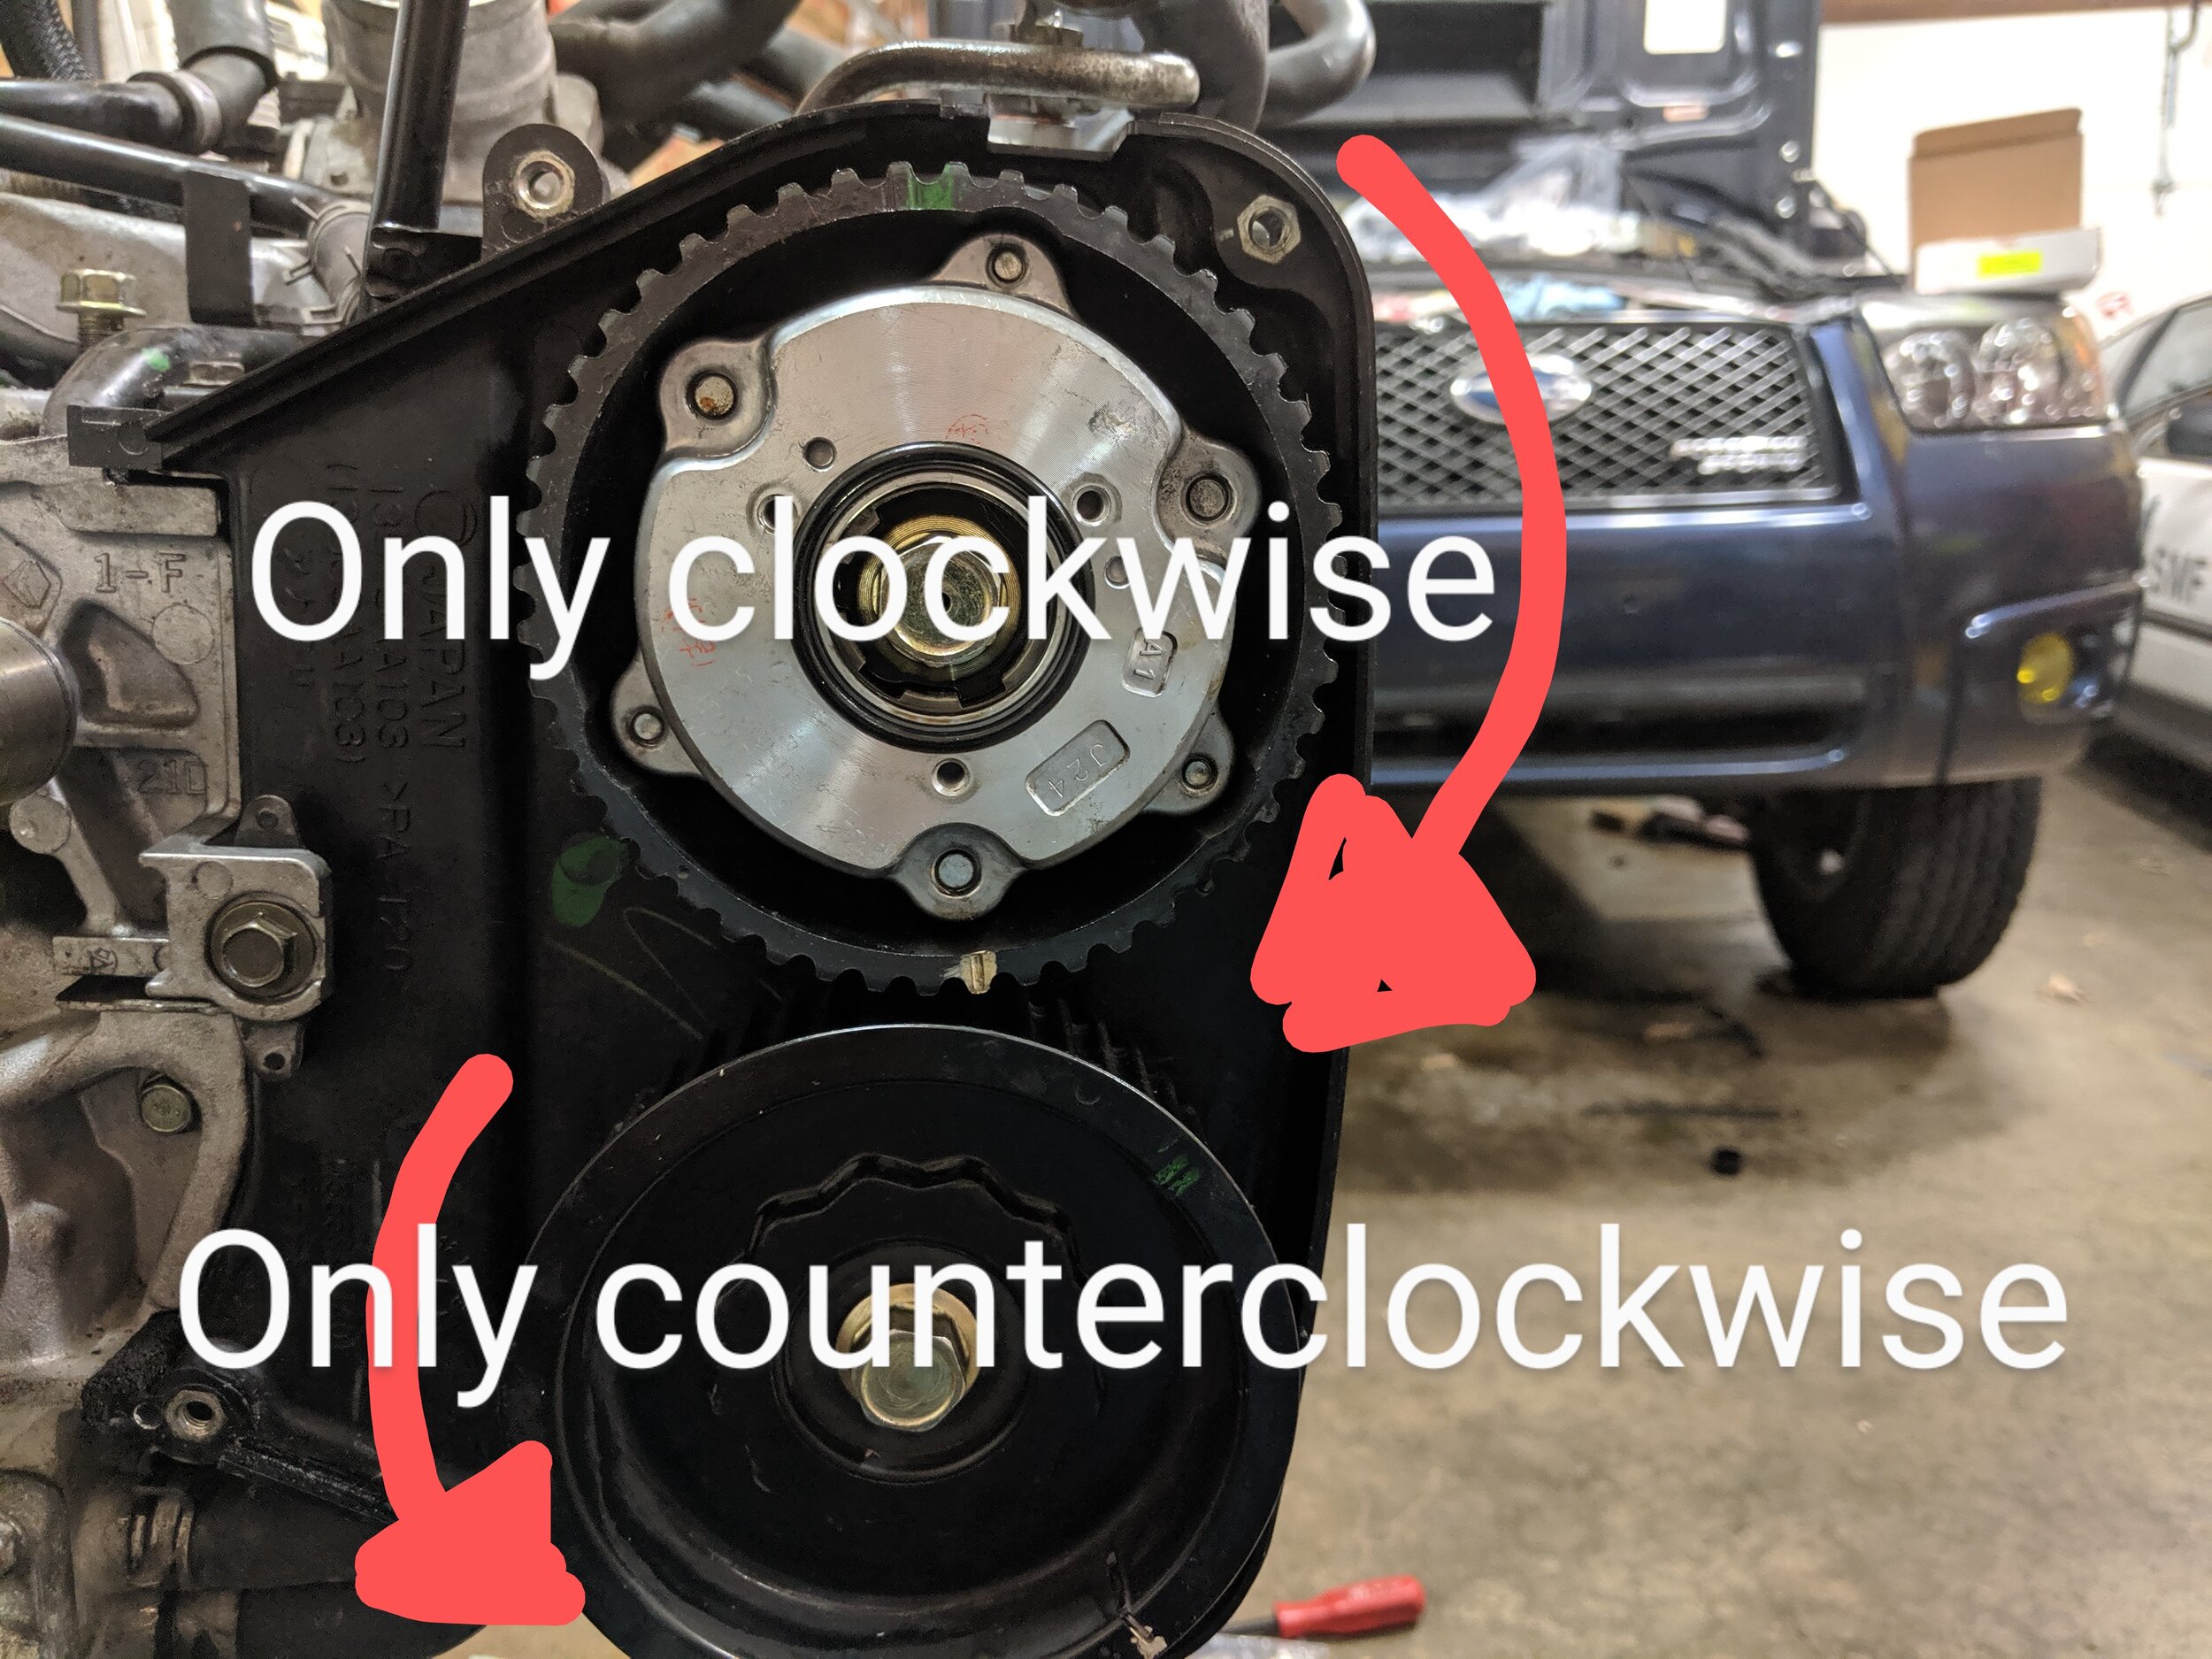
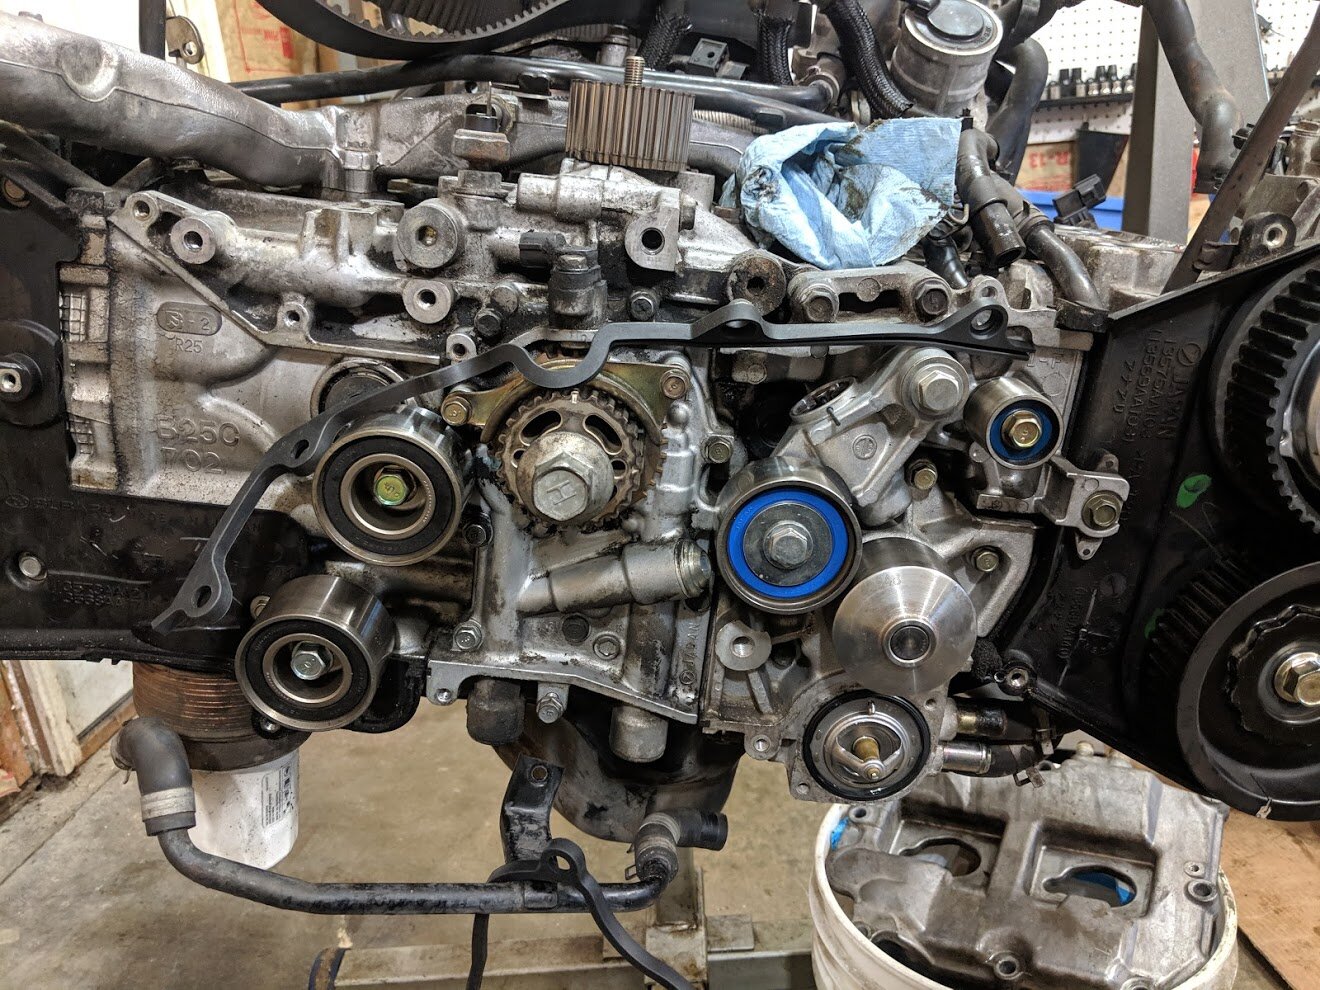
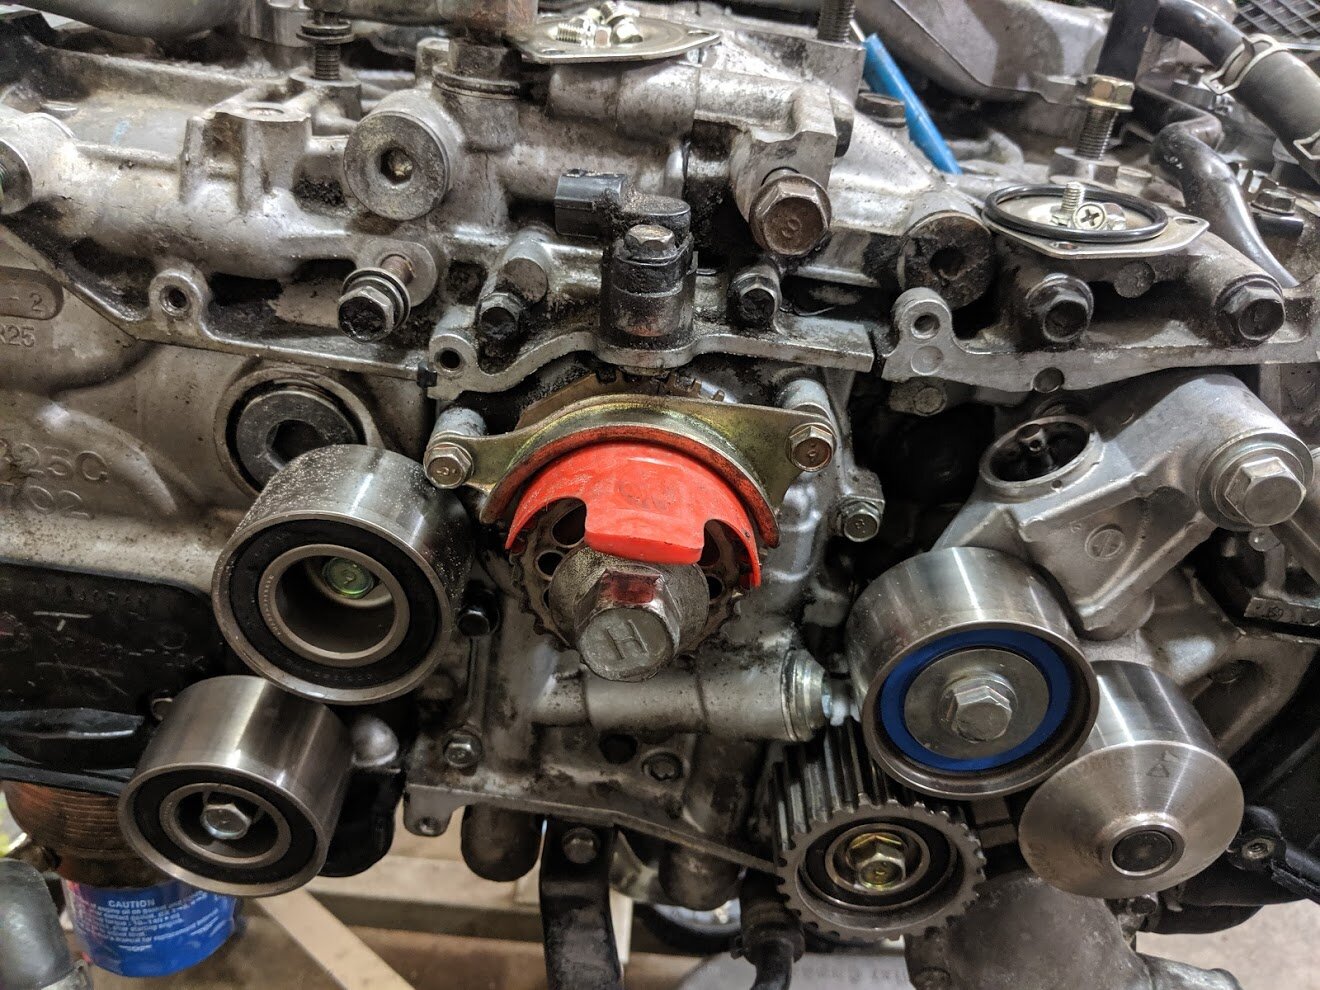
With the covers removed you will now be able to see the tensioner, pulleys and belt.. You will now want to line up your timing marks for all four cams and the crank. You can easily accomplish this task with Company23’s crank snout socket. Make sure these are lined up before removing the belt tension, if they are not lined up accordingly it can/will cause engine damage

So many bolts and pulleys, let’s make our way to the center.
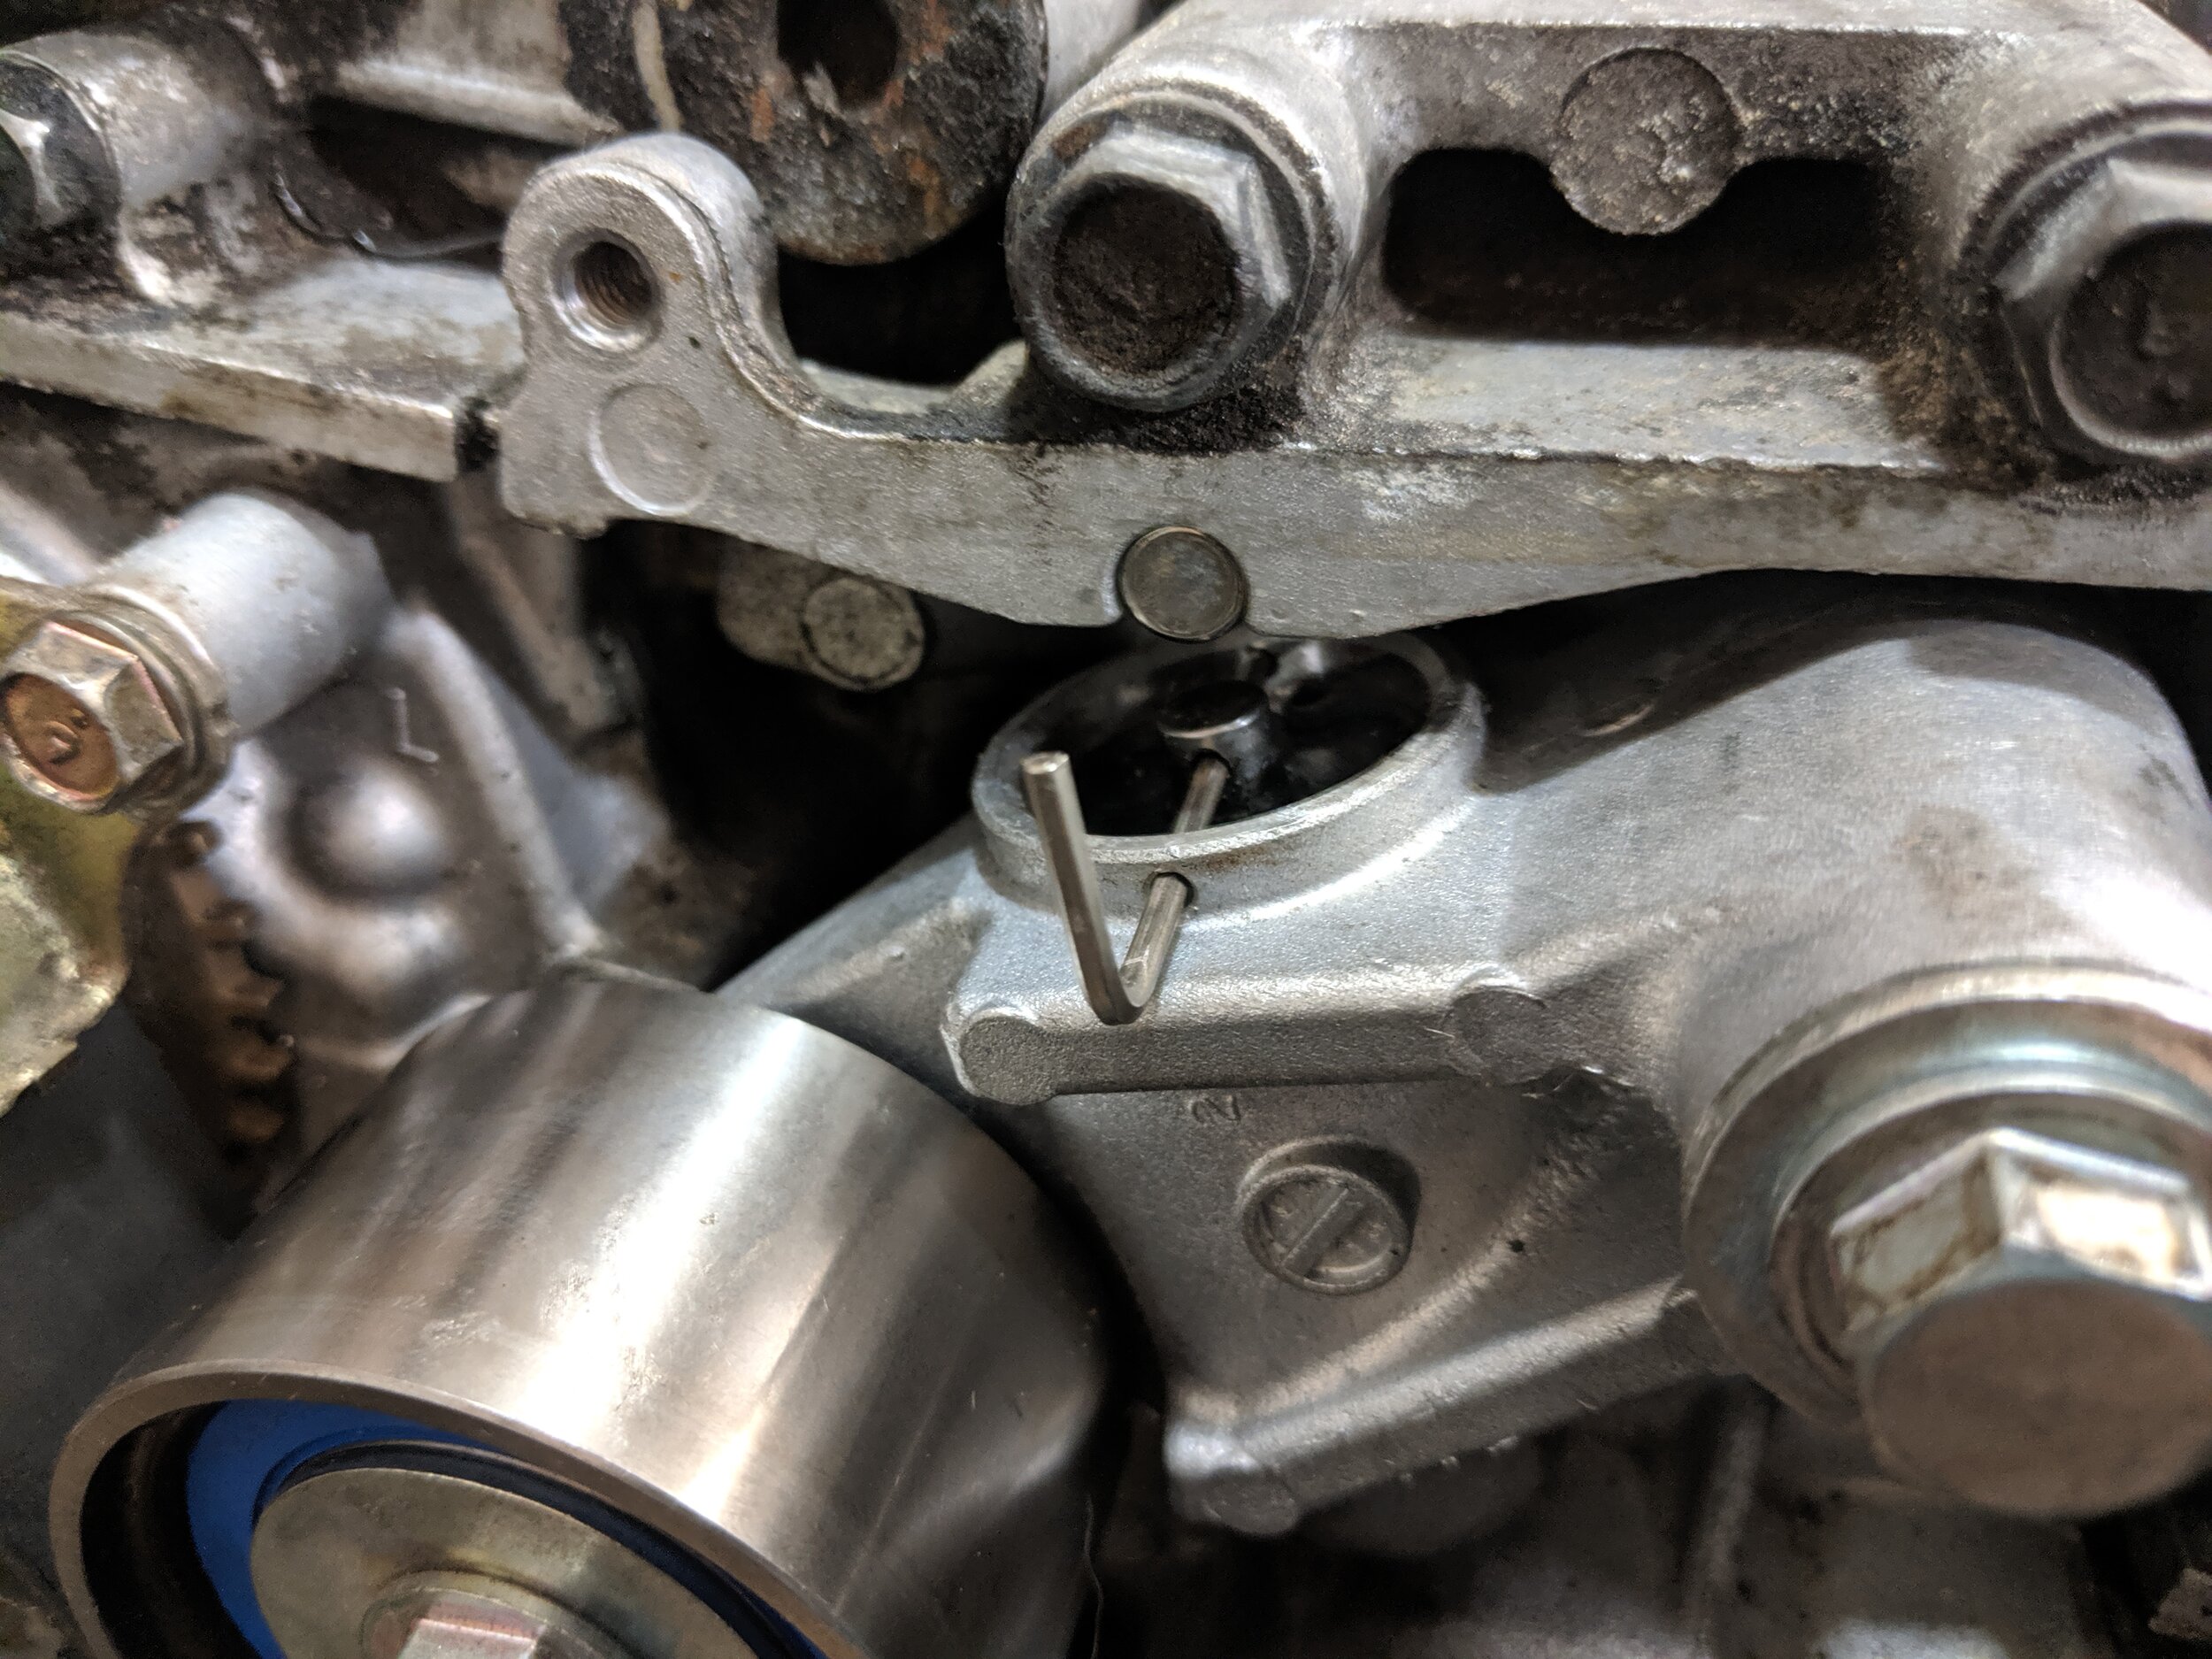
Here is our alignment mark for the crank cog pulley. Set this and your other timing marks before beginning your belt removal.

Bad angle but the rear timing cover has a notch in it and so does the upper cam gear. Line them up.
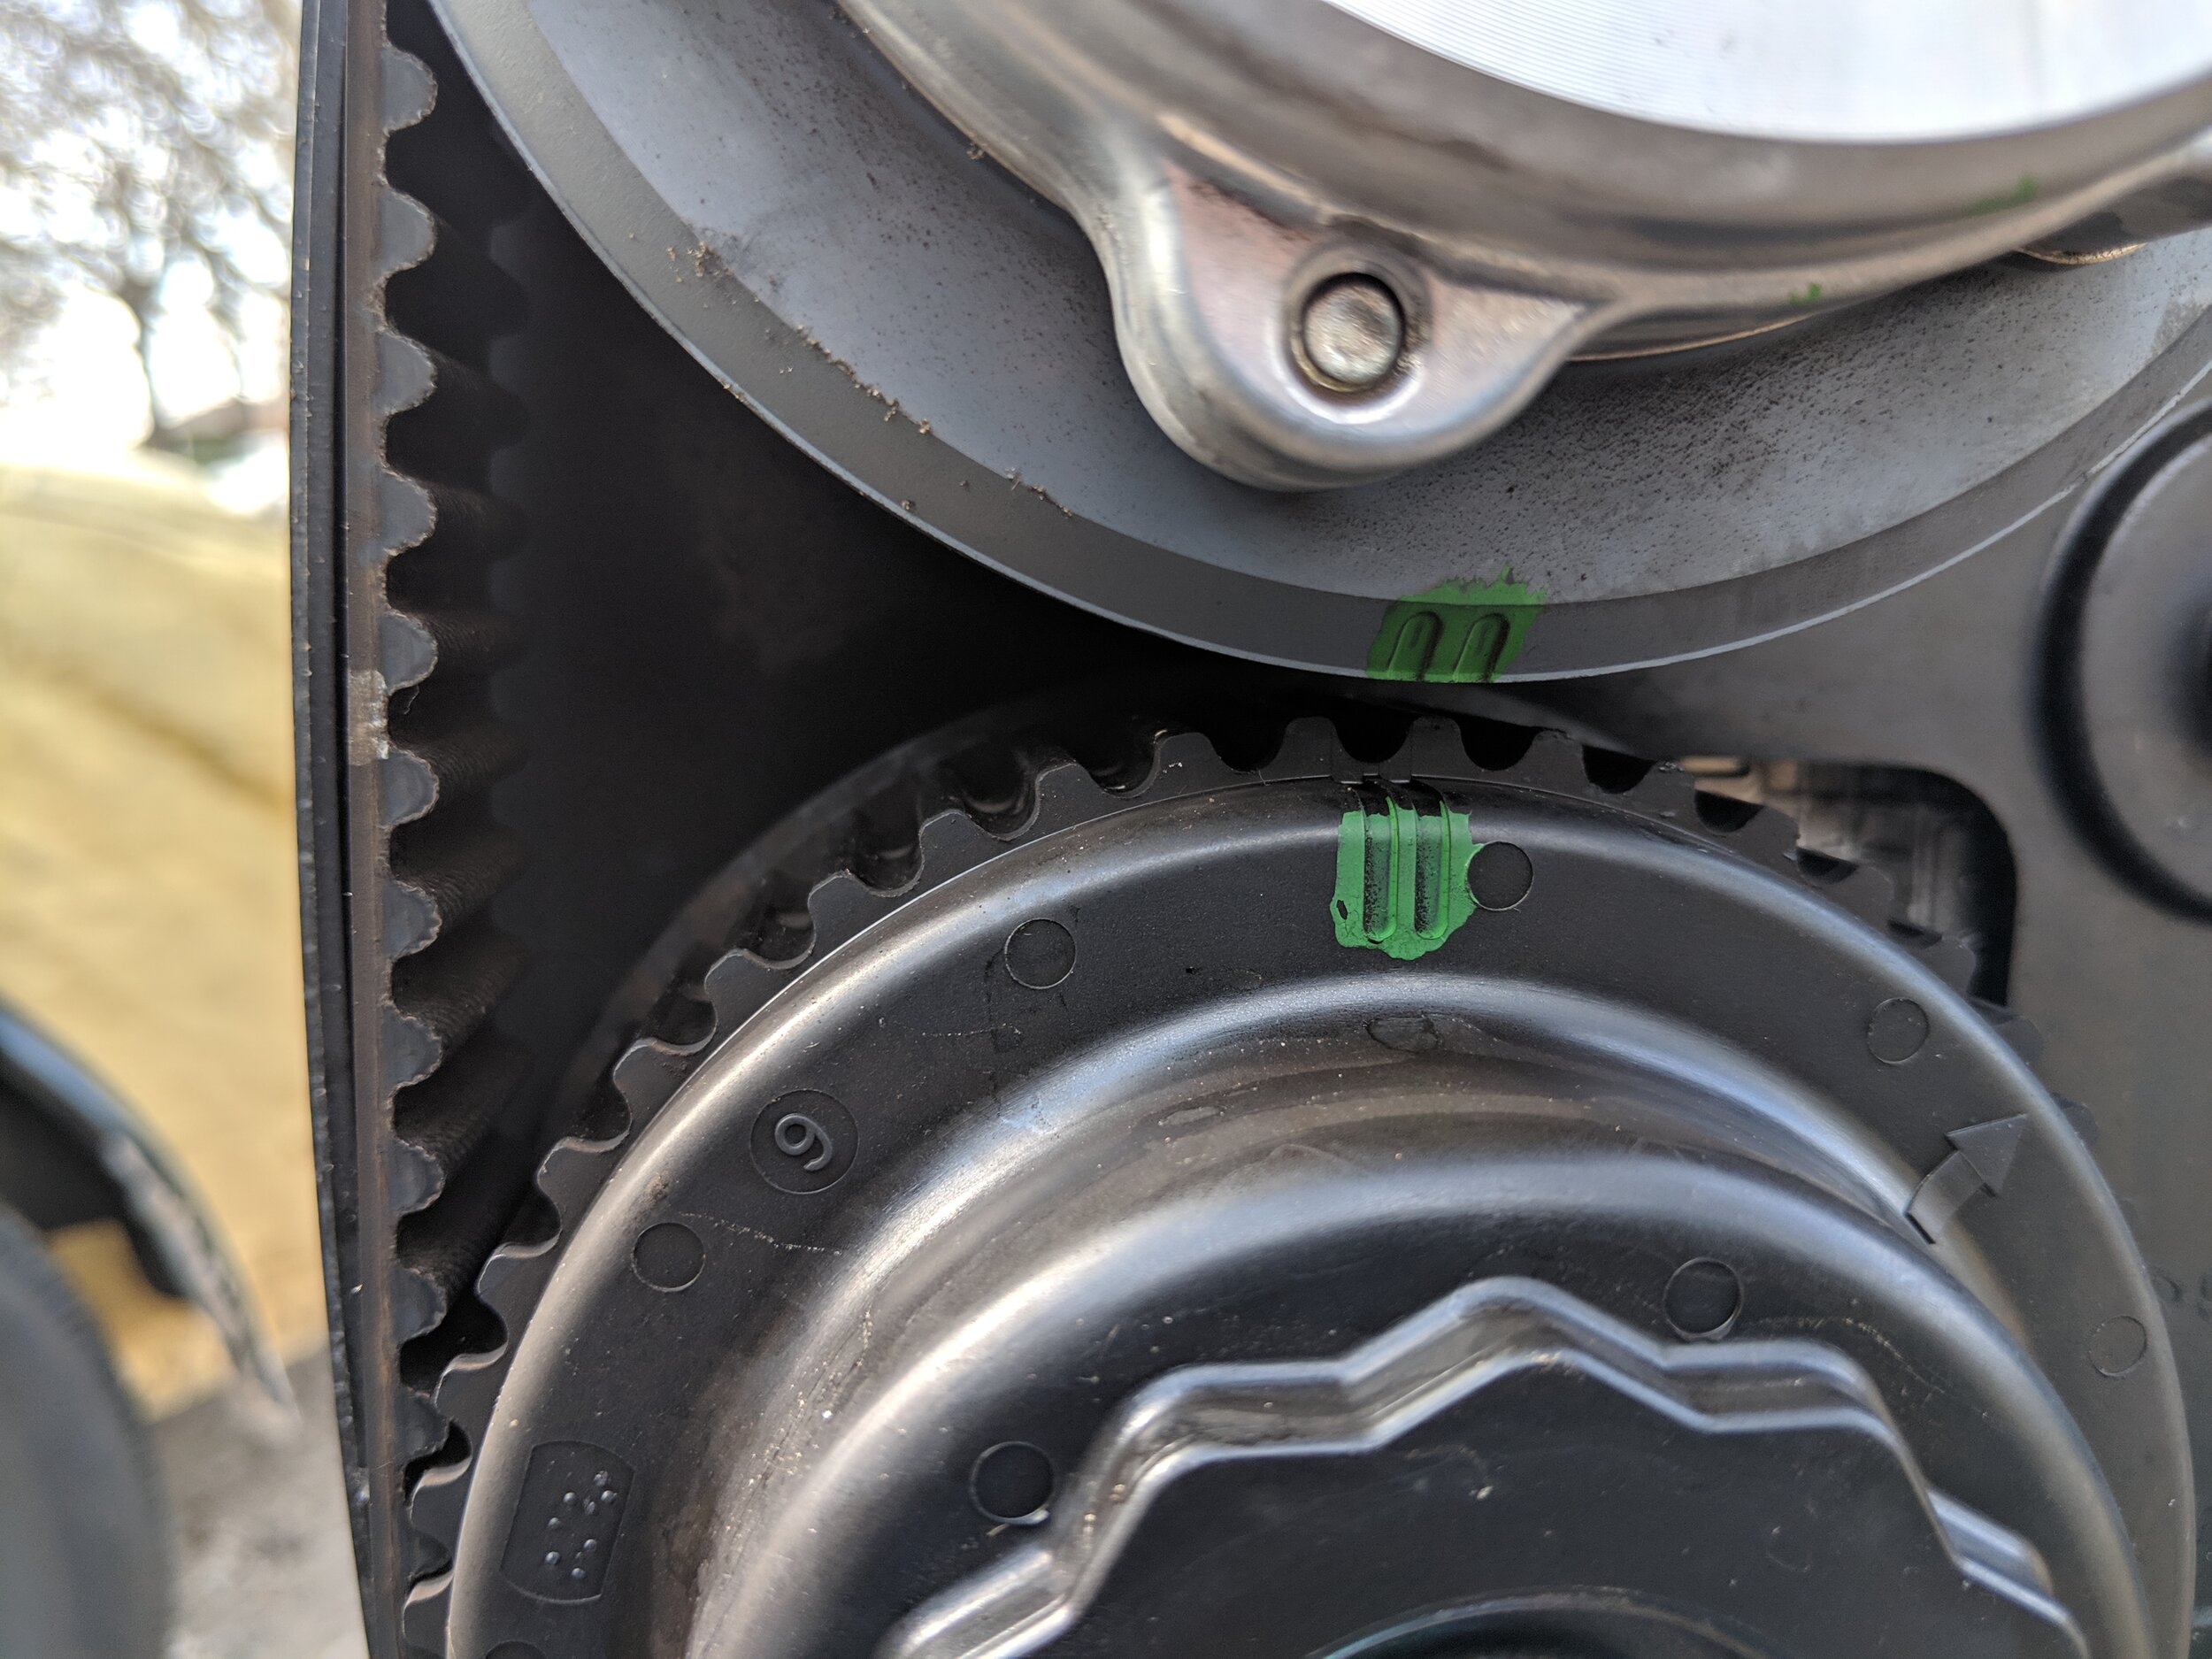
With the crank and upper cam lined up the lower and upper should be matching with the double green lines.

Also check that the exhaust cam also lines up with the outside of the timing belt back cover.

Upper driver’s side pulley should be lined up with the back cover like this.
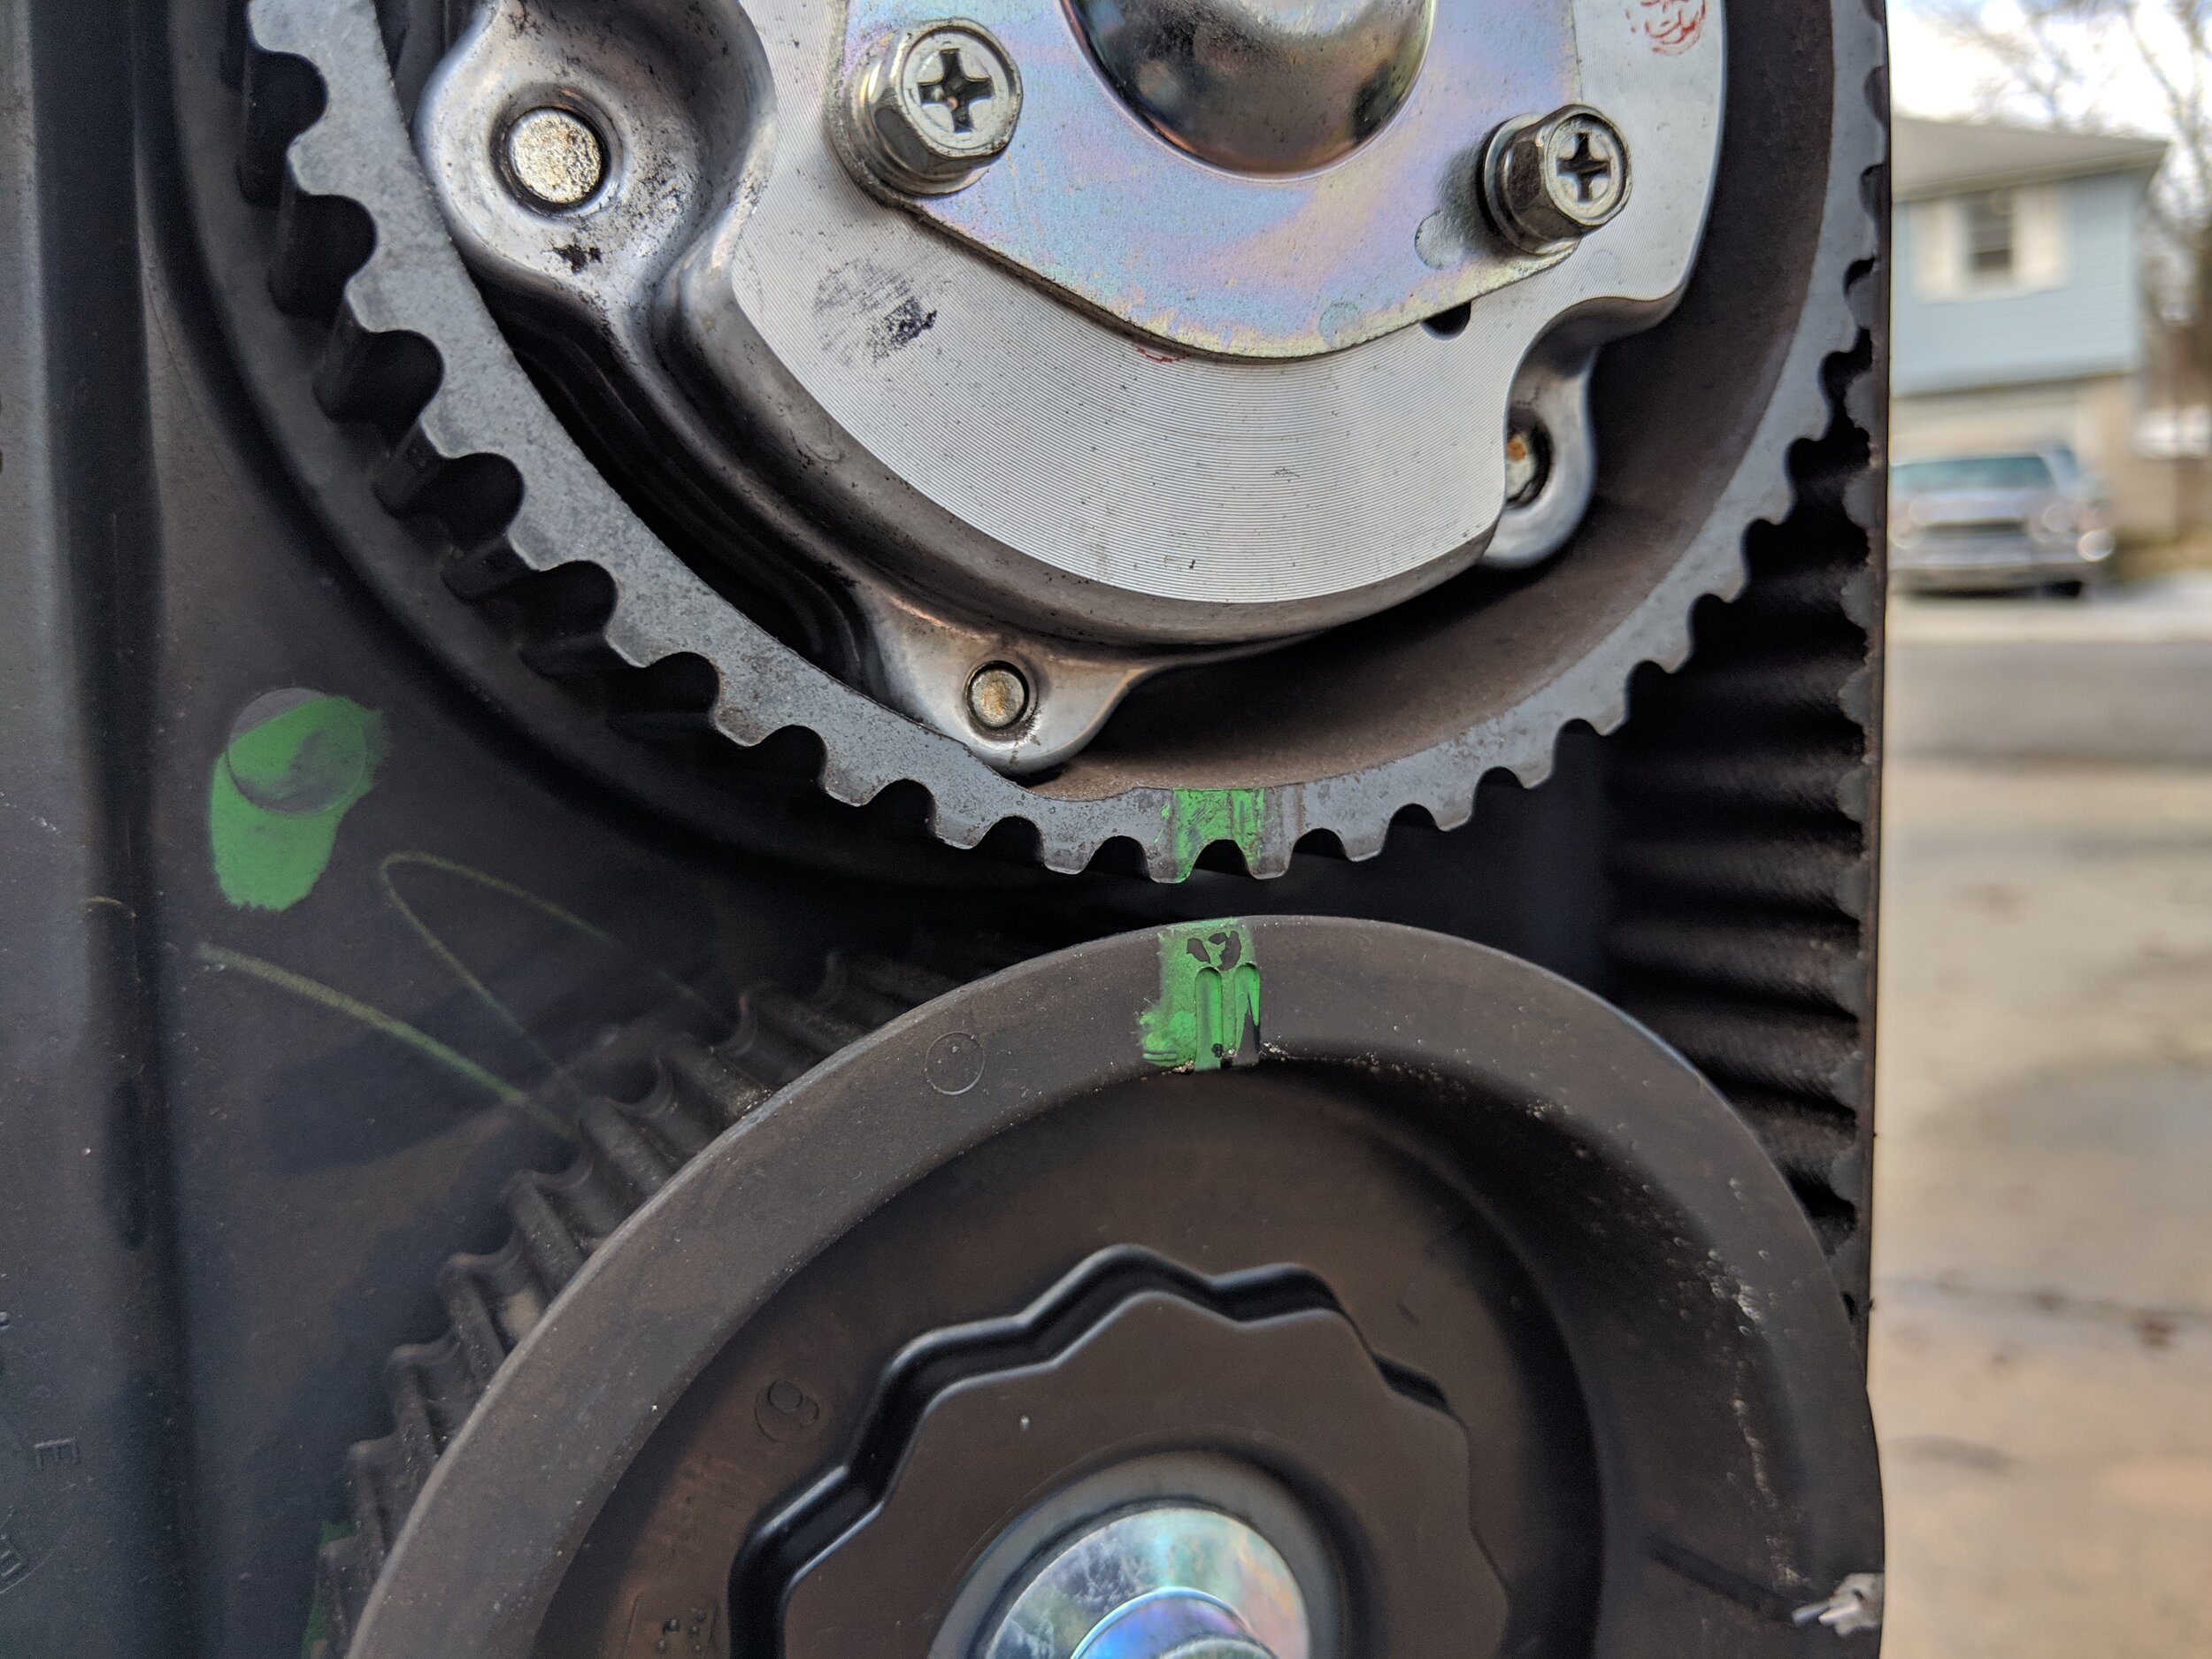
The driver’s side cams should now be lined up like this.
And lastly the side of the driver’s exhaust should be lined up.
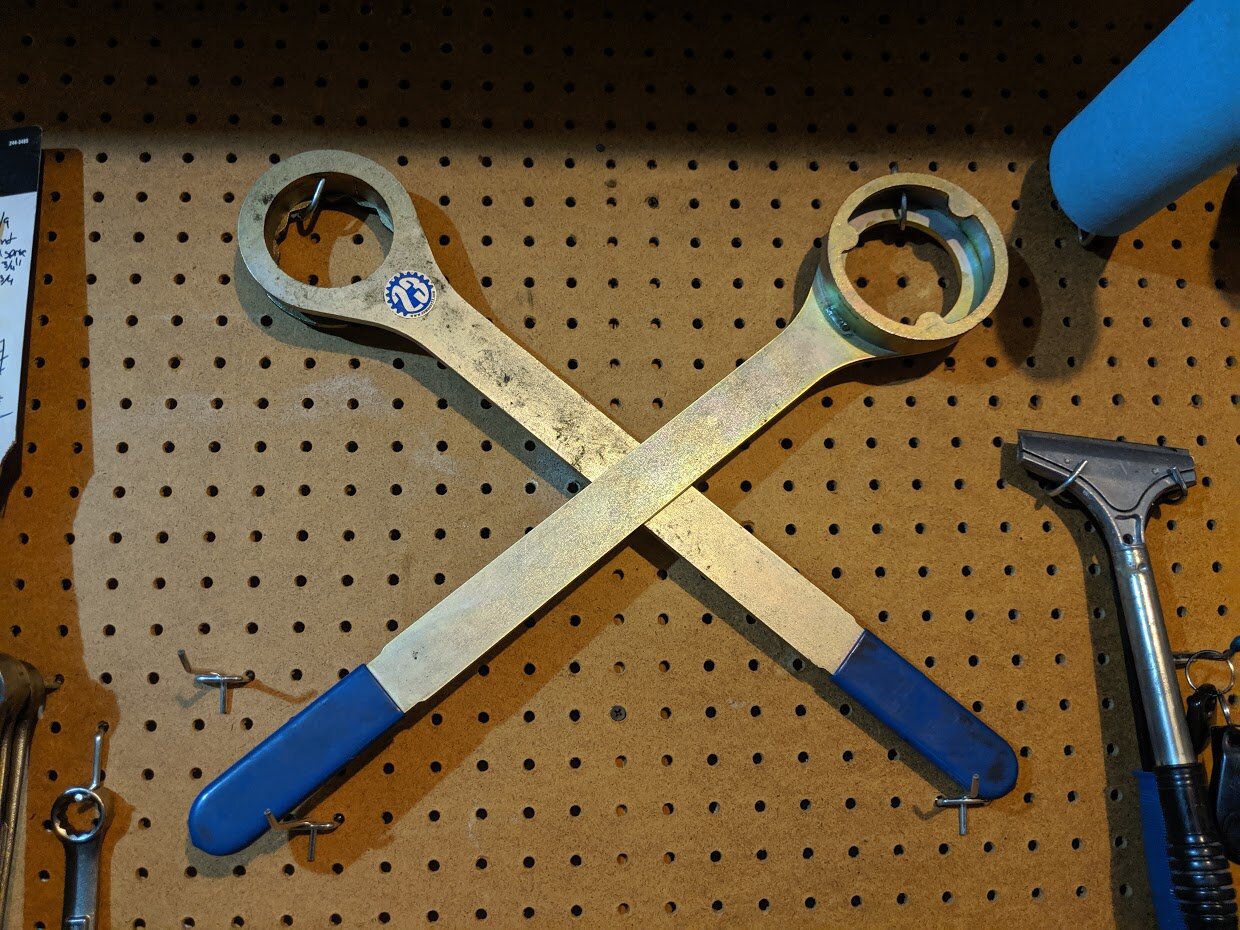
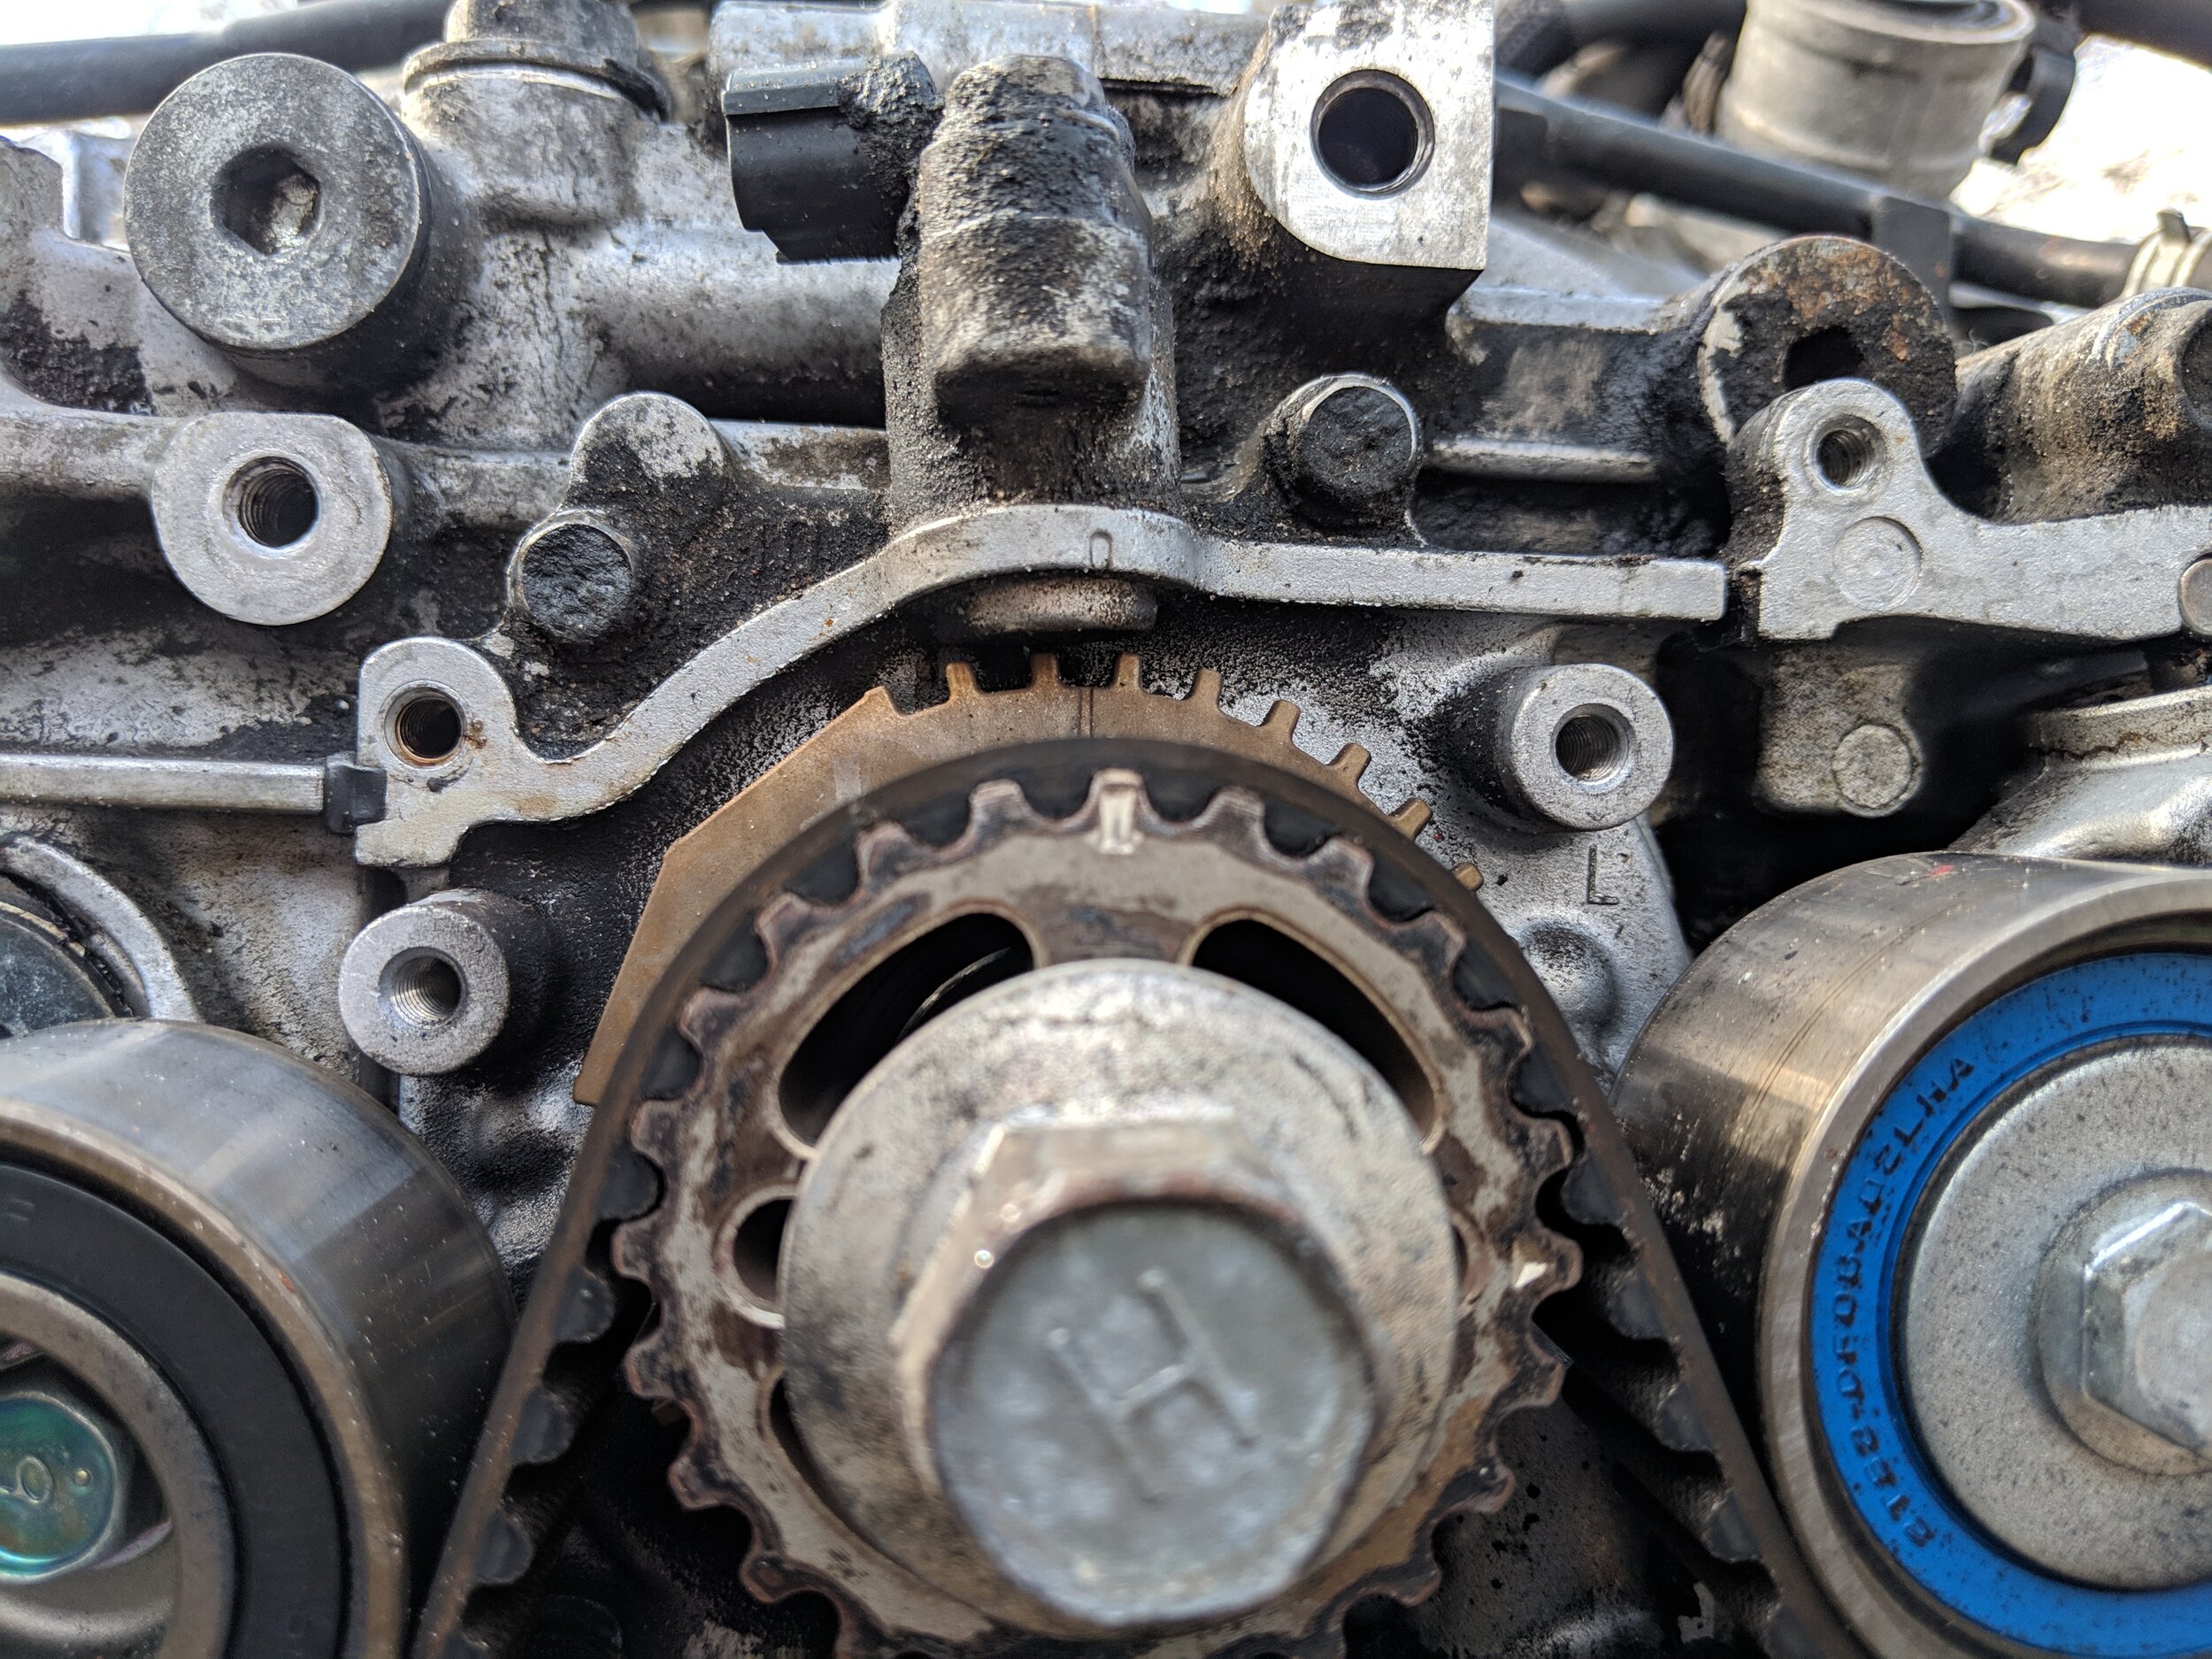
This would be a good time to add your Company23 cam lock tool to hold the driver’s side cams from rotating. The passenger side cams and valves will stay put, the driver’s side is engaged on the cam lobe and with the tiniest touch will spring shooting both cams spinning.
Belt tension is loose and therefore these cams which are in a loaded position. Can and will spin. Below you will find the proper technique for moving back to their timing marks.
Warning:
If you don’t have the Company23 lock tool, this is the time for knowing which way these cams should and shouldn’t be spun. If you rotate these the wrong way you can easily push the valves together causing valve damage. Valve replacement can/will be necessary if this occurs, which is not a cheap time.
Now is the time for the first pulley removal, I start with the passenger lower idler pulley, this will release a good amount of tension off the belt. Next we can move over to the cogged pulley and remove it, now you should have plenty of slack to remove the belt.
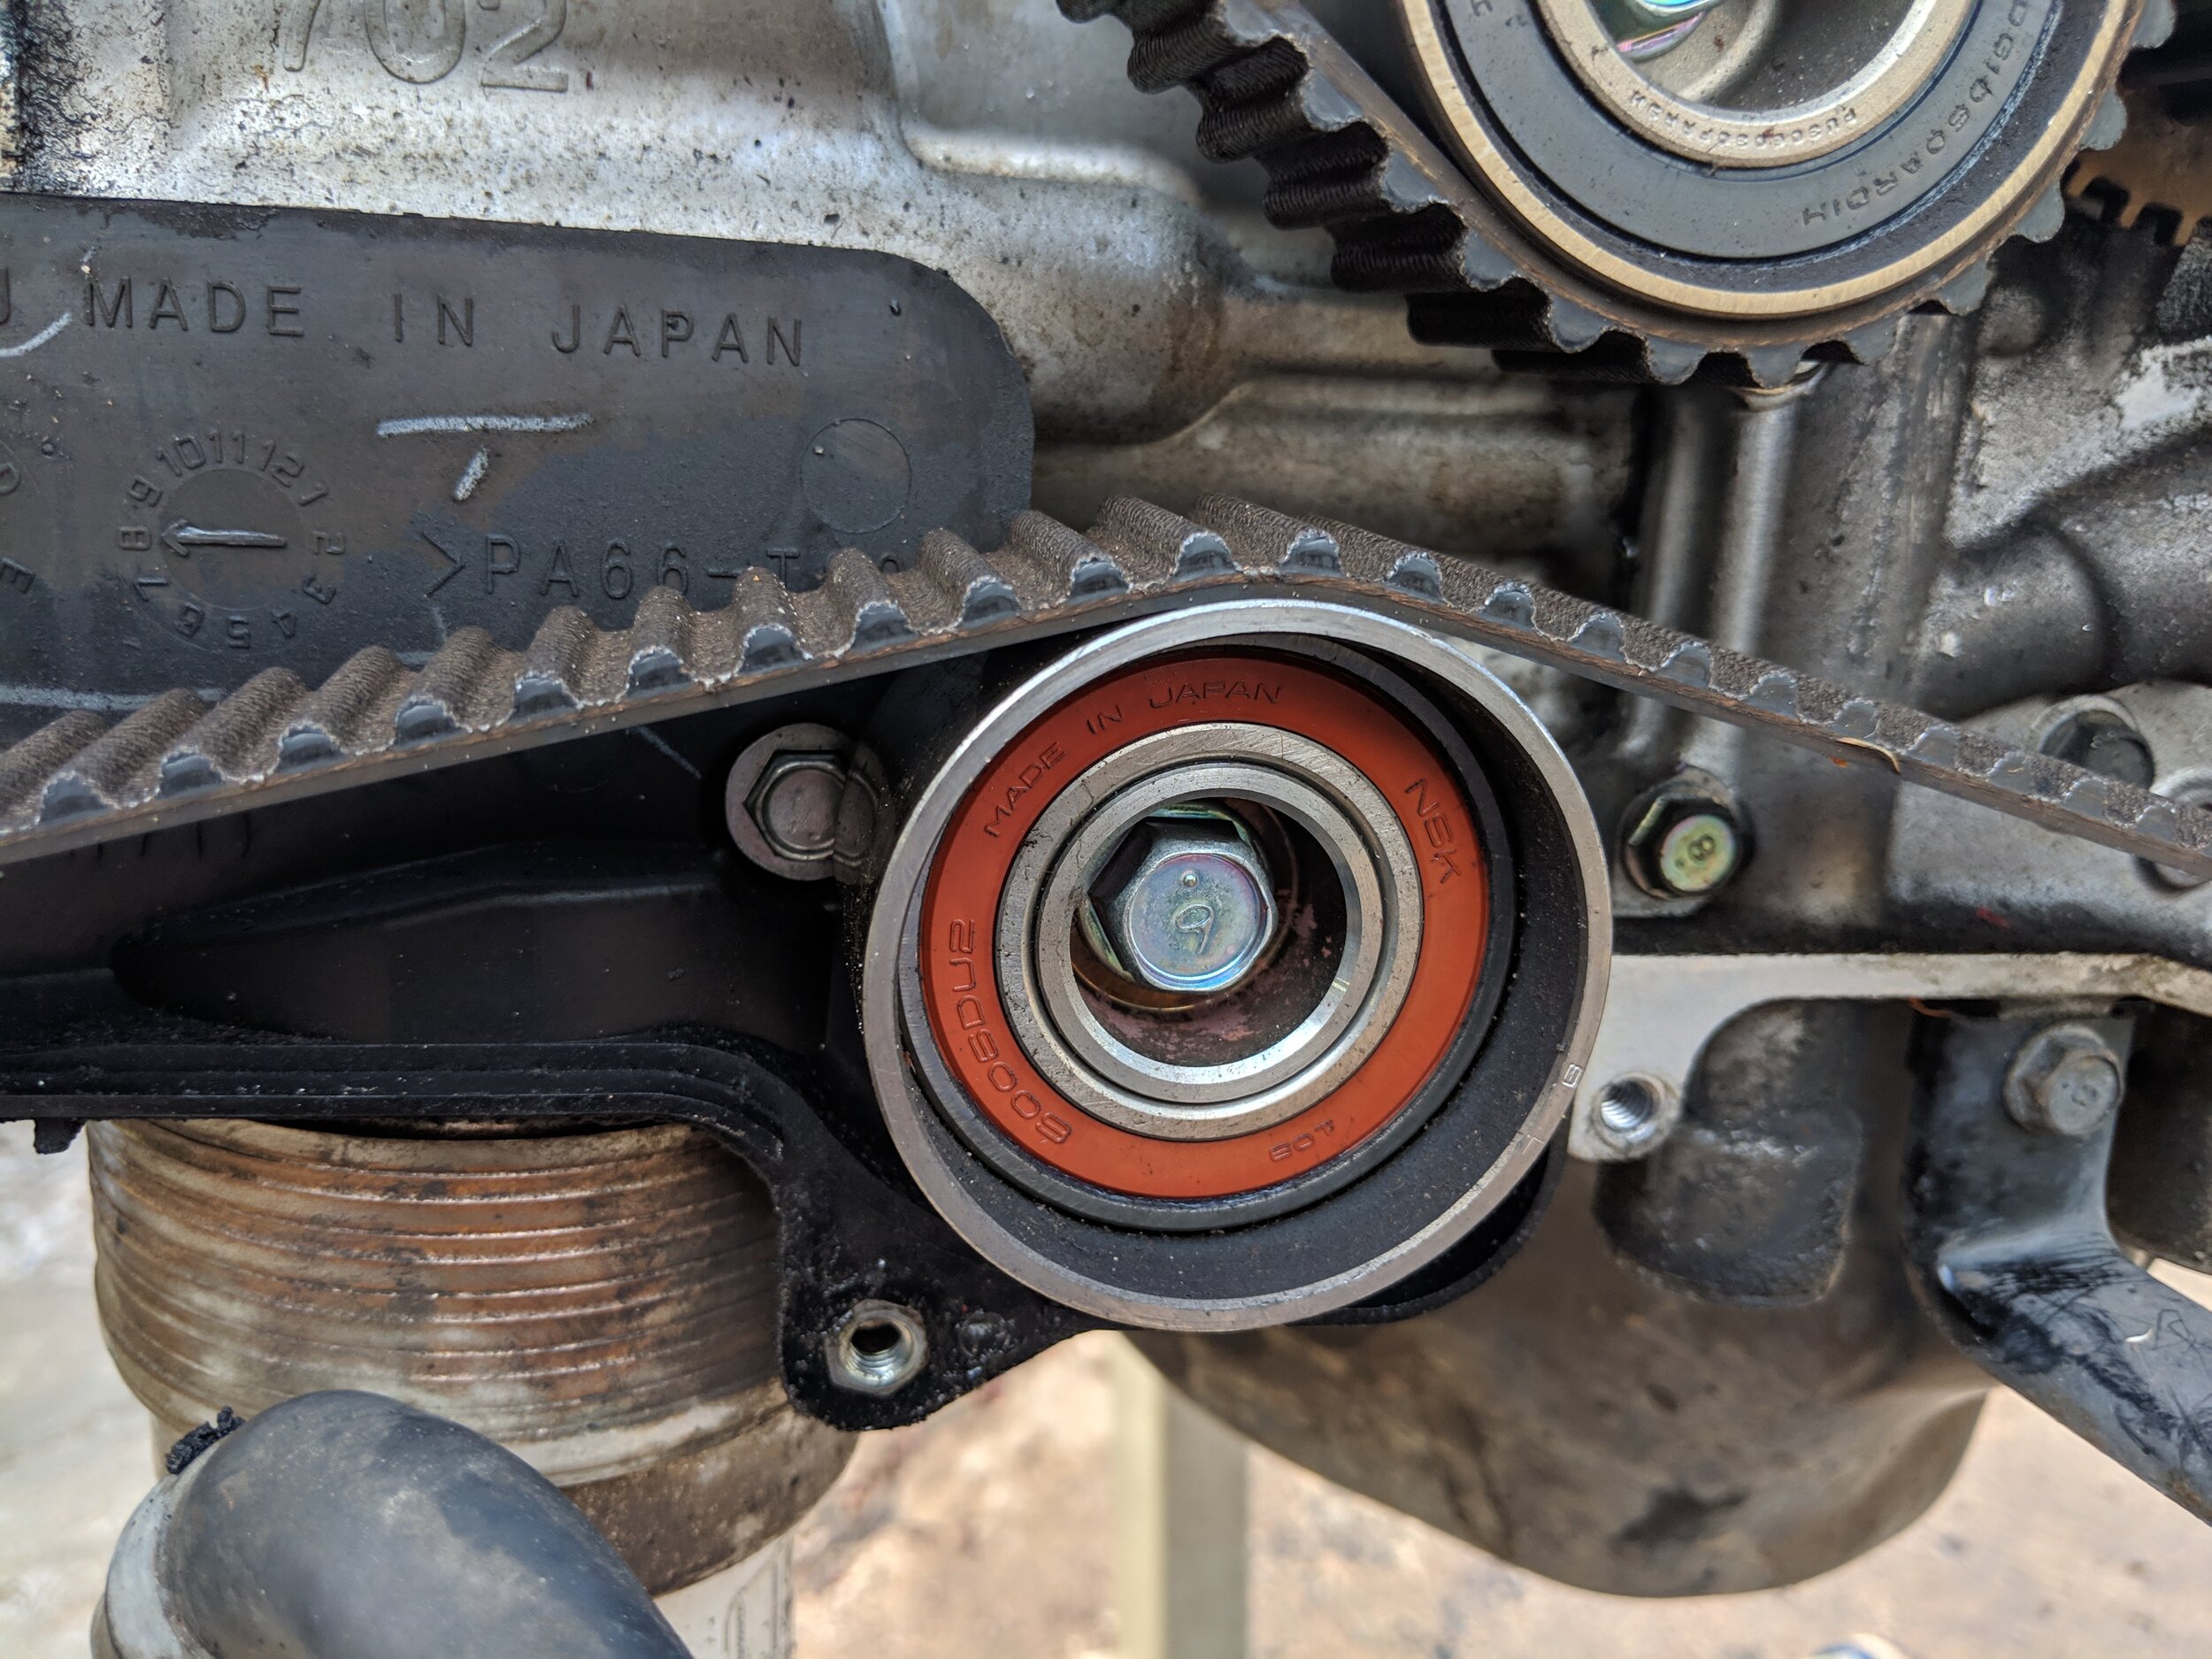
First pulley to be removed! See ya!
Now the cog pulley can be removed,

With the pulleys removed you can now remove the belt as the tension will be gone.
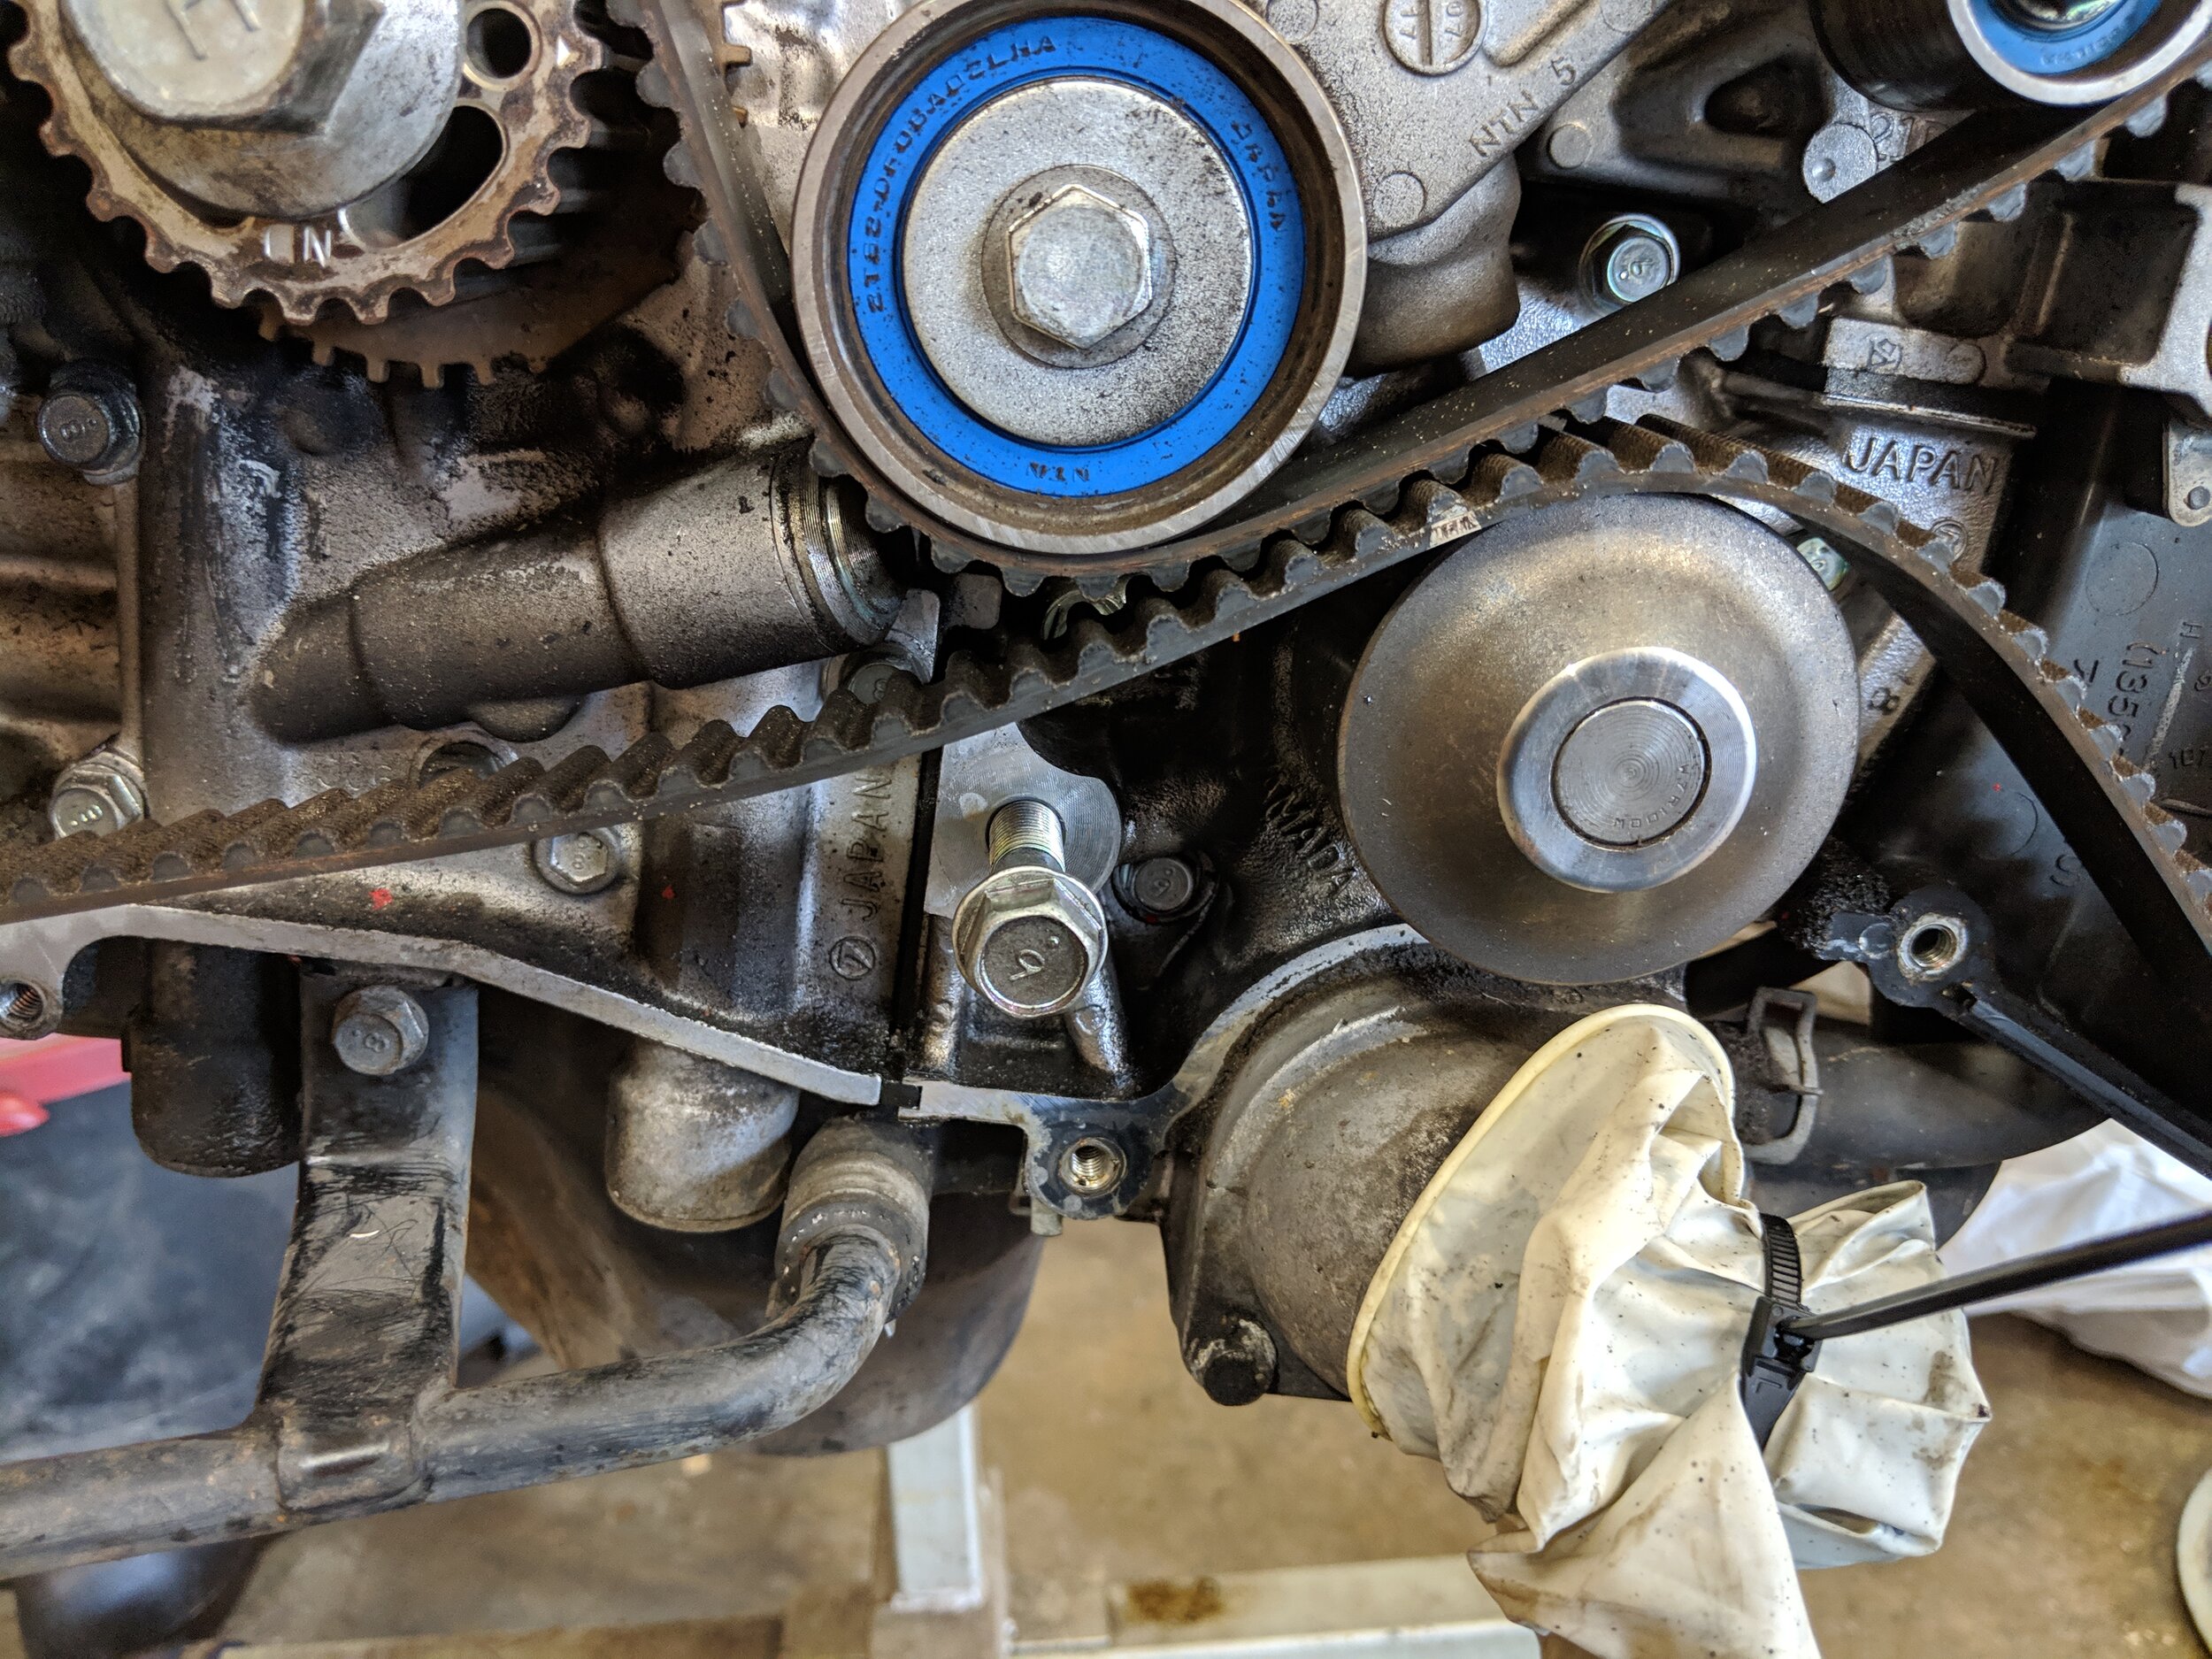
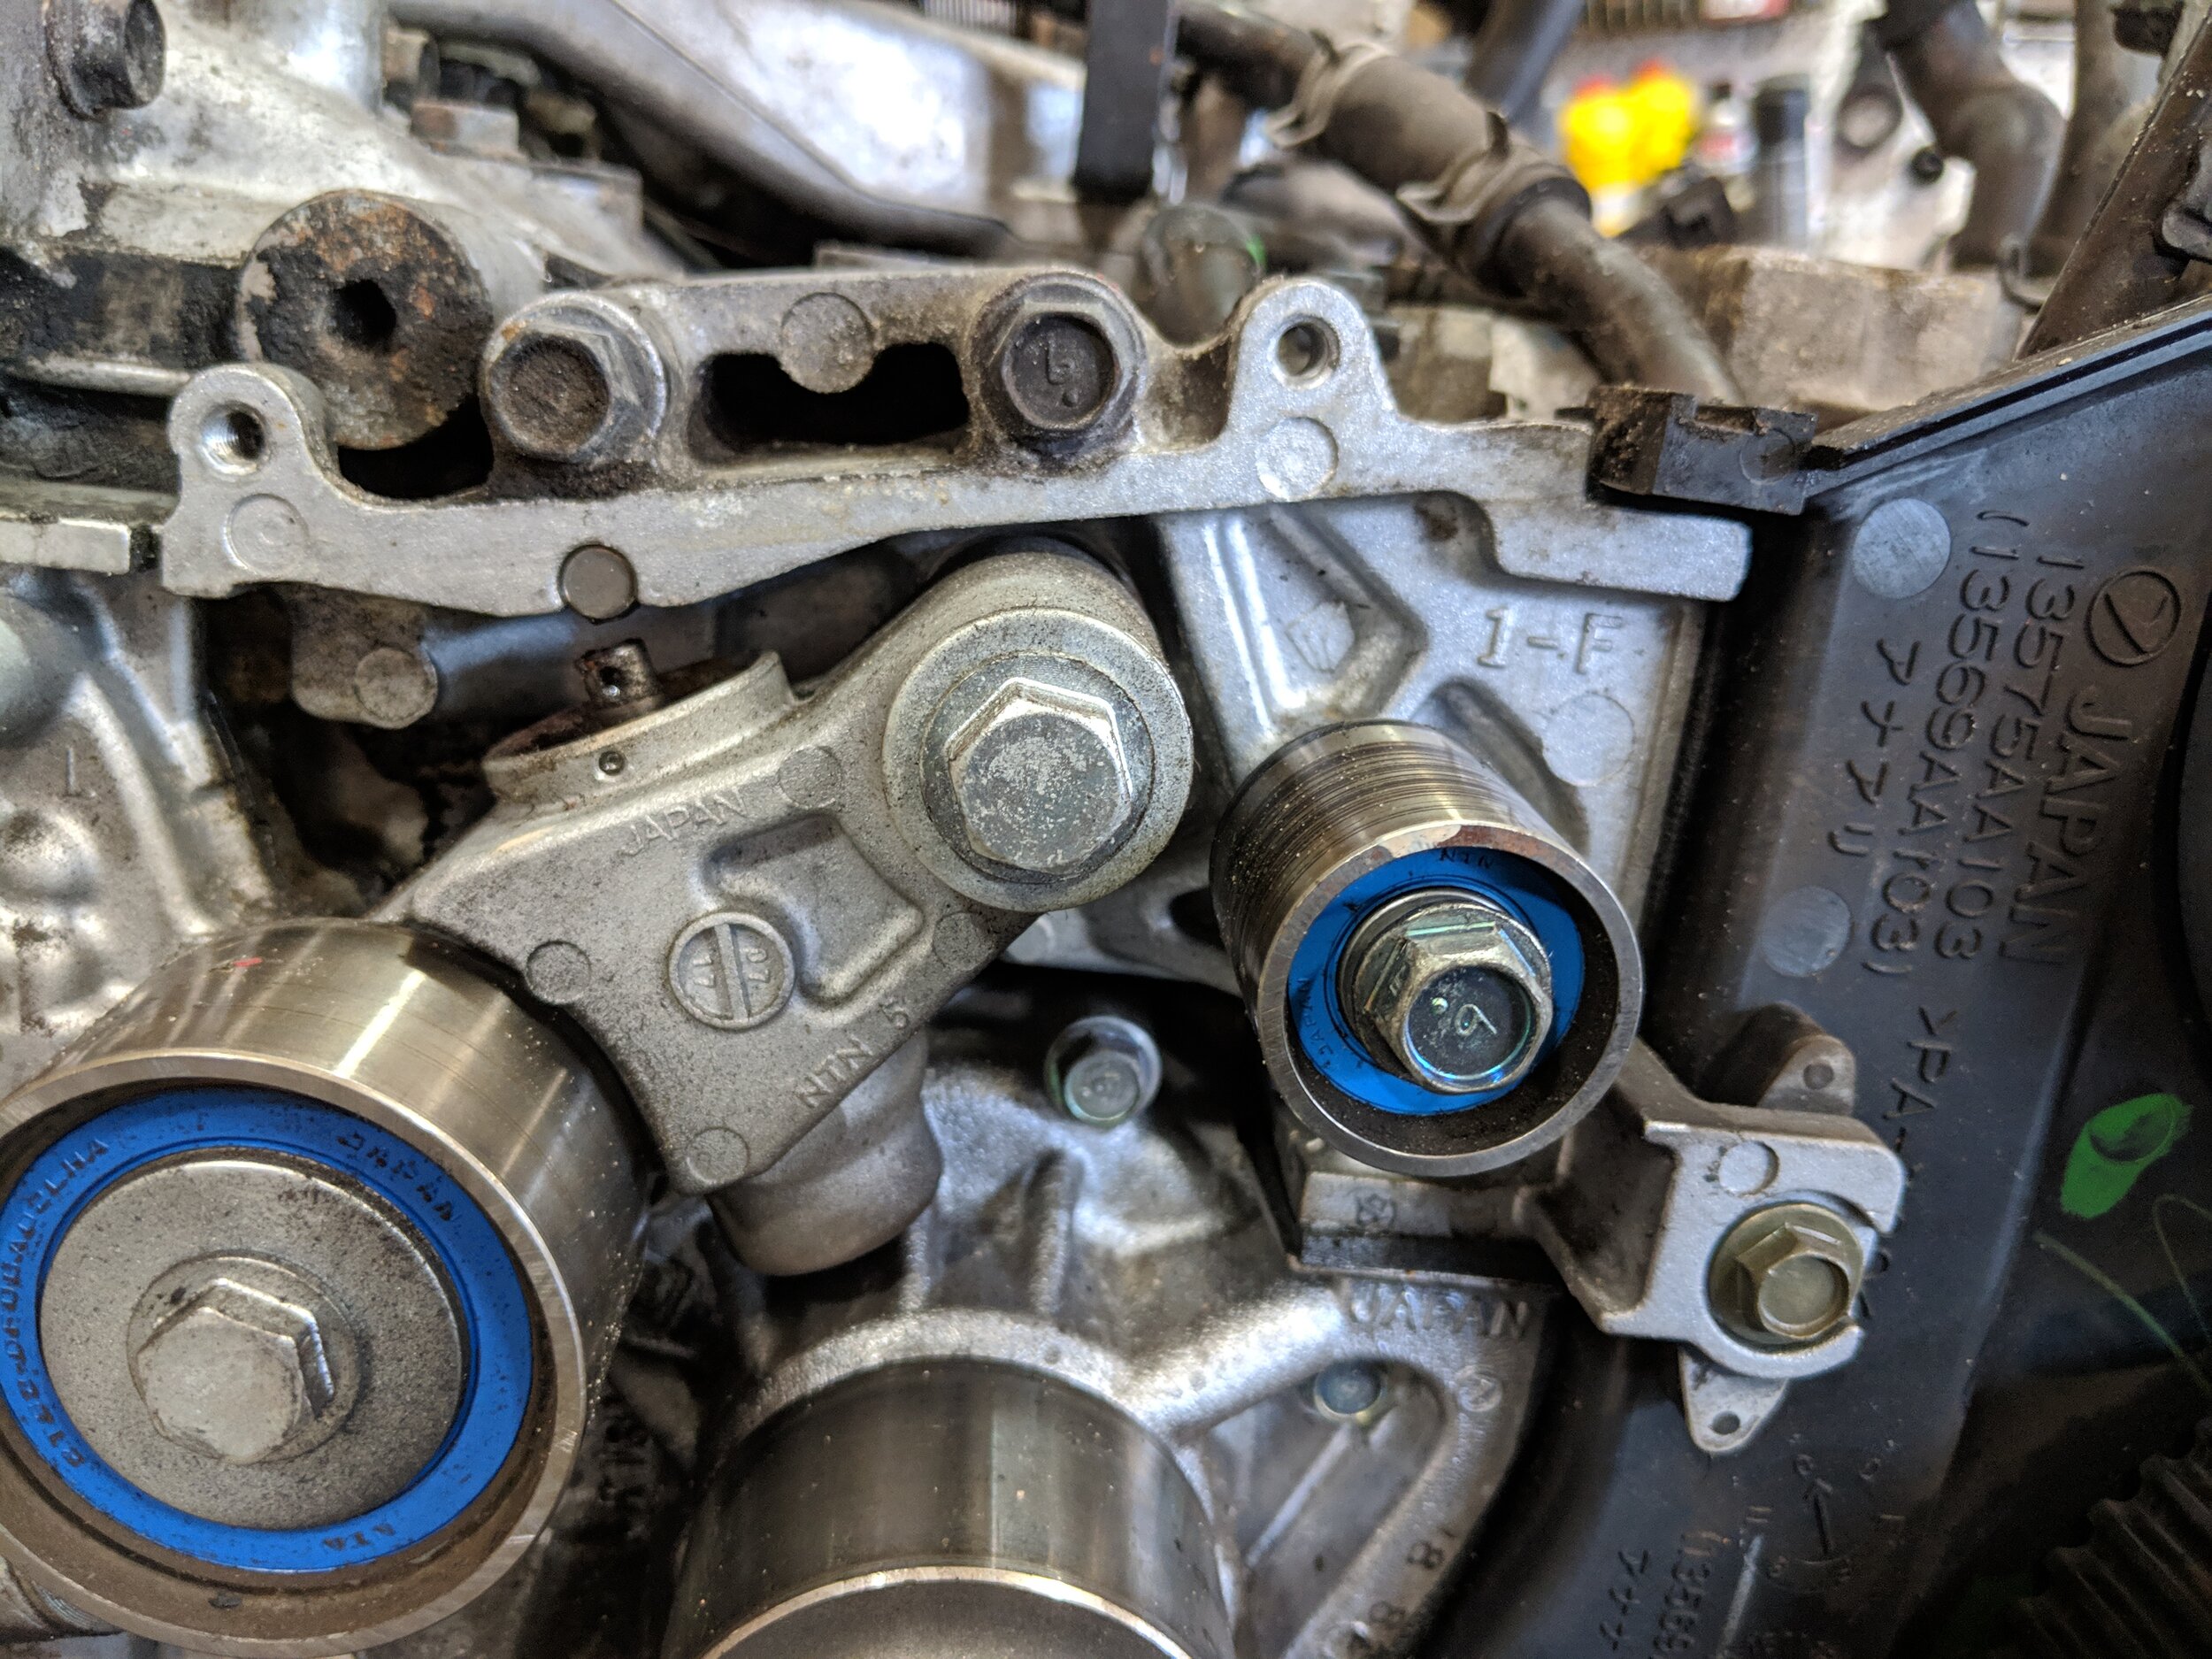
With the belt off it’s pretty much a free for all on pulley replacement. Remove in any order you see fit.
Remove the tensioner pivot bolt and not the bolt on the pulley.

Unless you are replacing the crank shaft cog, you can leave it be.
With all the pulleys and tensioner off you can now remove the water pump.

Now this is what you will be looking at! If you are replacing the water pump it is up next.
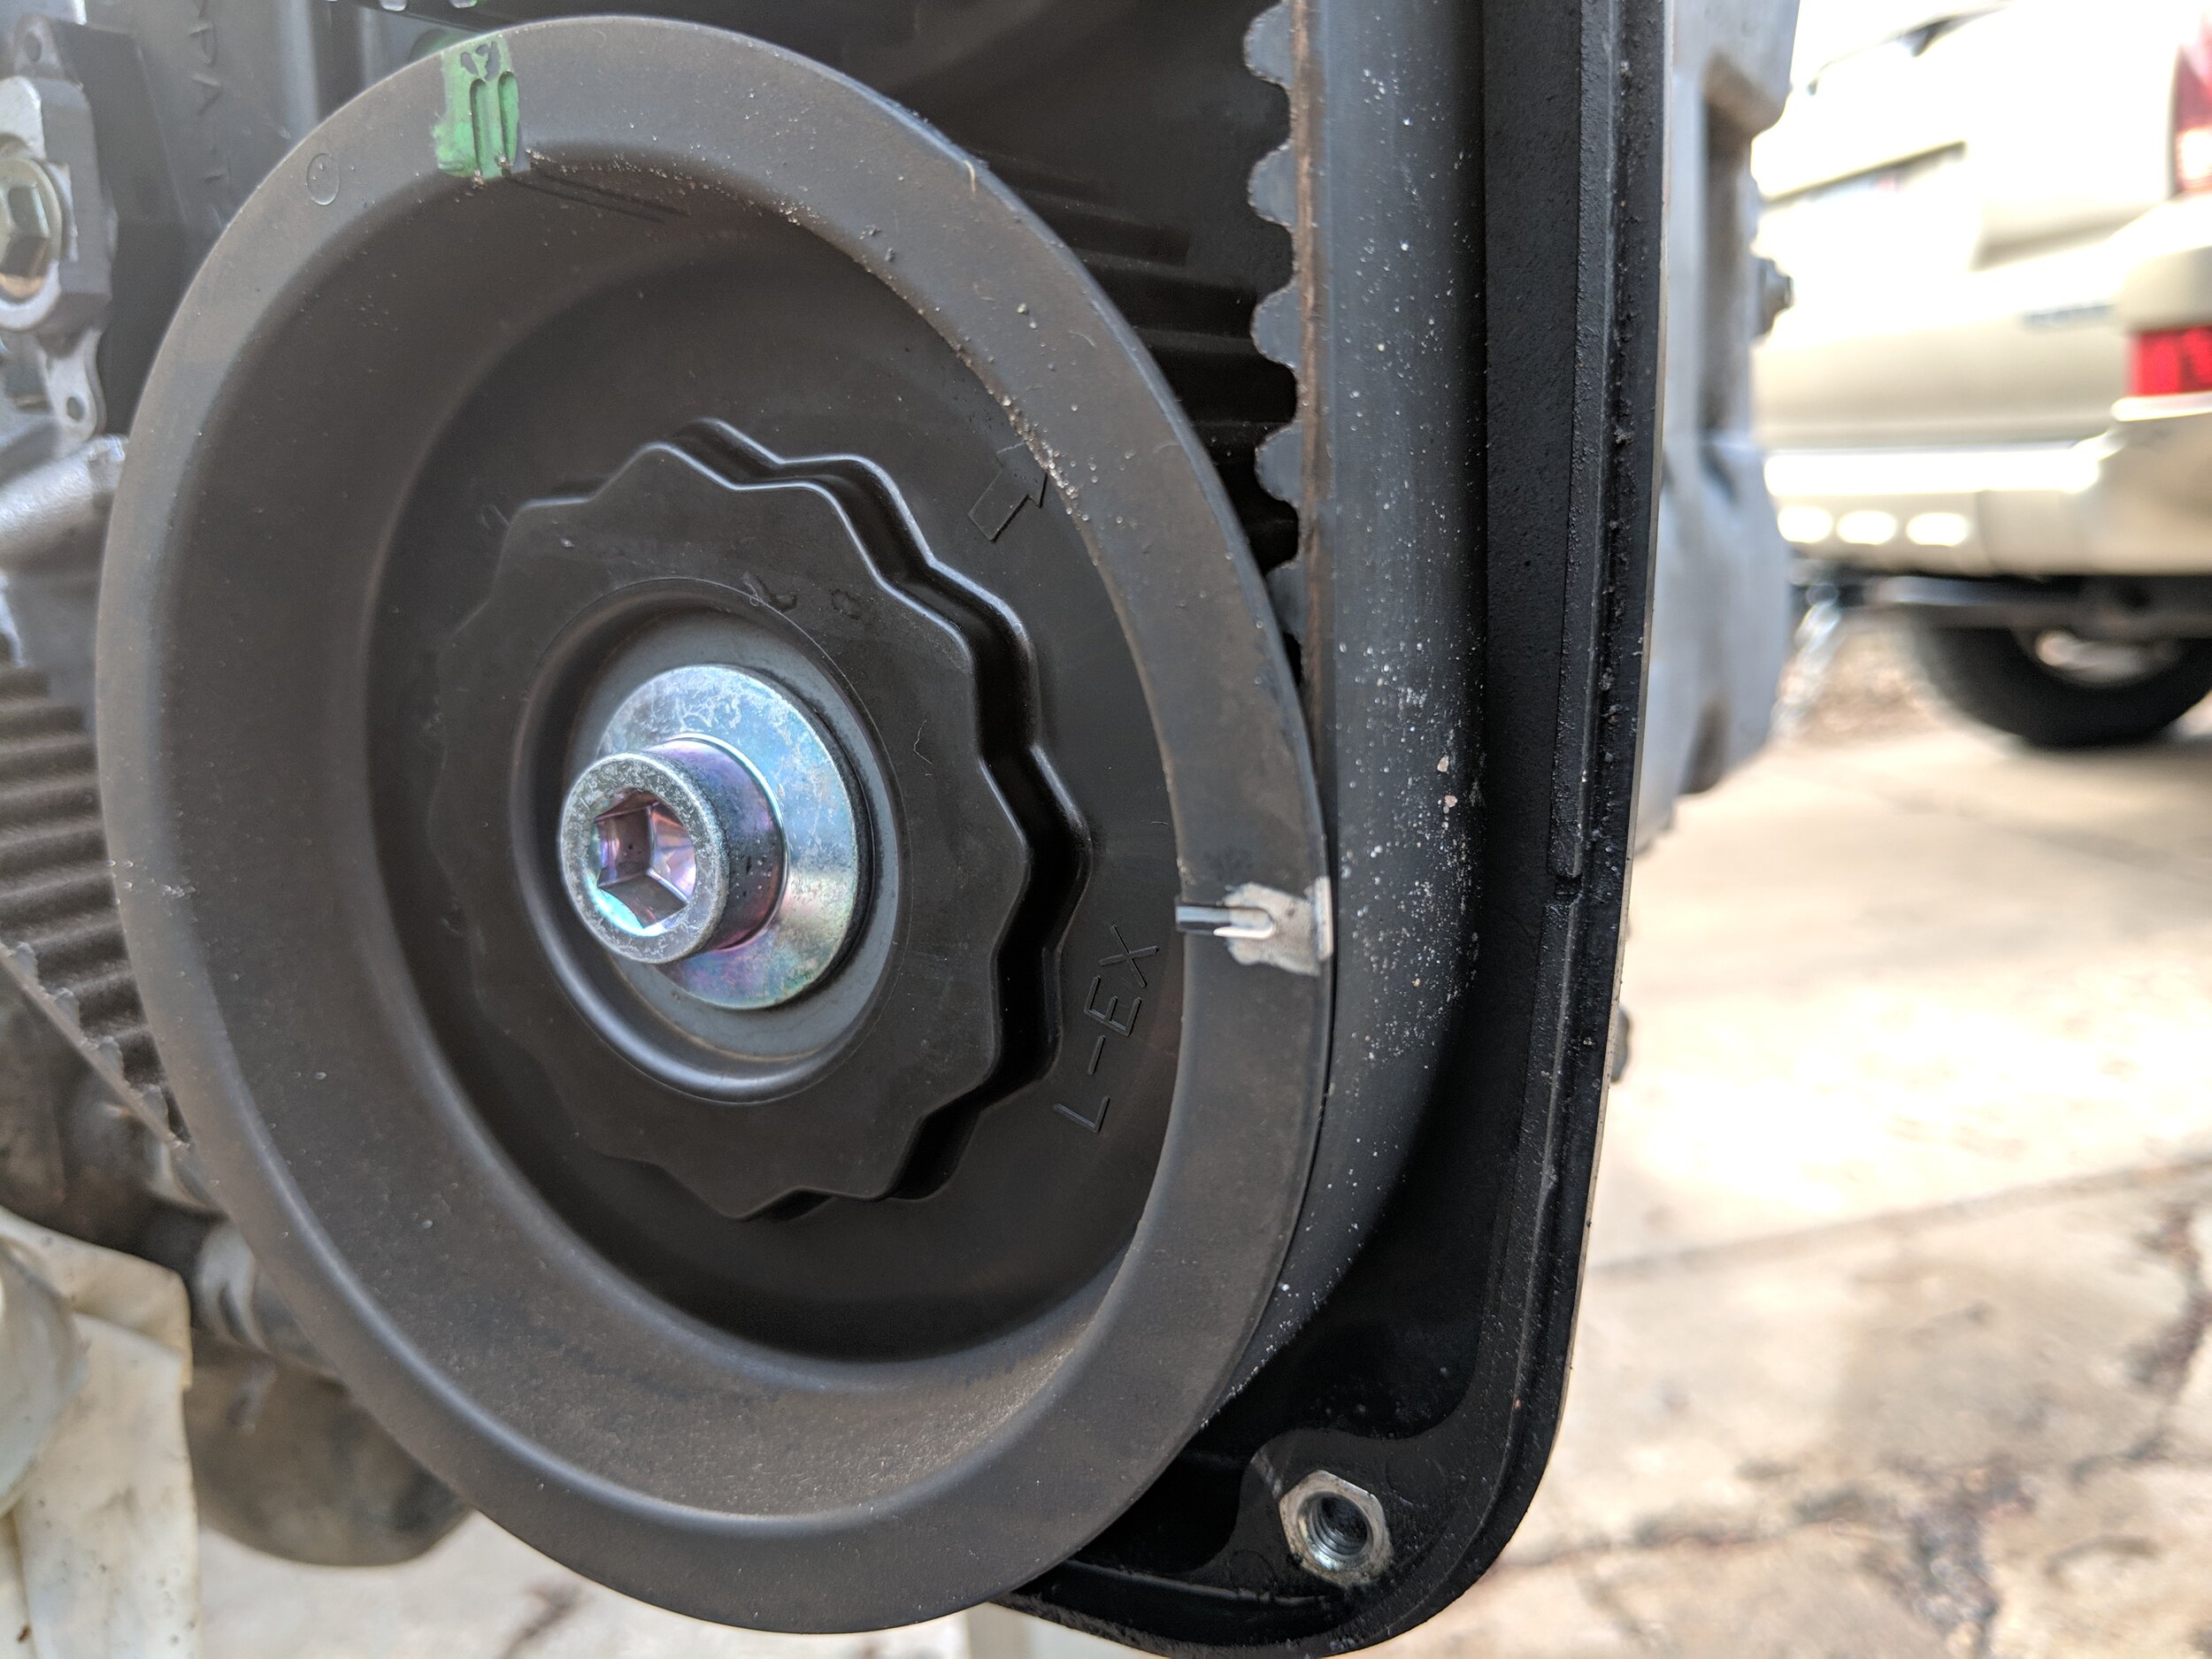
If you are reusing your tensioner now is the time to lock it back down. Using a vice a slow turns you can slowly push the plunger within the tensioner and then slide an object to hold it down. If you still have a tensioner pin this will work, otherwise a small allen key or drill bit can work.

Slowly cranking the tensioner back down to reuse it. I was swapping it to a new motor and reusing my 4 year old tensioner as it was still working well.
A small drill or allen key can hold the pressure back. Don’t put it back in unless you are completed with your waterpump work.
Then on to the water pump removal, it is held in by 10mm bolts. Be warned that it generally holds a bit of coolant behind it and if you are me, it will find it’s way to spill on to your clothing making you smell coolant constantly.

Follow the bolts around the water pump housing and then remove.
Water pump removed.
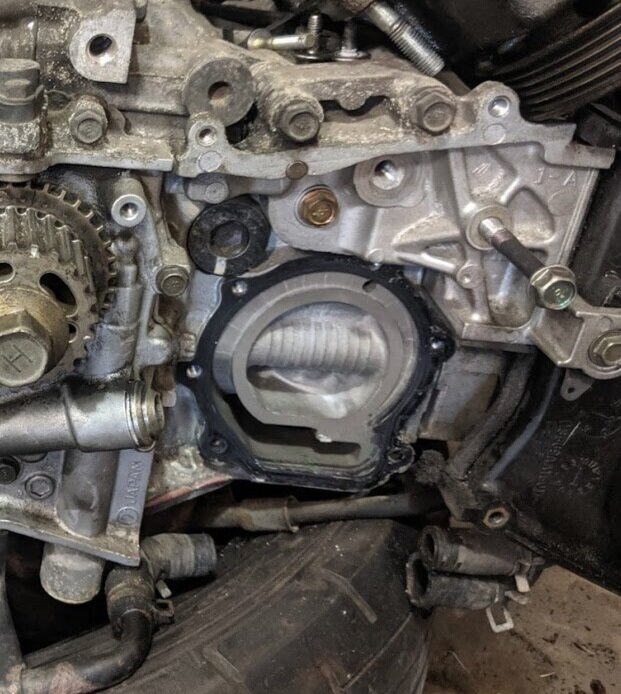
You may now start with you reassembly, with your water pump and gasket in hand we can go ahead and bolt it down. There is a rubber gasket on left side of the water pump( shown below), this helsp keep dust and debris out of the timing belt covers. Make sure they are properly placed.
The metal water pump gasket is easy to remove.

A trick while installing your gasket is to hold it up with two bolts through the pump and thread them in to hold it in place.
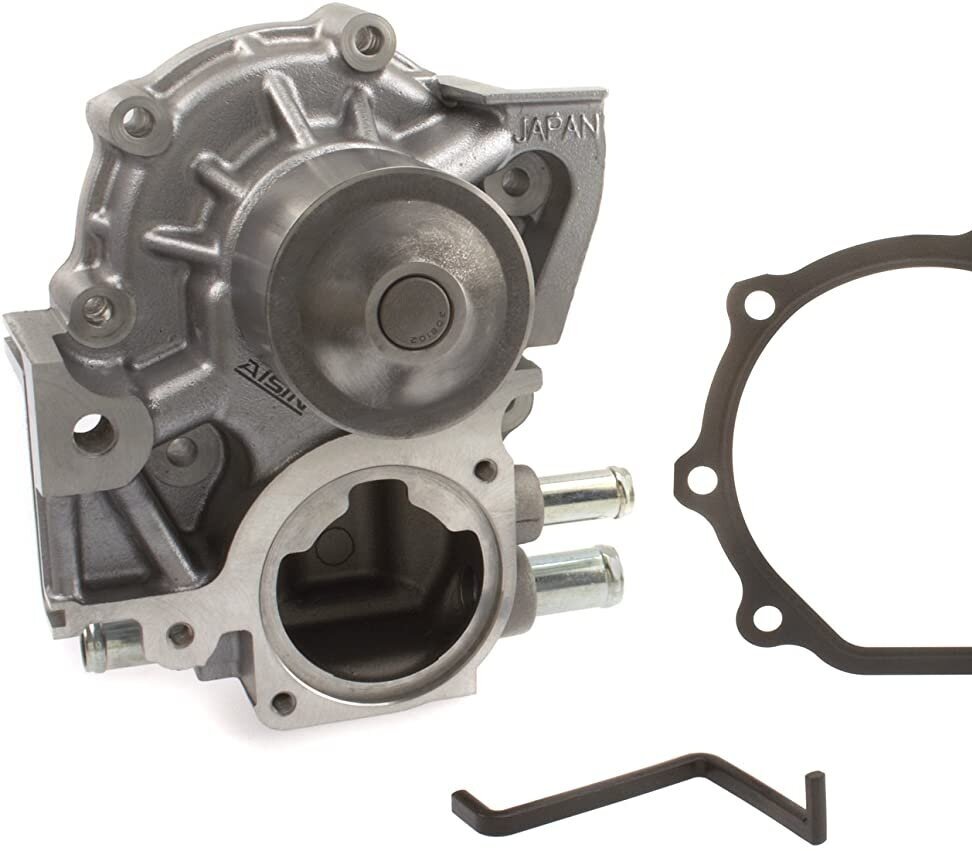
If you look to the left side of the water pump you can see a groove the weird shaped rubber seal slides into. This seal keeps dust and dirt from getting up in the timing cover and in your belt.
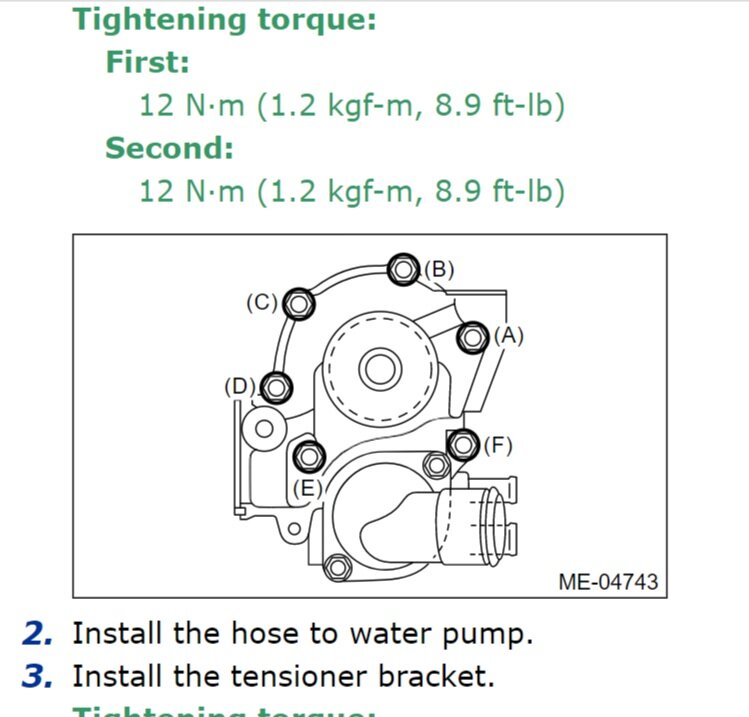
Run through the sequence twice starting from A. Then back through it once again.
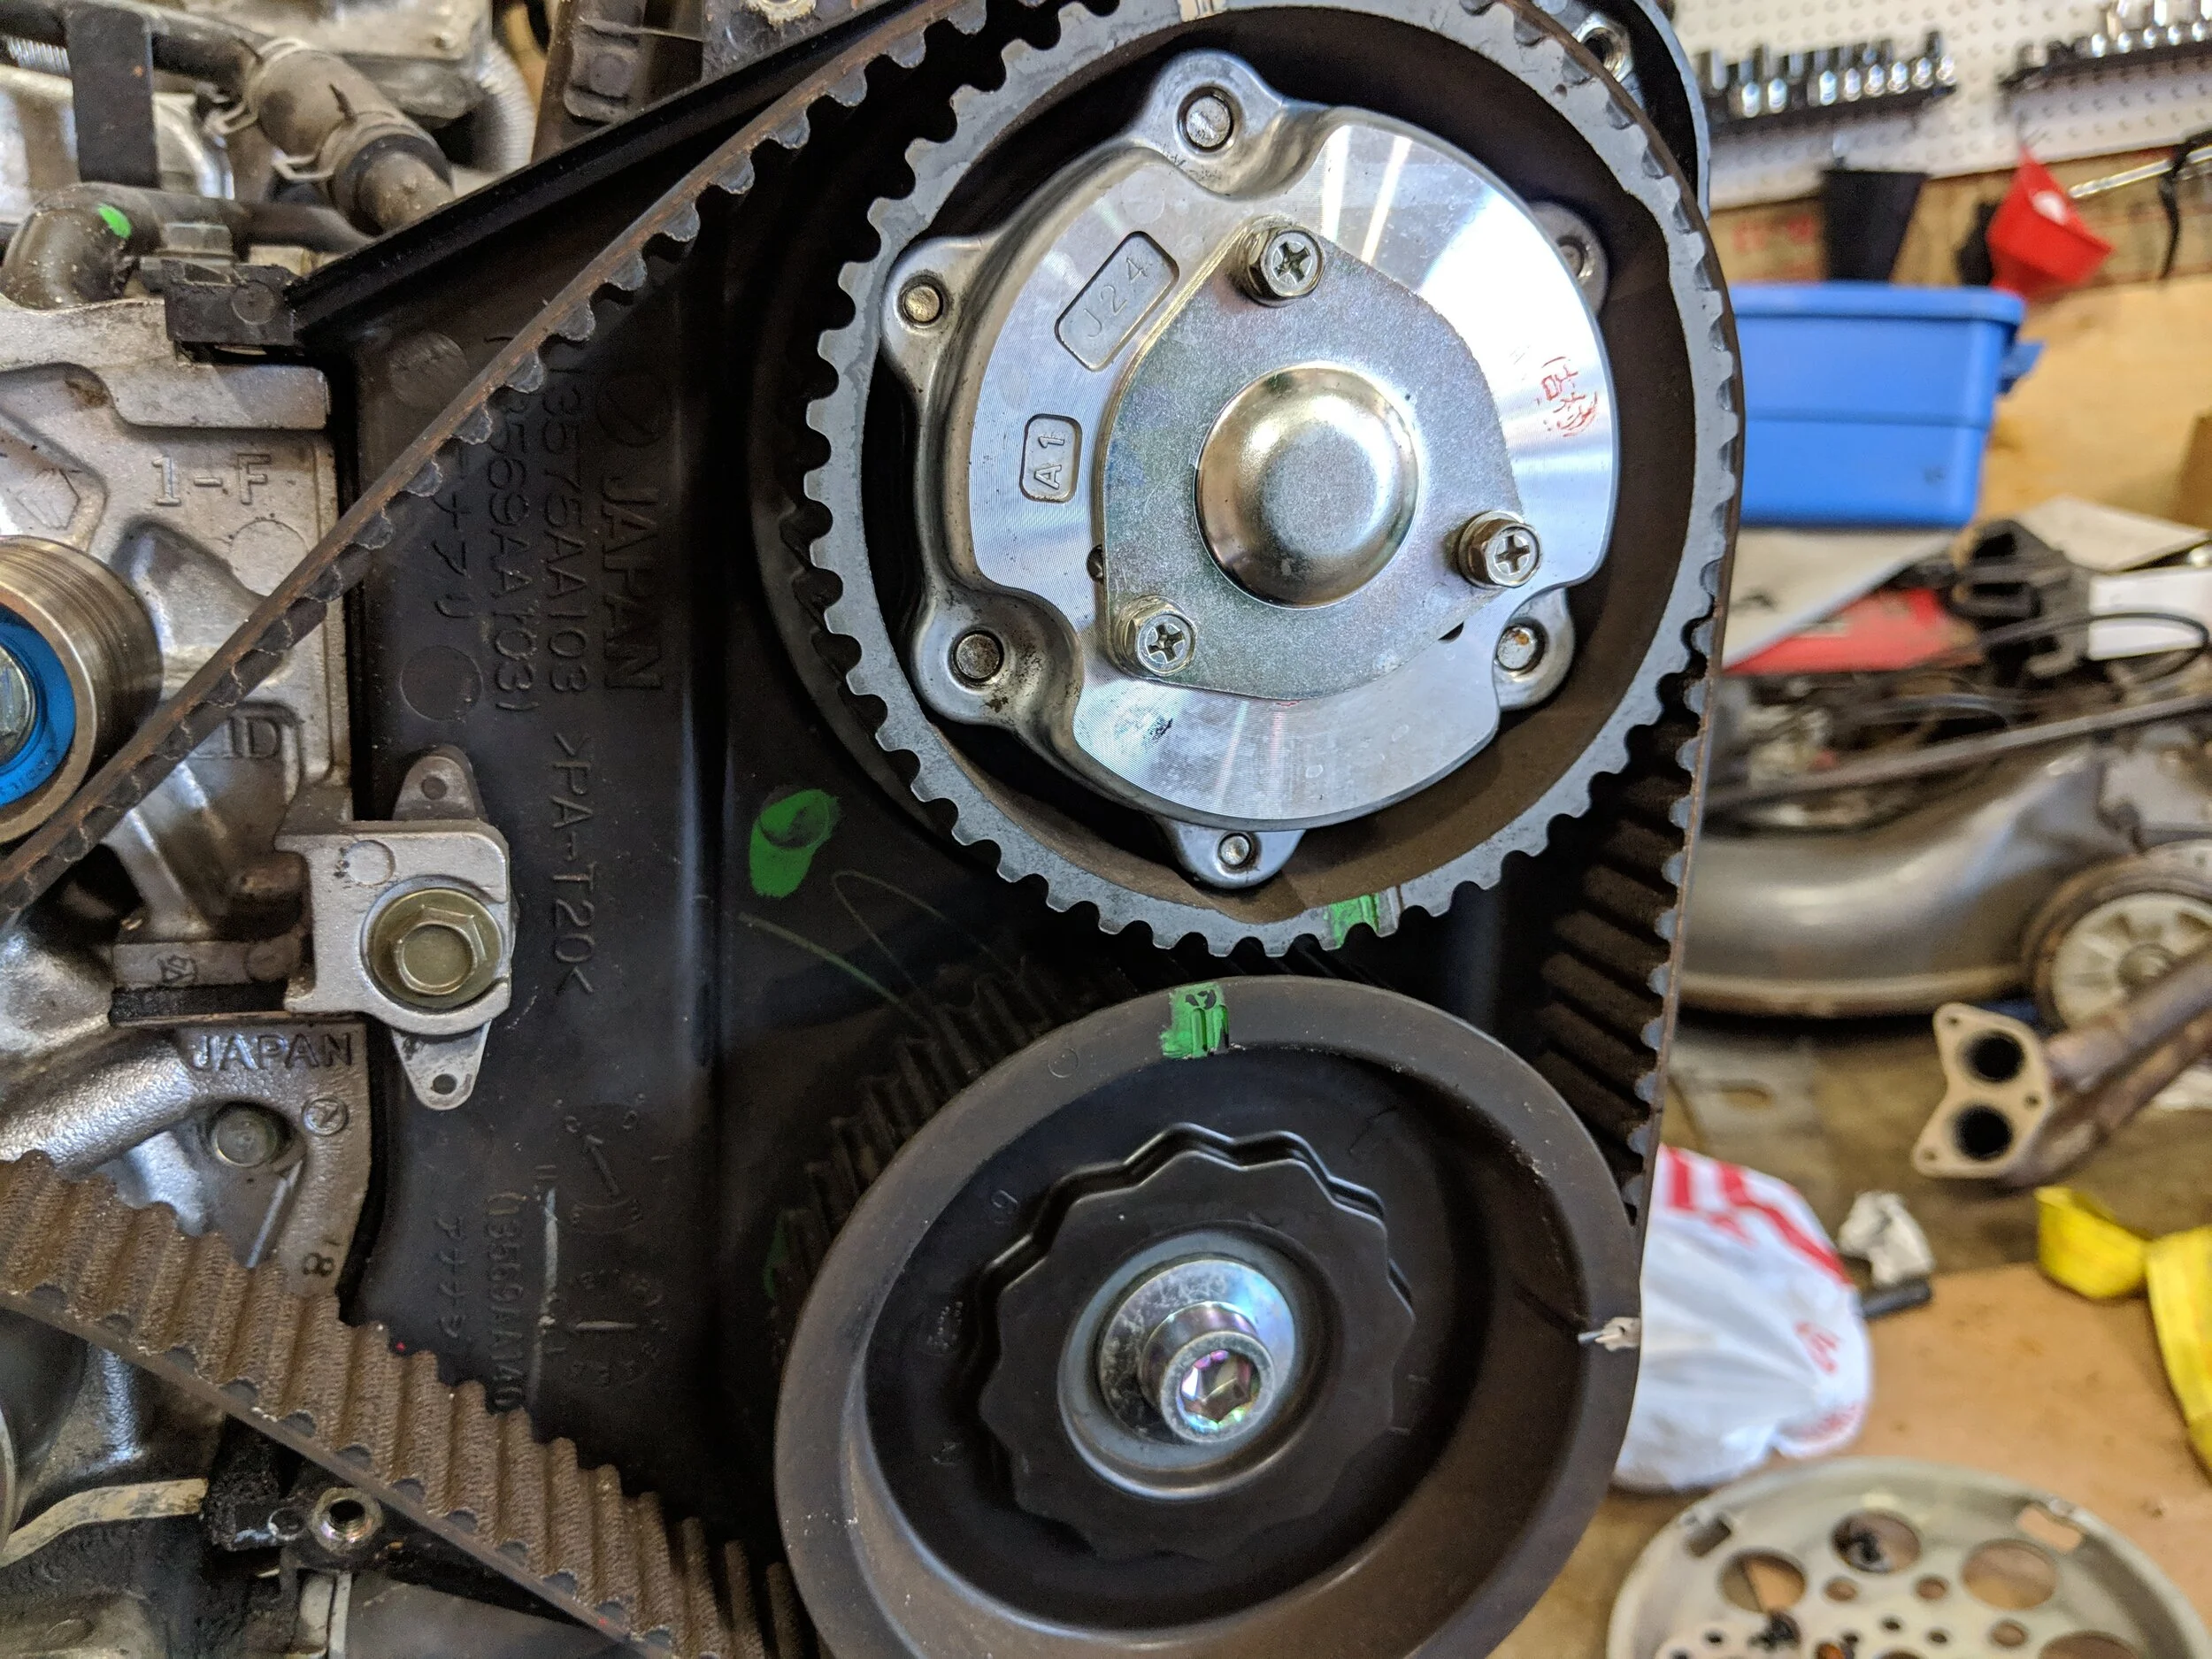
Now you can begin bolting on pulleys and the tensioner. Make sure your lock pin is still in the tensioner, we won’t be removing that till later. The idler pulleys (except the small driver side pulley) and tensioner will torque to 28.8 ft lbs. The smaller idler to the right of the tensioner will torque to 18.4 ft lbs.

Tensioner and makeshift pin before installing the belt.
Getting all the pulleys at home with the tensioner and water pump. This image shows the passenger lower idler on, leave that one loose/off until the belt is fully routed.

The lower left idler pulley is the first you removed and can be left off till the belt is fully routed. The length of the belt from exhaust to cog makes this easy to place back into it’s spot.
If you are interested in replacing your cam or crank seals, this would be a great time to do so. Otherwise you will be pulling down the front end of the engine and timing belt again.
If you need to keep the cam gears in place the Company 23 cam holder tools and a friend.
Now if you have a manual trans you can use your timing belt guide tool to install your timing belt guide. This ensures proper clearance to keep the belt from slipping off but not too tight to cause premature belt wear/damage. These
Getting everything ready for the belt. The red crank spacer is just waiting for the belt. The belt guide torques to 7.2 ft lbs, Subaru recommends using a dab of grey silicone on the bolts, I have never used it.
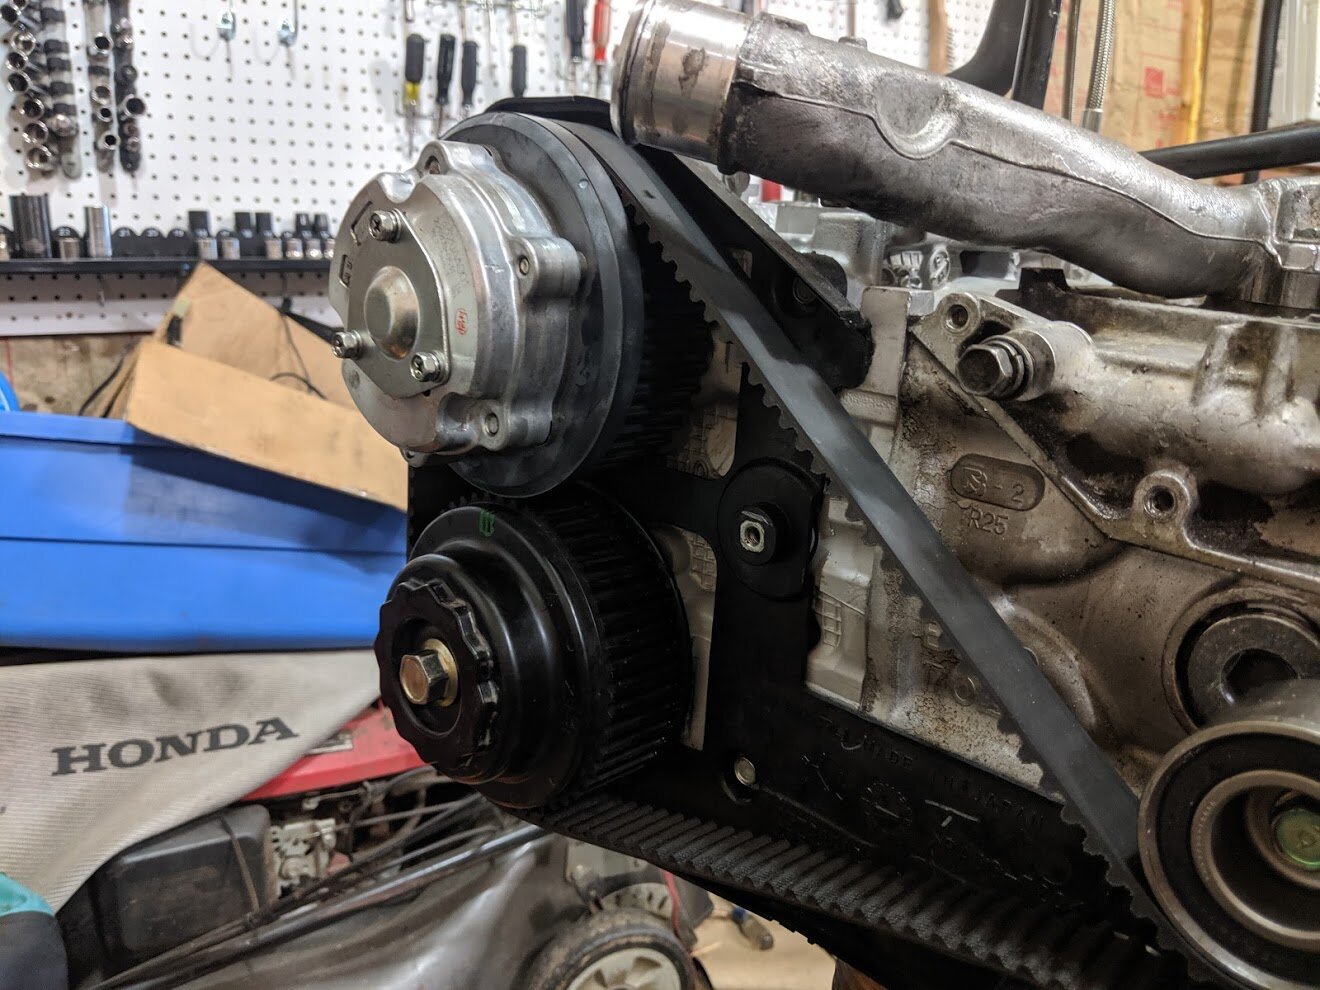
The timing belt is up next. The belt is labeled for the direction it spins, which is clockwise, so double check your belt before threading it through the pulleys. I start at the crank pulley, then head towards the intake passenger cam gear then down to the exhaust. Next you will head from lower passenger cam gear then to the cog pulley around the water pump and to the driver’s side exhaust gear. Up to the driver’s intake cam gear under the small idler pulley to the tensioner. Lastly adding the lower passenger idler pulley to complete everything, it was the first pulley you removed and therefore the last to install.
If you are having trouble with aligning your driver’s side cams you can use either the Company 23 camlock tool or if you have a friend or multiple arms you can hold it with the cam holder(s) to keep them from spinning. Remember that if you need to spin the cams back in place you spin them the correct orientation to keep from bending valves.
Now you can double check all your belt markings, making sure they line up with your crank pulley and cam gear markings.
I like to start from the crank and then move to the passenger cam gears and lining up the belt markings and cam markings.

After routing it back through the pulleys, cog and water pump you can line up your marks on the gears and belt.

This diagram lets you know where you should be on teeth count. This is a good way to double check your work even if all the markings line up.

Now you can finish your belt routing and use your handy dandy spacer to make sure the belt has proper clearance.The lower passenger pulley is seen with a socket on it, last in and last to be torqued.
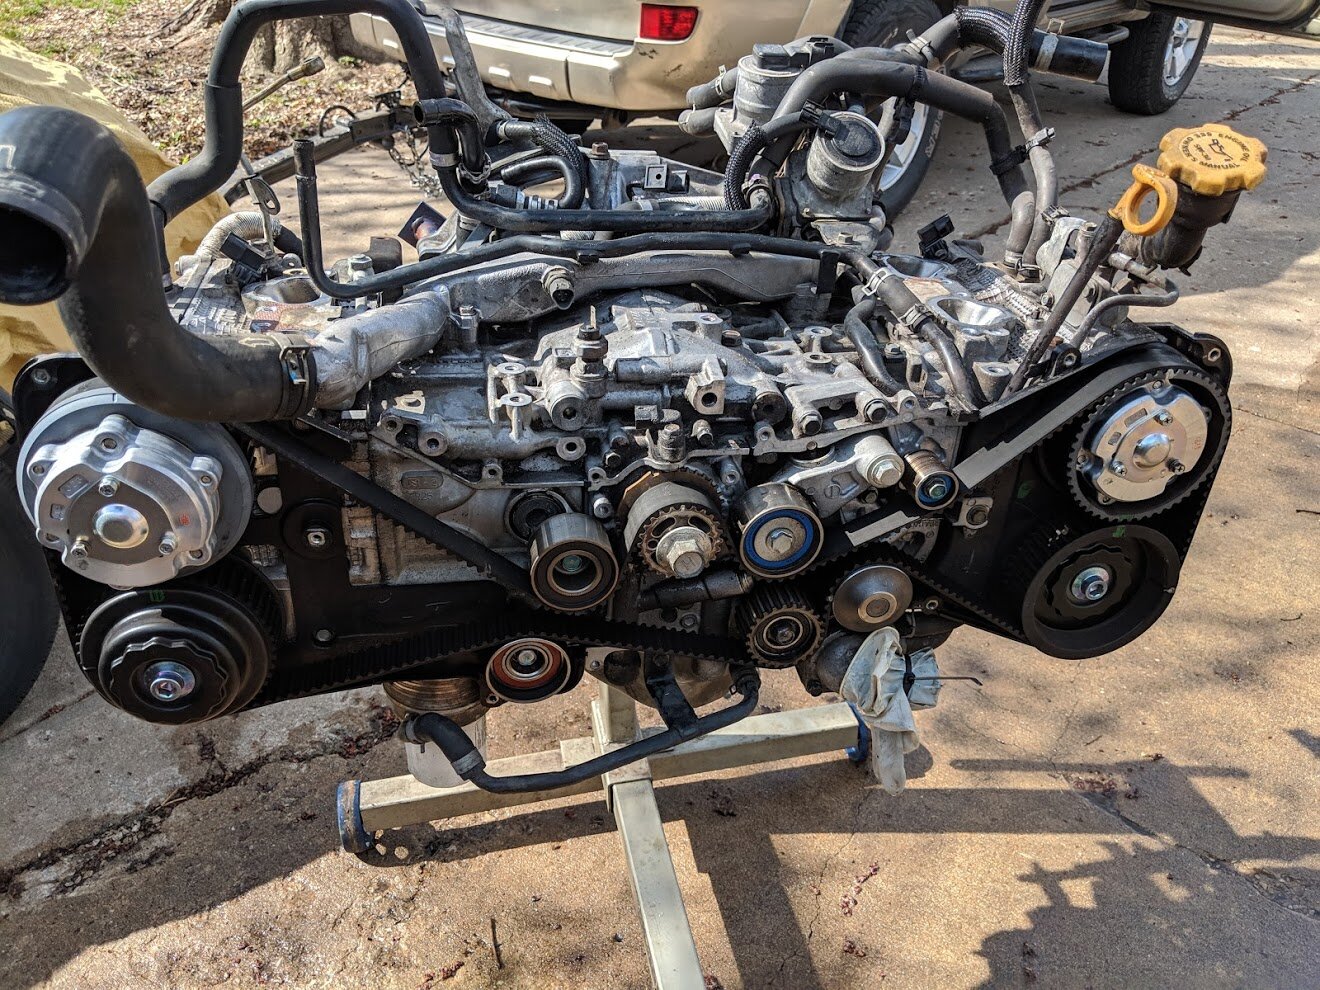
Now you should be looking at something like this but with the belt guides equipped.
Now if you are happy with your belt being lined up you can get ready to pull your tensioner pin to engage it. If not you can always count the teeth in between the markings. You can also use your crank pulley socket and crank the engine by hand and around a couple revolutions to check that the marks stay lined up. If you are confident on your belt being lined up now is the time you can start it to make sure.

Just another look at the belt routing. Pin pulled and tension on the belt.
You can do a quick start before bolting everything else up if you want to make sure everything is working as it should, i.e. no leaks, bad pulleys, misalignment, etc. I’m a all or nothing kind of guy so this is the time where everything goes back together. Which will be your timing covers, the crank pulley, accessory belts, radiator, coolant, hoses and so on. For those looking for the crank pulley torque, Subaru states 132 ft lbs.
Once everything is installed we can put on our coolant funnel and start topping it off. Then start the engine back up and listen for any new or abnormal noises. If the engine is running well you can allow it to burp out the air while getting the thermostat to open.

Now it is time for burping the air from the coolant system and topping off that coolant.
If everything is doing well you can commence to a short drive to make sure it is roadworthy.
Congrats! Your timing belt has been completed and you can now go now travel another 105k miles or 105 months till your next replacement.
Amazon tools links
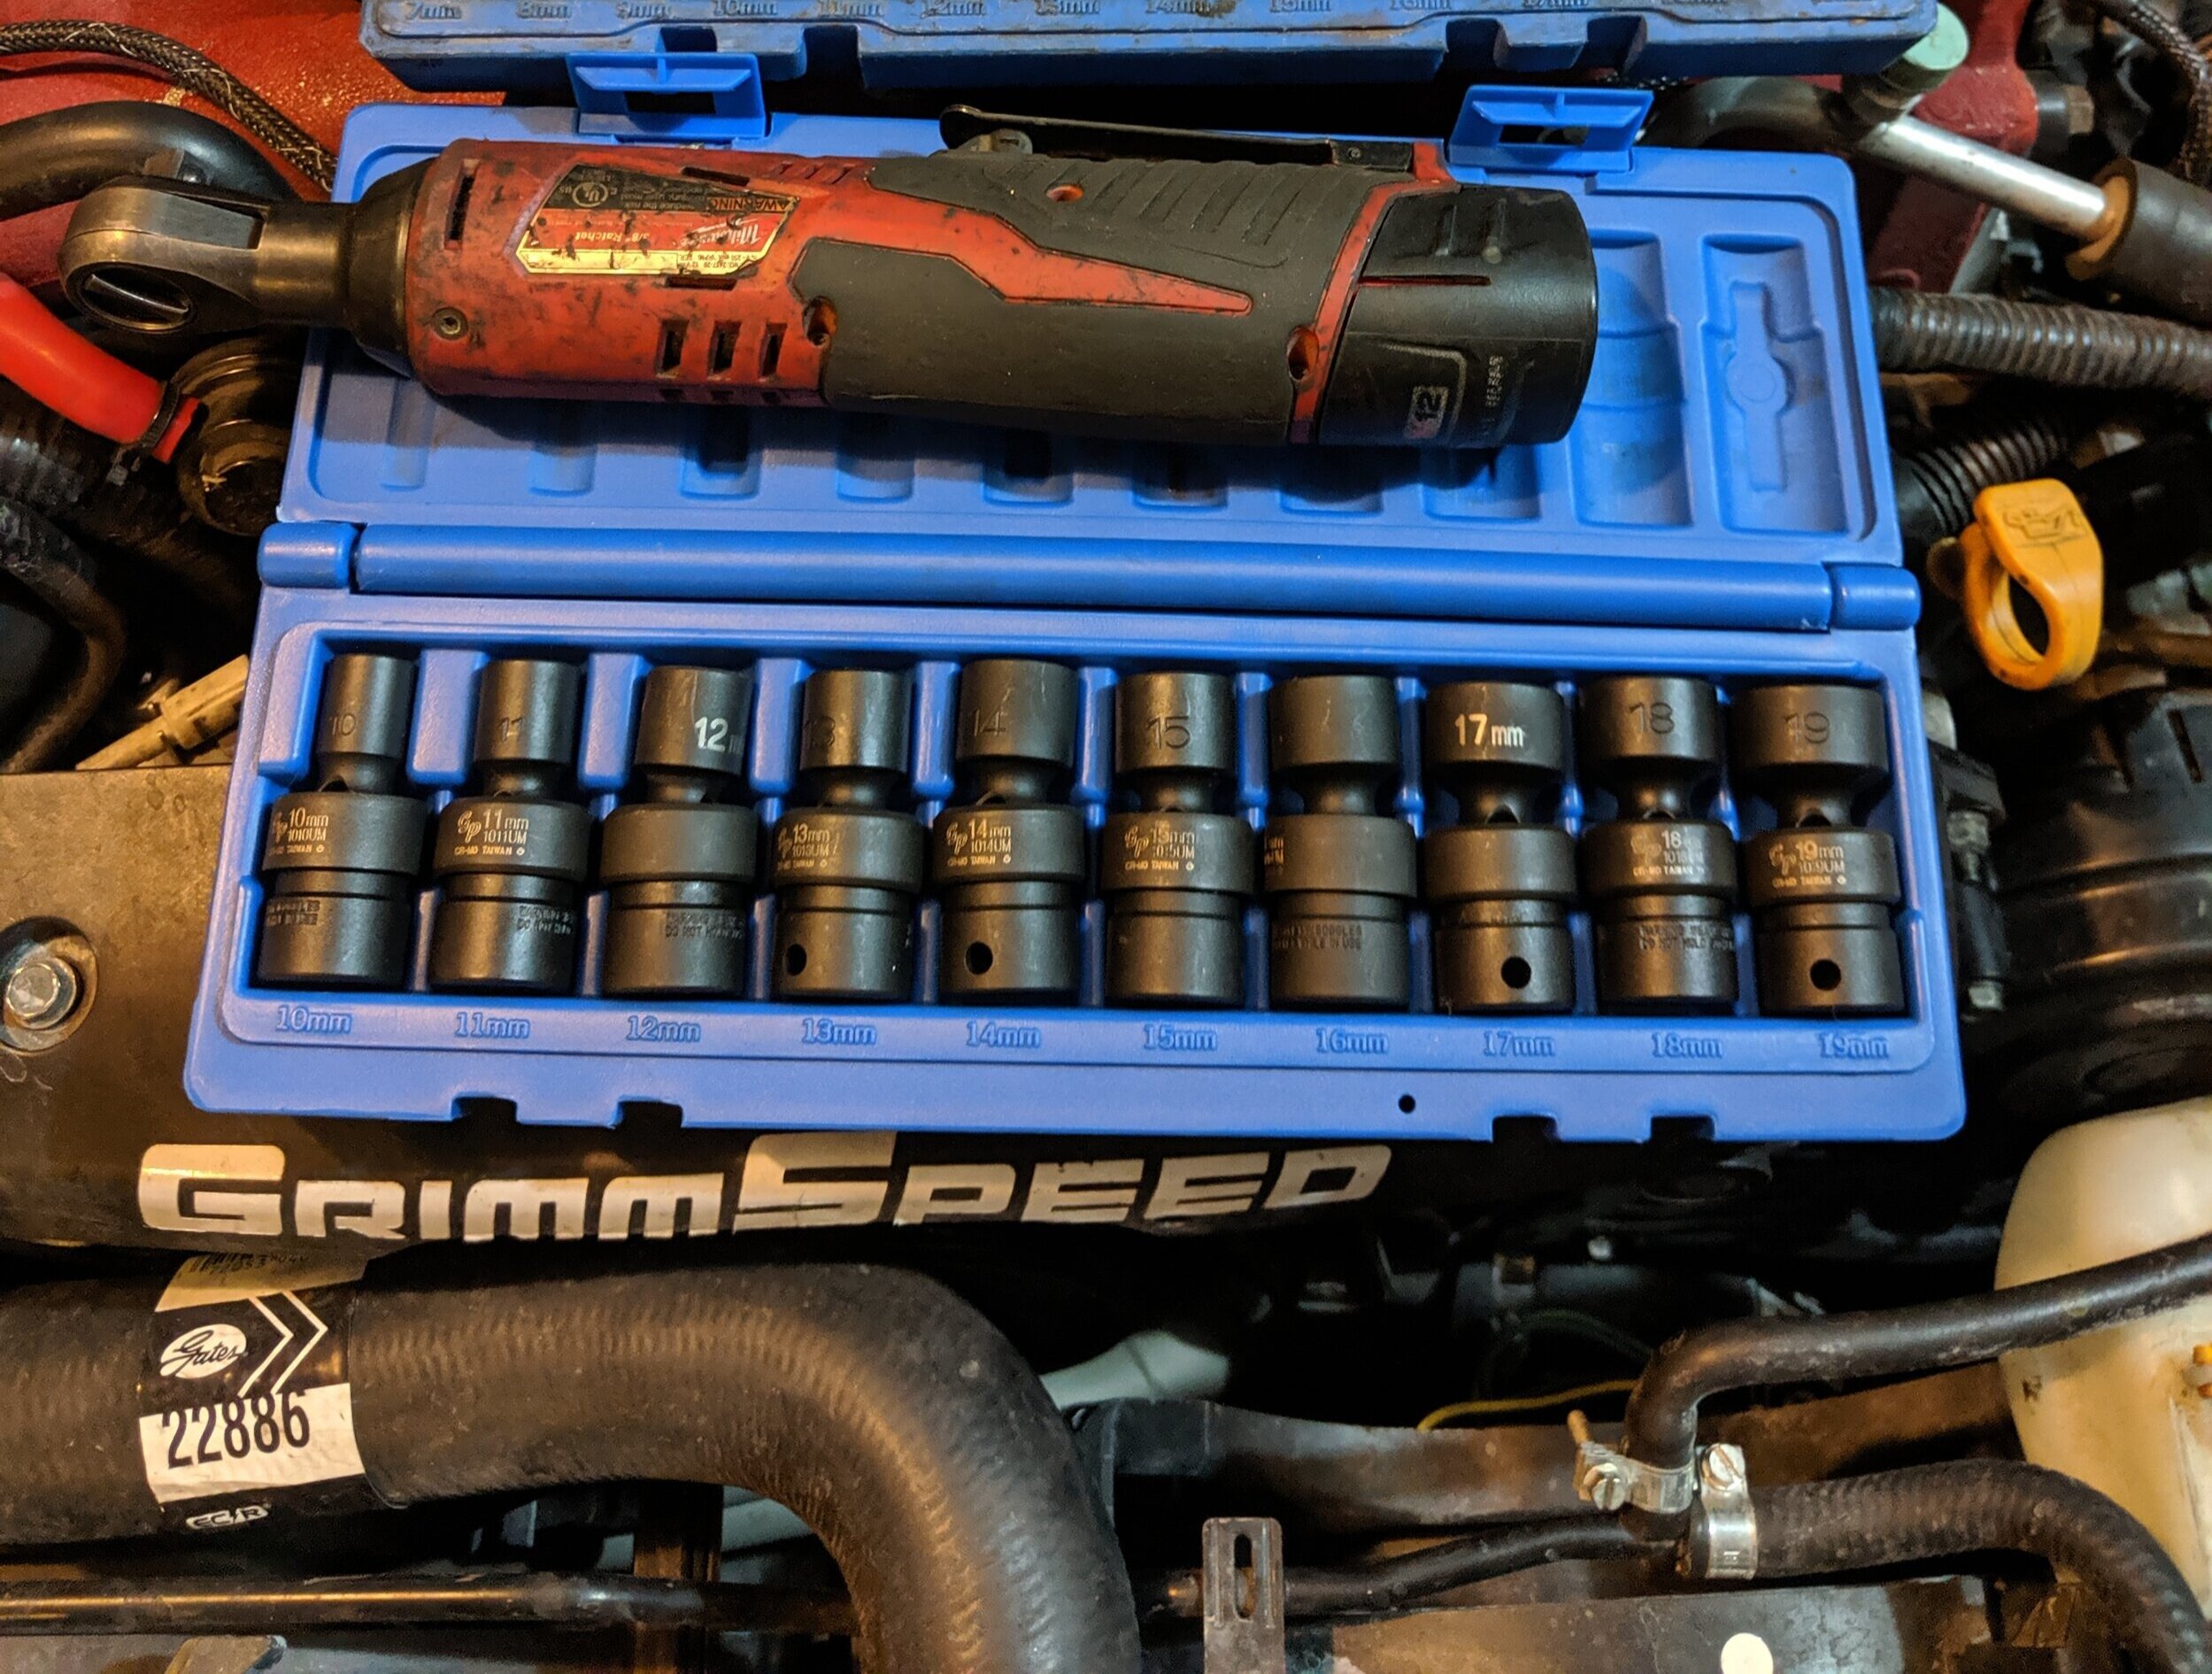
Grey Pneumatic 3/8th socket set
Milwaukee 3/8ths electric ratchet
Grey pnuematic wobble socket set
GEARWRENCH 1/2" Drive 6 Point Deep Impact Metric Socket 22mm
Neiko 00206A 1/2 Inch Drive Premium Breaker Bar, 24" Length
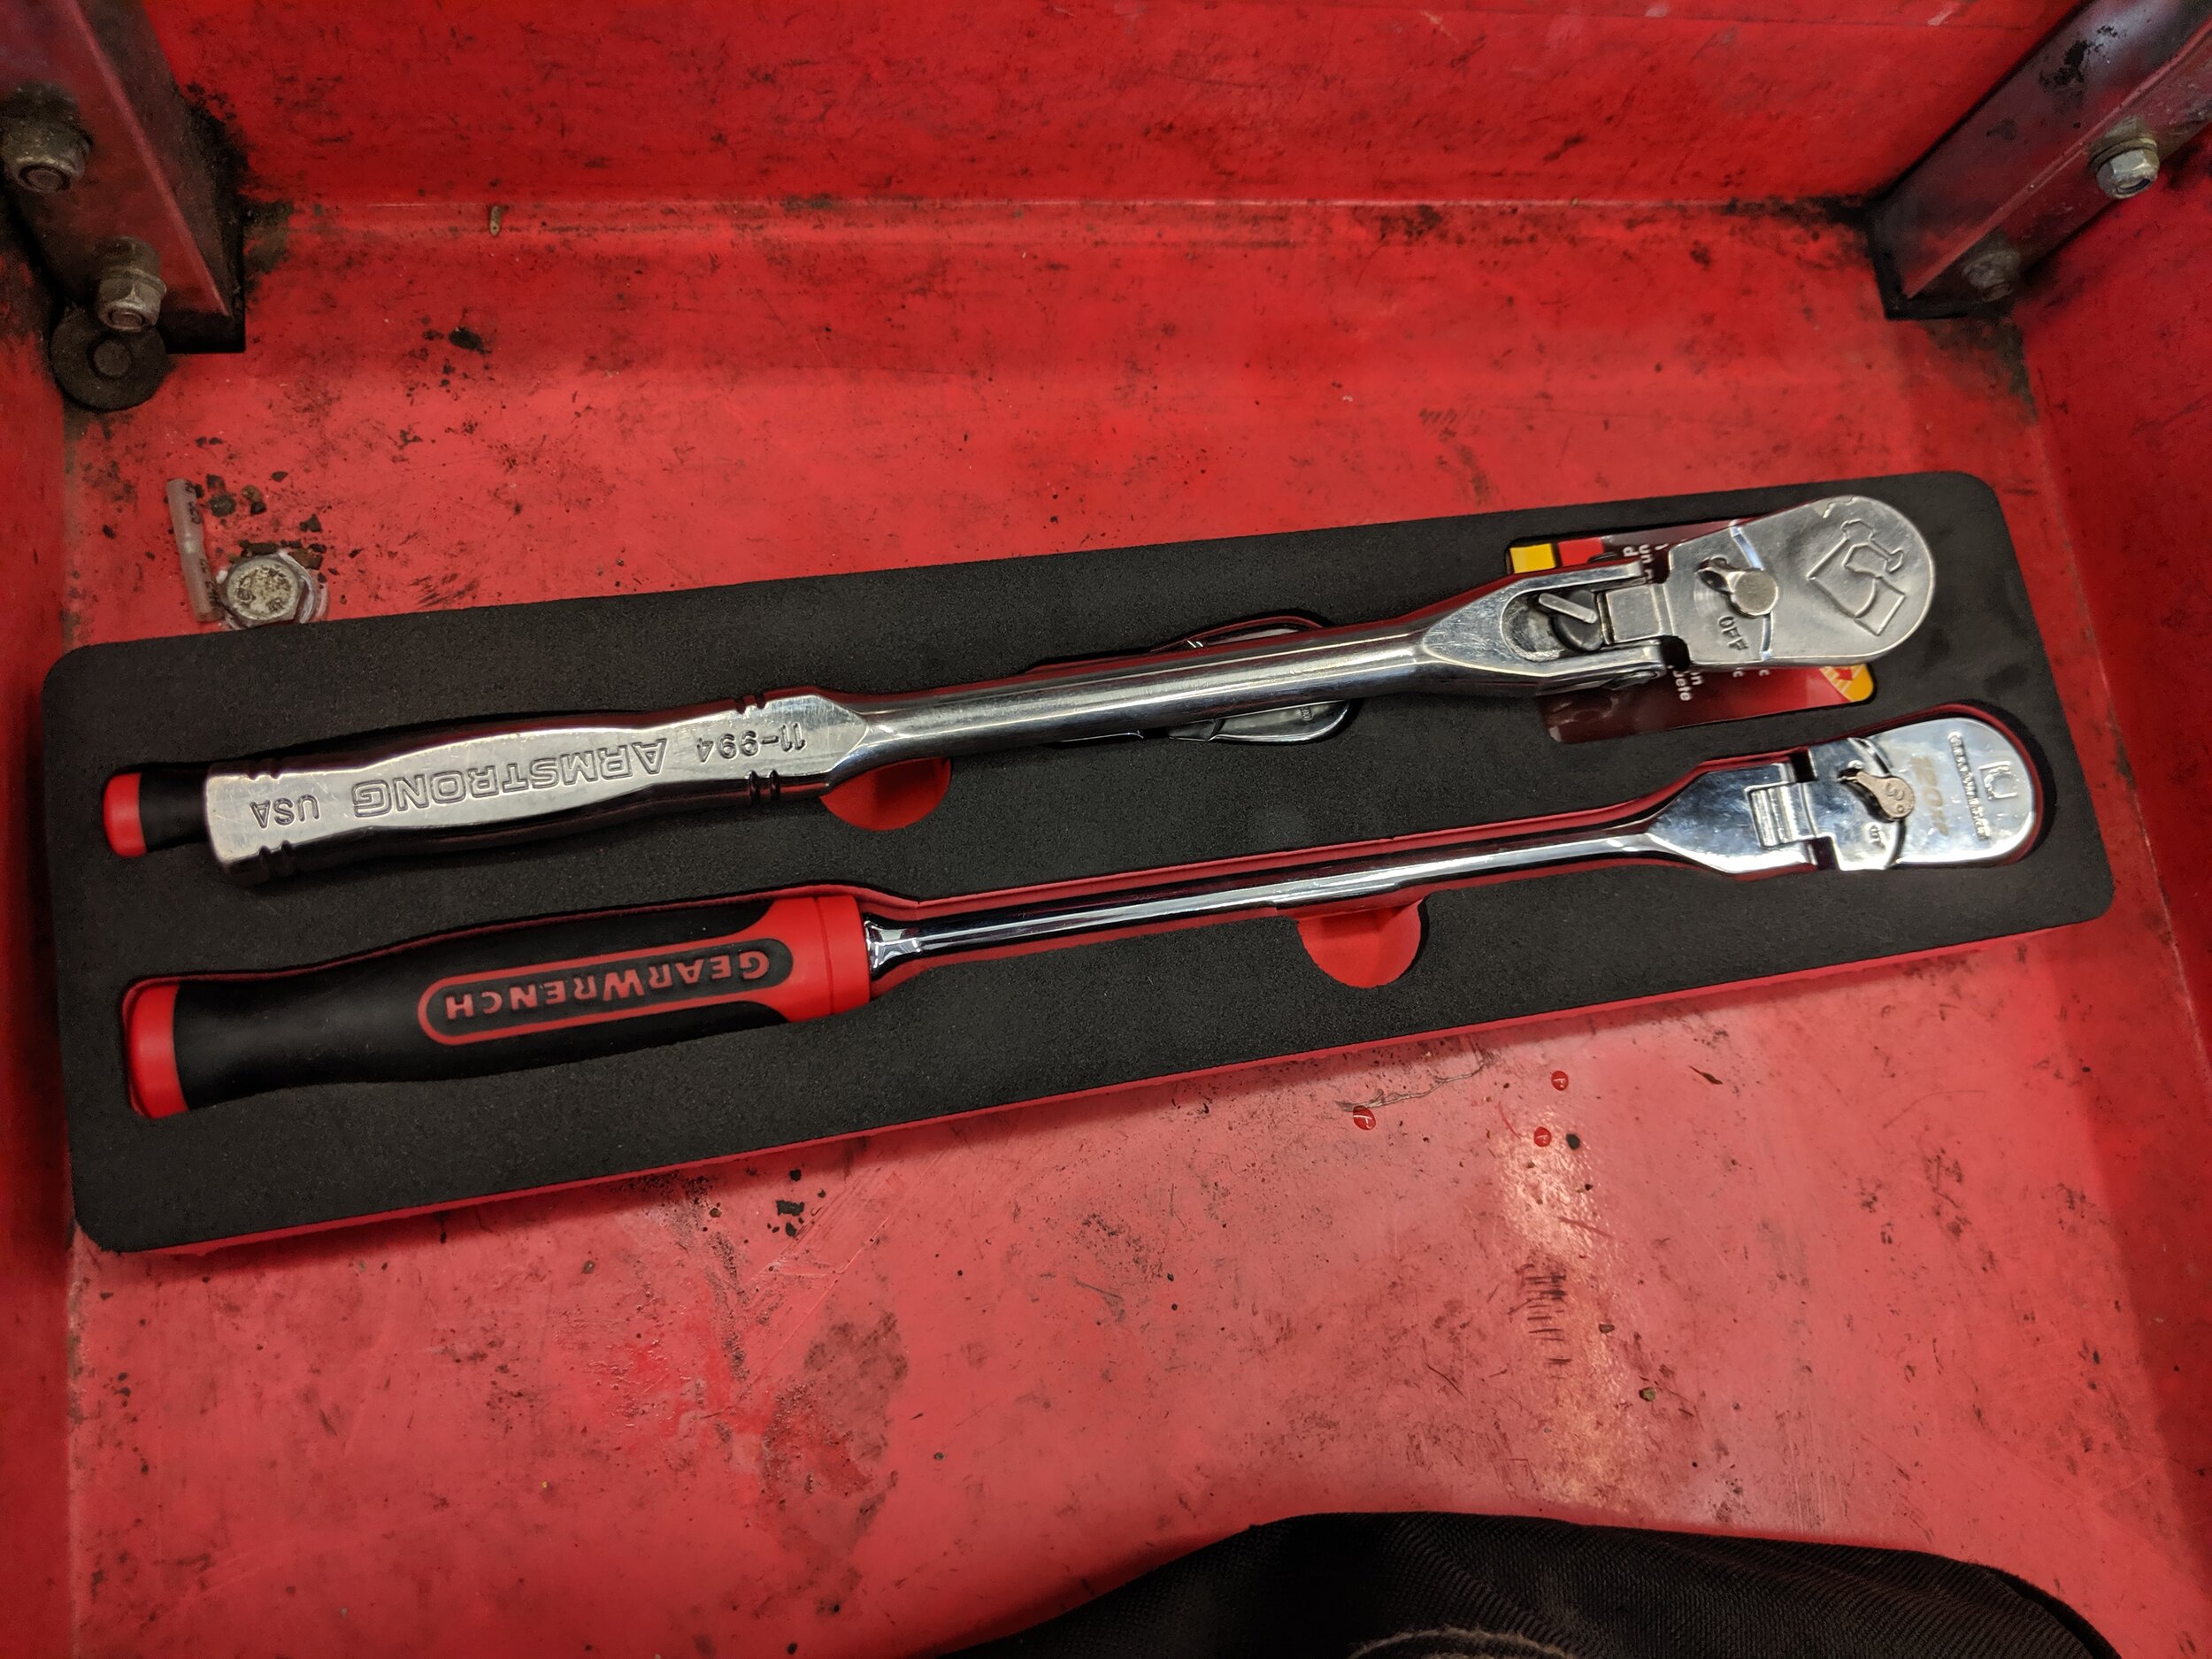
Precision Instruments PREC3FR250F Silver 1/2" Drive Split Beam Torque Wrench with Flex Head
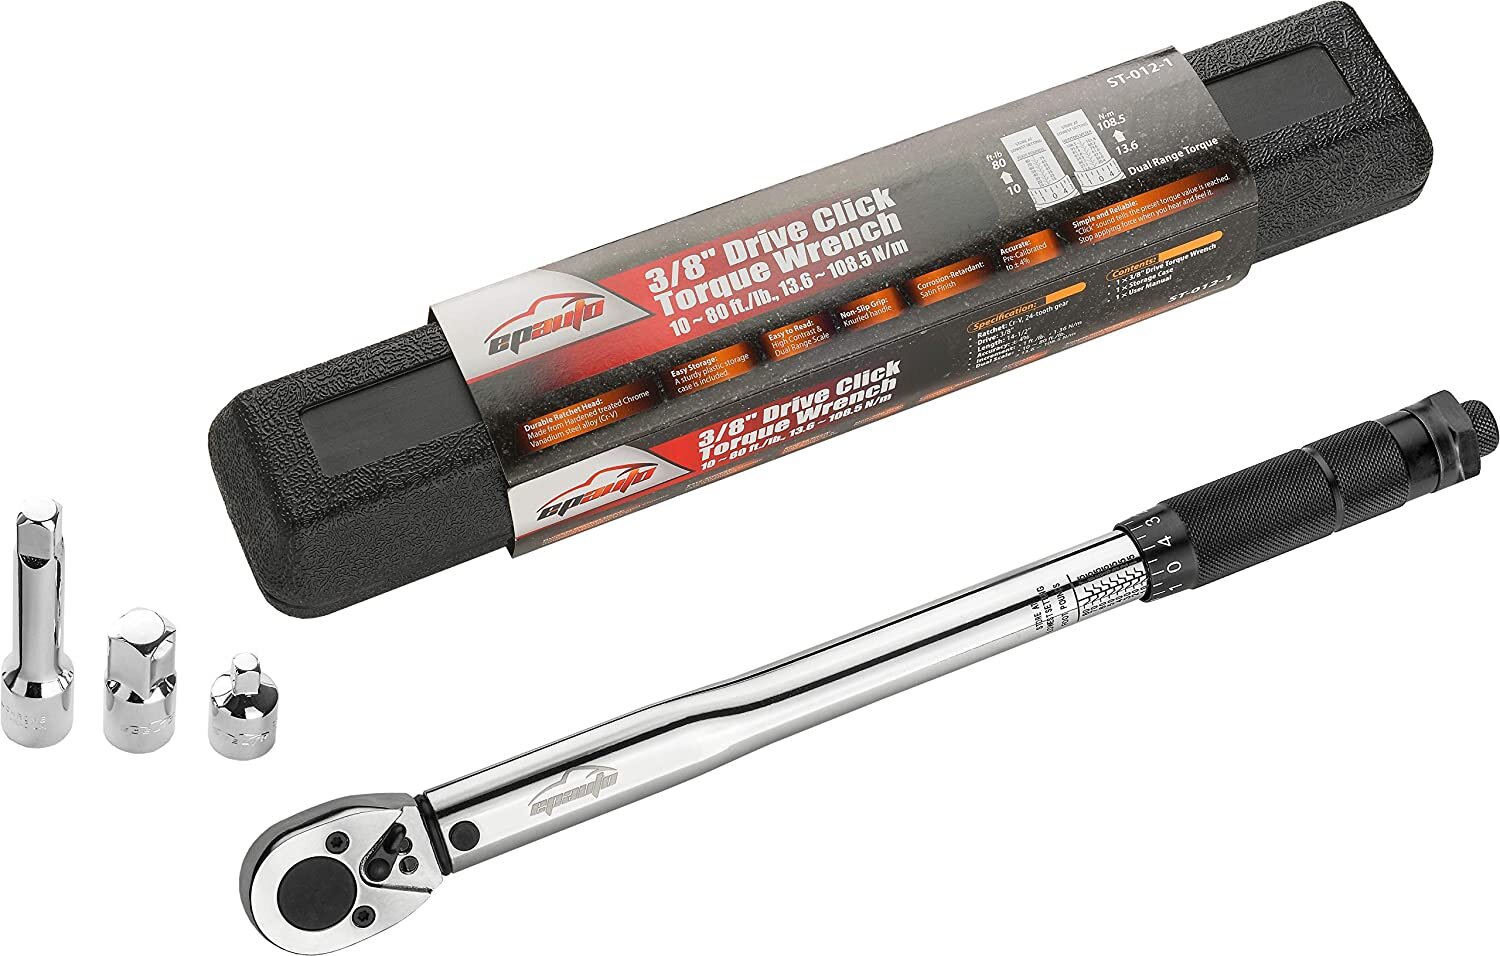
EPAuto 3/8-Inch Drive Click Torque Wrench
Company 23 Subaru cam lock tool 1
Company23 Subaru AVCS Intake Cam Sprocket Tool
Company23 Subaru Crank Pulley Tool 1 v2
Company23 Subaru STD Intake/Exhaust Cam Sprocket Tool
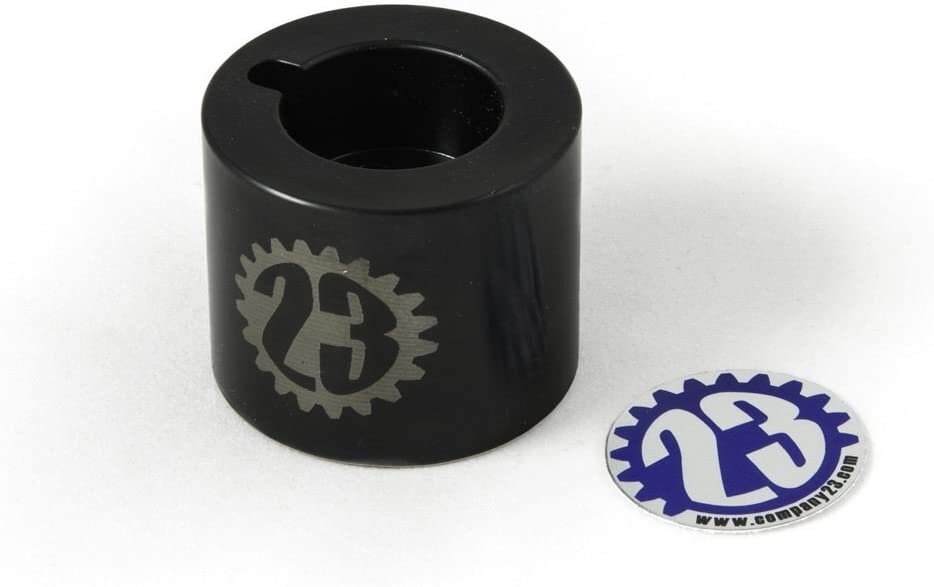
Company23 EJ Crankshaft Socket for Subaru
Amazon parts links
Always double check for vehicle specific fitment for your vehicle.
Genuine Subaru 13028AA240 Timing Belt
Genuine NEW OEM Subaru Timing Belt Kit
Gates TCKWP328 Engine Timing Belt Kit with Water Pump
Aisin TKF-004 Engine Timing Belt Kit with New Water Pump