Wrx/STi pedal covers for your Forester! The way it should have came from the factory!
When Subaru decided to bring over the Forester turbo to America they gave it a few nice upgrades over the standard Forester but the outside and exterior for the first few years remained very docile. It wasn’t until 2007 would the North America market receive Forester Sports model that a dramatic difference between the standard Forester models and the Xt would come about.

The new brake pedal next to the original accelerator pedal.
With this being the case we head to the parts bin to see what we can source. Today we remove the very bland foot pedals that have been used on many Subarus and still are today. As with many Subaru parts we find that the Wrx and STi aluminum pedals can easily replace these. These also fit on basically any Subaru with a clutch and brake pedal, as Subaru has left the design alone for many years.
Time frame
These being a direct replacement we don’t have to worry about many difficulties coming our way. I would allot an hour to this install, maybe a tad more if you are installing used pedal covers. An older used set will give you a tougher time as the rubber has lost it’s elasticity and therefore make it a tougher install. The accelerator assembly pedal will take around 10 minutes or less.
Tools
Our tool set will include a minimal list of necessities. A couple flathead screwdrivers will assist with removal. A socket and ratchet set if you are installing the throttle pedal. And a cup of very warm water can help relax the rubber and make this install overall much easier.
My socket set that is never too far from a project is the Grey pneumatic metric set. Their wobble set cn be helpful especially underneath the confines of the dash.

Grey Pneumatic 3/8th socket set
Parts
The parts necessary to today’s install will be a clutch, brake pedal covers and accelerator pedal. From a few other owners I have witnessed the Wrx/STi metal cover being removed and forced to fit on the standard Forester accelerator, I had thought about doing this but decided I wanted the factory fit and finish.
Full set of clutch brake and gas from Subaru (Trimming of the gas pedal necessary.)
Subaru Automatic set. (Gas and brake)
Subaru gas pedal cover (Trimming for DBW might be needed.)
Factory DBW Forester Sport pedal part number: 36010FE040
Install
Starting off we will open the driver’s door, move the seat as far back as possible and tilt your steering wheel towards the sky to give you the most amount of room possible. There is not much room underneath the dash so we want to maximize what we have.
Now you can either start on the with the clutch/brake pedal or the easier bolt in accelerator pedal. I went ahead with two pedals first so we will start there.

Pedals ready for replacement.
Using any kind of prying tool, screwdriver, or whatever you can find. The clutch and brake pedal covers will come off very easily. With these out of the way you can share them with a friend or stuff them back into your tool box for the rest of eternity.
Now if you chose to find these used you may have a much more troubling install… With your pedals ready to be installed we will fill a cup of hot water, the warmer the better. This will help relax the rubber and will make this install possible!

Soaking to loosen up the rubber!

With the rubber softened up, I chose to start by sliding the pedal cover on the bottom first. Using a small hammer or rubber mallet tap the bottom of the pedal cover upwards. You can now use your prying tool to get the pedal cover fully engaged with the pedal. I found a pocket screwdriver was the best given it’s small size and the lack of room under the steering wheel.

In the middle of the repair!

Clutch and brake pedal complete!
Completing that battle leaves you with just the accelerator pedal to deal with. This is a plug and play and bolt in affair. With a 12mm socket and an extension you can undo the two bolts that hold it in place. You can now undo the electrical connector and find an appropriate spot for the factory pedal, like eBay or your local Facebook Subaru group for sale page.

New to me pedal ready to go. The two bolt holes shown on either side.

Factory pedal spotted, removal imminent.

Here are both pedals side by side.

With the connection removed you can undo the two bolts that hold the pedal assembly to the fire wall.
Bolting it back in and plugging the connector in you will now be back in business with three matching pedals.

Bolted in and ready for a few revs.
Now would be the time to check the brake pedal and make sure it is still operational, along with the clutch and accelerator. If these appear to function correctly a short drive around the block is in order to double check your work.
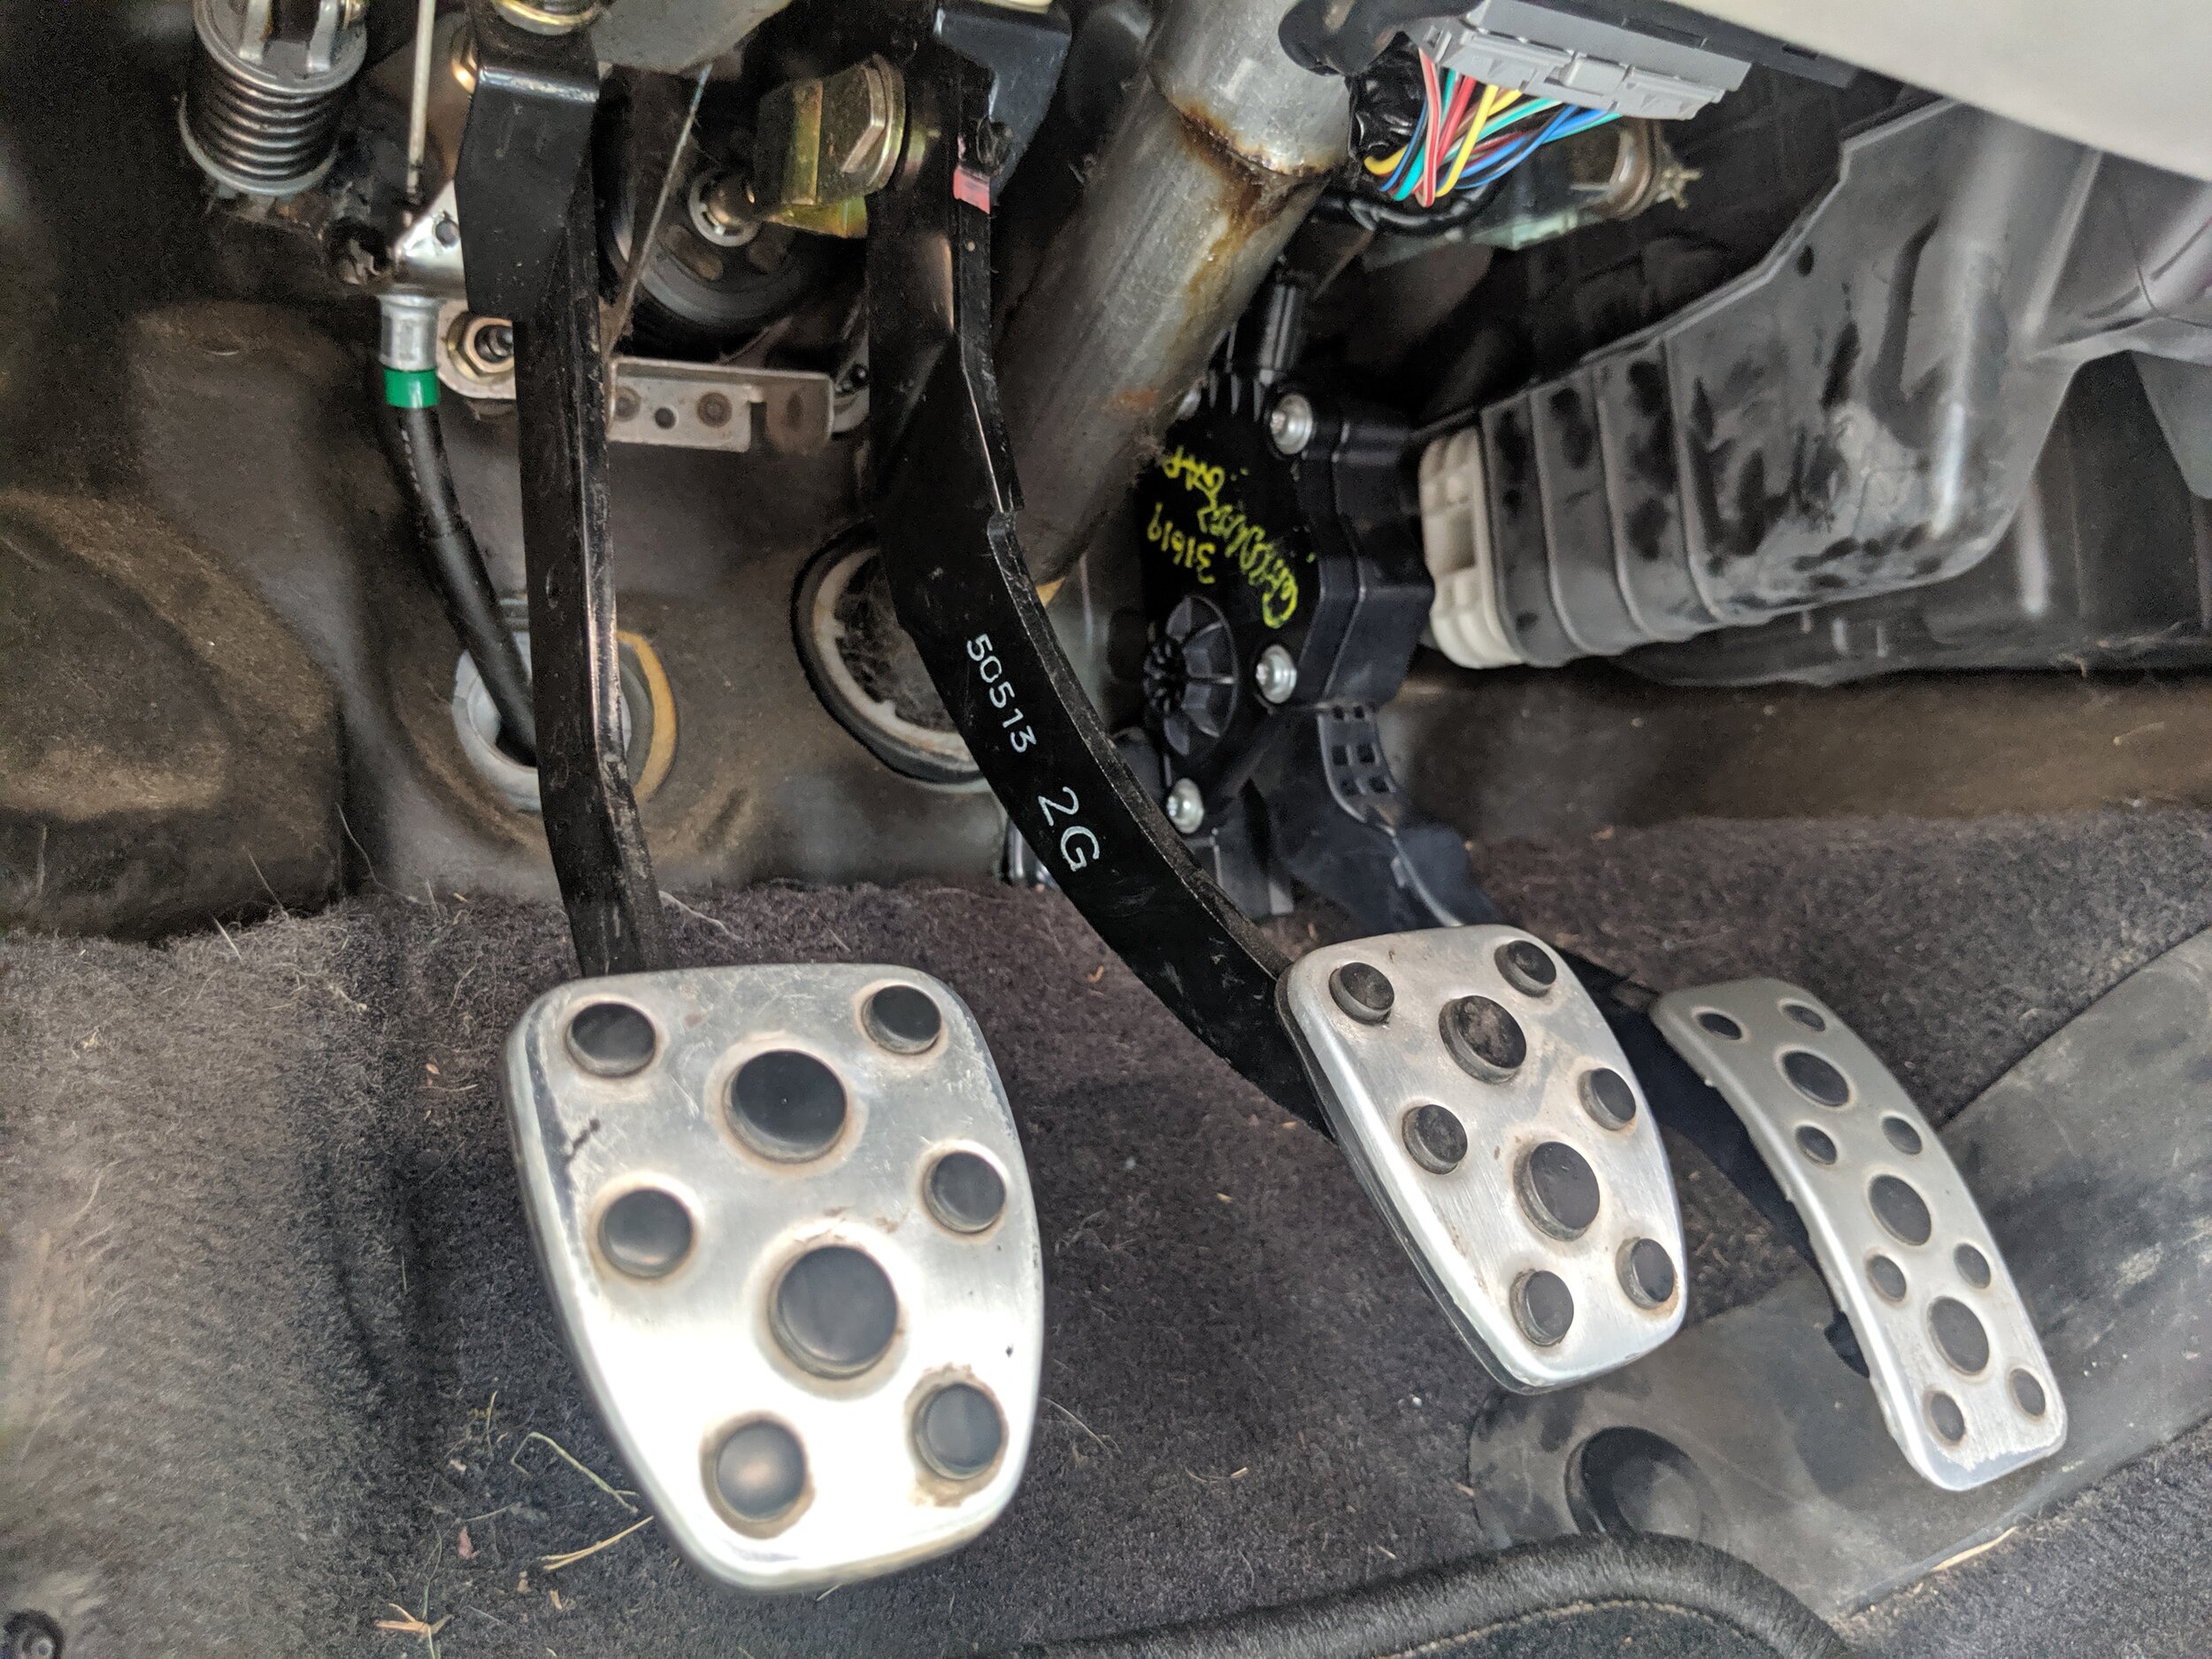
All three installed and ready for use!
Congratulations! Your old pedals have now become what they should have been from the factory! It’s the little everyday touches that help you enjoy your car every time you drive!
Amazon Links
ull set of clutch brake and gas from Subaru (Trimming of the gas pedal necessary.)
Subaru Automatic set. (Gas and brake)
Subaru gas pedal cover (Trimming for DBW might be needed.)
Factory DBW Forester Sport pedal part number: 36010FE040