Subaru exhaust install! Getting rumbly with Cobb's Ti exhaust.
With the Subaru Rumble being the most iconic it makes sense that most owner’s first Subaru modification is exhaust related modification. If you like a song you turn it up, so if your like your exhaust note, you do the same.

Time to make a change from the Invidia exhaust that came with my car
Any parts that you swap out will have an effect on the sound, this is one way to really change the sound of your boxer.
So what do I look for when choose an exhaust…? If you haven’t checked lately it is very easy to get overwhelmed but I had a few goals with my exhaust. My goals were increasing performance while fitting Oem+ looks of my STi. This meant those giant 5 inch tip exhausts were out, also angled exhausts were also a no go. To further dwindle my choices I thought it would be interesting to try something new to my build, which was a lightweight titanium exhaust. And with that decision made there were very few options out there and so the Cobb Titanium exhaust rose to the top and became my choice exhaust.
So now lets get to it, lets see what the car looks like but most importantly sounds like after the install!
Time Frame
With just a few bolts and hangers on the Cobb titanium exhaust means it shouldn’t take too long to get this equipped to your vehicle. I think the majority of your time will likely be lifting the vehicle to get underneath it and install the exhaust. Once it is in the air it shouldn’t take you much longer than 45 minutes.. unless your car is rusted over from many snowy adventures.
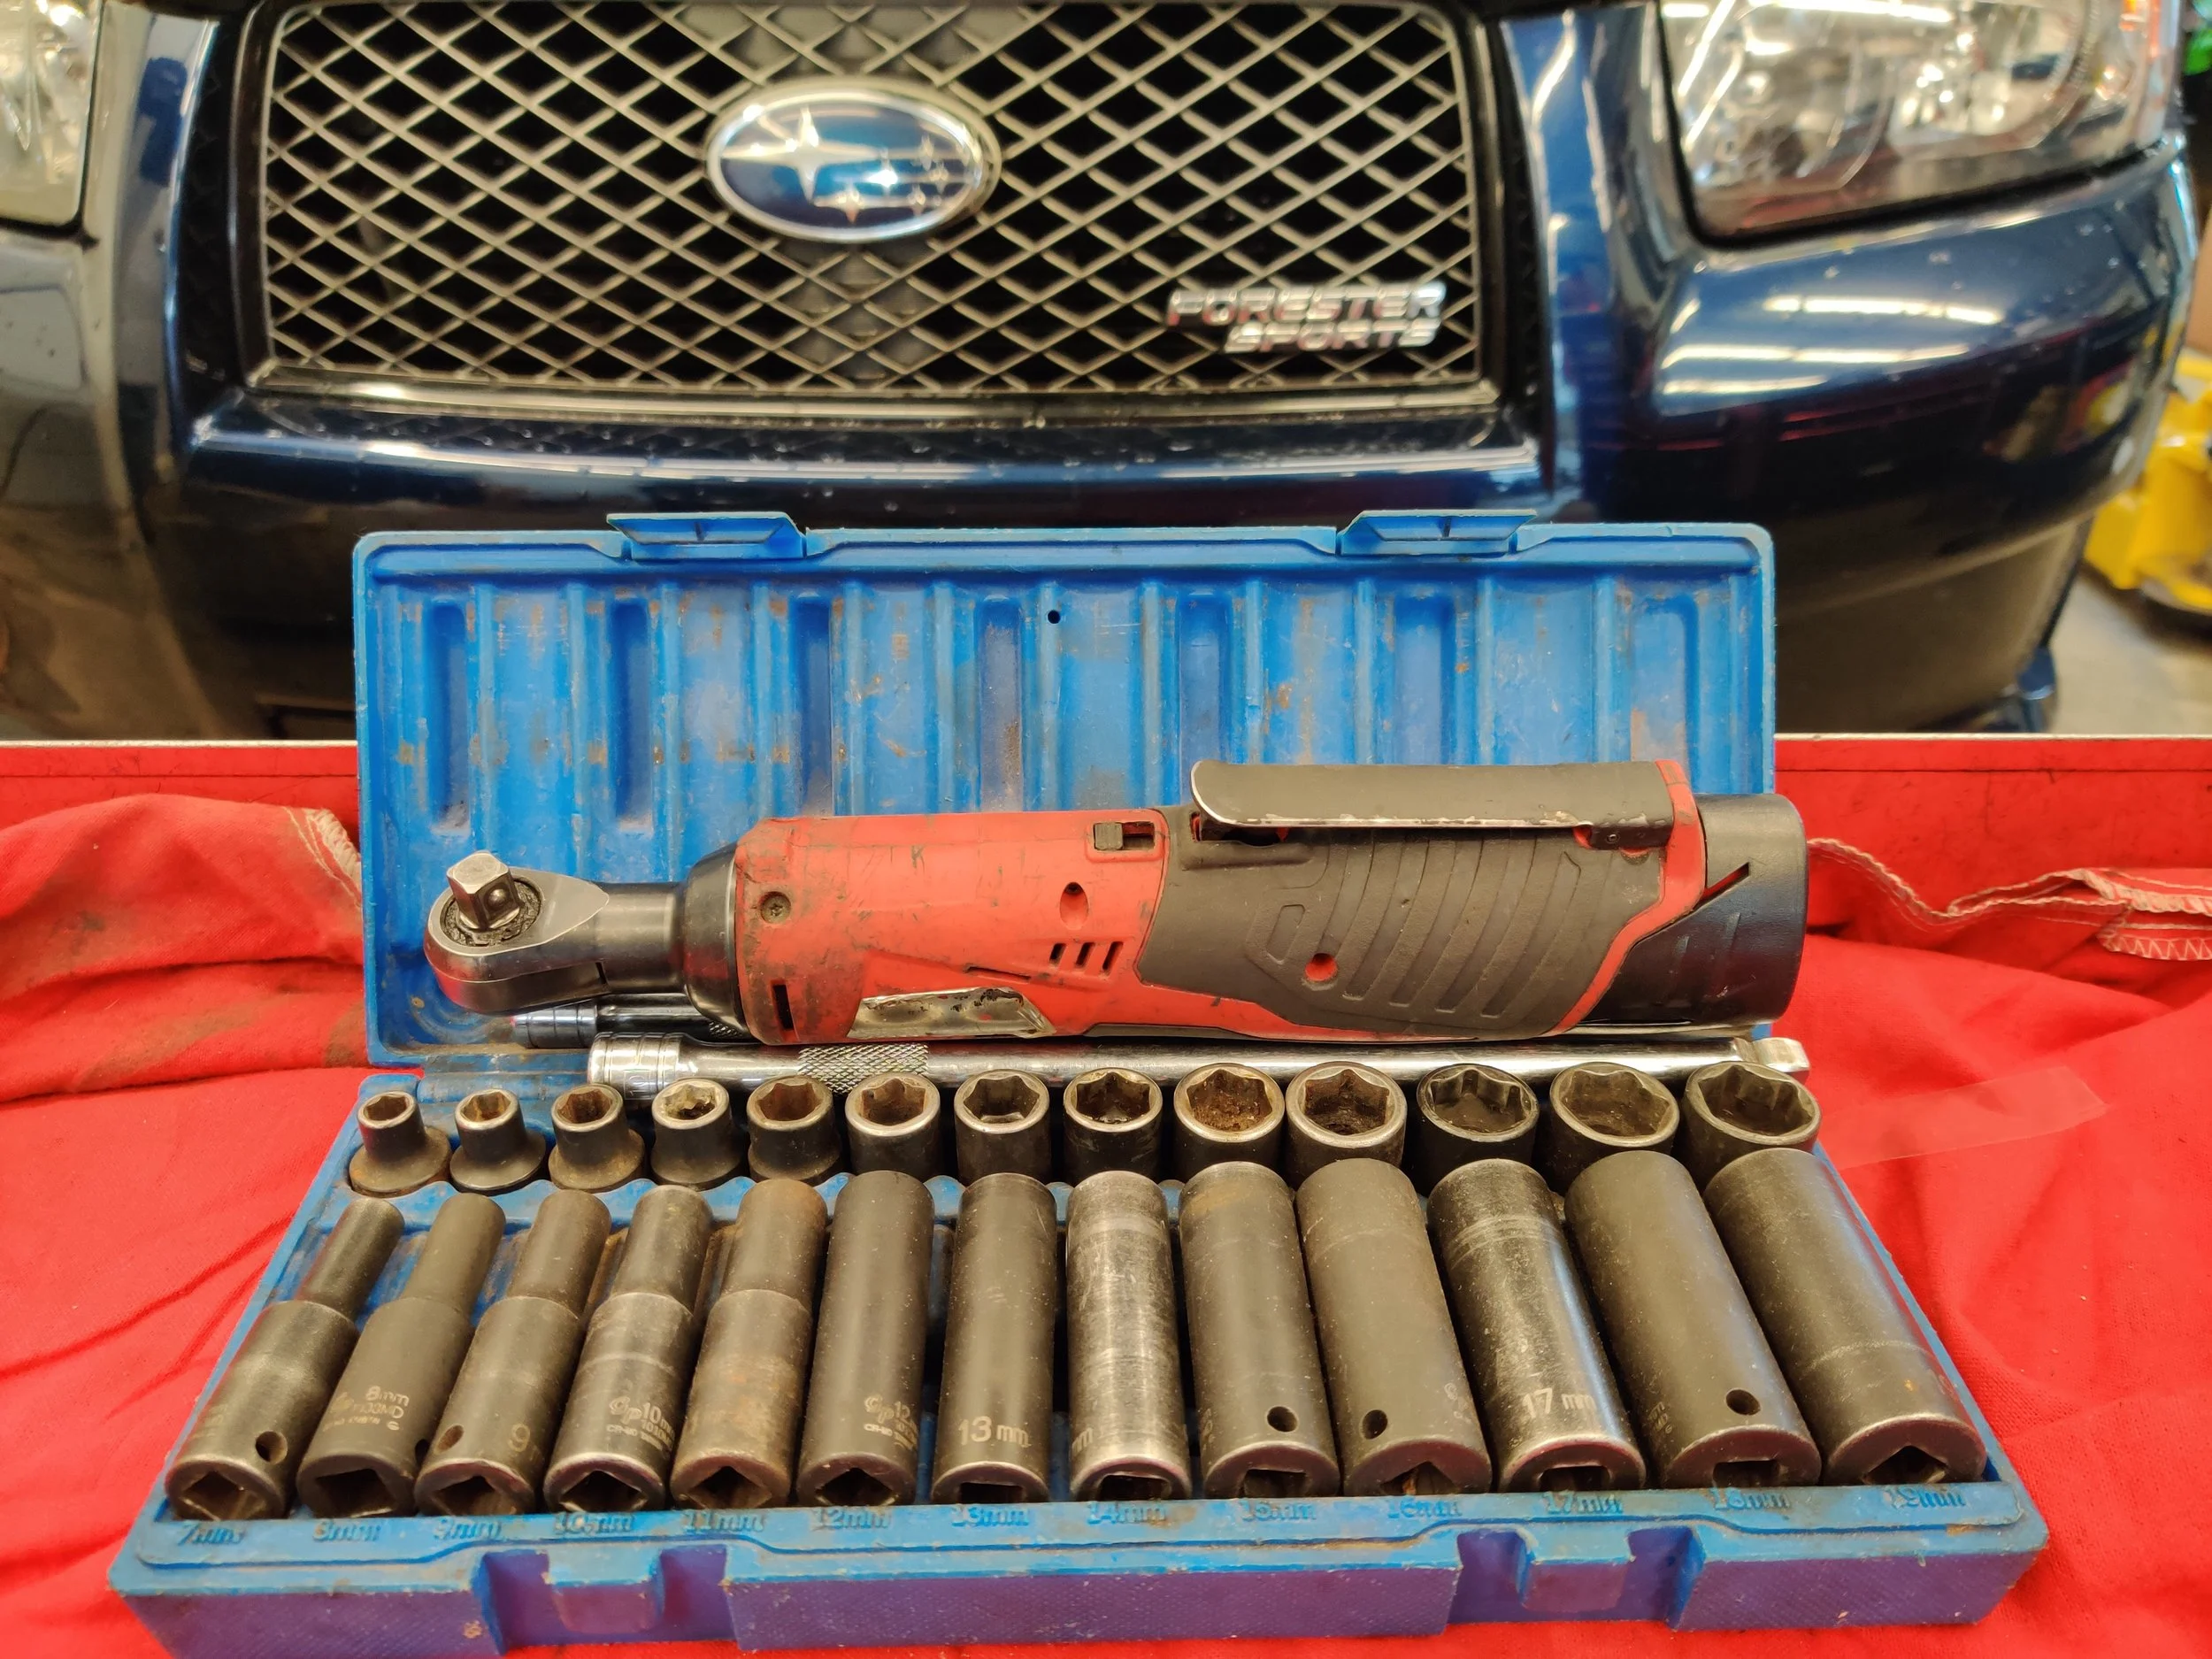
Tools
Tools are pretty straightforward thanks to the minimal amount of fasteners. Here the list


Installation
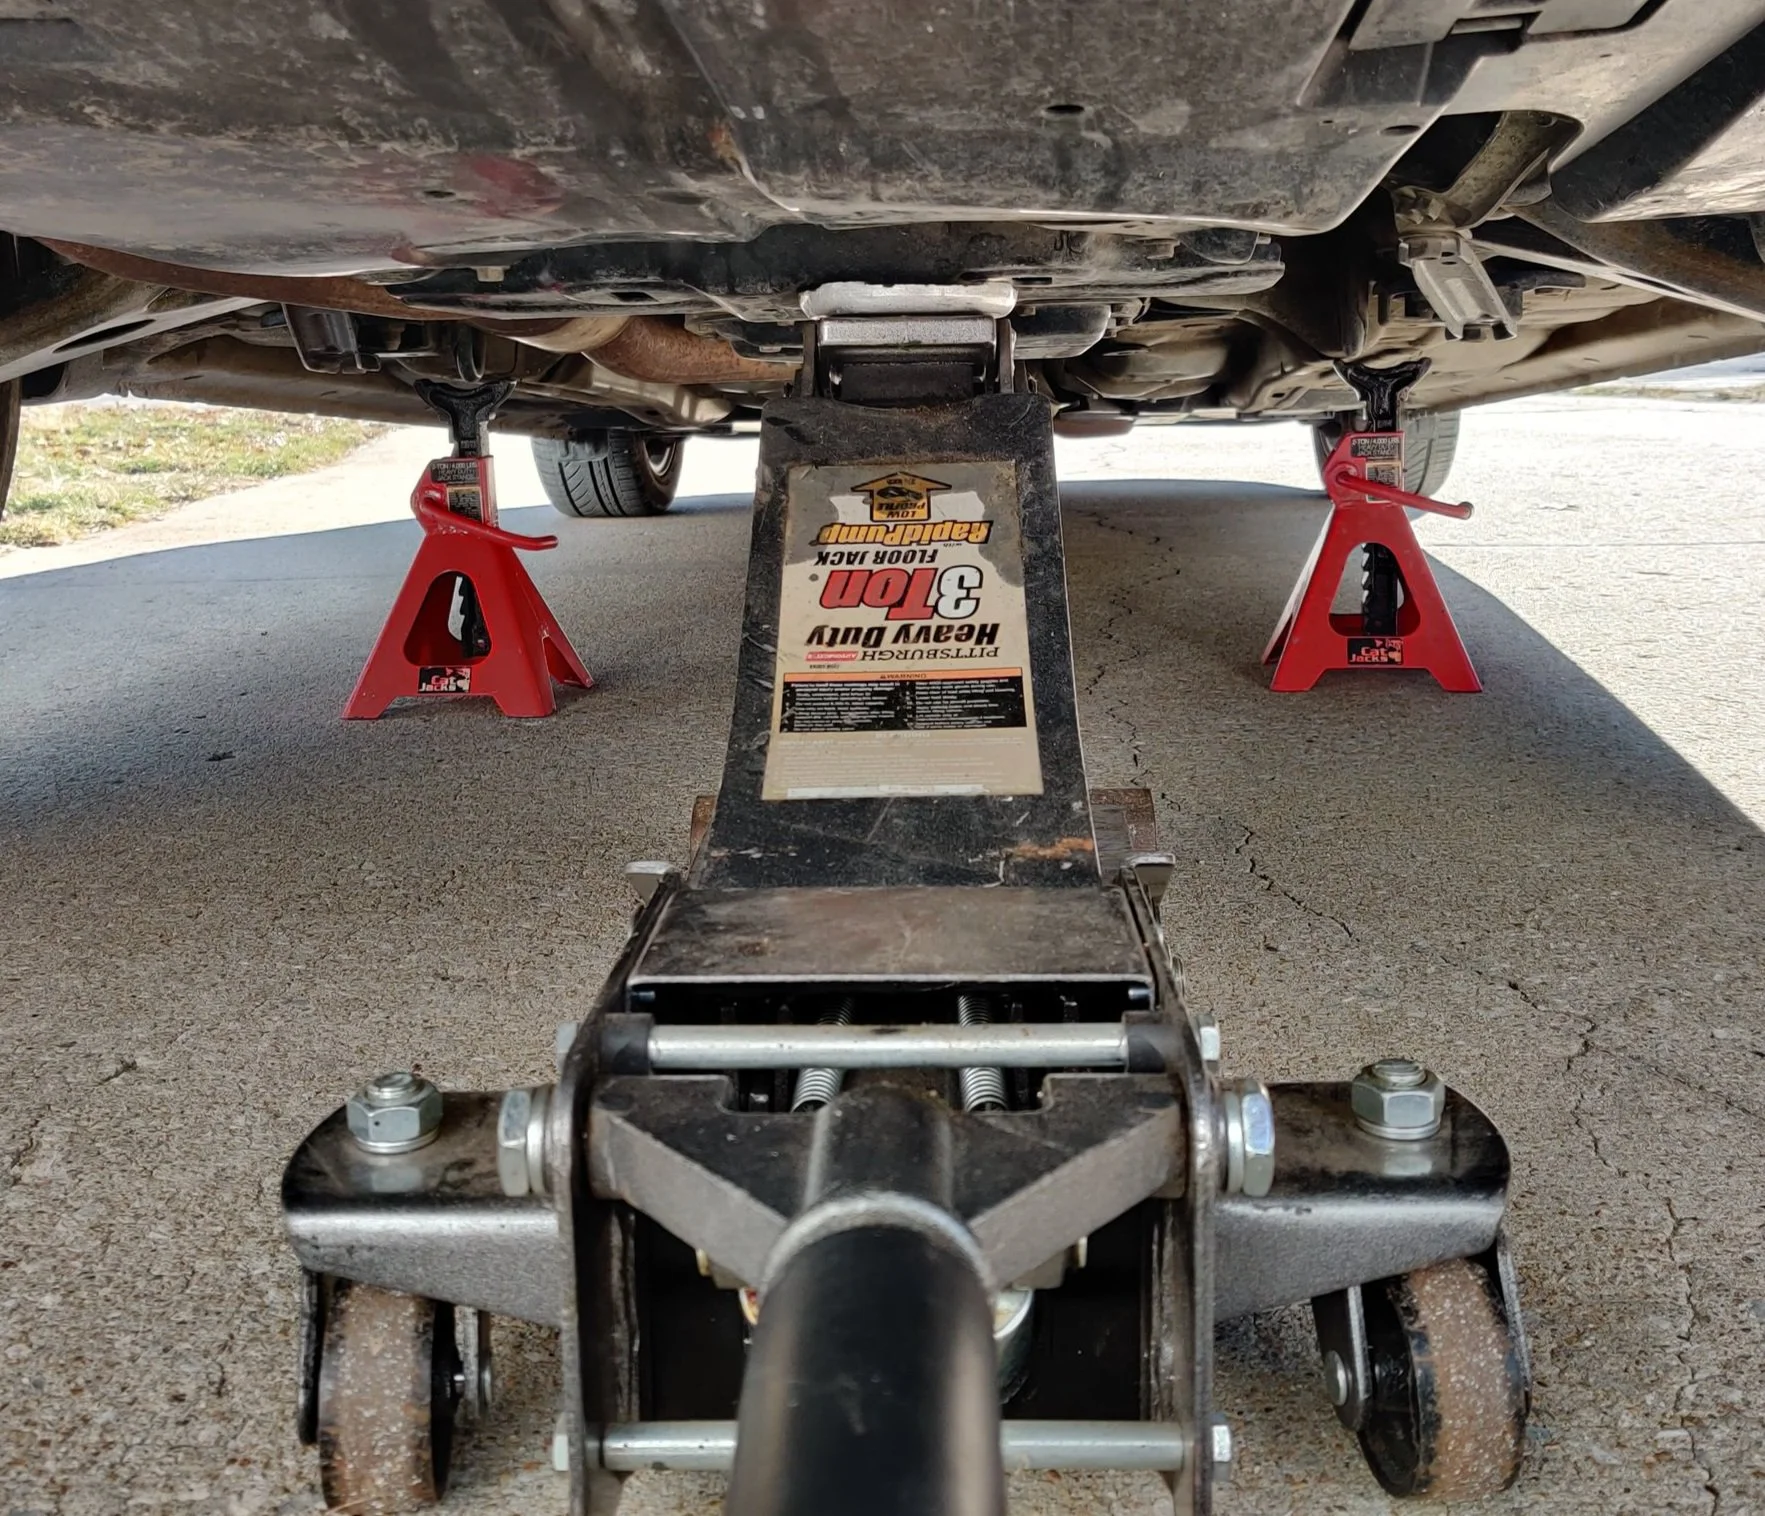
If you need assistance with jacking points and where to support you vehicle it is important to take a look at owner’s manual. For a few of my insights on this you can read this, Putting your Subaru on jack stands post I put together for those juts beginning their automotive journey. I highly recommend having a backup tire or cylinder block under the car just in case of an accident. As even a properly supported vehicle could have an unforeseen failure causing possible injury or death.
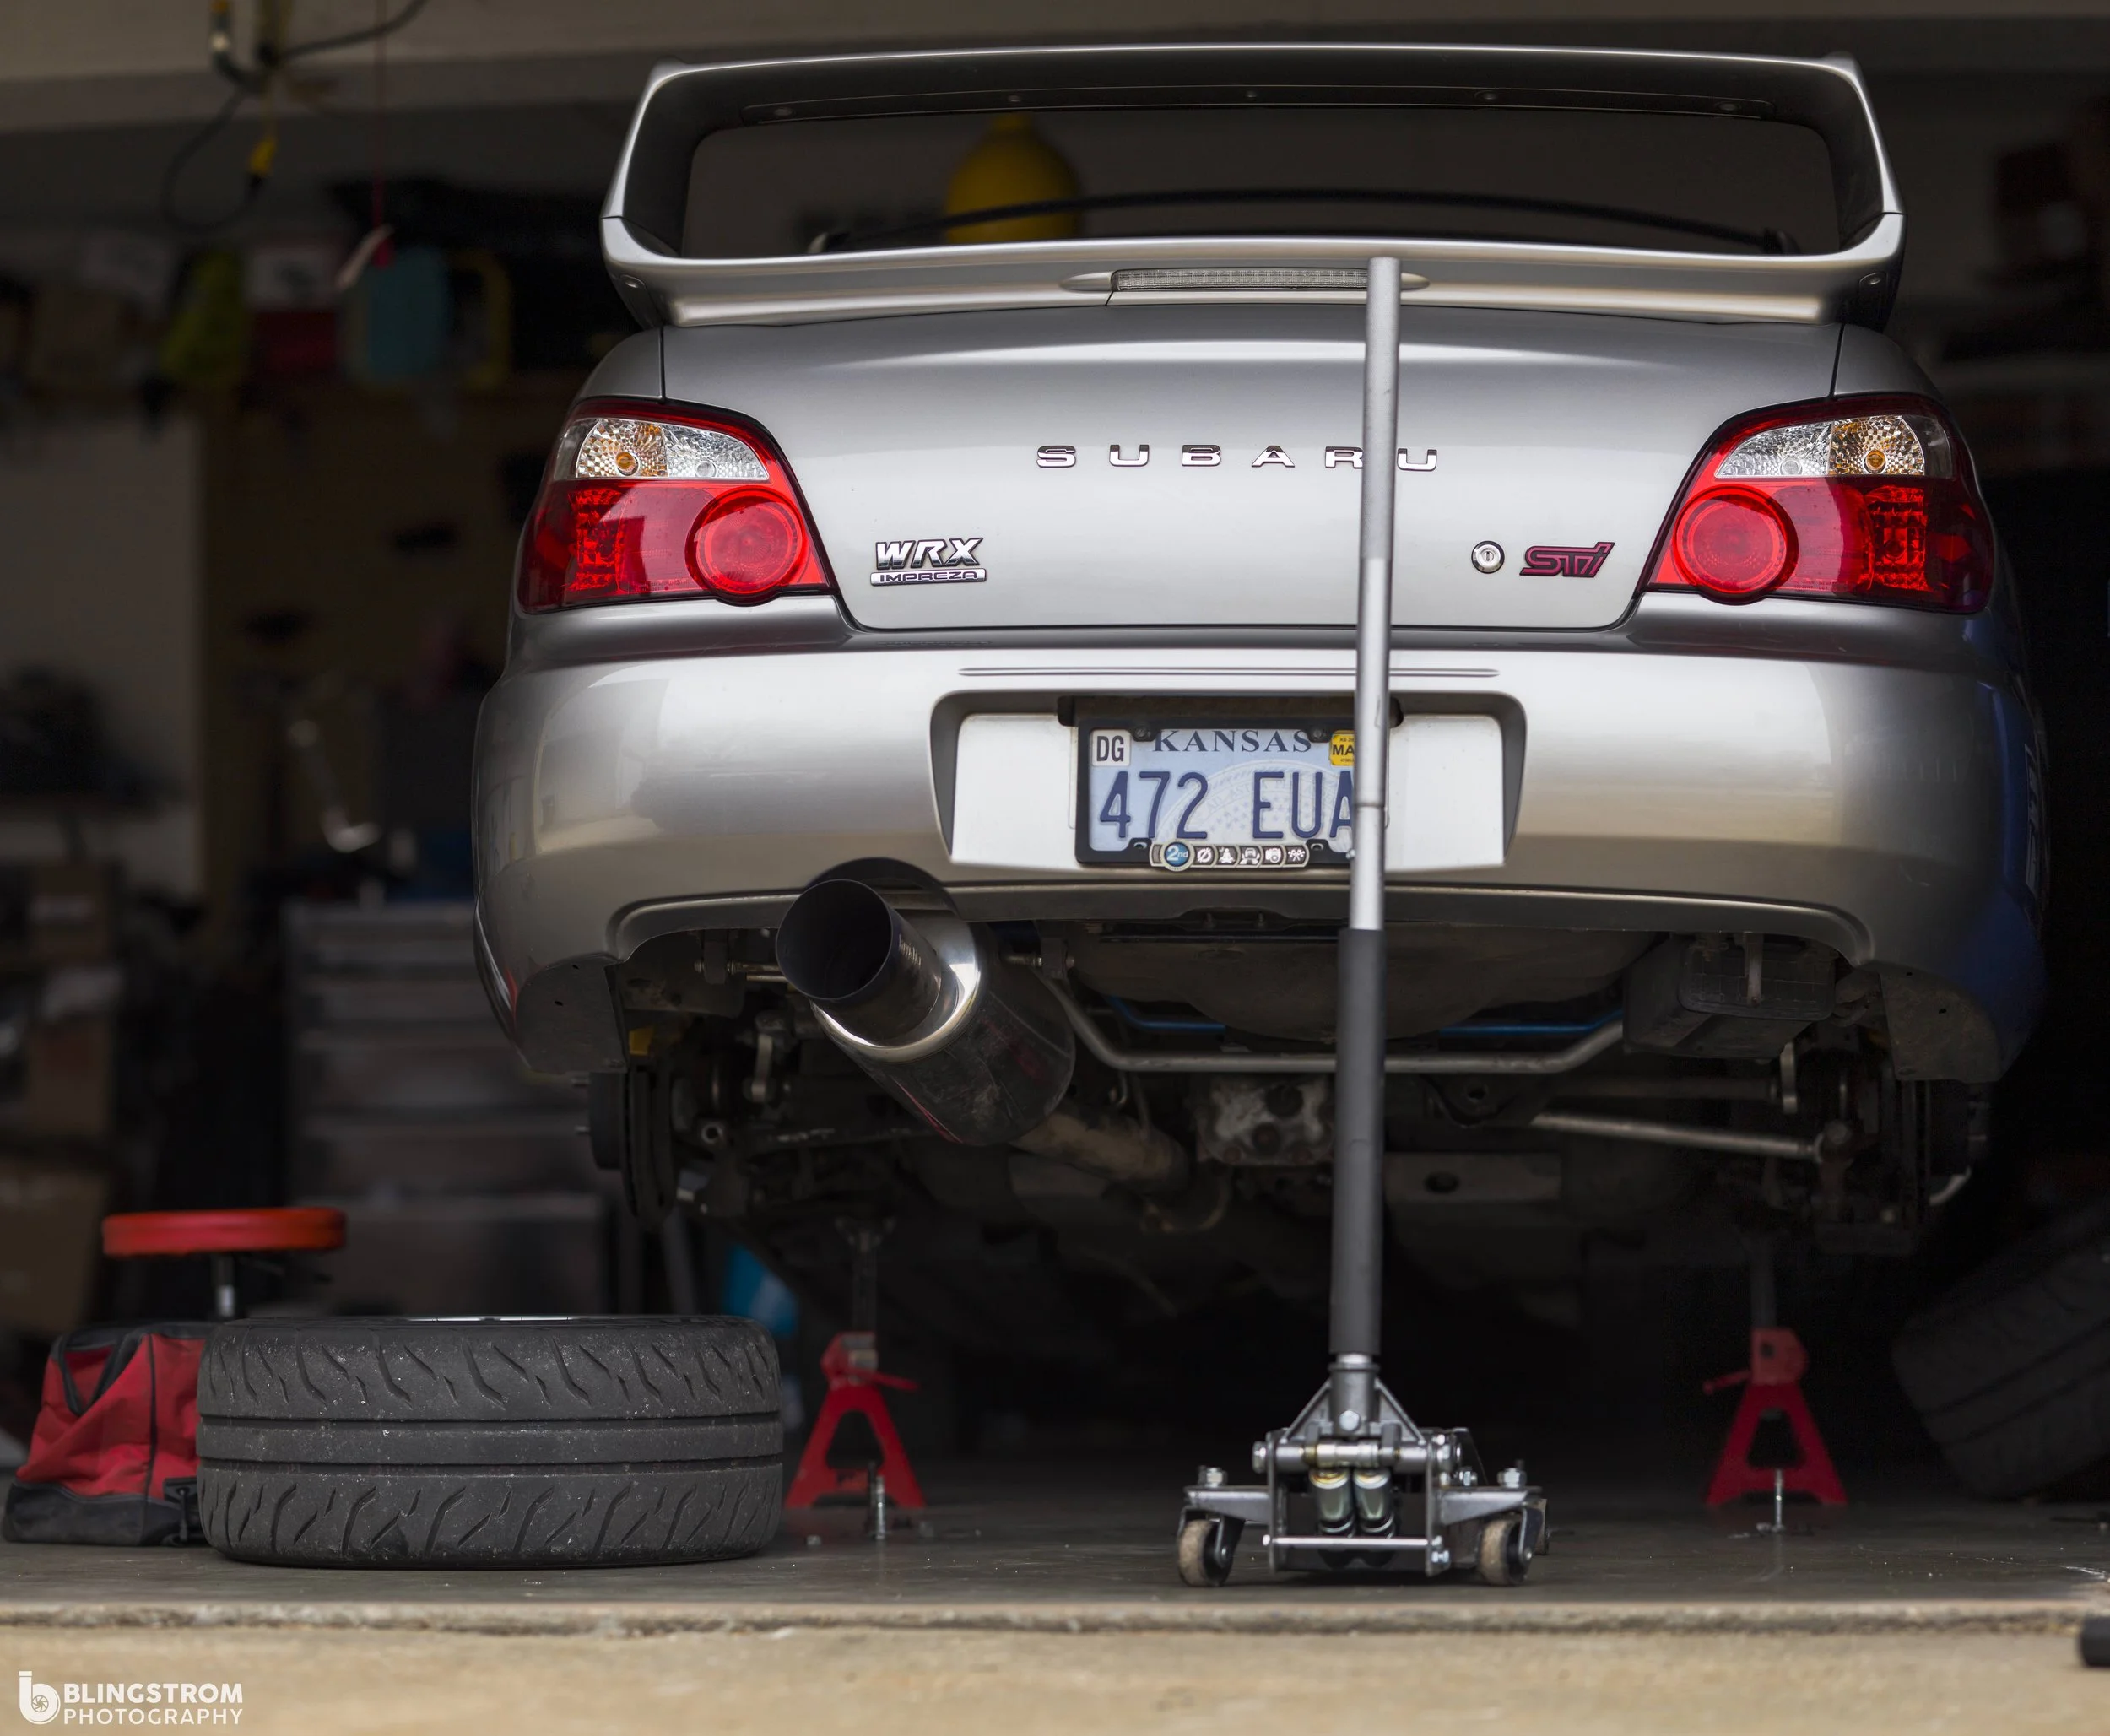
With the car full supported it isnt a bad idea to leave a tire or two under the car to help keep you safe.
After doublechecking the safety of your supported vehicle, I complete this check by jouncing the front and back end of the car to check for overall stability. Now would be the time to add any back up safety precautions as stated above.
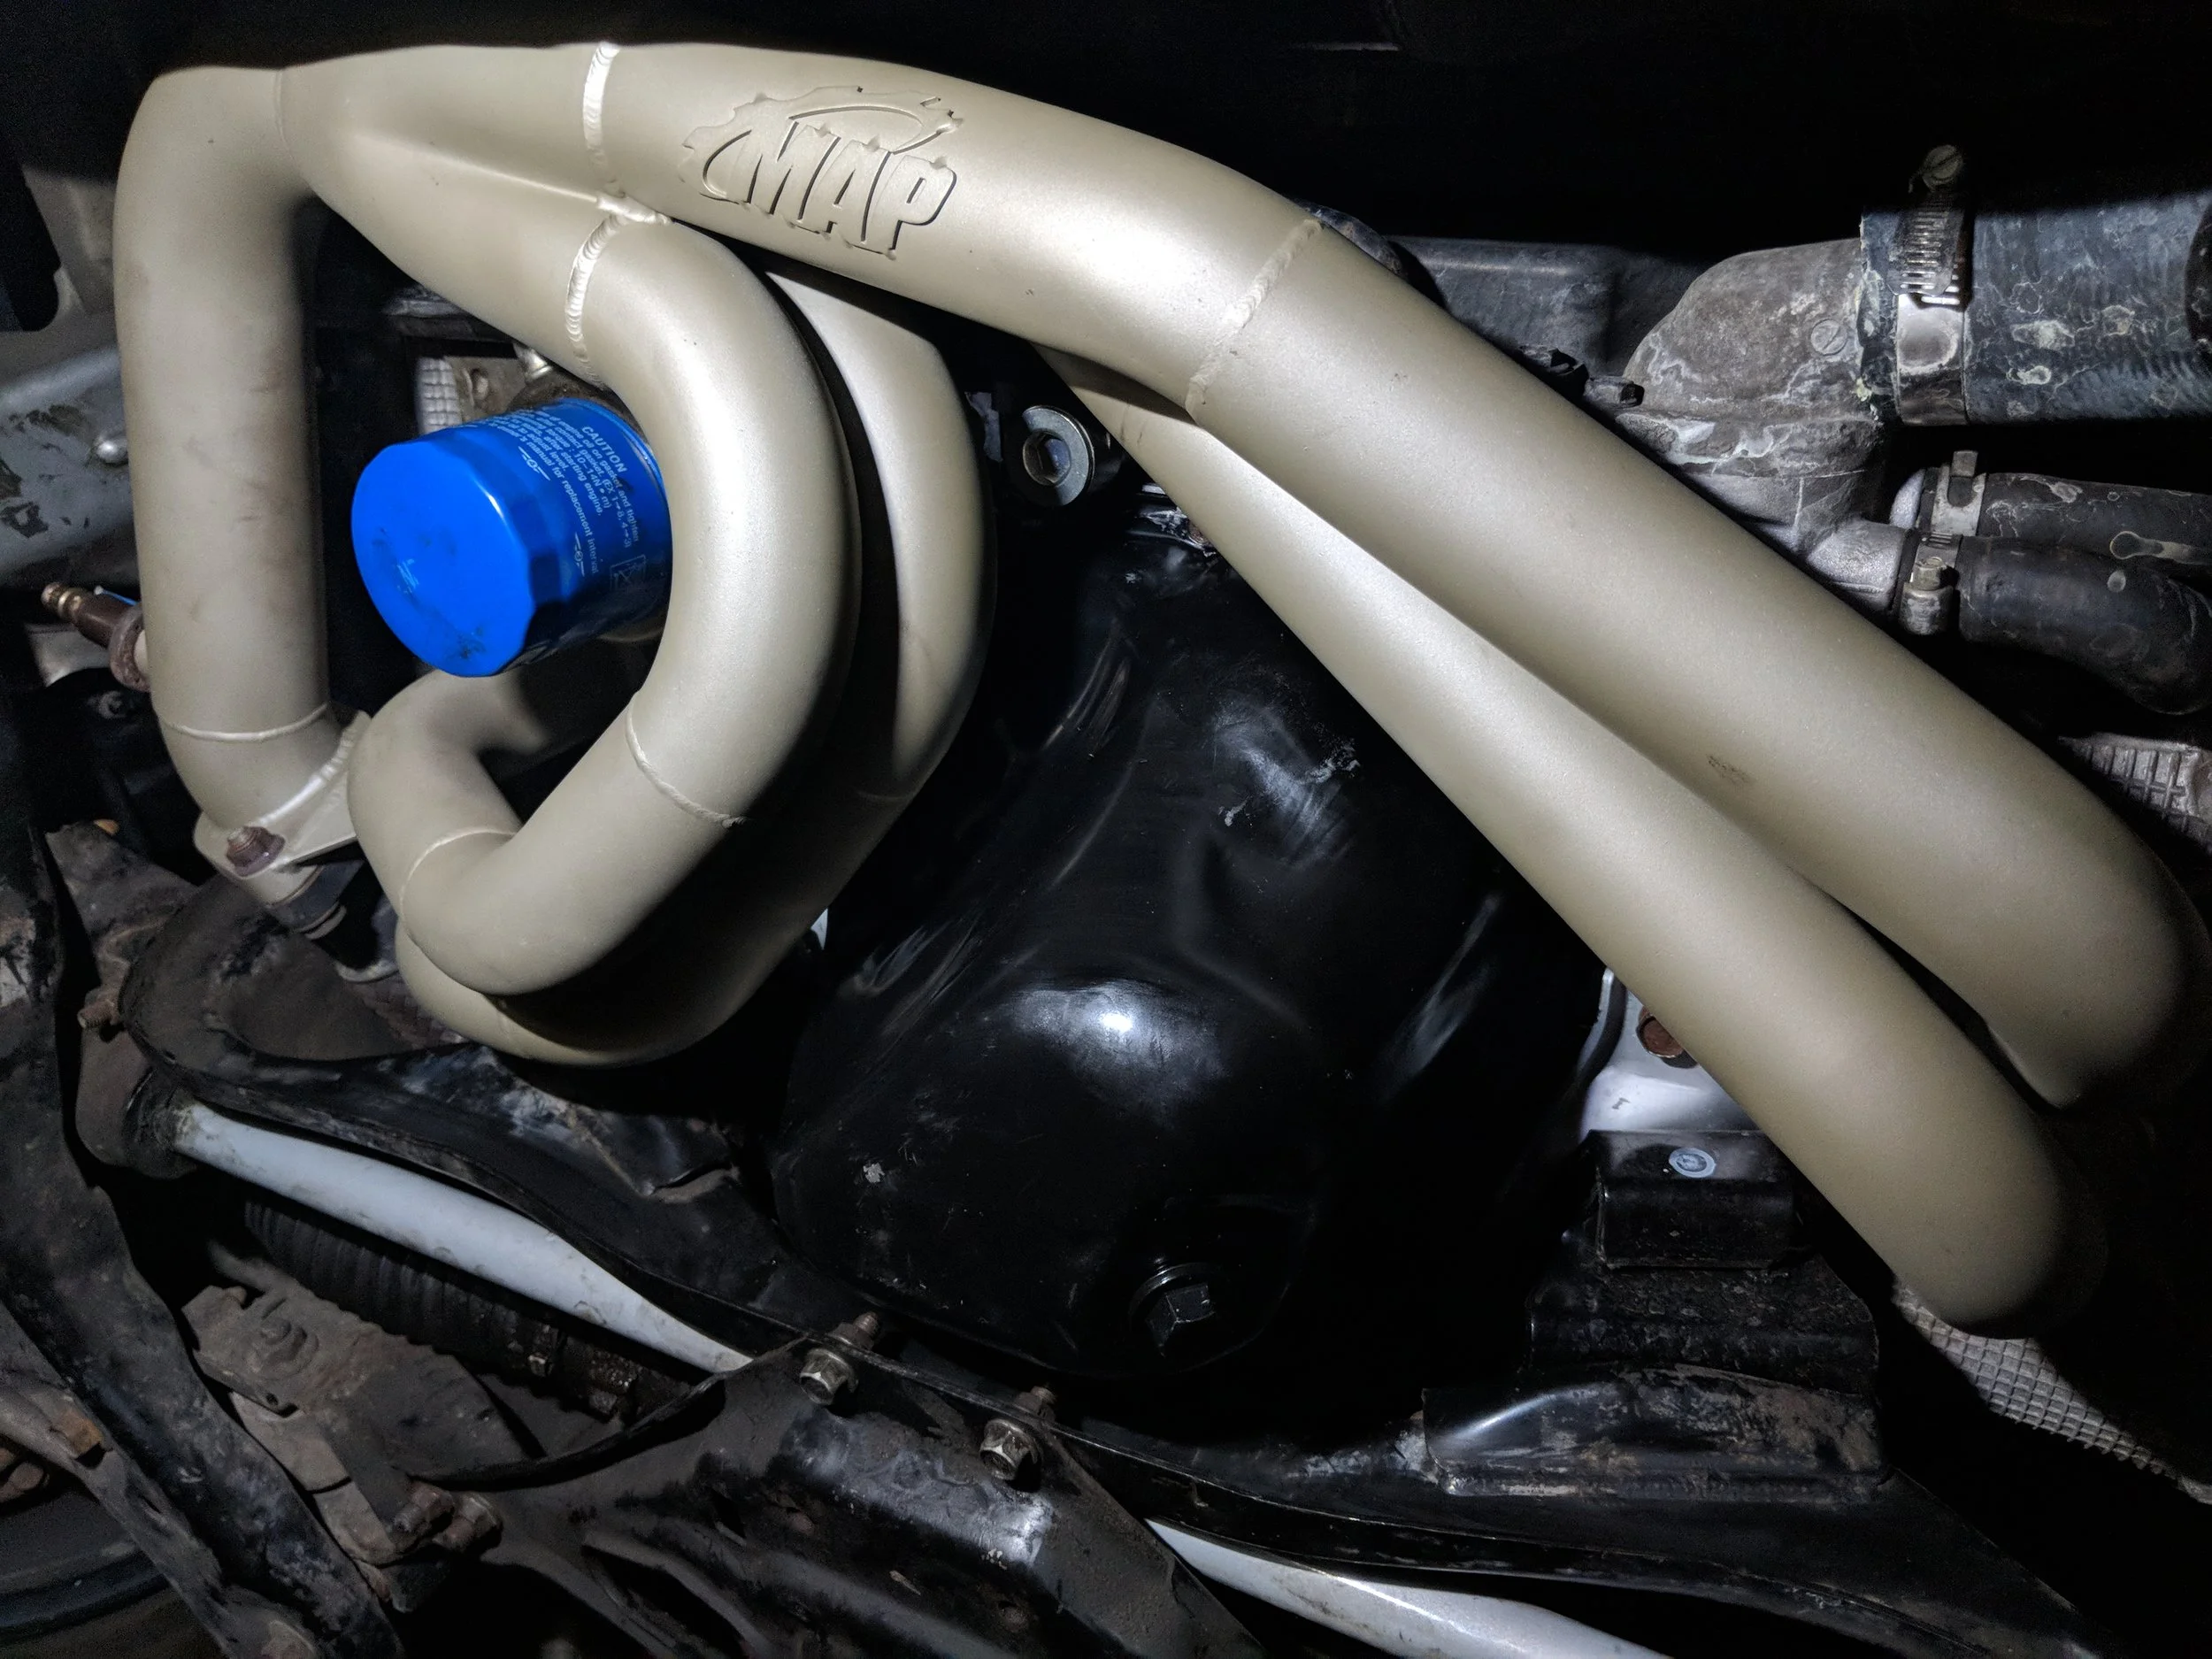
First up was heading to where the downpipe connects to the exhaust and removing those two bolts. After that you will head back towards the rear of the car near the differential to remove the other two bolts that attach the muffler to the midpipe. With those bolts removed you can now use your exhaust hanger pliers or struggle with a screw driver. You can now slide the exhaust out of the hanger and remove it from beneath the car,
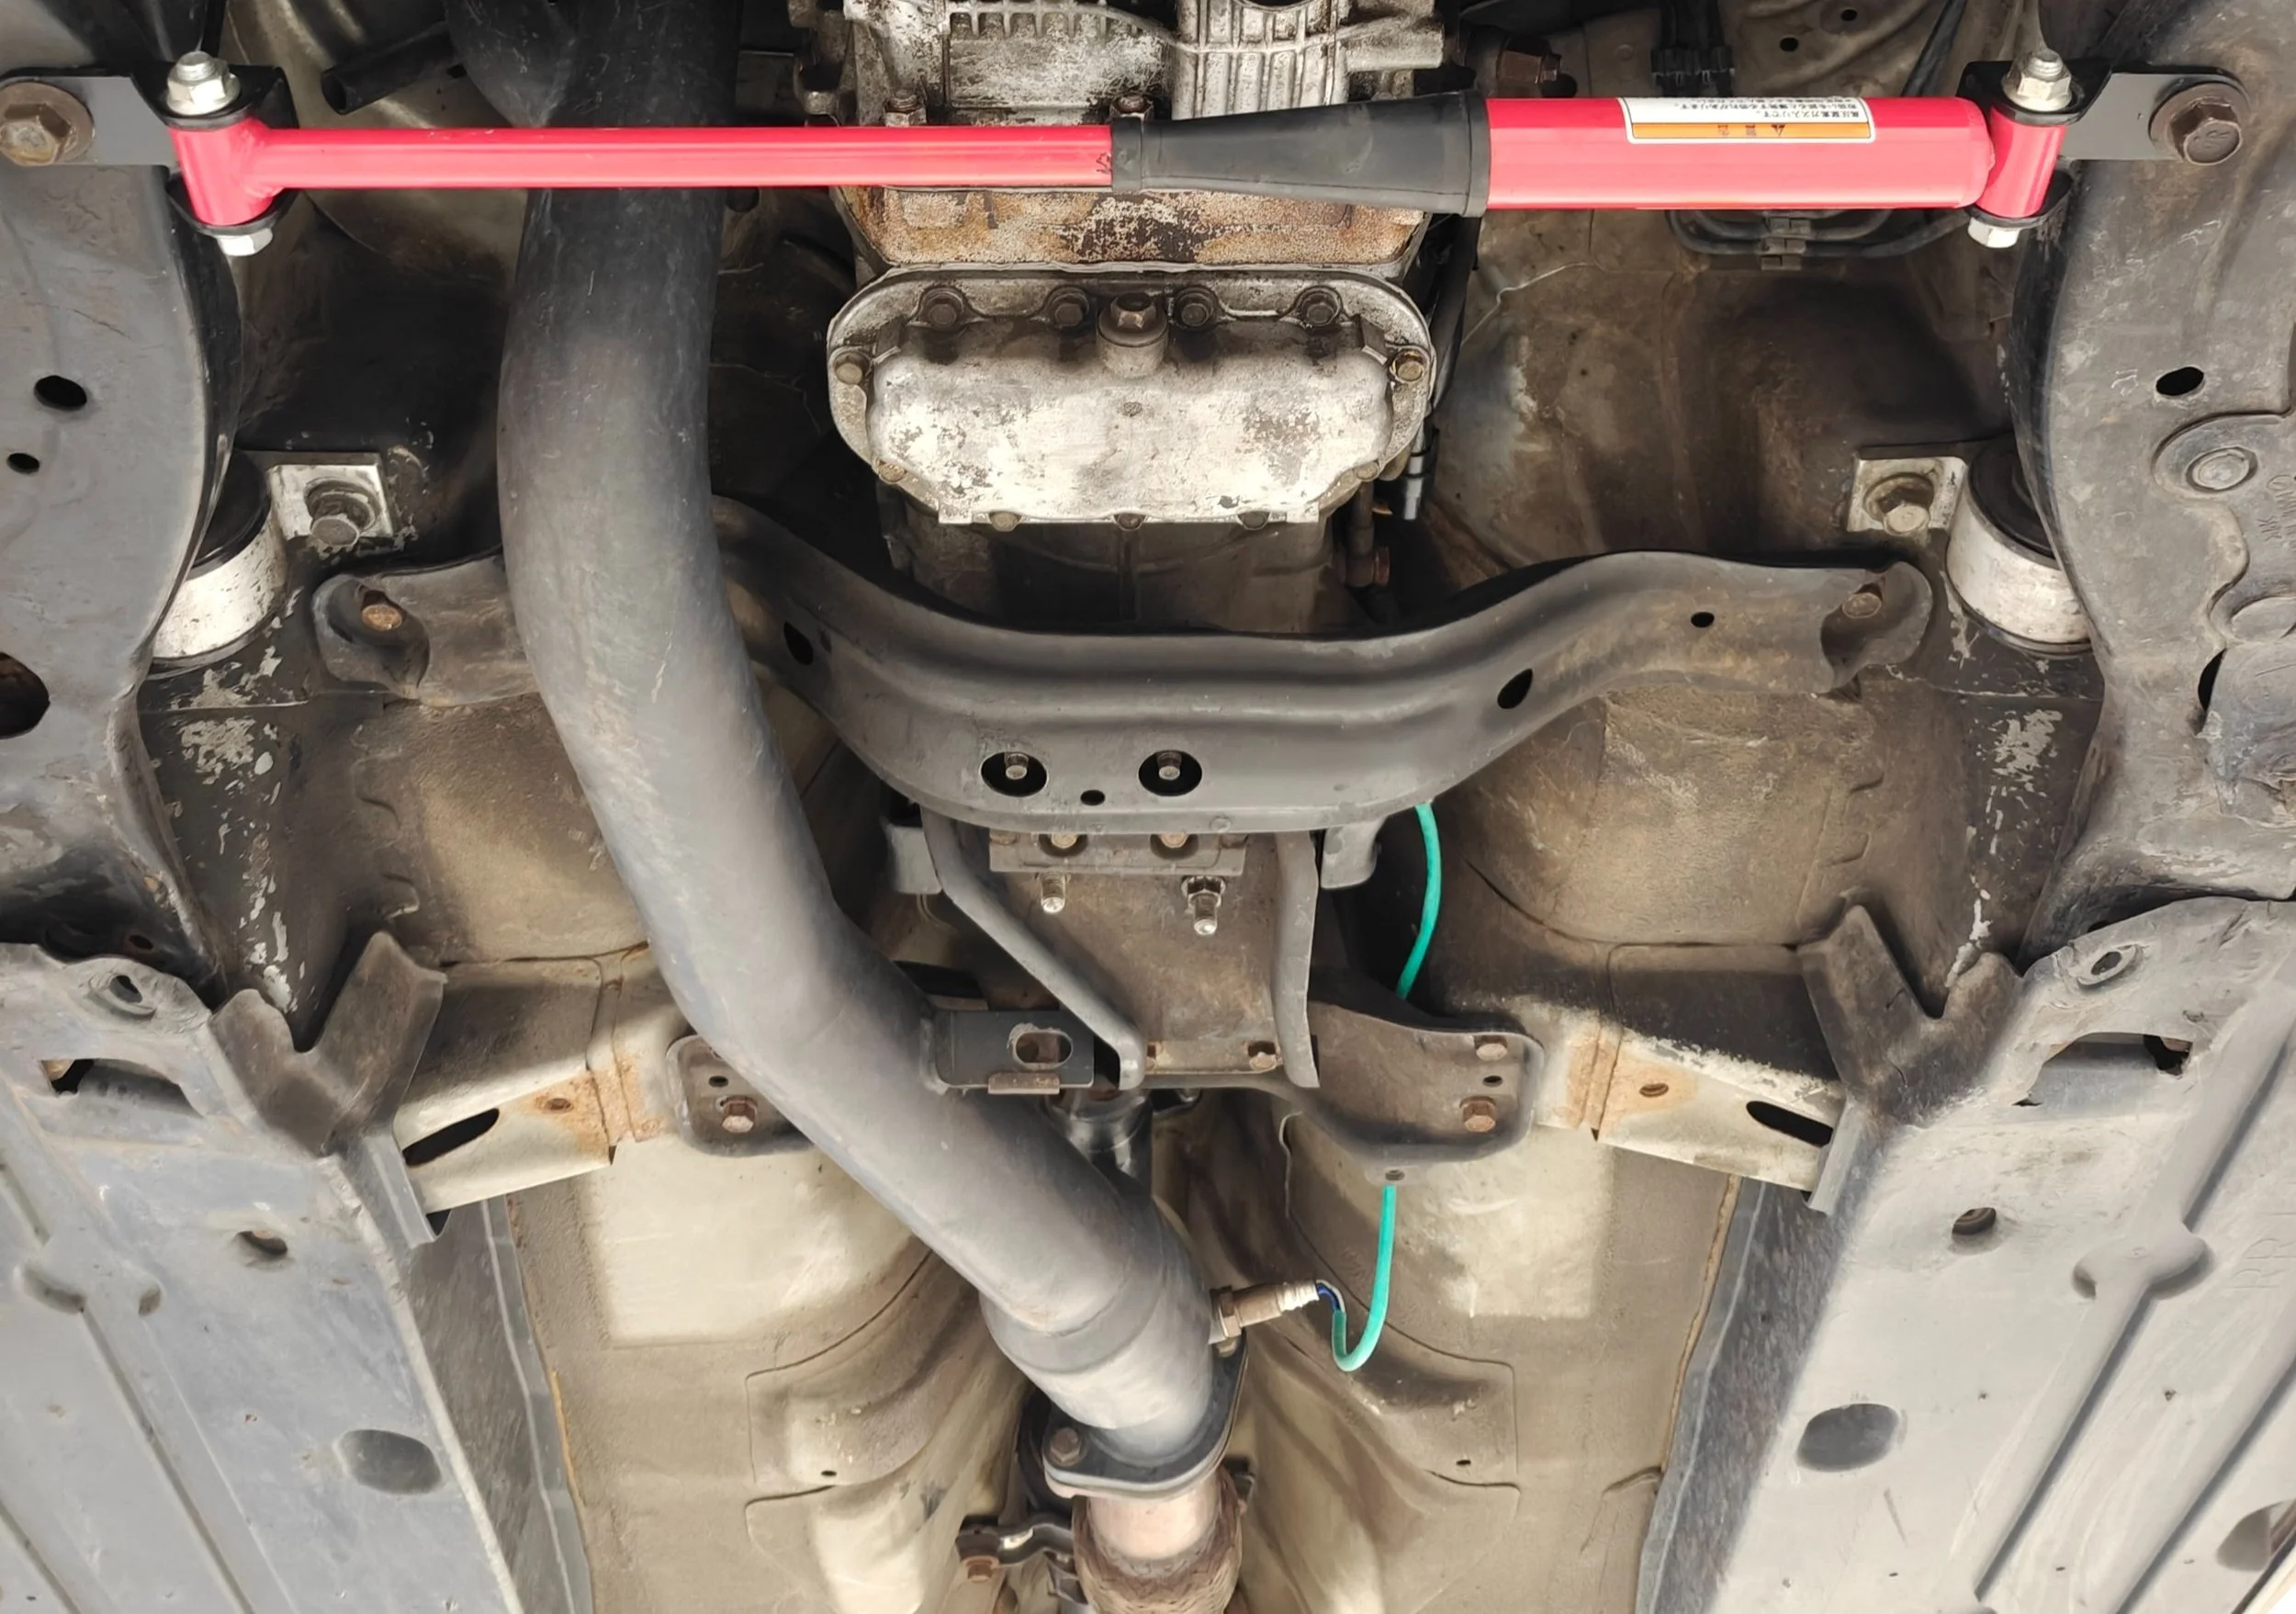
Here is where we will start, finding our way to the connection between the downpipe and midpipe.

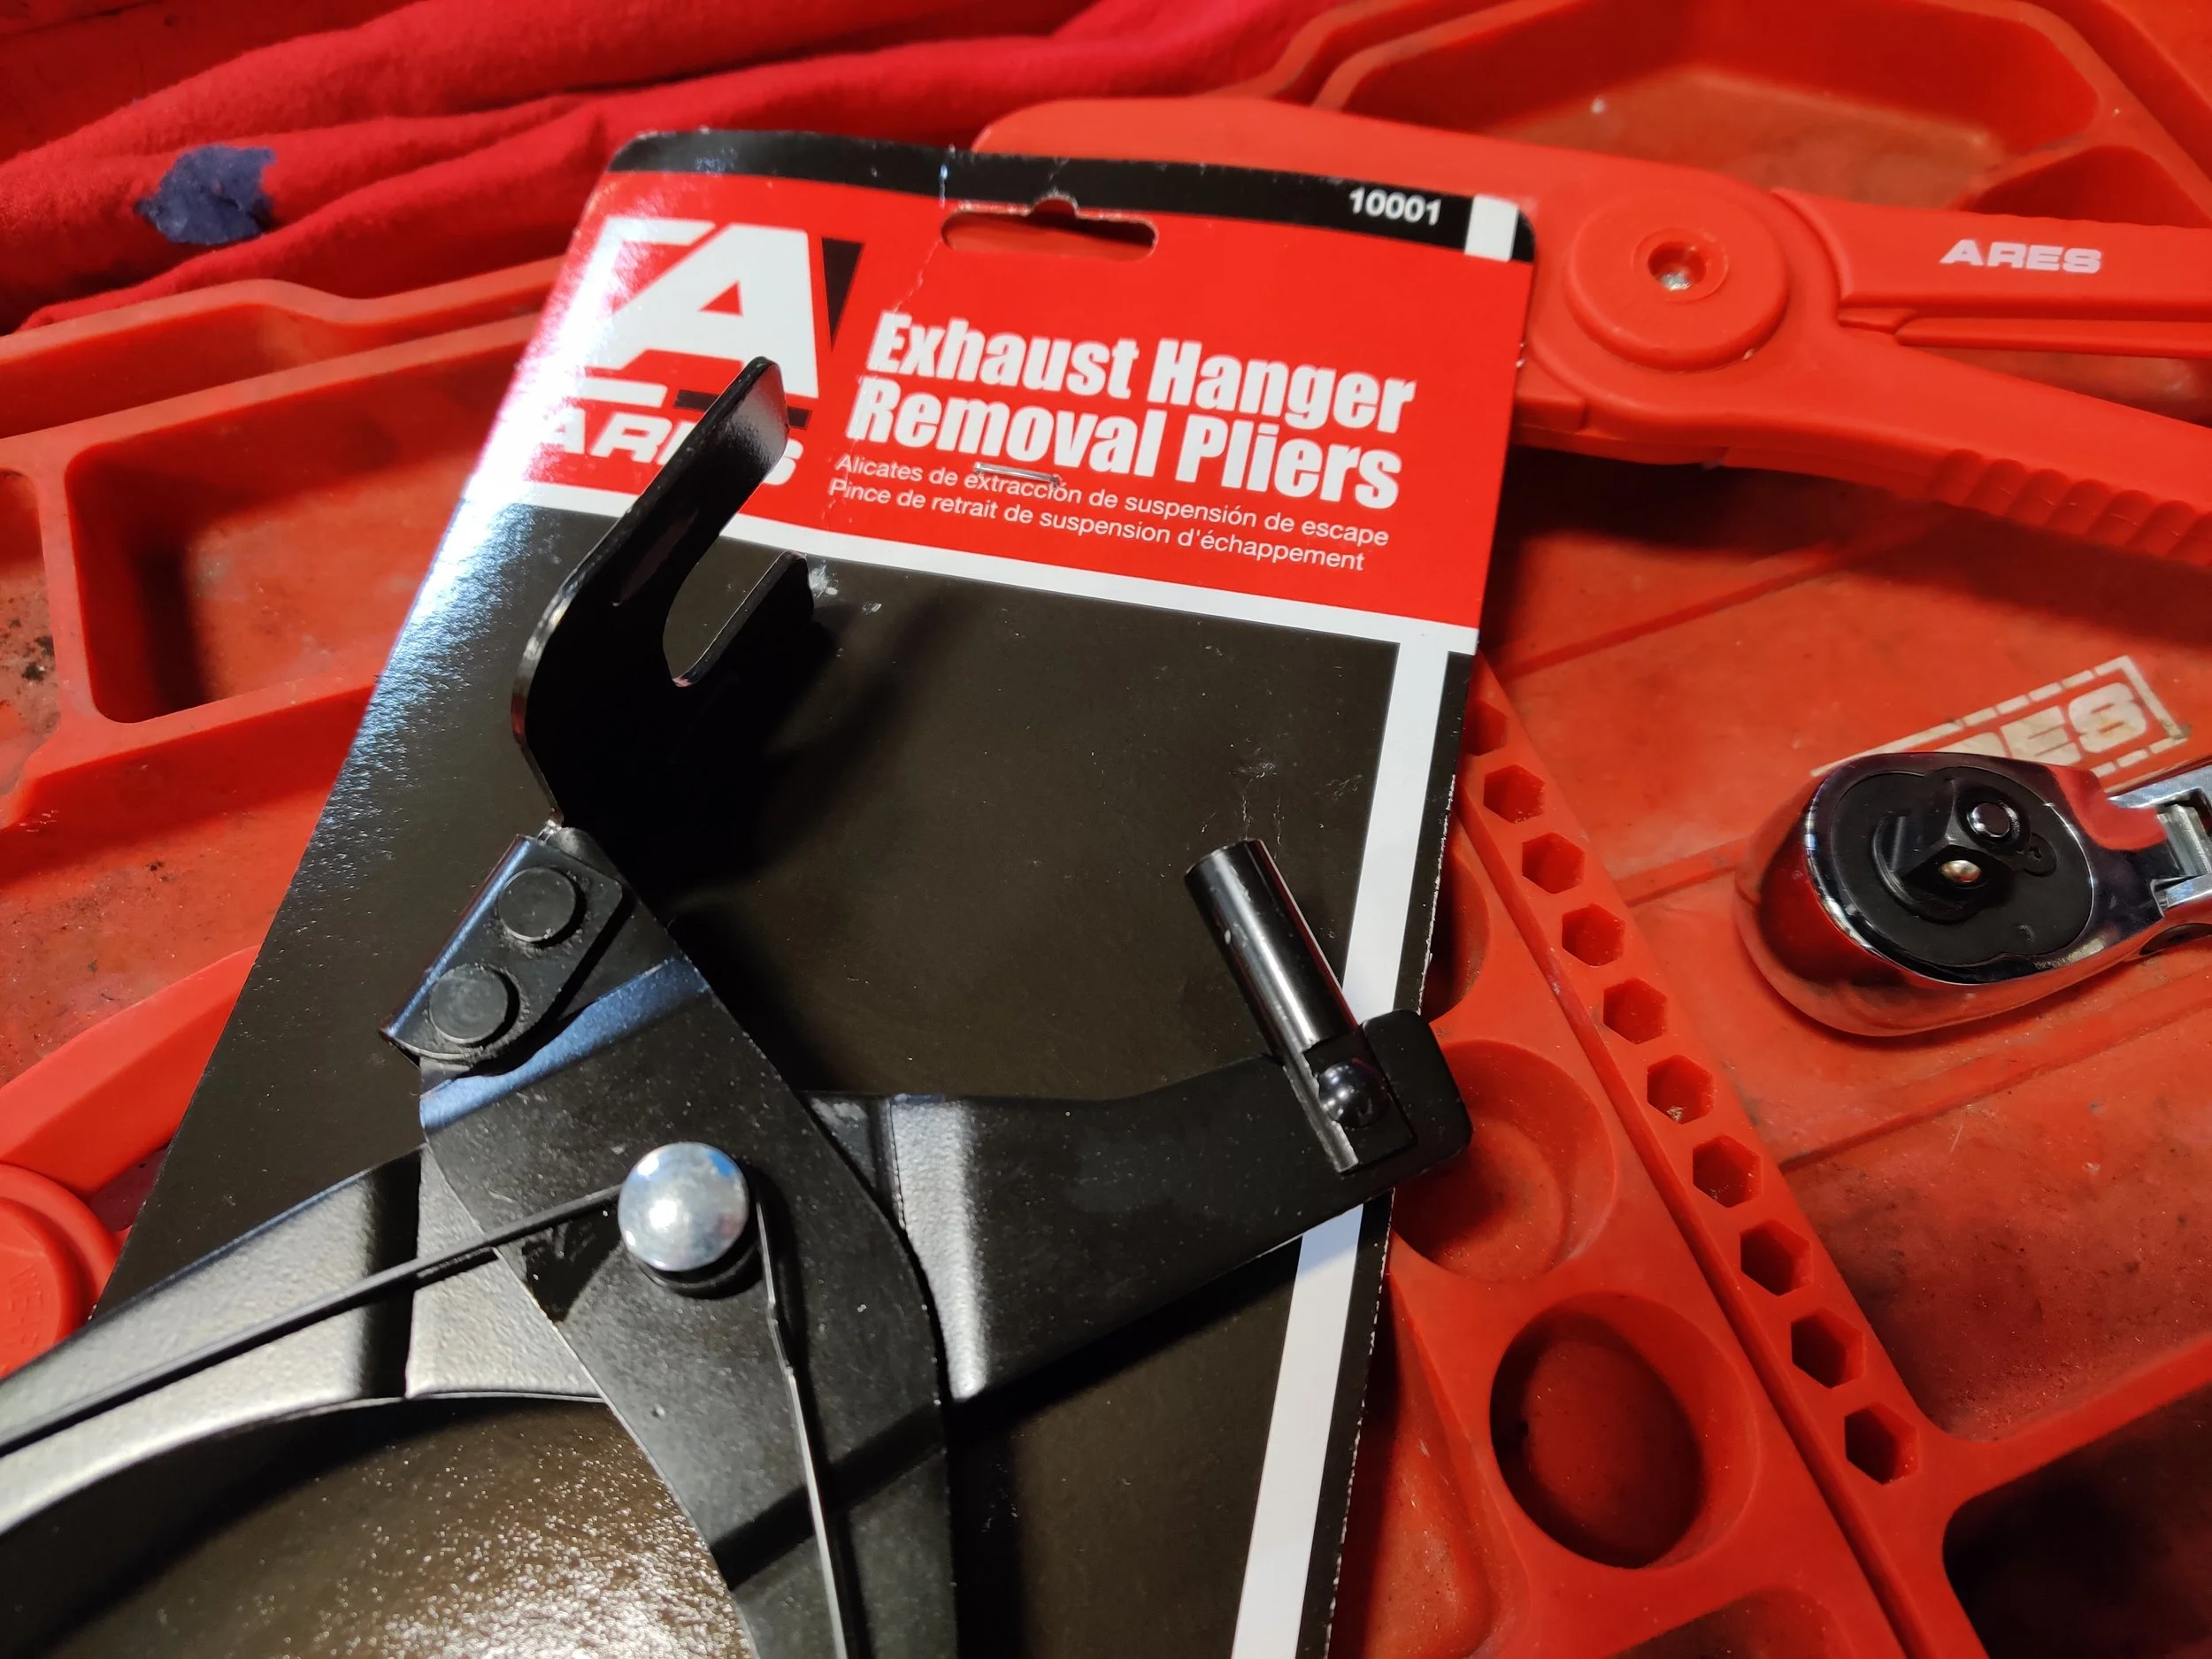
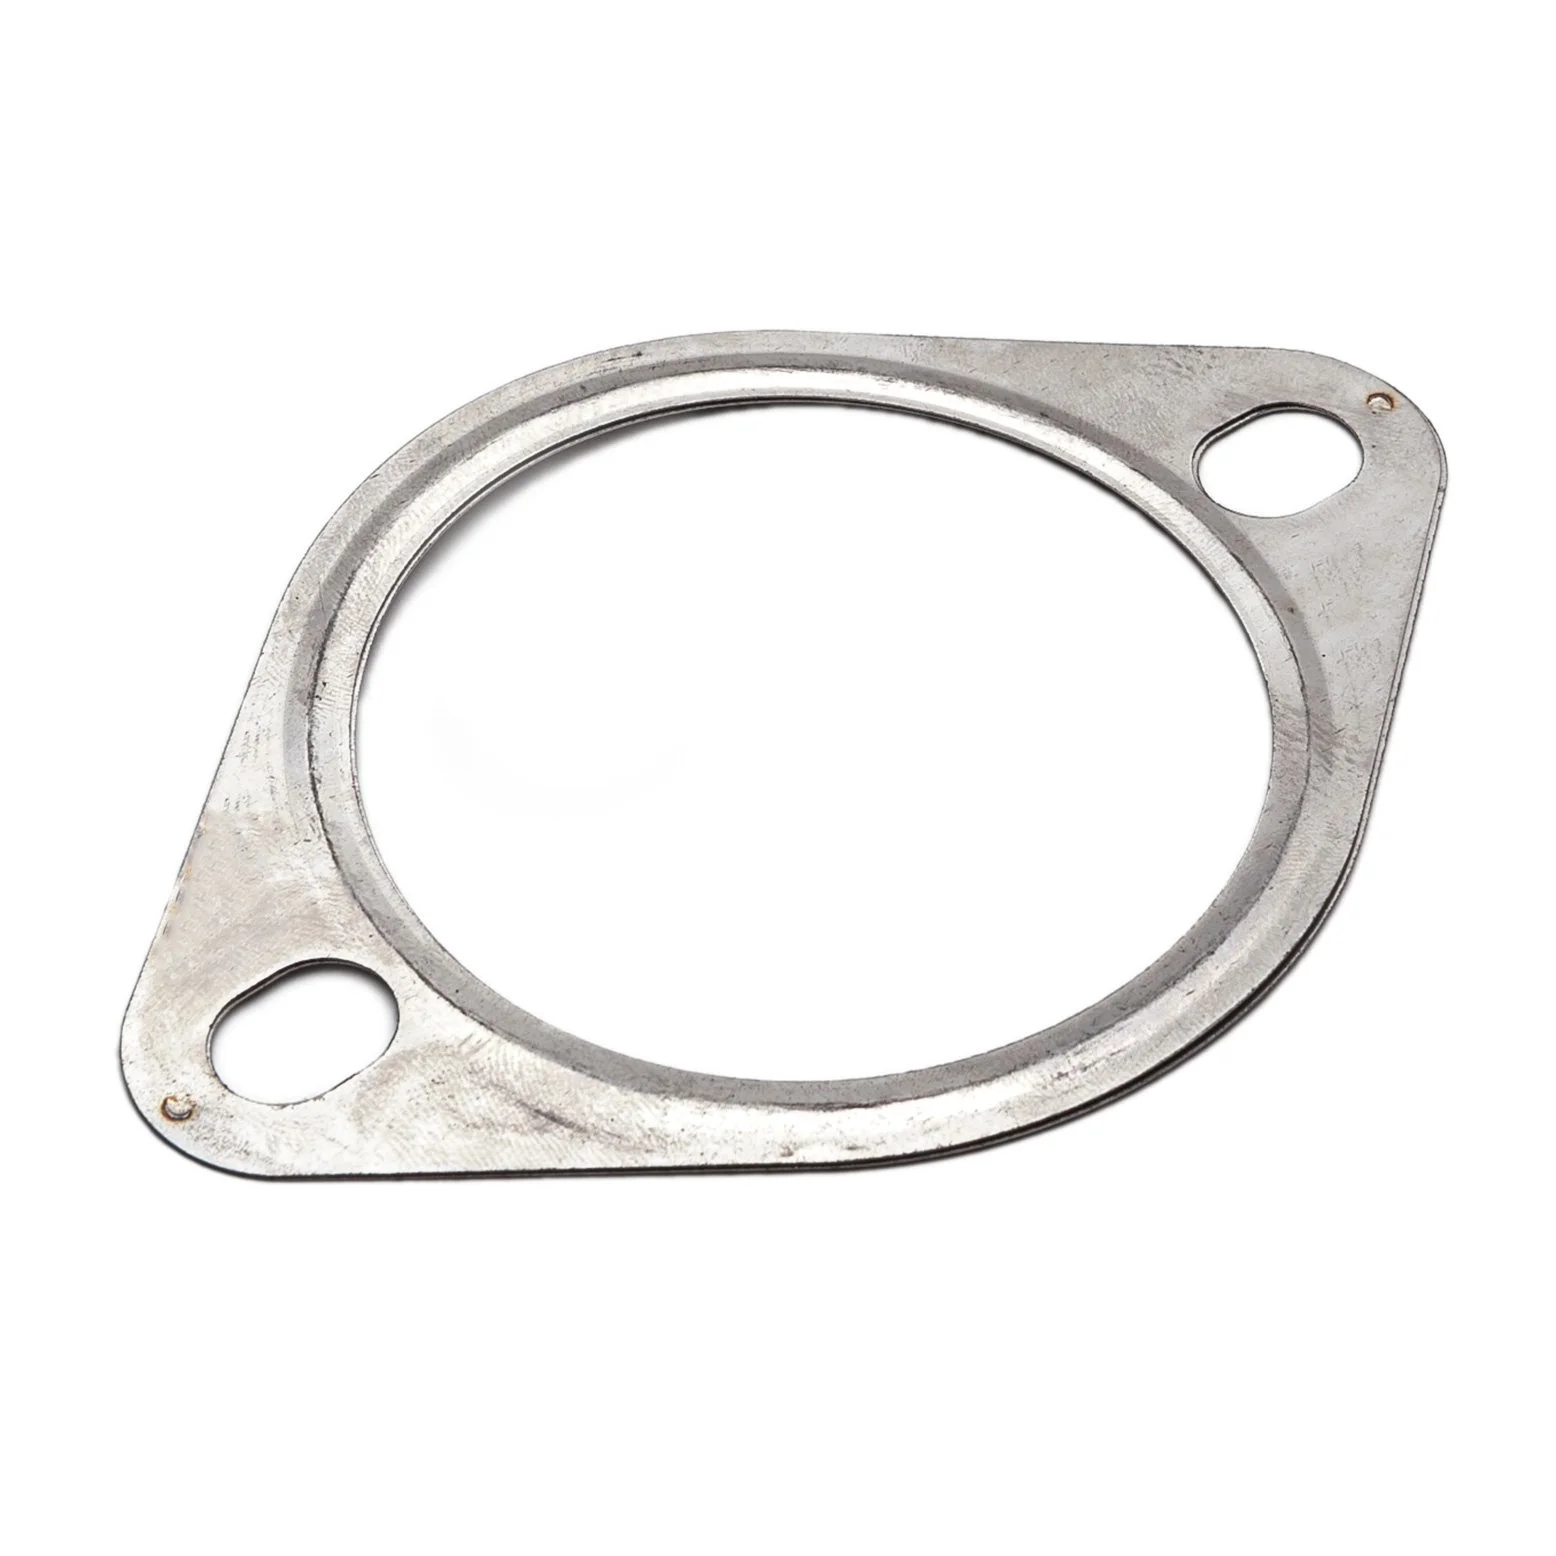
These two bolts are up first. Watch out for the gasket falling out and trying to strike you. Two more bolts in the rear and the exhaust hanger will free the midpipe.
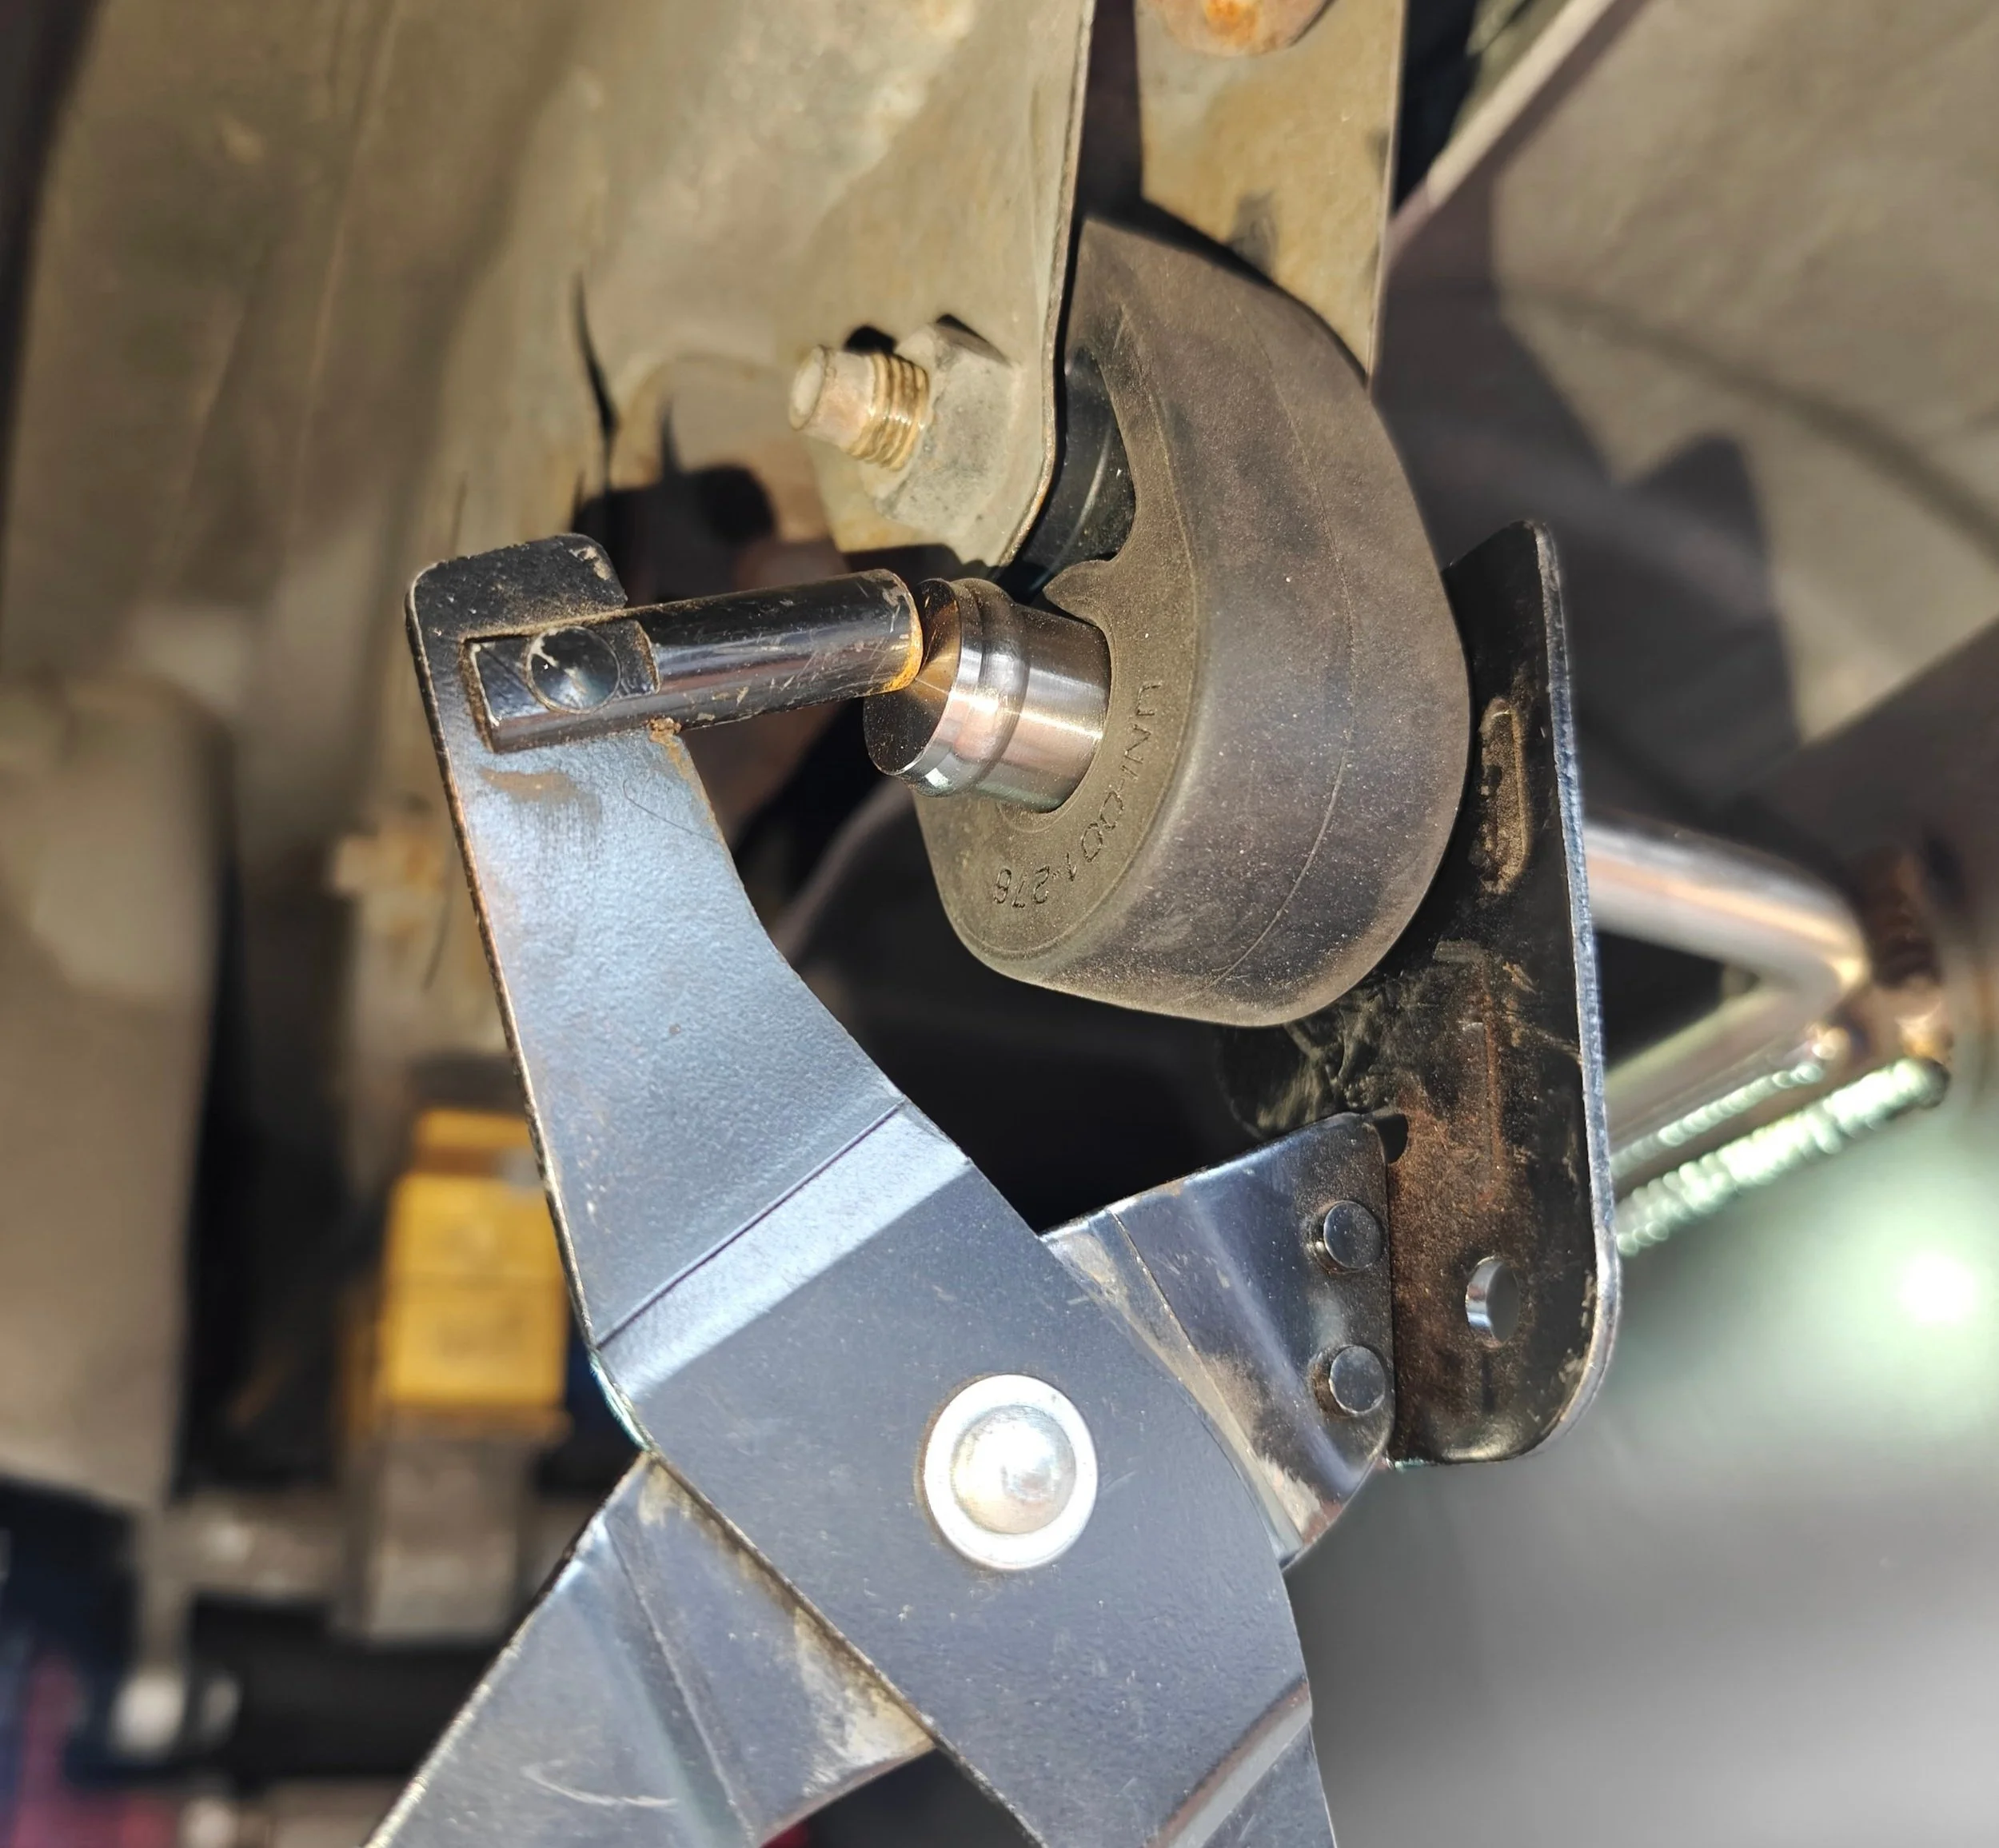
Here is an example of how to use the exhaust pliers to easily remove the exhaust.
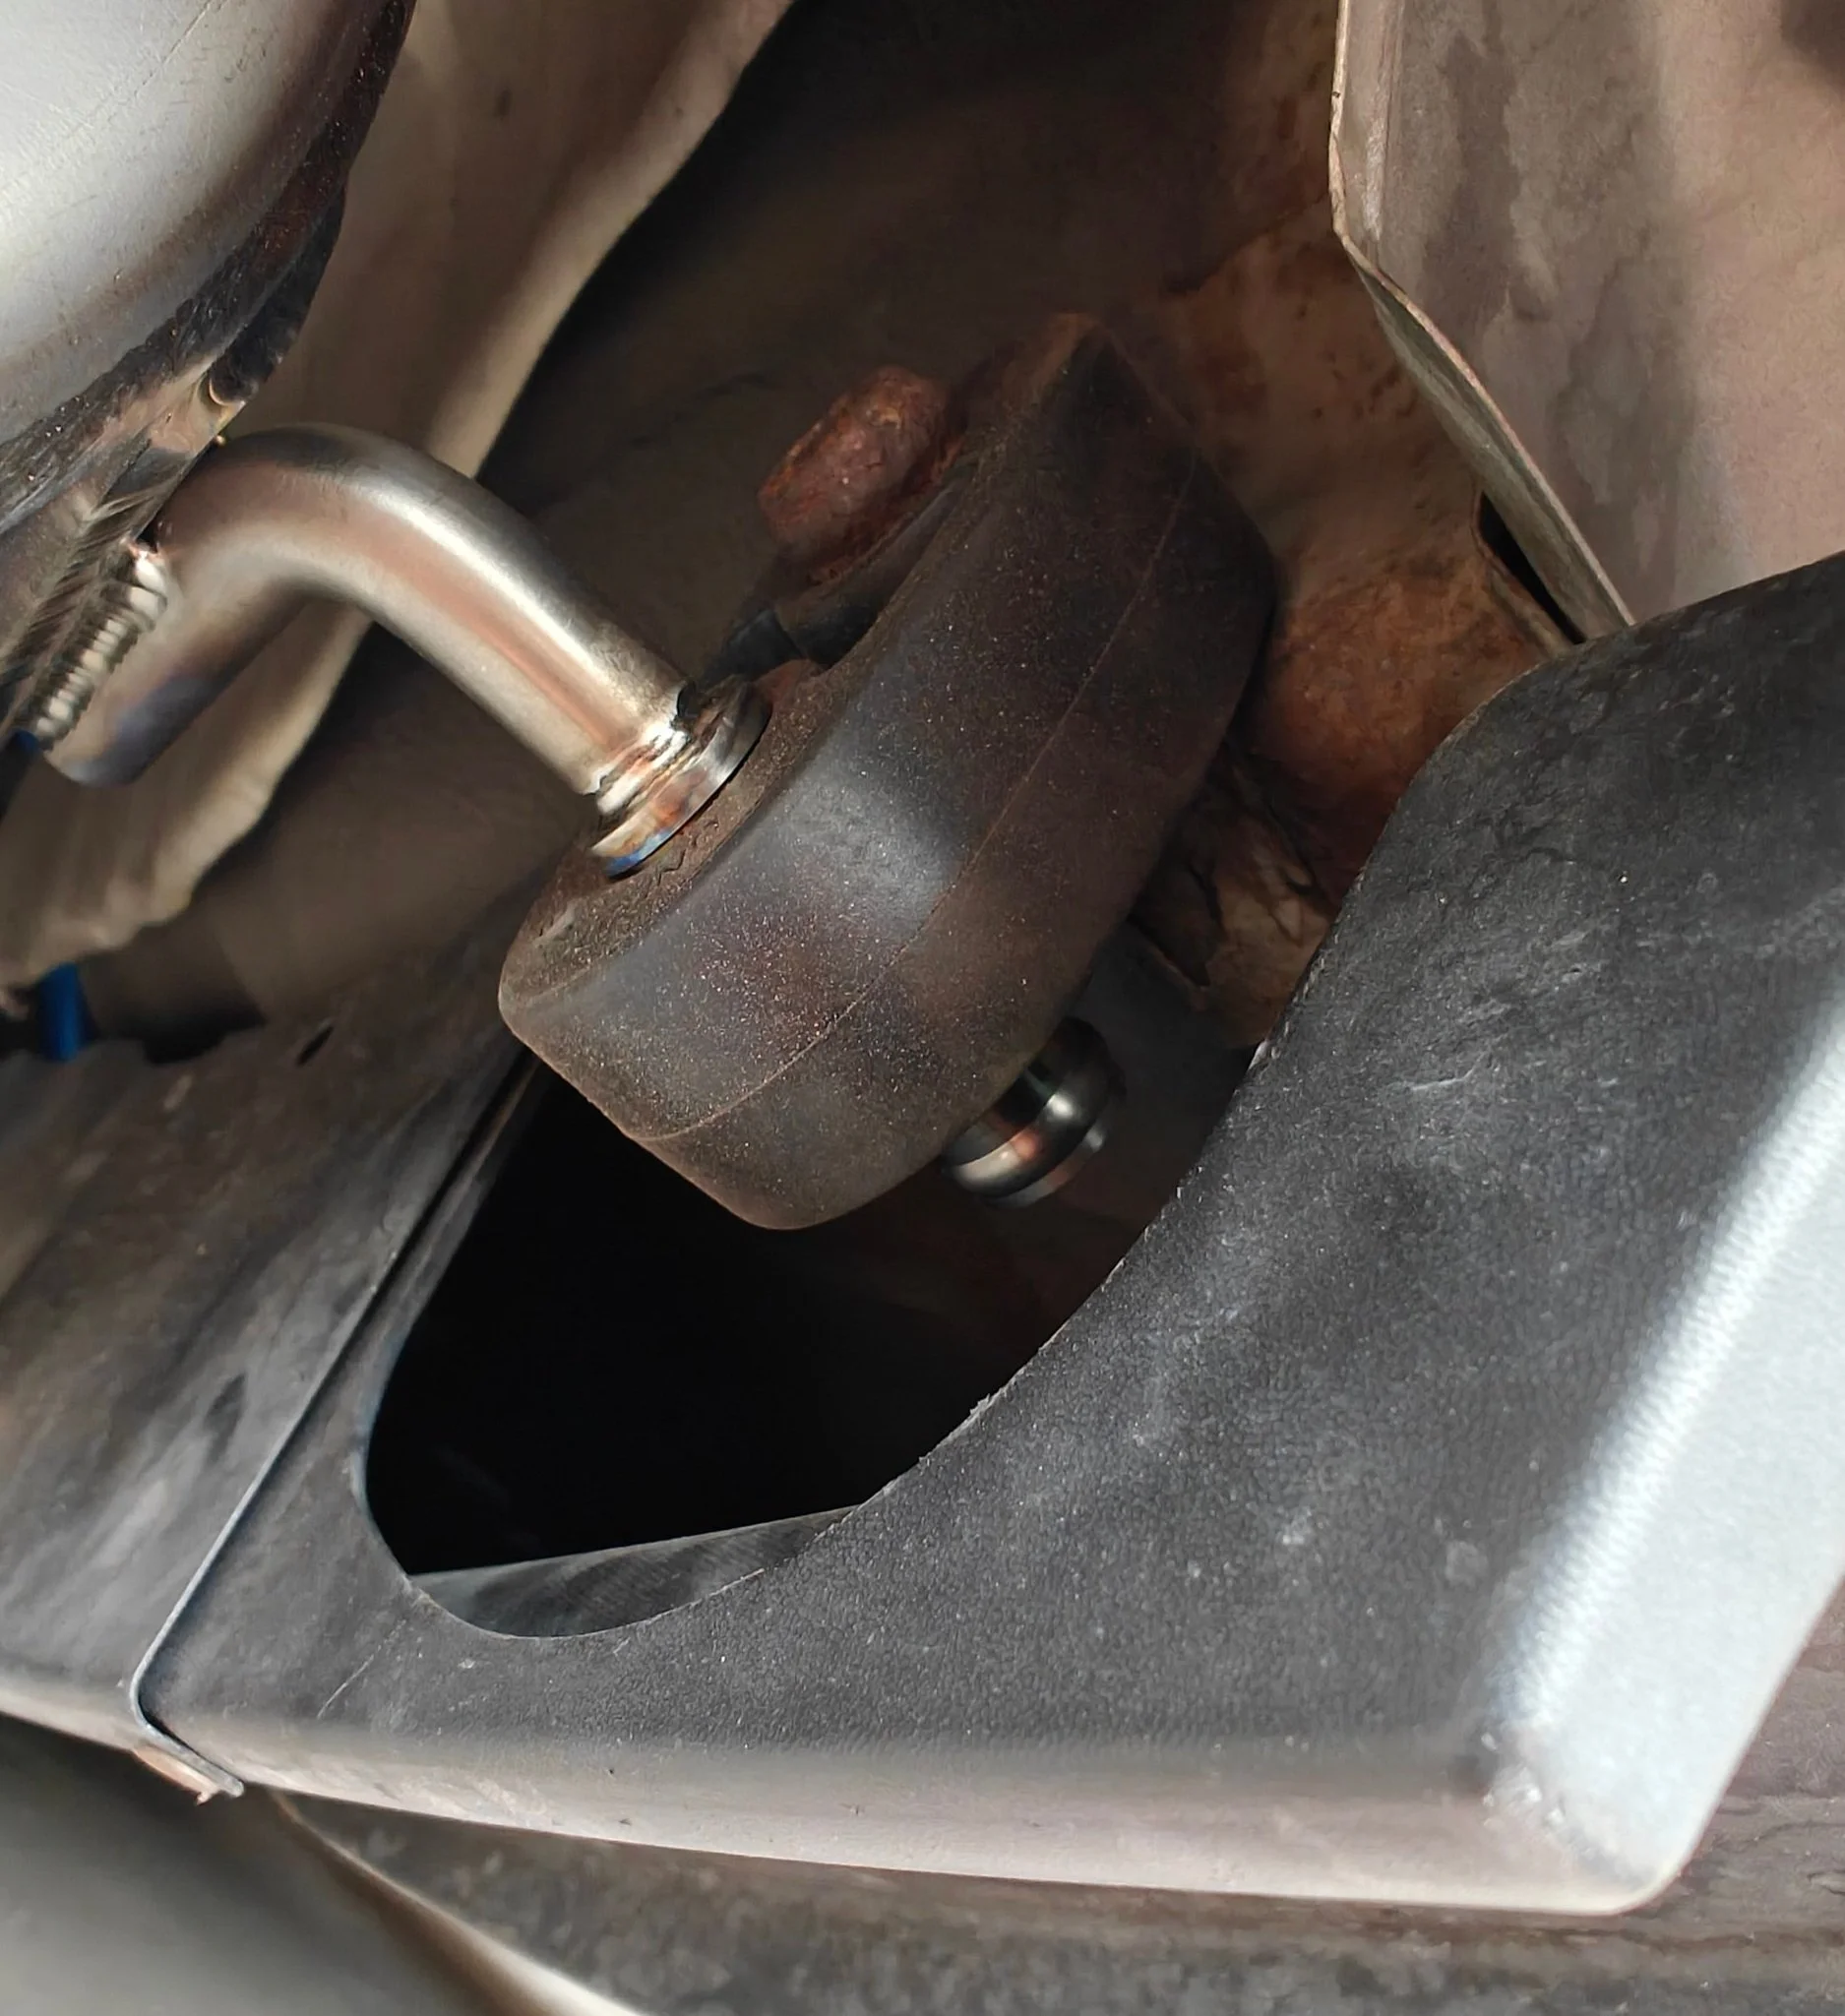
We will move to the rear of the car where the muffler resides. There are three hangers that support the muffler and we will need to slide them free. This is where your exhaust hanger tool will shine making quick work of the rubber supports. Once the muffler is free we can remove it from beneath the car and begin the fun part.
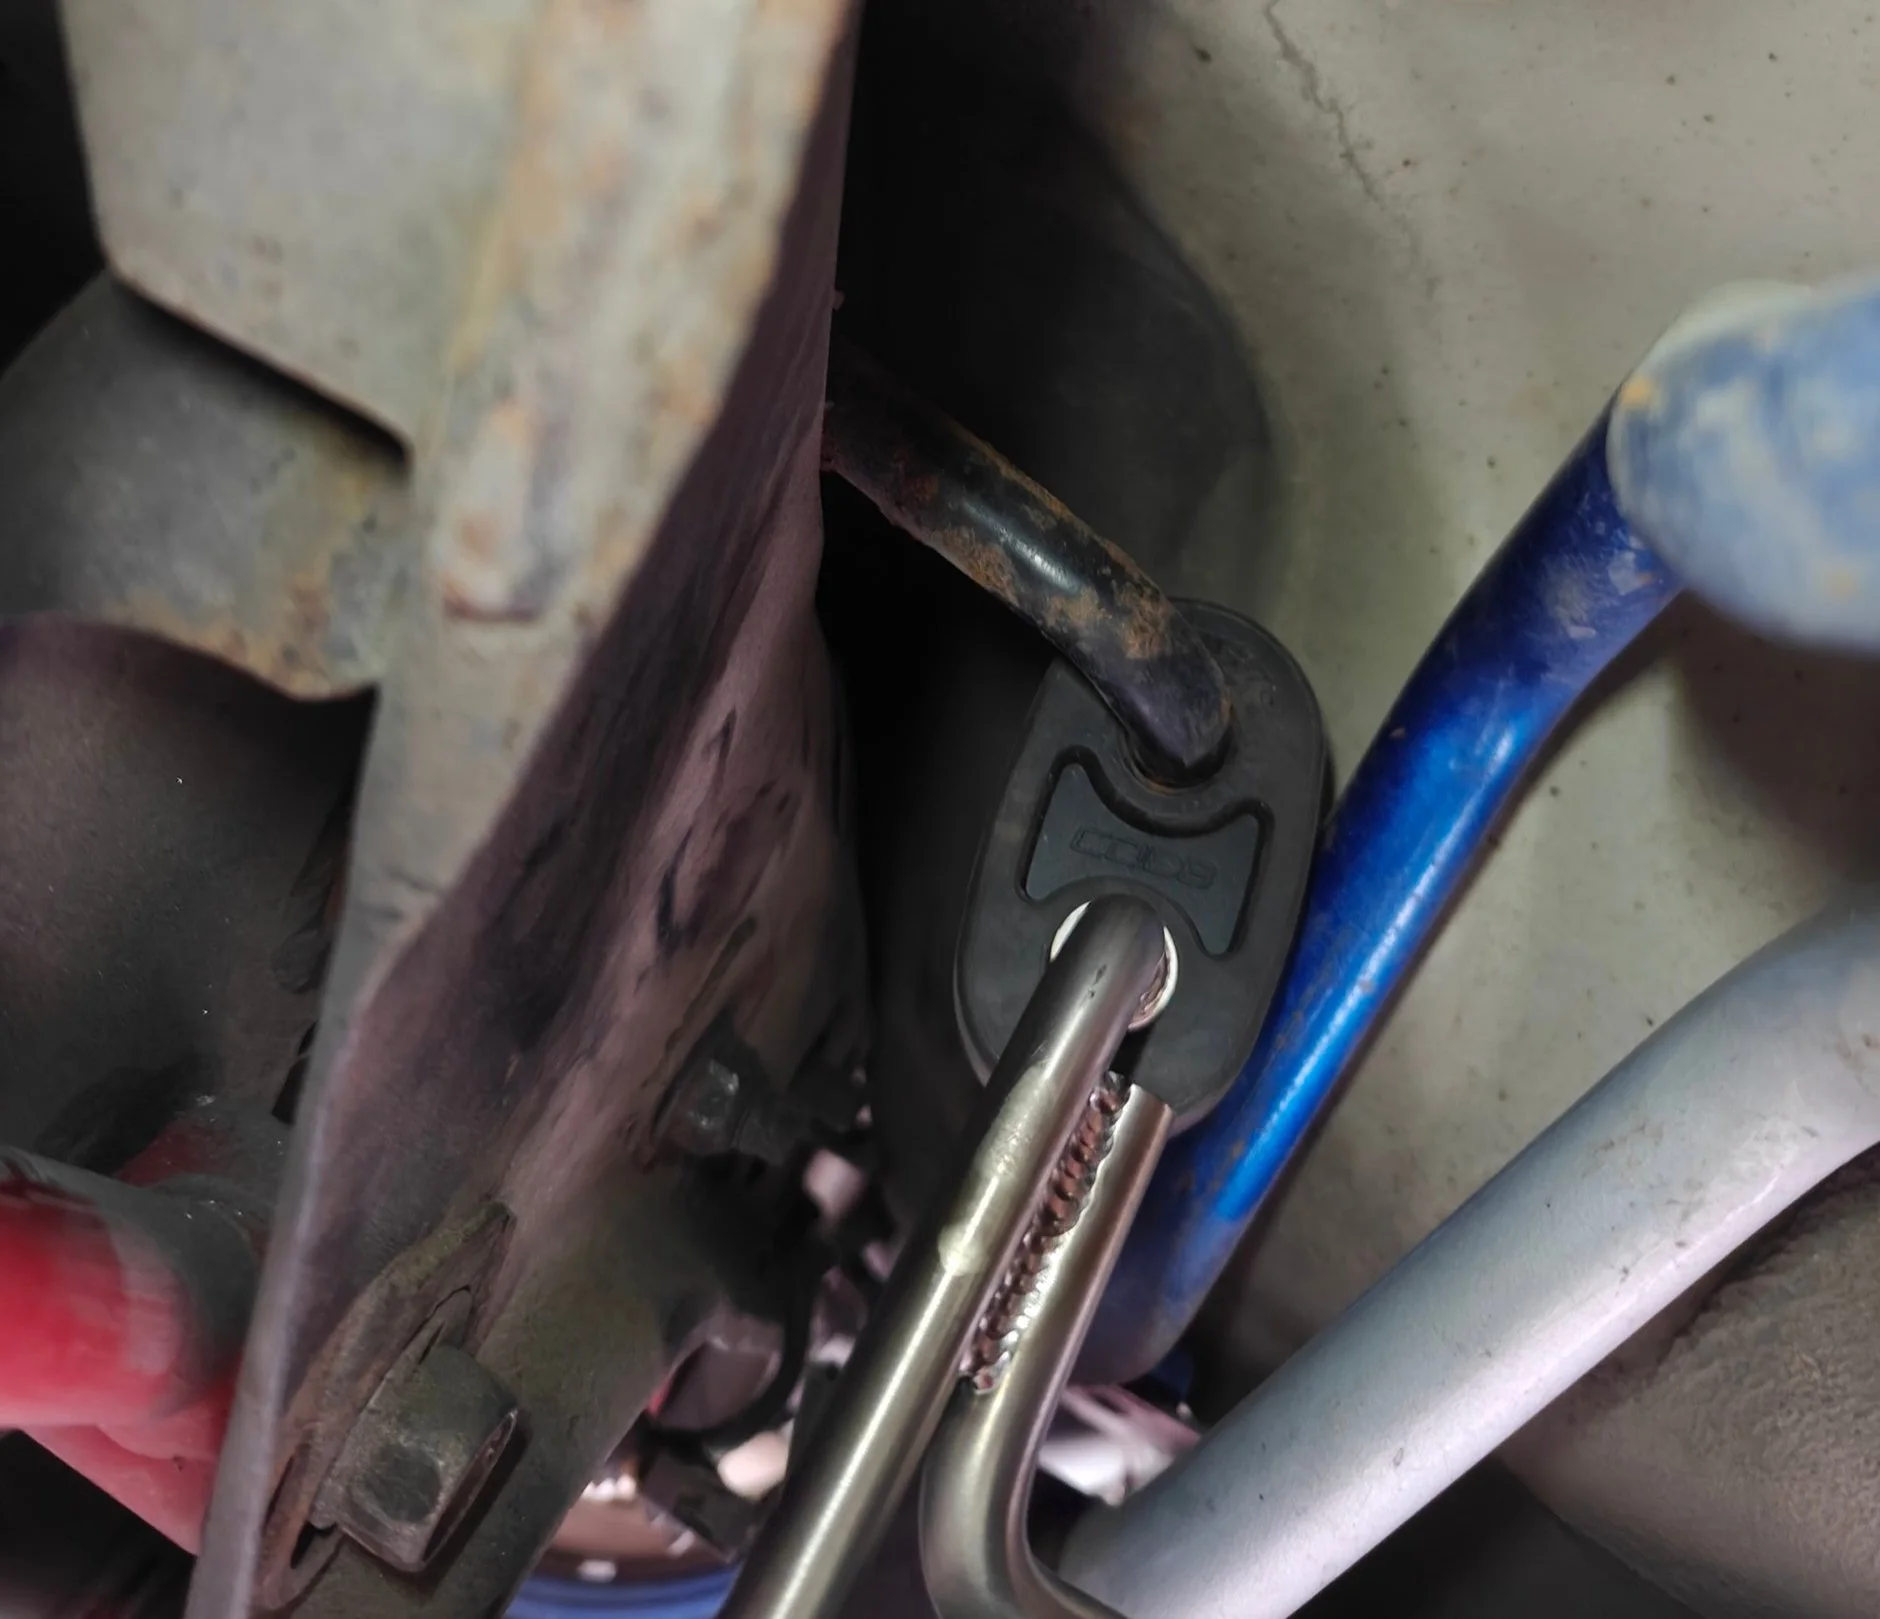
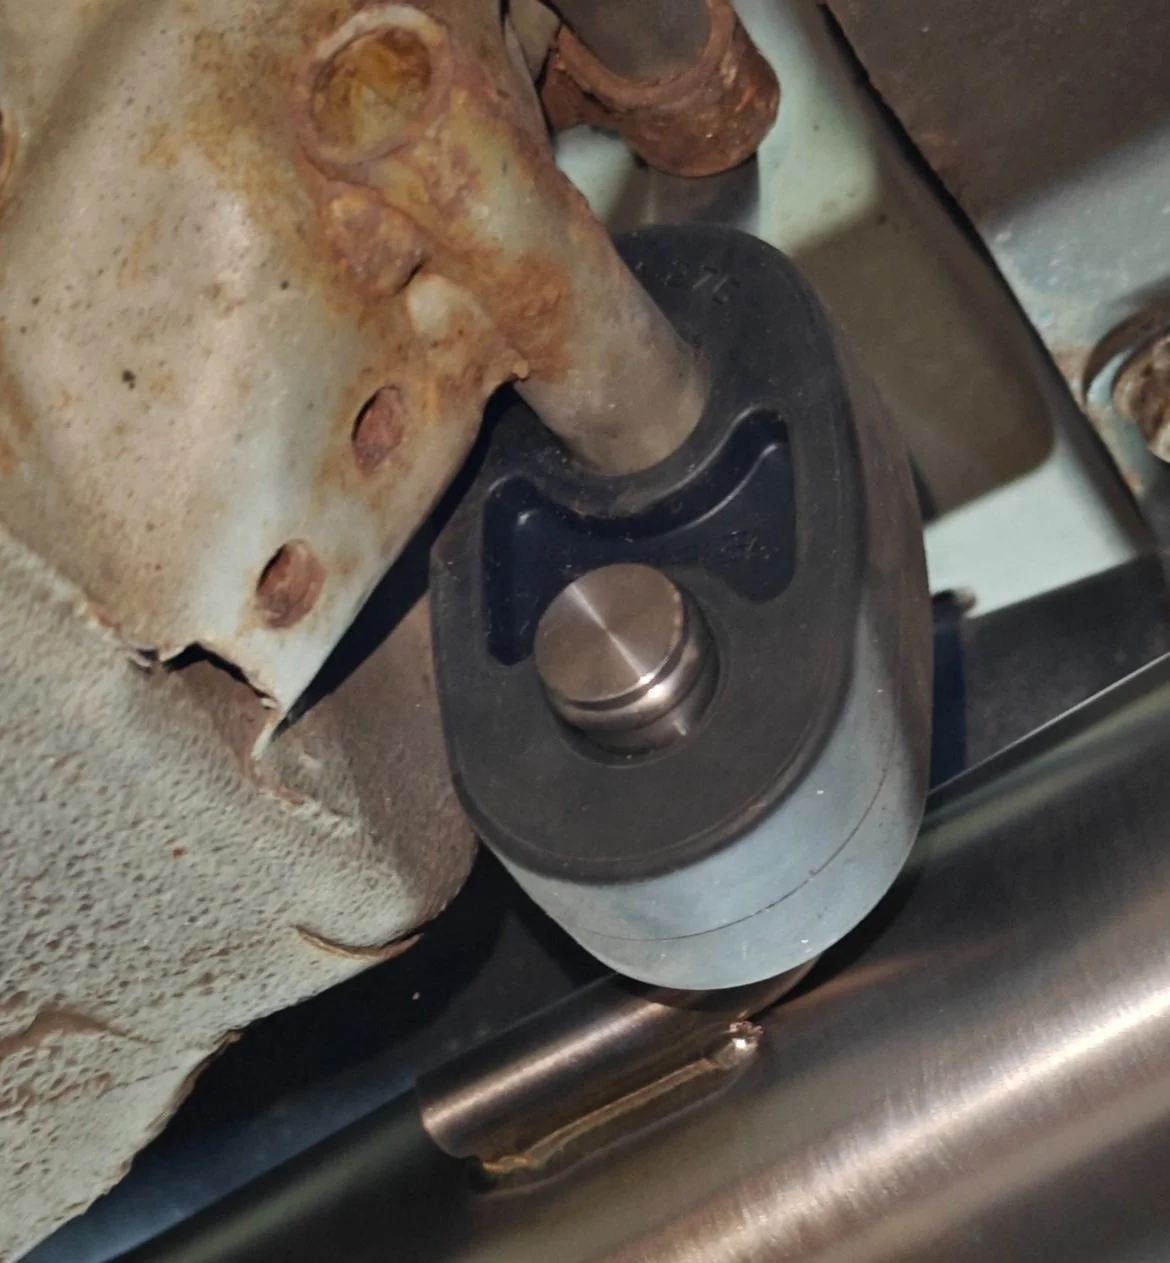
One of the three bushings to help release the old outgoing exhaust
Another hanger is located towards the driver’s side of the bumper
And the final hanger is located in the middle of the rear of the car. If you have the factory splitter it is very easy to locate.

With the old system off we can now get ready to install the new Cobb unit.
If you have replacement rubber hangers this is the time to replace them with the exhaust out of the way. Once again your exhaust hanger tool will make quick work of them except for the rear of the vehicle where it will need to be unbolted.

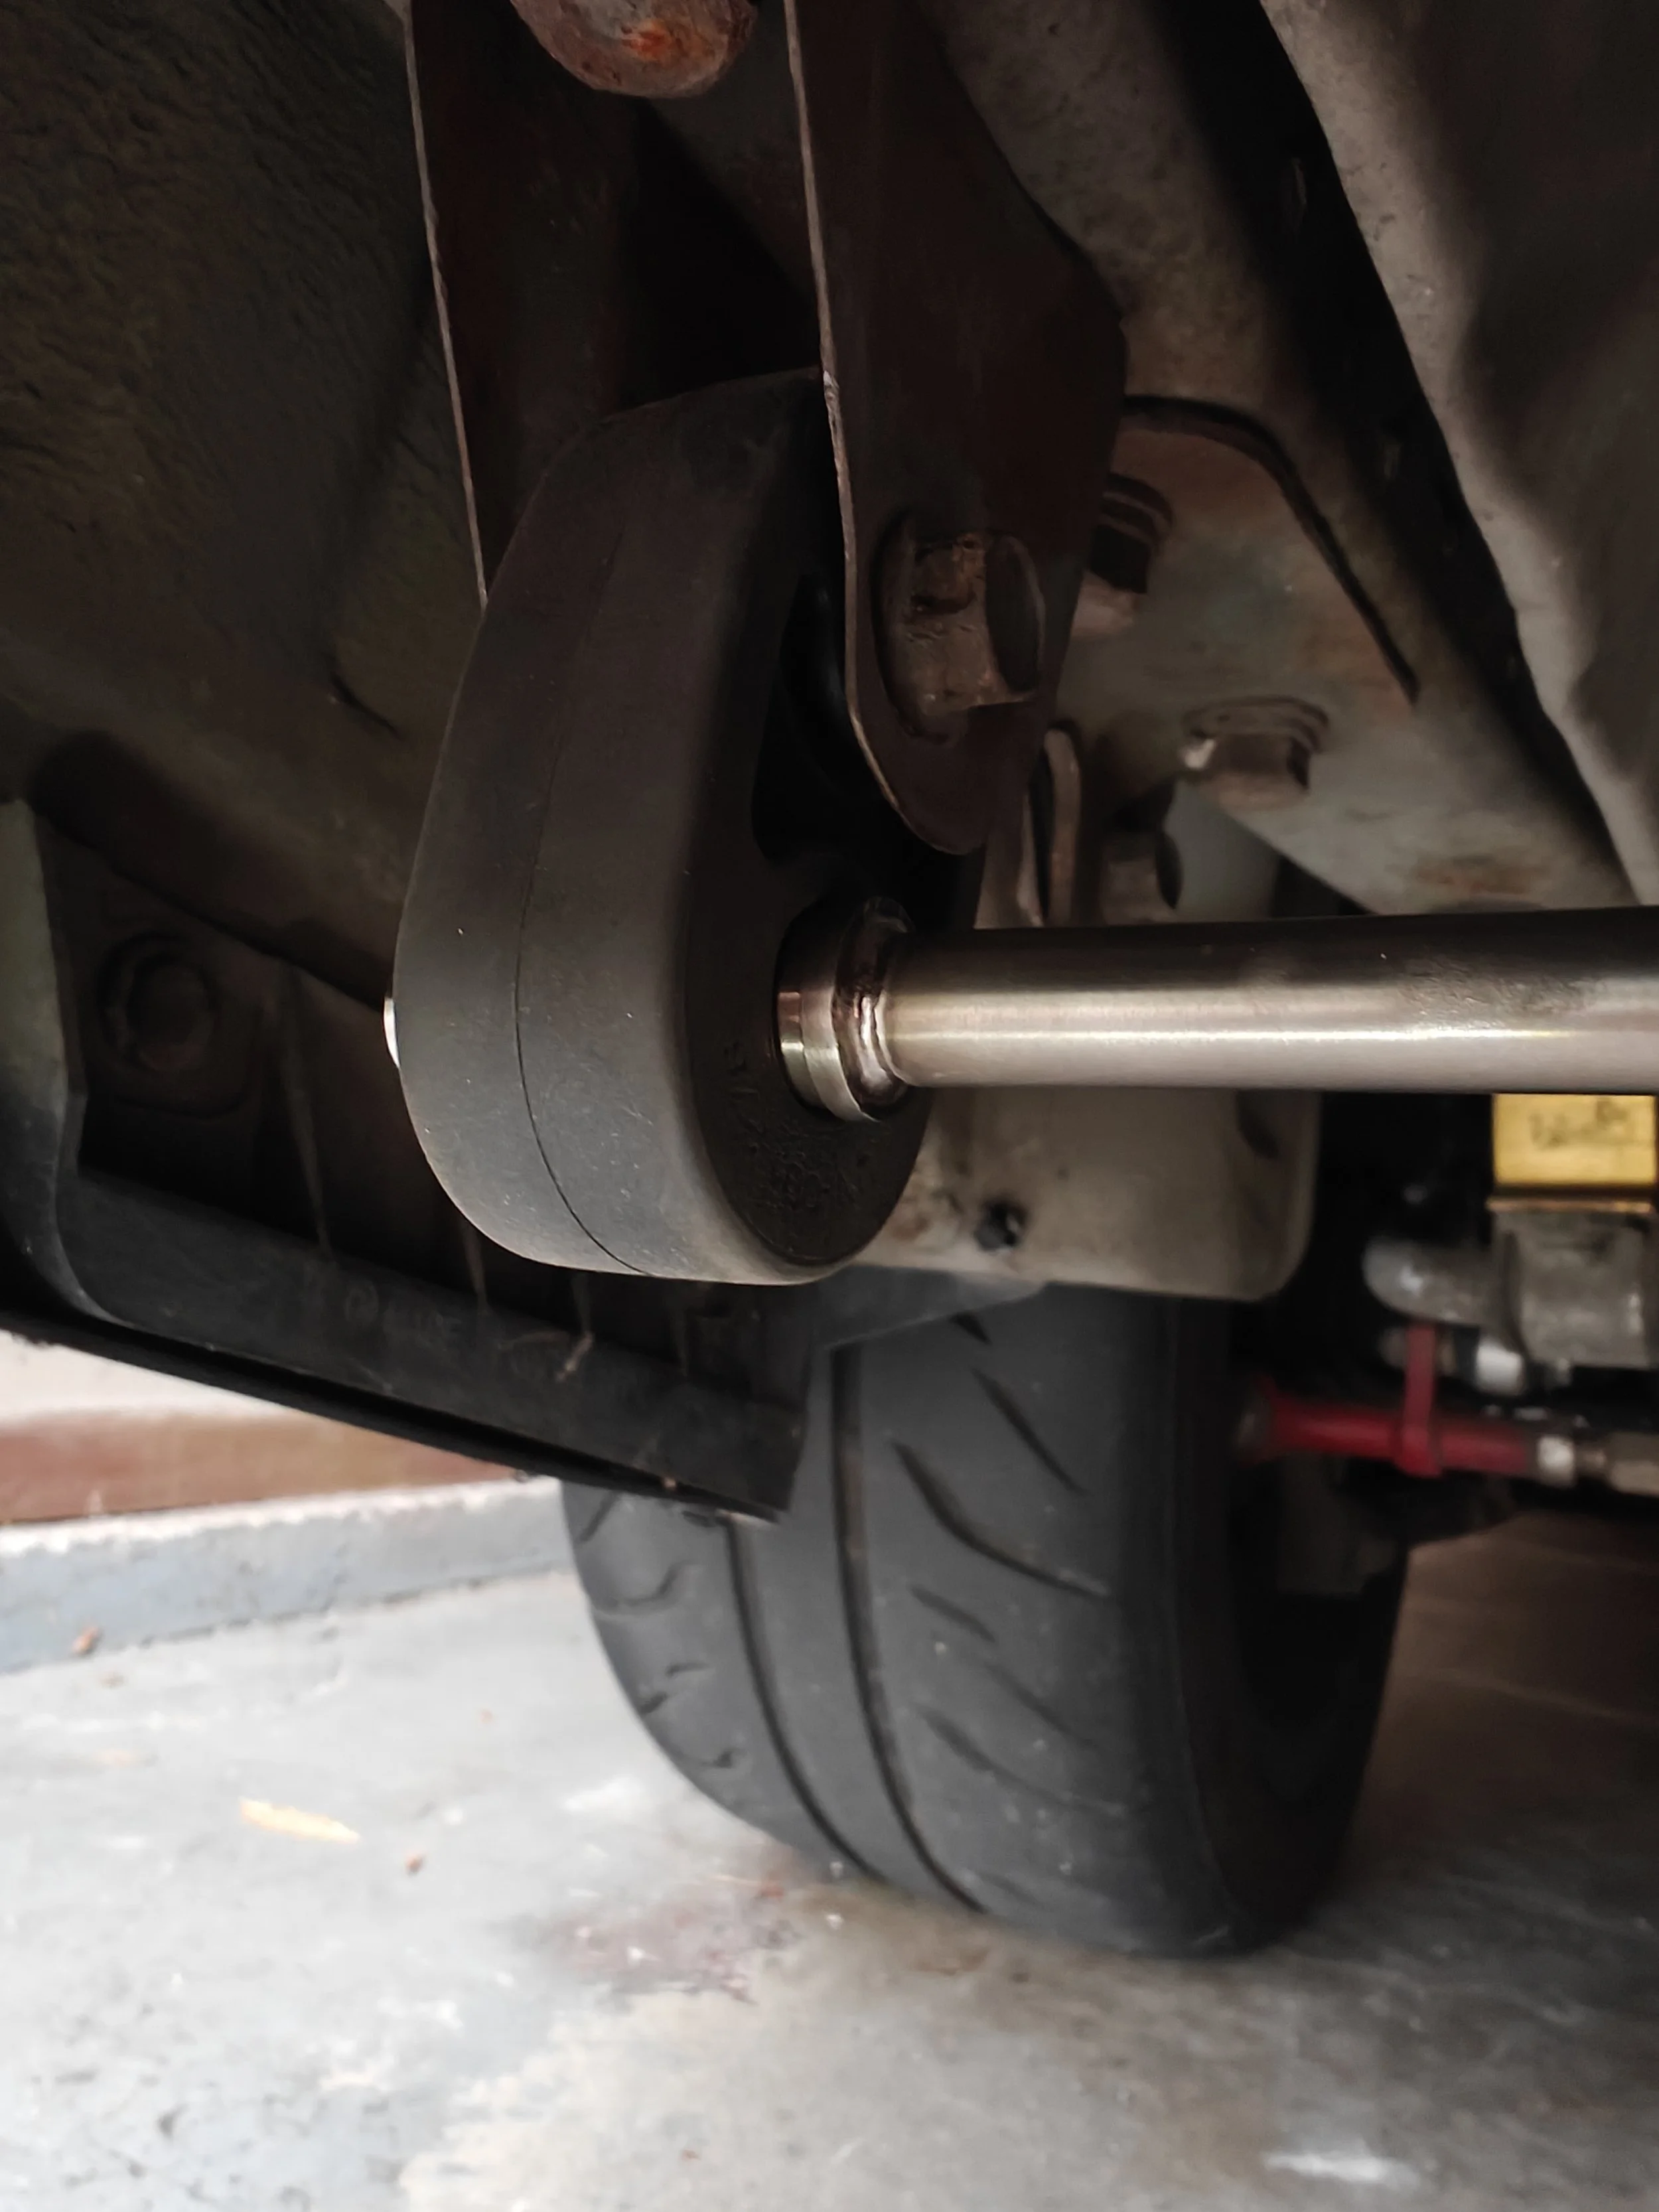
This is also a great time to replace your old tired hanger bushings
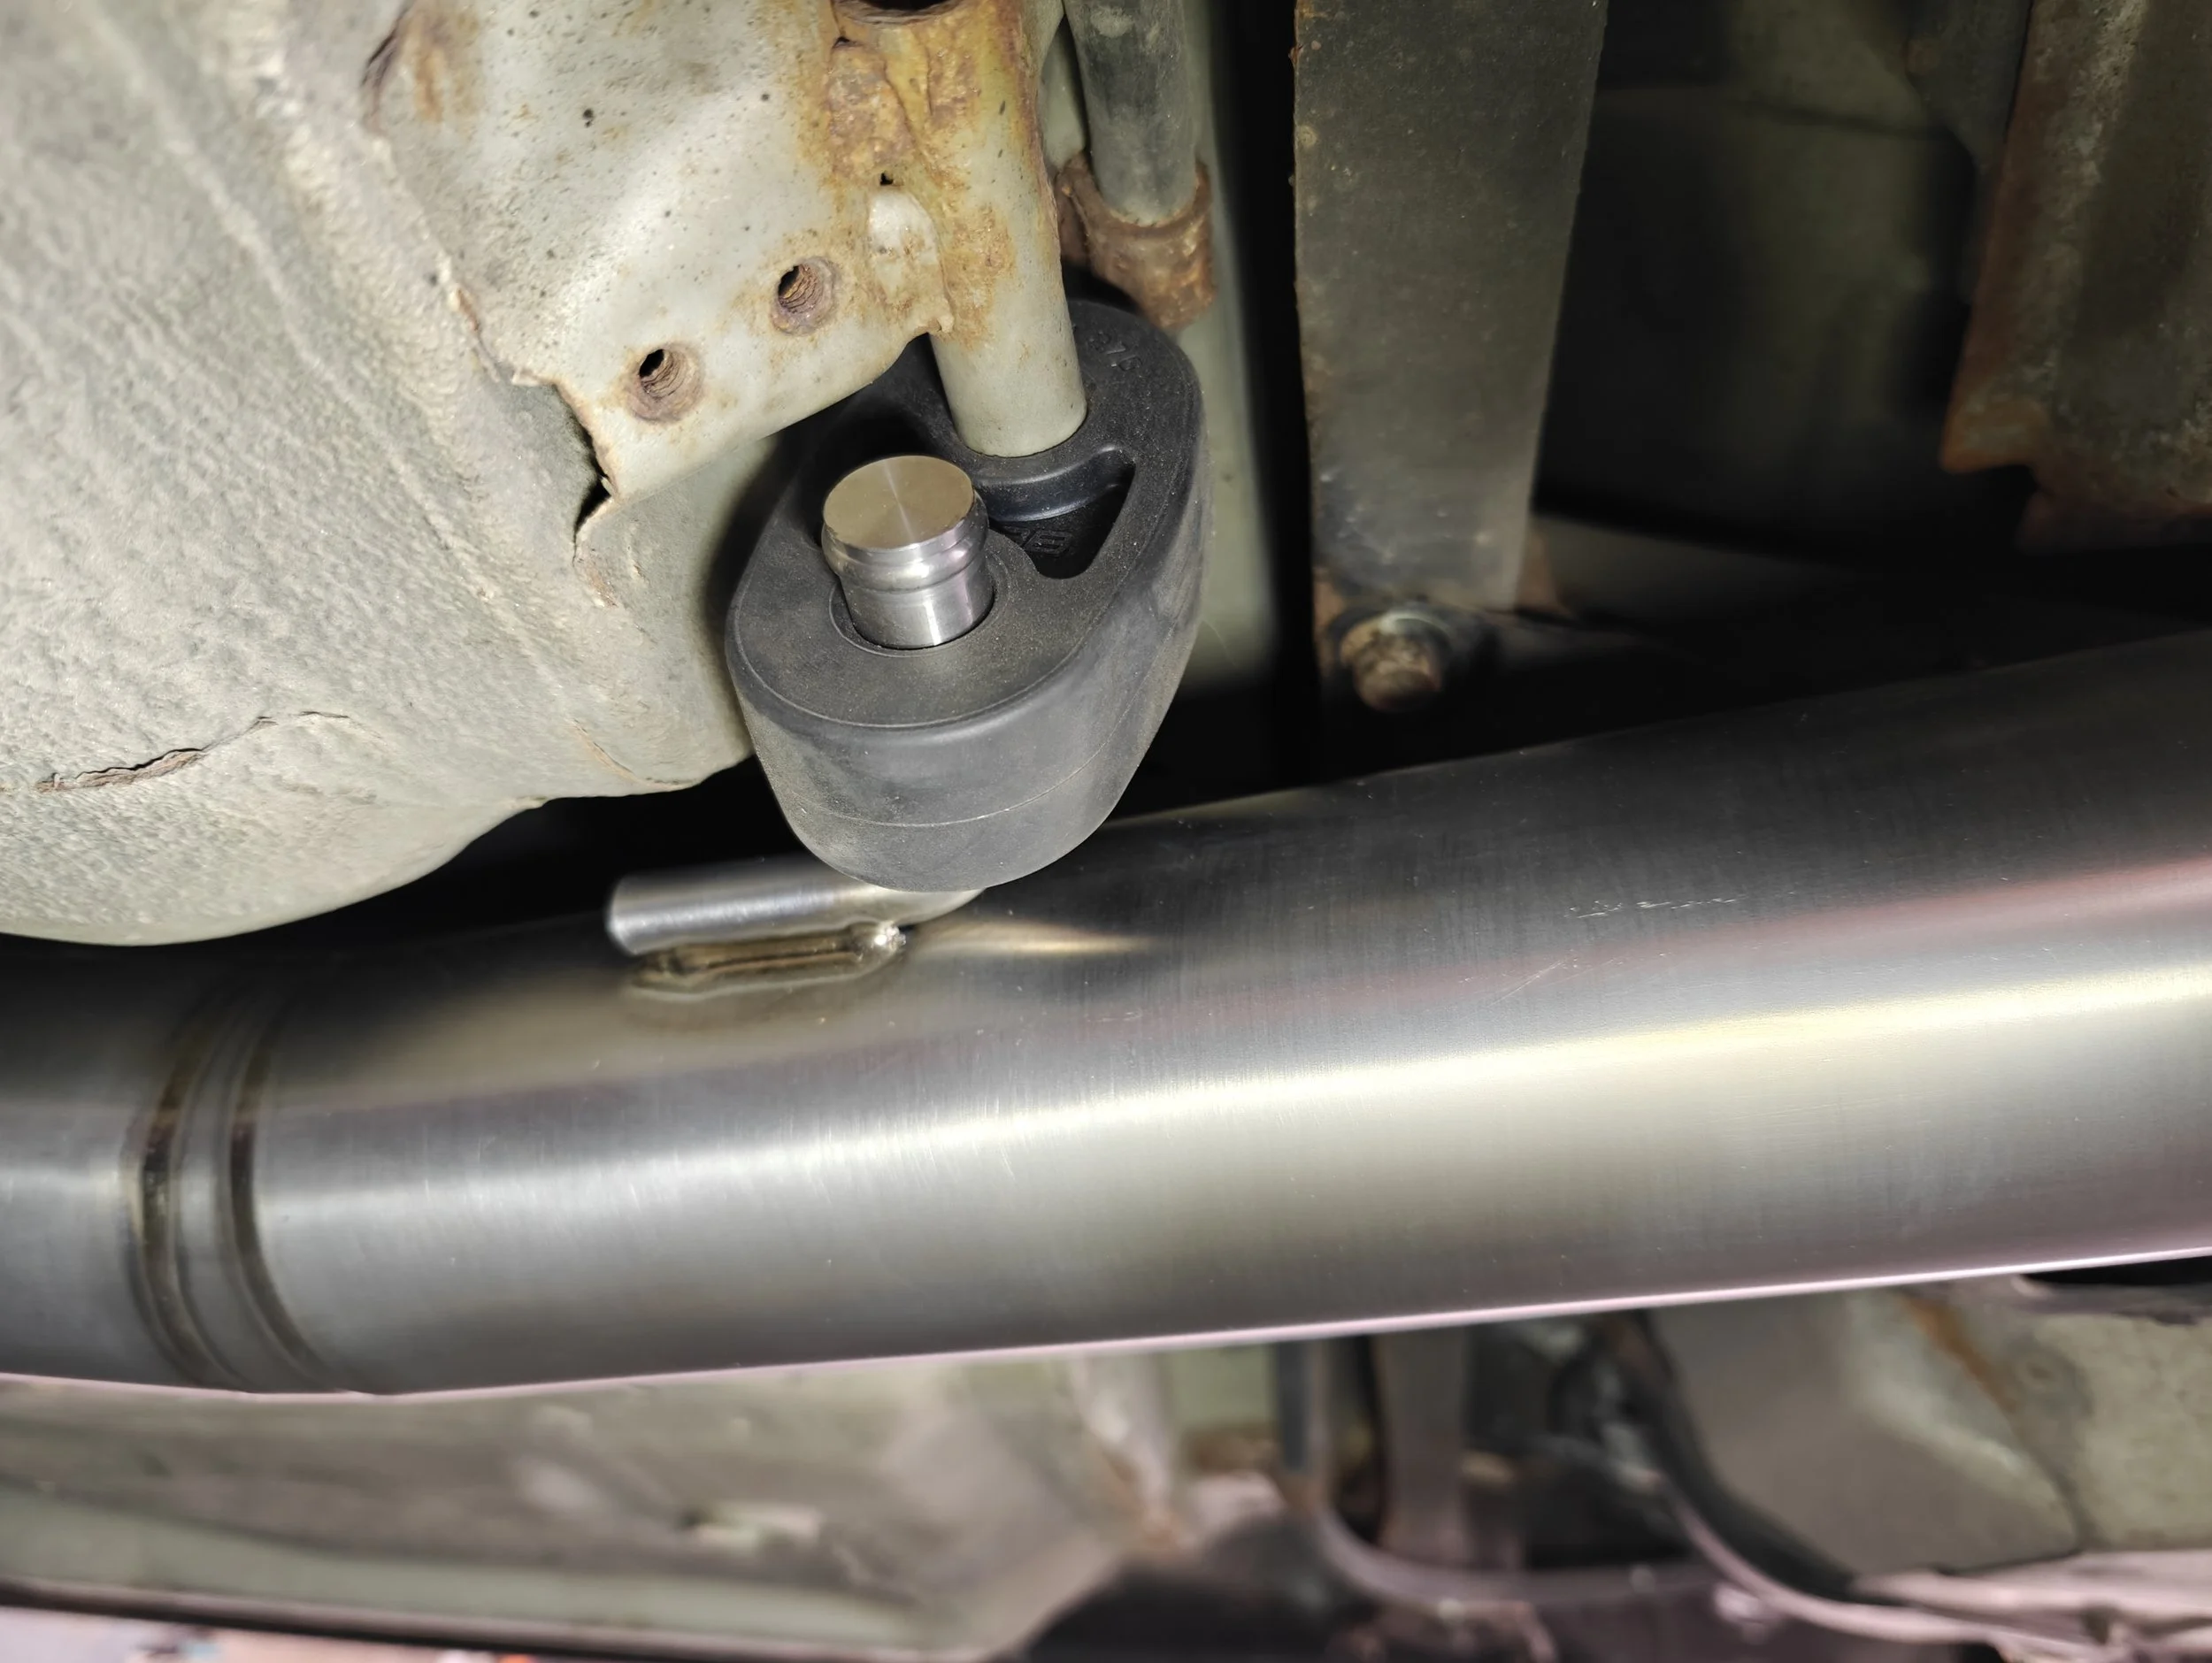
New bushings in place and holding up the midpipe.
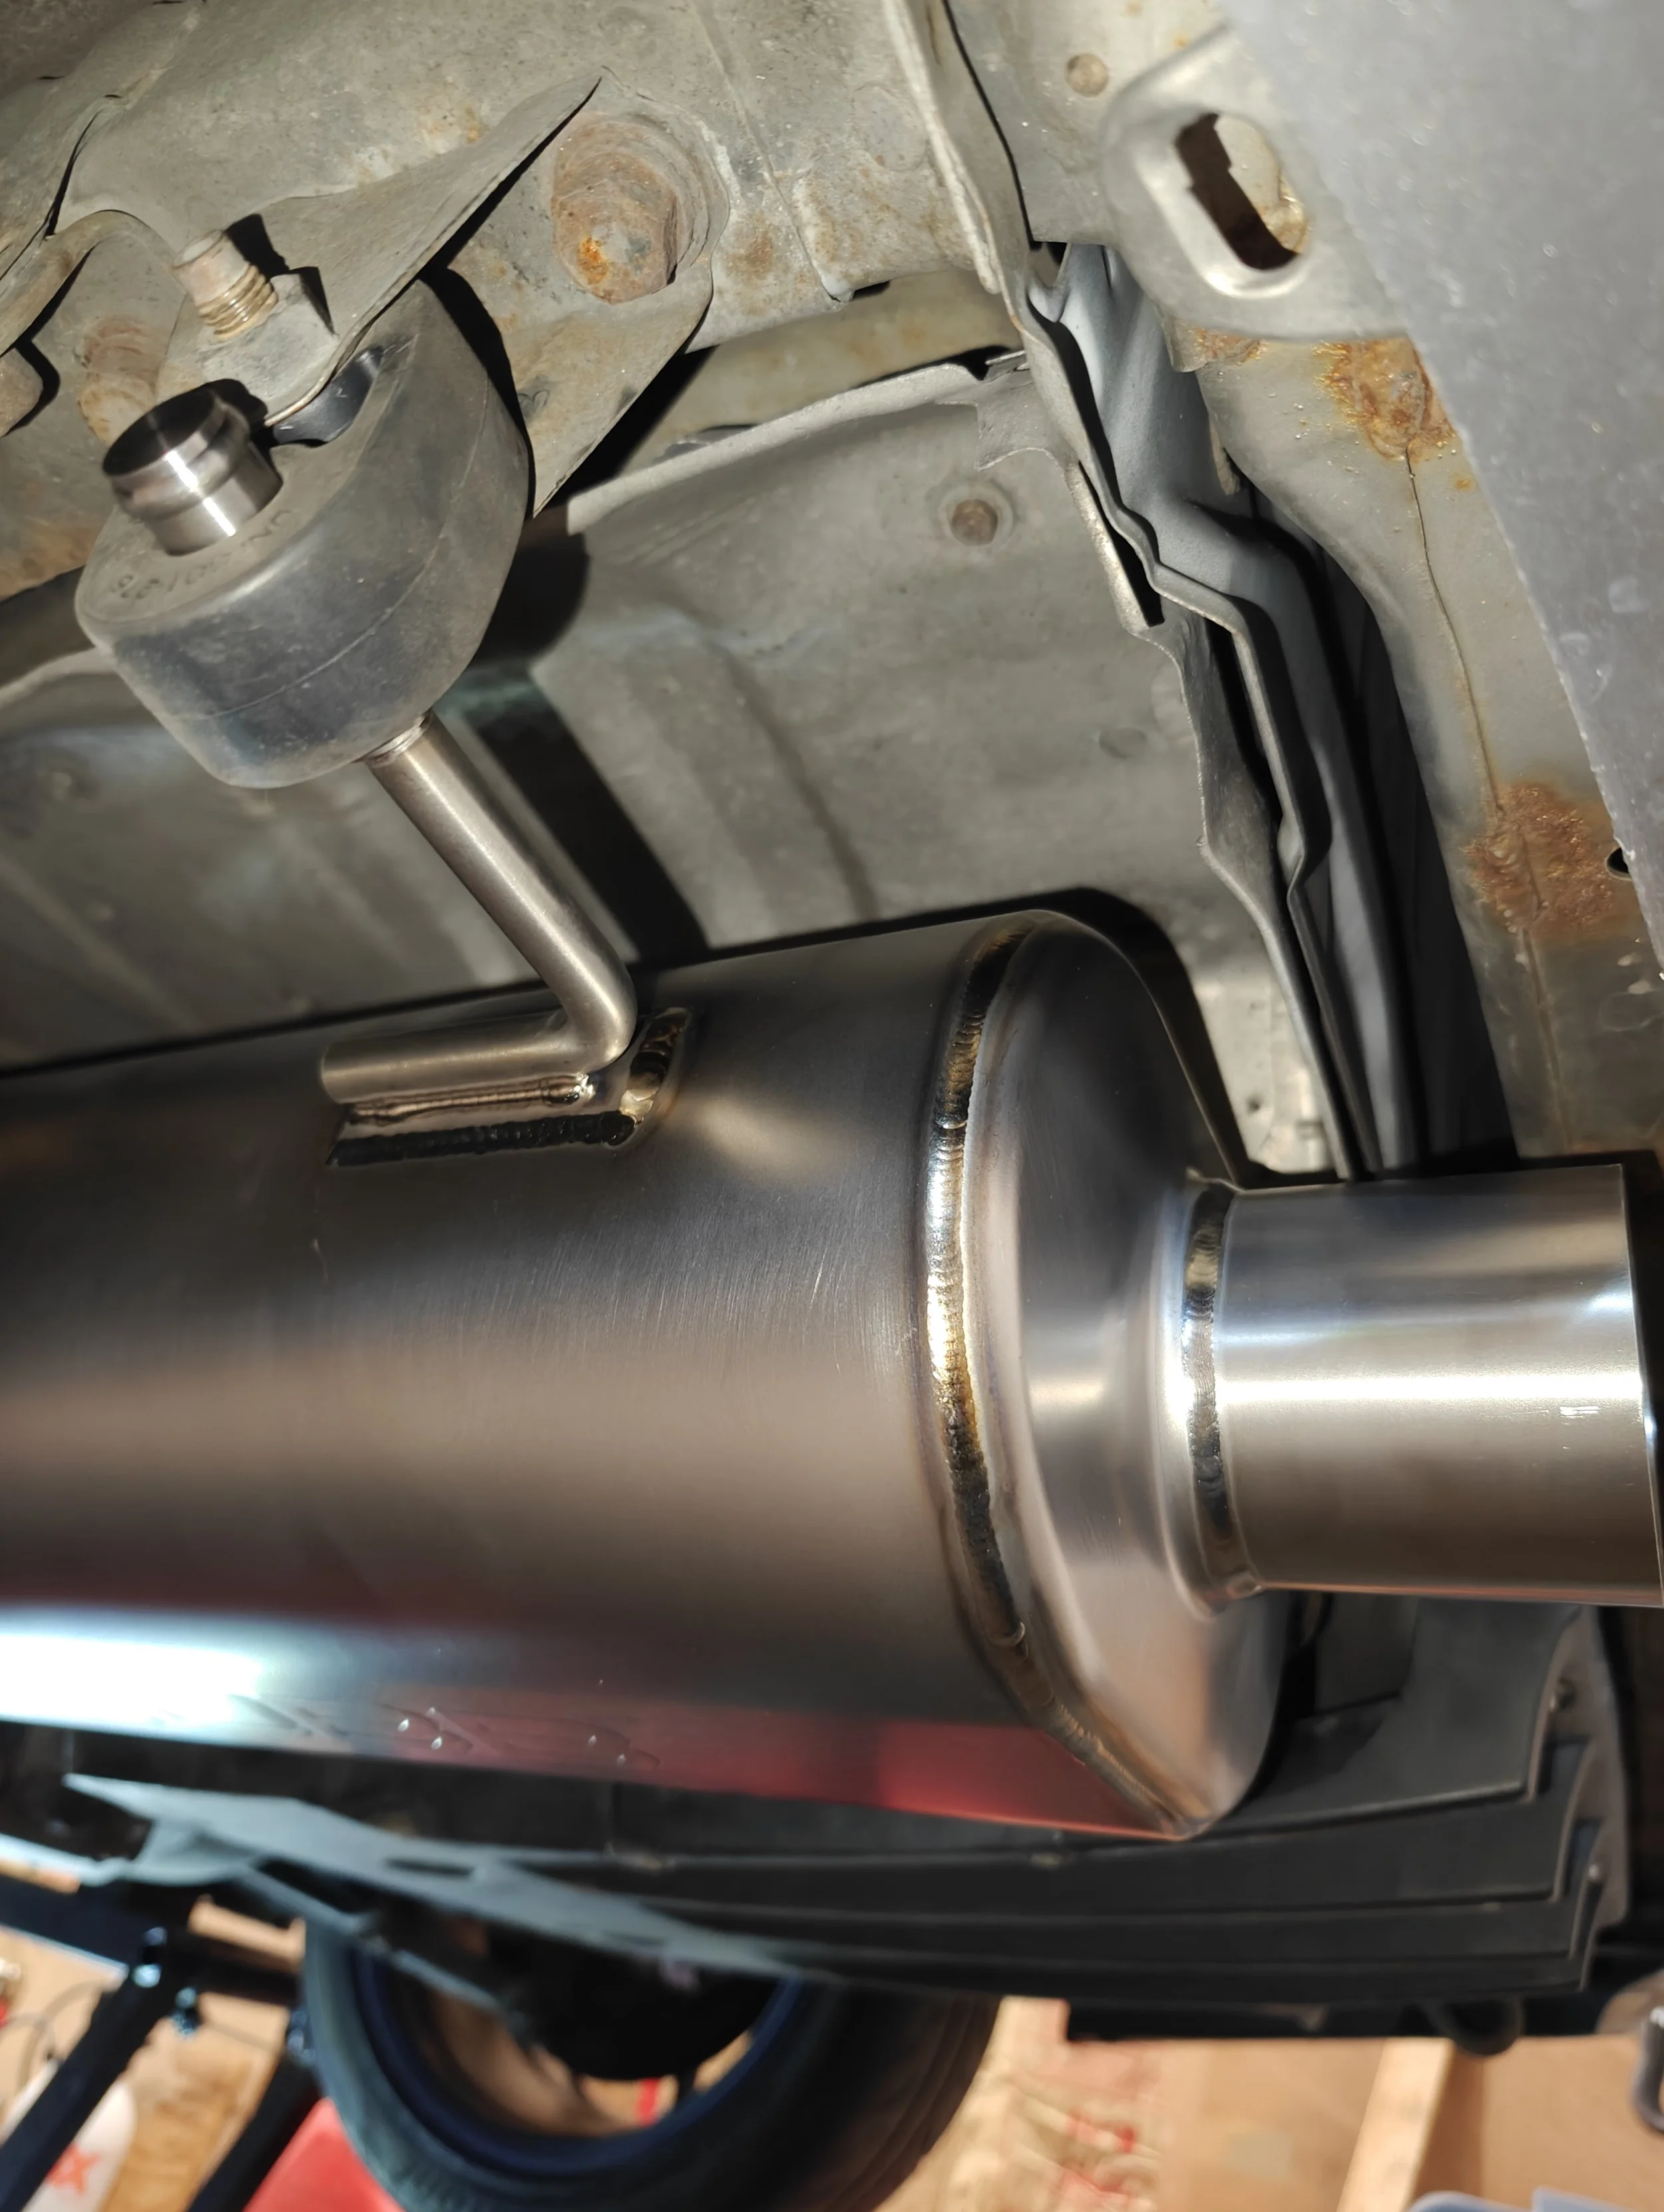
Now is the time to gloves and carefully maneuver your Cobb titanium midpipe under the car and into position. The gloves help protect your finger oils from being left upon the exhaust piping. If it is not cleaned it will in fact leave hand and fingerprints up and down the pipe if not cleaned prior to the first heat cycle.

The midpipe is now installed but not tightened to make it easy line up the other pieces.

After loosely installing the front bolts we can slide the hanger in place.
If you are installing this with a factory downpipe you will need to use a Subaru donut gasket to bridge this gap. You will also need the proper bolts and springs to secure it properly. If your setup includes a 3” downpipe a standard three inch two bolt gasket will provide you with a sealed joint. No bolts are supplied with the kit, so you can reuse or replace them with properly sized bolts.
Whichever bolts and gasket arrangement you end up using make sure to leave it loose so we can align the rest of the exhaust. Now you may slide the exhaust hanger into the rubber hanger while it waits to mount up with the muffler section.
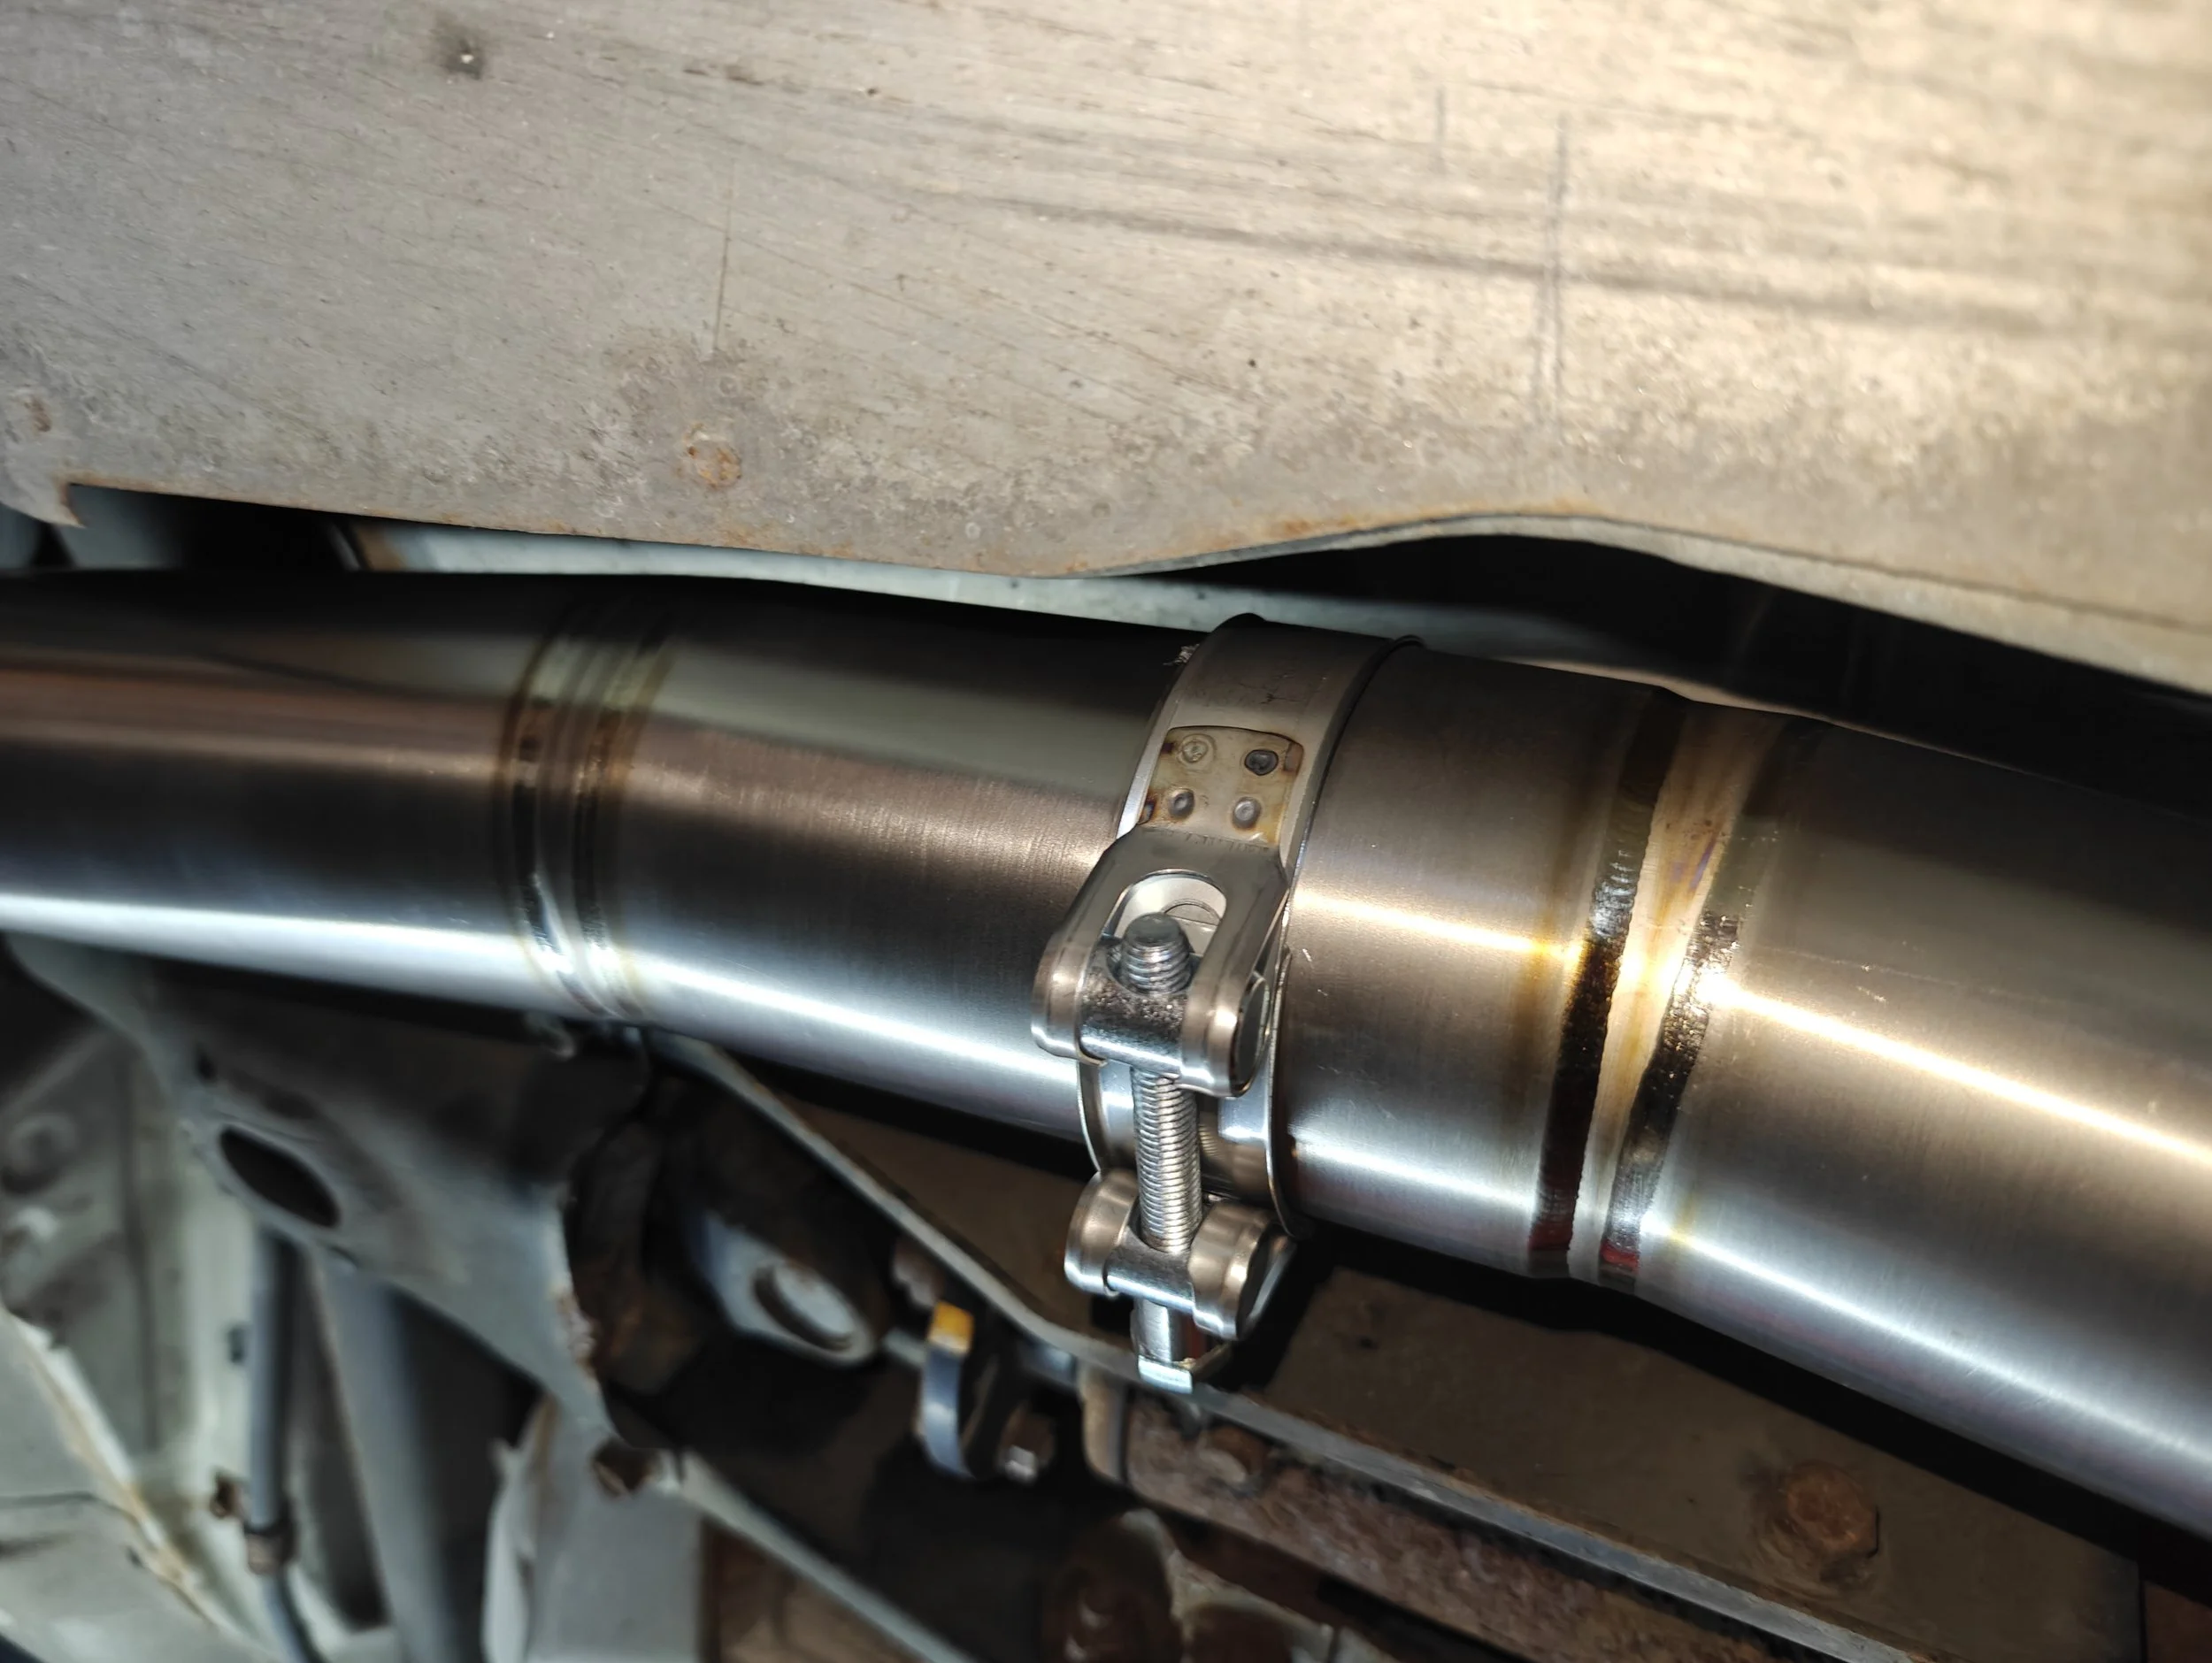
The muffler section has three hangers to keep it in position I found installing one hanger gave me some support as I maneuvered the exhaust sections into each other. I would highly recommend sliding the stainless steel clamps over the exhaust before slide them into one another… don’t ask me how I know. With it slid into place you can now pivot the muffler into the rubber hangers.
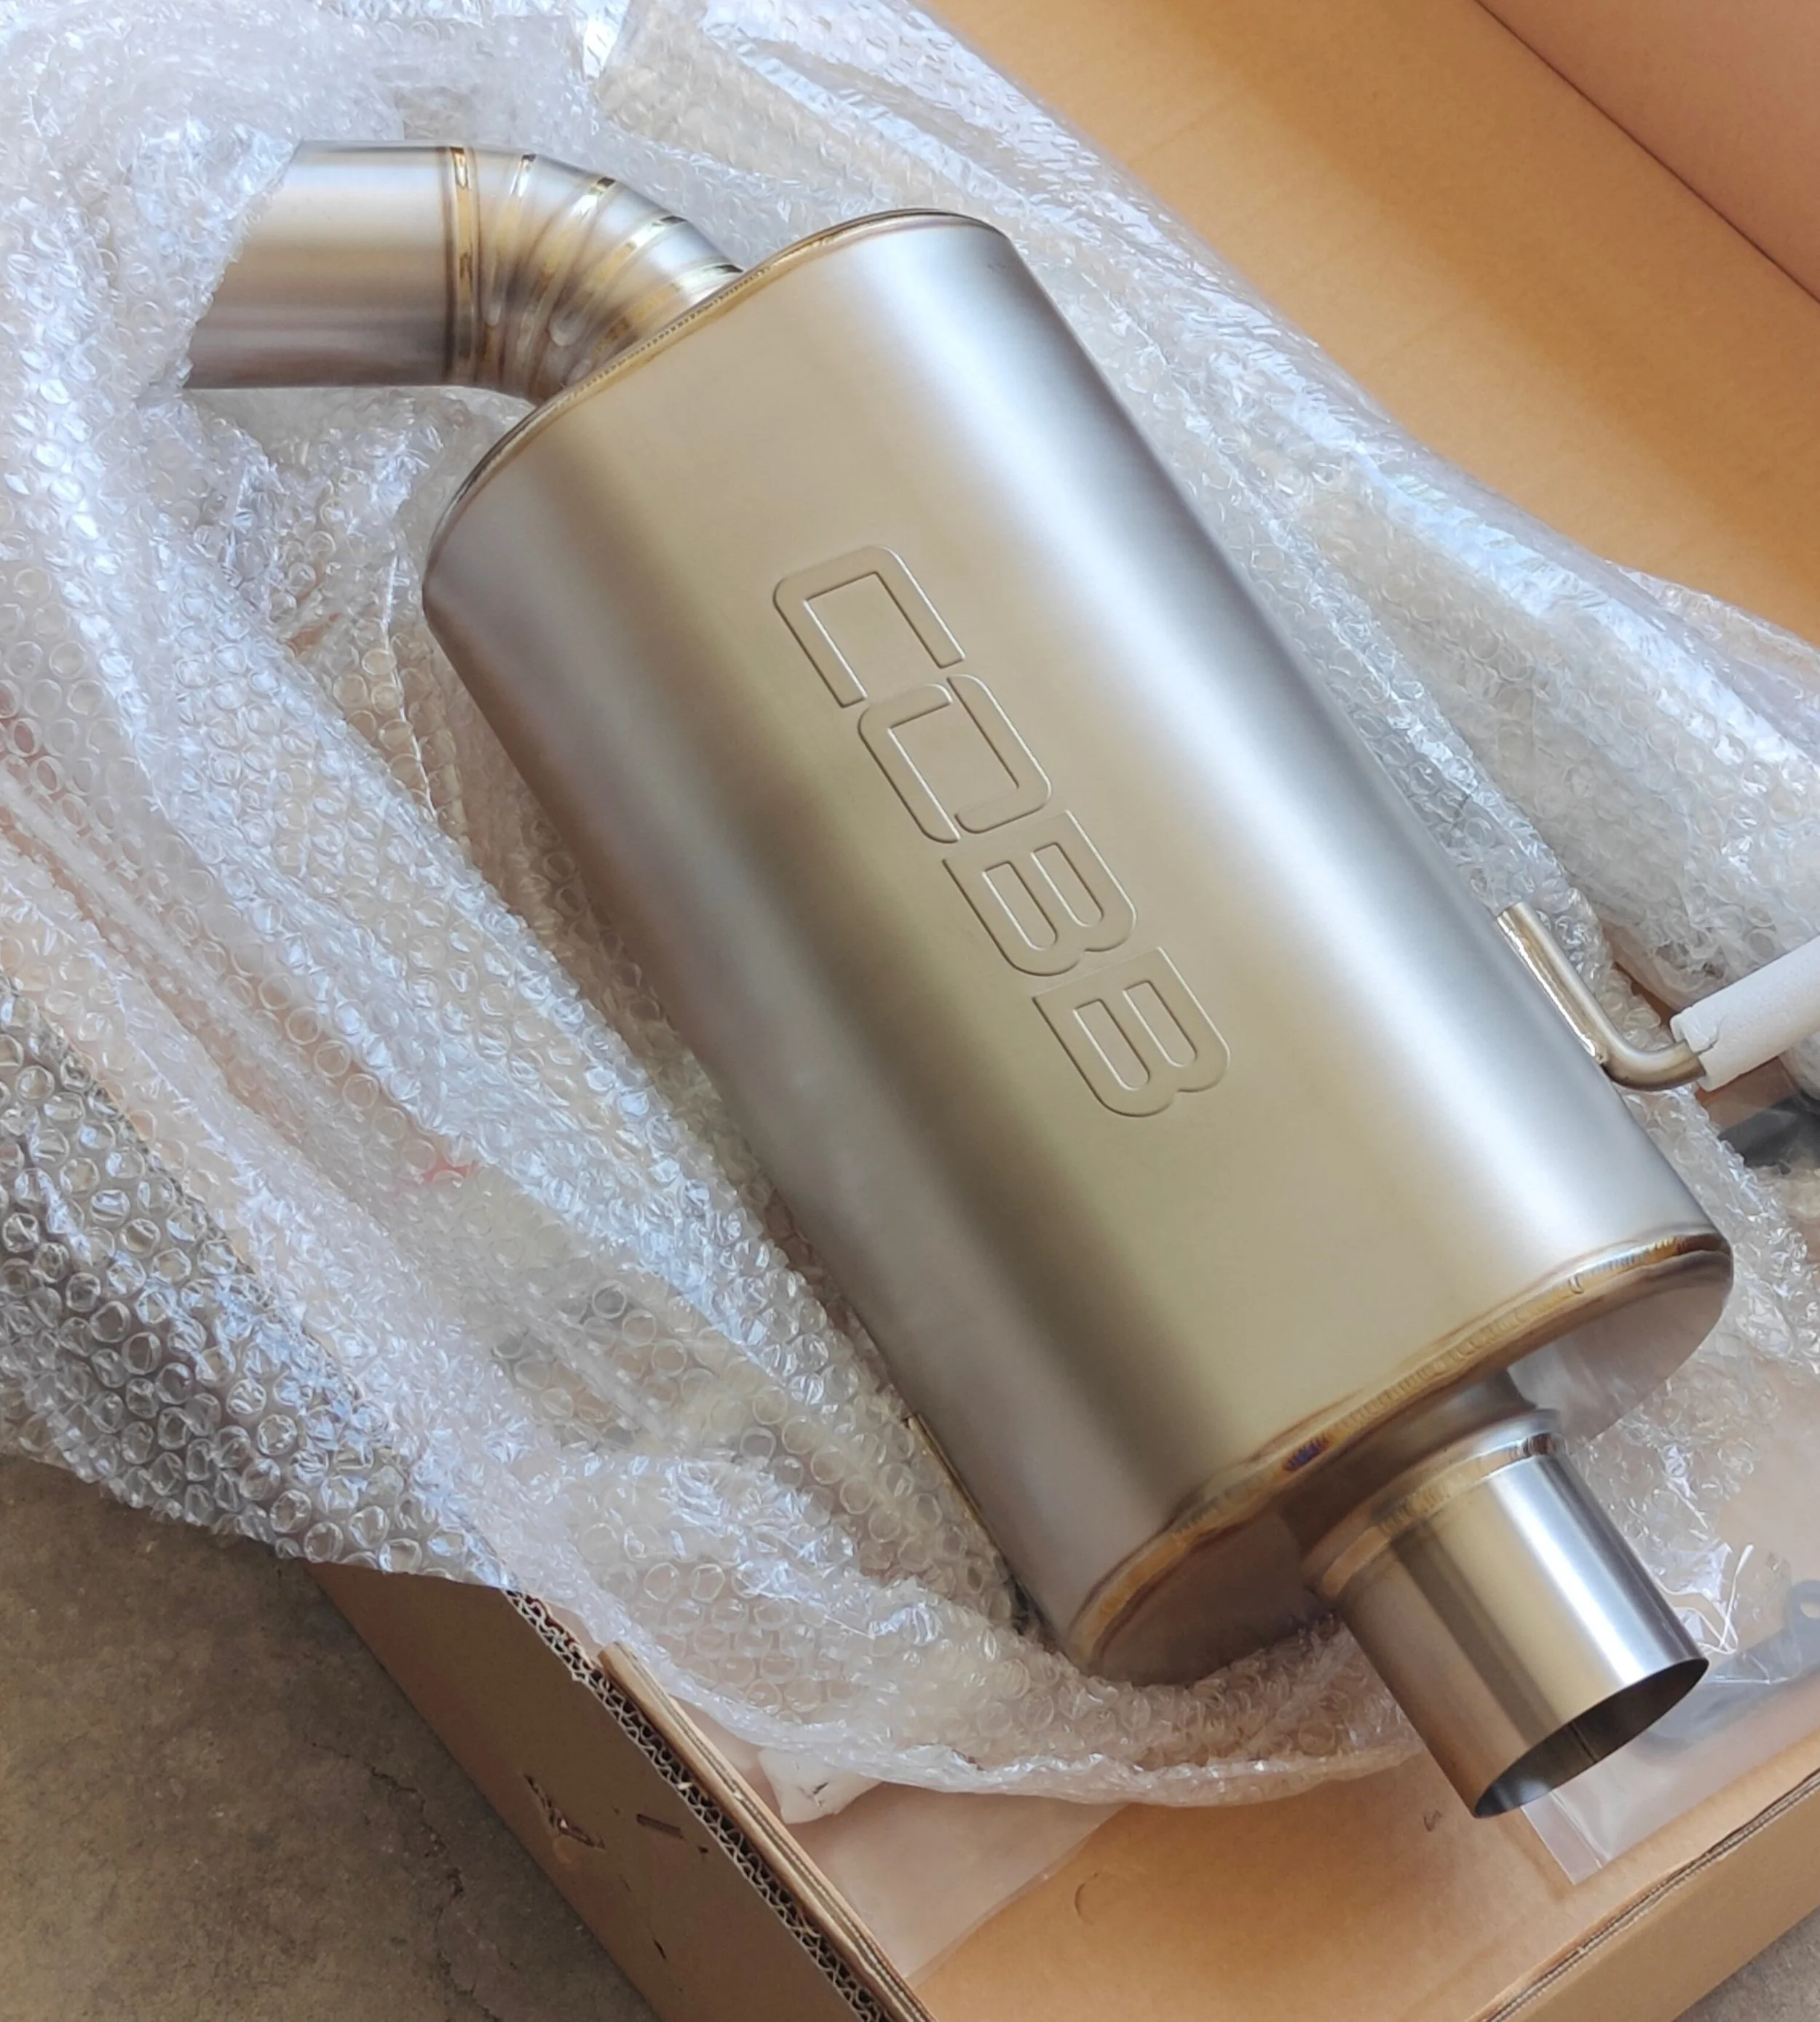
The muffler comes well packed and protected. Time for it to go on the vehicle.

I found installing the front hanger made it easy to support and still move the muffler and midpipe together.

Sliding the rear muffler section over the midpipe.
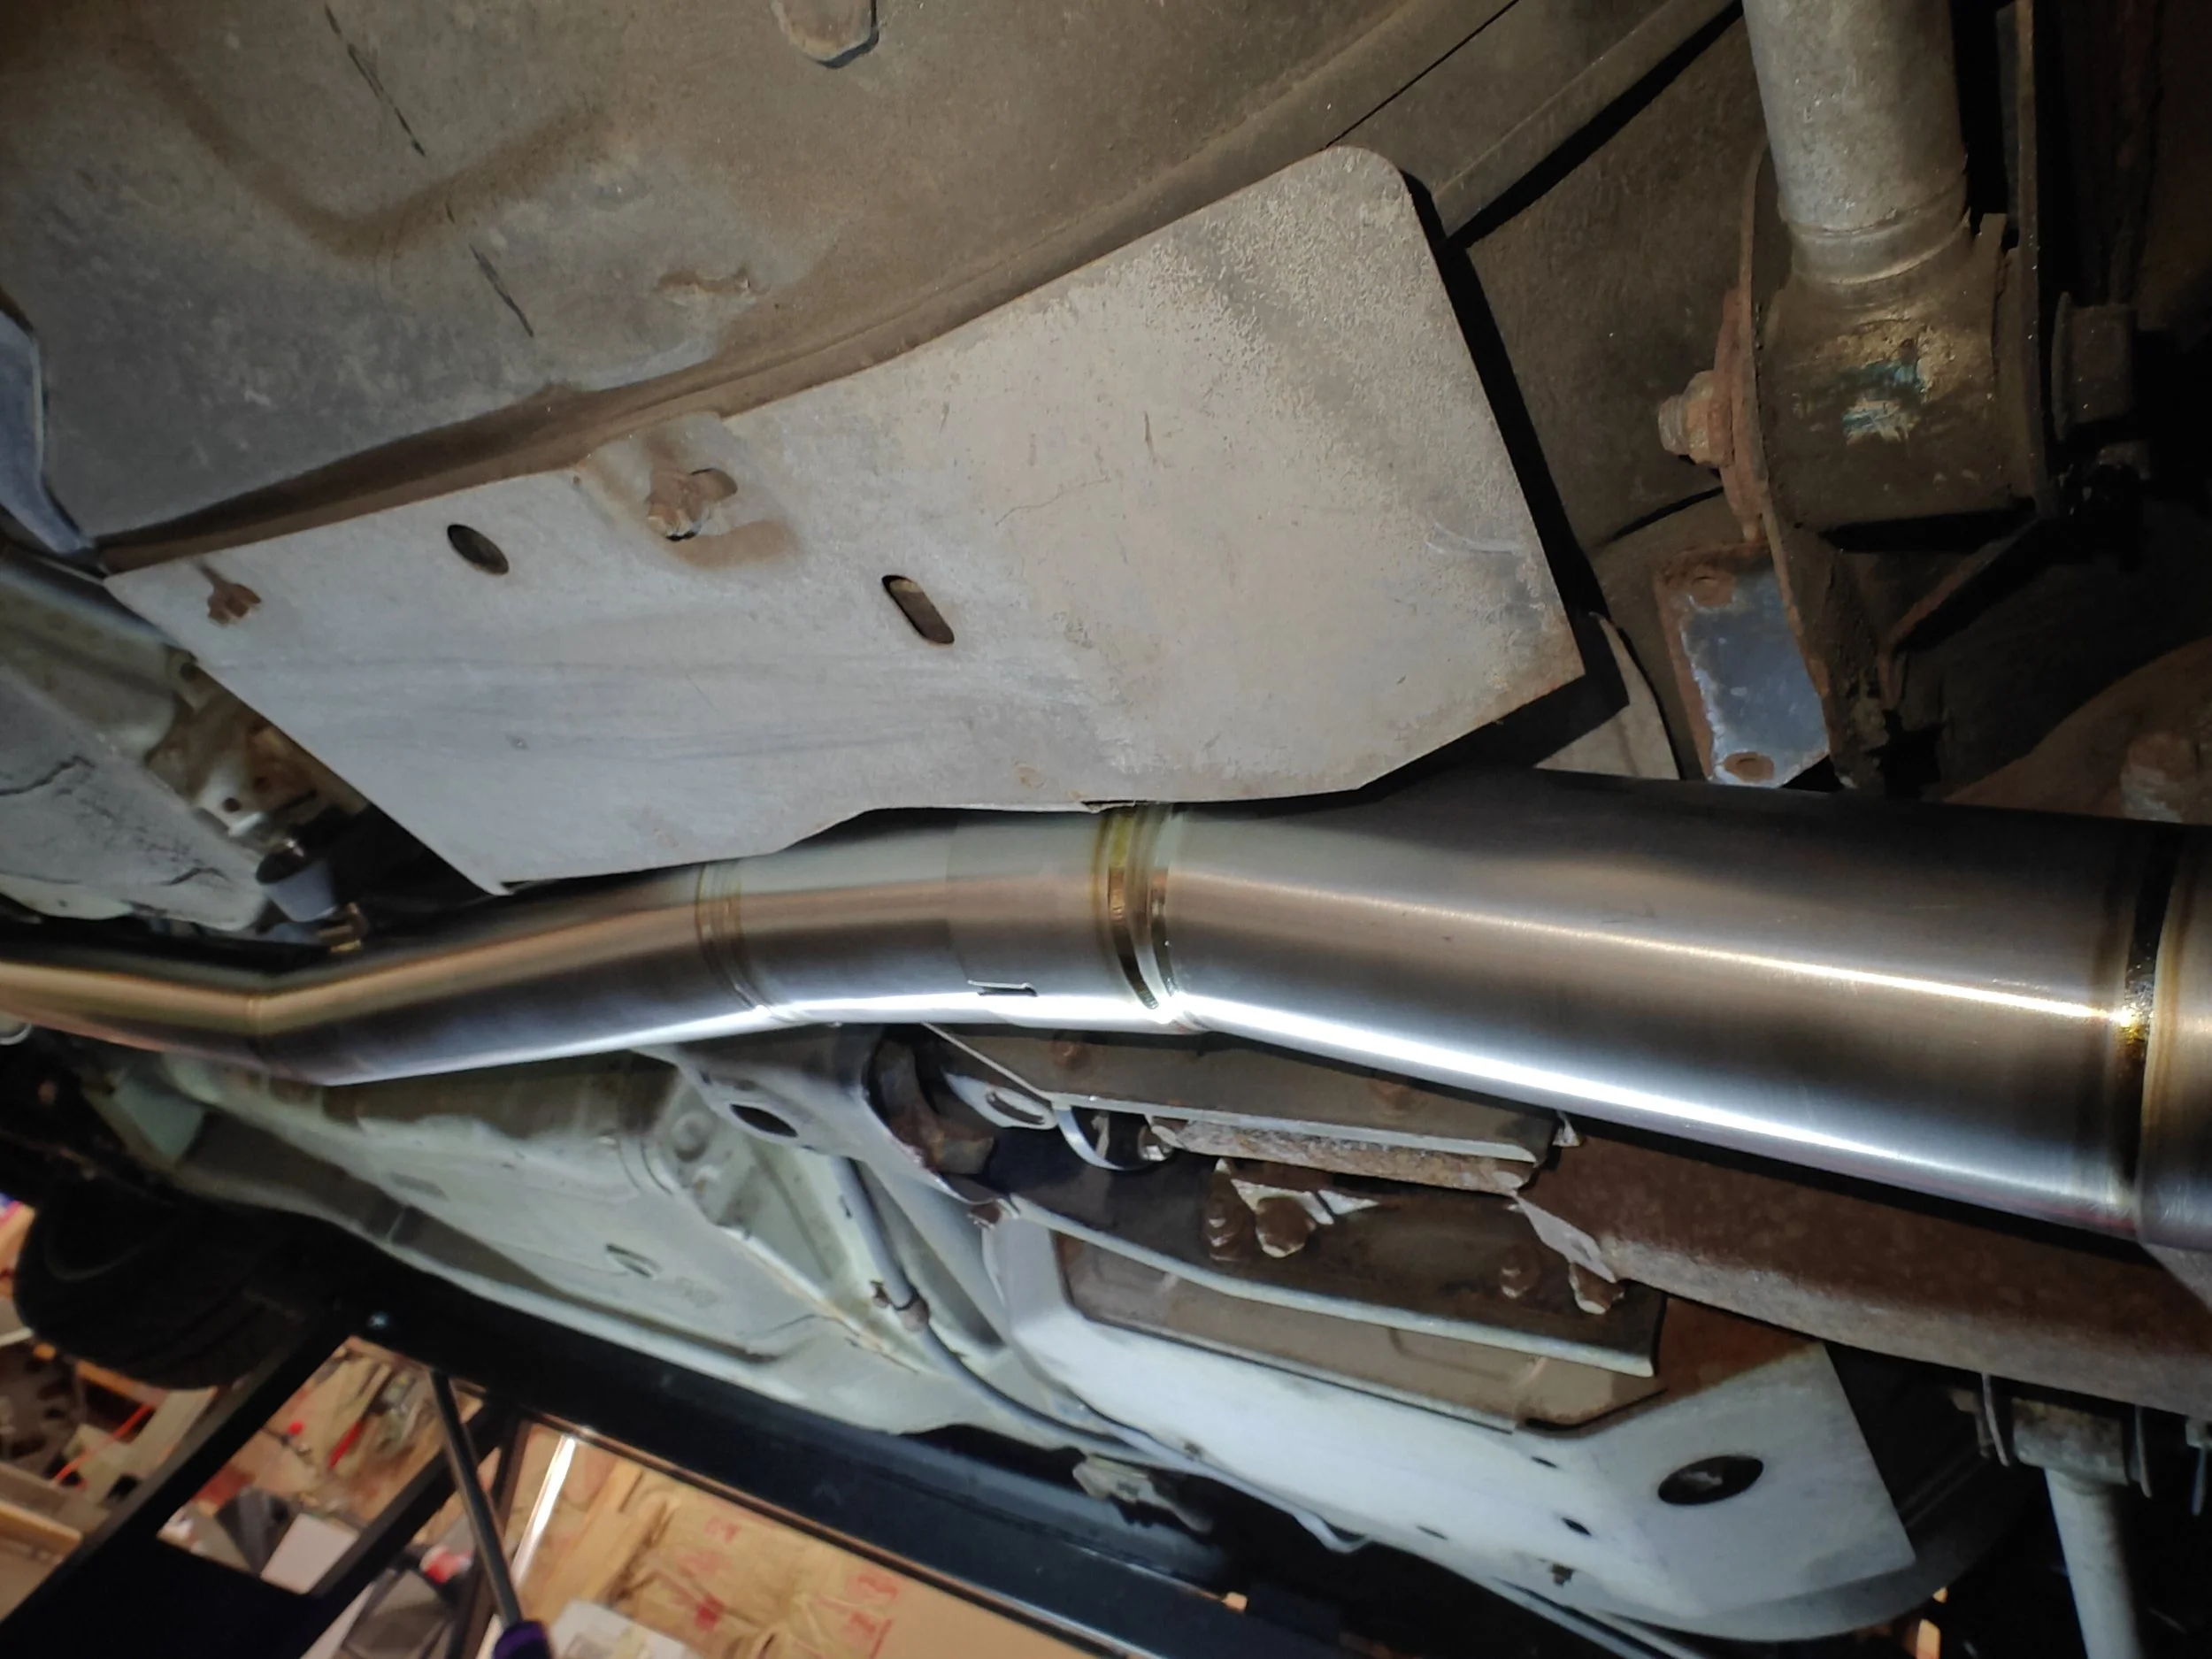
Once the pipes are in place you can move back to the muffler.
Now is the time to make sure it is all situated in place and tighten up the clamps and bolts. Torque specs all come down to what gaskets and bolts you end up using.
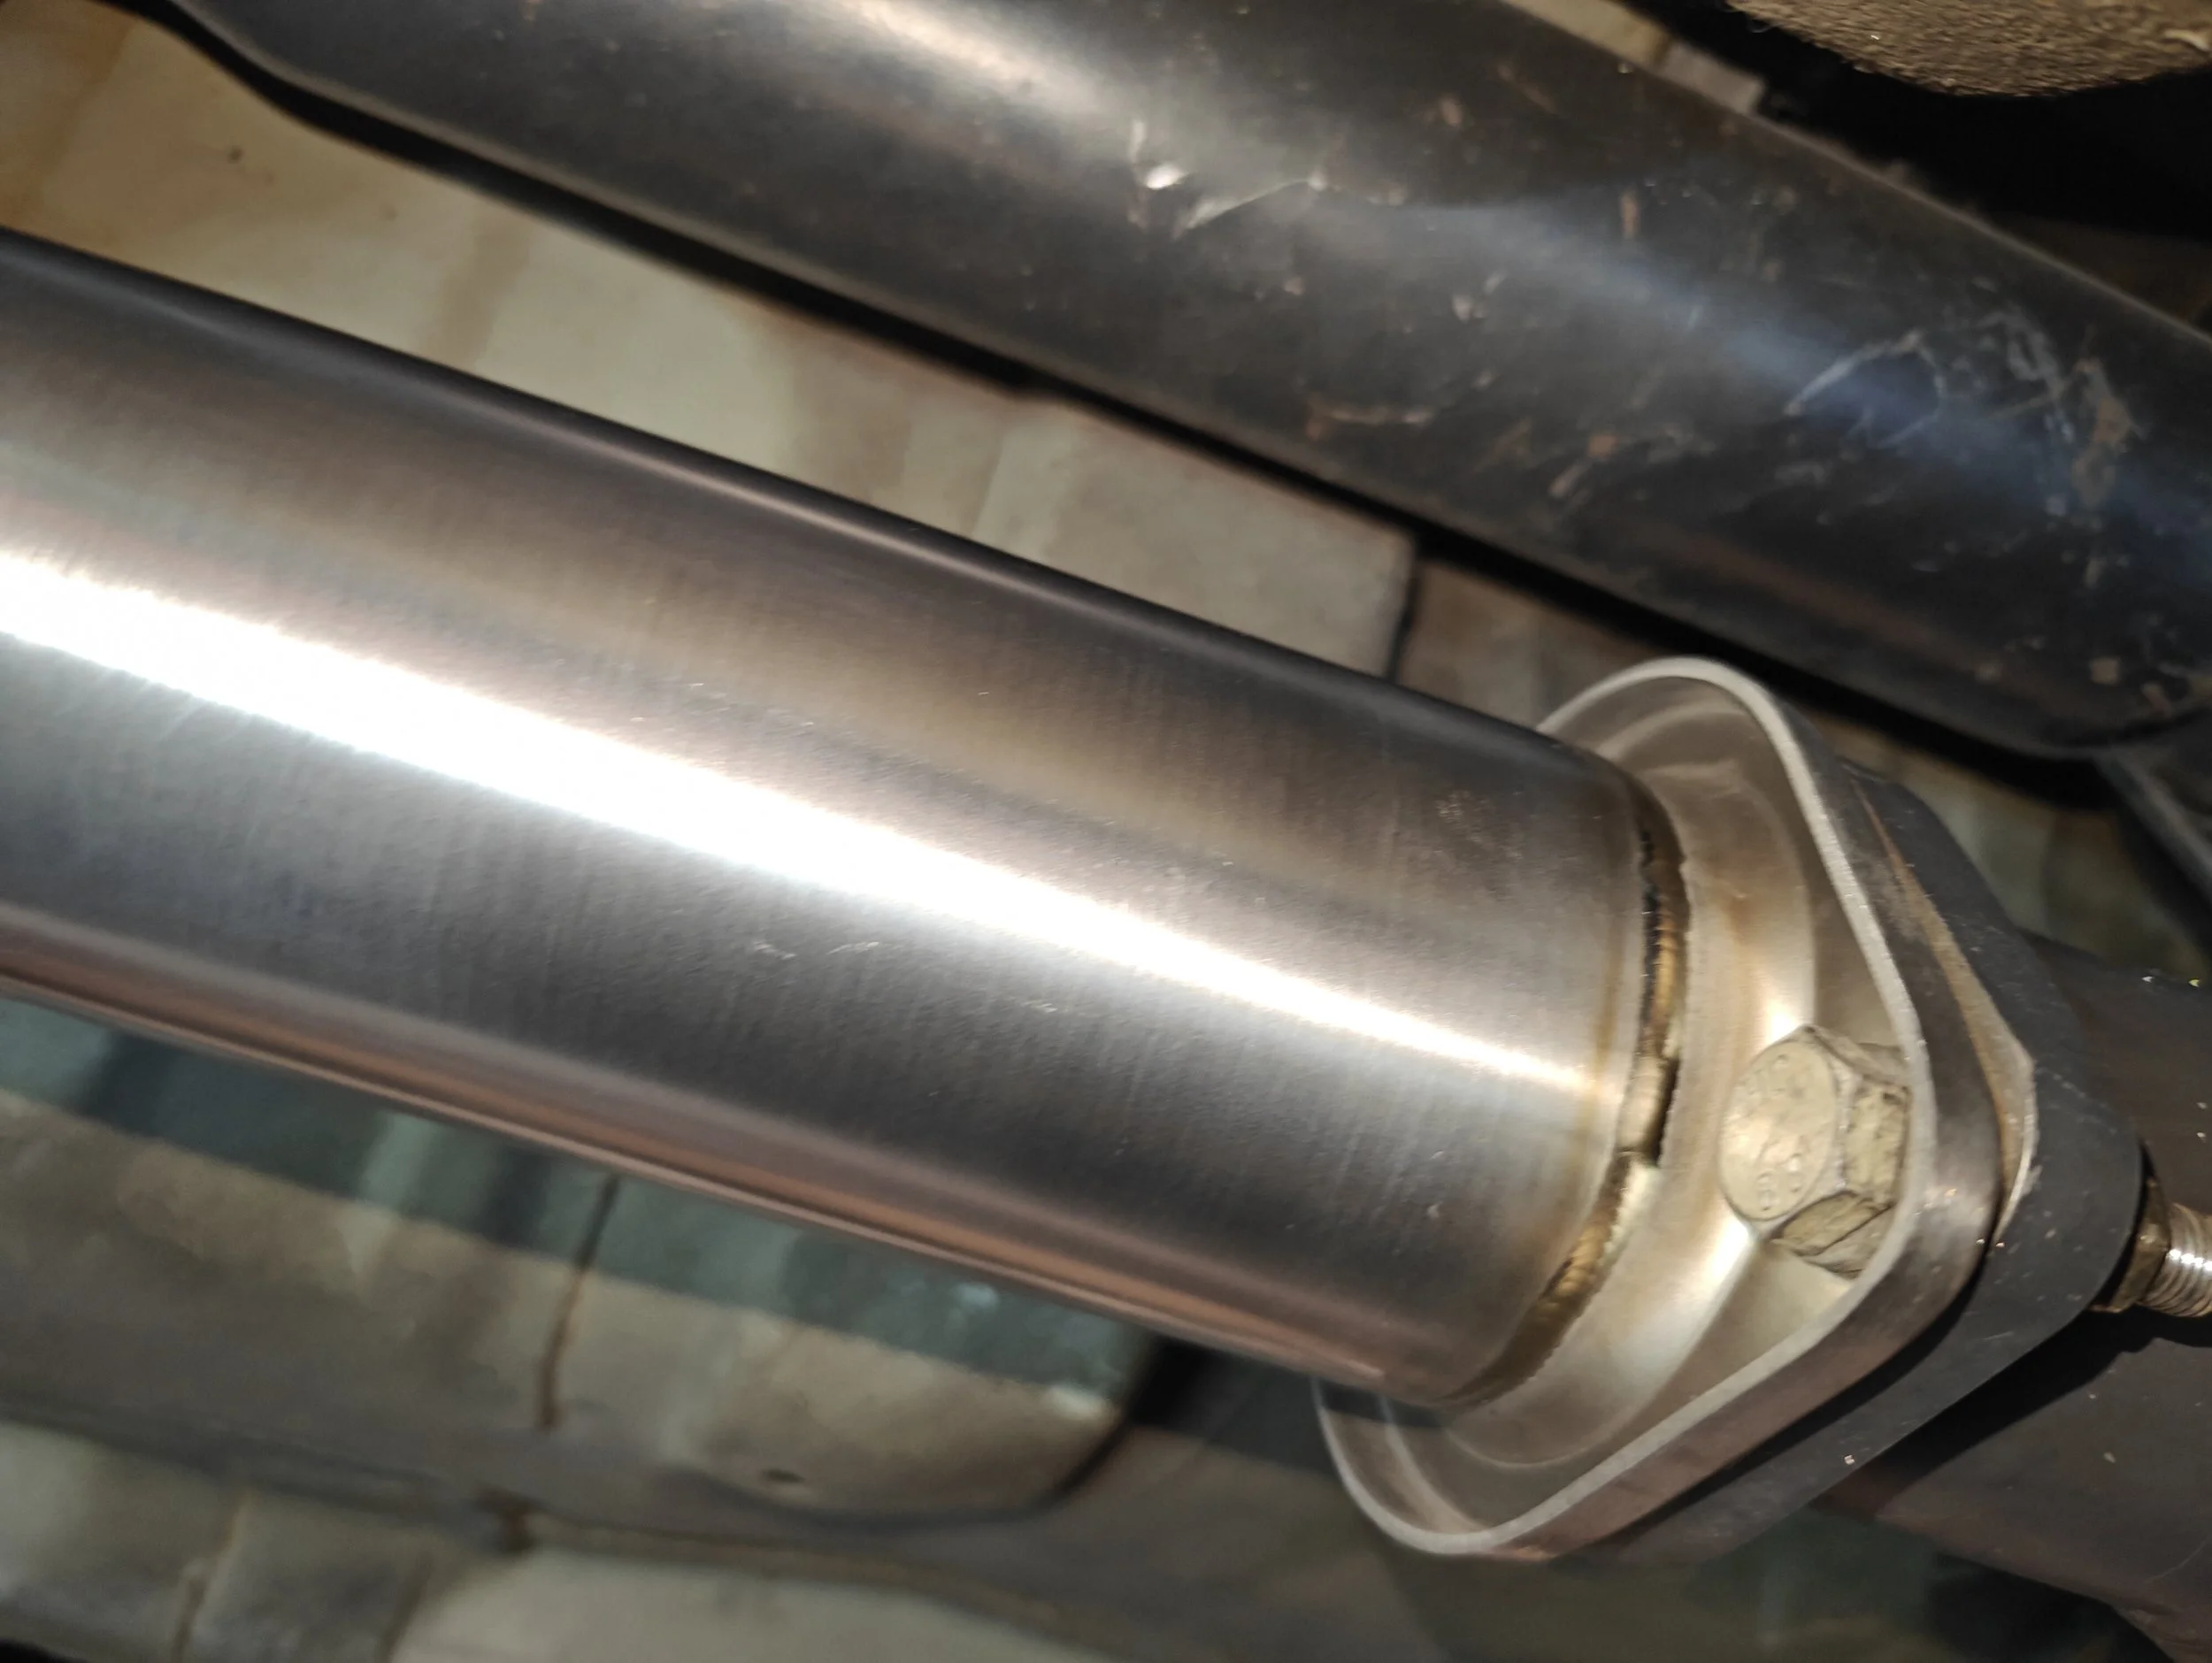
You can go ahead and tighten up your connections points. I started with the midpipe to downpipe connection.
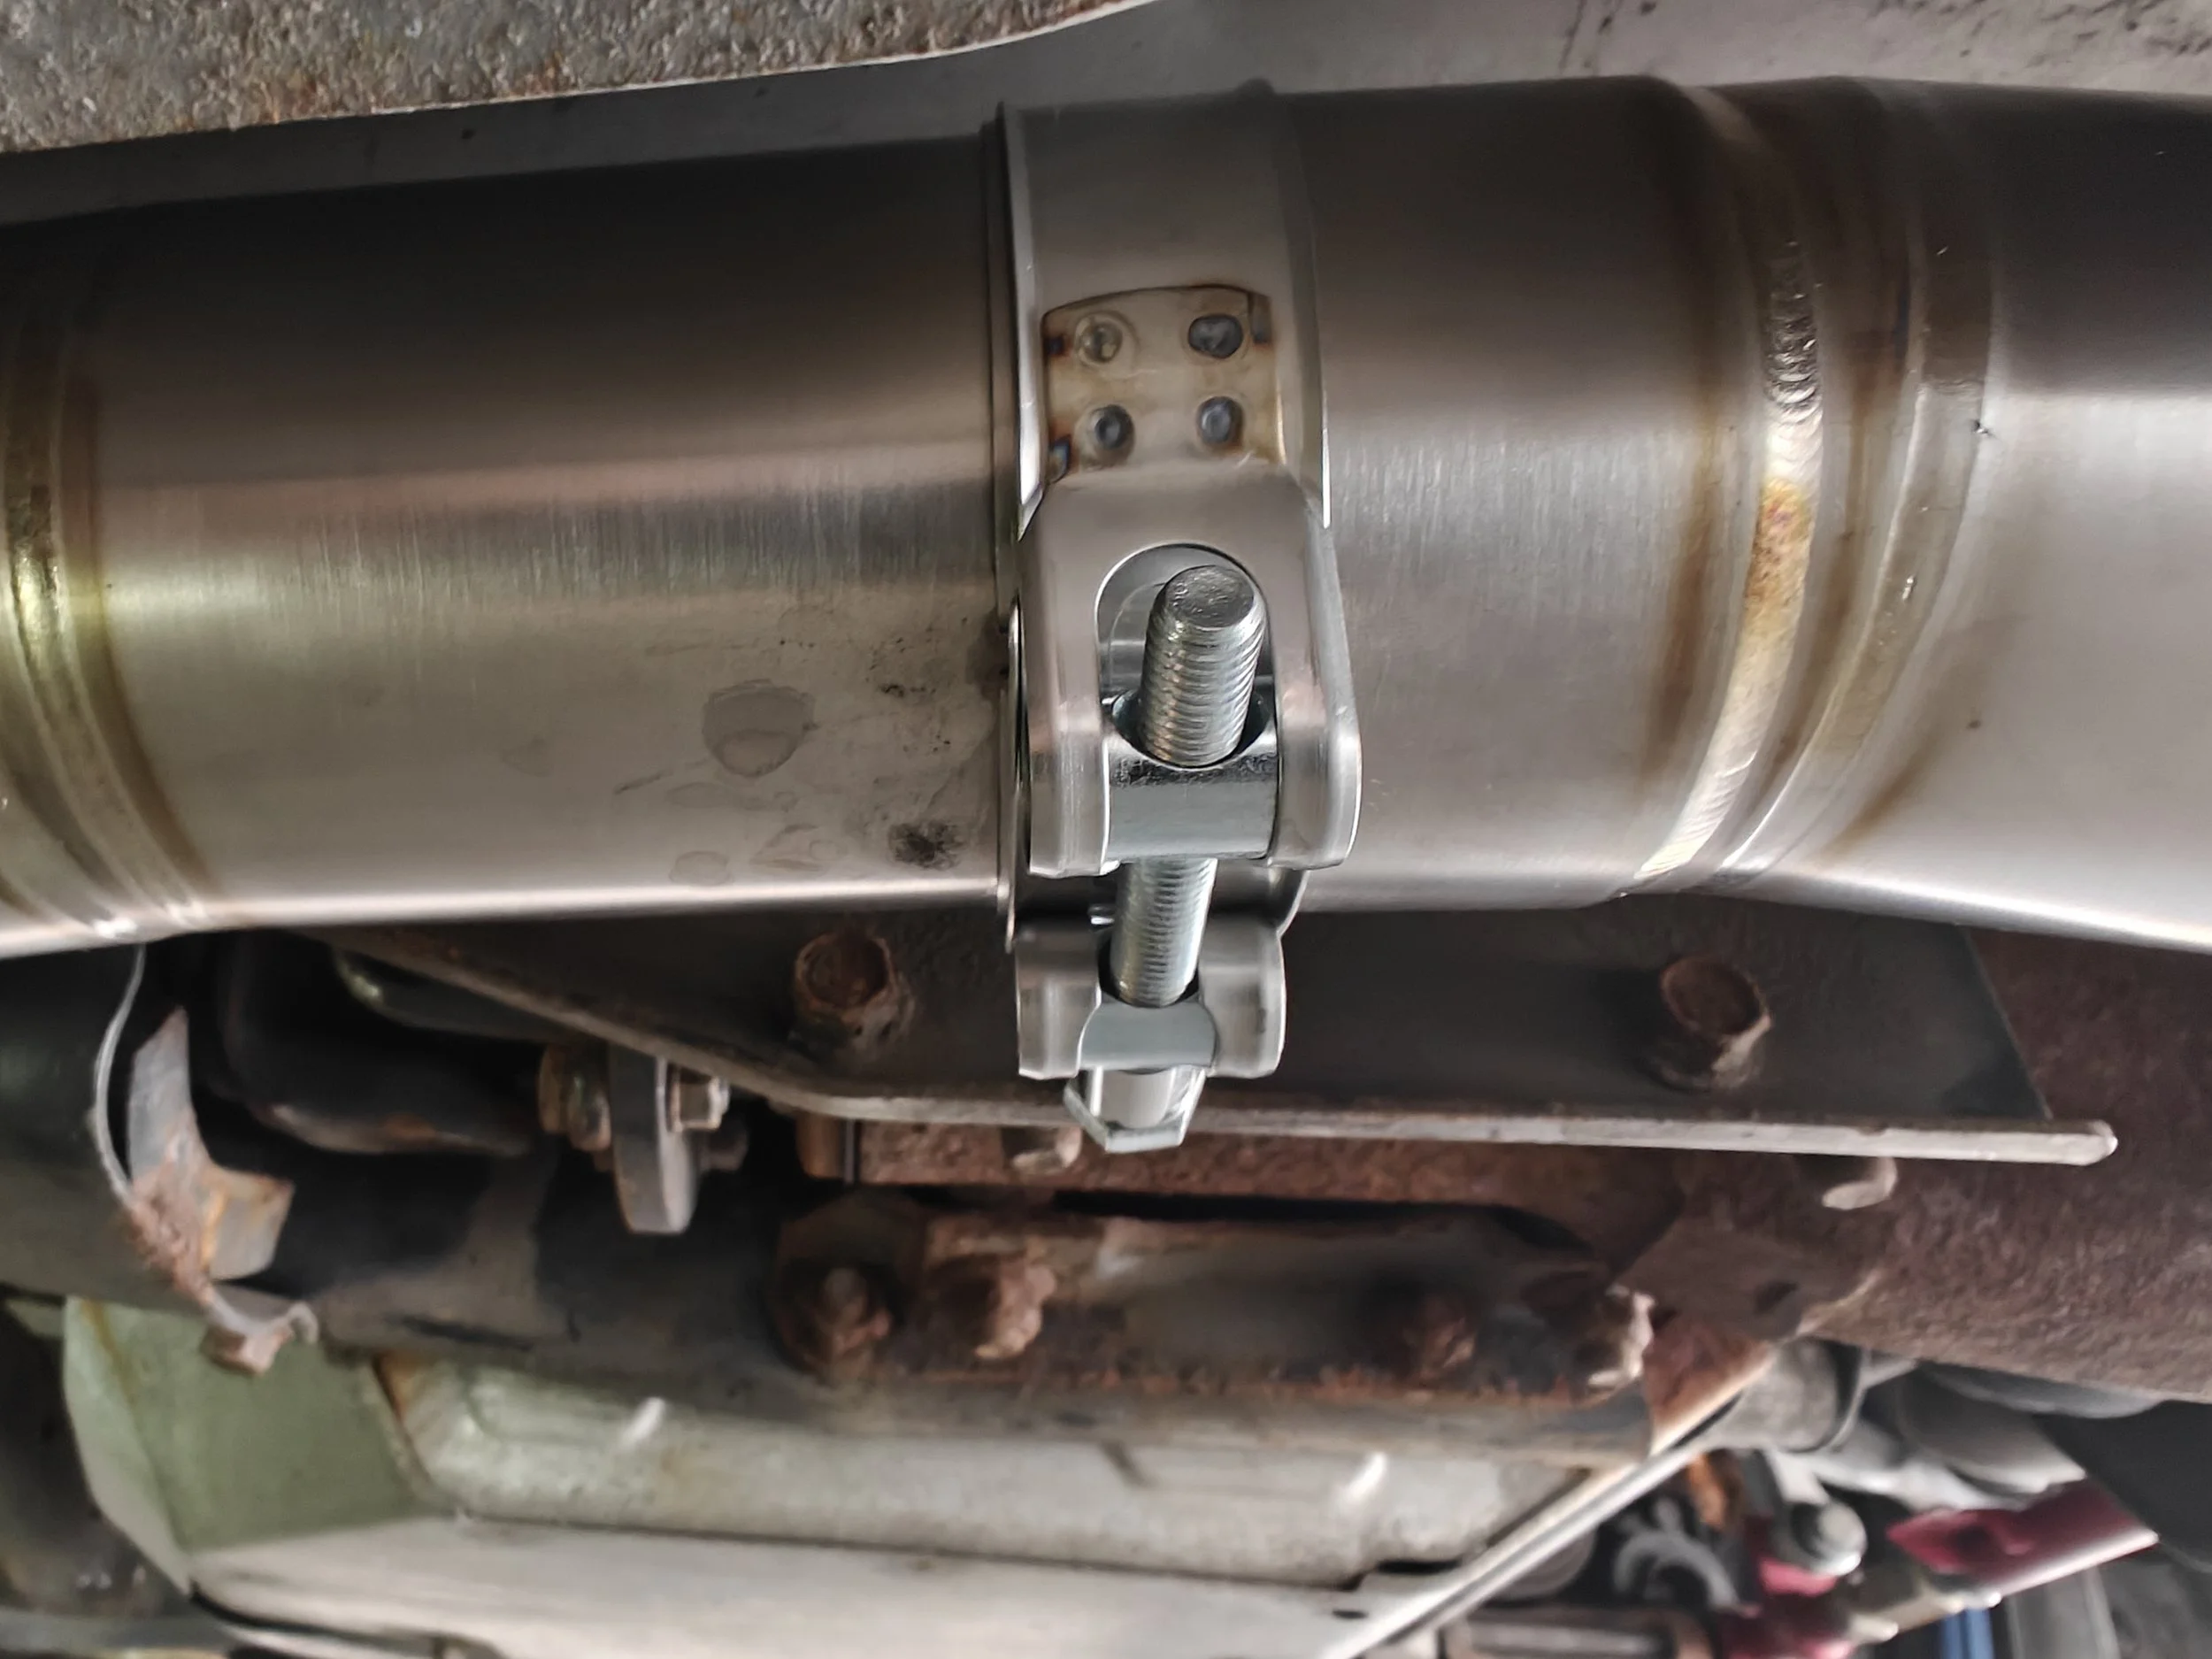
Midpipe to muffler section is up next.
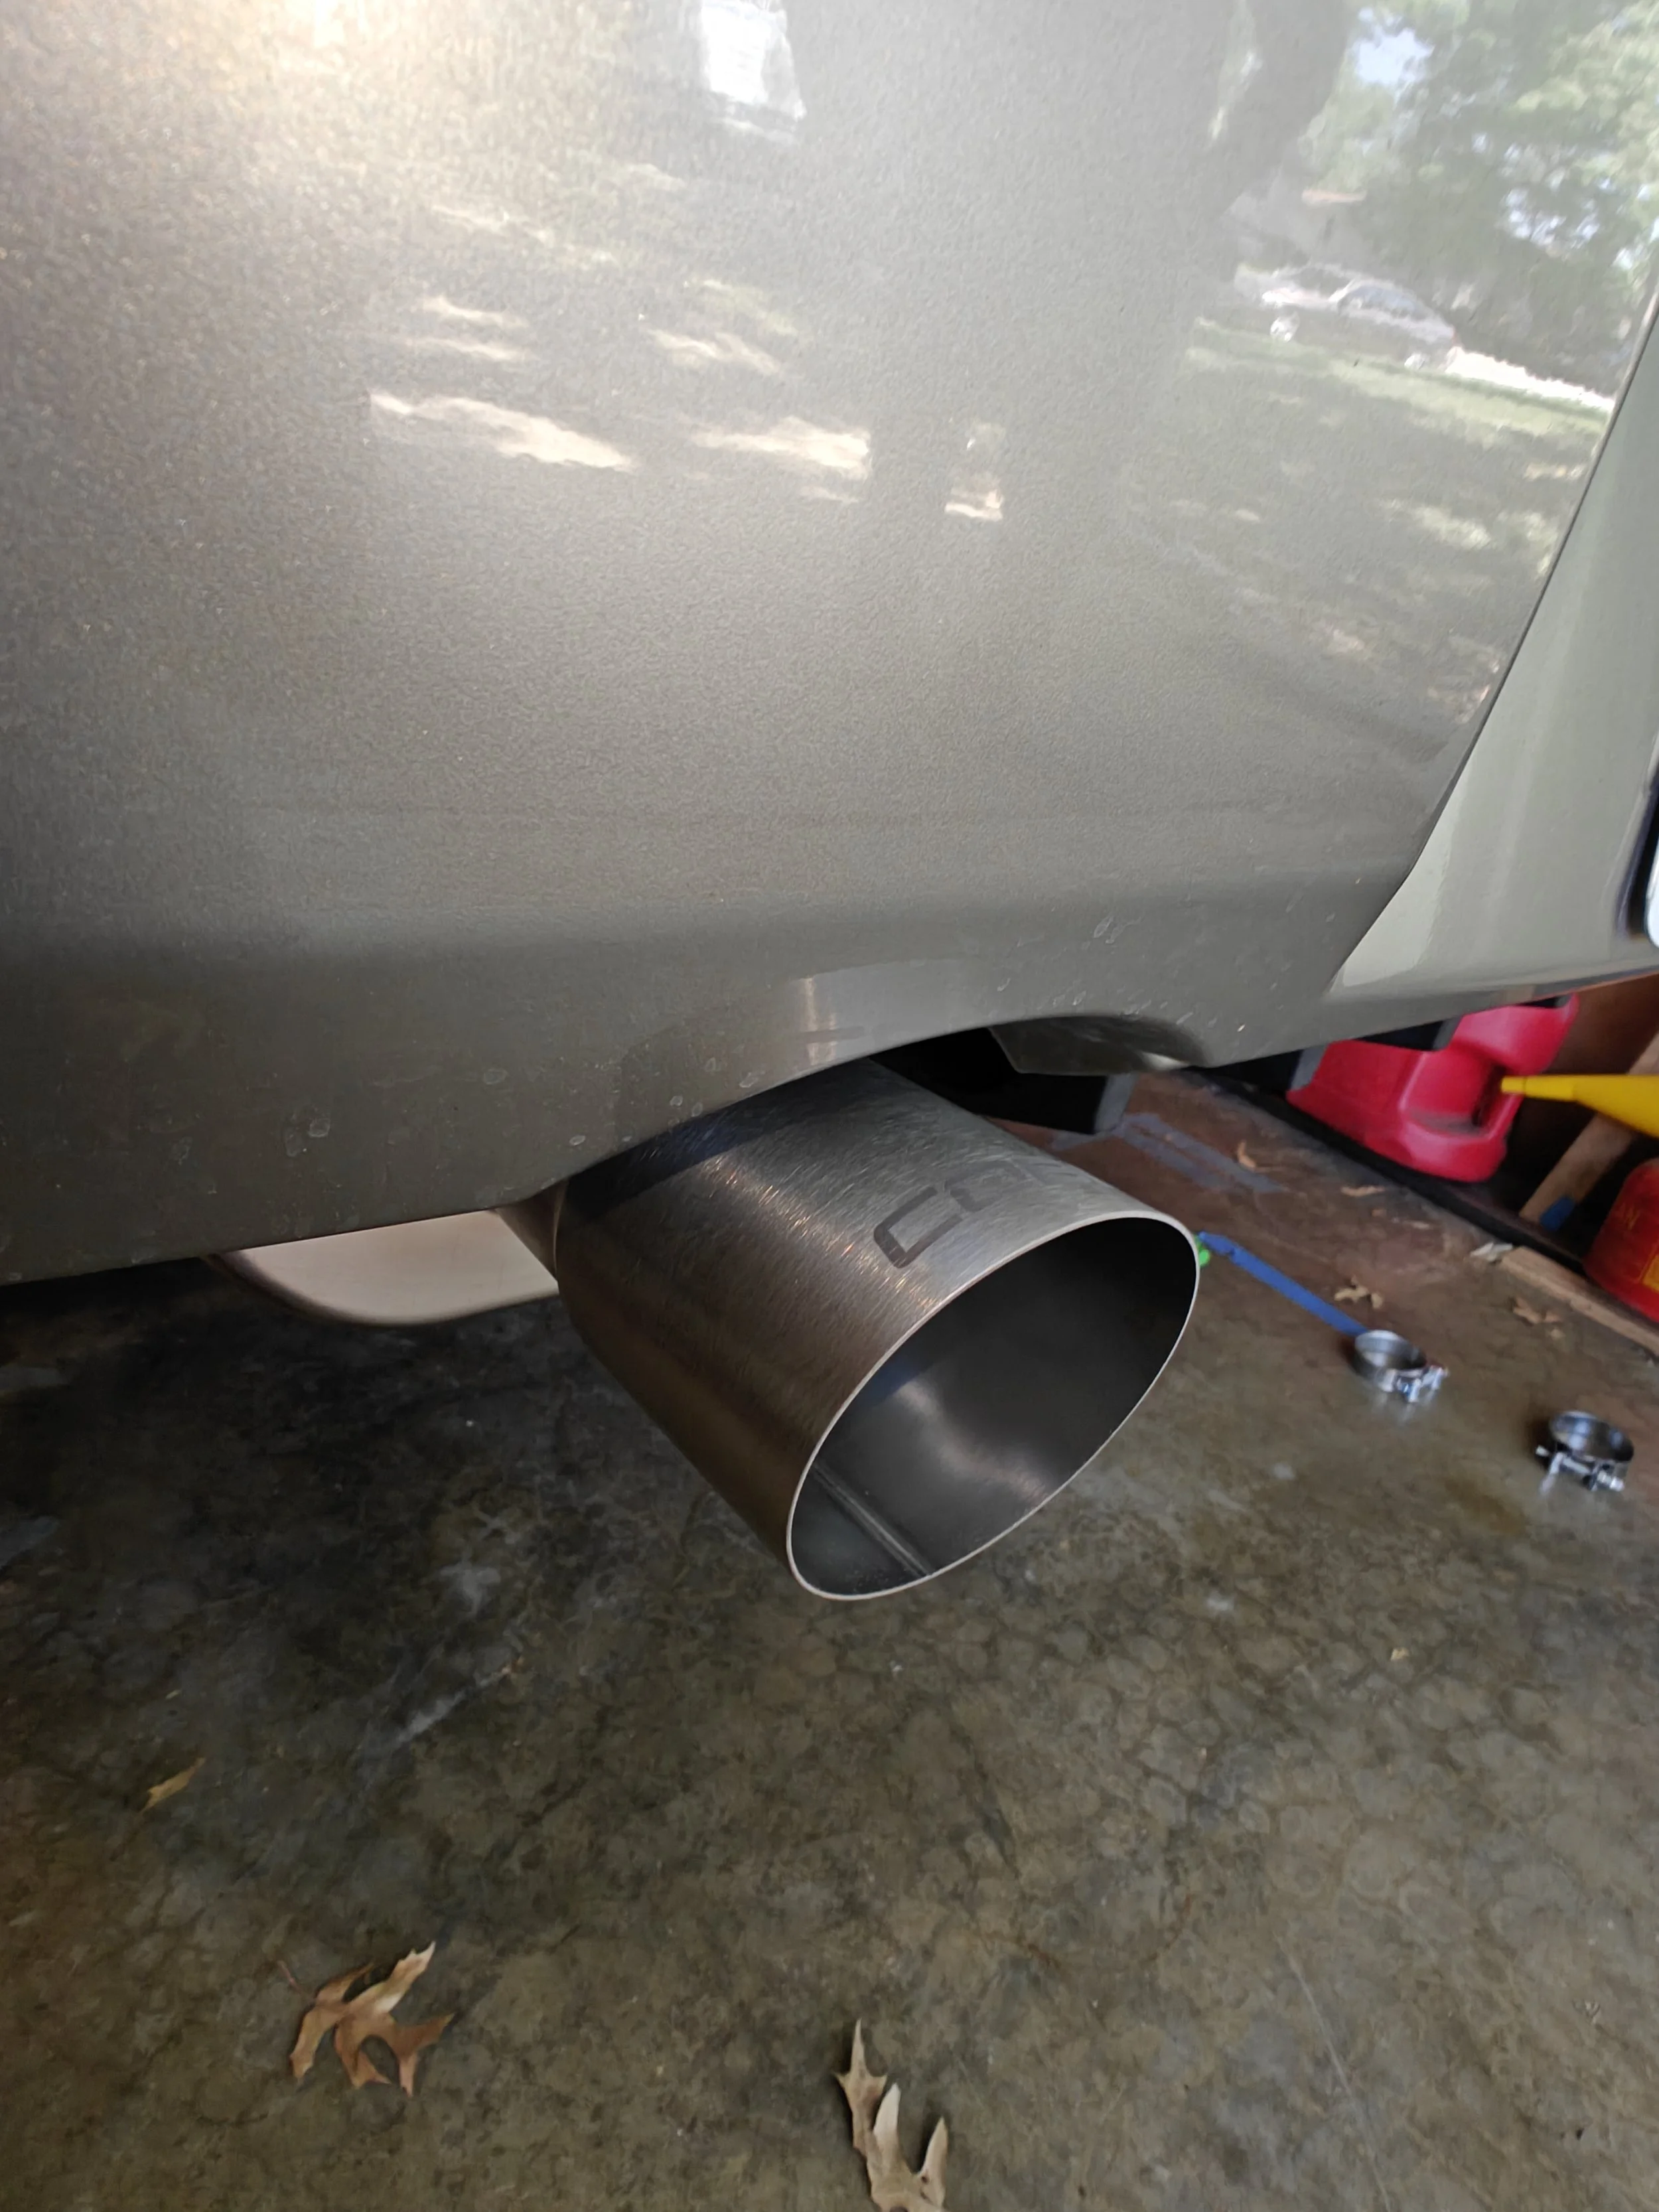
Your final steps will be cleaning the the titanium of any hand oils with Acetone to keep it looking fresh.
The toughest decision now lays ahead… do you go with the matte titanium tip or the more flashy burnt titanium tip. As I have had a 5” titanium burnt tip on my car I decided to go with the more subtle matte look. But who knows I might test out the titanium burnt tip to see how I like it later down the road.
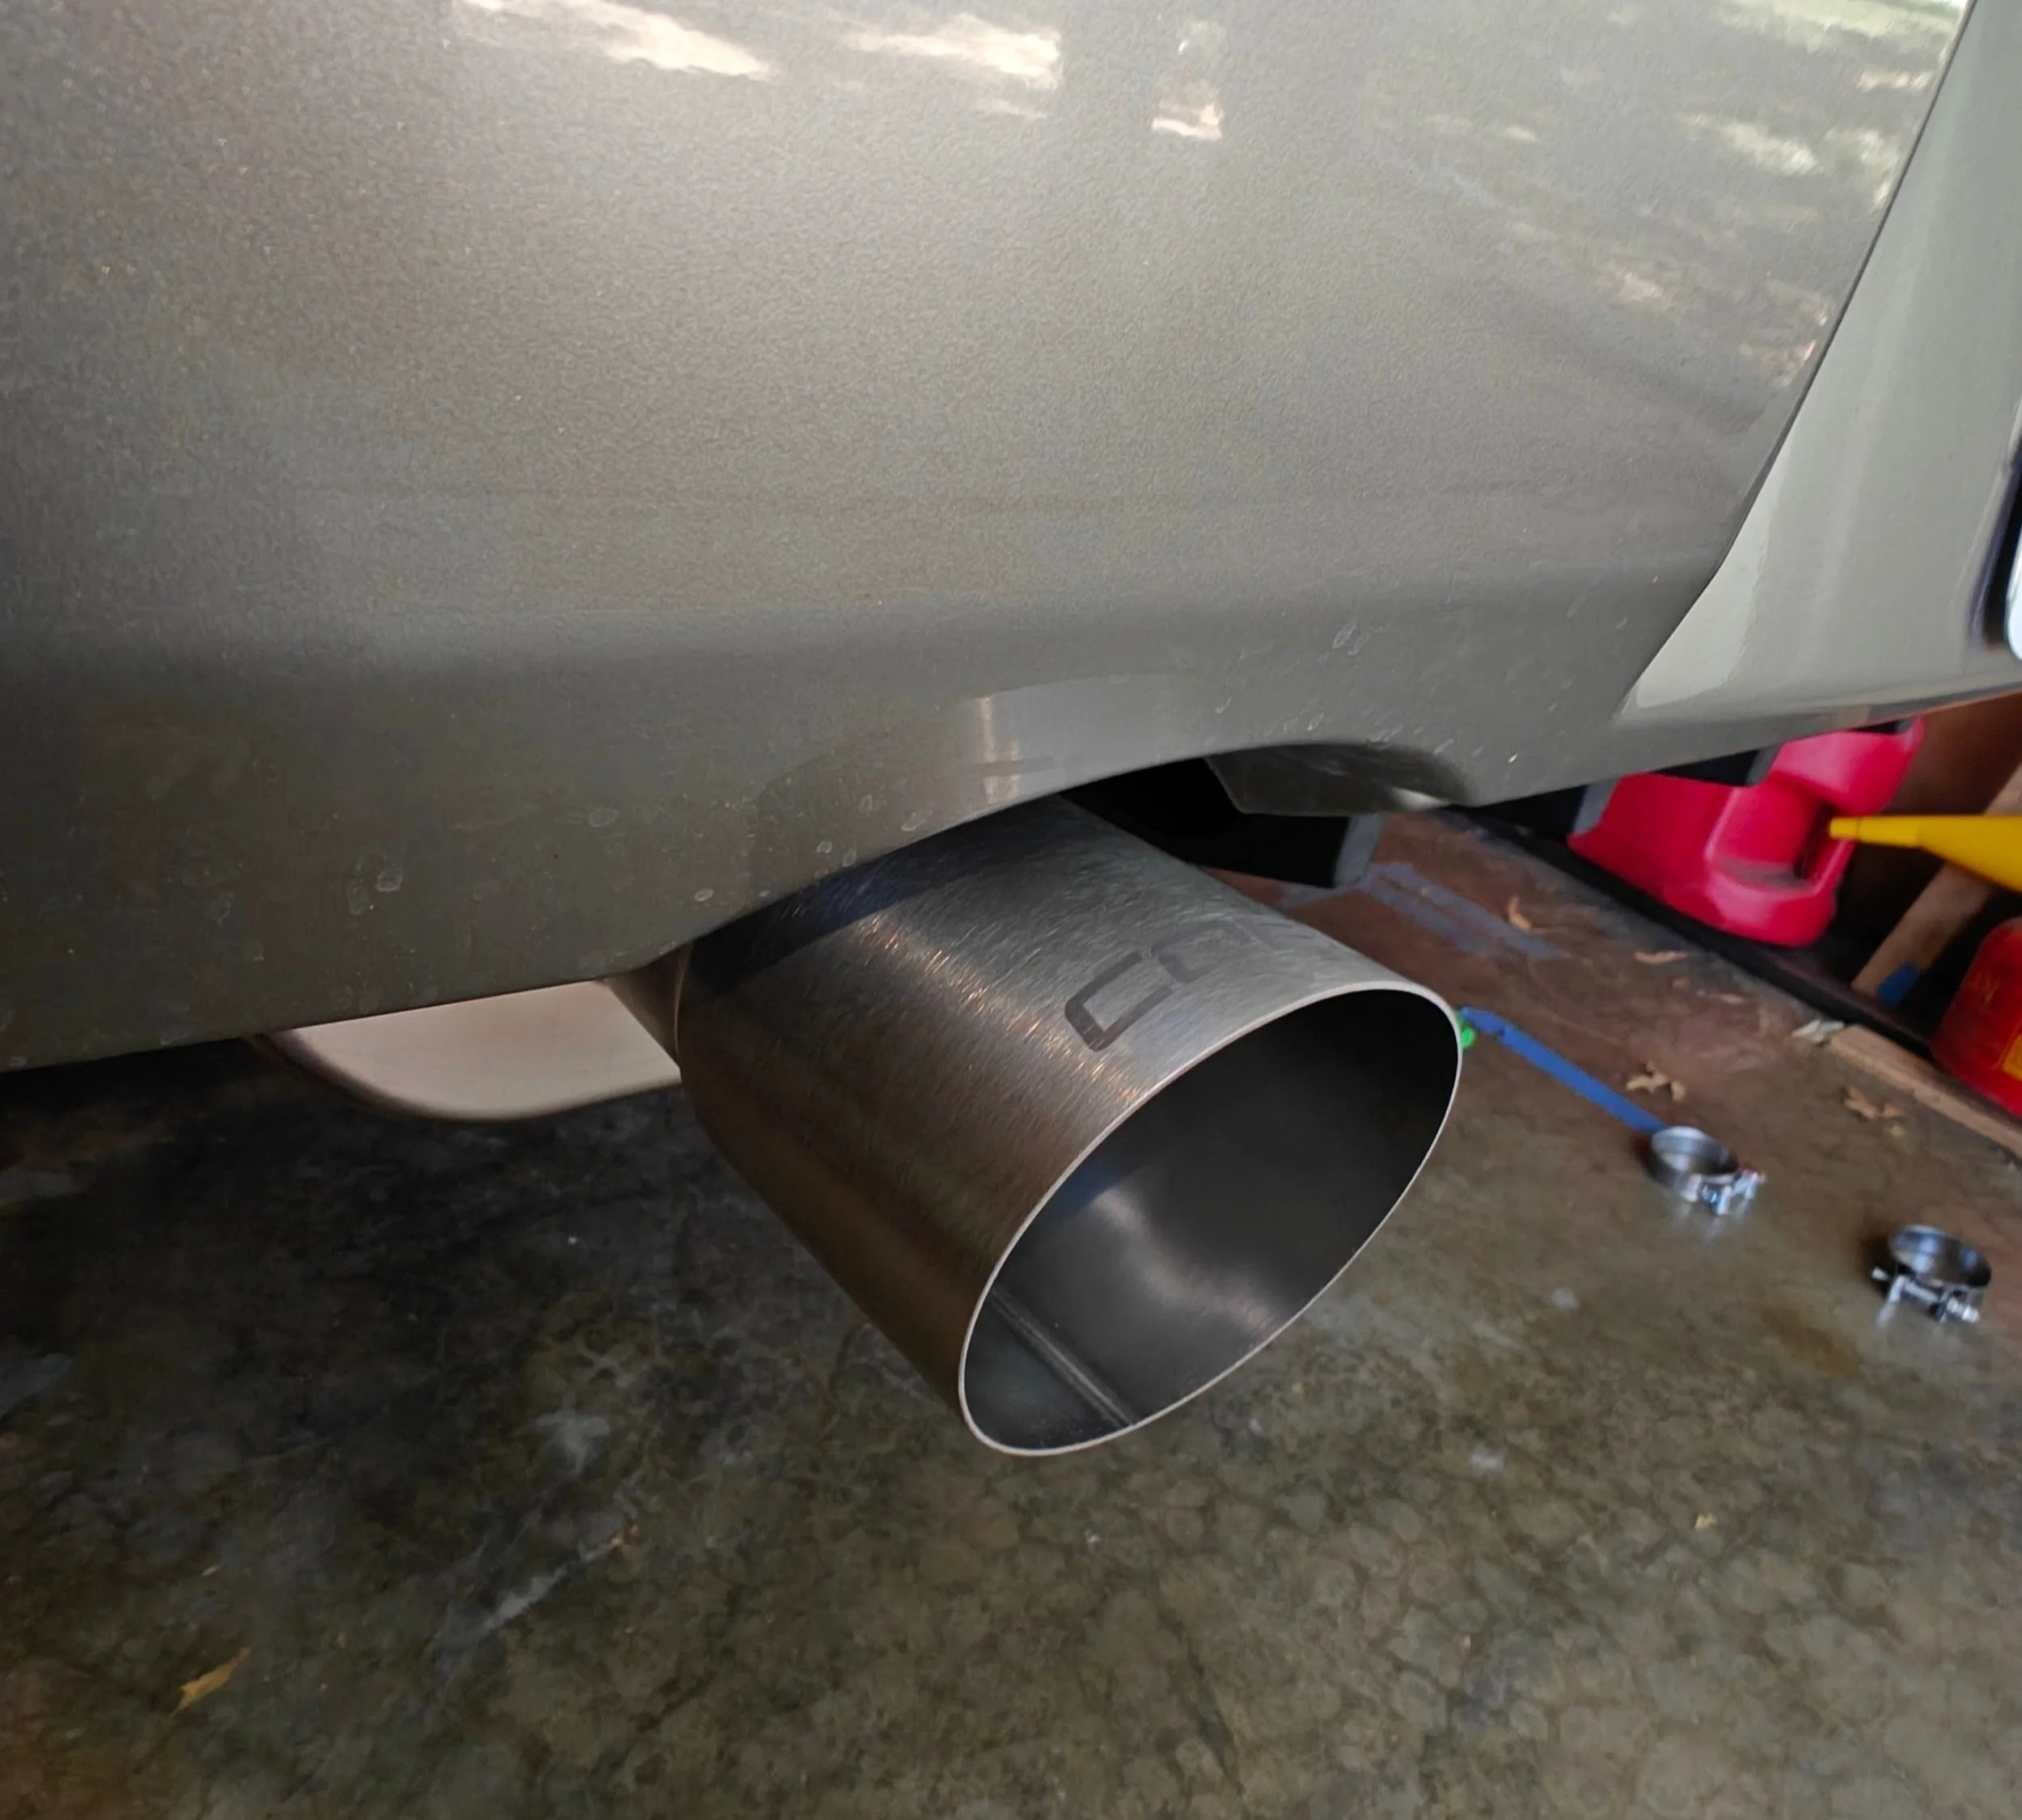
Last up is the muffler tip!

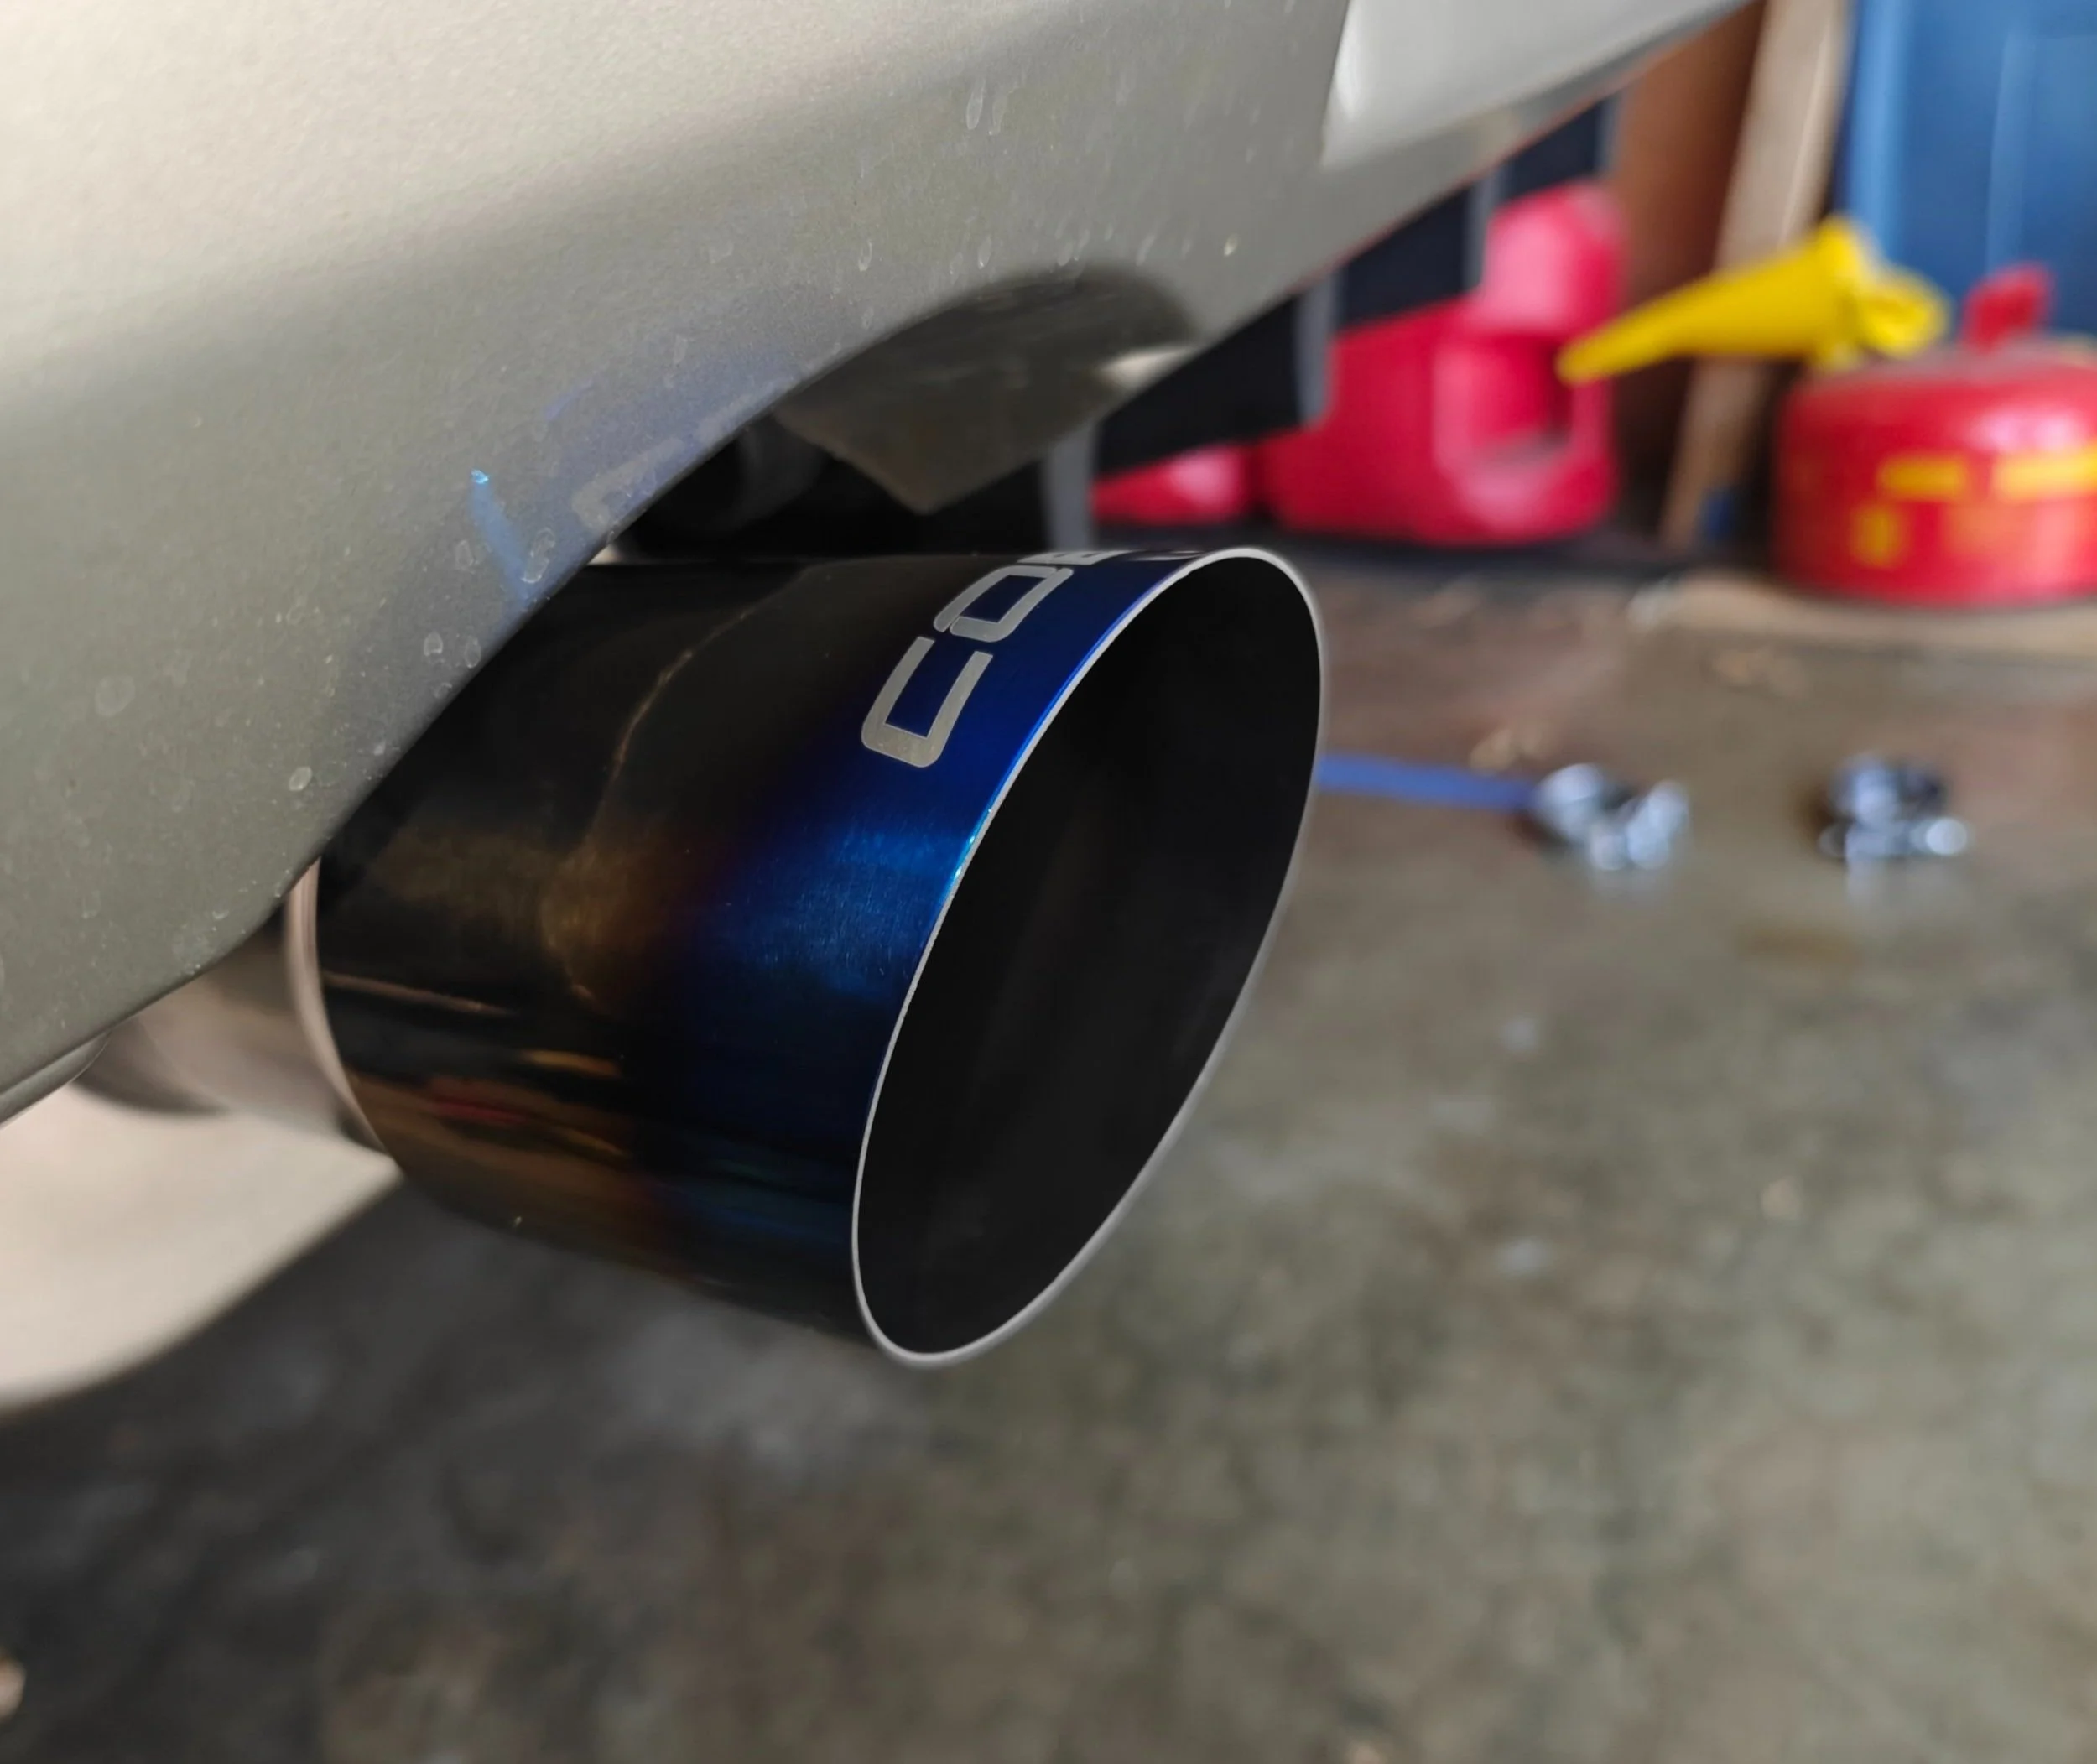
Which one fits your preference.


I went with the more tame setup, we will see if it stays.

Below you will find an idle video followed by a couple revs. The second video is going from cold idle to 2k to 3k and then on to above 4k. Audio quality is probably not as good as it can be with just a cell phone microphone. I will look into upgrading my recording capabilities and get a fly by and in car sound.
Now is the time to start it up and hear the sound of your people. Determined by your setup in front of the exhaust your sound will vary. My sound track came out very mellow with the Elh header at the front and catted Grimmspeed downpipe.