Double din stereo install with or without SG navigation hood. Featuring the Atoto S8
If you aren’t familiar with this piece SG Foresters could be equipped with a Navigation system that resides in the center of the dash. I first thought this only came in the JDM versions but I have since found that it was also available in the North American market. With all the new touch screen dual din radios out this makes a perfect location to install a new radio into.

A little finished for the time being in this photo as I await my new to me navigation hood to move the head unit on up!
So maybe like me you purchased a new double din stereo for your Subaru and have come to the conclusion that a Subaru double din stereo opening is not quite the same. Now it is time for that JDM navigation hood to become the great super hero we need!
Time frame
With my head unit installed in the lower portion of my center console this took me right around forty five mins to an hour to complete. Add another extra 30+ minutes if you wiring up the head unit wiring and adapter.
Tools
Inside the car you will find that you really only need a phillips screwdriver and trim tool to get the console taken apart If you haven’t completed your adapter harness install you will need a set of wire crimpers to complete that task.


Parts
Alongside your radio you will need the Jdm Sg navigation hood, these can be sourced on the forums, eBay and various other importers. I purchased mine with the metal brackets which made installing it a breeze as the holes line right up. Without these brackets you will have quite a task ahead of you.

My stereo of choice is the Atoto S8 Gen2

Too excited to take a decent preinstall photo, but here it is. Comes with the front piece and upper shroud.

Not the greatest image but you will need both sides of the navigational brackets to make this go as smoothly as possible. You can likely make a setup for yourself but this definitely fit my radio perfectly.
Installation
Like with any electrical installation disconnecting the battery is a great starting point to not accidently cause an electrical issue. Then you can start with the lower shift surround, it is just clipped in so with a trim stick you can easily pop it up and move it out. Next you can disconnect the power adapter( cigarette lighter) and ash tray bulb. I simply move the shifter cover to the side which gives you ample room for the next task. but can certainly remove your shift knob and slide the whole assembly off.

Eject all your old cds unless you would like to stay forever with that old Subaru headunit.

Putting a trim tool under the side of this lower trim will pop it right out. Unscrew the shiftknob if you would like to remove the whole lower cover, I just slide it to the side.
Now you will find two lower screws for the center A/c, stereo, vents, etc piece, you can remove these with your phillips screwdriver. The upper portion above and beside the vents is snapped into place and takes a bit of force. Once again use of a plastic trim tool will help fix this issue. Disconnecting the hazard switch and A/c panel will allow this center trim to be completely removed. ( If you have a non automatic climate control you will likely need to disconnect the mixer and blend door cables. I don’t have any images for this, sorry.)

These two lower screws hold in the climate control and center section. Everything else is clips.
Get your trusty trim stick out and start to work it around the top portion of the center section. Then you can get some fingers behind it and pull it out
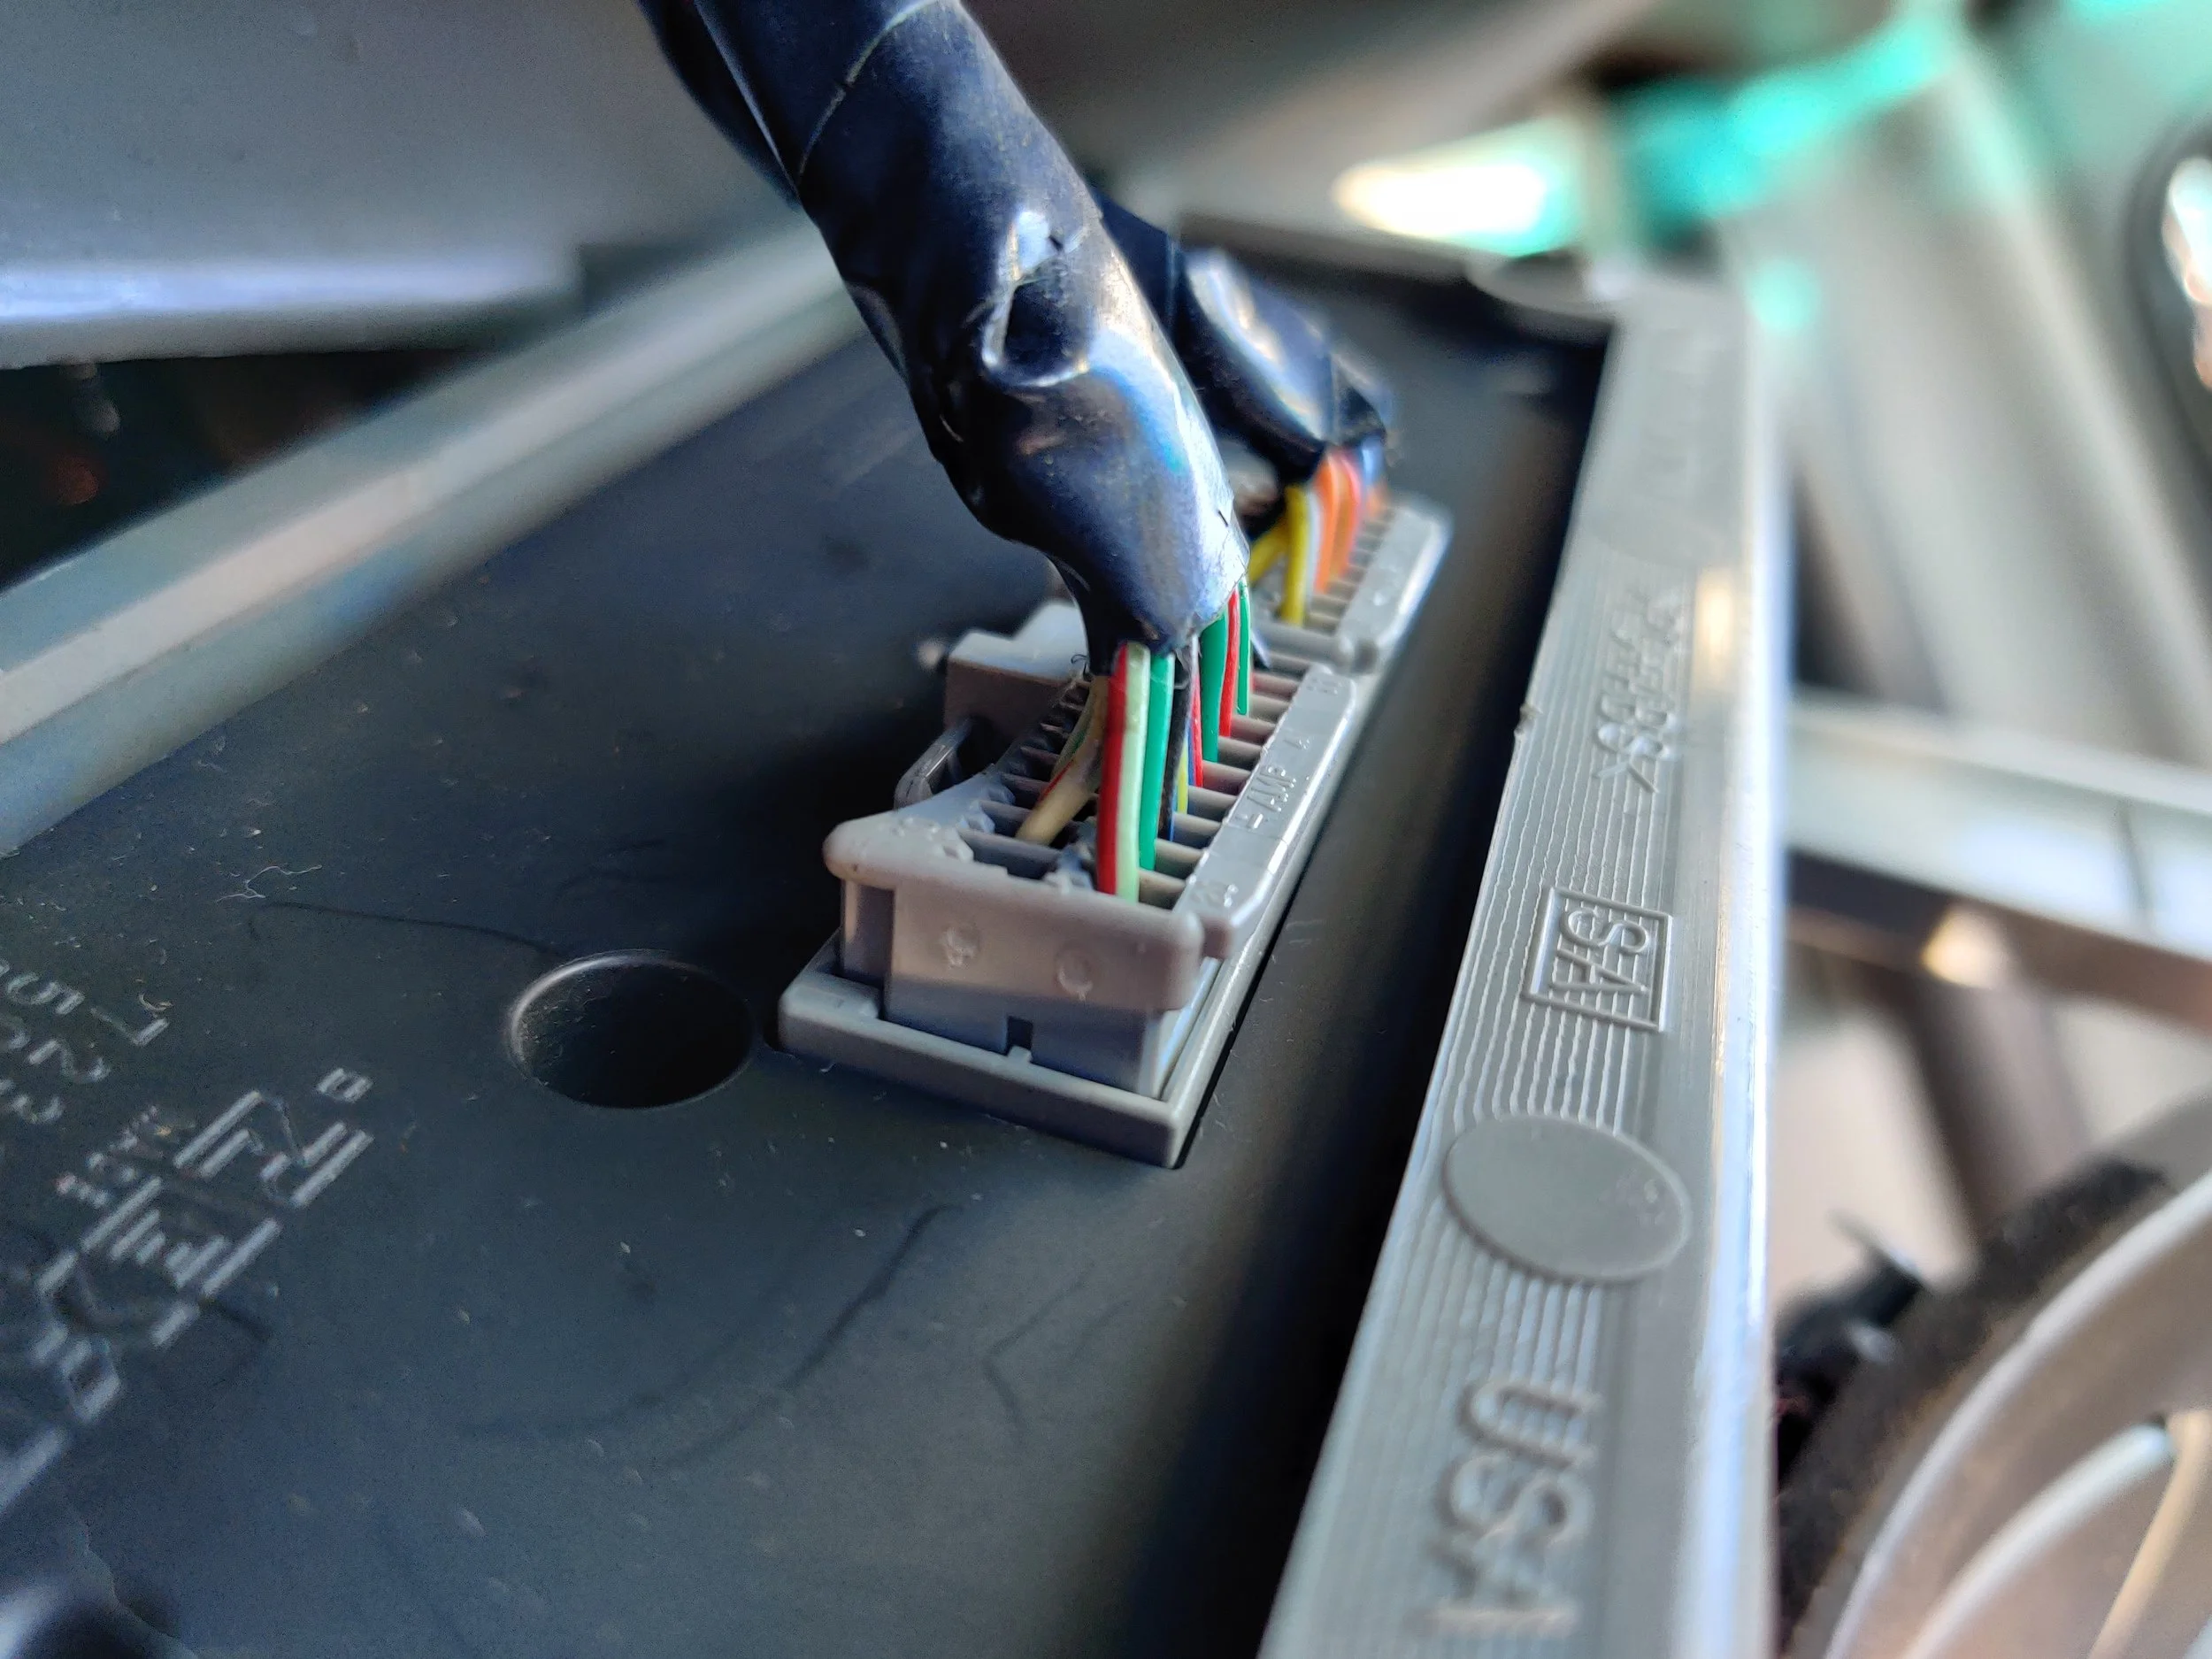
If you have an auto climate control you will need to unplug these connectors. If you have a manual climate control you will need to disconnect the cables that connect the mode and blend door, dorry no photos!
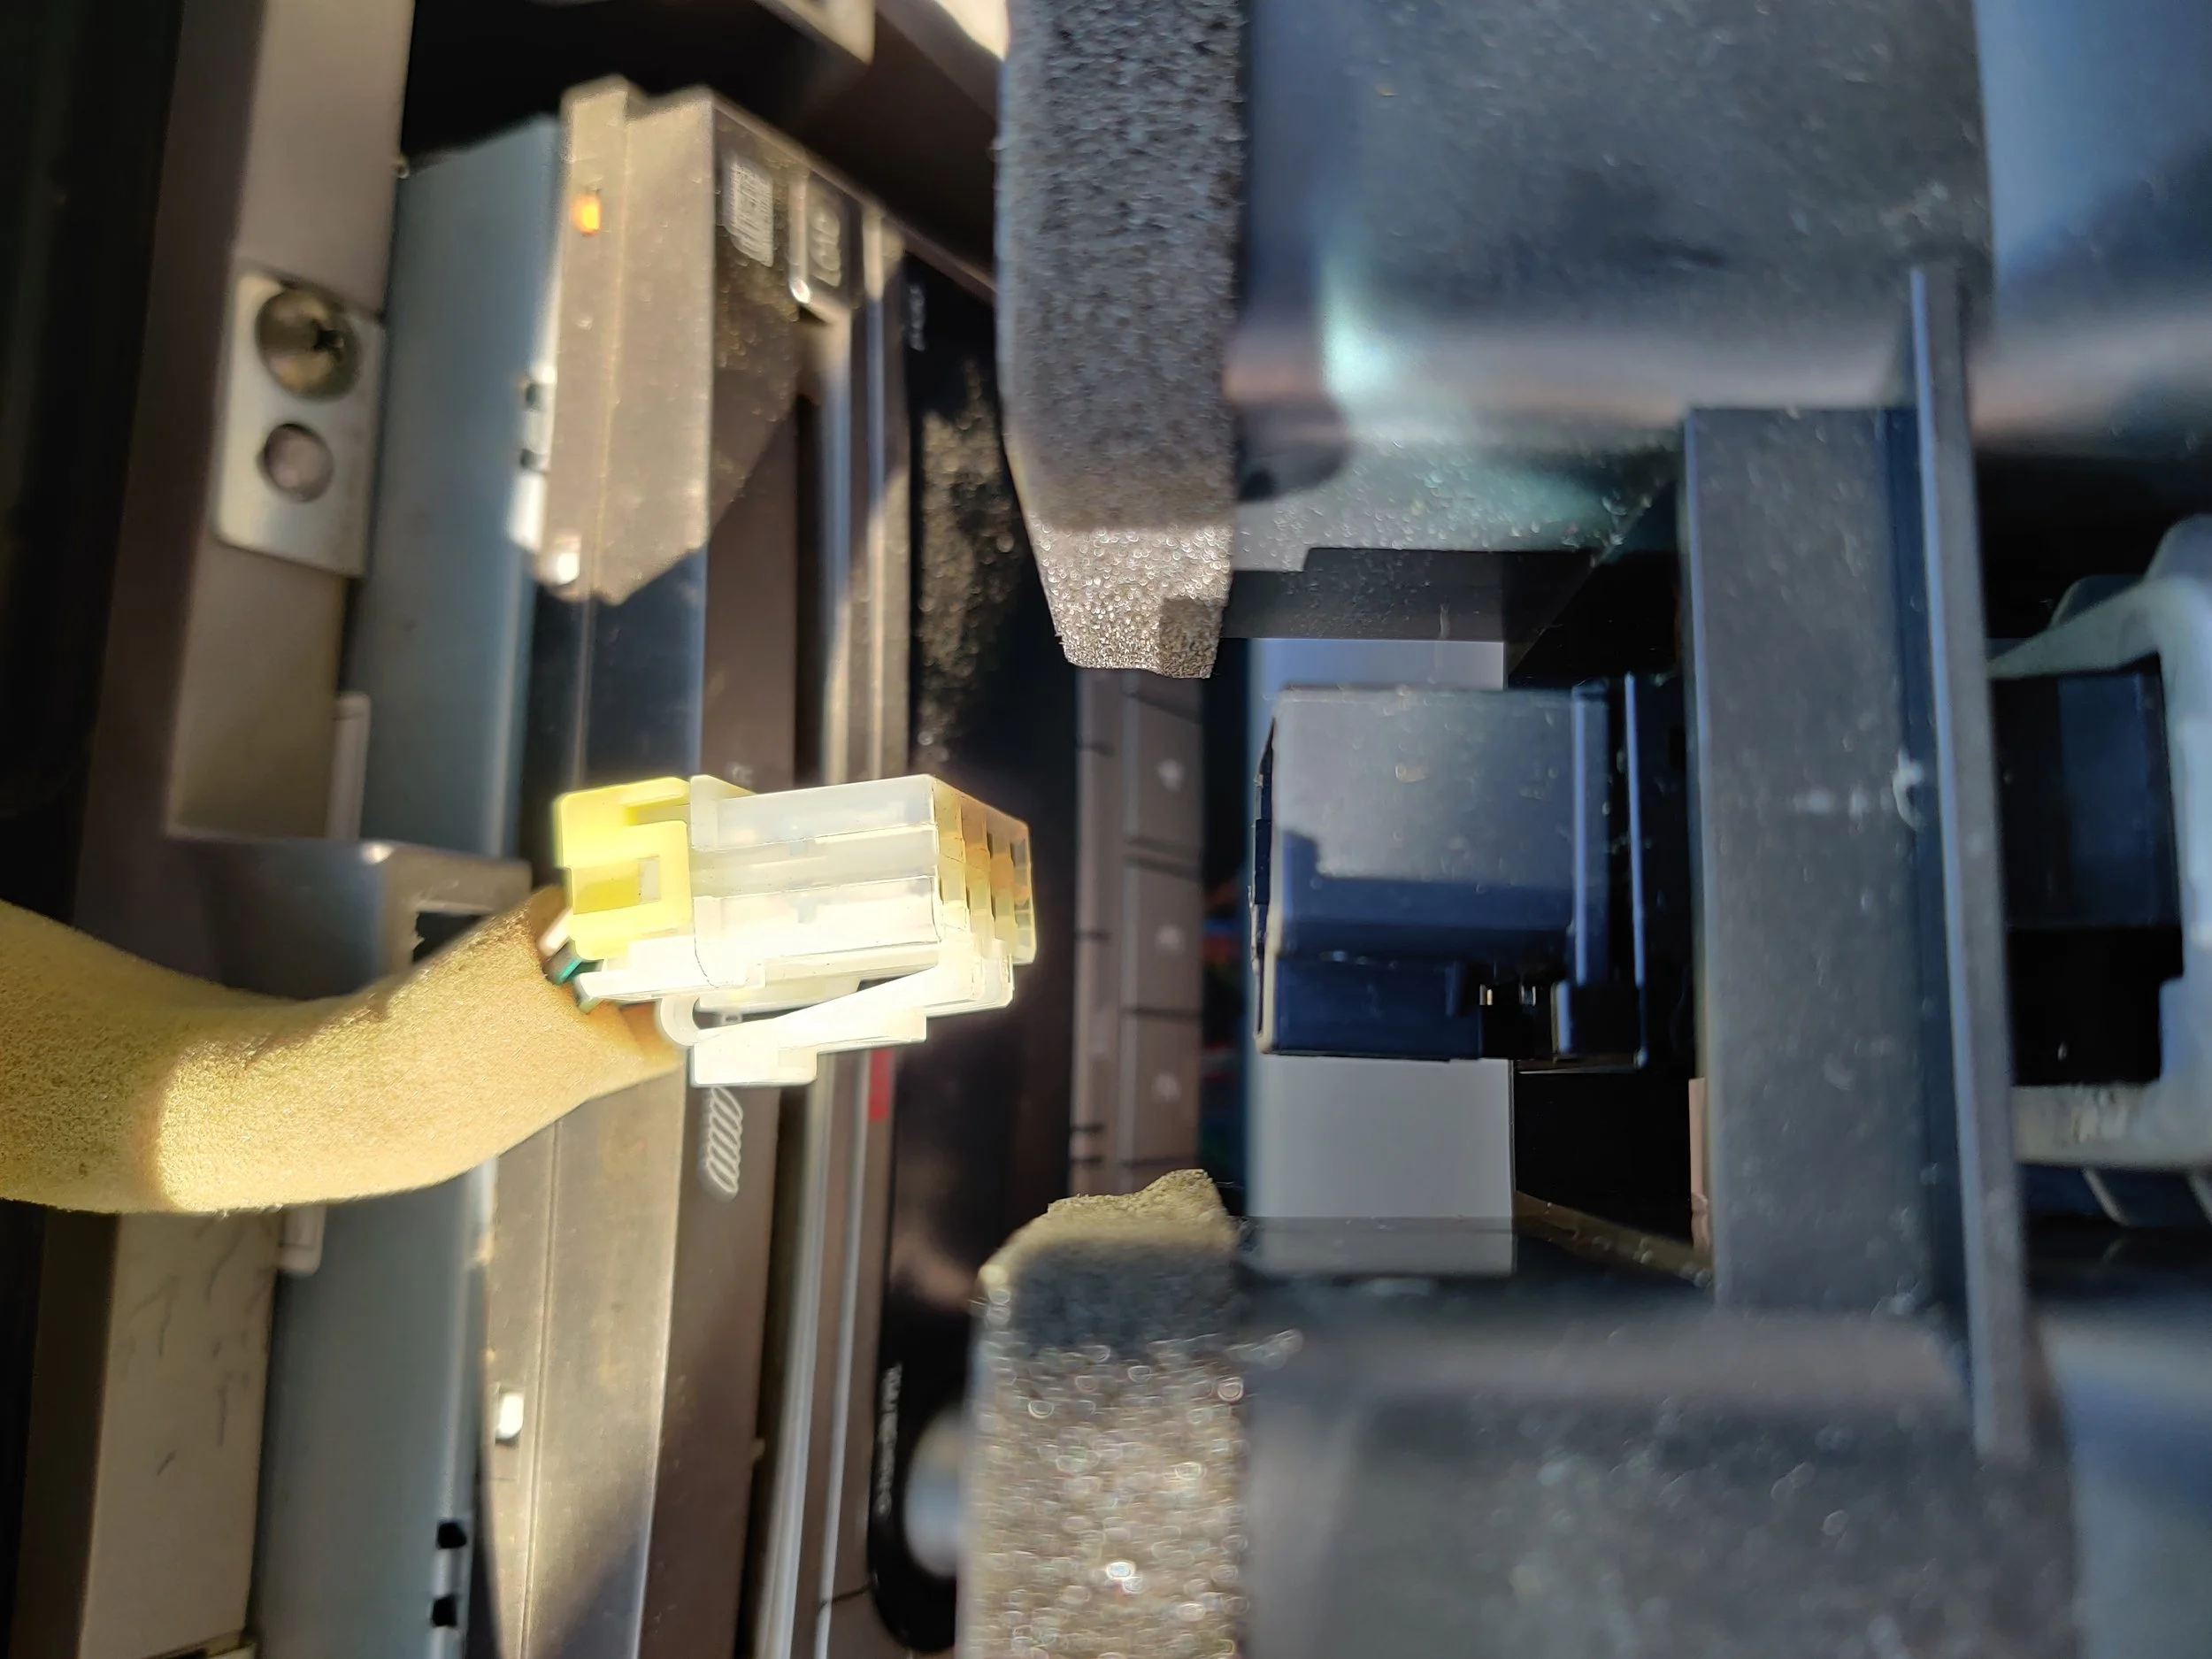
Unplugging the hazard switch is your last connector and you can remove the entire center console cover.
You will now find four screws that hold the metal brackets that hold factory headunit in, remove these and you can slide everything forward. Next up you can pop the connections off be able to remove the stereo and brackets from the car.

Next up will be the audio head unit. Two upper screws and…

Two lower screws and you can slide it out far enough to unplug the connectors.
If you are just swapping your stereo into the factory location you will now need to use the adapters with your headunit to factory brackets. I found that the threaded holes on my Atoto unit just didn’t meet up right for the factory holes, so I ended up using a set of speed nuts to make it work.

The holes for the Atoto brackets and factory brackets line up pretty well. I did use an set of screws and speed nuts I had lying around for the two rear holes as they were close but not close enough.

This is what it should look like once completed.

Mounts up just like stock!
For those with the Atoto stereo you will need to dremel down the surround to make the stereo flush within the factory surround. Installing the the surround you will now be completed with the factory headunit replacement. If you have a navigation hood you can continue on for the rest of the install.

The center surround fits, but not in the best way. You will want to trim the portion of the console to give it a factory finish.

Now you can start tweaking the system to your needs and wants!
Navi hood install starts now
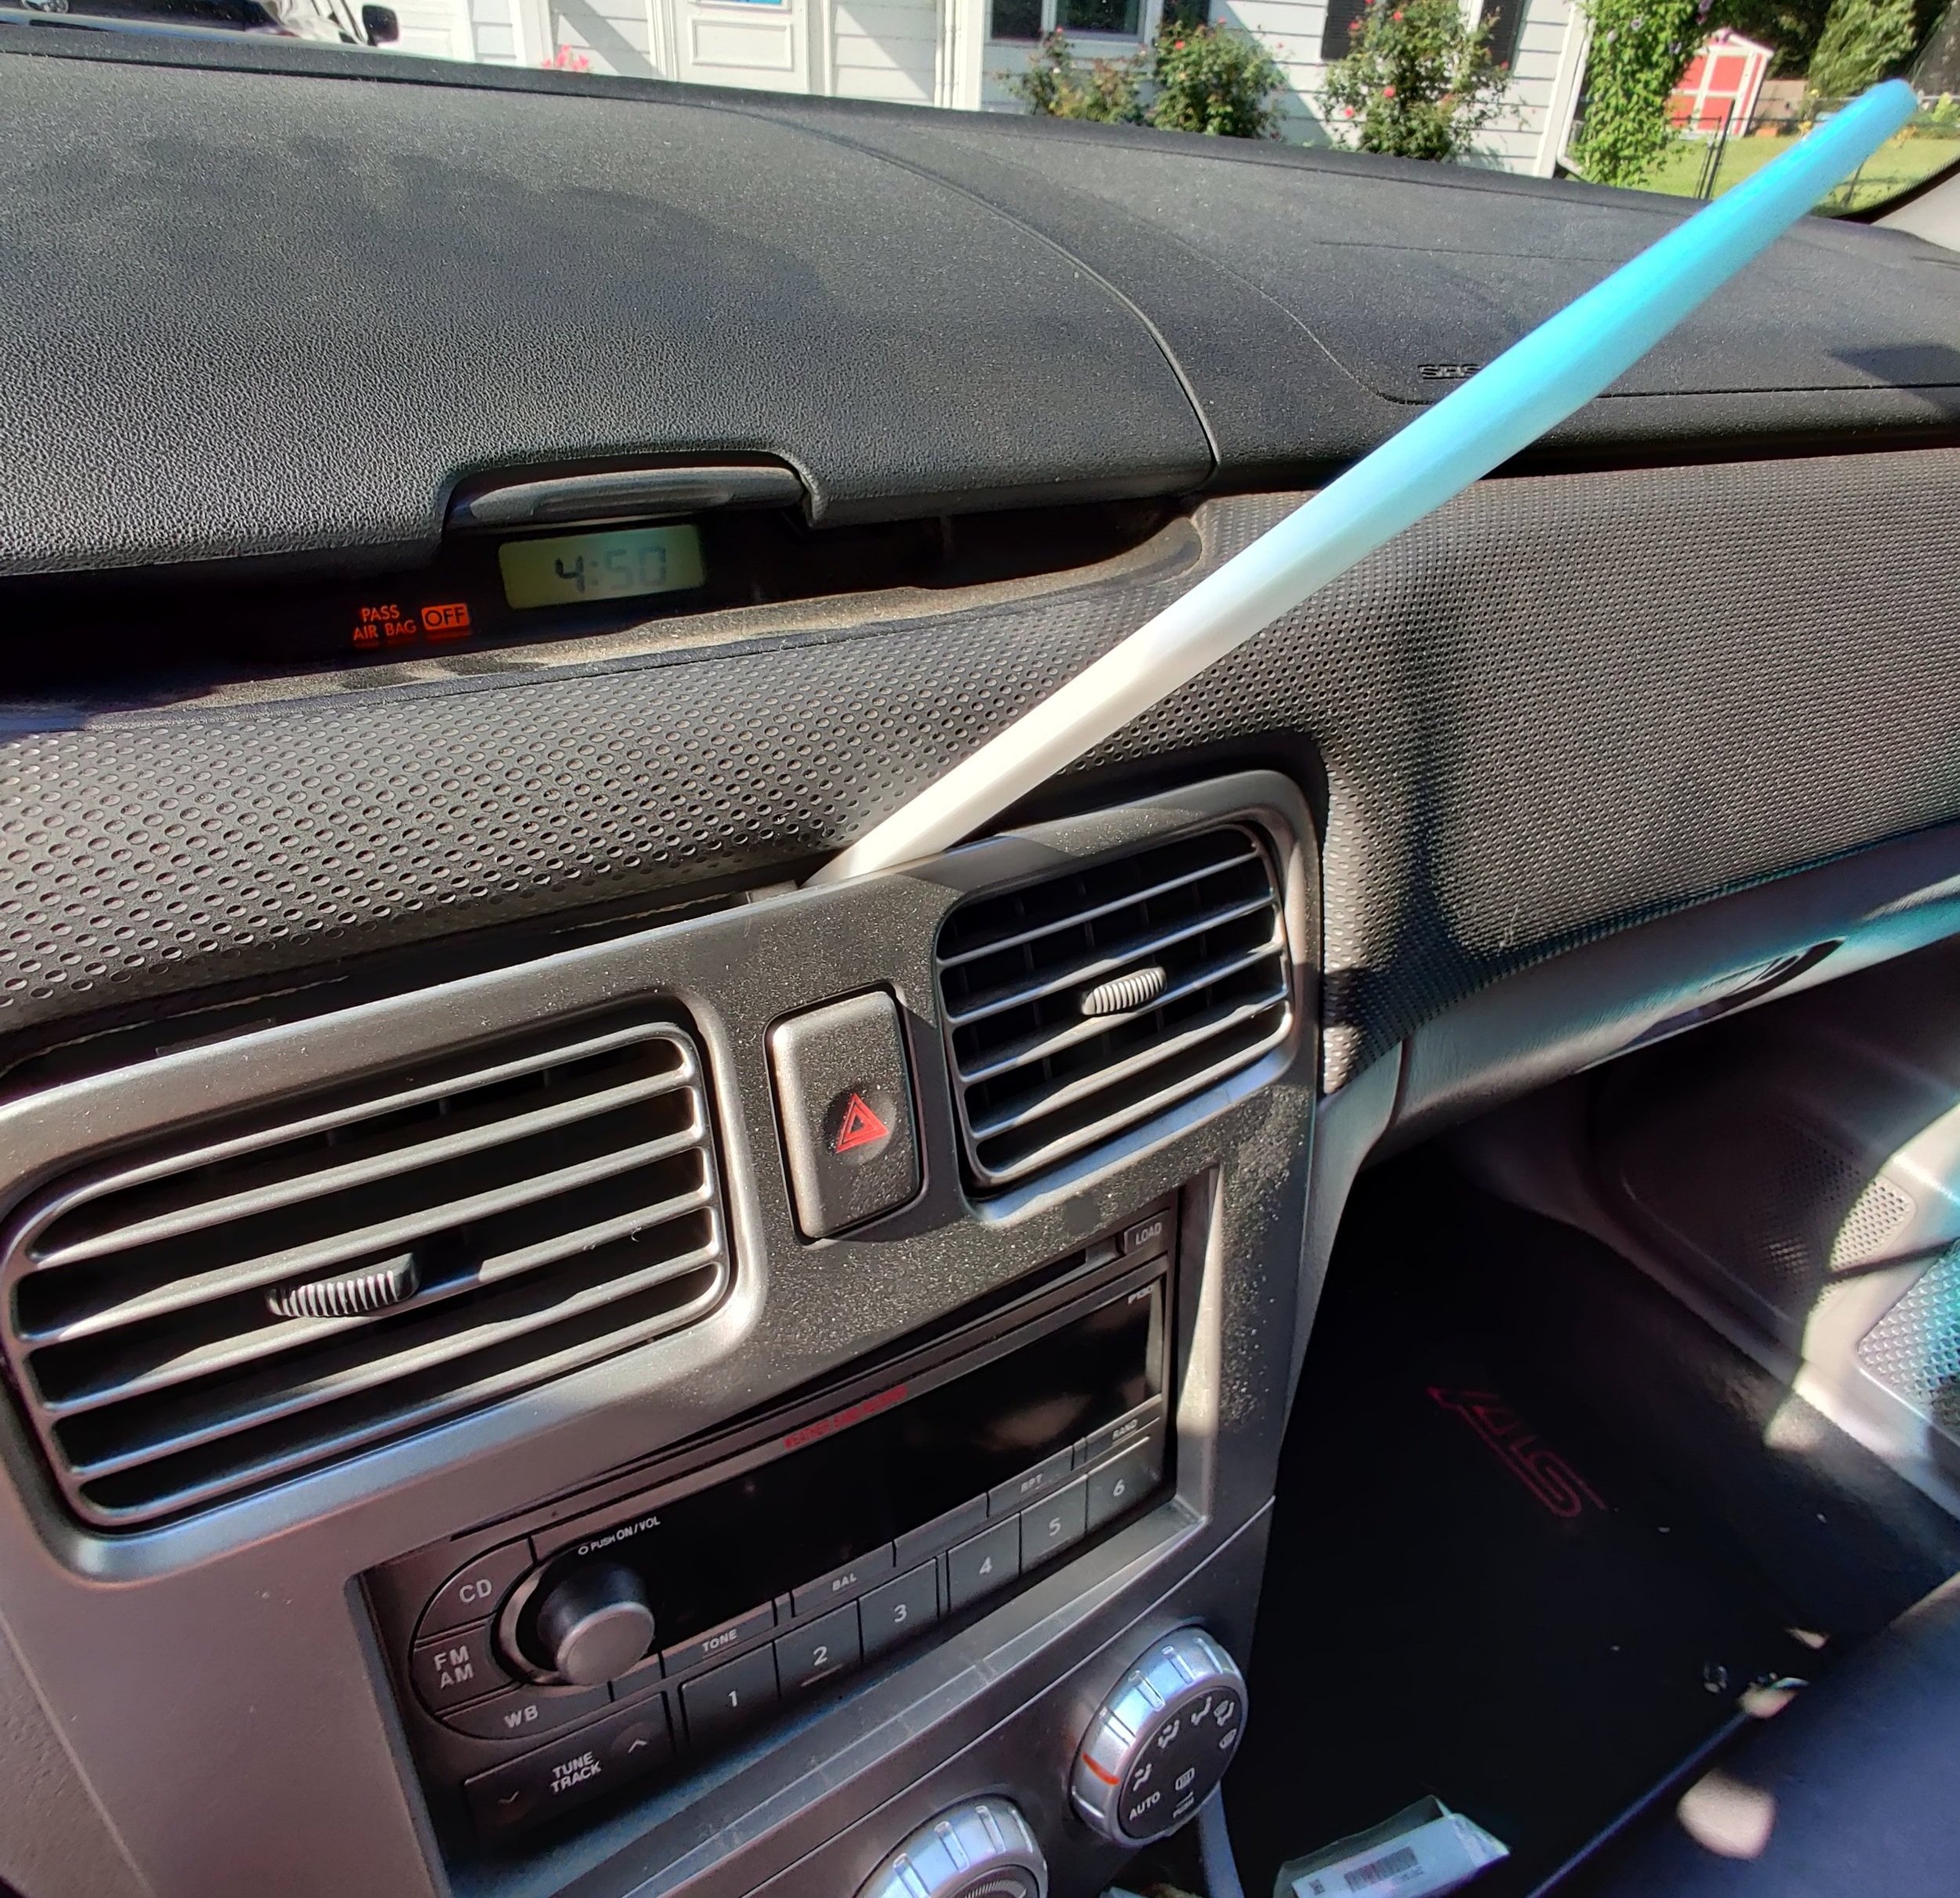
Next up you can get you trim tool under the front clock portion of the center pocket clock combo. You can slide your hands past the vent tubes to help push it on up. The front clock portion is much softer plastic so you may find it distorts a bit. Once you are able to slide your hand under the front portion give it a forceful upward pull and it should pop right out. You can now disconnect the clock and passenger airbag wiring. You will want to unscrew the clock portion from the plastic shrouding as it is a necessary piece to keeping the air bag light off.

The upper pocket has got to go.. I will miss it but I really want the upper location for the head unit.

With everything out of the way from the prior steps you can put your pry tool below the clock and start prying!

You can slide your hand up past the air ducting to help the pocket out.

With the pocket removed you are ready to get the Navi shroud up in it’s place.
You now have a large hole in the center of the dash ready figure out the bracketing. I found the four holes matched right up with my Atoto unit and was able to just bolt it in and have it ready for the car.

This is a great time to reroute your audio wiring while it is open and easy to get to.

I forgot to get photos of the brackets being installed but the four holes lined up with my Atoto brackets.

Other side screws visible and the speed nuts that hold them together on the other side.

Plenty room for the extra wiring and antenna.

The brackets bolt right into the darh holes making this a straightforward affair.

Doing a little bit of checking before installing the upper and lower shrouds. Everything is working but I hadn’t move the Airbag connector down to it’s new location.
Putting the stereo with brackets into the car you will see that the wiring doesn’t quite reach at the moment. For my setup I left the passenger side stereo bracket installed and hooked the ground cable to it. The factory wiring has a bit length to it and when you add the adapter harness you will find it easily can make it’s way up to the upper dash location. I routed it to the right of the venting ducts and with the wiring completed, you can then bolt in the brackets.

Above shot of the wiring in place.
This is a great time to plug the original lower portion of the console pocket that houses the airbag and clock back in and then you can place it down below where the stereo used be located.
Our next step will be adding the front lower portion of the navigation hood with it’s two screws. The upper hood will will snap into place with just a slight bit of pressure.

Bolting in the lower section of the hood setup.

Next up is just installing the upper shroud and you are complete!

Perfect fit!