Sunroof drain cleaning! Because a water filled automobile isn't very practical..
While the idea of water getting by your sunroof seals doesn’t sound great it is going to happen. To keep water from sitting around and getting into the interior we it needs a way out and that’s where your sunroof drain comes to the rescue. There is a channel built into your sunroof cavity that allows this water to follow a drain tube and flow out of the vehicle, but sometimes sticks, leaves and various debris stop this flow.
Then the next thing you now is your car is very foggy on the inside and probably doesn’t smell the best. How do we keep this from happening? Let’s find out!
Time Frame
This is generally a quick task and should only take you about five minutes with the proper tools. If you want to go a bit deeper you can spend upwards of twenty minutes to really clean it.
Tools
With such a quick task comes a short list of tools. An air compressor and a proper nozzle will get the basic job done. If you think it needs a deeper cleaning you can pull out your socket set and ratchet to really clean it.


How to
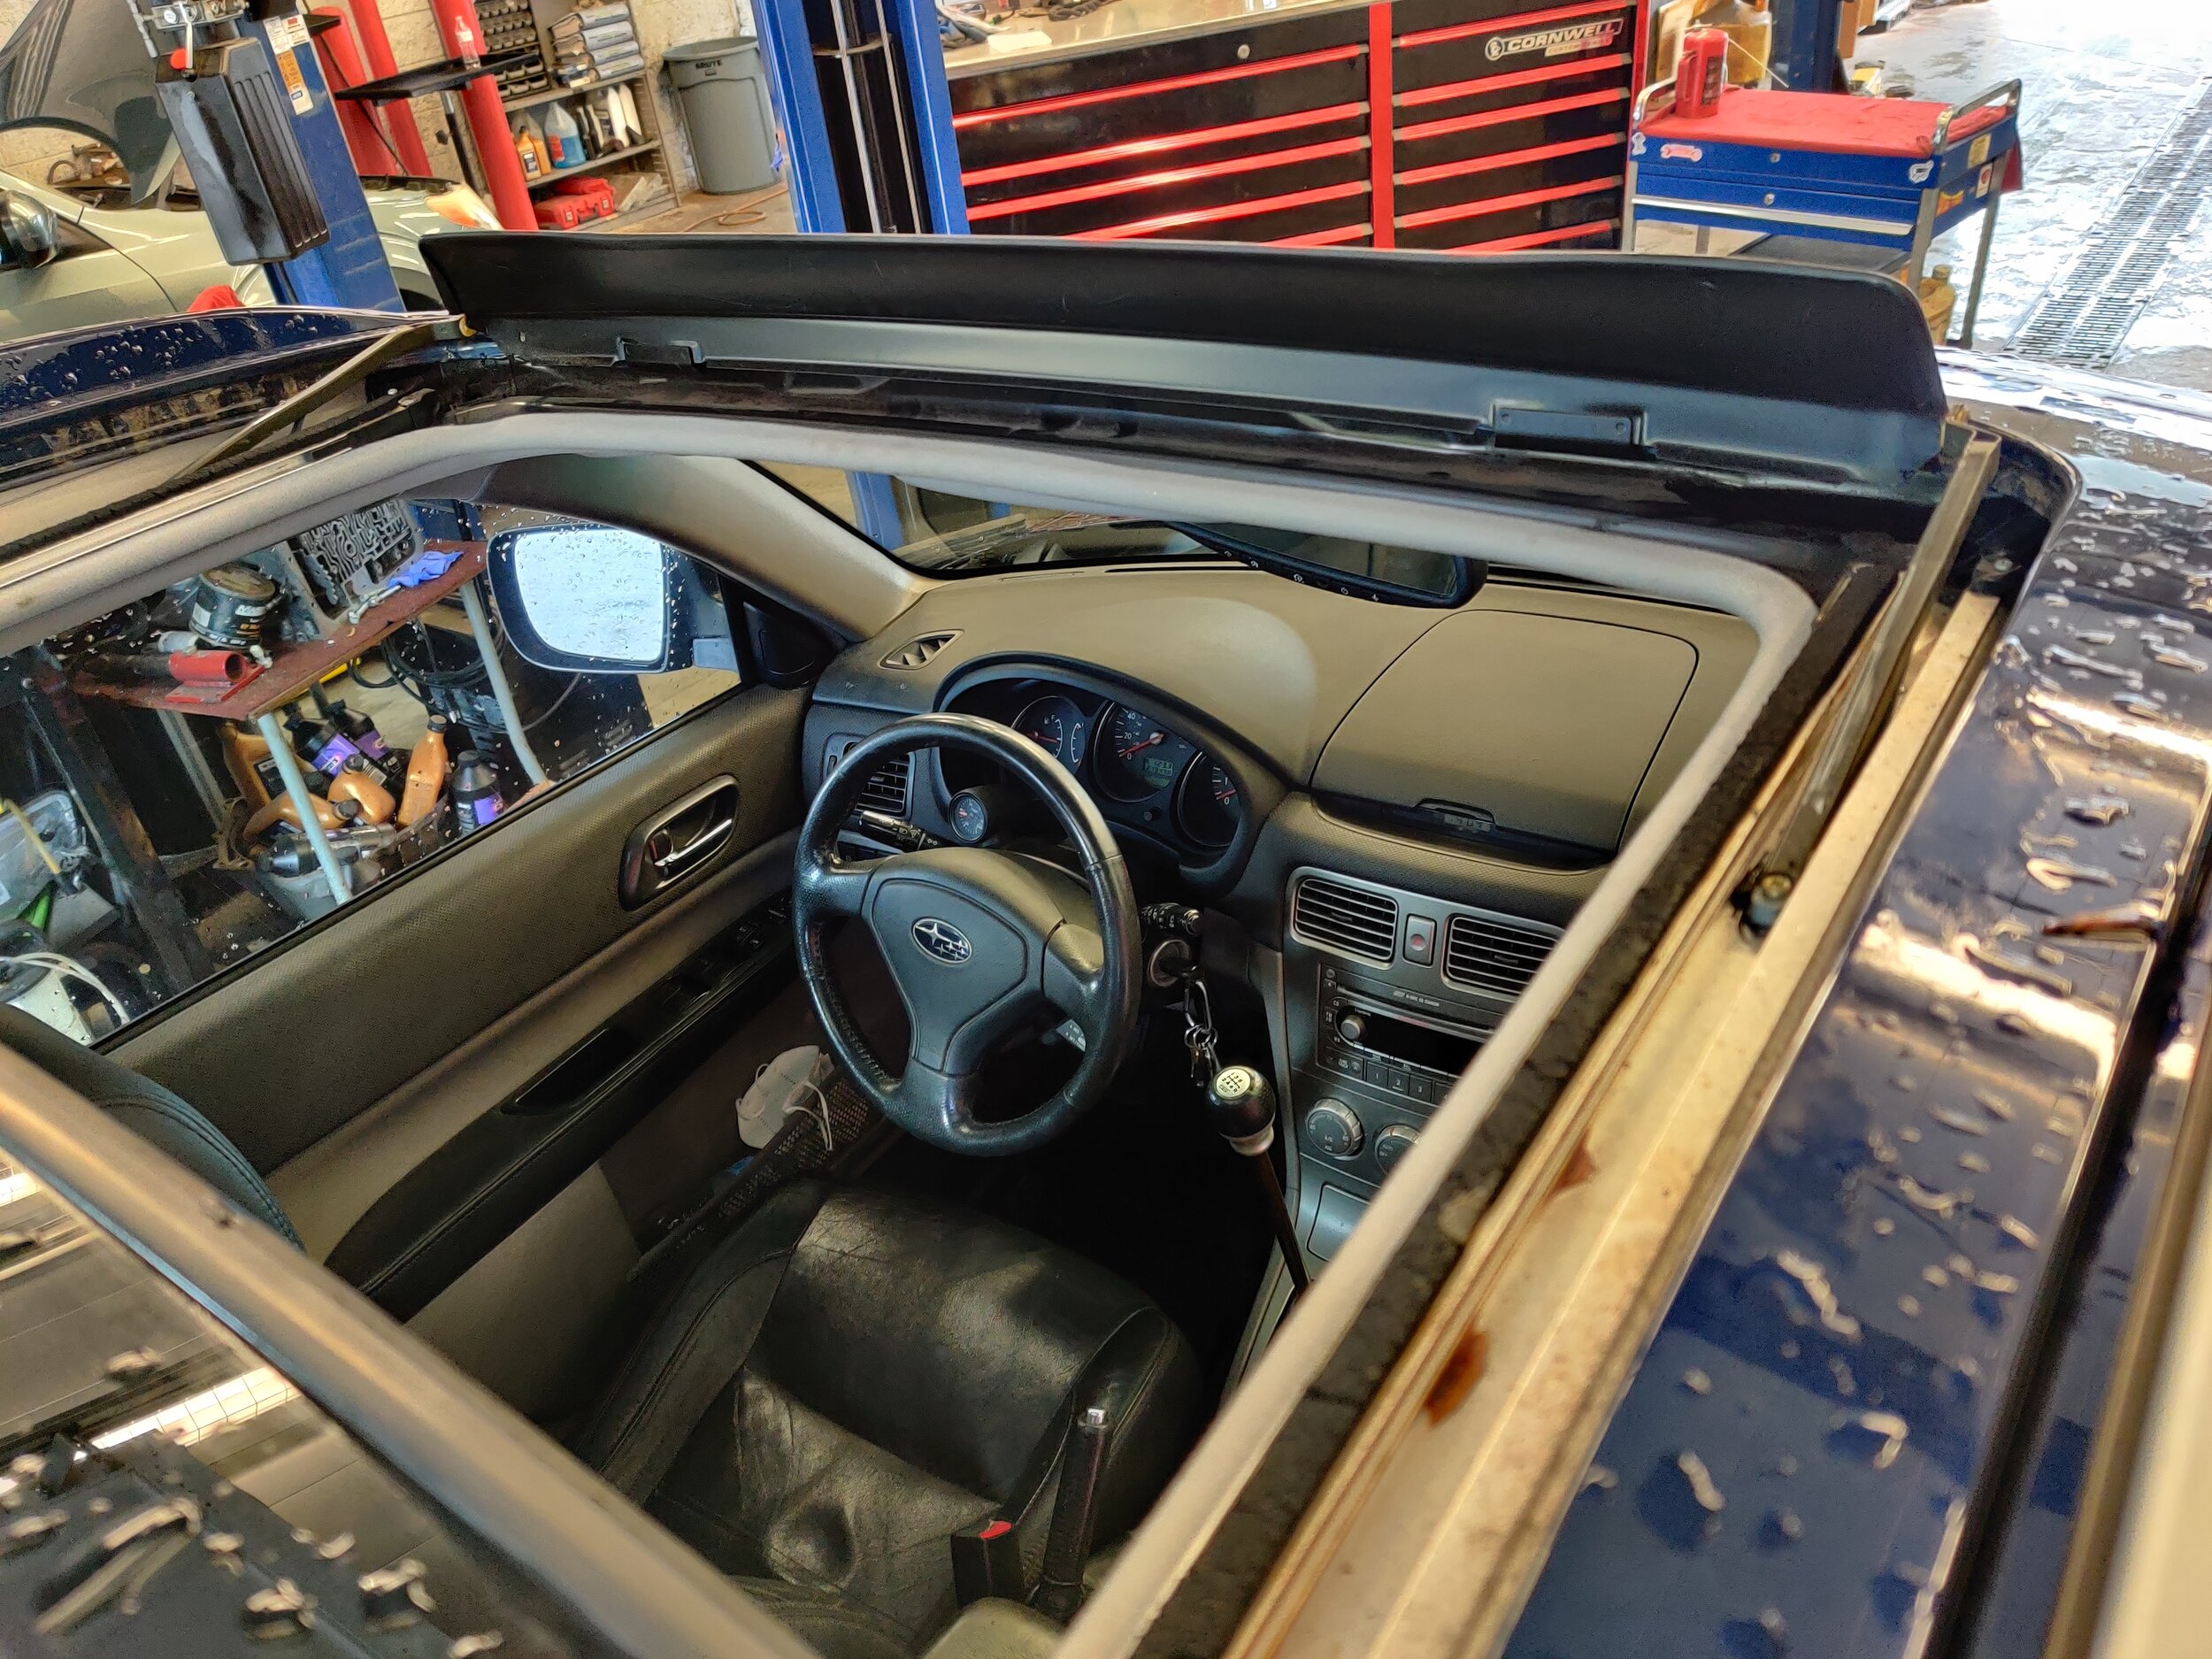
As stated above this is rather quick and simple. We will get inside our vehicle, turn the car on and retract the sunroof to it’s fullest opening. With this done we can move to the outside.

Top down view with the sunroof open.
Now outside your car if you vehicle is lifted or taller than yourself you will want to to grab a small platform or stand inside your door sill. Now you will want to locate your sunroof drain holes.
For the vehicle we are working on (SG Forester) you will easily find the front two at the corners they are highly visible. There are another two at the rear of the opening, just follow the sunroof track back.
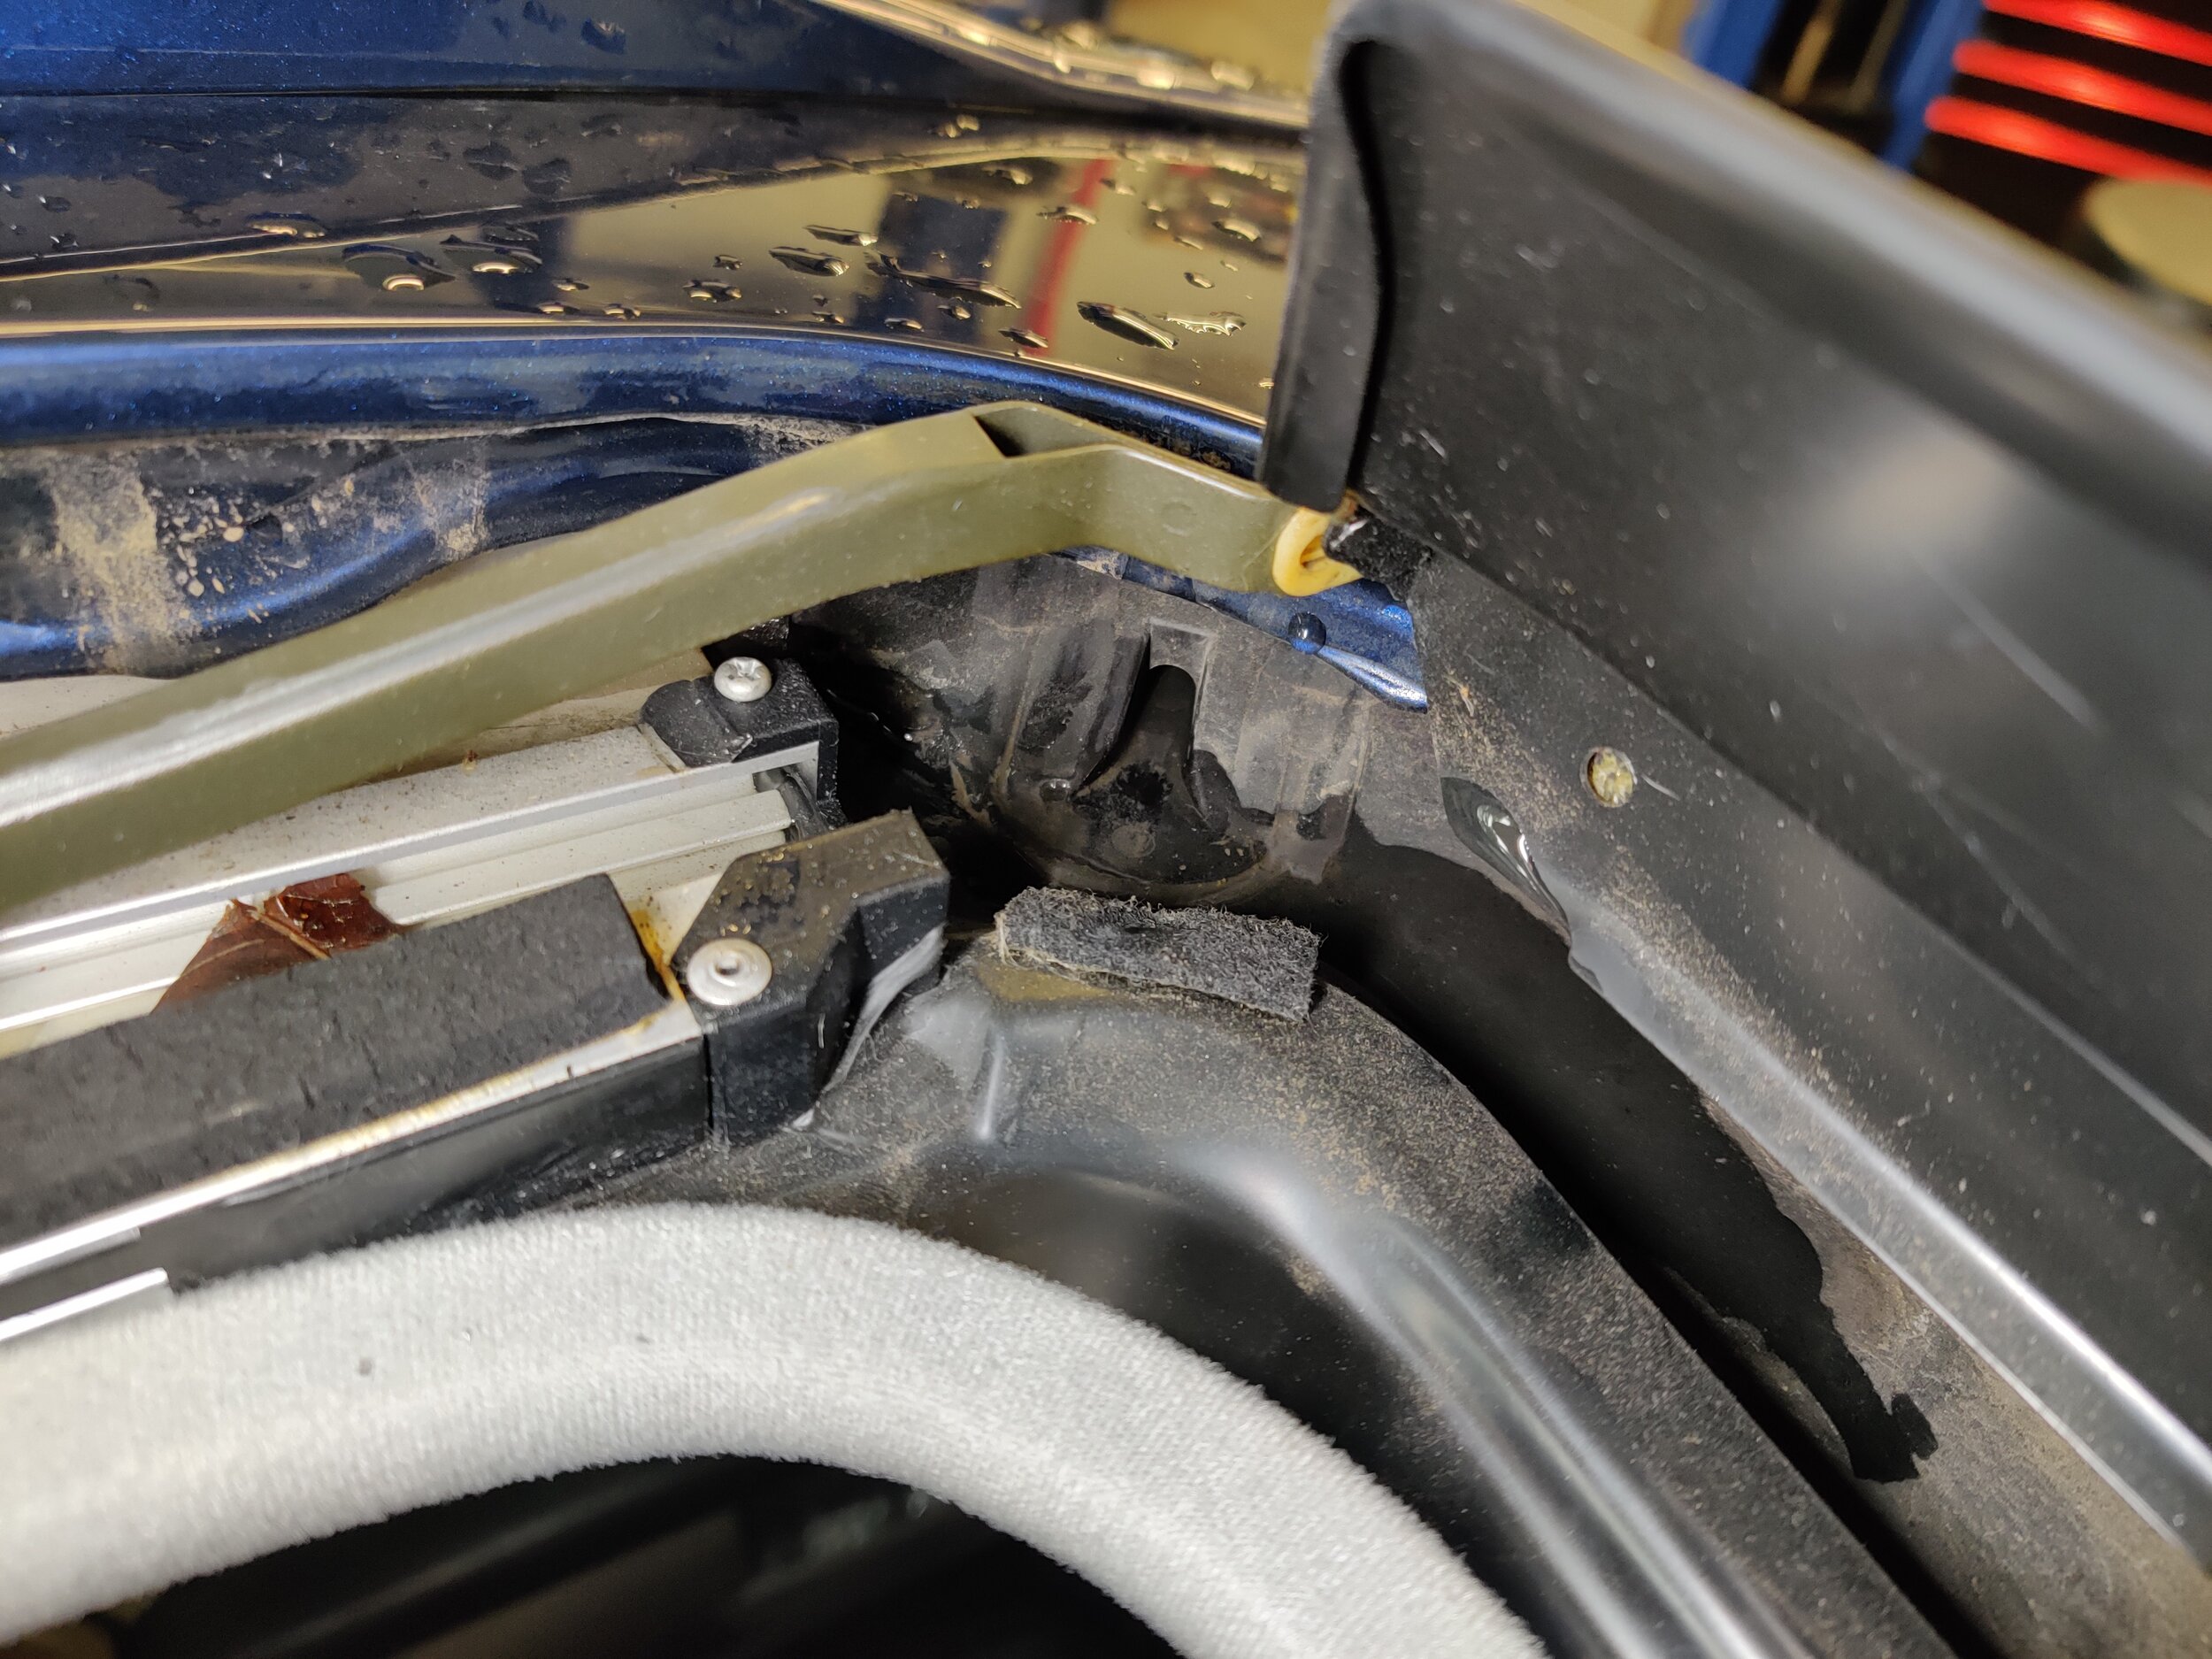
Here is the front opening we are looking for.
Next take your air nozzle and give it all you got! This air will hopefully break any debris that is lodged in the drain tube and push it out. If you see a good amount of water come out around the tires/fender you will know it was clogged and is once again cleared.

With the air nozzle in give it a spray.
For some clogs you may need a bit of extra work. If you head to the backside of the front fenders you can remove the mud flaps and fender liner to expose the drain. Once again you will use the same method and blow air into the tube. If something is so lodged that the downward pressure couldn’t break it free this should hopefully shift it’s position and allow the tube to drain again.
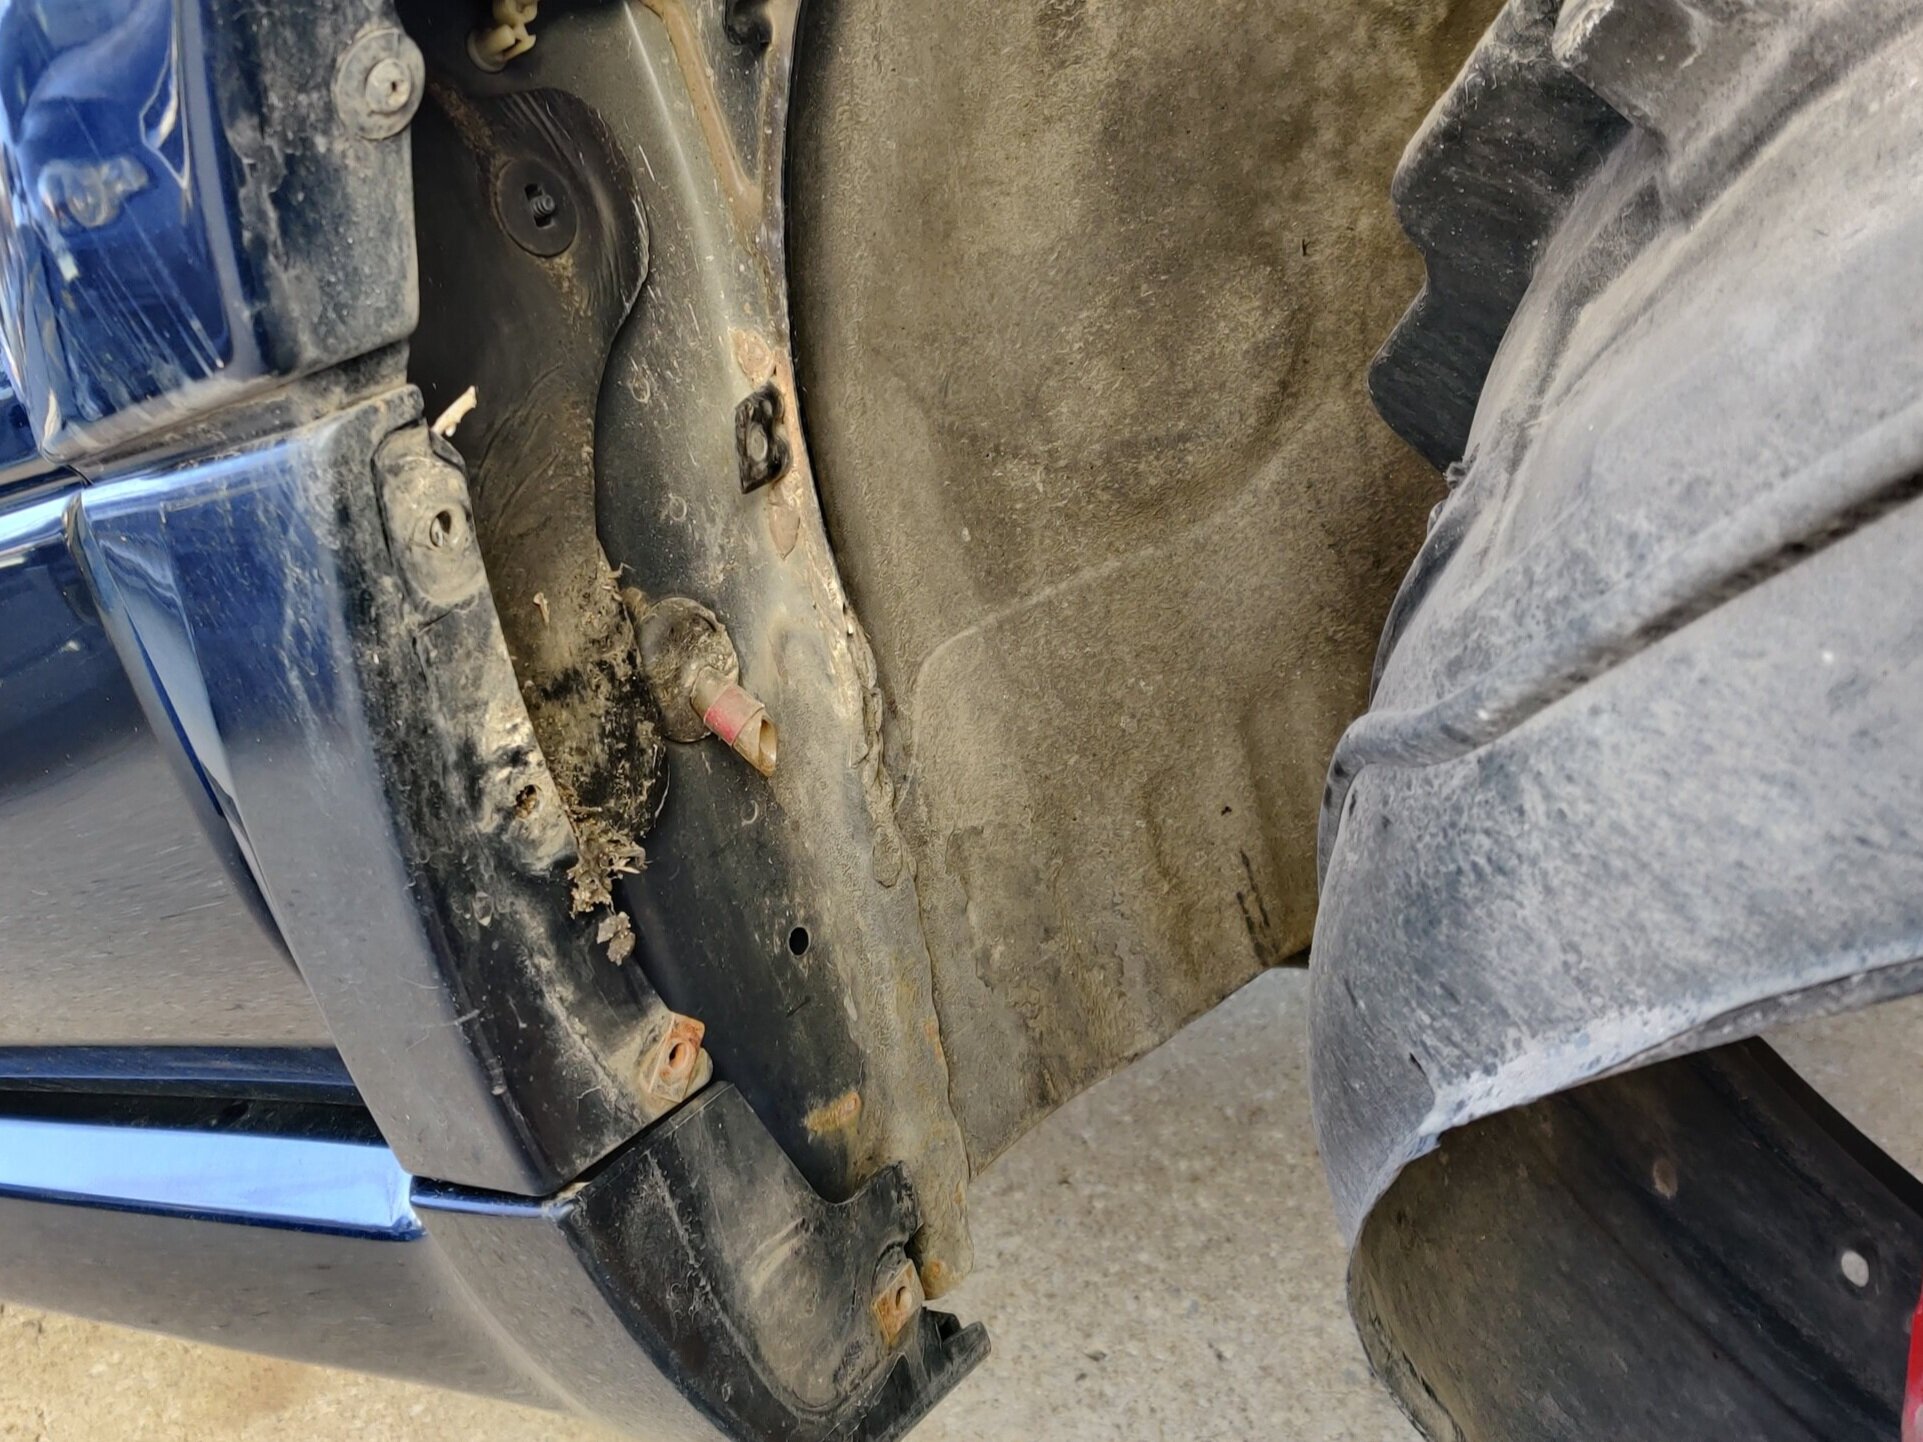
If you are concerned that you have far downstream clog, here is the location of the drain. Located behind the fender liner.
As you would assume the rear drains will drain out of the back of the car just behind the wheels. For the Forester used in this example you will see it come out from the rear bumper area. If you want to check or put air into this end of the drain you will need to fish it up behind the bumper or just remove the bumper and it will be easily accessed.

Both rear drains are located behind the bumper. You can get to them with the bumper on but here is the easiest way to view it.
If you would like to to test the draining capabilities you can take a small cup of water and pour it right into the drain and watch for it to come out the bottom of the drain.
Congratulations! Your sunroof channels are free to flow water out of your car instead of back into it.