Intake resonator delete/Elbow mod! 04-08 Forester XT ! Let the turbo noises be heard. (Also applies to 02-07 WRX/STi)
Probably the first thing you want to happen when you purchase your new to you Subaru is hearing that turbo make some noise. But Subaru has other plans for you unless you have a newer Subaru with the induction tube to pipe in the noise. Don’t fret though, there is a very cheap way to give that turbo the ability to make some audible noises.
Here it is… known as the intake resonator, “milk jug” and many other oddball names it is the noise suppression device Subaru utilizes to keep induction noises to a minimum. It also helps the intake by making it very troublesome for any water to make it past this giant open area. It has a small hole in the bottom to allow this water to drain out if necessary.
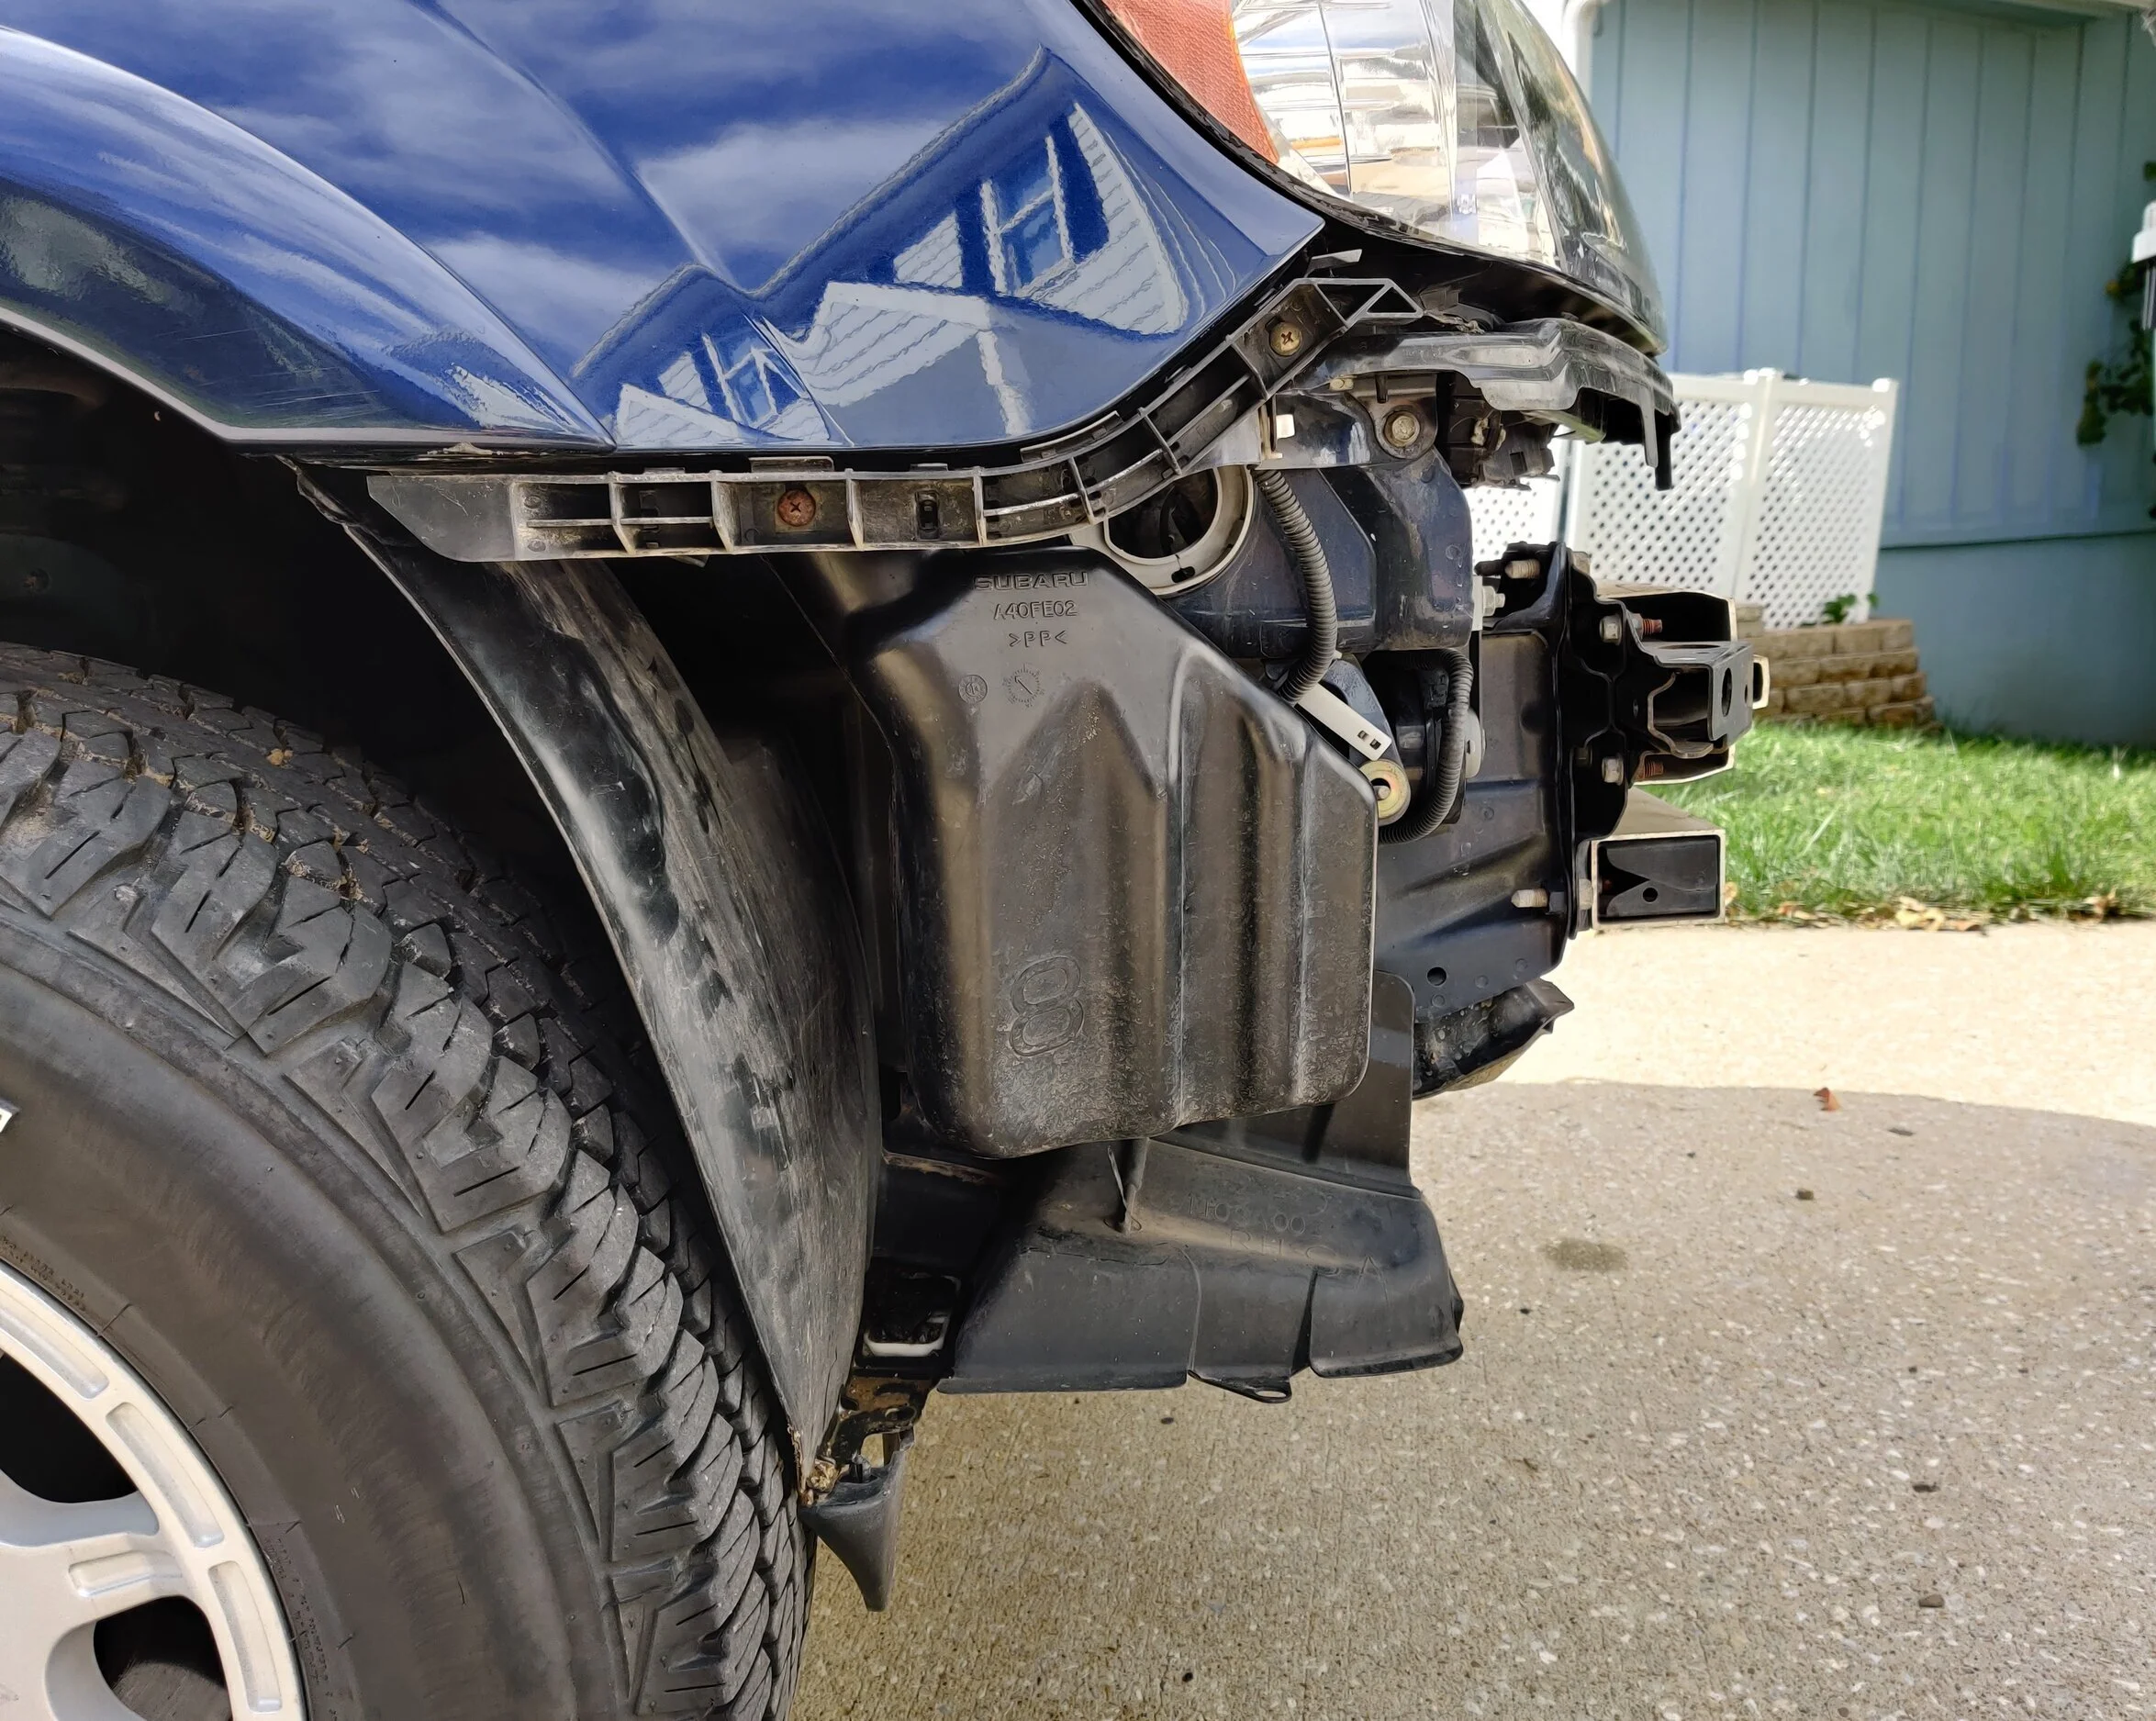

Here is what resides in the front fender/bumper area. This helps keep all the turbo sounds away from your ears.
How much horsepower will this gain you!? Probably none, but it does give you the benefit of hearing the factory bypass valve and a slight induction noise as the turbo sucks in the air. The factory air box is also good up to 400 horsepower, so this gives you induction noise you crave while leaving your pocket book alone.
Time frame
This most difficult part of this modification will be either removing the front bumper or right front inner fender well. SG forester bumpers aren’t held on by many clips so for me this takes around 20 minutes max. Give yourself additional time if your bumper has never been removed or your clips are seized up with dust and dirt. Forty five minutes to an hour is a very realistic for those who haven’t attempted this before
Tools
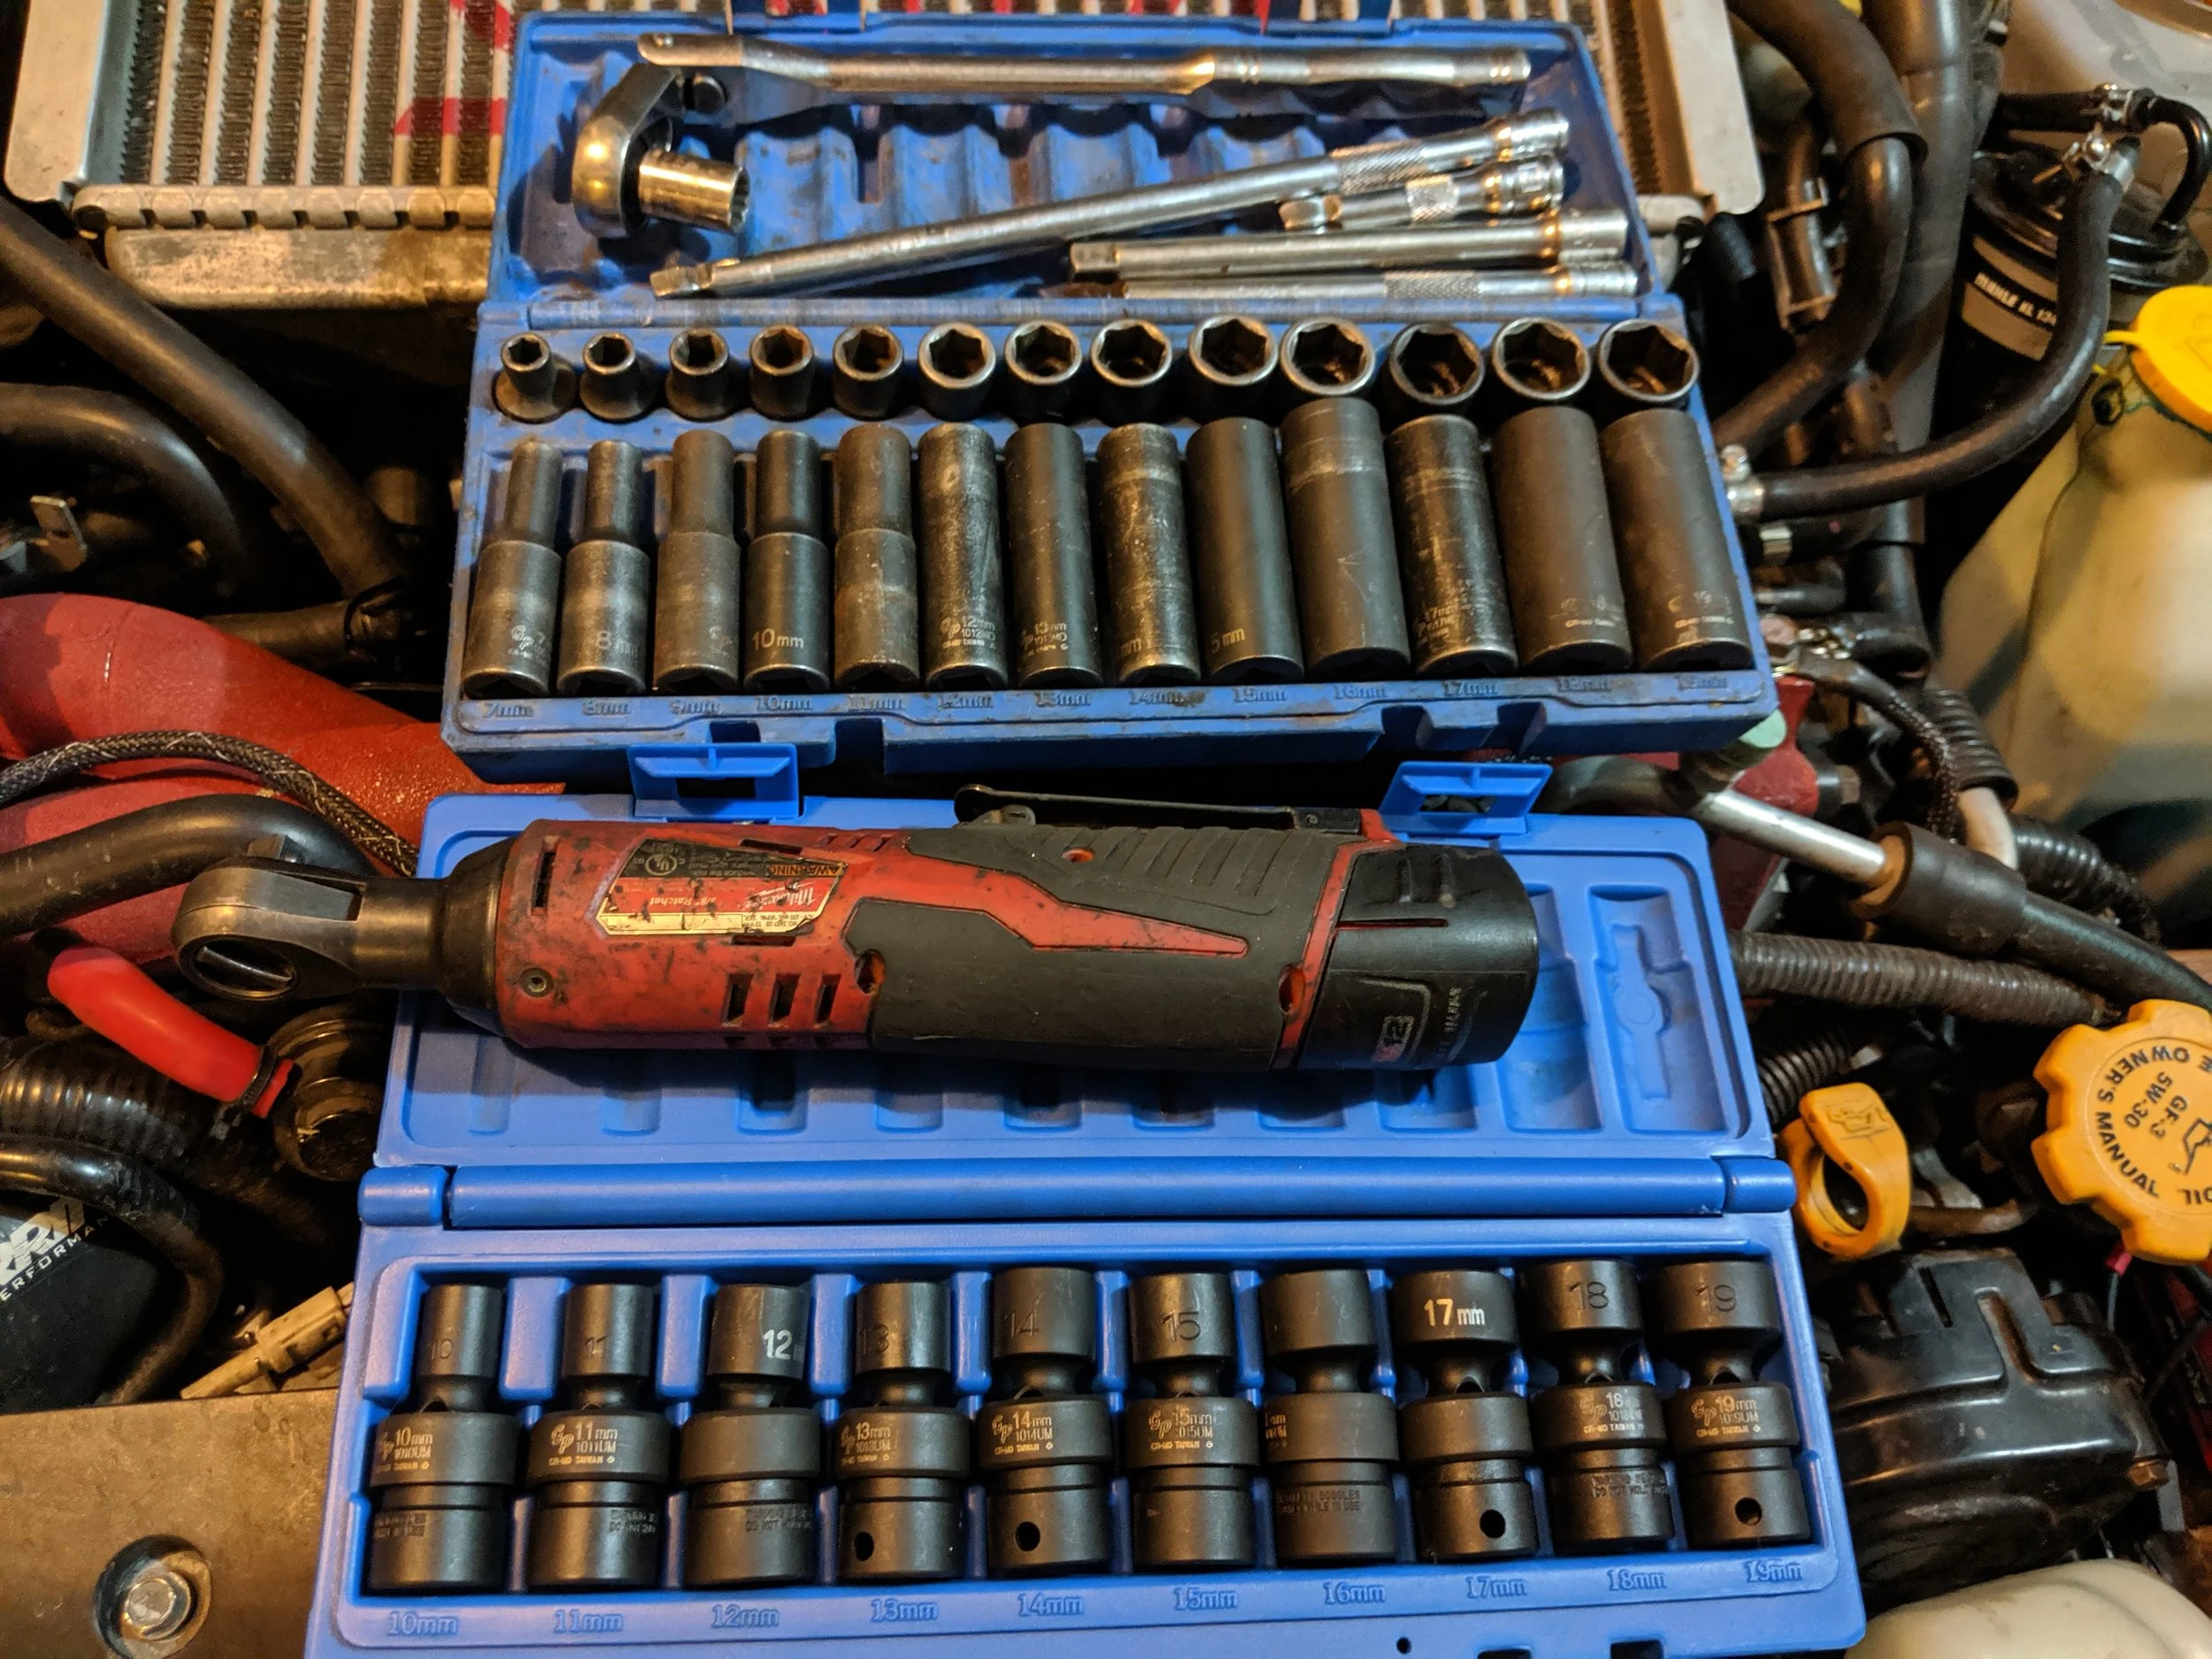
The tools necessary to today’s job will be removing the couple of bolts that hold the resonator in. My favorite ratchets and sockets will help get this done.
Grey Pneumatic 3/8th socket set Gearwrench 3/8ths ratchet Grey pnuematic wobble socket set
Other tools will be a flat head screwdriver or trim tools to help pop the clips out.
Lastly your favorite hacksaw, cutoff tool or sawzall can make it through the plastic resonator. I used my Ryobi Reciprocating saw with the stock blade.


Parts
No parts needed today unless your resonator has been removed or you wold like to make an elbow piece to connect the under hood induction inlet. The part number stamped on my left over unit is A40FE02 if you need another. Or you can search eBay for a used unit.
Install
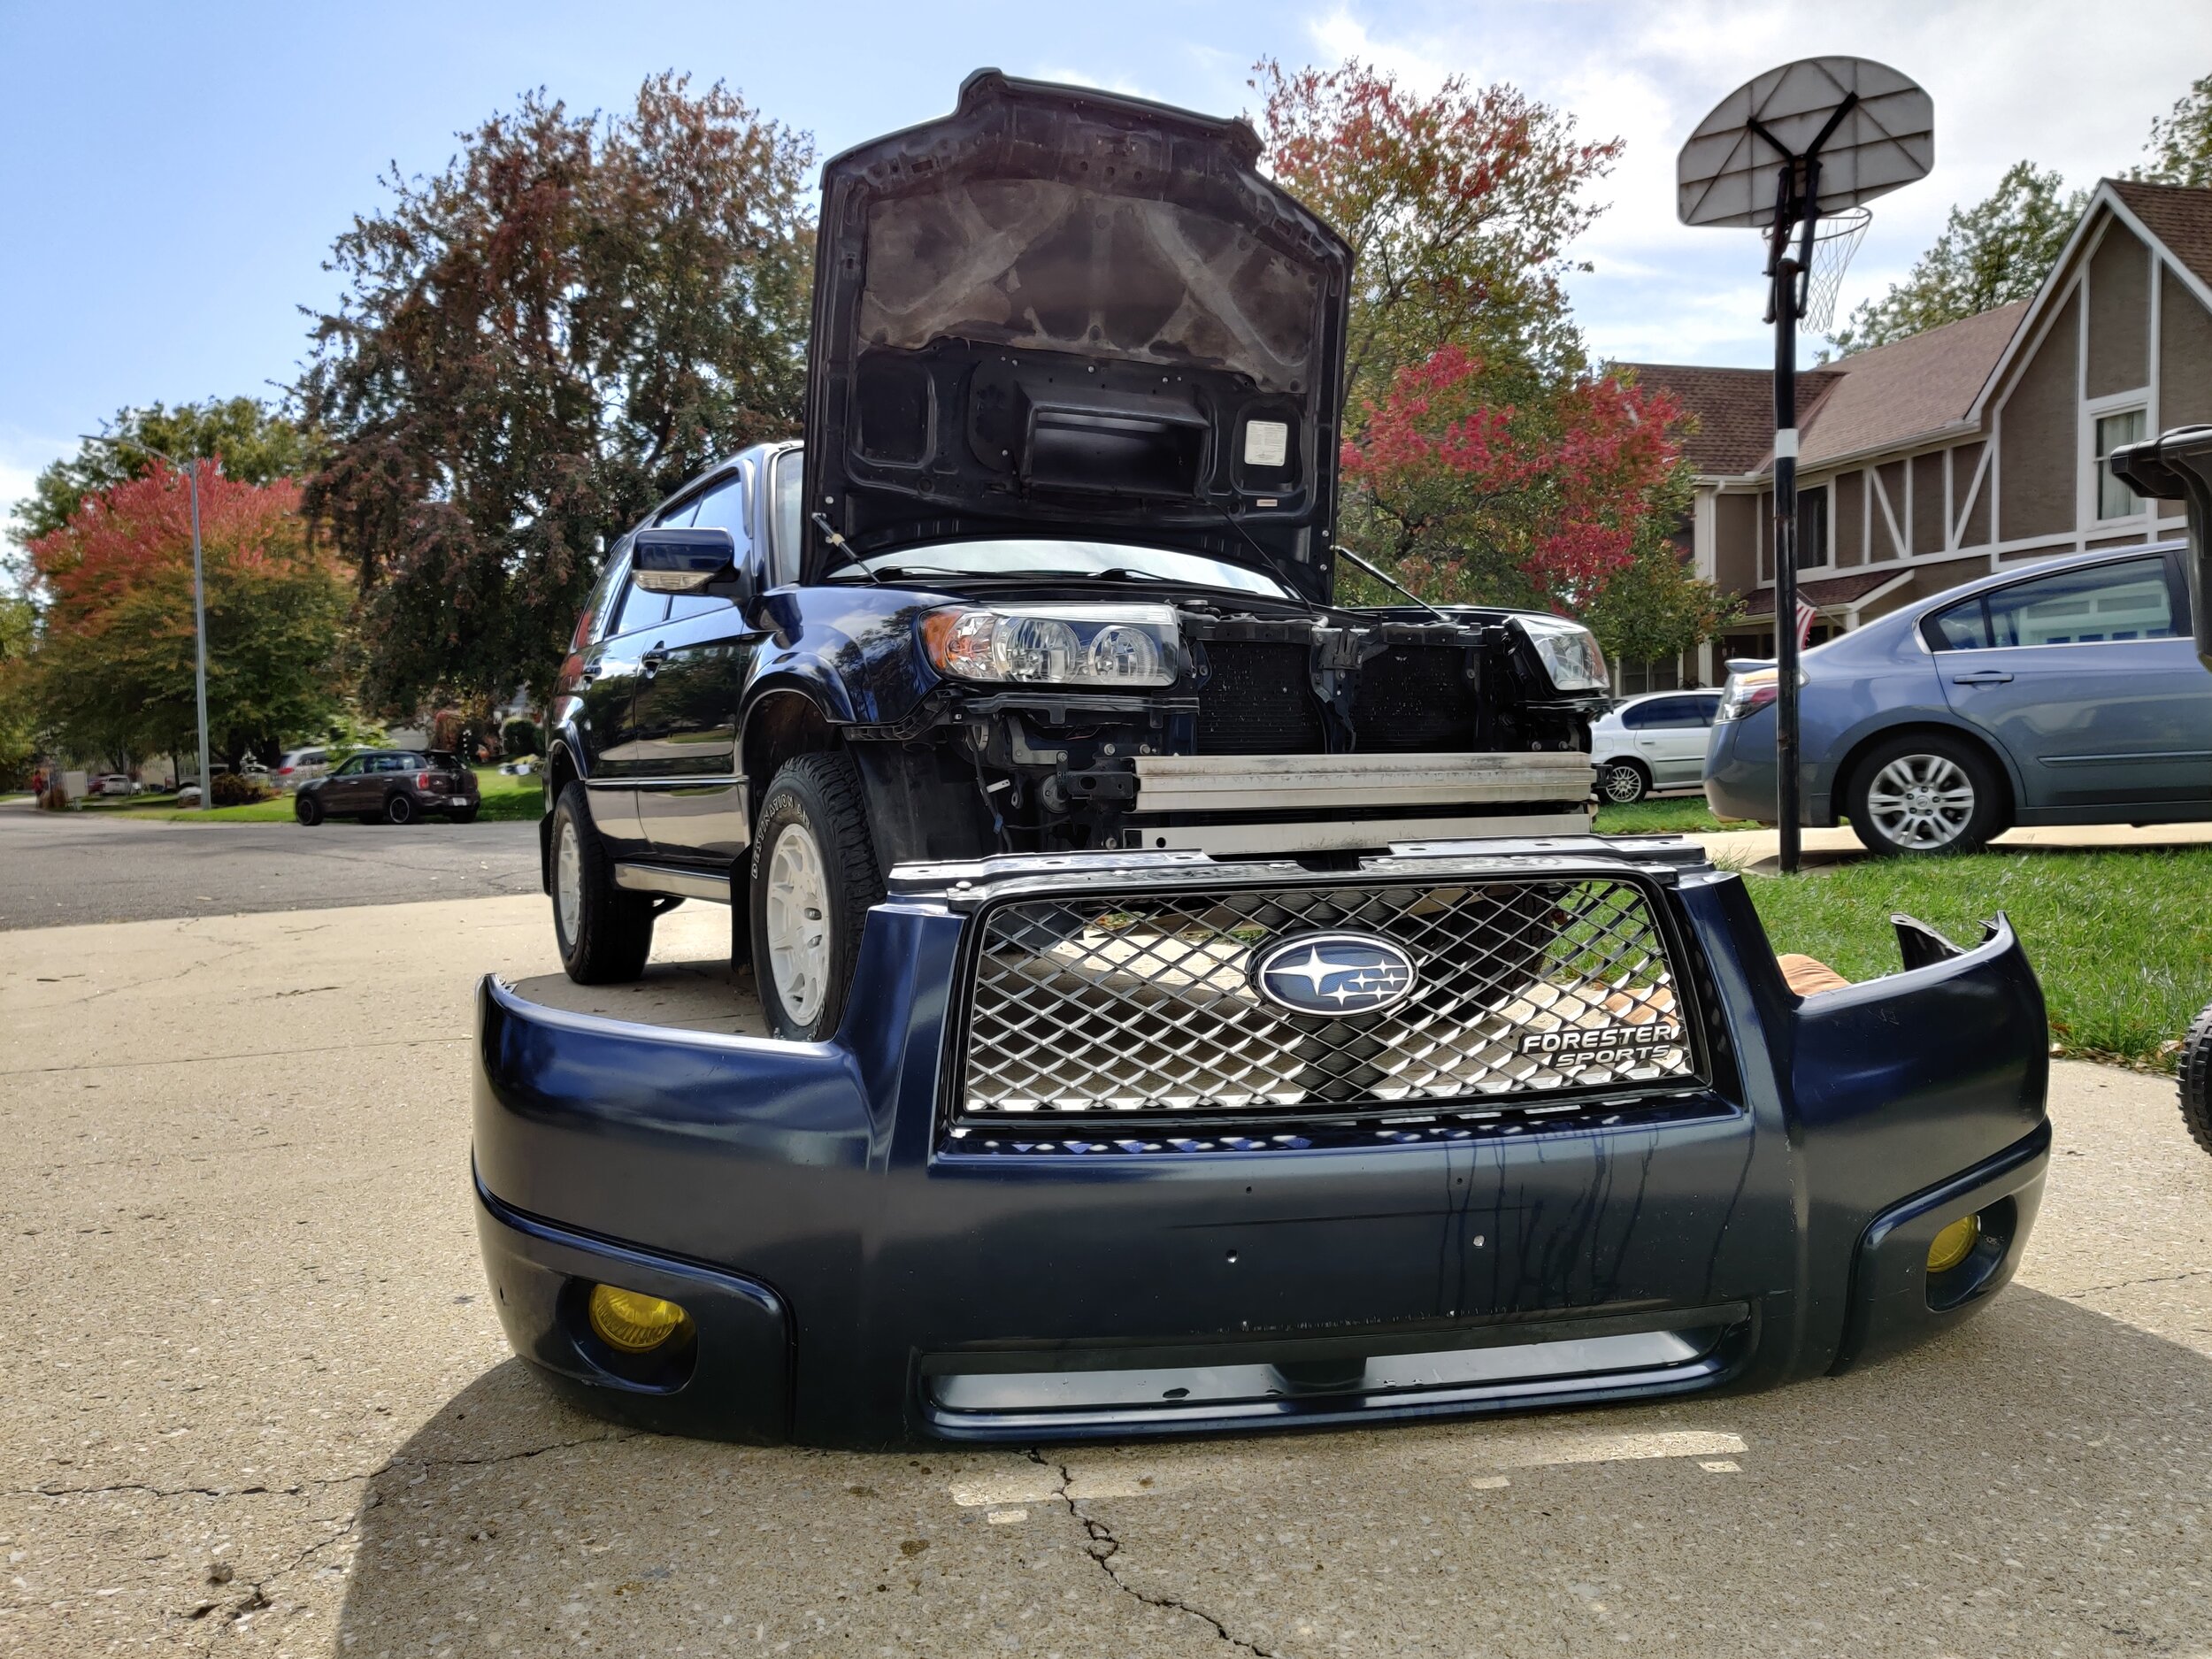
There are a couple of ways to go about this. I will focus on the method I utilized on my Forester, which is removal of the front bumper. The other method is to remove your inner splash guard which is easy too, but with the wheel still mounted on you will need to loosen the front bumper. Why not just remove the front bumper, especially if you have any other projects to complete under it.
Starting with opening the hood you can start removing the push clips that hold the center portion of the bumper in. These will slightly between model years, but remove them all.
Clips off! You don’t have to remove the grill clips but I was painting the grill at the same time.
On to the inner fender liner you will pull back to expose the push clip that holds the bumper to the fender. With it removed the bumper can be slid out of the clips and tabs that reside underneath the headlight in a metal bracket.

Move to the opposite side of the car and continue to pull the bumper away from the car to pop it out of the brackets that reside underneath the headlights. After it is released from the metal bracket it will basically fall forward, have a piece of cardboard or towel down to keep the bumper from get scratched up when it falls.

These brackets below the headlights hold the bump up and tight.

Passenger side being undone. Plastic clips are underneath the fender while the headlights have metal brackets.
Now if you are concerned about your bumper resting on the ground. It is a good time to put a large cardboard box or old towels down to keep the bumper from getting scuffed up.

Set a cardboard box or old towel down and you have shiny paint or don’t need any more scuffs on your front bumper.
If you want you can disconnect your foglights (if applicable) and a few more clips to the inner fender line and the bumper loose.
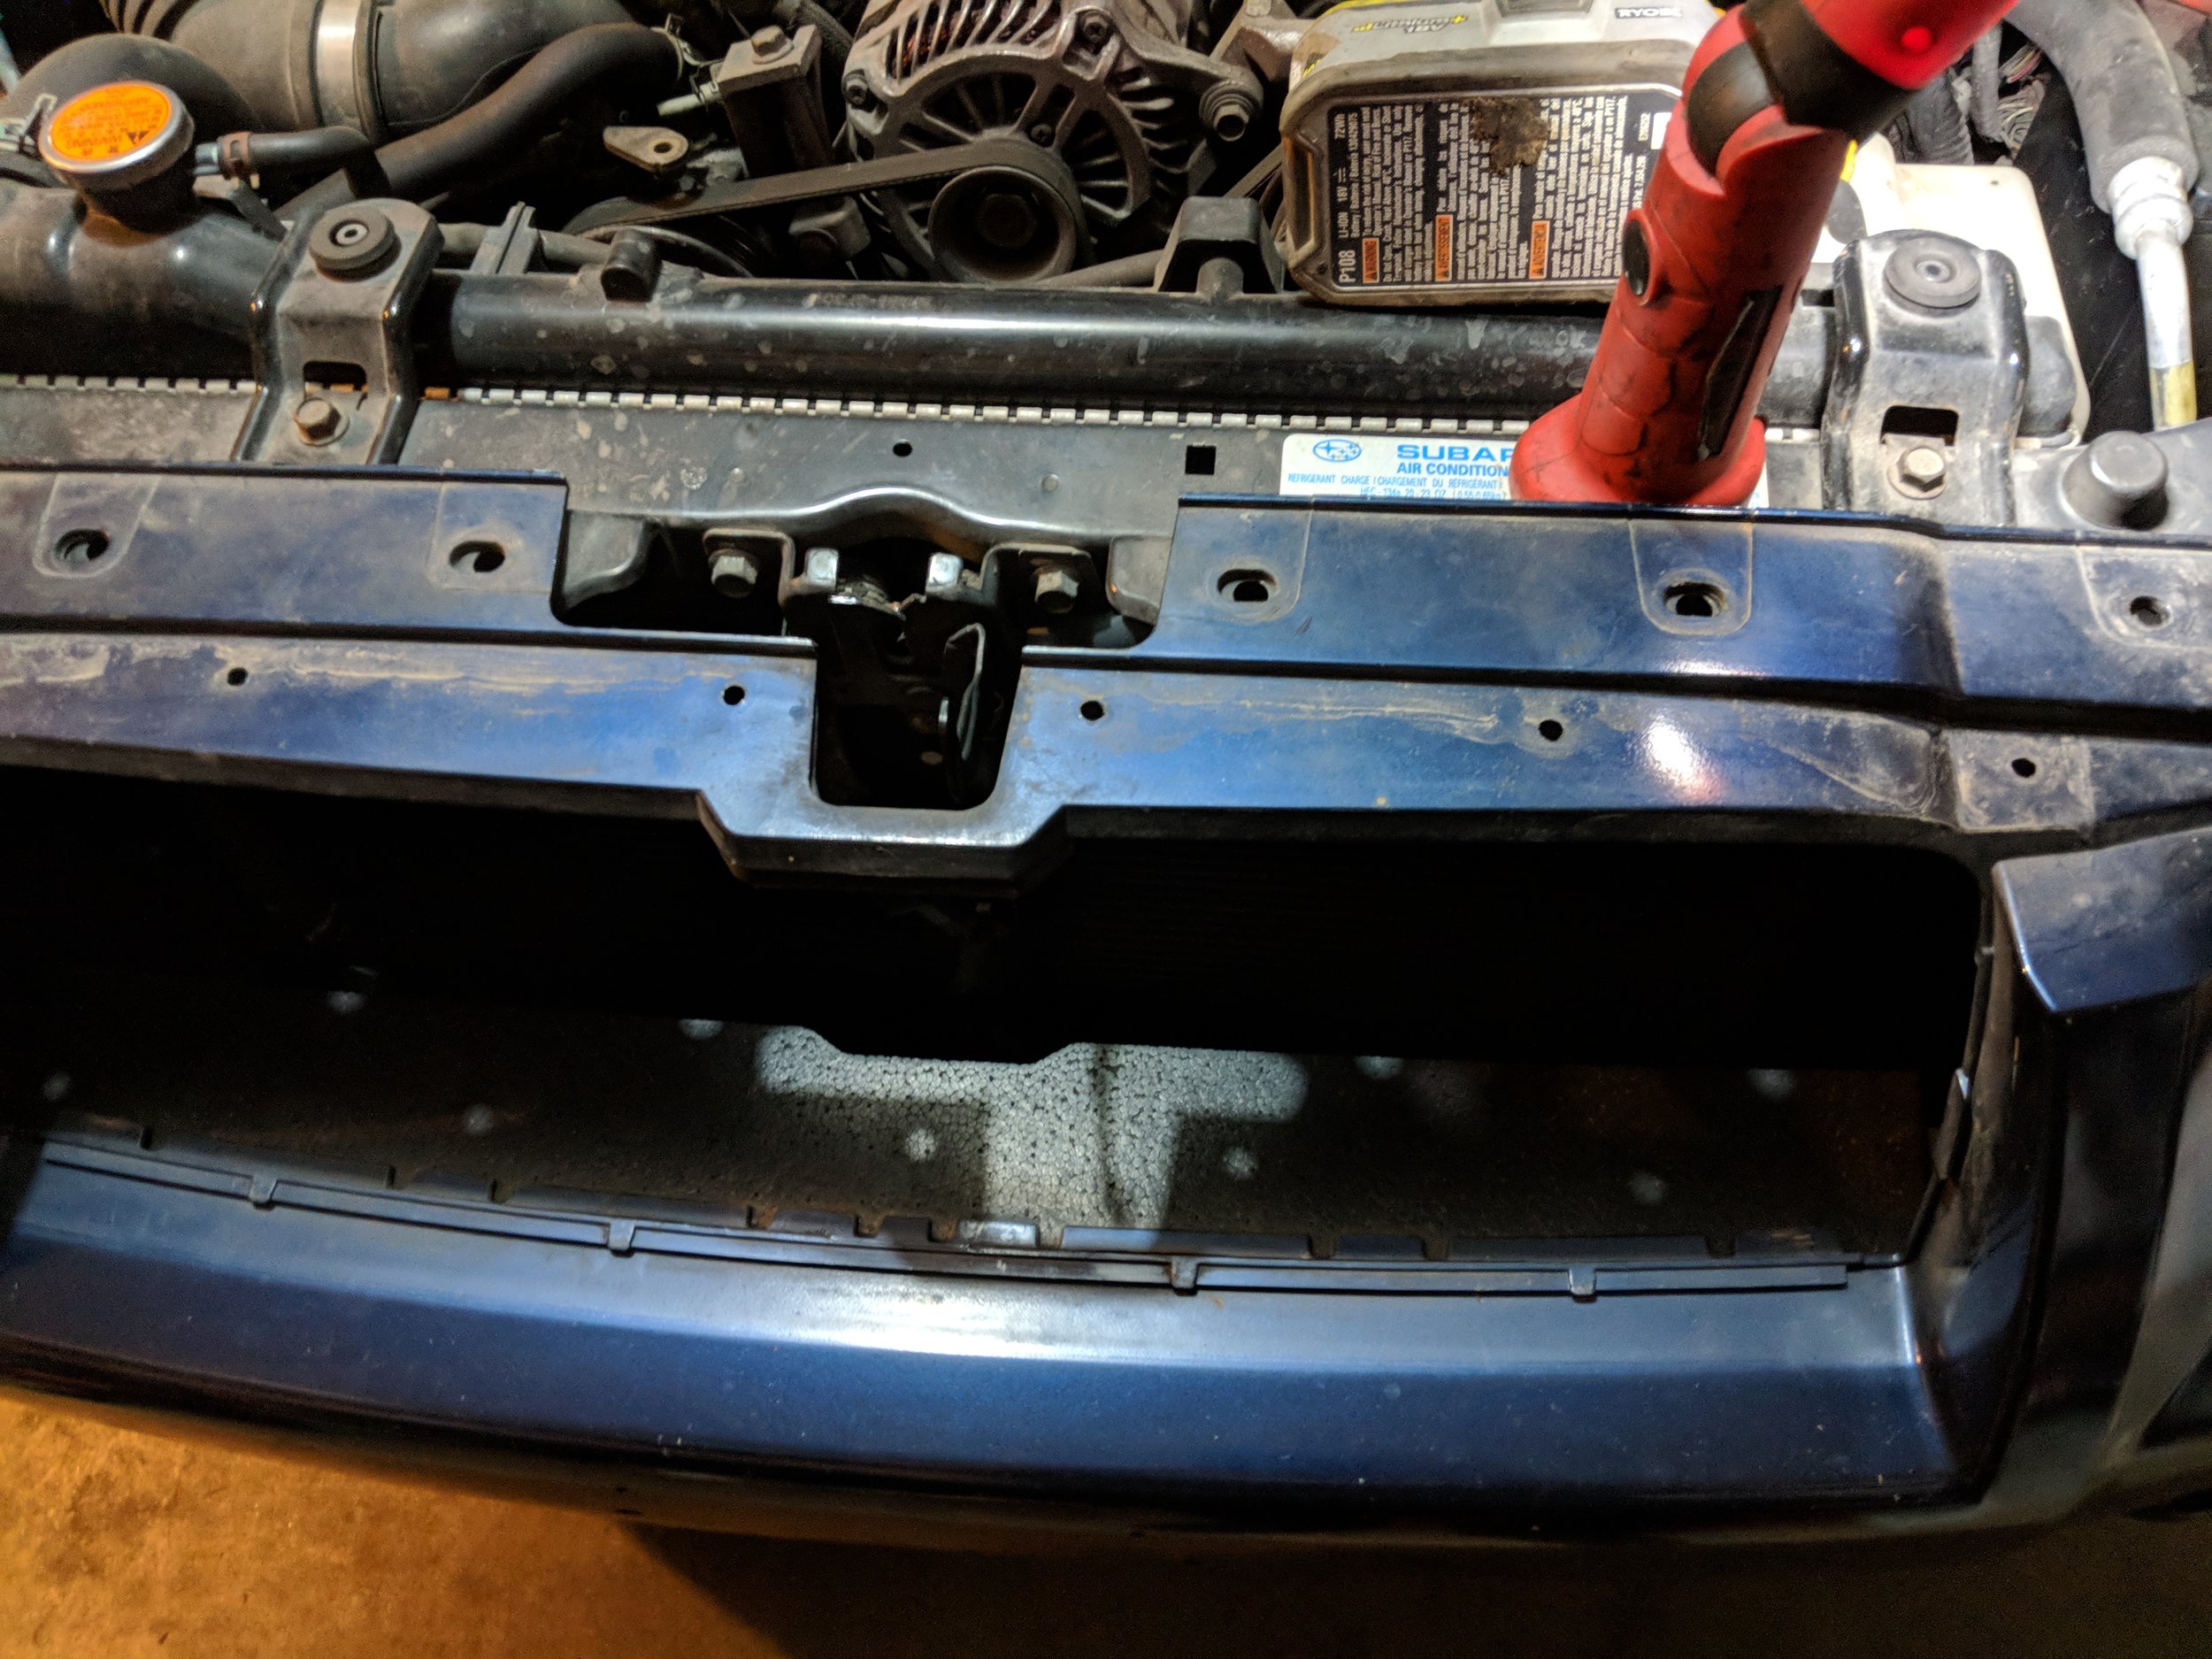
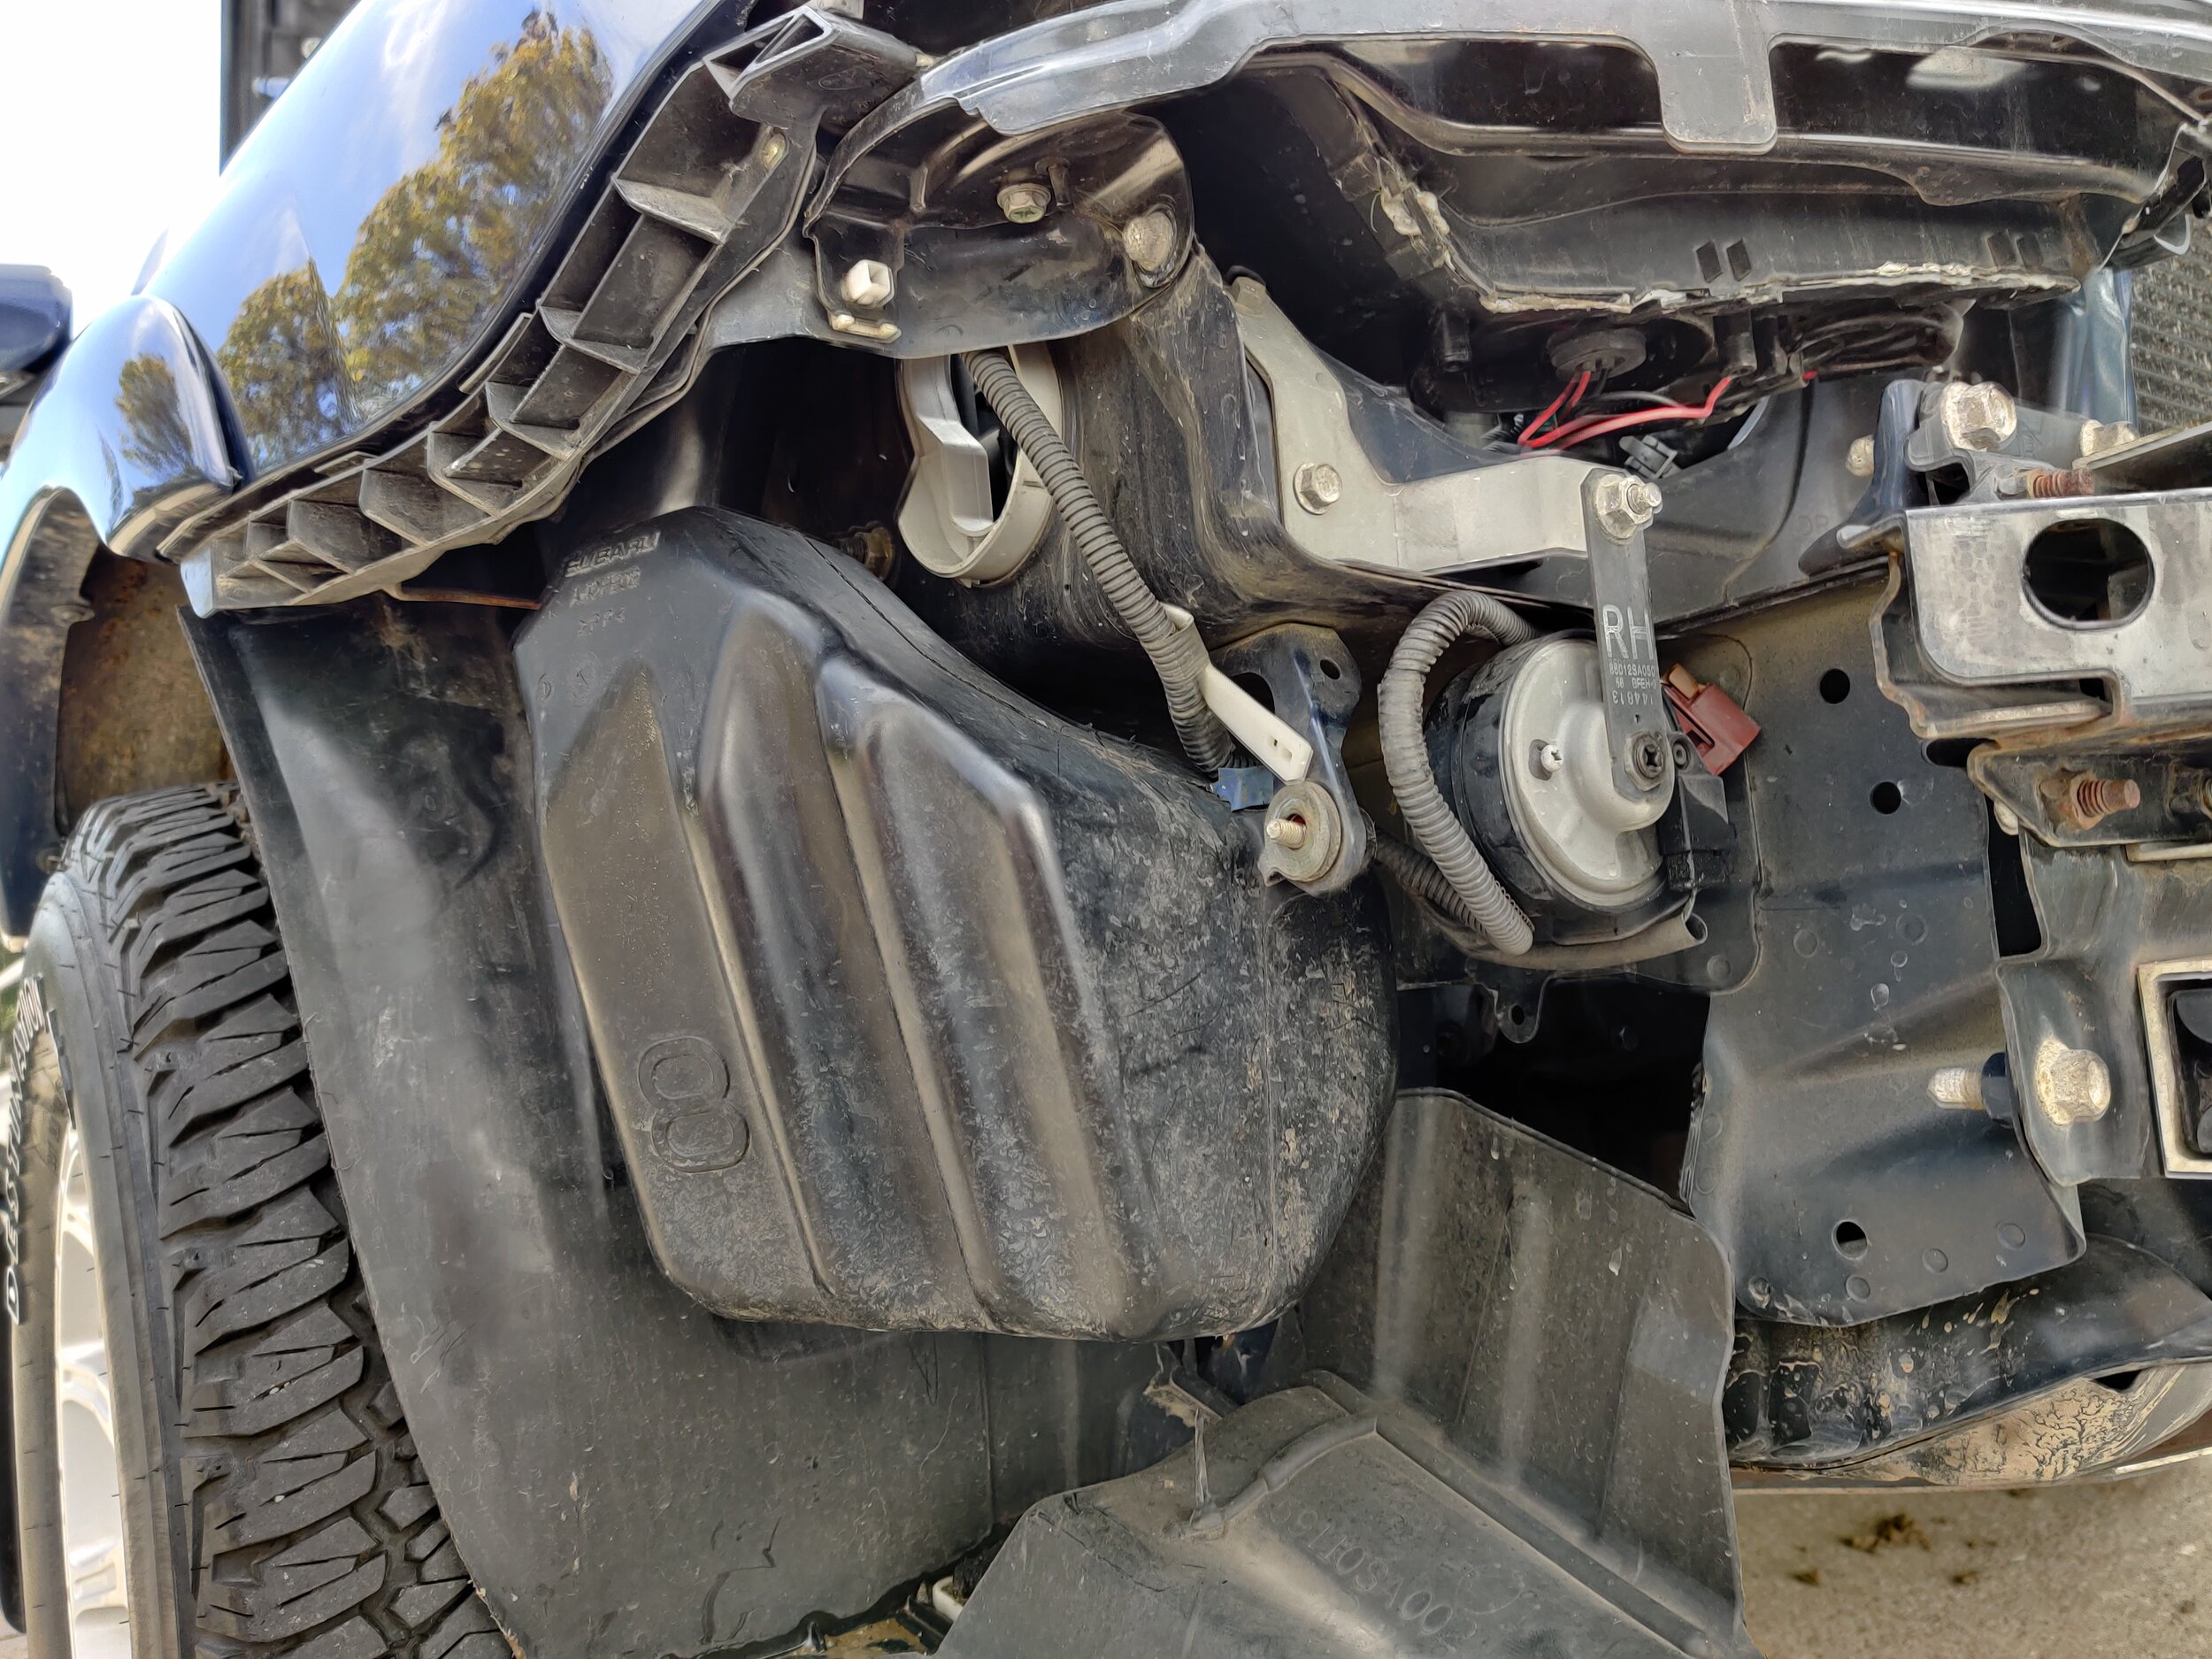
With the bumper removed you see the resonator, there are two bolts that hold it into the car. One resides down here behind the bumper cover and one in the engine bay. I will start on the lower nut which is attached to a stud built into the resonator. In the engine bay we can remove the air scoop that connect to the resonator near the headlight. With the nut removed you can remove it from the car.

Here is the resonator and lower mounting tab/stud.

Hard to see but there is the stud and mounting hole on the lower portion of the resonator. Nut is removed in this image.

The nut hides in between the air intake and air box. Remove it and you will be one step closer to removal.
You can now take your resonator and place it elewhere, or you can cut it up to make a neat elbow to connect the scoop and air box. The next step is to take out your favorite cutting tool and hack off the elbow if you intend to reuse the scoop. Otherwise you can leave it open and allow the intake to pull from the fender well.
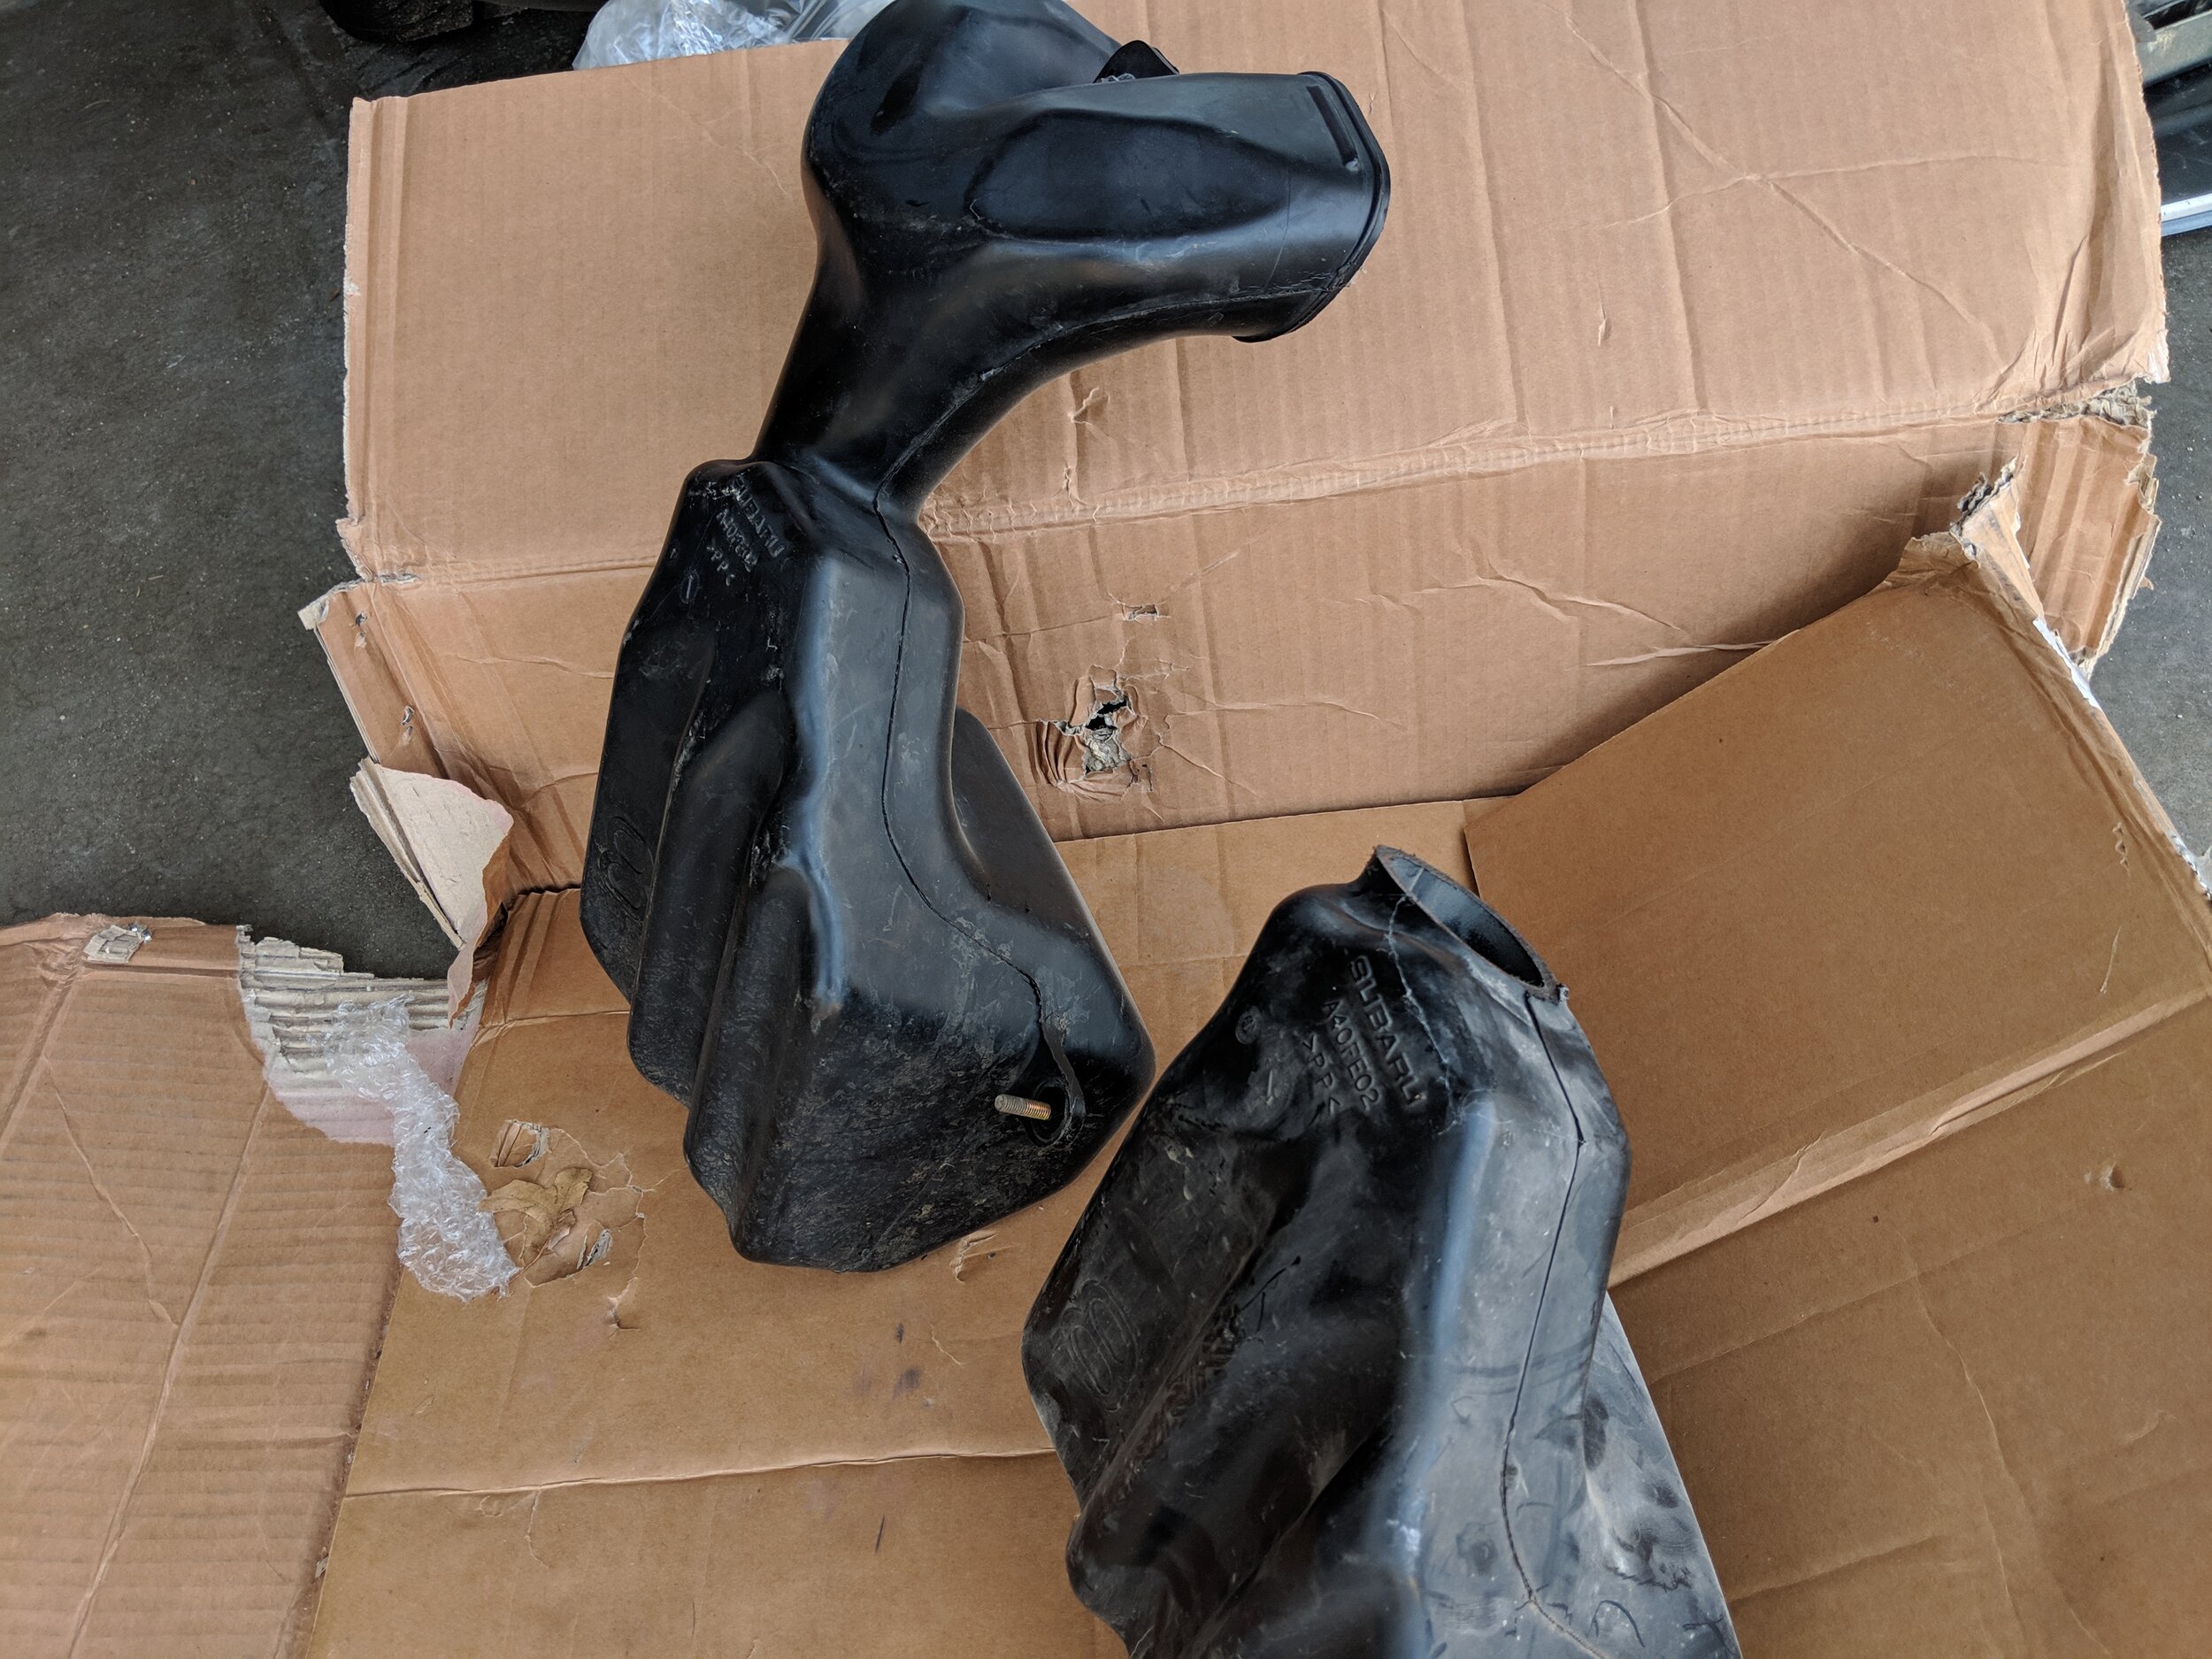
One full resonator and one chopped hanging out together.
You can also choose to cut out a small circle from your left over resonator to fill the hole. I leave mine open allowing air from the scoop and fender well to pulled in. You can use a bit of plastic epoxy to seal it up to your liking.

Here is where I choose to cut it. You can opt for any where in this vicinity, it is up to your preference.
With the elbow ready to go back on you can now slide it into place and run the nut down to hold it tight. Make sure it engages the air box and engine air inlet.
Now you can start with reassembly of the front bumper. Which is the reverse of the bumper removal. I like to place the center clips on first when reinstalling it. Seems to help center the sides when popping them back into the metal brackets. Then on to the two clips that hold the fender and bumper together!

Here is what I left on my elbow. I’d like to think it pulls air from both this opening and the scoop under the hood.

Panned out shot of the chopped resonator.

Bolted in and engaged with both the air box and air scoop.

Snap the bumper back on and you are almost ready for increased turbo noises.

All back together and ready to roll!
Congratulations! You can now have a bit of induction noise and bypass valve sound to accompany your exhaust! All of this without emptying the contents of your wallet. I don’t mind the factory air box system and it is more than enough to feed my engines.
Amazon Tool Links
Grey Pneumatic 3/8th socket set
Grey pnuematic wobble socket set