5 Speed Group N manual transmission mount! Stiffen up your mount! (98-08 Forester, 93-14 Impreza/Wrx, 05-09 Legacy GT)
When it comes to factory rubber bushings noise suppression and comfort are high priorities, while shifting feel and enjoyment take a back seat. After many years of service your bushings will become more compliant, i.e. allowing further back and forth movement. This will give the shifter sloppy feedback and can even cause driveline issues if not taken care of quickly. Other noteworthy issues from a weak trans mount are clunking noises when leaving a stop or shifting.

New vs old. The differences are quite noticeable…
Instead of replacing that tired old mount with another soft squishy unit let’s take a look at the Subaru Group N unit. Visually the two are very different as the stock factory mount has a large open area to lessen the amount of noise and vibration into the cabin. This comes at the price of stability. The Group N mount takes care of this with much more surface area and on top of that a stiffer urethane.

Out with the old and in with the new.
Tools
For this install in the manner described you will need on a 14 mm socket, an extension or two, anti-seize isn’t necessary but is nice, and your ratchet. If your car is of ample height like the lifted Forester you won’t even need jack stands but a jack is needed to hold the trans in place when taking out the bolts and nuts. There are many ways to do this install but this would be the minimalist approach. Taking out the least amount of bolts to get you back on the road and enjoying your modifications.
My tool set for this job. My 3/8th ratchet, Milwaukee 3/8 electric ratchet and Grey pneumatic socket set. Kind of a tool, my big bottle of Versachem Anti-seize.

Not many sockets needed here but it’s good to have them all here for moral support.
Parts
Not much in the parts bin for this. Just the 5 Speed Group N transmission mount. If you would like to replace the squishy transmission bushings this is an excellent time and can easily be done at the same time.
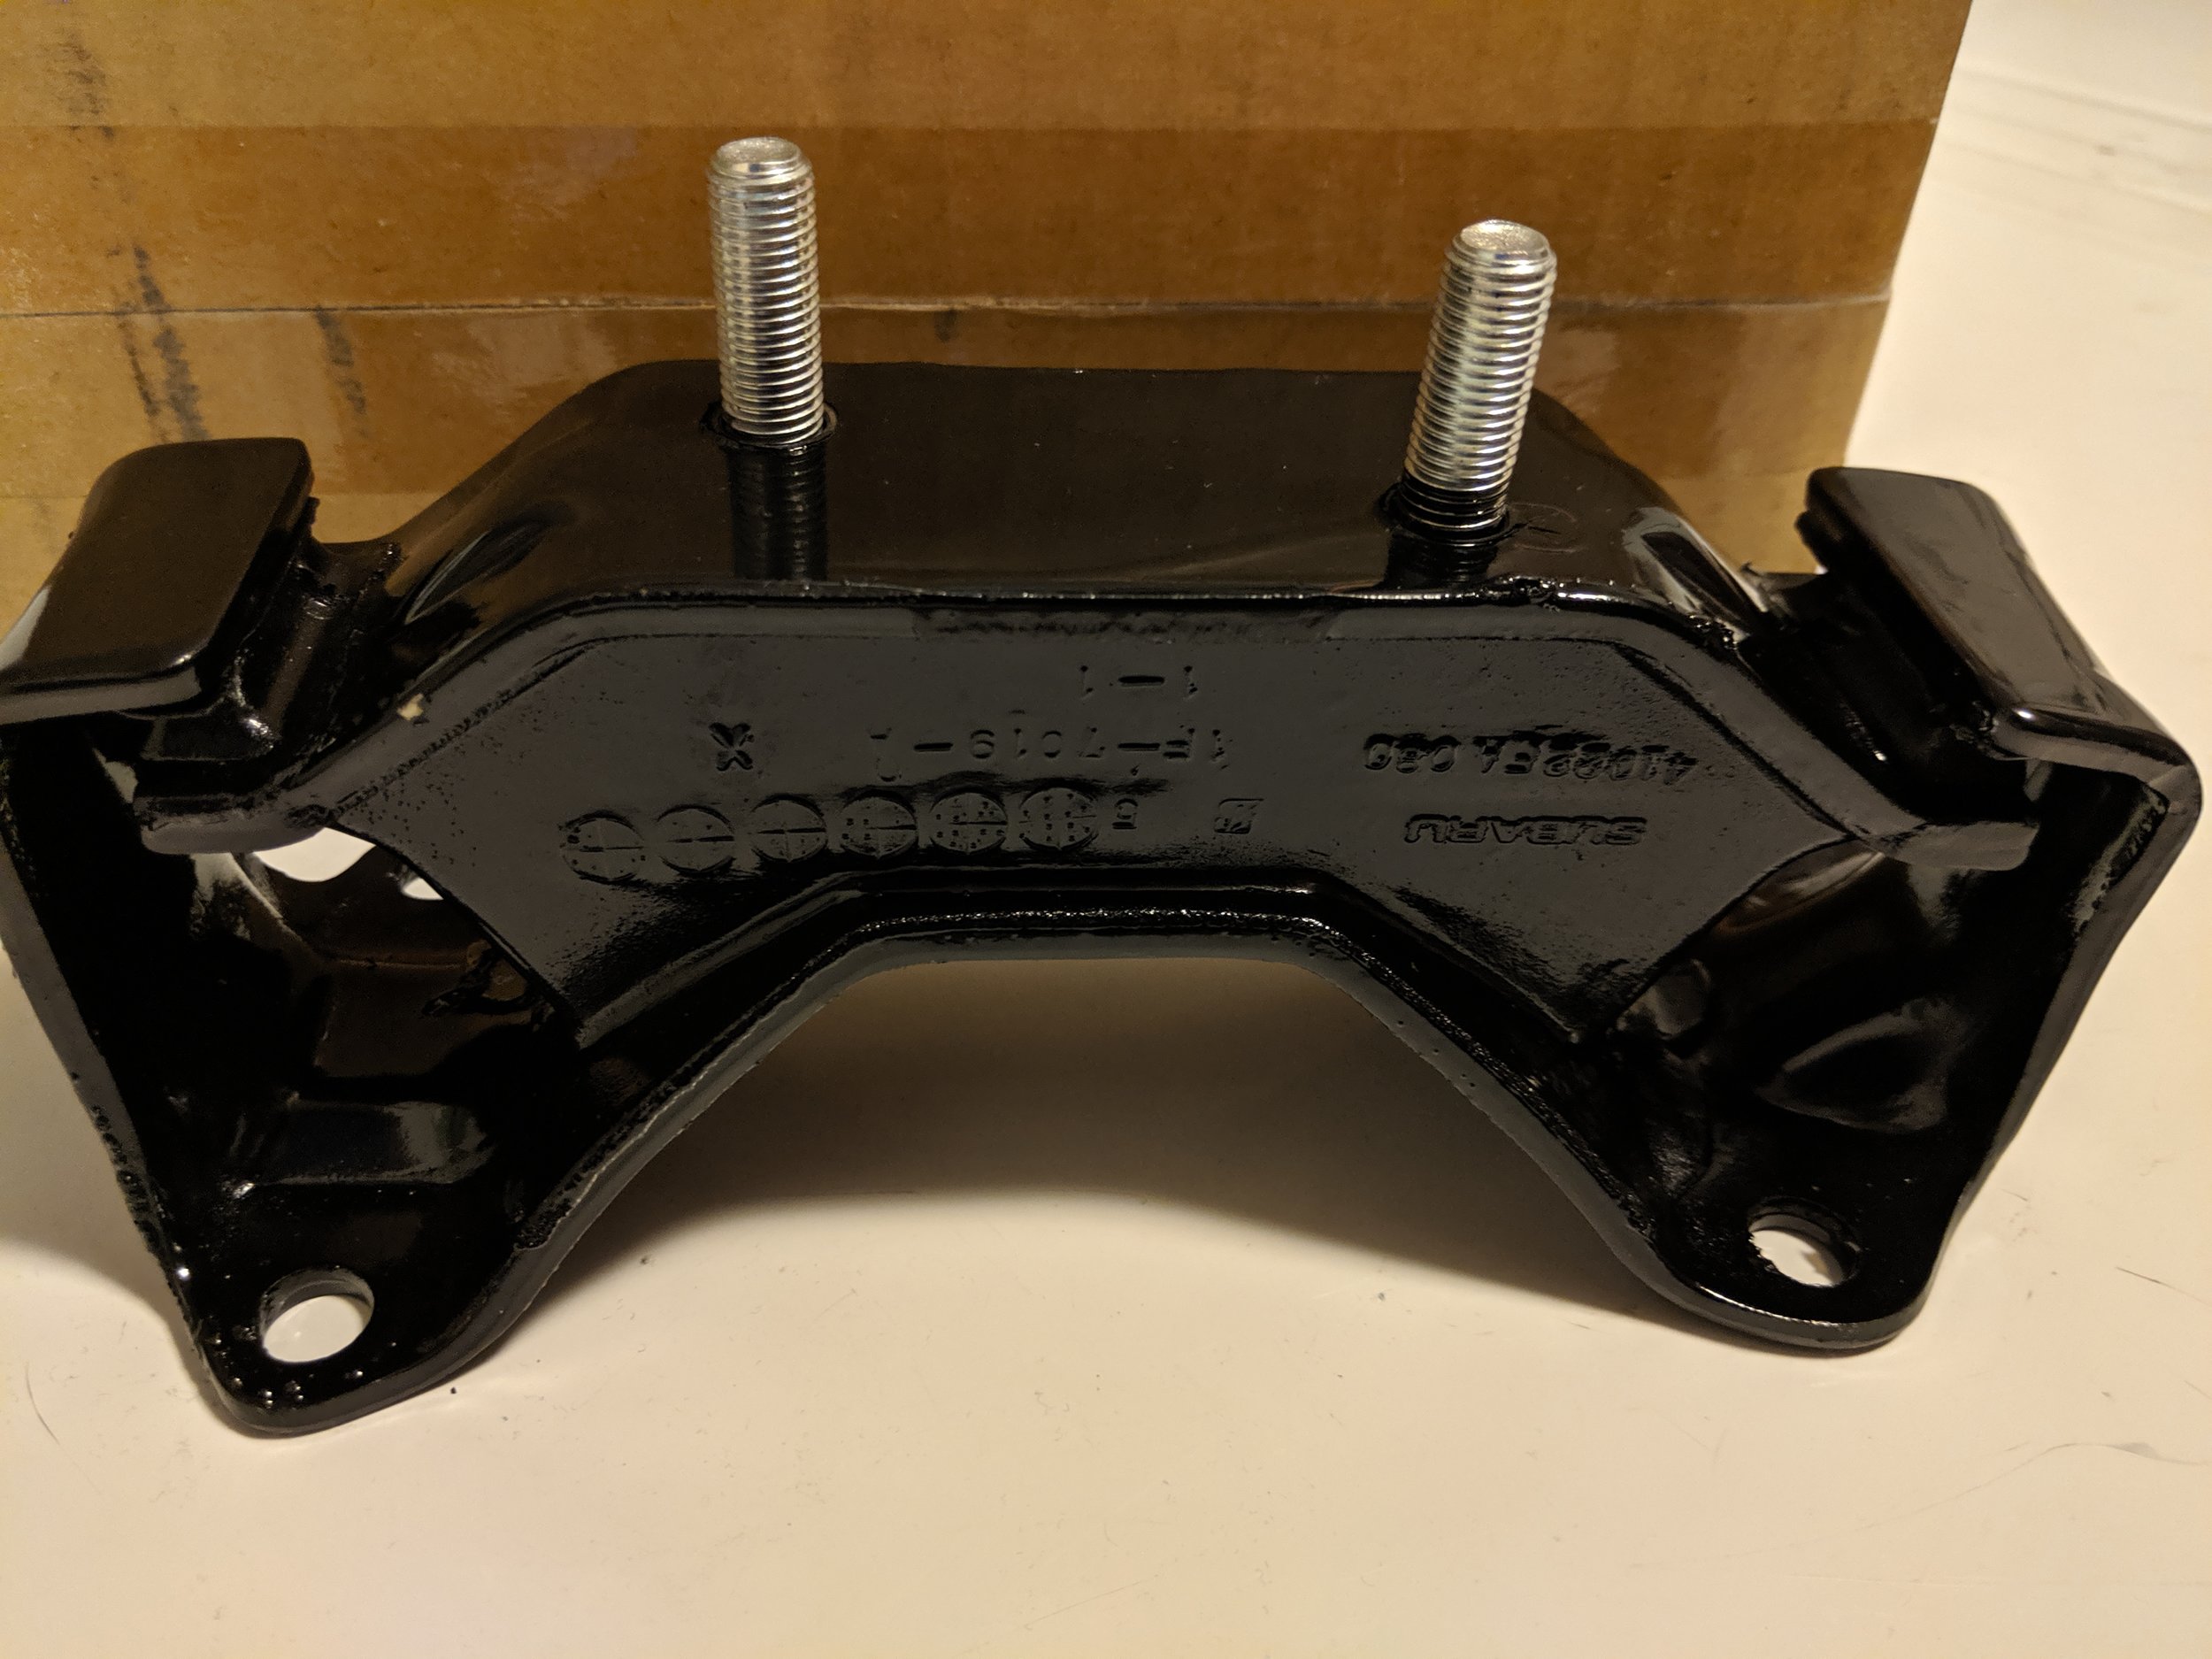
Nice and shiny. ready to do some work! Group N transmission mount
Install
On to the install, with your trusty jack in hand we will start by lifting the vehicle into the air. Or if your vehicle is tall enough you can just leave it on the ground like I did. Either way you will take a cushion or piece of wood and use your jack to support the transmission.

Right above this area is my preferred jacking point.

Up and away! You just need to release the weight off the trans to mount, this will help the bolts and nuts to come out without any issues.
With those two removed you can take out the bolts that are in the center of the cross brace. With these removed we can move to the rear brace bolts.
Center bolts that hold the front of the transmission brace together.
Removing the weight off the mount you now began to unbolt the transmission mount bolts. The two at the rear cross brace are 14mms bolts, much like every nut and bolt in this replacement.

These are the only bolts we need to remove. Located at the rear of the transmission brace.

Wider shot to show the location of the rear bolts.
Now you can go back to the two studs that bolt the transmission brace and mount together. With these removed the brace should start to slide down and you can maneuver it down and access the four bolts that attach the mount to the trans.

These two nuts hold the transmission mount to the bracing. With them removed the brace will slide on down.

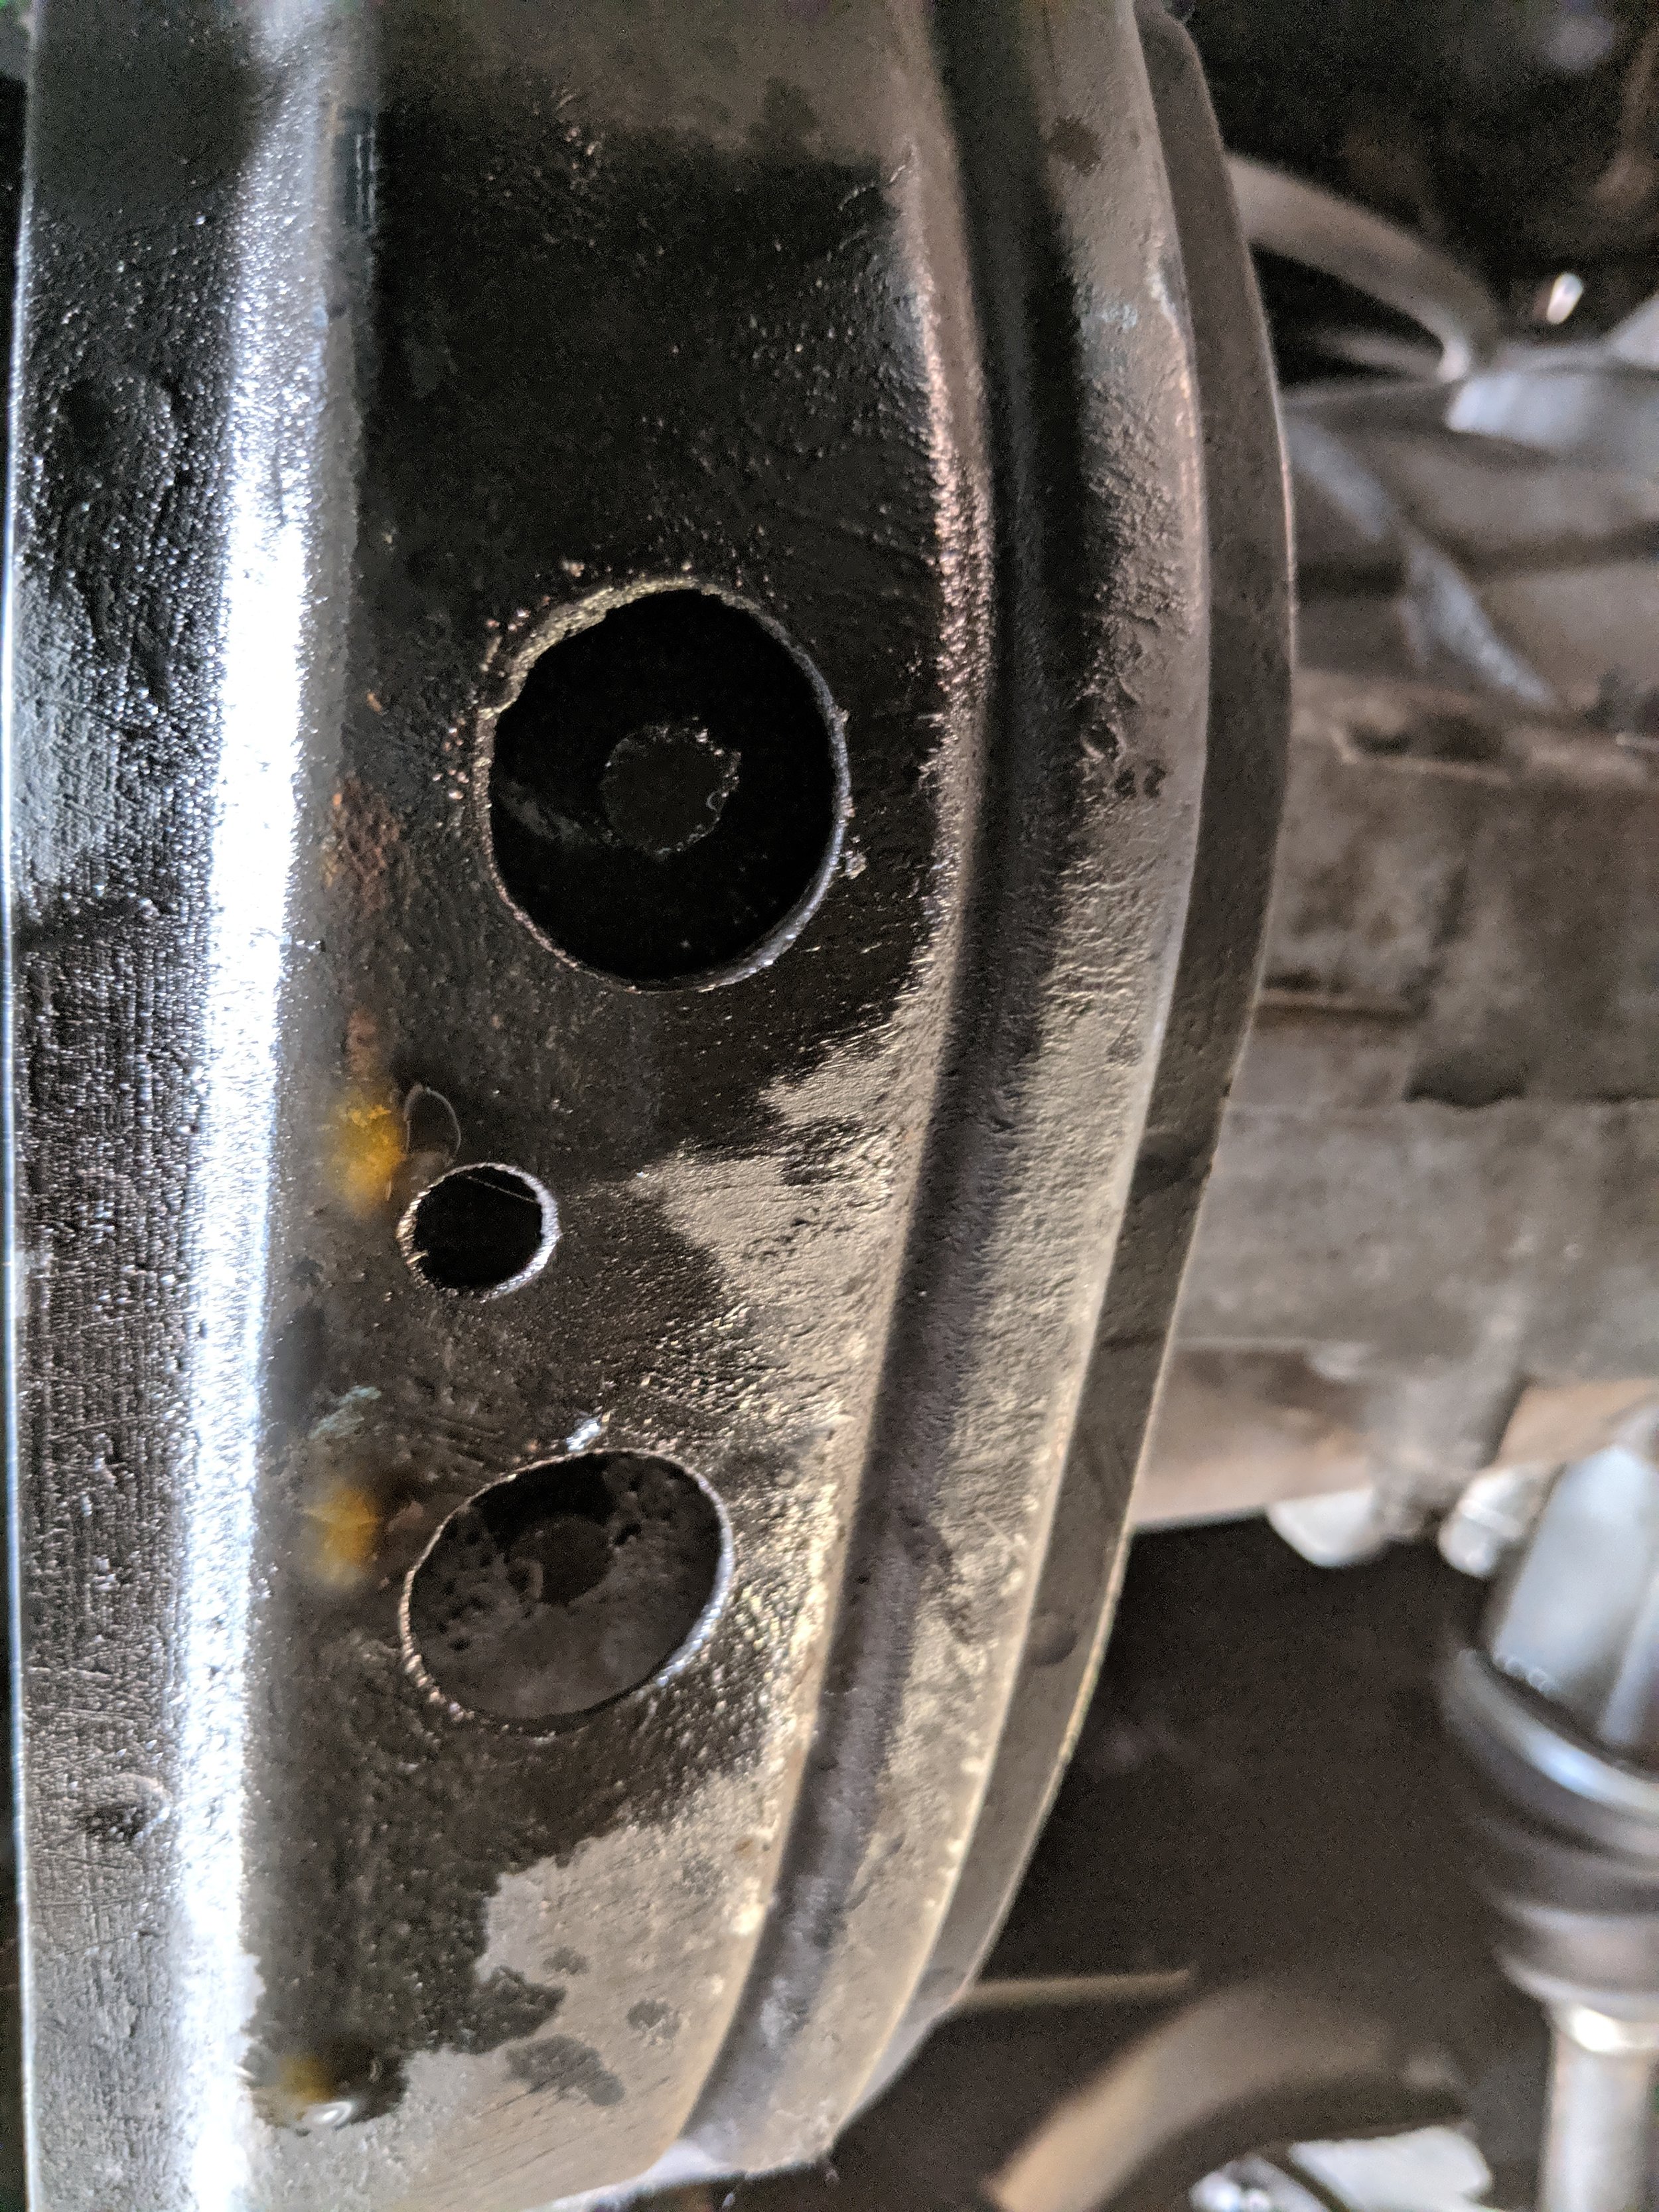
Taking out these four bolts will remove the mount from and we can start putting in the new mount. Now snug the four bolts up but do not fully tighten/torque them yet.


One bolt on the passenger side is visible here. The straight in front of it, just behind the mount in this image.

Here are the two driver’s side bolts.

Look Mom no mount!

Might be hard to tell here but this mount has over an inch in play with just my left thumb pushing on it. 214k miles have not been easy on it.

With the bolts removed this is a good time to Anti-seize them up! Hopefully you never have to remove this guy again but better safe than sorry. With steel bolts in an aluminum transmission I will take heed and use the copper anti-seize..
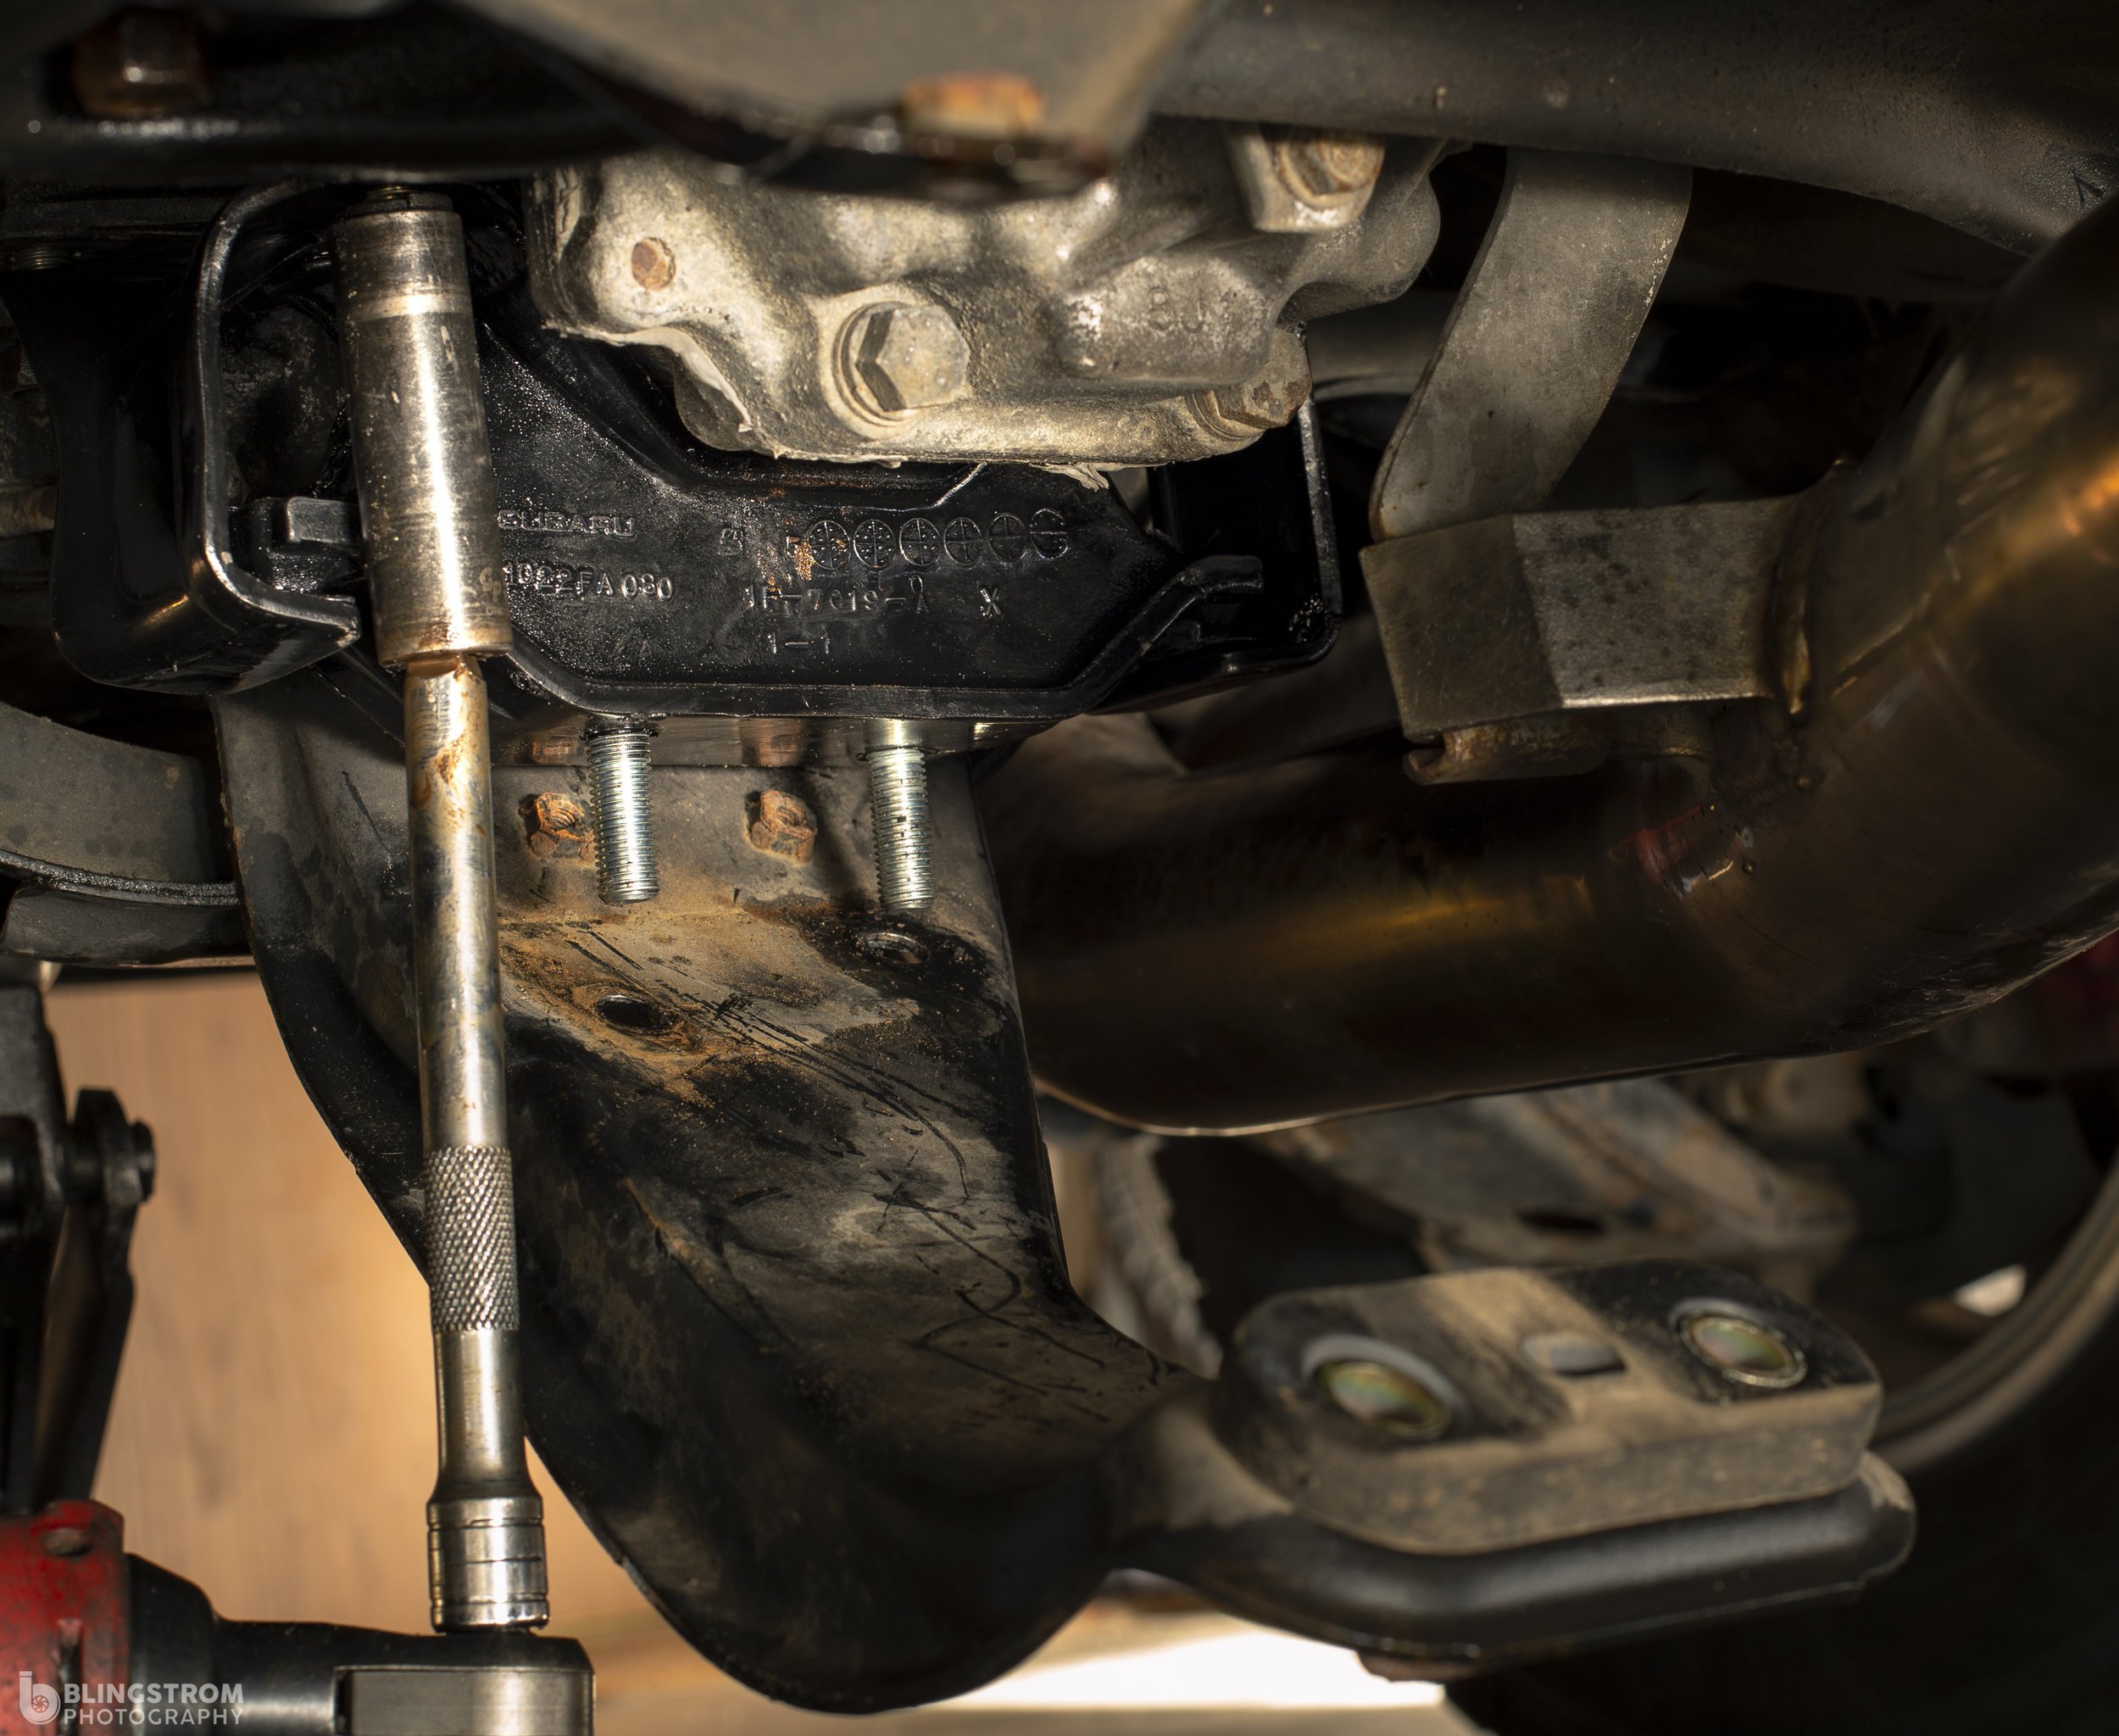
In goes the new boss… With much solidarity. Make sure to leave the bolts a bit loose in order to get the transmission brace back around the studs.
With a little bit of play in the mount you can slide the brace up and start the nuts on the studs. Once you install the nuts on the front brace studs and trans mount studs it will suck the brace up.

Reinstalling these guys and the other nuts will help line the brace up so you can feed the rear bolts through.
With those nuts installed move the jack to the trans brace to hold it in place and line up the rear bolt holes. Then you can install the rear bolts by hand making sure that the threads are fully engaged and threading in easily before tightening them up.

After installing the front nuts on the studs. You can now move the jack and wood plank to situate the brace. This will help line up the rear bolts and holes to allow for easy installation. The last thing we want is crossthreaded rear bolt holes to make use pull out the tap and die set.

Start the bolts by hand to make sure they engage the threads before tightening them up.

All completed and after a nice run through a few puddles and some back roads.
With each and every nut and bolt in place you can now run them all down to the proper value. Remembering the transmission mount was left loose to allow the brace to be placed properly.
You can now remove the jack and jack stands if you needed to use them. Taking the vehicle for a very short test drive to make sure everything is right and tight.
Congratulations! Enjoy the new solid feeling when shifting and bit more noise in the lower gears as the mount reverbs through the car.
Amazon links:
Milwaukee 3/8 electric ratchet