DIY: Headlight Revolution's SuperNova H1 LED V.4 installation 06-08 Forester. Let there be LED light!!
The headlights in the Usdm 06-08 Foresters leave much to be desired. They love to fill up with water, haze over and their light output is okay at best. I dealt with all these issues after purchasing my Forester with poor lighting at night due to the waterlogged and hazed over headlights. To fix these downfalls I replaced my lights with a set of 07-08 Depo sport headlights , I enjoyed the improved looks and lighting (not fogged over) but I was still a bit disappointed given that my STi has HIDs in it.
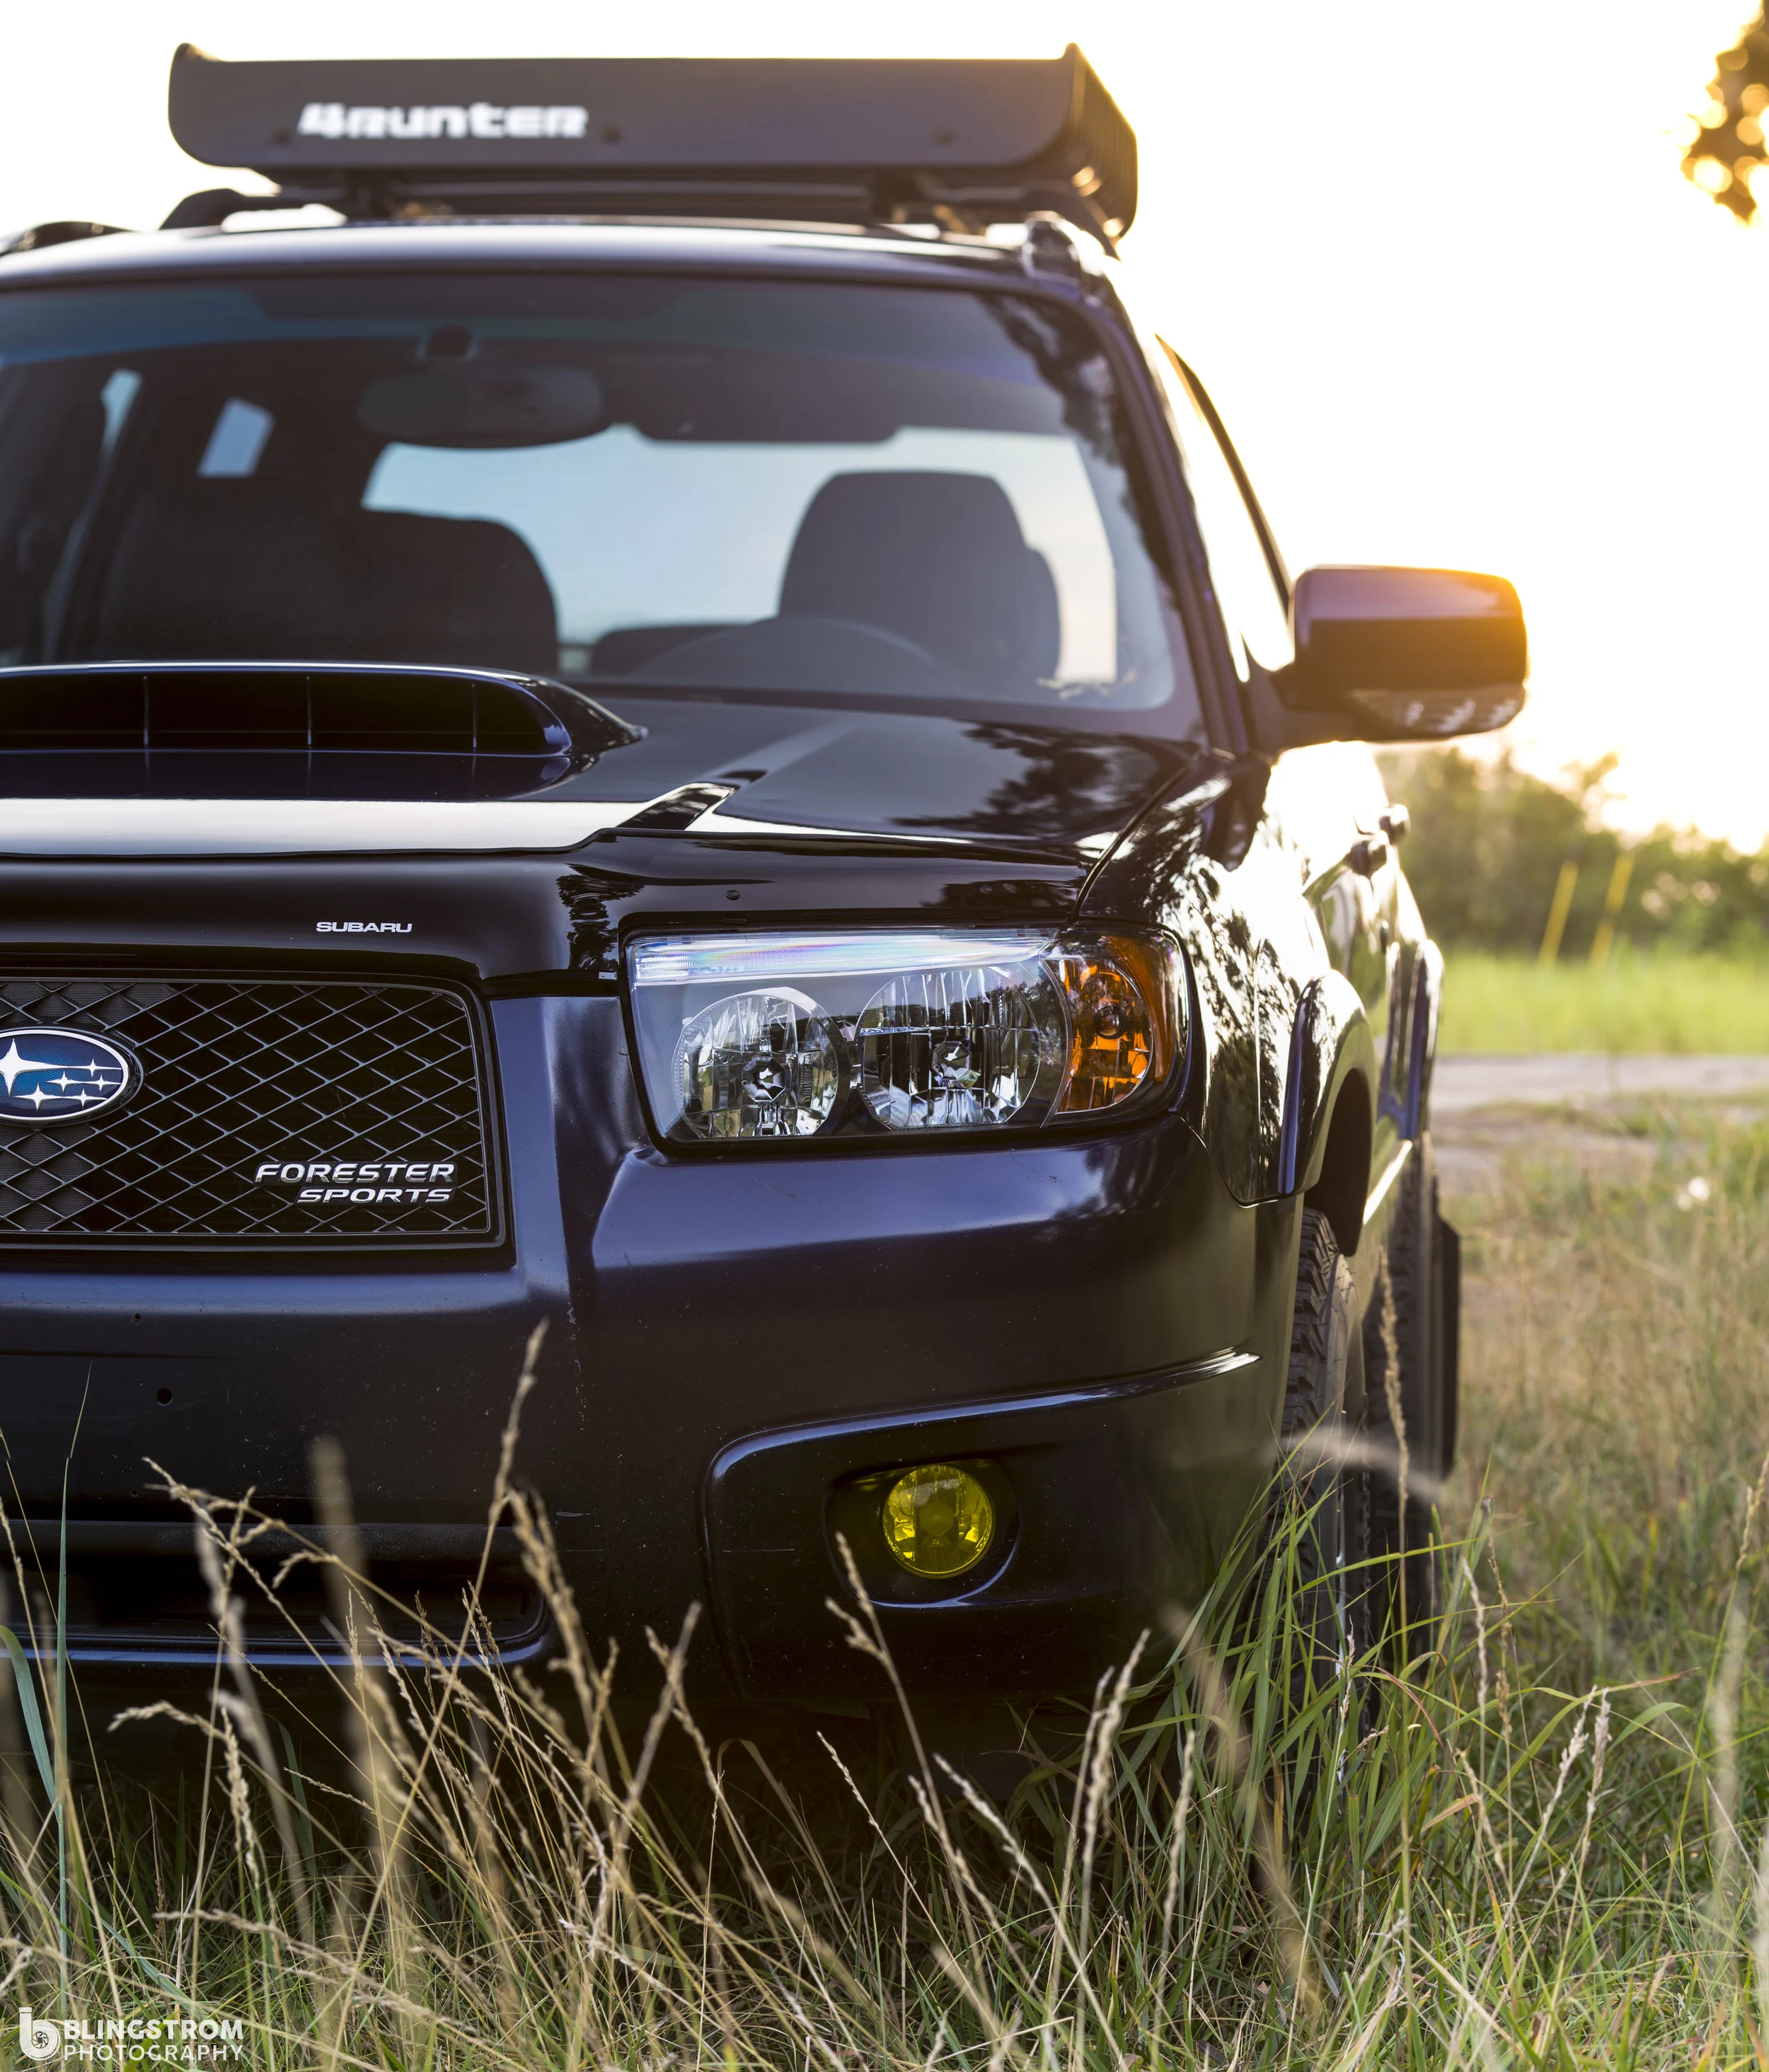
Factory sport headlights look great but light output is moderate at best. Depo sport headlights 07-08 (Blacked out housing)
After doing plenty of research on retrofits, Hid coversions, Jdm headlights, Led bulbs, etc… I still couldn’t decide. After speaking with a friend of mine he told me to check out headlightrevolution.com which is full of plenty info for those interested in what works and why. I decided to give the SuperNova Perfect fit bulbs out but soon found they didn’t fit without a little modification(i.e. file down the led holder). With this I decided to give the SuperNova V.4s, the newest, freshest versions from the Headlight Revolution that will add 2-3x the lumens over the stock halogens.

Here they are! Get ready for brightness!
Before we start, I will preface that I tried my hardest to find a less extreme way to install these. I.e a way to install them a with the ability to strip them out easily if they ended up not being for me. This became the only way to install them without swapping to a much smaller battery or relocating it, as the left headlight cap is only a half inch away from the battery. The cap can easily be modified to allow the wires to pass through and be installed. I did this method thinking I could find a way but it ended up not working. Here are my trials and errors for those interested.

Not very much room here..

Testing on a Frisbee to see how it will work.

Testing it out shows no matter the location of the hole it obstructs with the bulb. Causing the bulb to be off center. The heat given off by the heat sink would probably not be to good over time.
If you are looking to install these just like I did you will need these tools. Link to my headlight removal DIY here. A flat headed screwdriver, a set of Knipex Pliers, multiple styles of clamps, micro fiber towels, Morimoto rubber butyl, oven mitts or heavy duty work gloves, and an oven or a Heat gun.
We will need to release the headlights from the car. These headlights are quite easy to remove from the car. Check my headlight removal DIY guide out here to help you get them removed and started on your project.

Get those headlights out! Check out my headlight removal diy!
Having removed your headlights you will now use your favorite method of loosening up the headlight sealant. I have used the oven method many times before and feel comfortable with it. Here is a link to my baking headlights DIY to help you through it.

With the above steps completed we will now get down to business. The SuperNova bulbs have large heat sinks and fans but will still fit within the factory dust covers. Now the temperature control module is another story, as a large box with the power in and out wiring doesn’t have a chance at fitting within the headlight dust cap or anywhere behind the reflector unit.

The bulb and control box here. This is why you can’t just pop them into the dust covers.

Up close and personal. This is the bulb with out the fitting plate. You need to set plate before installing the light.

The plate set up and installed. You will slide the bulb in through here.
The wiring, bulb and fan will have enough room. But the temperature control unit is just too big.
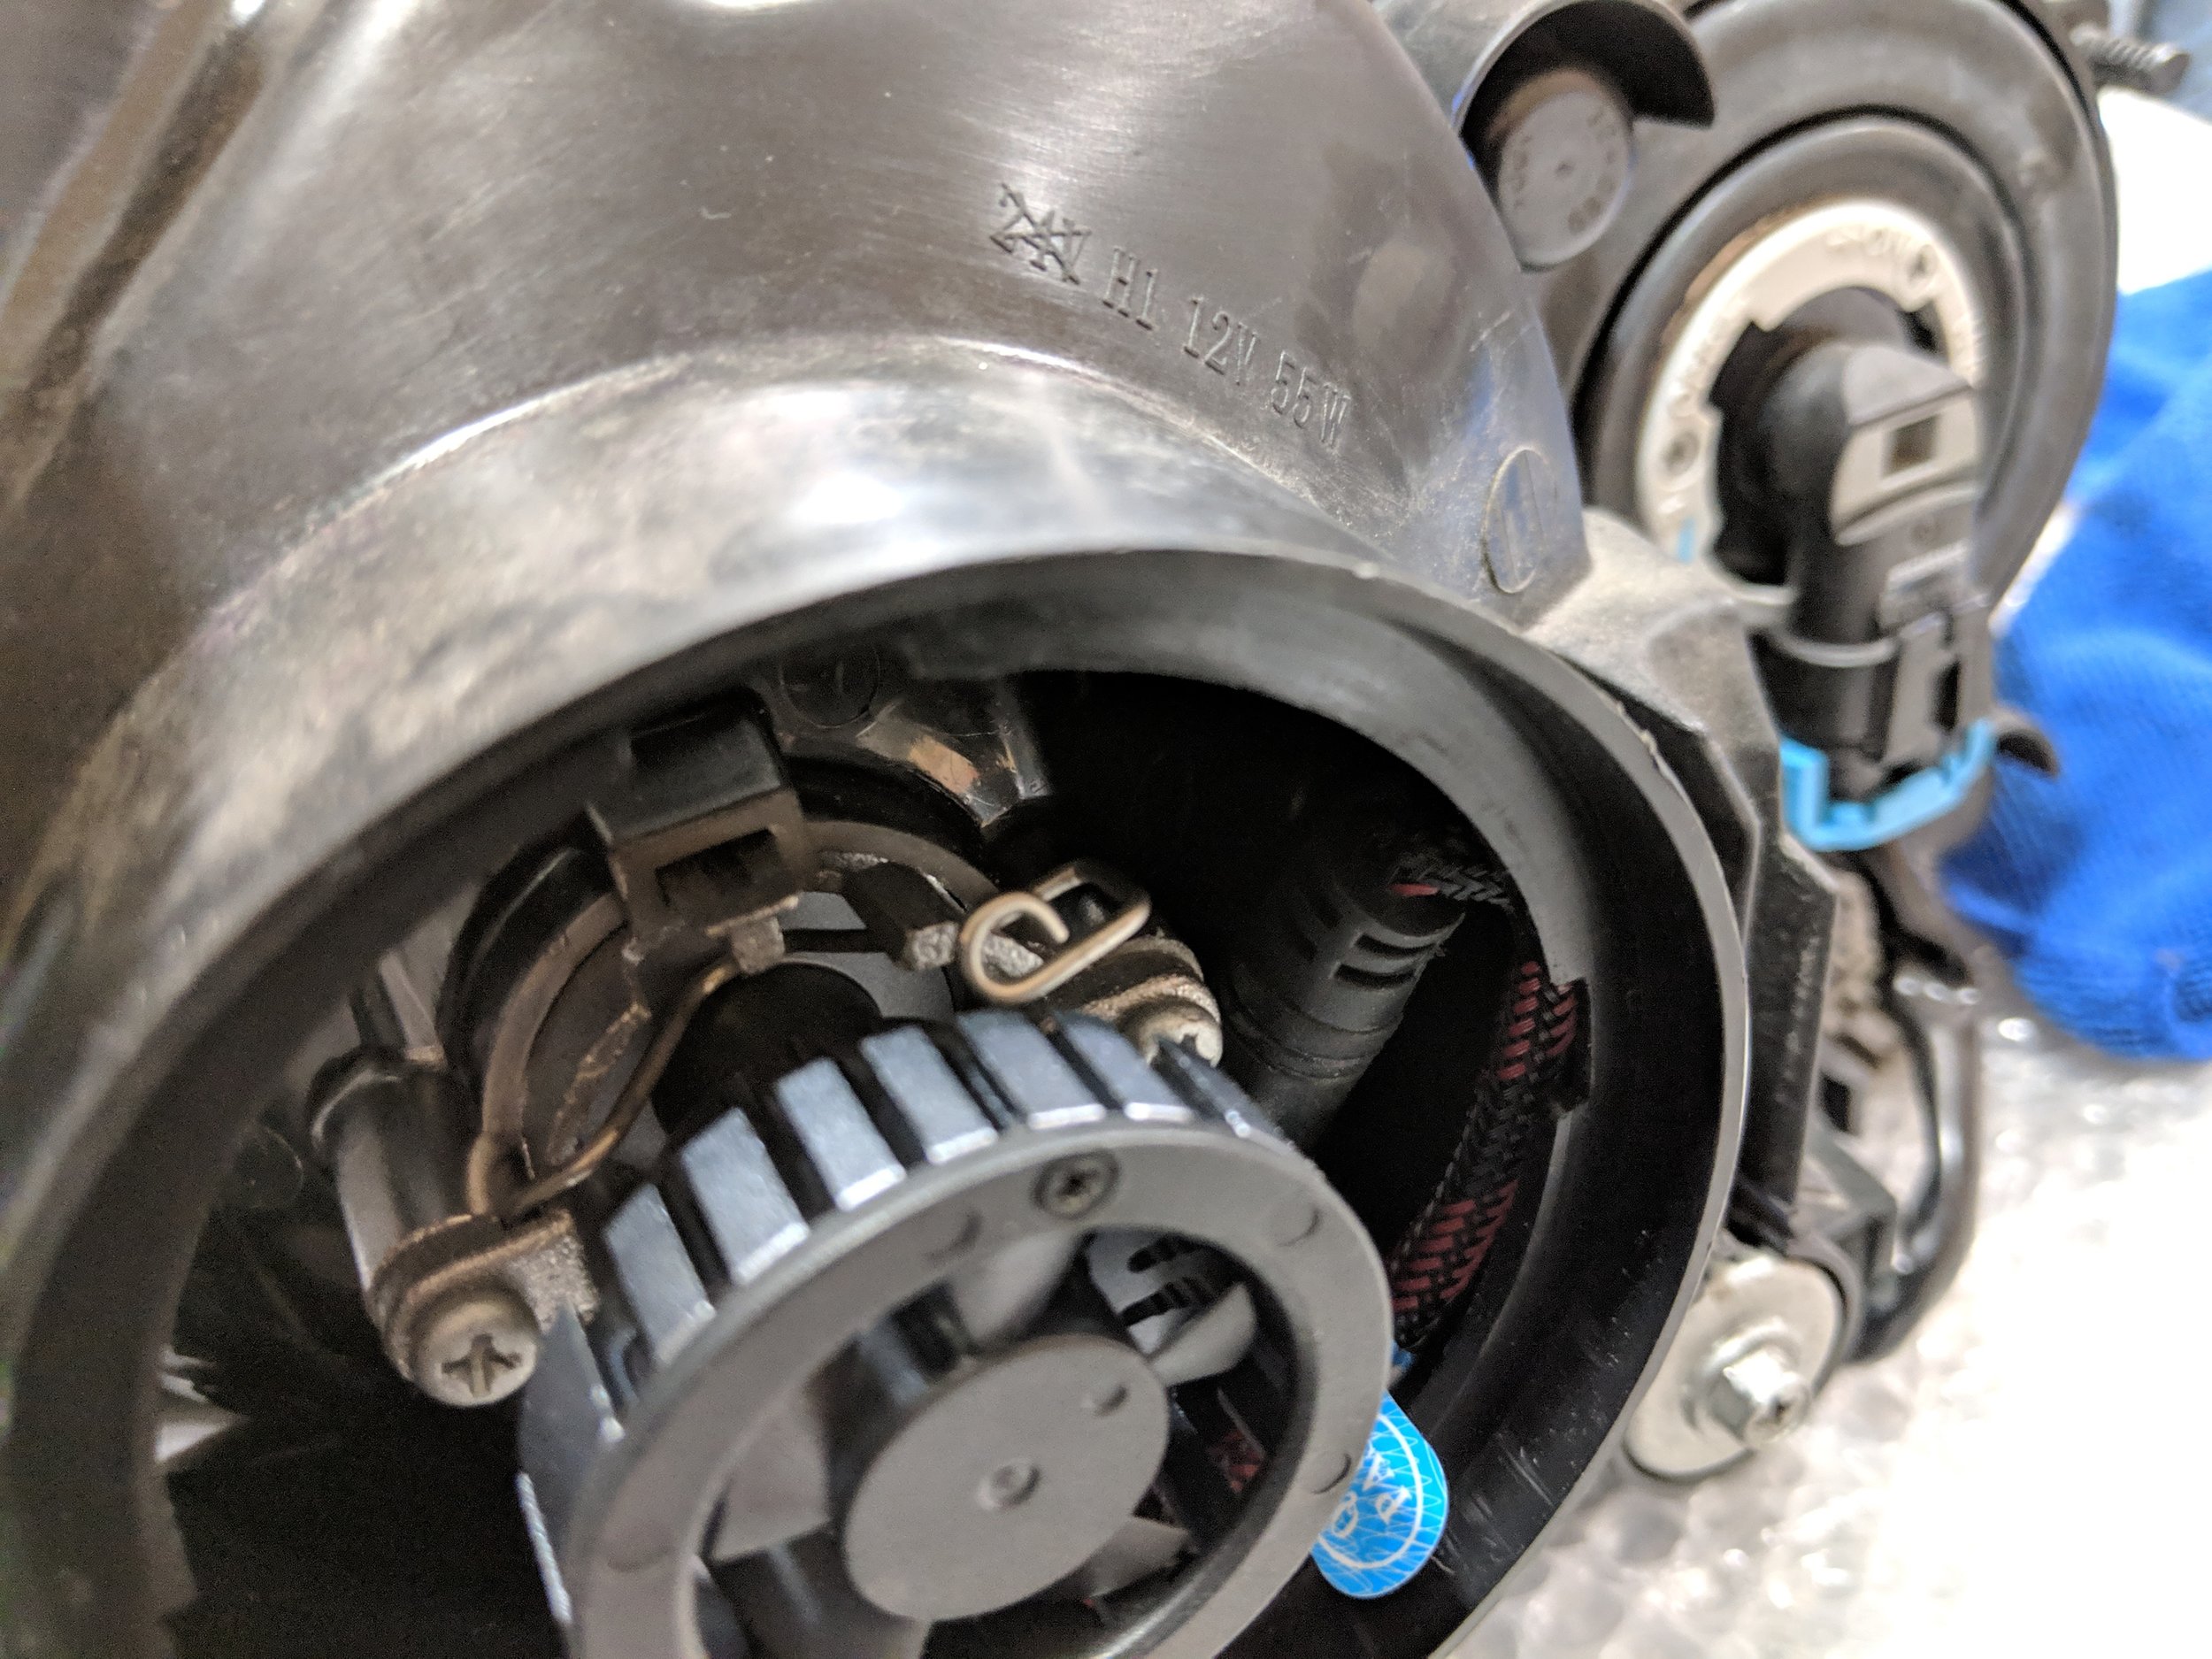
Now with the headlights open we find that there is an excellent location underneath the factory low beam reflector housing. We will need to take the temperature control box wiring to the bulb and heat up the wiring spin on securing clamp. Heating up this will allow us to flatten it and pass it through the backside of the reflector housing. Thus giving us the connection to the light bulb. If you do not have a heat gun or hair dryer at your disposal you can flatten it by hand and force it through. Just be careful not to distort it so badly it cannot be reused, heat helps it easily fold over and bounce right back.

It’s like Subaru knew we were going to do this. This flat area has just the right amount of space and is hidden by the front reflector cover. Also shown the wiring you need to pull through to the front for hooking up the box.
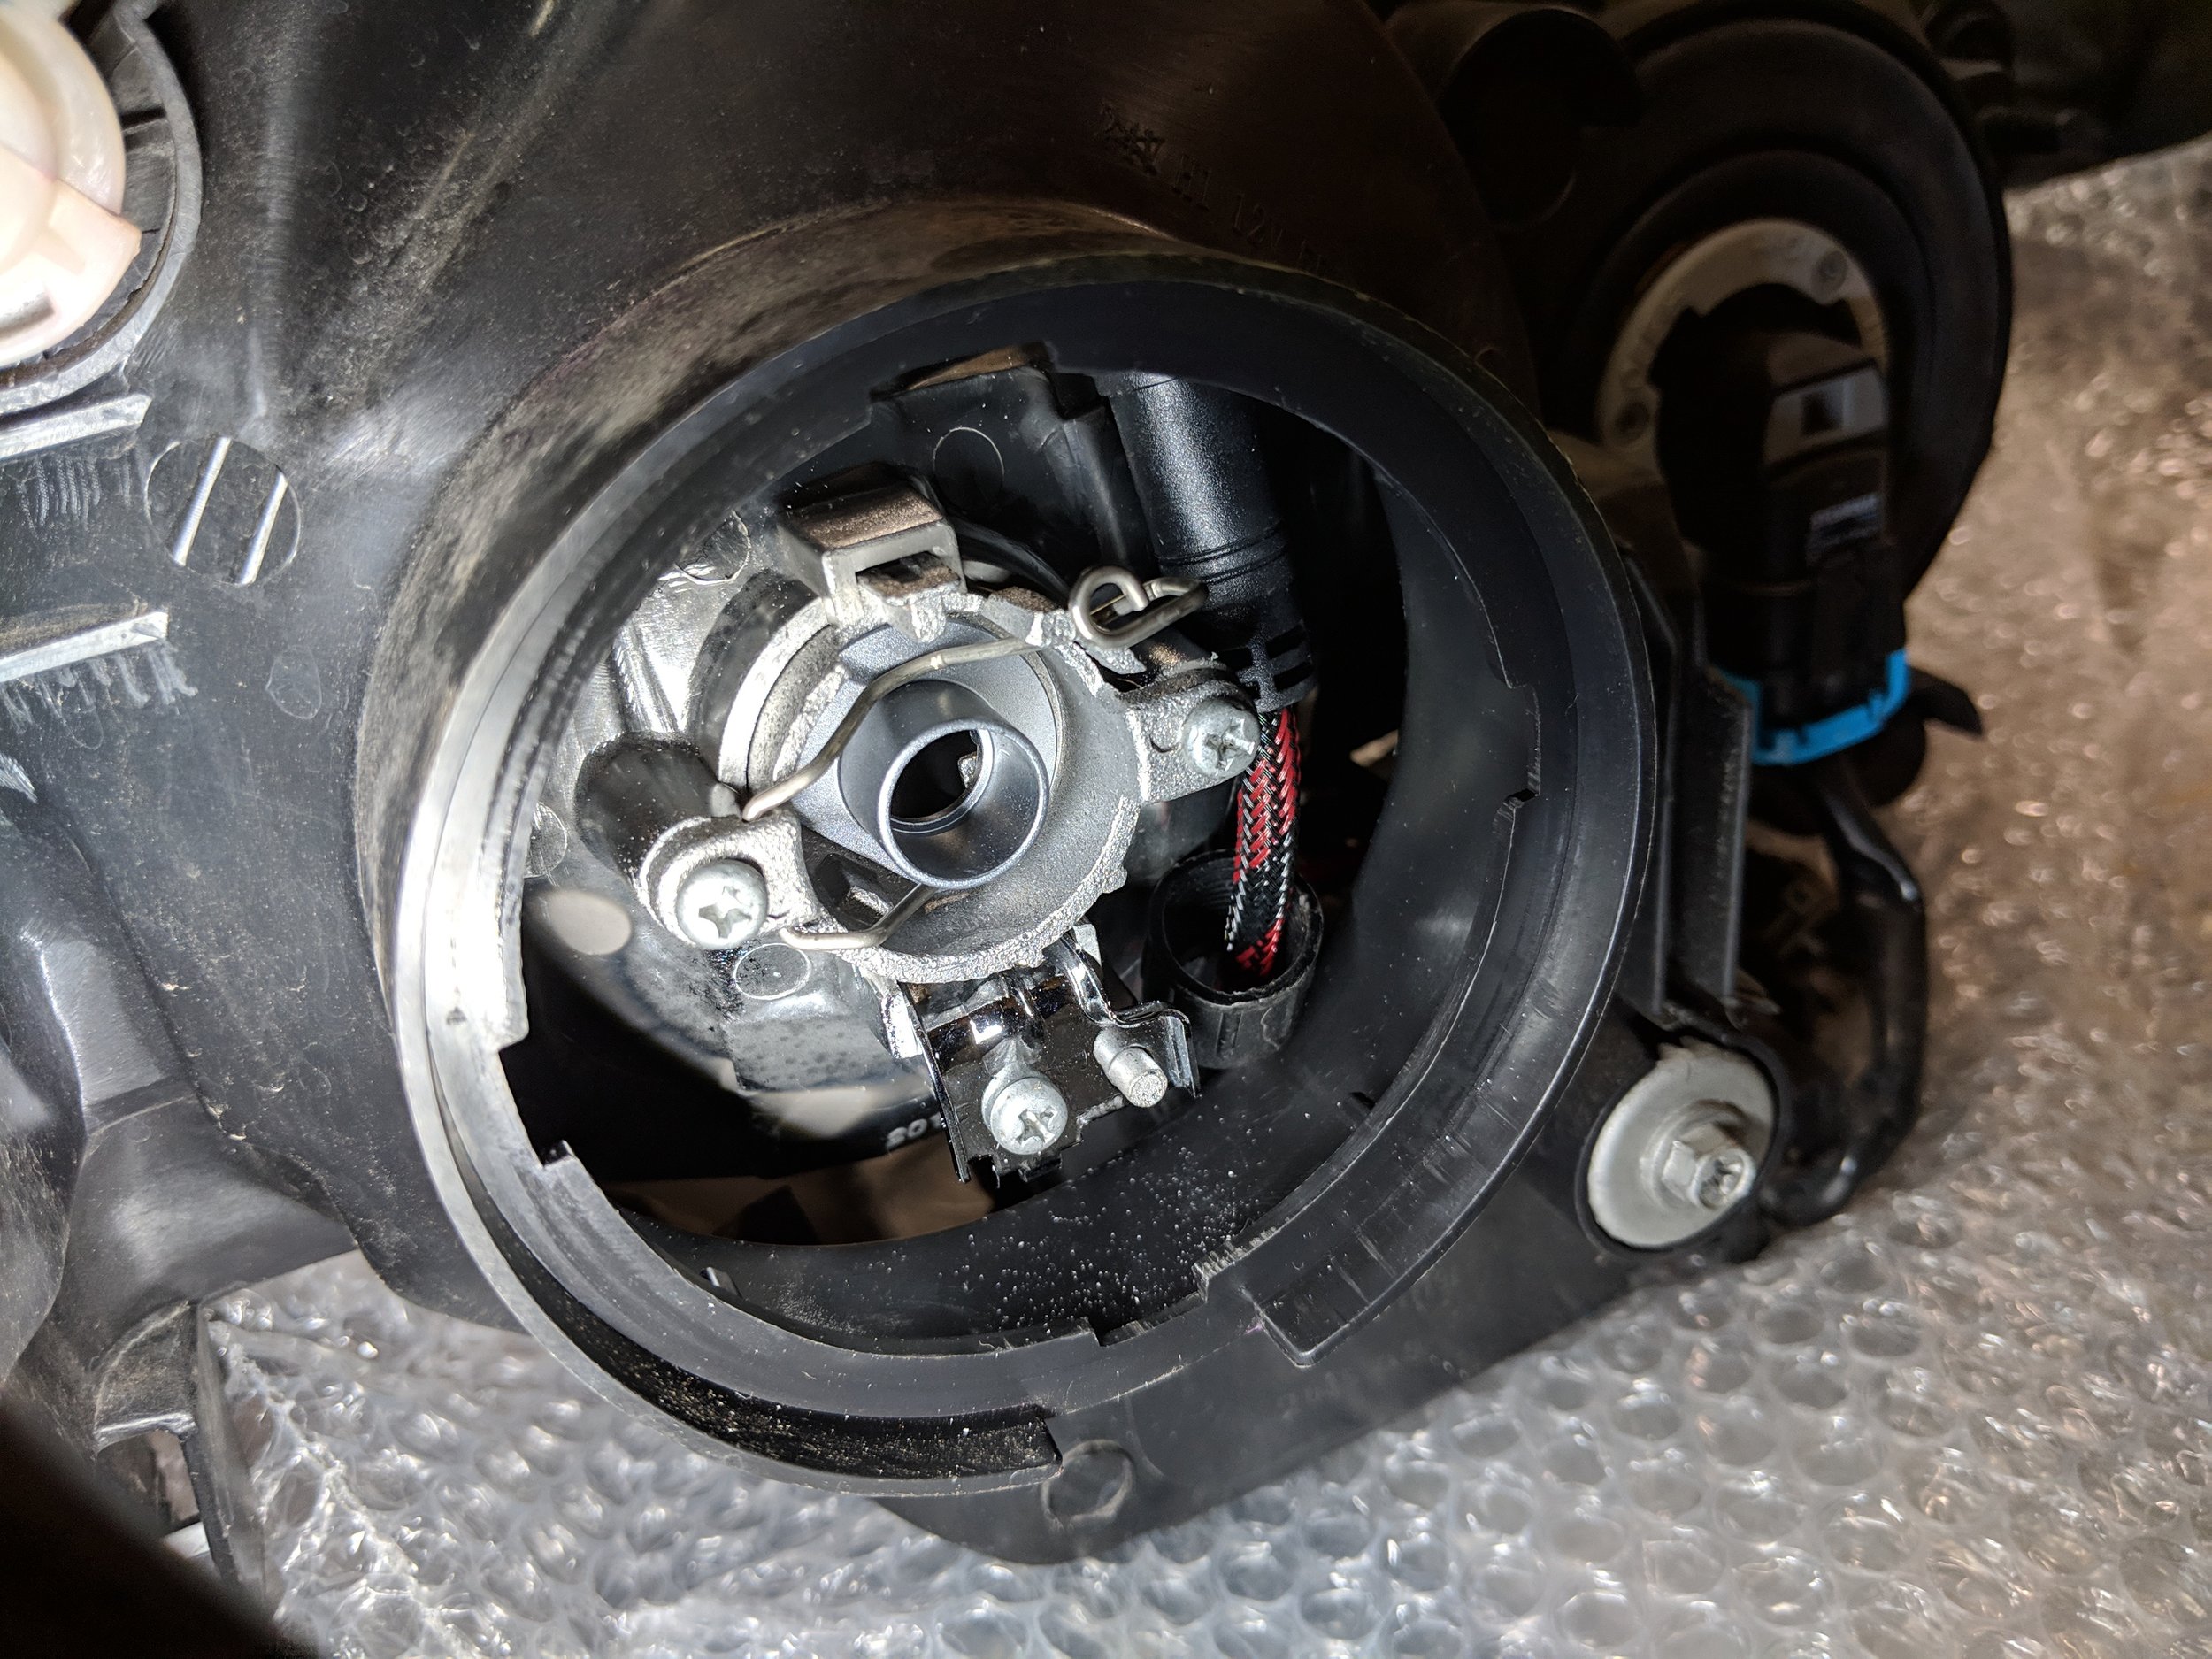
Peaking in there with the bulb removed shows that the wiring can pop through, but the headlight will put a fight. Heating up the securing clamp will help you slide it by.
Connecting the temp control box and bulb will finish it. I choose to place mine in the most open area behind the reflector housing in case a replacement bulb is necessary. Now we will pull the factory wiring down and use a pair of pliers close the gap on the negative(black wire) female connection. The connectors on the temp box are slightly smaller necessitating a smaller gap to hold on tightly.

These are the factory power and ground wires. There will match up with the temp box to power the lights. The negative(black) wire needs a bit crimping to hold it the spade connector tight.

Make sure your connections are good and tight. You don’t want to have to fish them back out to fix it. Or reopen the headlight.
Sorting all the connections out we will use a cleaning cloth on the bottom of the headlight surround. This will give us proper adhesion with the 3M doublesided tape, keeping our temp box in place. After placing it, double check your wiring and get everything set up for putting you headlight back together.

Clean the area just to the left of the temp box. It makes a great home for it.

A little 3M doublesided tape and pressure will lock the temp box to the headlight housing.

All moved in to its new home. Make sure to tuck the wiring back and out of the way.
The next steps will be closing up the headlight lens and surround back together. You can find that information back in the Baking your headlights post, but I will gloss over it here. Pushing the two pieces together line up all your tabs and set it back in your oven for 250F for 4-5 mins. This allows the butyl to become malleable and you can now put the headlight back together in reverse order of your opening technique.

Back to the oven. Warm up the butyl to help it adhere and seal the two halves.
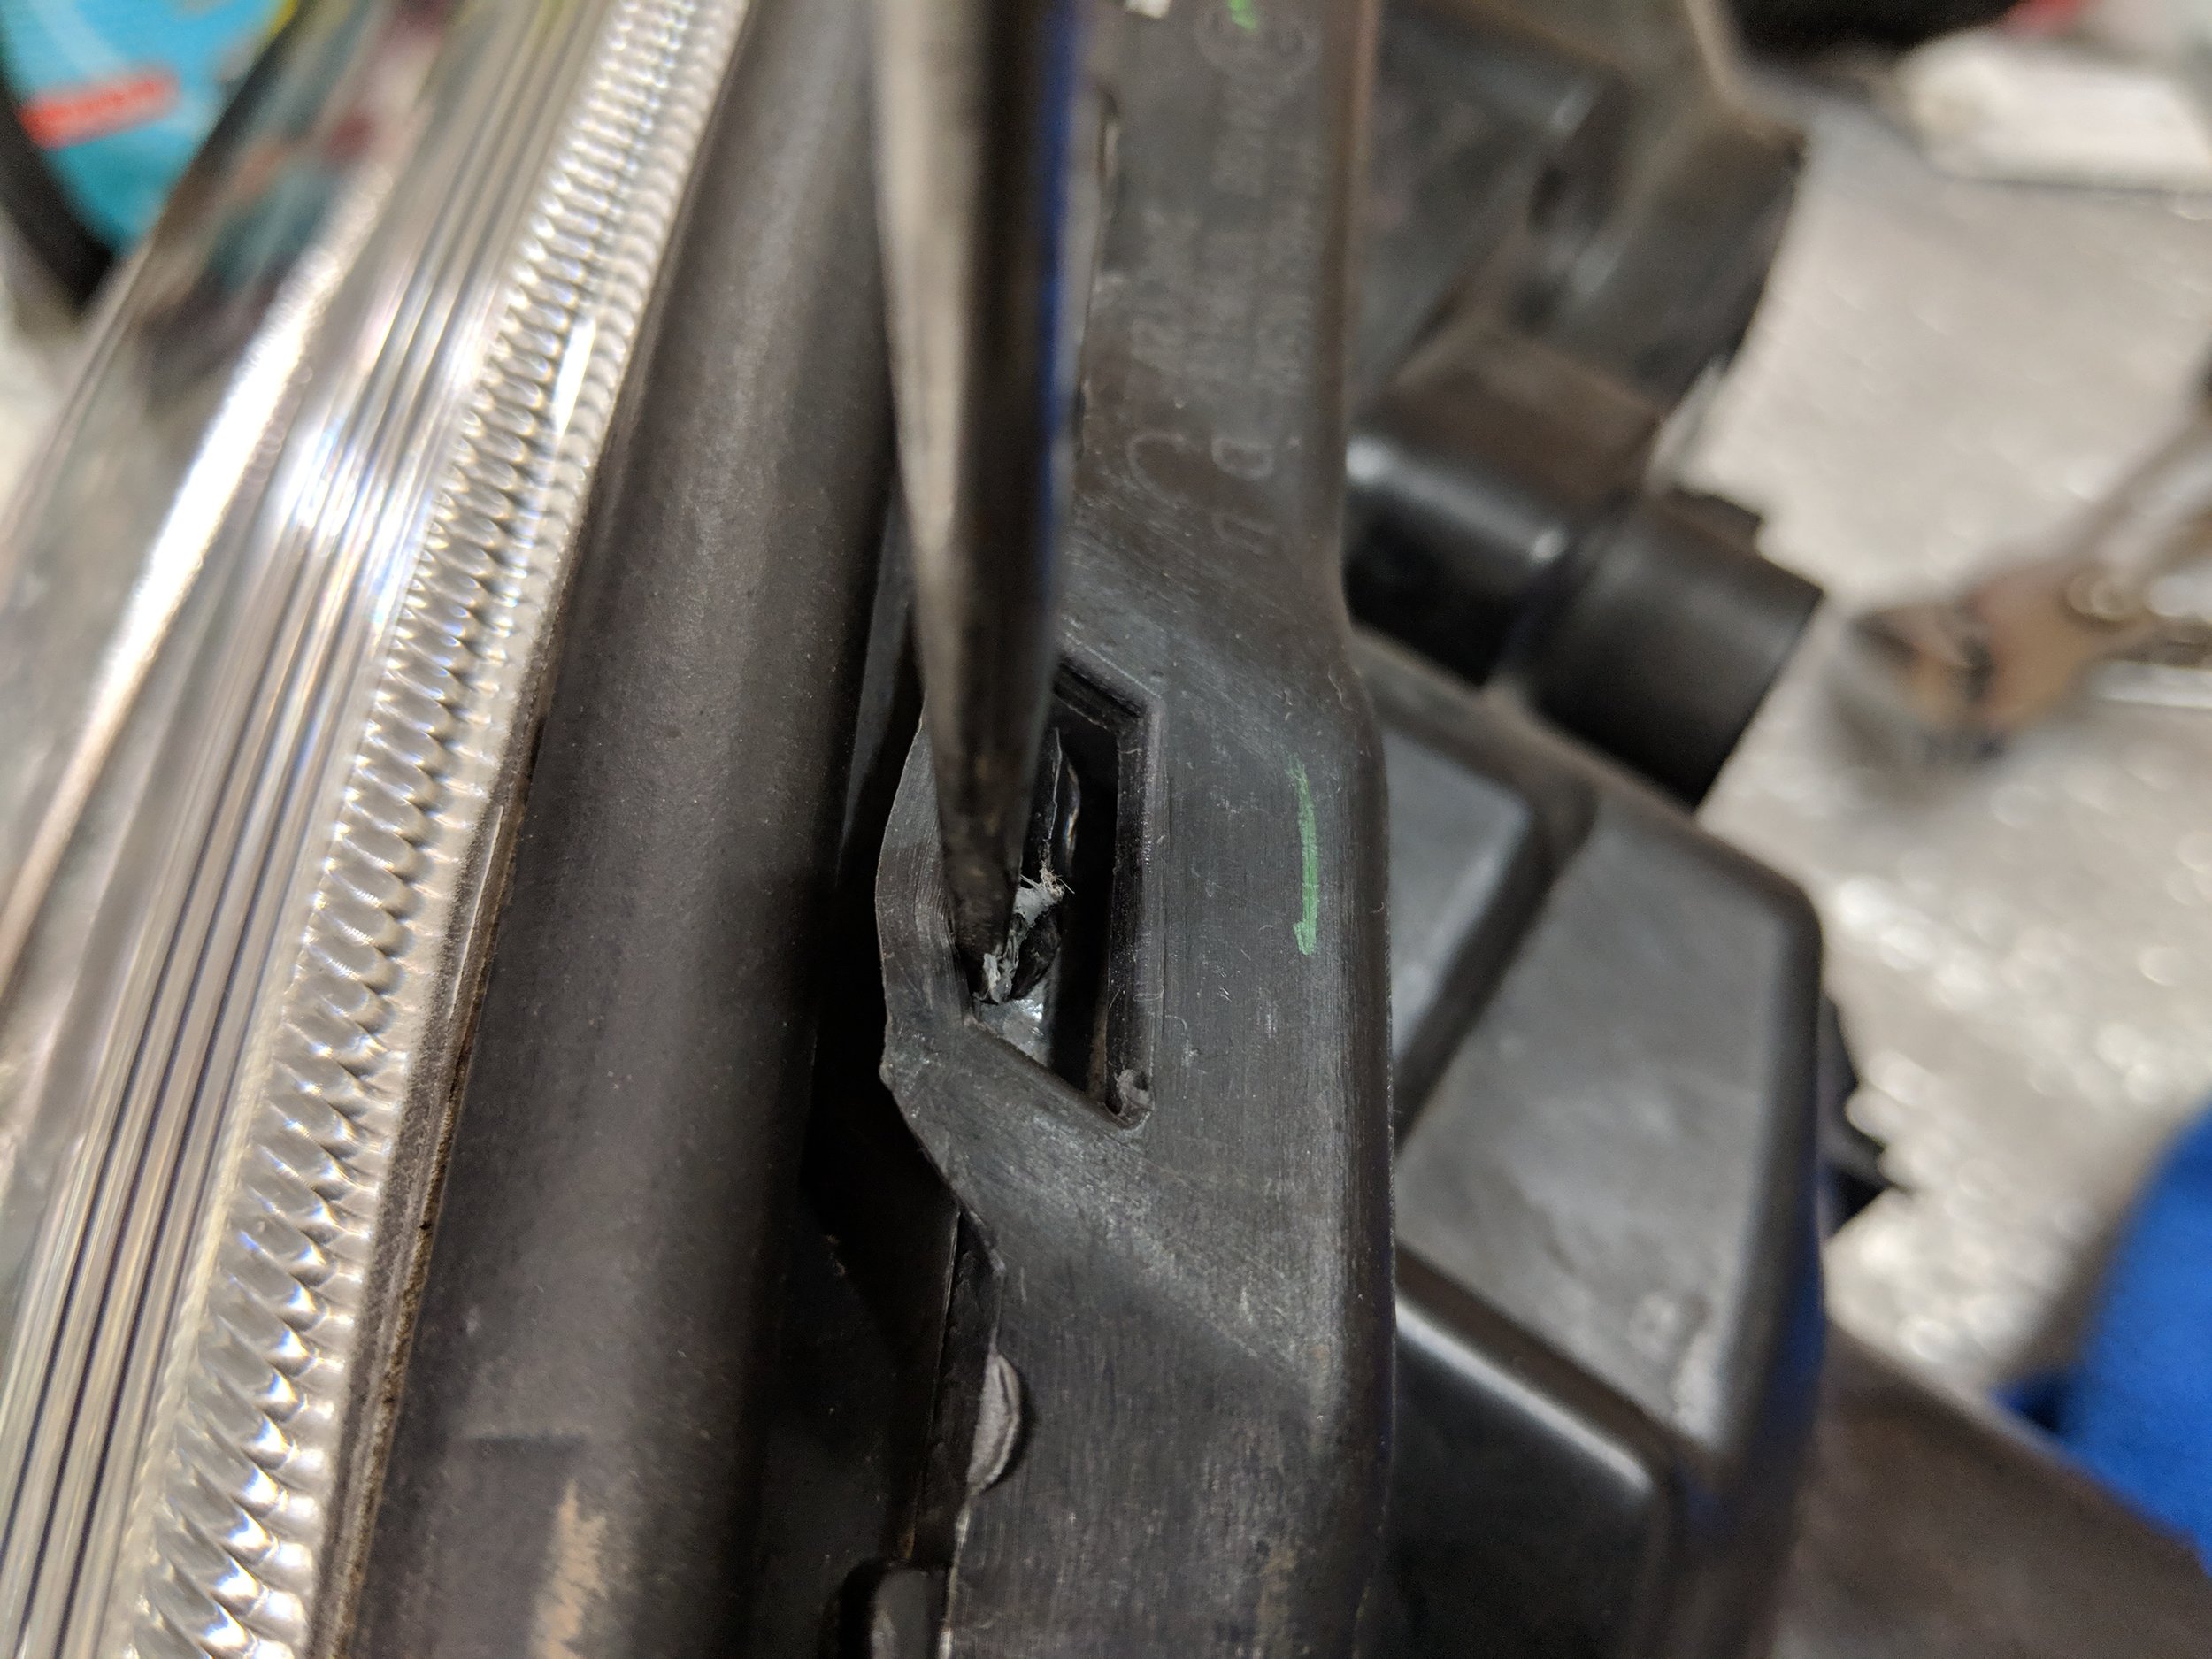
Using the screwdriver through the tabs can help seal the two pieces together.
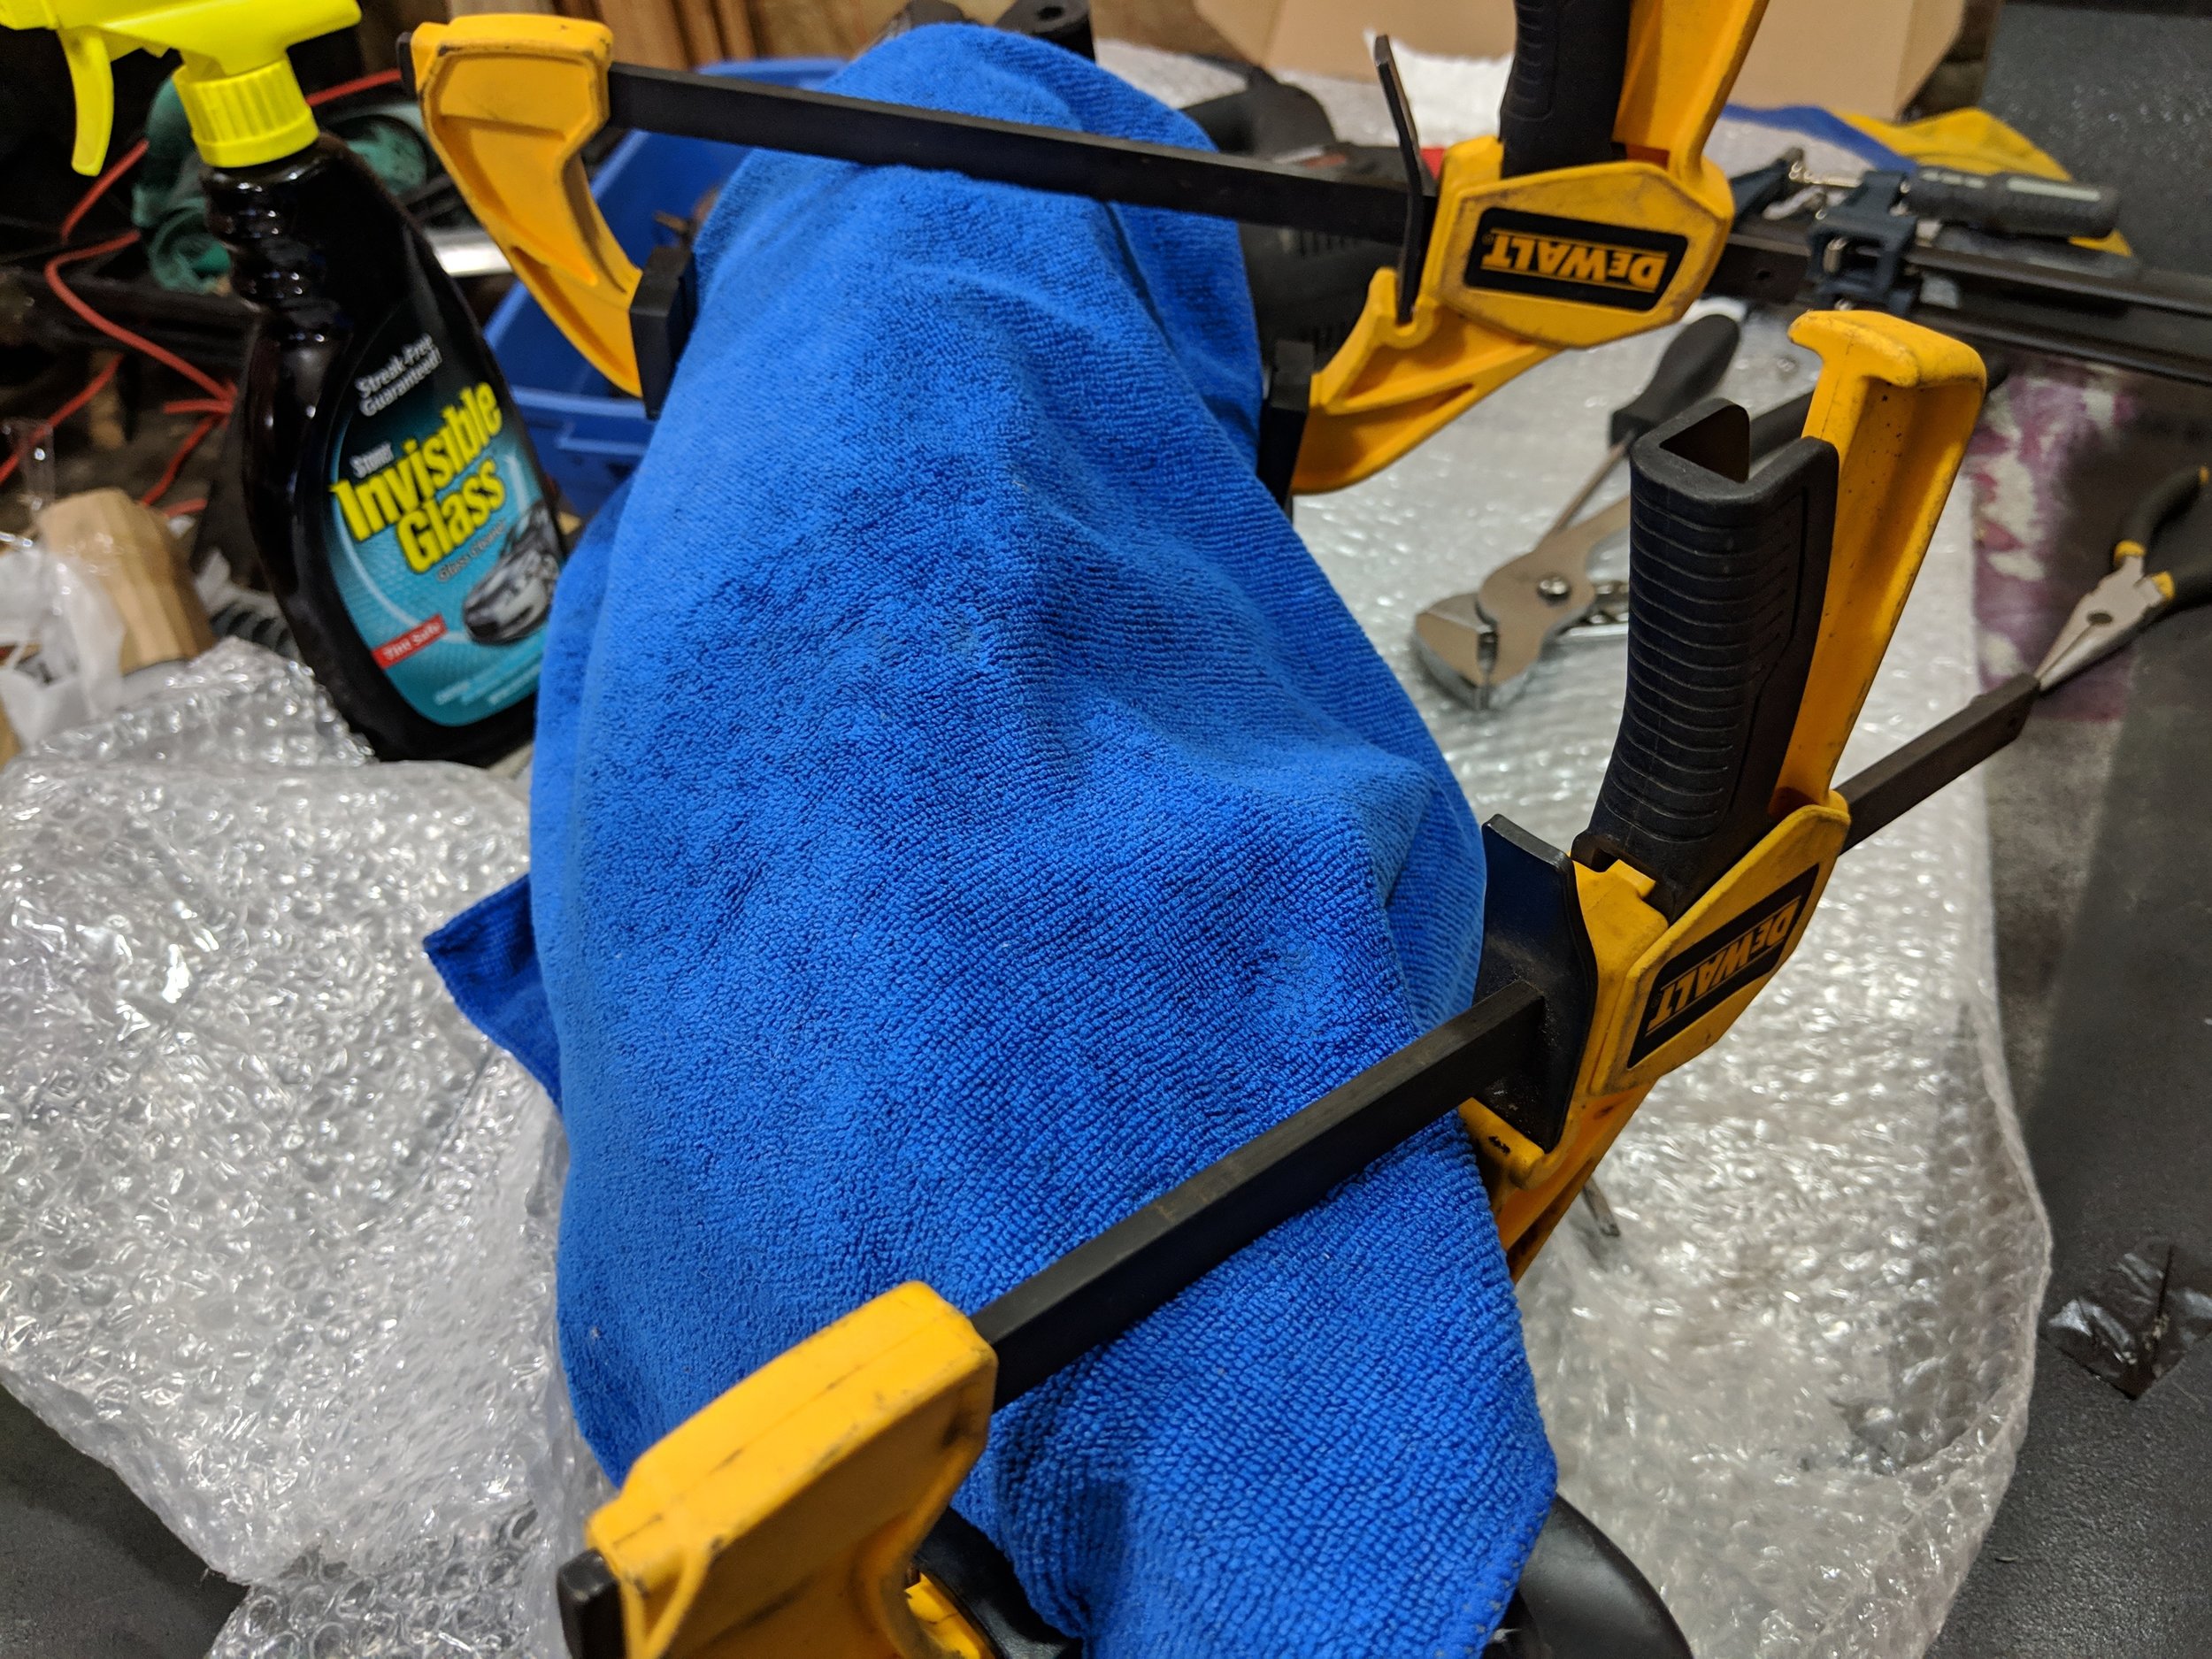
Lastly, you can use two clamps to finish off the job while the headlight cools down. Taking care to not mar up the lens or clamp so hard you crack either side.
Having the headlight back together you may now make sure your bulb is clocked properly. The LEDs need to face the sides of the reflector. Which will mean either your LED bulb is facing directly up or directly down for proper reflector housing illumination. Take your headlight out to you vehicle to check your work. Place the headlight back into the vehicle mounting holes and turning the key checking for proper operation.

Not too far from completion. Headlights bolted in , awaiting the bumper.
Congratulations! You have now installed your own SuperNova V.4 LED bulbs and have completed many other tasks. I would recommend checking the beam pattern and correcting as needed. Now you can go out and enjoy your new much brighter headlights!

Back on the car! Quite bright even in the overcast daytime.
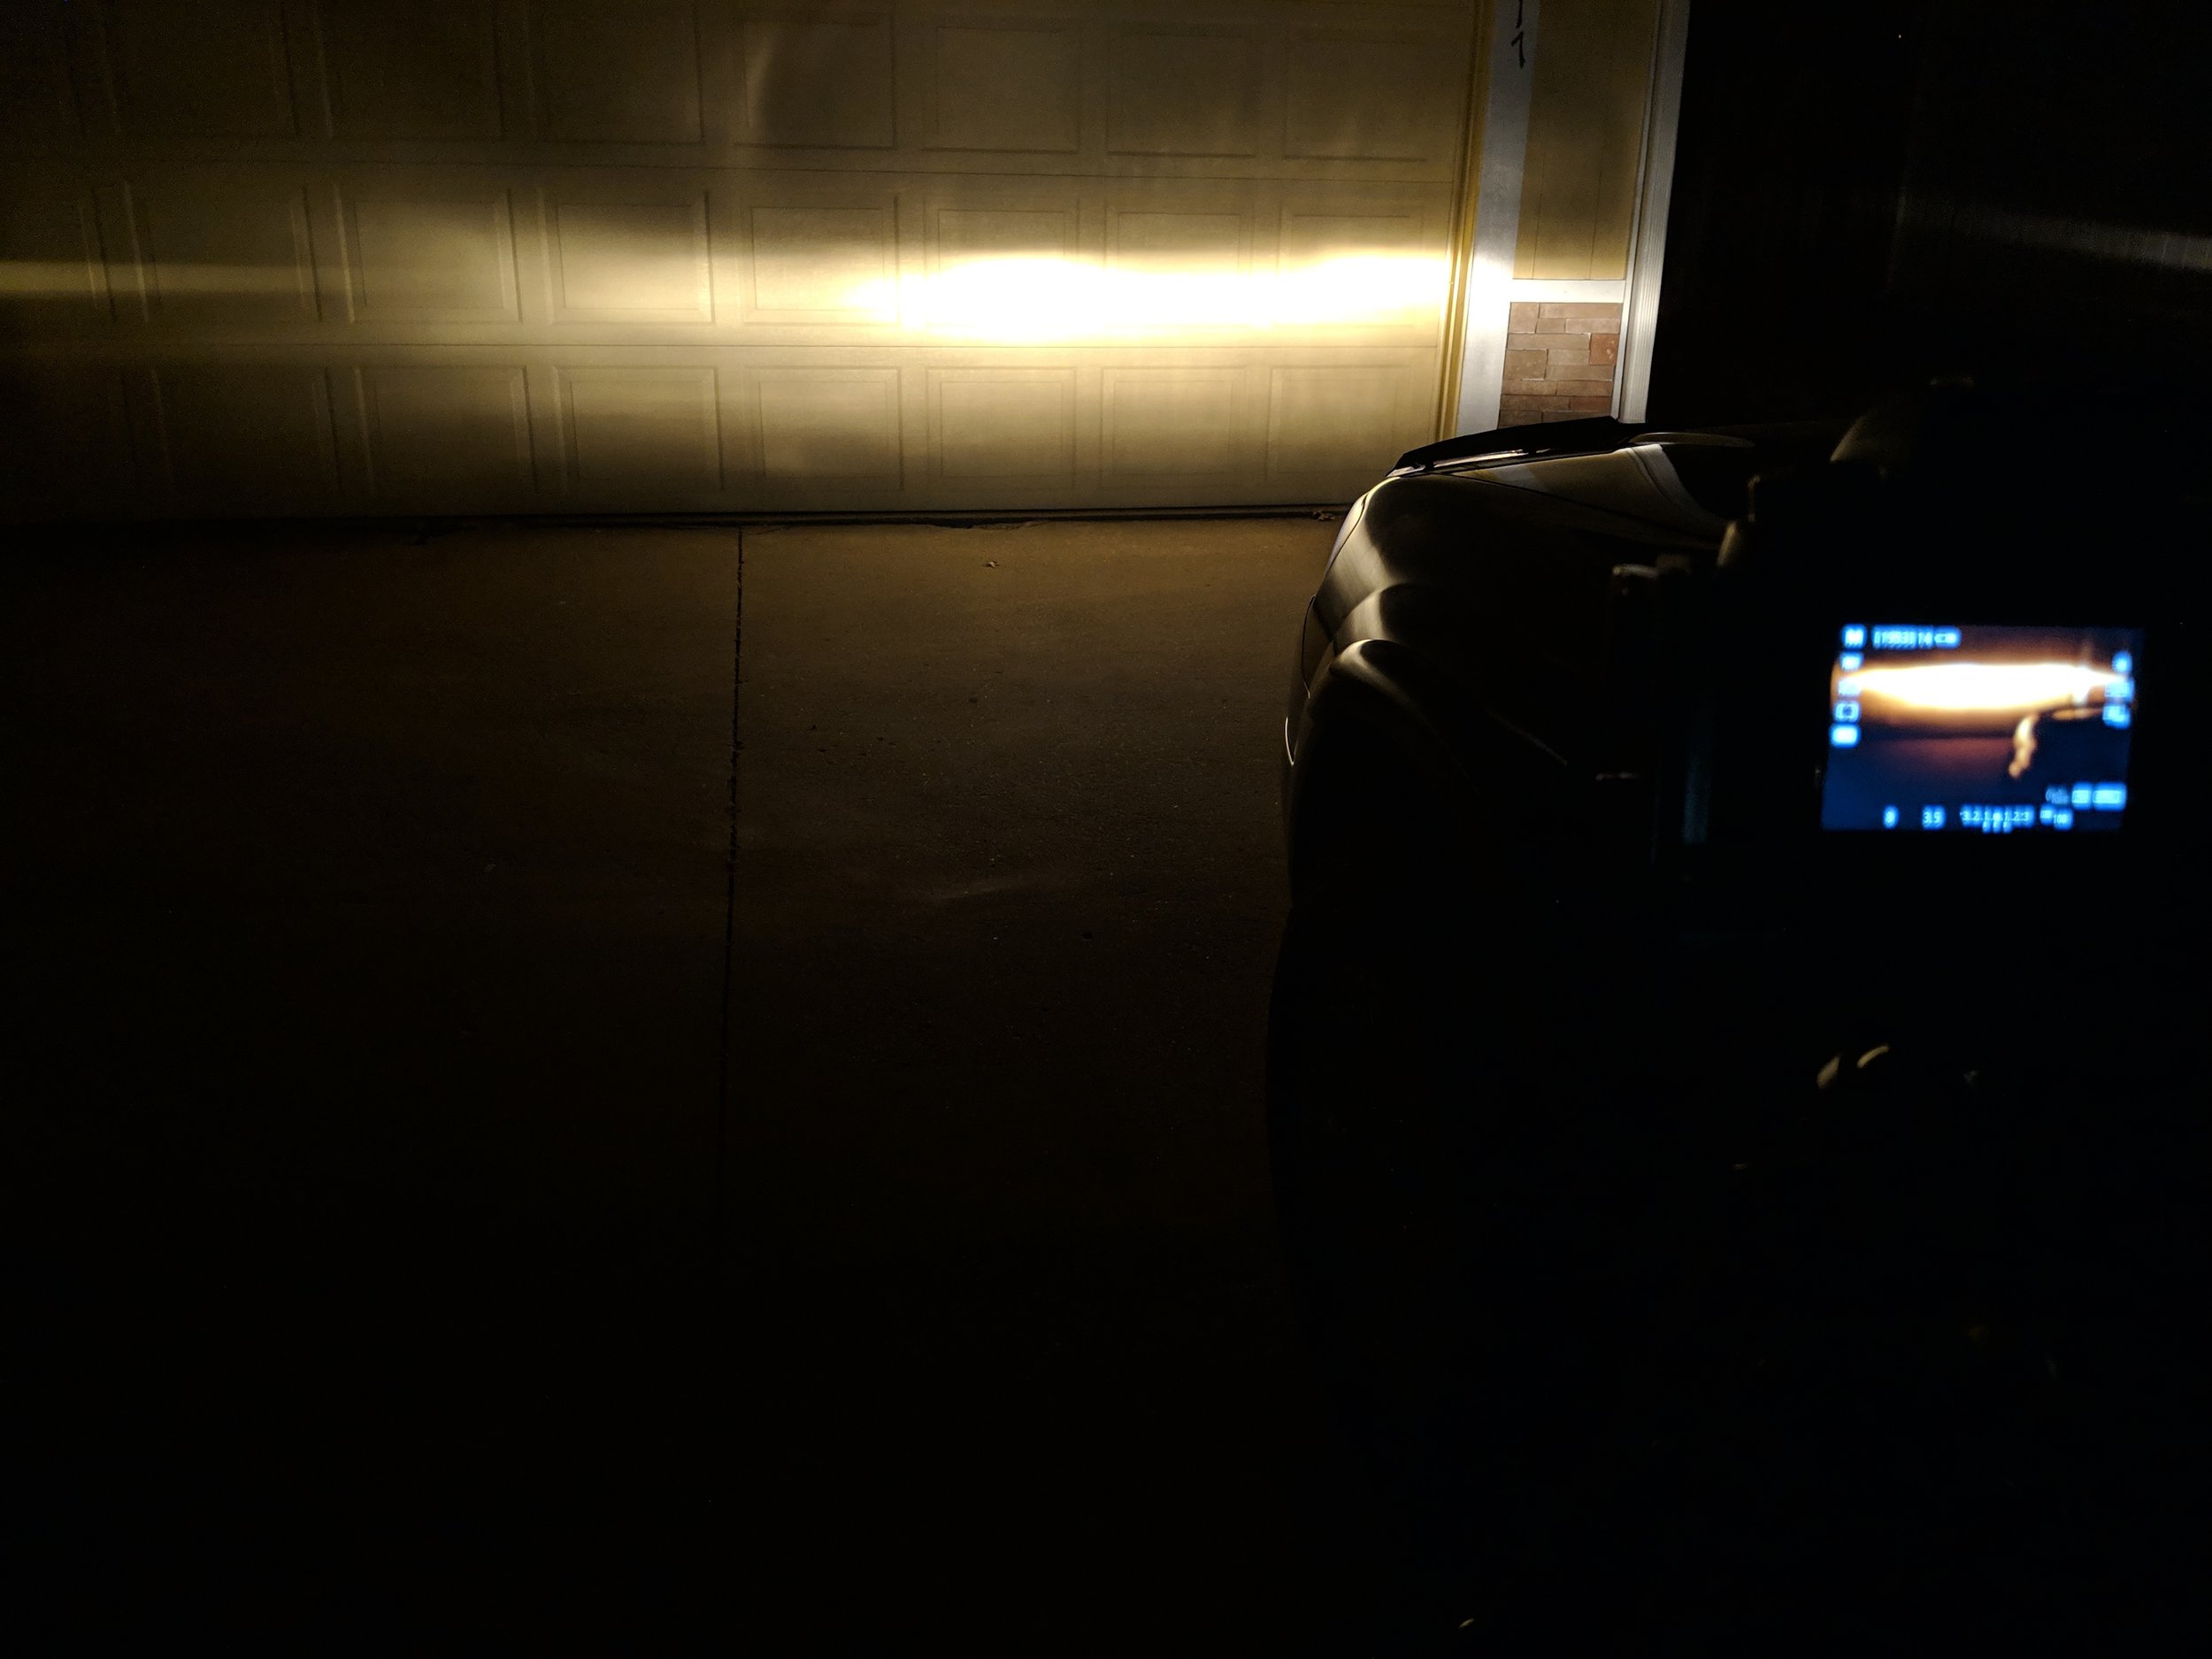
This is the factory halogen beam pattern at night.

Above is the SuperNova H1 v.4s at dusk. Very bright with an excellent beam pattern that holds shines just like the stock, only brighter.
Find these over at headlightrevolution.com under the LED section! Or here is a direct link for those of you with H1 needs.
Amazon links.
Depo sport headlights 07-08 (Blacked out housing)