DIY: How to remove your downpipe. 02-07 Wrx,04-07 STi, 04-08 Fxt.
For many of us removing the downpipe is one of the first big modifications that are made to turbo Subarus. It is the large piece of the puzzle to bringing you into Stage 2 territory. If you are removing the turbo, engine or transmission this is one of the steps within those jobs. It isn’t that hard of a task but going in with a good battle strategy is quite helpful and can save you time.

My first downpipe was an Invidia catted for the STI, it has since been replaced by a Grimmspeed unit. Now the Invidia is equipped to the Forester.
Tools
A few tools you will need for this are a 8mm, 10mm , 12,mm, 14mm and an O2 socket(s). The wrenches you will need are a 10mm, 14mm and a 22mm. A jack and jack stands will be helpful if you have a lowered car. On the lifted Forester I can slide underneath it and change it without raising it up.
Any time I am working on exhaust parts I idle/drive the car for a few minutes to help heat up the nuts and bolts. This thermal expansion helps you remove them easier. You will now lift the vehicle up in the air. Placing the jack stands in a safe stable spots and not around the middle of the car where you will be to remove the lower fasteners.

I use the factory U-brace for my jack locations, right in front of the control arms.
Opening the hood you need to remove intercooler and undo the bpv. The bolts will be 4 12mm bolts. Two located on the Bpv and two on the outside of the intercooler. With those free you can now use an 8mm socket and extension to remove the intercooler to throttle body hose and the turbo to intercooler 90 degree hose. For further details check out my TMIC removal DIY. Setting the intercooler off to the side gives you plenty of room and light to work in.

You can work around the intercooler if you like, but with as easy as it comes off I prefer to remove it.

Now you will have a better look at your turbo or turbo heat shield. The factory heat shield is held on by 10mm bolts. My STi came with most of the heatshield bolts broken off and if you haven’t removed these they are quite fragile and will break.
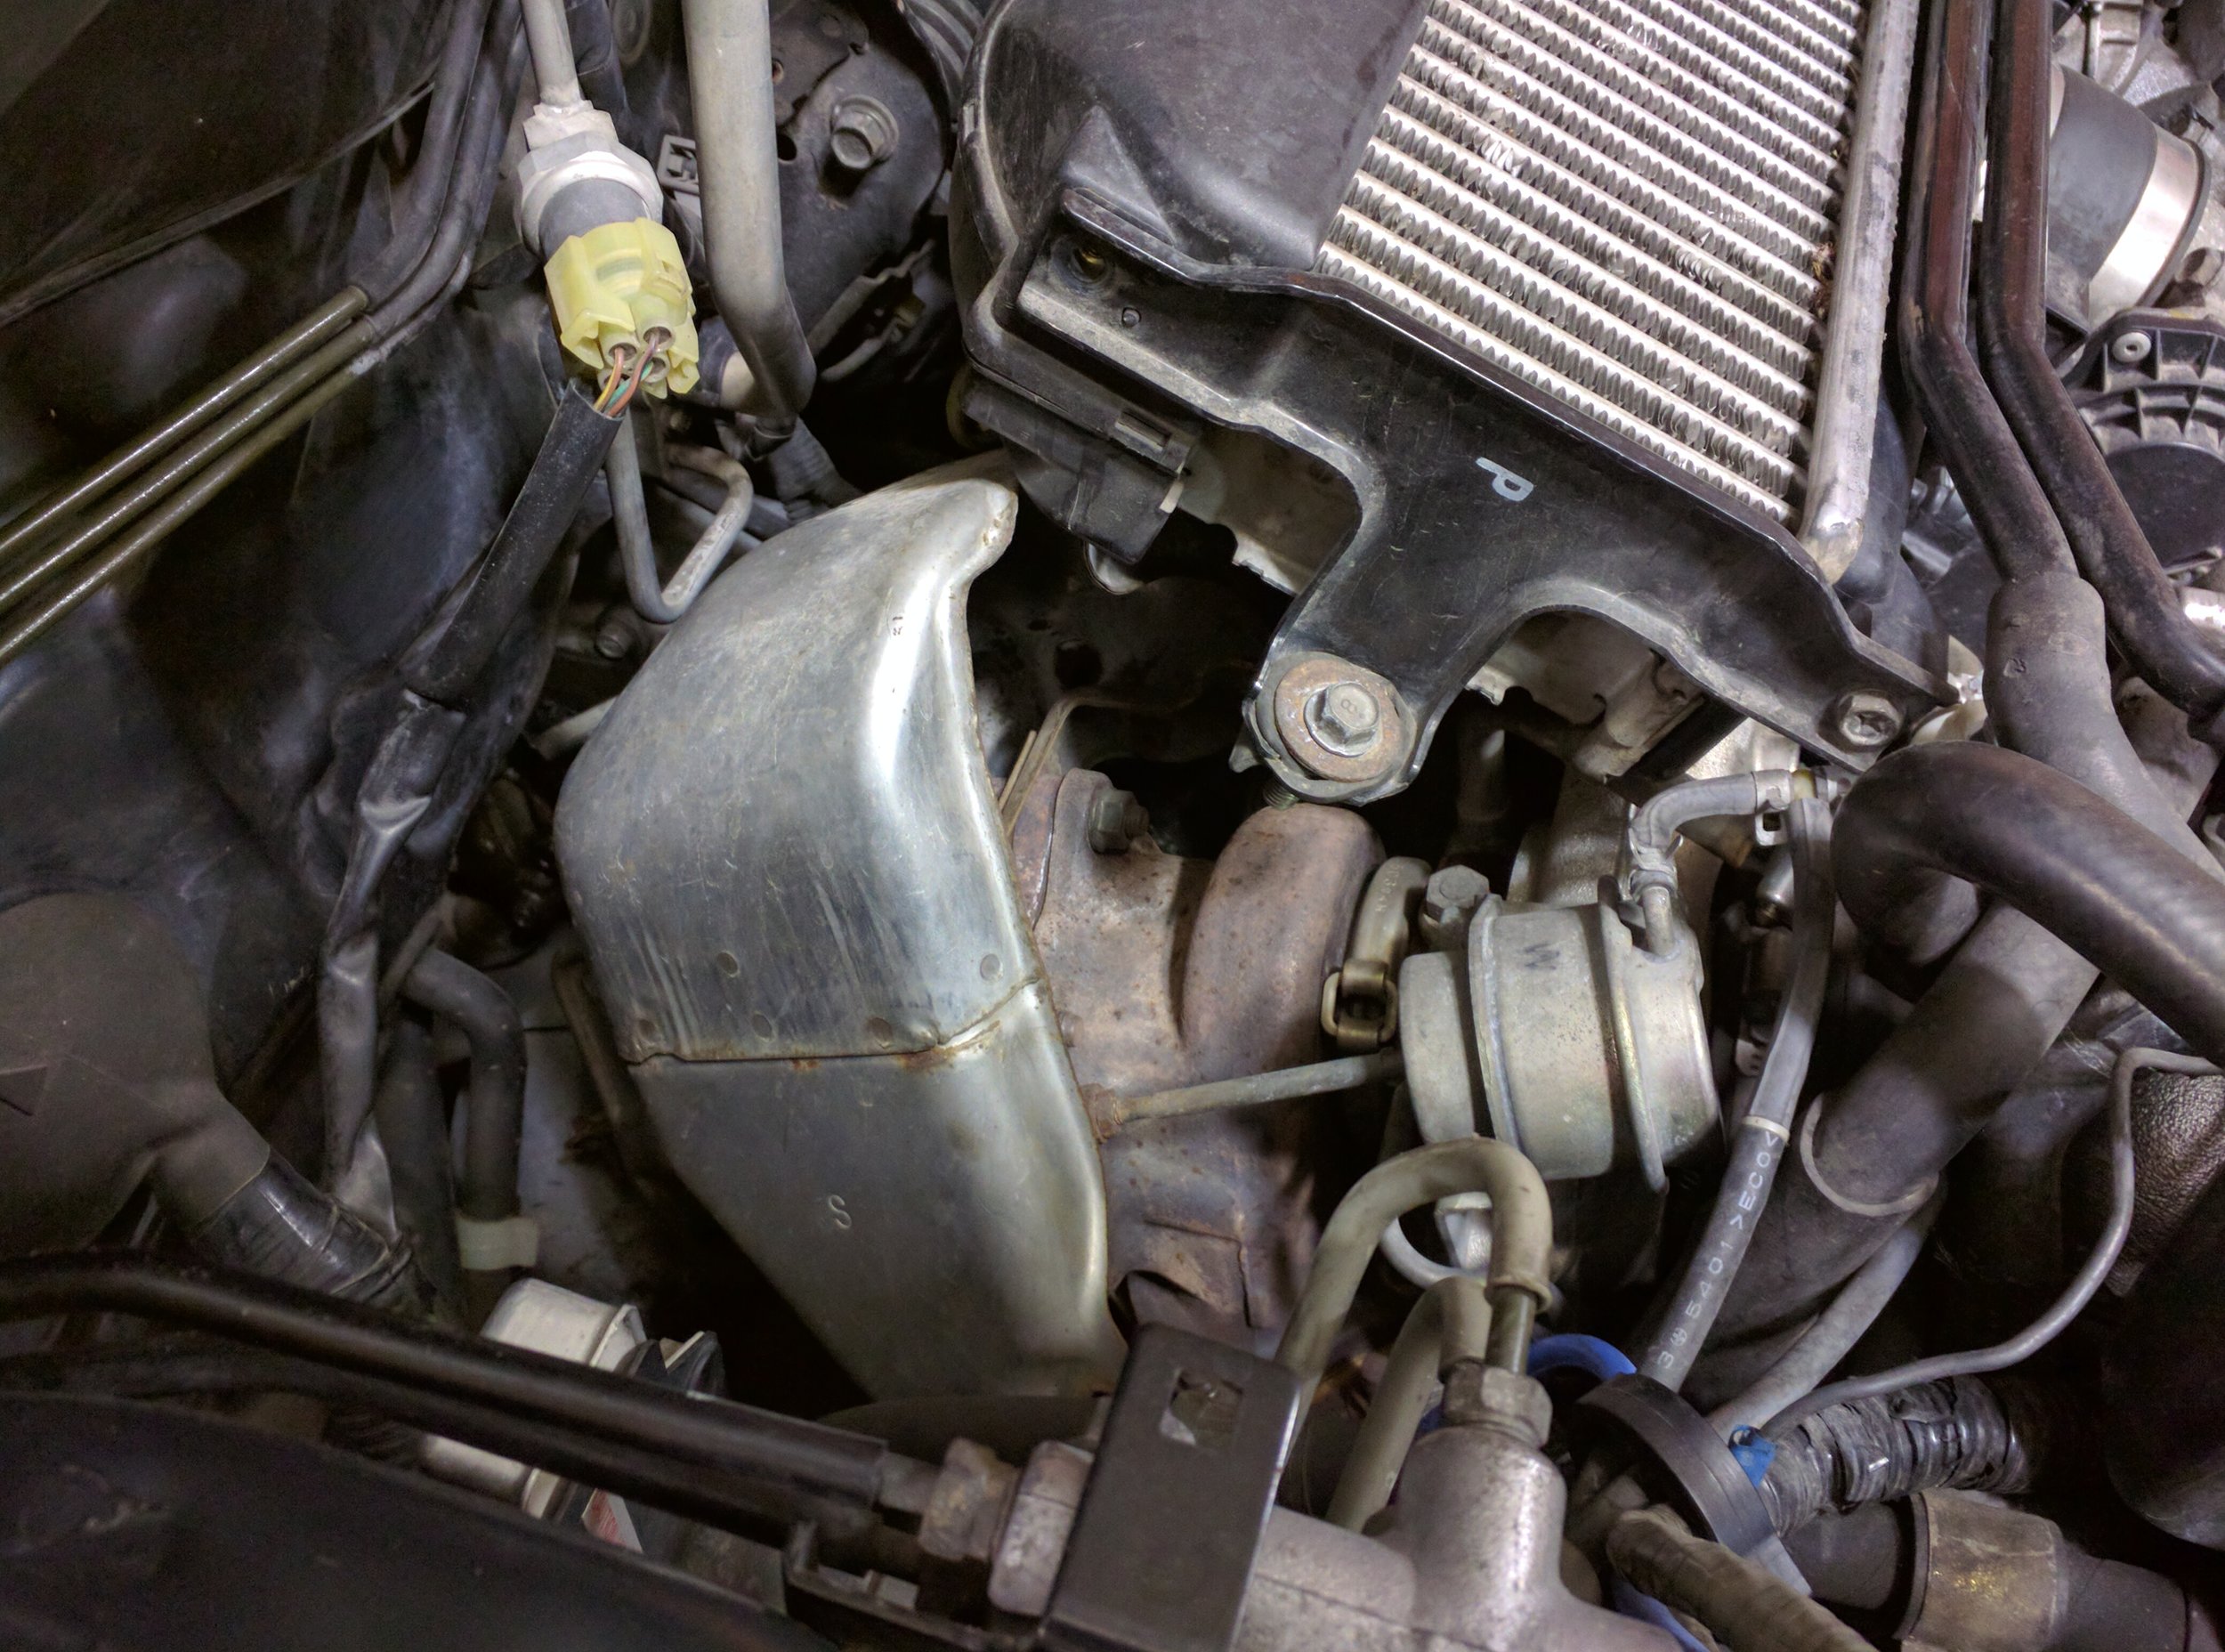
Factory heat shield being removed from the Forester. The little TD04 hiding behind it, scared of the big bad world outside of the engine bay..

If you are using a wideband 02 you will need to remove it now too. Your turbo blanket can stay and keep the turbo company. Grimmspeed’s downpipe comes installed with this bung ready for your enjoyment!
Now we will slide underneath the car and break the O2 sensor free and remove it from the downpipe. We will also start removing the two bolts that connect the downpipe and midpipe.

Popping out to say hello, the O2 sensor sensor can hang out literally, or disconnect the harness plug and put it somewhere safe to not damage the very sensitive electronics.
With the heat shields removed you will have a great view of the downpipe, heat shield bracketing and upper bolts. The bolts and nuts that hold the downpipe to the turbo will be 14mms. I start by breaking them all loose to let the tension off of each bolt/nut. Now I remove the two bolts and nuts that reside on the top and will loosen the rest of the nuts to just finger tight to help keep the downpipe from falling off.

The upper two bolts hold the factory heatshield in place as well as bolting the downpipe to the turbo. Grimmspeed ceramic coated catted downpipe

The downpipe bolts, I like to toss them on the windshield cowl.
Now underneath the car you will find a nut on the bottom of the downpipe, with very little room available you may find a open ended wrench is all you can get on it.

Last nut to go. You can reach it from up top but I usually get it from below the car.
With all the nuts and bolts removed from the downpipe to turbo connection, you can move all the way back to the downpipe to midpipe junction. There will be two bolts that hold this connection together and will leave the downpipe being held on by the middle trans mount and the turbo studs.

Just a couple of bolts holding their own.. but not for too long.

Off with one side and he comes the gasket. This is a Grimmspeed multi layer gasket that I have reused many times since the downpipe install.
You can now work you way back to the trans support mount. Which for both of my cars, this bolt was missing but the downpipe was still hooked into the bracket which gets the job done. I leave this for last as it will help hold the downpipe up and once it is free of this mount, it will use gravity to try and crush your or anything below it. Be ready for a quick movement when this bracket is undone.

Here is the last stand from the downpipe, with this removed it will now attempt to strike down anything below it! Not sure if these bolts are prone to falling out due to vibration but both were missing when I bought them.
Congrats! You have removed your downpipe for either an aftermarket unit, another project that needs this removed or even taking the car back to stock. Hopefully you didn’t break too many knuckles or bolts.

Factory downpipe here… Not exactly the prettiest looking part on your car. Also look at the flat section at the top, that is not good for airflow.

The beauty that is the Grimmspeed limited downpipe! Such an amazing piece.

Finally out and taking a well deserved break on my old outdoor cushions.