DIY: Homemade skid plate. Not recommended for eating off..
After using the luck and plastic for the last few years on my off-road inspired Forester I decided to finally put together my own skid plate. I had always wanted to put together a homemade/diy skid plate but hadn’t had the time.

Factory splash guard still hanging in there after 214k miles… But all things must come to an end.
Time Frame
A friend and I tackled this project from beginning to end in around an hour. From removing the skid plate to deciding where the best mounting locations would be. We have a lot of tools at our disposal and a welder which helps speed this project up immensely, without them it can take quite a bit of time.
Tools
Tools that were used in this project include your standard ratchet and socket set to remove the old splash guard.
A cutoff tool or chop saw can be very handy when cutting your skid plate down to size.
A drill press or drill will be necessary from the brackets and to punch mounting holes through the skid plate
A vice and nice set of pliers will help you shape the front bracket.
Lastly a welder was used to put the front bracket together and weld the nuts onto the bracket for easier installation.
Parts
For my set up we utilized a Stop sign but any sign of your choice can be used determined by the setup you are looking into and your vehicle.
A few nuts and bolts to your length and thread pitch. I went with stainless steel to help keep them fresh in the winter months.
A piece of square tubing will be used to space the skid plate away from the oil pan and exhaust manifold.
Taking off the factory splash guard and looking underneath the Forester I found the factory bolt locations would be a great starting point. Now you can take a look around at factory mounting points, clearances and where would be the best possibly location to not obstruct with anything.

Dirty old and tired. It is time for your to rest factory splash shield.
Guiding the sign into place that the length was a bit too long and that it wouldn’t clear the factory exhaust and it was rather close to the oil pan. With this I took a few measurements that I forgot to write down on anything other than the skid plate itself.

With the measurements made. I found the skid plate would stick out past the bumper. Determined by where you locate the end of the sign and what you car setup is, you may need to cut more or less.

Trimmed to fit for the Forester.
We decided the optimum length would be inside of the front bumper a bit to keep dirt and water off the engine. With it ending just slightly behind the engine central jacking point, this end would be very near the rear mounting location.
After cutting it size it was placed back underneath the car it was noted that a drop was necessary. For this a 2” square tube was cut and trimmed for our specific setup. Cutting off 3 sides of the 2” square tubing leaves you with a flat side as seen below. Then you can take your drill and add two holes that match the lower factory bolt holes.

With two holes measured and drilled through, this will bolt the bracket to the holes the old splash guard was bolted into.
In the background you can see the extra tabs used from cutting the tubing down. These will be welded on to this to bolt up the skid plate.
Next you will weld the tabs onto the 2” drop bracket to add mounting holes for the skid plate. We choose to locate them on the front of the drop bracket to help with clearance and help direct it behind the front bumper. Below is the completed work.

Here is the spacer bolted up to the front of the car. The welded tabs are visible, this is what worked for our setup, yours may vary.

Front shot of the bracket.

Another angle.
You can use your bracket to mark the necessary holes through your skid plate. With these completed you can test fit it and slide your bolts through, we ended up ovaling each hole to help ease installing without making them too big that bolts go through.

The faint lines show where we traced to find the locations where the bolts need to go through. Then on to drill the holes.
Even with this drop spacer added it still is much higher than the surrounding suspension and leaving your ground clearance in tact. So no need to worry about that,
Next we will use the same square tubing to make another spacer for the rear mounting location of the skid plate. The jacking plate was removed and used as a guide to cut the tubing to length and mark where the holes needed to go.

Located right behind the oil pan is the factory jacking point. It is also home to threaded bolt holes the factory splash guard bolts too. I used the same two inch spacer and longer bolts to attach the rear of the plate here.
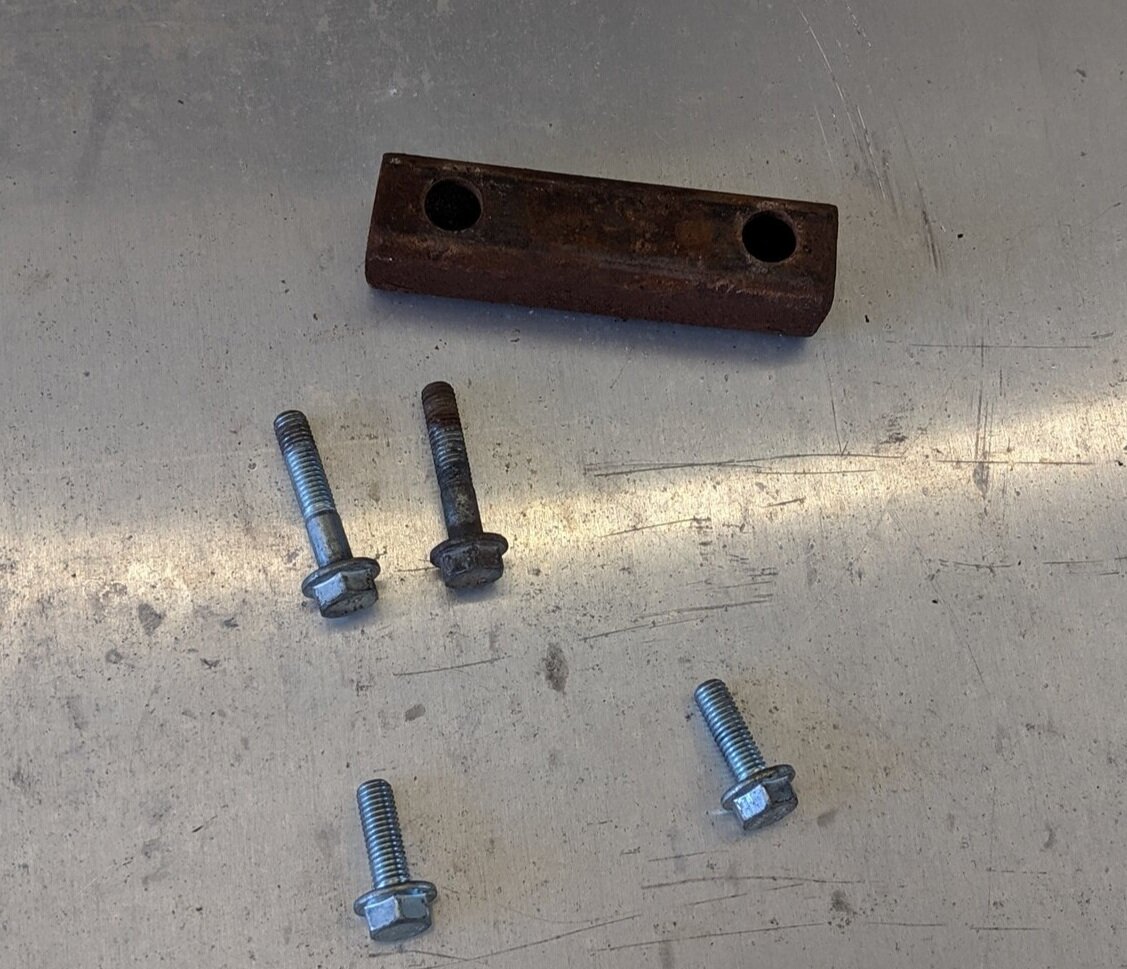
Our lower spacer and bolts. The two longer bolts thread through this spacer and into the jacking plate.

Here it is bolted together. Nothing too special.

Everything held in tightly. It is not going anywhere.

Finished product shot, showing how low the skid plate hangs.

A quick shot that shows the clearance between the oil pan, exhaust manifold and skid plate.

Completed!
Now you can just bolt it up and check all your clearances, if everything looks good. You can go for a short drive and recheck everything to make sure it’s still tight and clear of all other moving parts.
Congratulations! Nothing feels quite as good as making a part for your car and being able to install it!