DIY Maintenance: Rear differential fluid change! Fresh fluid for your rear..... diff.
With all the parts you are replacing, upgrading and swapping out it’s easy to overlook your rear diff. It’s just back there getting the job done and making that sweet awd drive possible. But every so often it needs your attention in the form of a quick fluid change. This should come around every 30k miles and is an quick easy task to keep your awd happening. This will be performed on my 06 Subaru Forester XT.

Unassuming diff just hanging out… Not aware of what might soon happen.
Your preferred oil is 75-90w GL-5 to keep it operating properly at all temps, mine today was from Valvoline . Not too much is necessary in the tool department here.. with a 1/2” ratchet(Craftsman 1/2” ratchet) and an short 1/2” extension. A can of rust penetrate(Crc Screwloose Super Penetrant ) can be helpful to help release those fill and drain bolts. A small drain pan is helpful unless you like to clean up messes and a wheel chock to keep the car exactly where you want it, not running over you. Another helpful addition to your tools can be a small hand Lubrimatic fluid pump to easily add fluid.

The necessary items for today’s job. Valvoline Synpower 75-90 weight, Craftsman 1/2” ratchet, drain pan,l and brake clean for cleaning off the diff and possibly the floor. Not shown Lubrimatic fluid pump for easy diff filling. Not shown Crc Screwloose Super Penetrant
First we will make sure to park on a flat surface and setting your vehicle in park/manual trans in gear, setting your parking brake and setting your wheel chock. Now with a lifted Subaru this can be easily be done on the ground without lifting the vehicle. If you need to lift your vehicle make sure to set all for jack stands at an equal height to allow for proper draining and filling.

Anything that keeps the car from being able to move makes a great wheel chock! Generally I use an old rotor but I tossed it during my spring cleaning.
With the car in the service position if you haven’t presprayed the diff with a bit of rust penetrate, go for it now. If you have any other projects to do let it sit for a minute to help it do it’s thing. Now we will start with 1/2” ratchet on the fill plug, why you ask? We need to check that we can remove it which will allow you to fill it back up. If you can’t remove the fill plug you definitely shouldn’t drain it!

Soaking them helps free up the excess rust, dirt, etc. This allows the drain plug to come out smoothly and damage neither the plug or threads.

Here we go! The moment of truth of whether you will be draining the diff or not. Using the longest ratchet you has is helpful for that additional leverage.
If you are having trouble removing the plugs this technique can help you out. You can use a larger breaker bar to help you with more leverage. If you still can’t break it free this is my fancy footwork in action. I use my right foot to hold the ratchet in so it won’t slide out and damage the plug. With the right foot holding everything in the right spots you can use your left foot kick it towards the passenger side of the car. With a few good kicks it should start slowly moving and then you can use your own hands.

Using my super ninja skateboard technique here. Right front keeps it in place while a nice kick/push with your left foot gets it to break loose. I had to do this for about a quarter of a turn before being able to spin it out by hand. Craftsman 1/2” ratchet

Upper plug removed. We can now start on the drain plug.

It’s easy to differentiate the two plugs. This is the fill plug, which won’t have a magnet attached to catch errant shavings.
Now since you know you can fill the diff, let us remove the drain plug! With it removed you can now sit back and enjoy the fluid draining. You can also watch for any slivers or shards of metal to come out.. which is not good. With the drain plug in your hand you can wipe off the metal that the magnetic drain plug holds onto. A light fuzzy drain plug is pretty normal with and large pieces being a sign of issues to come.

A quick spin around the block prior to starting this project can help it drain quicker.

A bit of “fuzz” on the drain plug. This pretty typical for most diff drain plugs. The magnetic bottom keeps the fillings from continuing to flow around in the diff.

Here are the smears from the drain plug. Maybe a bit on the heavy side but this diff has 213k miles on it.
For those wanting to get each and every drop out of the rear diff. You can make your way to the front of the car and lift it from the center lift point. Which will tilt the vehicle and the last bit of fluid on out. With all the fluid out we can start with the fill portion. Replace and torque the drain plug to get the diff ready to be filled. With the Valvoline style bottle you can squeeze it into the fill hole. A much easier way is the fluid quart pump especially if you have a larger sway bar.

Squeezing the bottle, holding it up and taking a photo with my Pixel. The fun never stops! This was my method for today after leaving my Lubrimatic fluid pump at work. Valvoline 75-90W GL-5
Keep your eye on the fill plug as you are filling. Once you have hit the full level you will start to see the fluid seeping out. The factory fill is .8 of a quart but it all matters how level the car and how much got out. That is what got into mine but don’t worry if it is slightly less.

Topped up and starting to seep out. Time to return the fill plug!

Looks like it took just about the specified amount. Valvoline 75-90W GL-5 Subaru specs .8 Liter for the 06 Fxt.
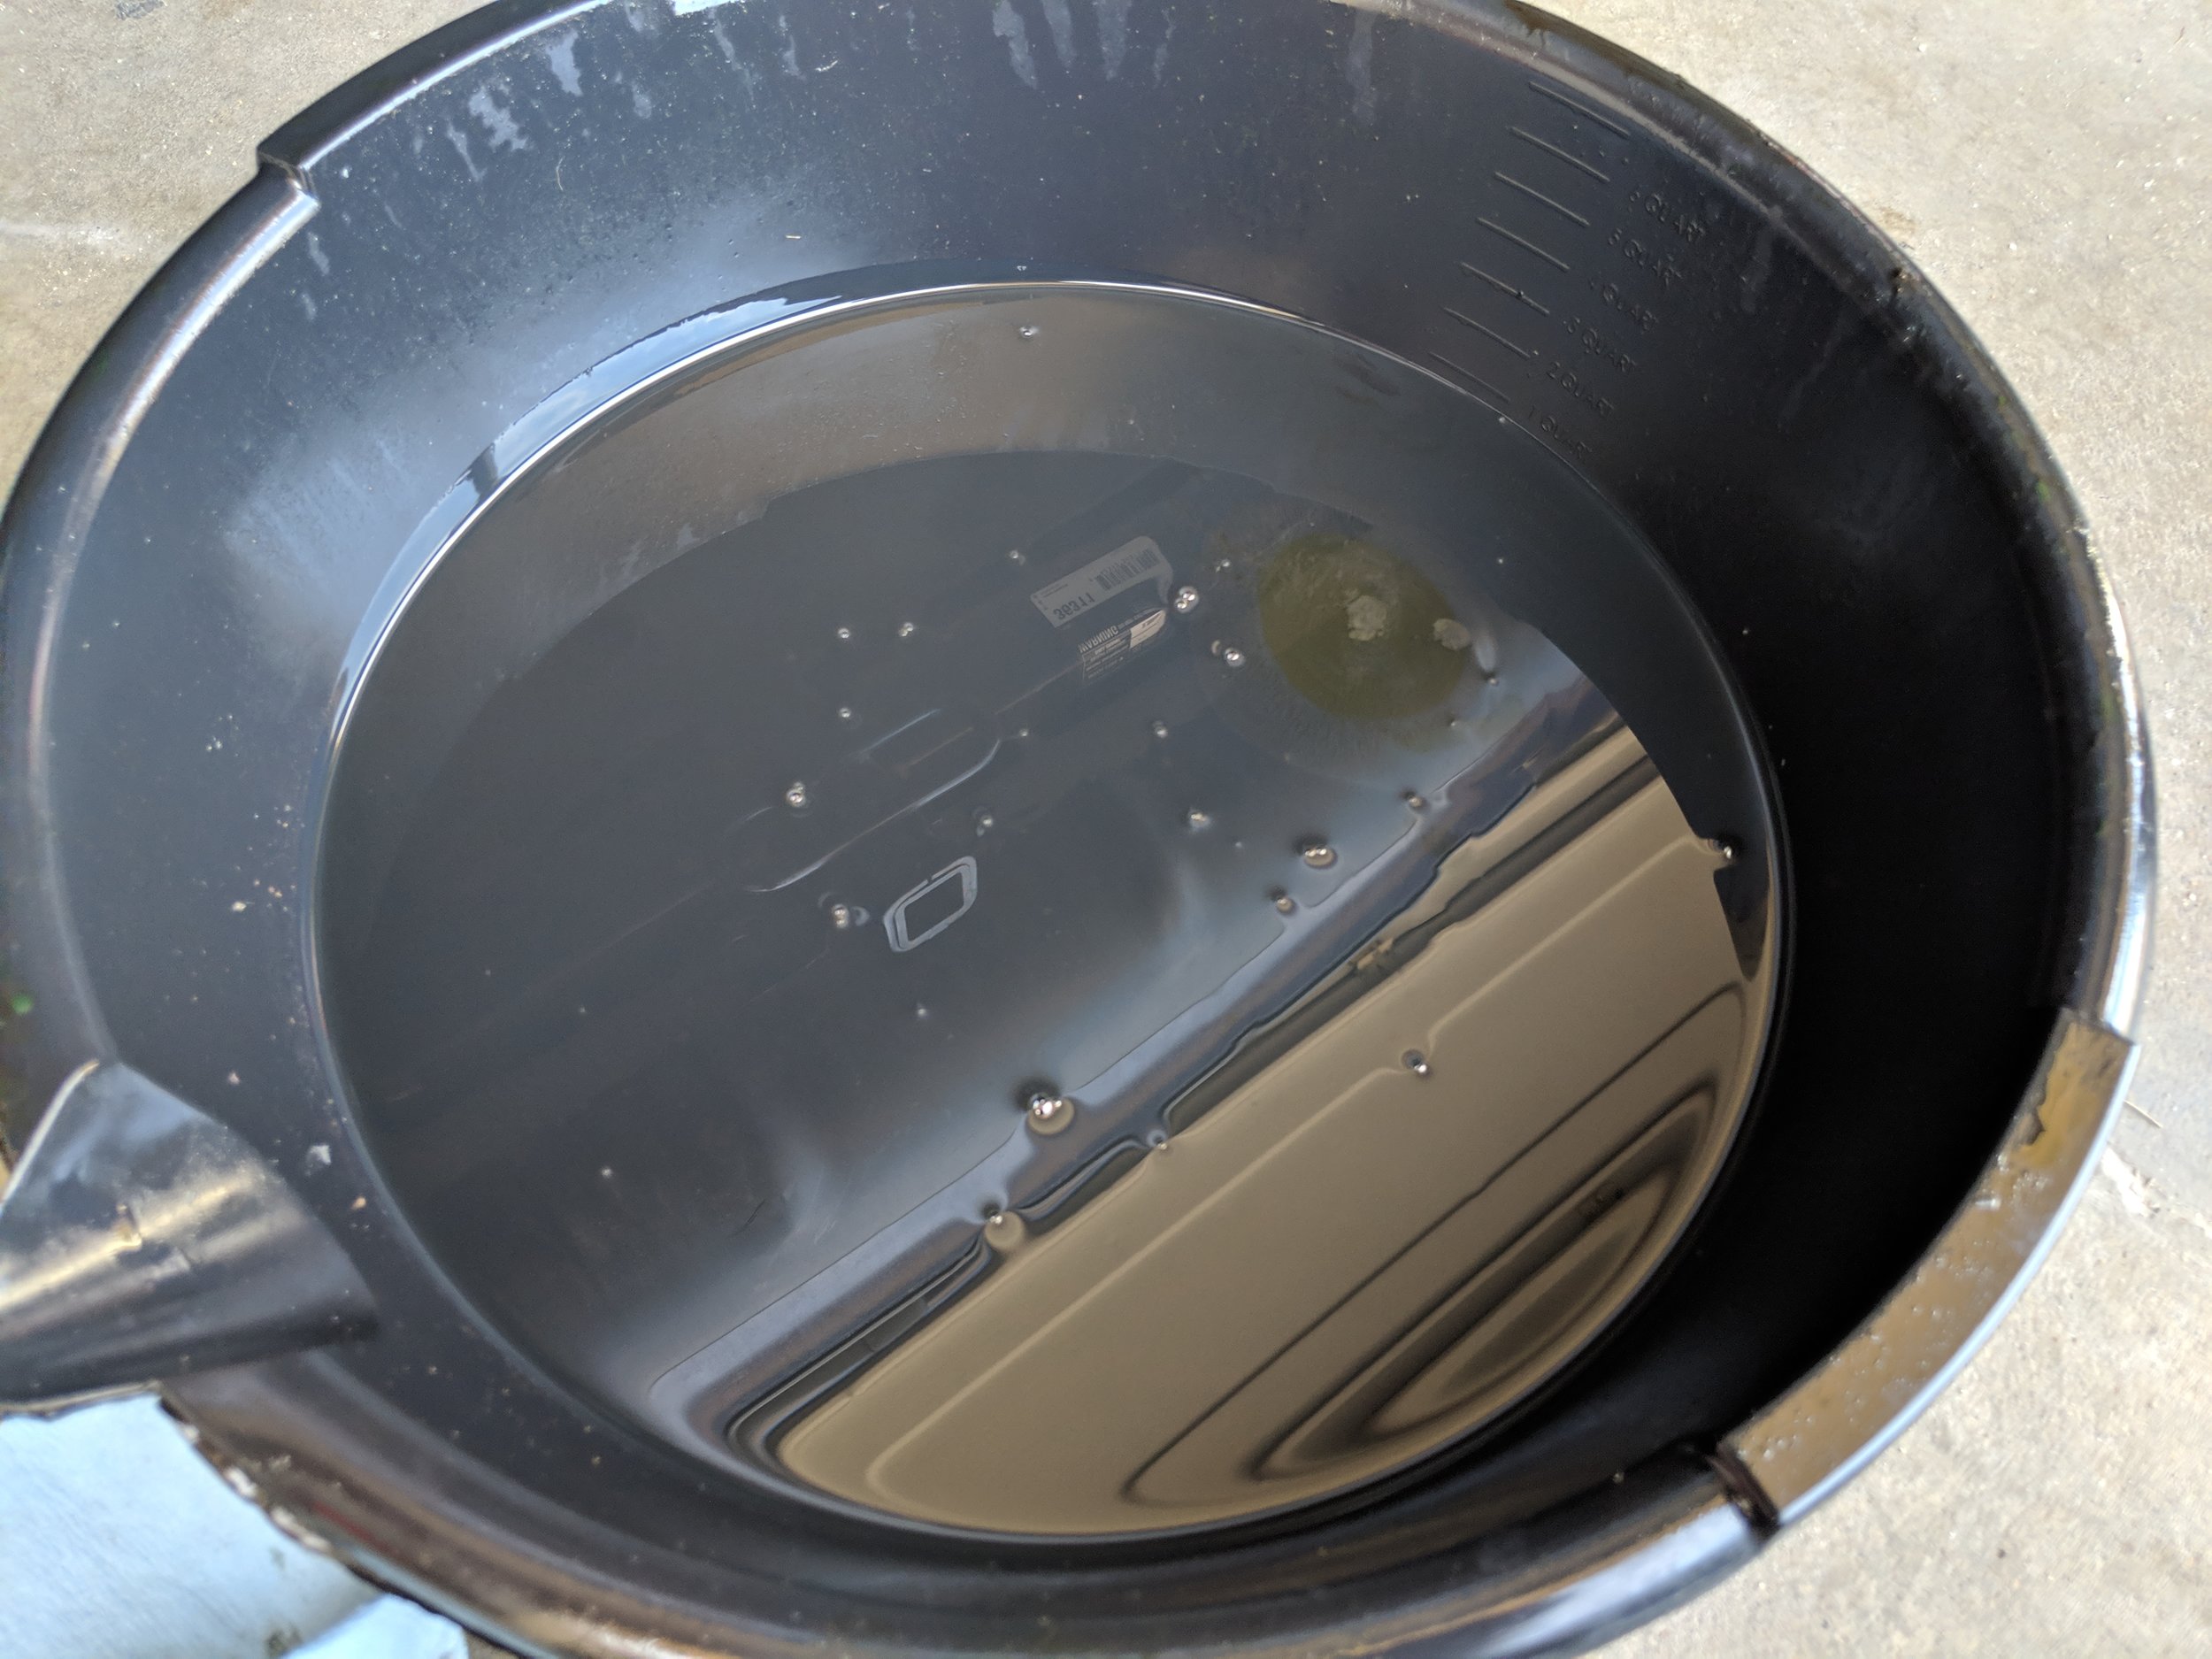
Double checking the fluid for any oddities. Looks all clear, don’t mind the weird colored fluid as this pan doubles as a coolant, oil and trans fluid pan.
With the diff topped off we will now thread and the fill plug and torque it down to spec. Take your bottle of brake clean and a towel to clean off the diff. A clean diff will help you make sure the plugs aren’t leaking afterward and keeps your driveway/garage clear of spots. Now you will remove your wheel chock and put your vehicle back on the ground if you needed to lift it. Take it for a short test drive and recheck for any leaks. Now you are ready for another 30k miles till you service it again!

Cleaned up and ready to roll!