Replacing the CV axle boots. Give 'em da boot!
Your typical Subaru is equipped with four axles per car. This gives you a high likelihood of losing a boot within your ownership. Especially if you have lifted Subaru.. those Cv boots seem to have a death wish and love to implode when you quietly mention them in passing conversation… Below links for the boot are for my 05 STi rear inner boots.
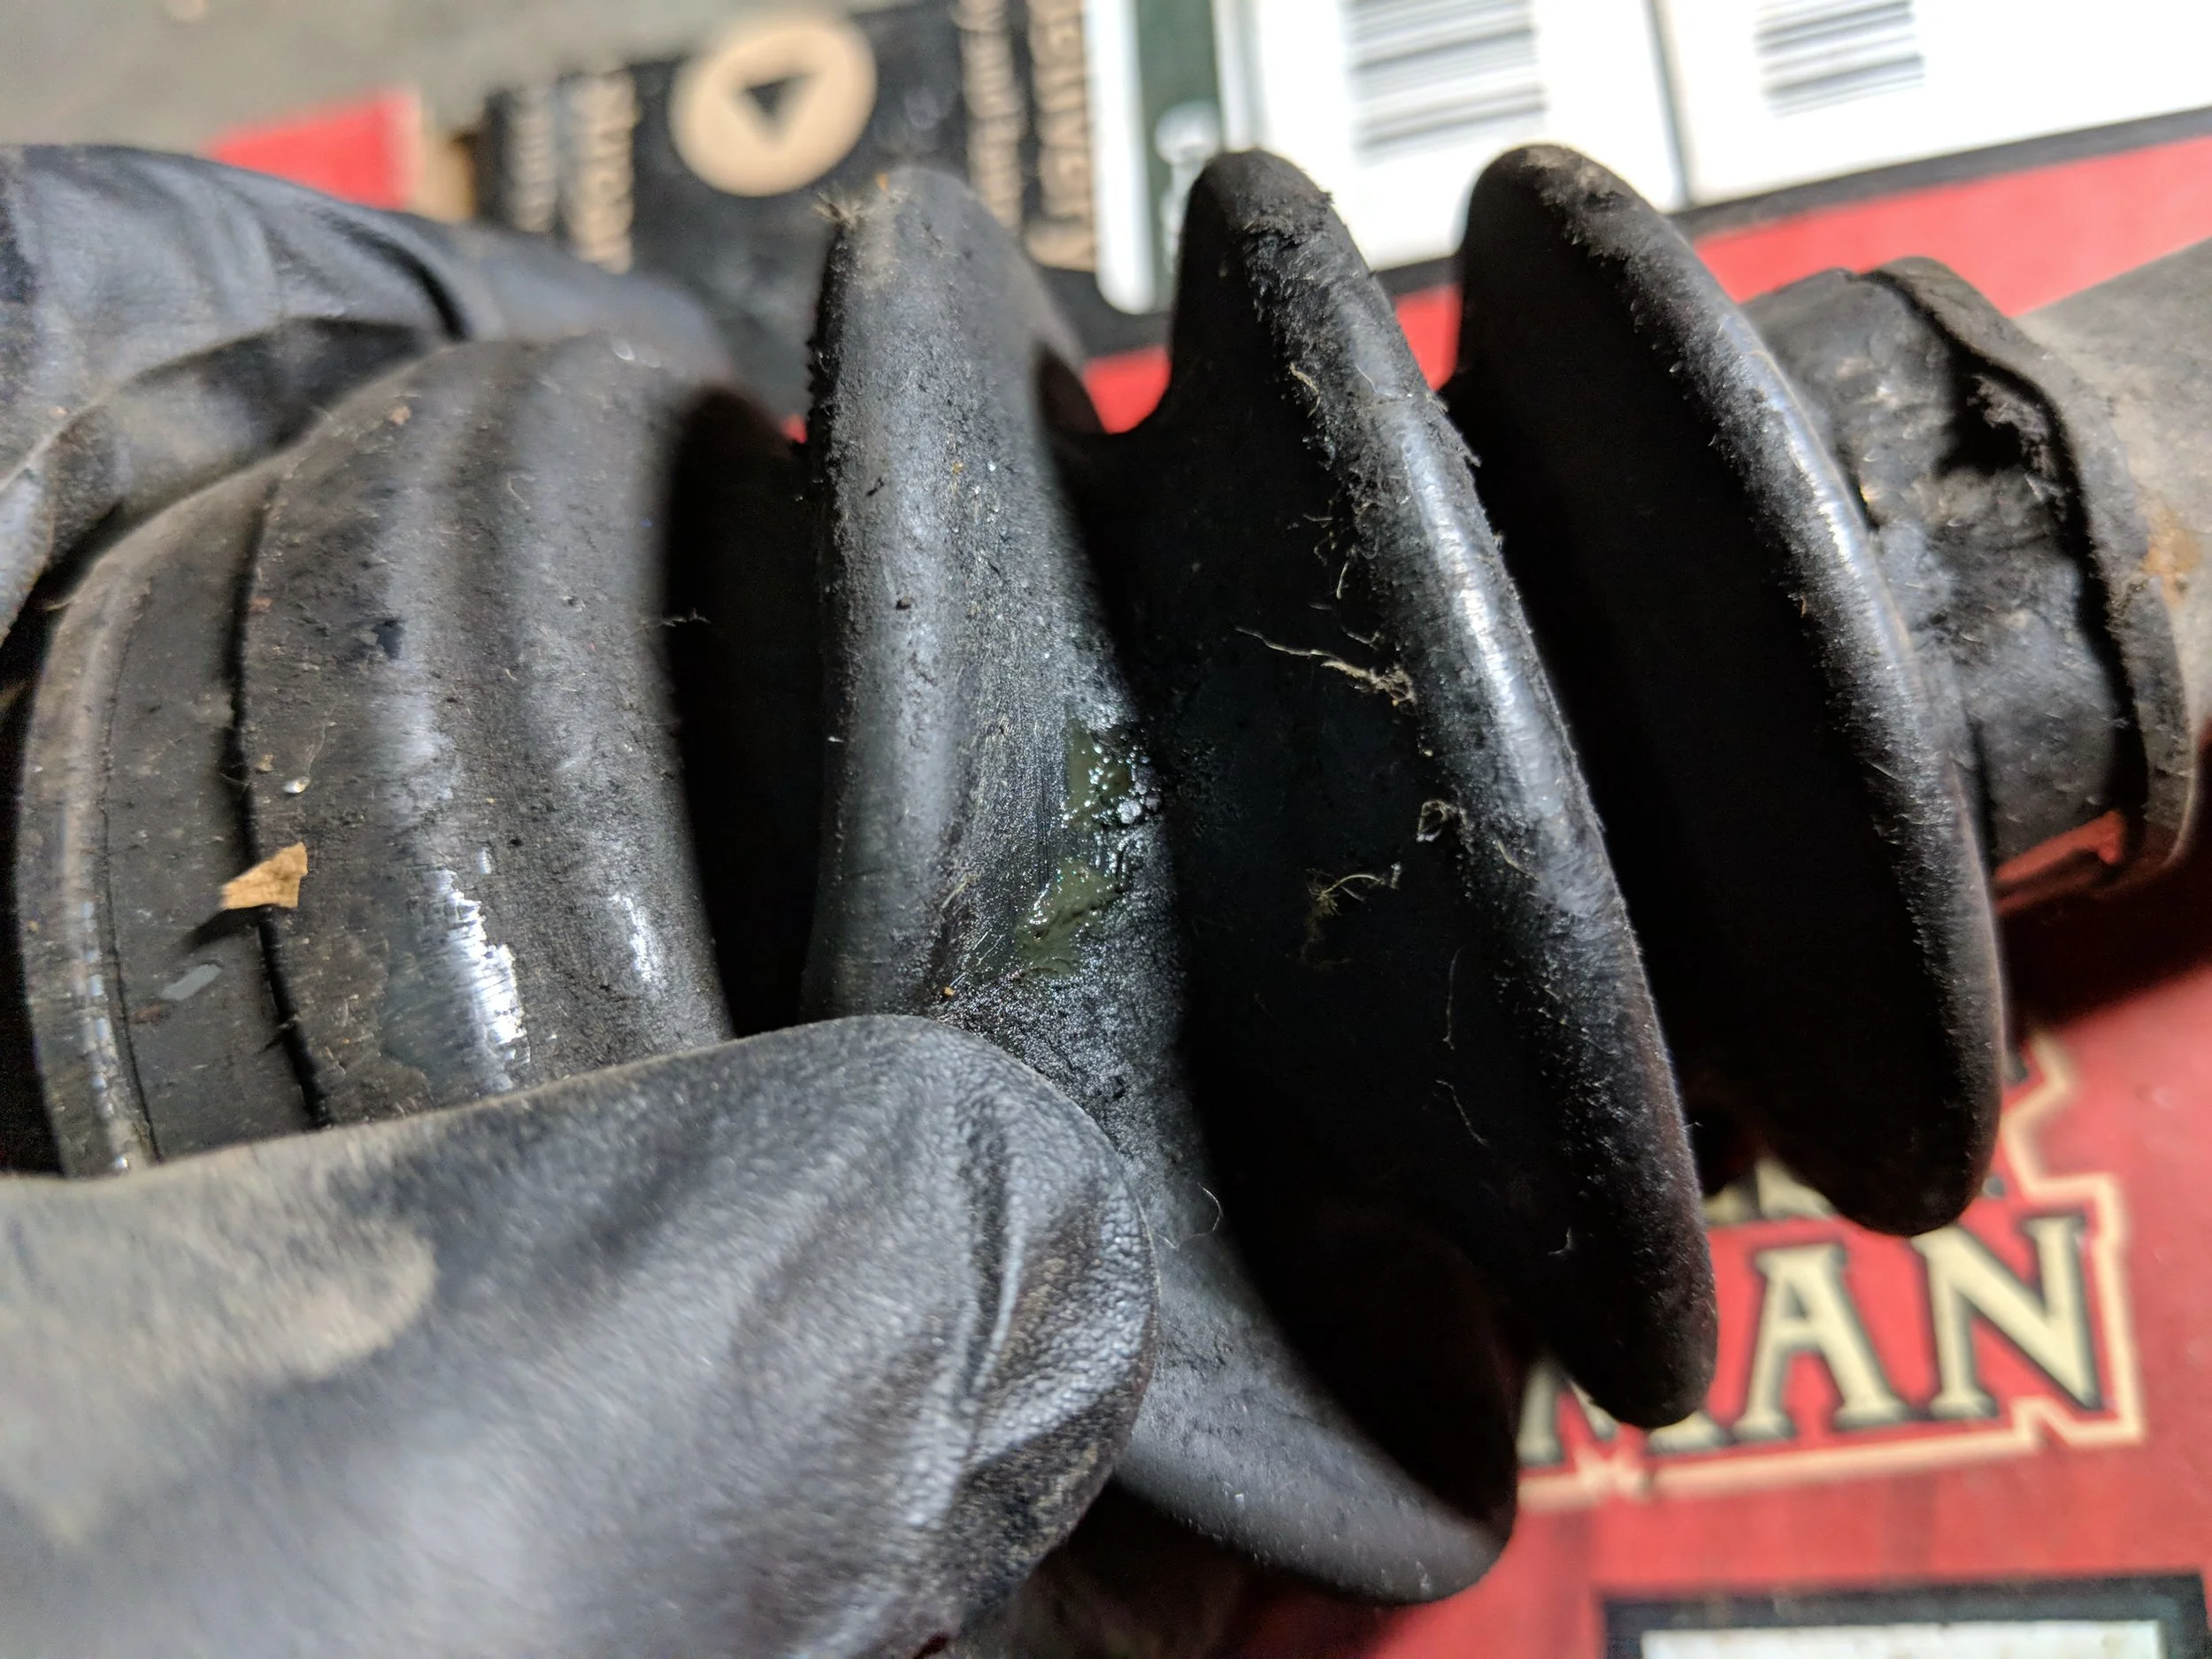
Small tear in the boot and leaking grease.
With all that in your mind… let’s get to work and here are the specialty tools you will need. A set of CV boot clamp pliers are not necessary but can be extremely helpful. A set of C- clip pliers will also be your friend. A few others that I used were a set of side cutters, a screwdriver, a punch, a couple sets of gloves, a set of safety glasses and a pair of pliers. Lastly, a few thousand paper towels to take care of the ensuing mess which will soon try to overtake you and your surrounding work area.


I picked up these boots from Amazon from Beck and Arnley. This axle was repaired and reinstalled on the STi for the last year. The package includes one axle boot, a package of new grease, two clamps to seal the boot, and two new C-clips.
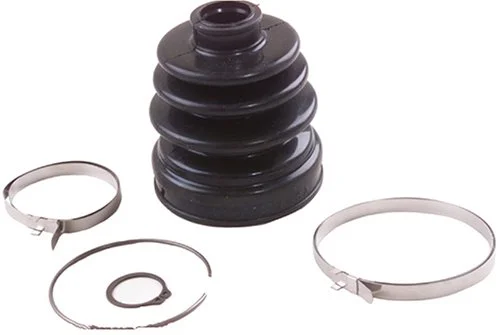
Beck and Arnley CV boot kit. This link is for the rear inner cup of my 05 STi.
Now grab your trusty side cutters and cut away at the clamps. Alternatively you can take a decent set of pliers and undo the clamp bands that hold them together. Next up you will be removing the boot with any means necessary, once again the side cutters or pliers will come into play.

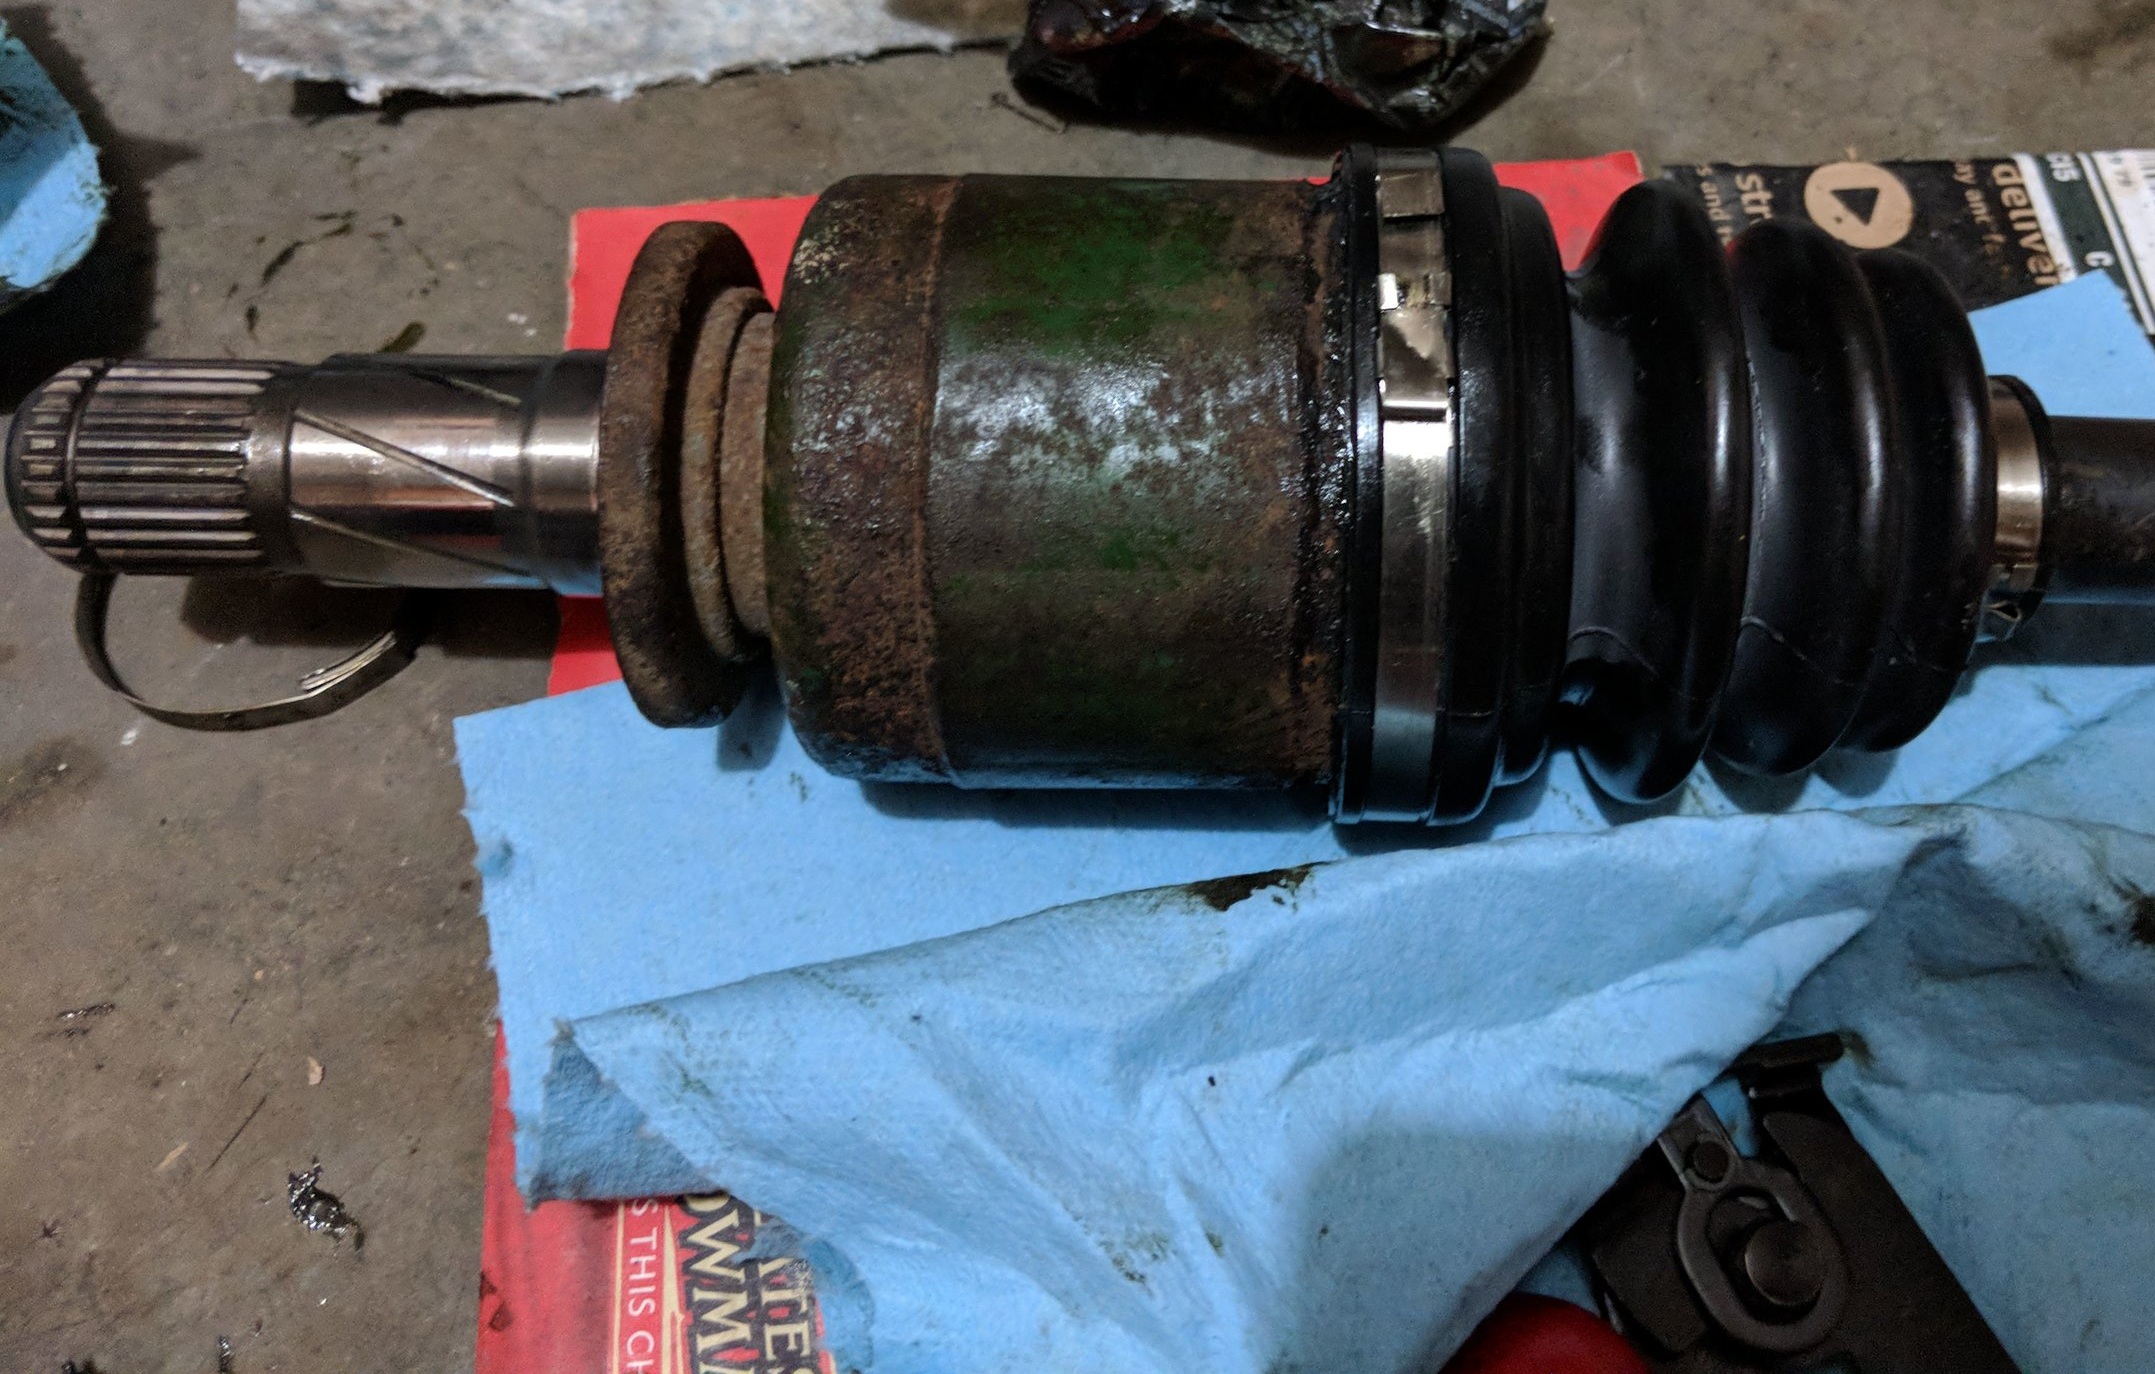
Removing the Cv boot bands.
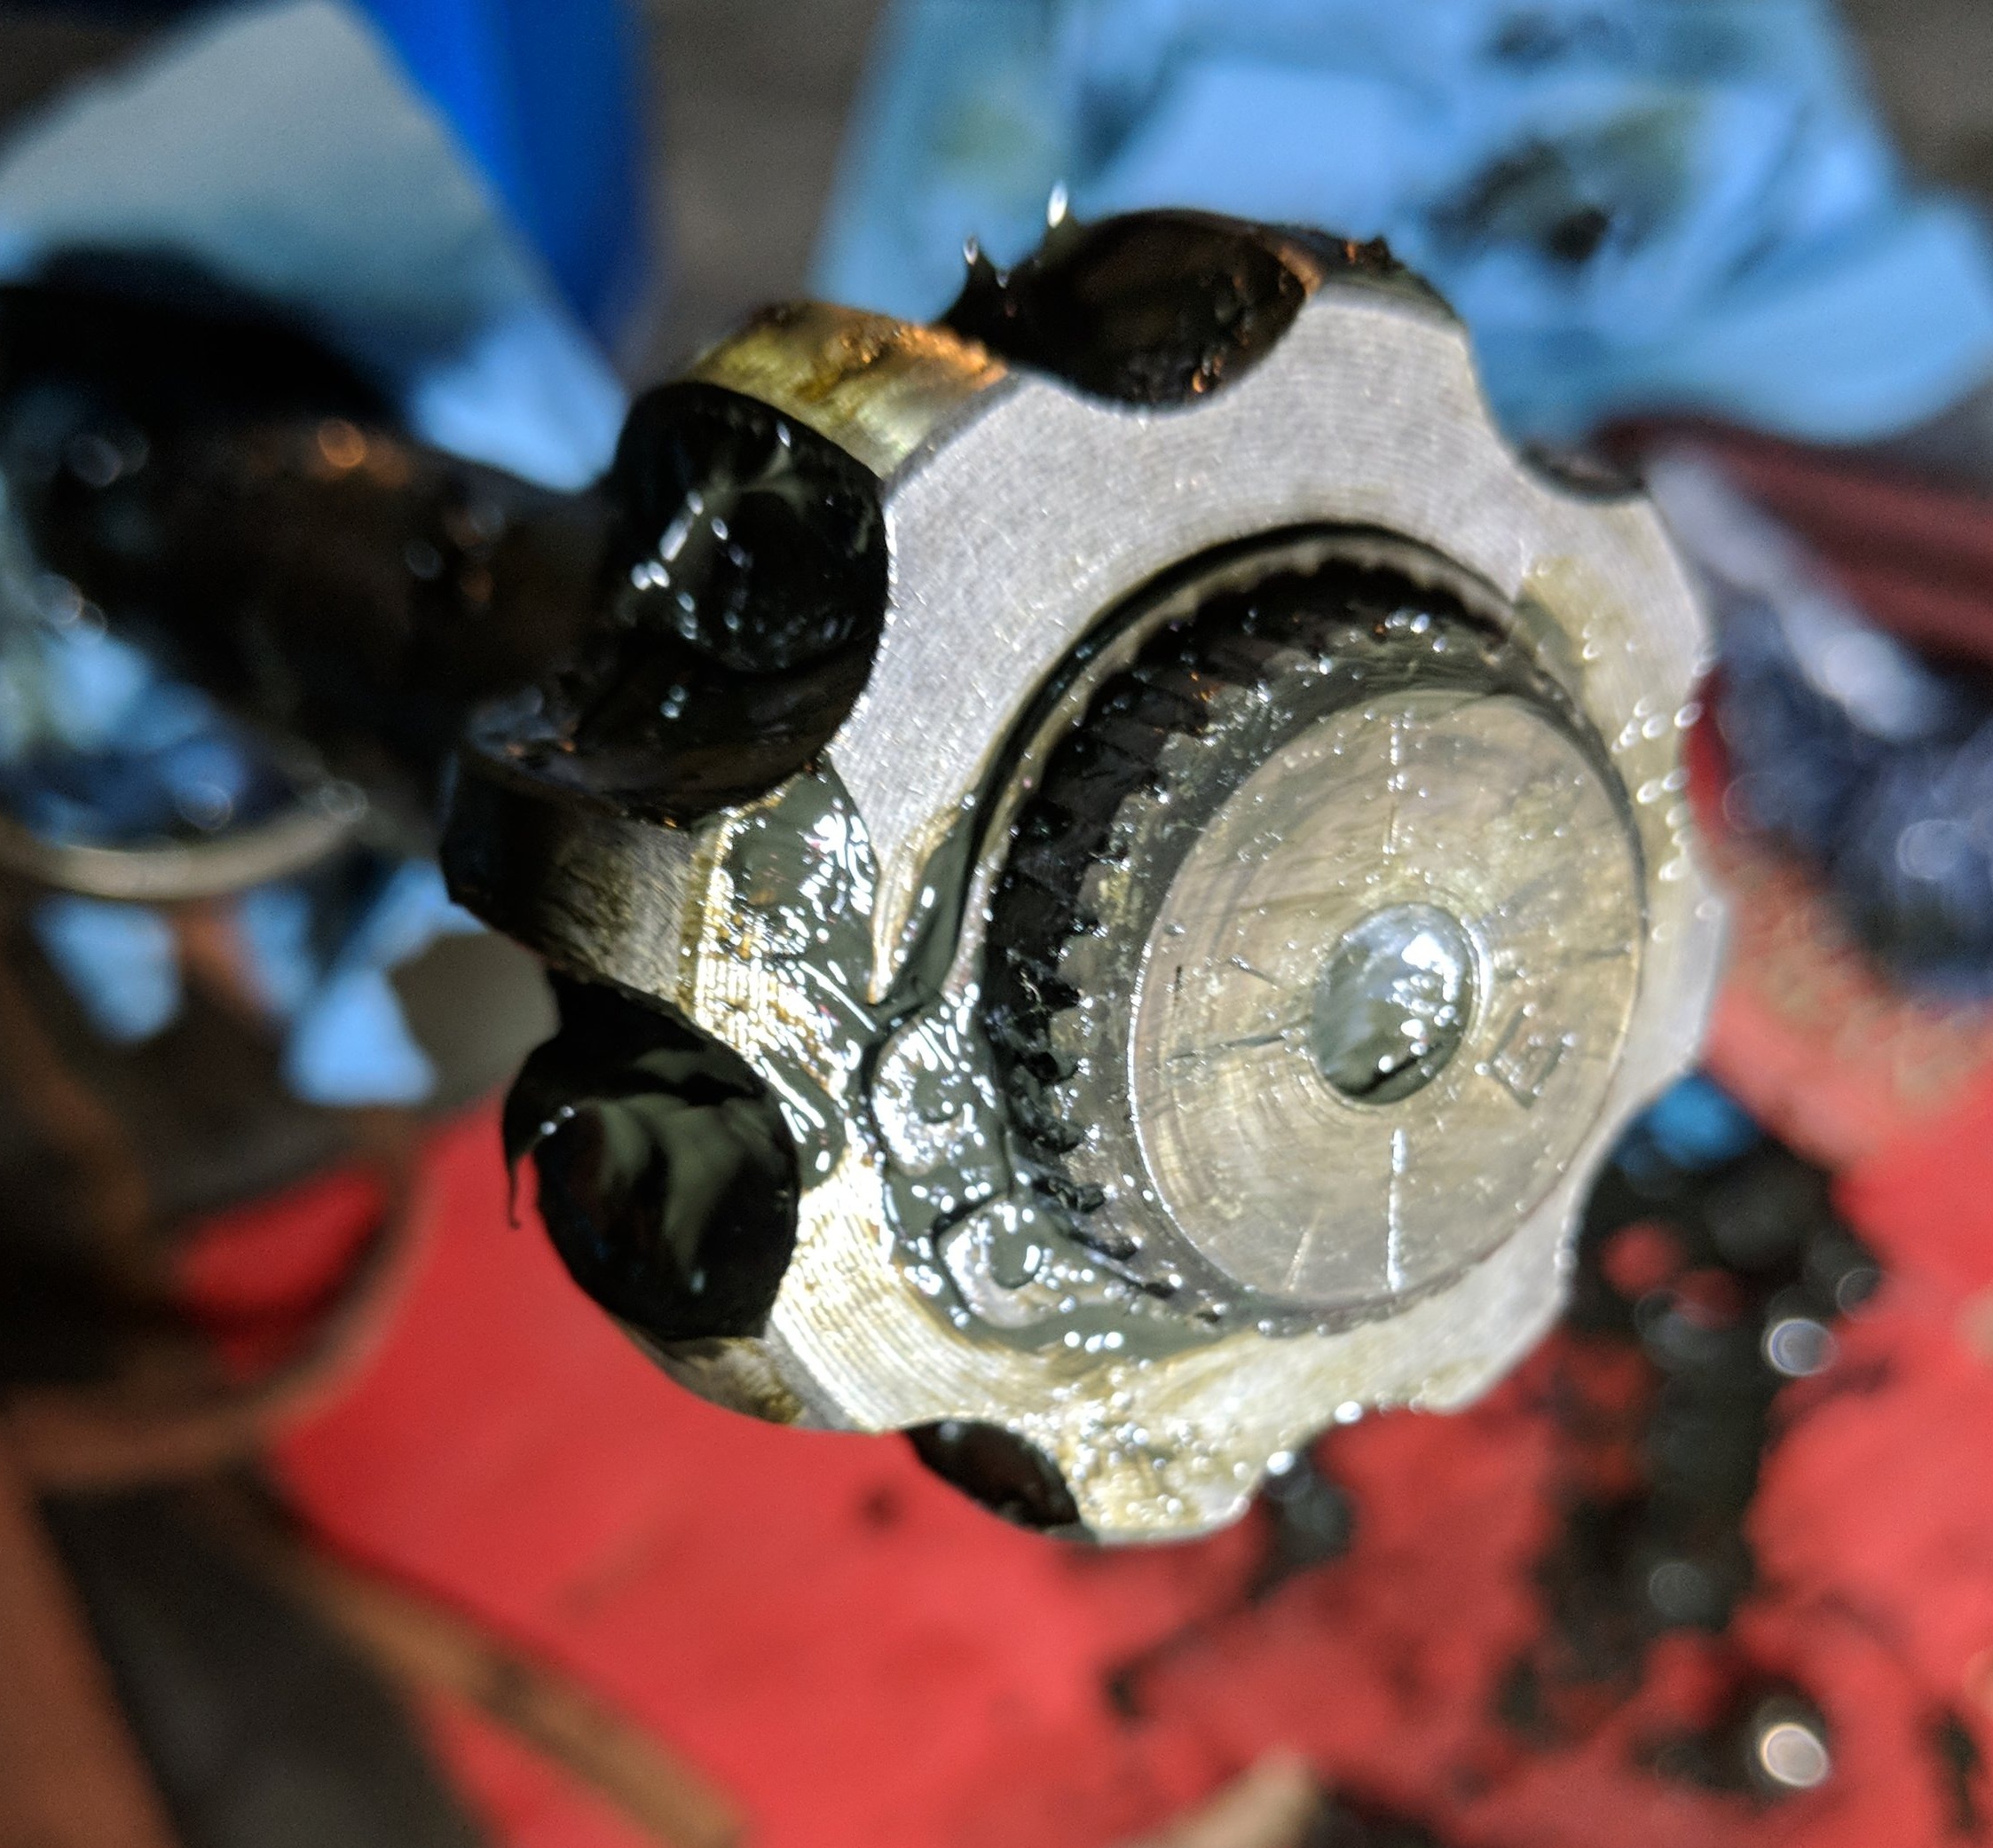
With the boot bearings and inner housings exposed you will need to locate C clip that is located in the inner CV Cup (the part that includes the splined axle). Removing this clip allows the Cv cup to separate from the axle and inner workings of the CV joint.

C- clip resides right inside the axle cup. A small screwdriver can easily dislodge it.
Now you will see the inner workings of the CV axle. Which include the outer bearing cage, the bearings and inner race. On the top of the race you will find a C- Clip that needs to be removed in order for you to pull the bearing races and bearings out. You are able to slide on the new boot on to the Cv shaft.
C- Clip to release the inner race.

Removal of c-clip and races. The c-clip resides in the notch seen in the splines above.
You can take your time and clean up your bearings, races and Cv cup. If your boot was split and spewing grease while allowing dirt, dust and water in… a thorough cleaning is an important necessity to a long lasting Cv axle. Any left over particles inside the joint can cause an early demise and another axle replacement. My Cv axle had only recently split and very little grease was lost, thus allowing me to be a bit less detailed in my cleaning.

Shown: CV joint races, bearings, c-clips and shaft dissembled.
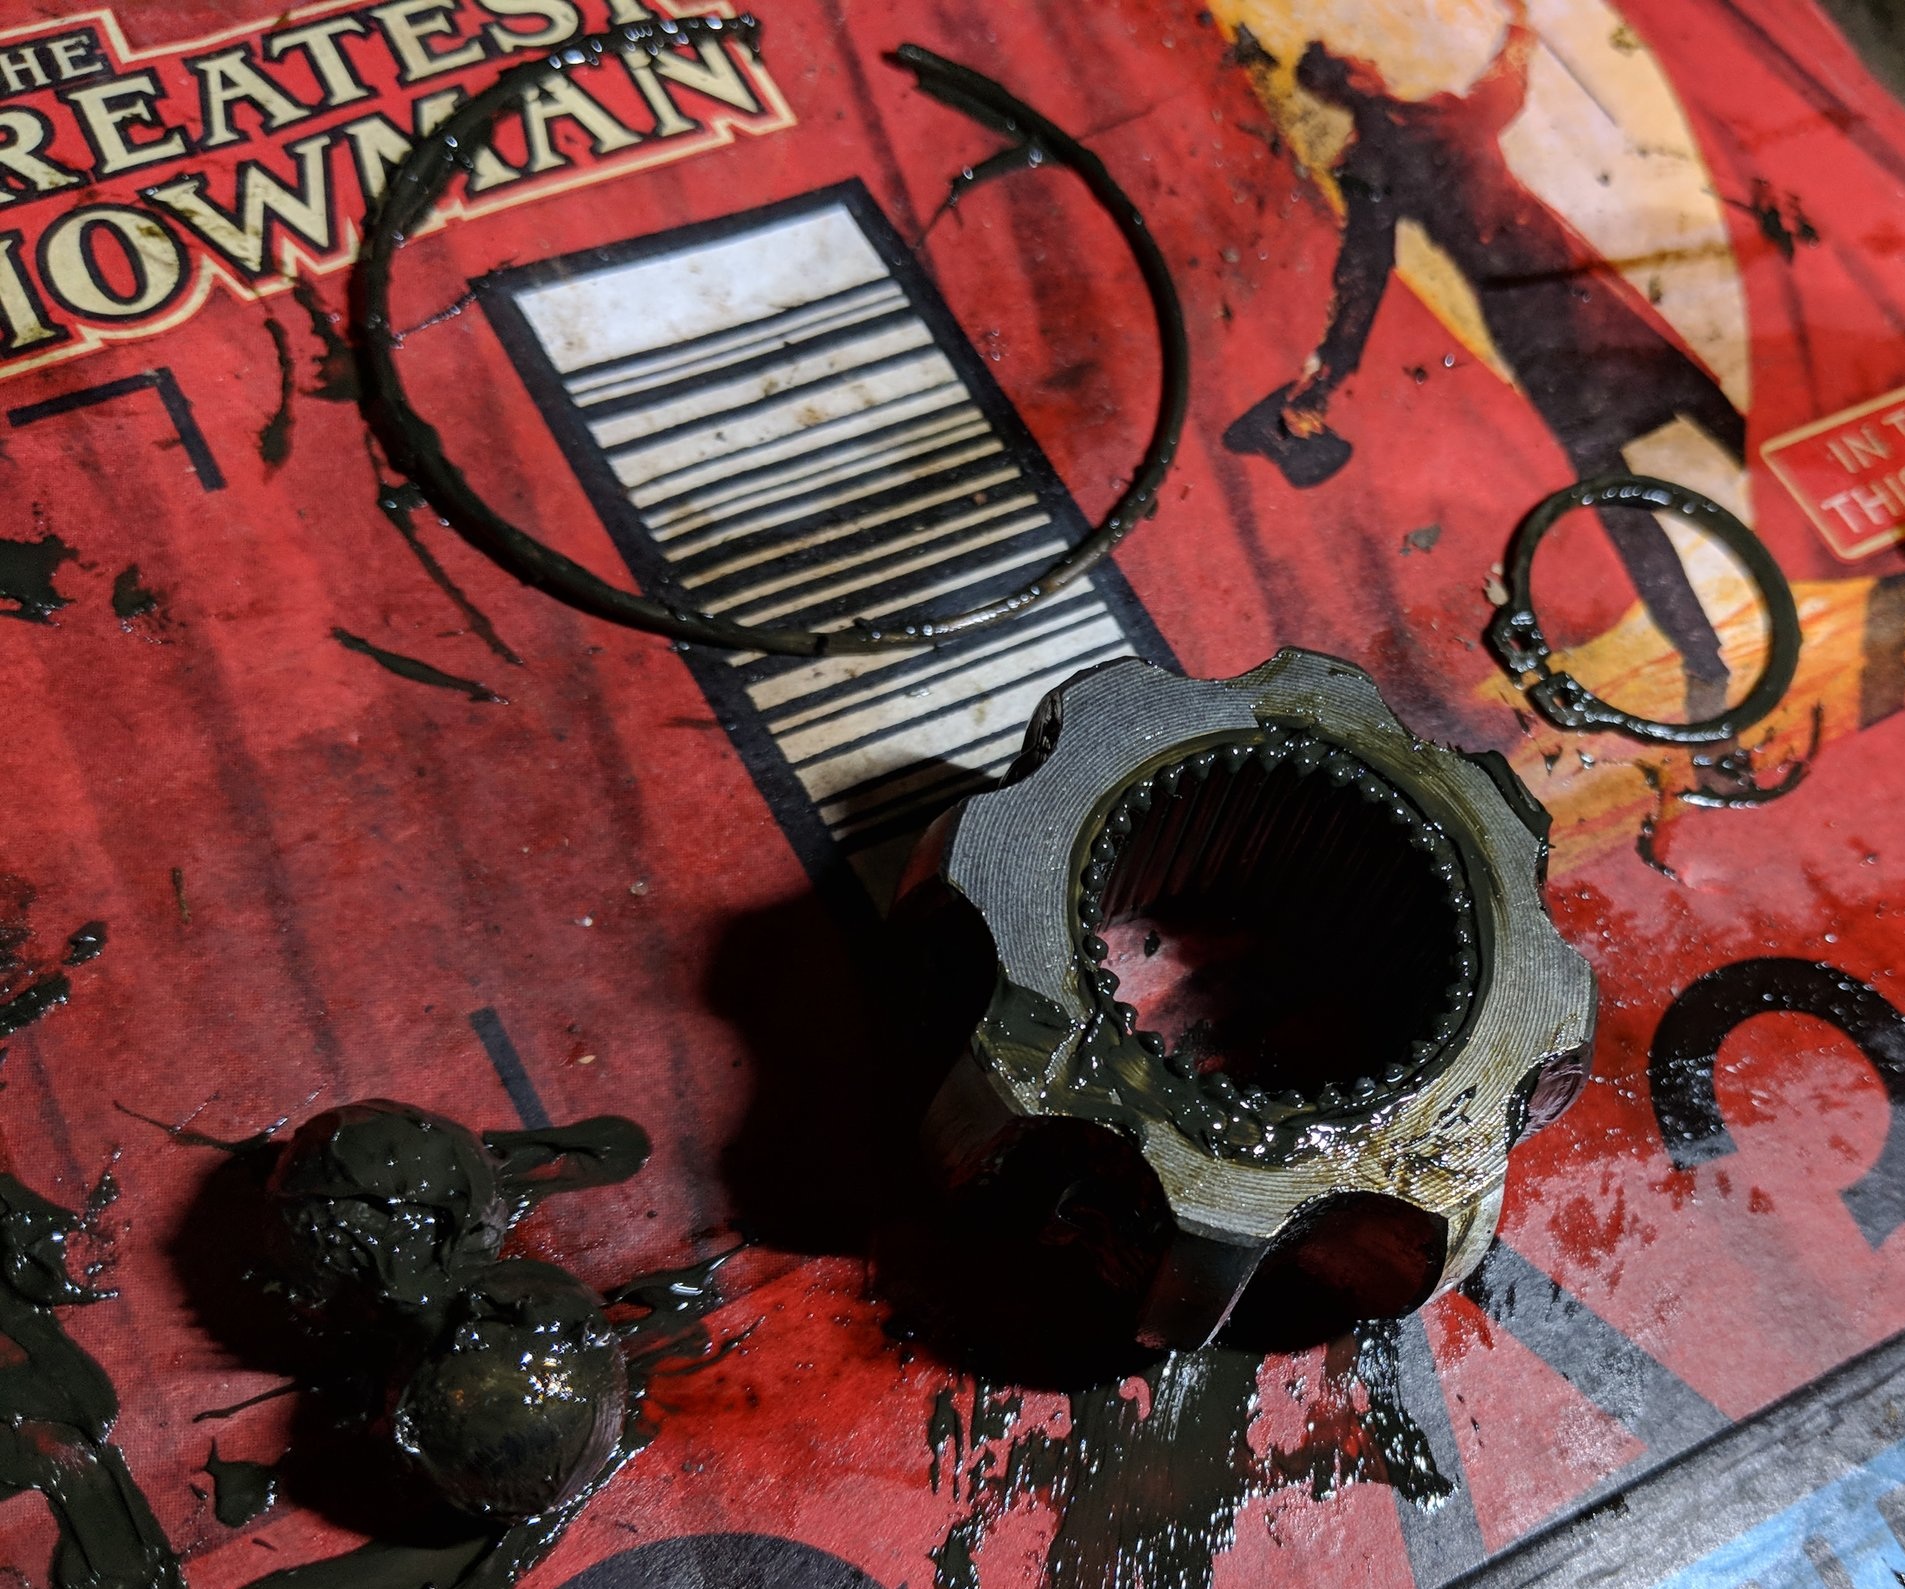
Inner bearing race and bearing close up
Now that you have cleaned to your heart’s content you can start your reassembly. You will first slide the CV boot onto the shaft. Sliding the inner and outer race on to the CV shaft and replace the c-clip. Now this is the best time to add your grease to the empty CV cup. Be careful to keep it off the the exterior of the cup or boot, make sure to clean it up if you do. Otherwise when you check your Cv boot down the road you may think you have a premature leak.

CV cup that protects the joint and holds the bearings into the joint. The clip-c notch is located a few mms inside the outside edge of the cup.

Securing the c-clip and inner race.
We will now assembly the inner joint by placing the bearings back in the race and sliding the CV cup over and locking in the C-clip to cup completing this step. The c-clip is what keeps the innerds from coming out and bringing your car to a quick halt.

Insertion of c-clip into cup. Gentle pressure snaps it into place.
The final steps will be maneuvering the boot on the cup band grooves and shaft. Next the boot bands will be placed in to position then we will utilize the boot clamp tool to tighten them down. With the clamp tightened down you can fold it over and proceed with your punch to secure the boot clamp and fold over the flaps. Using your side cutters or tool to cut off any extra boot clamp.

Boot ready for boot clamps.
This concludes your repair! Now replace the axle into the car, secure all your fasteners and double check torque specs. Now you can take a short test drive around the block. Return to your driveway and double check your repair and fasteners. Safety is your key priority! If you don’t feel confident doing the above repairs seek out a Ase repair facility. Incorrect or unsatisfactory repairs can cause harm and damage to yourself, others and your car. Stay safe!